Classic Farmhouse Bed - by Leslie
Beautiful bed build. shared by Leslie.
Built from Plan(s)
Beautiful bed build. shared by Leslie.
Great plans; thanks Ana . . .
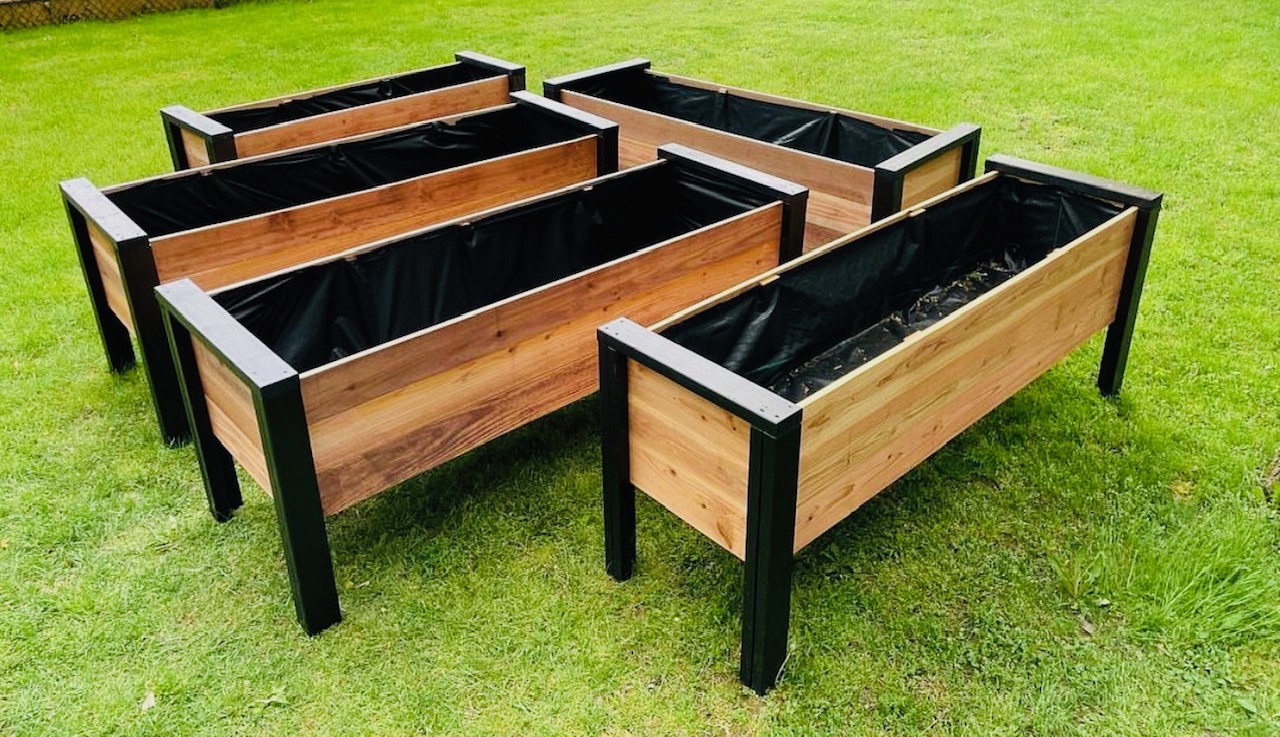
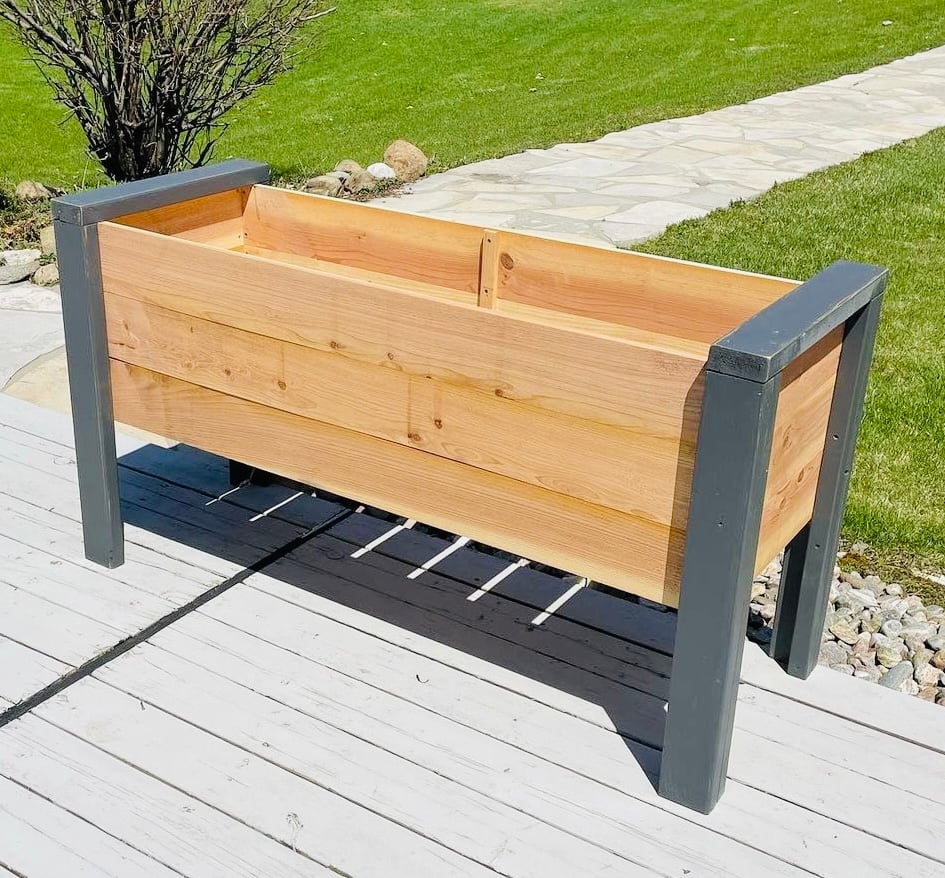
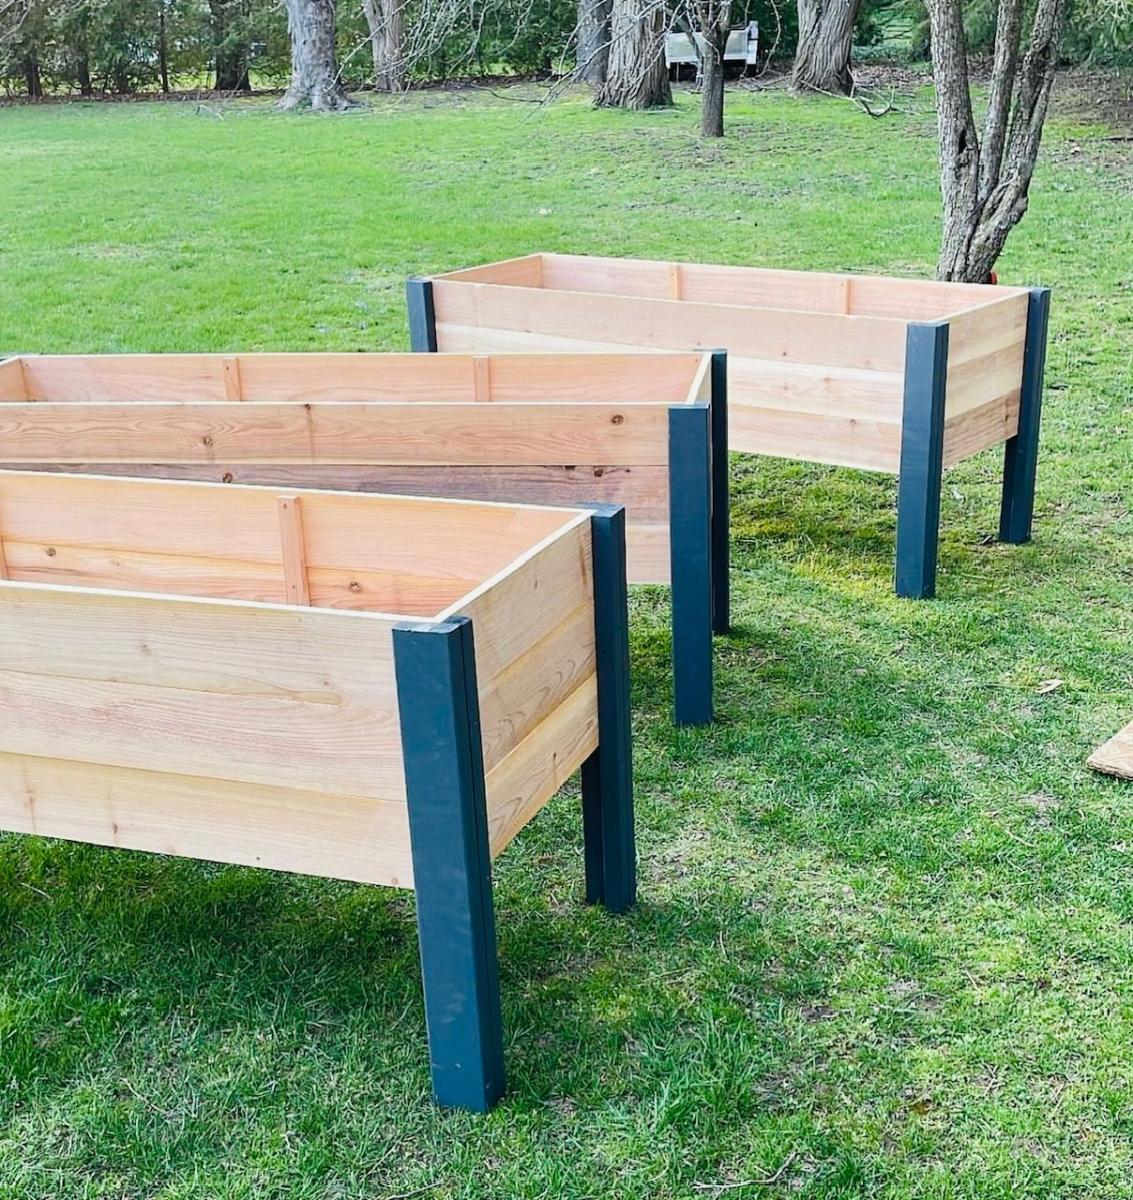
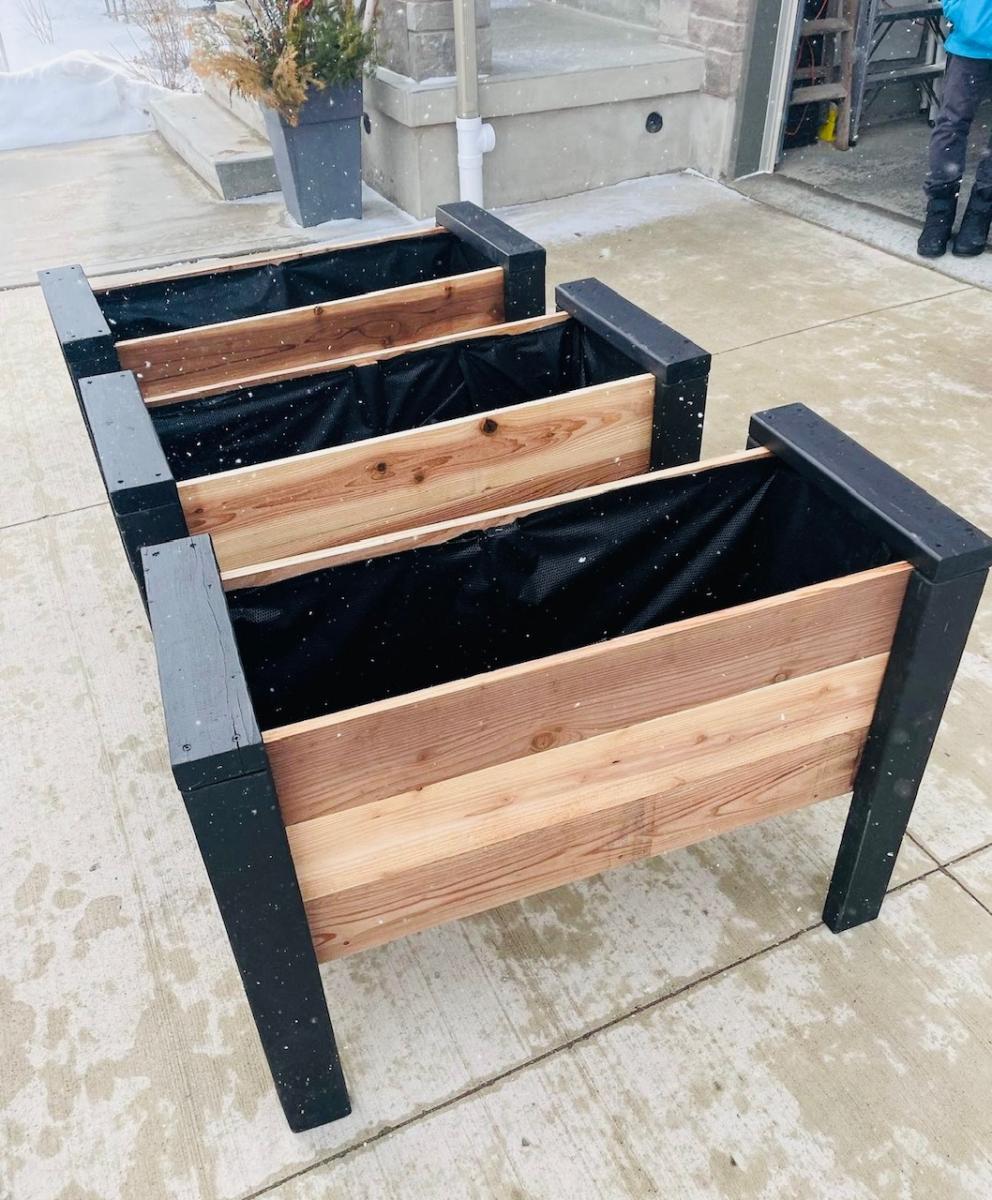
Planters build by Urban Wood Solutions

Fri, 03/31/2023 - 04:23
These are incredible. They look a little deeper, and would be good for vegetables. How deep are they?

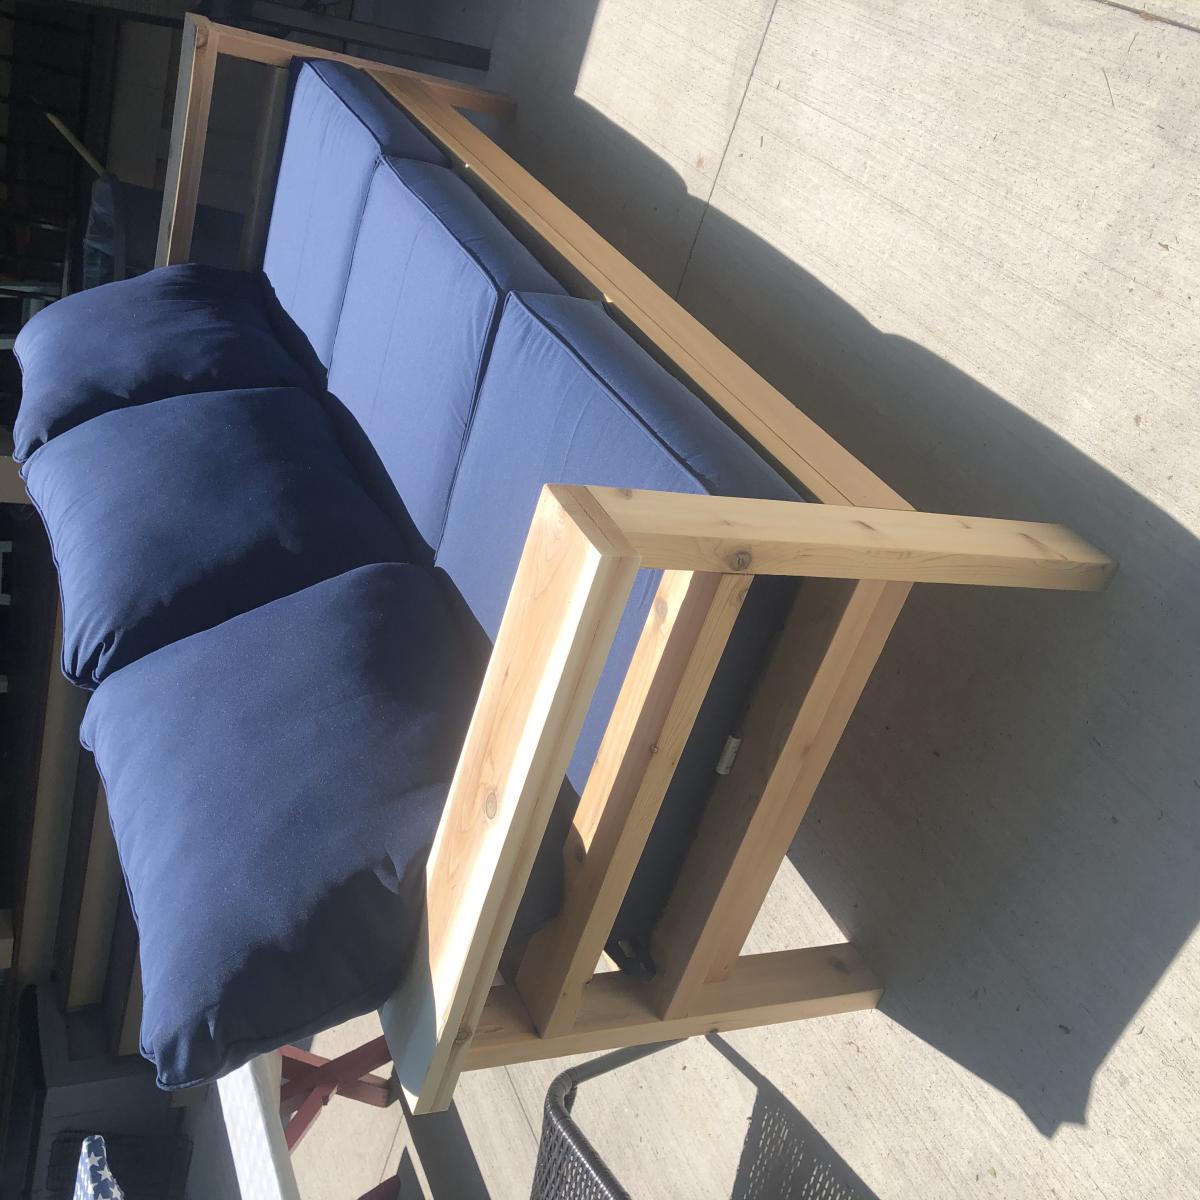
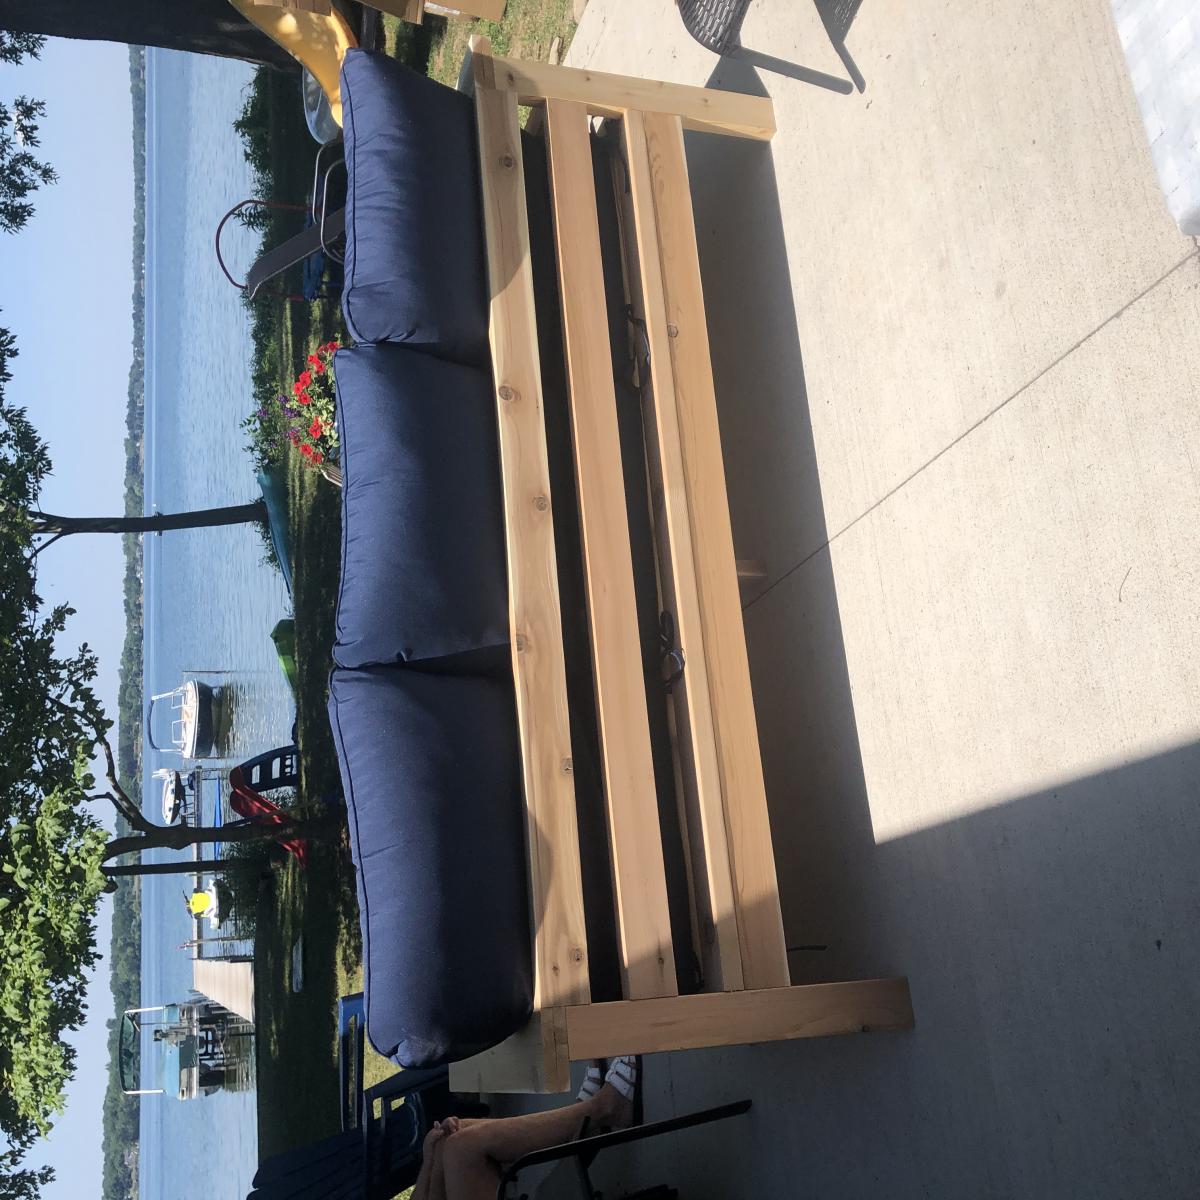
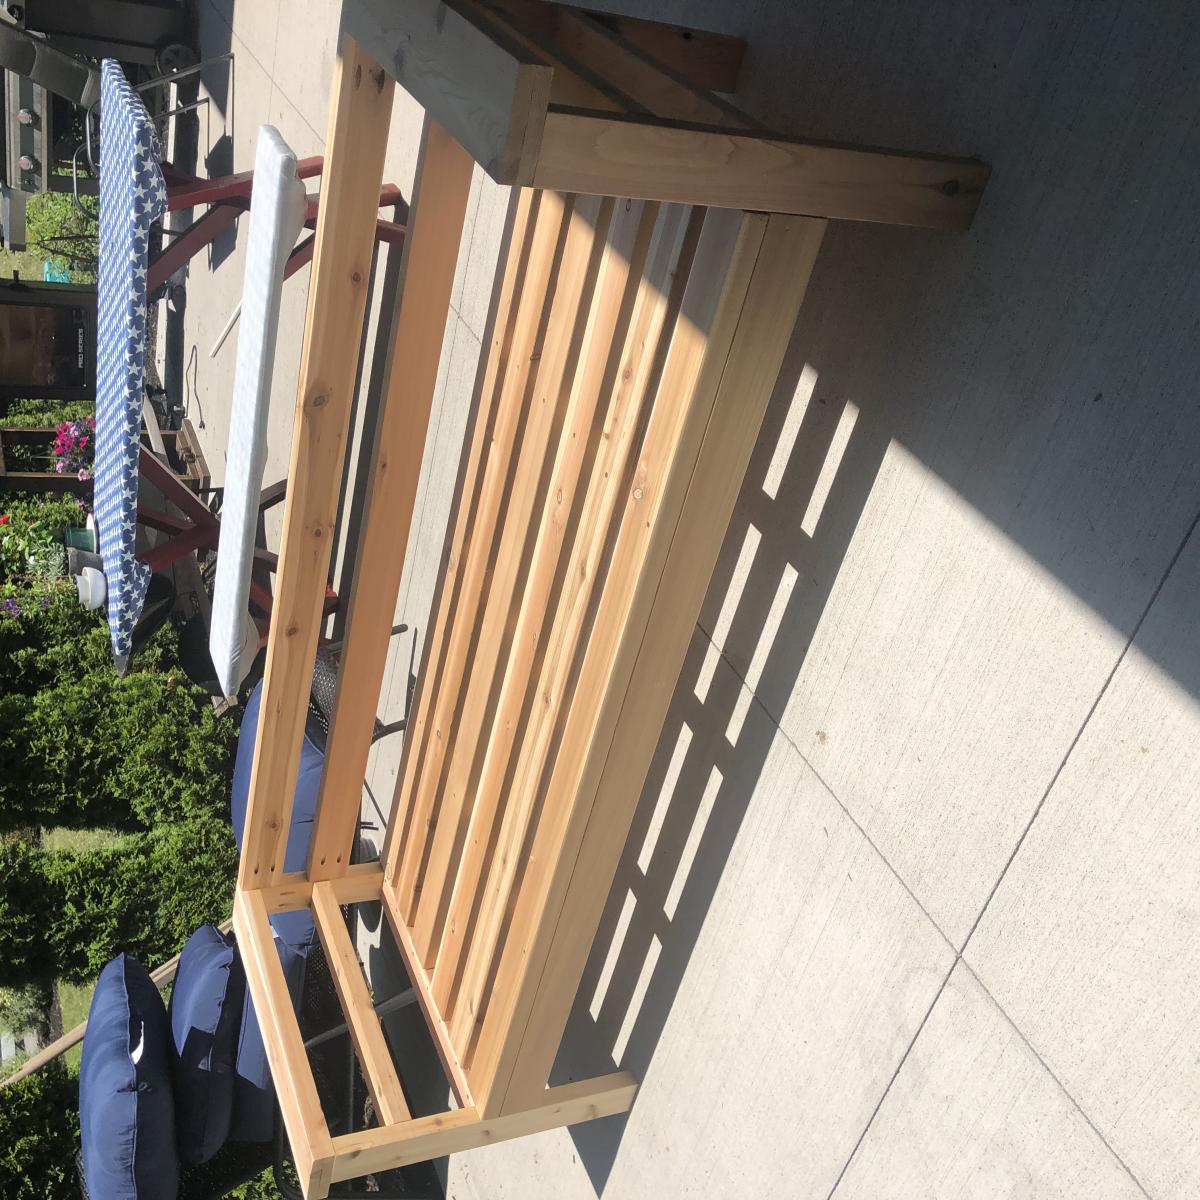
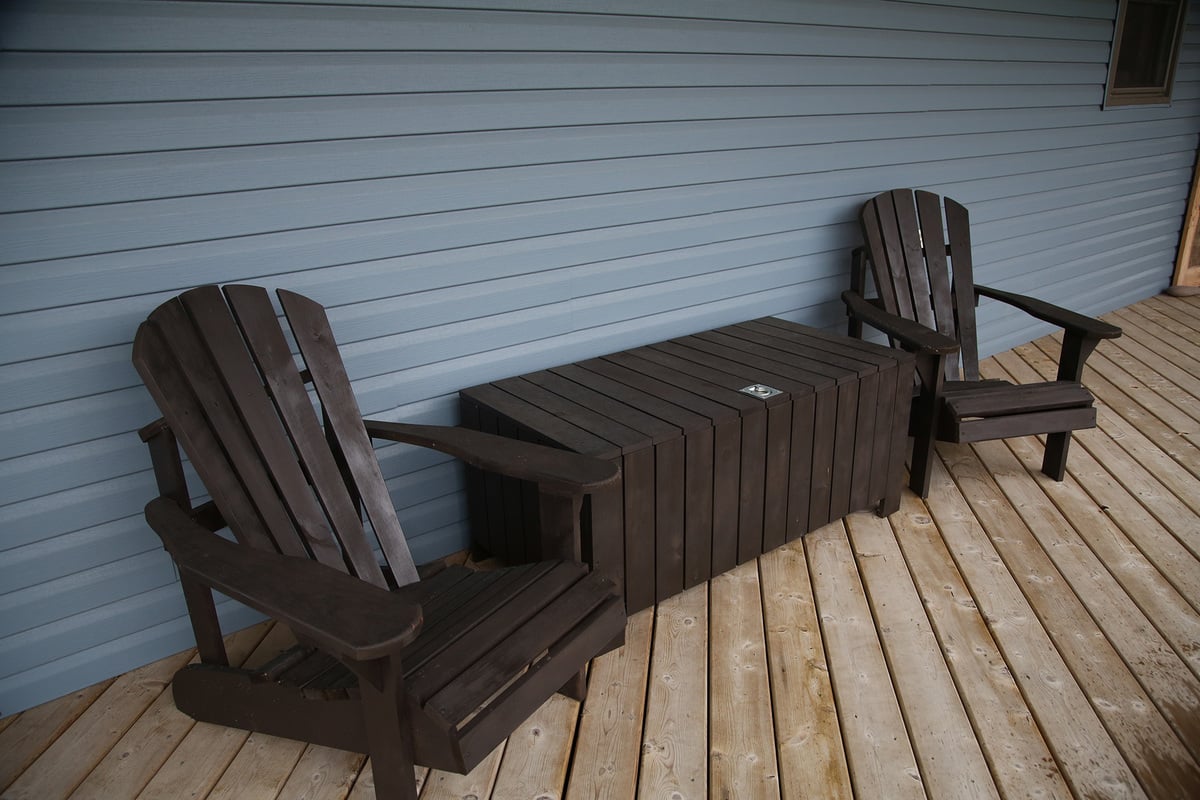
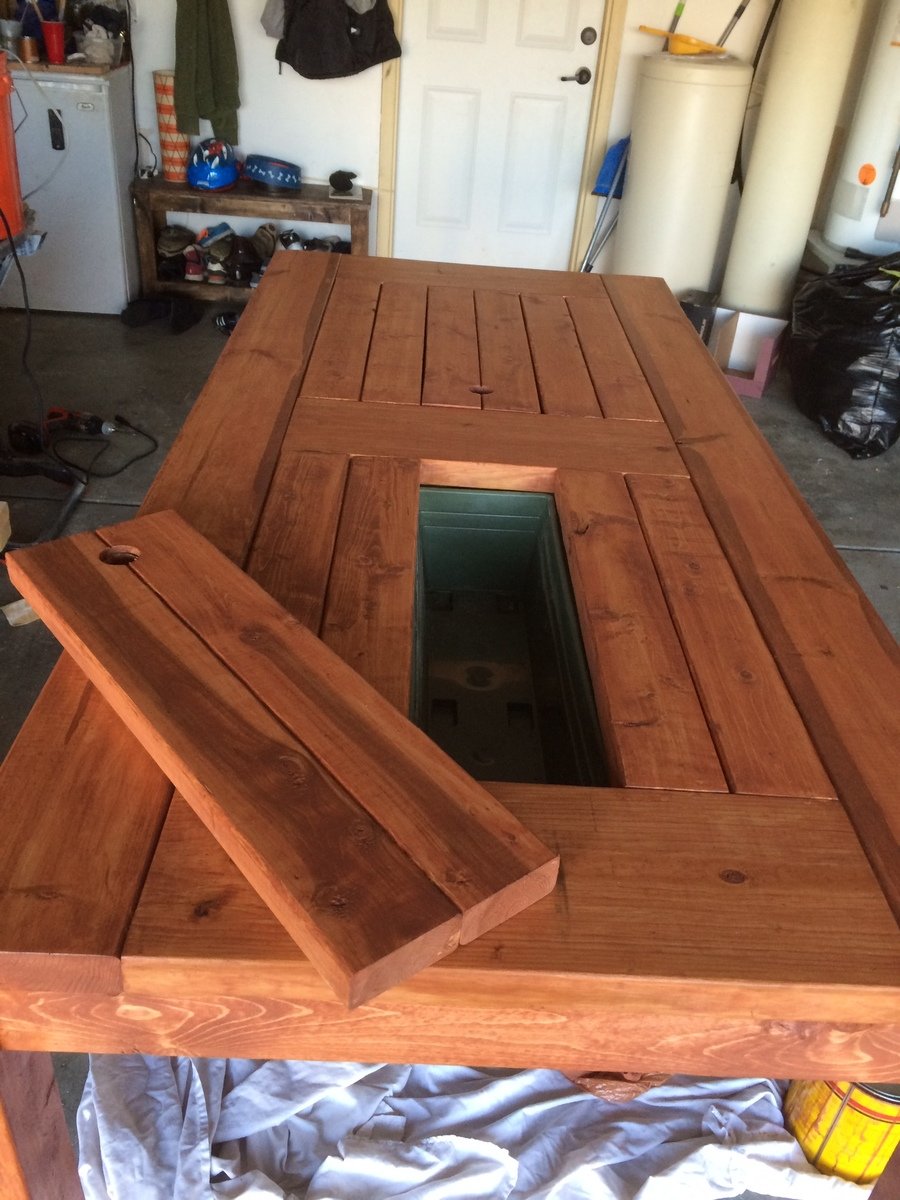
I built this to go with my outdoor sectional. It's perfect for storing the cushions and the gardening tools that I like to keep on the porch. It doubles as a table and extra seating in a pinch, so it's a great addition to the space.
I'd recommend either spray painting it or pre-painting the pieces- I wouldn't want to try and brush between all the slats.
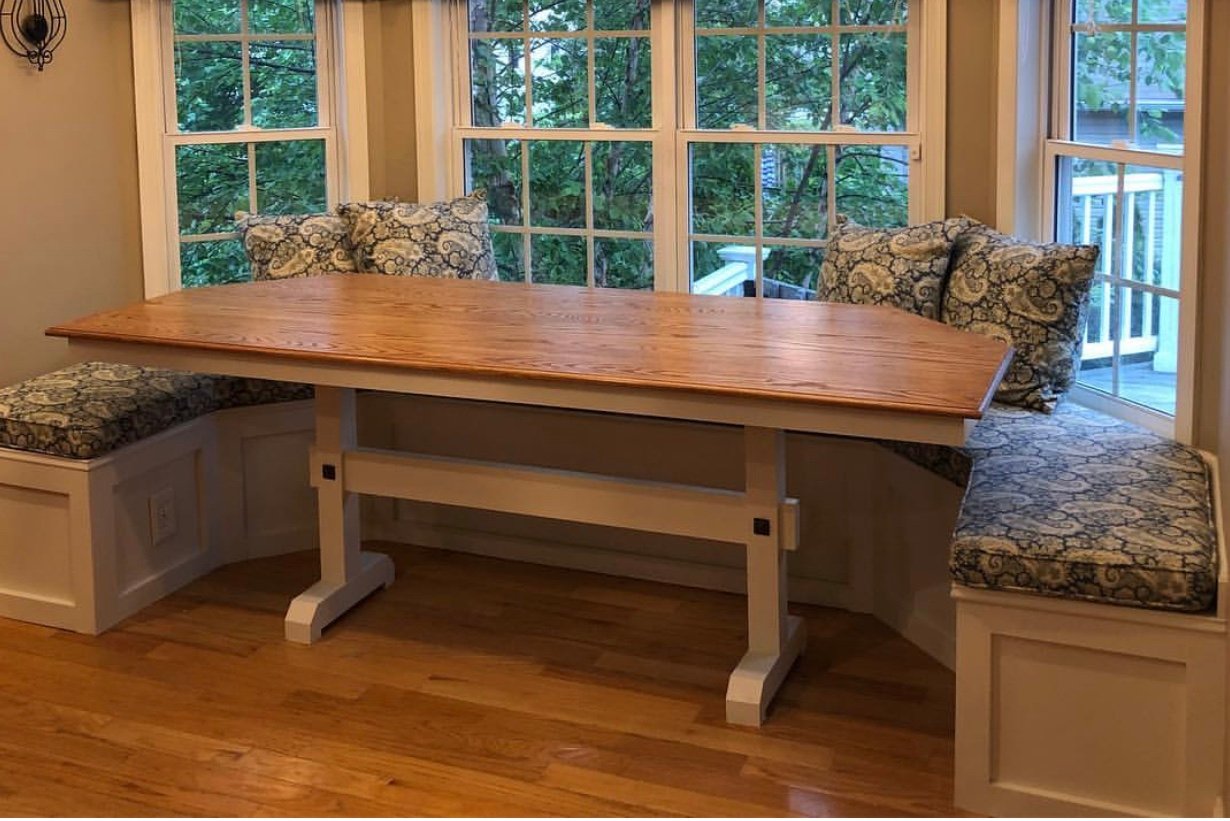
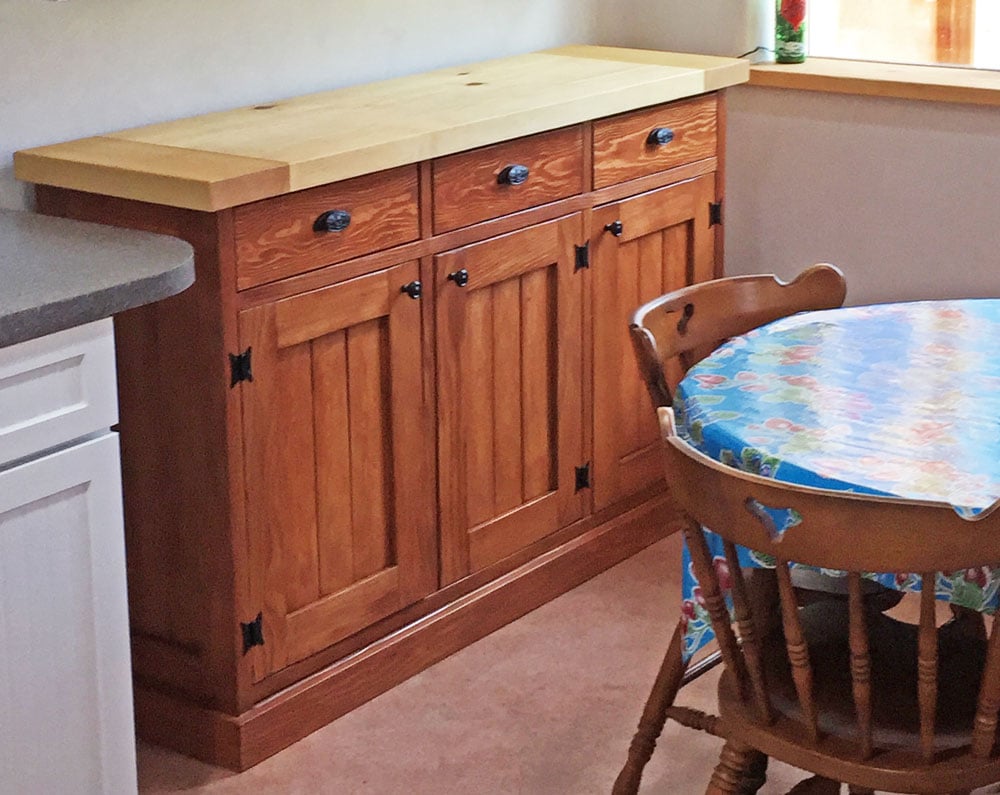
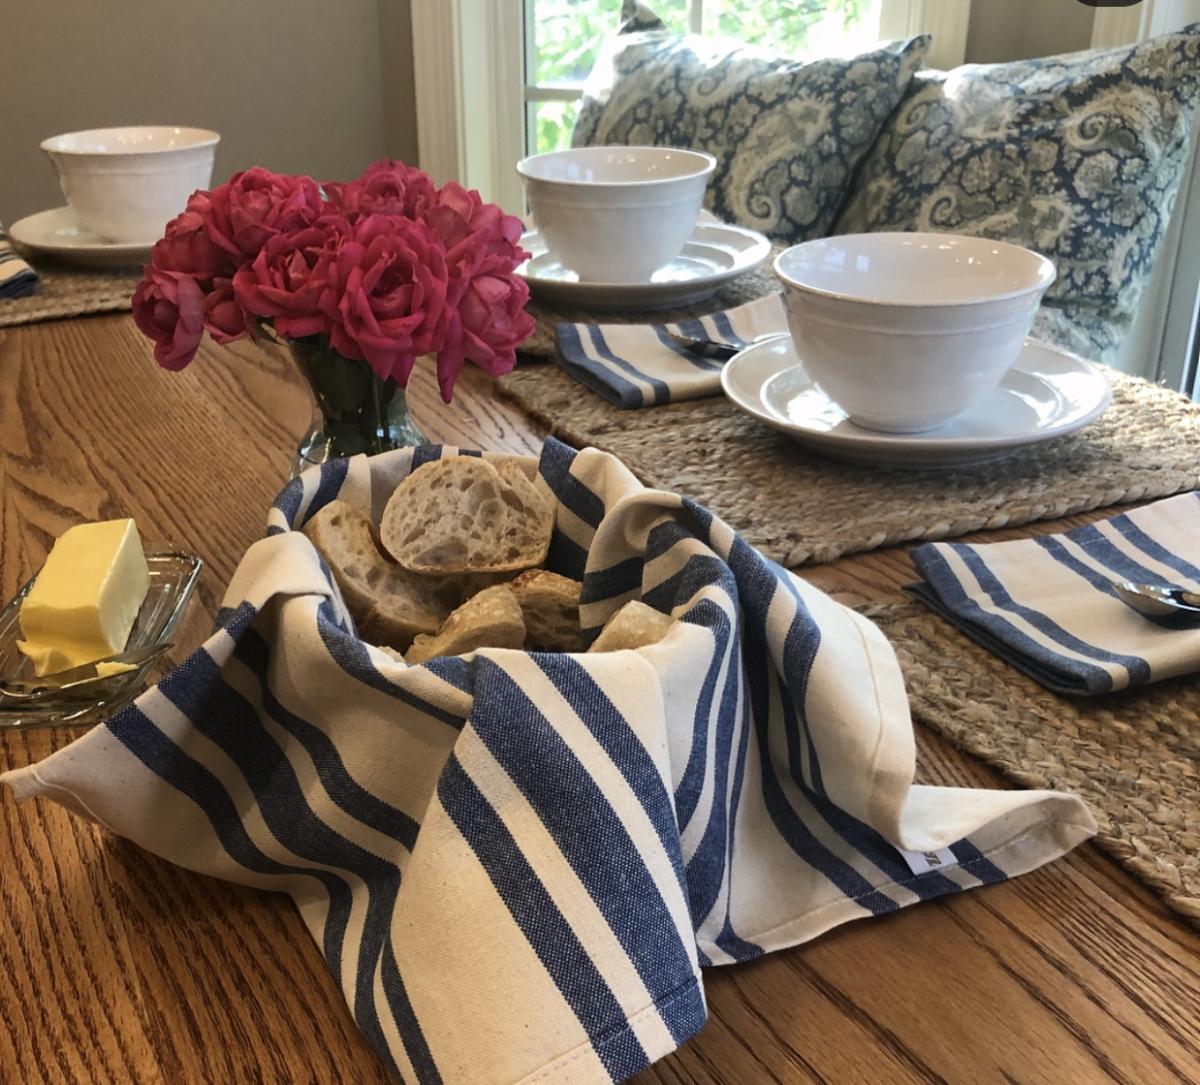
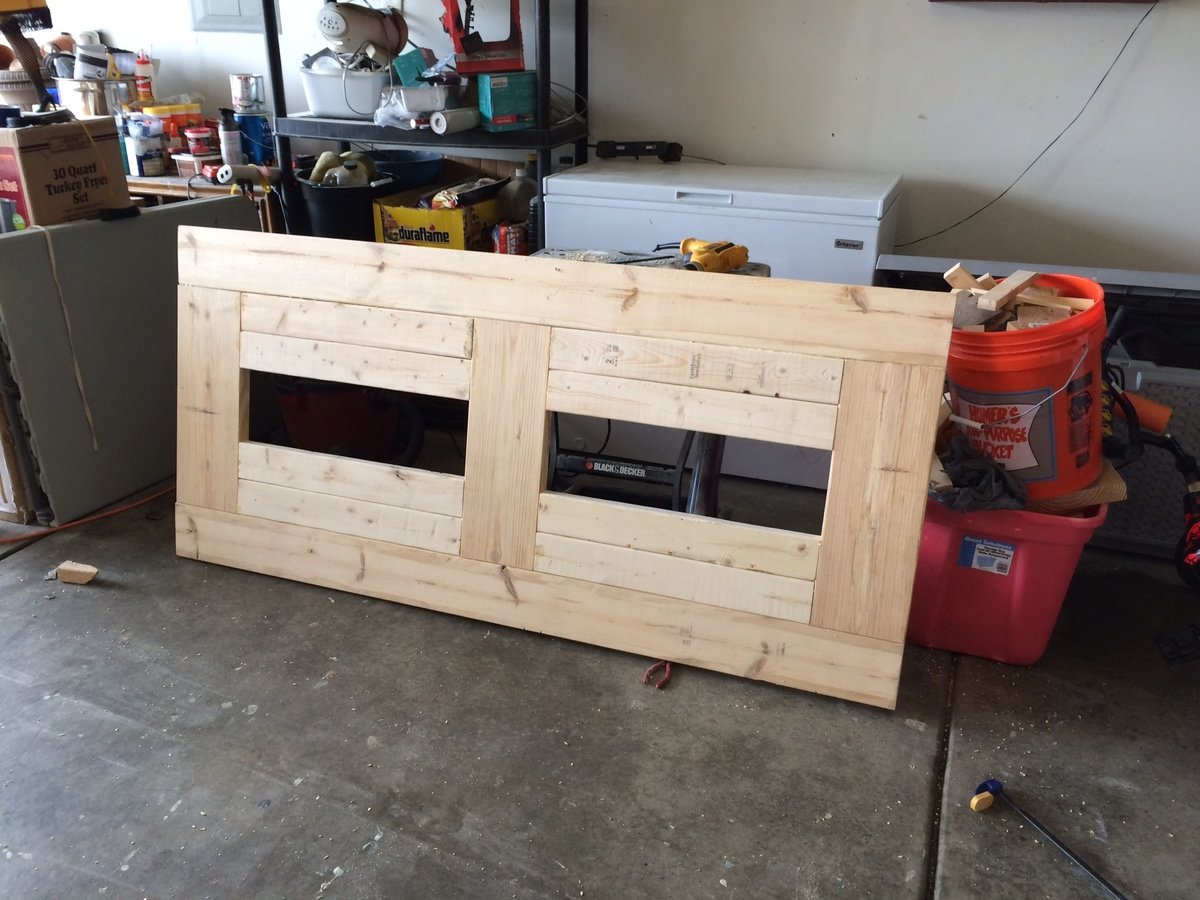
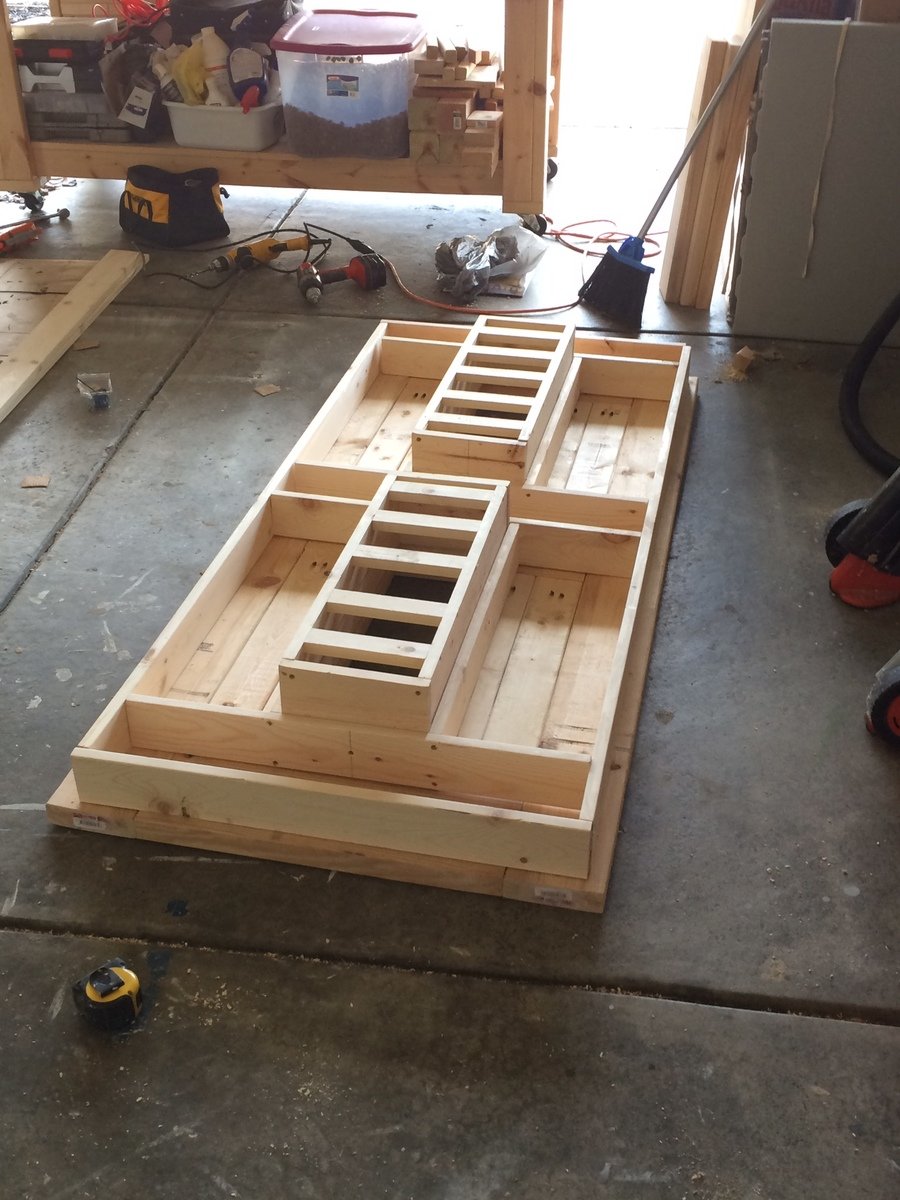
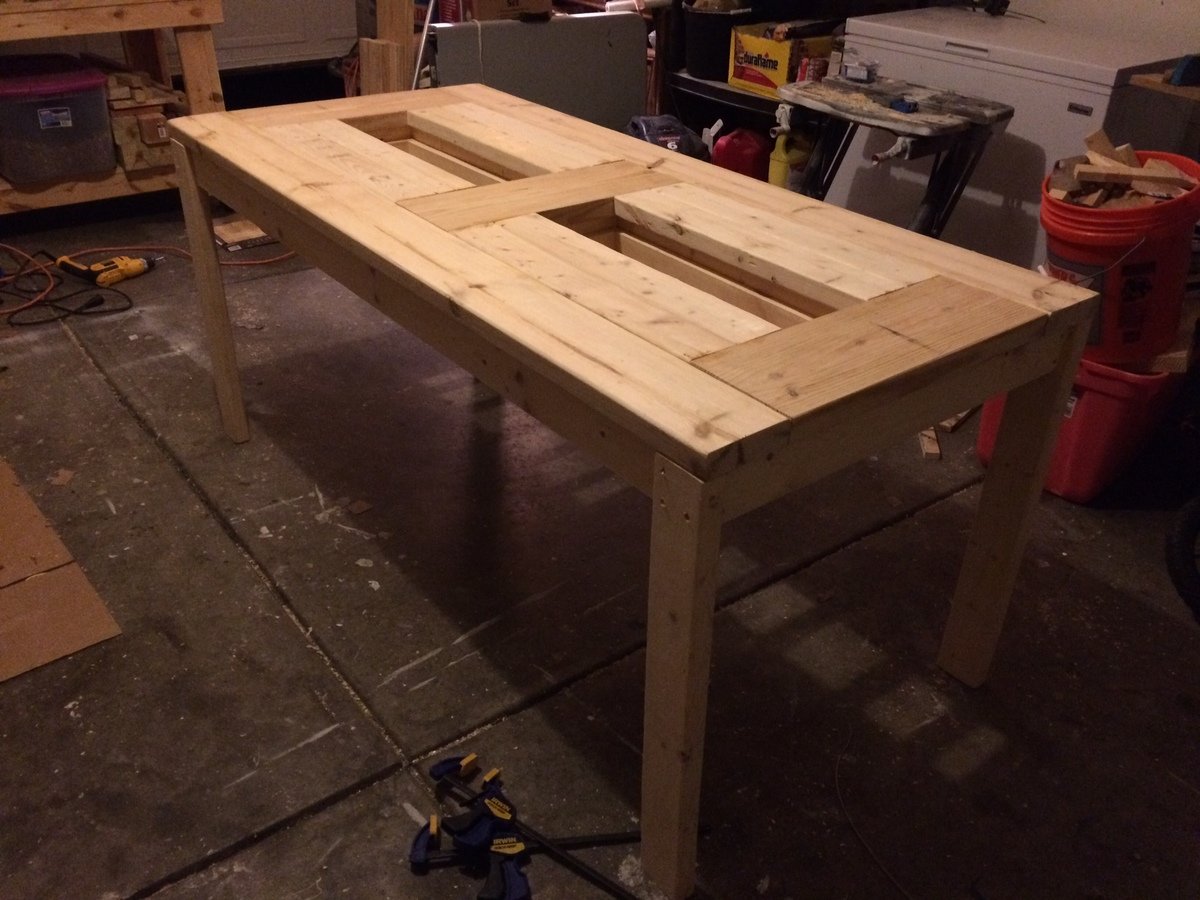
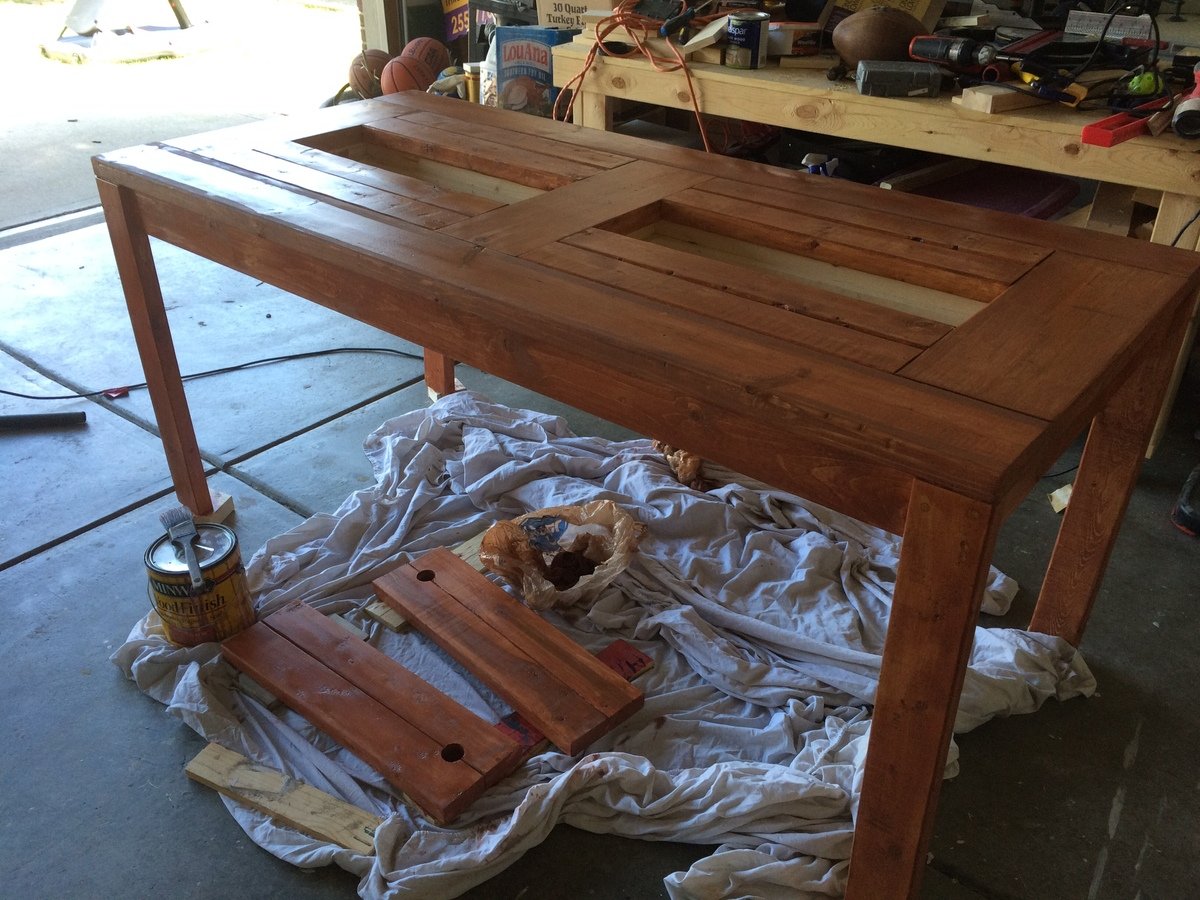
When we moved into our house, there was an empty breakfast nook. I built in the banquette seating, and then built the table out of oak. This was inspired by the Triple Pedestal Table (http://ana-white.com/woodworking-projects/triple-pedestal-farmhouse-tab…)
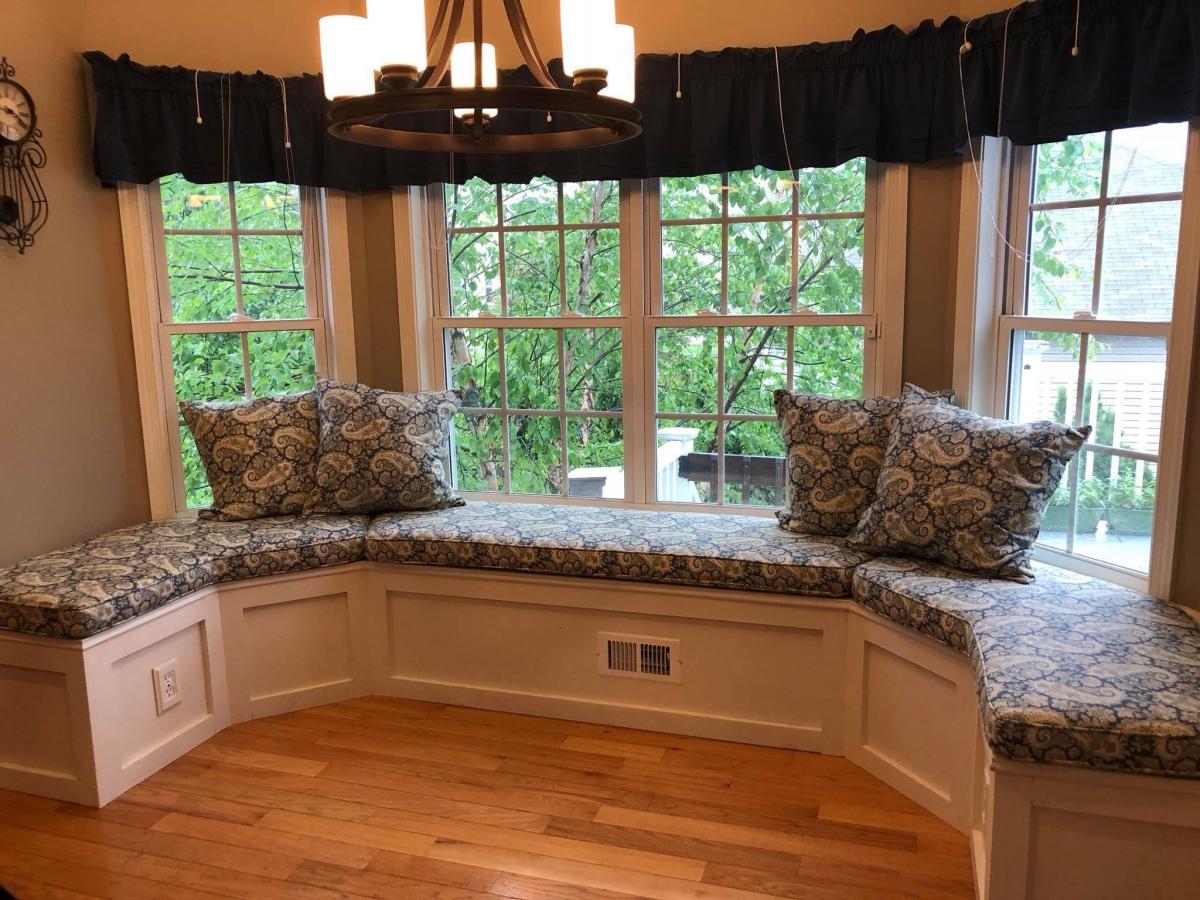

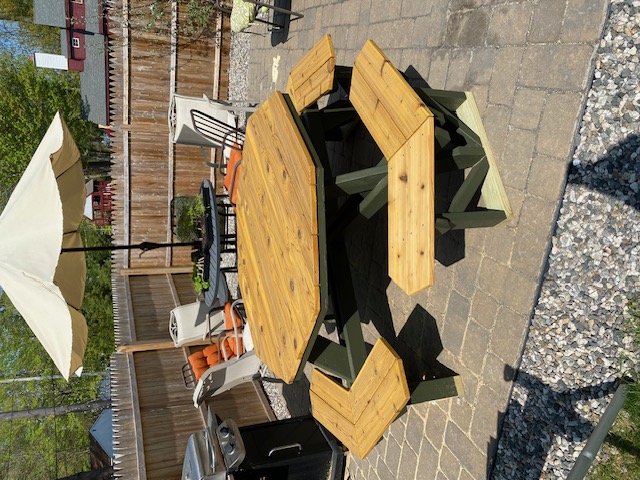
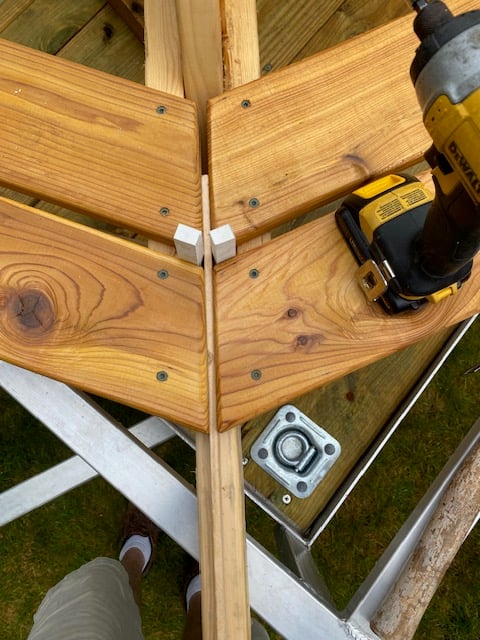
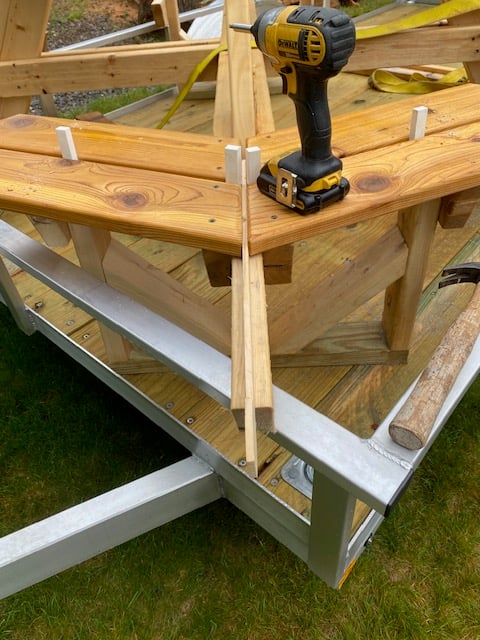
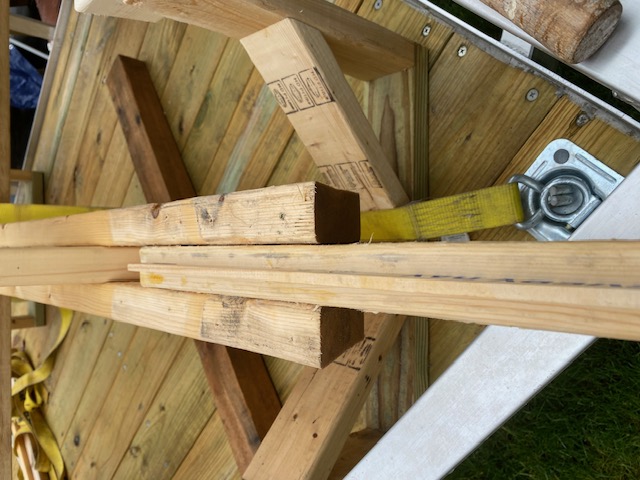
I downloaded the plans for the octagonal table. I have made several and used a few different woods, made a few minor design changes as well as creating a routine and using a jig or two. This jig fits in between the two boards that form the seat support frame. I used a large paint stick and a scrap piece of 2 x 4. Using a table saw, I cut a groove in the 2" edge, approximately 1/2" deep, this took two passes (pass it through, turn it and pass again), a slight adjustment and another two passes. Insert the paint stick and seat all the way down. Place jig between seat support frame, might be a little snug or use a clamp to hold in place. Adjust so just the paint stick sticks up enough to separate seat boards. With seat boards against the jig, it forms the perfect angle/guide to match cuts. I also used 1/2" spacers to create consistent spacing. Love the various plans you make available as well as your videos.
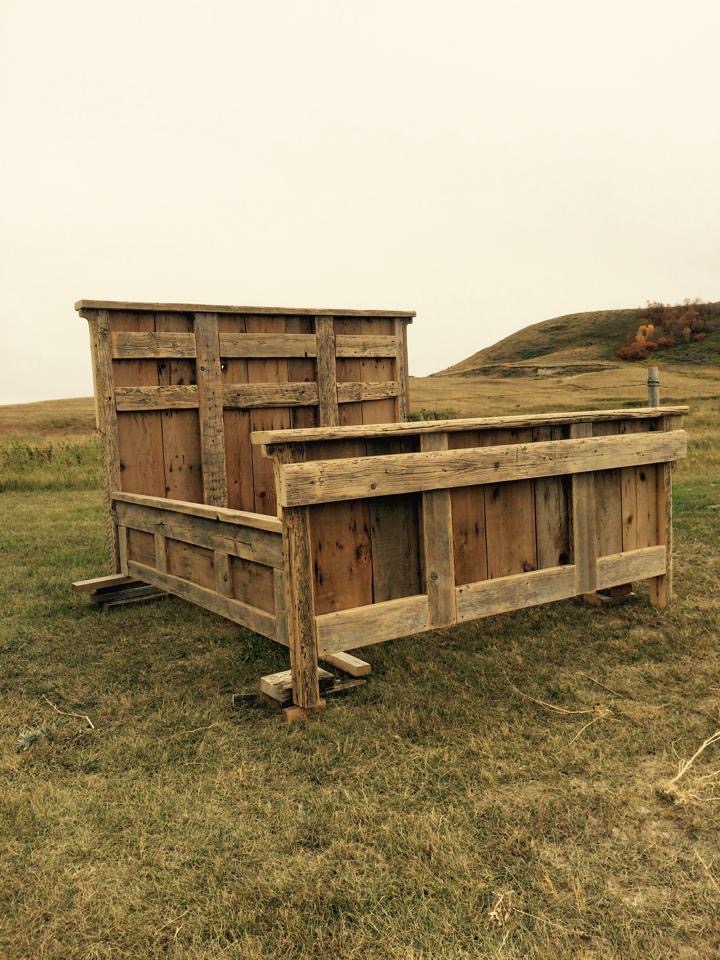
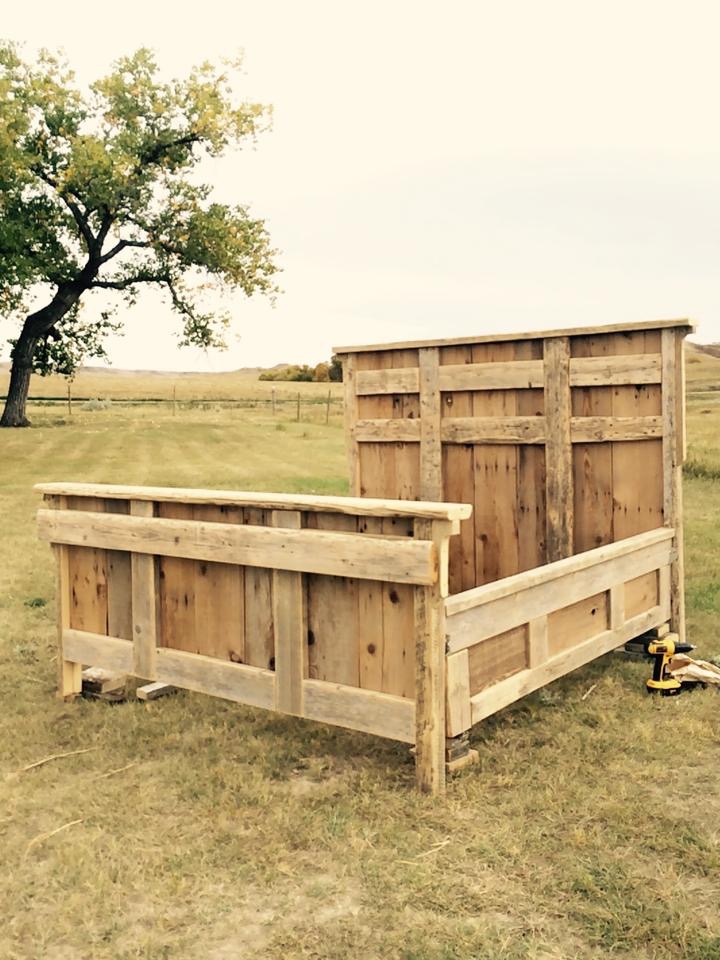
Built for a customer out of reclaimed 2x6 spruce corrral boards. There was a lot of sanding involved in prepping this wood, but I couldn’t be happier with how it turned out!
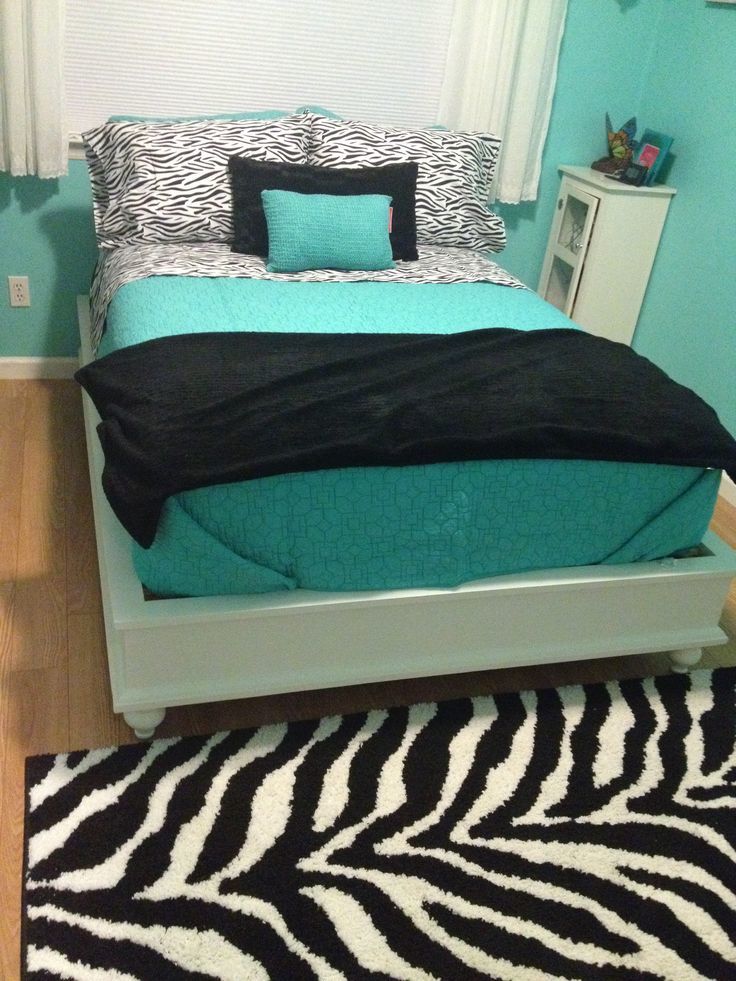
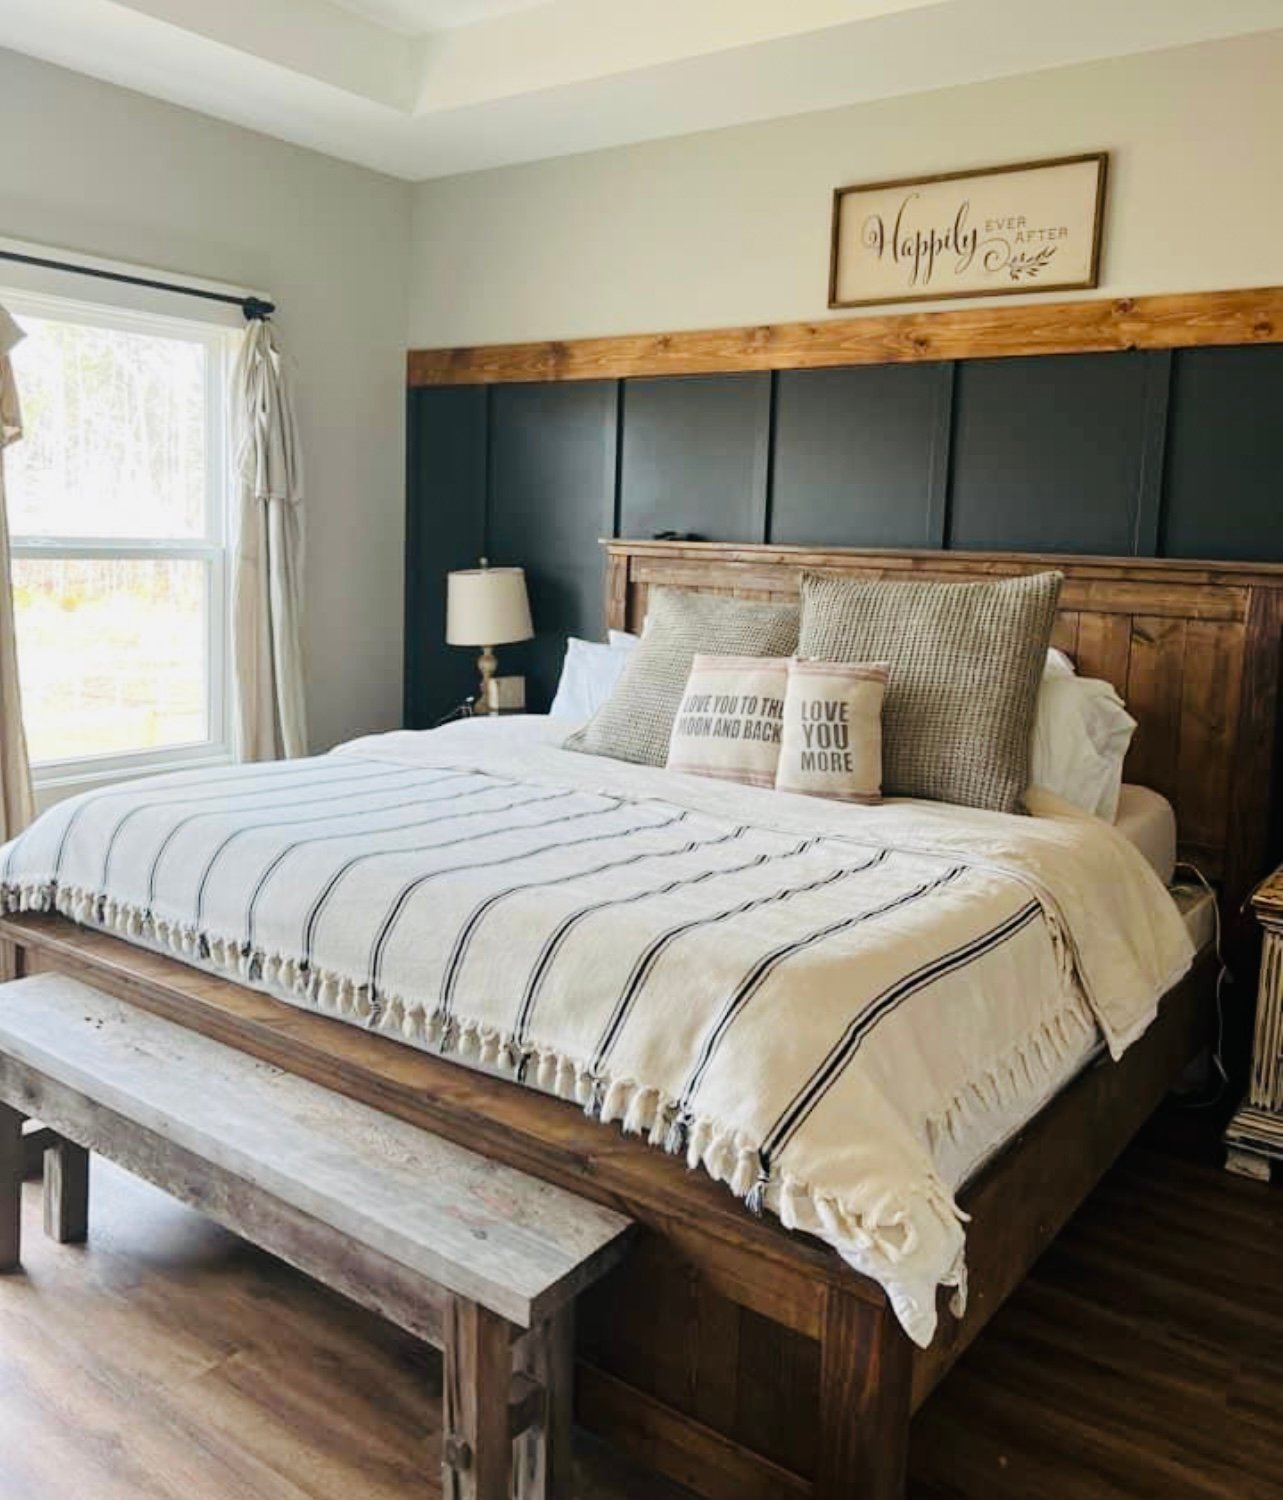
After searching for a bed for our tween we found that we couldn't find the bed we wanted for the price we wanted to pay. I'd been eyeing this site for months and finally decided to take the plunge. The Shanty-2-Chic blog really motivated me to get this going.
This was our first (and arguably most expensive) project ever- husband ended up acquiring new tools to make the job easier, haha.
We followed the tutorial from the site with modifications for a full size mattress. (Just substituted 53x75 for the queen measurements and adjusted cuts accordingly.)
Used furring strips (1x3) for mattress support to save money.
Finished with zinsser primer (bought a quart for all our future projects)- this stuff is awesome!
Picked a flat white paint in a color that matched her dresser.
Cost of Daughters New Bed:
Lumber $120,
Kreg jig clamp $29
Air compresser with nail gun $150
Learning how to construct furniture ourselves: Priceless
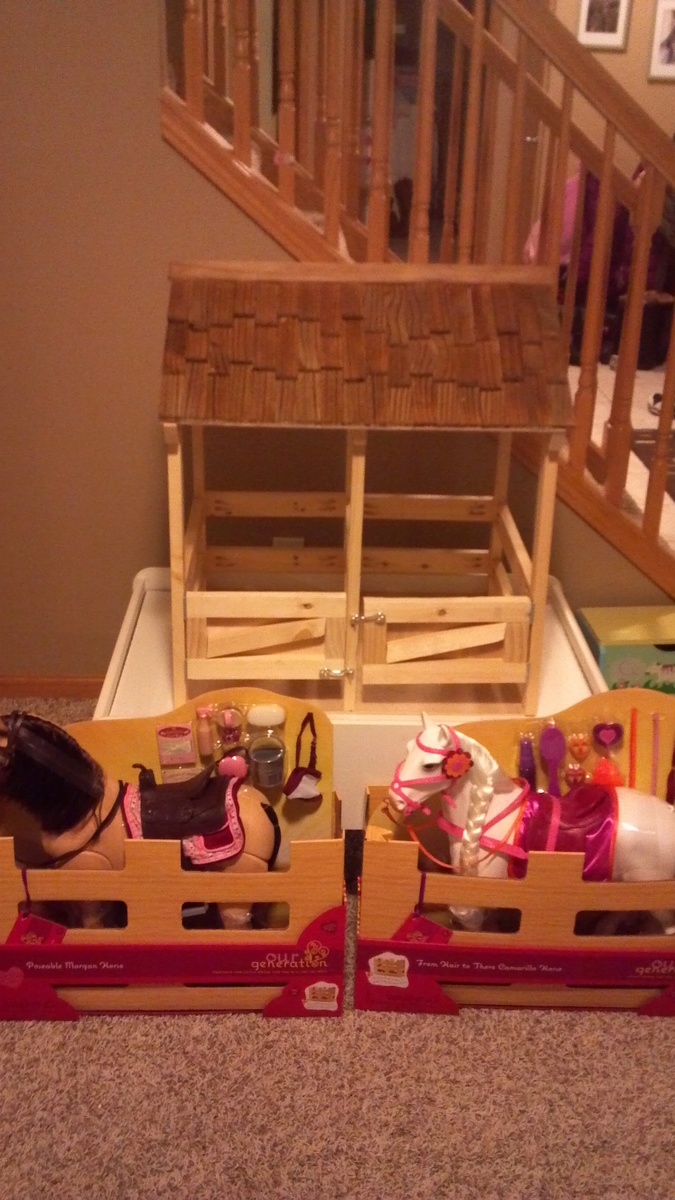
This was a neat project that made a great Christmas present, along with some horses, of course. What really finished it off was the shim shingled roof. I also liked the hinged doors which gives it a little action for the kids to play with.
Thanks for the plans.
Peter

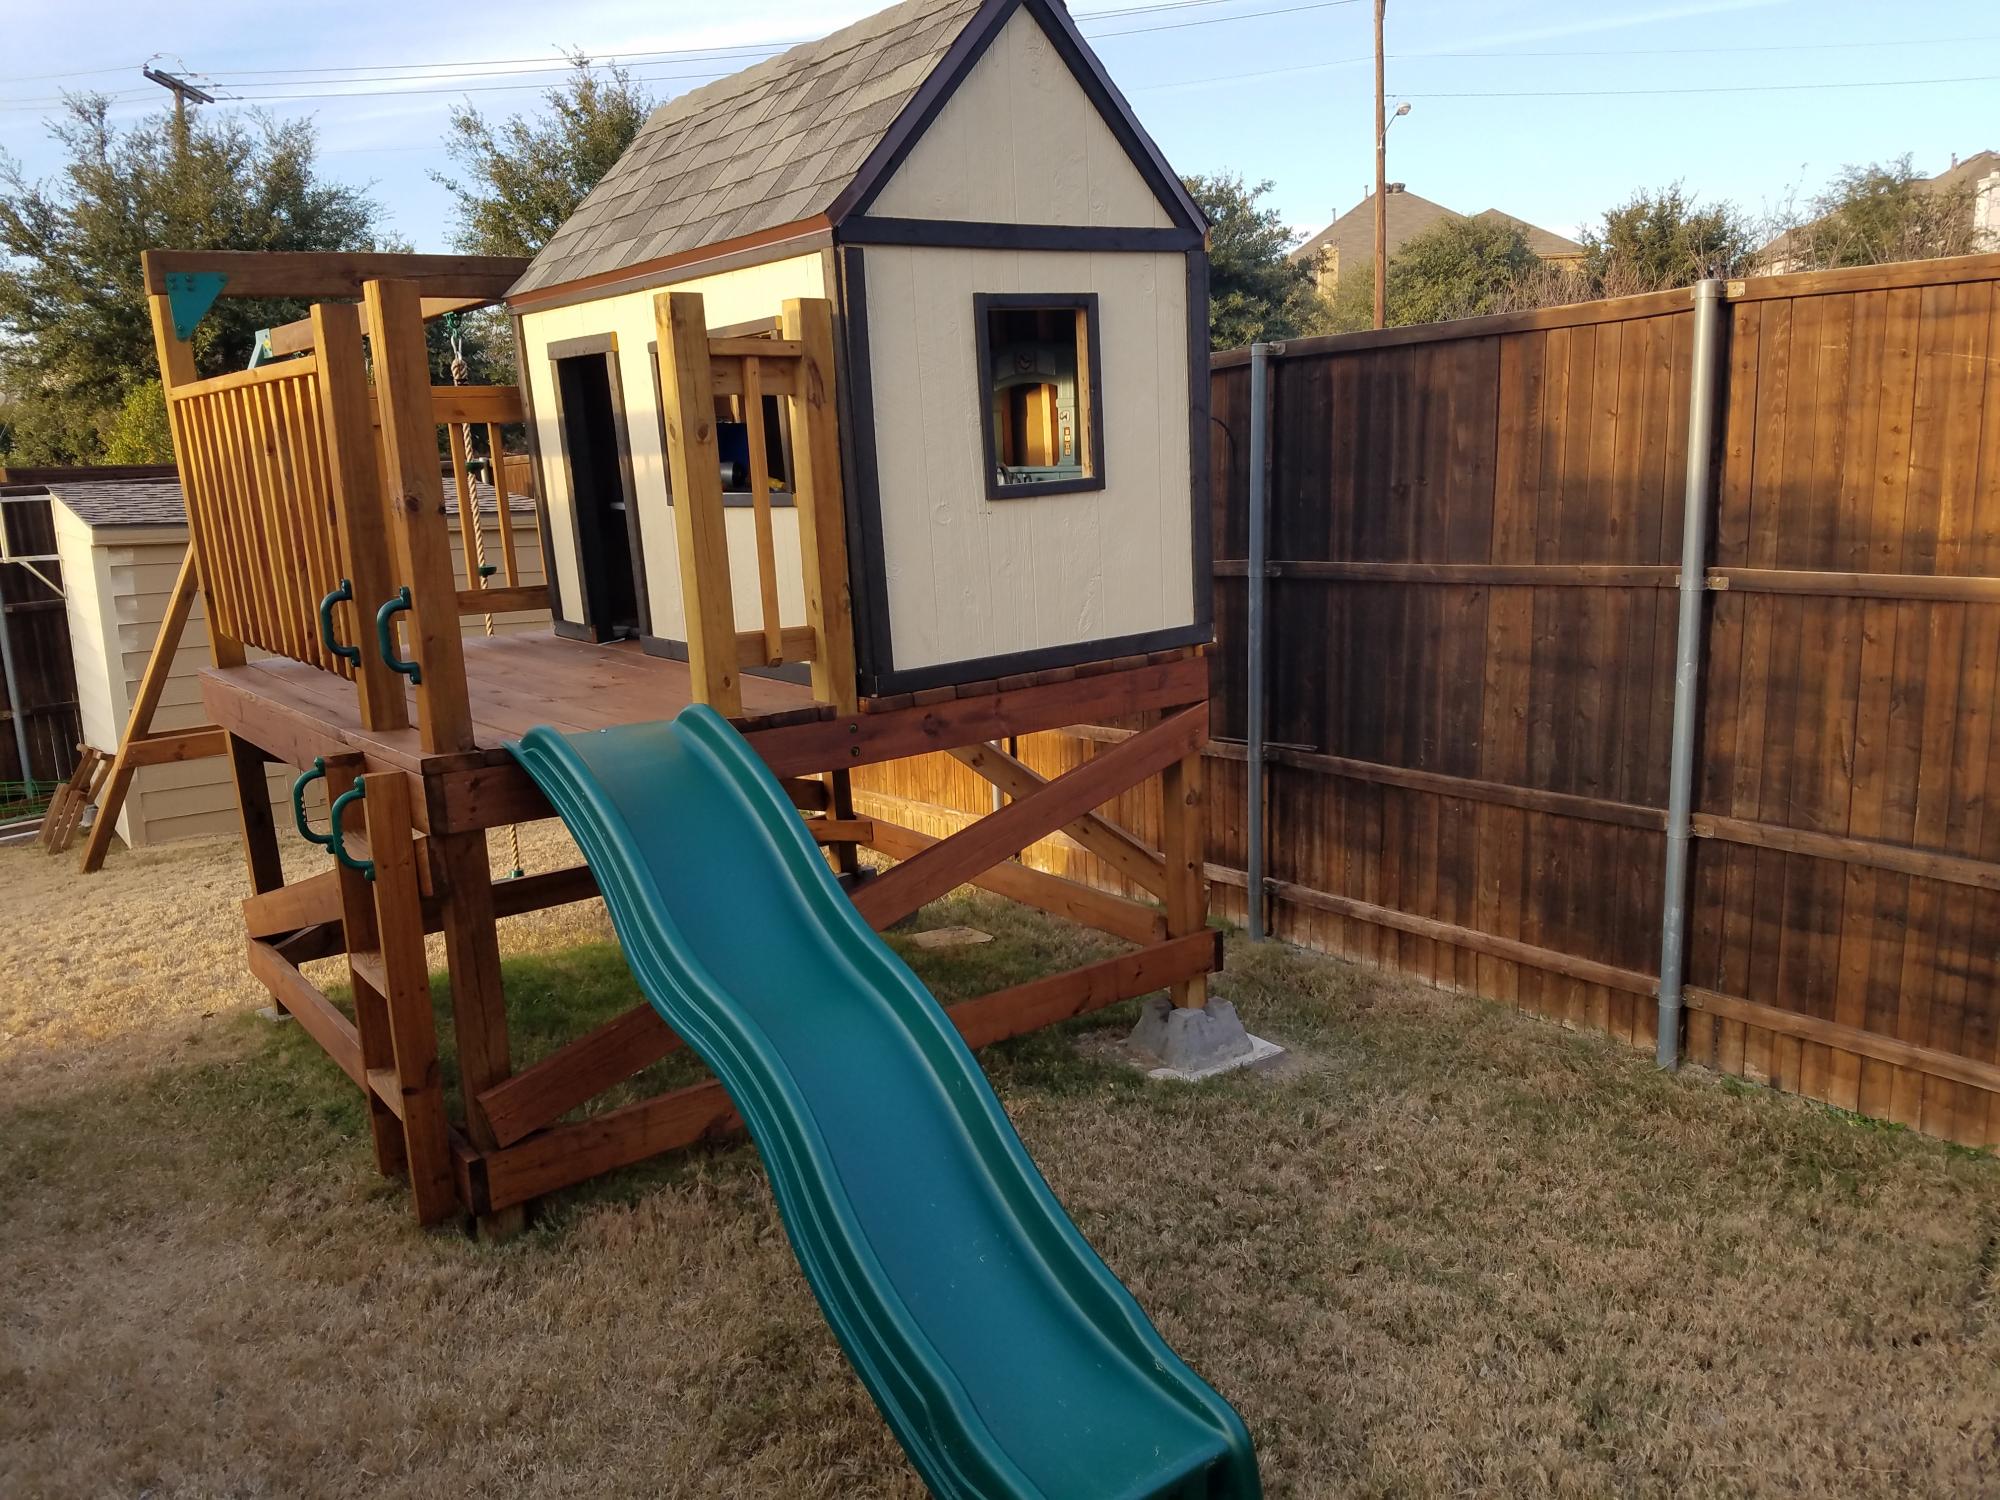
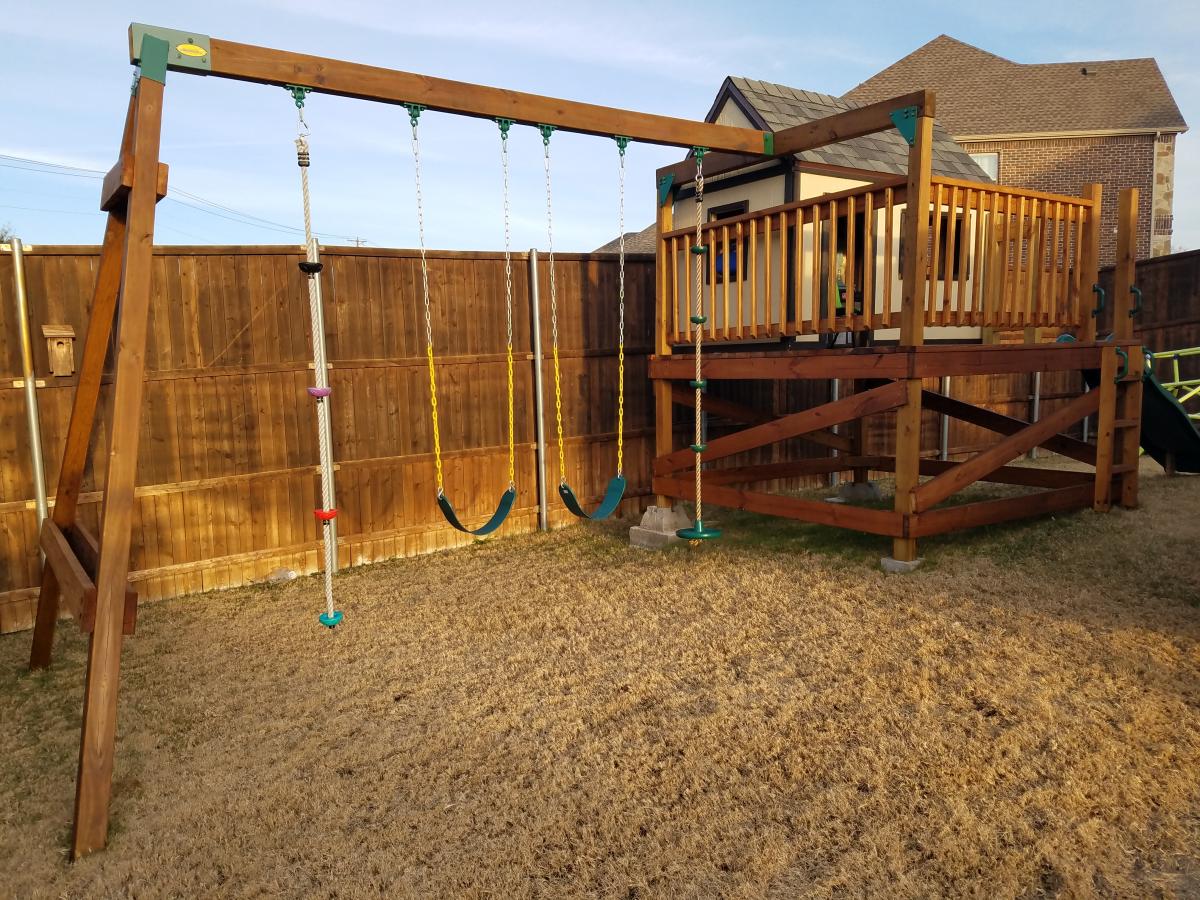
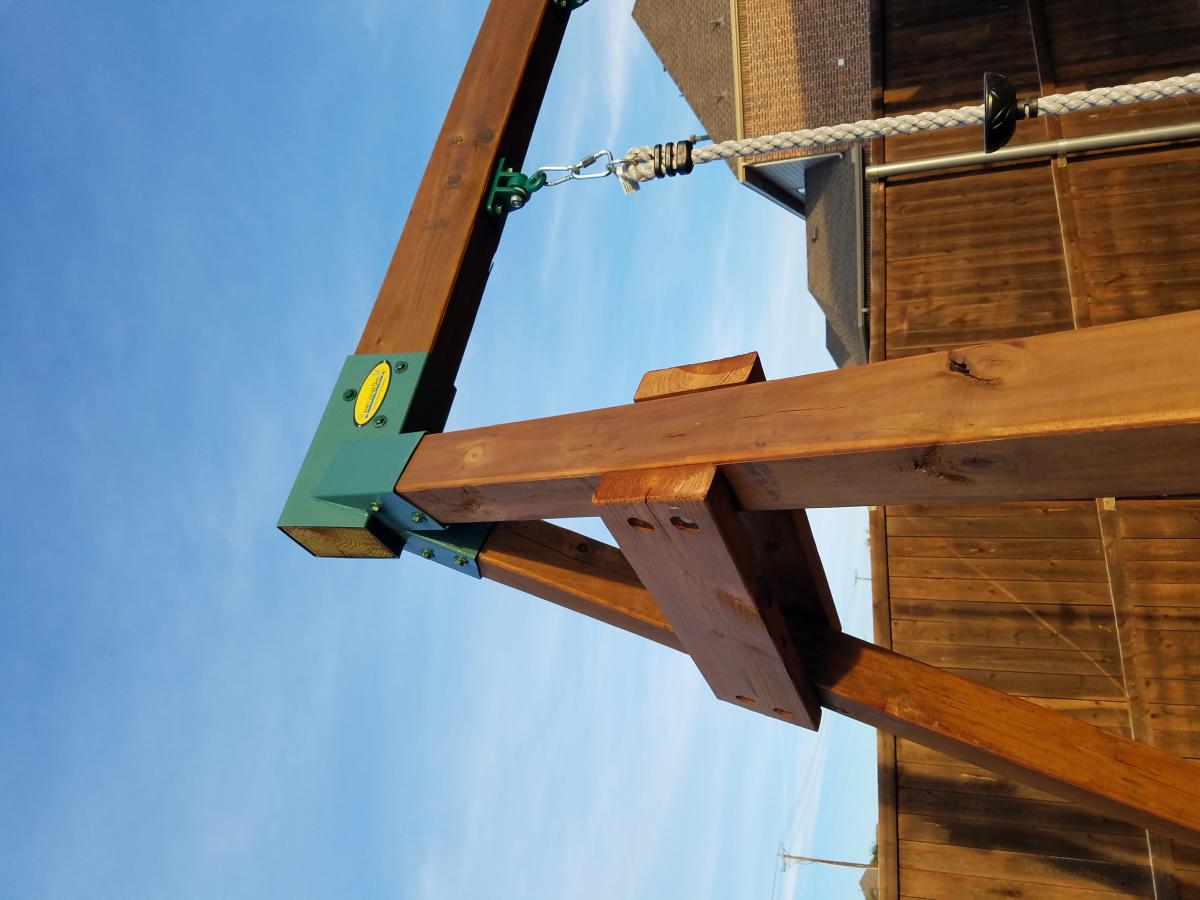
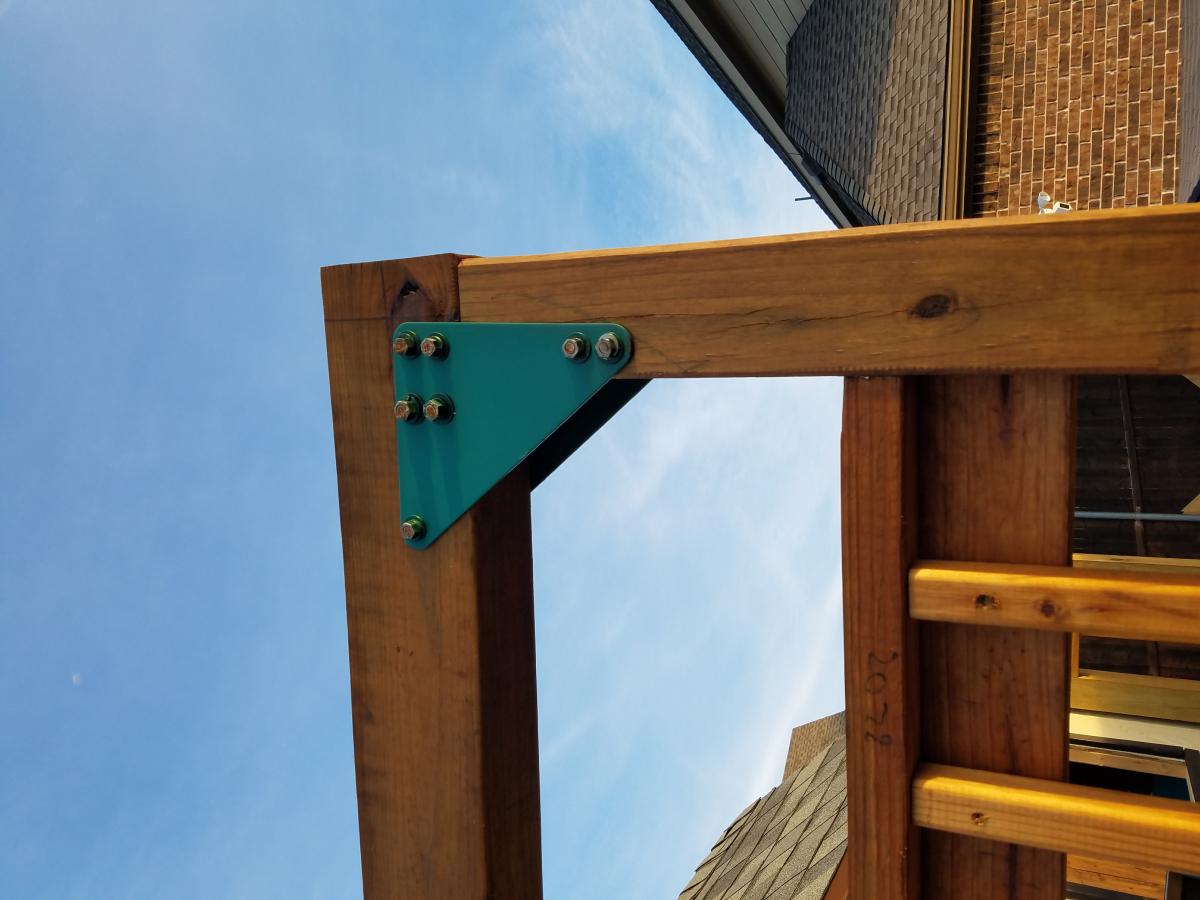
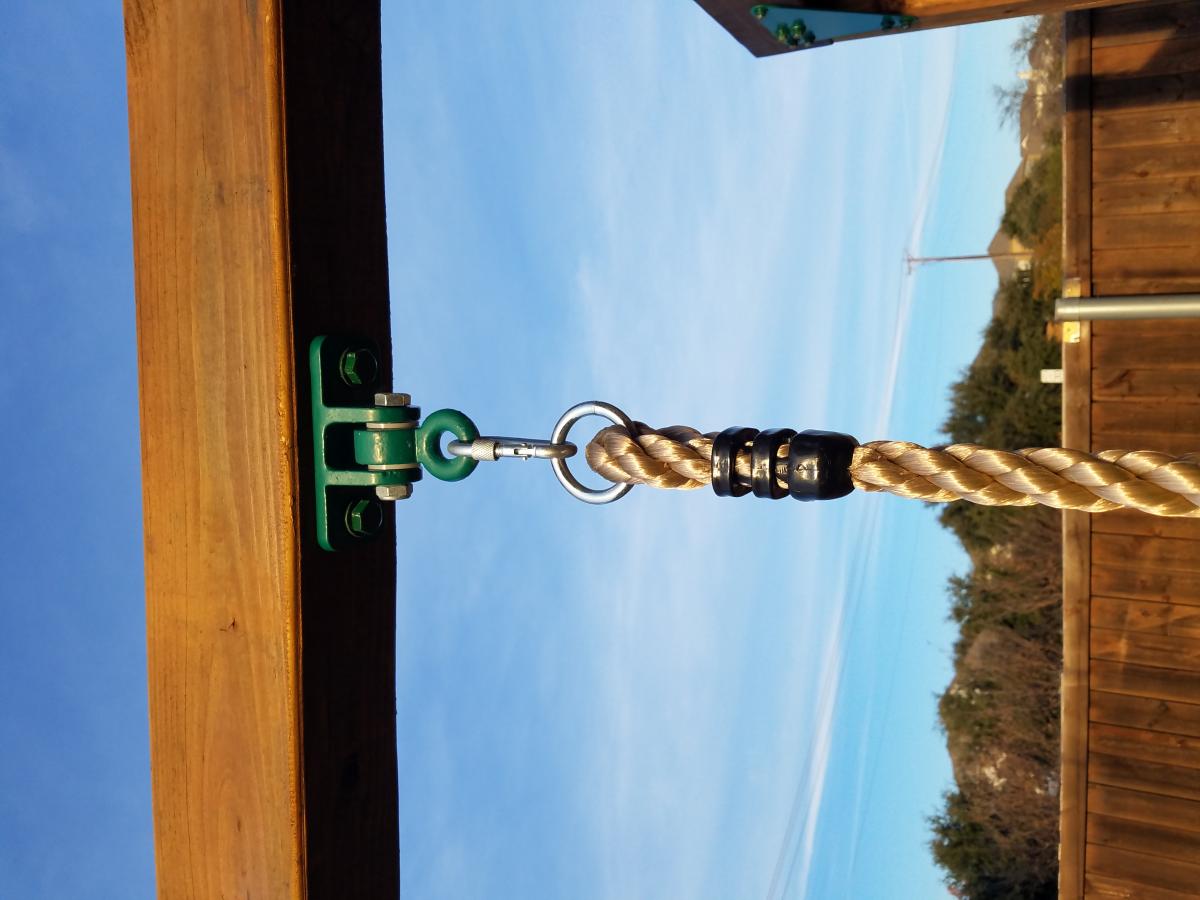
I deviated quite a bit from the plans. Mostly, I used readily available swingset hardware to beef up the design. This stuff can be found on big online sites or specialty sites.
I bought all of the swings, and ninja rope online along with the 4ft slide and safety handles.

Mon, 04/12/2021 - 15:48
did you put your pillars into concrete? It looks like you have a few different bases.
This was my first Ana White build, and I’m hooked. Super simple for a beginner to make.
I made this table for a friend of mine. I'm a Realtor and he used me to help purchase his home. Instead of a boring house warming gift, I made him this table instead!
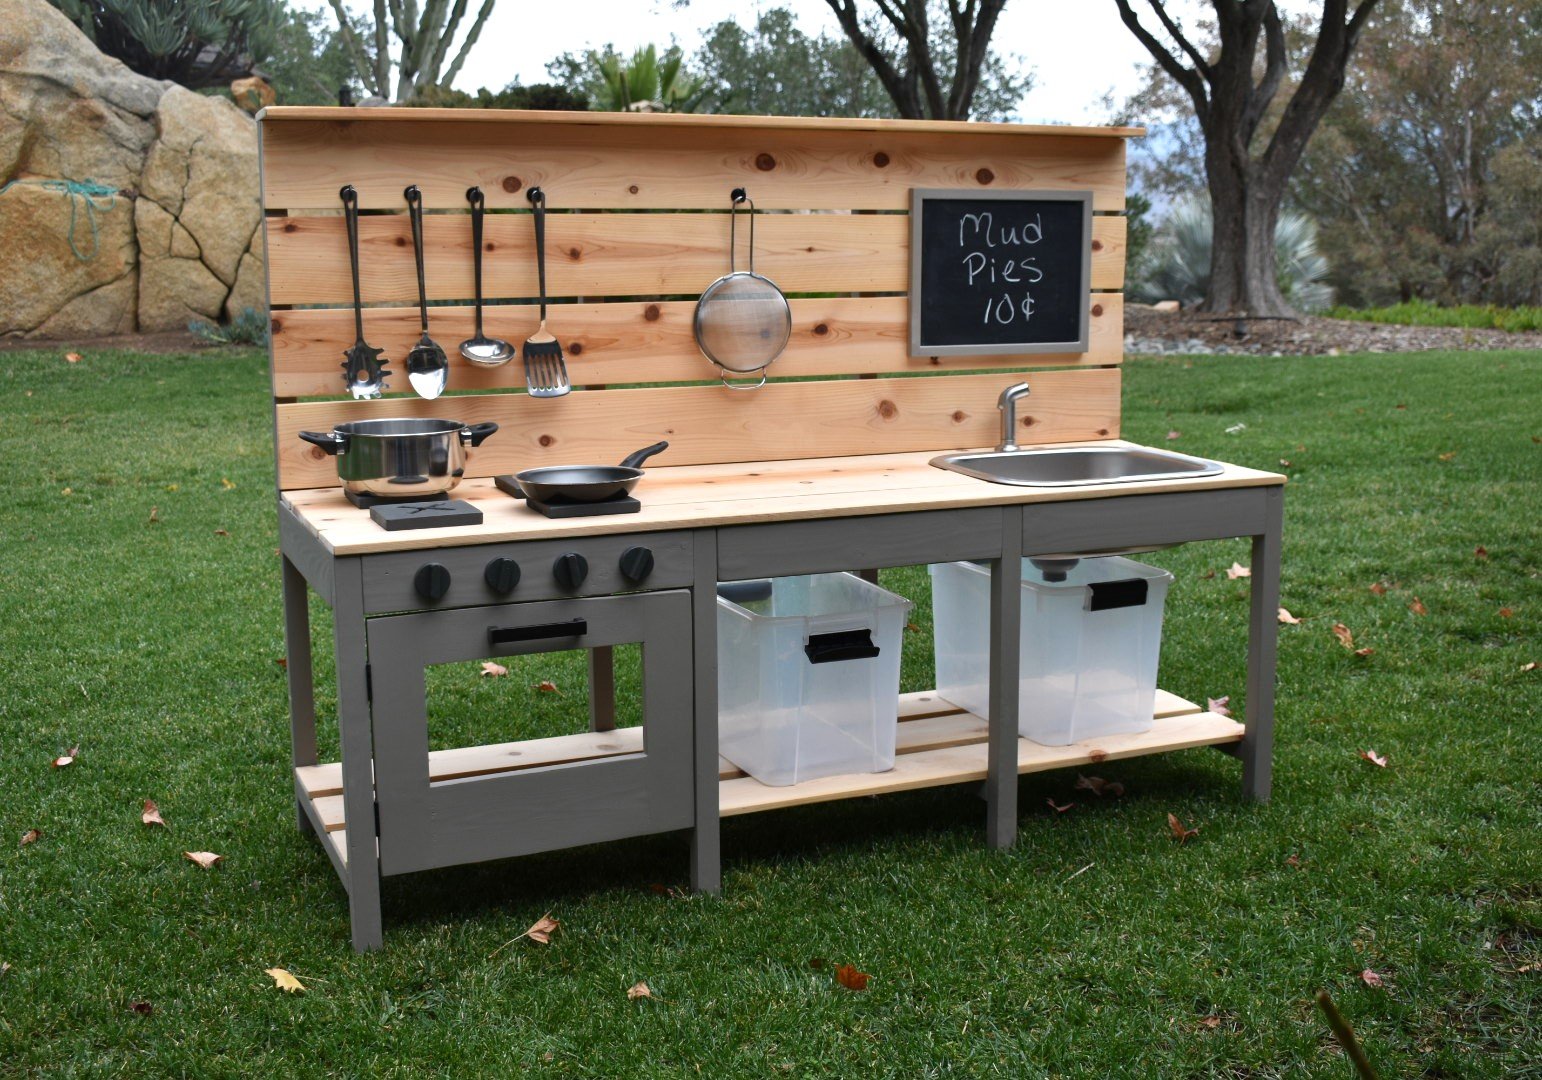
We modified Ana White’s excellent Mud Kitchen plans, adding a third section and scaling the whole thing slightly larger to be a better size for our 4 and 6 year old grand daughters. It was so much fun to make and accessorize!
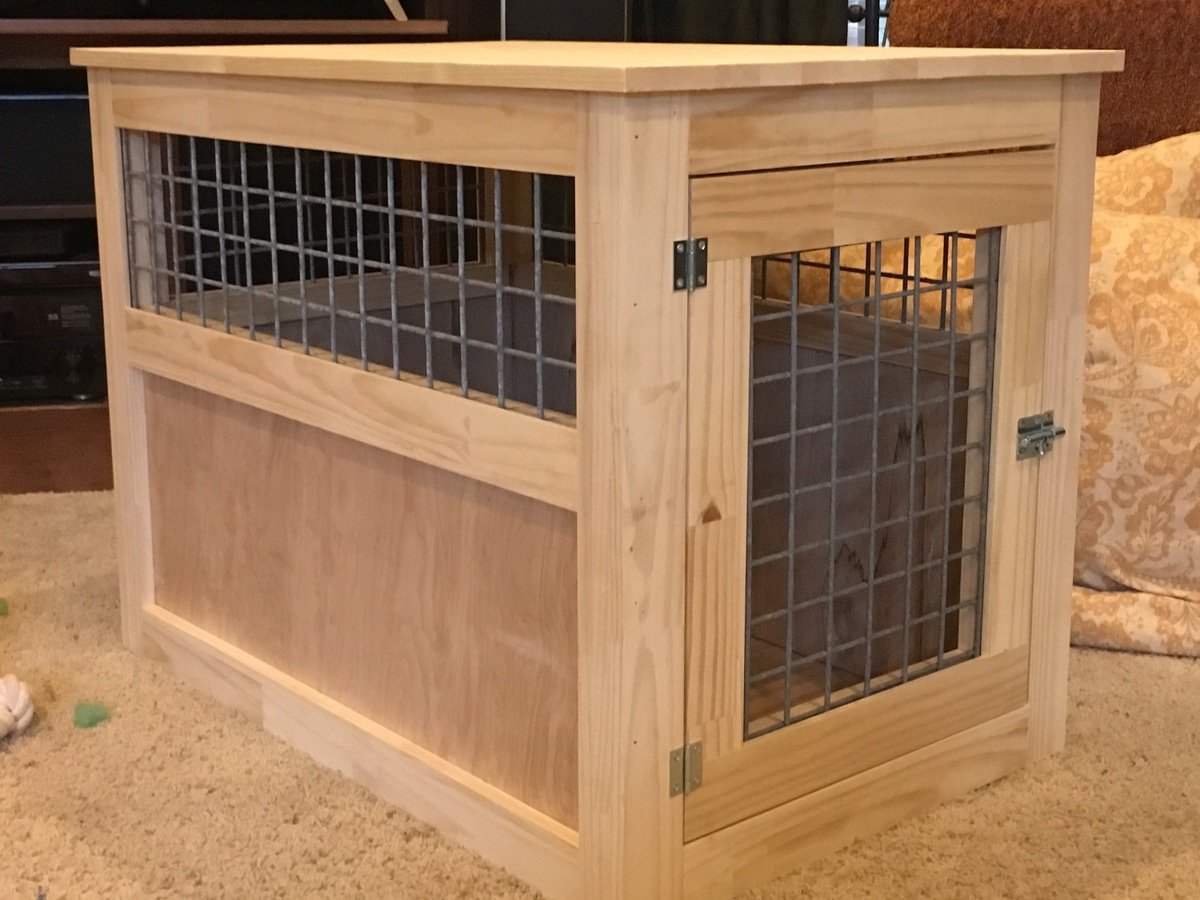
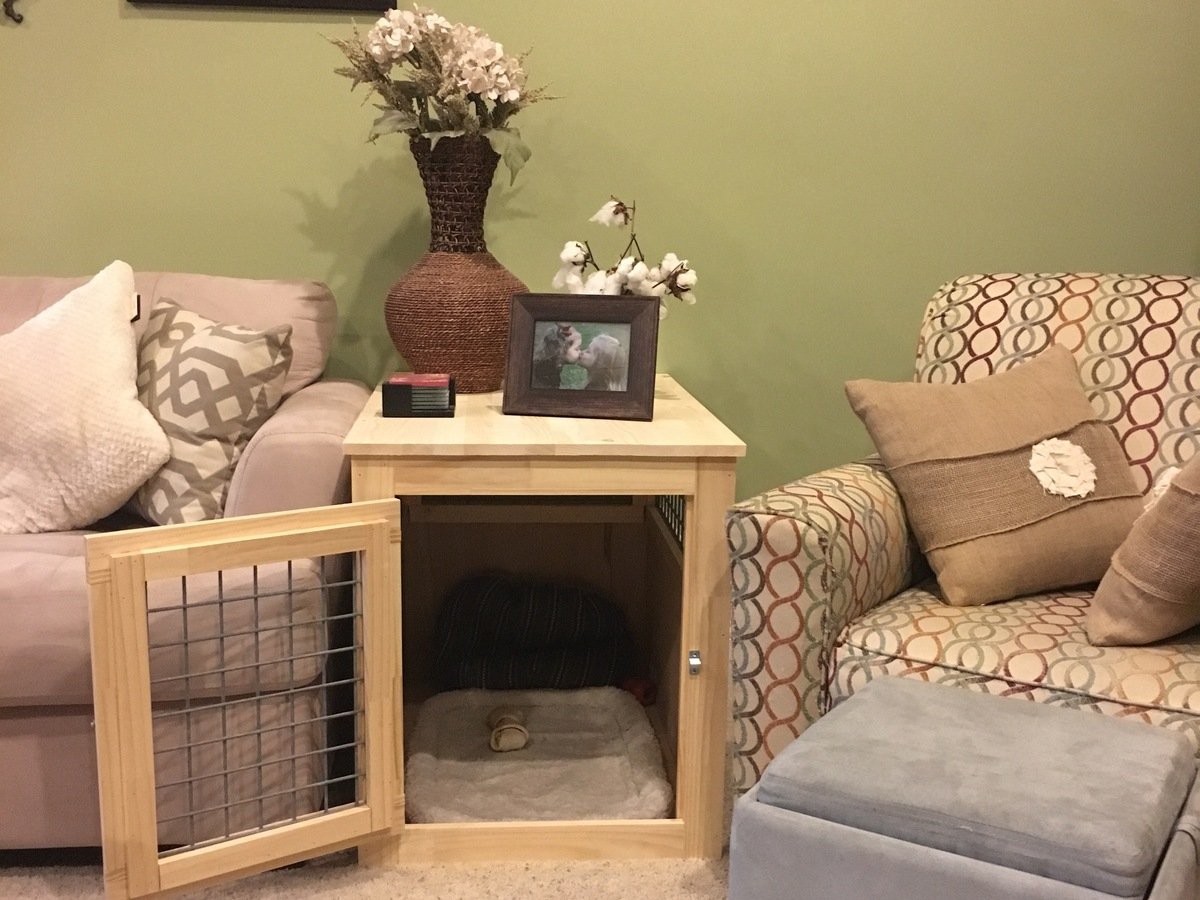
Used the heavy galvanized mesh to make it more chew proof. Obviously it hasn't been painted and stained yet. It took quite a bit more work than the plan to rabbit out for the steel. I'm pleased with the outcome.

Ana White inspired chaise lounge......
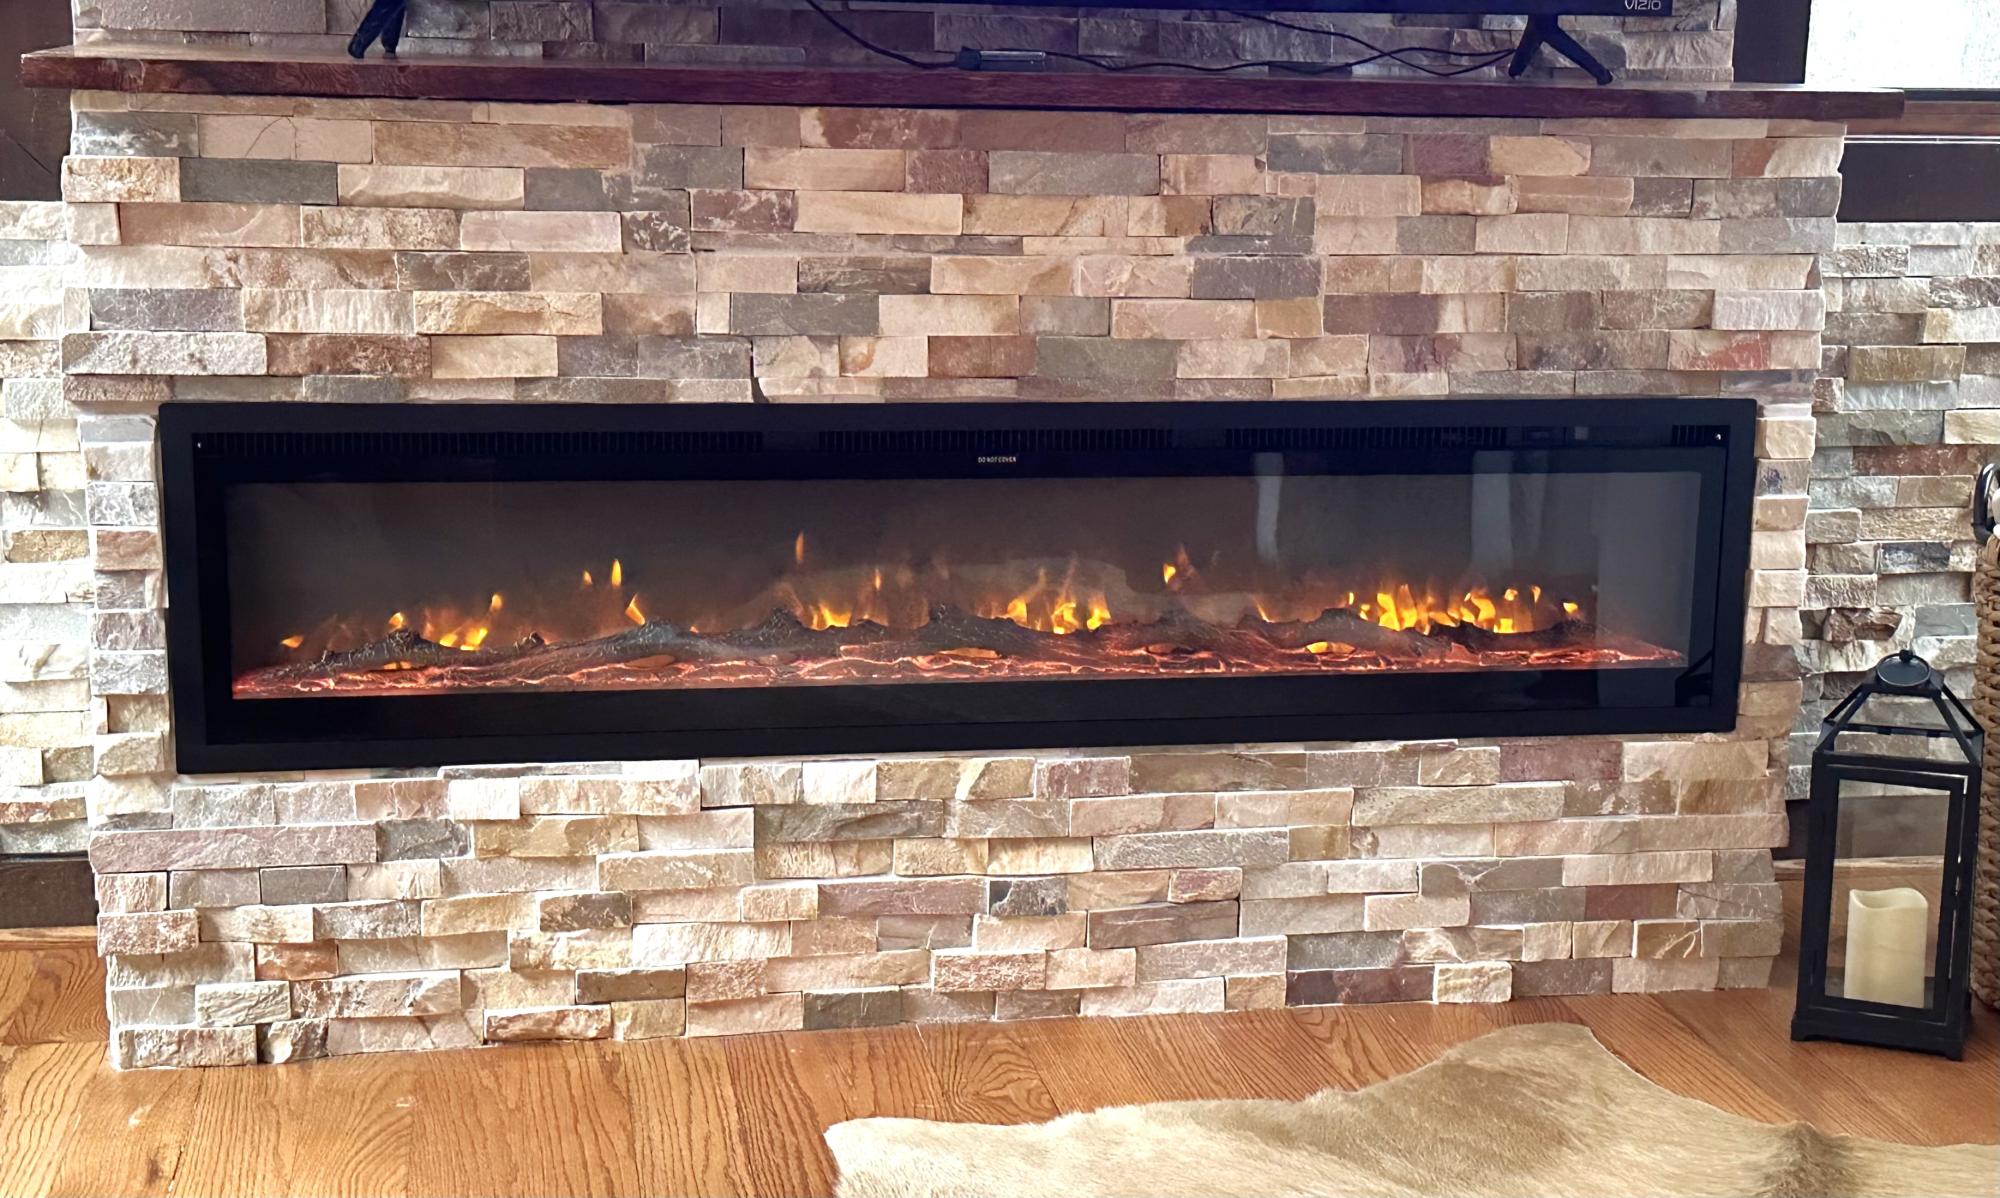
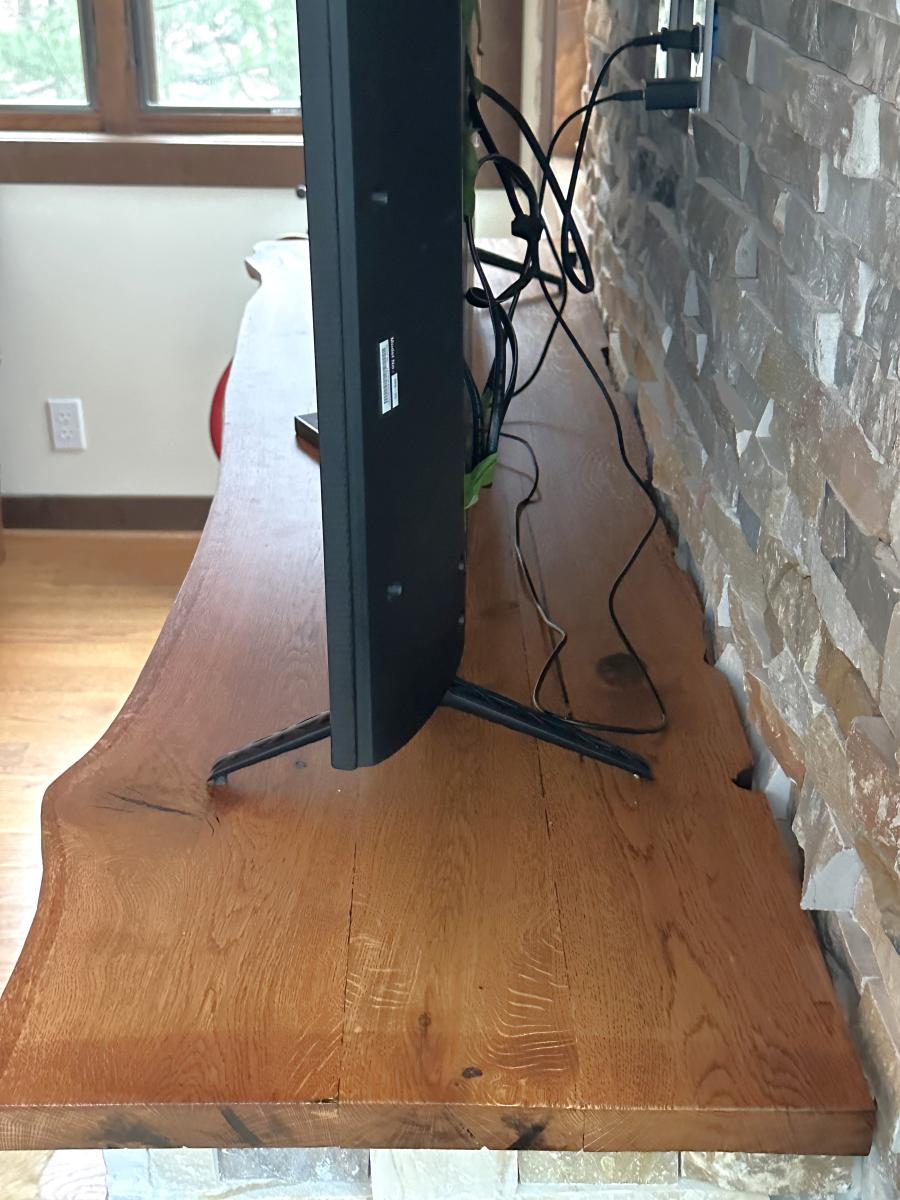
We took out the tv entertainment cabinet and built a frame for a 60” electric fireplace. We found the ledger rock to match the wall I completed two years ago and then I tiled the rock over the backer board and installed the fireplace. The wood on top of the fireplace came from an oak tree that was growing through our deck. I milled the wood and joined three boards to give me the depth I needed, sanded, stained and put a poly finish on it. Love the final result and we gained 6” of space in the room.
Wes Silvey
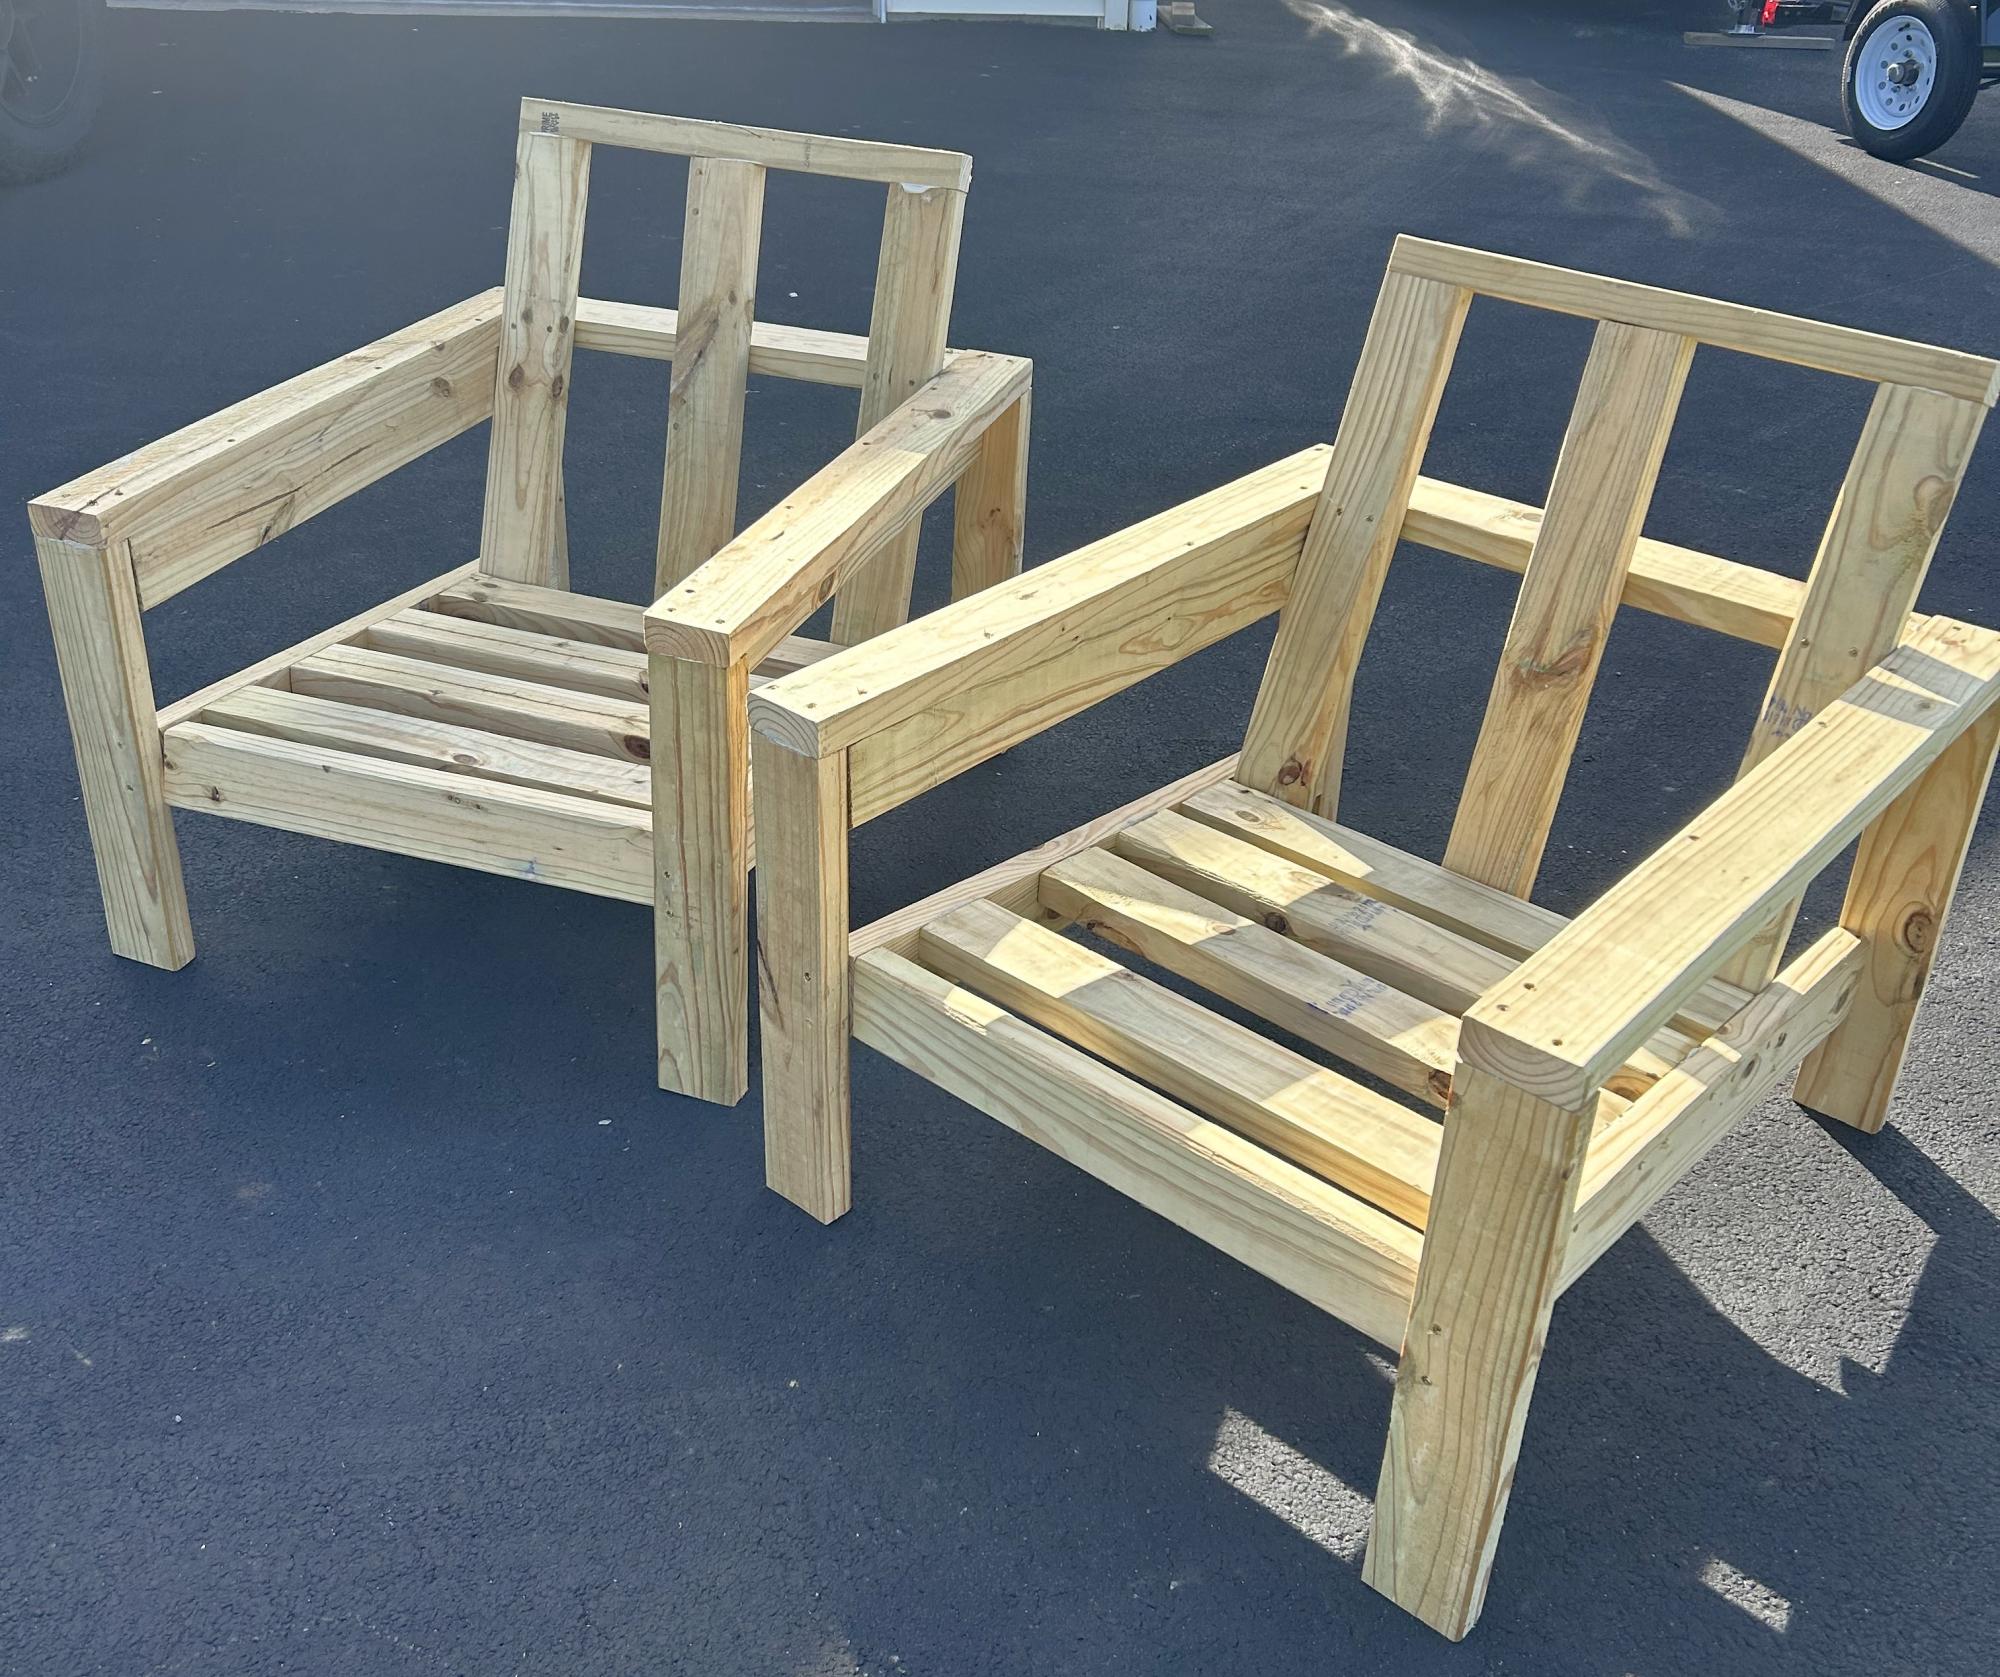
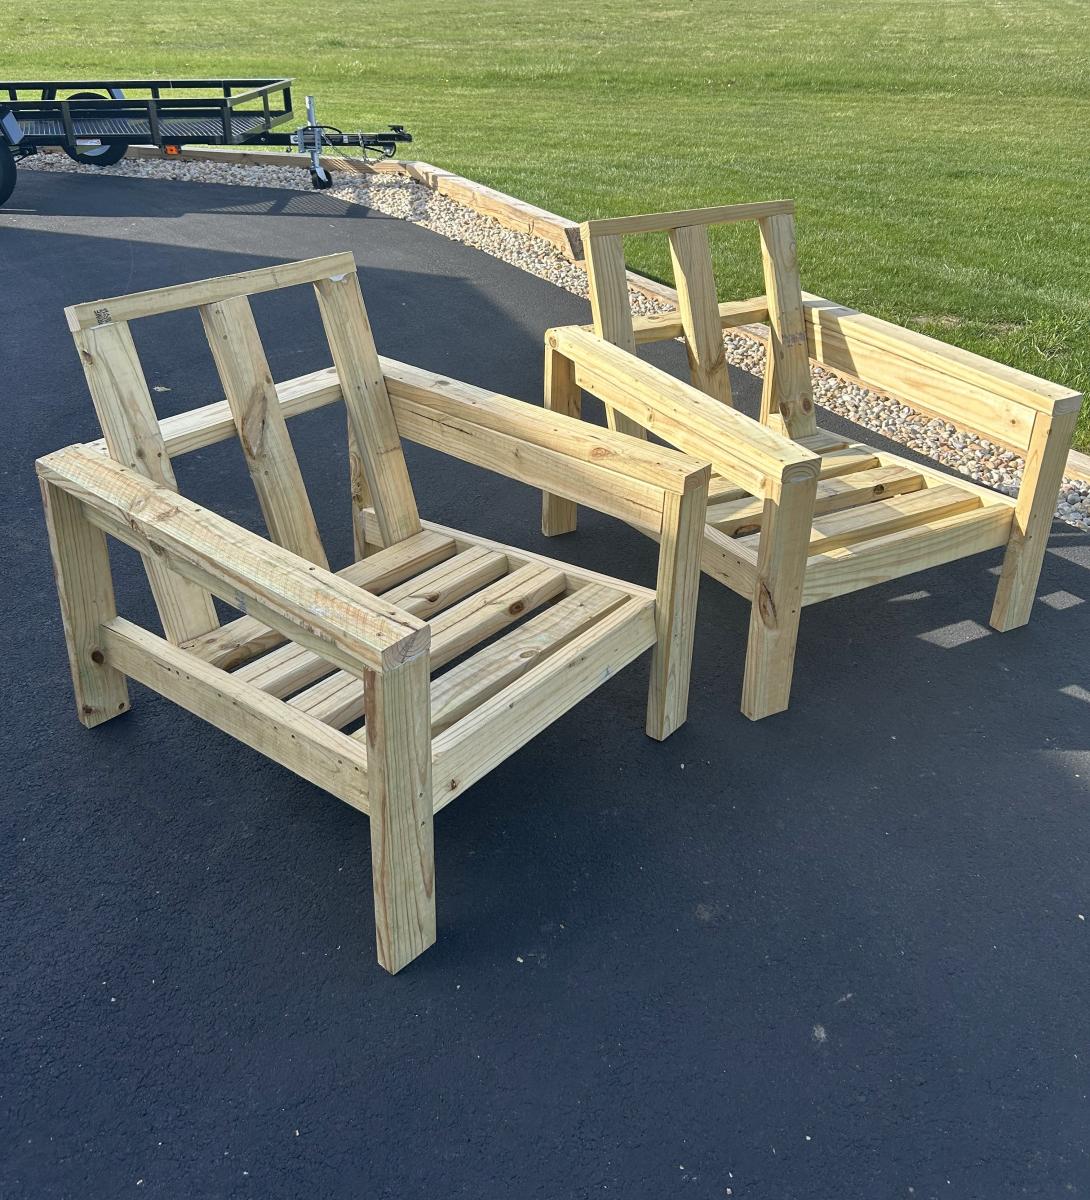
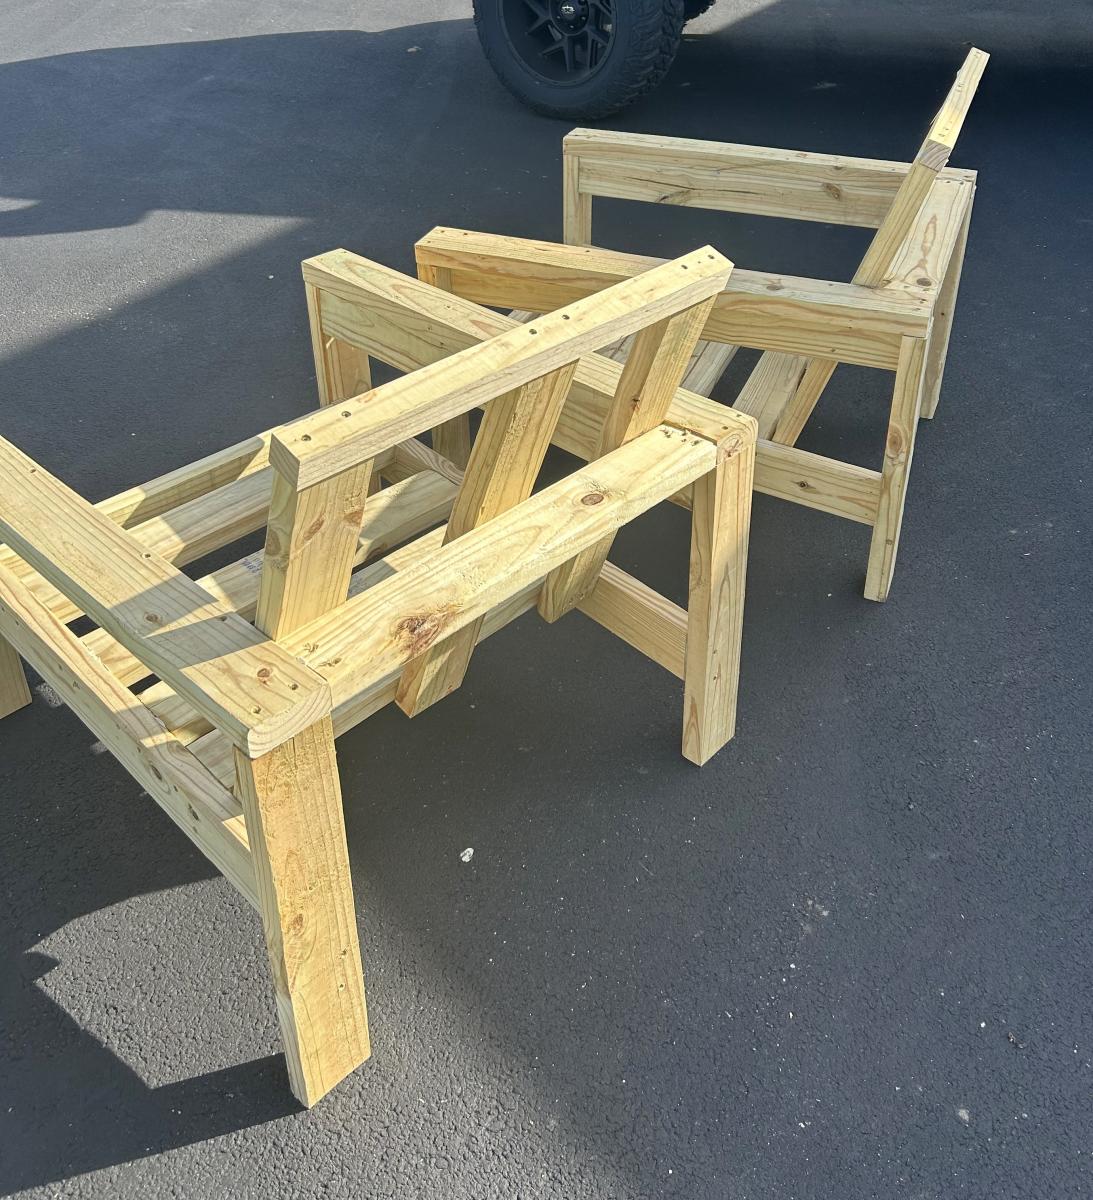
Made these two in about 3 hours. Instead of wood glue I used construction adhesive. Now to sand and stain then add cushions.
Richard Wilson - Kirkland, IL
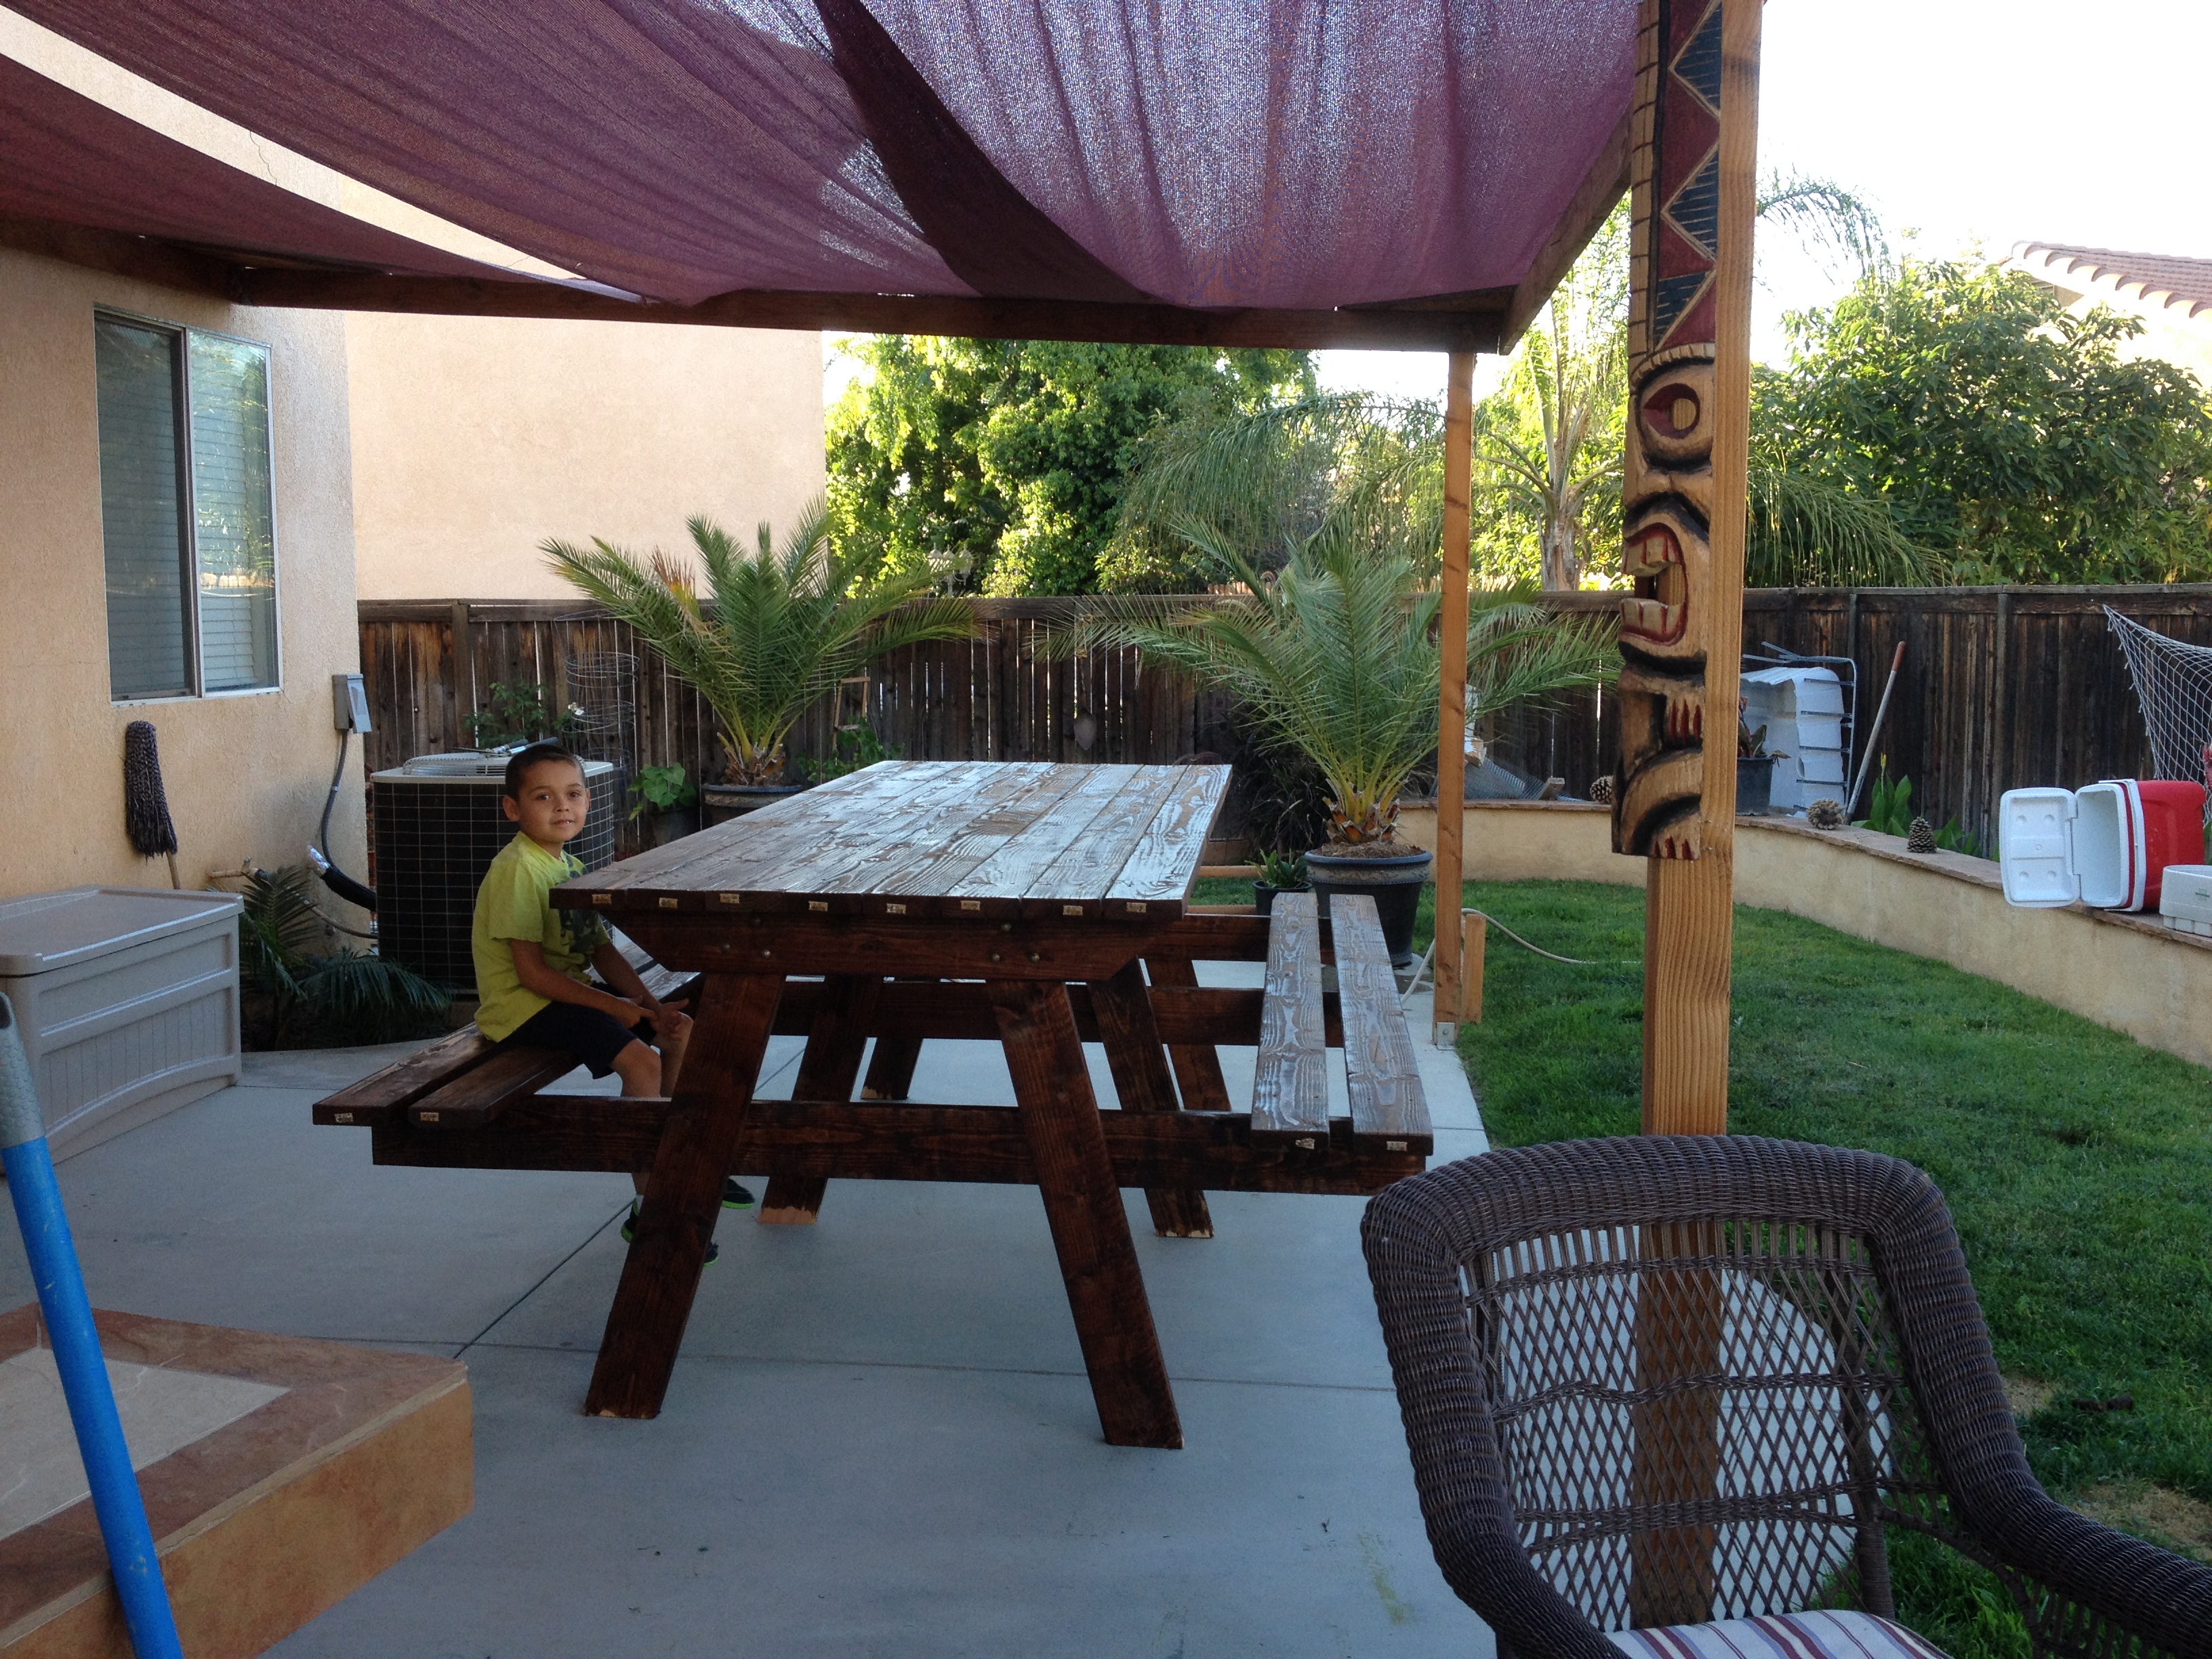
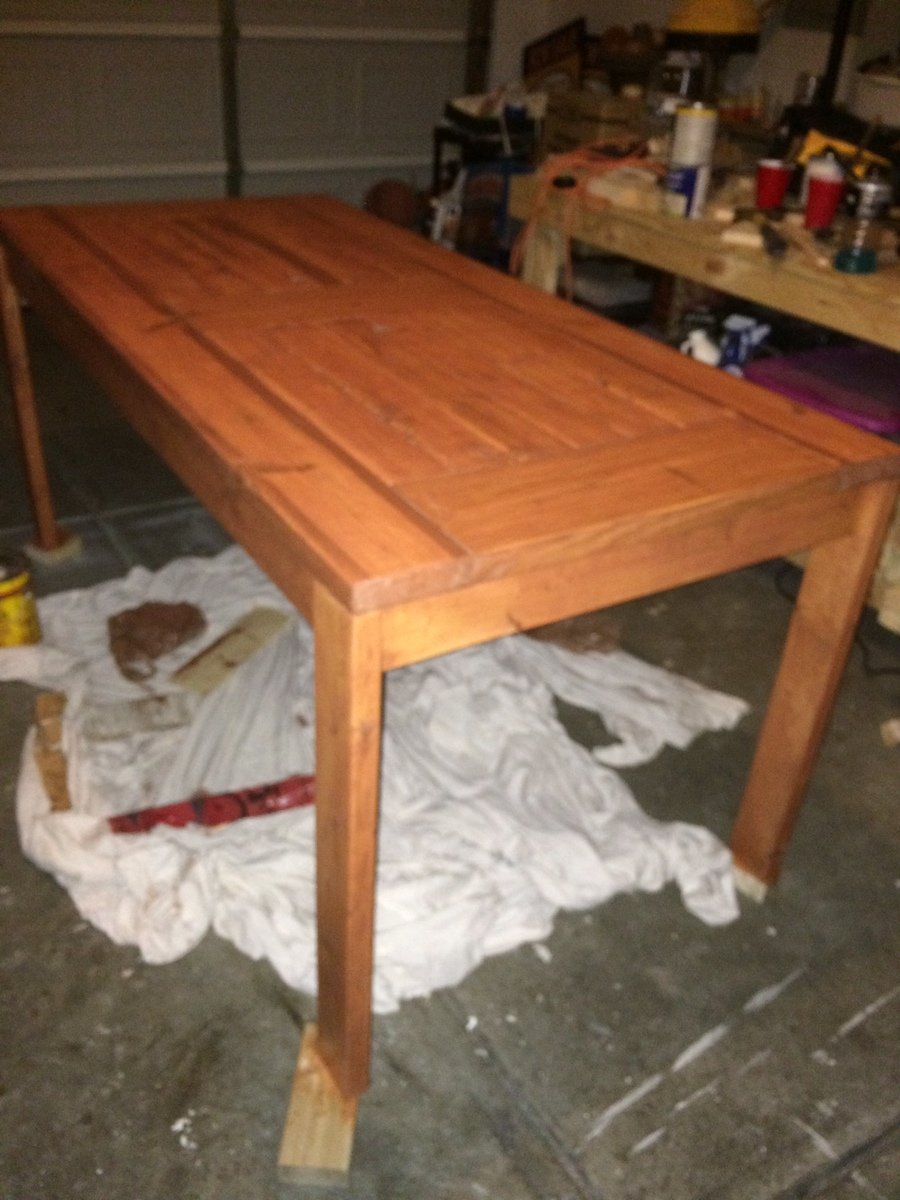
This is my 10ft long picnic table (which is bar height) that we built for the patio. We needed better seating for parties and BBQ's. I will post the plans later! Also featured is the couch that we designed and built with the center table.
Thu, 04/02/2015 - 17:06
Table looks great exactly what I need for my patio, do you happen to have the plans?

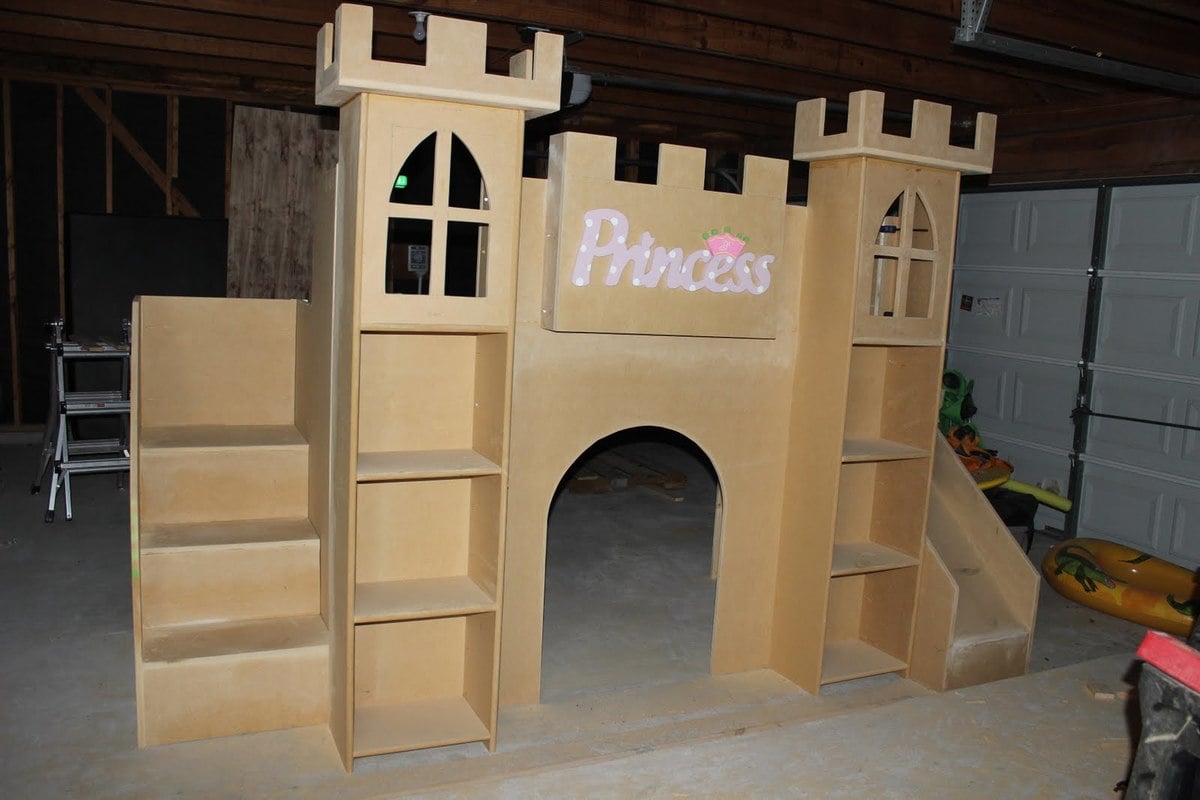
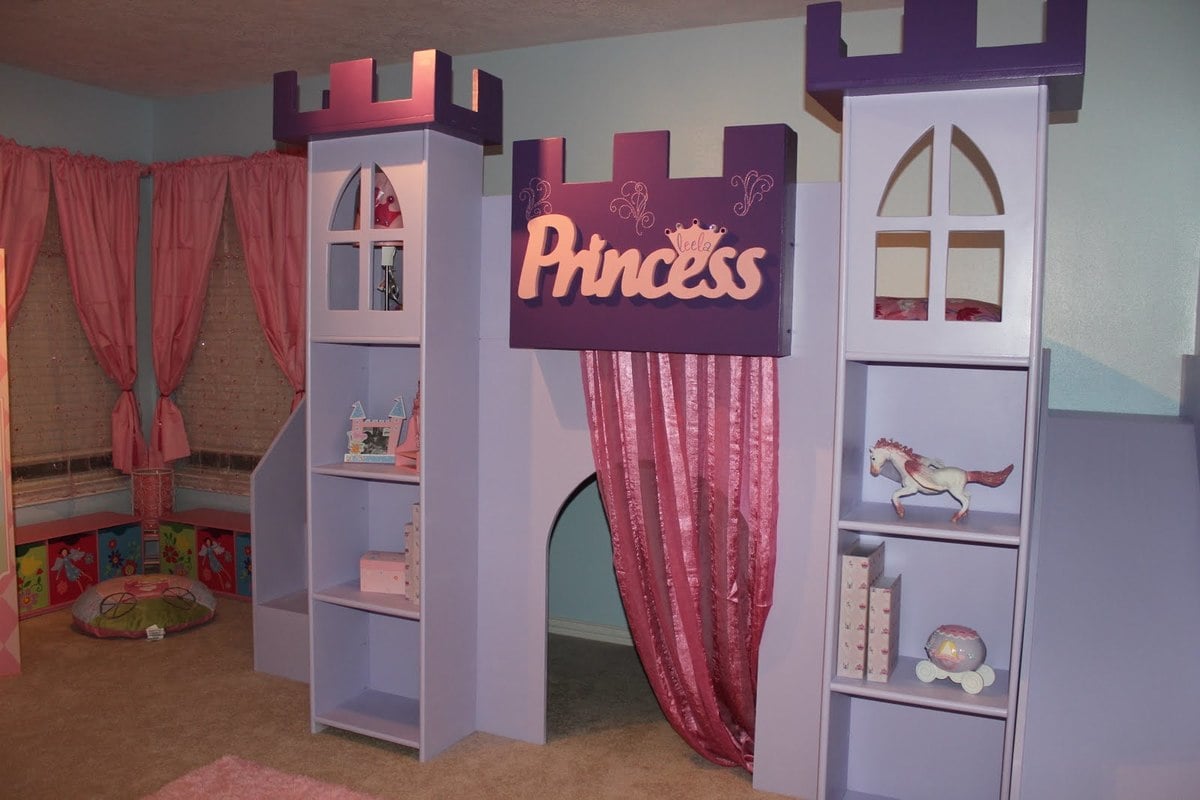
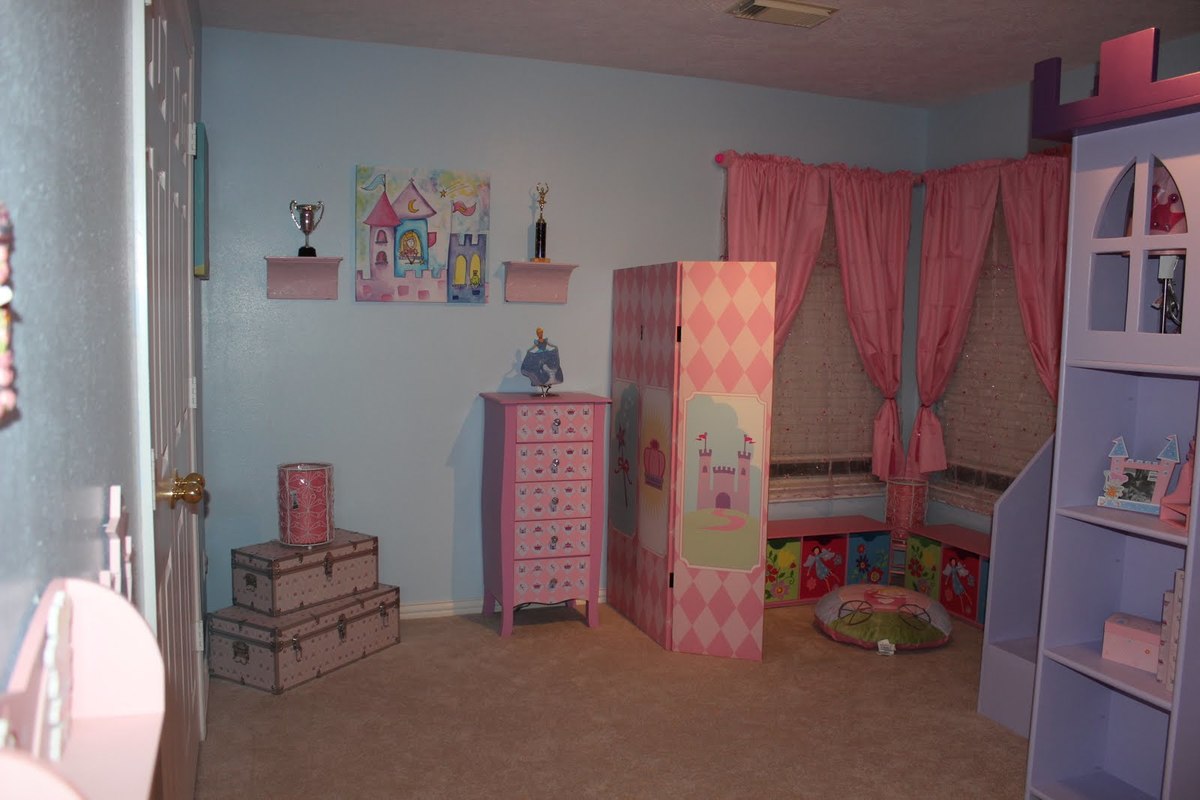
Thanks to Ana White and fsmumford, I was inspired to create a castle bed for my princess. It was a lot of hard work but it paid off seeing her going up the stairs and down the slide a million times the 1st day!


Wed, 01/13/2016 - 05:12
I am looking for the plans for this bed as well.
Have you had any luck finding them?

Thu, 11/26/2015 - 15:49
Thanks so much for being so generous with your plans. I just had my first granddaughter and you've given me so many options for what I can do for her. The castle bed will be great in a few years. Thank you.
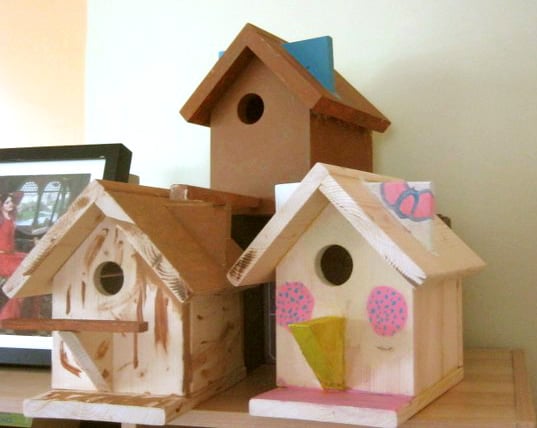
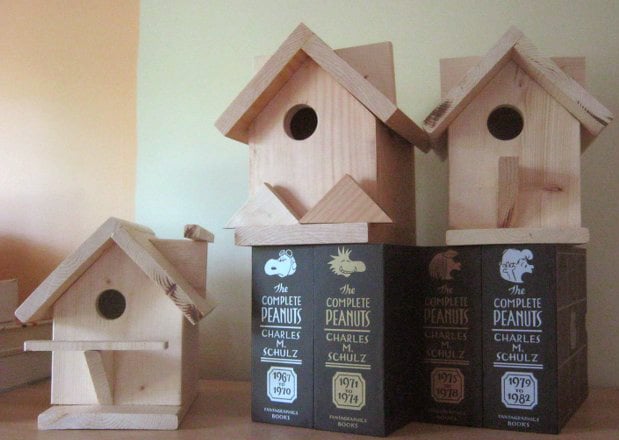
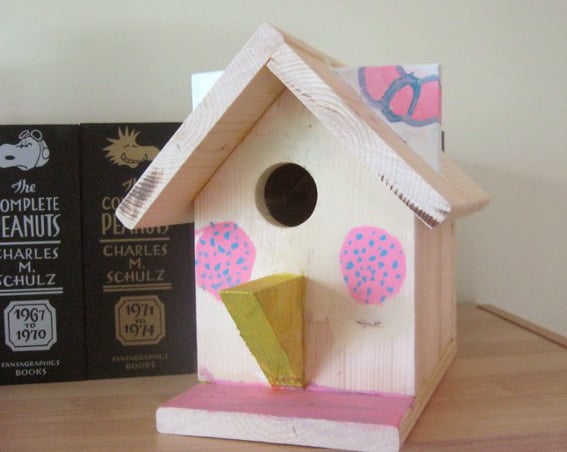
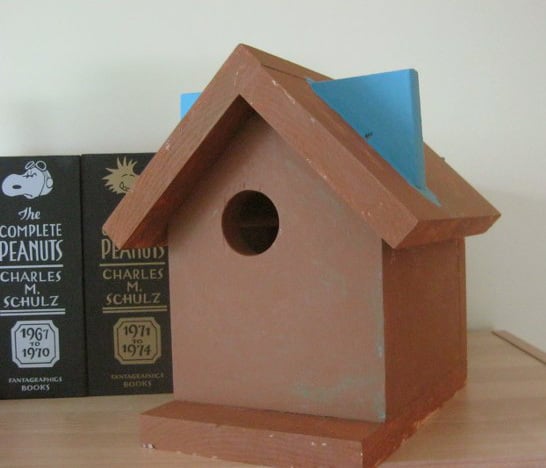
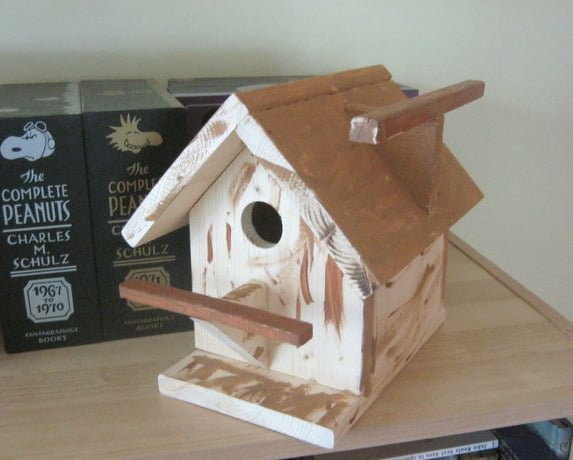
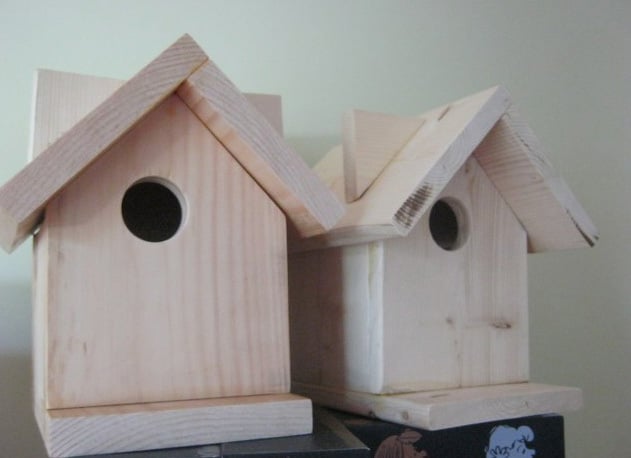
Our first plan from Ana White. It was really easy to follow and this was a fun project to do with the children. We used pine wood because it was cheaper than cedar, so we will try to not put them directly under the rain.
We were able to make two birdhouses in removing .25 inch in one birdhouse. We used wood we already had for the third one.
We let the children added some details to the birdhouses. Because of the birds we want to attract here, one hole is 1.25 inch and the other two are 1.5 inch.
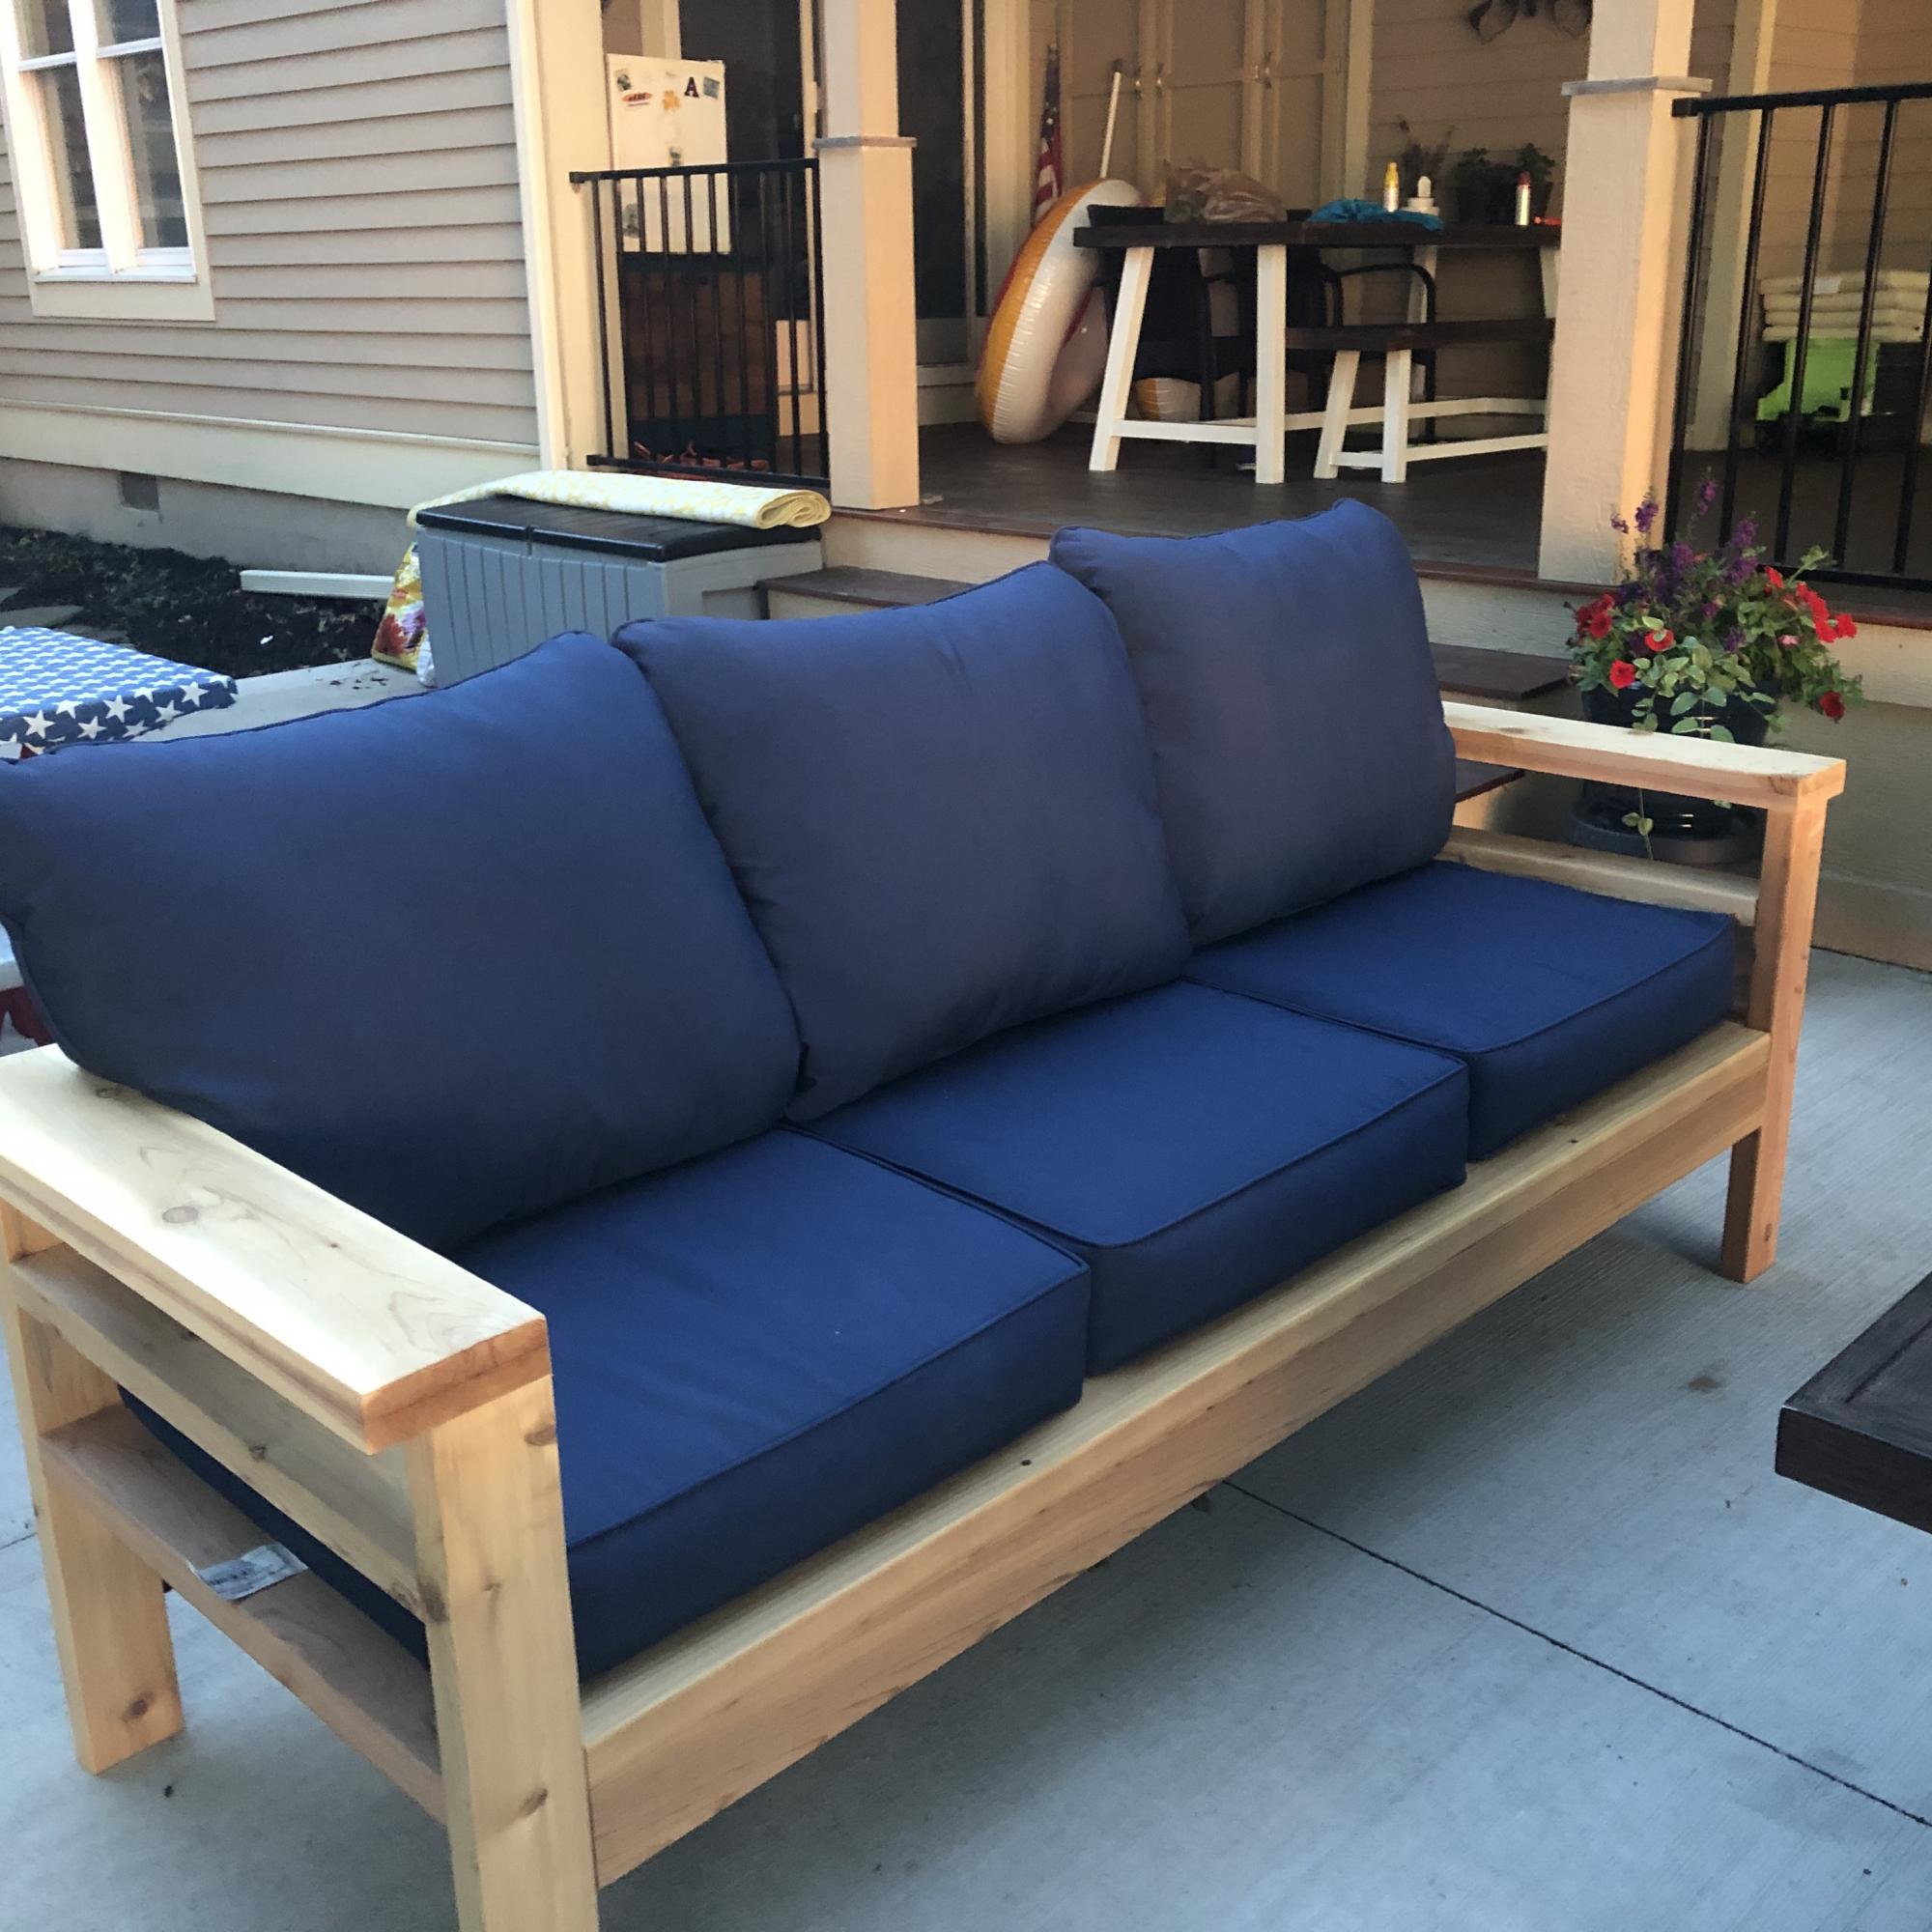
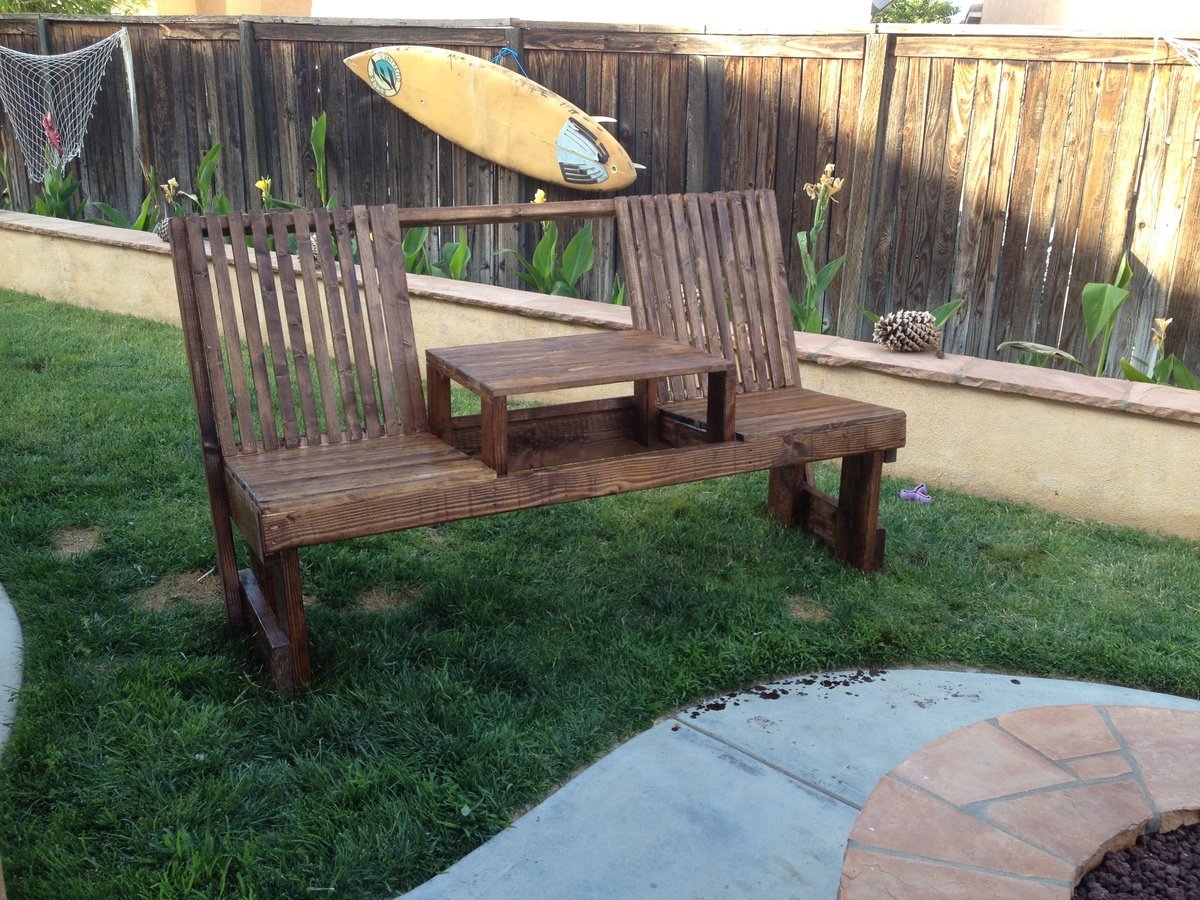
I used cedar and added the extra boards so the cushions would stay put. We also made the arms 2x6 boards so we wouldn’t need end tables for the couch. The plans were super easy to follow. I mostly used pocket holes so the screws wouldn’t be visible. Love how it came out! Thank you for the plans, Ana!!