Community Brag Posts

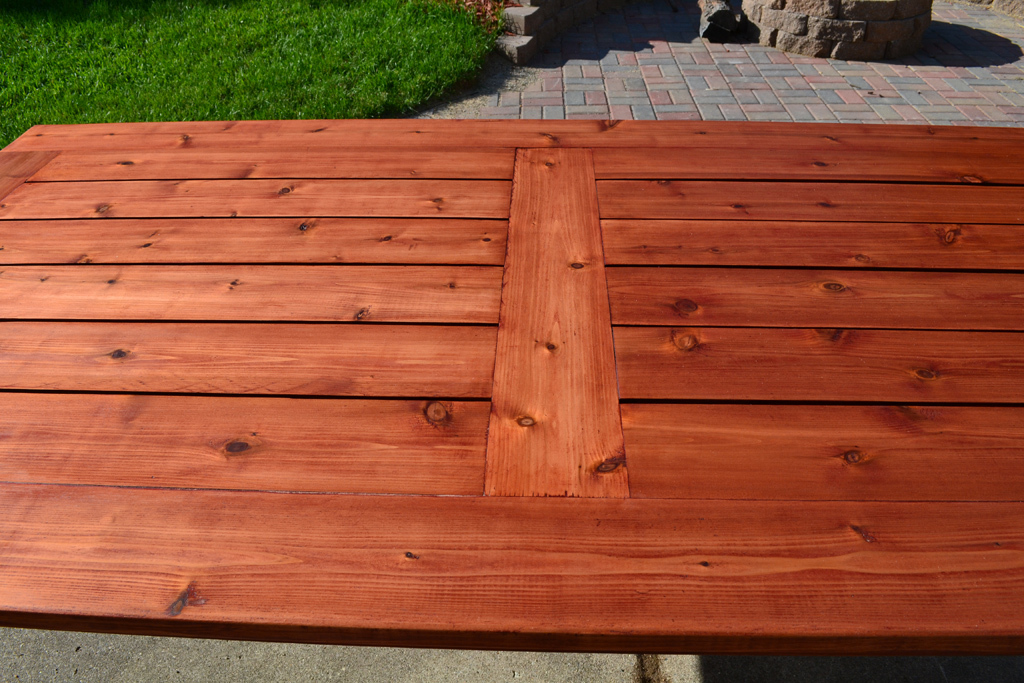
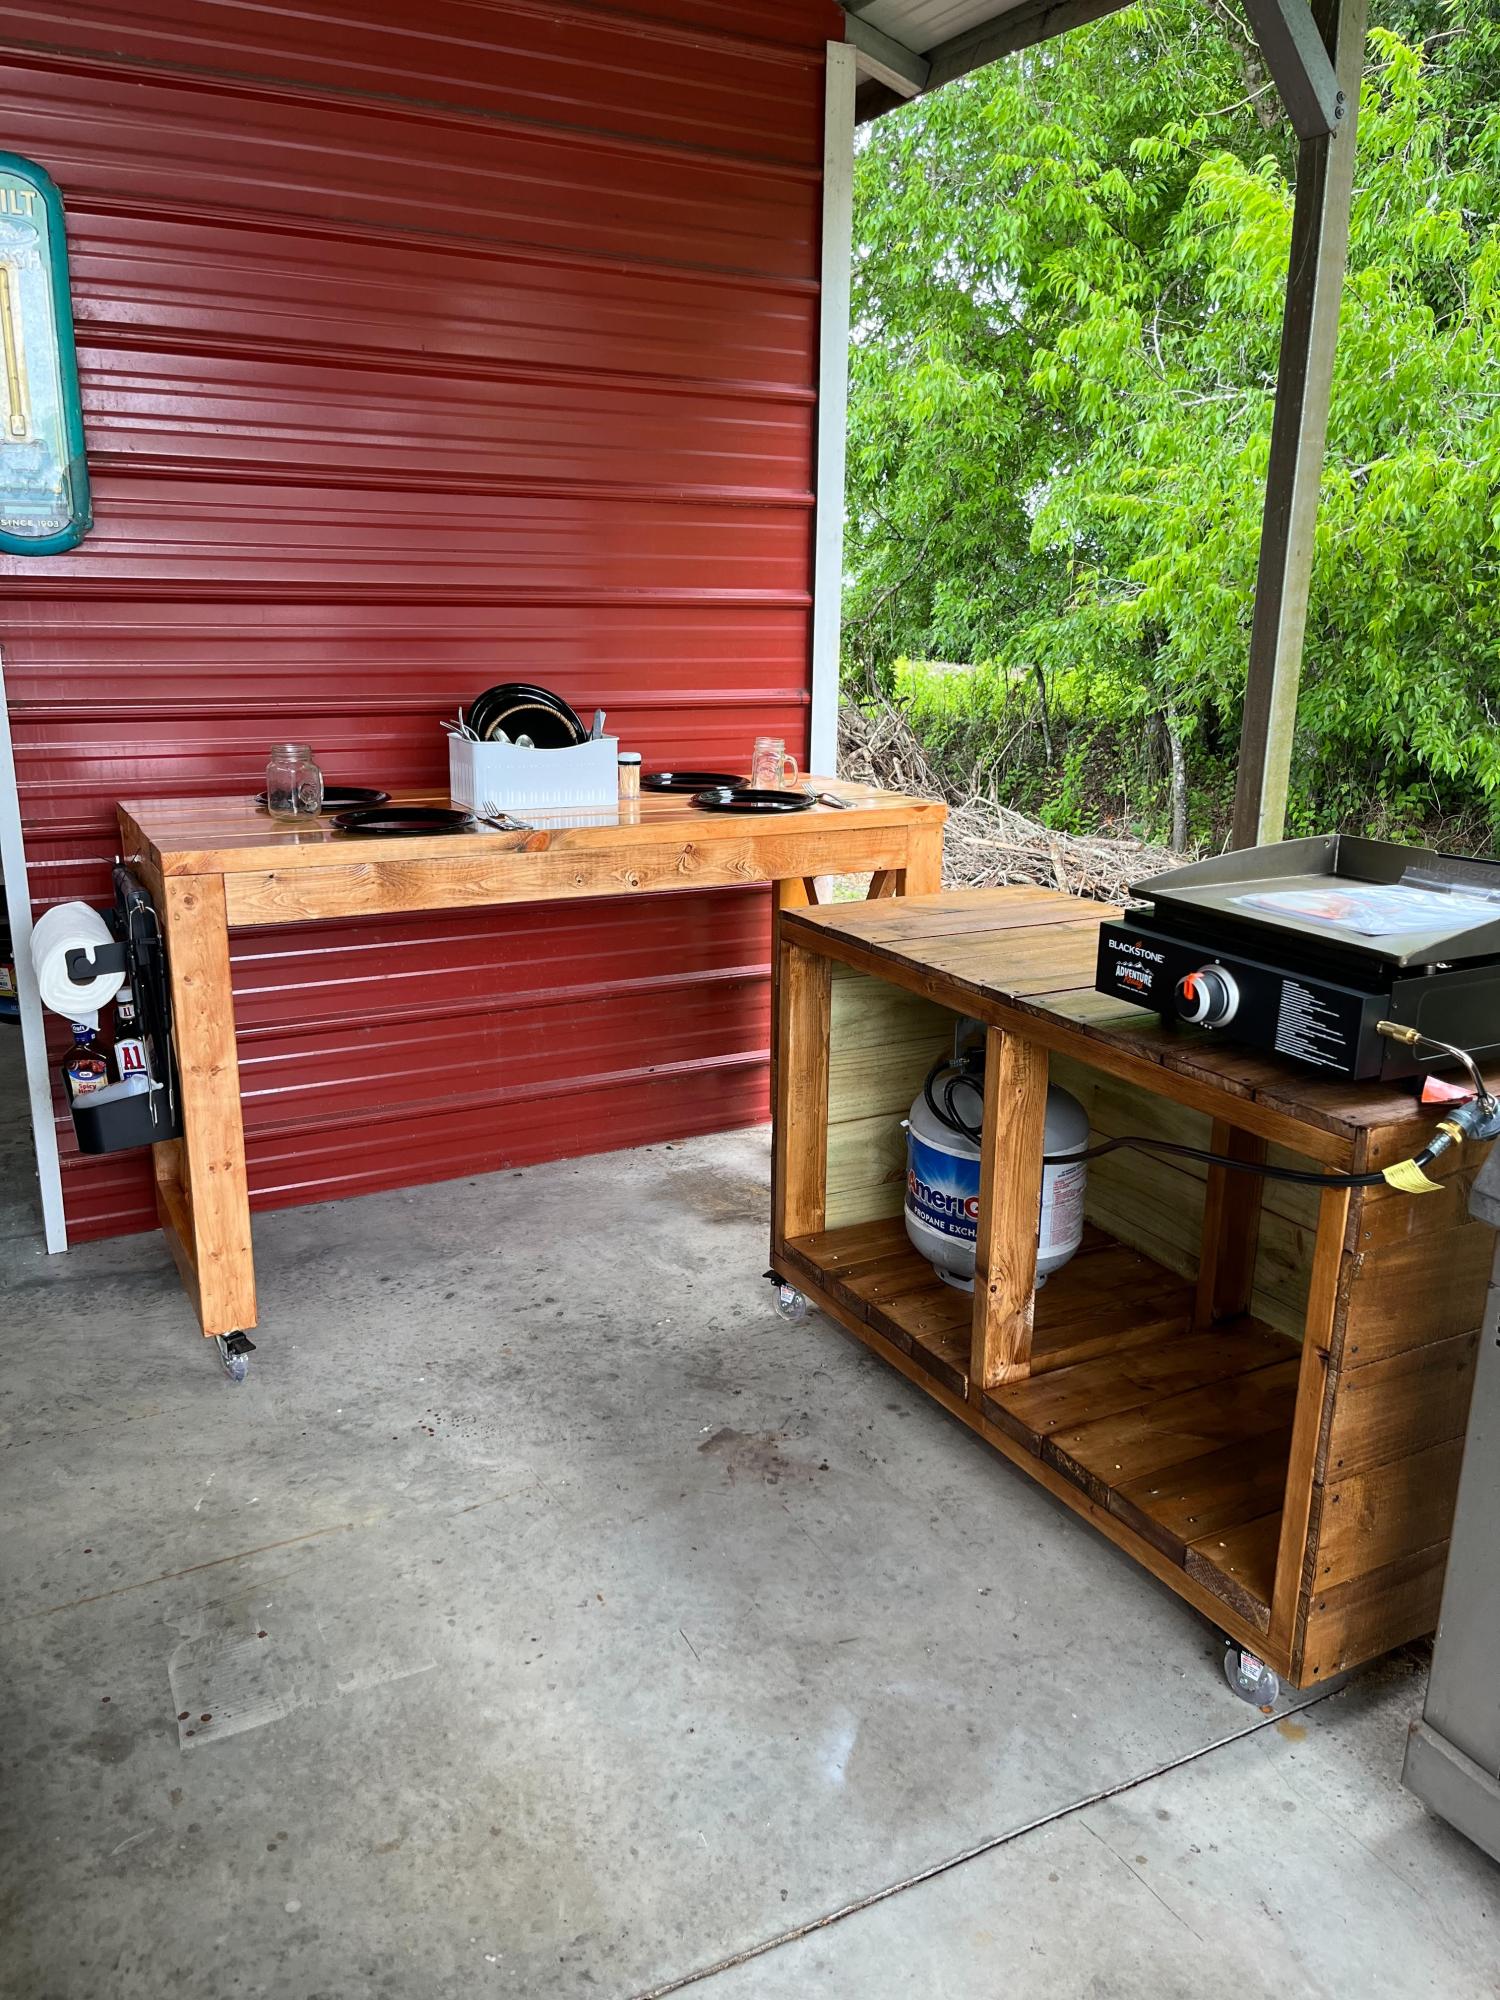
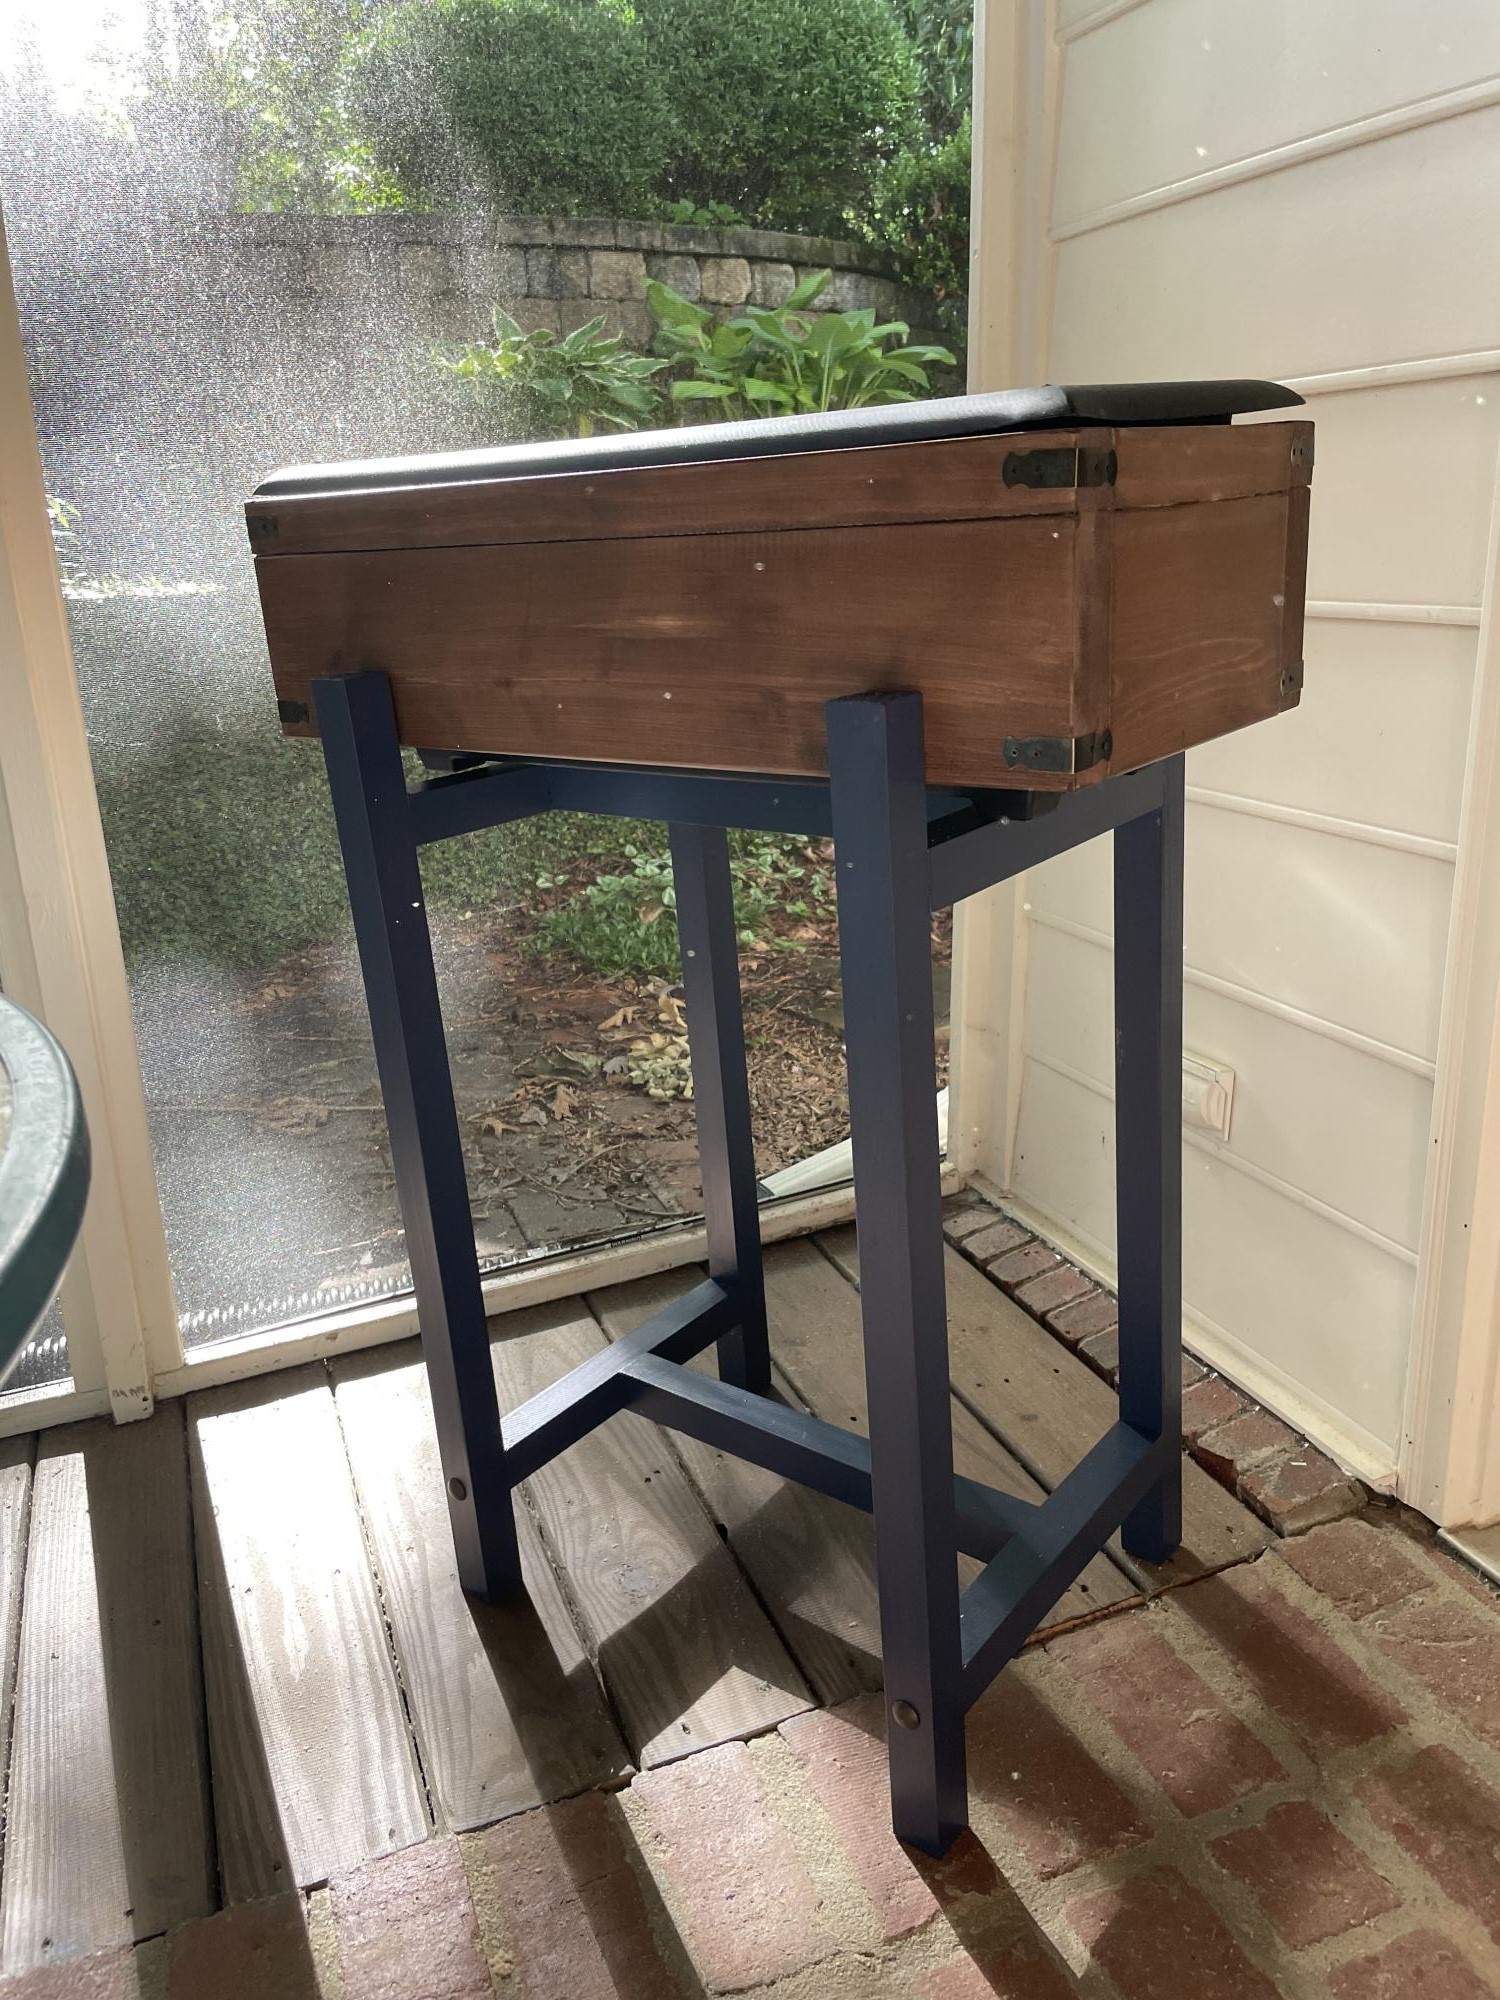
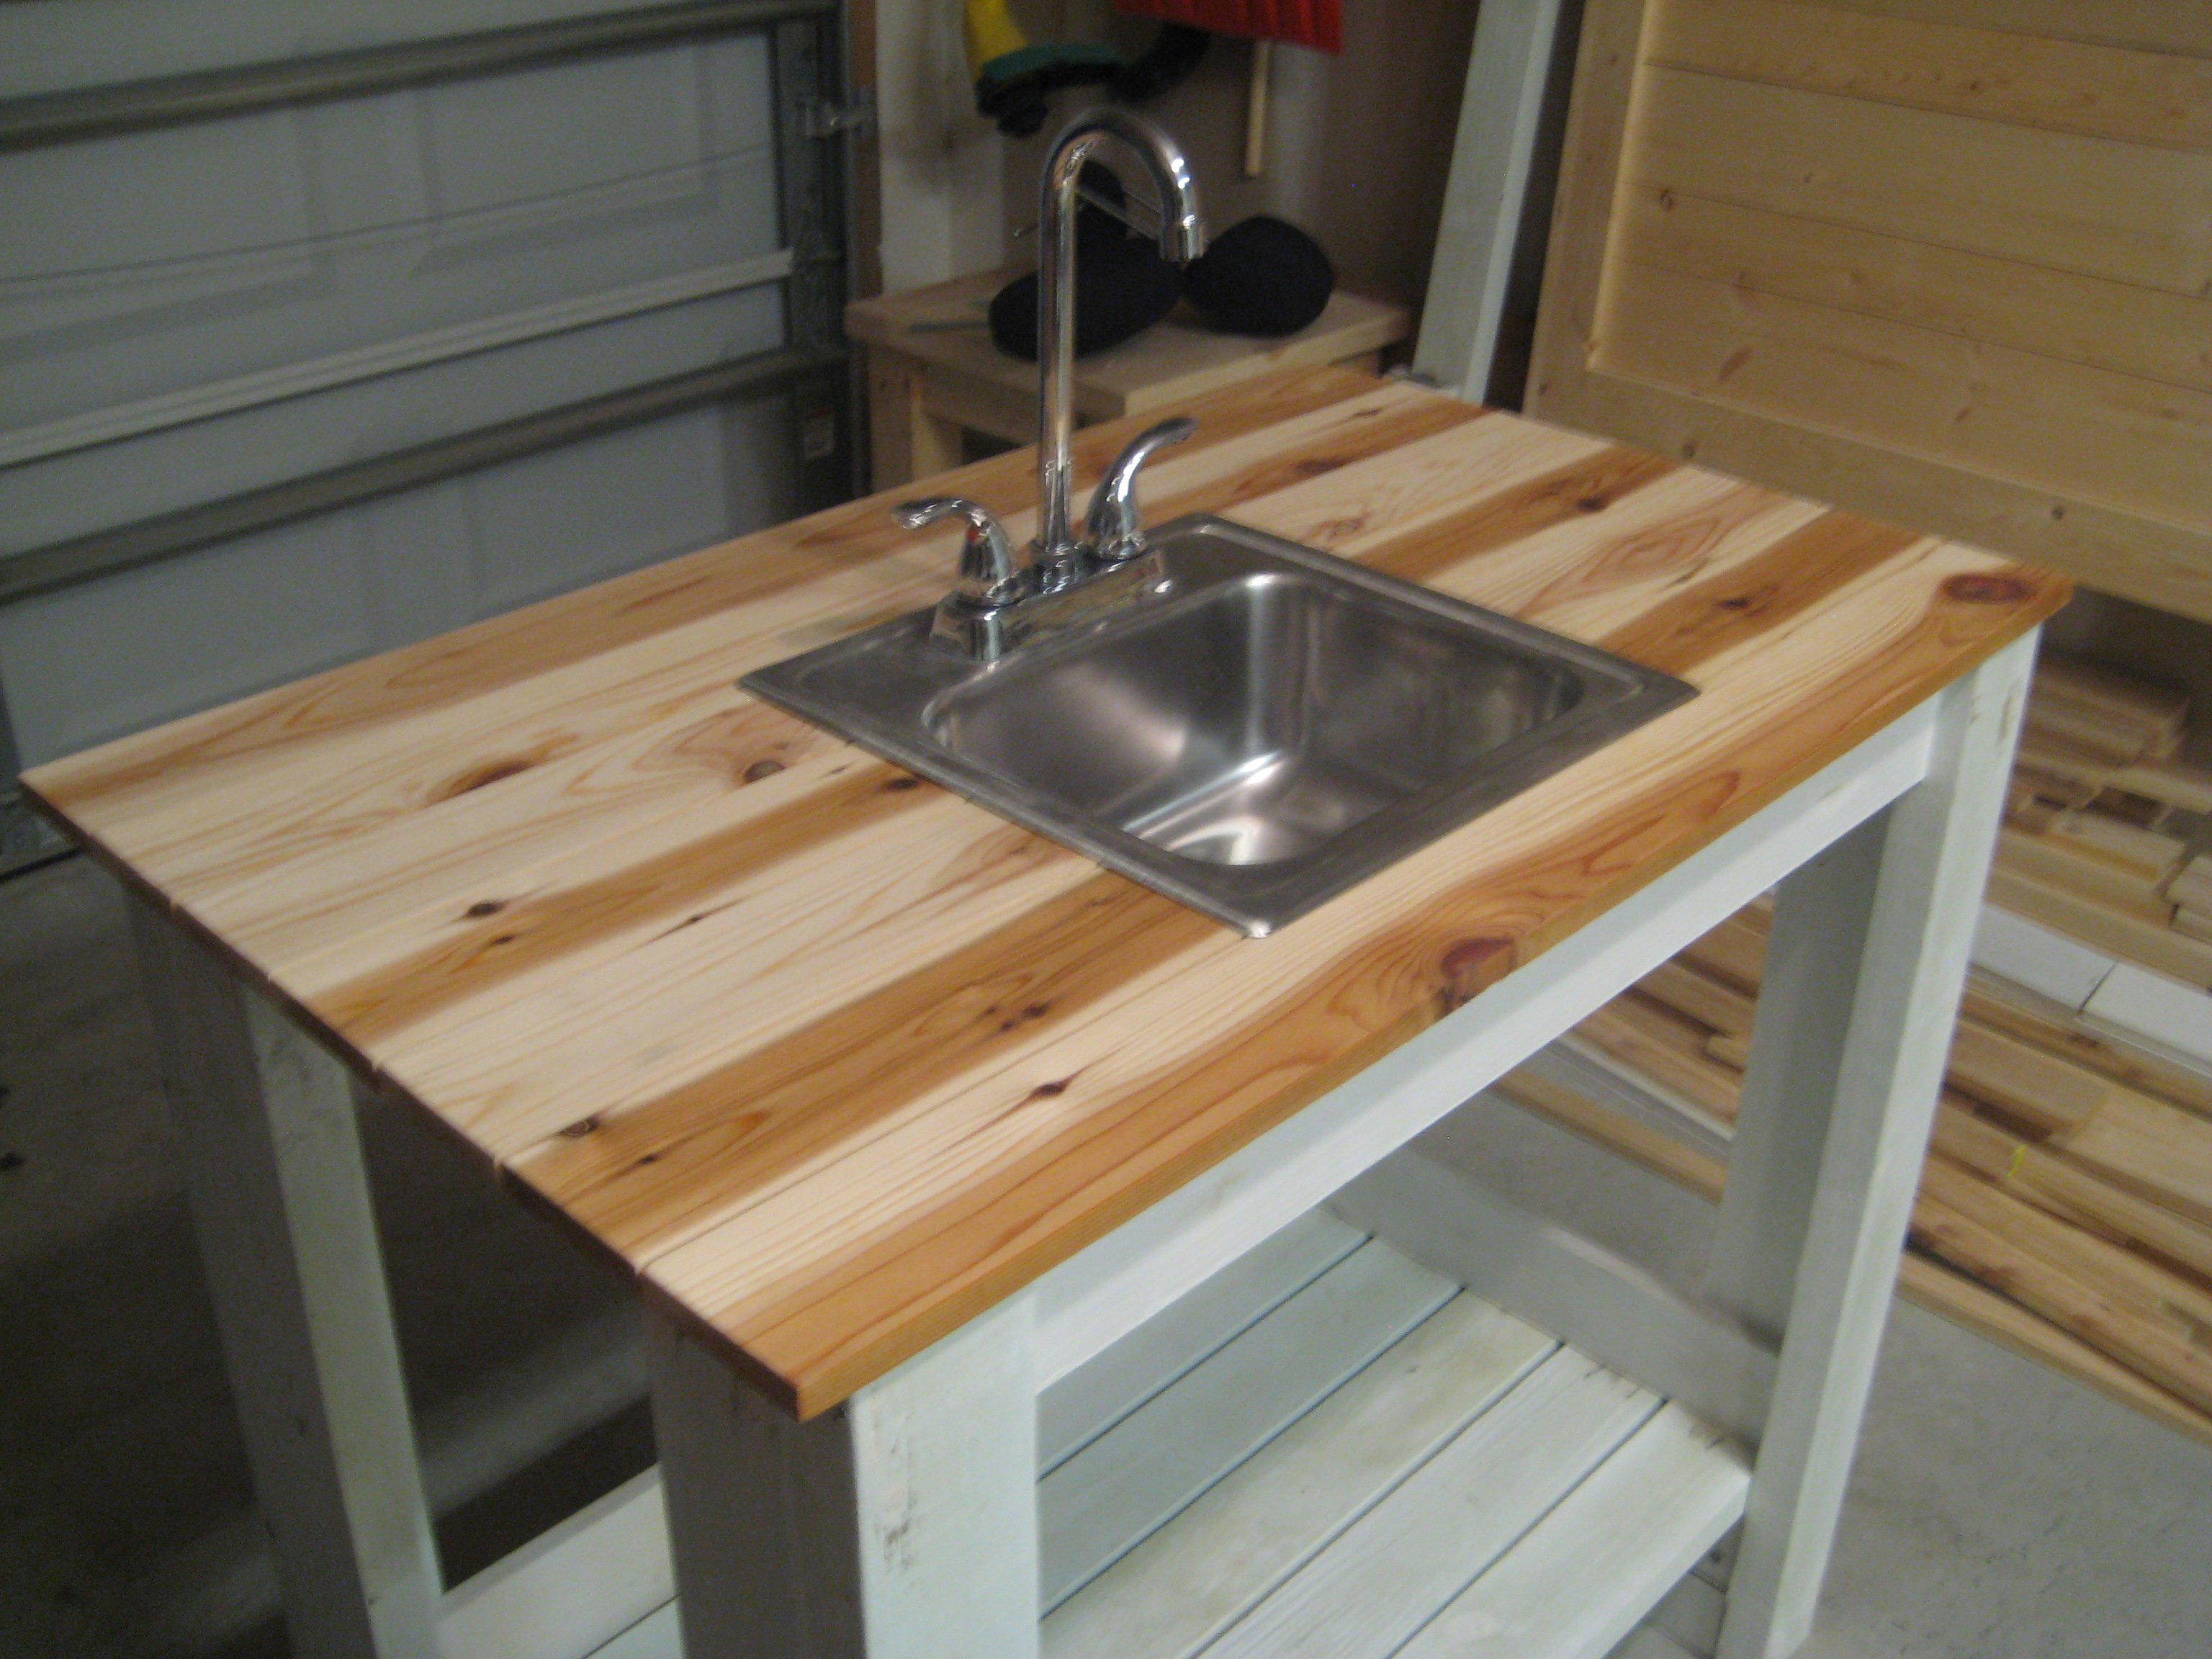
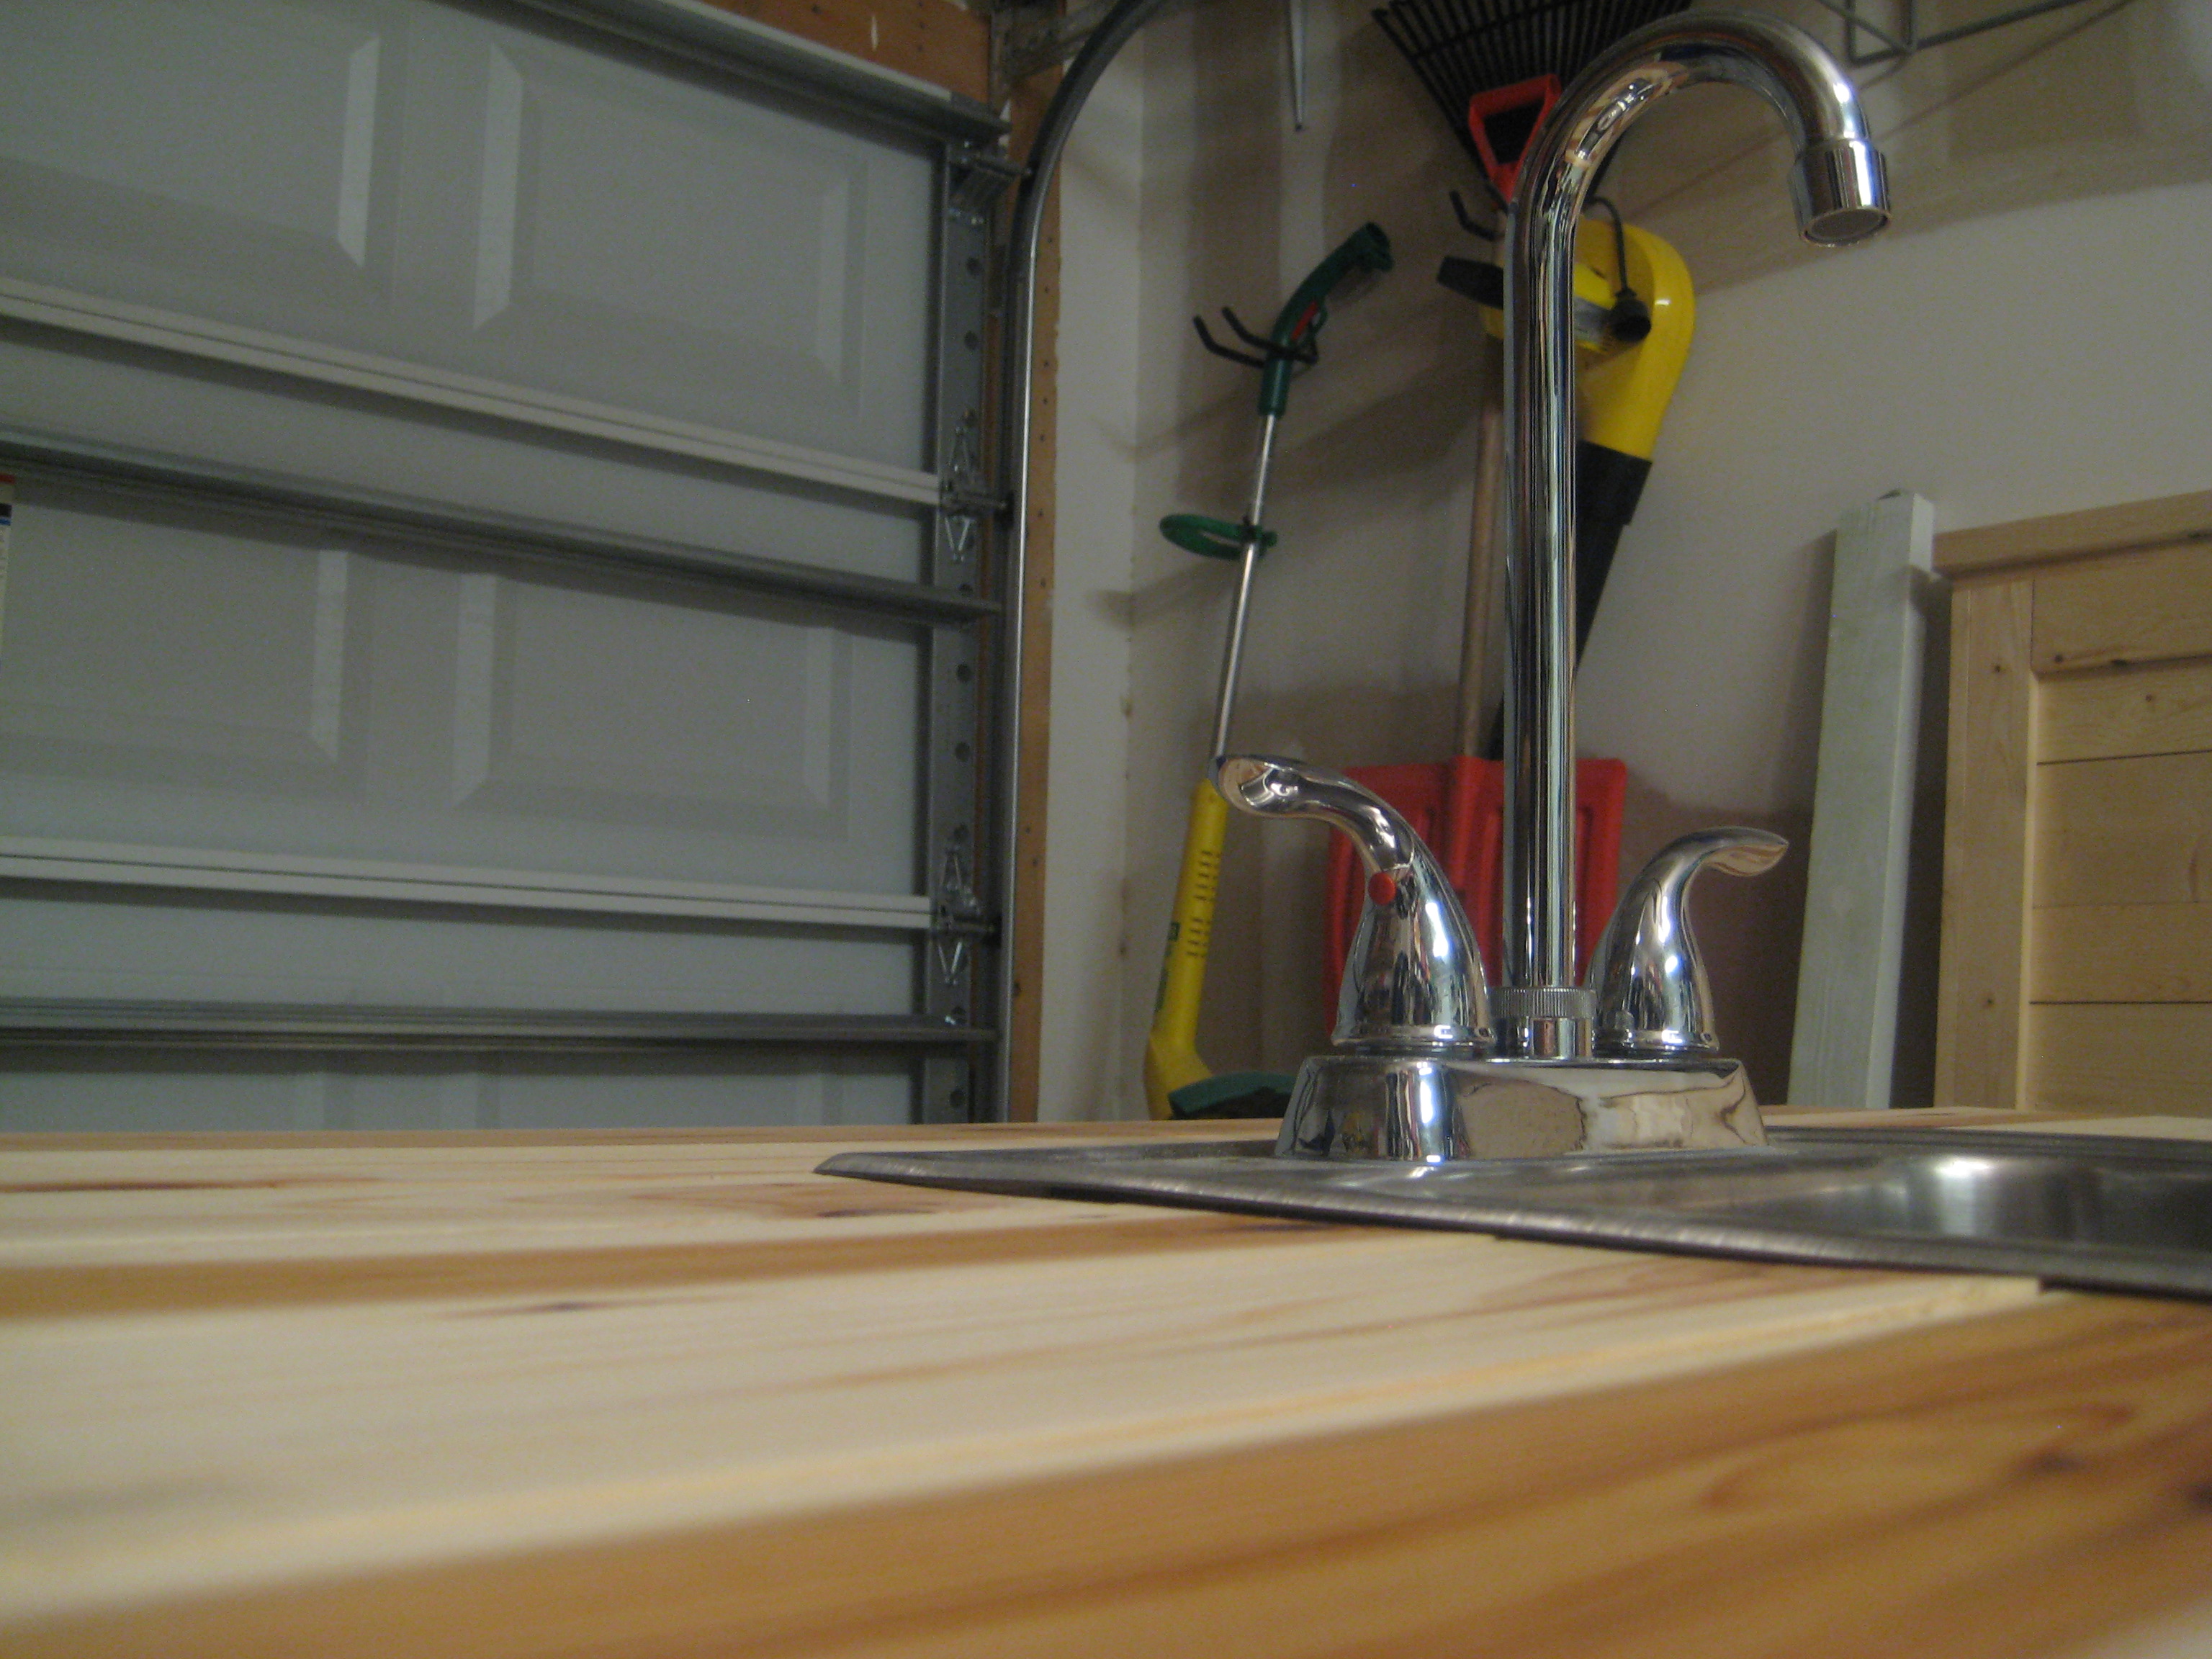
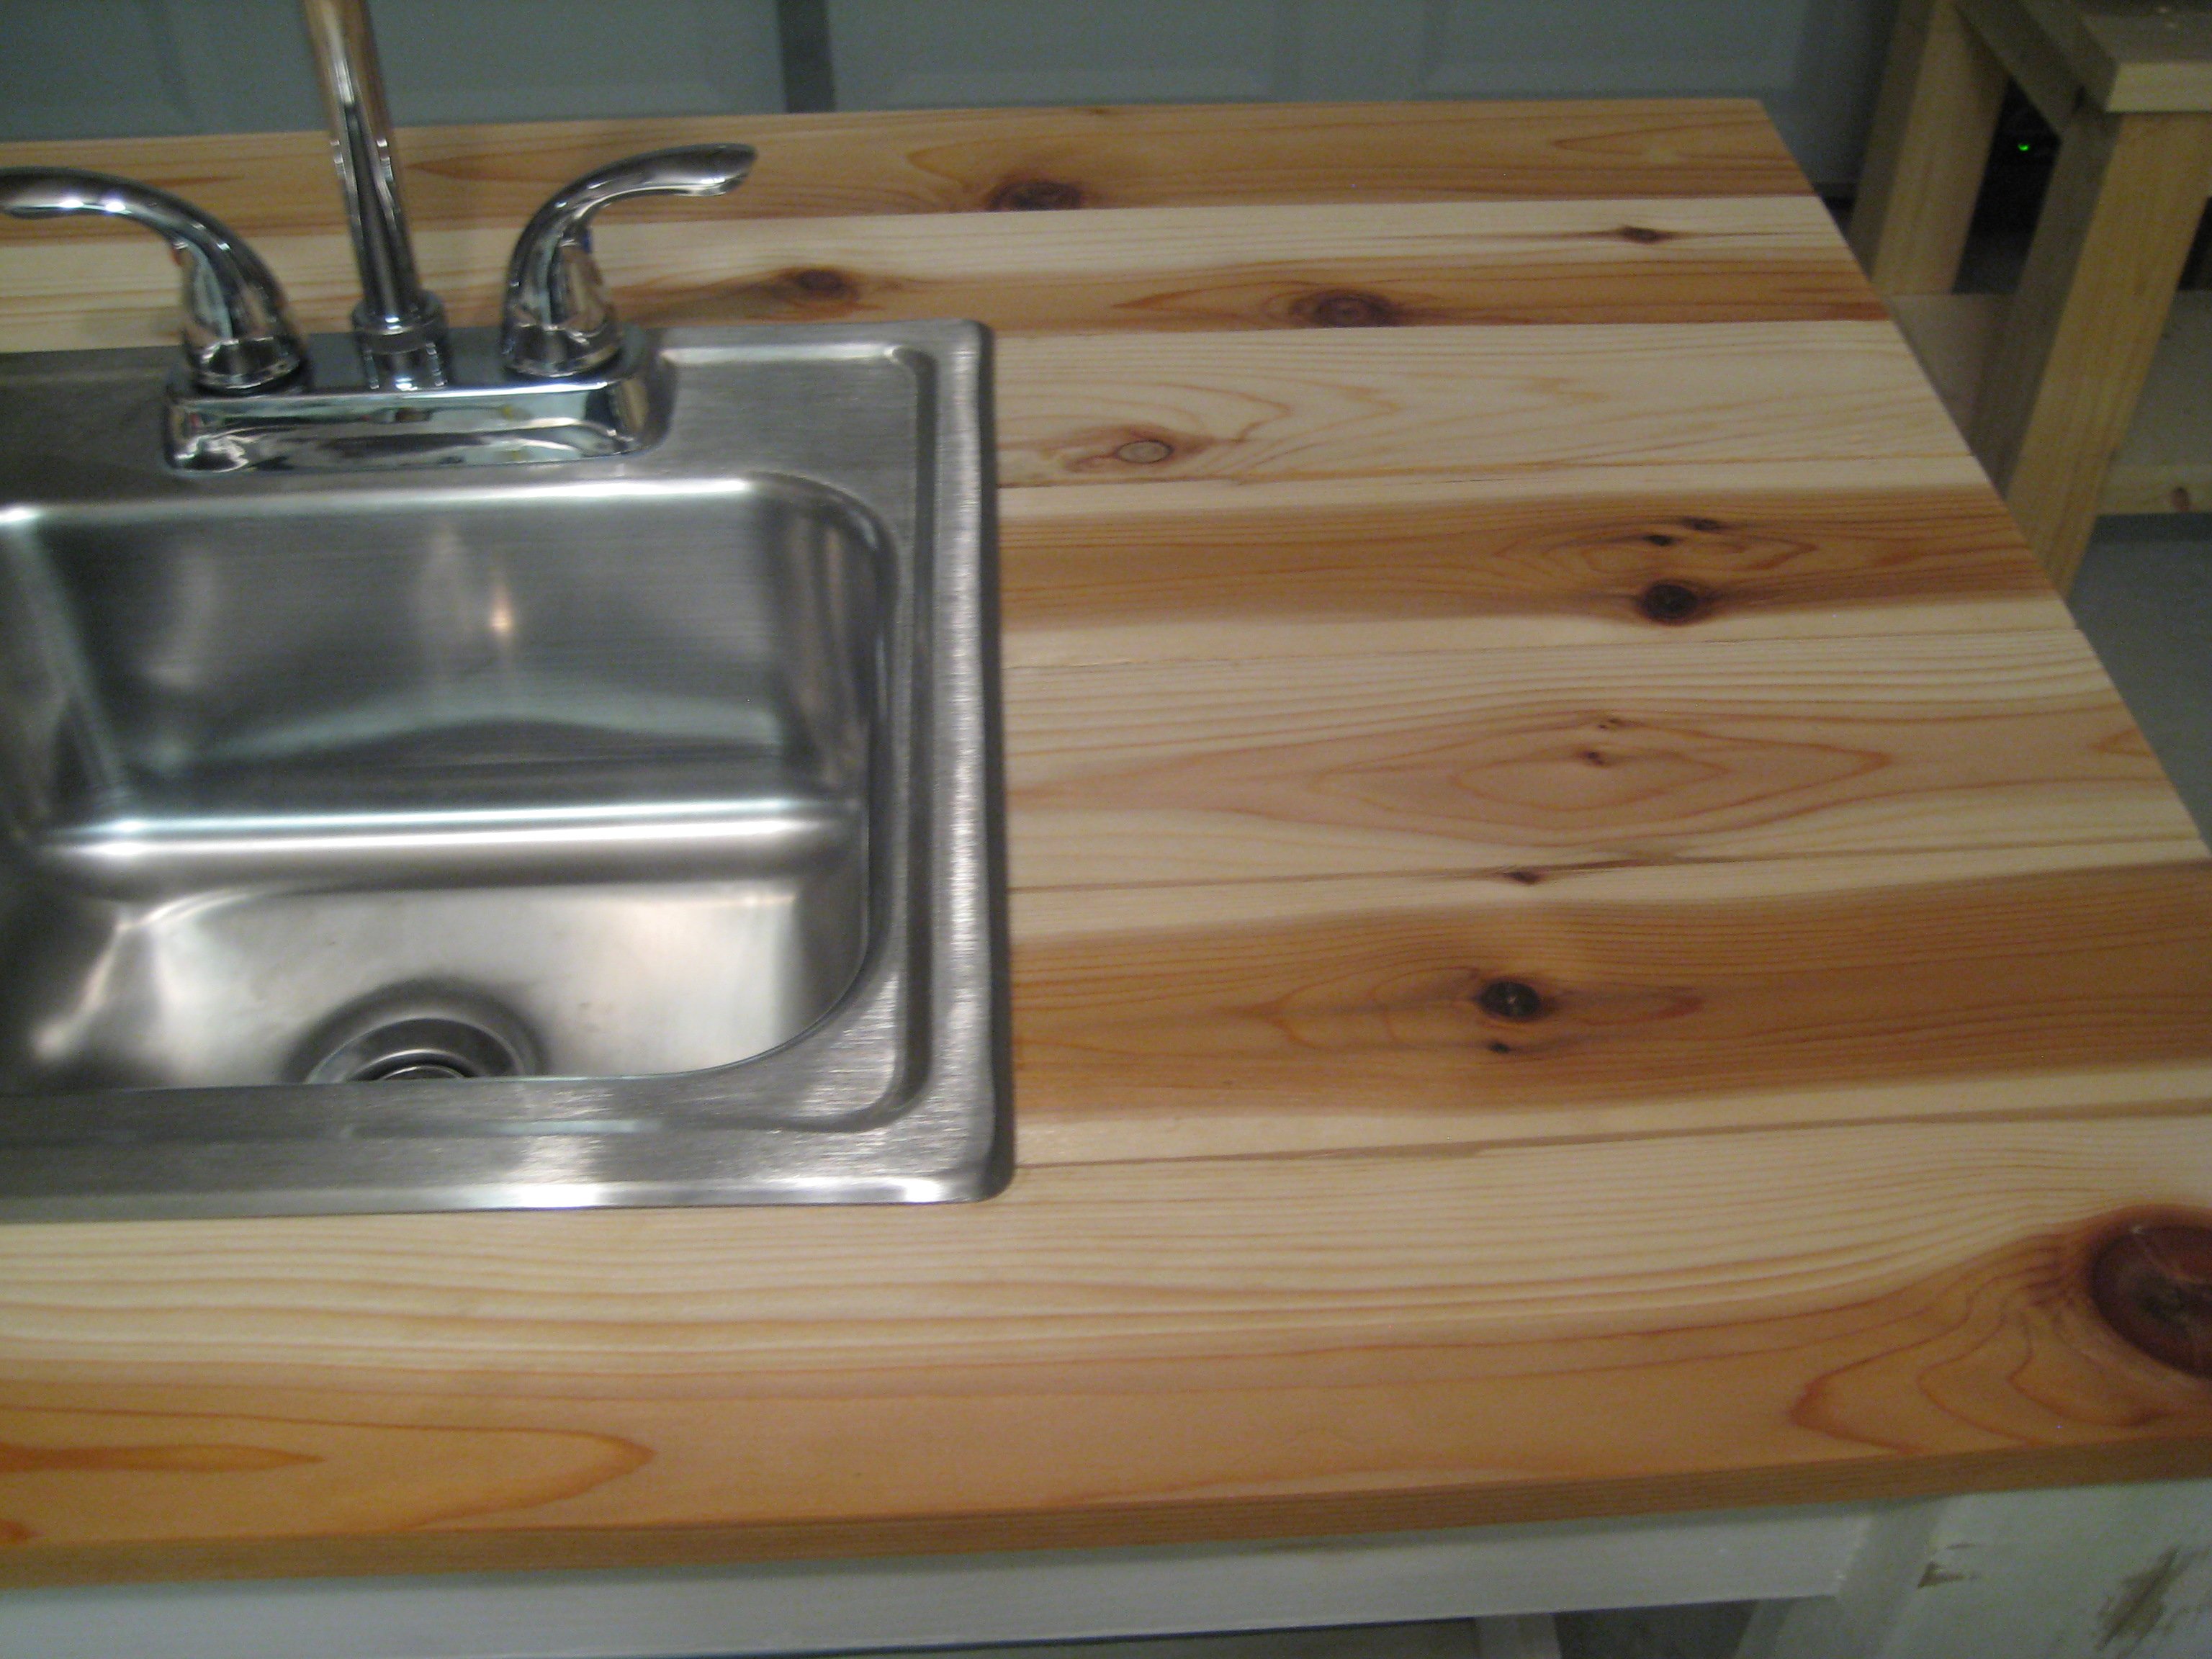
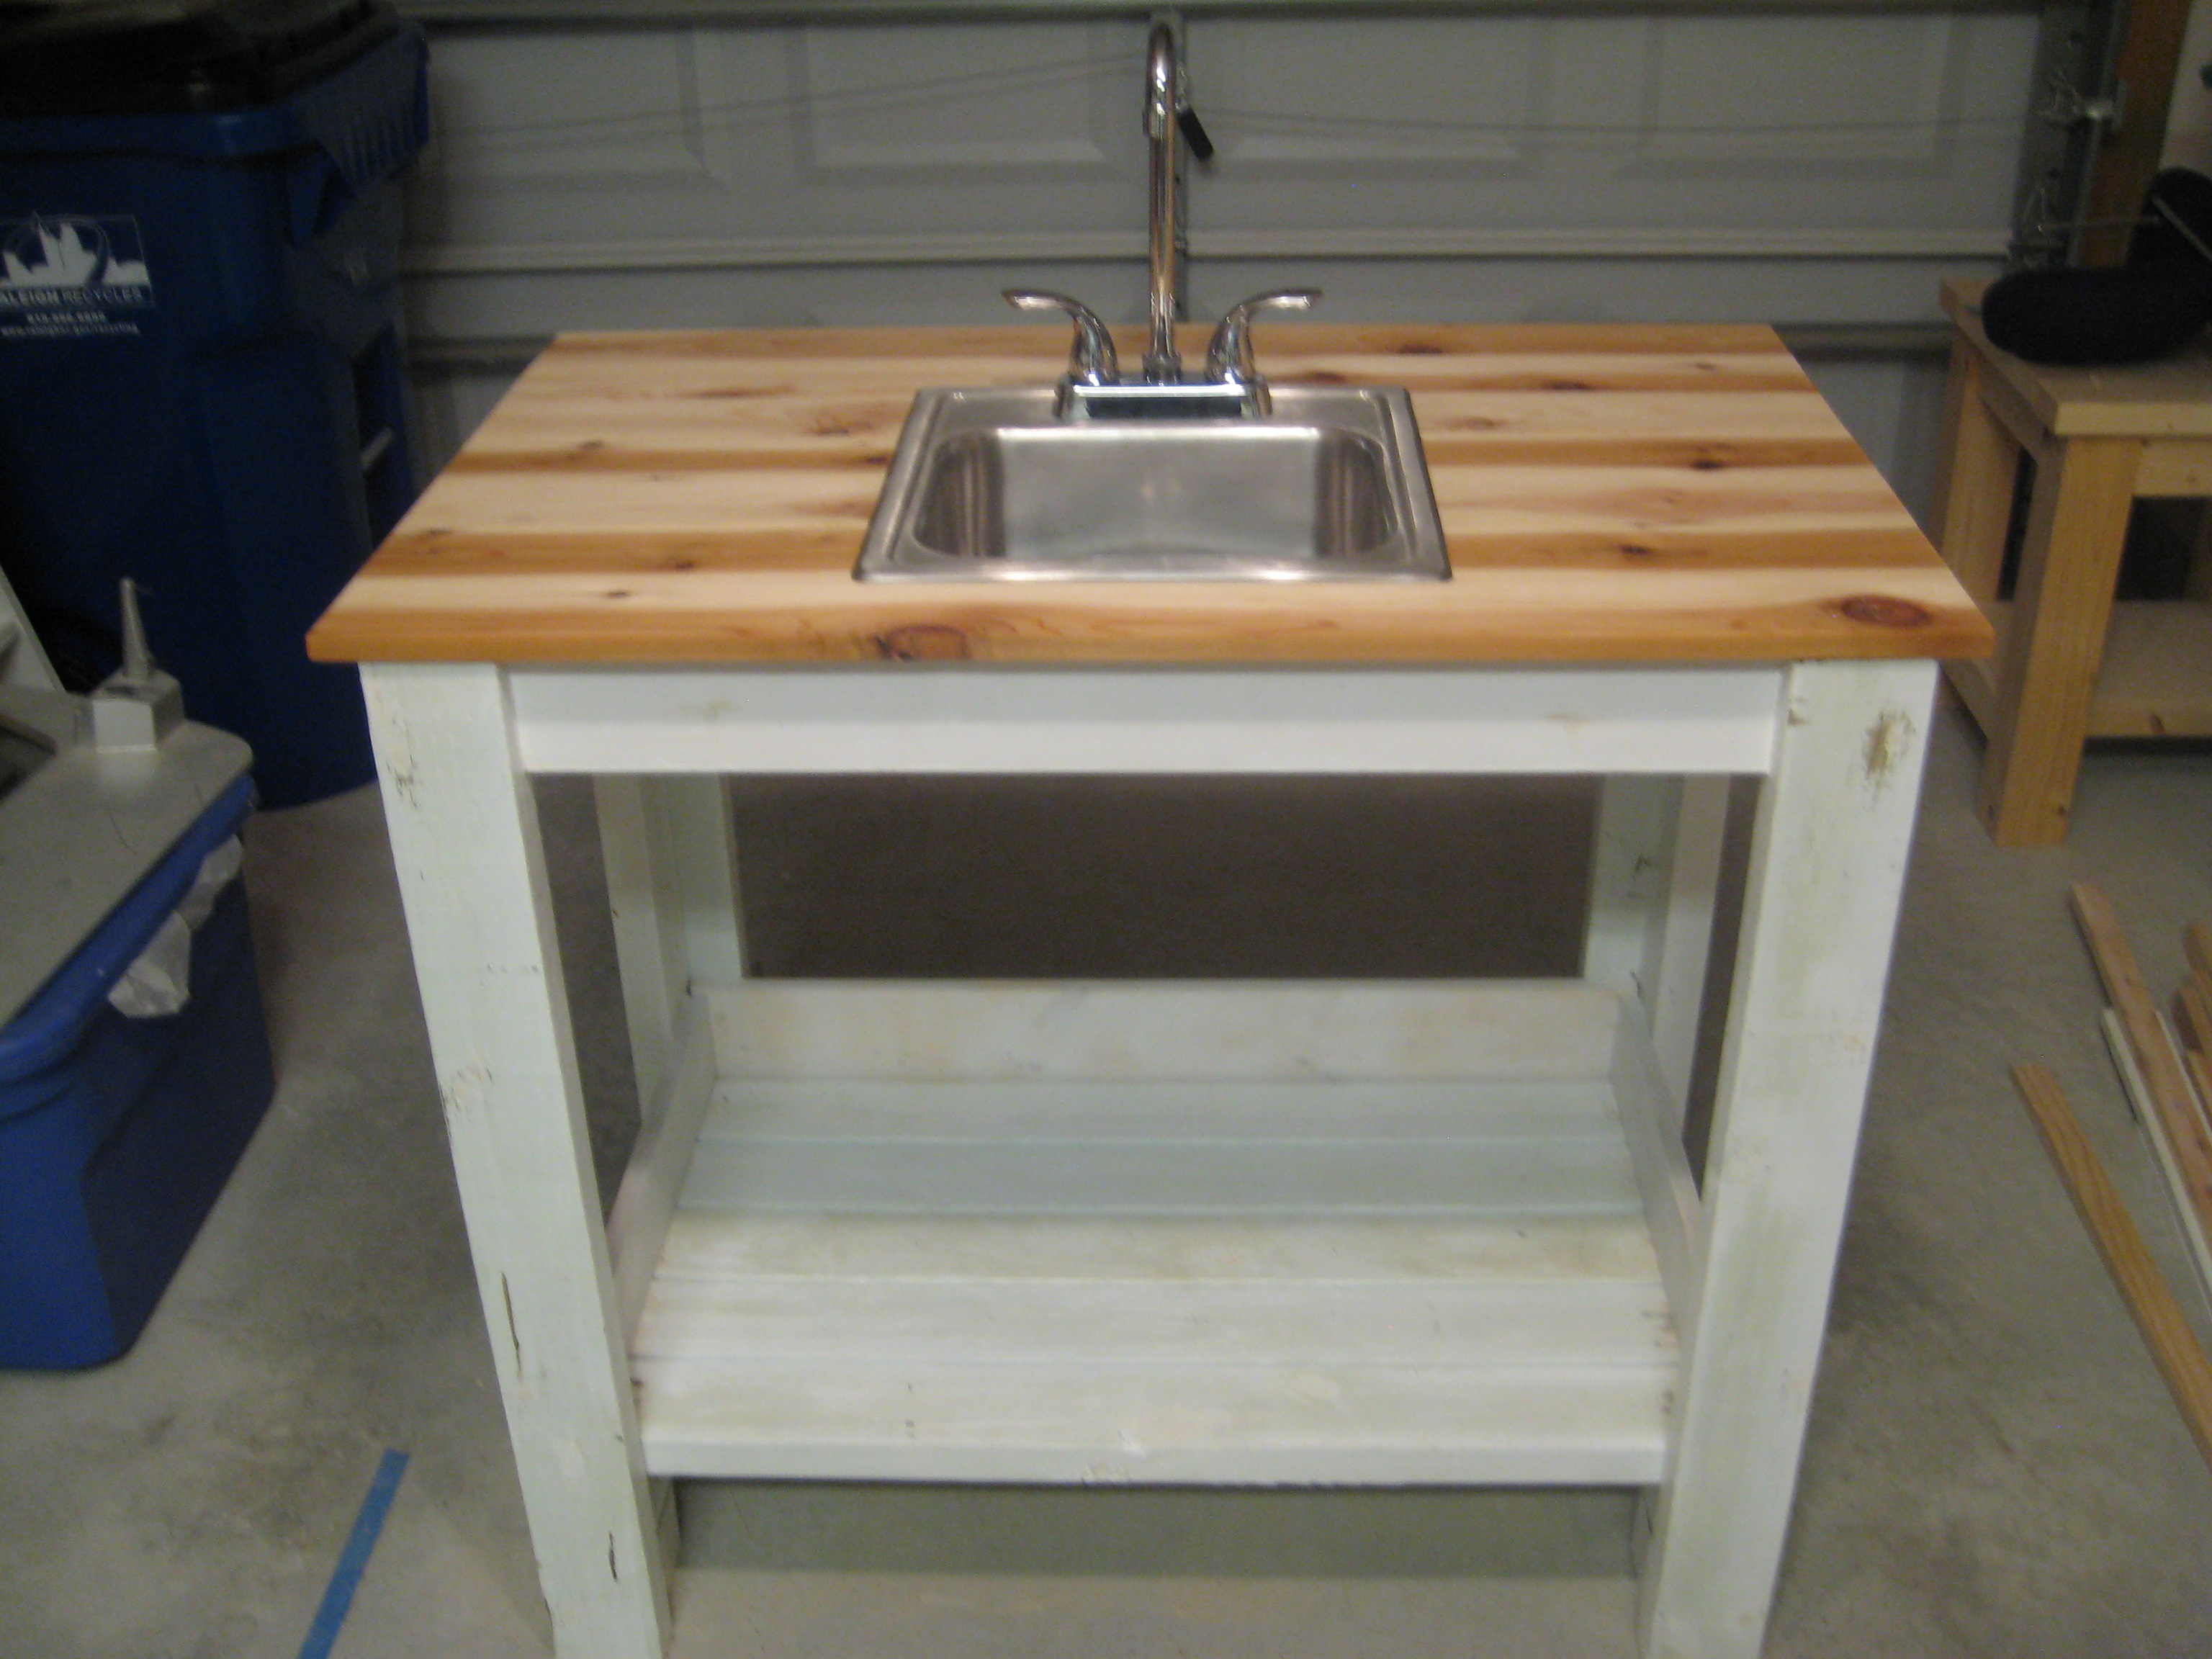
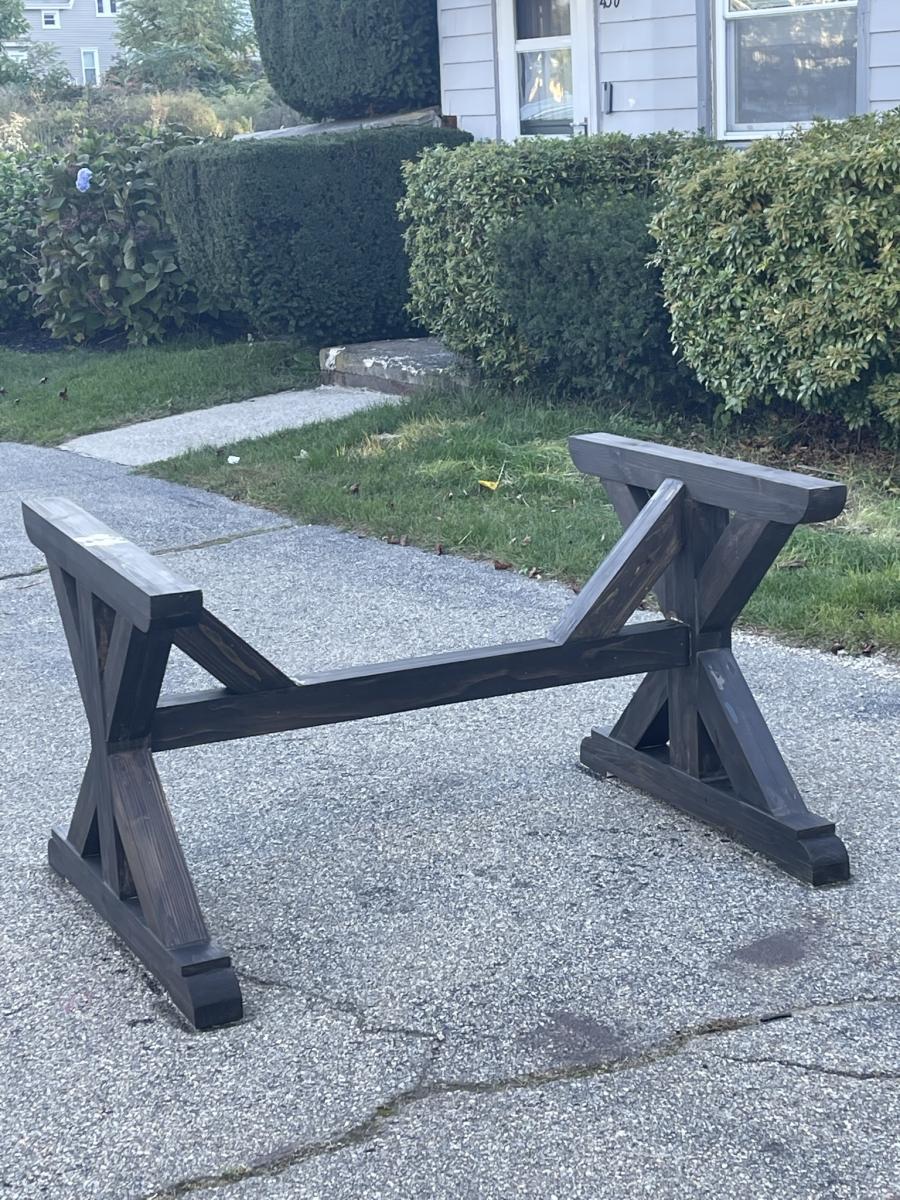
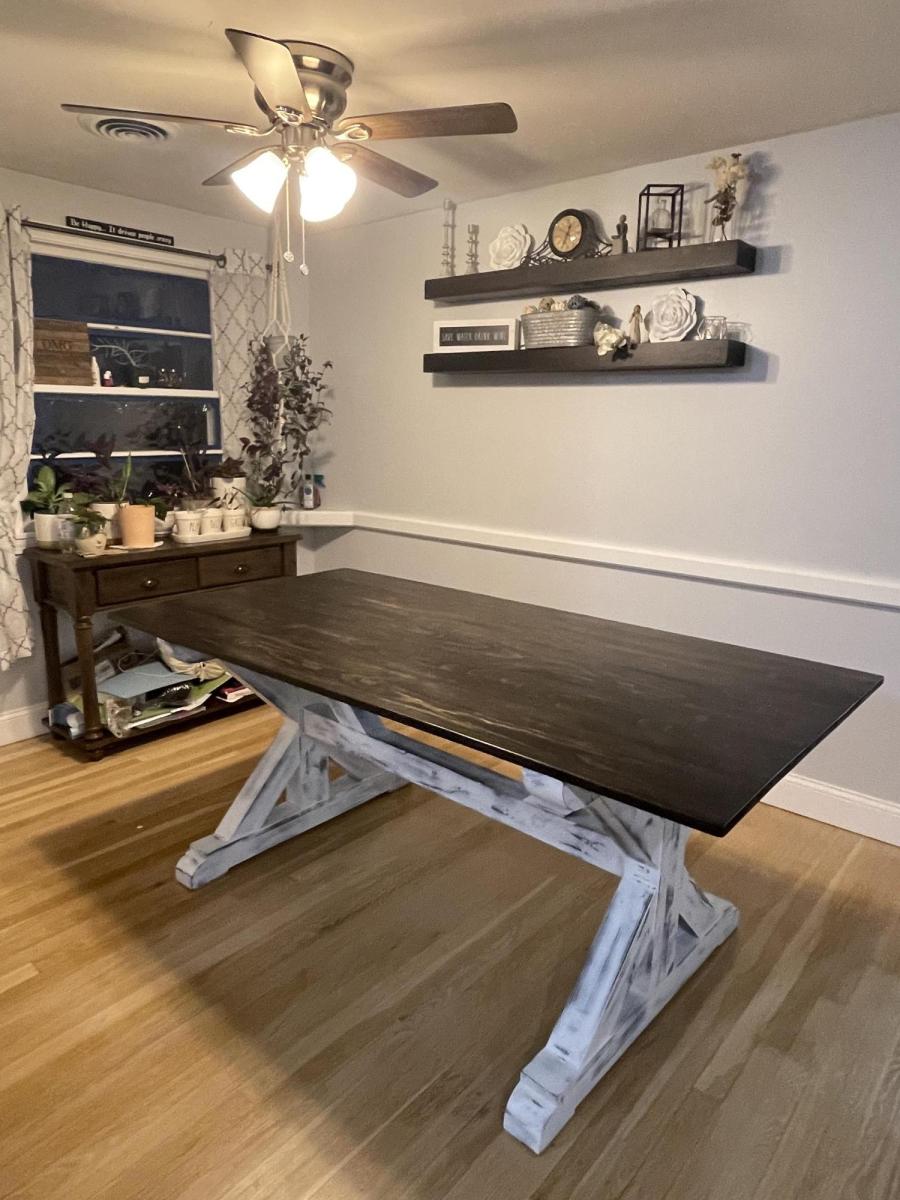
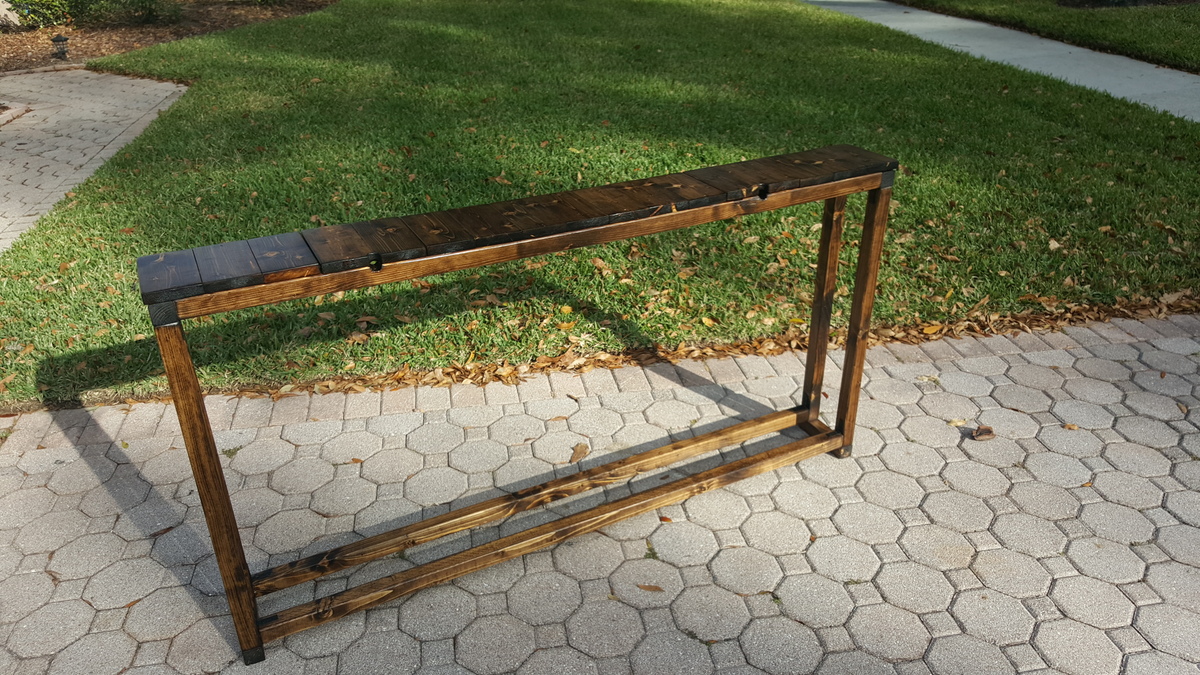
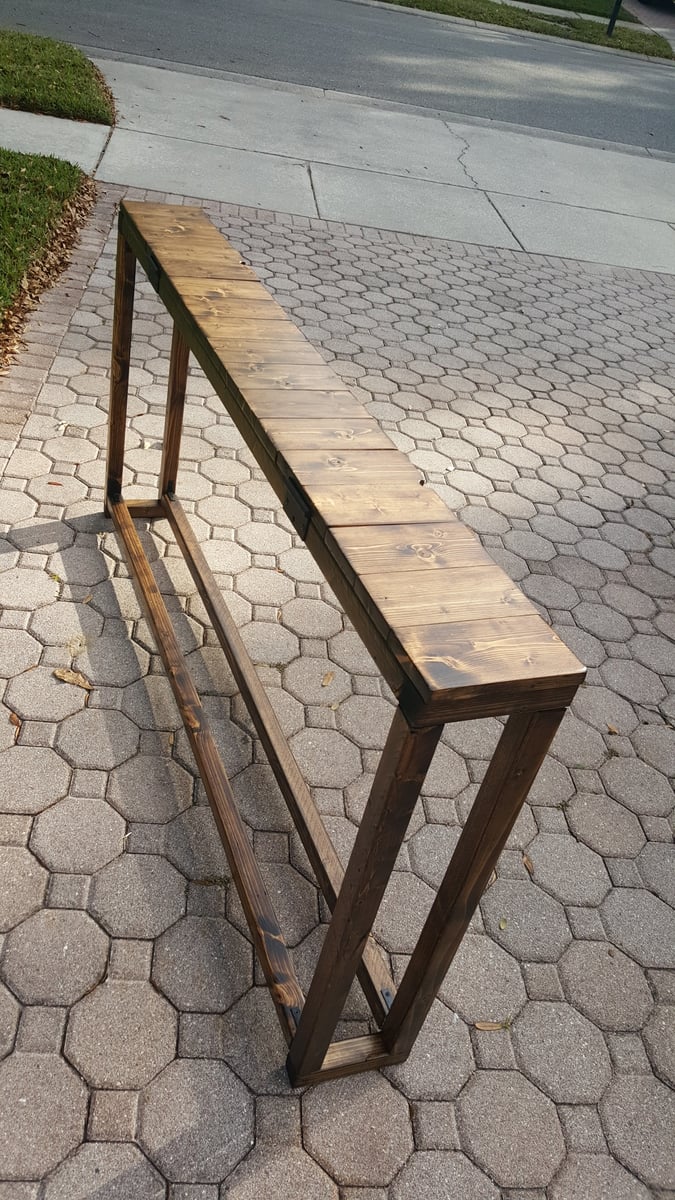
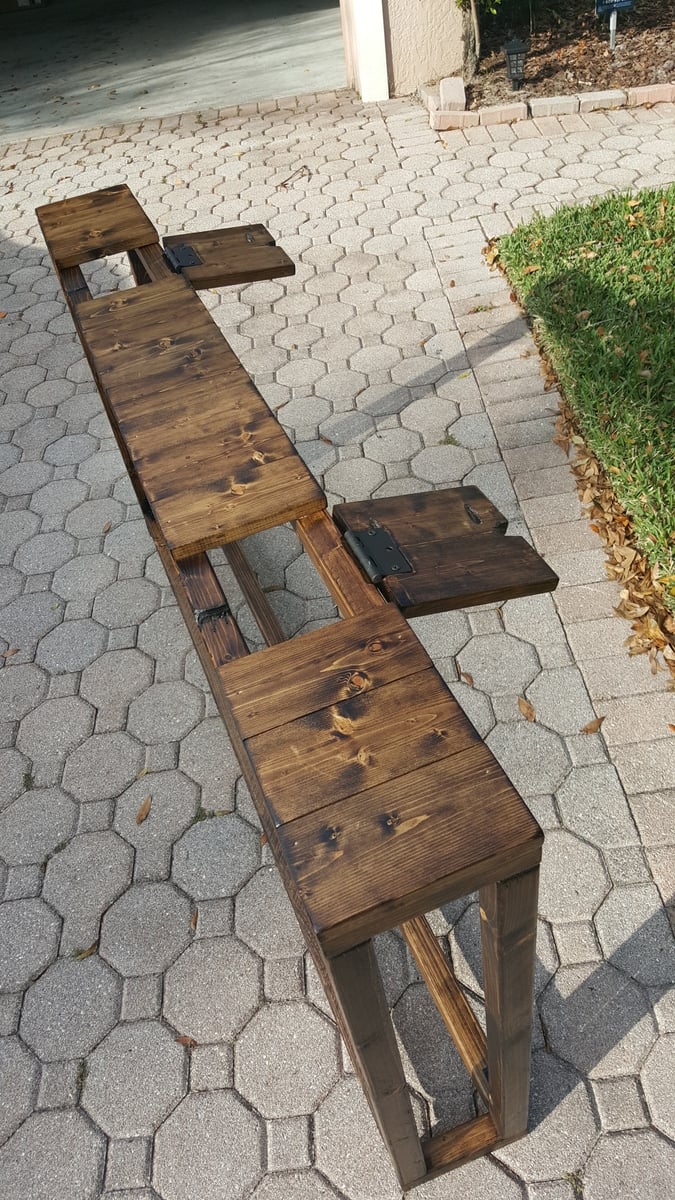
Beautiful Cedar Patio Table

Submitted by NeoMoses on Wed, 06/19/2013 - 13:48

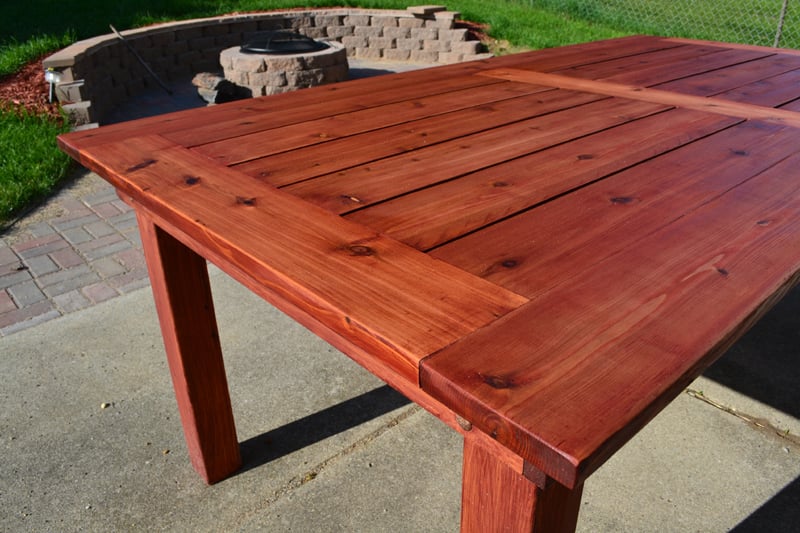
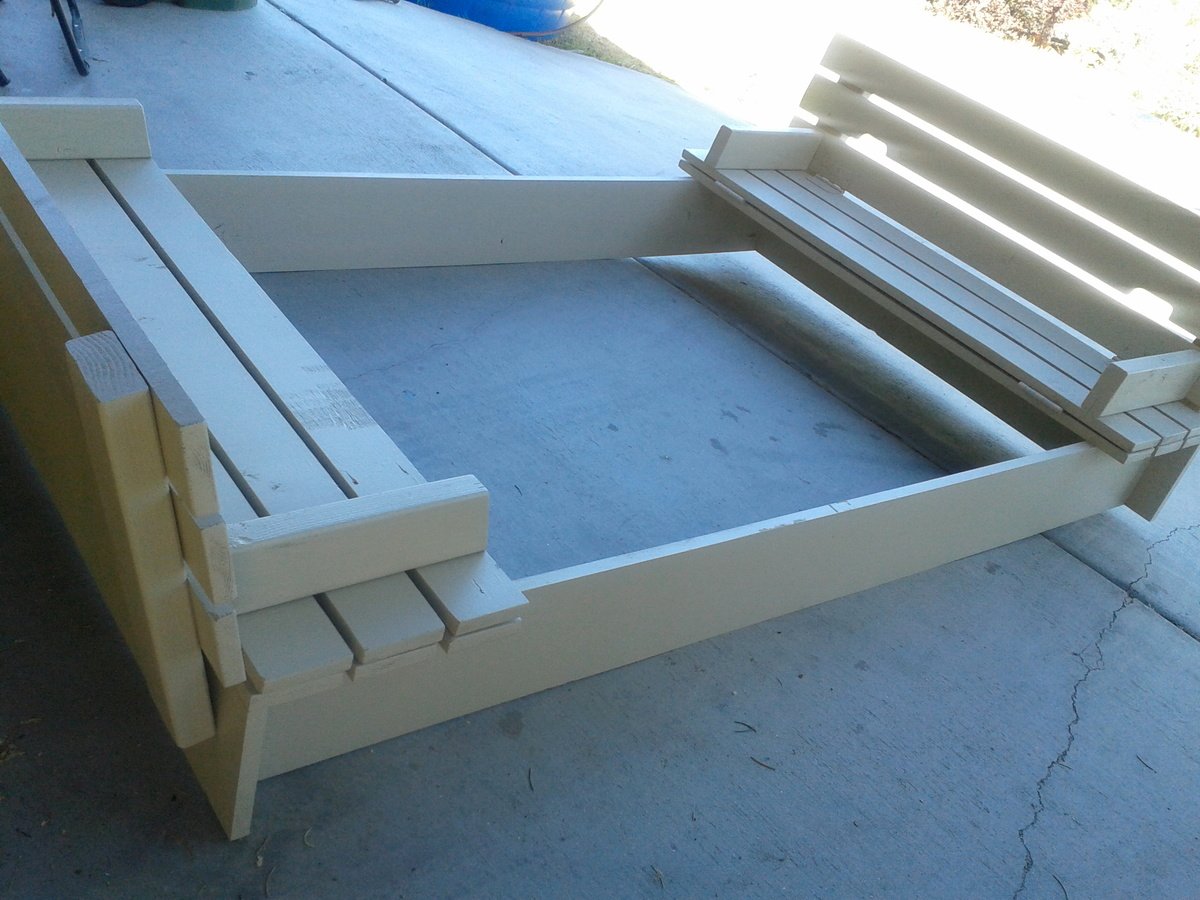
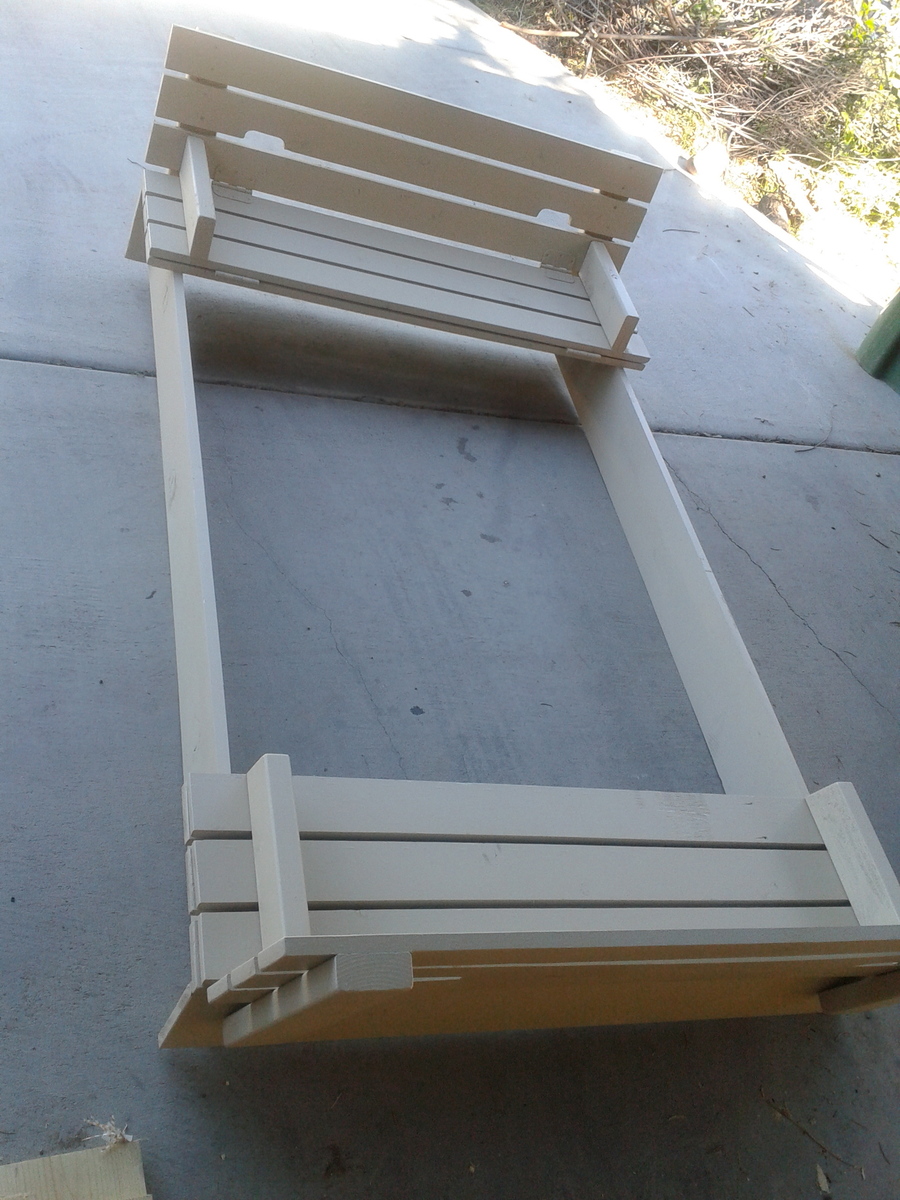
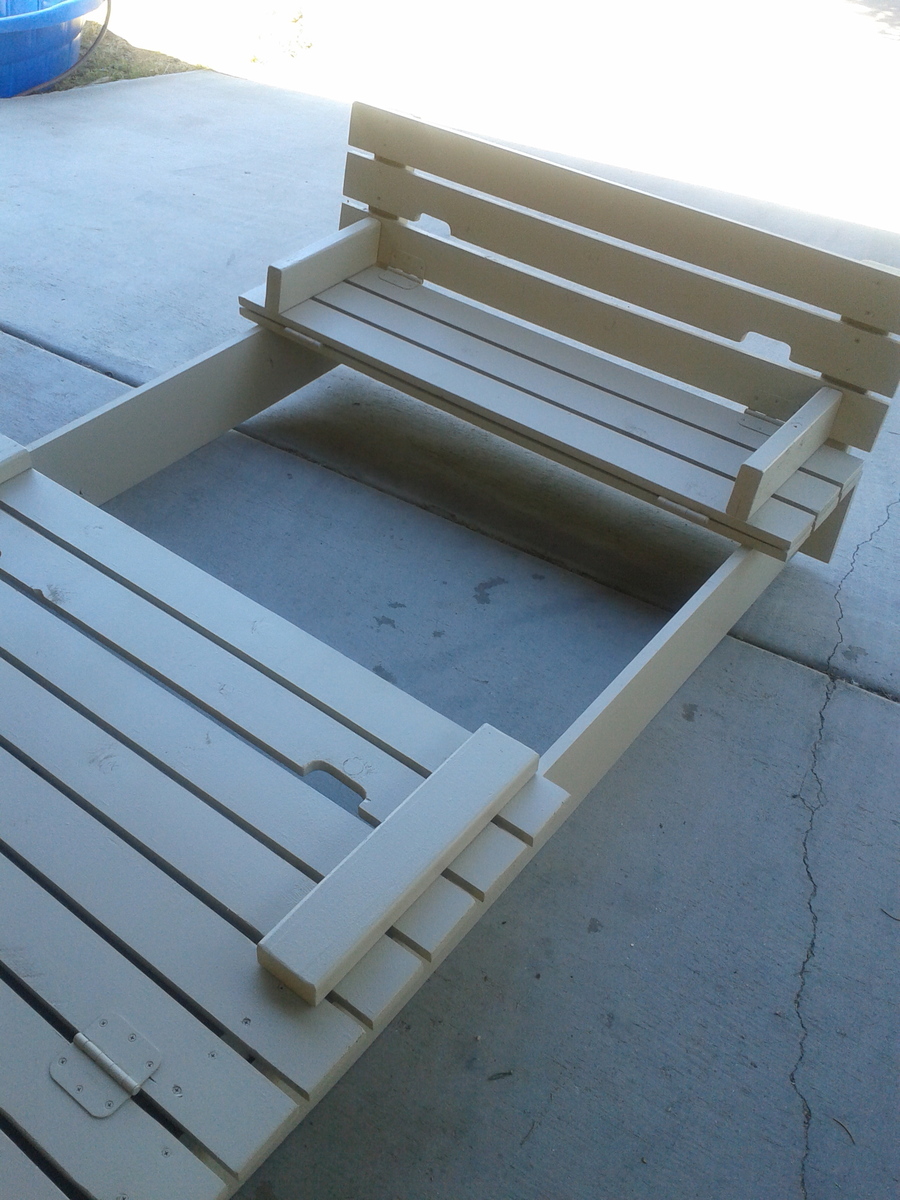
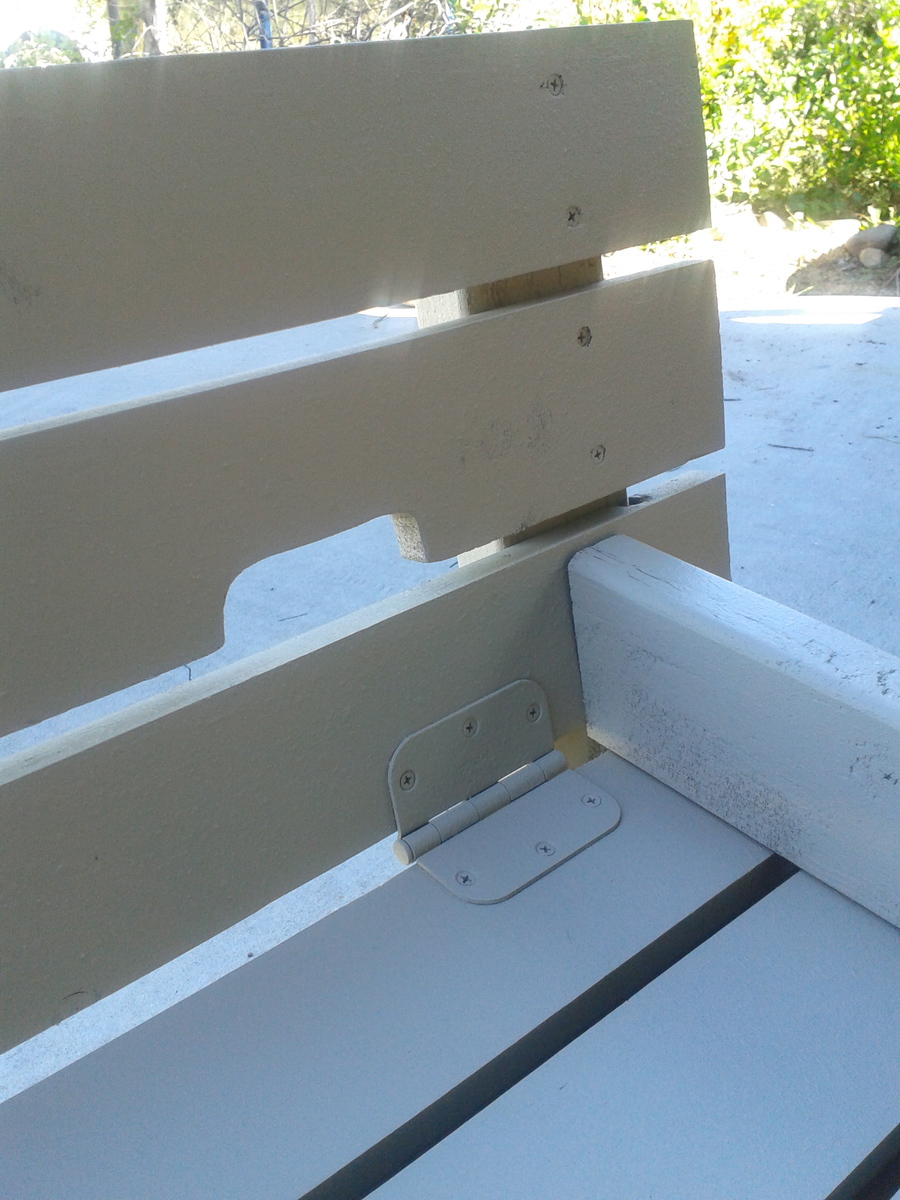
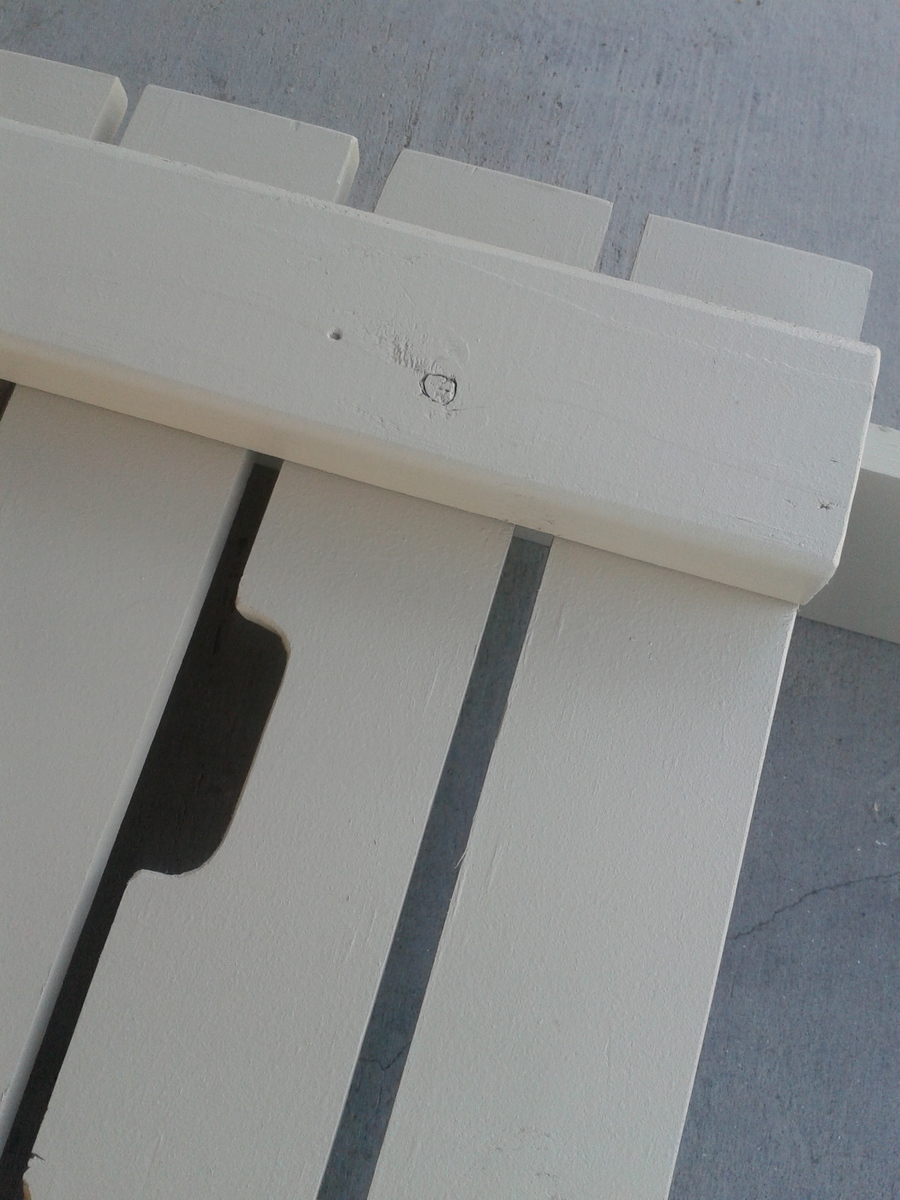
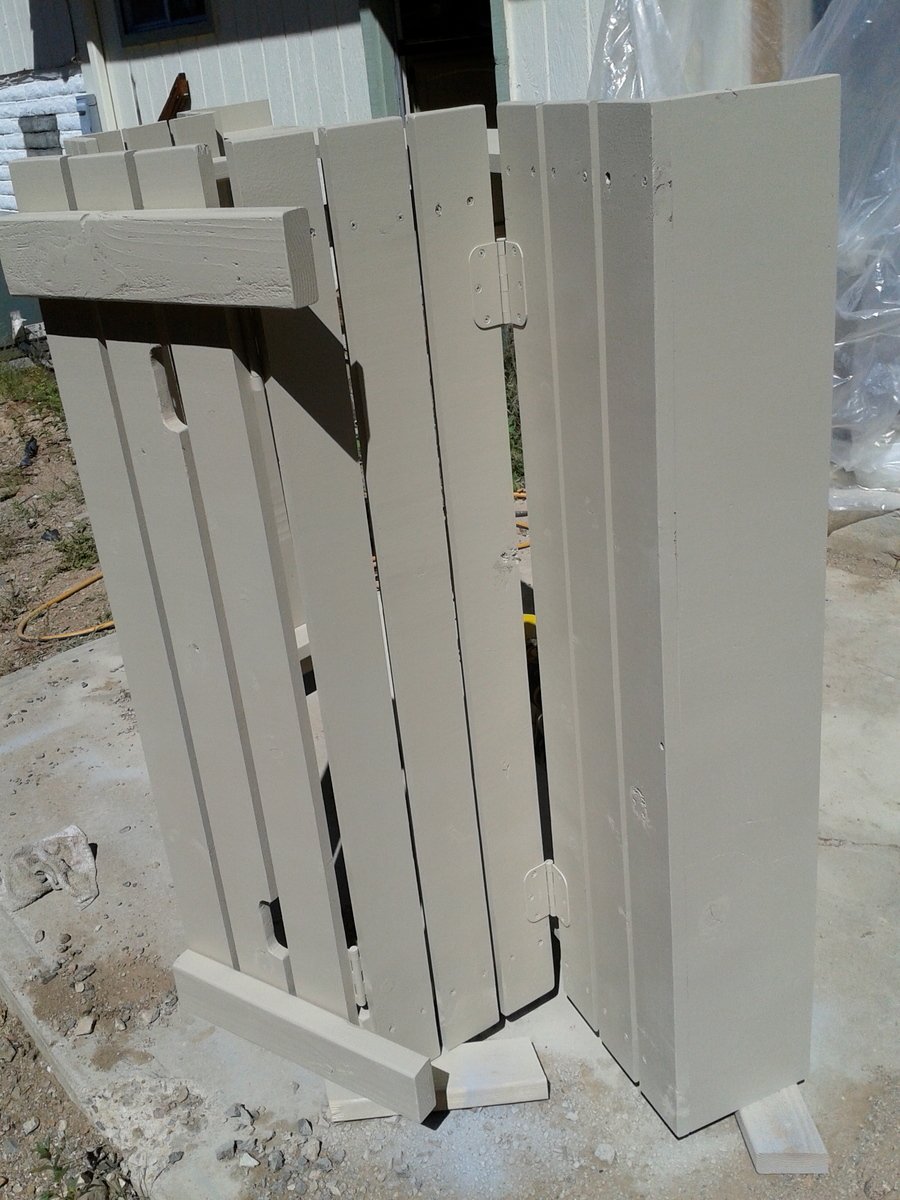
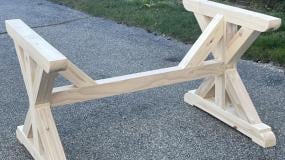
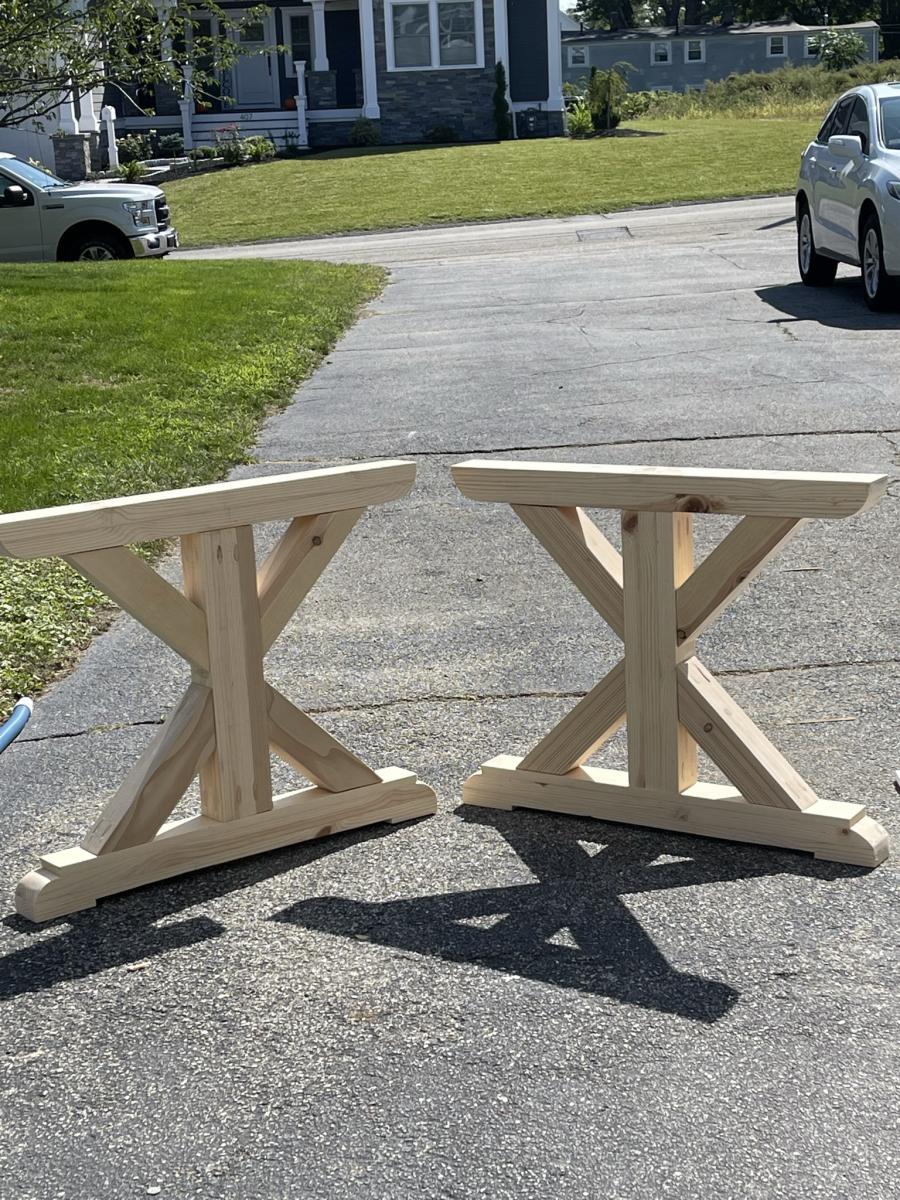
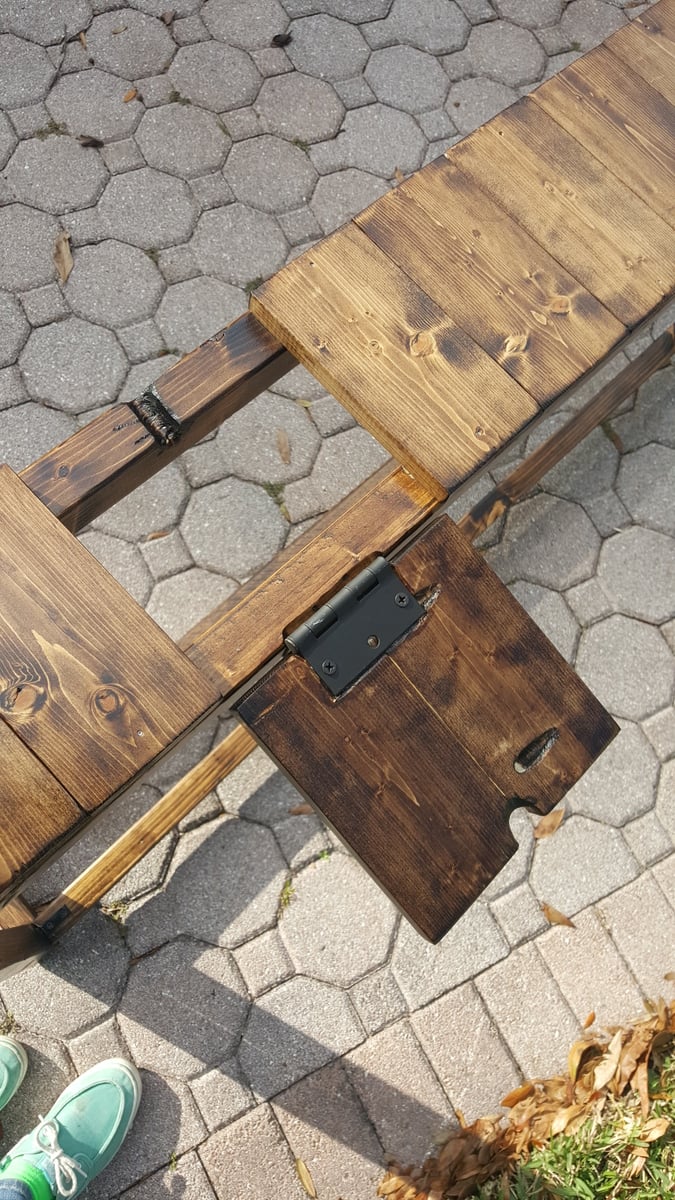
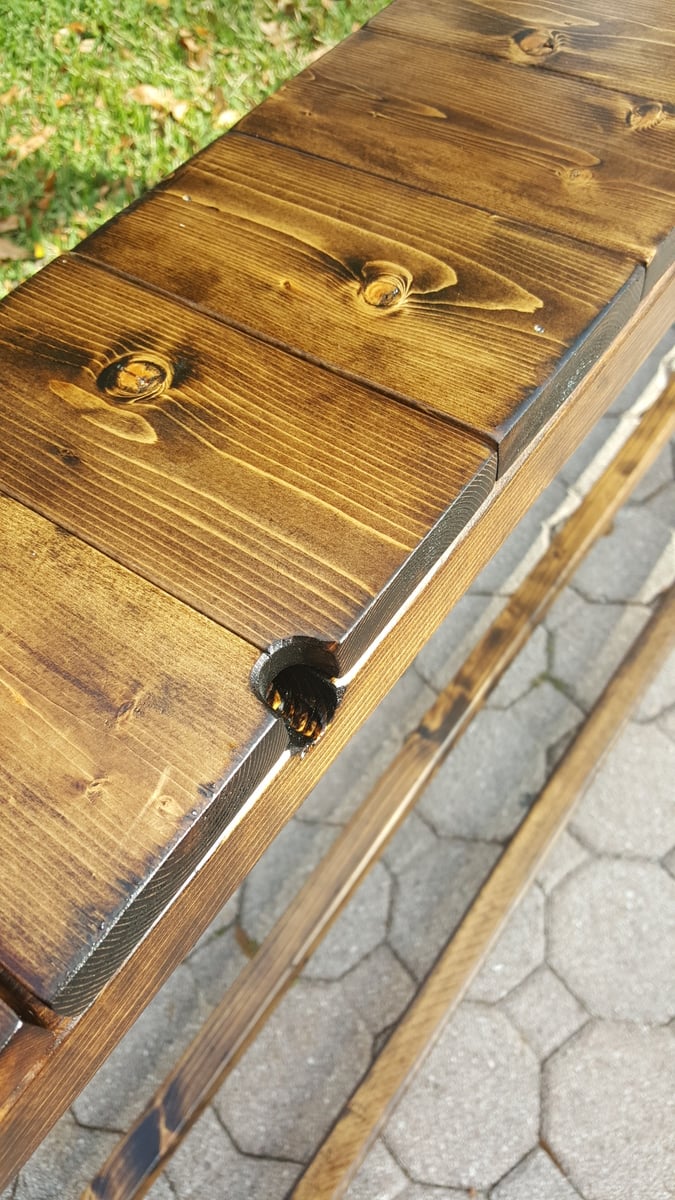
Slightly more elegant version of an outdoor cedar patio table. This is made from 100% cedar and joined using Kreg pocket hole screws. The finish is 2 coats of Sikkens Cetol MRD that has been hand rubbed on using a cloth, with 24 hours of dry time between coats.

Built from Plan(s)
Estimated Cost
$140
Estimated Time Investment
Weekend Project (10-20 Hours)
Finish Used
2 coats of Sikkens Cetol MRD, hand rubbed with cloth.
Recommended Skill Level
Beginner

Comments

odpdxo

Wed, 06/19/2013 - 23:22

I really like the way you modified this design and I would like to duplicate it. I am curious about how you changed to framework to accommodate table top with the boards running lengthwise. The original design has the framework running lengthwise, so I am assuming you added framing that runs perpendicular. Is there any way you could include pictures and measurements of the framework under the tabletop? Thanks. Great work!

Zachary's Car and Truck

Submitted by jaime19861 on Wed, 06/17/2015 - 19:28

I made this car and truck for my nephew. They were super easy to make and he loves them!

Check out the blog link for more details.

Estimated Cost
$2
I used wood scraps and only had to buy the wheels. If I would have also needed to buy the board and dowel, it still would be under $5 a vehicle.
Estimated Time Investment
An Hour or Two (0-2 Hours)
Finish Used
Non-toxic acrylic paints sealed with many coats of mineral oil.
Recommended Skill Level
Beginner

My Parson Chair

Submitted by LeaG on Mon, 07/08/2013 - 17:55

I loved the Parson Chair plans on this site and wanted them for my dining room! I modified the plan simply by making the chair 2" narrower and the seat back 2" taller. I also made the slipcover removable (and with fringe), so that I could change it up as I wish.

Built from Plan(s)
Estimated Cost
$75 for two
Estimated Time Investment
Afternoon Project (3-6 Hours)
Recommended Skill Level
Beginner

Simple Daybed/Farmhouse-Bed-Hybrid

Submitted by uli on Mon, 06/06/2011 - 08:05

I needed a bed for my guestroom and decided to build a mixture of the simple daybed and the farmhouse bed. The back and the front rail are attached with bed brackets for easy disassembling.

Estimated Cost
175 $
Estimated Time Investment
Day Project (6-9 Hours)
Finish Used
Acrylic paint in antique white
Recommended Skill Level
Beginner

Comments

Guest (not verified)

Tue, 06/21/2011 - 09:42

Dear Uli, I love the daybed you created and I'm planning to build my own next week for our guest bedroom, which doubles as my project room. Could you tell me what height you made the bed? It looks lower than the average headboard height, but higher than the average footboard height. I'd like to make mine close to your, which I think is just perfect.

Thanks,
Sara

In reply to by Guest (not verified)

uli

Tue, 06/21/2011 - 13:30

Thx :-) I've made the panels 19,5" high, and the legs measure 31,5". On top of the panels I screwed and glued a timber, which is a little bit thicker than a 2x4. So the overall height is 33,5". If you like I could send you my sketchup file.

Uli :-)

Guest (not verified)

Tue, 06/21/2011 - 19:42

Thanks Uli,

Those dimensions will be a big help. I've constructed more than 30 pieces now, thanks to Ana, so it's no big deal for me to design my own plans and dimensions now. I'm hoping to complete this project before my sister comes out for a visit. Wish me luck!

Sara

Miss Martina (not verified)

Fri, 08/19/2011 - 23:58

Hi, Uli! Do you think you could please help me out by sharing your sketchup notes for the "Farmhouse-Daybed-Hybrid"? This would really help me to get a handle on building this project.
Thank you from Martina.
P.S.-Though we now live near Palm Springs, California, we lived in Sachsenhausen for nearly 2 years & office was in Wiesbaden. Though I prefer the climate here, I still miss Germany.

Rockin'Robin

Wed, 06/20/2012 - 21:00

Dear Uli,

I am brand spanking new here on Ana-white and I love, love, love your daybed. I would like to give it a go for my daughters. Is it possible to get your sketch up notes? This will be my first build and I am so nervous about trying something without having a plan in front of me. My email is [email protected]
Blessings, Robin

Guest (not verified)

Wed, 09/14/2011 - 07:56

I would LOVE it if you could send me your sketchup file too. I want to build this for my guest room.

Helleni (not verified)

Wed, 08/31/2011 - 14:27

I would love to make this for my son's room. I am a beginner, can you provide the file for me to look at too?

Guest (not verified)

Fri, 09/23/2011 - 12:39

Uli,

I absolutely love this daybed and have been searching for such a bed, even to buy, but have found nothing. My husband is super handy and loves wood-working, so I think I am going to put him up to the task! :) Could you e-mail me your sketch-up file as well? My e-mail is [email protected].

Also, is there room to put a trundle underneath...this is a must-have for us. Do you happen to have any plans for a trundle? If not, hopefully my husband can come up with something for that!

Thanks so much for sharing your great idea and plans!
Amy

Siobhan (not verified)

Tue, 11/08/2011 - 17:56

Hi Uli,

Would you email me the plans for this bed please? It's perfect and exactly what I have been looking for!

Thanks so much,
Siobhan

kharrel

Wed, 12/28/2011 - 20:50

Hi Siobhan, I was wondering if you could possibly send me the plans for this bed in a Word document or through email. I tried to access the plans you attached above but my computer wouldn't allow me to open it. Also, I saw where someone else asked if a trundle would work with this bed and if you had plans for that, if so I would love to see if we can try to tackle that project as well. My email address is [email protected]. Thank you so much!...you have inspired me!!!!

Cheri (not verified)

Mon, 01/02/2012 - 09:58

I LOVE this bed. Would you mind sending me your sketch up and plans as well? Thanks so much and have a blessed and happy new year!

Jenny Briggs (not verified)

Mon, 01/30/2012 - 06:12

Hi, your bed is beautiful, could you please send me your dimensions, I would like to attempt, making this but kinda do an L, with a twin, and then a toddler mattress, at the head, the smaller mattress, would be like the short side of the L! Very new to this, but I would like to give it a go!

Guest (not verified)

Sat, 02/04/2012 - 09:35

Uli,

I love this so much and as others have said...it is the exact height I think I would need. This is my first solo project (without help from the man in my life) and i would love all the help I can get. Could you send me your plans for the hybrid? email address is [email protected]

Thanks much,
Raven

RachaelA (not verified)

Thu, 04/12/2012 - 10:31

Do you have a mertials list you used to buy the wood, etc for this bed. We are wanting to build a similar bed and add a trundle drawer underneath. Any guidance you can provide would be great!

Rach

RachaelA (not verified)

Fri, 04/27/2012 - 10:54

We figured it out and added one more layer to the project. We are combining the simple daybed, farmhouse daybed and trundle. So far so good.

Kris Frye

Wed, 02/25/2015 - 20:15

That's exactly what I want to do. I cannot download Google SketchUp, (It requires Windows 7 or newer. I am still running XP.) so I cannot access the plans provided. Could you please share yours? I also need the bed to accommodate XL twin mattresses (upper and lower beds). I could make those adjustments to your plans if need be.

Judith (not verified)

Wed, 05/09/2012 - 01:39

Hi Uli, I just love your bed, I'm new to building your own furniture but since I saw your bed I wanted to build it so I'm doing it. So far I have made the laterals and the back panels and now I'm putting it all together. I have some questions and maybe you can help me... you used bed brackets for the back panel, how did you put these so that they won't be seen? did you put them in the top and bottom of the panel?

Thank you very much

Judith

kad050209 (not verified)

Thu, 06/28/2012 - 10:14

Hey! I love the way you used the farmhouse bed for this daybed. It's perfect for what I'm looking for. I wanted to make my daughter the farmhouse bed but, we always wanted a daybed at the same time. This is perfect. Do you have any plans you can share with me so I can start making this? Thanks! [email protected] is my email if needed

SerinaDee (not verified)

Tue, 07/17/2012 - 10:26

I absolutely LOVE this bed and it is exactly what I want. I know many people have asked for the sketches, sooooo if anyone has received them, could they please forward them on to me??? (of Uli, if you see this and you have them) I would greatly appreciate it. You should definitely post this as a plan post because I'm sure many others would love it!

my email is [email protected]

THanks so much in advance!!! :) :) :)

Jason Lebo (not verified)

Thu, 07/19/2012 - 12:58

Hi Uli,

Outstanding work. I am going t make this for my 2 year old son. Quick Question.

I am confused about how to attach the posts to the panels for the head board. I assume you drill in from the far left and right of the posts? Do you use wood putty to hide the holes later? Could you use pocket holes? Or would that not be as structurally sound. Any advise would be appreciated.

From the instructions:

Now attatch the 4x4 posts to the panels. Make sure you pre drill half way through the post and use the 4 1/2" screws. Line the top edges of the panel and the post, keeping everything square as shown. Screw into the panel where it is sandwich 3 boards thick. Put at least 6 screws in each post.

Renee Glaze (not verified)

Fri, 10/12/2012 - 20:37

Can you send me a copy of the plans for the daybed. Does it have a regular mattress or just covered foam. Thank you

Val Manchuk

Sun, 04/07/2013 - 10:27

This is a great idea for a spare bed in our home office. Under bed drawers would be a good place for oir storage, too.

josie.a.richard

Sun, 09/28/2014 - 06:43

I LOVE this. Could i please get a copy of your sketch/plan? I am very new to this, and I don't think I could recreate one myself just yet!

Thanks

J

Small raised planter stand

Submitted by Anonymous (not verified) on Fri, 06/10/2022 - 17:04

Plan to use as a cooler :) adjusted dimensions to fit a bigger planter box and added some decorative details. It came out great!

Built from Plan(s)

Comments

Shoe Bench

Submitted by jkp3897 on Tue, 08/02/2011 - 16:22

I saw the shoe dresser plans and liked the idea of getting the shoes out of sight! Then I decided to modify that plan and turn it into a bench that you could sit on while putting on your shoes! So this is what I came up with using a 2x12 for the top and 2x6's for the legs. The drawer part is pretty much the same as in the shoe dresser plans. It's 4 feet long and 19 inches high. It's already been in use and we love it! With 4 kids, the number of shoes can add up quickly! I have a second bench sanded and ready for assembly!

Built from Plan(s)
Estimated Time Investment
Day Project (6-9 Hours)
Finish Used
Polyurethane - 3 coats
Recommended Skill Level
Starter Project

Comments

My Simple Outdoor Sink

Submitted by kmatt55 on Sun, 08/14/2011 - 16:46

I finally completed the last piece to my customized simple two-toned outdoor collection...an outdoor kitchen sink!!! It still needs a couple of touch ups... but more on that later. This is by far my favorite and easiest project to date. We plan on using this as a grill caddie/garden station. This will eventually go onto a 24x12 deck up against our kitchen window (The indoor and outdoor sink will be against each others backs). I decided to go with the Sturdy Workbench plans for the base mainly because of the weight. We wanted something that's going to be difficult to move since it will be hooked up to outdoor plumbing. I used treated 2x4's for the base, cedar 1x4's for the top. I bought the bar sink for about $70. I also used a Kreg Jig to screw in the cedar slats from underneath so the screws won't be visible from the top. FYI - Wait a couple of weeks before you paint soaking wet treated wood. The green chemical from the 2x4 is starting to leak through my white paint. I'll have to go and prime/paint it again when it finally dries. Other than that, it came out 10 times better than I could ever imagine.

Built from Plan(s)
Estimated Cost
$120 ($70 for sink and hardware)
Estimated Time Investment
Weekend Project (10-20 Hours)
Finish Used
Thompson's Water Sealer, semi-gloss exterior white paint.
Recommended Skill Level
Beginner

Comments

Vegasboiz

Sun, 09/29/2013 - 08:16

I love the sink table a lot. I have been looking for one for a long time. Can you tell me what is the length, width, and height for this table. Thank you very much. Jimmy

Farmhouse Bed

I built this bed as a modified farmhouse bed. I chose to have a solid wood headboard instead of having a slotted look as it fit better in the decor of our home. I purchased a bed rail kit from Rockler so that I could remove the rails without removing any screws. (http://www.rockler.com/product.cfm?page=5783) It was a relatively easy project considering my skill set was very low when starting! http://www.lifewithfingerprints.com/2010/09/labor-of-love.html

Built from Plan(s)
Estimated Cost
$110
Estimated Time Investment
Weekend Project (10-20 Hours)
Finish Used
I used a satin black paint finish with a polyacrylic coating.
Recommended Skill Level
Beginner

Comments

Custom Sandbox with built-in seats

Submitted by Ljmommy on Sat, 09/28/2013 - 10:13

On this project we modified a few things like the arm rests which we cut at an angle to keep kids from pinching fingers in there if someone decided to move the bench back on them. We also modified the size which we made 6'x4' to maximize play sand space and kid space. Therefore this made our benches bigger so that big kids (my husband) could sit on the benches and play in the sandbox. Yes there was talk about putting cup holders but I won the conversation by mentioning sand in his drink and we would have to do a sippy cup. We notched out the handles instead of installing handles which made it look sleek. We used the template from the hinge so it matched the shape....clever huh? We decided to primer and paint this one sandstone in the brick and mortar sample book by Behr and had them put it in an exterior paint color for us. We used a wagner paint sprayer which made the project fast at the end. Overall still an easy project for anyone. I do suggest pre drilling all holes first before screwing in screws so the wood doesn't split when doing the slats on the top.

Built from Plan(s)
Estimated Cost
$50-$75
Estimated Time Investment
Afternoon Project (3-6 Hours)
Finish Used
Primer/Paint
Recommended Skill Level
Intermediate

Comments

DIY farmhouse table

Submitted by Anonymous (not verified) on Wed, 12/28/2022 - 16:05

A farmhouse table I built based on one of your inspiration projects! All by hand and chiseled myself 😍

Built from Plan(s)

Comments

Recycling Bin Cabinet

Submitted by Anonymous (not verified) on Thu, 03/07/2019 - 15:14

I just started building "stuff" a few years ago and love Ann's plans. I have built several of your dining and coffee tables. This cabinet was a bit challenging and took me a while. I have had built drawers before but they turned out OK. I really like the top I create from some scrap 1 x 4's. Thanks for the great projects.

Estimated Cost
$100
Estimated Time Investment
Weekend Project (10-20 Hours)
Finish Used
white paint, walnut stain, red oak paint.
Recommended Skill Level
Intermediate

Rustic X Tall Bookshelf

Submitted by Anonymous (not verified) on Sun, 01/03/2016 - 18:26

easy to follow steps. Good weekend project for a beginner. I just got tools for Christmas and I tackled this without prior building experience. Excited for more projects

Built from Plan(s)
Estimated Cost
$75
Estimated Time Investment
Weekend Project (10-20 Hours)
Finish Used
Dark Walnut stain and Sage page with rustic finishing
Recommended Skill Level
Beginner

Outdoor Sectional

Submitted by ghozt21 on Mon, 05/27/2019 - 16:54

I followed the plans as written,  It took me about 6 hours and that includes sanding and staining. Very simple yet offers a very wow finish.  I think in total we spent about $300 for all supplies including cushions which was the most expensive part. I just finished it off with Teak Oil and an Americana theme for our covered patio.  We love it.  

Estimated Cost
$300
Estimated Time Investment
Day Project (6-9 Hours)
Finish Used
Teak oil
Recommended Skill Level
Beginner

Outdoor day bed

Submitted by TamTamW on Wed, 07/03/2019 - 09:28

Loved making this. Used old sun curtains and a sheet for extra splendor. 

Built from Plan(s)
Estimated Time Investment
Weekend Project (10-20 Hours)
Finish Used
None.
Recommended Skill Level
Beginner

Comments

Armoire with Mirror

Submitted by DCecil43 on Mon, 07/08/2019 - 20:12

I didn't find plans that I liked on this site but I took what we had and modified it to be taller and wider.  Drawers are also a lot deeper.  This was a really tough one for me as there was so much going on but in the end, this came out absolutely amazing!

Estimated Cost
$350
Estimated Time Investment
Week Long Project (20 Hours or More)
Finish Used
Minwax True Black Stain and Minwax Satin Polyurethane
Recommended Skill Level
Advanced

Fancy Jewelry Box

Submitted by dland41961 on Fri, 05/05/2023 - 07:59

Fancy Jewelry Box it came out very nice. Made with white oak.

Built from Plan(s)

Comments

Washer Dryer Pedestals Bases

This pedestal base for the washer and dryer really created the perfect opportunity to organize and declutter our tiny laundry room. Had to resize it a bit to fit the space but it turned out perfect! I added a super easy top for an even counter space and bought some stock laundry room cabinets to sit in the back for extra storage. Such an upgrade!

Potting bench

Submitted by Anonymous (not verified) on Sat, 09/21/2019 - 08:52

My good friend asked me to build her a potting bench for her garden wedding reception. She shouted me a photo of one from the internet. I used your plan and made a couple modifications. This is the color she requested and I used Cabot solid stain. I’m not a fan of solid stain and won’t use it again. She loved it.

Built from Plan(s)
Estimated Cost
$85
Estimated Time Investment
Weekend Project (10-20 Hours)
Finish Used
Cabot solid stain

Slatted Sofa Table

Submitted by raybwright on Sat, 02/13/2016 - 09:36

I based this design of the simple Sofa Table by Jenna Sue. Instead of a 2x8 across the top, I opted to use 1x4s side by side. This slatted look matched some of the other items in the house and to allowed me to create two hinged sections. These sections allow for easy access to wall plugs and include small notch for the cables to come through.

Estimated Cost
$35
Estimated Time Investment
Weekend Project (10-20 Hours)
Finish Used
Minwax Wodd Finish Dark Walnut Stain with Minwax Clear Satin Polyeurethane
Recommended Skill Level
Beginner