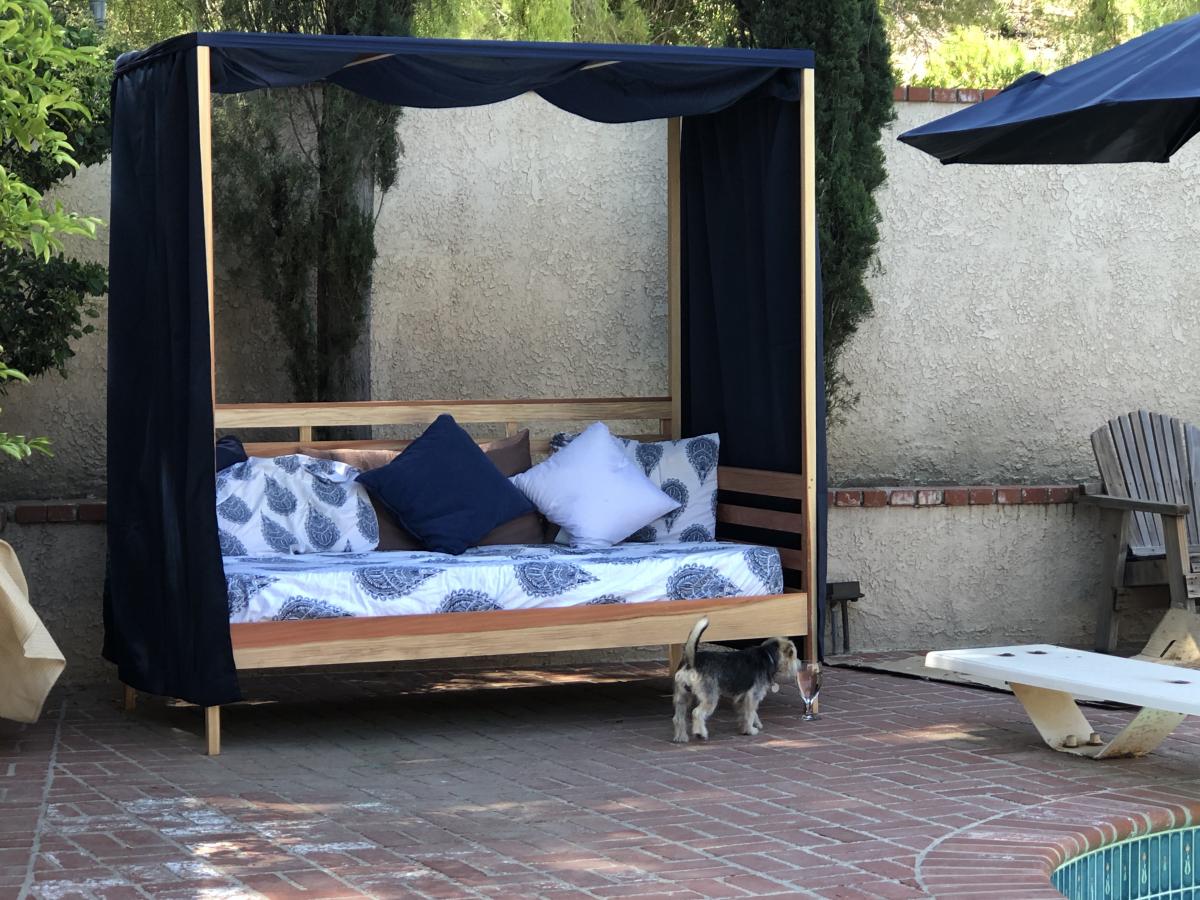
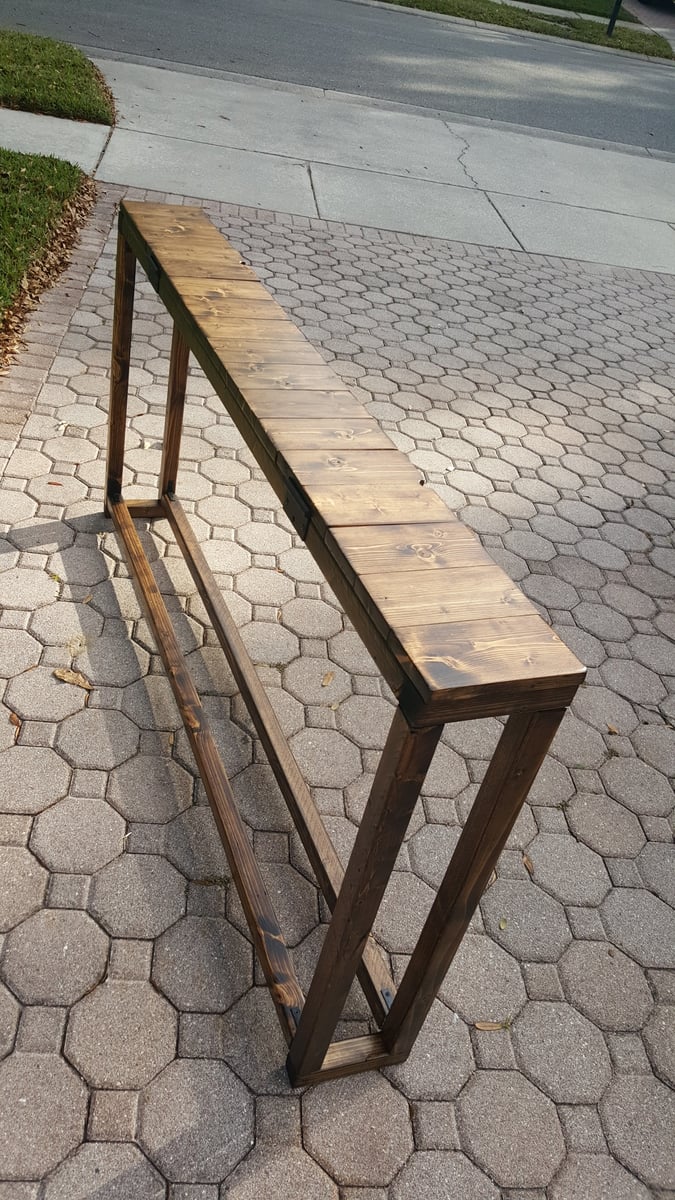
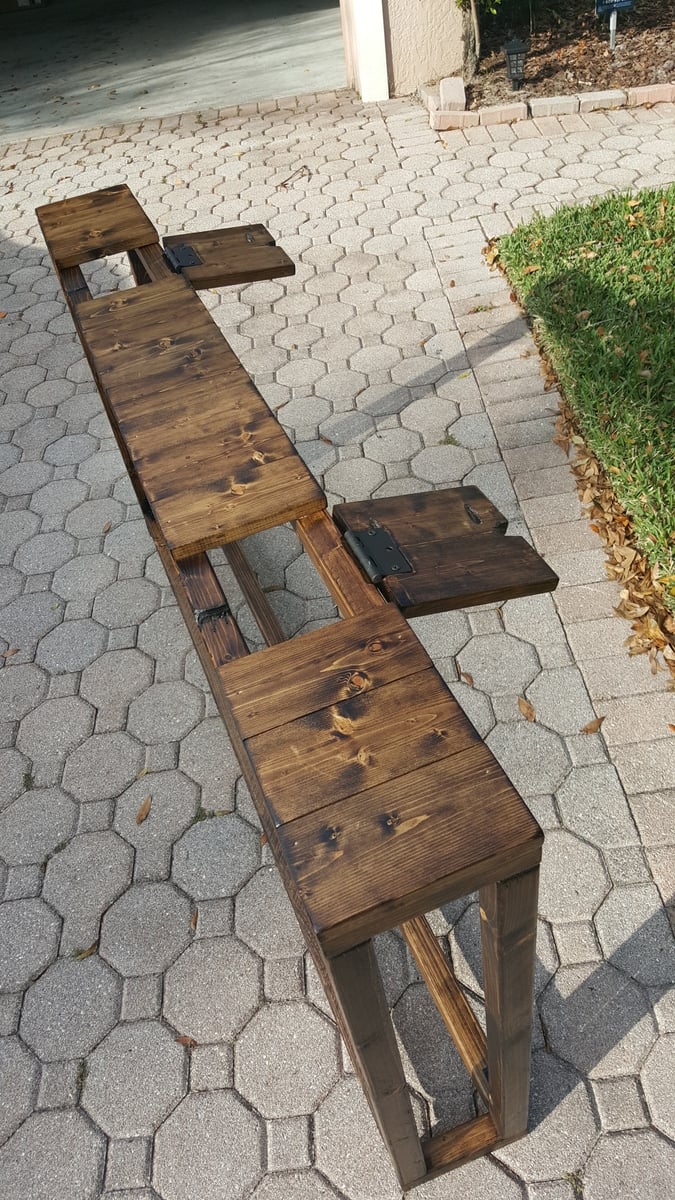
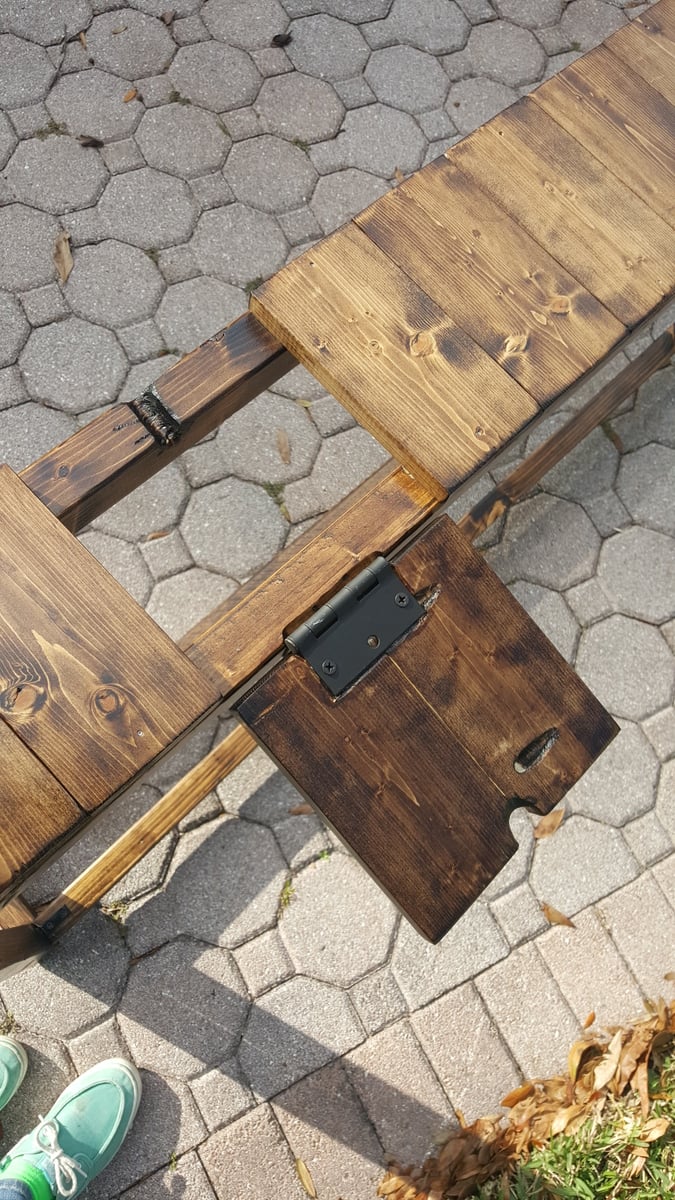
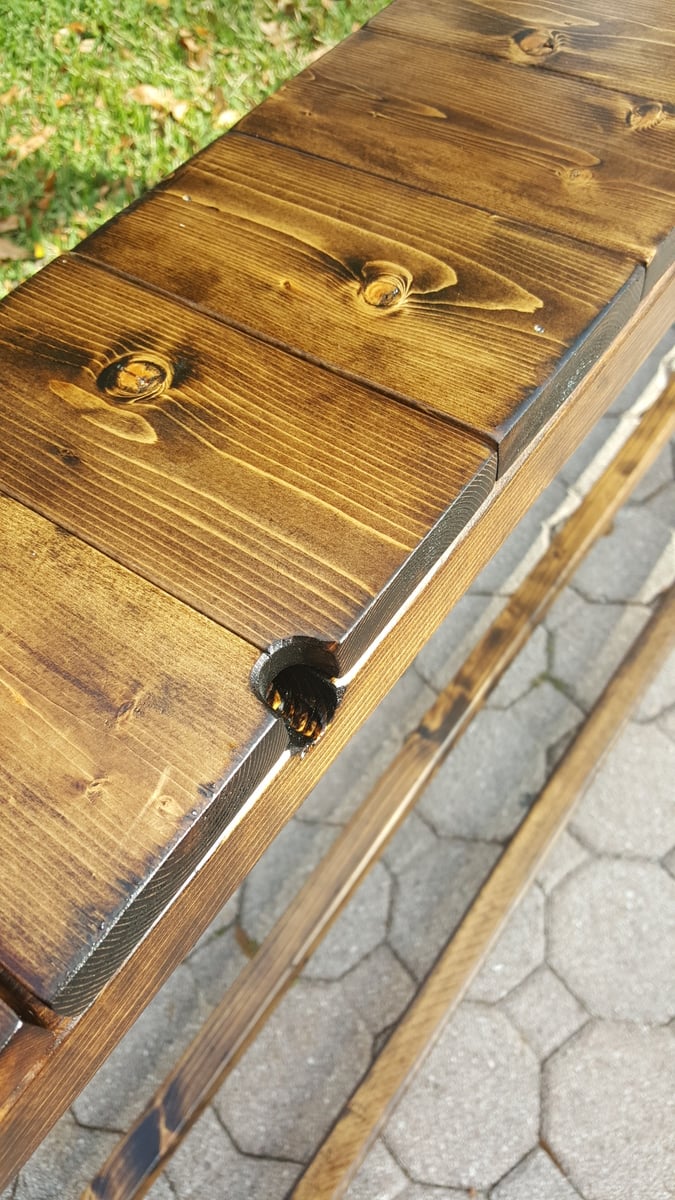
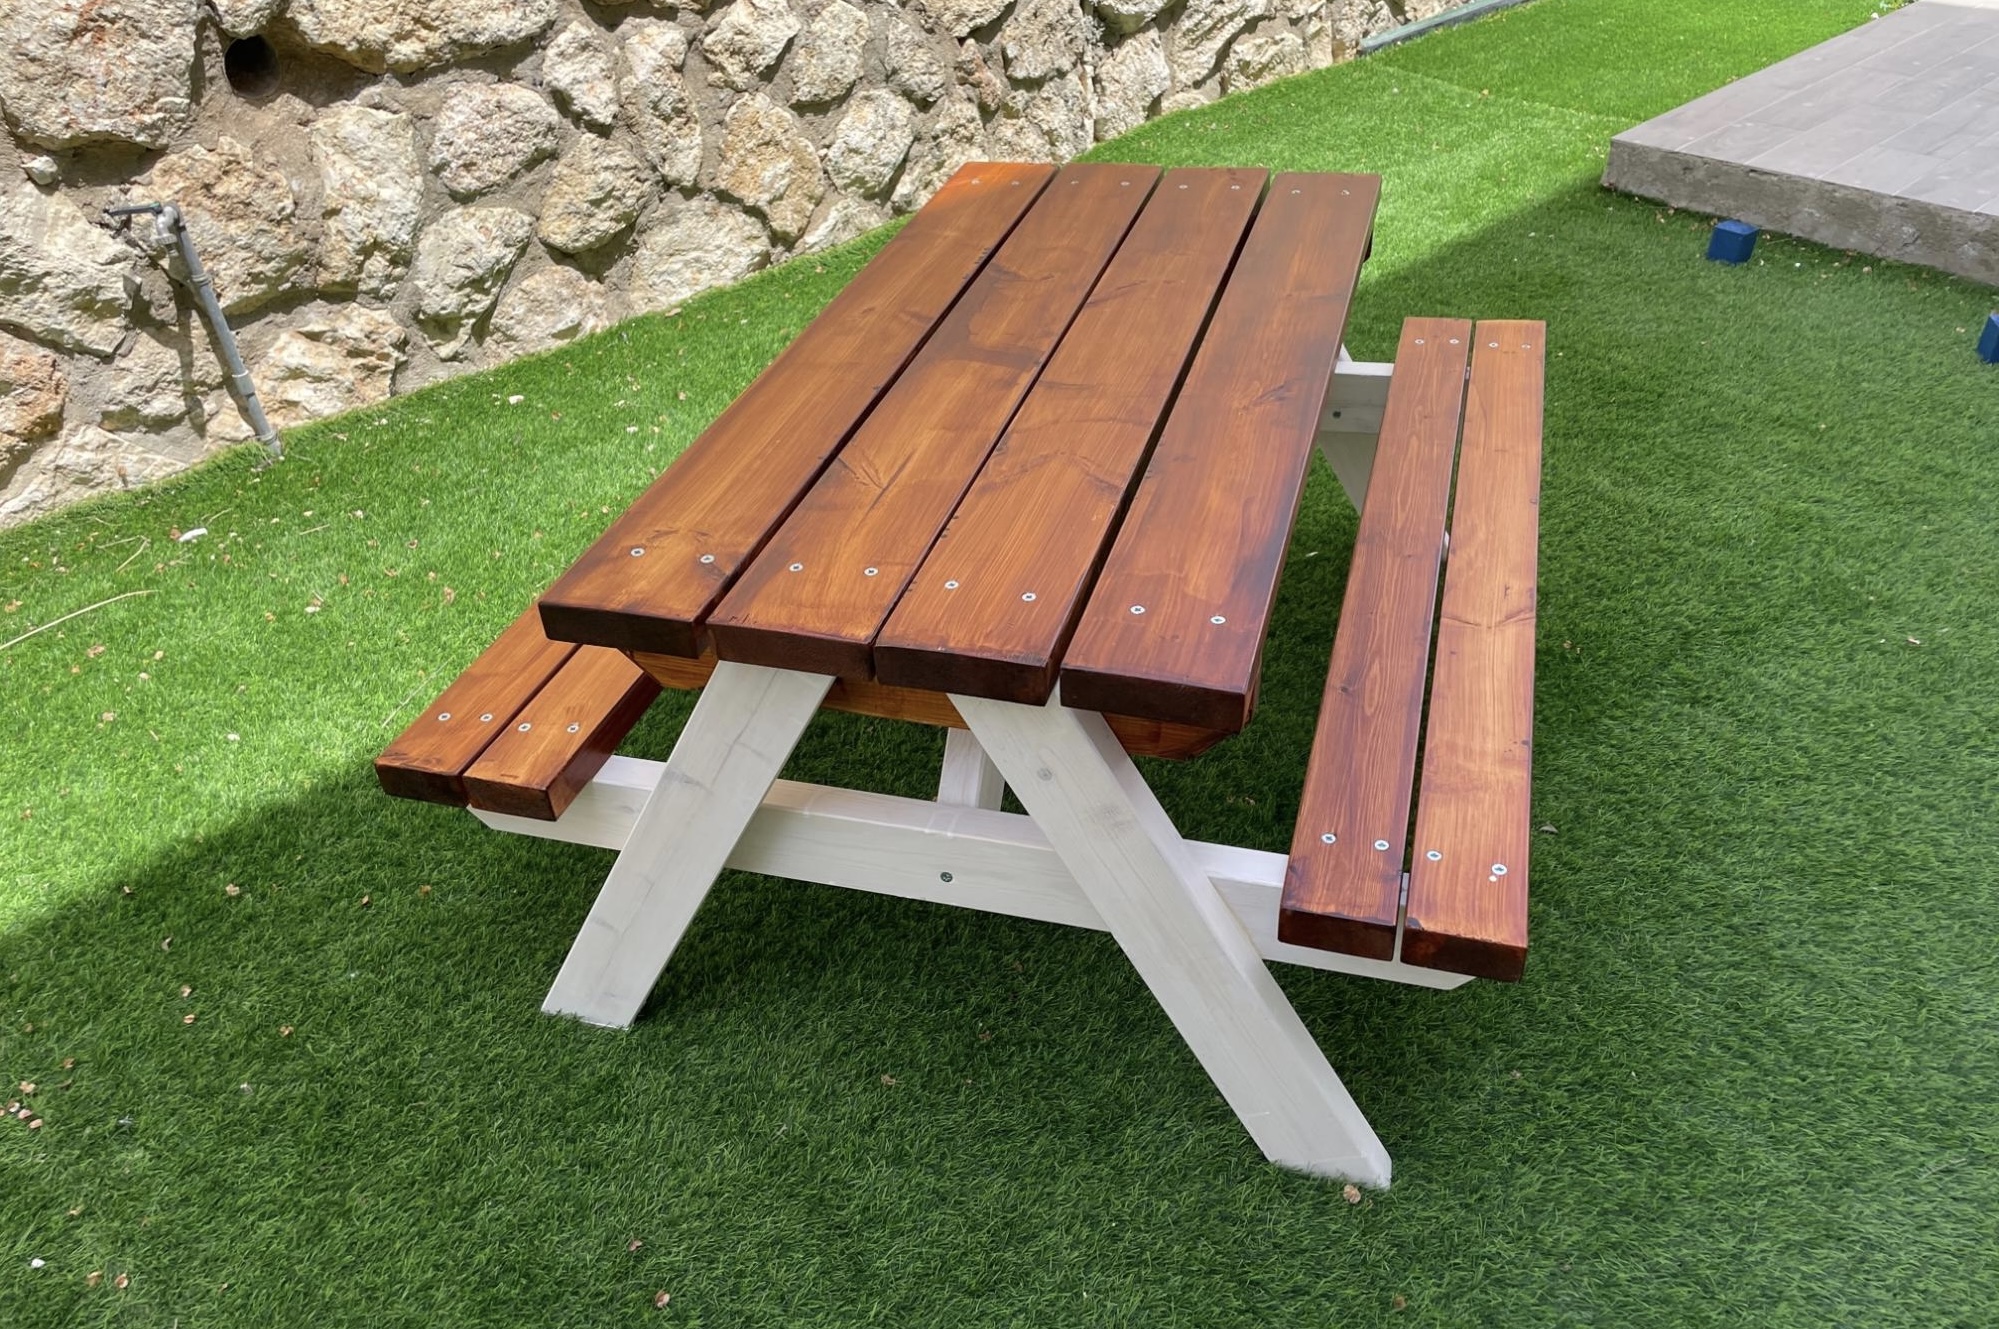
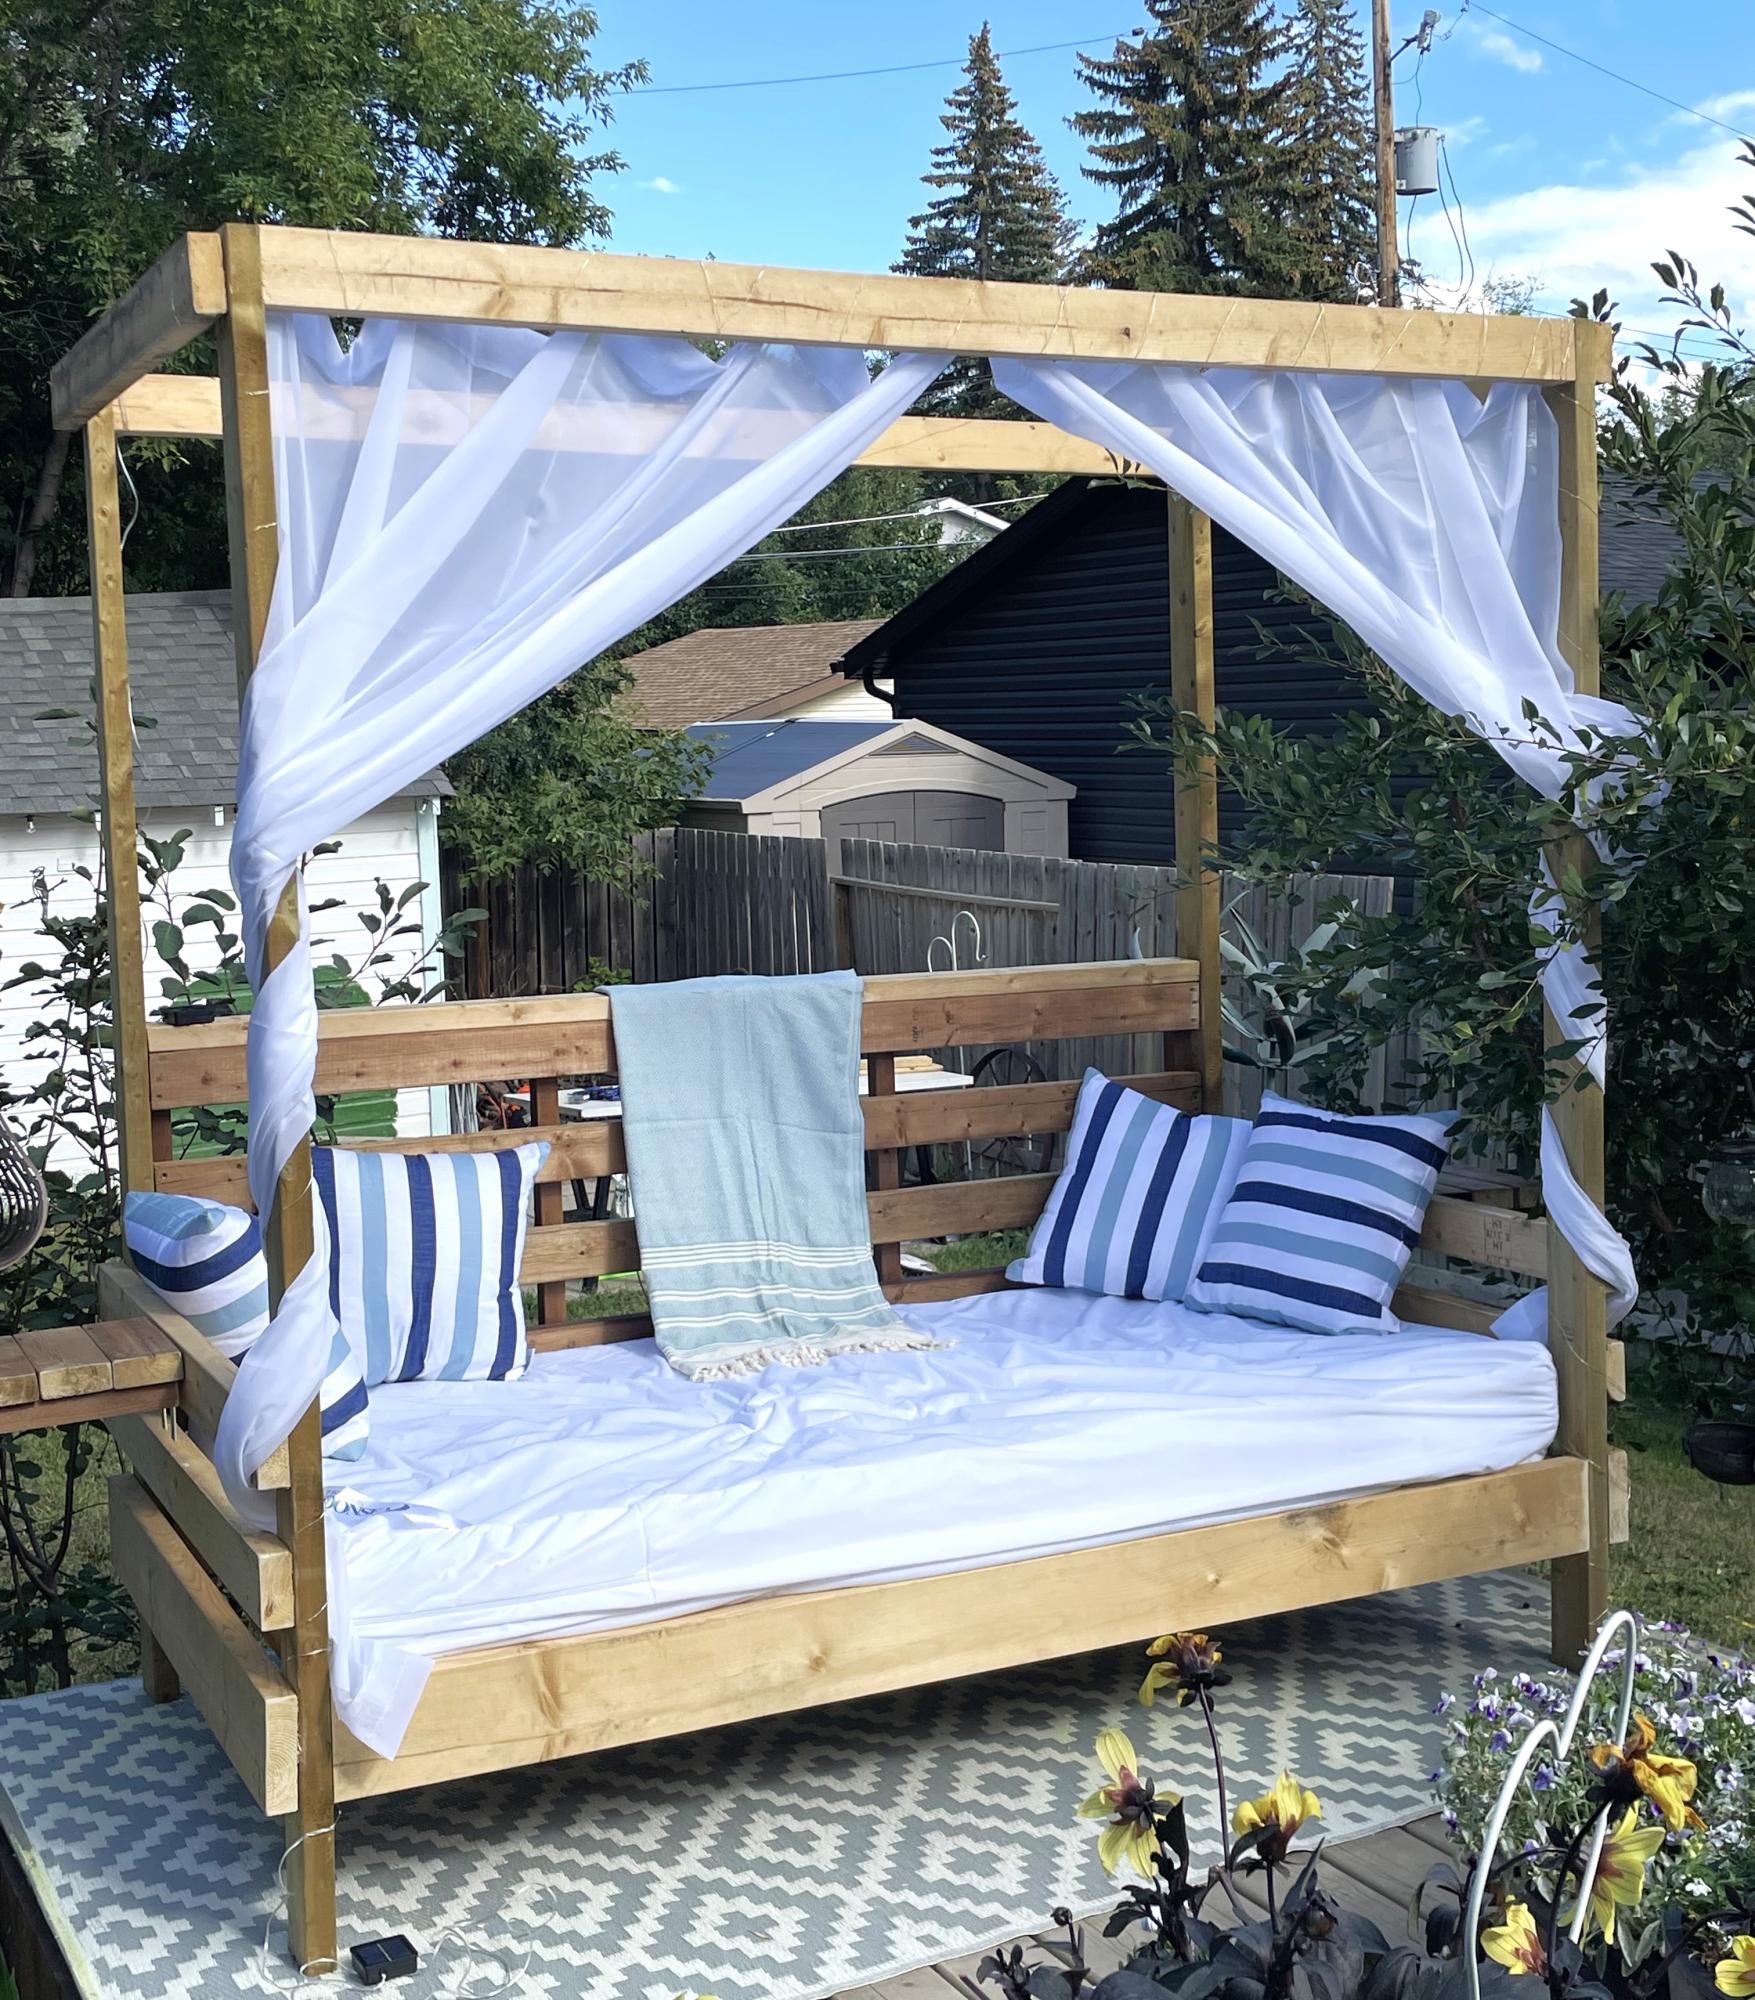
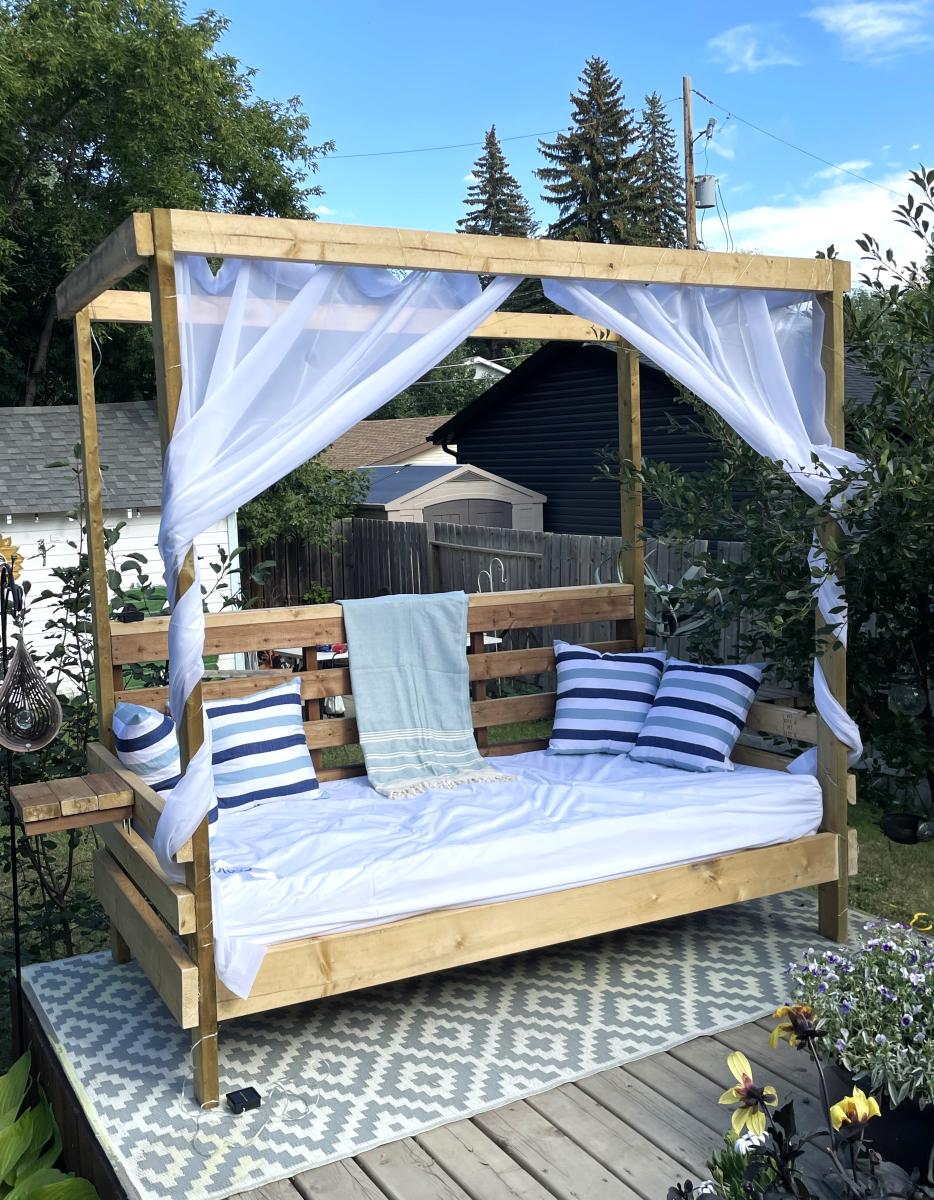
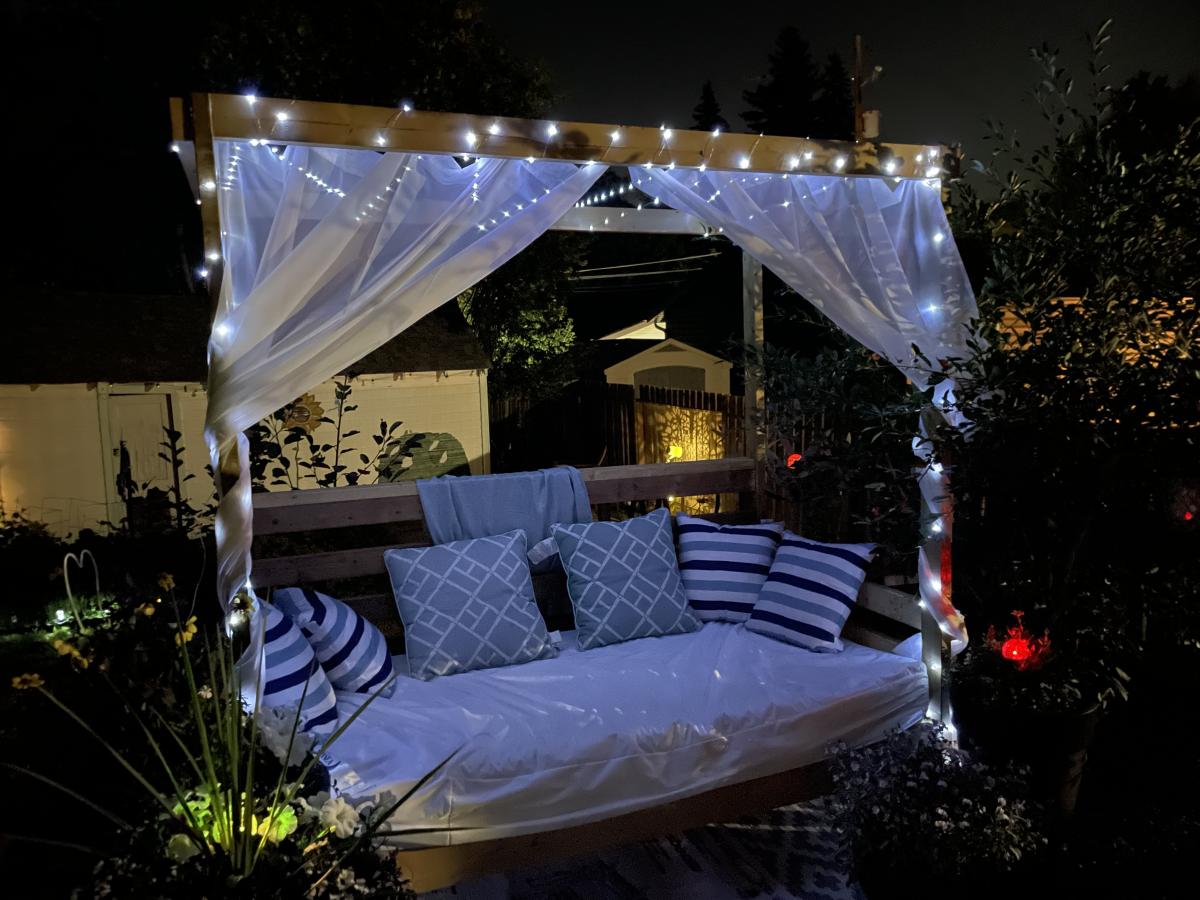
Outdoor Sectional
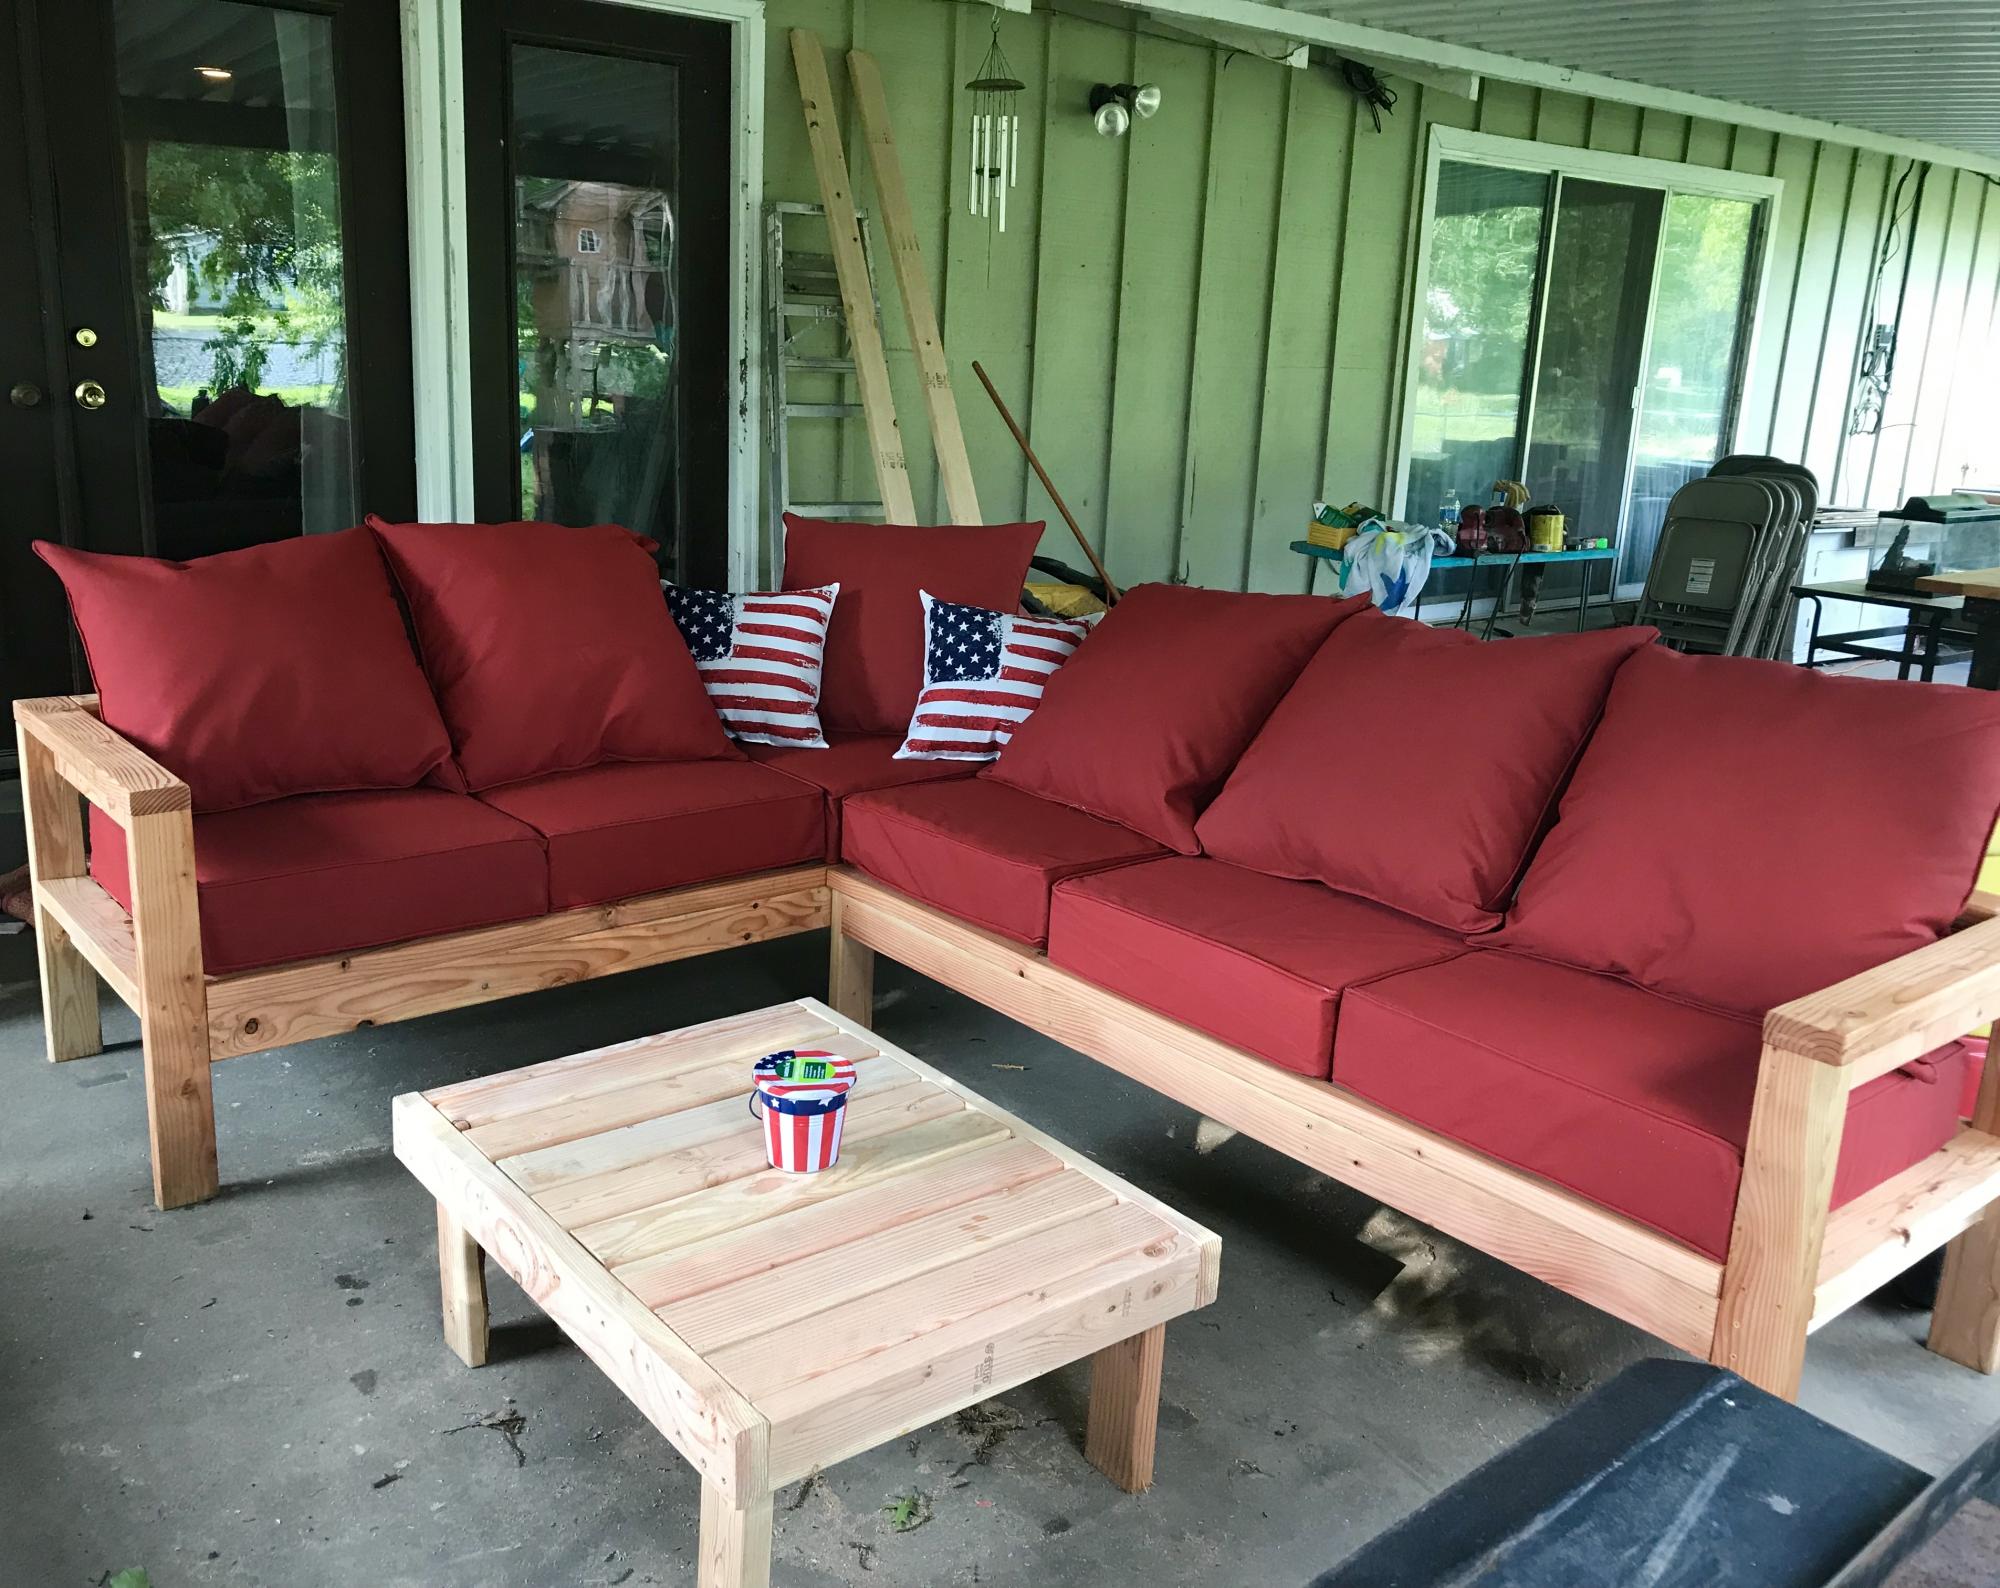
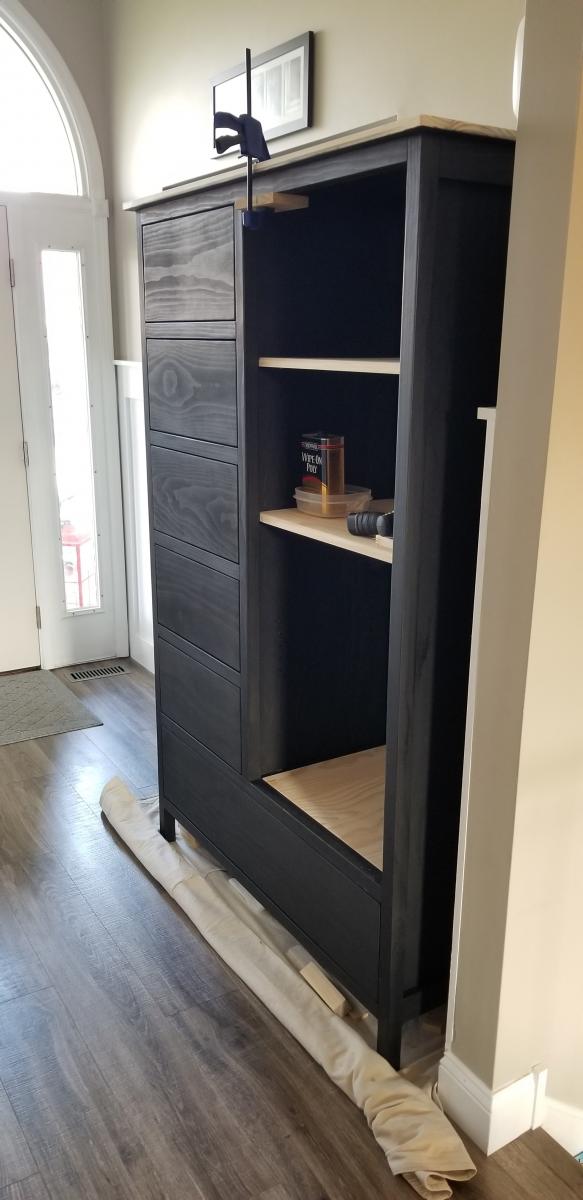
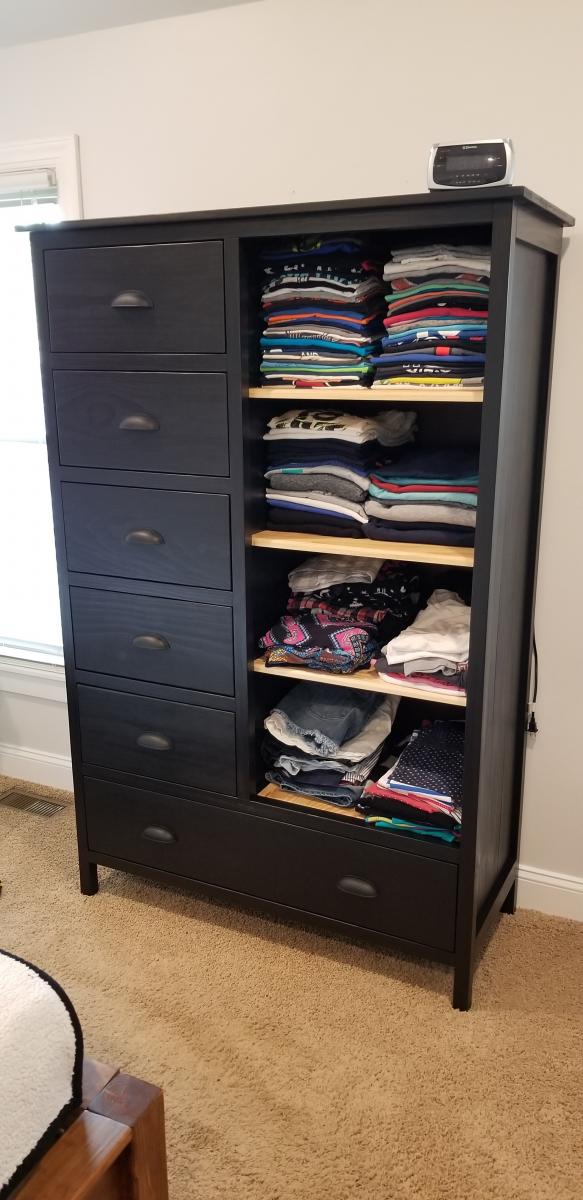
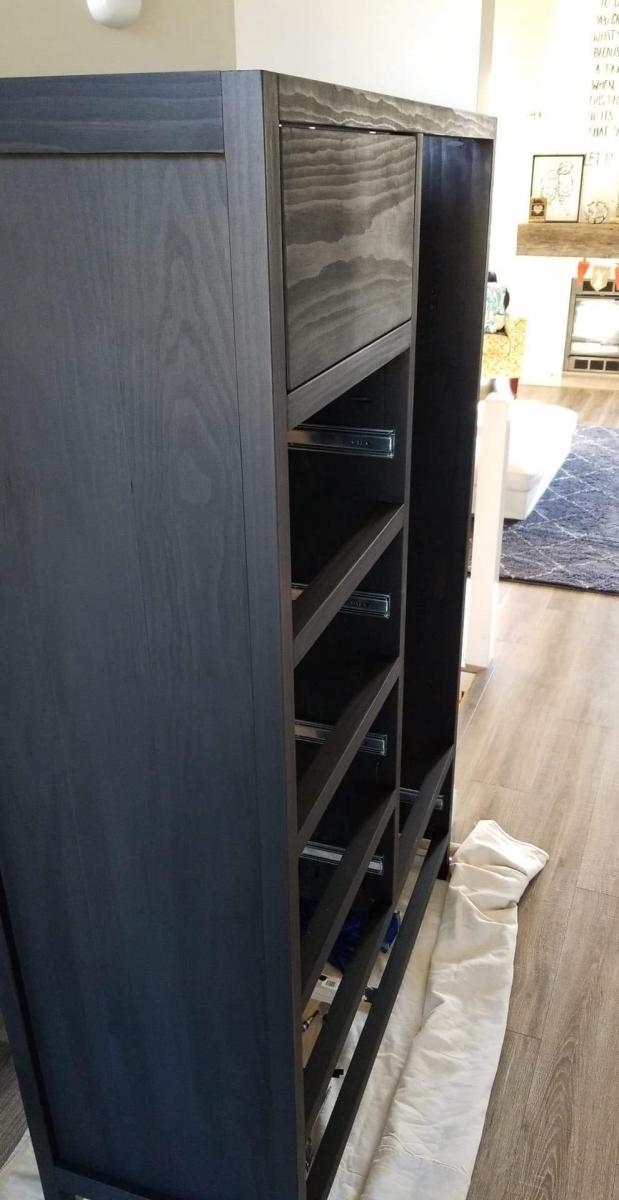
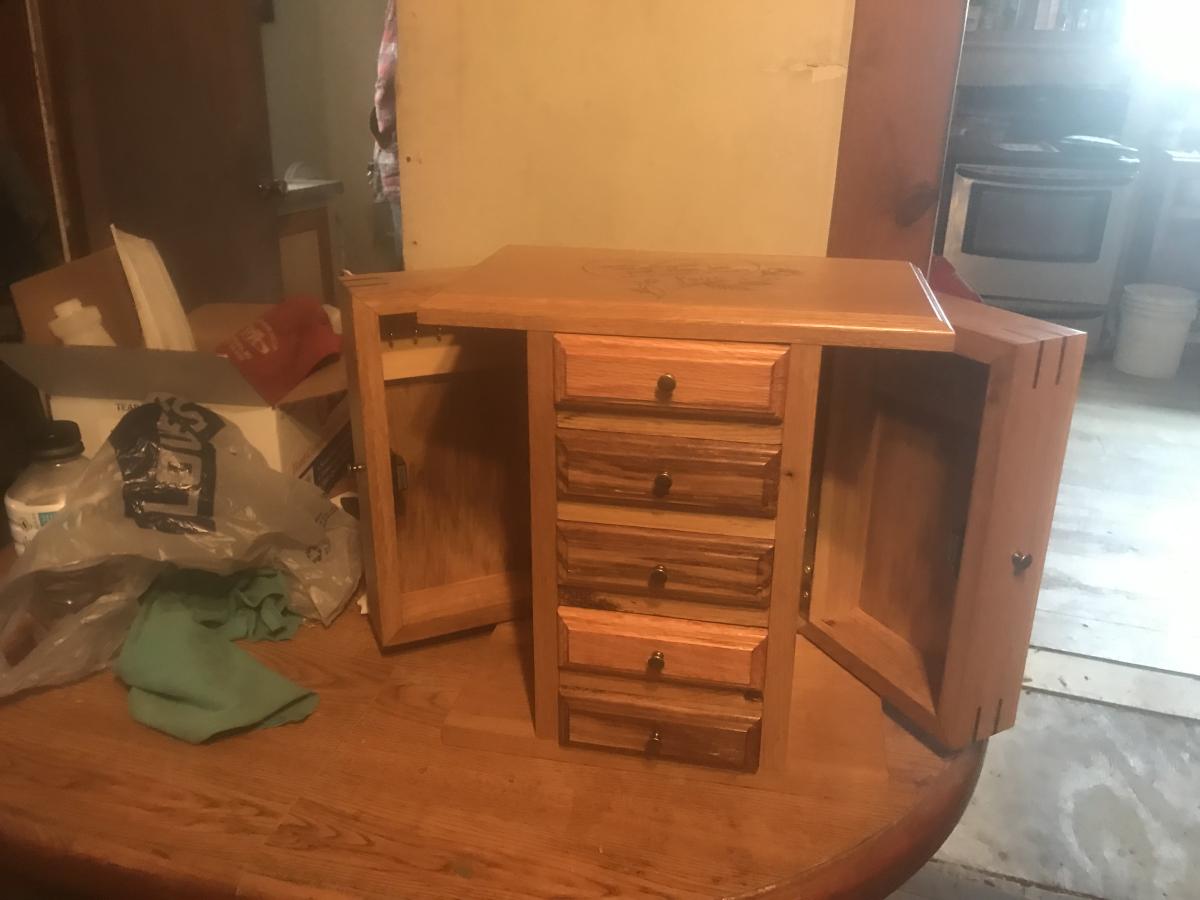
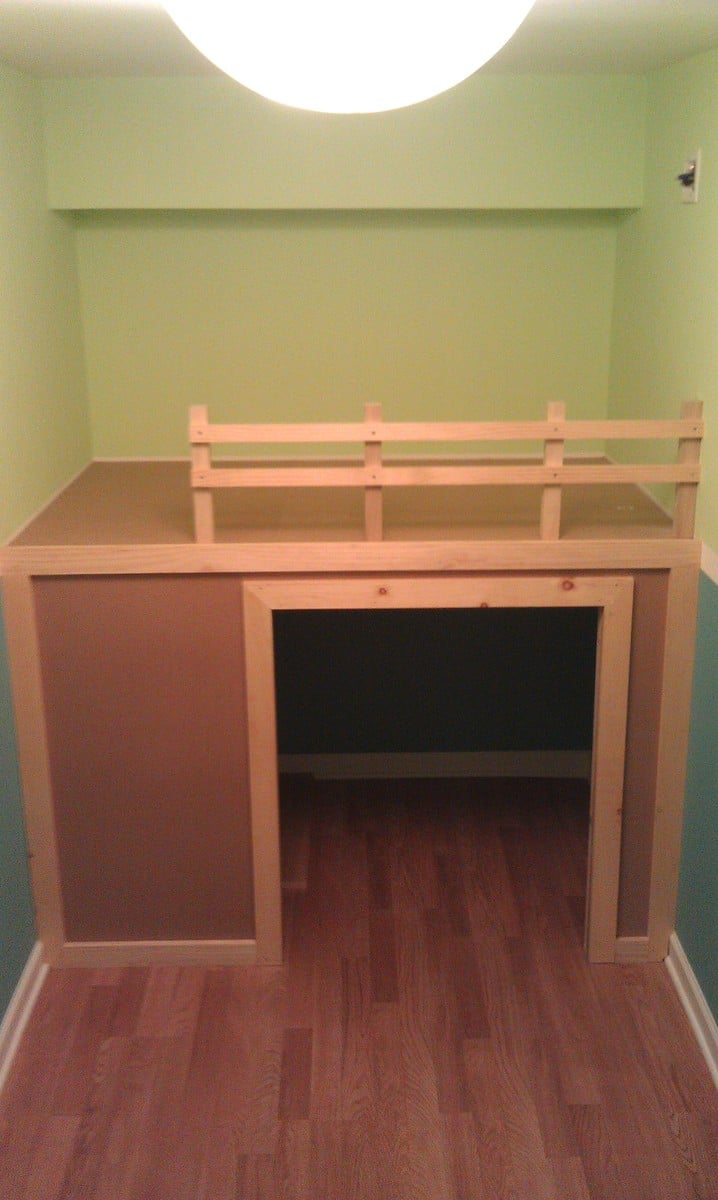
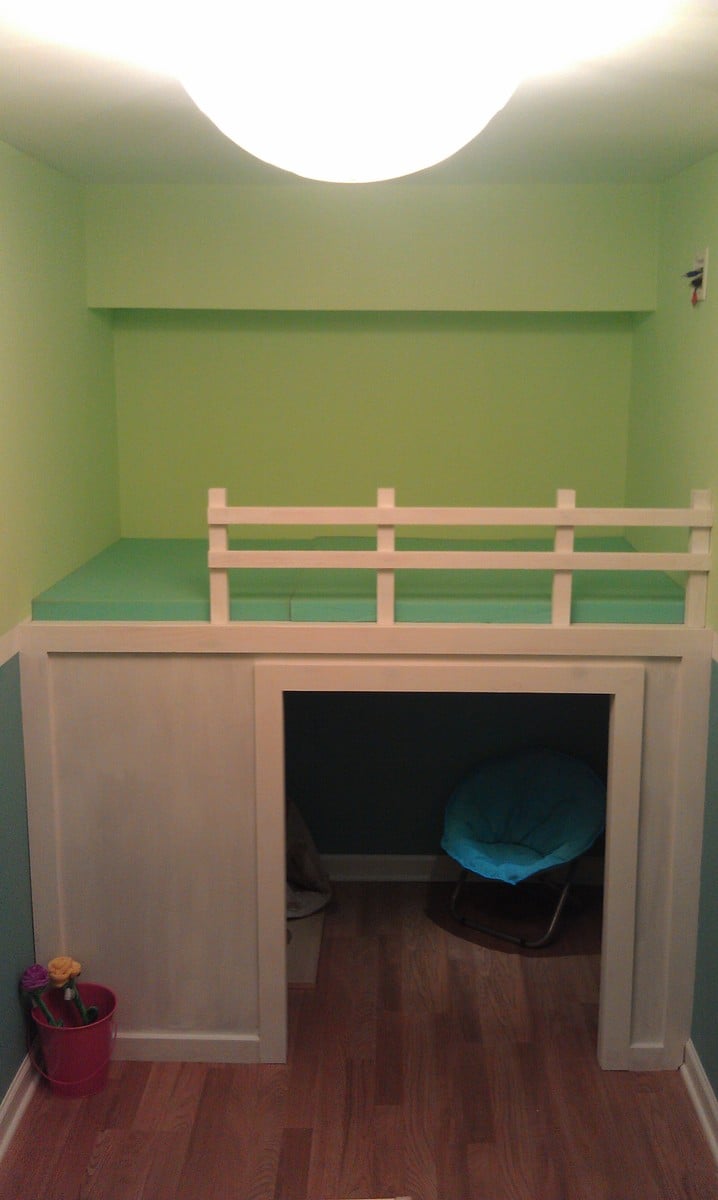
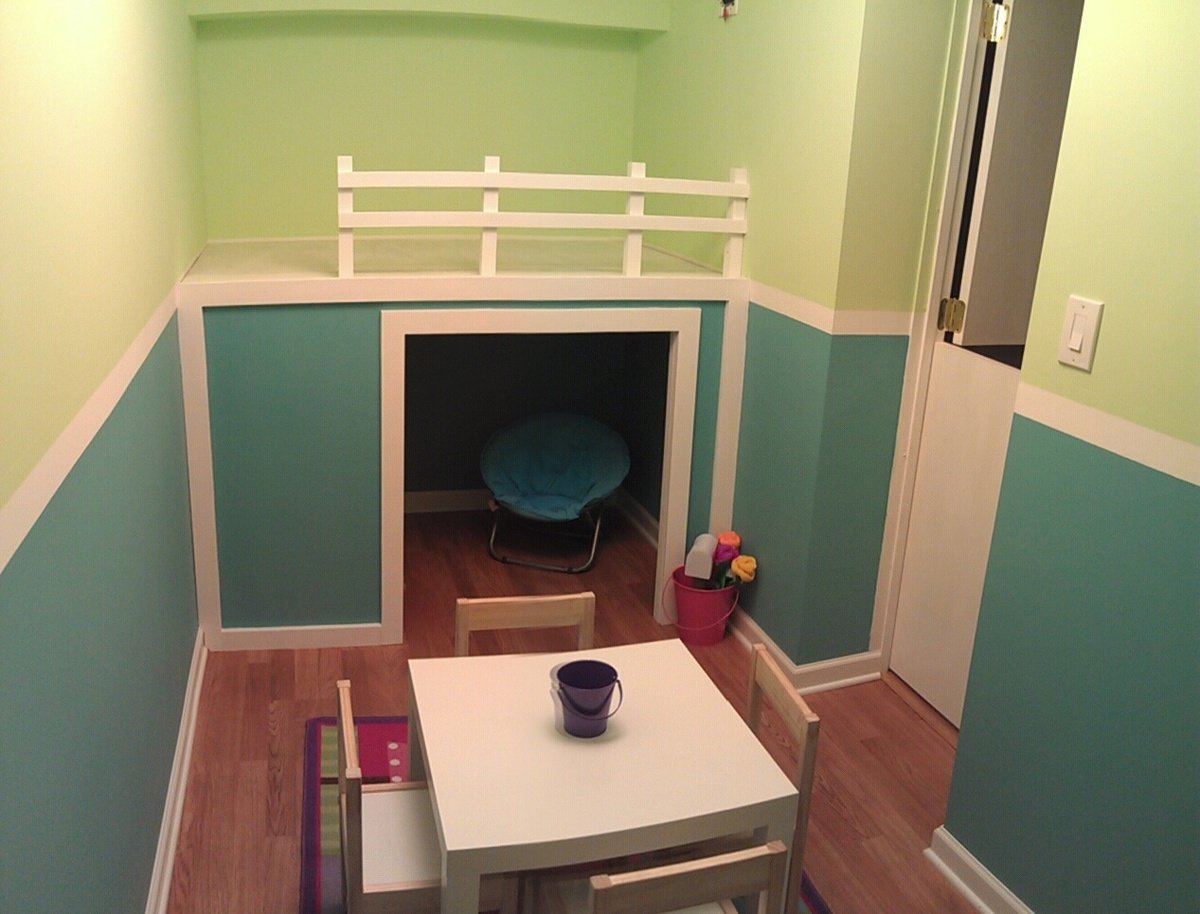
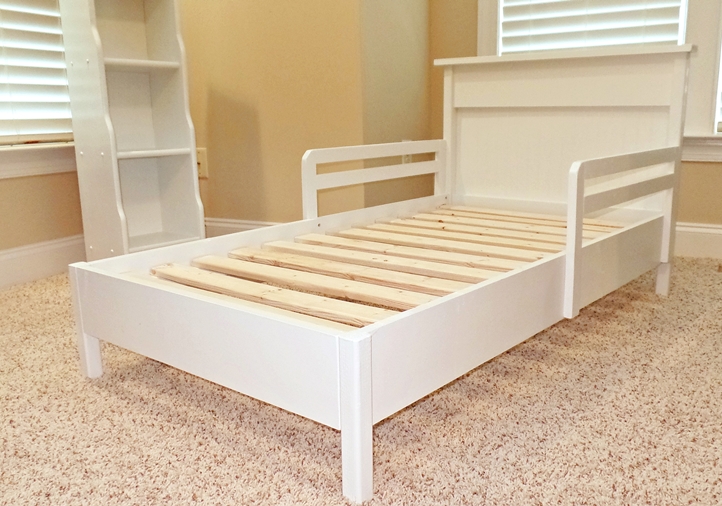
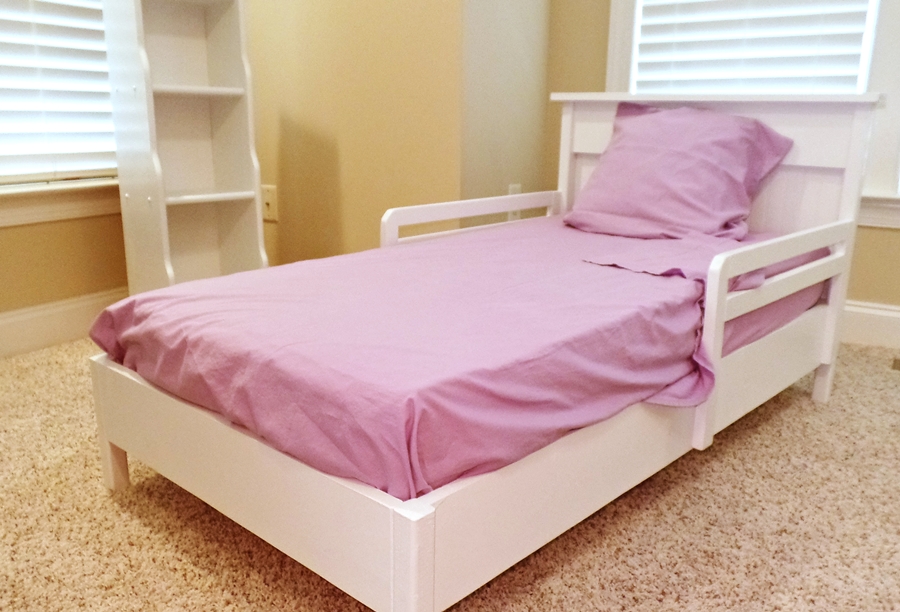
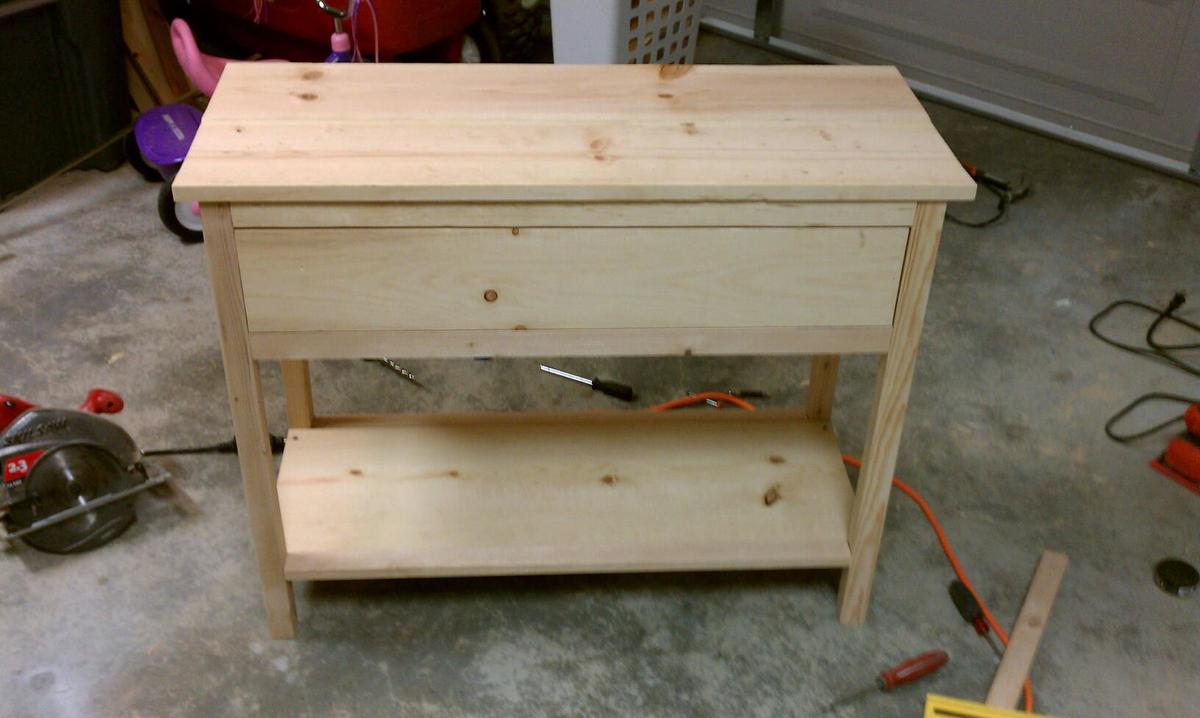
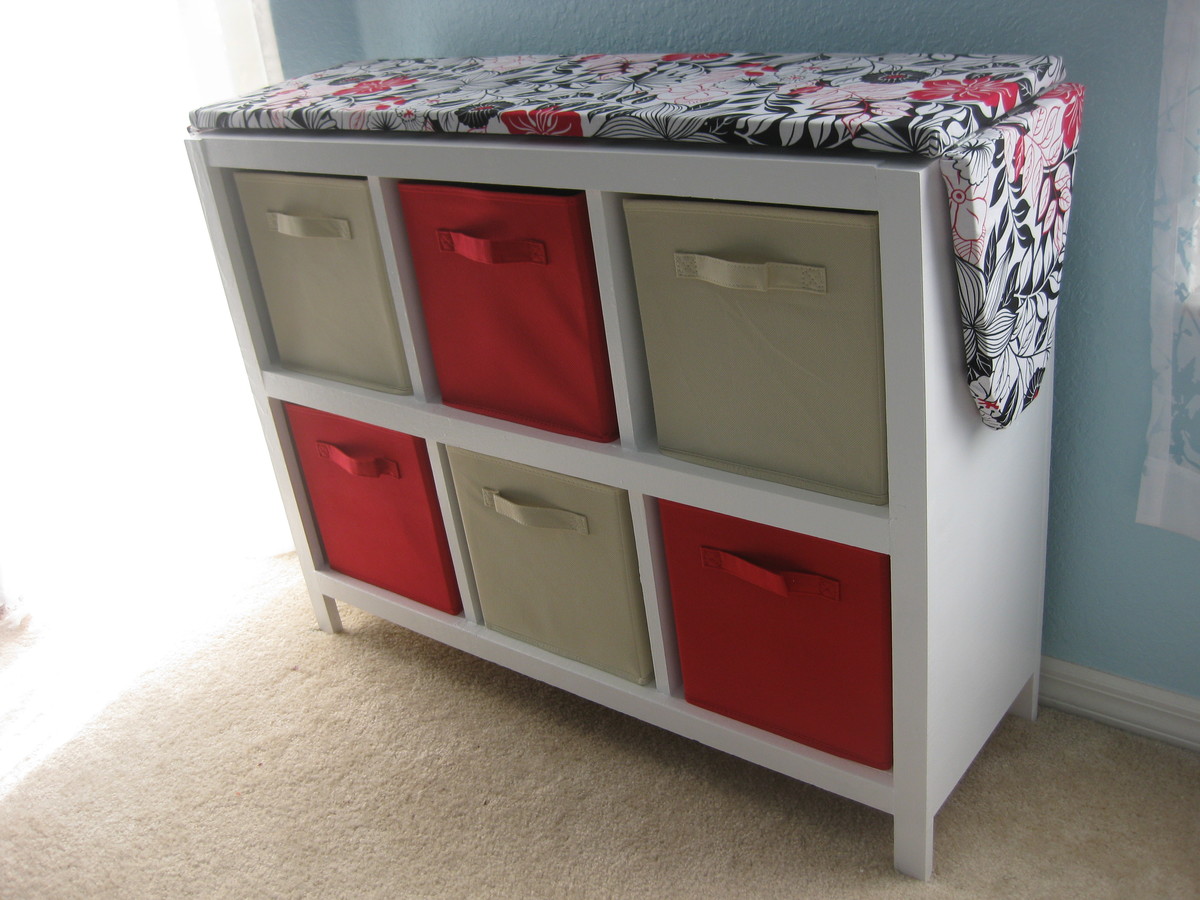
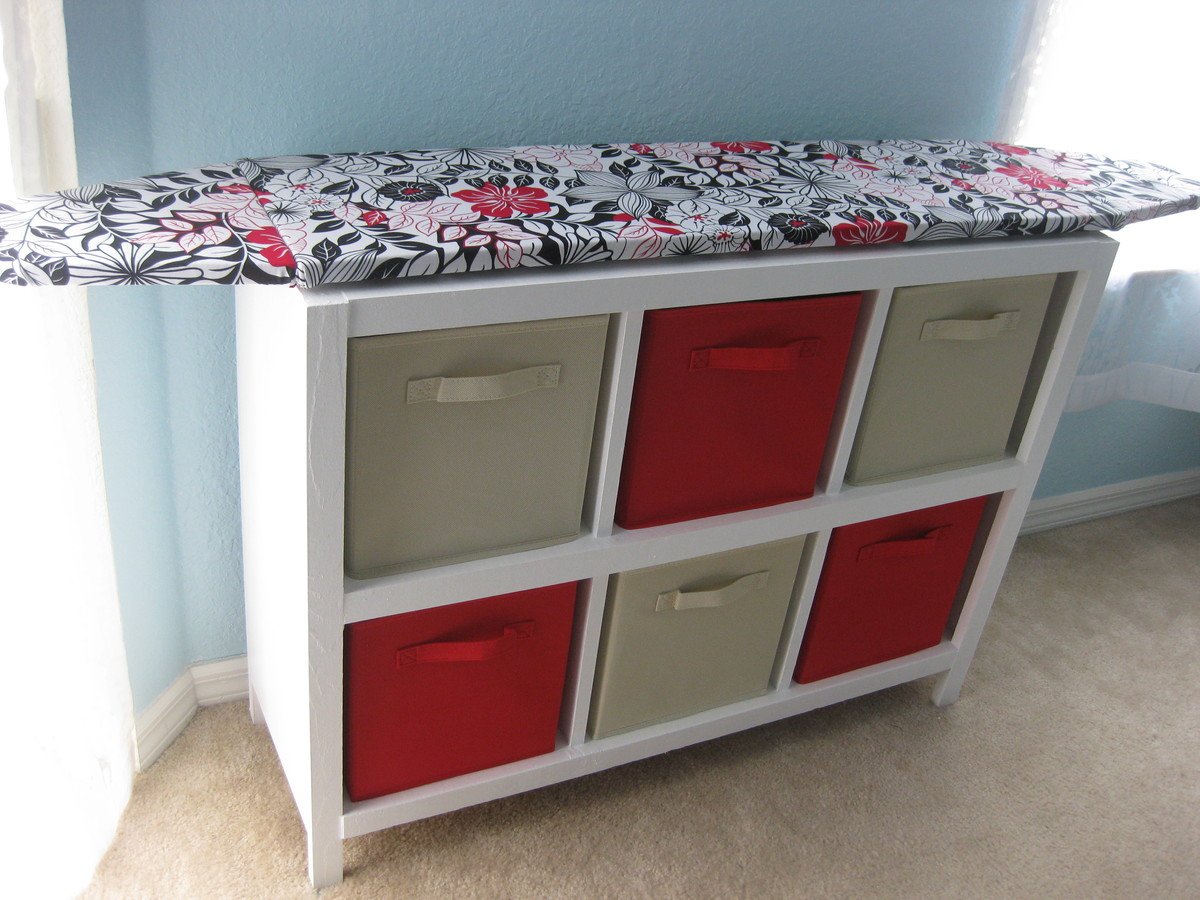
I followed the plans as written, It took me about 6 hours and that includes sanding and staining. Very simple yet offers a very wow finish. I think in total we spent about $300 for all supplies including cushions which was the most expensive part. I just finished it off with Teak Oil and an Americana theme for our covered patio. We love it.
Built from Plan(s)
Estimated Cost
$300
Estimated Time Investment
Day Project (6-9 Hours)
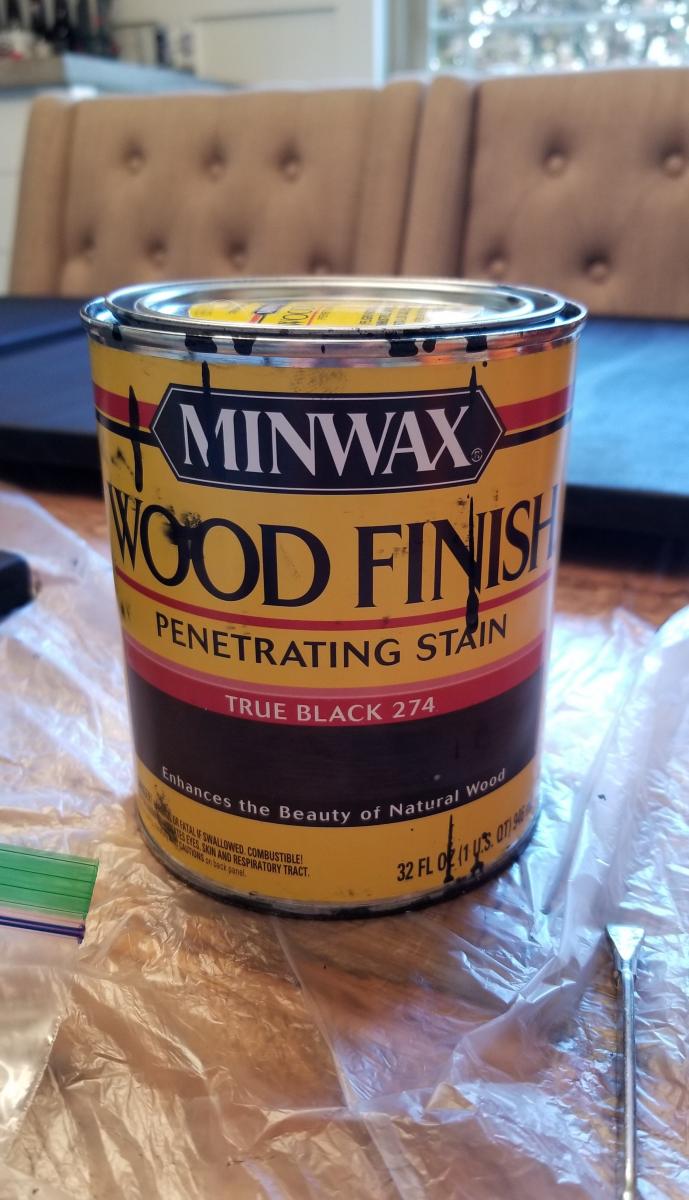
Finish Used
Teak oil
Recommended Skill Level
Beginner