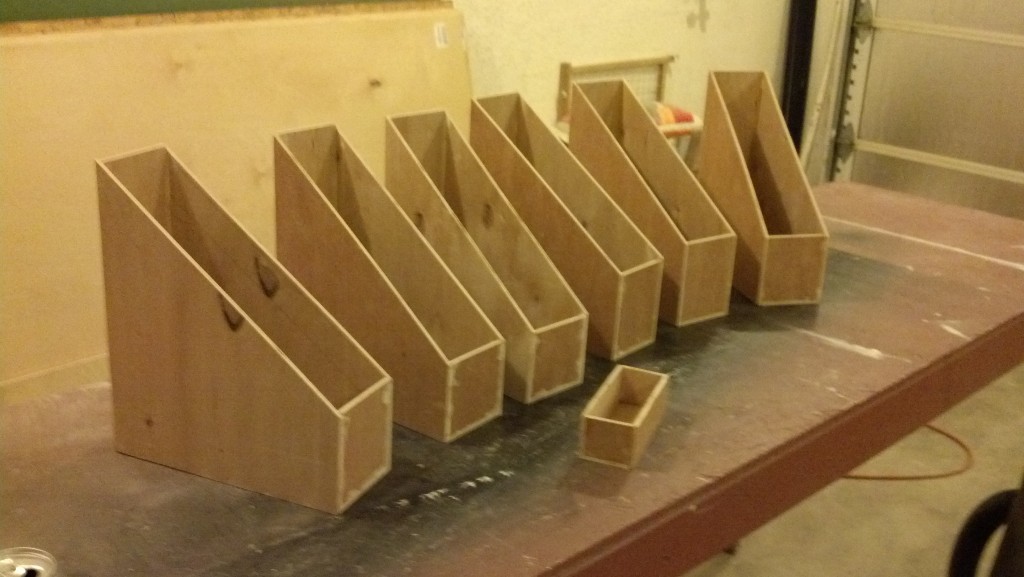
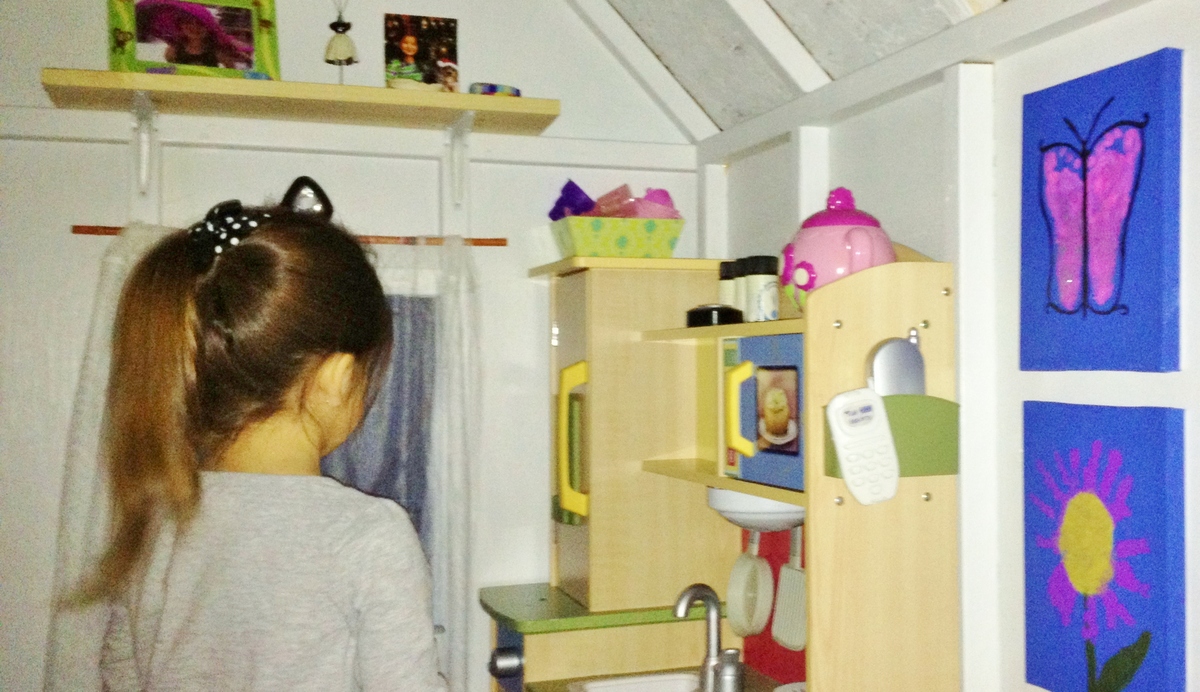
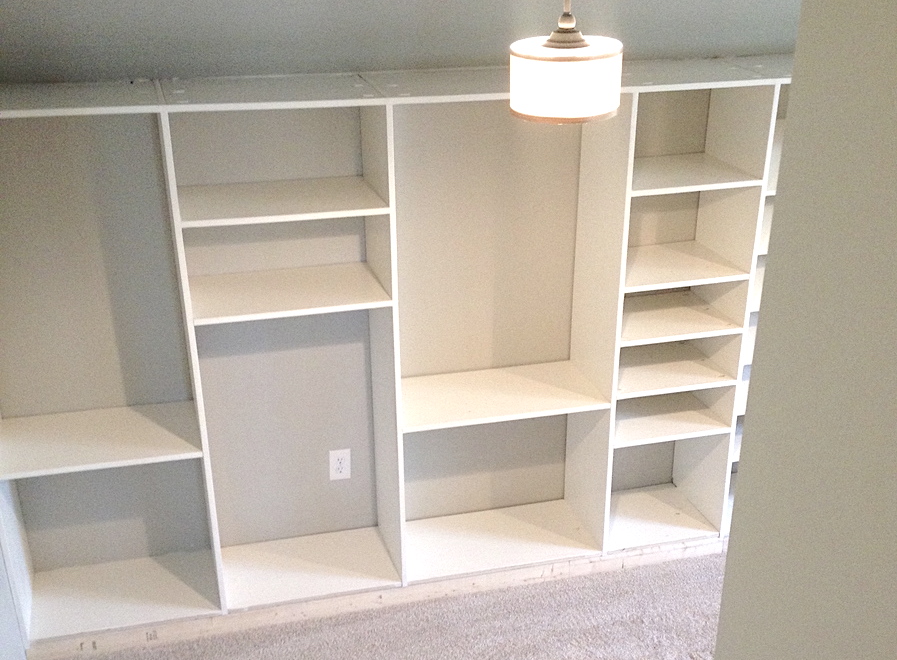
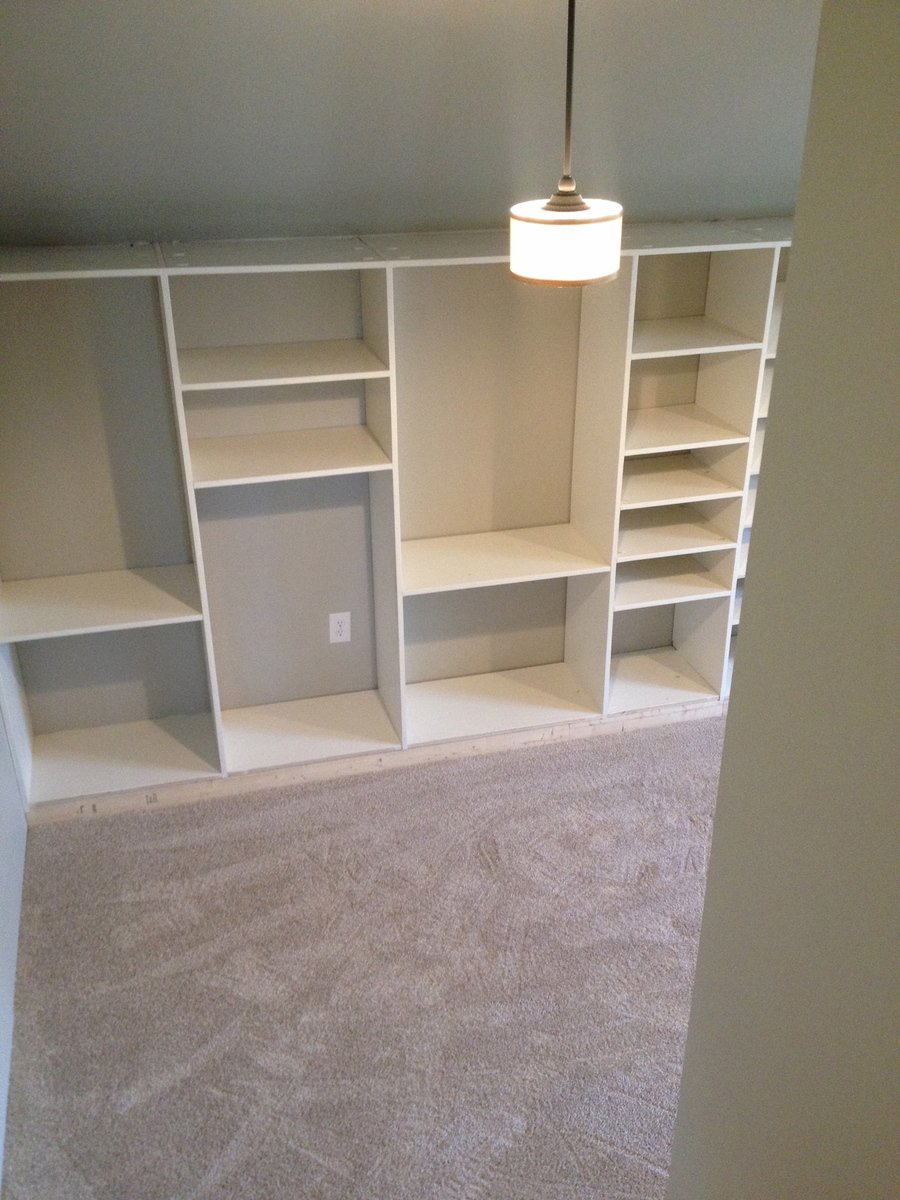
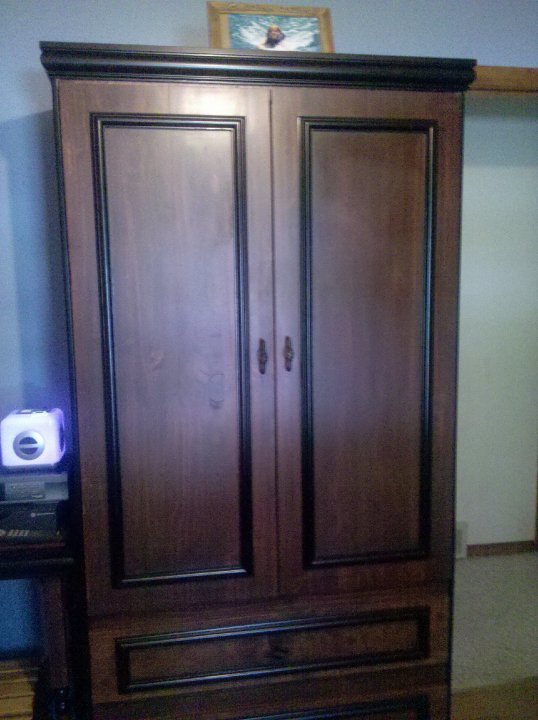
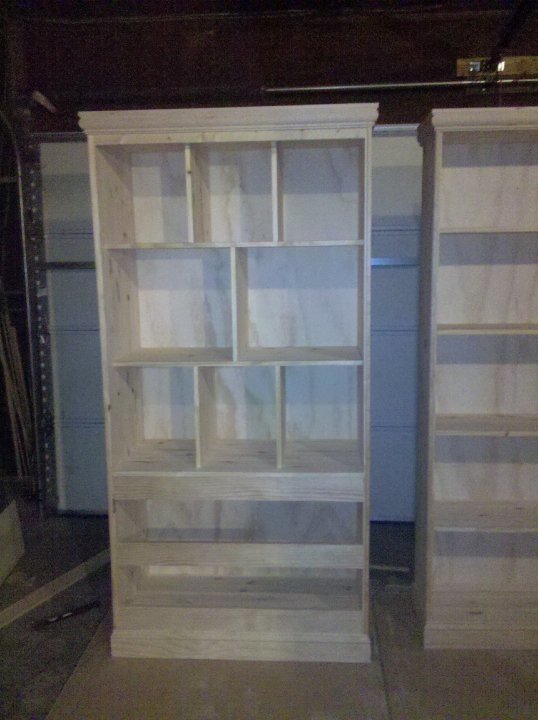
Bathroom Storage Tower
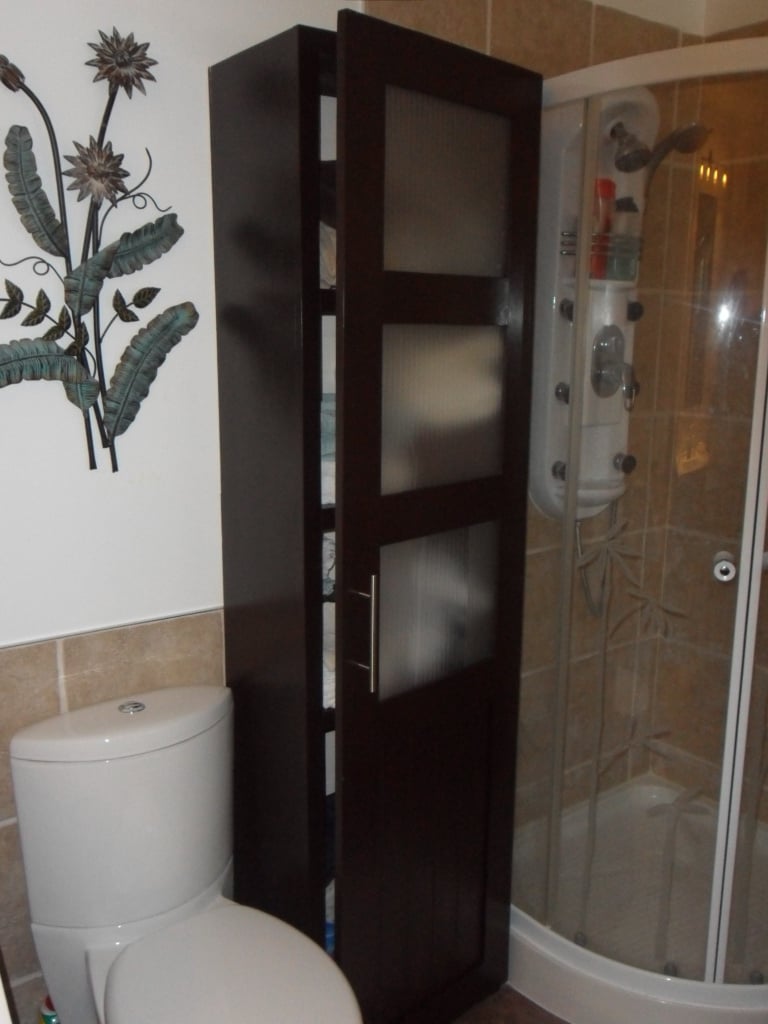
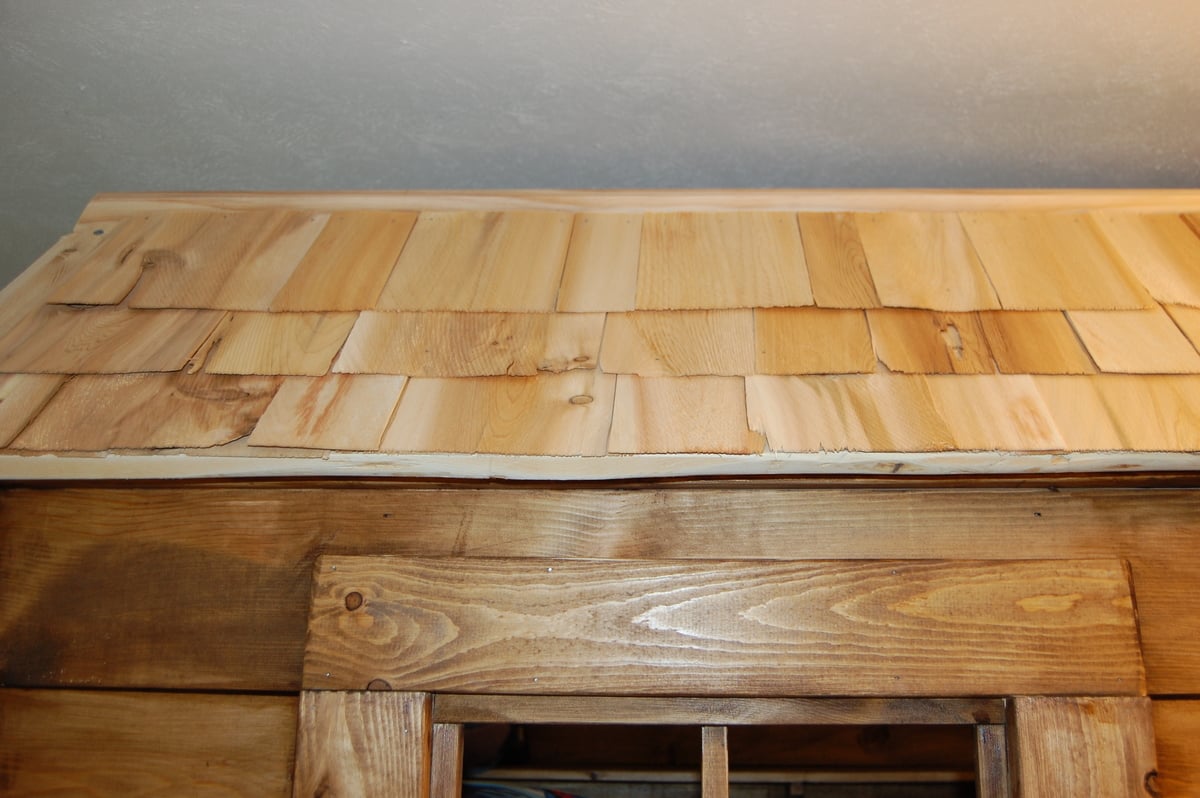
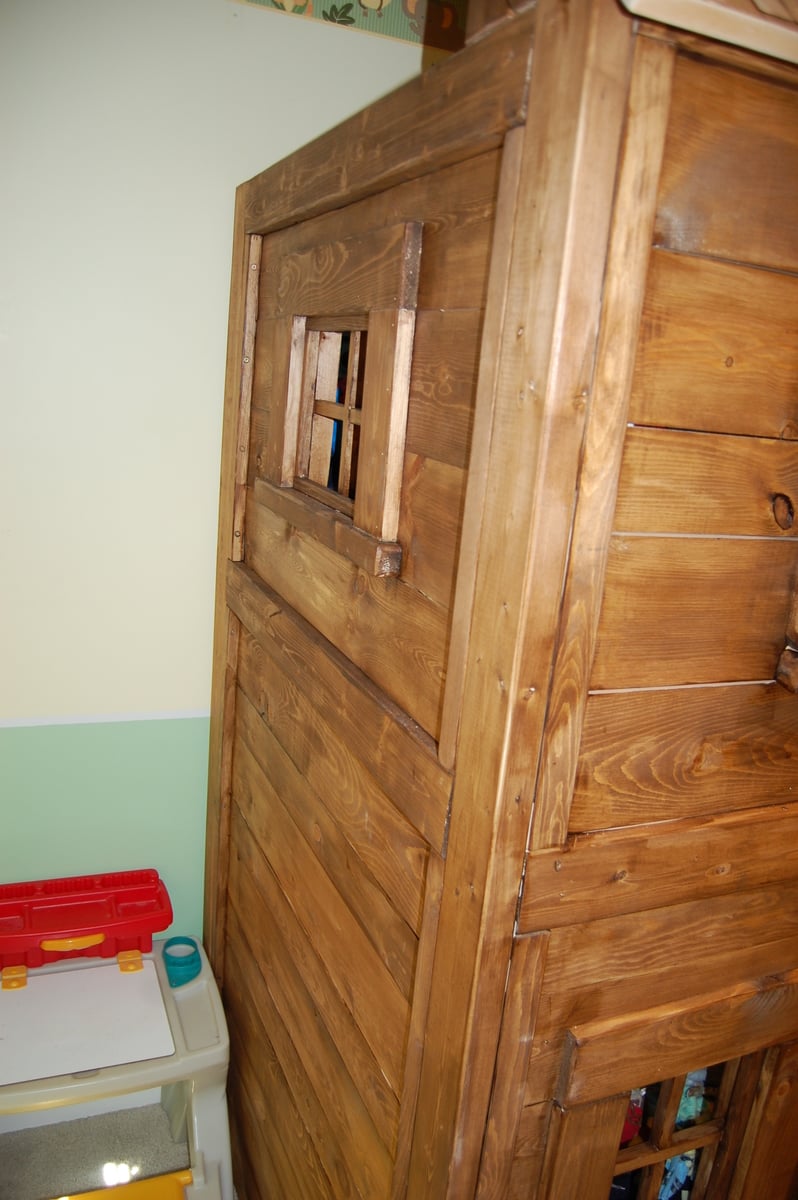
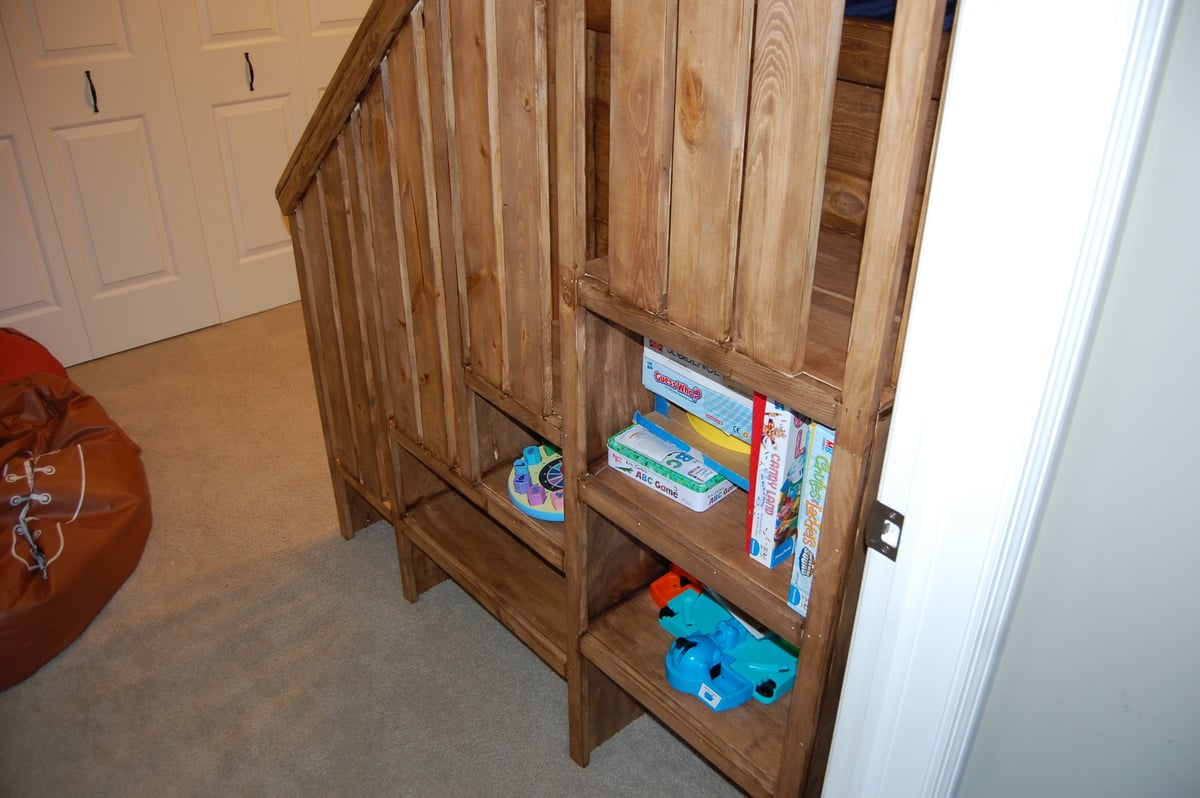
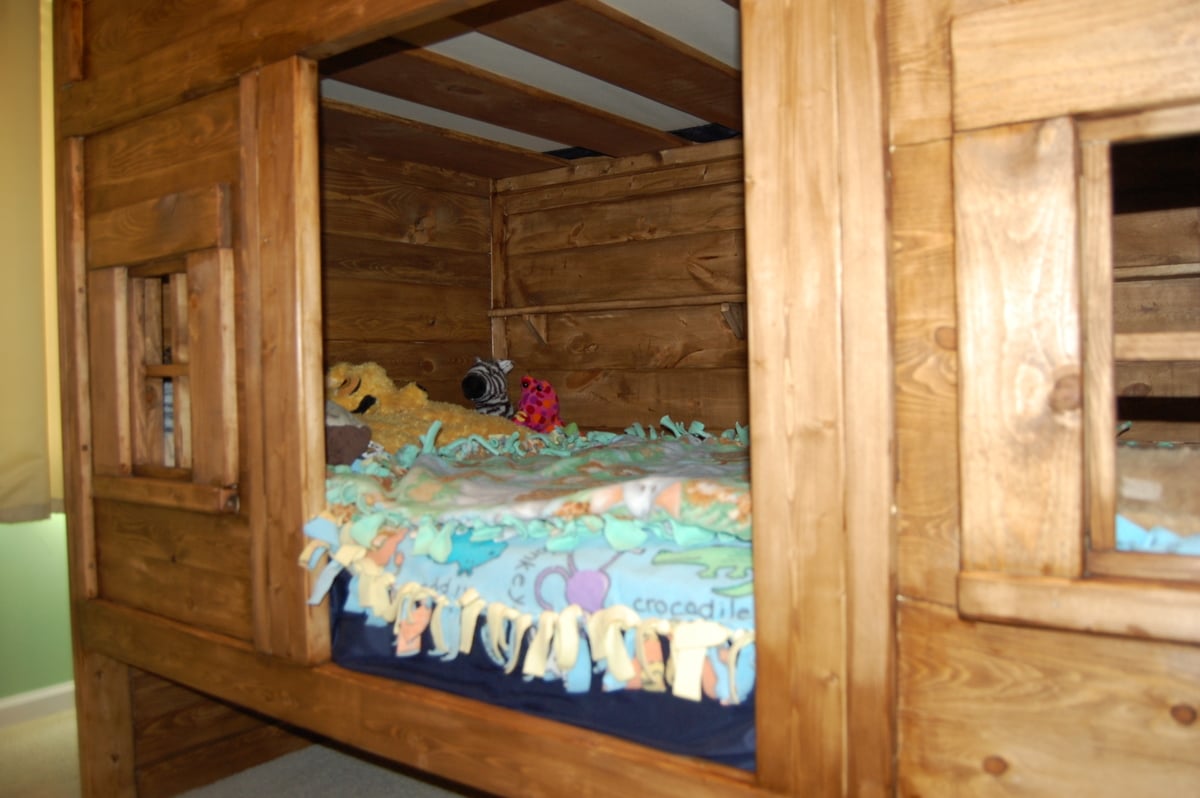
I loved the look of the Craft room Storage tower but modified to suit my wife's bathroom theme/decor. The inside back (MDF beadboard) is painted a milk coffee color to lighten it up. The door inserts are plexiglass, which was more expensive than glass but with 2 boys 6 and 2 it is well spent, and the MDF beadboard. Covered the plexiglass with self-adhesive film for glass on both sides to hide the towels inside. This project took me about 12 hours to complete but over a 3 month period, mostly spent on finishing the project with my boys underfoot or at 12-2am. YIKES!!! If i keep this up she will want to buy instead of letting me build.
Price List:
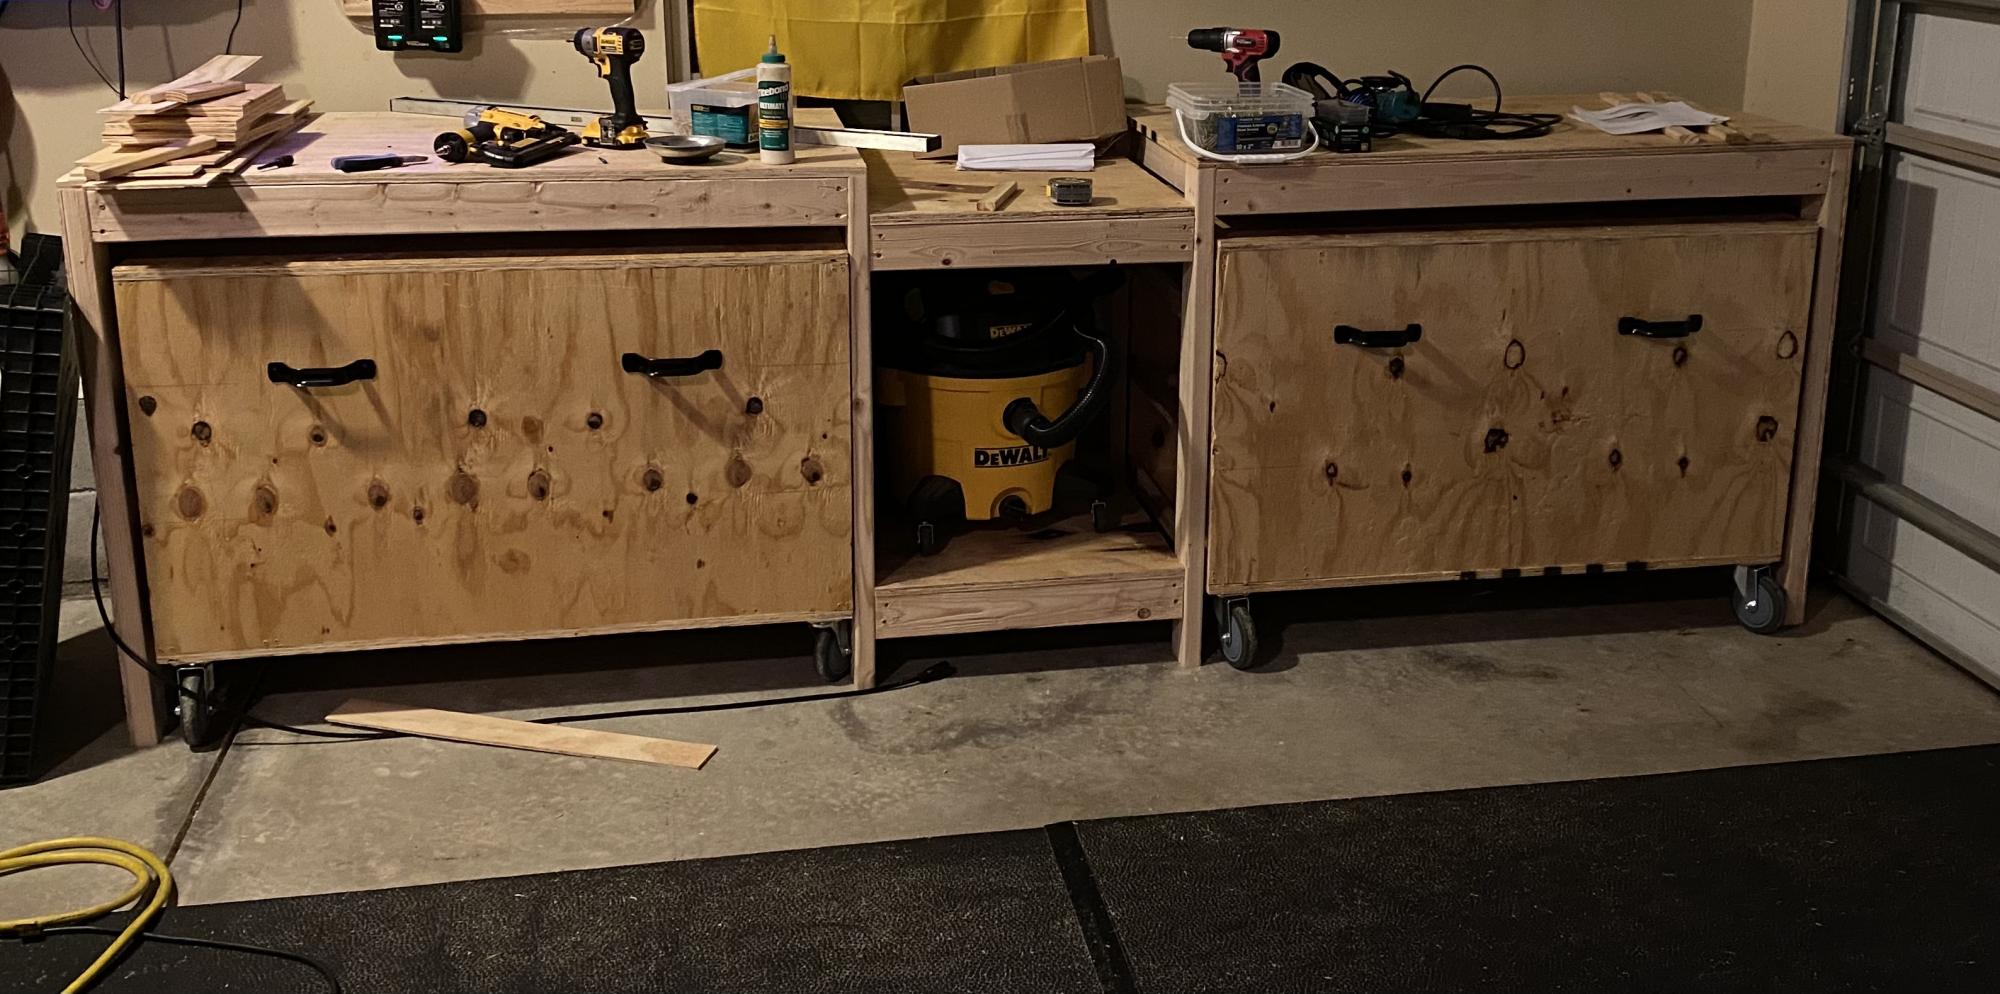
wood: $100
Stain/Paint: left over from house reno. would have been $15 stain $20 Varnish 30$ quart of paint
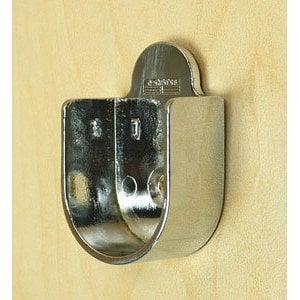
Handle: $7
Hinges: $4 basic style
I wanted to use Eurostyle hinges but opted to buy the Kreg system instead of Forstner drill bits.
Will be building another just different dimensions for laundry room makeover.


Comments
moosmani
Sat, 01/26/2013 - 11:52
Nice job! This turned out
Nice job! This turned out beautiful.
Quintin79
Sat, 01/26/2013 - 12:18
Thanks! It was my first
Thanks! It was my first furniture building project! I did a huge reno that i did on my house but that is construction and 1/8th in isnt as big of an issue as in furniture.
Pam the Goatherd
Mon, 01/28/2013 - 20:45
I've been wanting to build
I've been wanting to build something similar for my bathroom! Yours turned out great. It inspires me to get to work!