Community Brag Posts

Easiest $35 DIY Desk

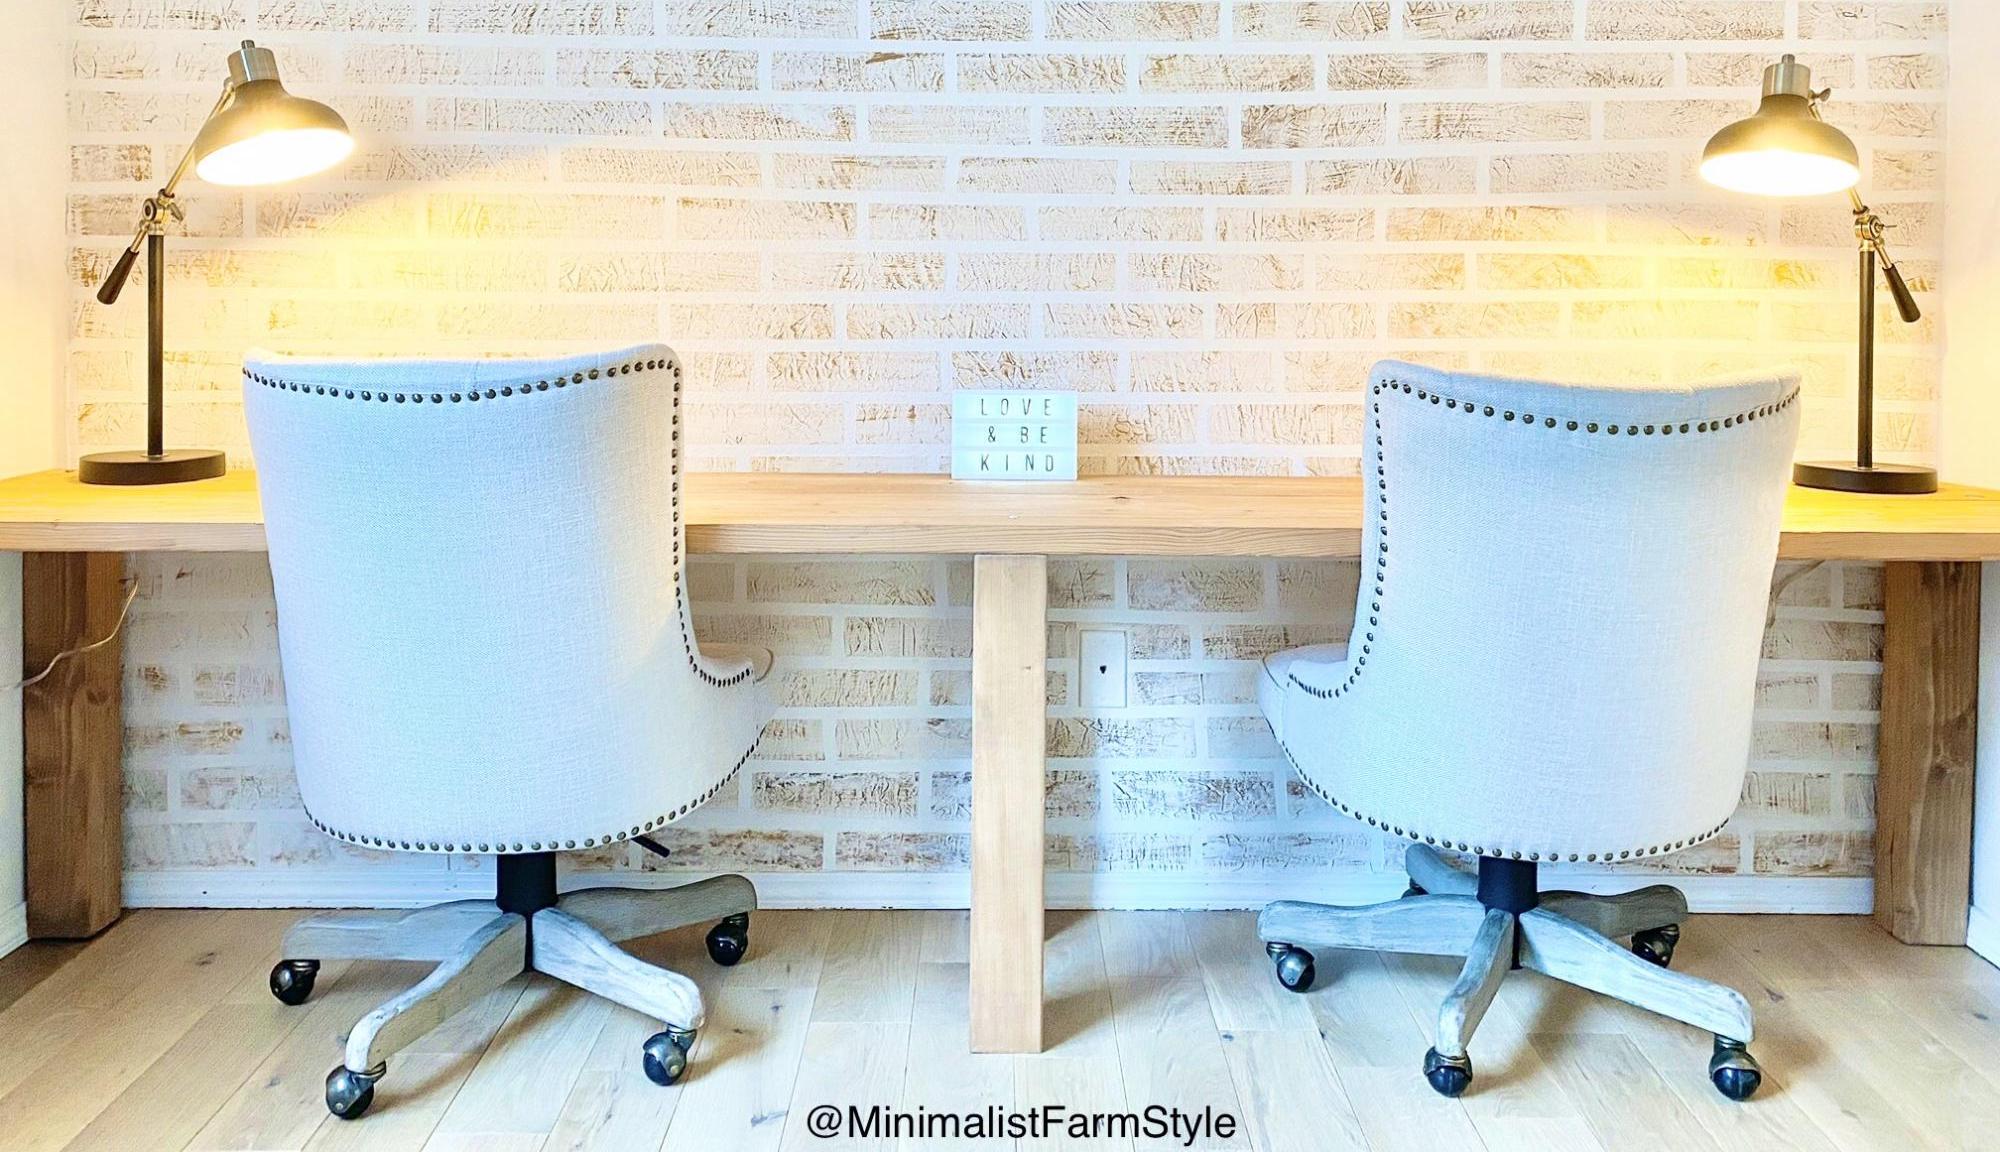
This DIY desk provides workspace for two people. A portion of the desk is for my oldest son during homeschooling and the other portion is for my husband while he continues to work from home. Cost : $35 Difference in length, width and height will result in a change in price.

Estimated Cost
$35
Estimated Time Investment
An Hour or Two (0-2 Hours)
Recommended Skill Level
Beginner

Comments

Butcher block

Submitted by Medickep on Wed, 02/01/2017 - 18:15

I decided to add this island to my kitchen as I had a lot of open space in my kitchen.   It gave a lot more counter space and when I adjust the pot rack, it will open up an entire cabinet too! The body is painted the color my cabinets are about to become and the stain matches some other woodwork in the house. I applied polyurethane to the stained pieces and plan on using cutting boards to avoid the look of a beat up butcher block as well as the maintenance that goes with them!  Wherever I could hide the edges, I used plywood instead of 1x8's as I had leftovers from a bench I made.  

Built from Plan(s)
Estimated Cost
100.00??
Estimated Time Investment
Weekend Project (10-20 Hours)
Finish Used
Alkd pain, minwax Ebony 2718, wipe on polyurethane.
Recommended Skill Level
Intermediate

Comments

Indoor Playground Set

Submitted by Anonymous (not verified) on Fri, 02/10/2017 - 11:56

This playroom set was inspired by the plans you posted.  I was forced to make some significant modifications due to the fact that our bonus/playroom has angled ceilings.  We have a rock climbing wall, ladder, crawl tunnel with windows, trapeze bar, monkey bars, miniature baskeball goal and a slide.  My boys are 6, 3 and 19 months and they love it!  Thanks for the inspiration.


Jim and Caroline Sparrow

Estimated Cost
$1250
Estimated Time Investment
Week Long Project (20 Hours or More)
Finish Used
Behr Paint on bottom and Minwax Stain on top
Recommended Skill Level
Advanced

Comments

Christmas done!

Submitted by Anonymous (not verified) on Sun, 12/13/2020 - 11:22

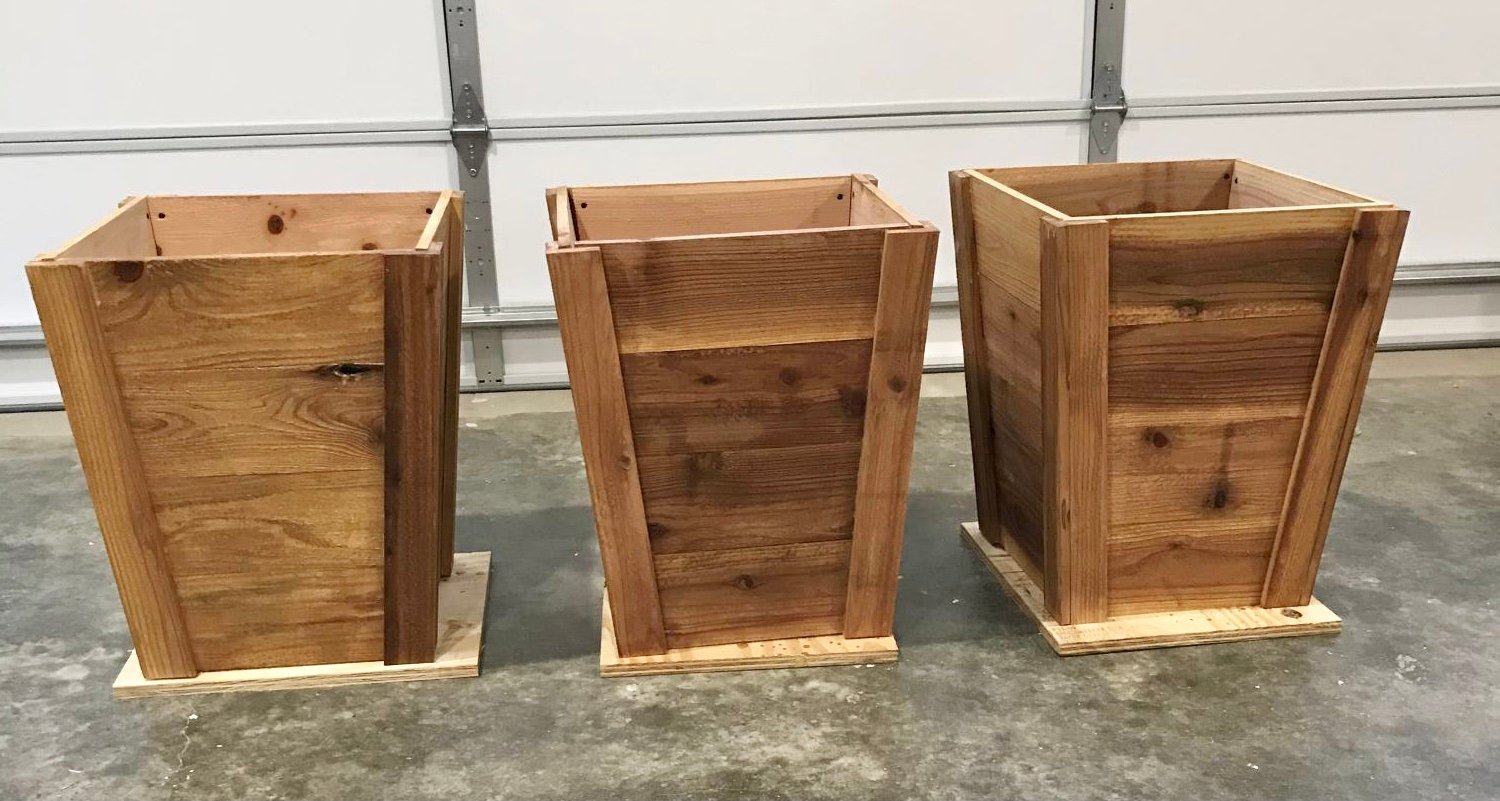
I made some for me but didn’t use cedar for the 1x2 and 1x2.5. This time I ripped the pickets for those and love how these came out. I may be making me some more in the future.

Built from Plan(s)

Comments

Vertical Planter w/ Succulents + White Opaque Stain

Submitted by Anonymous (not verified) on Tue, 12/22/2020 - 23:20

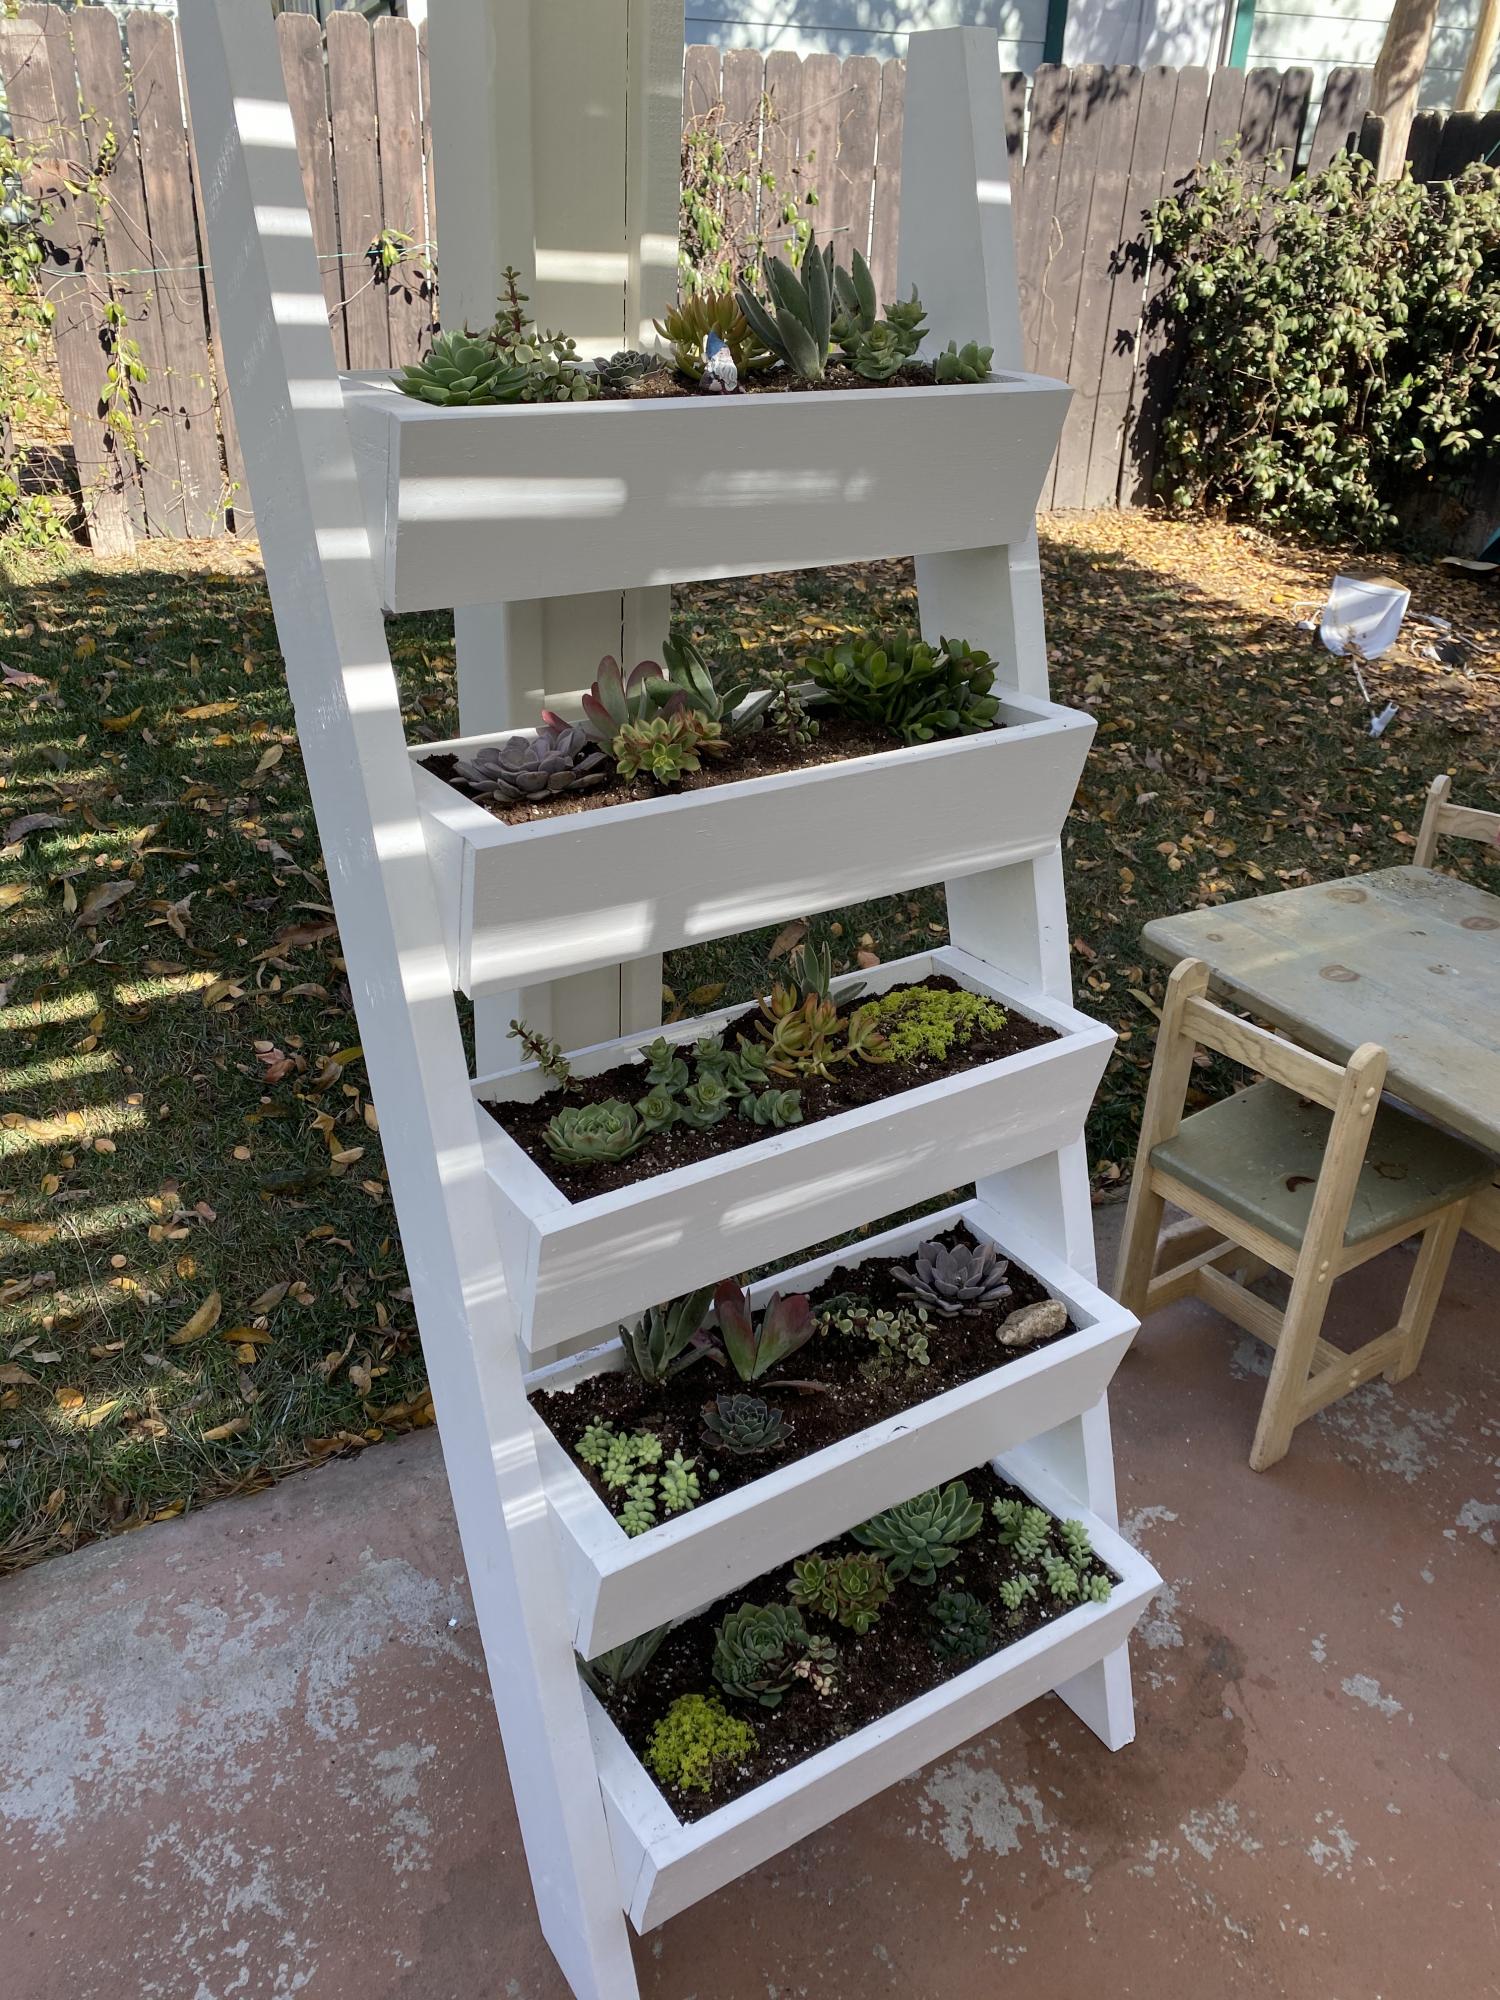
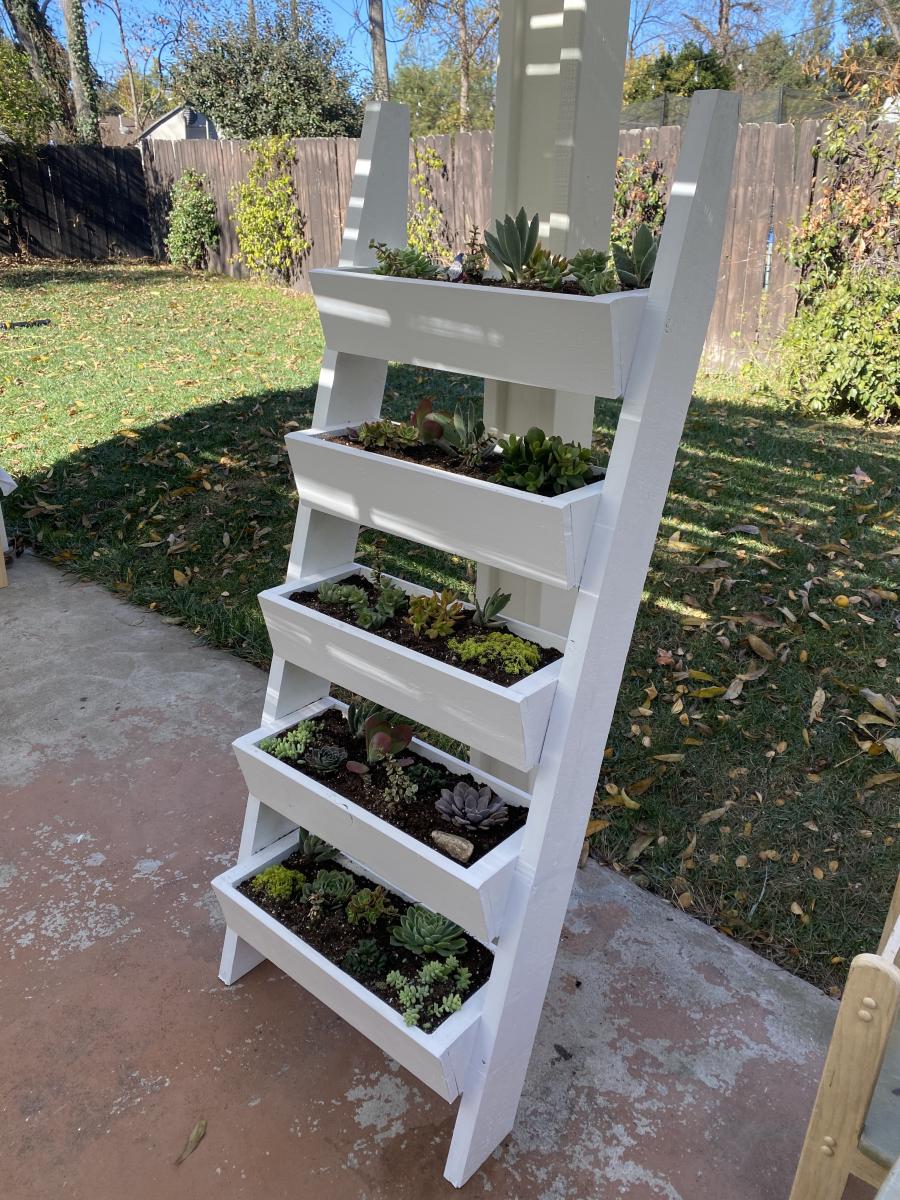
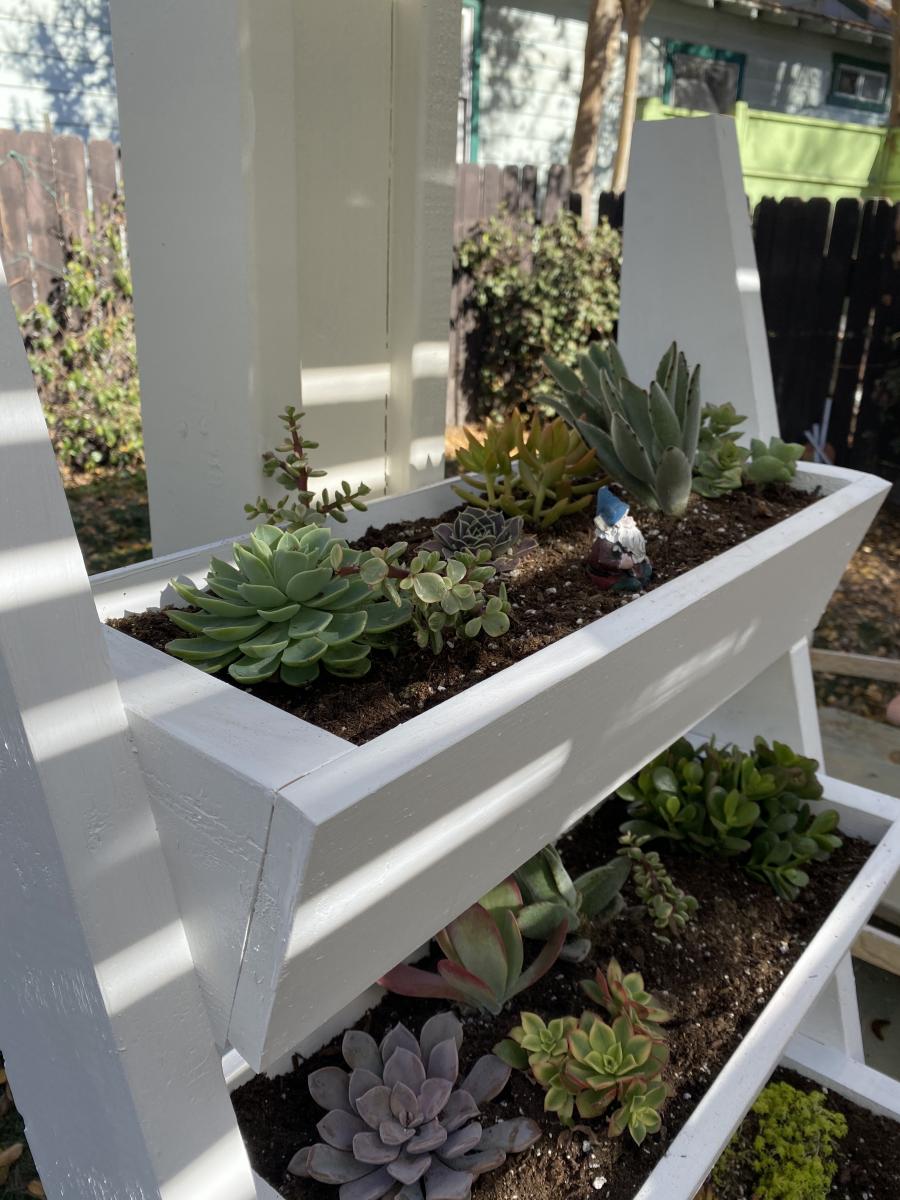
Made this over a few afternoons during the interesting year that is/was 2020! First DIY project and really enjoyed it! I used an opaque white stain and it's filled with succulents from our local nursery (Lincoln Nursery in Pasadena, CA). Painting took the longest as one coat of the stain still let some of the knots in the wood show through. Thanks so much for the plan and inspiration!

Estimated Time Investment
Day Project (6-9 Hours)
Finish Used
Opaque white Behr outdoor stain
Recommended Skill Level
Beginner

Kitchen Corner Cabinet

Submitted by Anonymous (not verified) on Mon, 03/20/2017 - 22:48

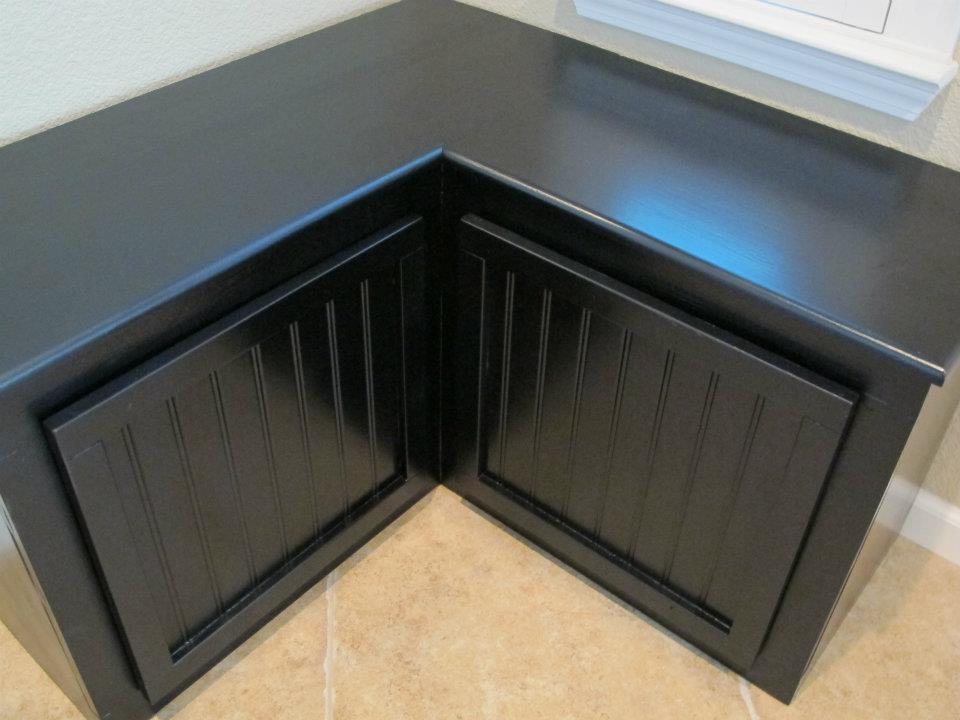
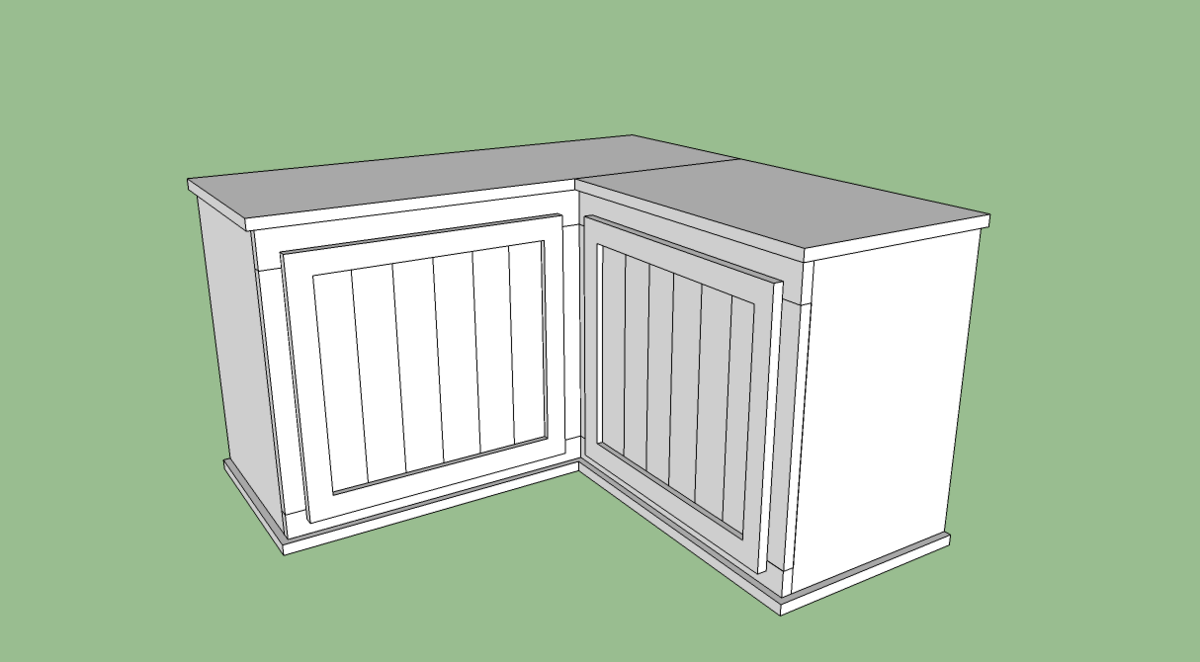
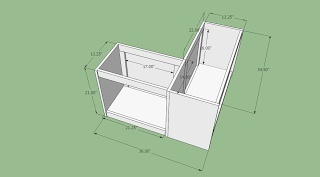
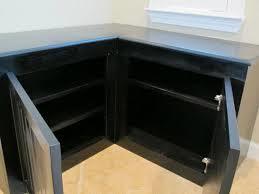
I saw http://www.ana-white.com/2013/02/plans/wall-kitchen-corner-cabinet and knew this was the project I wanted to do in our new home. The side cabients are from http://www.ana-white.com/2013/12/plans/36-wall-cabinet-double-door-momp… project, redesined to fit the wall-kitchen-corner-cabinet plans. This was my first cabient build. Still have to install doors. I am happy way it came out and so is wife.

Thanks Ana for your great site and plans. My next project is the storage sofa :D

Estimated Cost
about 400$ I live in Philippines and cost was around 2000 PhP.
Estimated Time Investment
Week Long Project (20 Hours or More)
Finish Used
Acrylic paint, 3 coats wet sanded in between coats. Inside is Boysen chocolate enamel.
Recommended Skill Level
Advanced

Wood Towel Holder Ring with a Shelf

Submitted by thediyplan on Thu, 03/04/2021 - 16:12

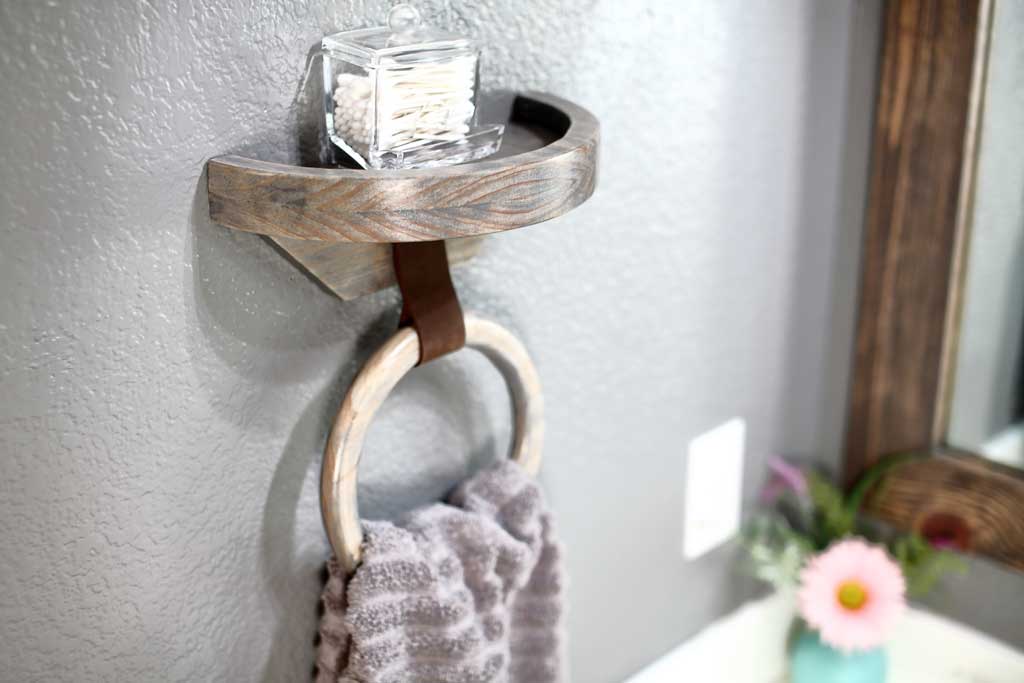
Finding a good location to hang your towels in the bathroom could be a challenge, especially if you’re limited on wall space. But it makes it even more challenging if you have kids. If the towel bar is attached to drywall, eventually the bar might be ripped off the wall and you’ll end up with a big hole. Having this issue I decided to make my own DIY Wood Towel Holder Ring with a Shelf. This towel holder attaches directly to the stud and will take some effort to be ripped off and doesn’t take much wall space.

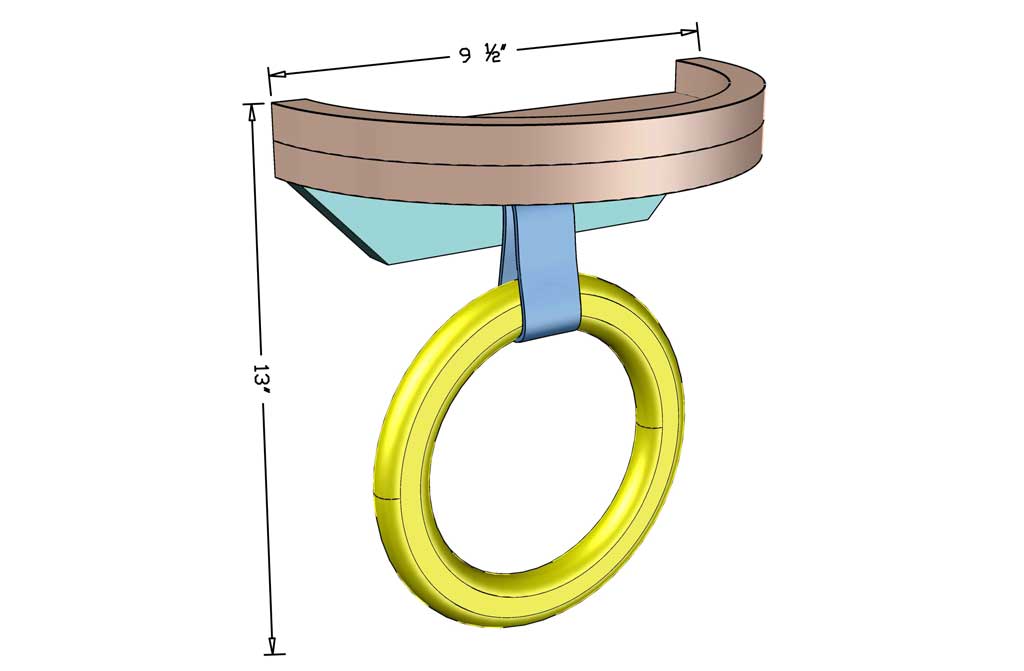
I made this project using scrap pieces that I had laying around in my scrap pile. If you have some scrap wood and interested in building something out of wood, this could be a great project to try. I created a step-by-step plan with 3D illustrations.

See my website for additional pictures and how I've built it,TheDIYPlan.com

Estimated Cost
$10
Estimated Time Investment
Afternoon Project (3-6 Hours)
Recommended Skill Level
Intermediate

Comments

floating shelves

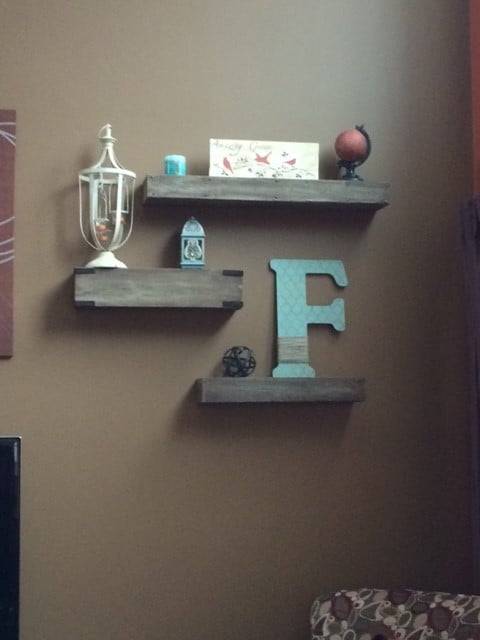
These shelves were easy and easy to customize the size according to your needs.  They are fun to decorate and add a rustic flair to my living room.  

Estimated Time Investment
An Hour or Two (0-2 Hours)
Finish Used
I distressed the wood then used grey chalk paint and dark wax
Recommended Skill Level
Starter Project

Rustic Pot Rack

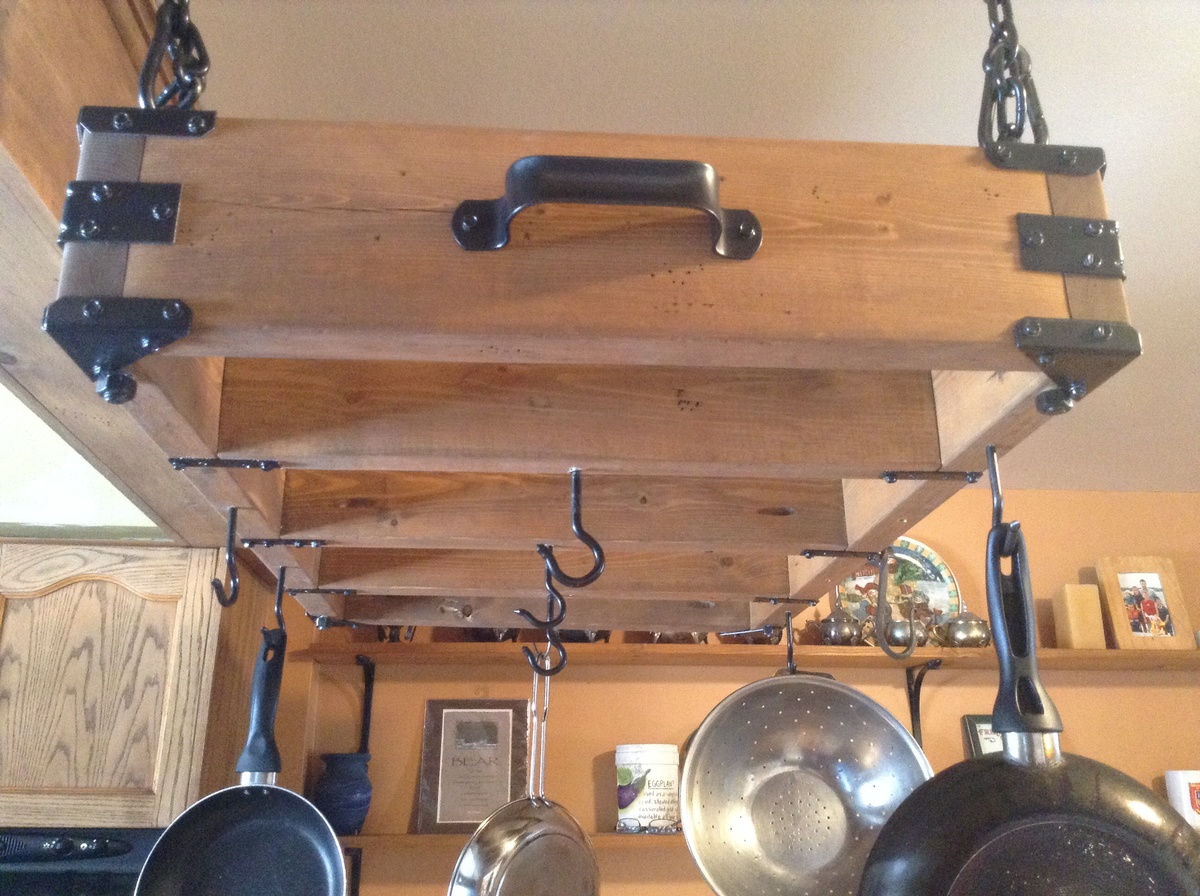
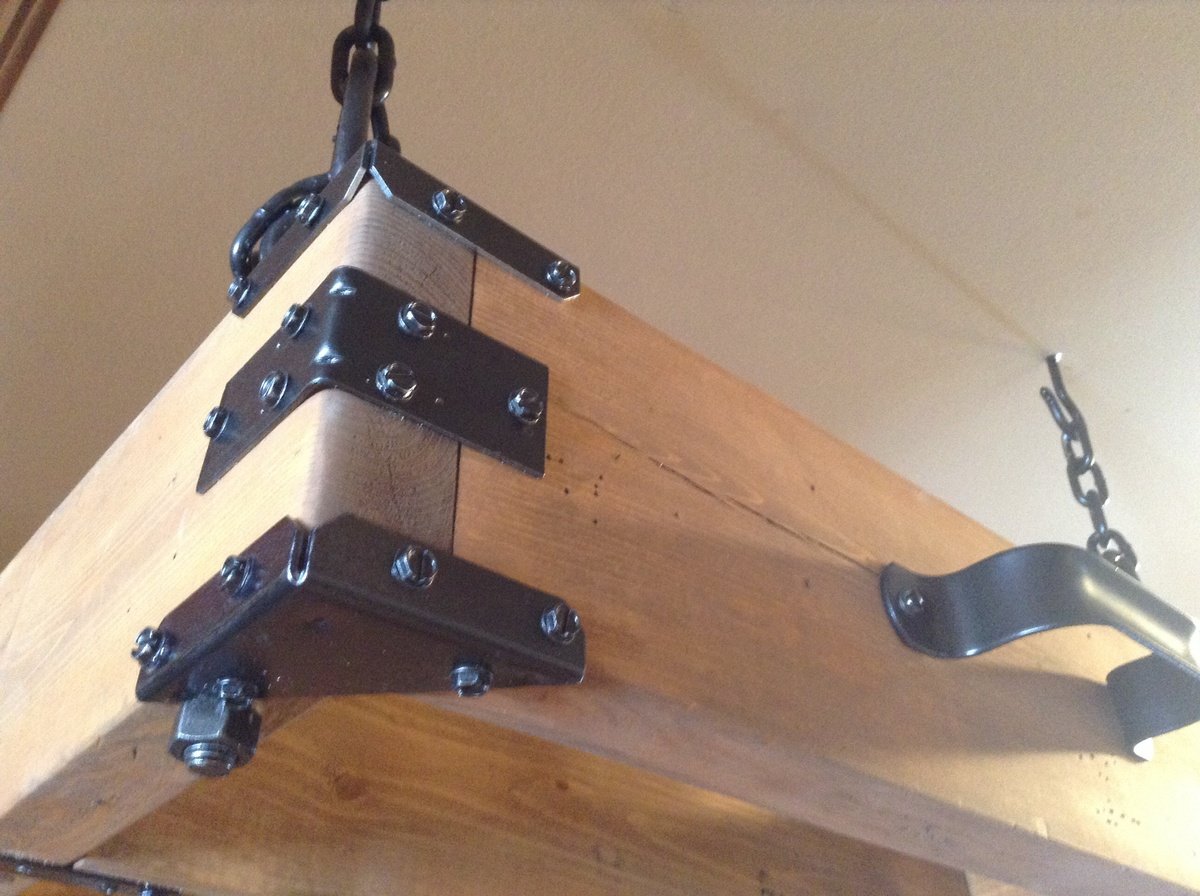
My kitchen needed a rustic pot rack to hang all my pots and pans. Instead of paying way too much money, I decided to get exactly what I wanted by making it myself. $20 worth of 2x6's and spray painted hardware purchased at The Home Depot in an oil bronzed was all that was needed to create this rack. I attached the hardware with metal screws to give it an even more rustic feel.

Estimated Cost
$20 for lumber
Approximately $60 for hardware
$10 oil rubbed rust oleum spray paint
Estimated Time Investment
An Hour or Two (0-2 Hours)
Finish Used
Minwax Special Walnut
Minwax paste finishing wax
Recommended Skill Level
Starter Project

Comments

Side Street Bunks Twin Over Full Modification

Submitted by swpagnani on Wed, 02/25/2015 - 12:52

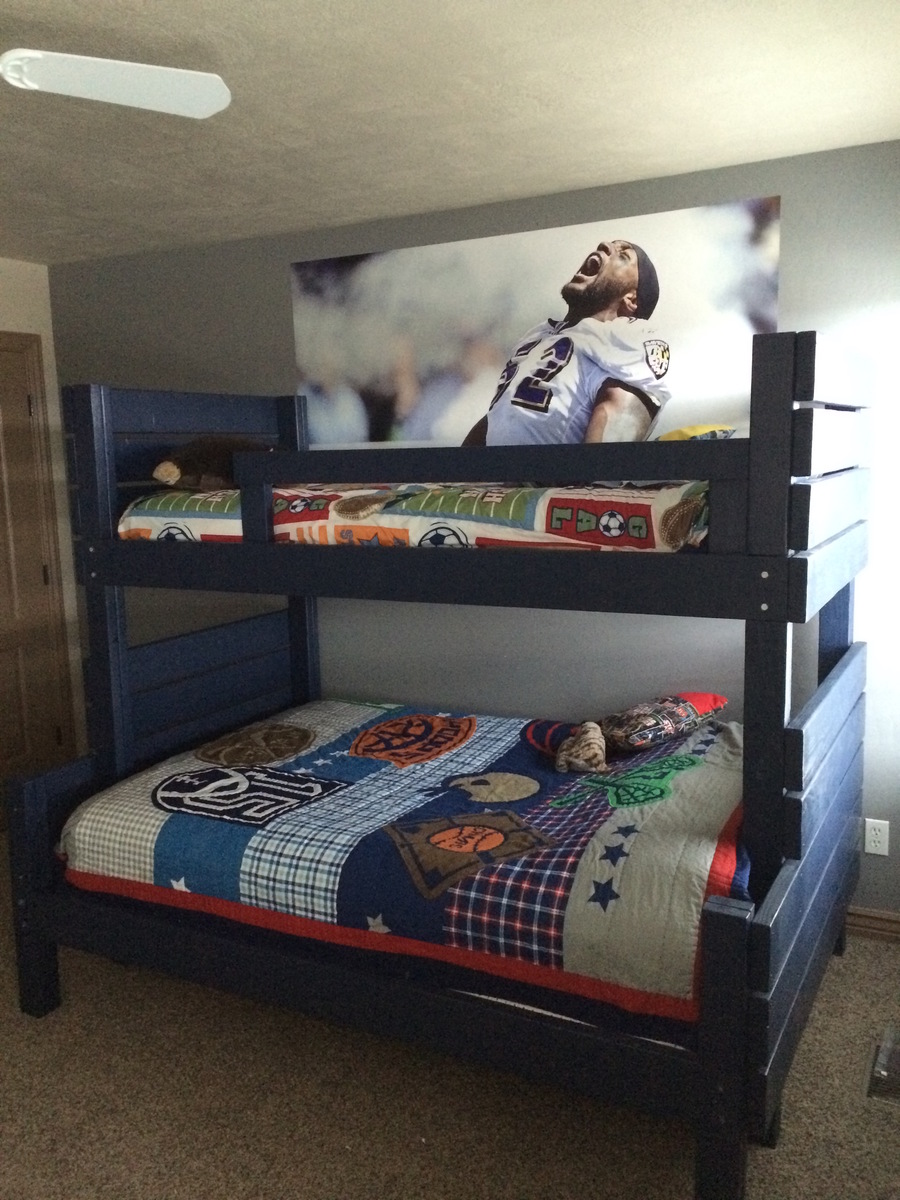
I needed a good sturdy bunk bed for my boys and I didn't want to spend a bunch of money. Every bunk bed I looked at seemed to wobble and cost a fortune so I ventured off to make my own! I came across the Side Street Bunk plans and did a little modifiying to make them work with the mattresses we had. I absolutley LOVE the way they turned out and my boys are so excited to finally have their bunk beds! Thanks Ana!

Built from Plan(s)
Estimated Cost
$165
Estimated Time Investment
Weekend Project (10-20 Hours)
Finish Used
Semi-gloss paint
Recommended Skill Level
Beginner

Comments

Large porch bench

Submitted by Lukilla on Mon, 09/27/2021 - 13:51

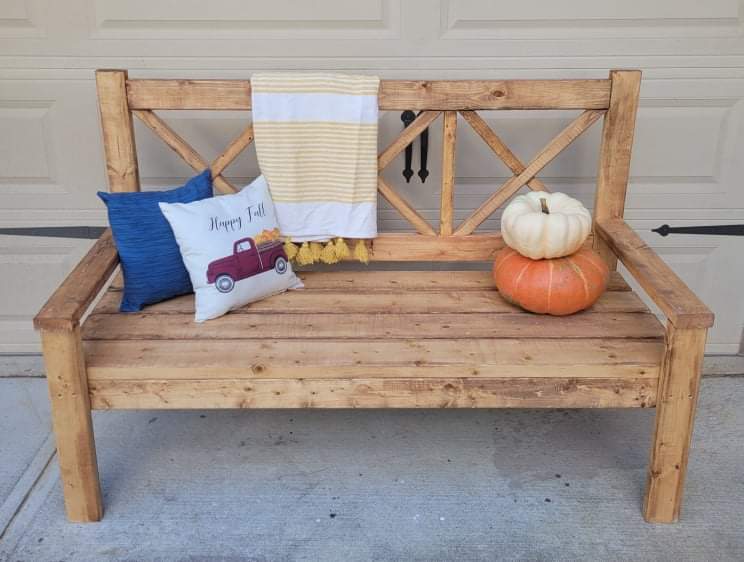
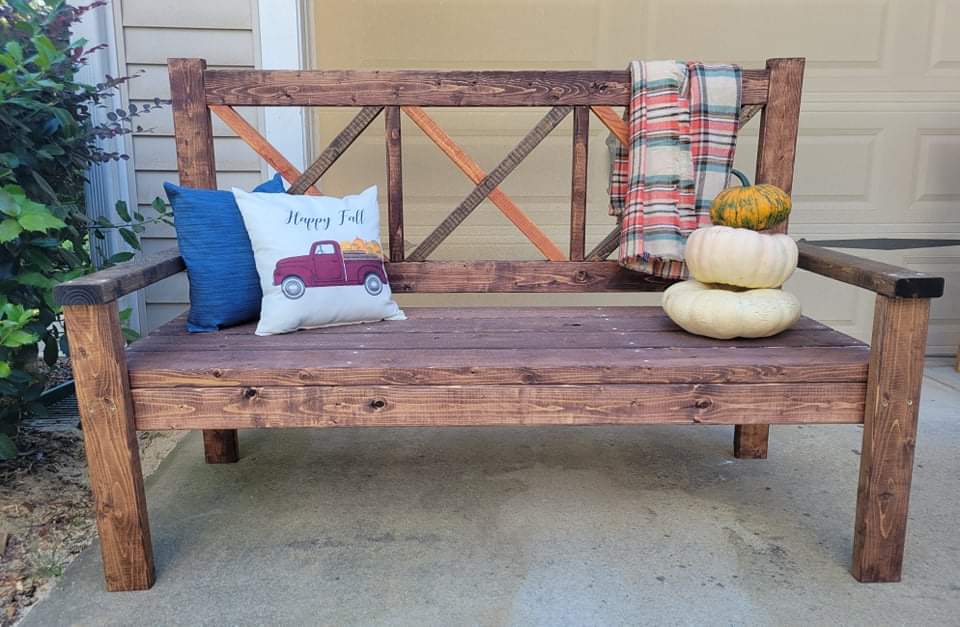
What a fun project, and great bench. We had someone ask us if we could make this for them, and we decided to make 2 while we were at it.....now we just need to find a spot big enough for the second one at our house. Loved this build, and look forward to sipping coffee on it on a cool morming.

Comments

Seasonal And Holiday

Pallet wood painter's ladder shelf

Submitted by Anonymous (not verified) on Sun, 06/25/2017 - 18:50

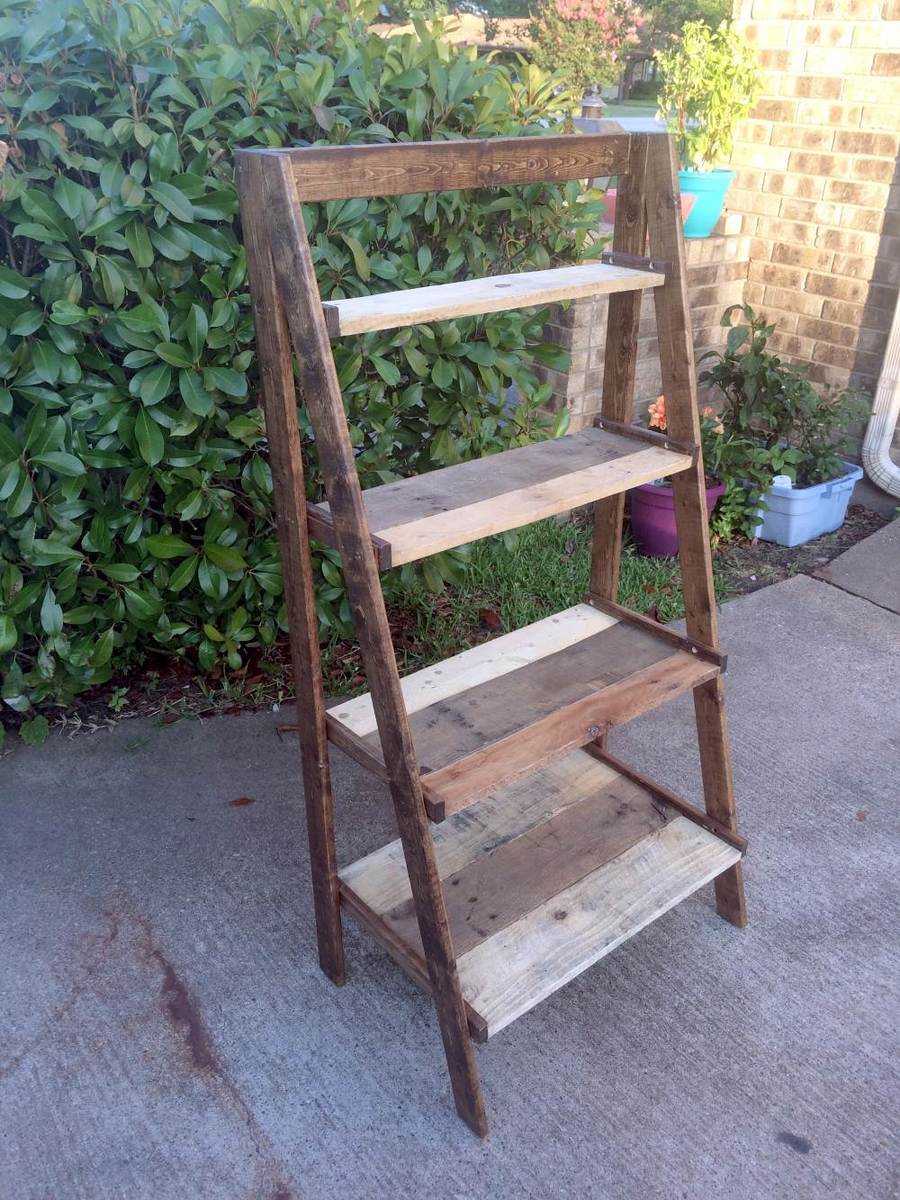
Made this one with shelf edges/trim just on the sides. Somehow my top shelf didn't span the width so had to add a little shim on each side but it all worked out! We had all the pallets and used 1x3s for the frame because some of my pallet wood was heavy hardwood. It was not without frustration because I was working with uneven/warped pallet wood but it hits the rustic look.  I am happy with how it turned out. 

Built from Plan(s)
Estimated Time Investment
Day Project (6-9 Hours)
Finish Used
English chestnut minwax stain and matte interior sealant
Recommended Skill Level
Beginner

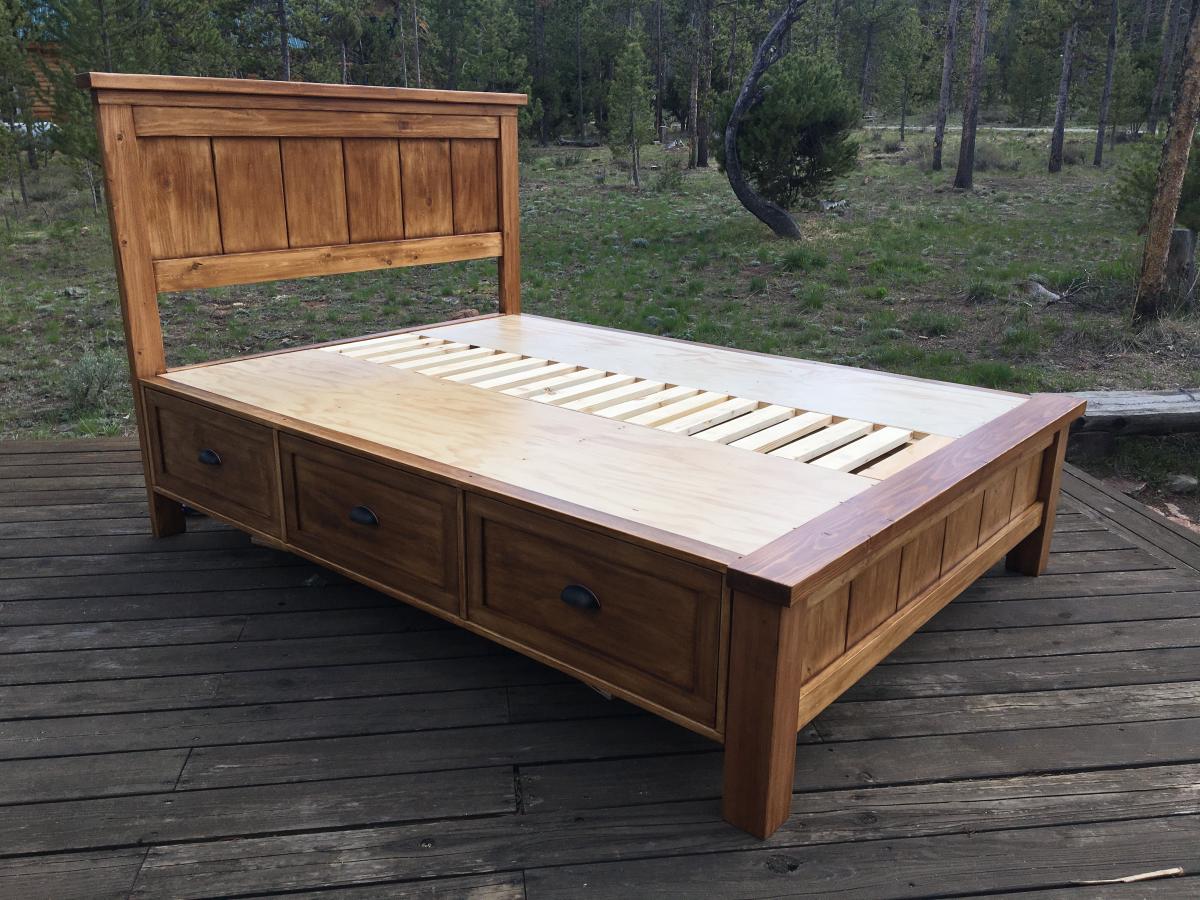
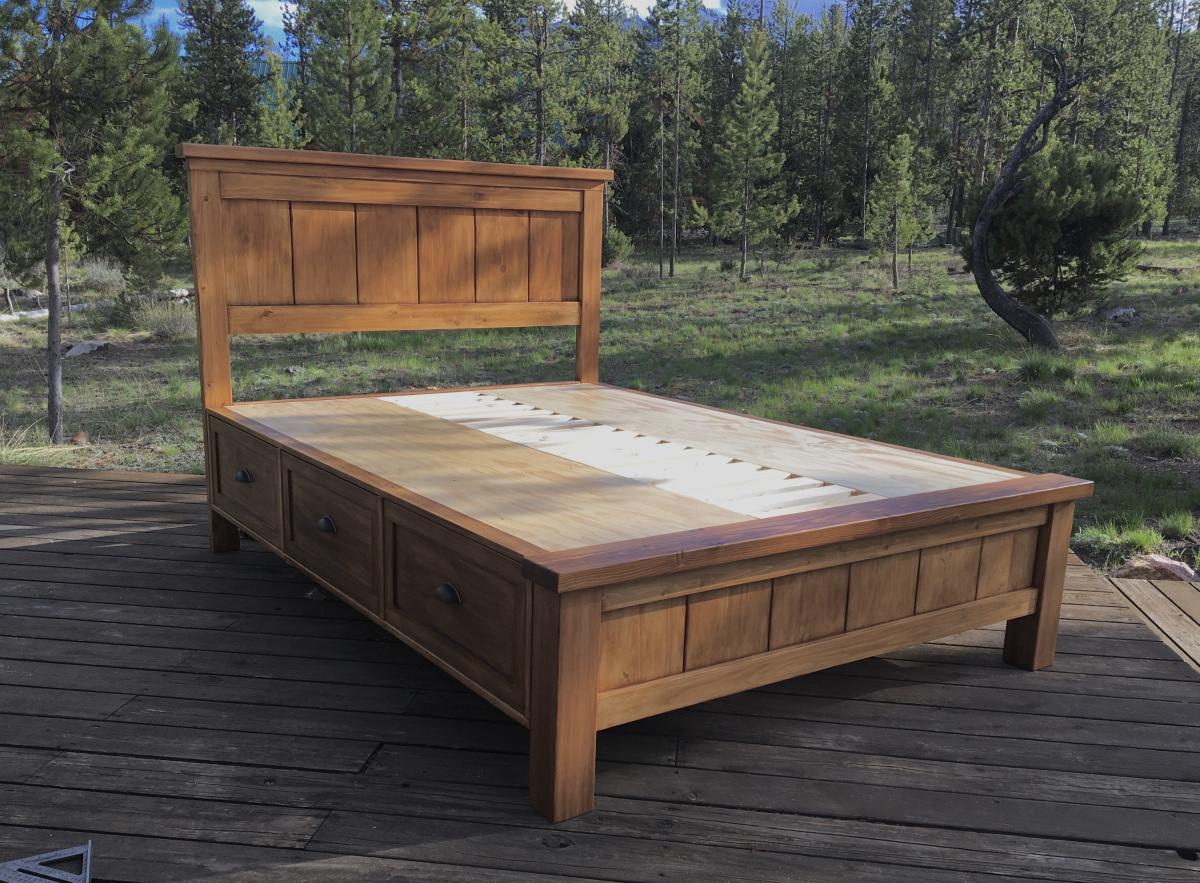
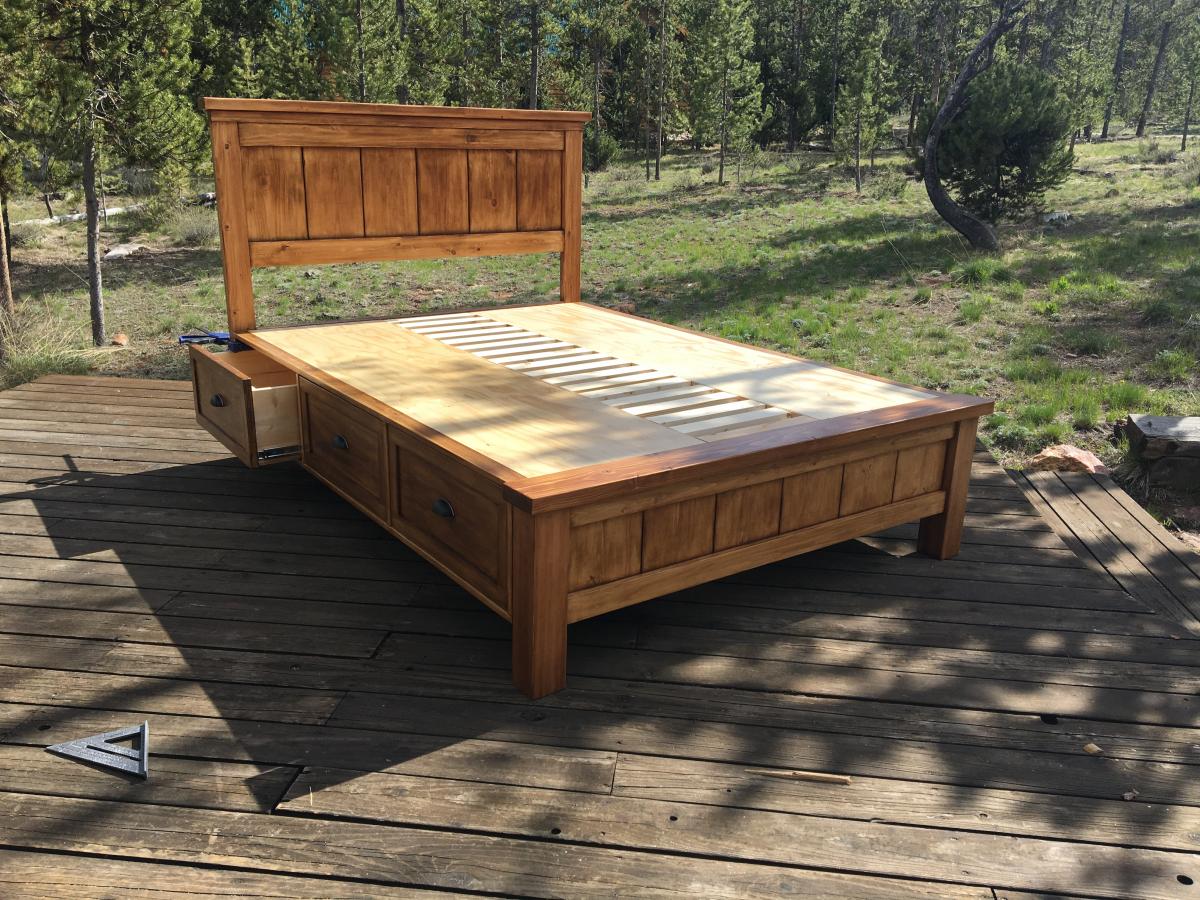
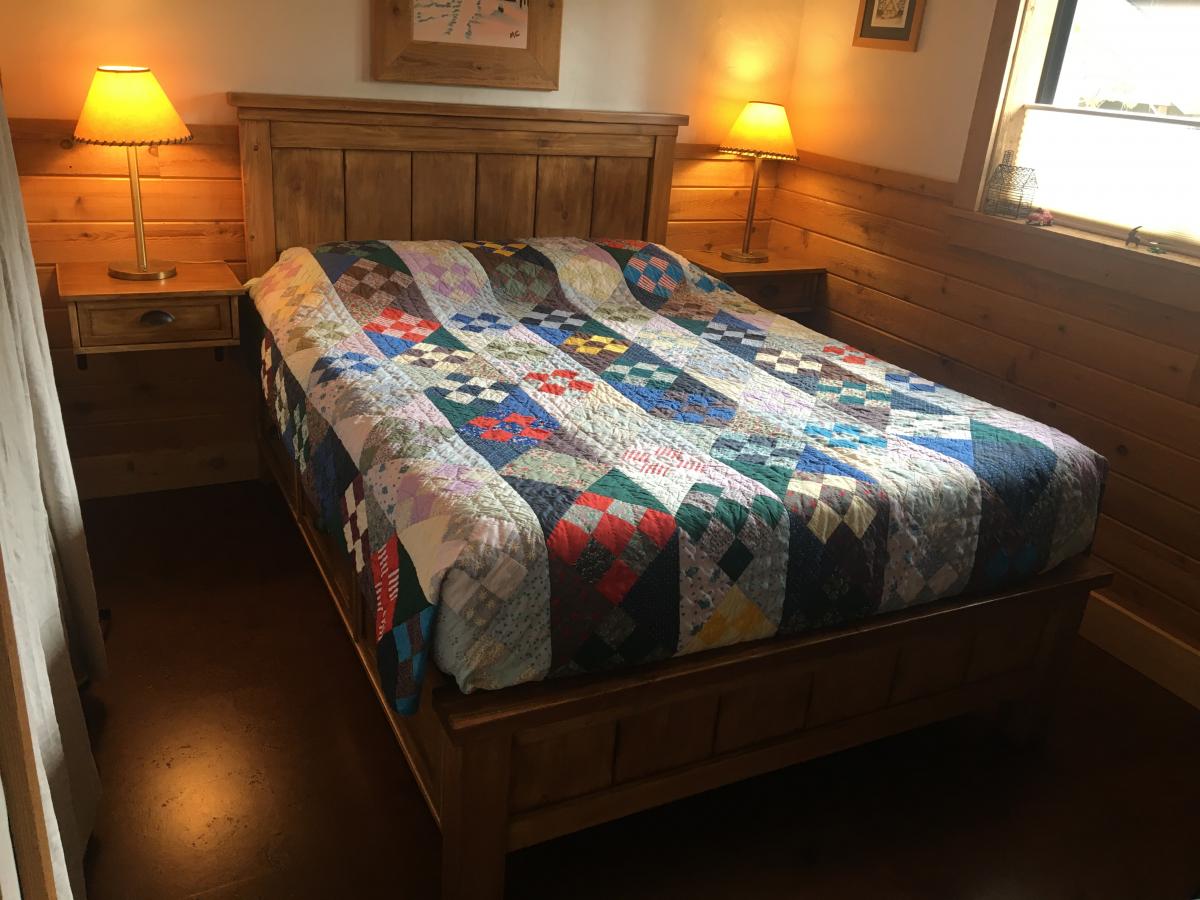
Farmhouse Storage bed with platform modification

Submitted by Anonymous (not verified) on Mon, 10/04/2021 - 13:06

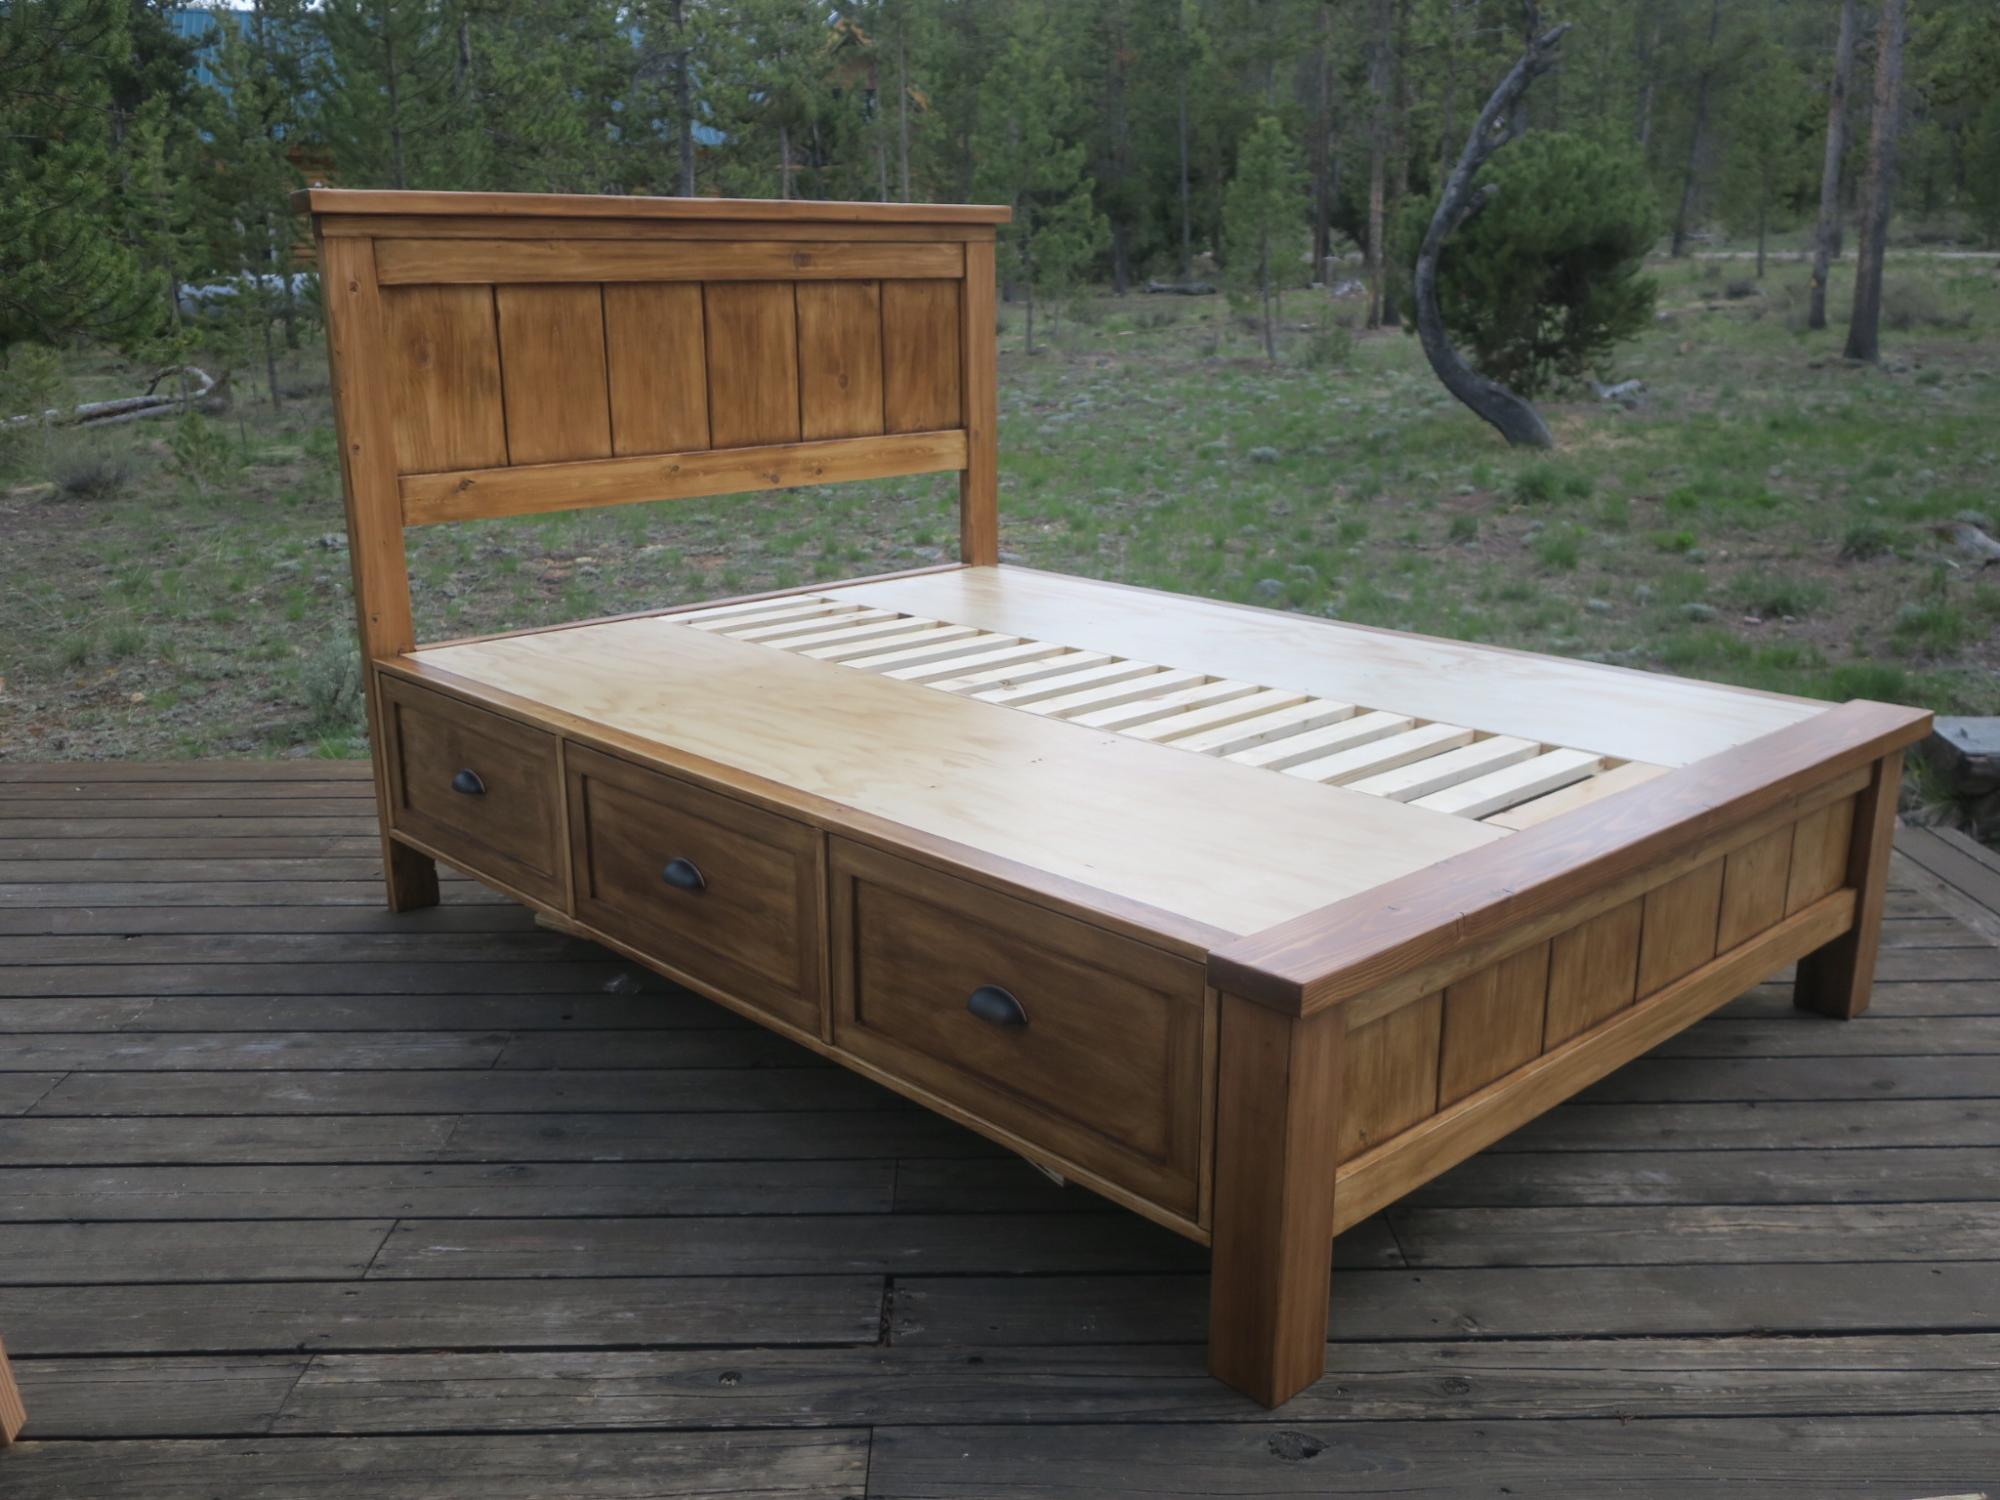
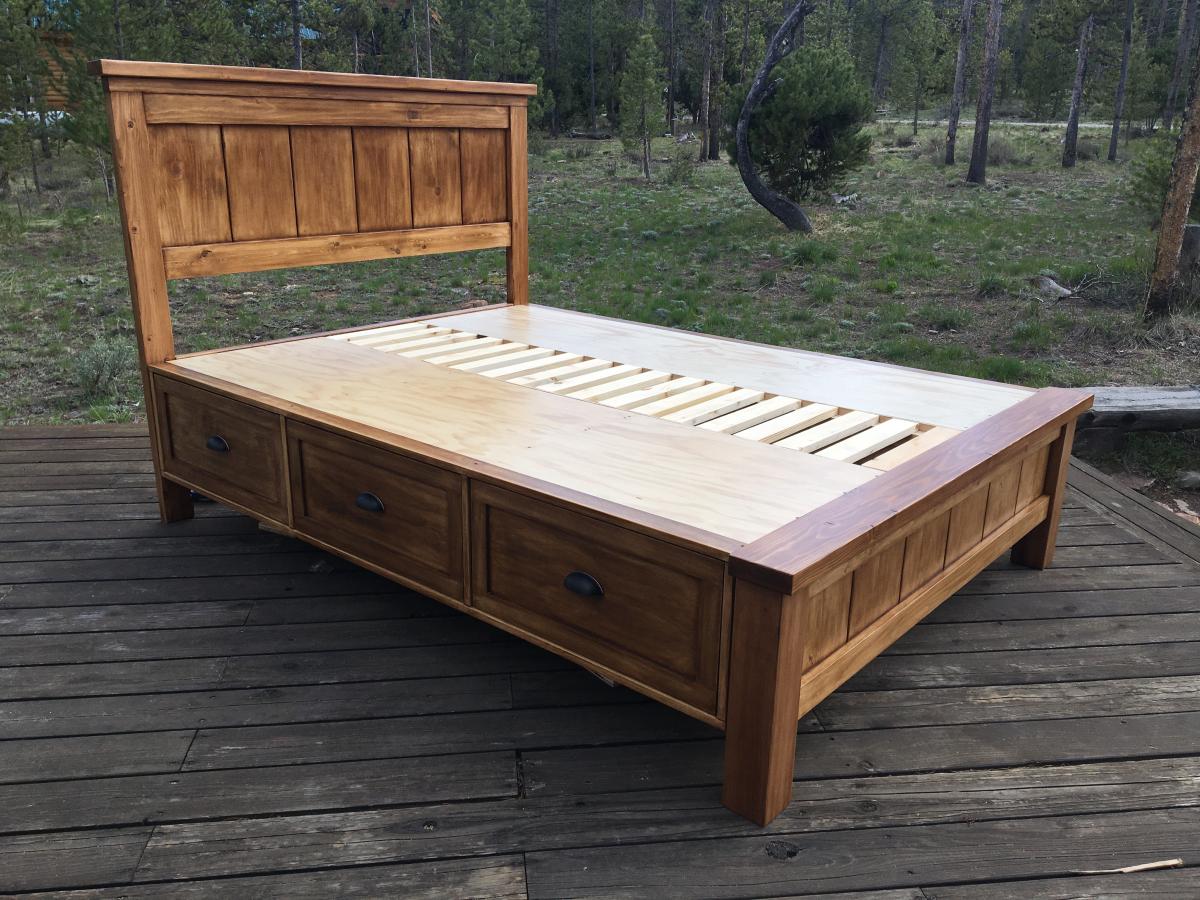
Hi, I’m Joe and love working on my cabin in Stanley Idaho. I needed a queen size bed on the ground floor but the room is small so I incorporated the footboard into into the platform to gain 6 inches of space in the room. It took a couple months working off and on but all fun. I also made the drawers deeper front to back to maximize storage. I did this at the peak of lumber prices and spent like $900 on lumber. It came out great, my Airbnb guests love it!

Comments

Cat Tree/Condo

Submitted by Joni on Sat, 05/11/2013 - 07:22

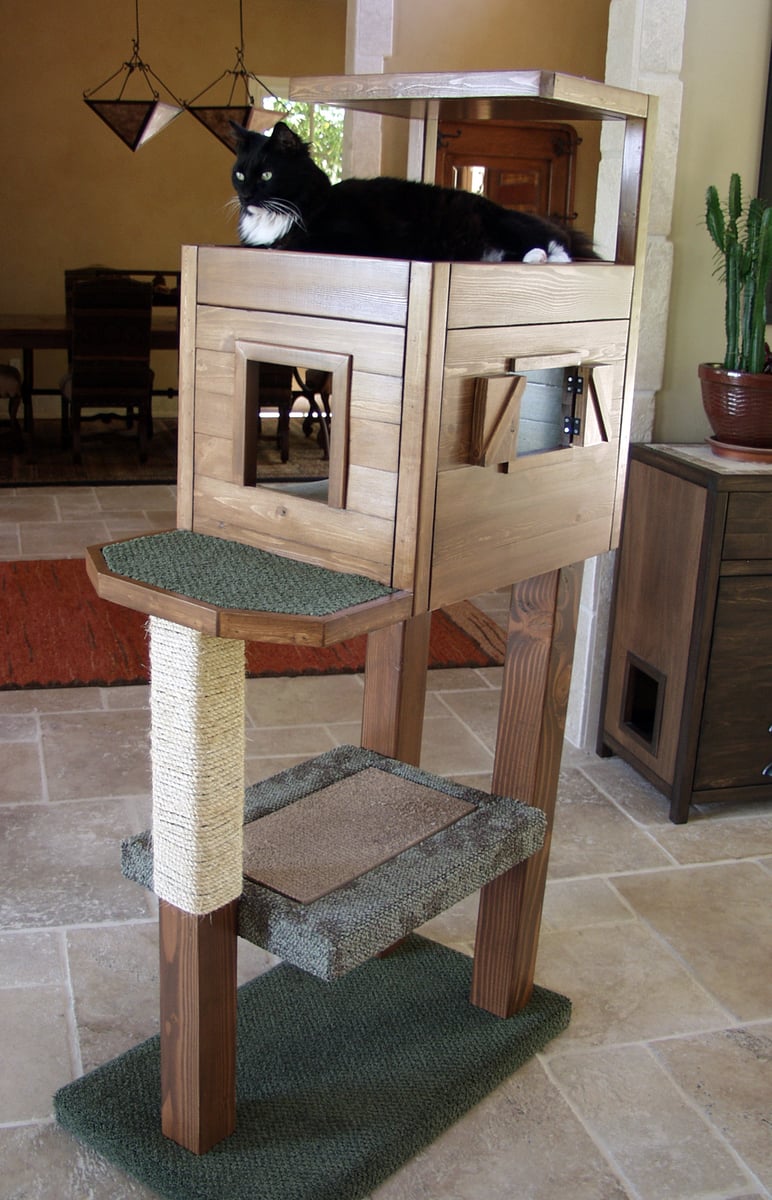
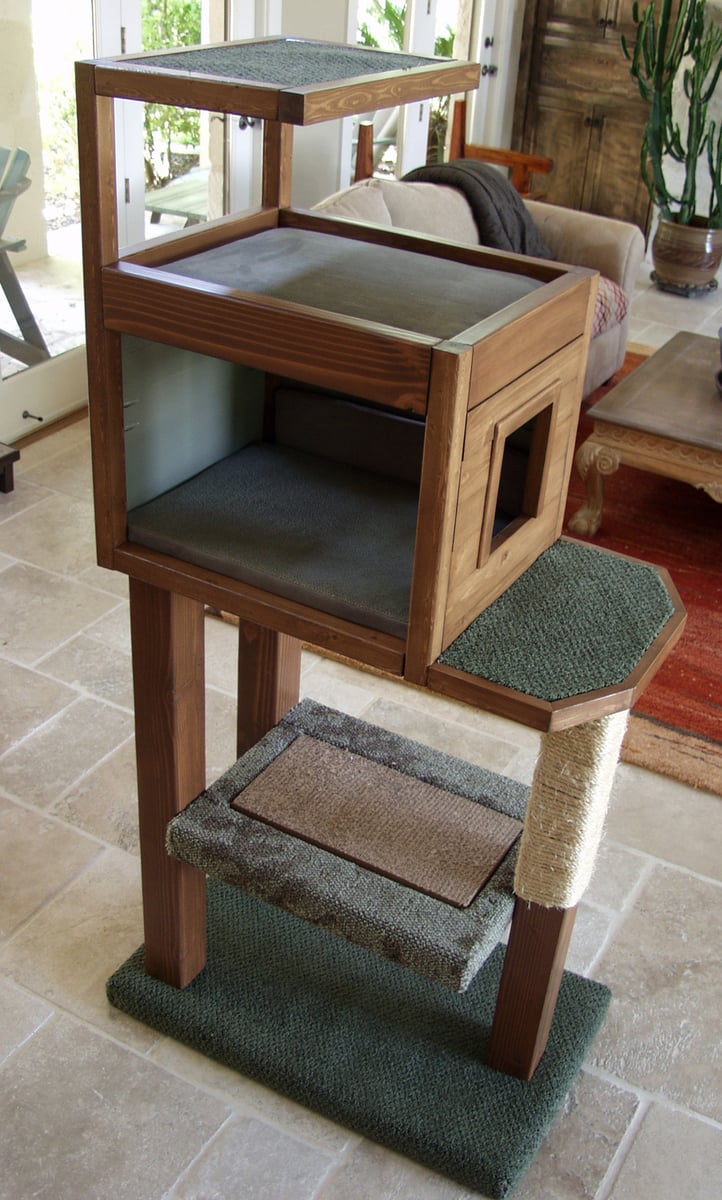
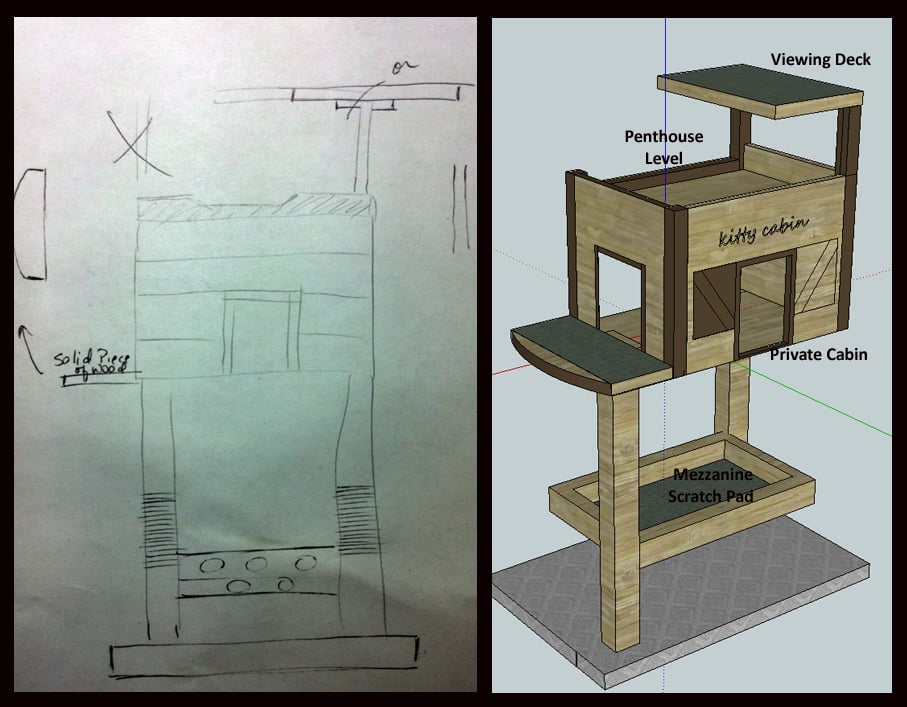
I always wanted a cabin-type cat tree where my cats could crawl in and feel safe, but still have a great view of the birds out of a window. I tried to draw my vision on paper, but that had a hideous result. Learning Google SketchUp (at least the basics) was an absolute necessity. I could never have built this without drawing it in 3D first, and seeing how the boards would connect, etc.

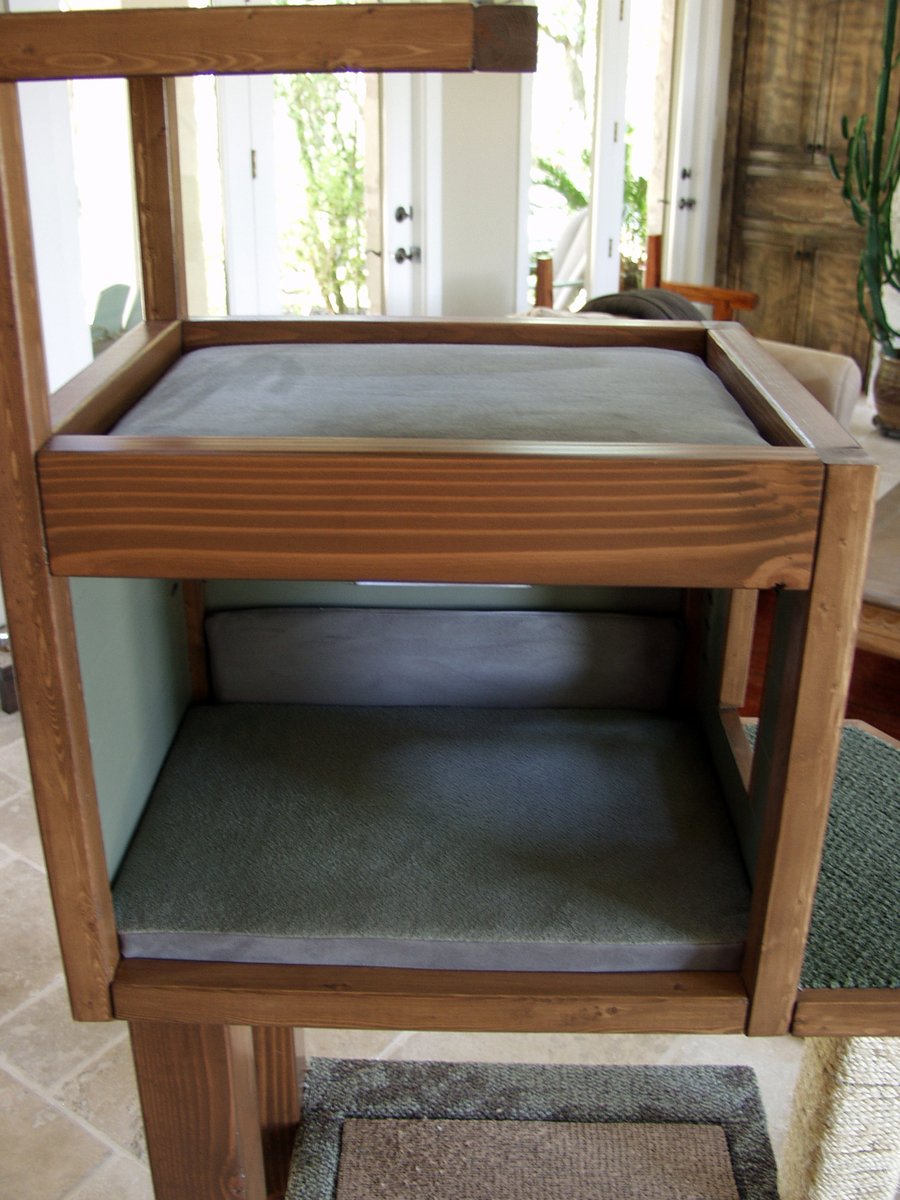
For the scratch pad, I built a frame out of 2x4s on top of plywood, covered it with carpet, and dropped the standard size scratch pad in place. This is the cat's favorite feature. I put barn doors on the window with tiny hinges so that I can close for added privacy. The tree sits against a window so that the back side is totally open. I made cozy zippered cushions for the platforms (that can be taken off and washed). I covered the carpeted areas with spare carpeting.

Estimated Cost
Approx. $30 for can of paint, varnish and a 4x4 (all other was scrap material)
Estimated Time Investment
Weekend Project (10-20 Hours)
Finish Used
Combination of Minwax Water-based stains: 6 parts Colonial Pine: 1 part American Walnut, followed 3-4 coats Minwax Polycrylic
Recommended Skill Level
Intermediate

Comments

bhoppy

Fri, 07/12/2013 - 09:36

Would you mind sharing your dimensions for this? It is absolutely beautiful!

Jodi W

Sun, 08/25/2013 - 08:10

Do you have the plans somewhere? I really want to build this (even got the okay from the hubby!) but I don't think I could do it without some serious guidelines...

Joni

Fri, 08/30/2013 - 15:55

First, sorry for the late notice; I just happened to look and saw the comments/questions.

I don't have plans...all I have is a google sketchup diagram that I created as a guideline for my construction (which is included in the photos), which is not to scale. Actual measurements are:

* Base (green carpeted base): 33.5" x 19"
* 4x4 legs: 35" tall
* 'Mezzanine' scratch pad level: 22" x 17.5"
* Mid-level base: 18" x 32"
* Enclosed cabin: 18.25" x 22.5" x 17" high
* Highest point: 56"

This has turned out to be a fantastic hit with the cats. They use all 5 levels, but the scratch pad and cabin are their favorite spots. If you need anything else or additional pics, please contact me.

Jodi W

Fri, 08/30/2013 - 18:15

Thanks for the dimensions, Joni! I'm trying to learn SketchUp so I can draw up my own plans, also. If I can't figure it out, I'll hand it off to my 12 year old, who is a pro at it (go figure). I know my cats will love it if I can manage to get it built!

Joni

Thu, 10/31/2013 - 14:30

Bhoppy -- I looked at your cat tree on facebook. It's awesome! The sturdiness of it shocked me too. And I was initially worried that my cats might knock it down!!

The worst part of building it was getting that lower scratch pad level on straight with the 3 posts. I'd never want to do that again!
Thanks for sharing, Joni

gregmasciola

Fri, 01/02/2015 - 01:18

Funny, almost every time I'm looking for ideas or inspiration when I want to build something, I end up back on this site. I was searching for pictures of cat trees and this was the only one that made me say "Holy crap, that's EXACTLY what I want!" My cat will love it!

M0710NM4N

Mon, 04/27/2020 - 20:41

Not sure if anyone is still around to see this, but I fell in love with this tree the second I saw it. Wondering if anyone created a detailed plan and might have it handy or possibly a detailed sketchup and wouldn't mind sharing the save file?

In the event nobody has either... I'm planning on having someone else build this for me as I don't have the tools nor skill to do it myself. I have a few questions:

1. The tree base/platform, what's a good recommended thickness?
2. The platform for the scratchpad... is there any certain reason it's so much thicker compared to the other platforms?

Thanks.

whiteroses9

Sun, 09/12/2021 - 11:51

Reverse engineering this project, using just 2x4s. None of the photos show the undersides. How are the plywood pillow bases attached for the top and bottom of the cabin? and the base of the top viewing platform?

Patio Chairs

Submitted by pblomberg on Sun, 07/23/2017 - 13:13

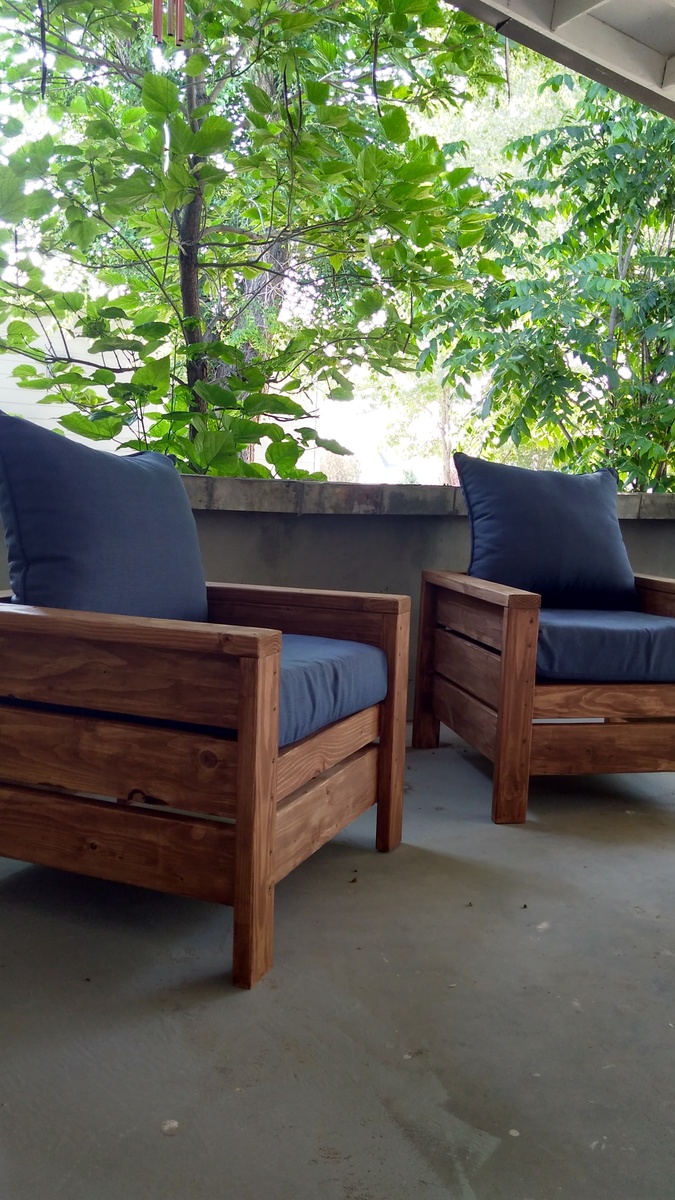
Chairs turned out nicely!  Adjusted for cushions from home Depot (24x24)

Will also make a little table to set between soon.  Thanks for the plans. 

Estimated Time Investment
Day Project (6-9 Hours)
Finish Used
Behr semi transparent. Chocolate color.
Recommended Skill Level
Beginner

Comments

Seasonal And Holiday

Chicken Coop A Frame

Submitted by mdownie on Wed, 05/22/2013 - 11:54

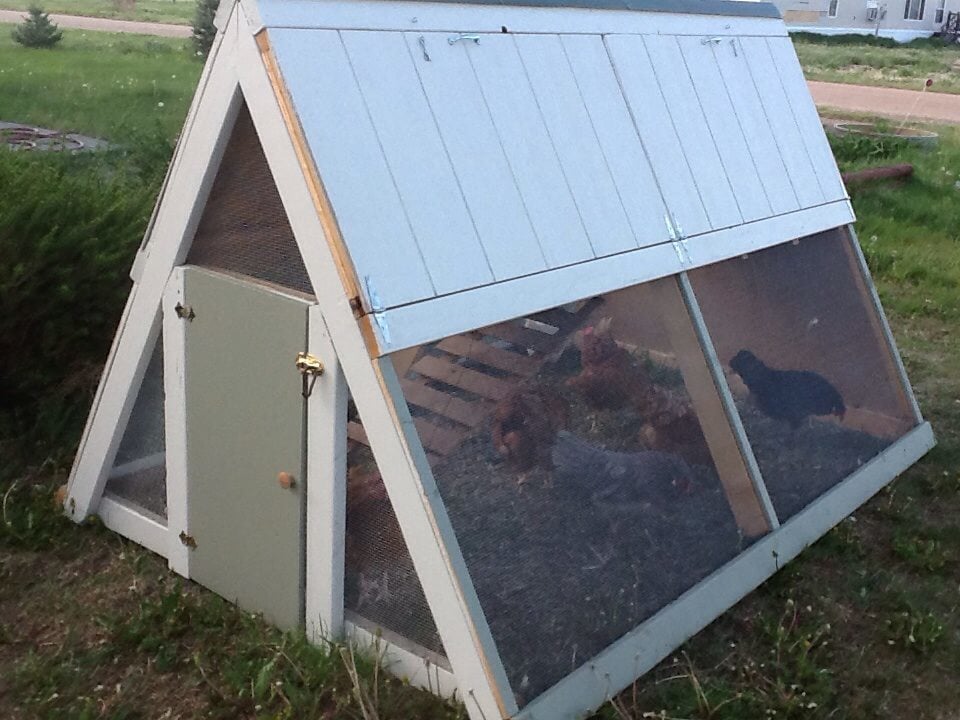
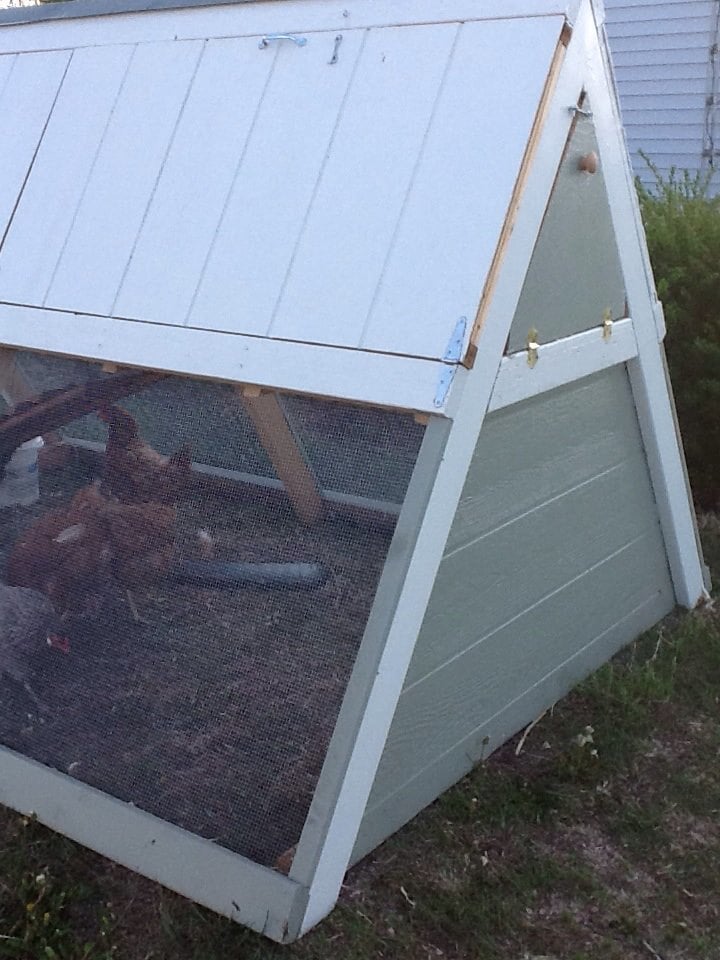
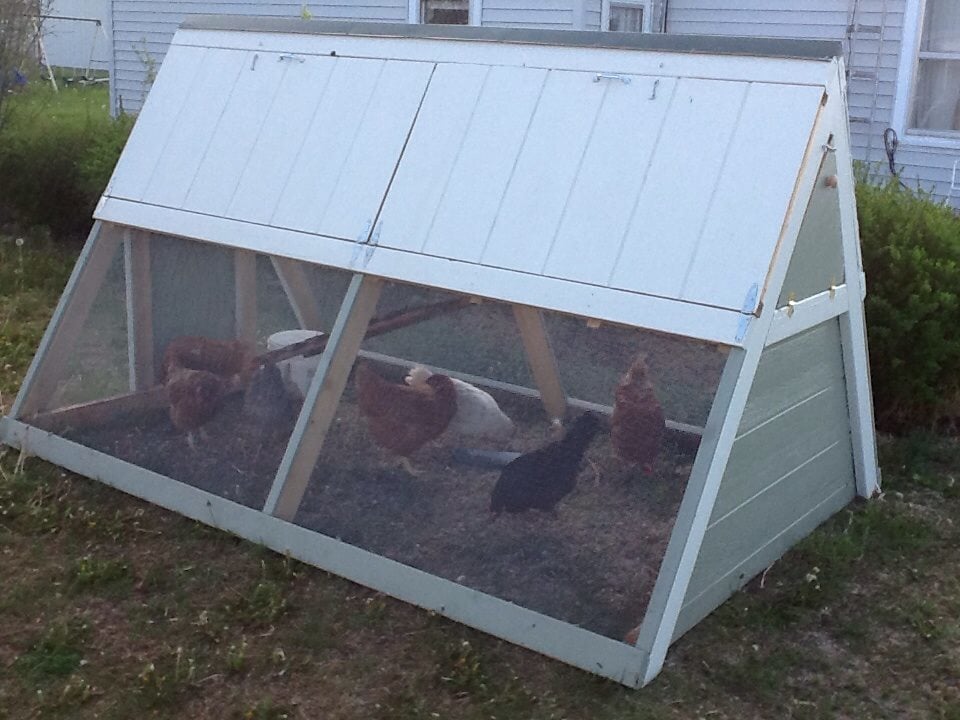
I built this A-Frame Chicken Coop using the Ana White plans. It turned out adorable, strong, and I am very pleased. Final cost was $250, and it took me 4 days (in real time, as a mom of 3). One Saturday at Lowes shopping, one Sunday afternoon cutting, and two days of assembly. Then a 5th for painting. Give or take a dozen extra runs to the hardware store! My brother-in-law helped cut the angles on his miter saw, and my uncle helped with assembly. I kinda doubt this could be done for $100 - maybe if you have a bunch of scrap materials and spare paint. We even have 7 or 8 hens in there! I only intended 3 to live in it, but my uncle added the extras and they all get along happily. I found the roof cap at Home Depot (didn't find at Lowes).

I would also like to point out that I was very afraid to do carpentry - I was afraid to even buy the lumber. But I asked for a lot of help from a lot of Lowe's and Home Depot people, and resisted the naysayers, and just got brave and did it. And it came out beautifully! If you are new to using power tools, get someone to assist, and you would need help anyway with holding things up while another drills.
Built from Plan(s)
Estimated Cost
250.00
Estimated Time Investment
Week Long Project (20 Hours or More)
Recommended Skill Level
Beginner

Comments

mdownie

Wed, 05/22/2013 - 11:59

As an extra note, I used Hardware cloth, not chicken wire. Wire will not keep dogs or predators out (and my dog immediately tried but failed to claw his way in). I bought I believe 36 inch tall rolls - the standard size that I could tell (not 30 inches like in the plans). But it fit perfectly, so I think maybe the plans had a typo? Lay out the lumber according to the plans and it will fit perfectly.

Chicago White sox replica scoreboard loft bed

Submitted by Anonymous (not verified) on Mon, 10/04/2021 - 19:15

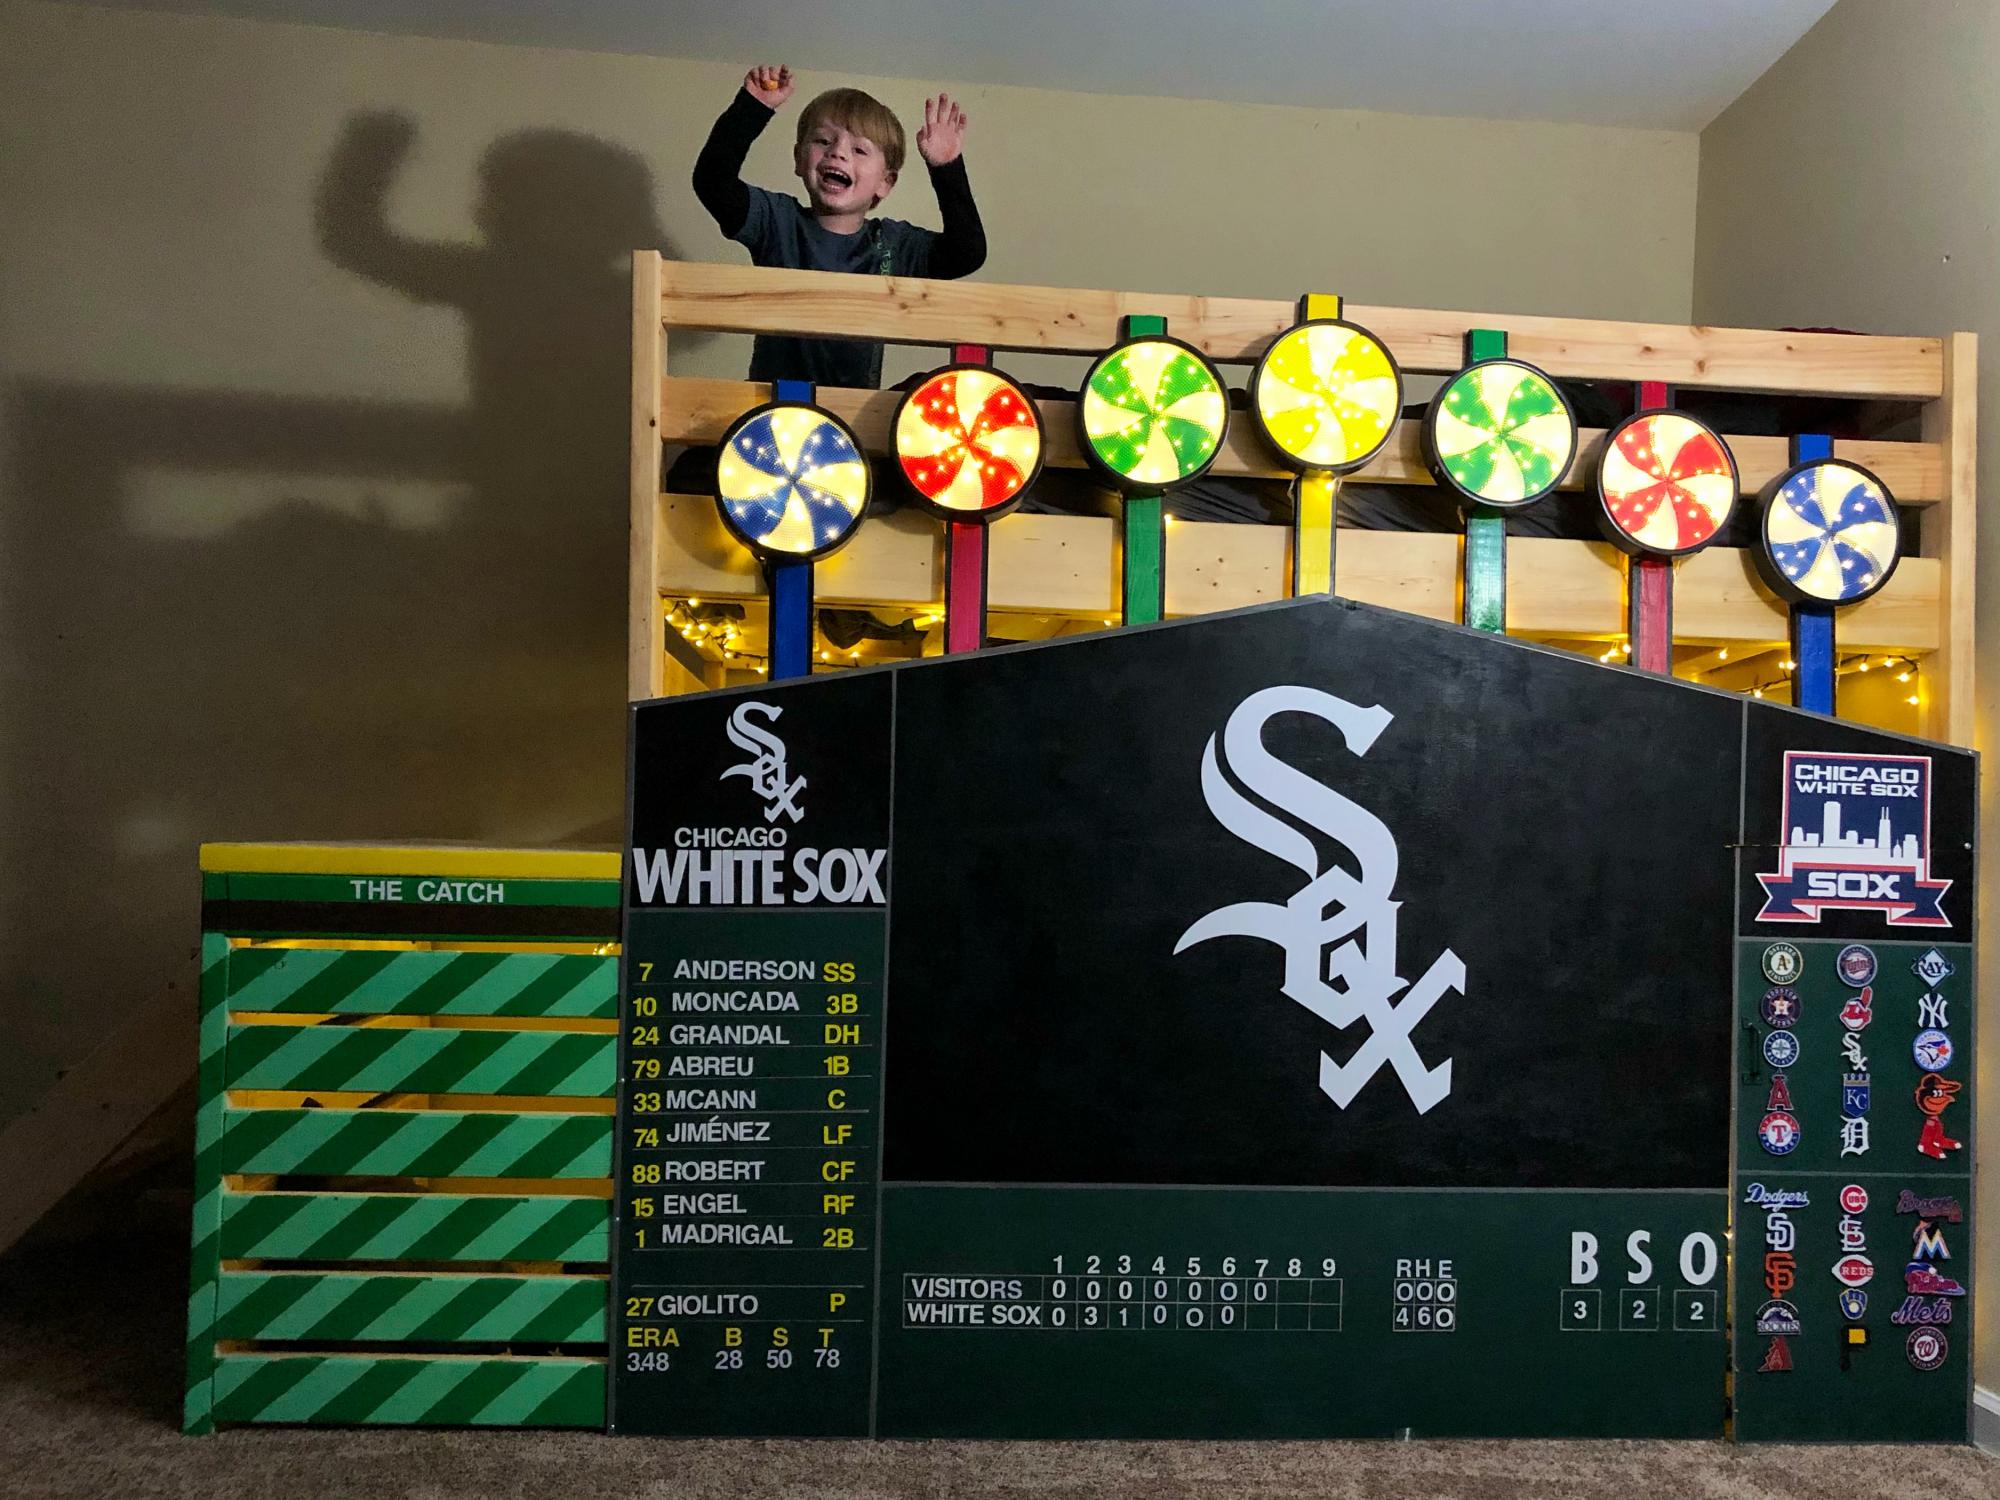
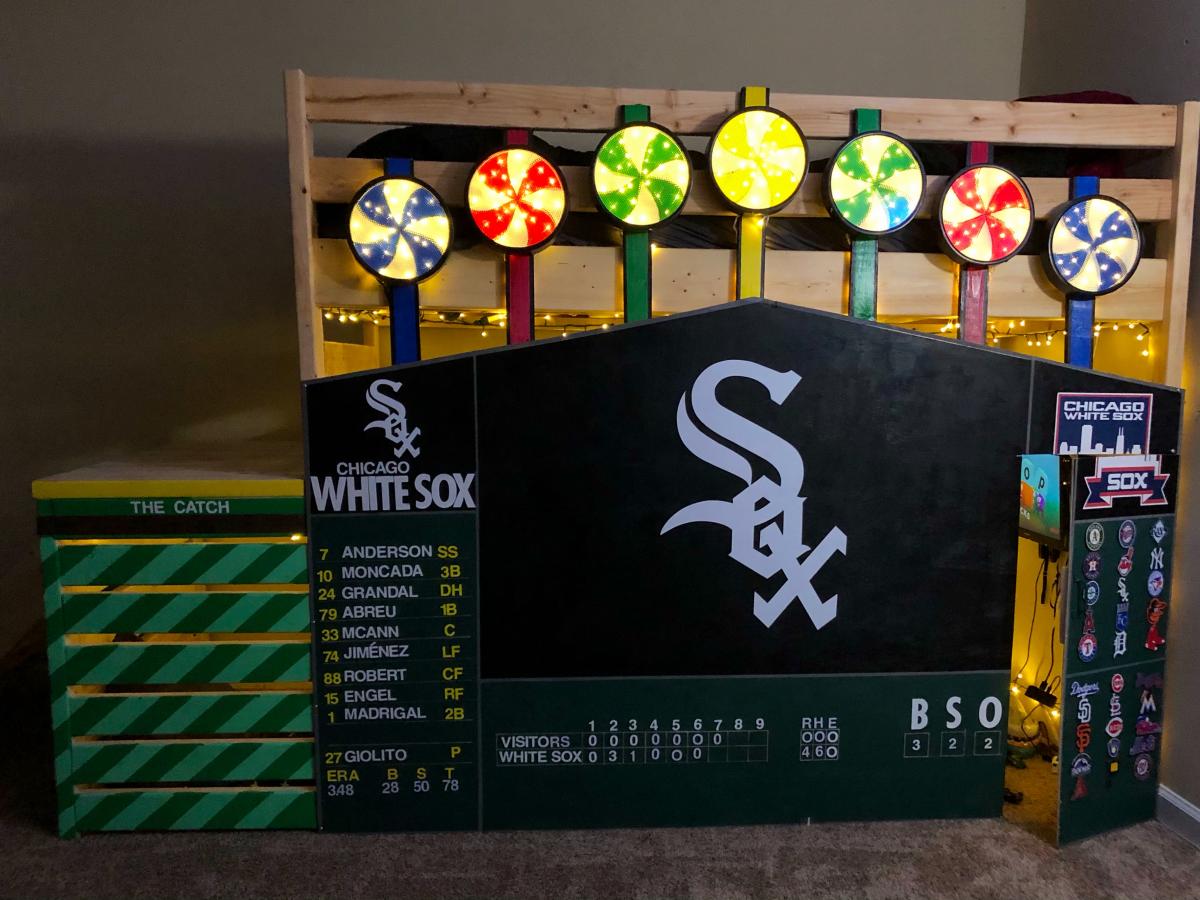
I started off building the loft bed. It was a lot of fun. I cut every single piece of this, and hand everything, other than the white sox and players decals. I made the light up pinwheel signs that light up whenever the white sox hit a home run. I had fond memories of the famous scoreboard going to games at the old comiskey park, and my 5 year old son loves the white sox, and this bed! There is a door as well that opens up and goes into the locker room. Underneath there is a rv, with a chair, and some other cool amenities good enough for a real major league player. I won’t tell the secret of how I designed the pinwheel light boxes, and the led lights. I had to get realllly creative. This was a huge project that completely consumed me for months. I love it though, and wanted to thank Ana for the great plans on the loft style bed! Thank you Ana white!!! Your the best
Raised Garden Beds

Submitted by kari on Sat, 03/12/2011 - 09:54

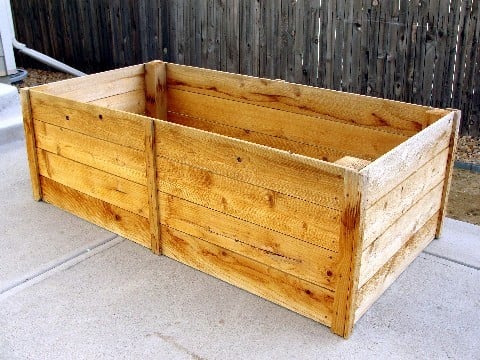
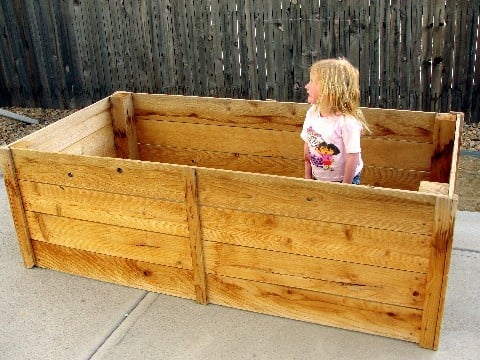
I made these last summer for my sister. And she didn't even use them yet! Very easy to make. She did want them taller, so that is the only modifacation I made. We're hoping the bunnies won't notice all the yummy veggies up this high :) I know, probably wishful thinking. Makes a great kid corral too.

Estimated Cost
it's been a while
Estimated Time Investment
An Hour or Two (0-2 Hours)
Finish Used
none
Recommended Skill Level
Starter Project
Seasonal And Holiday

DIY Potting Bench

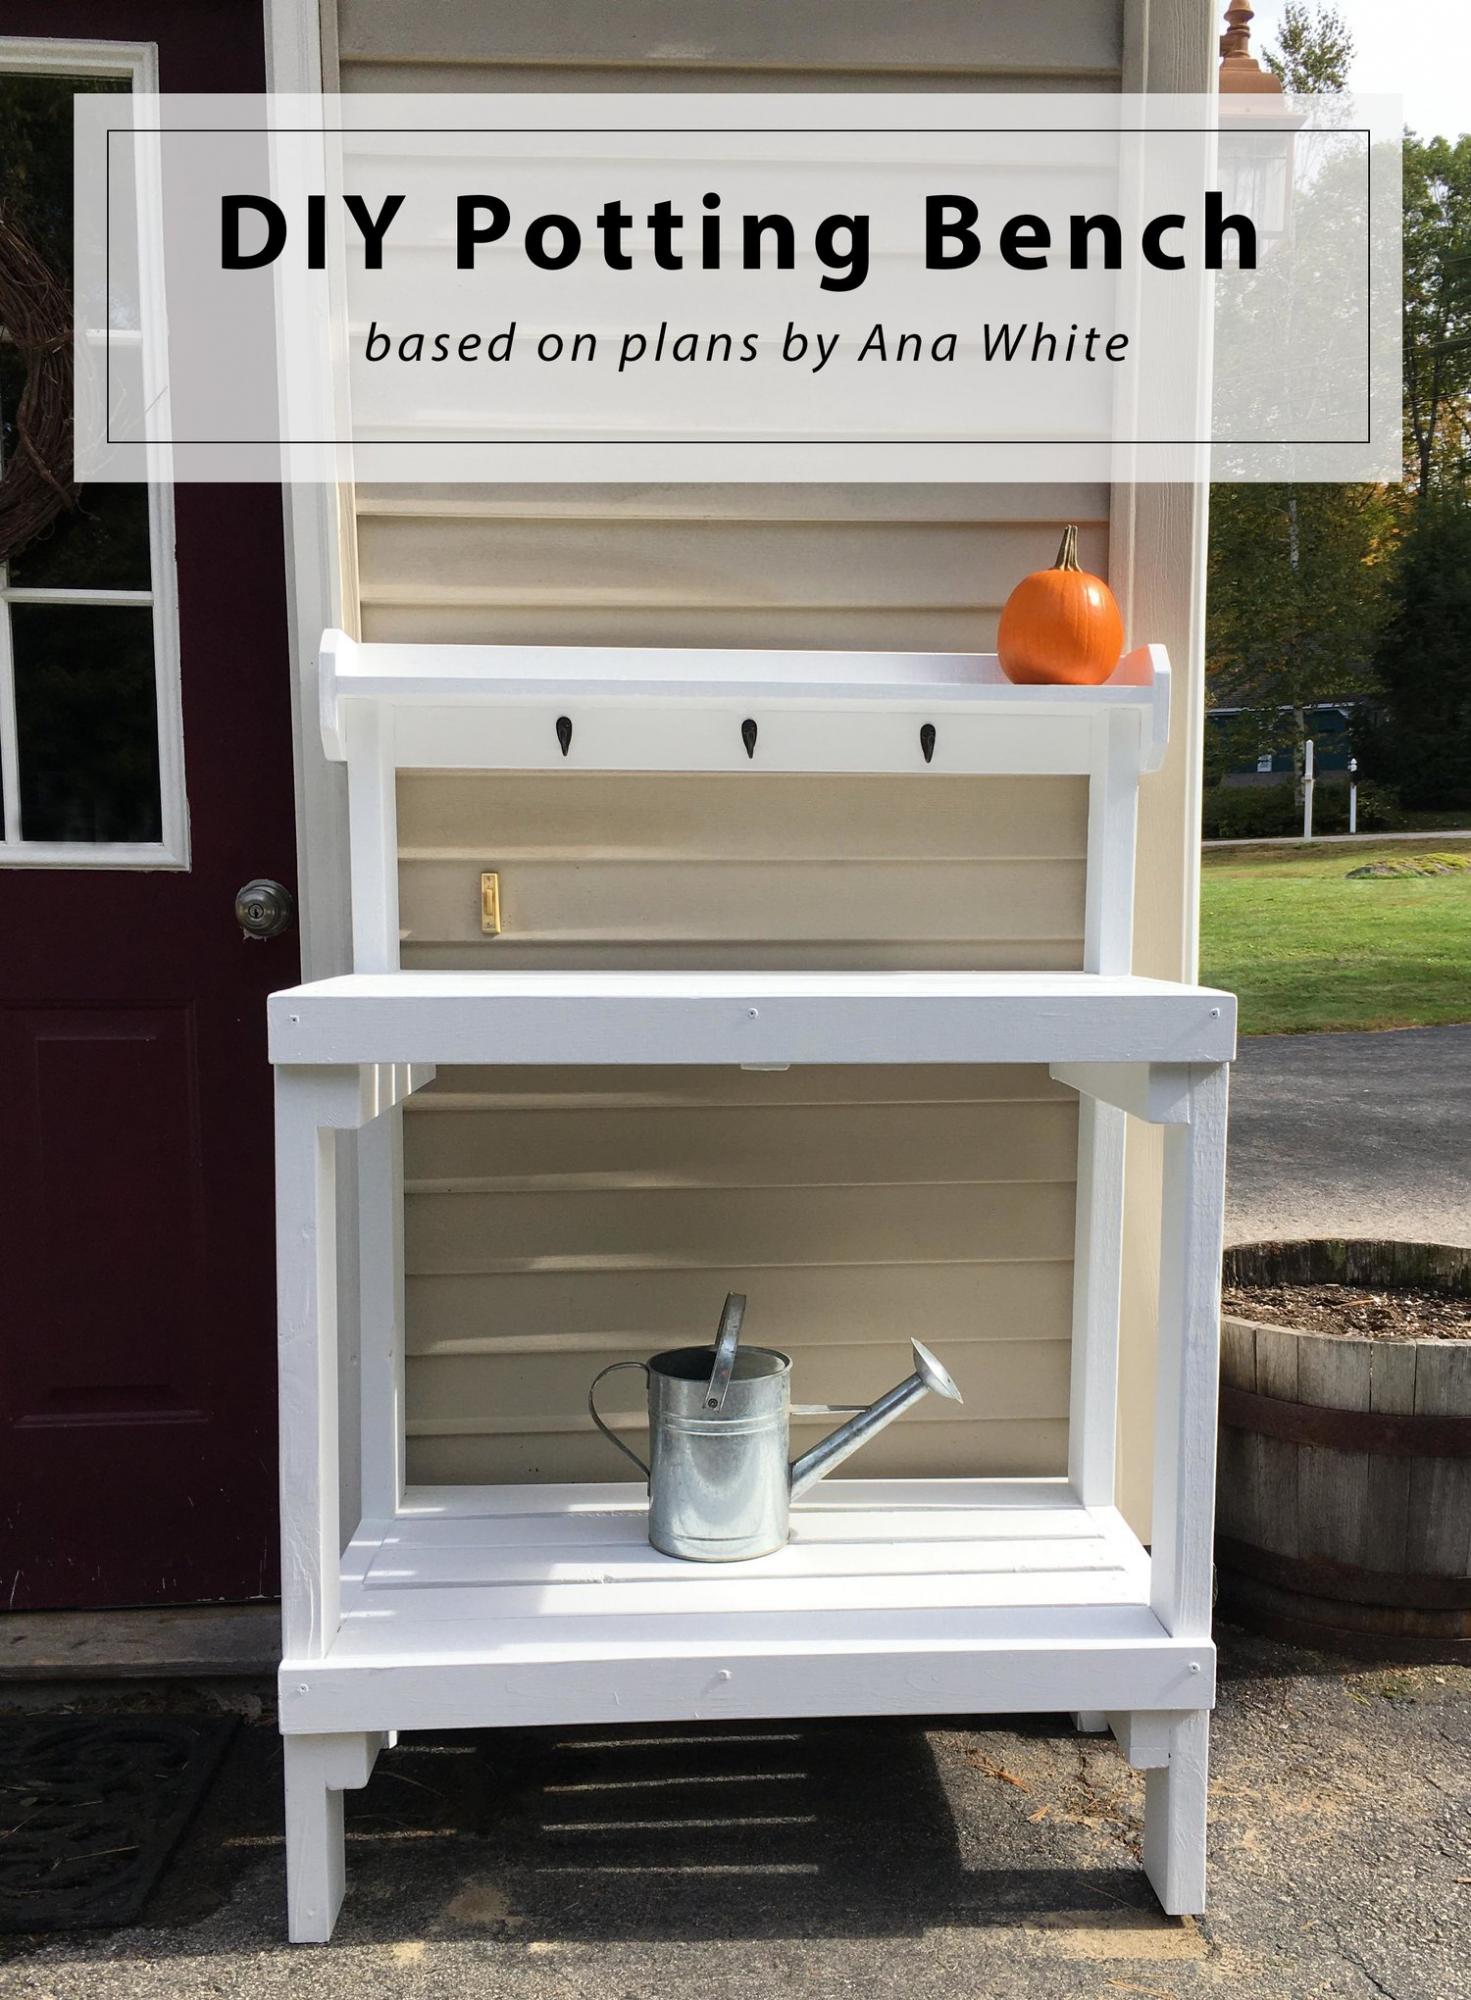
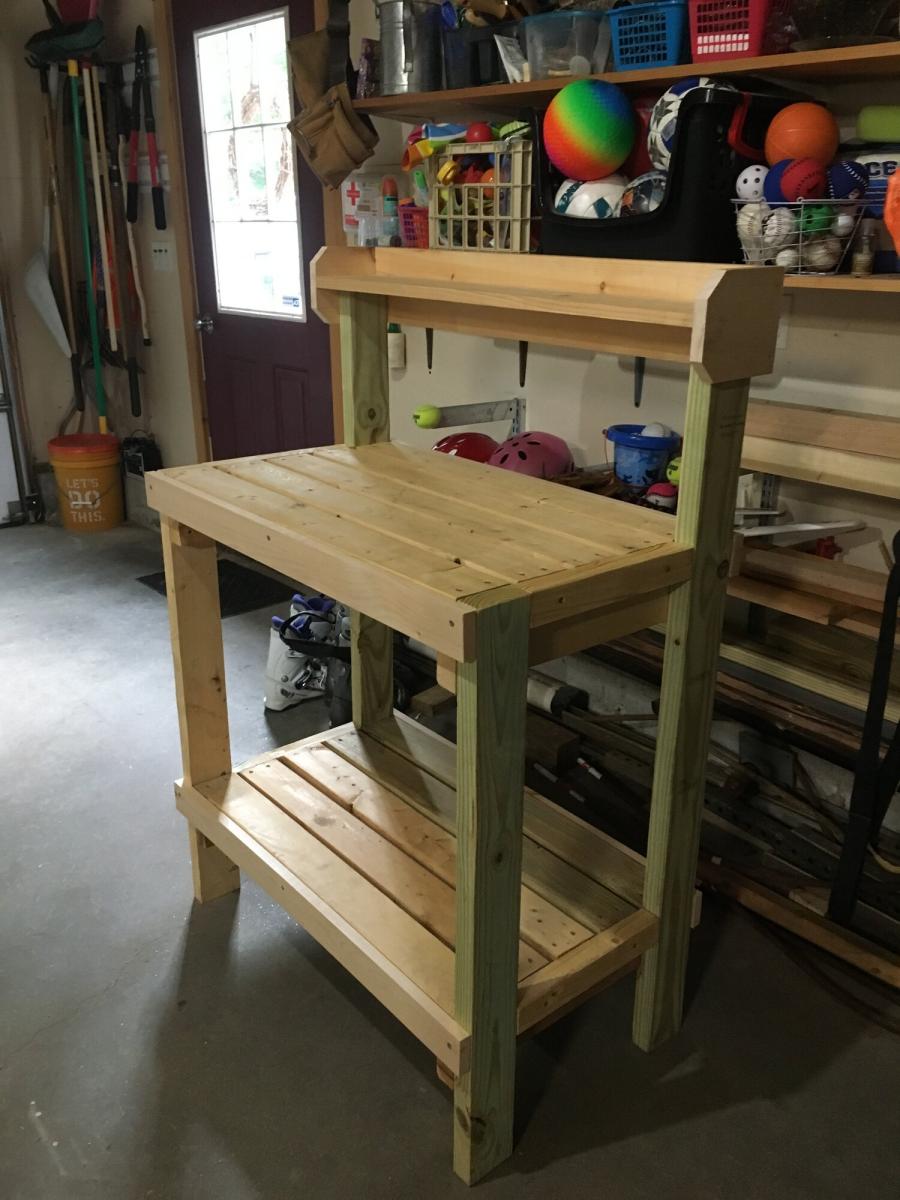
I’ve been wanting a potting bench for a while now - something by the back door to display some decor, use as an outdoor work station, and double as a place for UPS to leave packages. After looking around online and at local stores, I couldn’t find anything that I liked that fit the narrow space - so I did what any #woodworkingmom would do, I decided to build it myself. Please see my blog post for additional photos and lessons learned during this project.

Built from Plan(s)

Comments

Seasonal And Holiday

PICNIC TABLE THAT CONVERTS TO BENCHES ~ Cedar Finish

Submitted by Tonya P on Mon, 06/10/2013 - 19:50

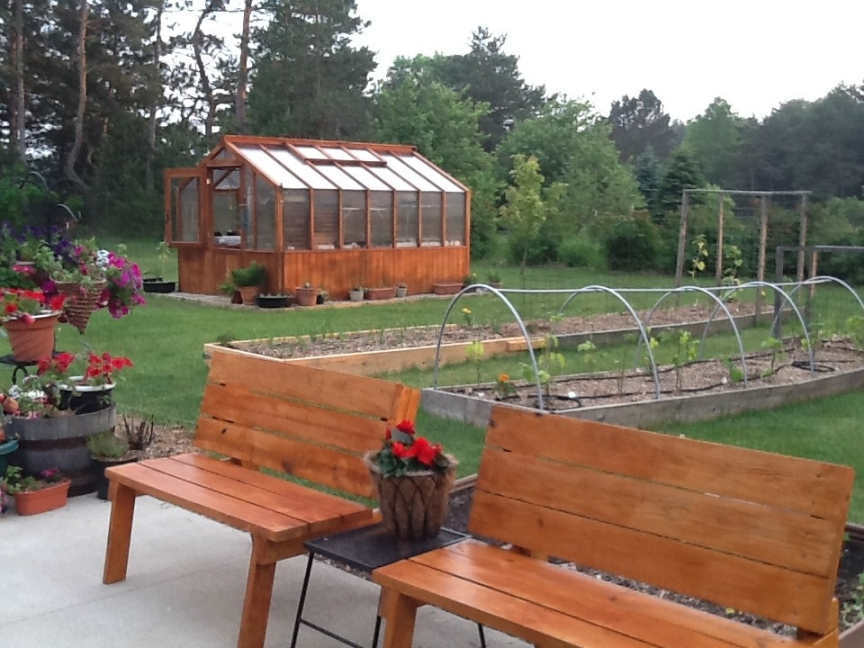
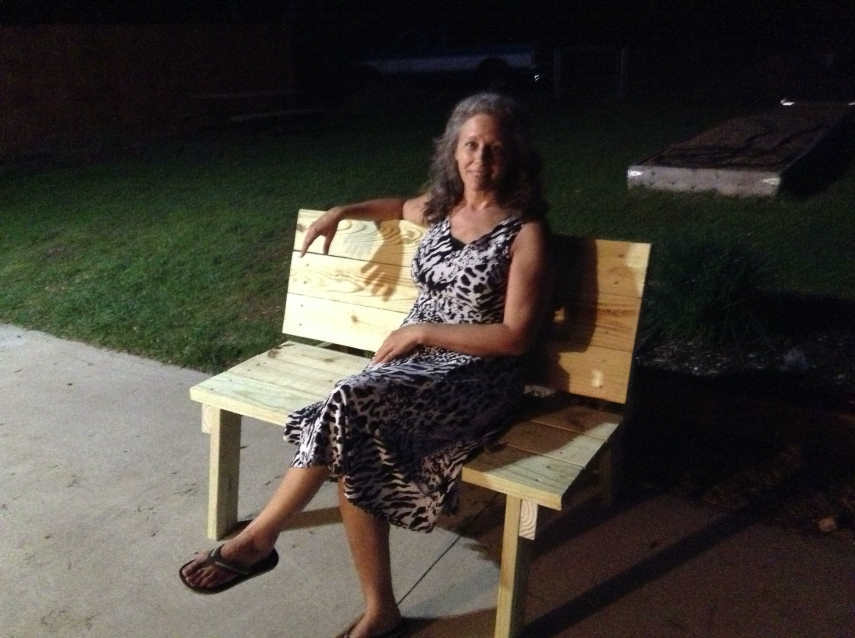
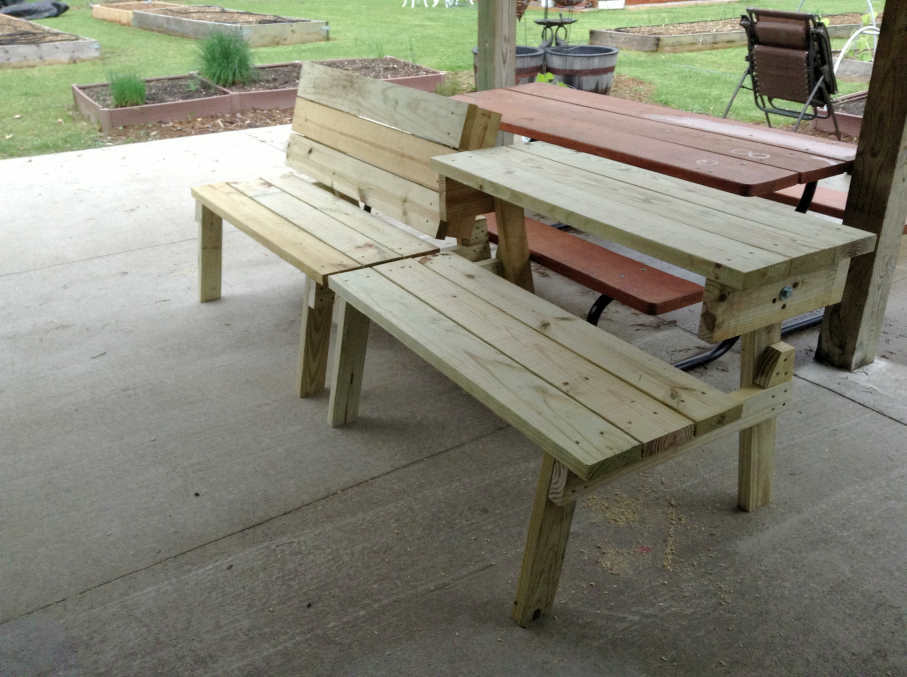
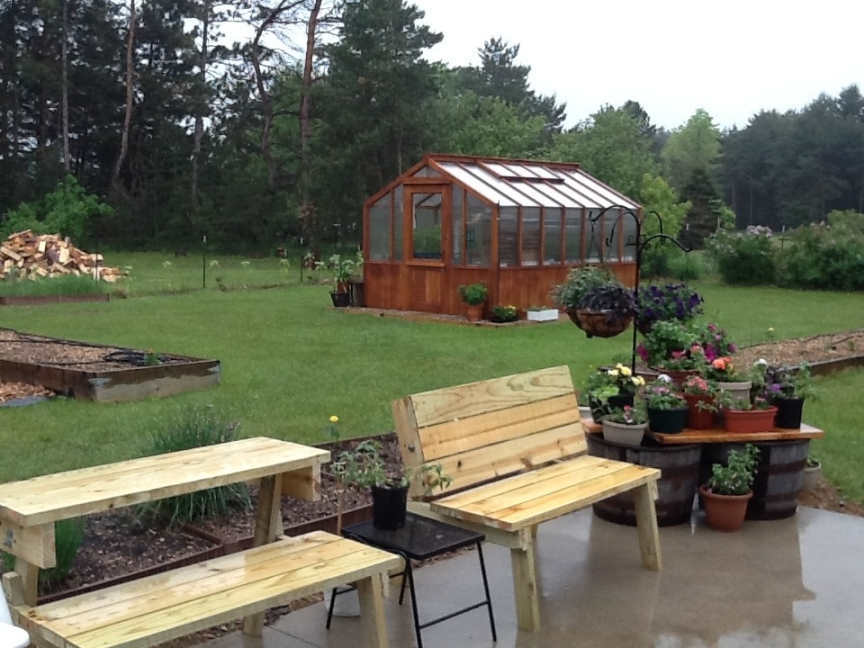
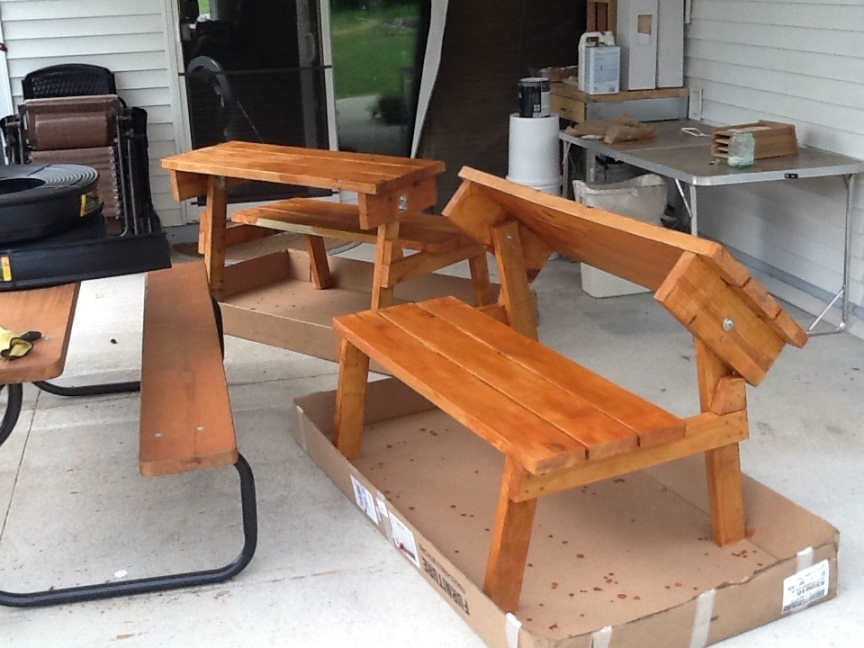
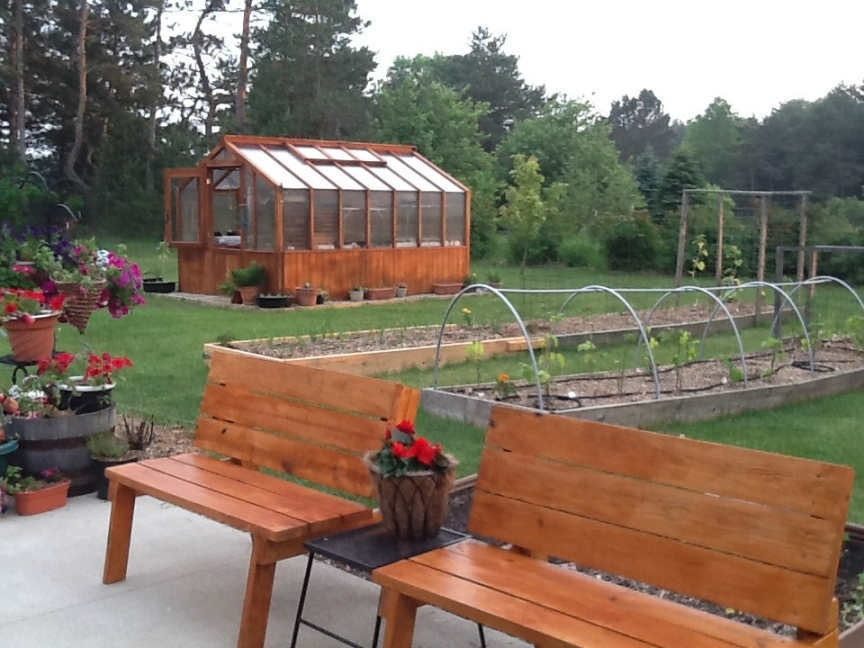
I saw a type of this for sale at Costco for $109 (for just ONE bench, not a pair). It' looked nice, and I almost bought it, but it had metal legs and trim and I wanted more of a natural look to go with my Cedar theme that I have going in my back yard garden/patio/greenhouse area. After seeing it in the store, I did an online search to see if I could find something a little more organic in nature... imagine my surprise when Ana's version of the bench/table came up! I looked over the plans and thought... well, I made the modified Farmhouse Table via her excellent instructions, I can surely do this! I did make a small change, I cut small pieces of wood to use as stops for the backs of the benches, instead of using holes and bolts to hold the backs at an angle that is comfortable. You can see this in the pictures, they are just beyond the back of the seat boards, on the leg supports. Thank you Ana! It was easy, quick, and they look SO good on my patio. I will be making more, maybe even selling a few because so many have asked me if I might :) I figure the cost was about $65 for both benches. A great deal and a fun project! Patrick really has to refrain himself from wanting to "help" me, but I am determined to do it myself... and low and behold! With Ana's generous free plans and inspiration, no problem!

Estimated Cost
$65 for the two
Estimated Time Investment
Day Project (6-9 Hours)
Finish Used
Cedar Stain. The project was not stained until the benches dried out for several days. They were built using green treated lumber, so they needed to dry out well before staining.
Recommended Skill Level
Beginner

Comments

Kabarie

Wed, 07/17/2013 - 13:11

Oh, great job!! I love it. The back stops for the bench is a great idea because those bolts are expensive! I'm going to do the same. Thank you for the idea!

Seasonal And Holiday