Community Brag Posts

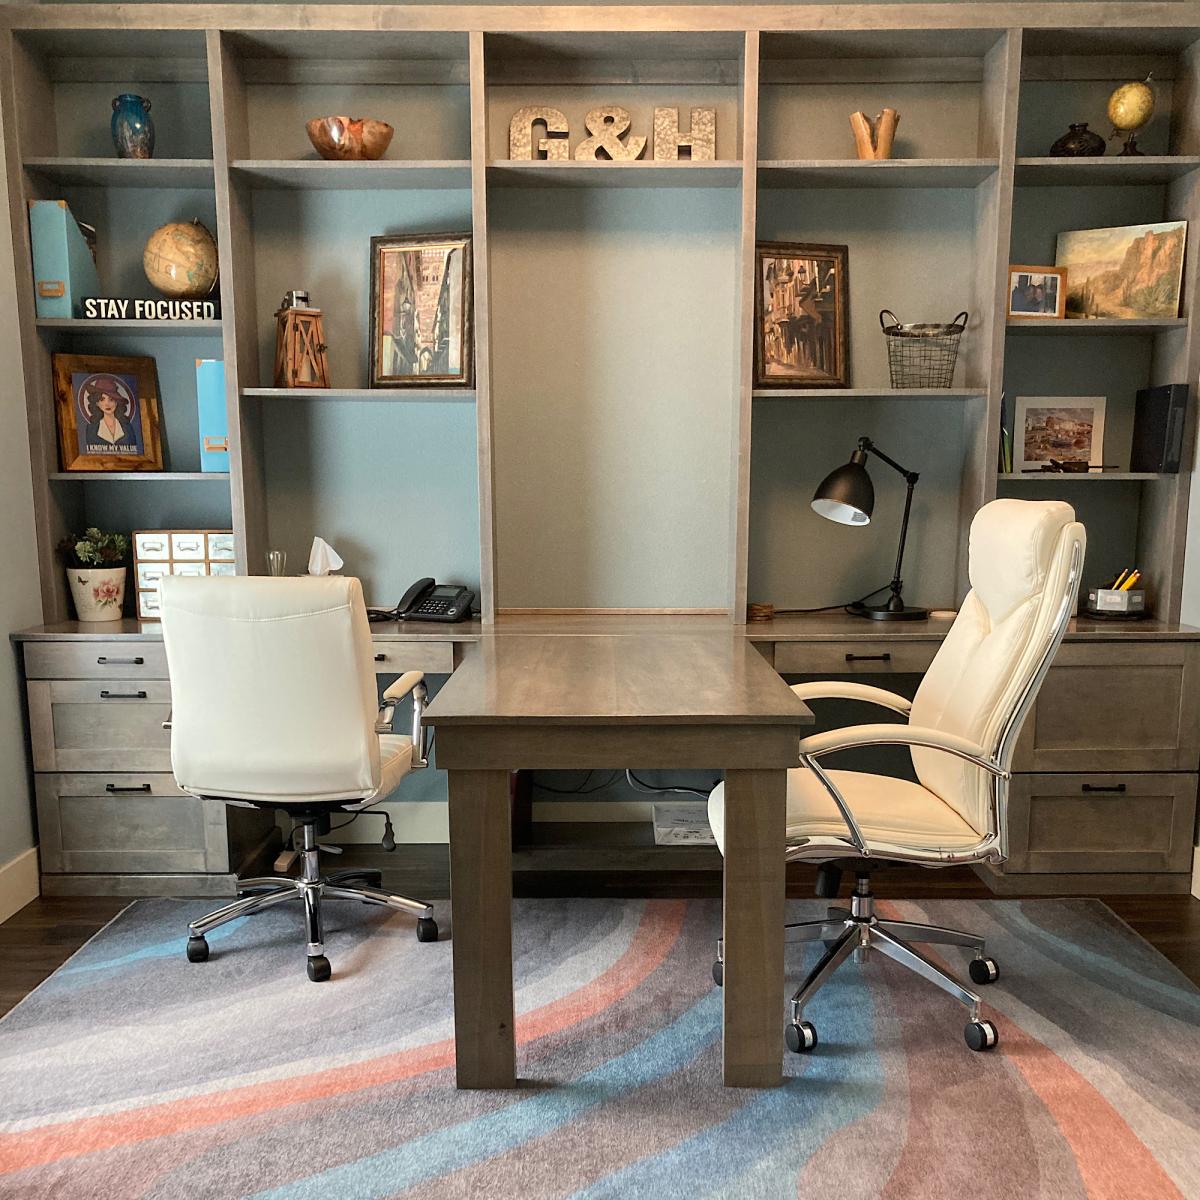
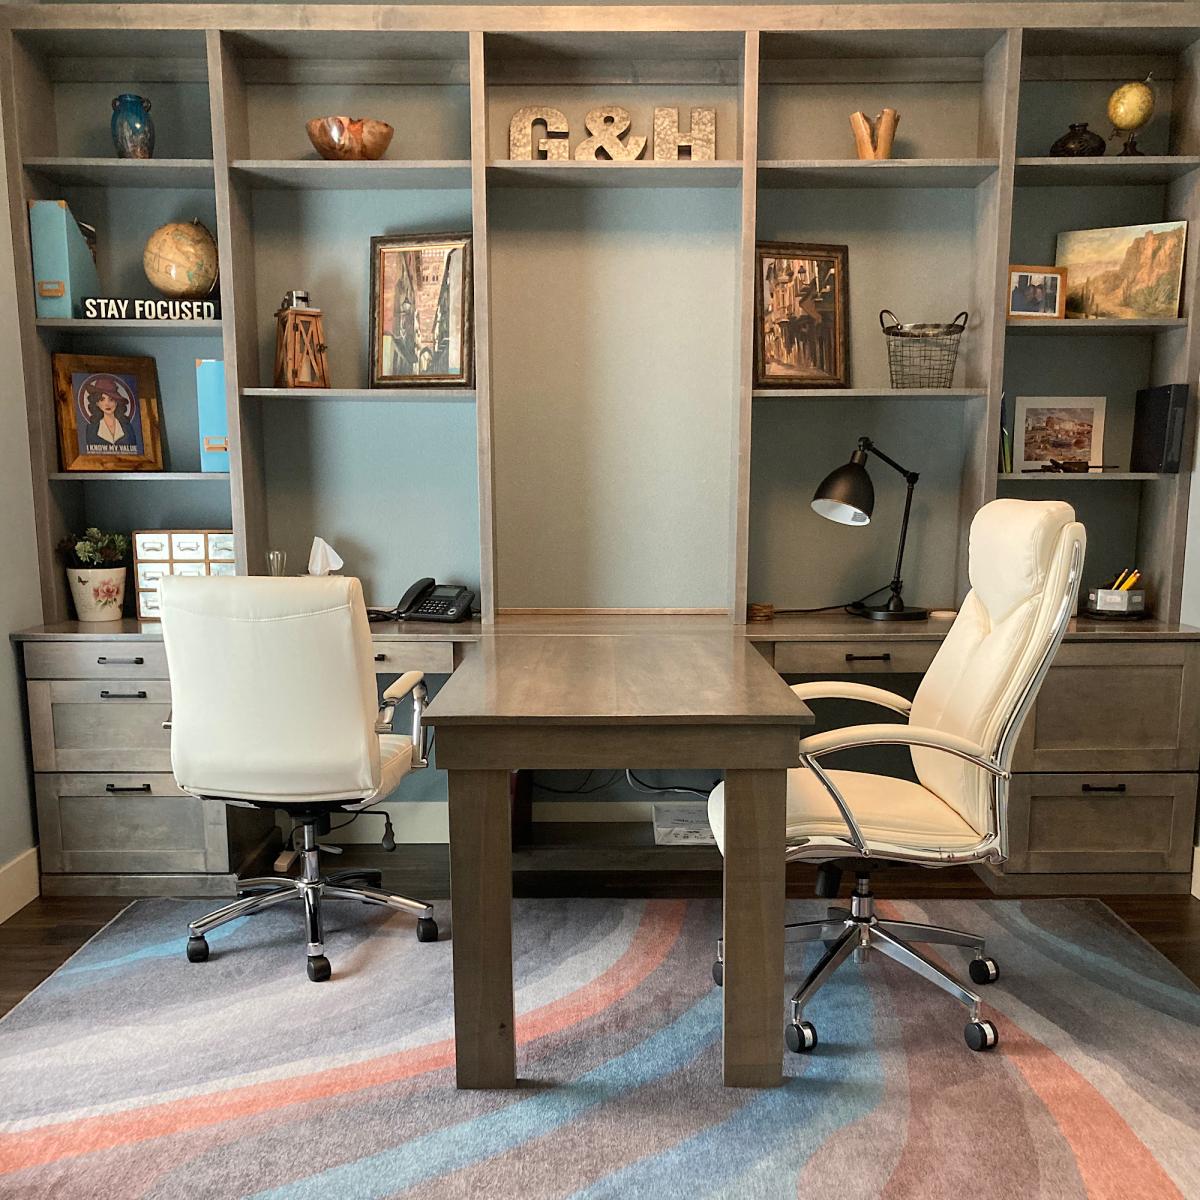
Homemade Home Office with Peninsula Desk

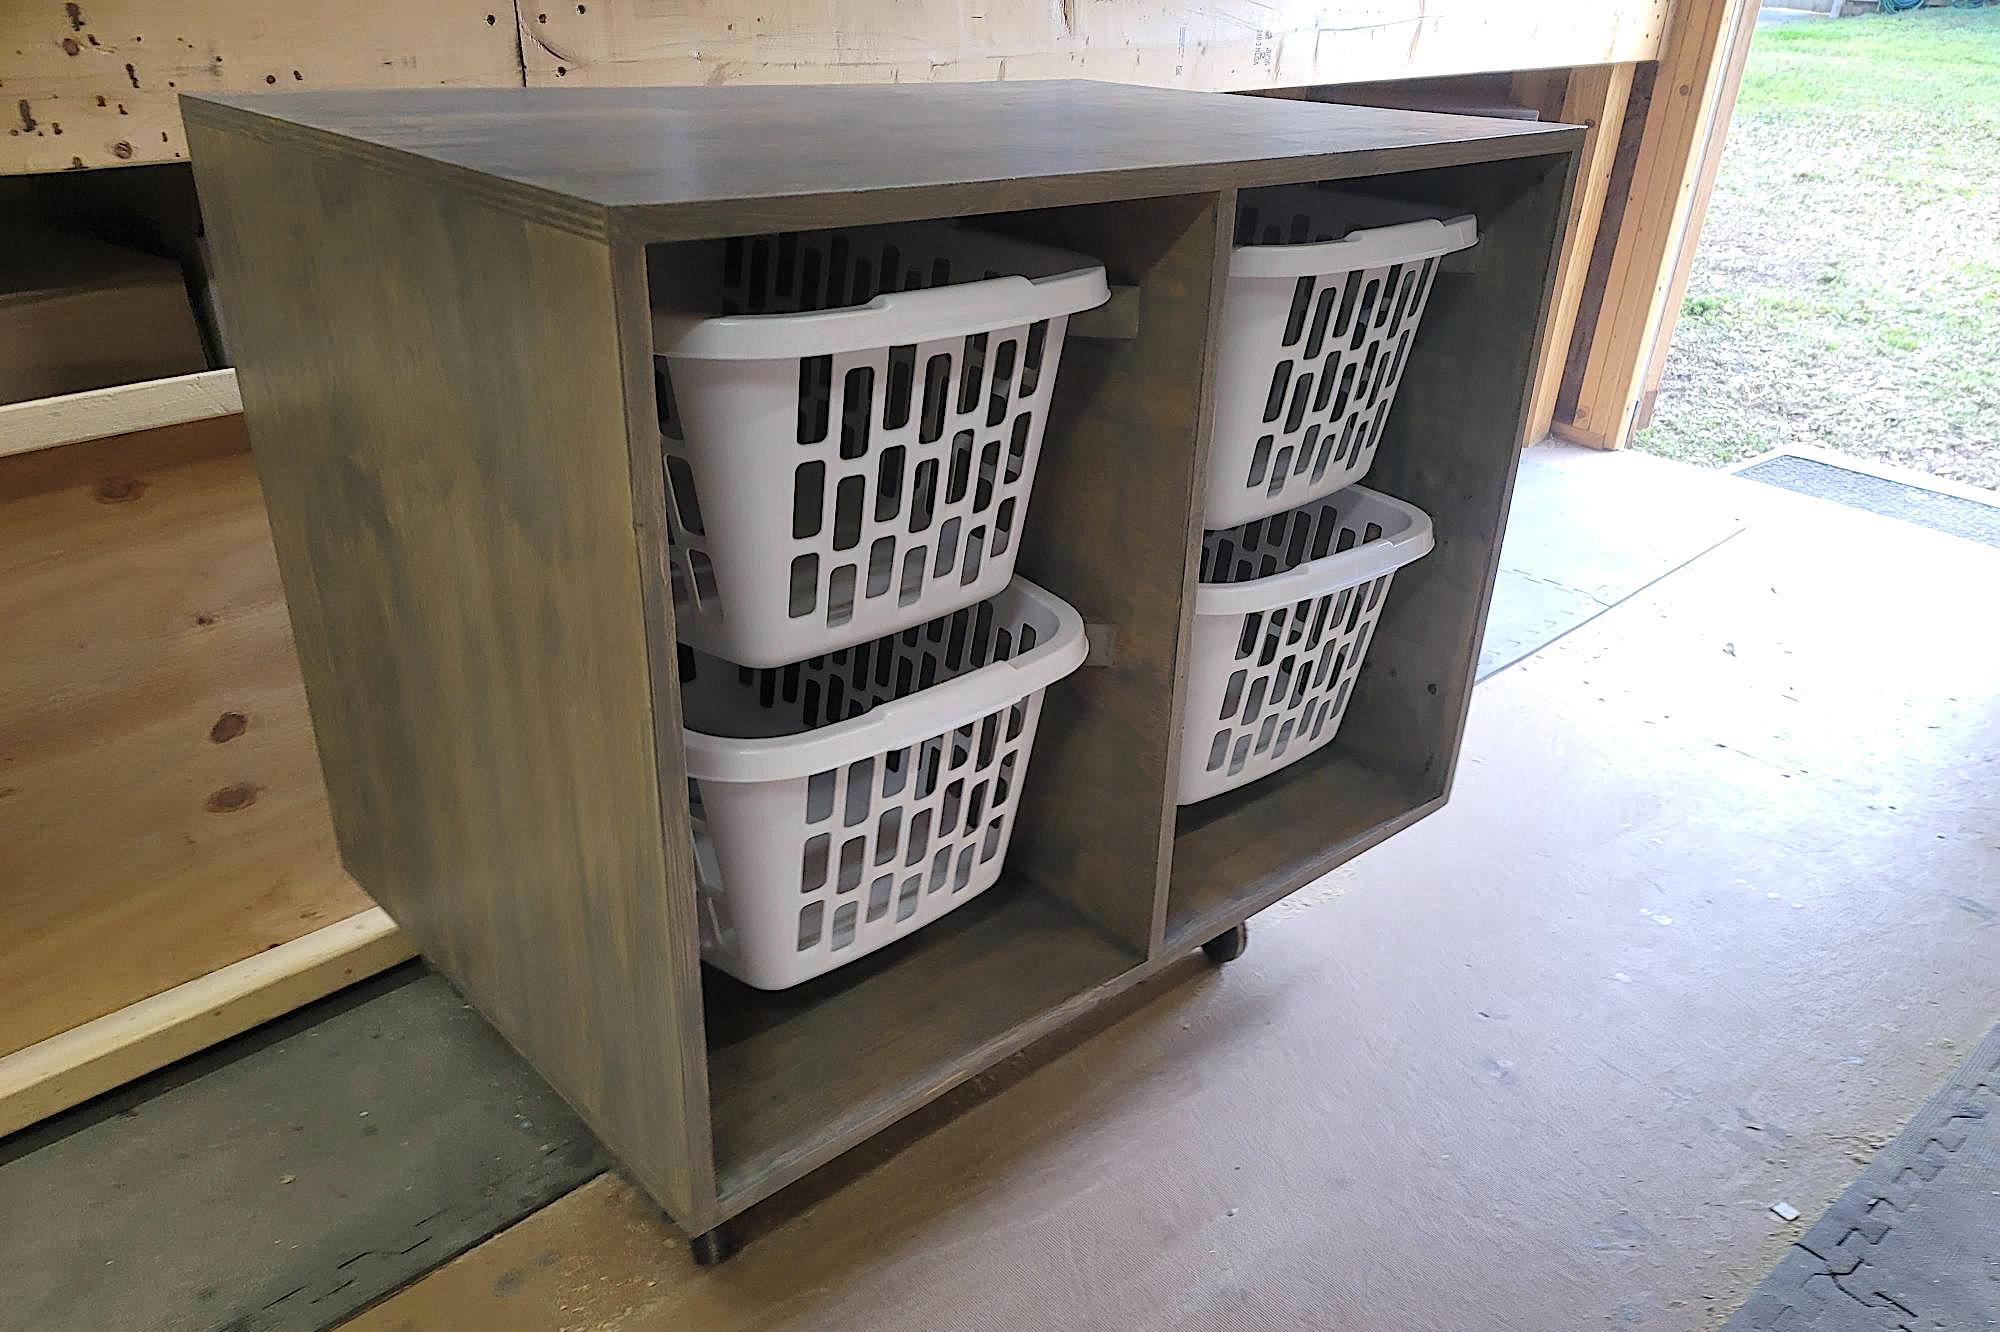
Thank you Ana for so many amazing plans and shelf help that helped me get this monster built! Now my husband has a nice office where he can work from home. I was so impressed with how easy it was to make the plans in shelf help and how quickly it all arrived. (I can’t link the drawer slide trick plans, but they were key and I based the middle table off of the foldable farmhouse idea)

Comments

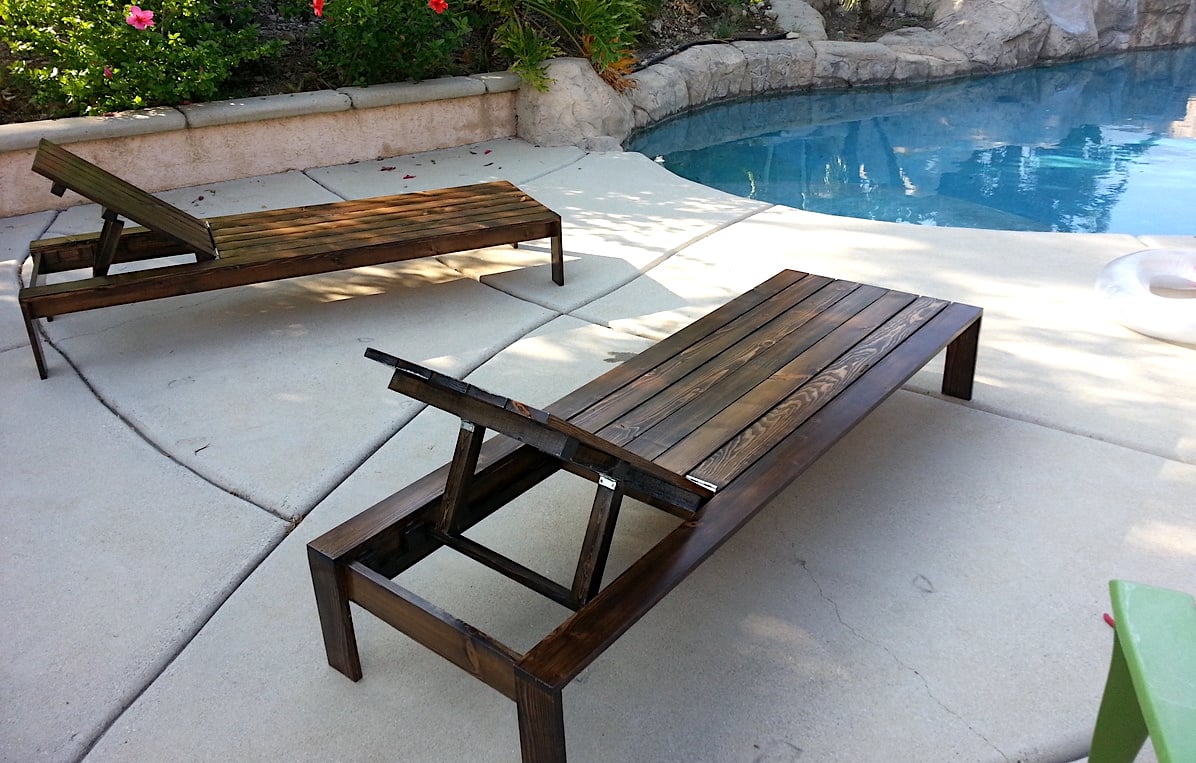
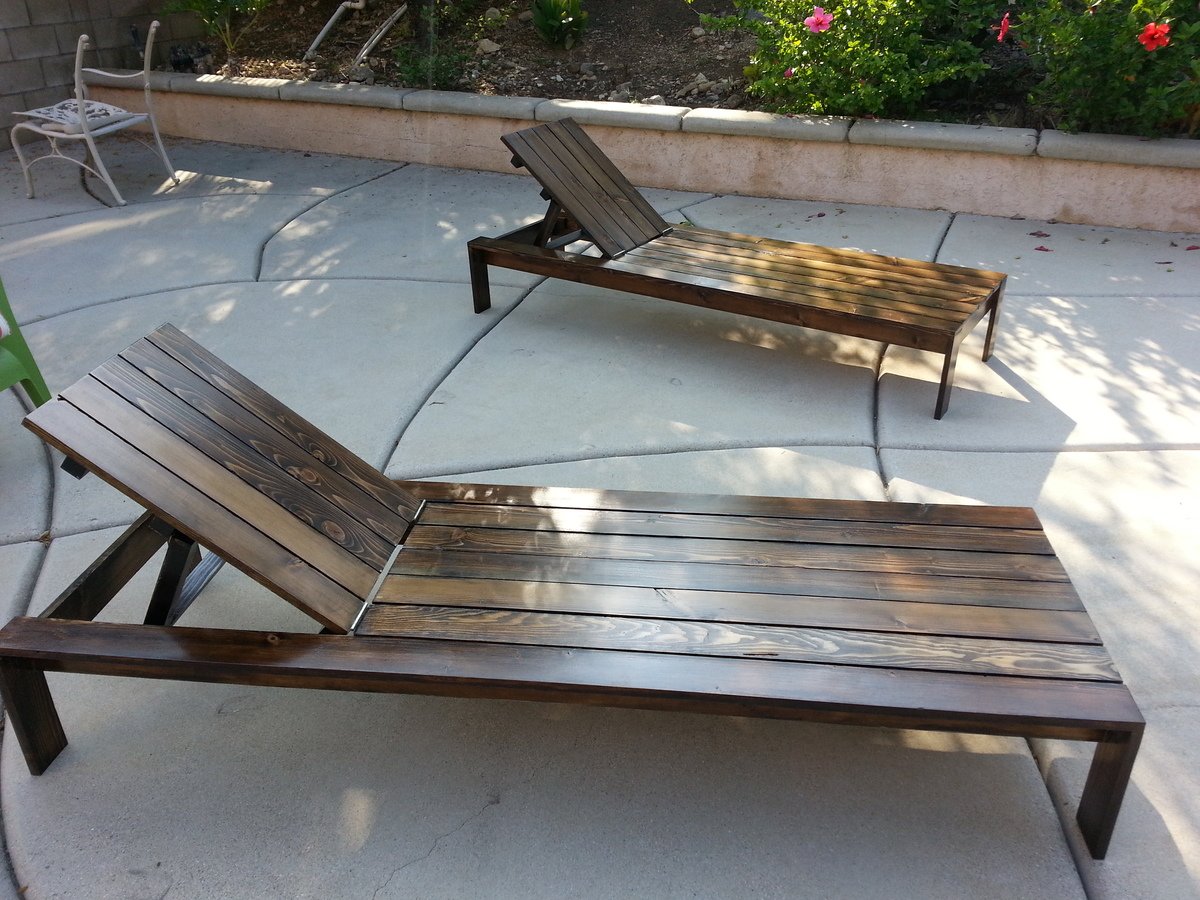
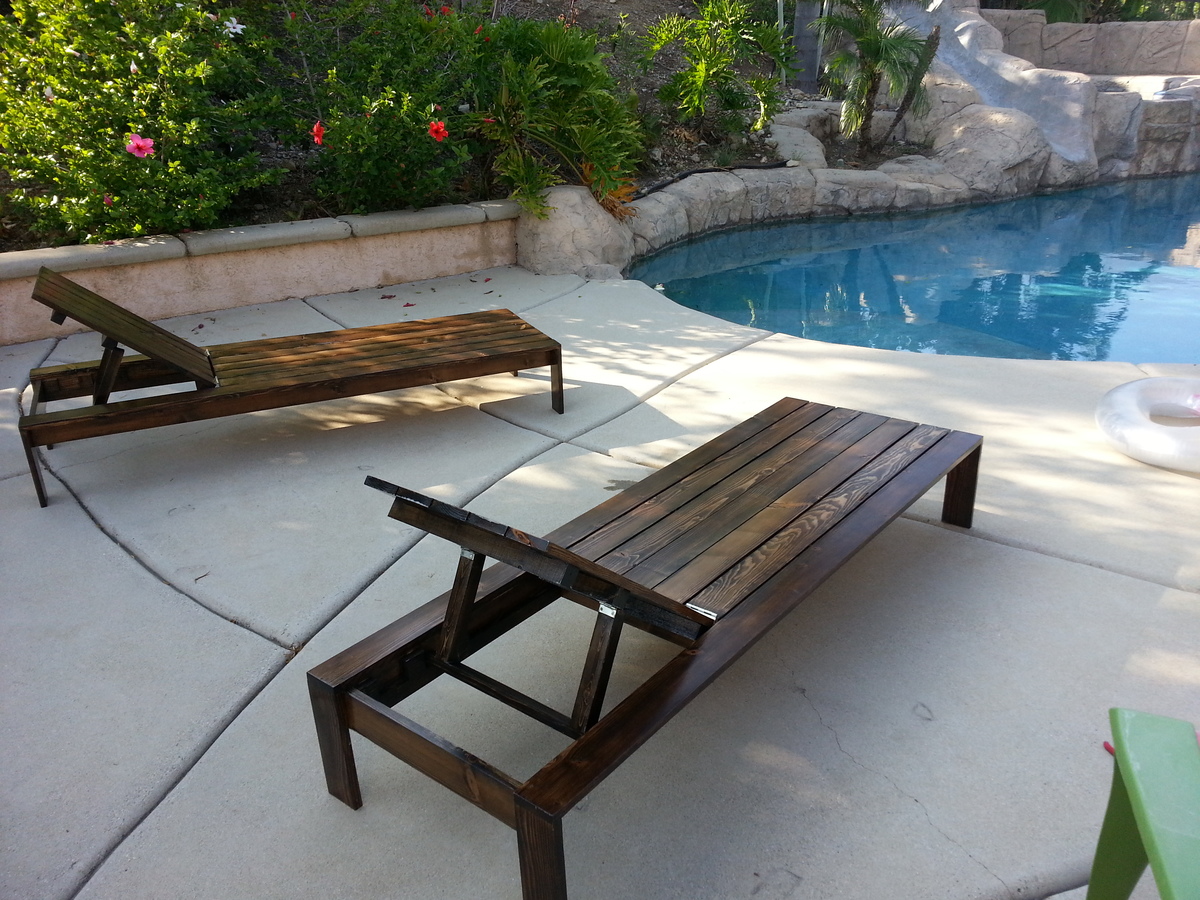
Pool Lounge Chairs

Submitted by Seth on Sun, 07/26/2015 - 16:25

This was a fun and easy project for our pool area.  We have high winds and our store bought chairs did not last.  These loungers are sure to fare a bit better.

Estimated Cost
$60
Estimated Time Investment
Weekend Project (10-20 Hours)
Finish Used
Minwax Jacobean. We added three coats of gloss poly.
Recommended Skill Level
Beginner

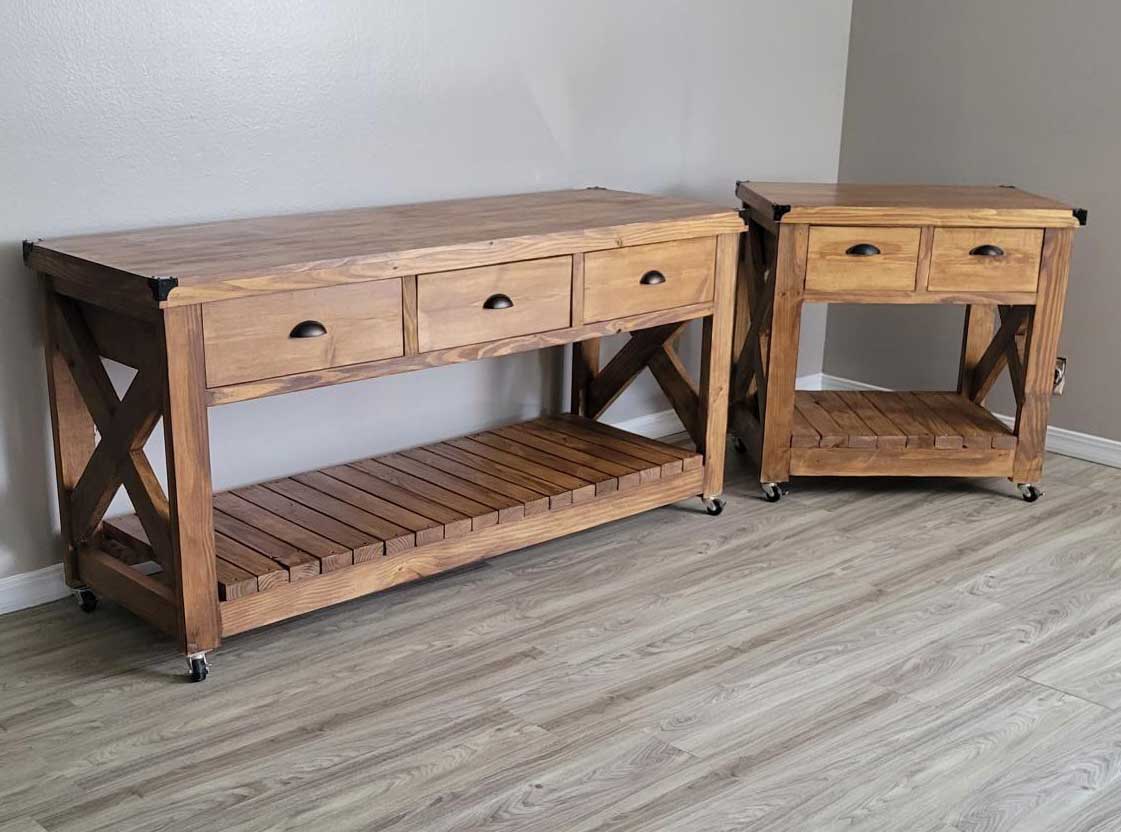
Rustic X Kitchen Island

Submitted by Anonymous (not verified) on Thu, 04/21/2022 - 12:06

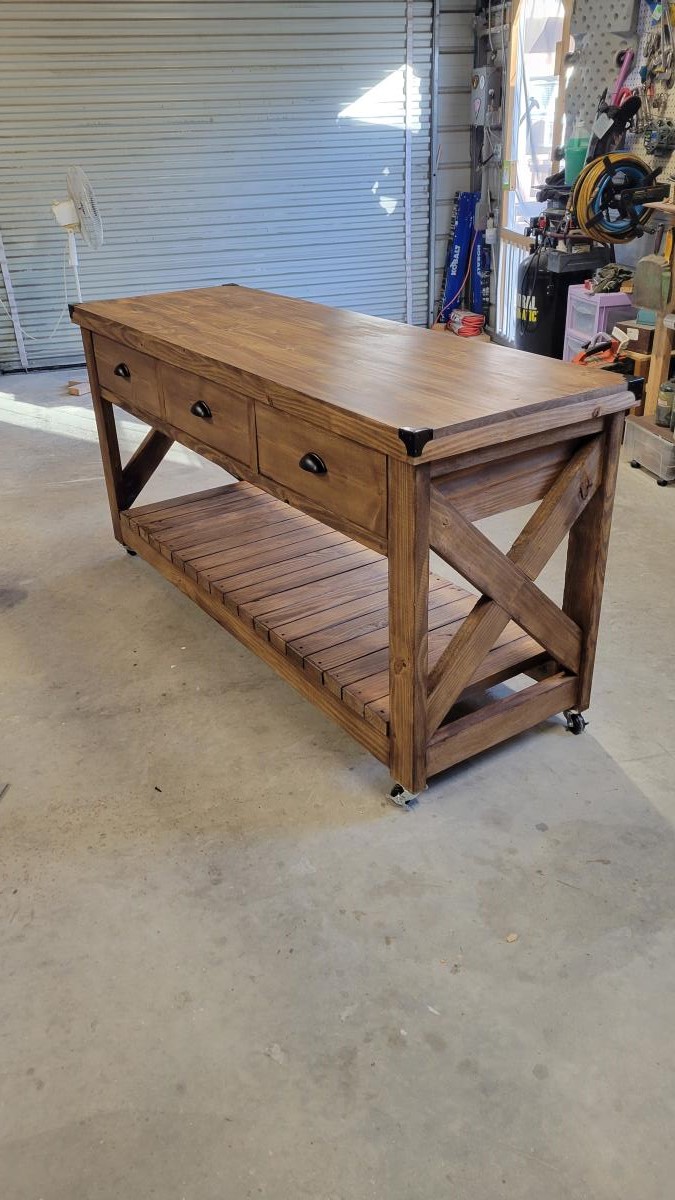
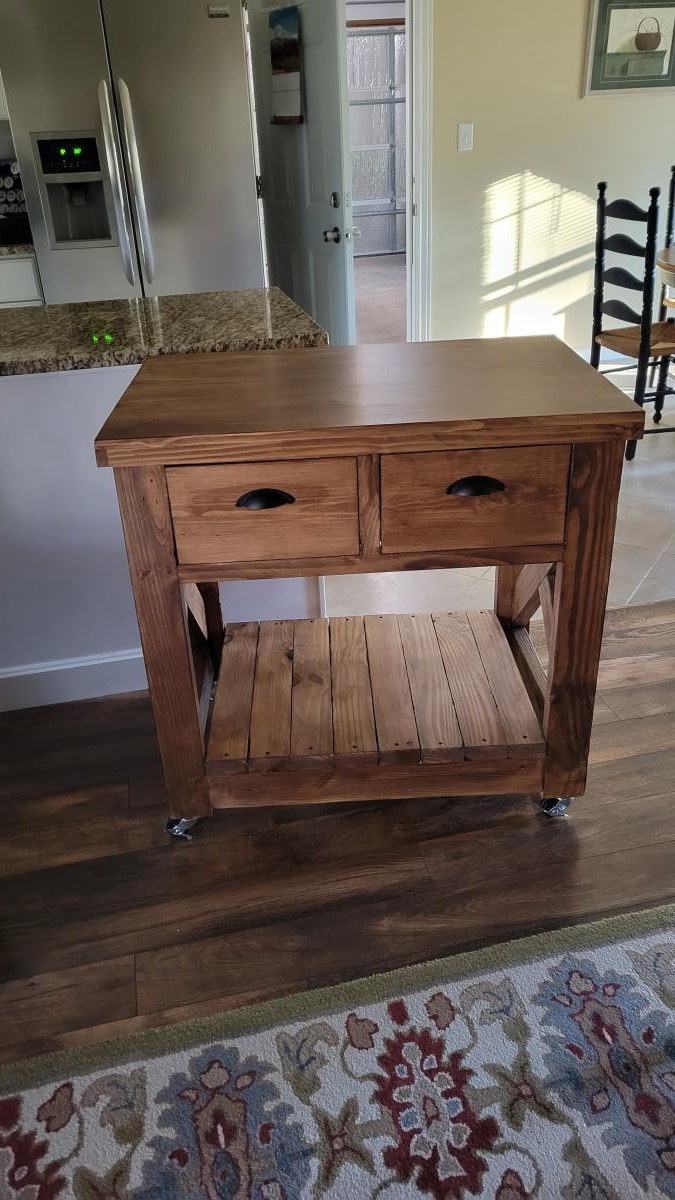
Used Ana's plans with a little modification.
I built 2 different sizes and donated to our church for their fellowship hall.

Comments

Kentwood Bookshelf

Submitted by worrow on Tue, 08/11/2015 - 17:33

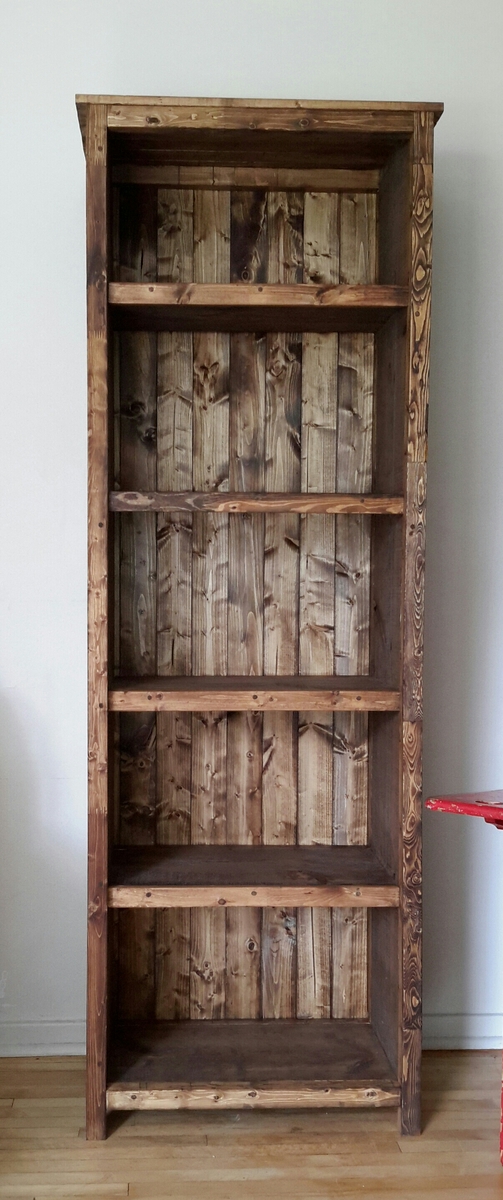
I loved this from Ana's site so much we tacked one. Please note I glued, screwed and dowel ed the holes. I hate kreg jigs. We also made ours taller to add an extra shelf.

Estimated Cost
$90.

Provincial stain and triple coat poly
Estimated Time Investment
Weekend Project (10-20 Hours)
Finish Used
3m triple coat in 1 semi gloss not pictured. My image is stain at this point
Recommended Skill Level
Beginner

Comments

Morgan's Farmhouse Bed

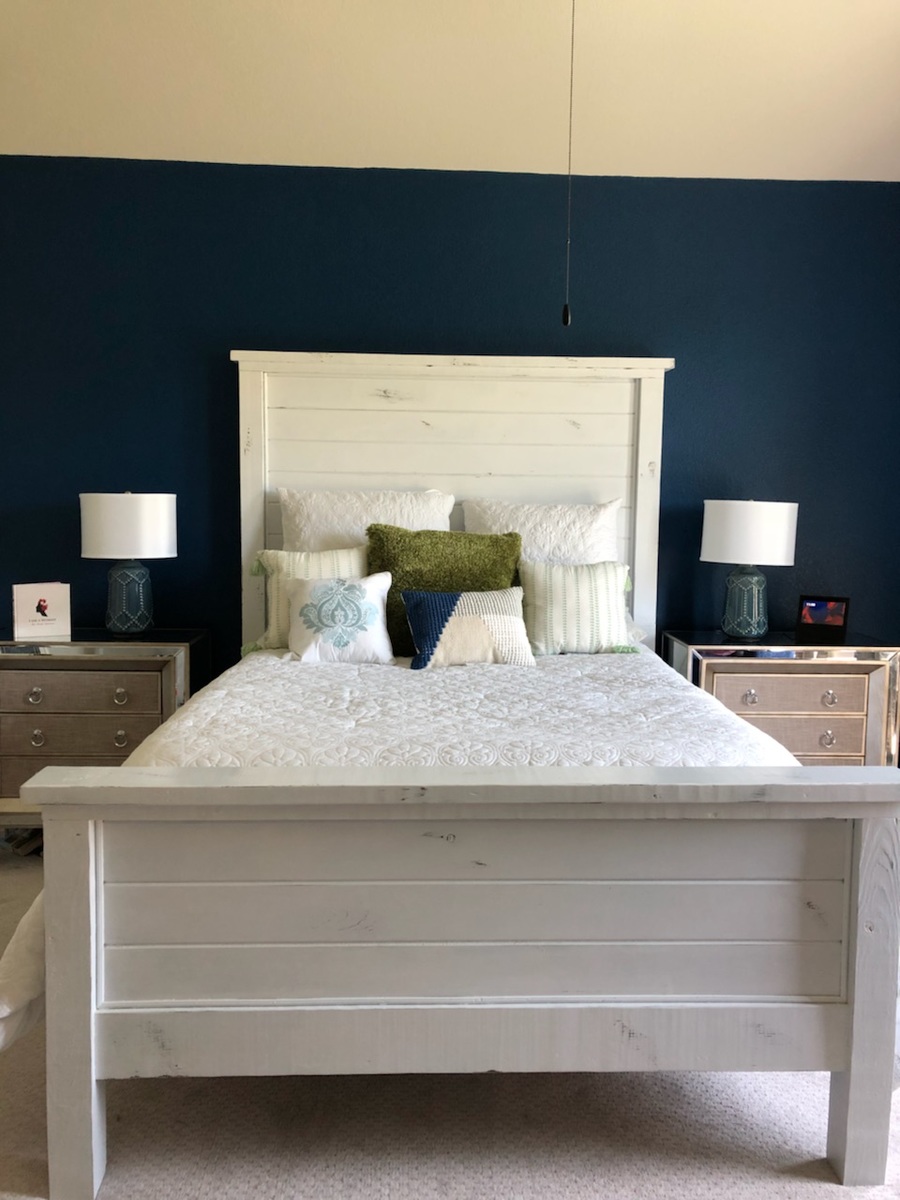
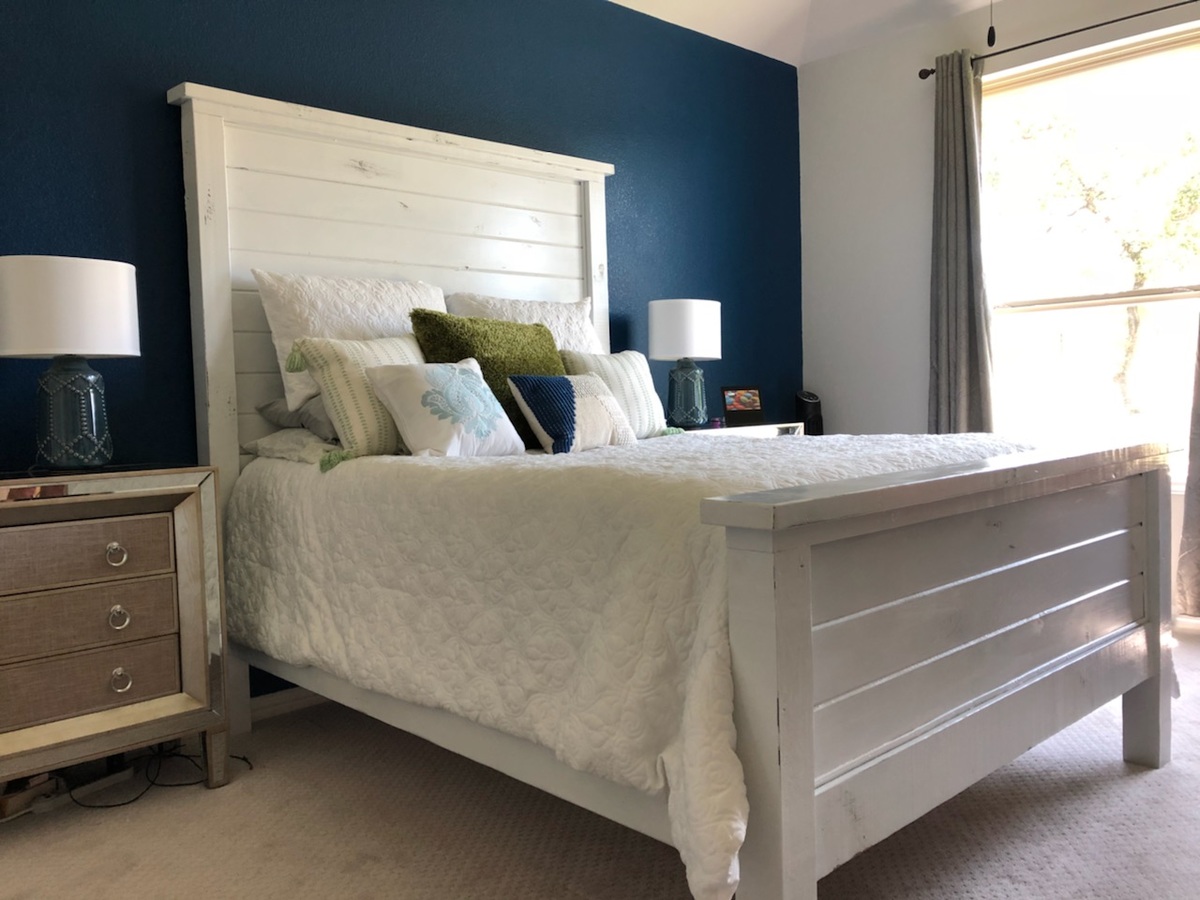
Both of my children have moved into new homes within the past year.  So it looks like I will be busy building things they need for them.  Enjoy being able to do this for them!  Thanks, Ana for the inspirations!

Built from Plan(s)
Estimated Cost
$160 to $200 which includes the bed rail brackets used for side rails and middle support.
Estimated Time Investment
Weekend Project (10-20 Hours)
Finish Used
A gray stain then flat white paint distressed then Glossy clear Acrylic coat
Recommended Skill Level
Intermediate

Comments

Easy Peasy Garage Shelves

Submitted by NickInHB on Mon, 09/07/2015 - 13:12

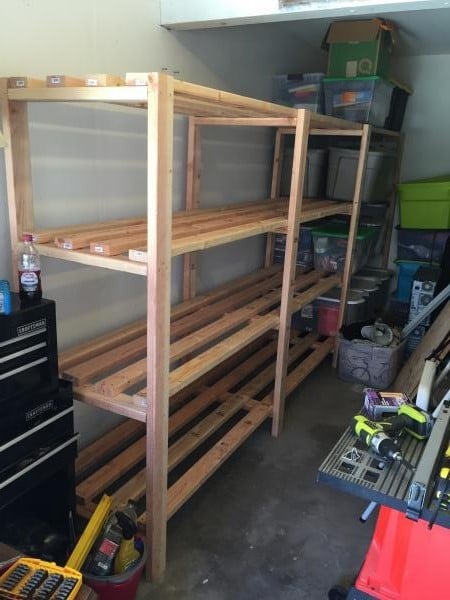
This was such an easy project to complete although it did take some time to measure and cut all the boards.  I could only transport 2x4s at 8' so after cutting the height to 6' for the braces I used the extra 2' for the shelf width.  The extra width really helped with some of my storage totes.  I made the first section at 5' in length to handle the heavier totes, and the second section I used the full 8' board with a brace in the middle.  I wish my garage was a little deeper to handle 16' of shelves as it would have saved me a good bit of time.  I'm also glad I have an extra ryobi battery to charge while I assemble.  Gotta love how fast those things charge.  Can't wait to try another one of your plans.

Estimated Cost
Around $130 from the Depot. 2x4 at 8' $2.73 a piece and two boxes of screws.
Estimated Time Investment
Day Project (6-9 Hours)
Finish Used
none
Recommended Skill Level
Beginner

Comments

alipettaway

Sun, 05/31/2020 - 22:32

Awesome job!! I’m wondering if plywood can be used for shelving instead of more 2x4s like on the non free standing garage shelves?

Bedroom Dresser

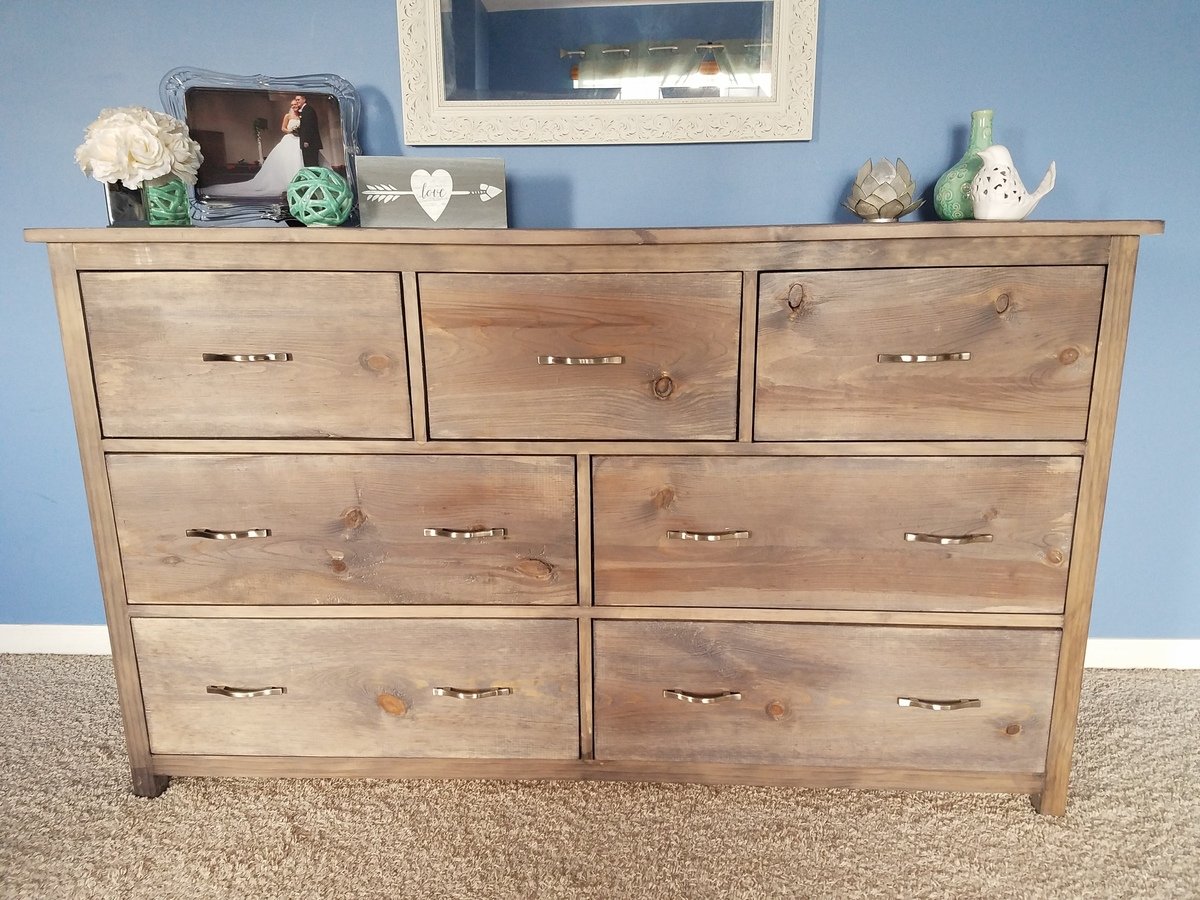
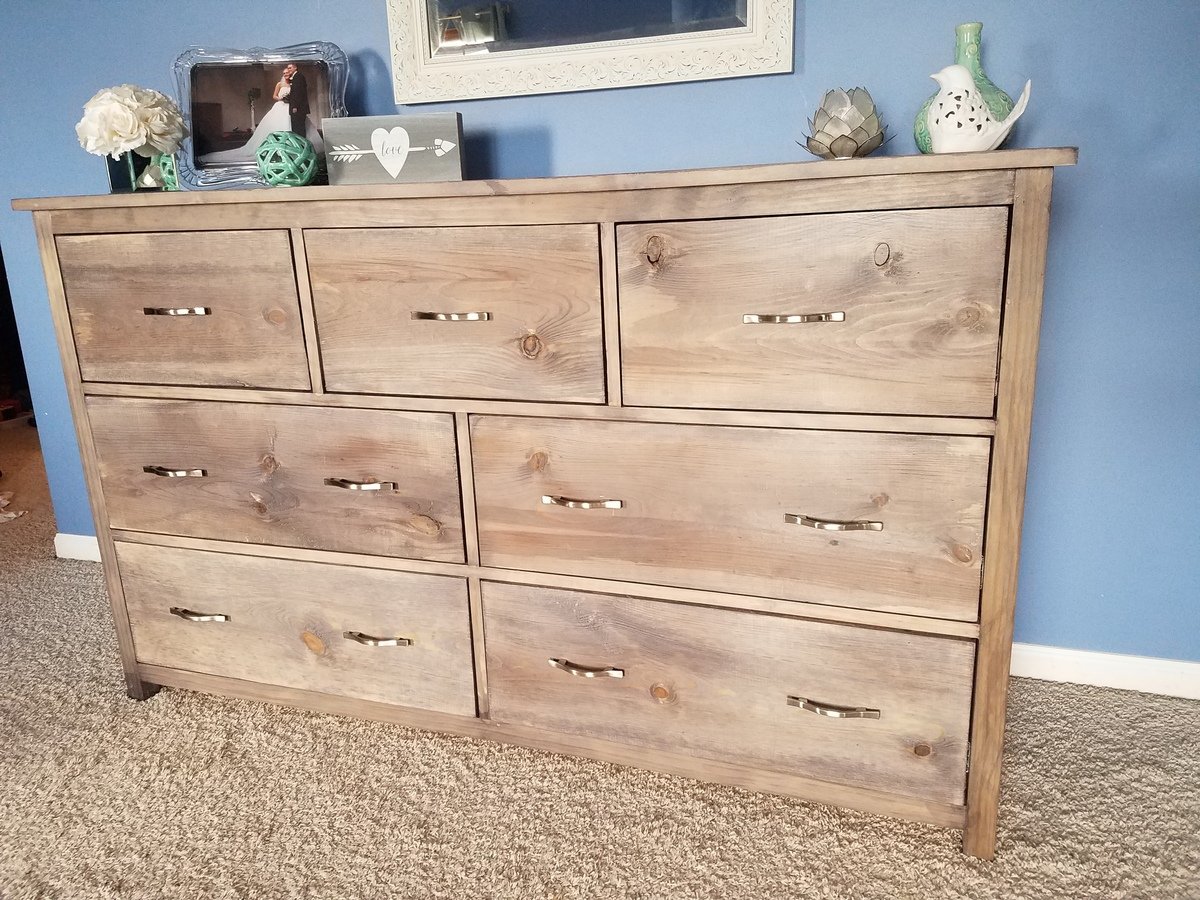
First time using drawer slides, and what a learning curve it was! The color is Varathane Weathered Wood Accelerator. This piece is huge and heavy! Absolutely love it and rebuilding other bedroom pieces to match this color. I also built a matching dresser which is taller and much more narrow. It can be found here: http://www.ana-white.com/2018/08/DIY_furniture/tall-bedroom-dresser

Estimated Cost
$200-$250
Estimated Time Investment
Weekend Project (10-20 Hours)
Finish Used
Varathane Weathered Wood Accelerator, Varathane Poly
Recommended Skill Level
Advanced

Comments

Farmhouse Queen Headboard

Submitted by danicarby on Mon, 11/09/2015 - 07:19

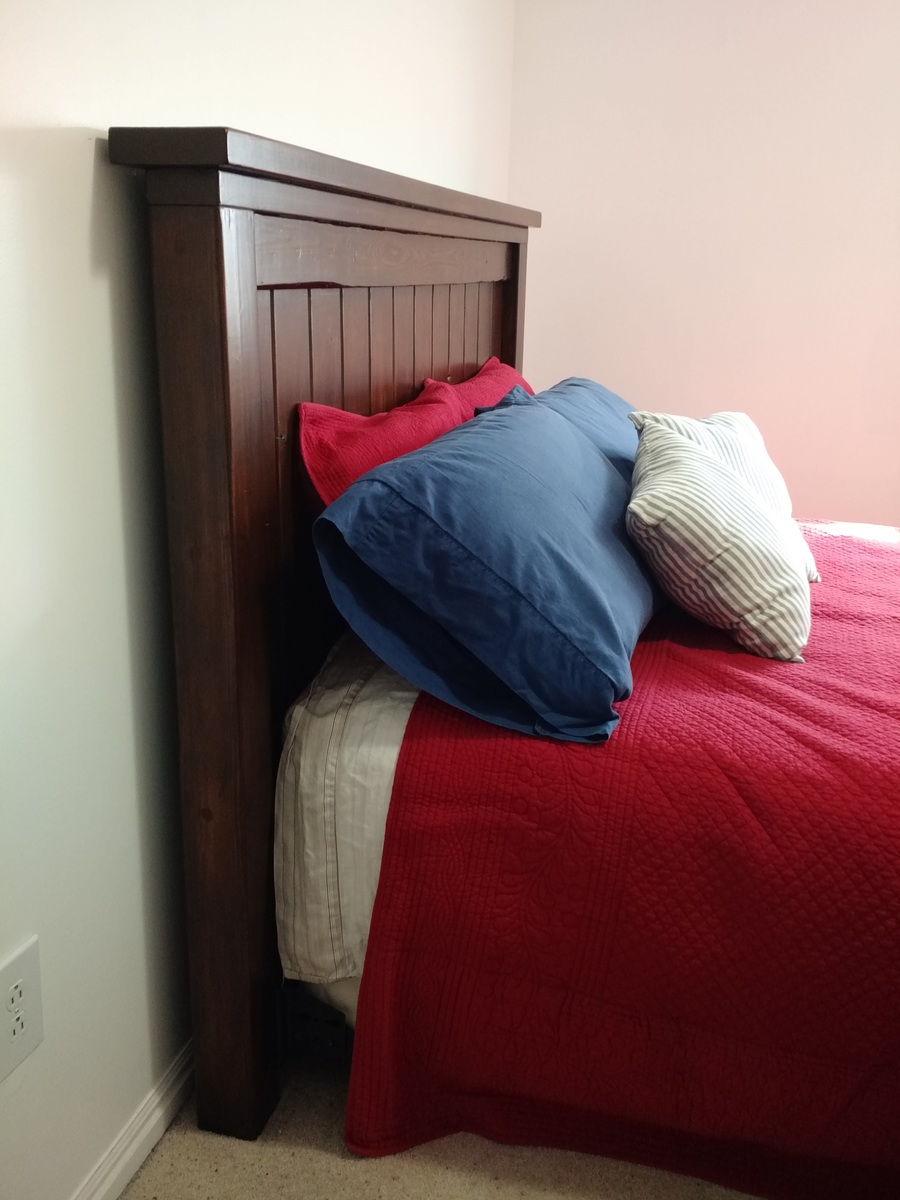
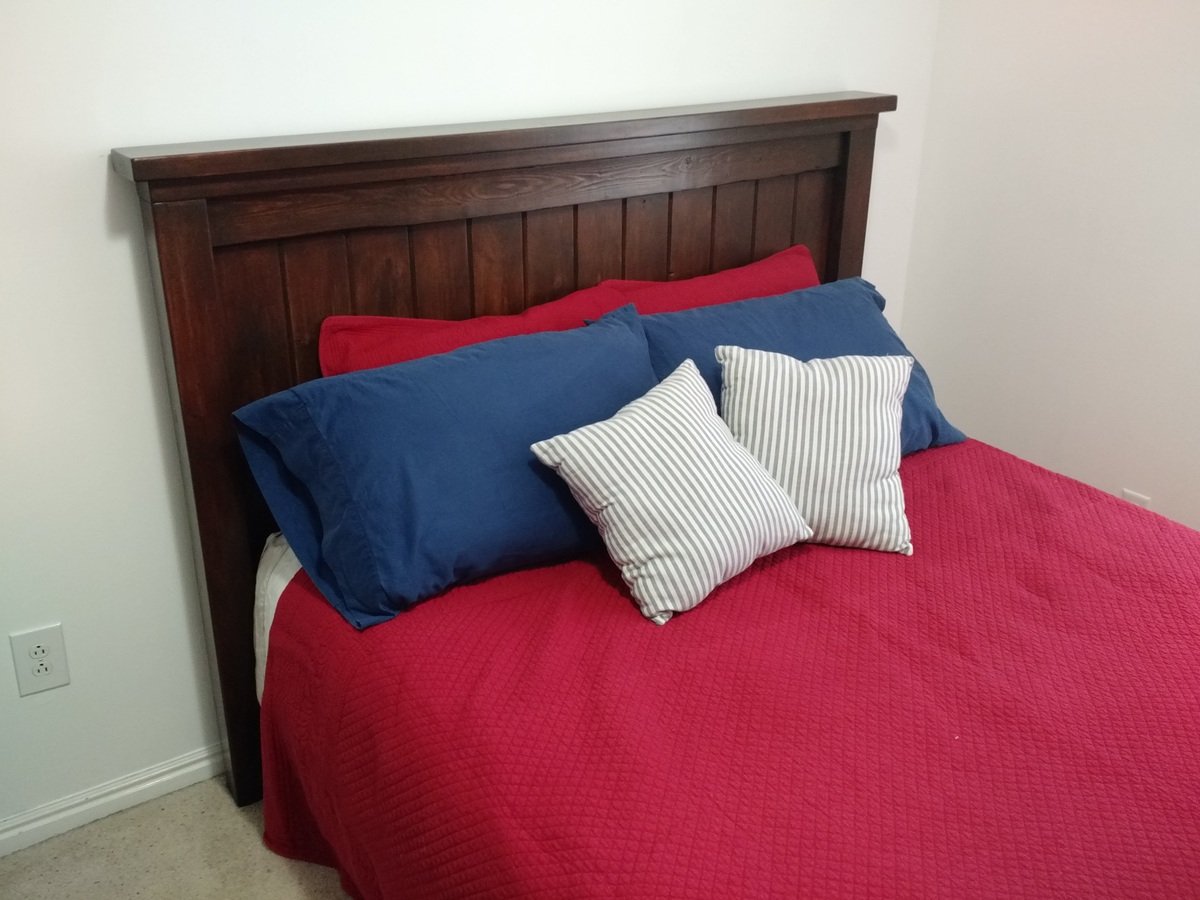
I built this for my mom's guest room.  She watched my kids and I worked in the garage.. couldn't have been a better vacation! :)


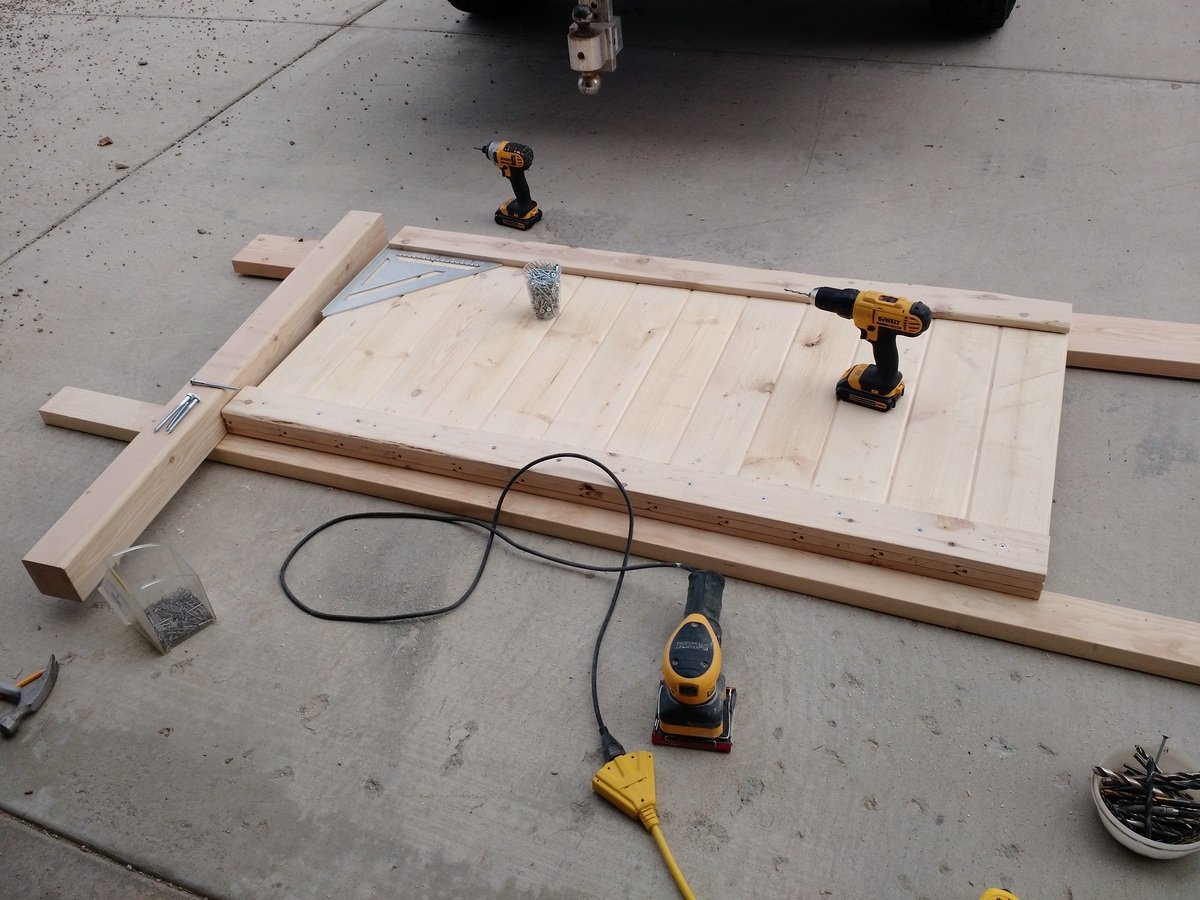
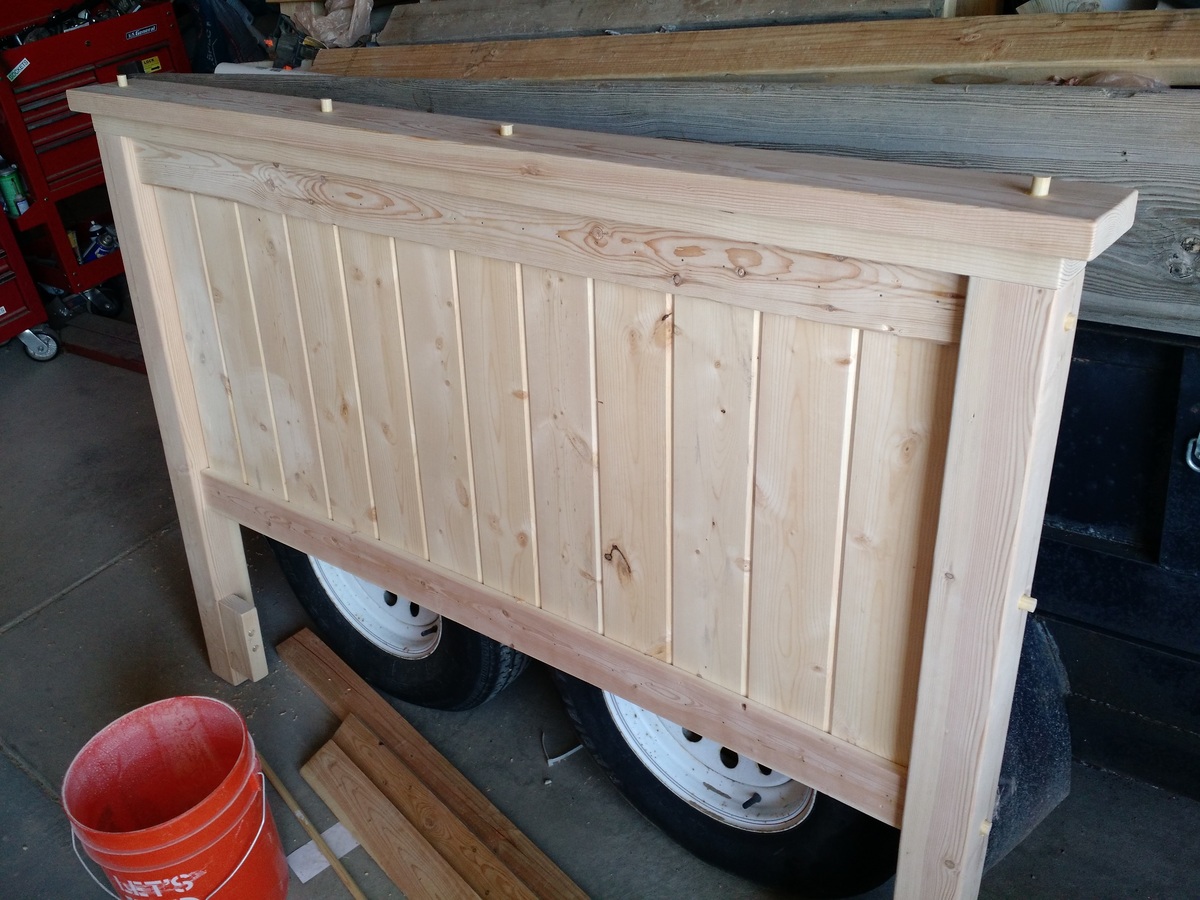
I used 6" (finished size 5") tongue and groove boards for the panel, shorter posts and screwed main structure pieces together using 5-1/2" lag bolts and plugging with 3/4" dowel pieces.  I added woodedn blocks at the bottom of posts for attaching metal bed frame.


My dad didn't have any pipe clamps so I ended up using a wratcheting strap!  HA!  Use what you can and save money! :)

Built from Plan(s)
Estimated Cost
I just made the headboard and that cost about $60 in wood, $40 for finishing products & $10 in hardware.
Estimated Time Investment
Weekend Project (10-20 Hours)
Finish Used
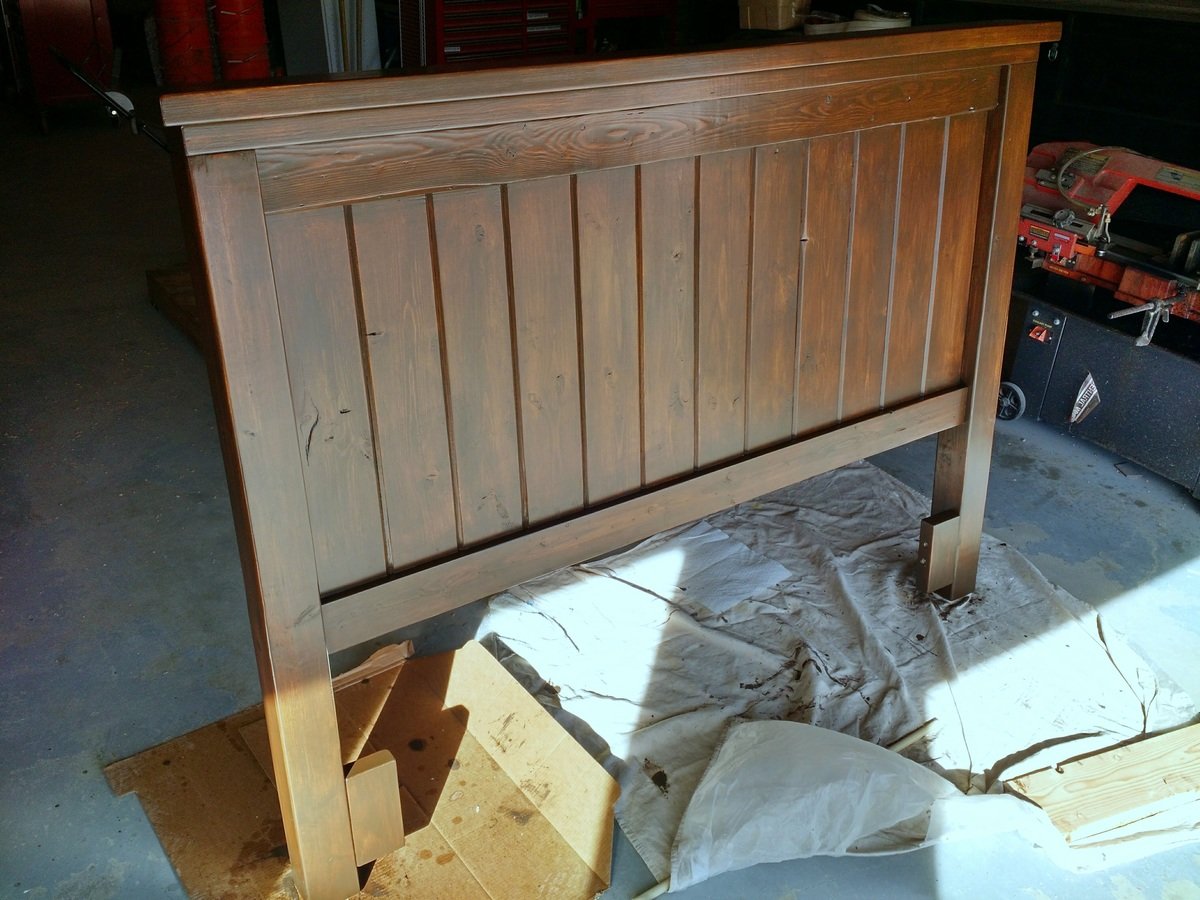
General Finishes Seal-A-Cell, General Finishes Antique Walnut Get Stain, Minwax Polycrylic (Clear Satin)
Recommended Skill Level
Beginner

Teaching Easel in the Classroom

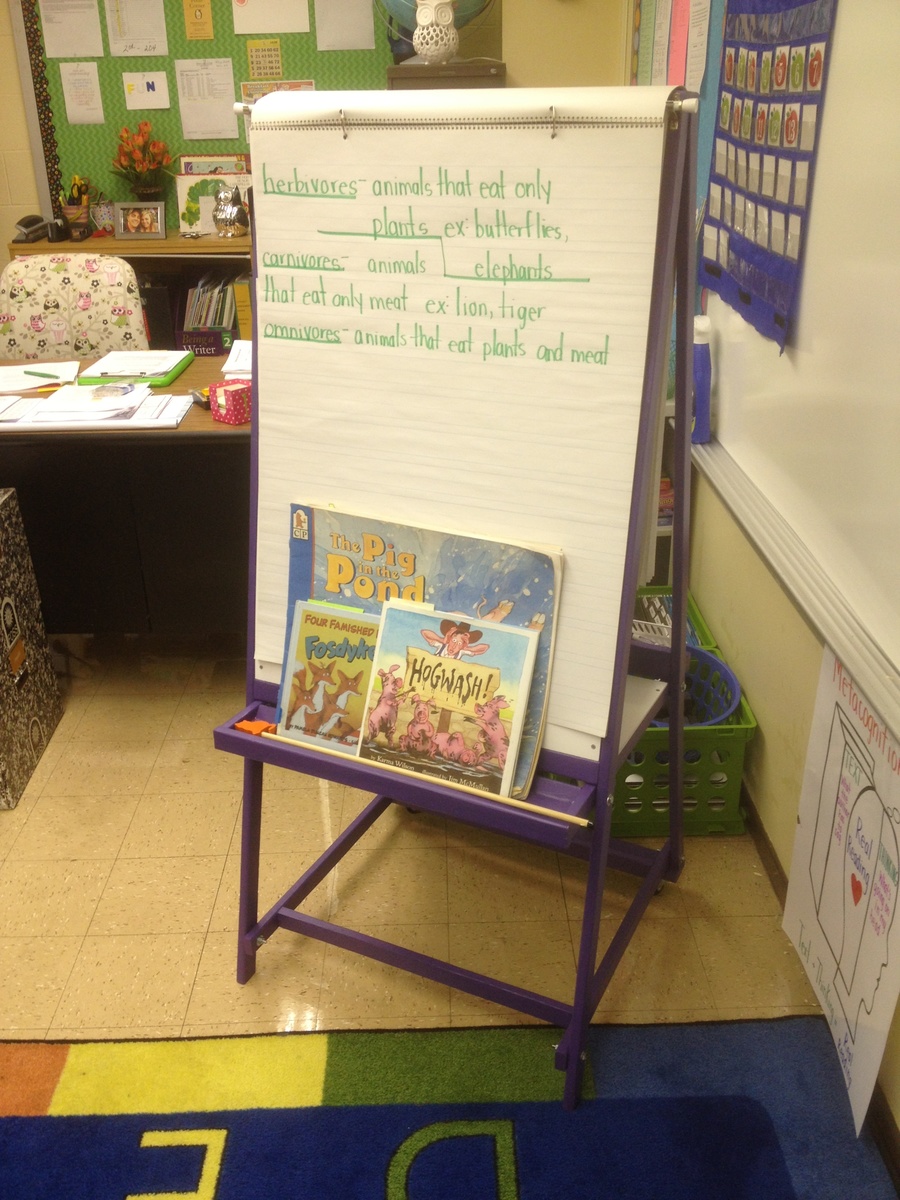
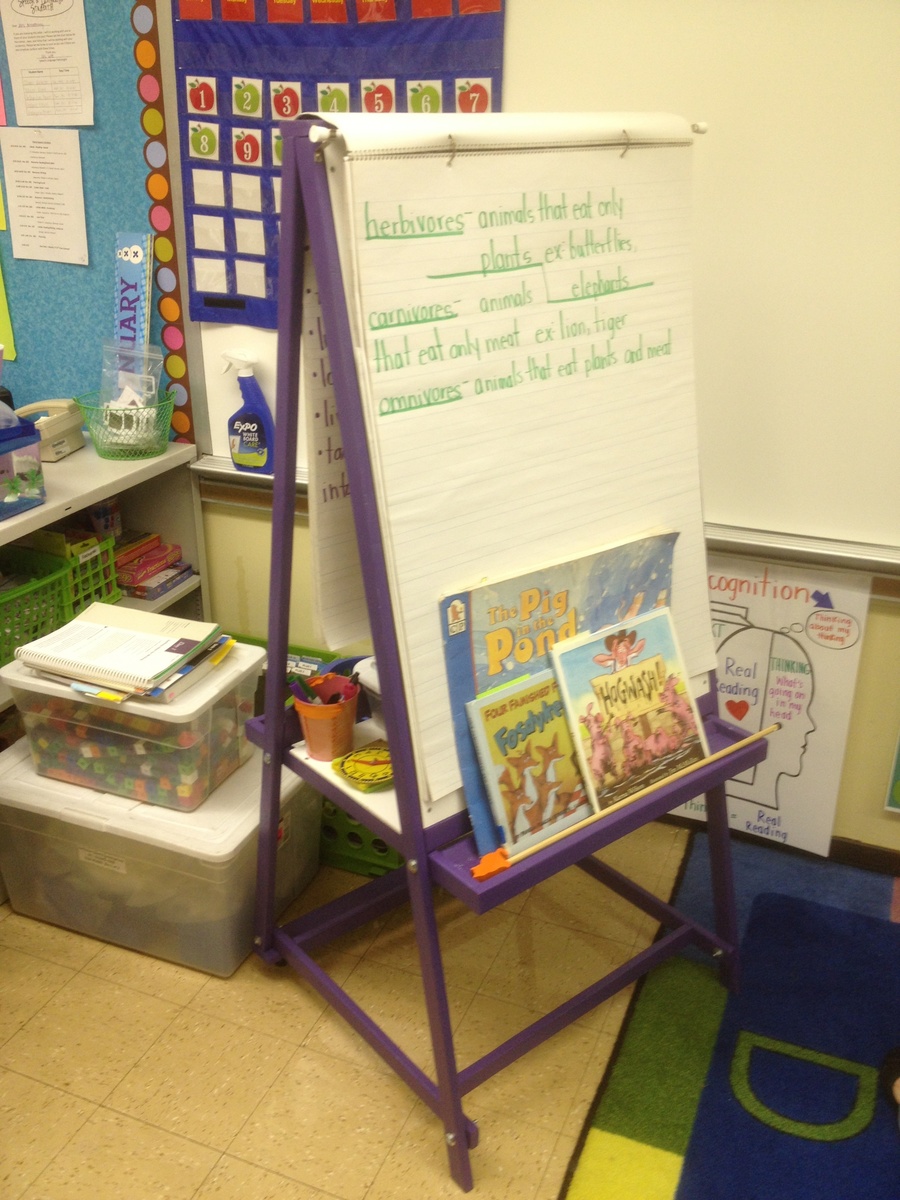
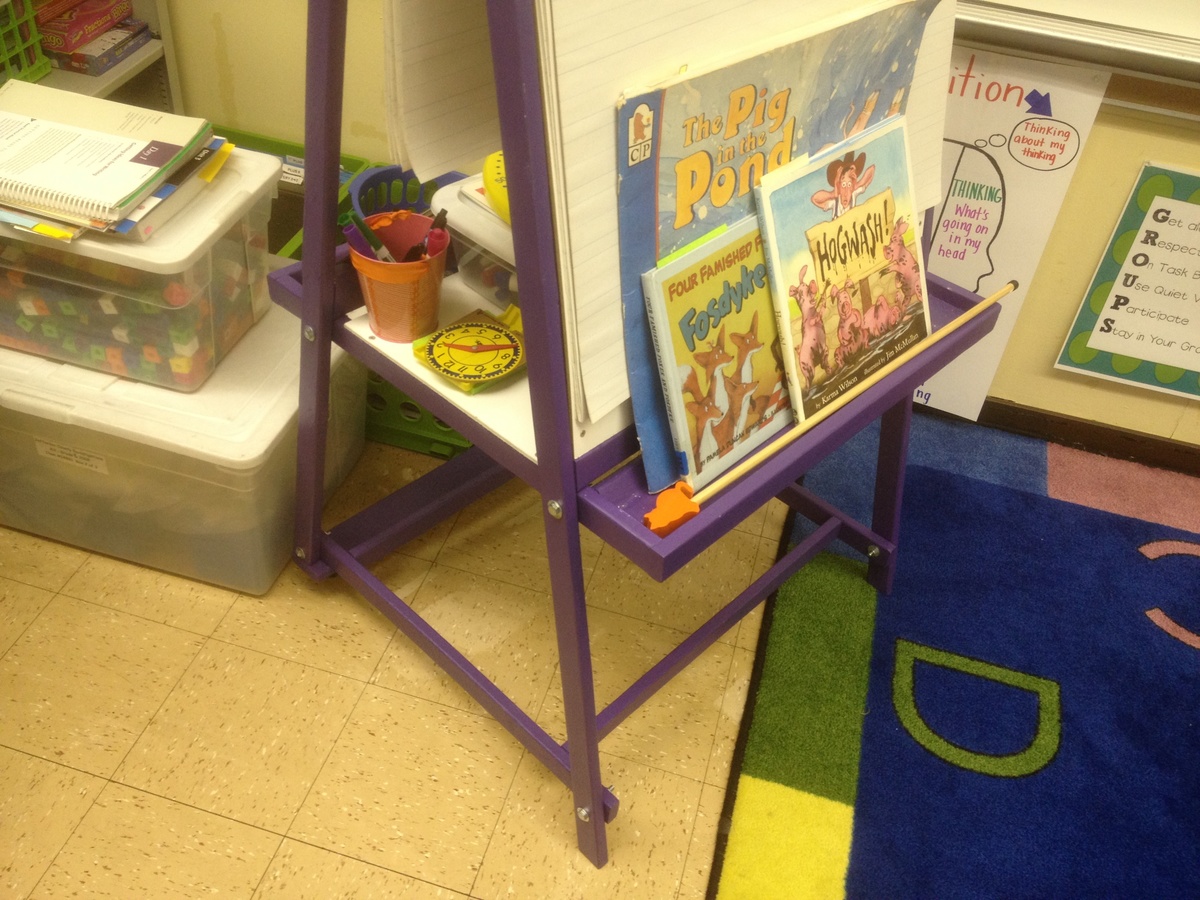
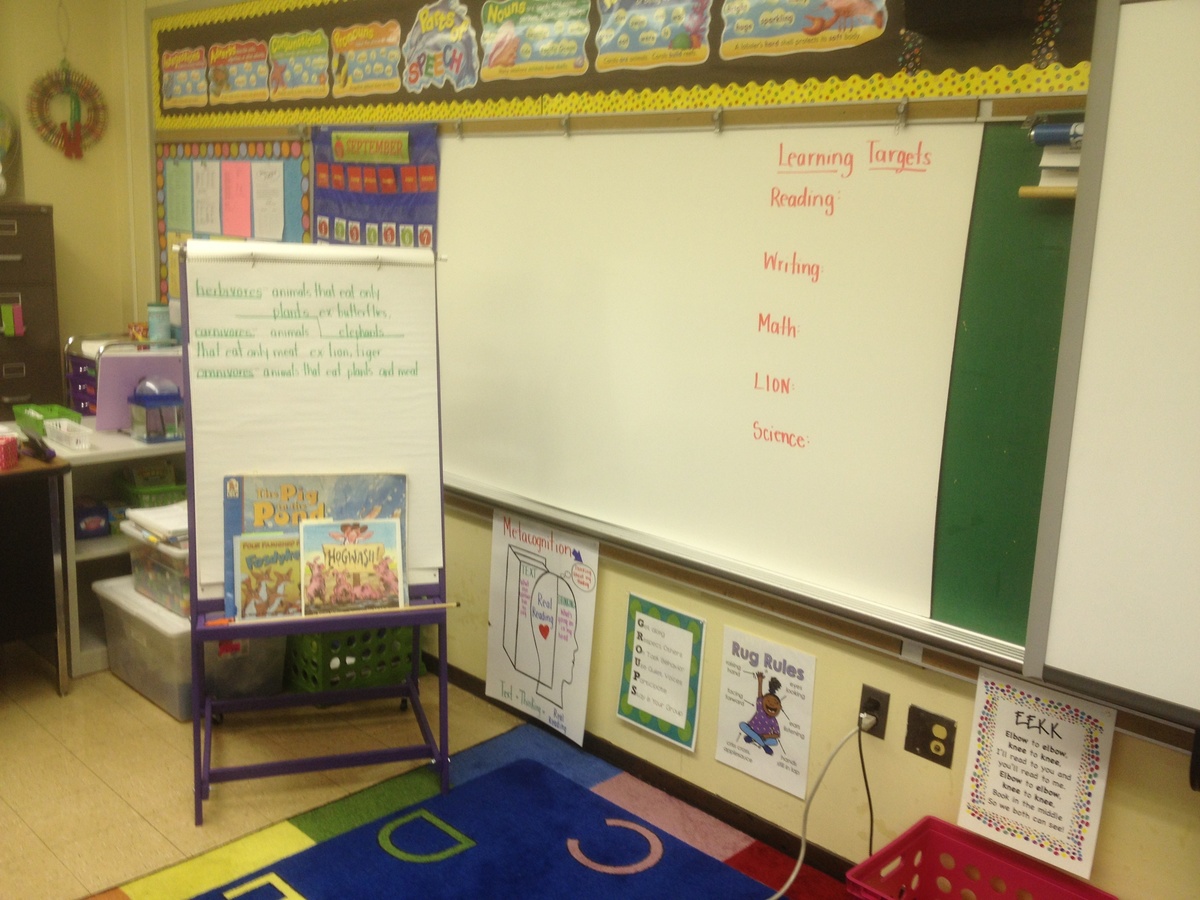
I built this easel for my wife who teaches 2nd grade using the plan on this site. I used a jigsaw to make all the cuts which is why some of them are not perfect. All holes were countersunk and covered with wood filler as I have not yet purchased a Kreg Jig. One sample jar of paint was just enough to cover the whole project with 2 coats. Home Depot sells the whiteboard in 2' x 4' pieces for about $10 in my area. The toughest part was getting the holes to line up just right for the bolts that fix the four main pieces together. Some of them I had to use a little bit of force to make fit. The plan was easy to follow and worked well. I added a curtain rod to the top to hang a paper pad from which I bought for about $5. The big whiteboard behind the easel was hung over the existing chalkboard using industrial strength velcro strips. I bought the whiteboard material from Home Depot for $13 for a 4' x 8' sheet (it is actually called a "hardboard panel board". It works very well with dry erase markers and was an easy, cheap way to install a whiteboard over the current chalkboard.

Built from Plan(s)
Estimated Cost
$40
Estimated Time Investment
Day Project (6-9 Hours)
Finish Used
Behr purple paint sample
Recommended Skill Level
Beginner

Modified Adirondack Coffee Table

Submitted by Indiri on Mon, 09/16/2013 - 13:37

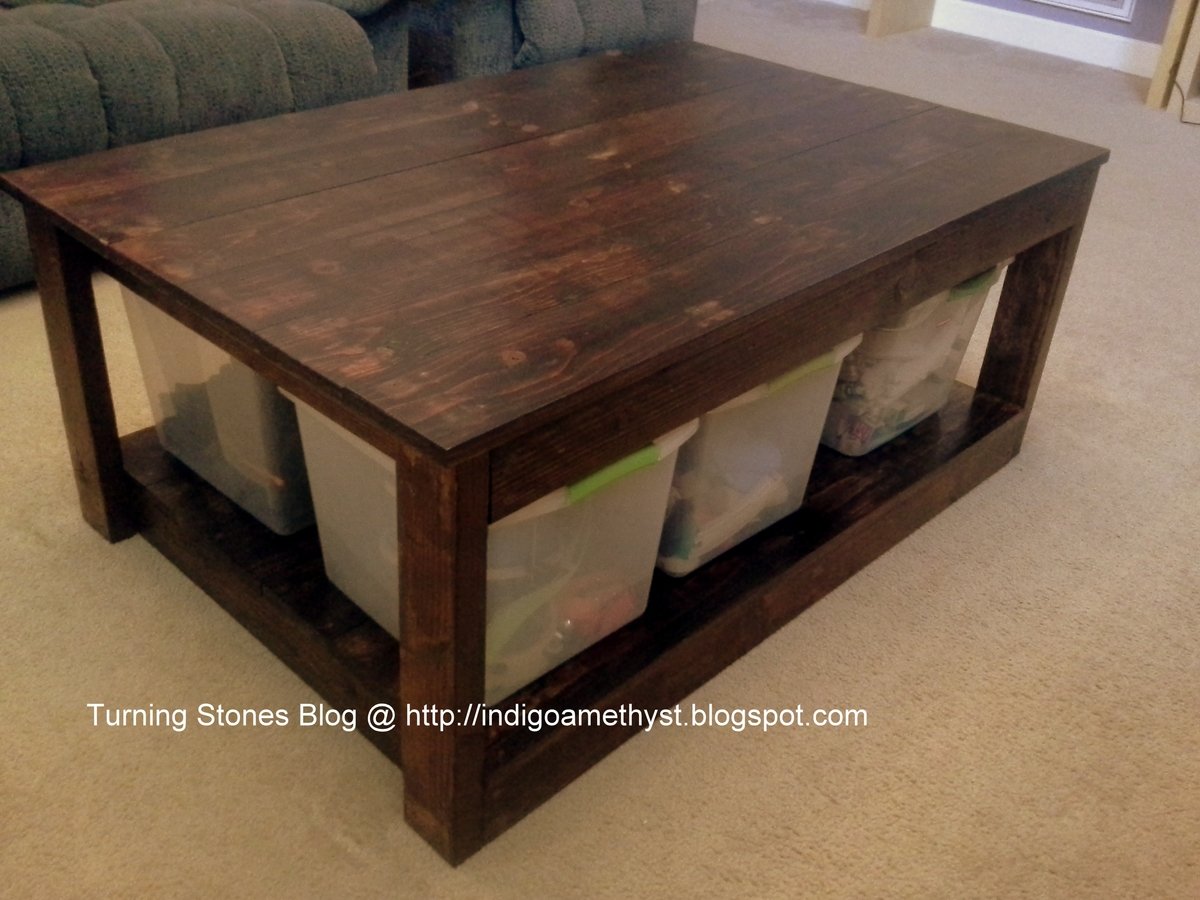
As the kids are getting a little older it was time to retire the train table and pass it on to family. Although our living room is growing up we still wanted a place for storage, though.

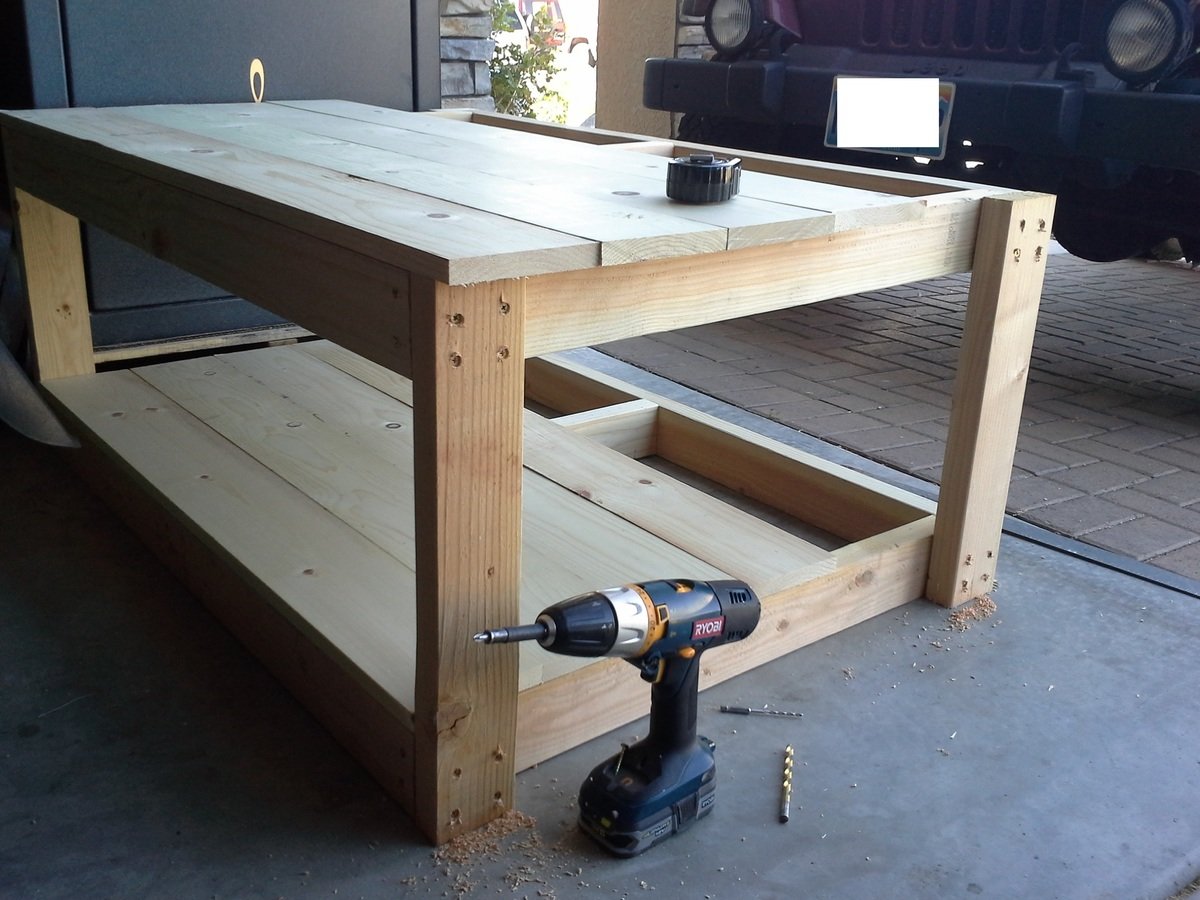
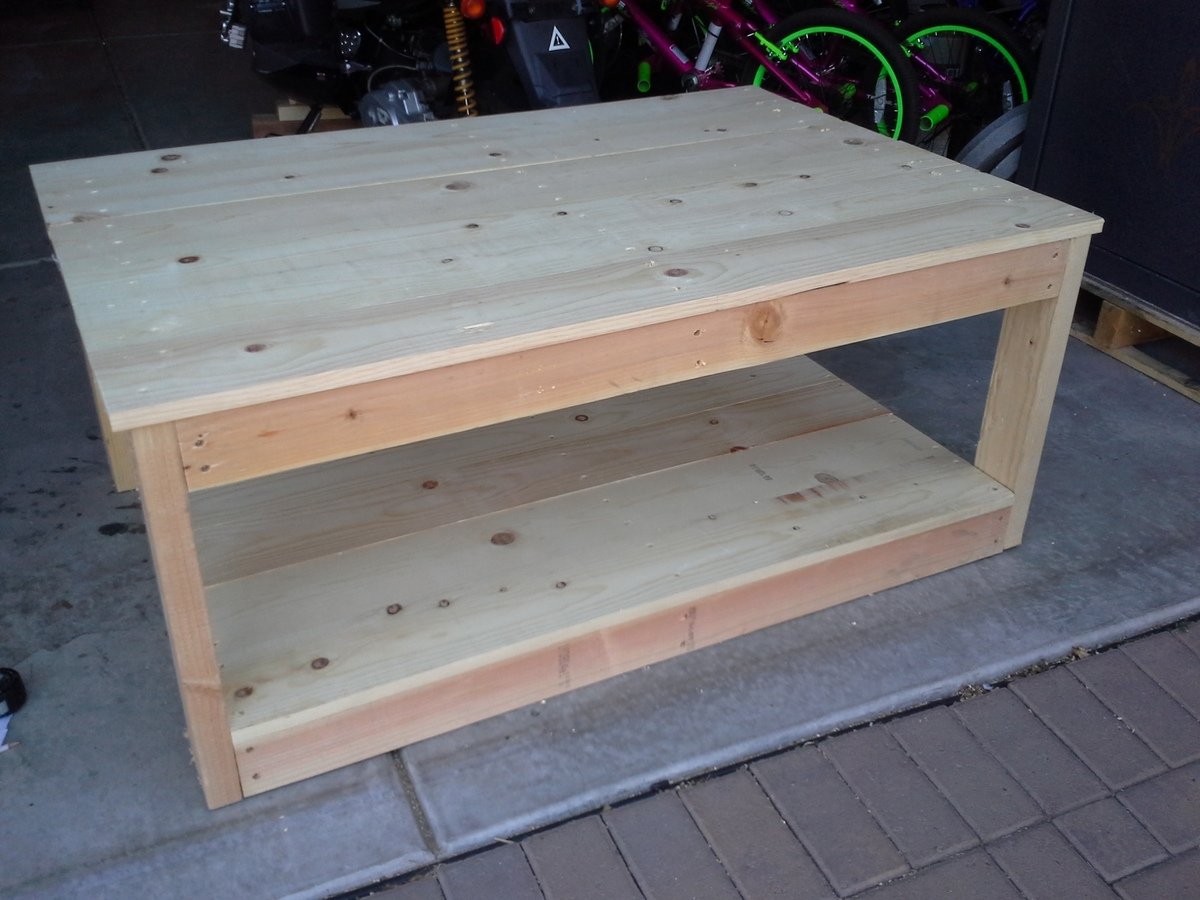
I modified the Adirondack Coffee Table to include a lower shelf (just make a second box the size of the top one and screw it into the bottom of the legs) and made it wider and longer (49"x33") and taller (20"). 6 of our toy buckets will fit on the lower shelf for storage. By making the top 49" I was able to cut the 1x6 to make a top board and a bottom board from each (top 50" for a little overhang, bottom boards 46". 6 1x6 boards were needed to make the two shelves, in addition to the 2x4s. Since it is bigger there is also a stretcher across the center for a little extra strength (because we all know that at some point a child will stand on it).

It took me about 4 hours to build it and then a couple more hours spread over the weekend to stain/poly. All total this one was about 6-7 hours for me to build.

Estimated Time Investment
Day Project (6-9 Hours)
Finish Used
Red Mahogany Stain and Minwax Poly, 2 coats of each.
Recommended Skill Level
Beginner

King Farmhouse Bed

Submitted by Webbuzzard on Tue, 01/22/2019 - 15:44

I pretty much followed the original plans.  I added a chamfer on the outside corners of the posts and on the top boards on the head and foot boards.  I also stained these to match the nightstands.  Since I used a foam mattress, i built a platform by gluing/screwing a 2x4 inside the side rails.  Then I set 1x6s on the 2x4 to support the mattress.  

I use the free version of Sketchup to design the bed and estimate materials needed.  

Lessons learned

  • Take extra time to figure out how to connect the side rails to the head and foot boards.  I thought i could use a sliding lock but this wouldn't work for my design.  I improvised using 3x7 tie plates and screwed the two components together.  For the headboard, I lined the 2x4 with the inside headboard post.  For the footboard, I bent the tie plate 90 degrees and screwed the 2x4 to the footboard.  It worked very well.
  • I would recommend chamfering the outside top of the side rails.  I didn't and my wife complains that she  bumps her shins on it. 
  • Top boards are 1x5s, which in my are are only sold at home depot.  The other wood is readily available.

It's not that difficult of a project.  It is time consuming, though.


Estimated Cost
About $150
Estimated Time Investment
Week Long Project (20 Hours or More)
Finish Used
Latex semi-gloss enamel for everything except the top boards which were stained and polyurethaned.
Recommended Skill Level
Beginner

Comments

markswoodprojects

Fri, 10/16/2020 - 13:48

I love the look of your version. Do you have the SketchUp file anywhere that I can download? I would really like to make this version as I love your proportions and the color scheme.

Ten dollar ledges

Submitted by Redbow on Thu, 10/03/2013 - 13:40

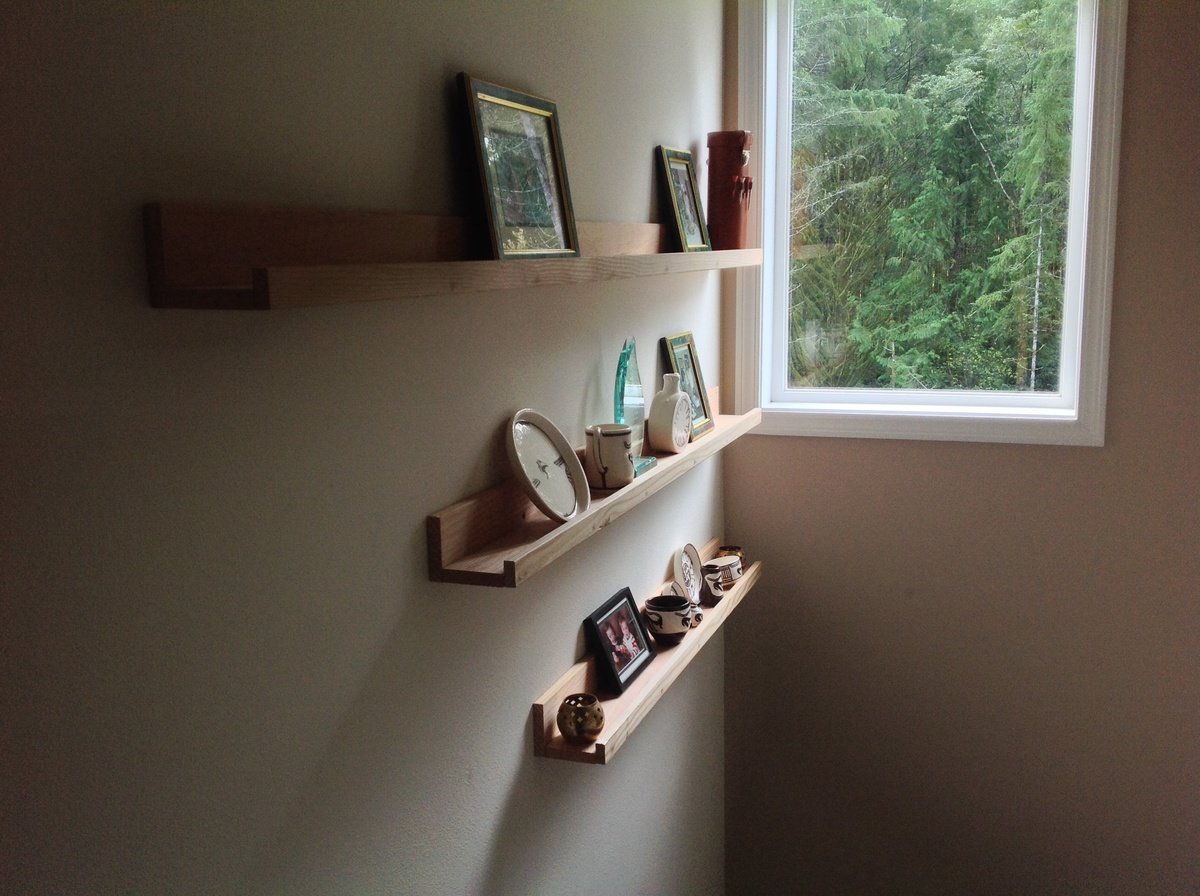
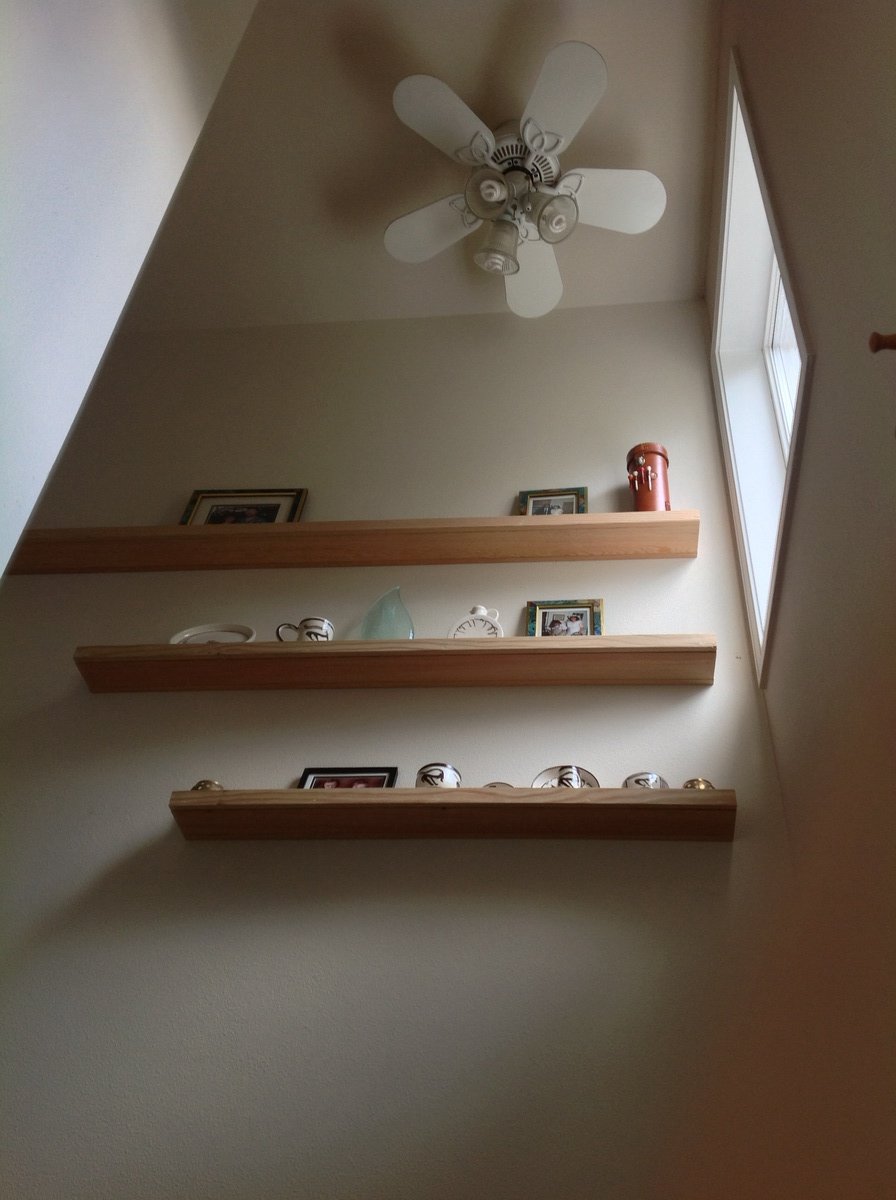
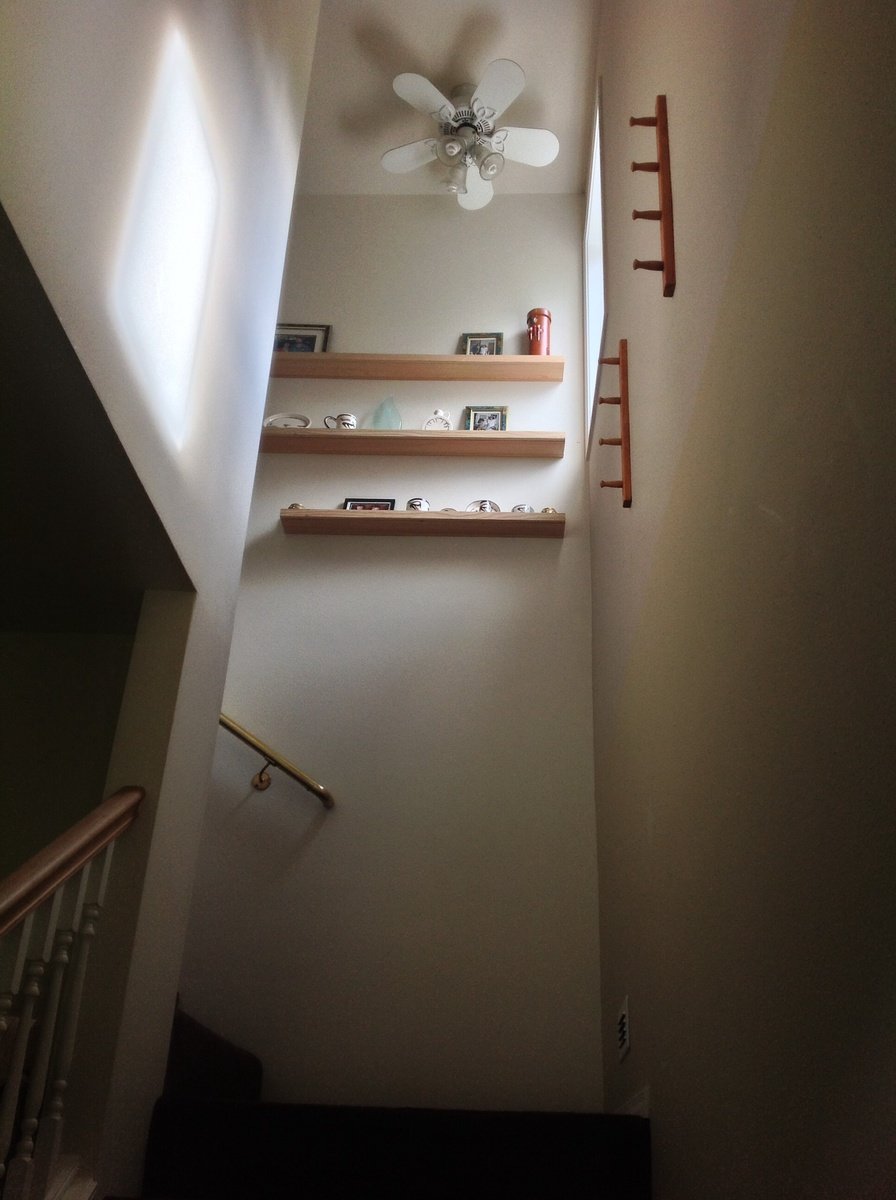
Built three 10 dollar ledges of fir for a tall, awkward area over our stairs. 3.5, 4.5, and 6 feet long. Looks great and finally can make use of that space. I initially bought red oak but decided it was too heavy (and too expensive at $90). Still need to putty the screw holes.

Built from Plan(s)
Estimated Time Investment
Afternoon Project (3-6 Hours)
Finish Used
None. I like bare wood.
Recommended Skill Level
Starter Project

Queen Farmhouse Headboard

Submitted by sharon-l on Sat, 10/22/2011 - 04:54

We eventually will build the rest of the bed, but for now we needed a headboard. Hubby helped me with this one, since it was large, I loved having an extra pair of hands. This headboard is reversible, so if our tastes change, we can unbolt it and flip it over to the side that is just stained and polyurethane. Pretty neat! This headboard is extra tall, because we have our bed frame up on risers, and we wanted a picture shelf but didn't want it interfering when we sat up in bed to read or what-not. Hubby used the router to make grooves in the top before we attached it, so our pictures wouldn't be crashing down on our head! Our metal bed frame comes just shy of the outer edge of the legs of the headboard, so when we build the rest of the bed, the side rails will meet the edge exactly. We placed the headboard behind the bed frame to mark where to drill the bolt holes and attached the headboard to the frame with 4 inch long, quarter inch wide bolts with washers and nuts. Two on each side.

Built from Plan(s)
Estimated Cost
$50-$60 just paint and lumber. We had some supplies left over from previous projects, including screws and the ship-lap boards.
Estimated Time Investment
Weekend Project (10-20 Hours)
Finish Used
We painted and distressed the boards, then applied stain to the distressed parts. We coated the entire thing with three coats of polyurethane.
Recommended Skill Level
Intermediate

Comments

Twin Over Queen Loft Mod

This is the nightly sleeper for our 6yo (queen) and 4yo (twin) boys, but we have in-laws who visit from out of town frequently and we also wanted a place to allow them to be comfortable as couples.


To accomodate adult headroom on the queen, I raised the entire loft 7" (72" high) and to fit the queen beneath, I had to lengthen the loft rails by 9" (84" long). To fill the resulting gap, I just used some 39" scraps of 2x4 and 2x6 overlapped to create a 4x10 landing which actually ended up a cool addition since it gives the kids a spot lower than the mattress to make the transition from the ladder to the mattress. It also has given us adults a spot to sit off the mattress while comforting them to sleep when needed, so we don't end up waking them when we leave.


I based the height of the queen legs (made four of them) off the size of a standard storage tote, which was ~13". We can fit 12-16 totes of clothes or other random storage under the bed as a result. The queen frame was just a simple 64"x84" rectangle out of 2x6s with 7 2x4s used as crossbeams to hold the mattress.


Note on the mattresses - these 8" memory foam mattresses are just as comfortable as our expensive name brand king mattress, but MUCH cheaper!

https://www.walmart.com/ip/Mainstays-8-inch-Memory-Foam-Mattress-Multiple-Sizes/47826185


Despite raising the loft, I kept the height of the stair platform the same, but just added a second 'ladder' rung to get up to the loft (refer back to the 4x10 landing spot on the loft). To keep with the using available storage space theme, instead of attaching the stairs permanently, I used 1"x4" hinges to that we could swing the stairs up and put 4 more storage totes under there. (However, we quickly found that the kids liked that area as a 'fort', so we've left it open for their use.)


In the picture, you'll note there are four treads/steps on the stairs because I thought to myself "little feet, little steps" would be better. I soon learned that the littles are more than capable of using adult sized steps while adults nearly killed themselves coming down the little feet, little steps. As such, I ended up removing one of the middle steps and moving the new singular middle to a spot between the other two. Much better, stay with 3 steps.


While the queen can stand alone, I still attached it to the 'legs' of the loft so that our rambunctious boys didn't 'sweep the leg' and bring the whole thing down on themselves while under it.
 

Estimated Cost
Only need an additional 8 2x4s and 6 2x6s from the original plan.
Estimated Time Investment
Week Long Project (20 Hours or More)
Finish Used
Actually no stain on this. Instead, used a Benzo torch and burned every board to produce the grain patterns seen. Just sealed it with a standard clear poly to lock in that grain and protect the wood a little.
Recommended Skill Level
Intermediate

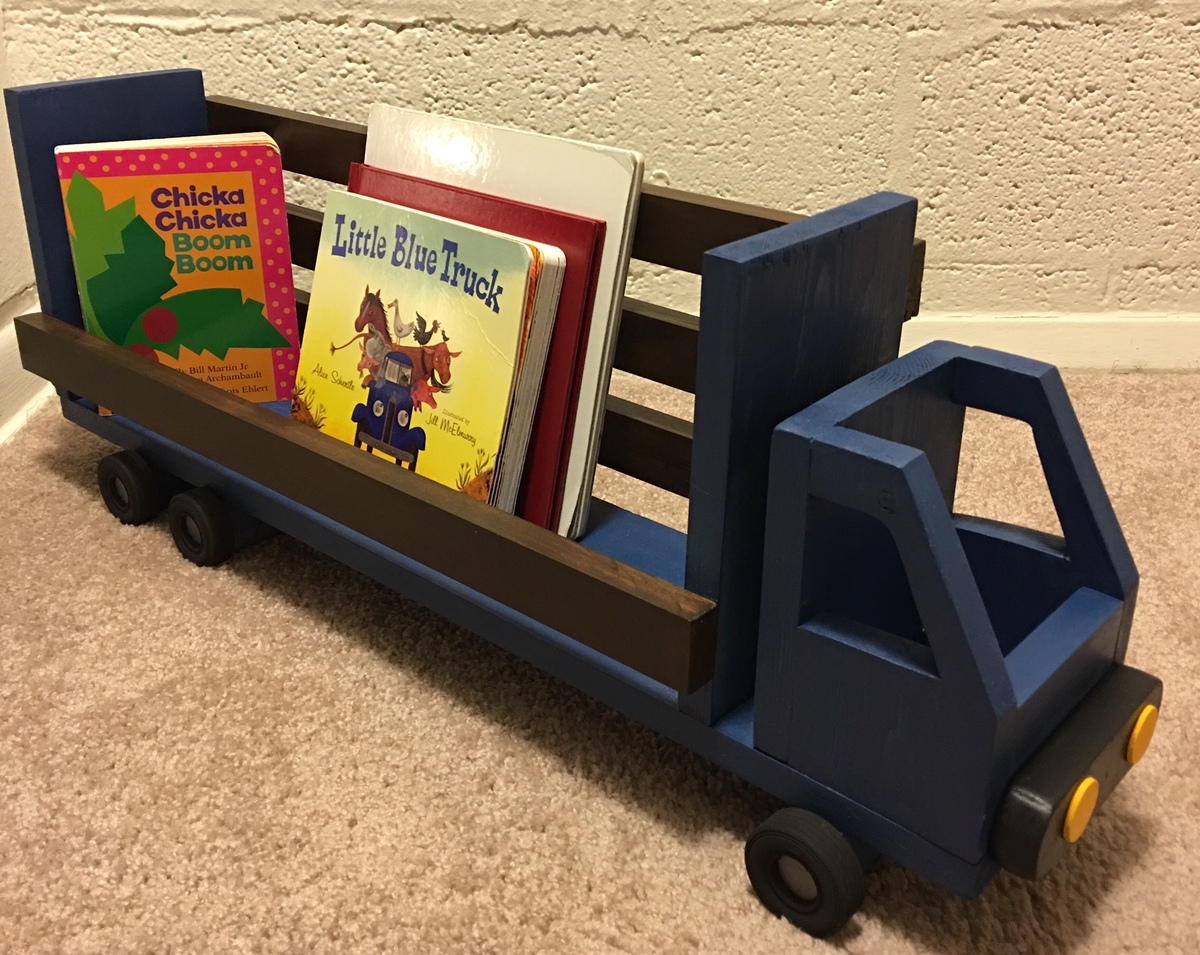
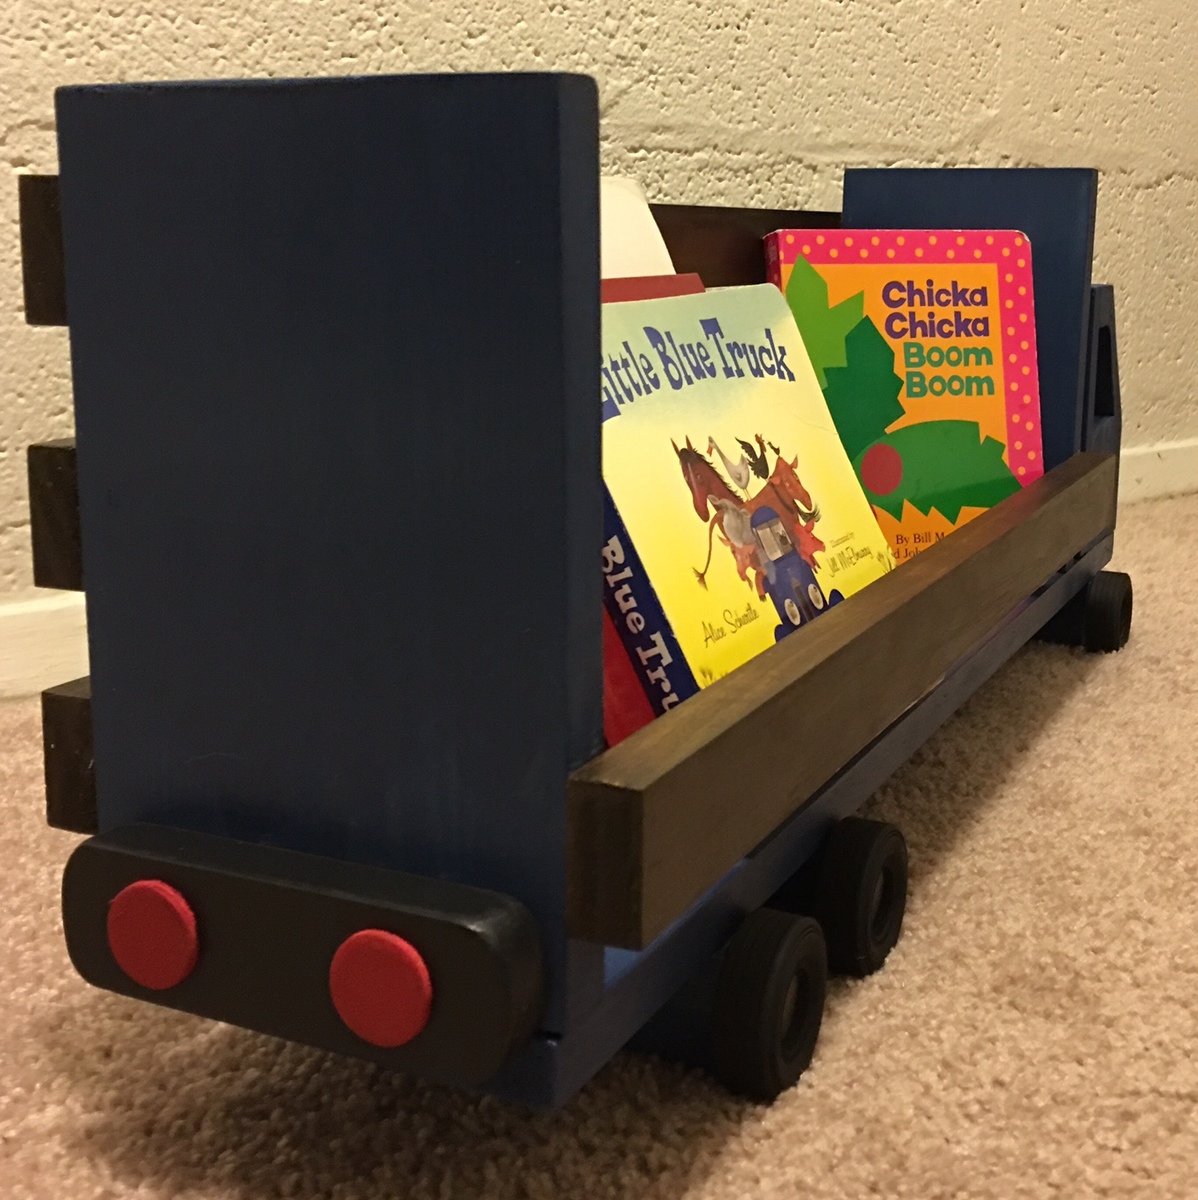
Truck Shelf

Submitted by DMax2010 on Thu, 01/21/2016 - 15:26

Loved making this shelf!

Built from Plan(s)
Estimated Cost
Under 10.00
Estimated Time Investment
Afternoon Project (3-6 Hours)
Finish Used
Minwax express color in Indigo, Minwax express color in Walnut
Recommended Skill Level
Beginner

Adirondack chairs

Submitted by Anonymous (not verified) on Fri, 05/05/2023 - 08:06

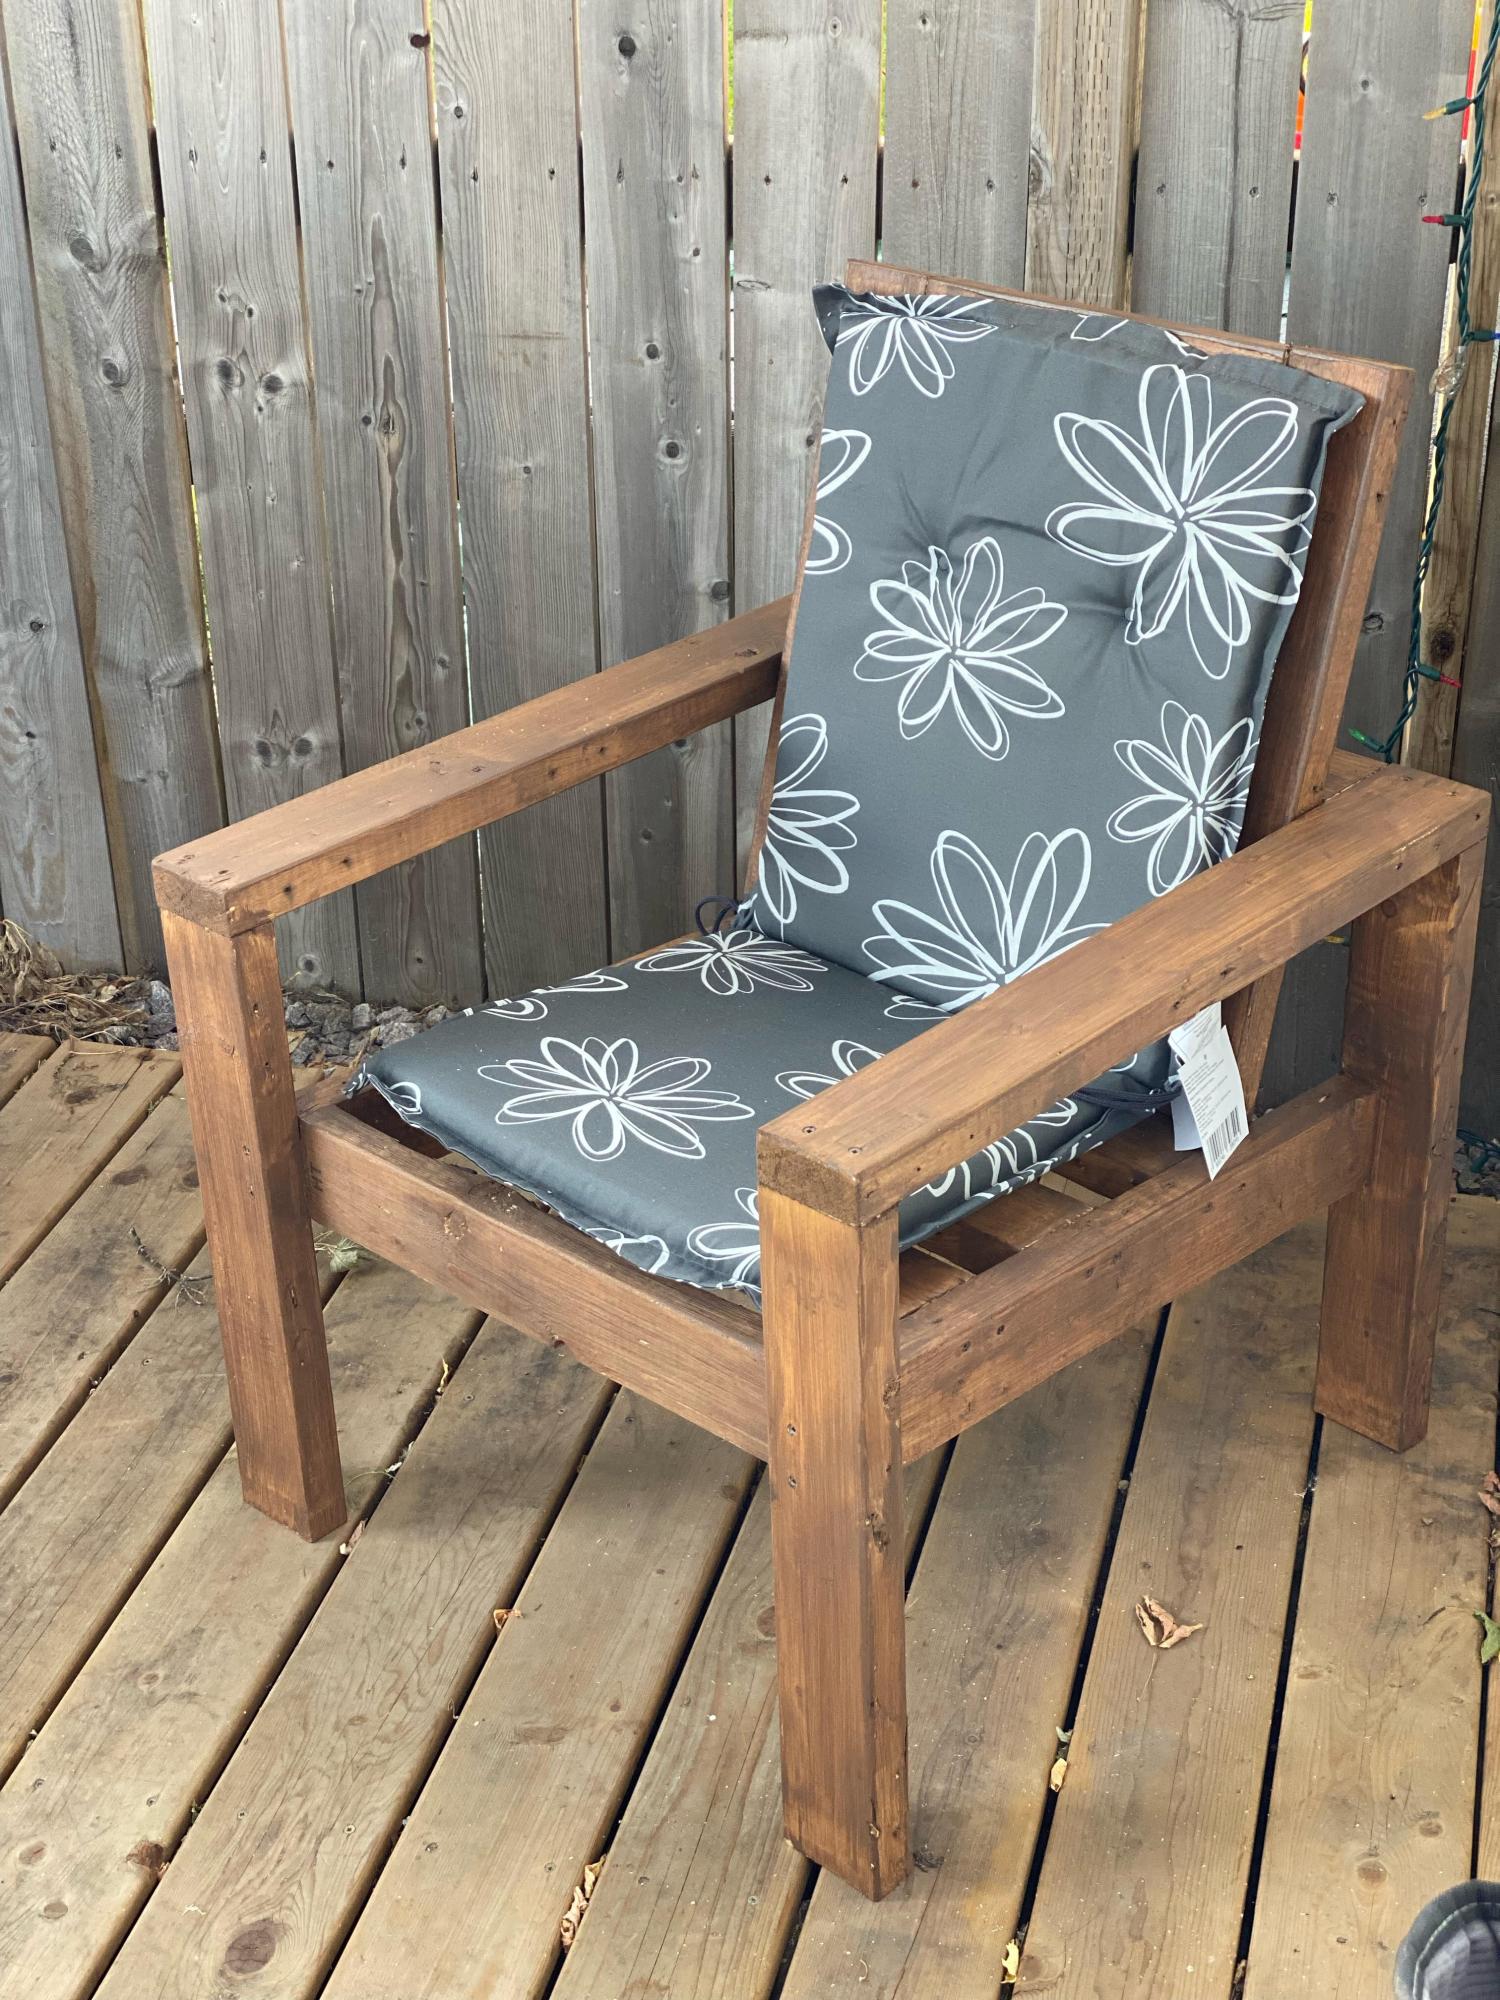
So I followed the plan except I tried to use more pocket hole screws. I managed to use them for all parts except the seat and back. Looking at them I see how I can use them for those areas too ( just a little pre planning next time)
I’m using Behr Wedgwood waterproofing stain and sealer to complete the project.
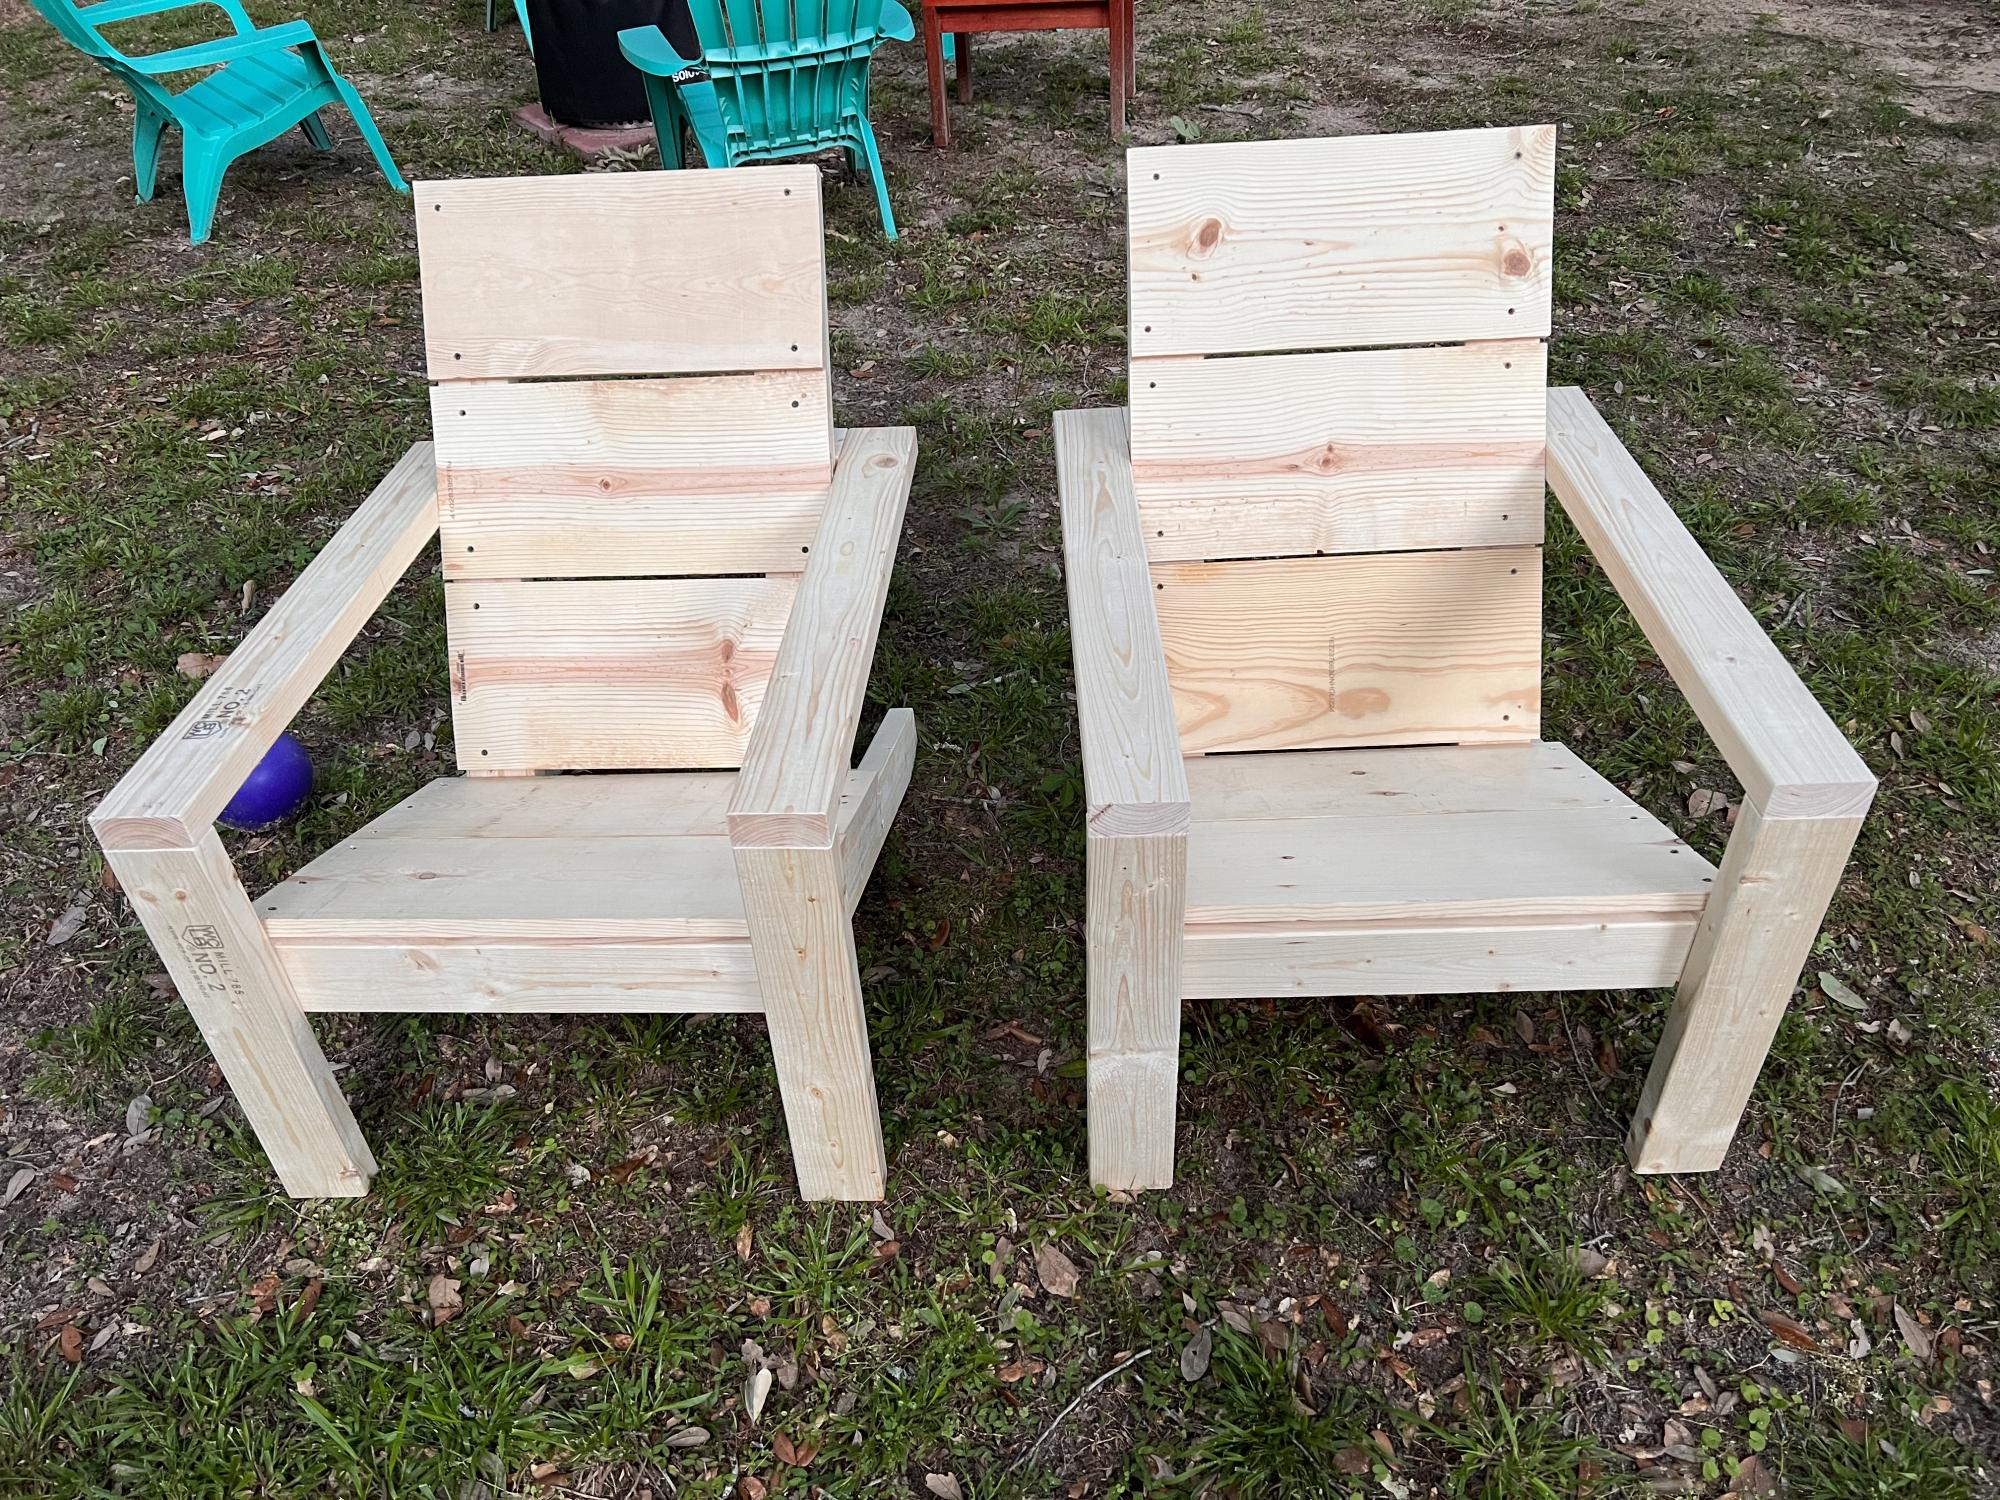
I love all your plans and can’t wait for my next project.
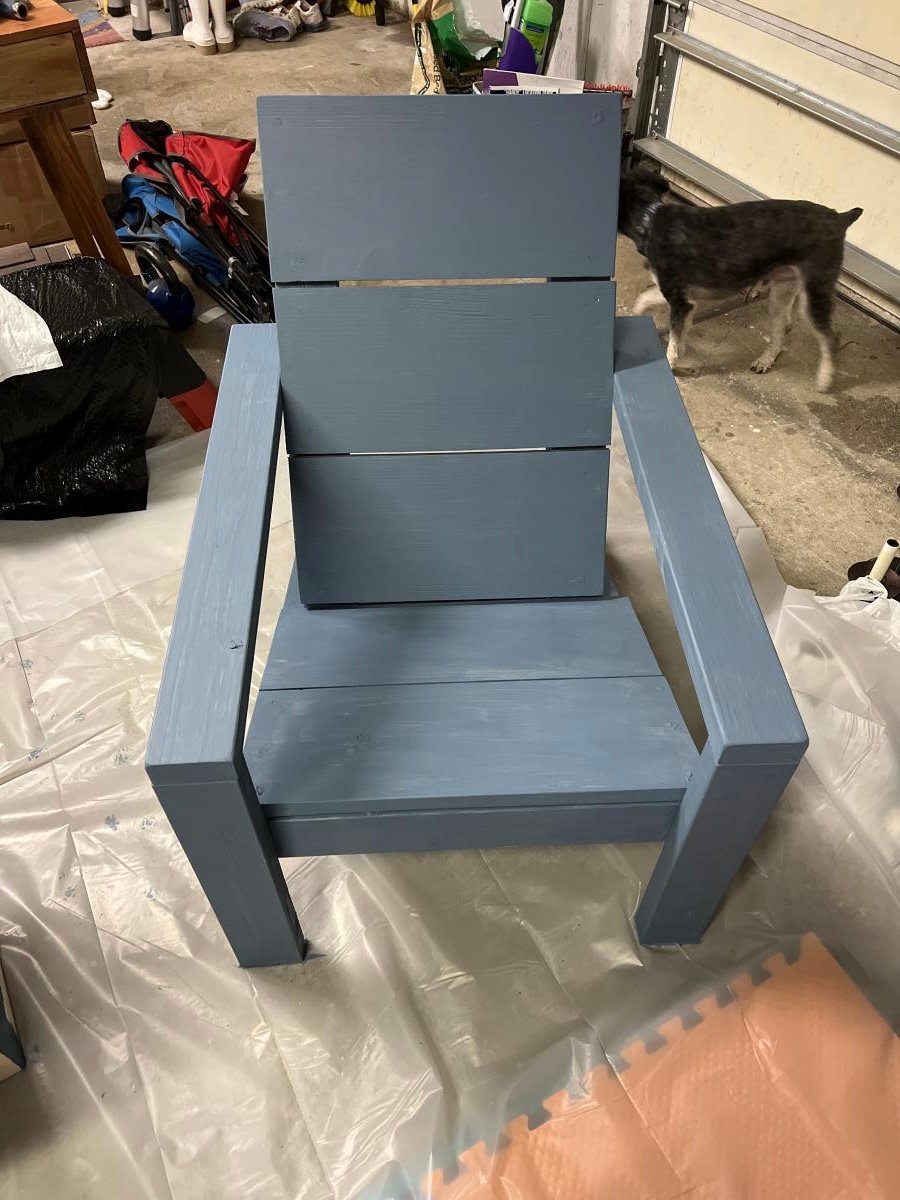
Comments

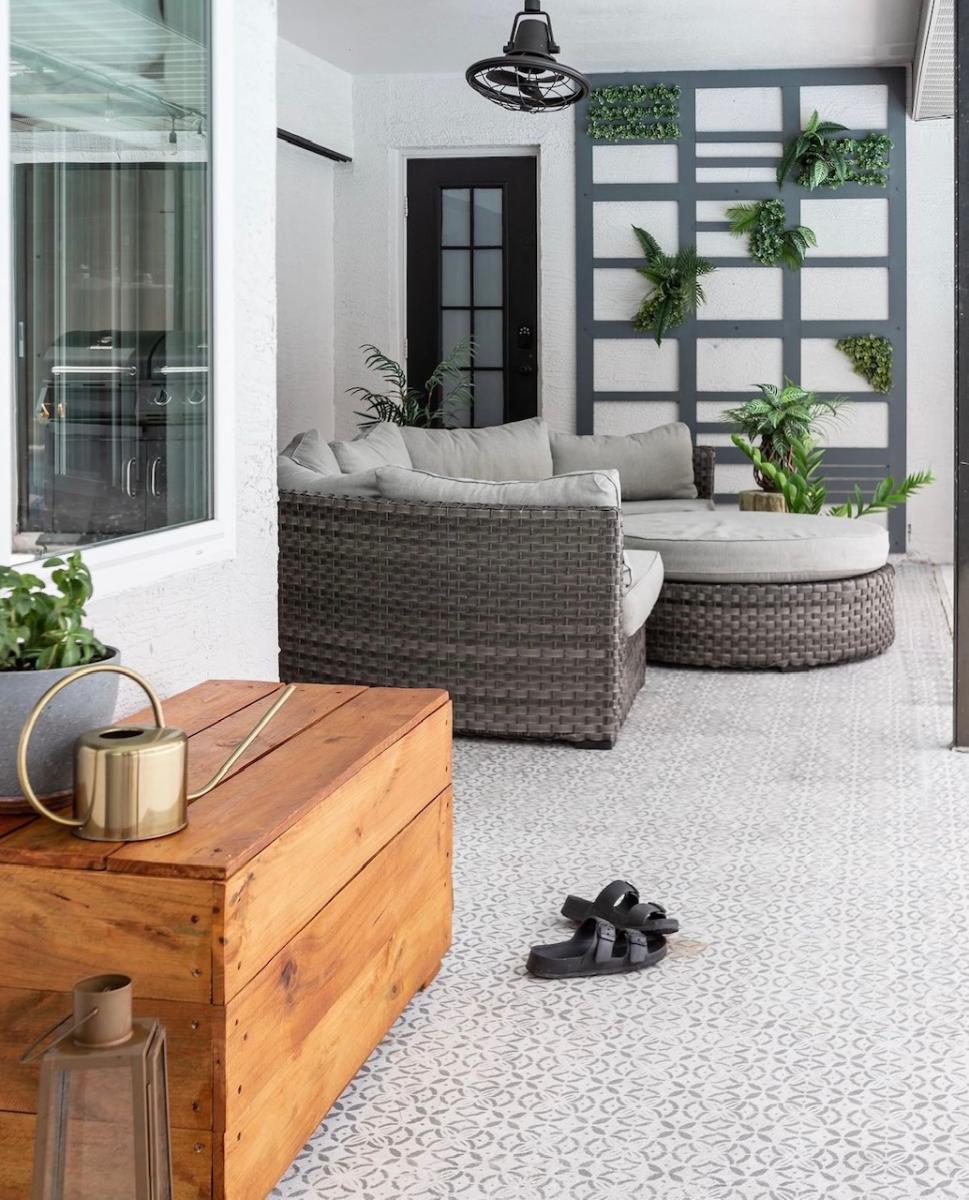
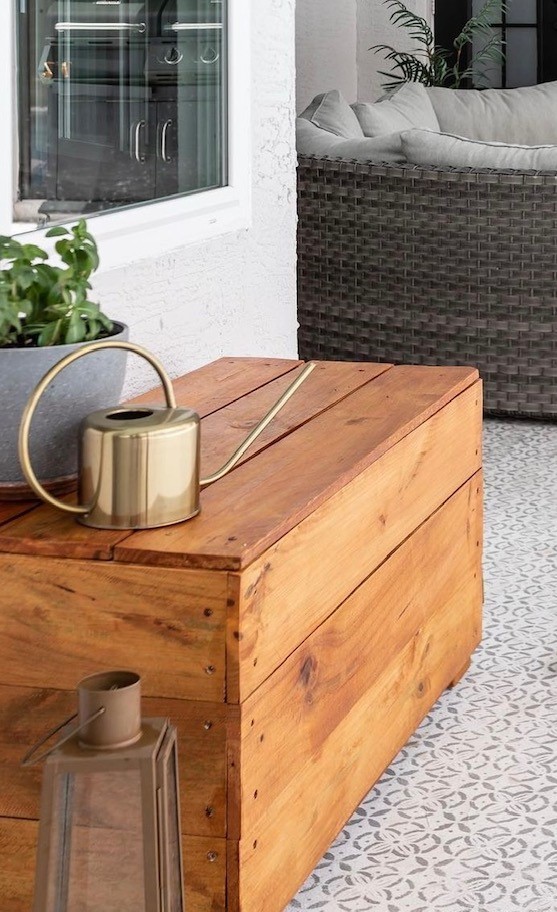
Modern Outdoor Storage Bench by Crazy Life with Littles

It’s a miracle I was able to finish this outdoor storage bench considering my kids are on summer break 😂

💡Tip: can’t find cedar pickets at your local stores? Just stain them. No one will ever know 😉 sealed with Thompson’s WaterSeal

by Crazy Life with Littles on Instagram

Seasonal And Holiday

2 X 4 Adirondack Chairs and Tables with a Twist

Submitted by Anonymous (not verified) on Wed, 05/31/2023 - 15:59

I had a bunch of my old skis that I had used as a display wall in my chalet that I needed to do something with, and this was a perfect solution!

Comments