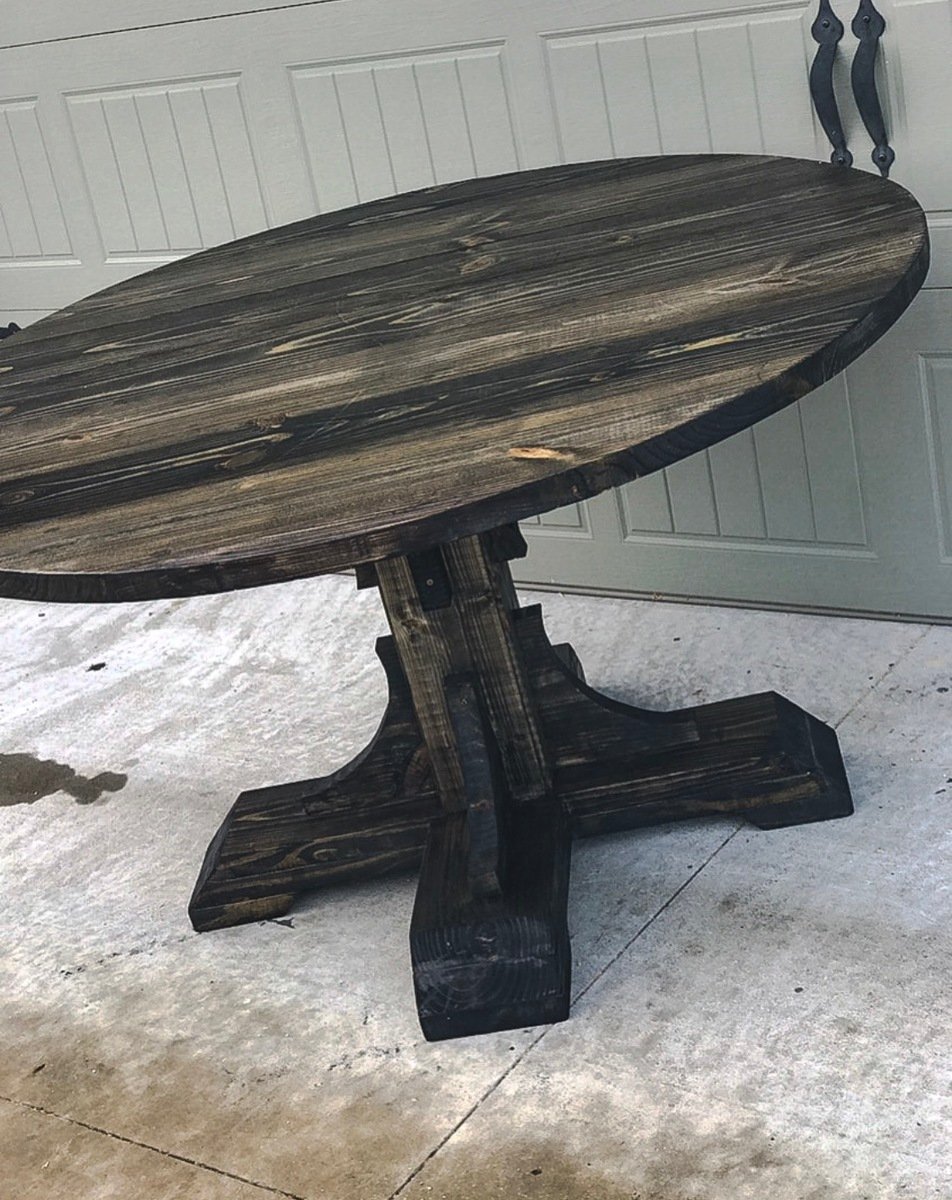
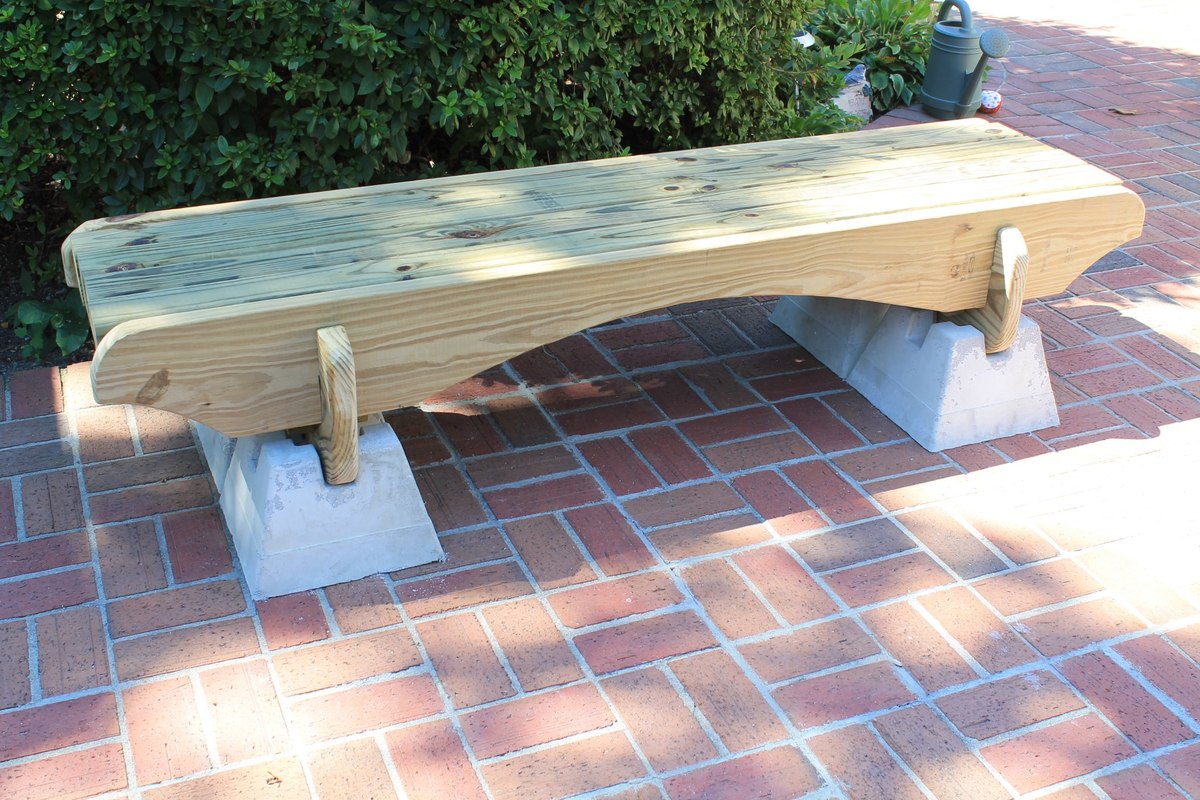
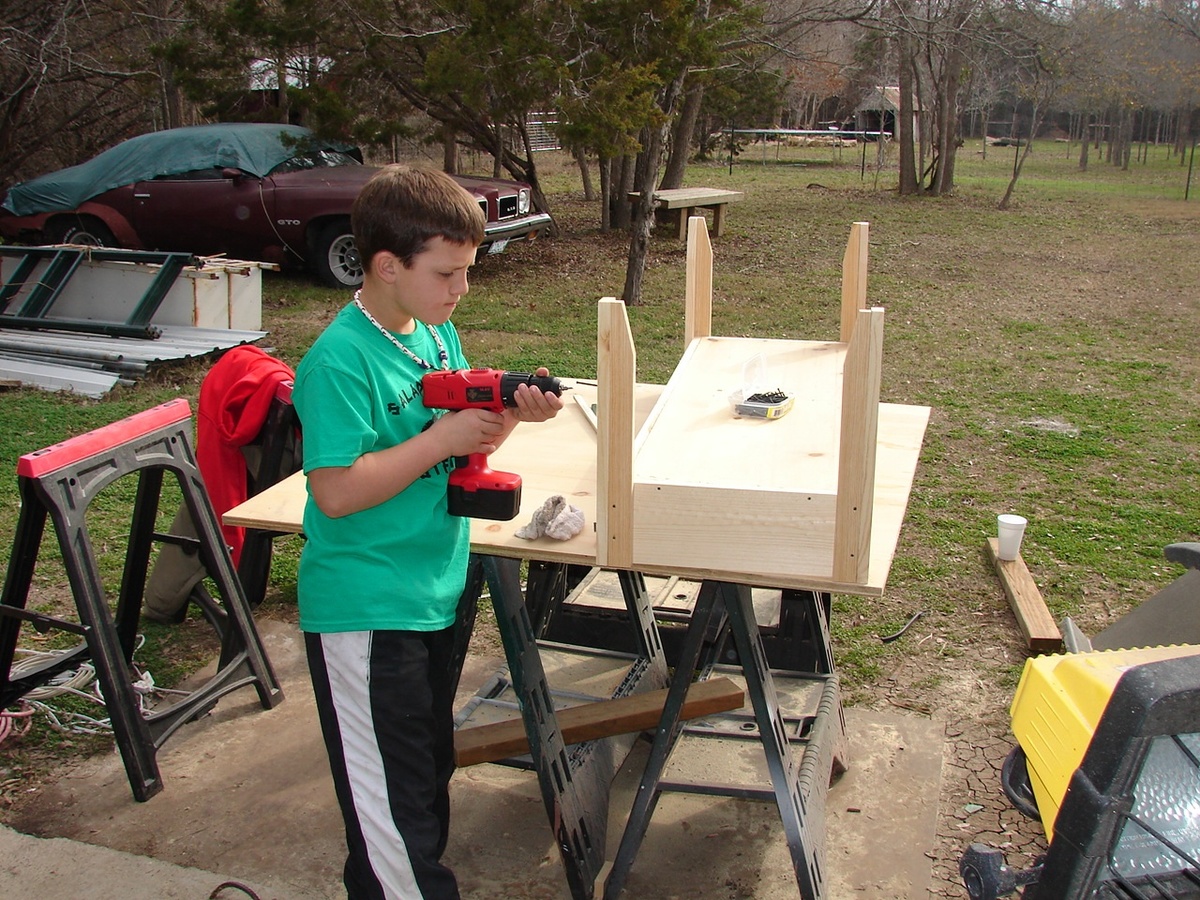
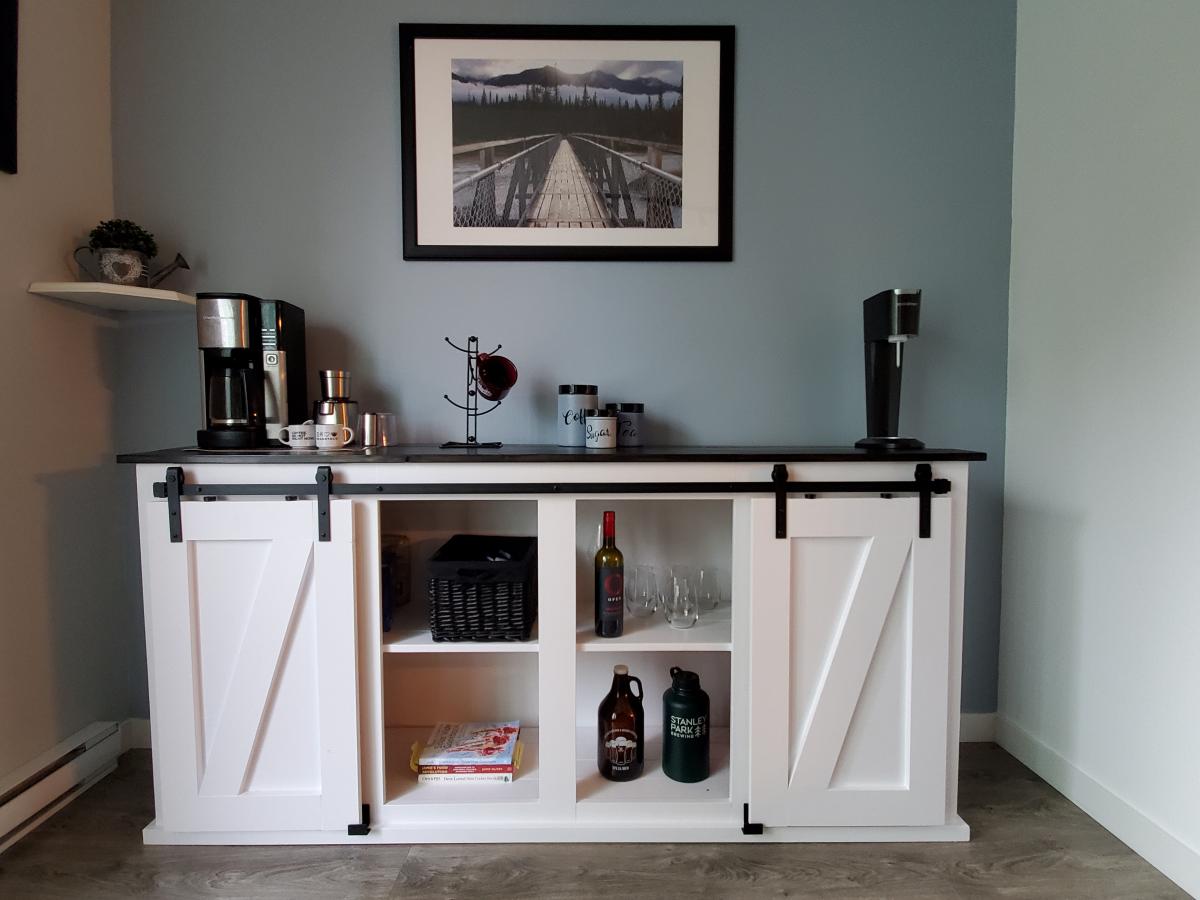
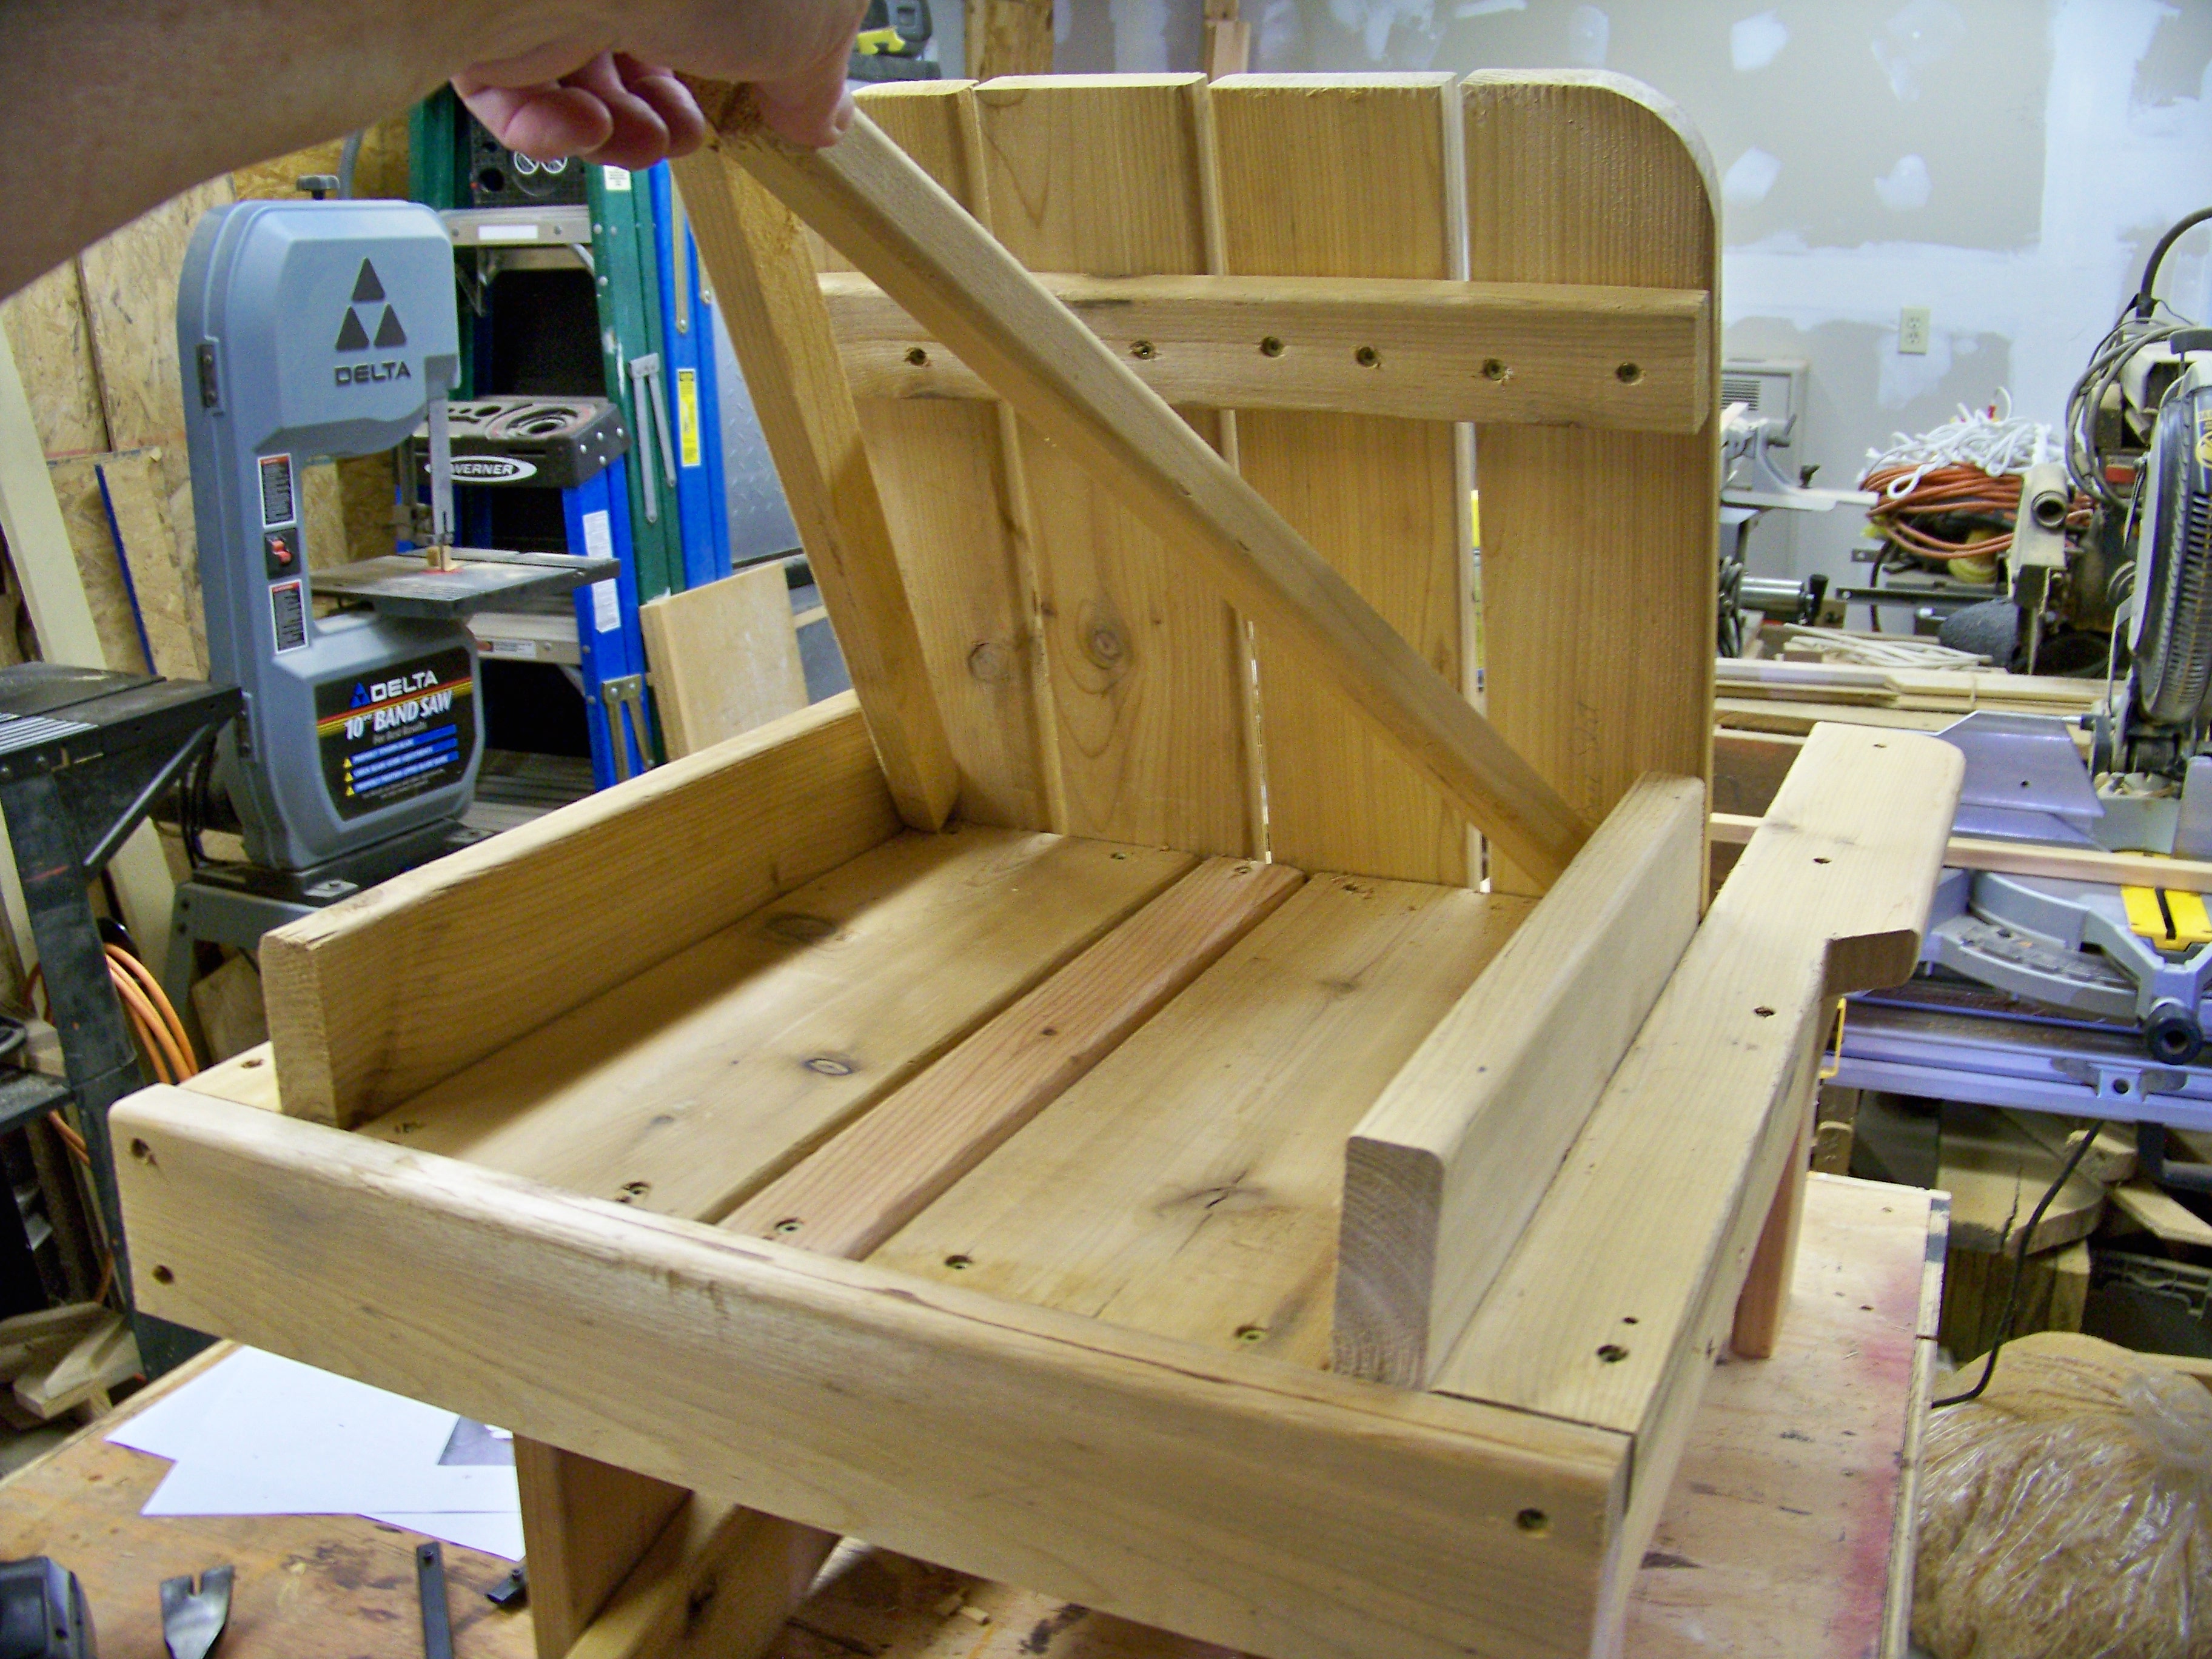
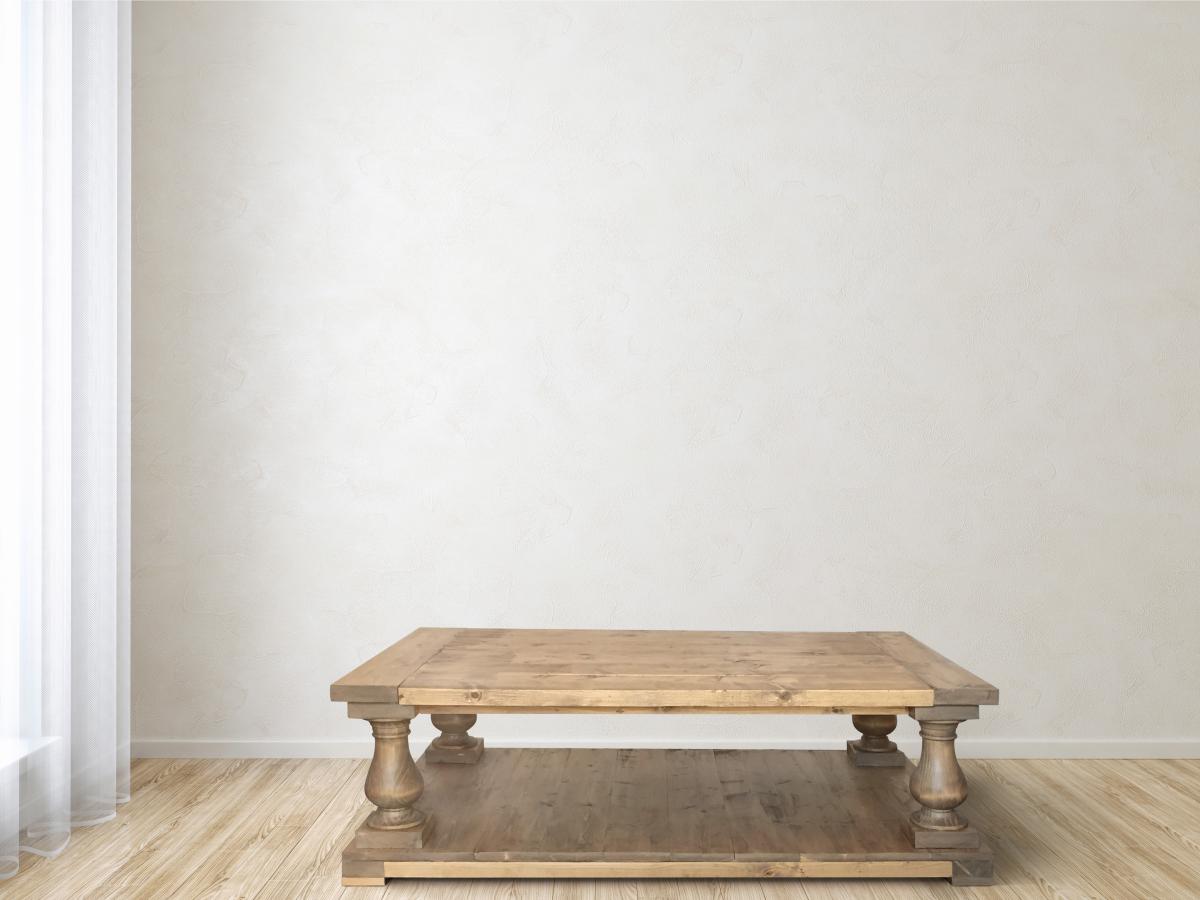
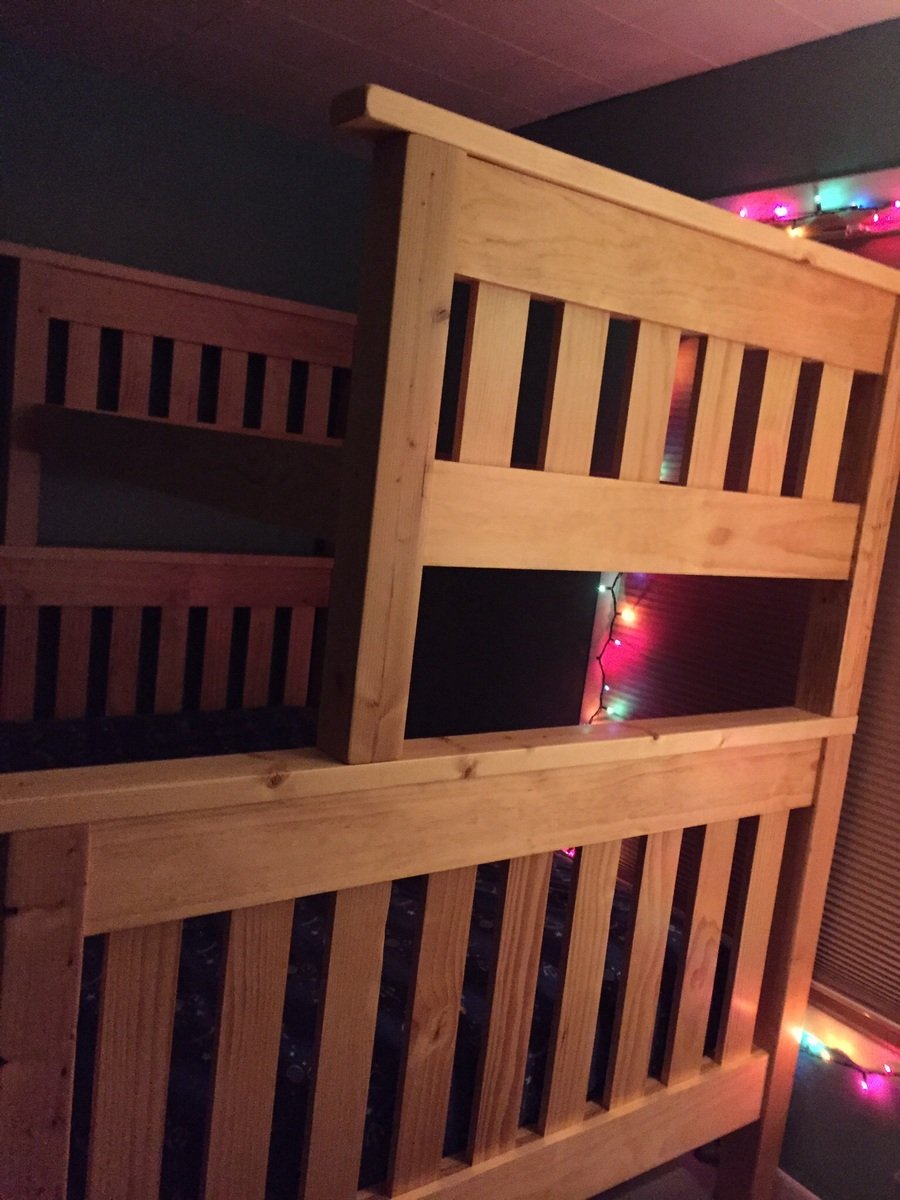
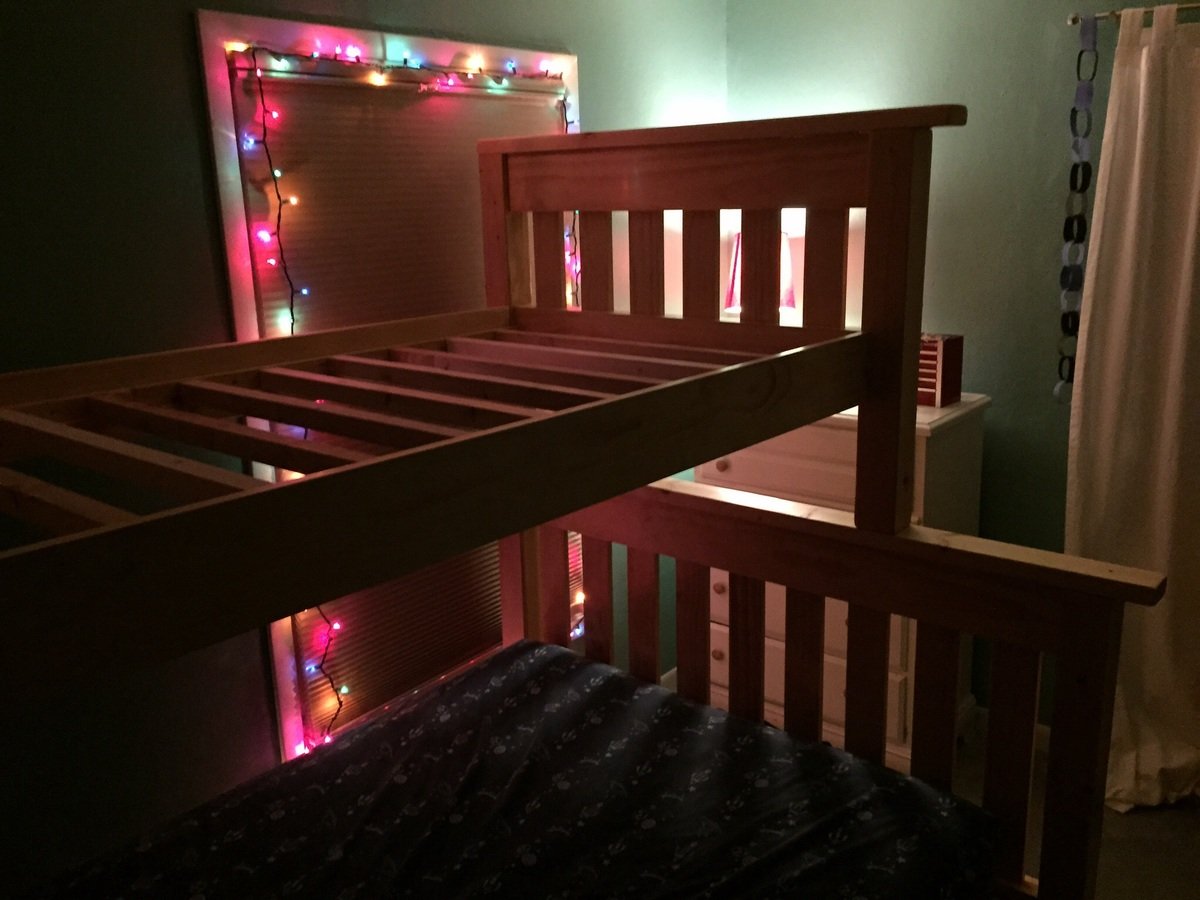
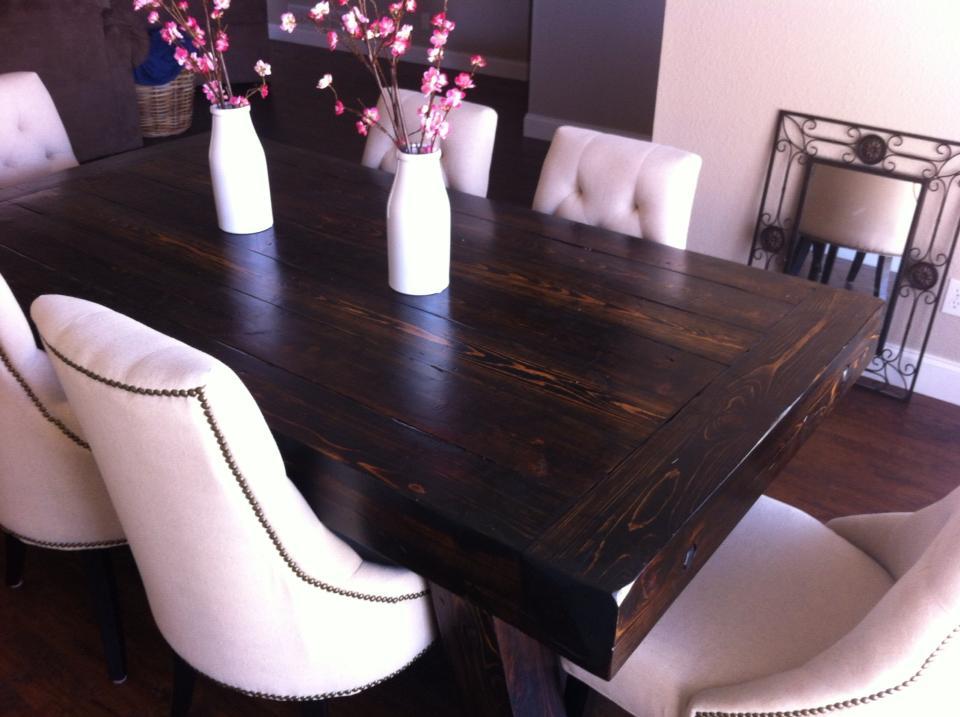
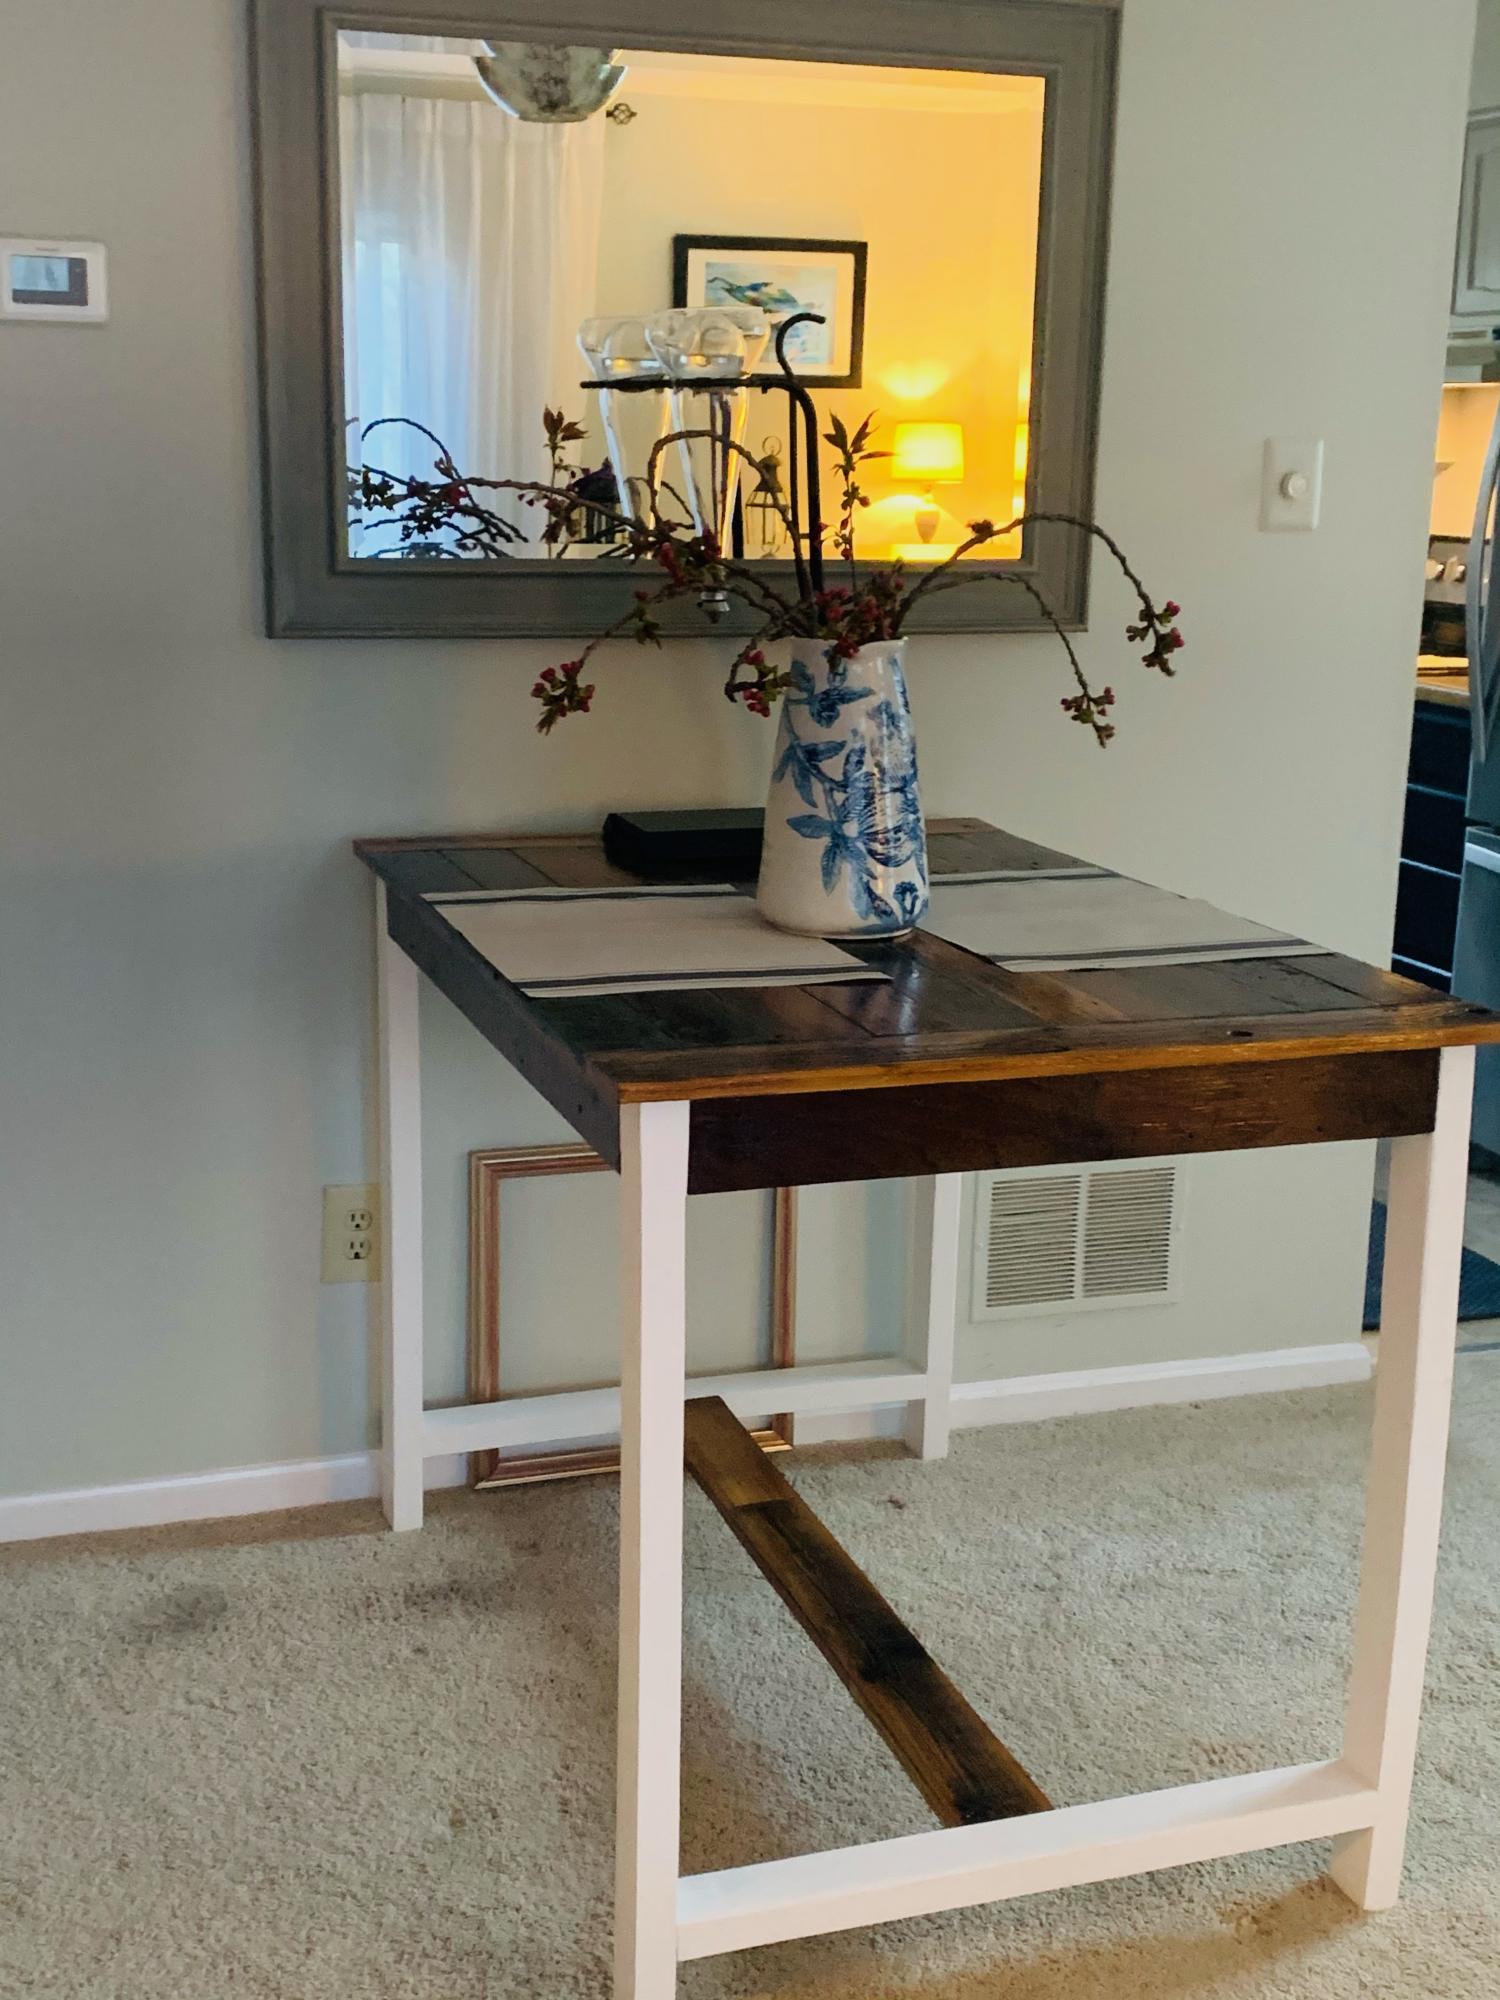
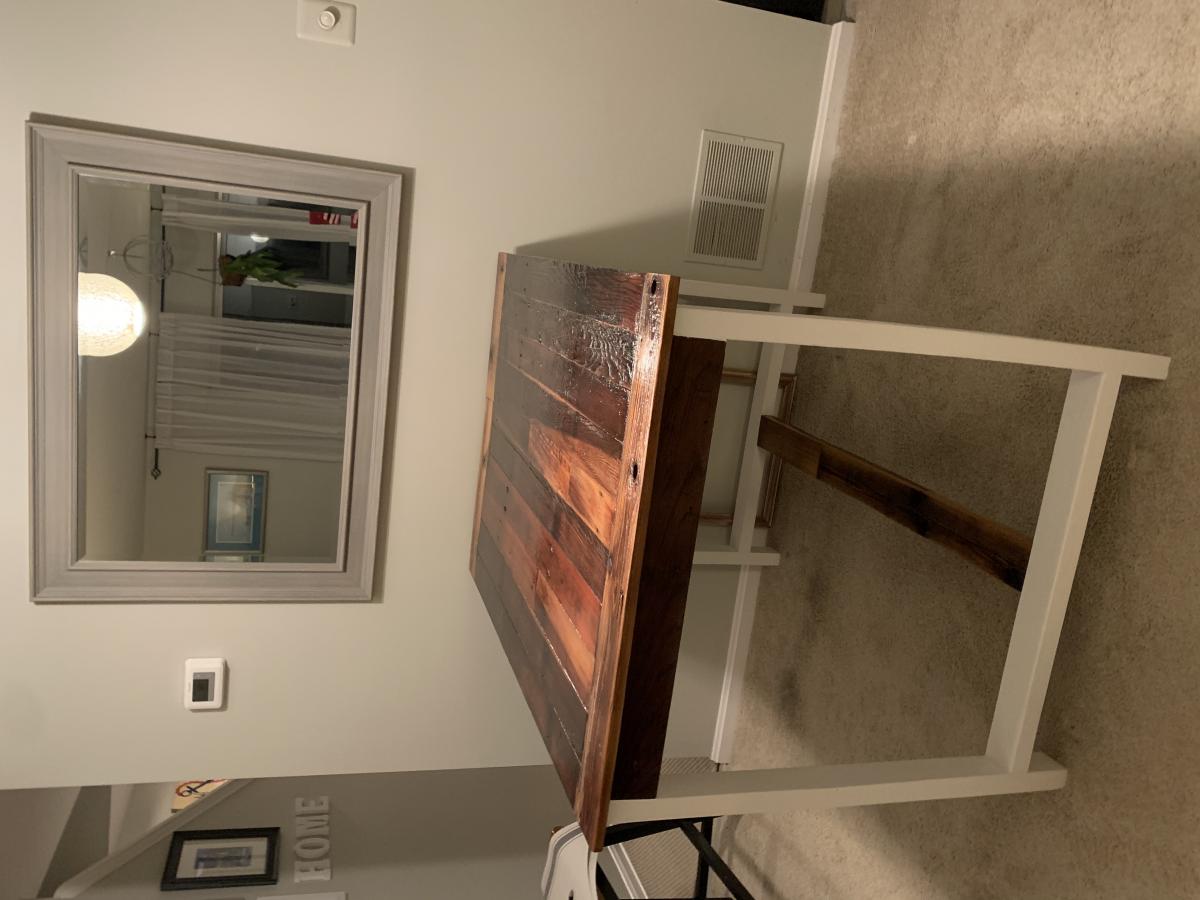
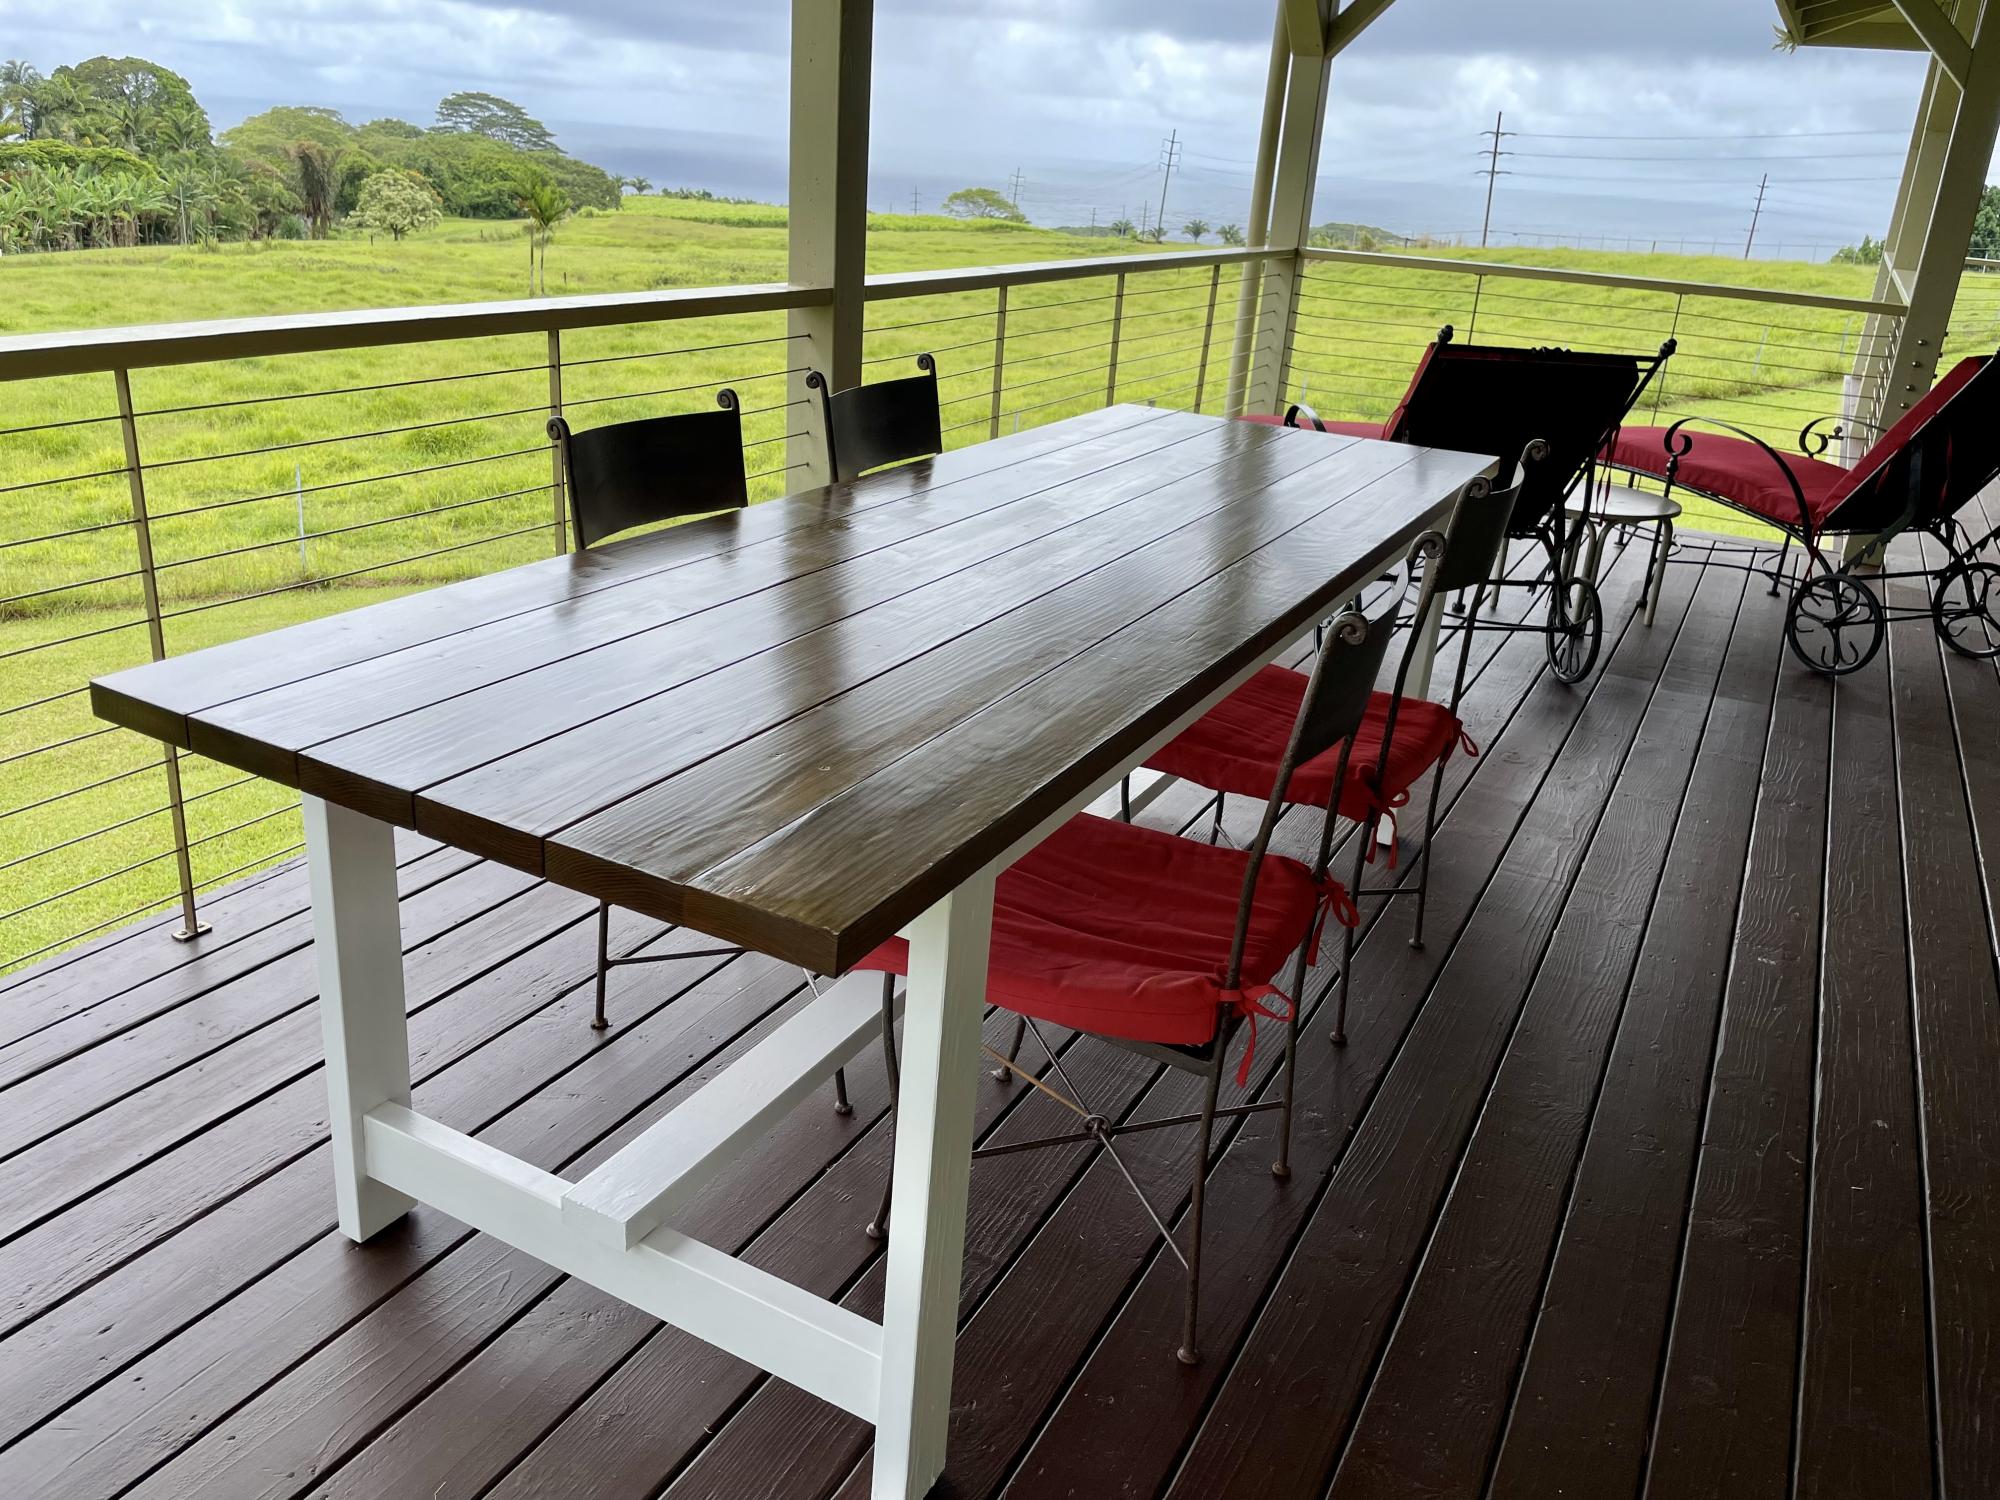
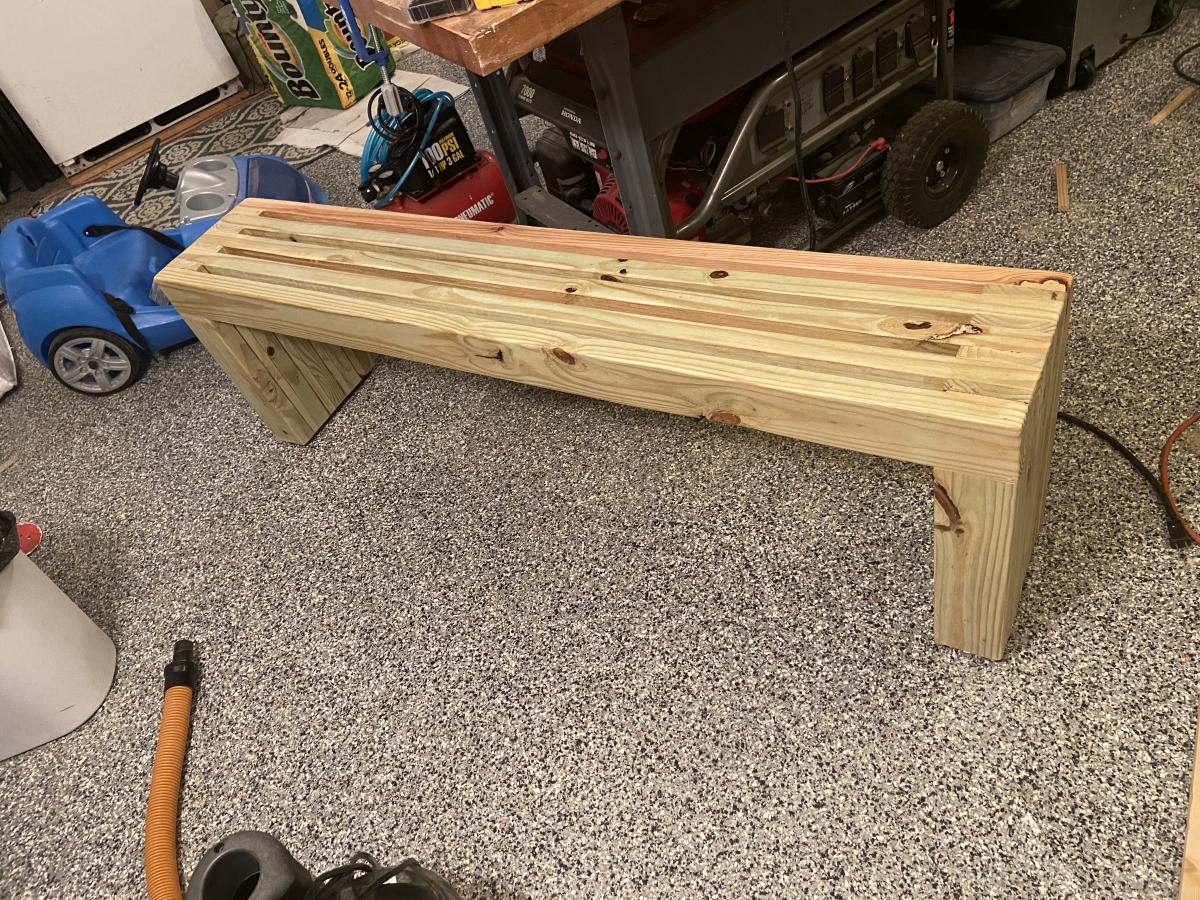
Mediocre man makes an the outdoor sofa!
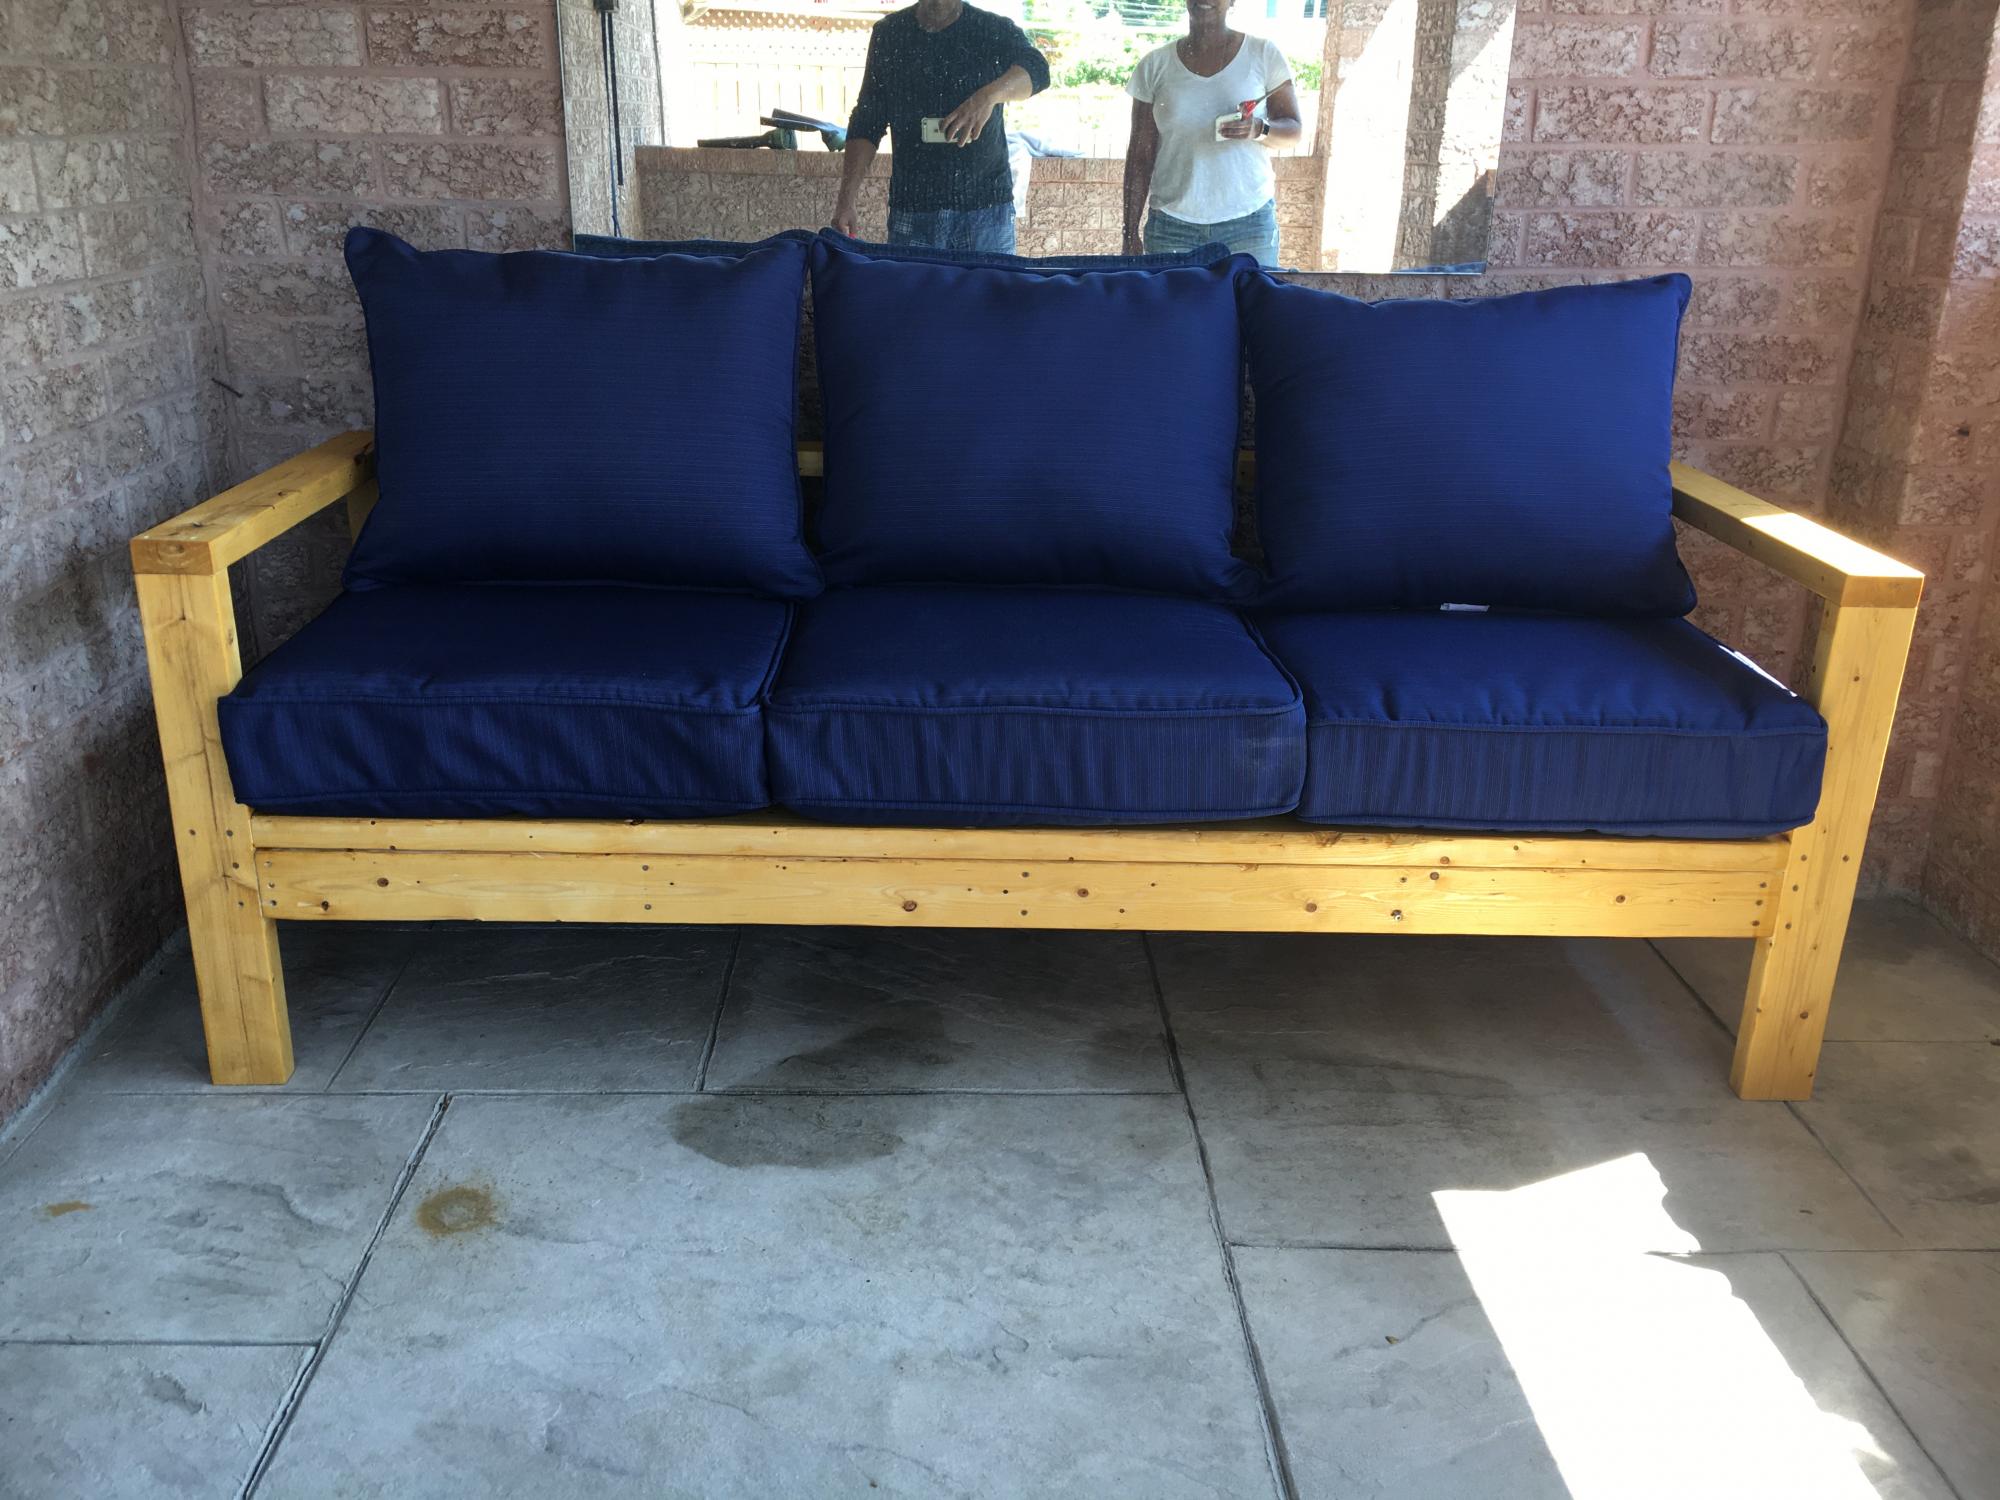
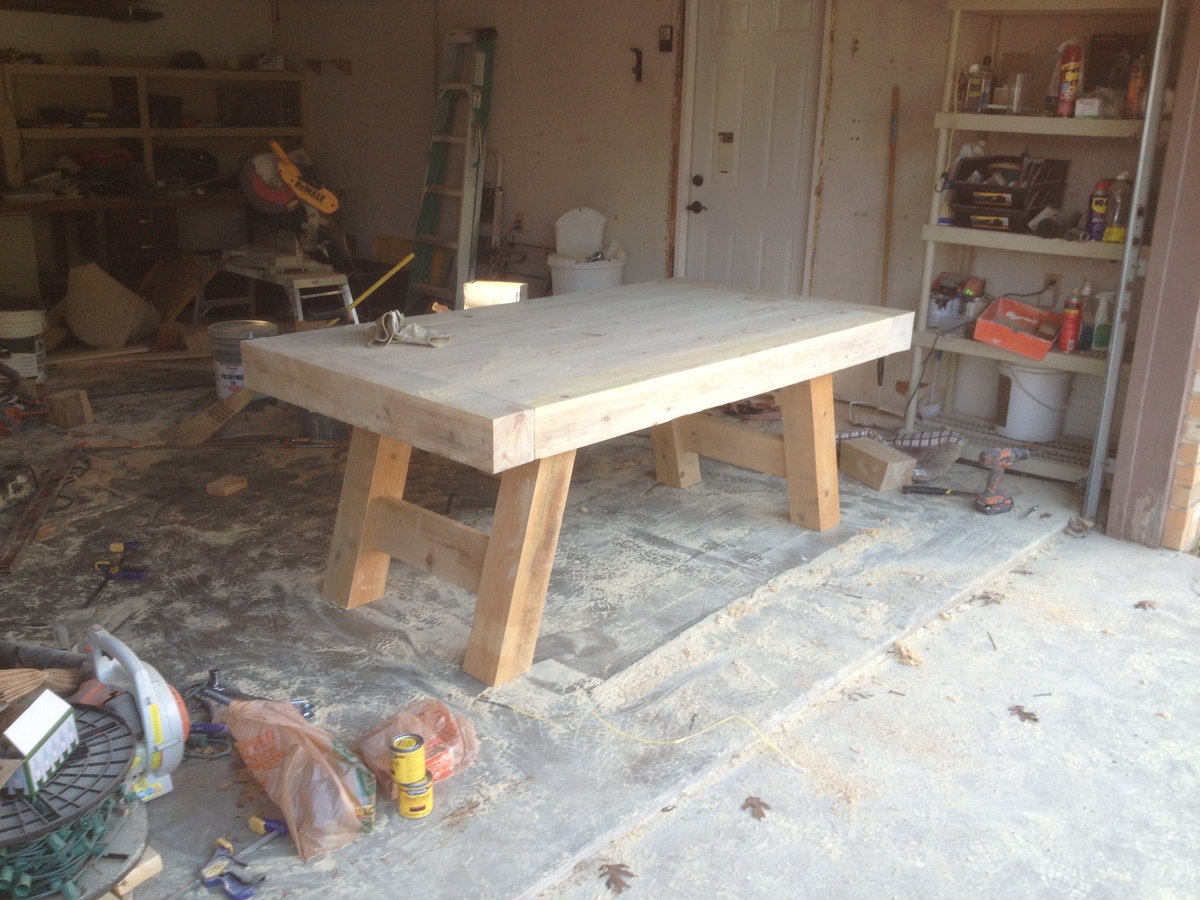
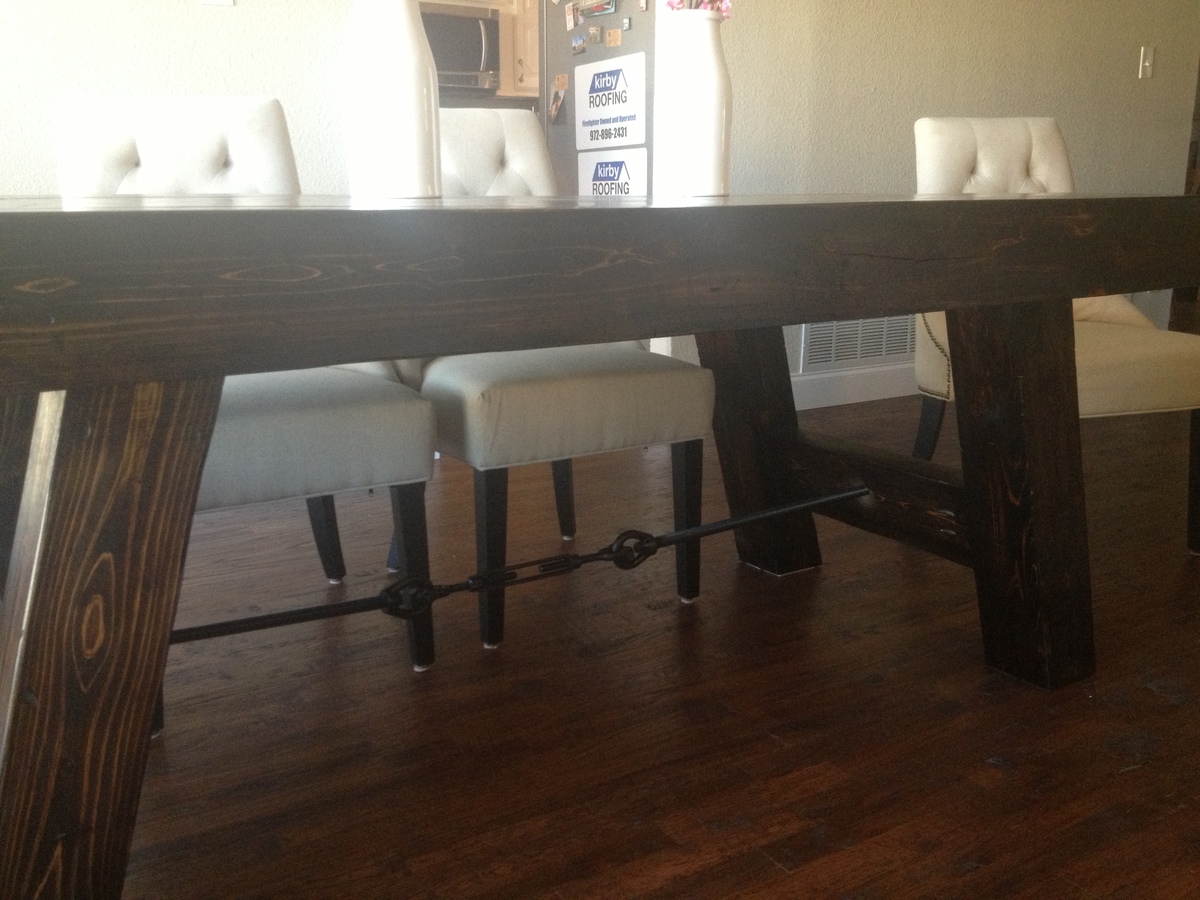
I made this awesome sofa based on the plan. I'm not very good at this stuff however, these plans were great. Easy to follow and gave me a great excuse to buy a mitre saw.
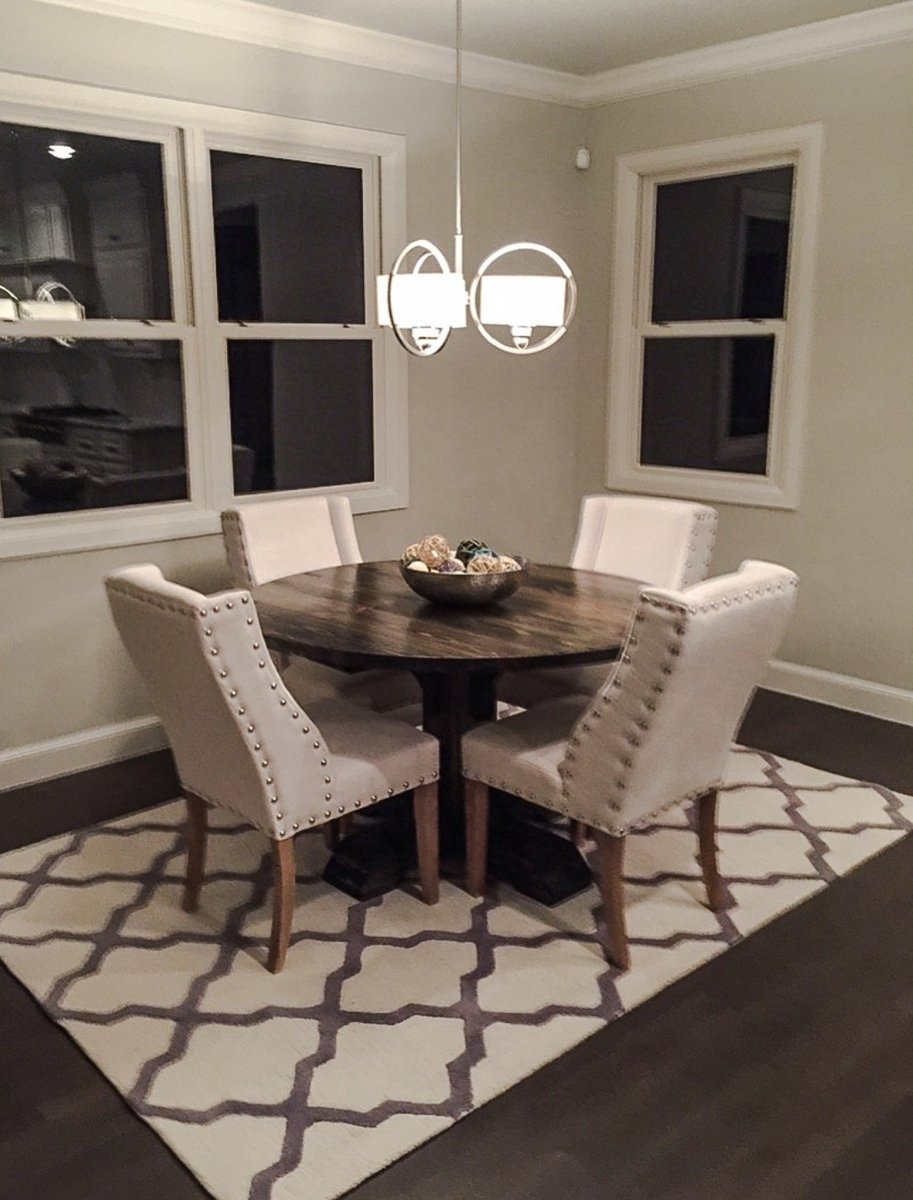
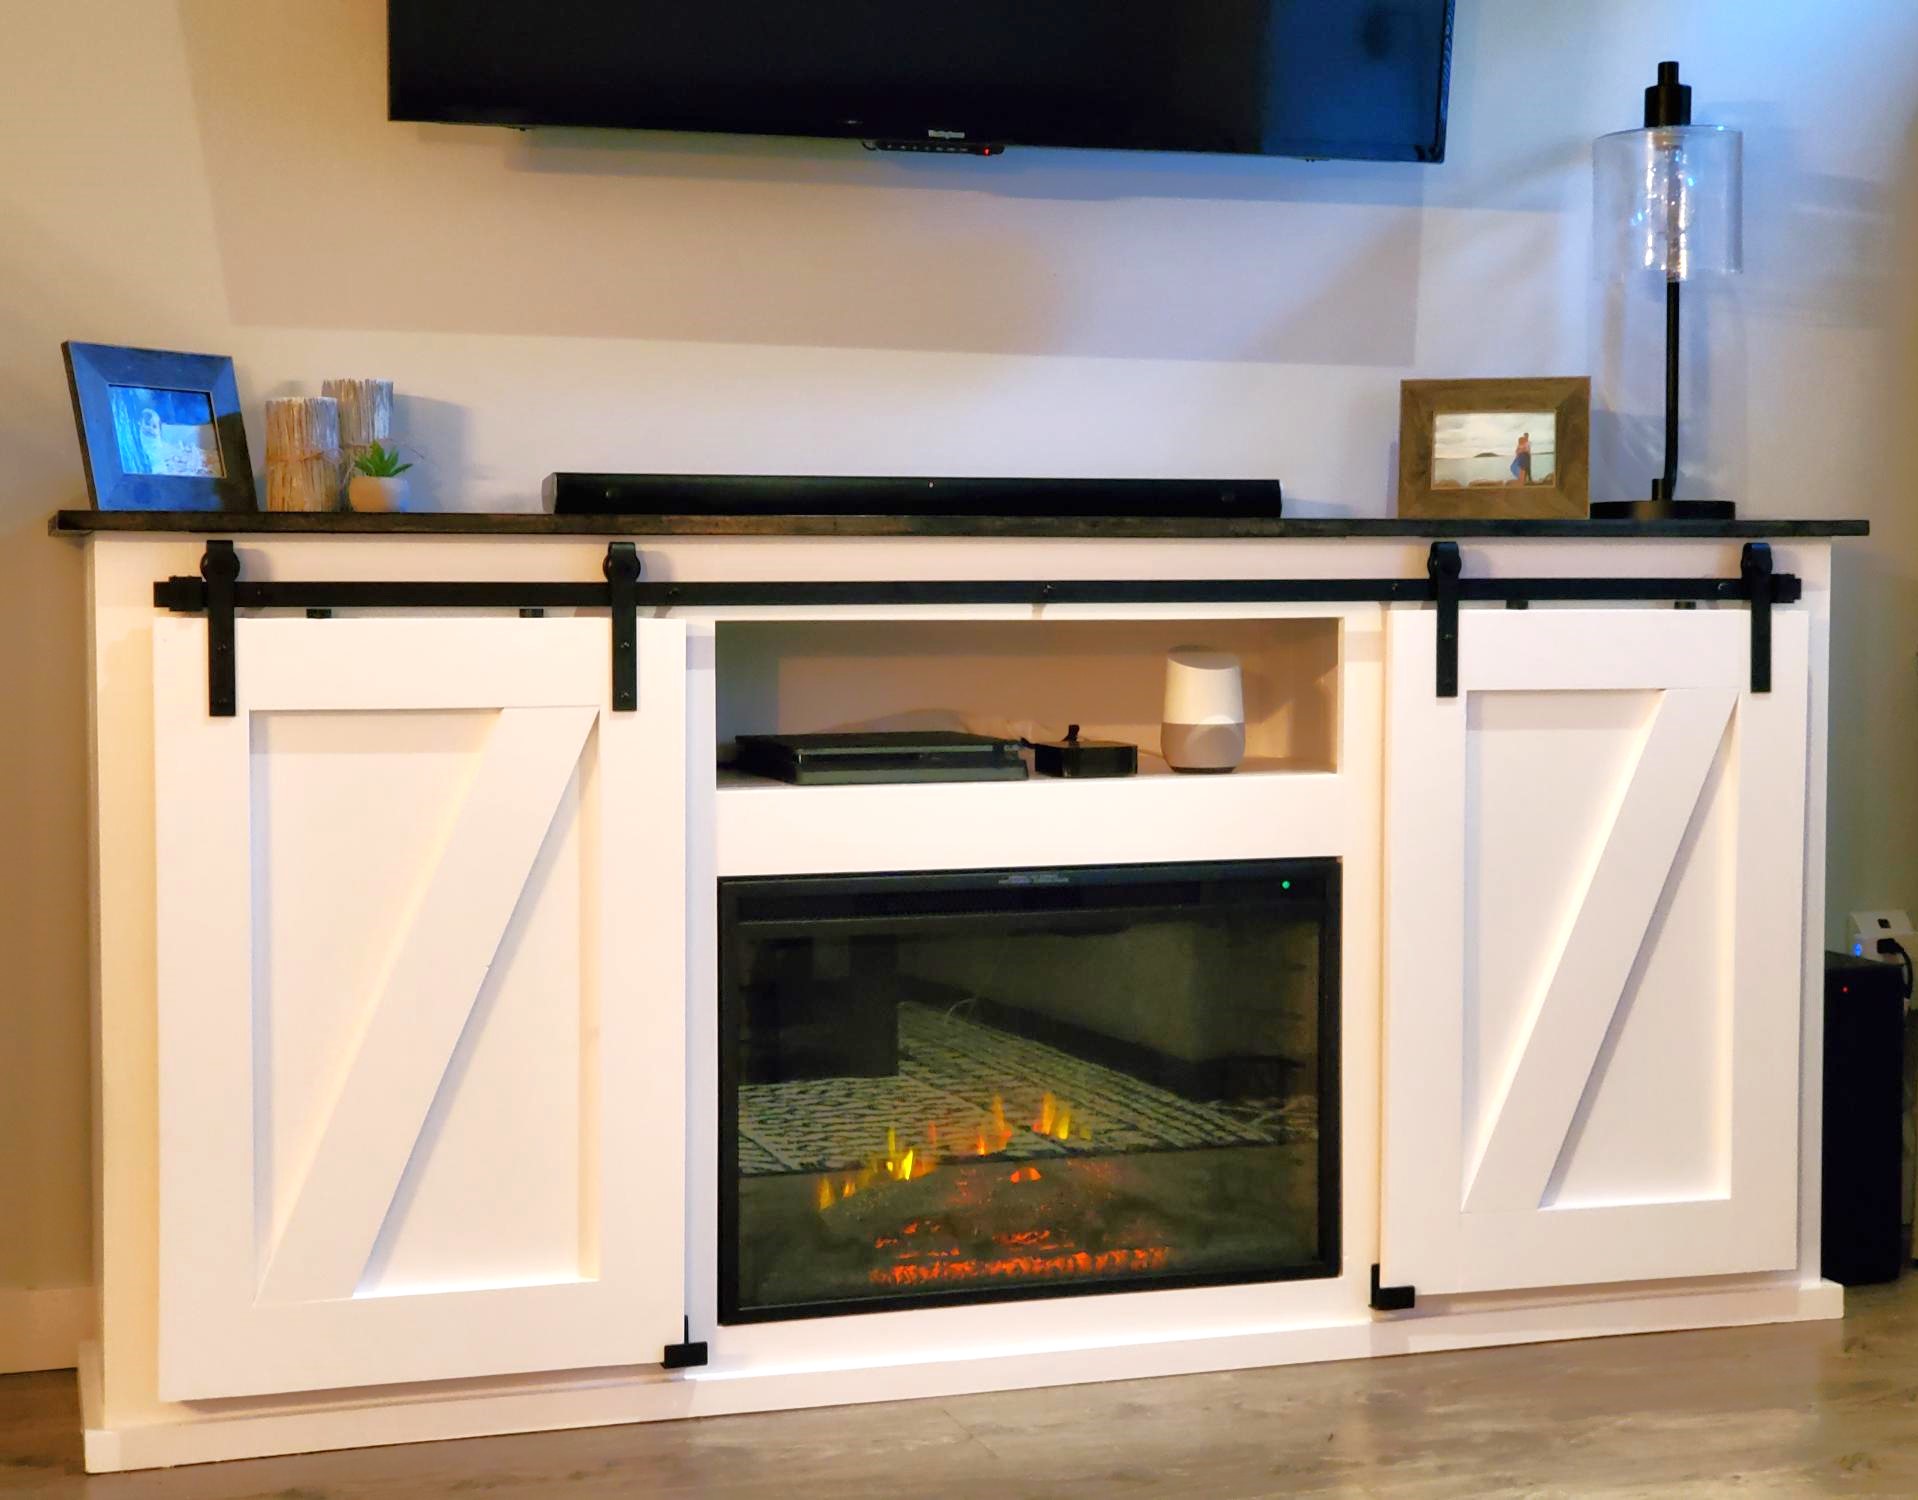
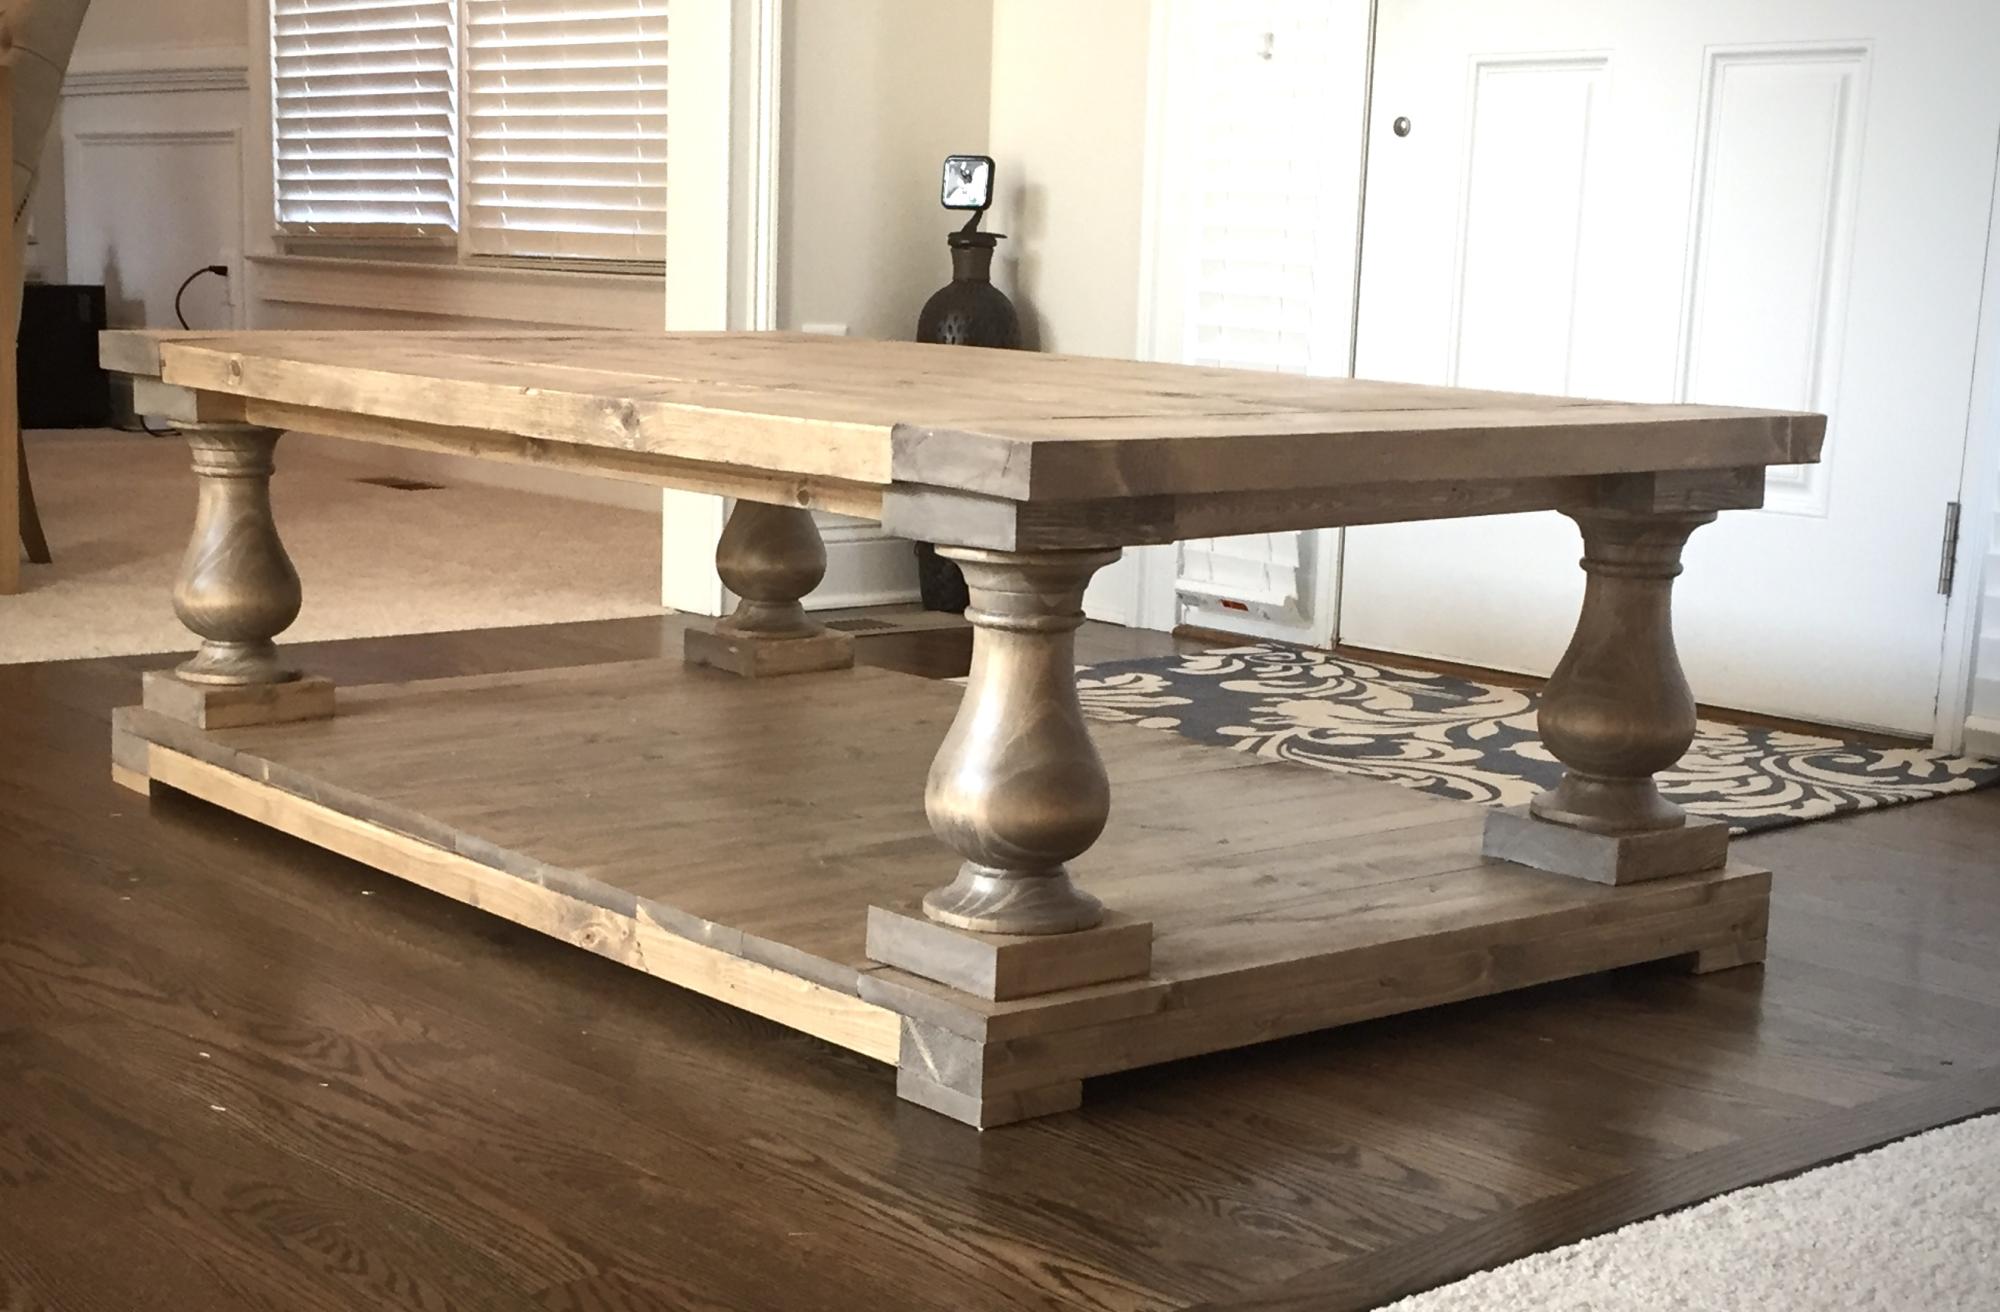
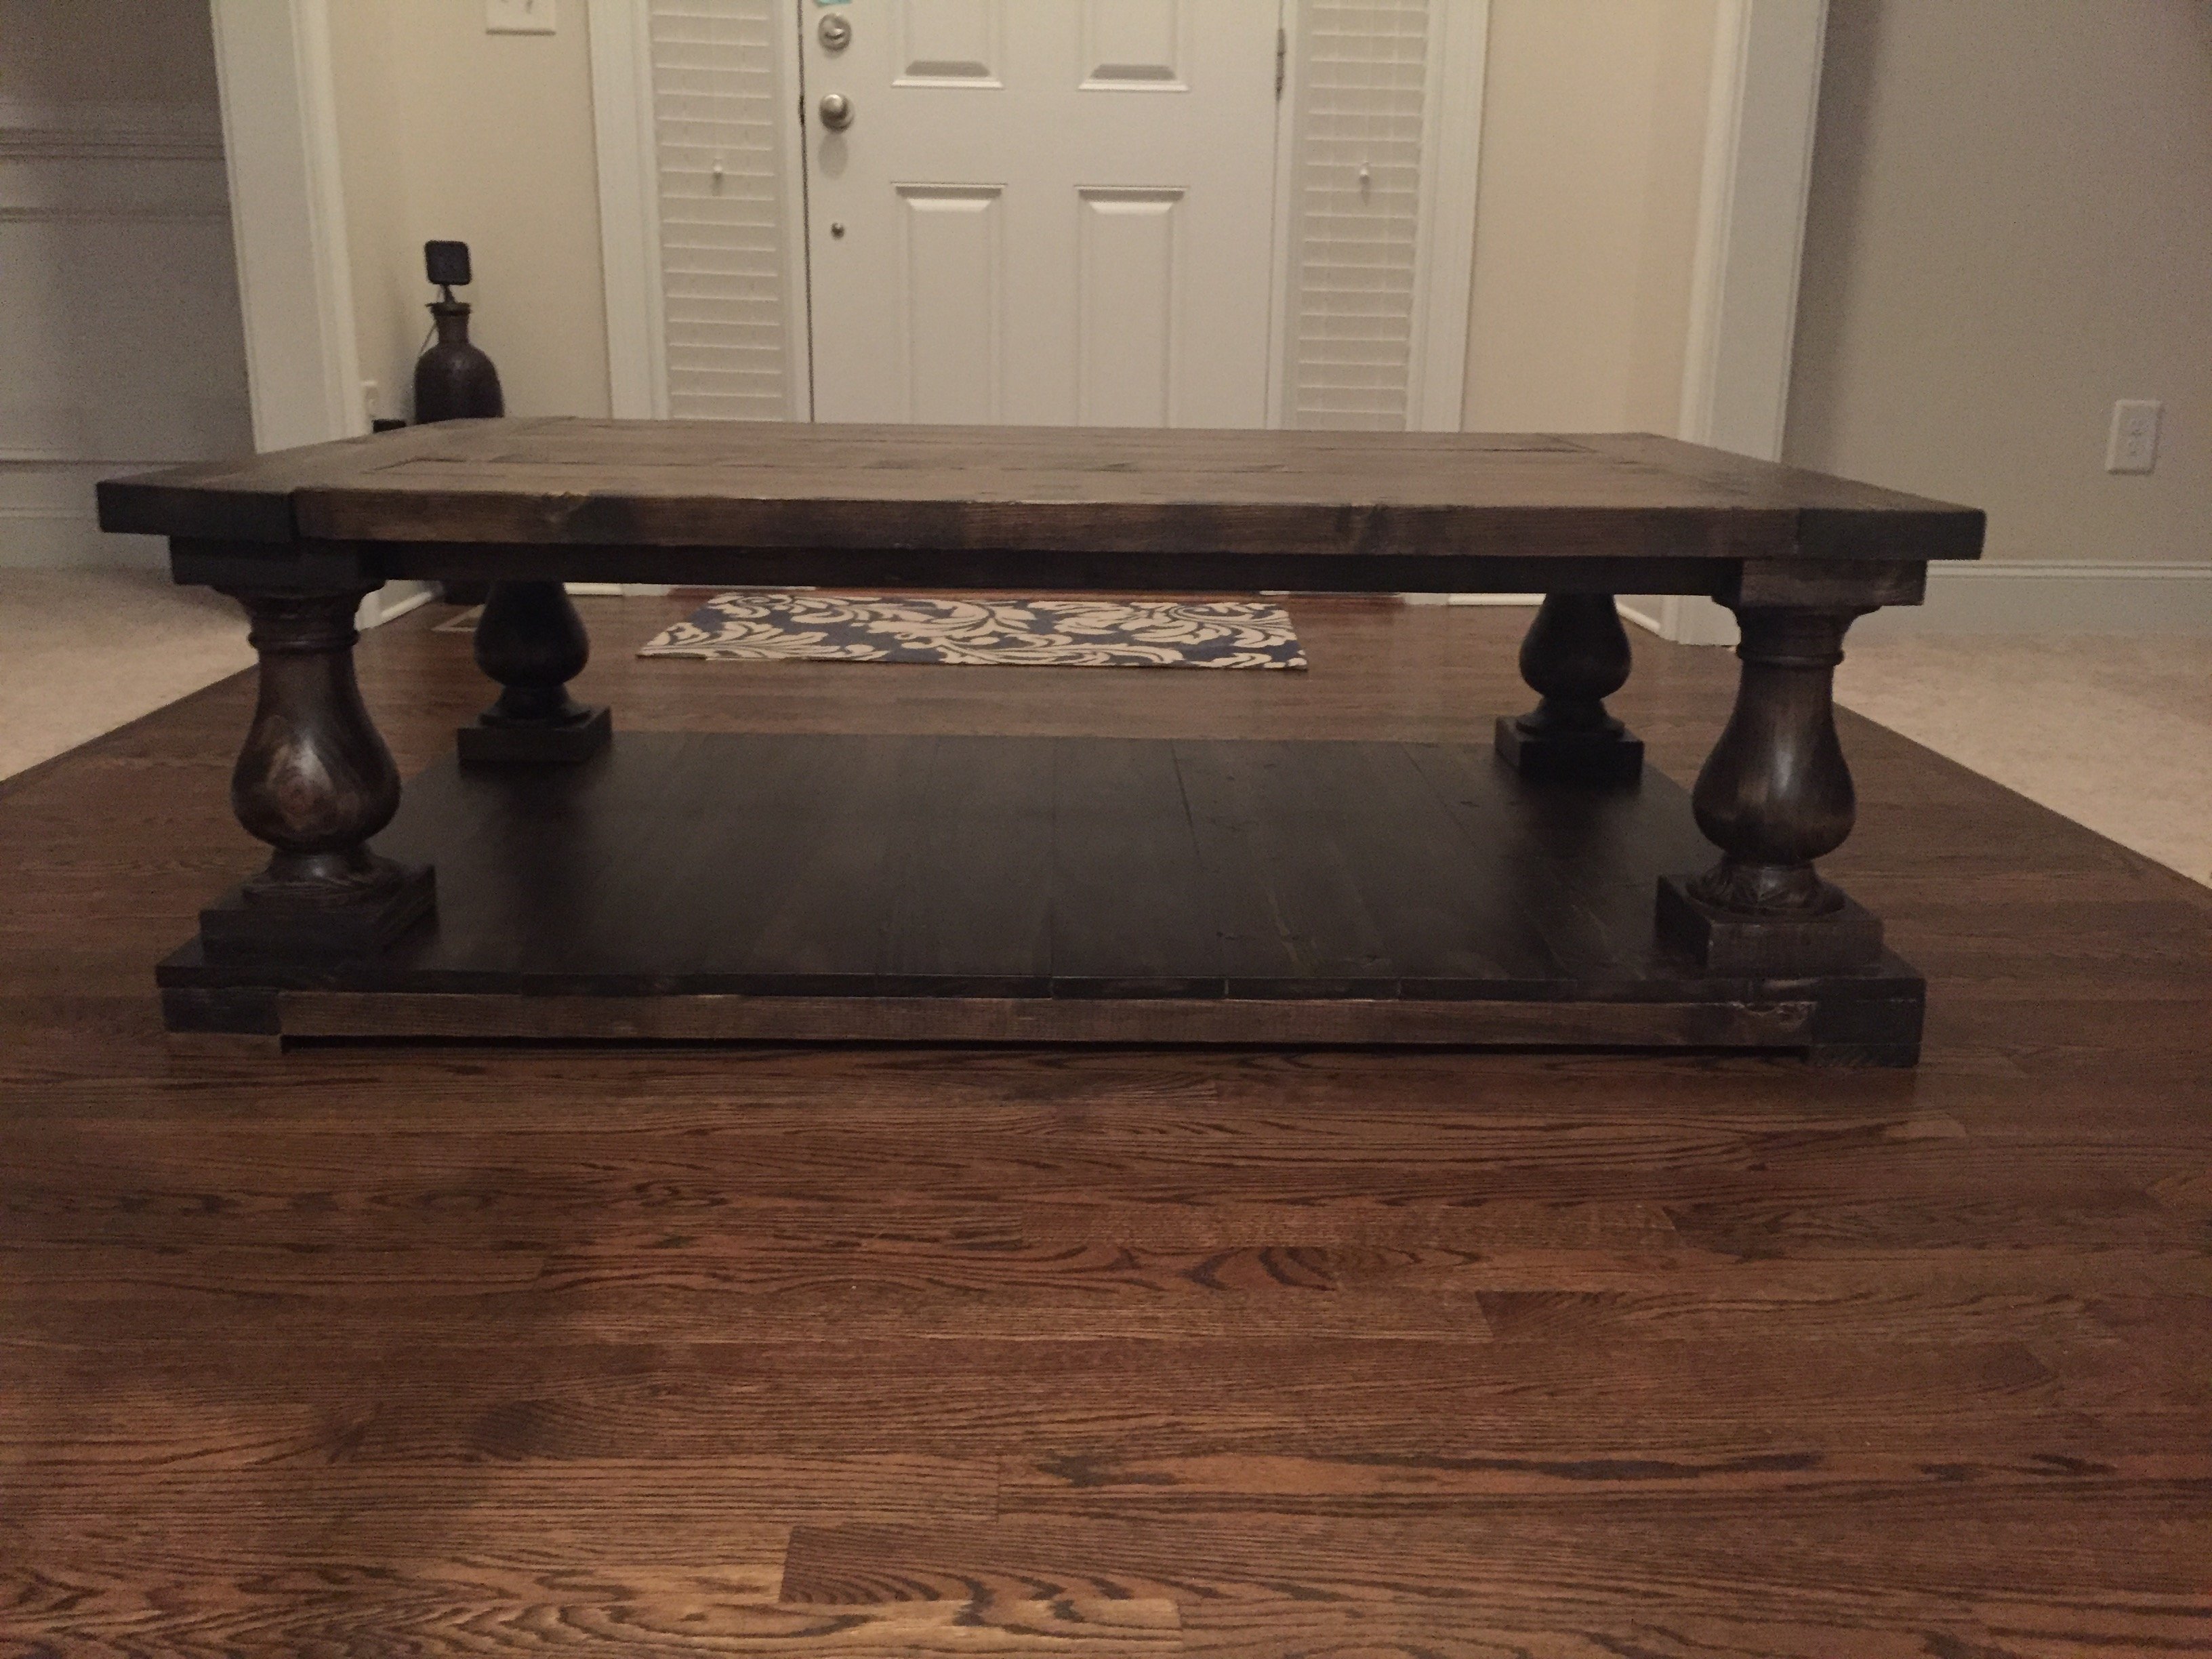
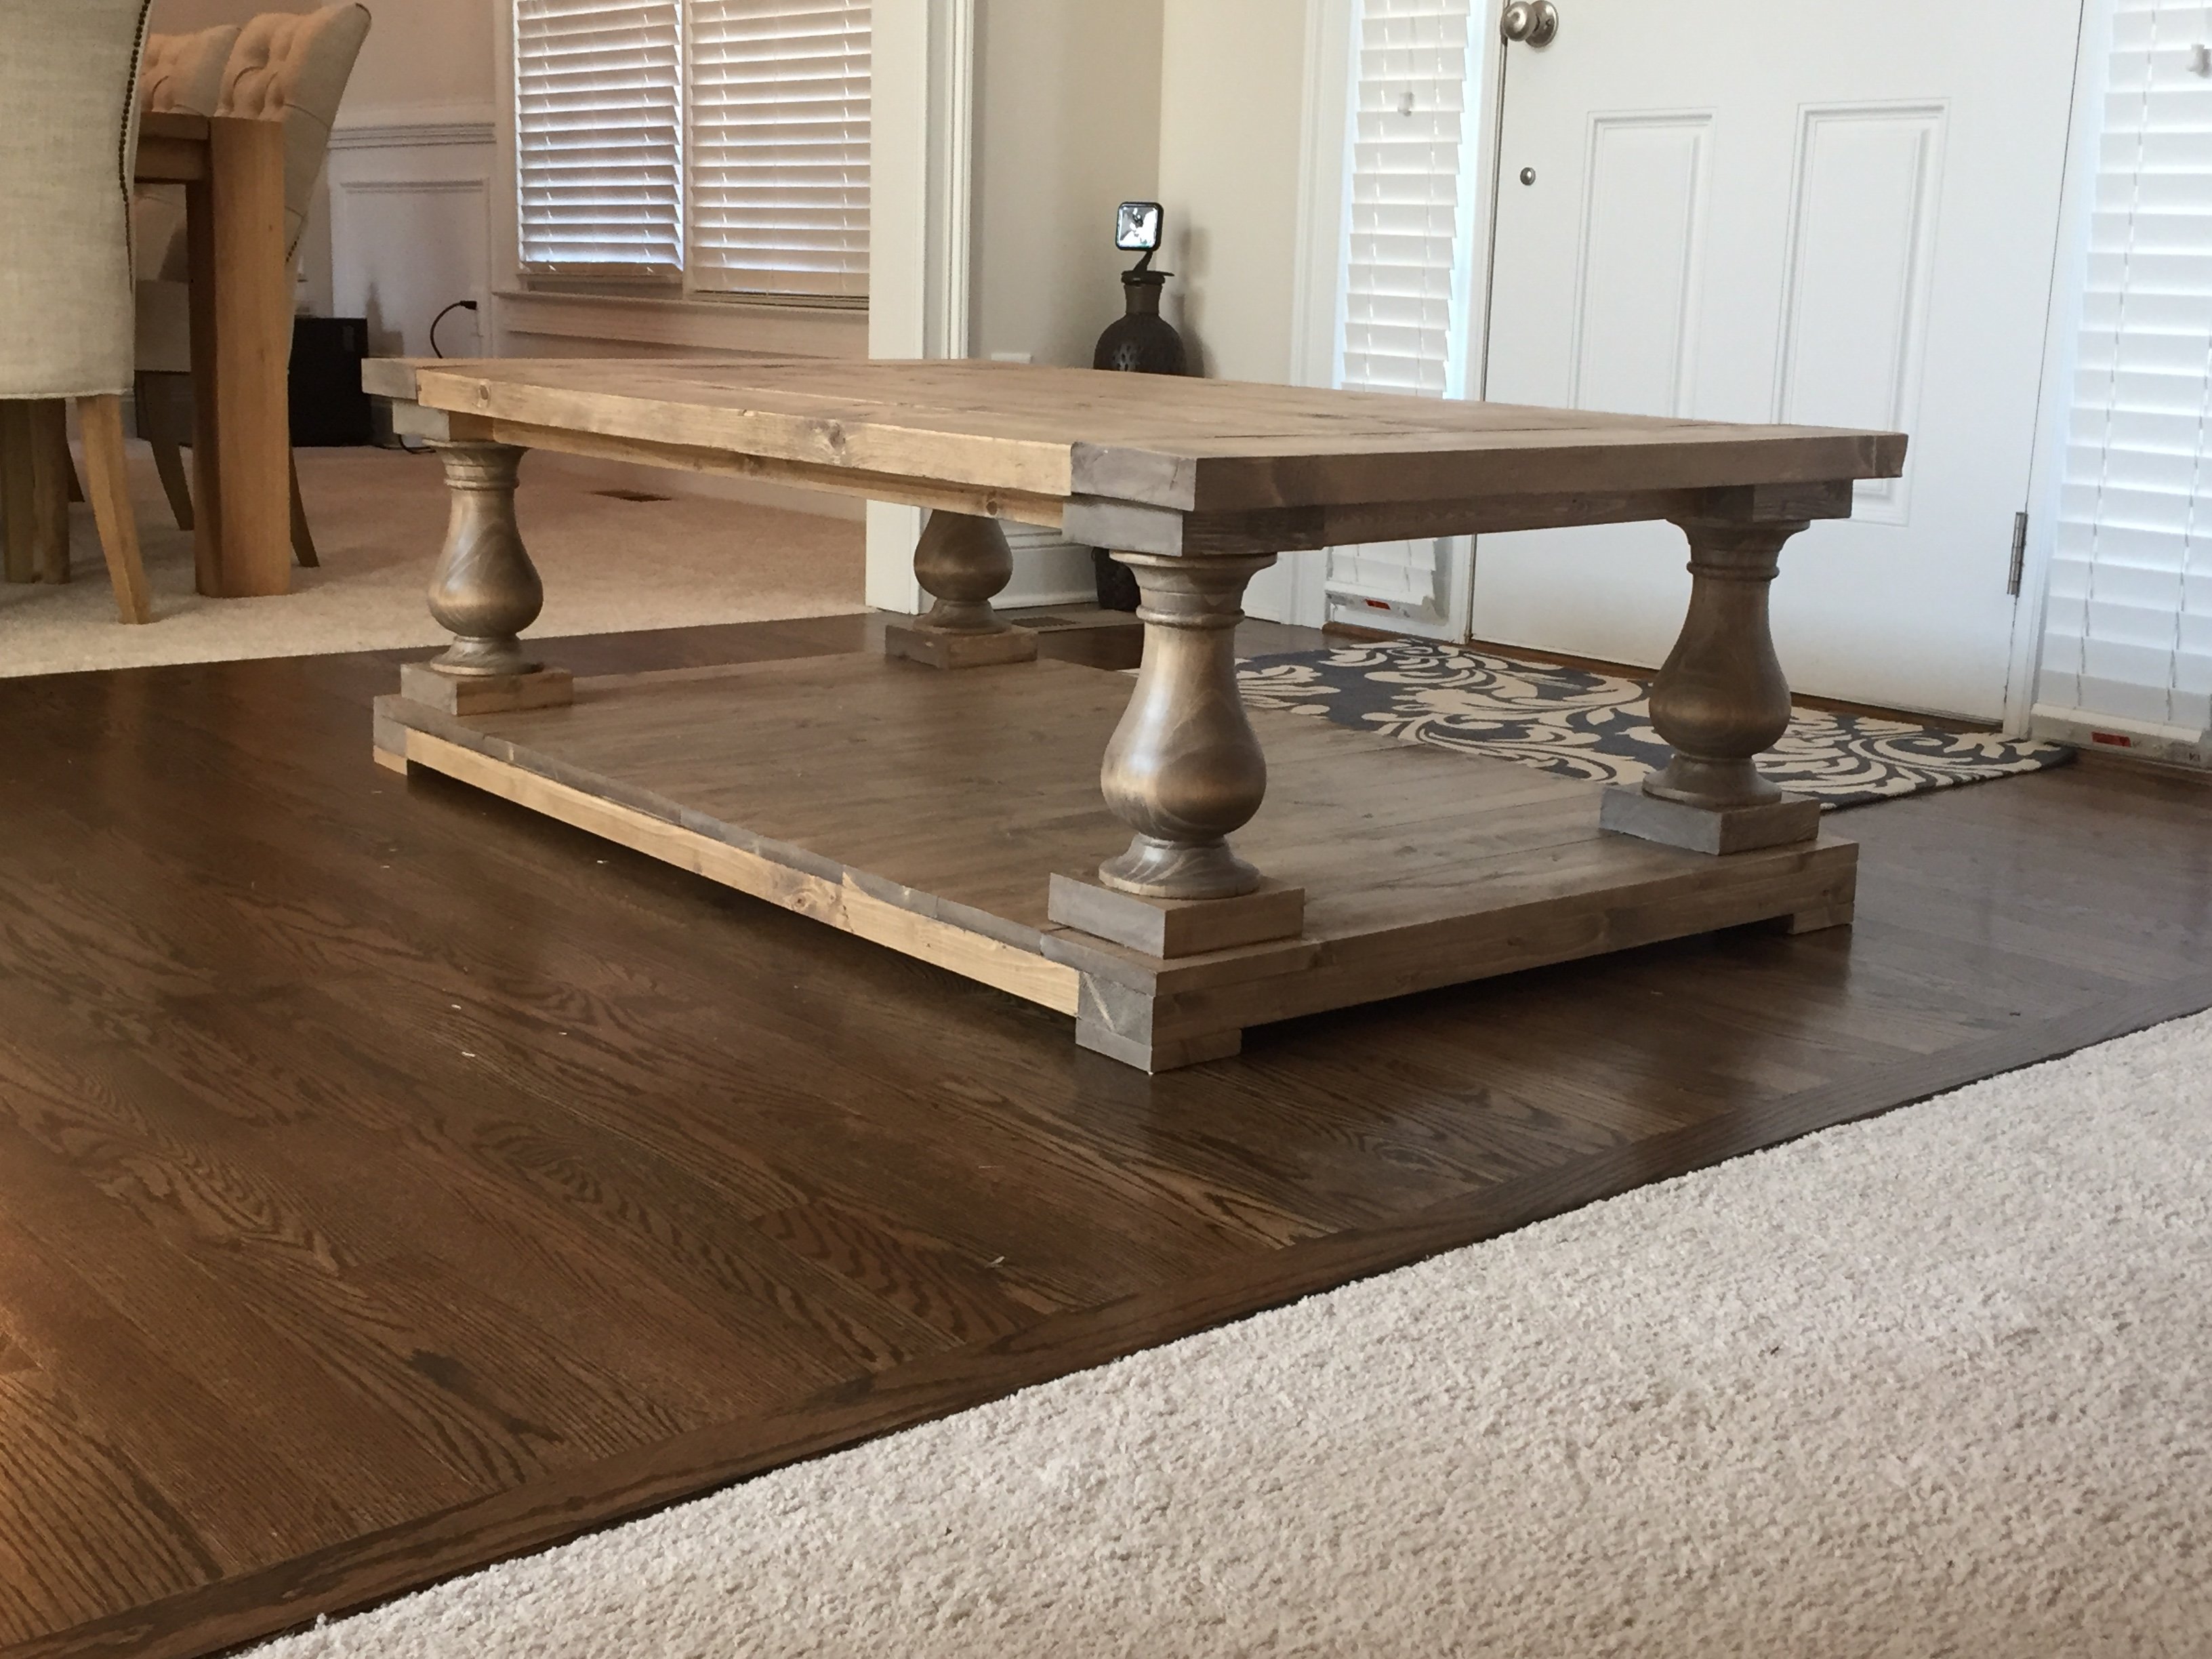
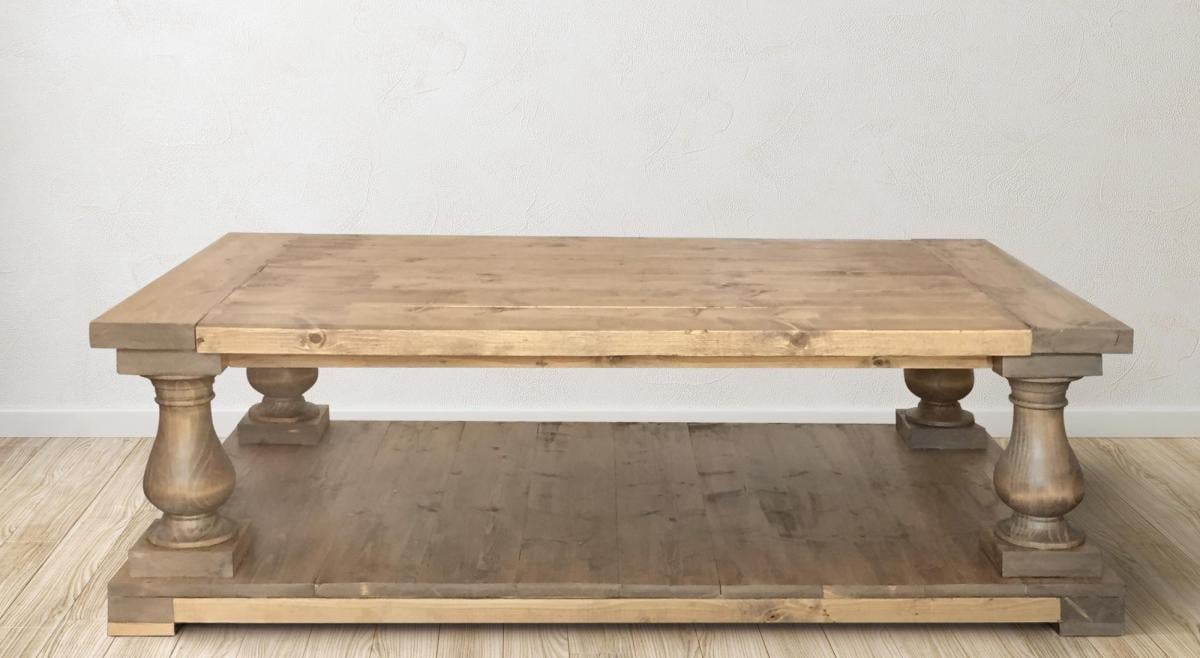
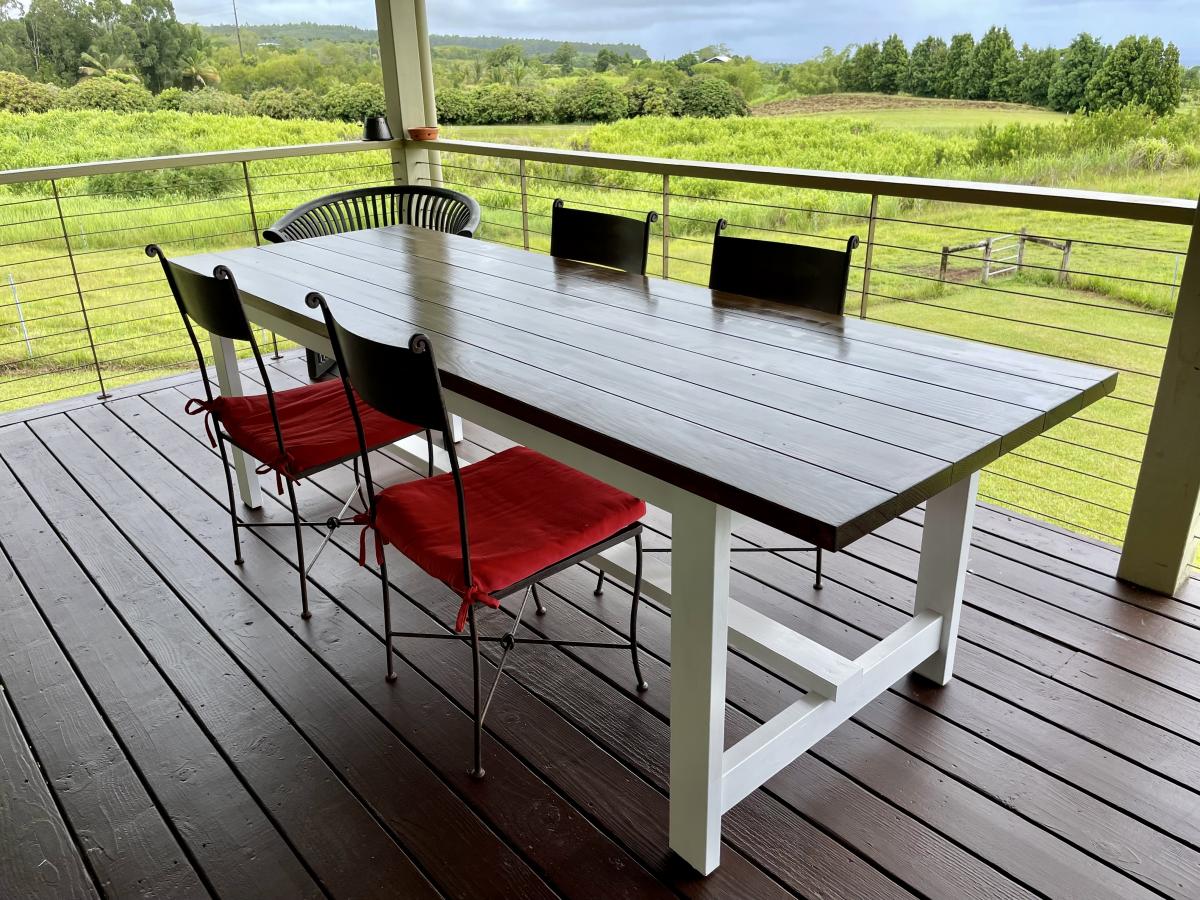
It looks great with the blue cushions. It's quite comfy and a great size.
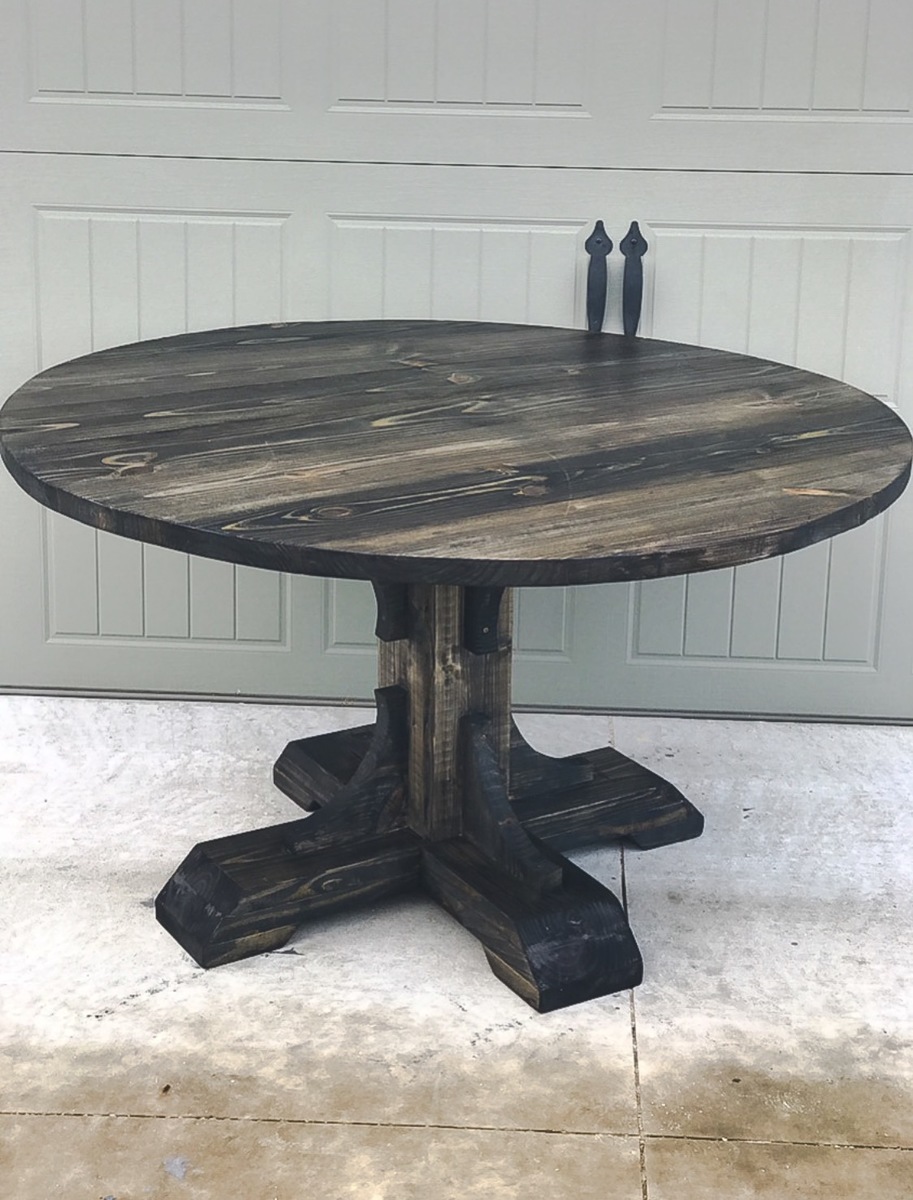
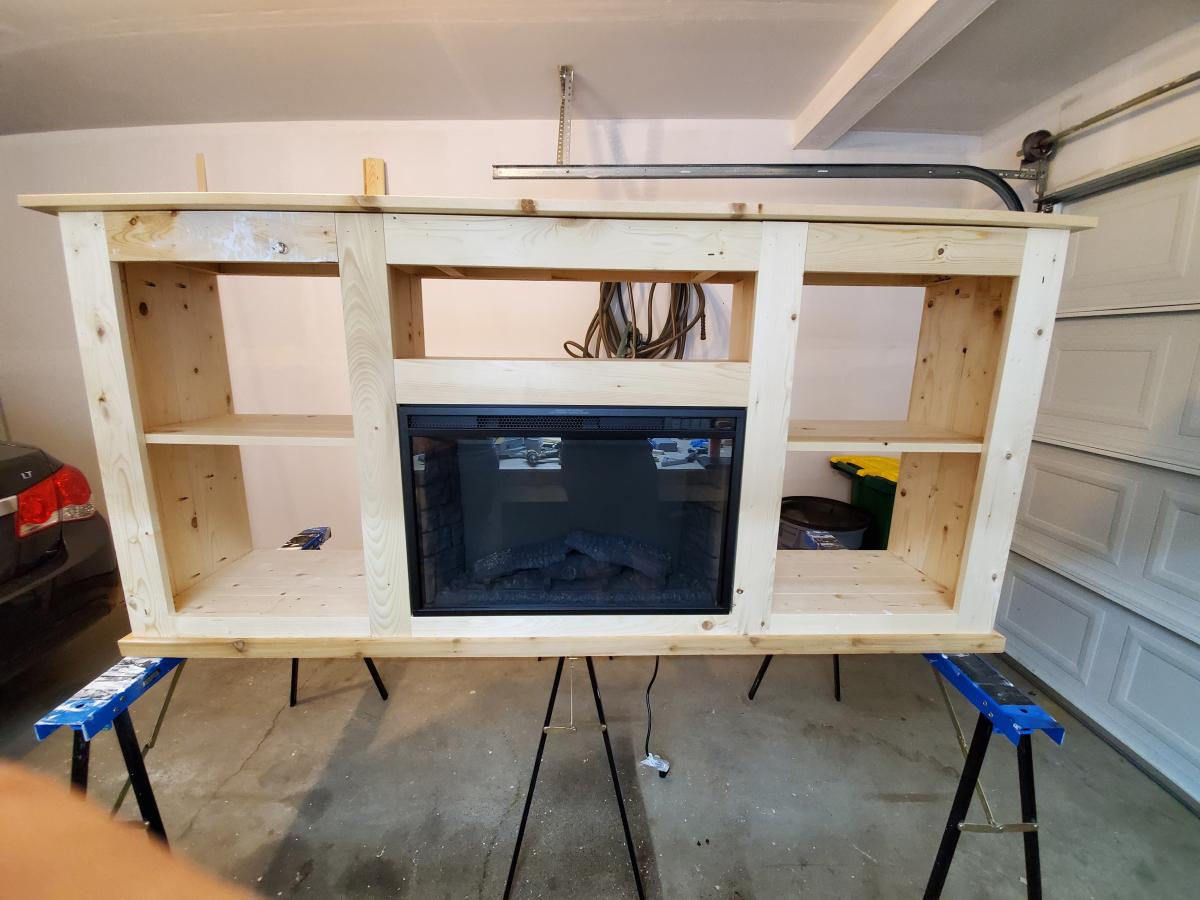
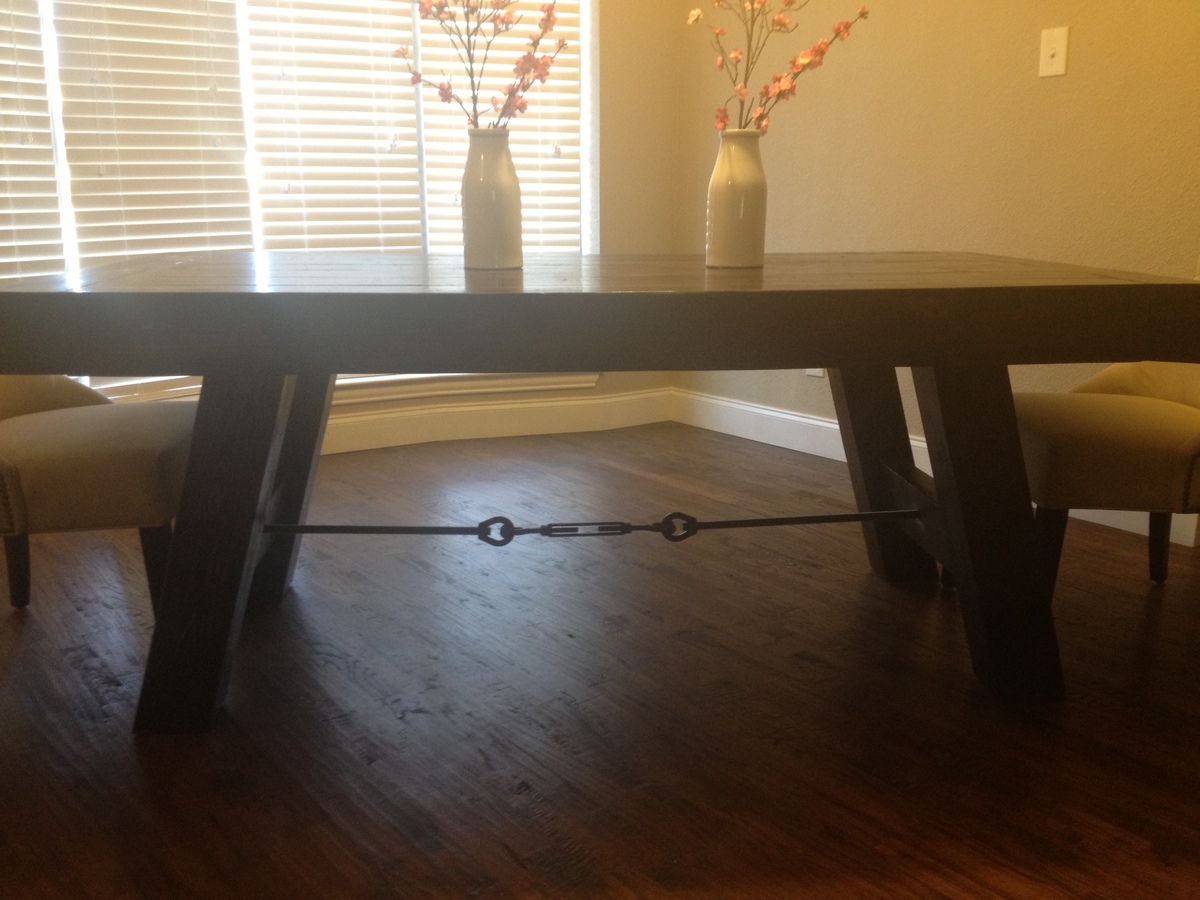
Now complete - a mod I will make is to add a second 2x4 in front of the back brace as I find it too deep.
I really appreciate you sharing these plans!
Built from Plan(s)
Estimated Cost
$90 CAD
Estimated Time Investment
Afternoon Project (3-6 Hours)
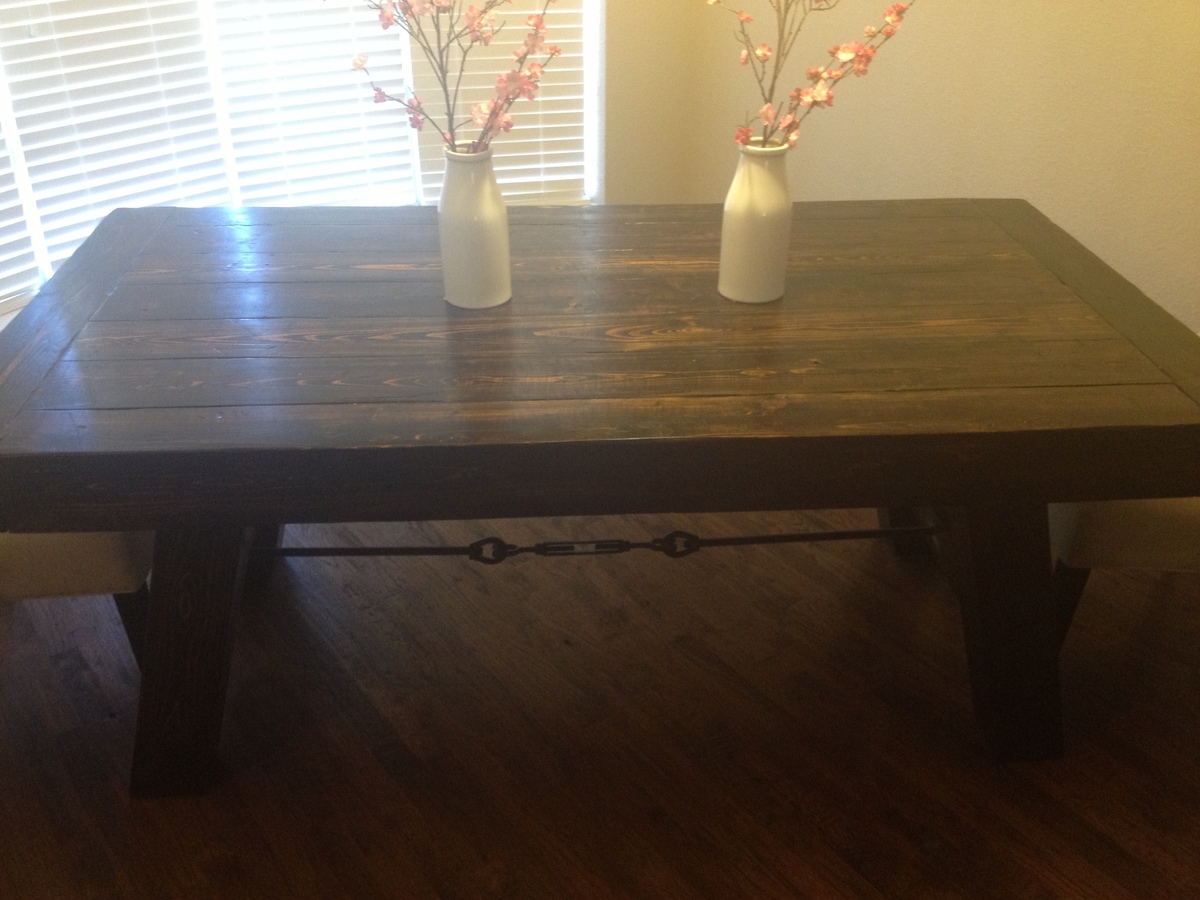
Finish Used
Cabot Stain (I need to get better.
Recommended Skill Level
Beginner