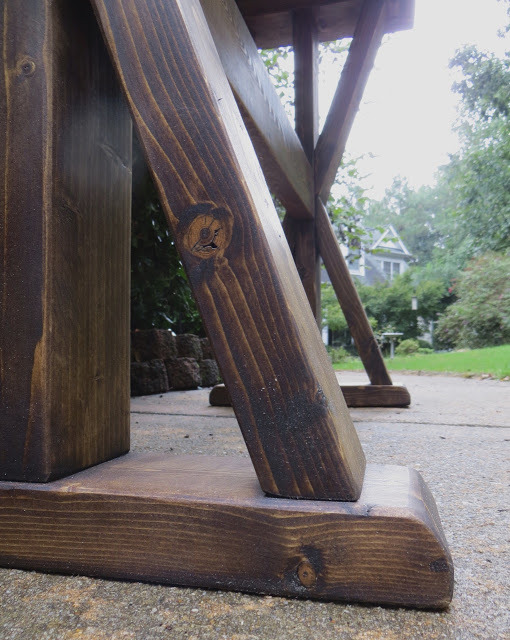
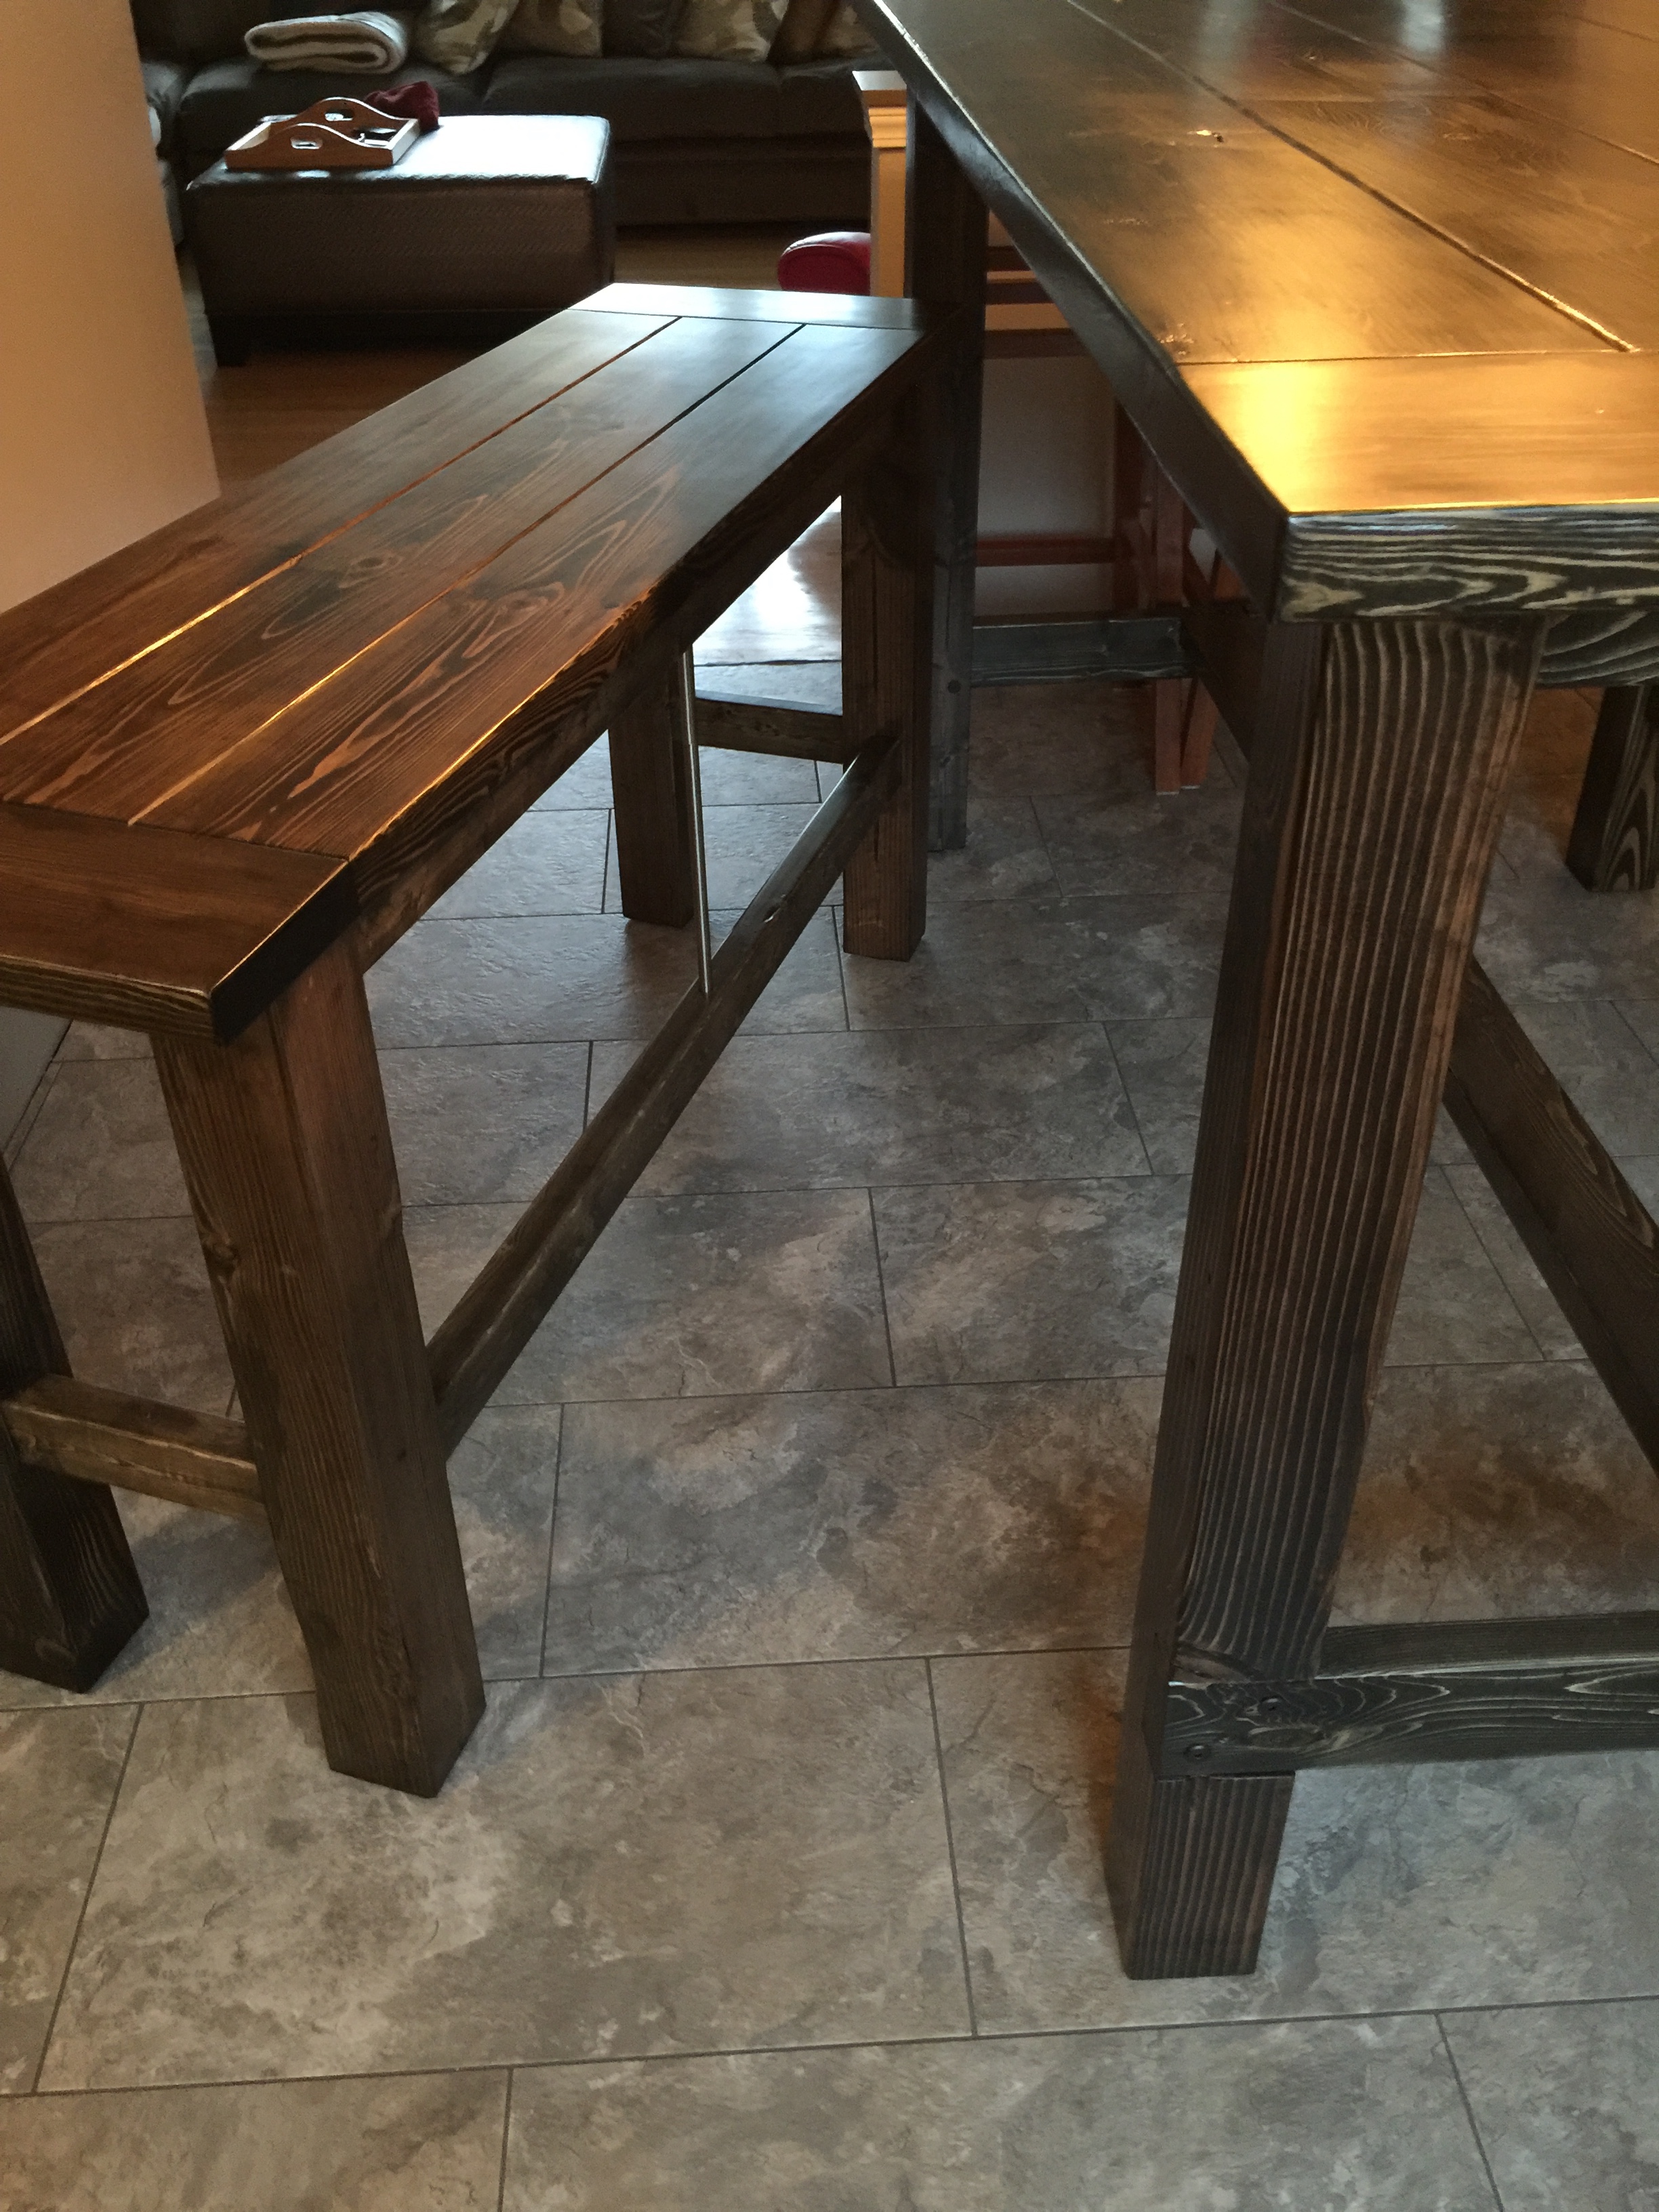
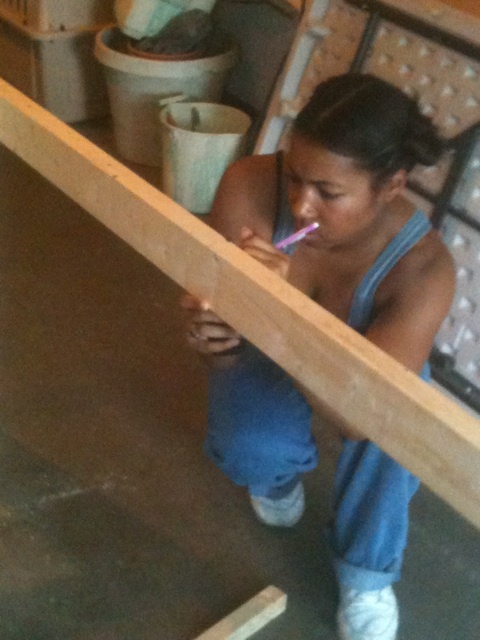
My ex-marine uncle helped me build the modern farm table and benches. We bought pine from Lowe's. Not all of the pre-cut pine slabs fit the exact dimensions from the modern farm table and benches plans. We knew some of the wood would have to be cut again. A Lowe's worker was kind enough to use the store saw to cut some of the wood into the dimensions needed for the table and benches. He measured and remeasured.
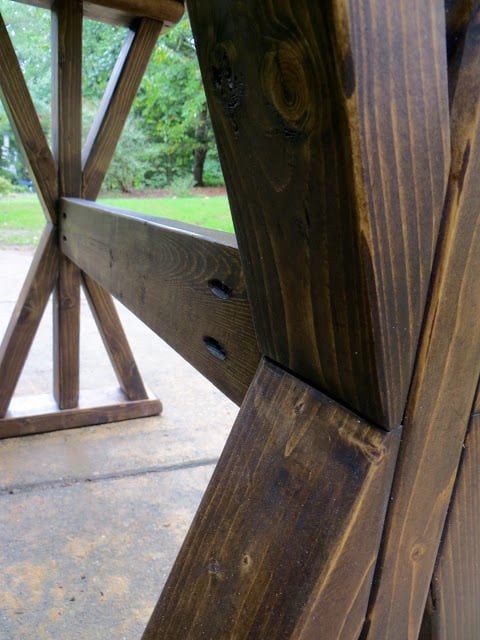
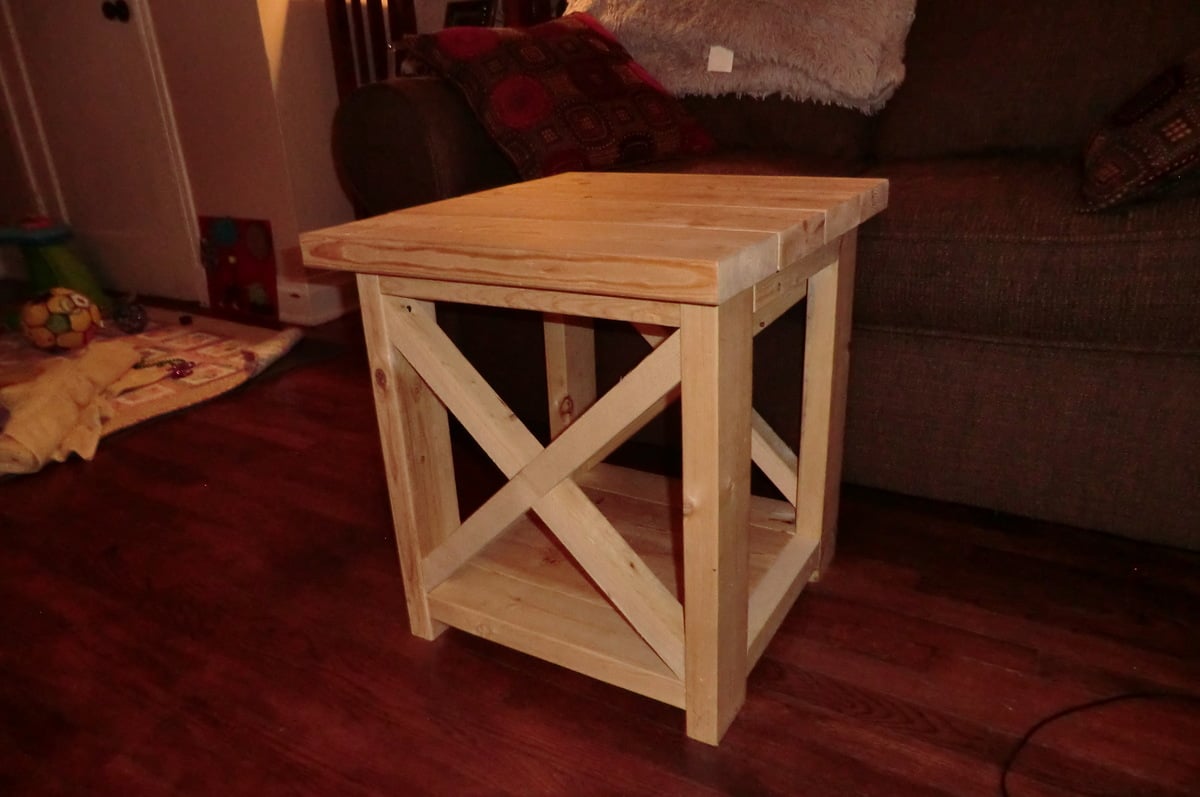
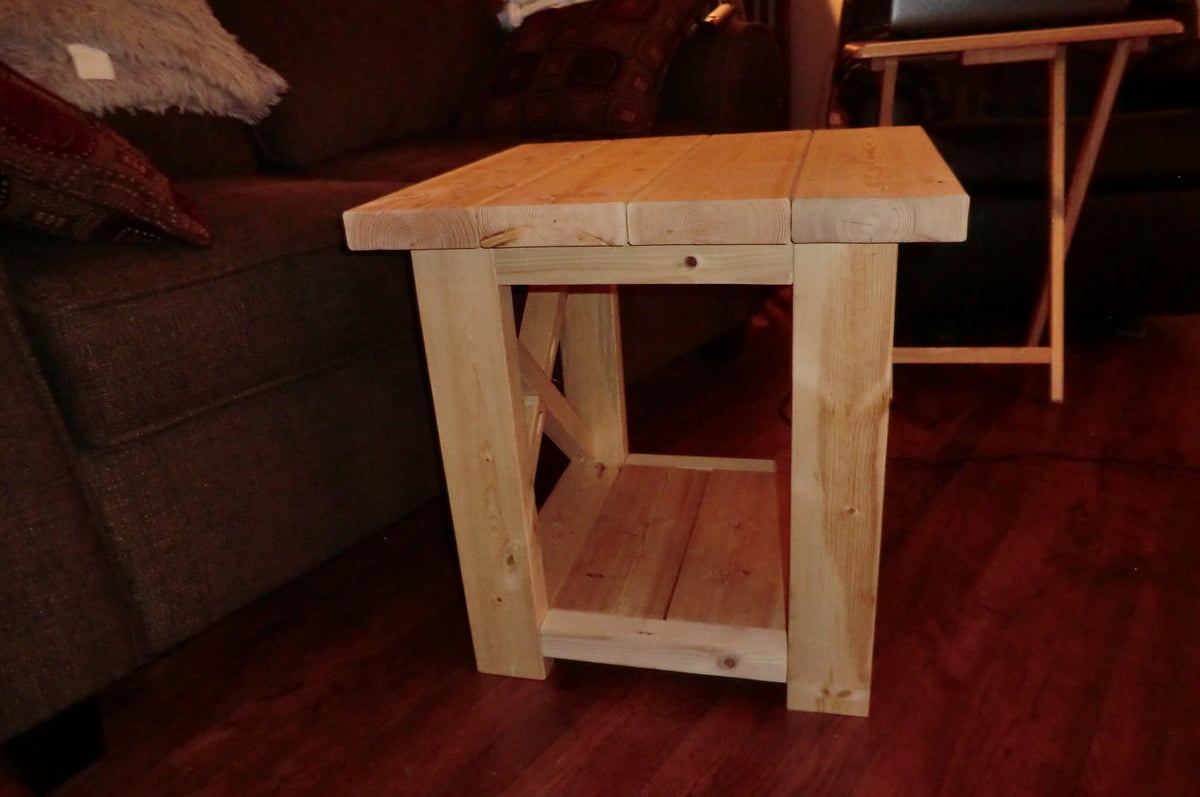
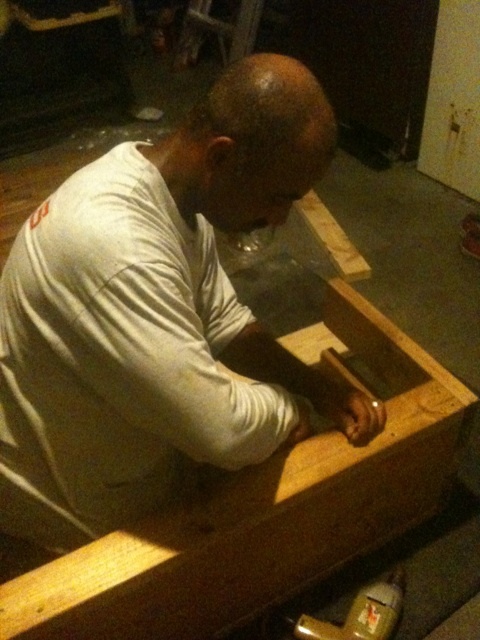
Once in my uncle's garage, we first dry fit the furniture. My uncle started with the table. We dry fit the table on its back (in other words - we assembled the table upside down without drilling the table together). He then remeasured all of the wood for the table (while on its back). He wanted to be sure that all pieces would fit, once we started to actually assemble the table with drills. We did the same for each of the two benches.
Then we buffed out any dark marks or stamps on the individual pieces of wood. We did this by hand and not with an automatic tool. That part was BRUTAL.
Next we conditioned the wood. Wood conditioning is necessary, because pine stains unevenly. We waited 3 hours before applying the first coat of stain.
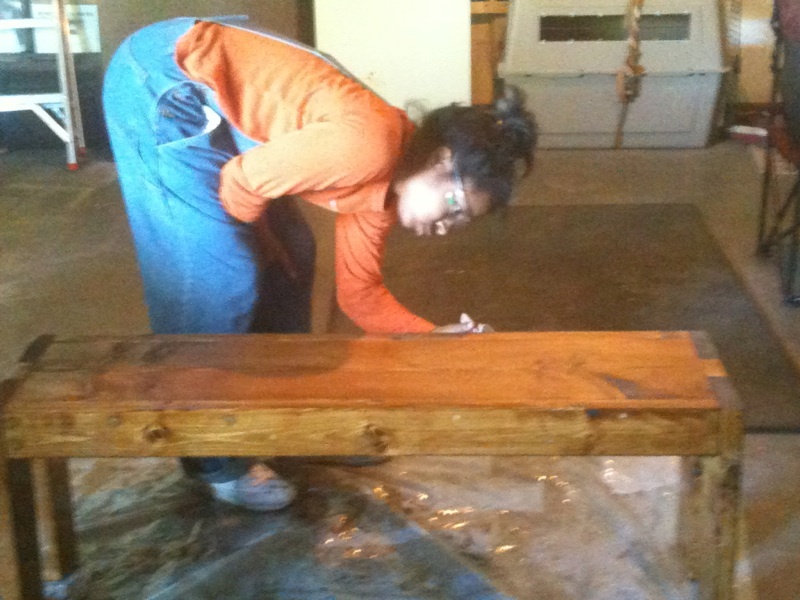
We applied the first coat of stain. Our stain was a mix of early american and golden oak. I did not intend for the table to come out as dark as it did. We mixed more of the early American stain than I had intended, because the table came out darker than I expected.
We waited in beween coats and we assembled the table and benches in between the first and second coat of stain.
We applied a second coat of stain to the assembled table and benches.
Then we applied polyurethane to seal and protect the stain.
After the polyurethane, we used wool to sand out any bubbles.
After the table and benches were assembled and everything drilled in place, we put wood putty in the places where holes were drilled.
Then, we stained the wood putty. The wood putty accepted the stain very well.
Duration
We built this table during the second week of August 2011. The project lasted between 28-30 hours over 5 days.
Make sure your boards of wood are fairly free from cracks. After inspecting them we put several boards back.
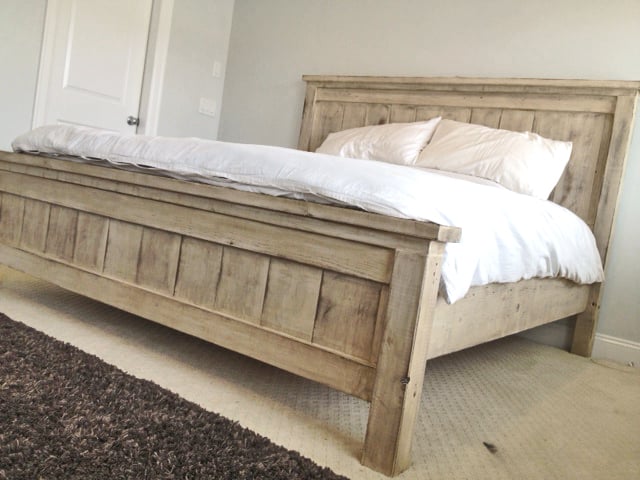
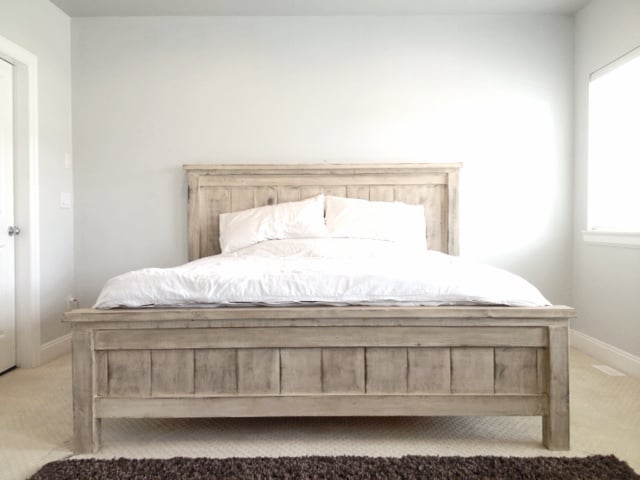
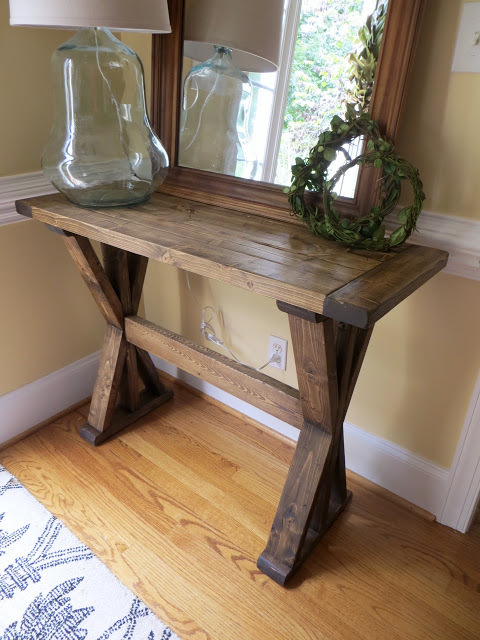
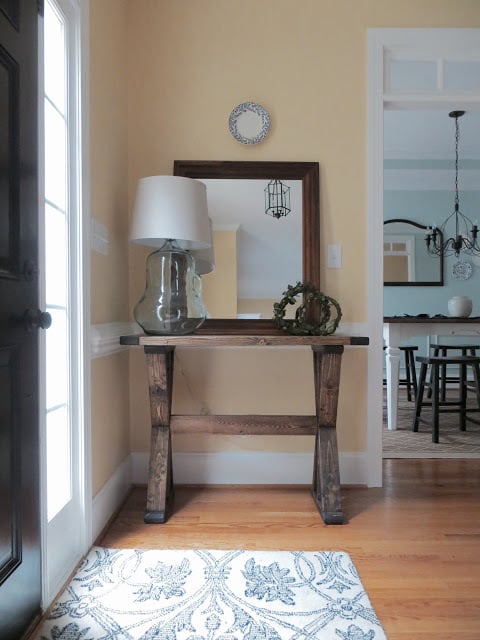
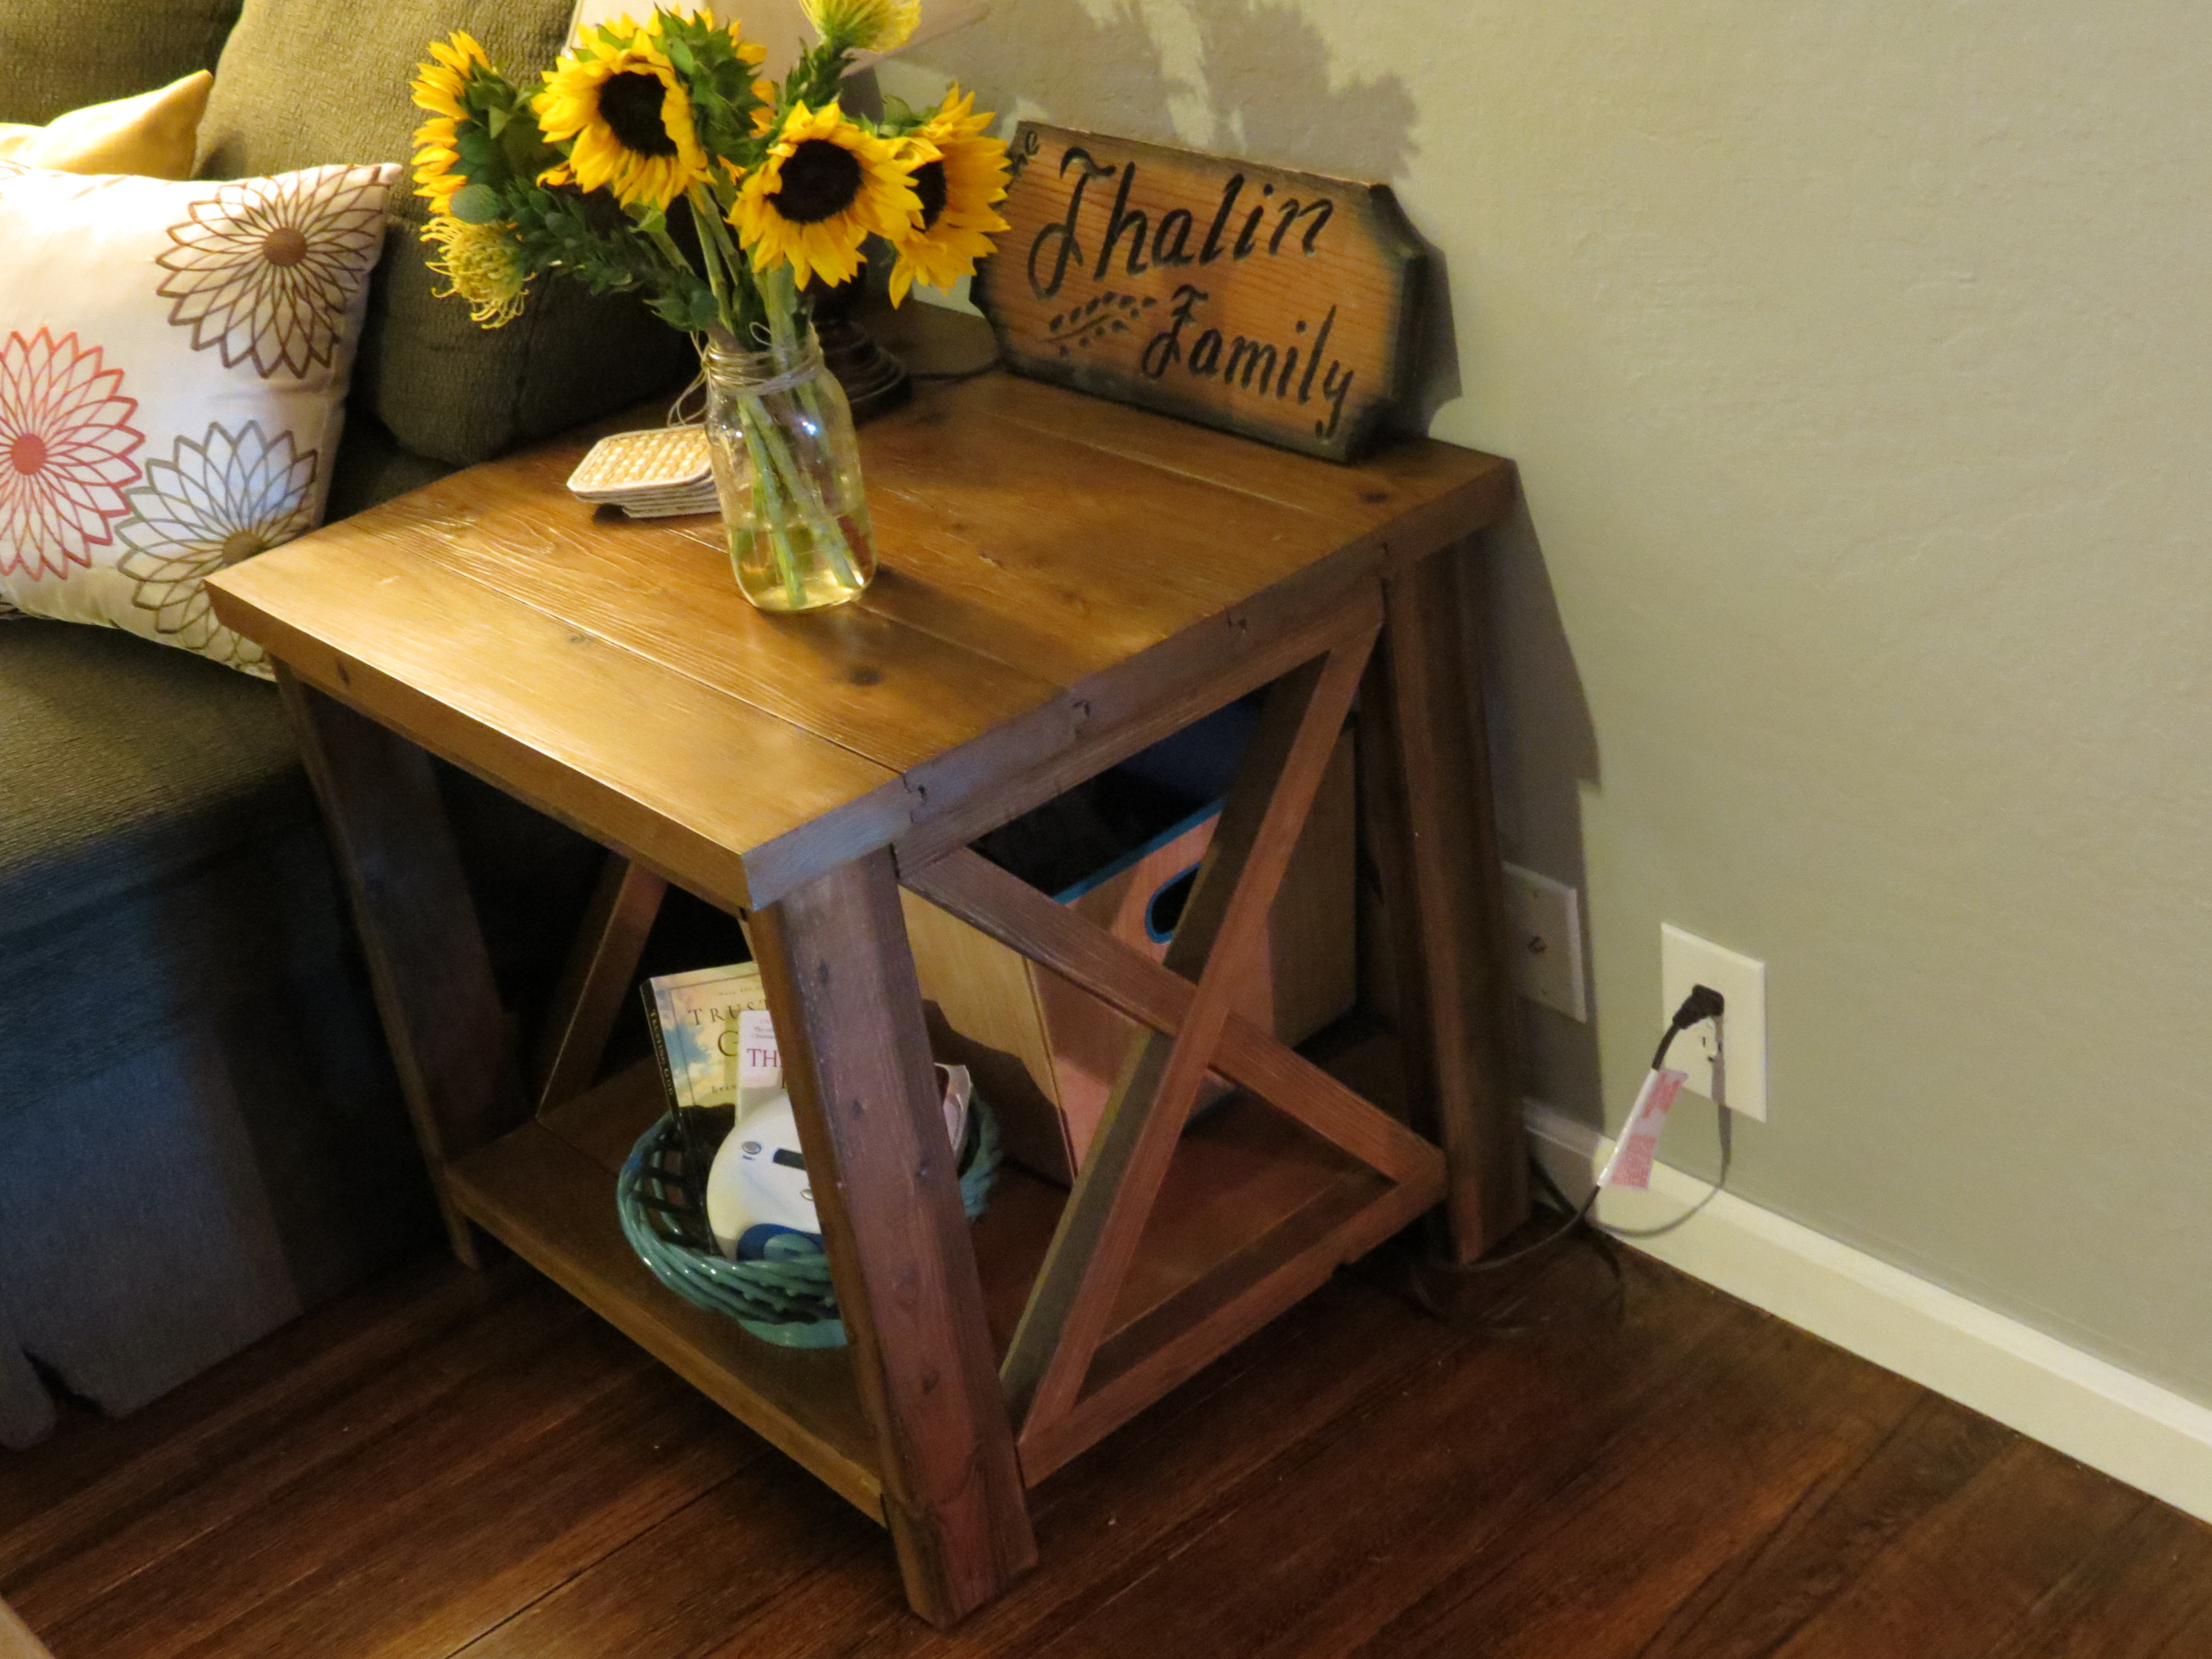
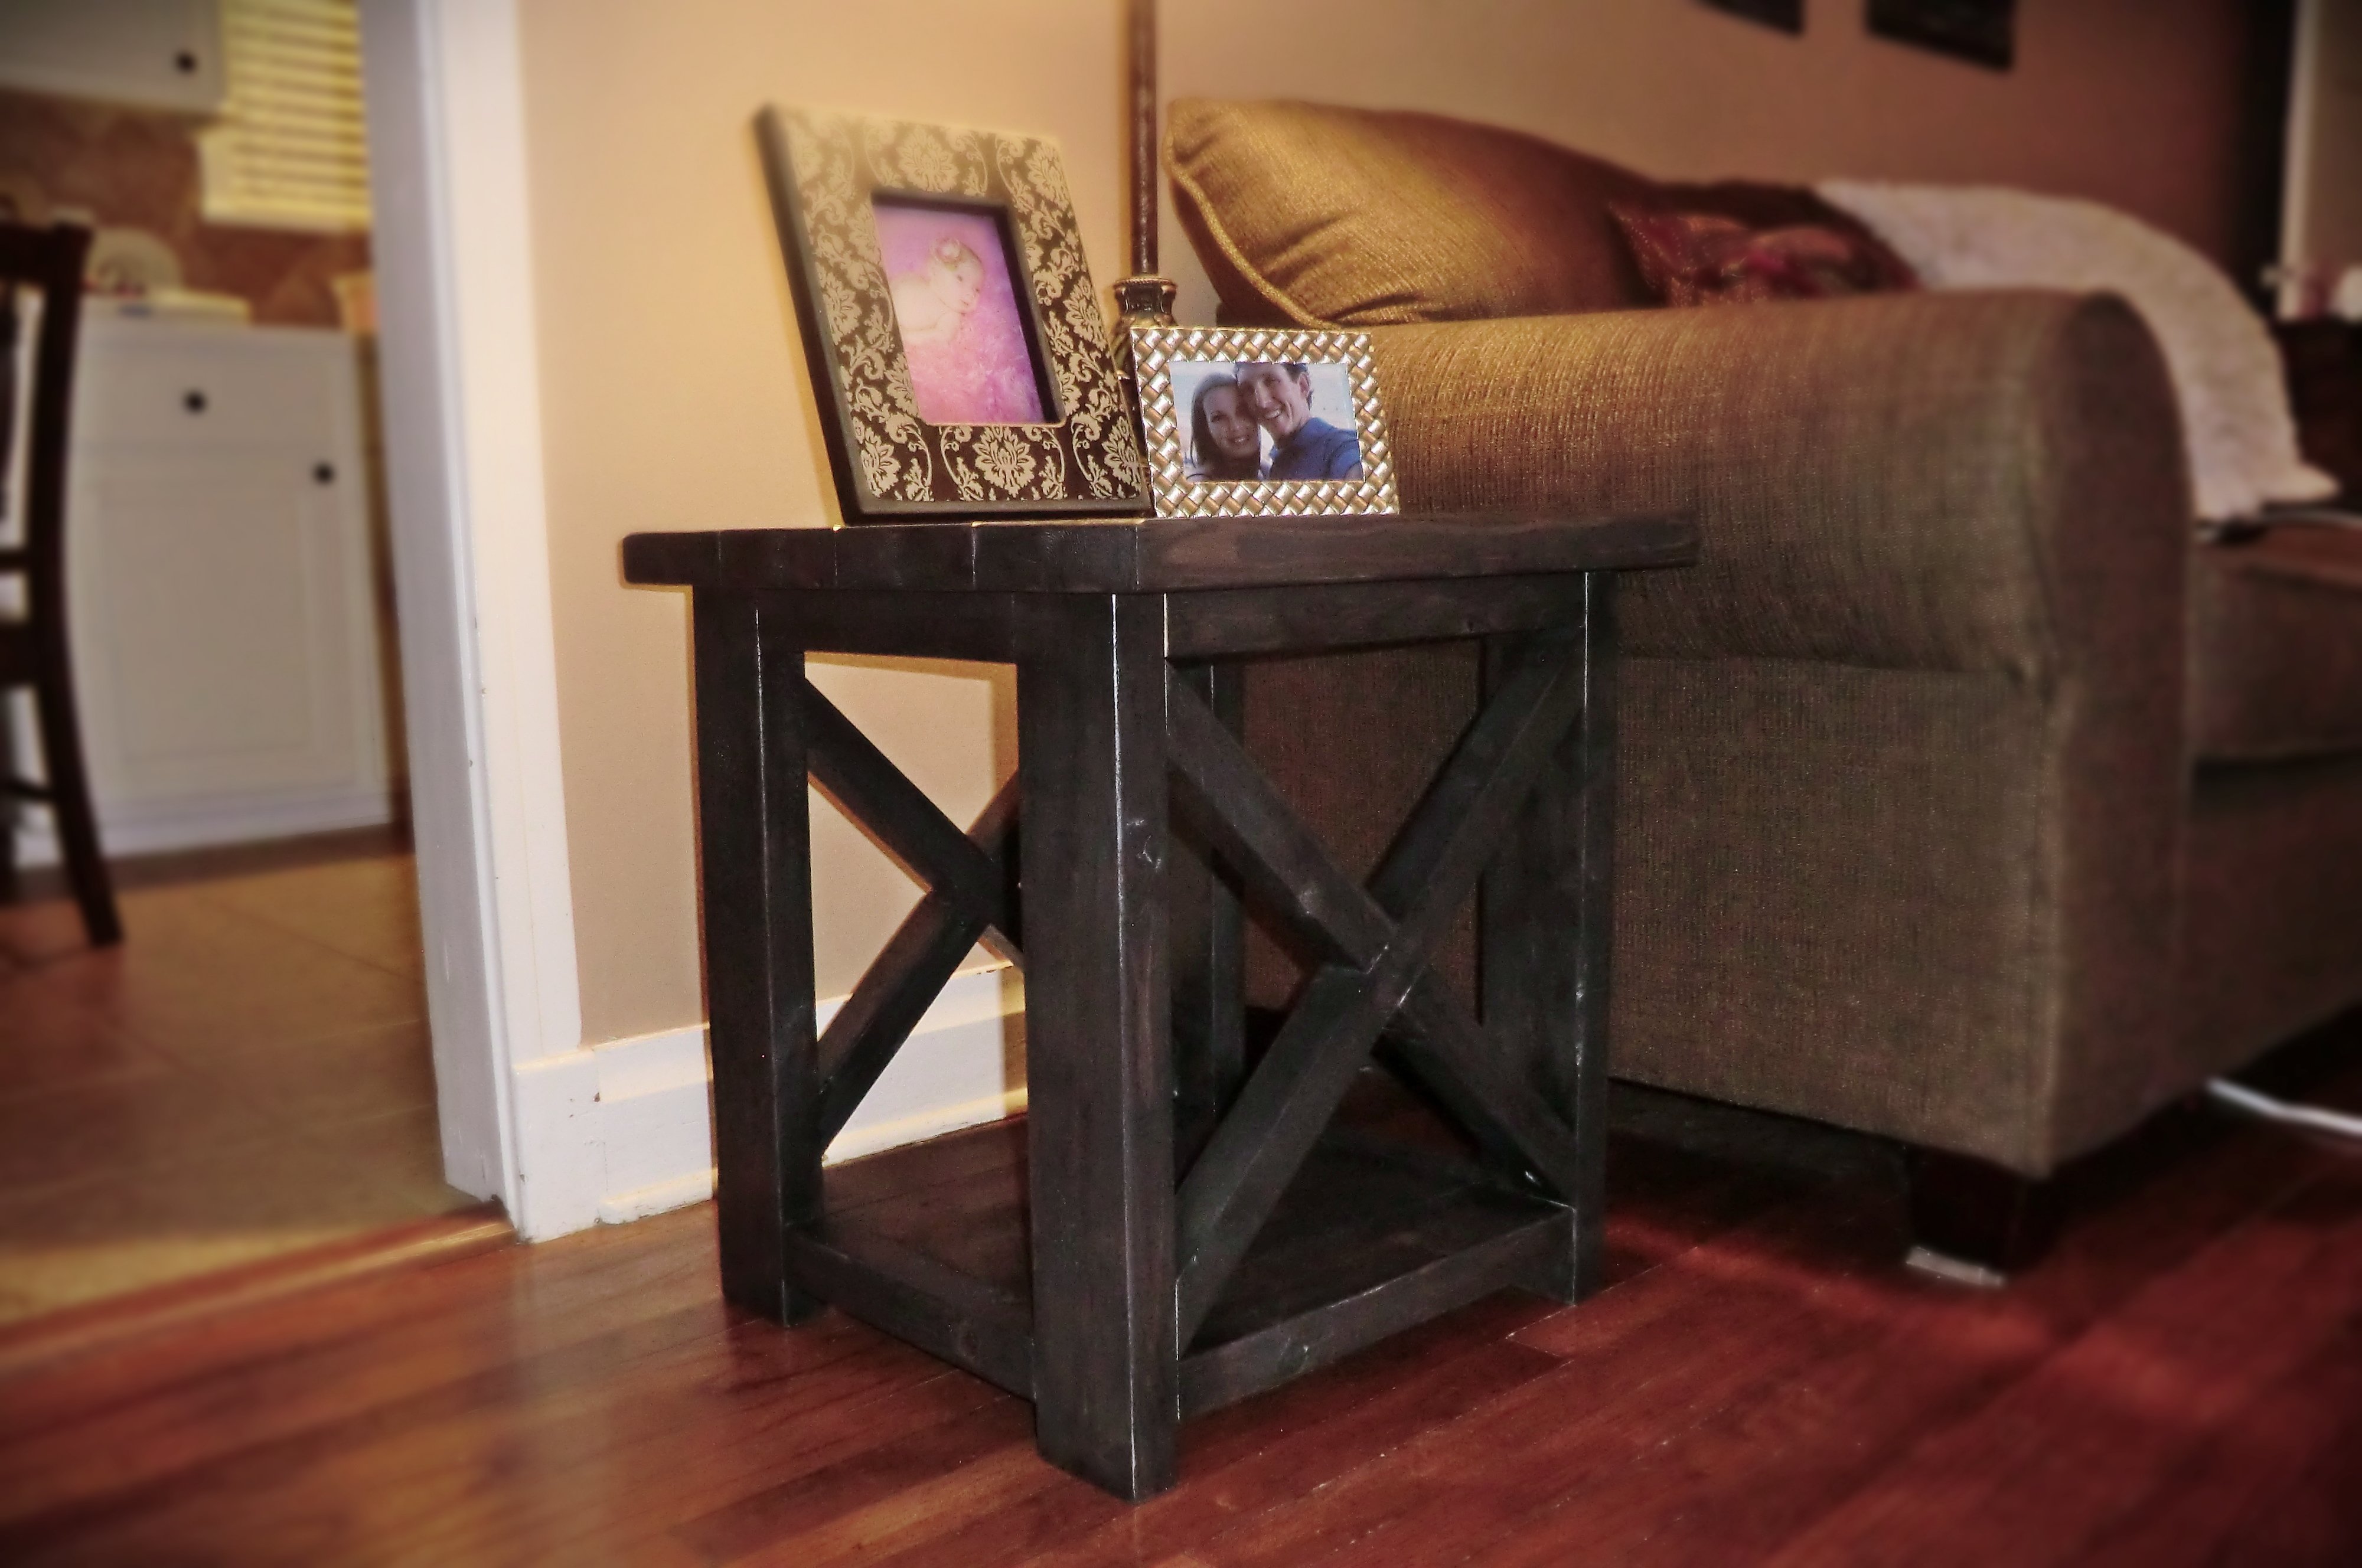
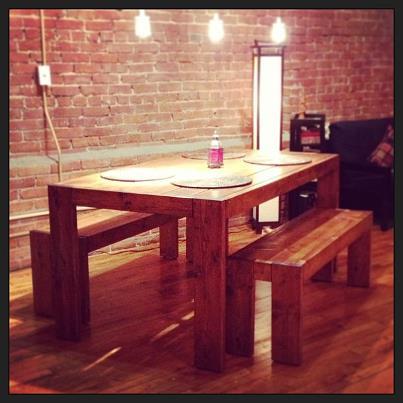
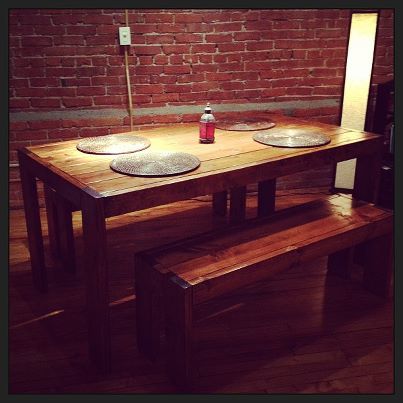
I love my table! I'm always complimented on its beauty. My materials cost around $230.00. I built this table, because the farm table and matching benches I wished to purchase totaled $2,000.00. Thanks to my ex-marine uncle, I have a fabulous table to last a lifetime. I mention his ex-marine status, because the military taught him perfectionism. Building a table with in 100 degree heat with a perfectionist was tedious and hard work. However, it clearly paid off in the end! Thank you Uncle!


Comments
jhavinga
Thu, 05/22/2014 - 16:34
Thank You Ana.
Thank you for sharing all of these awesome projects. I was always hesitant when it came to wood, but now I cant seem to stop!
JGoates
Tue, 06/10/2014 - 08:13
More about your finish
How exactly did you achieve this finish? sand first, paint second, sand again and then stain?
In reply to More about your finish by JGoates
jhavinga
Wed, 06/11/2014 - 13:43
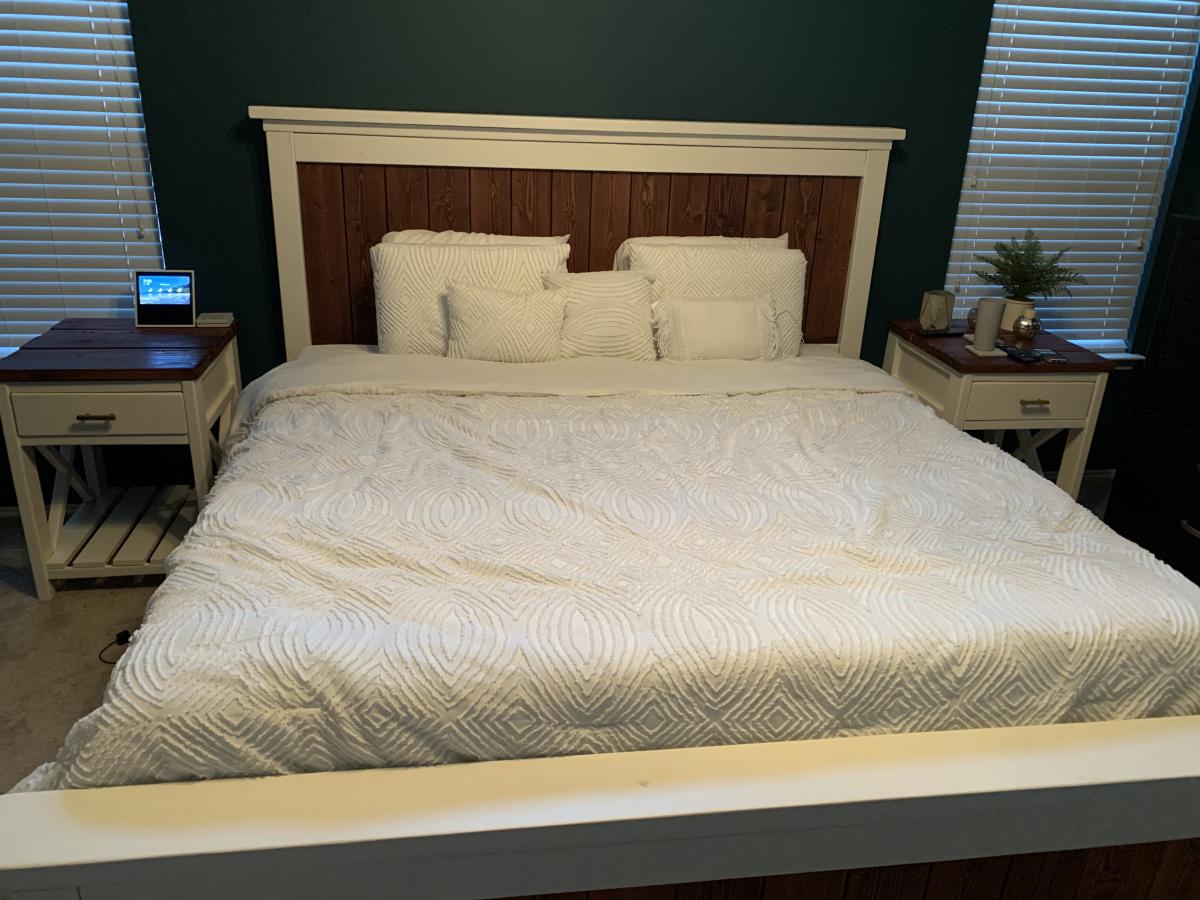
How I got the finish!
(You can do all this before or after your project is put together or not.)
Be sure to do a test piece before hand so you can see exactly what your getting :)
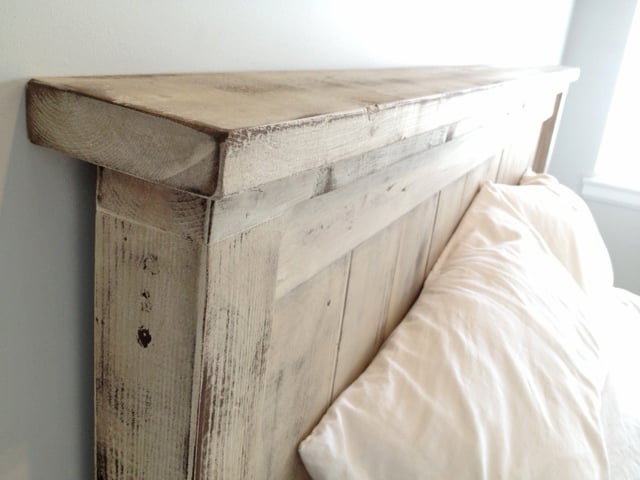
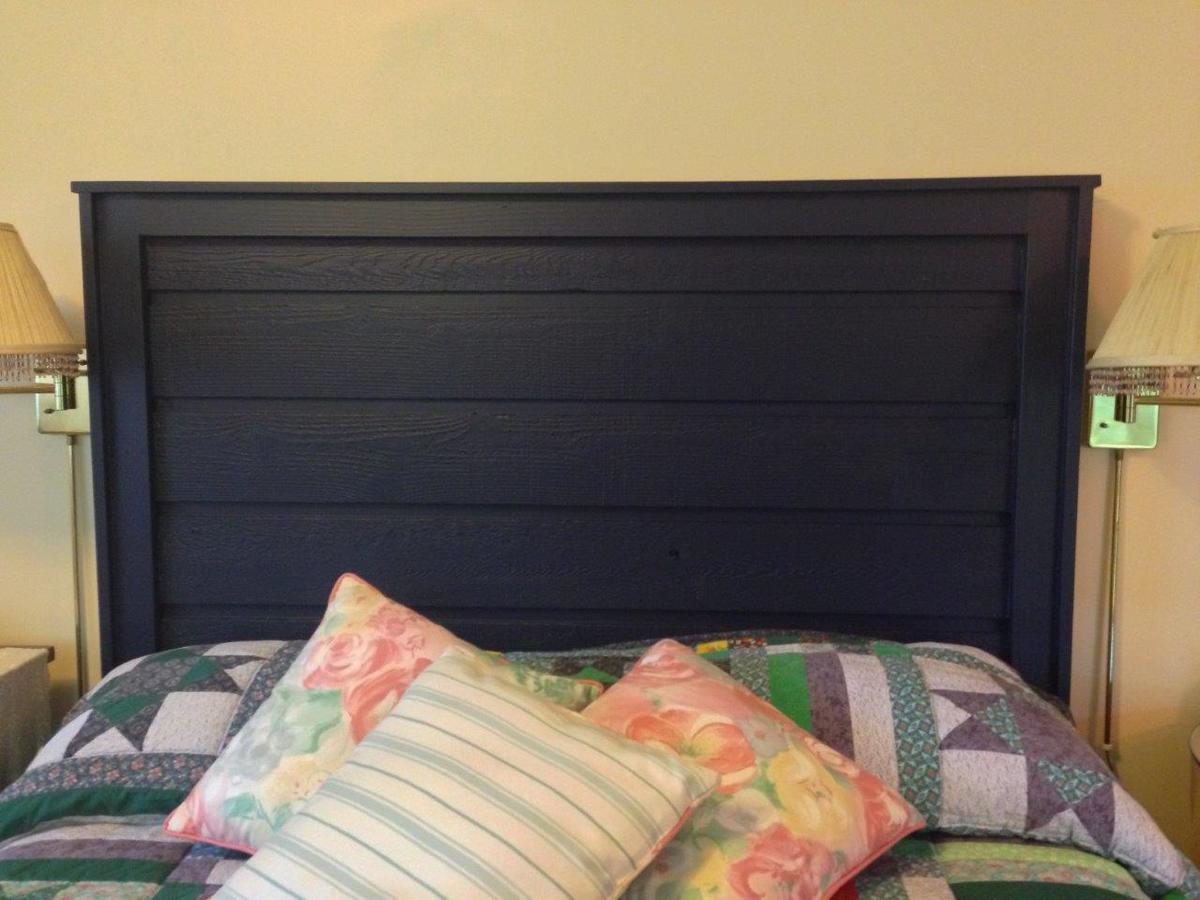
The first step I did once the head board and foot board were put together, was to sand any sharp edges or corners. I liked mine rounded and worn looking. I did not sand anything else.
Second step is to paint 1 even coat of a basic white latex paint.
Third step is to sand away some white paint. because we didnt sand it before hand the grains in the wood will be very bumpy. so the paint on the grains will sand off while the paint lower than the grain will remain. makes sense? hopefully i explained that right!
Fourth step is to now wipe on the stain of your choice. I went with Dark walnut. It stains the paint a bit bringing the white to a gray/brown tone. and stains the wood dark walnut so the grain patterns show up dark.
Let me know if you have any other questions and good luck!
jbogan15
Thu, 01/29/2015 - 07:49
sanding
What grit of sand paper did you use to sand off the white paint? and did you sand it by hand? Also, for the dark walnut stain, did you wipe off immediately or leave it on for a bit before wiping? Beautiful bed, I want to achieve this look!
In reply to sanding by jbogan15
jhavinga
Fri, 02/06/2015 - 09:15
Hi jbogan15, thank you!
Hi jbogan15, thank you!
For sanding I used a palm sander with 120 grit to get the job done a bit quicker, than went over lightly with 220. When staining I actually just dipped a rag in the stain and would wipe the stain on. =)
Good luck!
Justin
kosborn
Fri, 01/27/2017 - 11:05
SIde rails
Love this look! Exactly what I am trying to achieve...A few questions about the side rails. How high did you connect them to the 4x4 posts and exactly how did you connect them? Did you use brackets or screw right into the posts? Thank You!
barkleyl
Thu, 09/05/2019 - 15:07
Mattress height
I have seen several beds from Anna White. I was wondering if the frame require a box spring mattress or not. If not, are the beds lower than what a traditional mattress and box springs are. Thanks !