Square Picnic Table
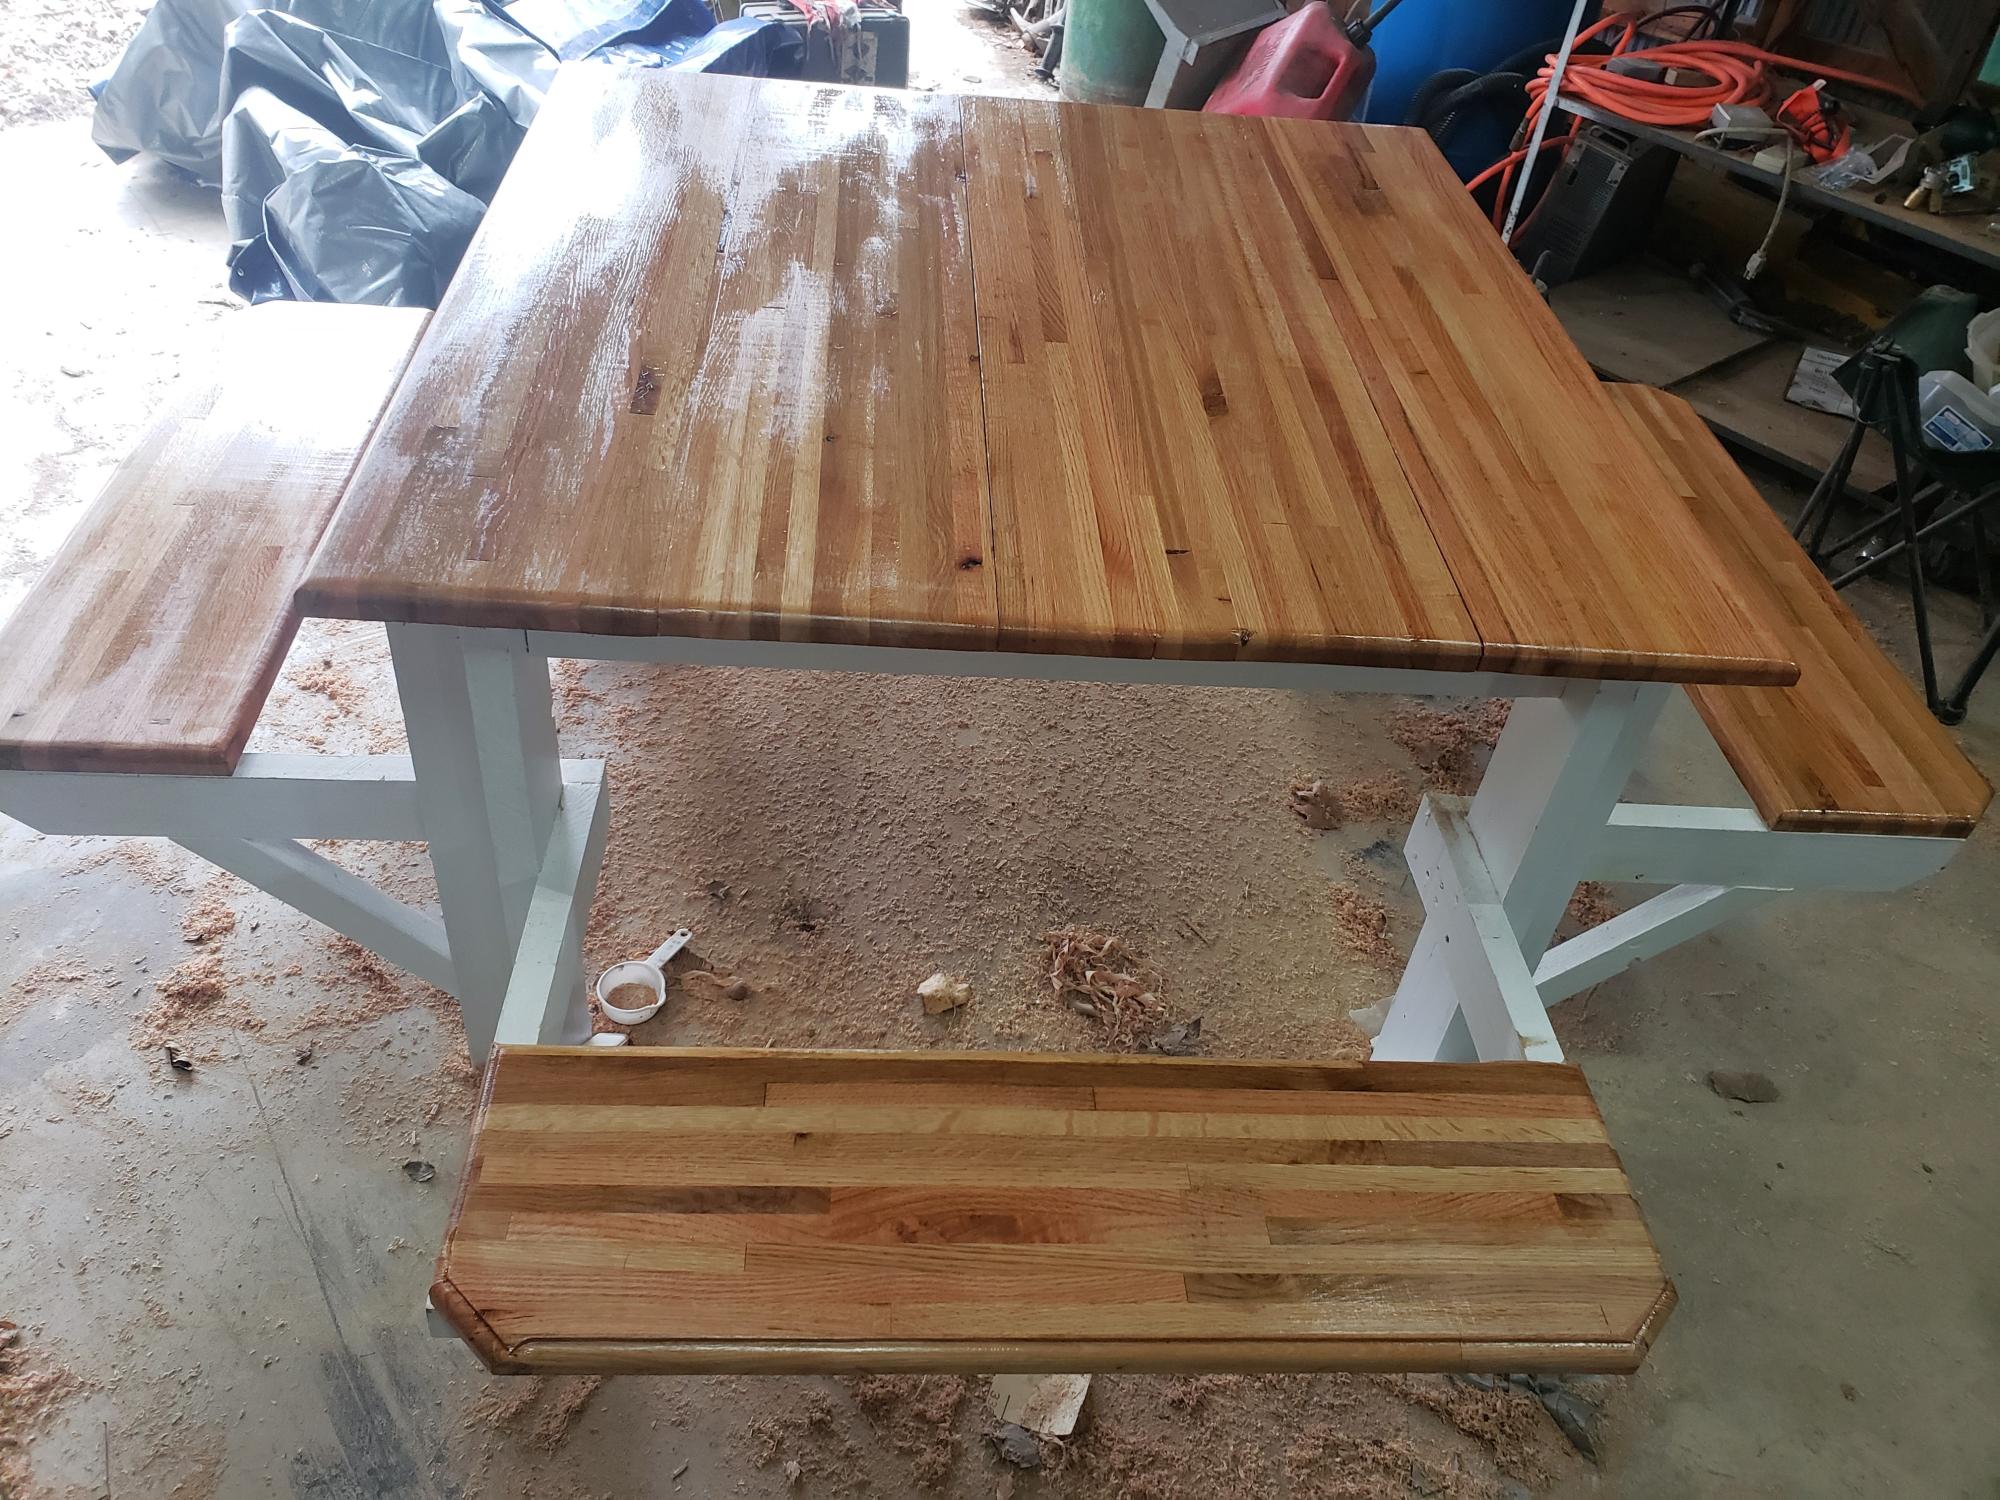
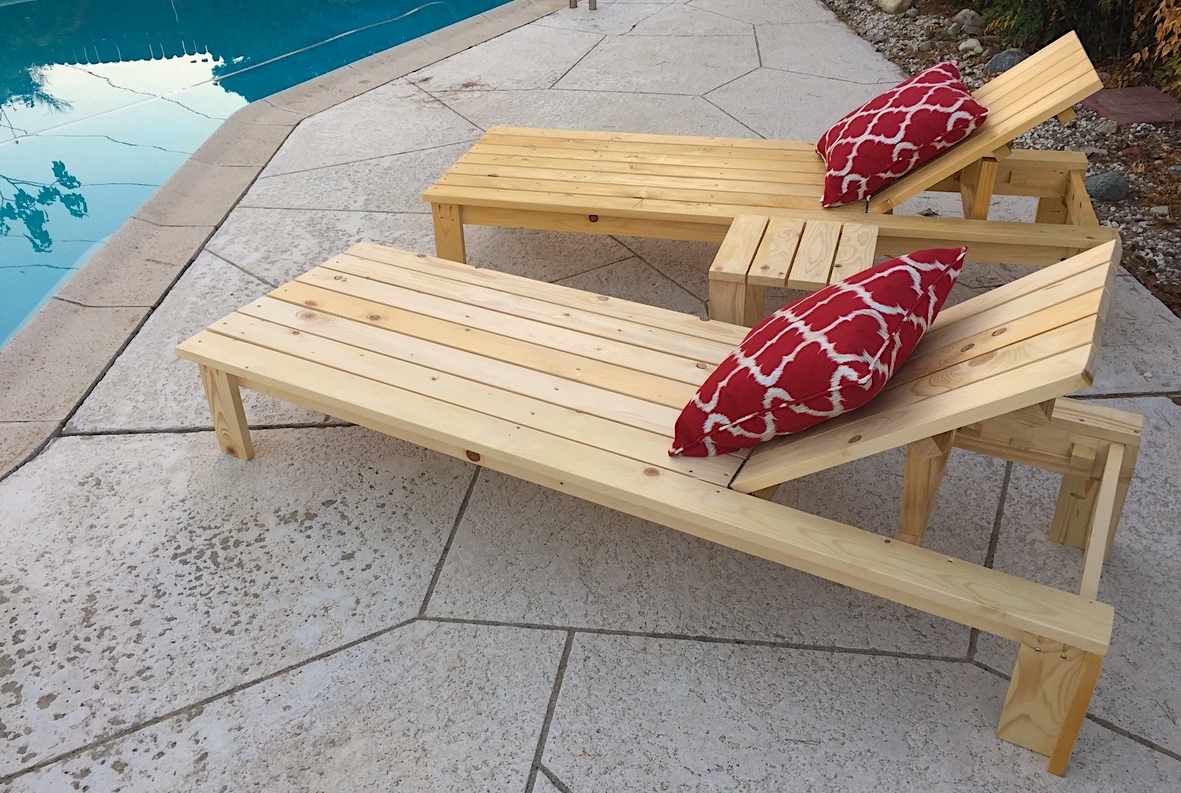
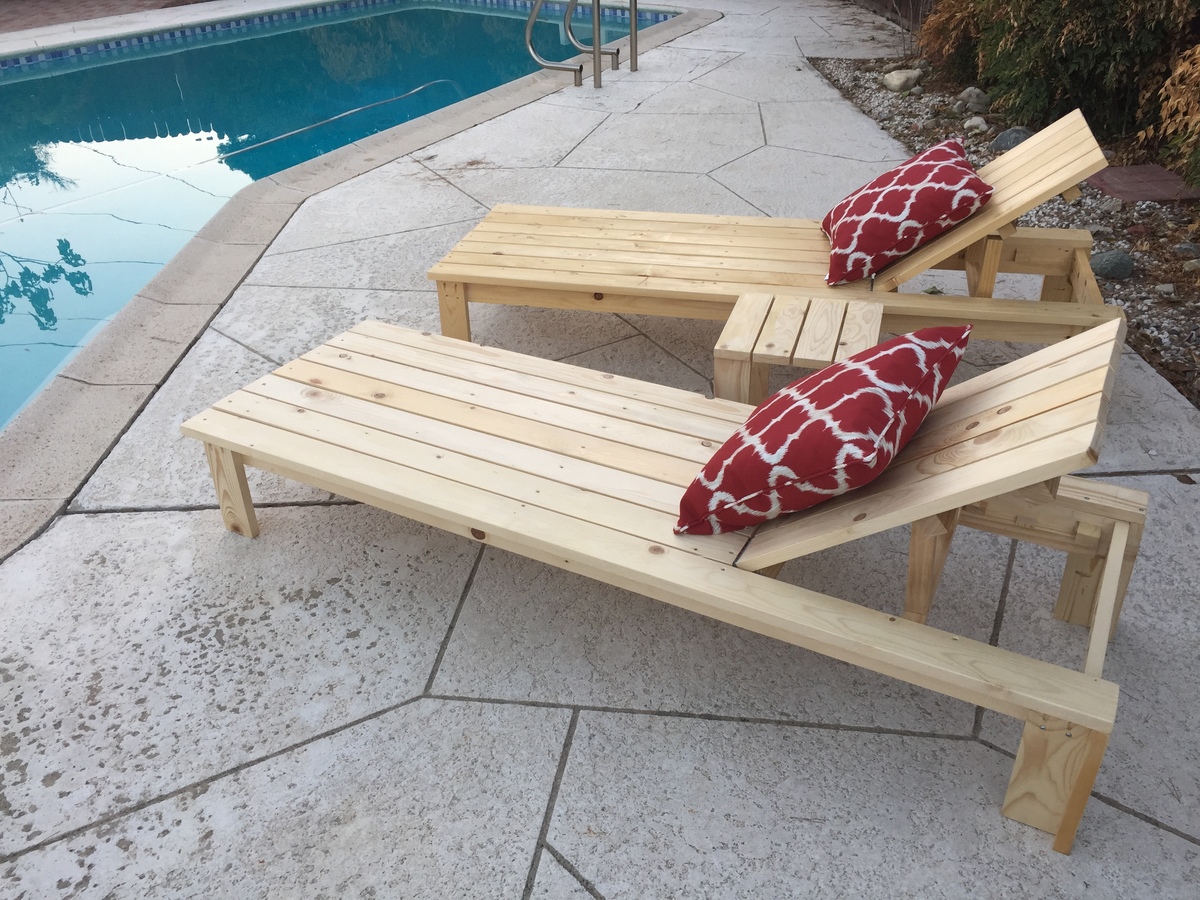
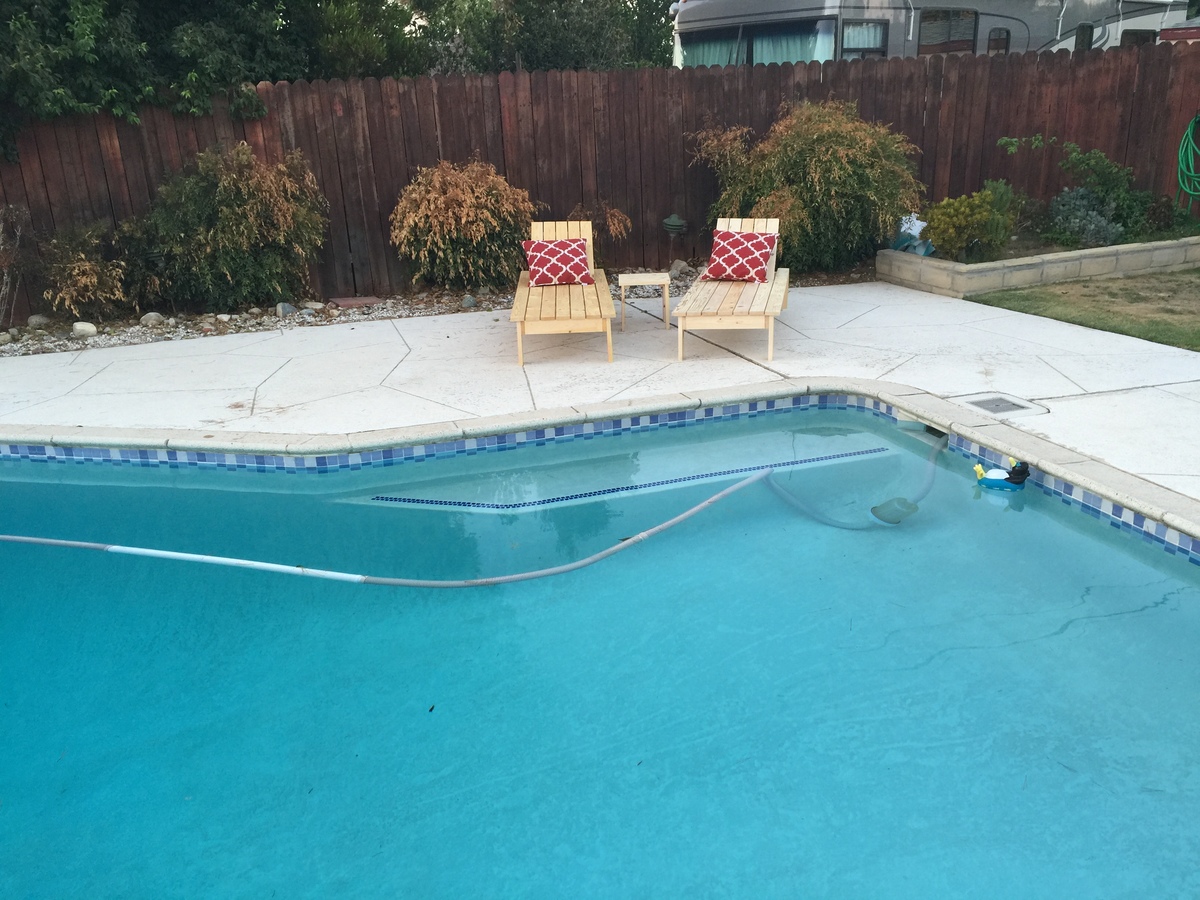
I used the picnic table plans with a minor modification for the top and seats. I used flooring for trailers that were rejects. I made this for my wife for her birthday and she loved it.
Alan Welch
Built from Plan(s)
I used the picnic table plans with a minor modification for the top and seats. I used flooring for trailers that were rejects. I made this for my wife for her birthday and she loved it.
Alan Welch
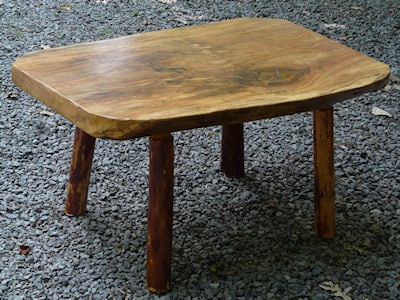
Ok I decided to construct my very first project - a small outdoor table that would look a bit ancient mostly because the need for it in my house has been screaming since I could remember. I would selfish to say that I did it alone but I got a bit of help from my hussy. I'm happy that the kids love it and all struggle to have lunch on it.
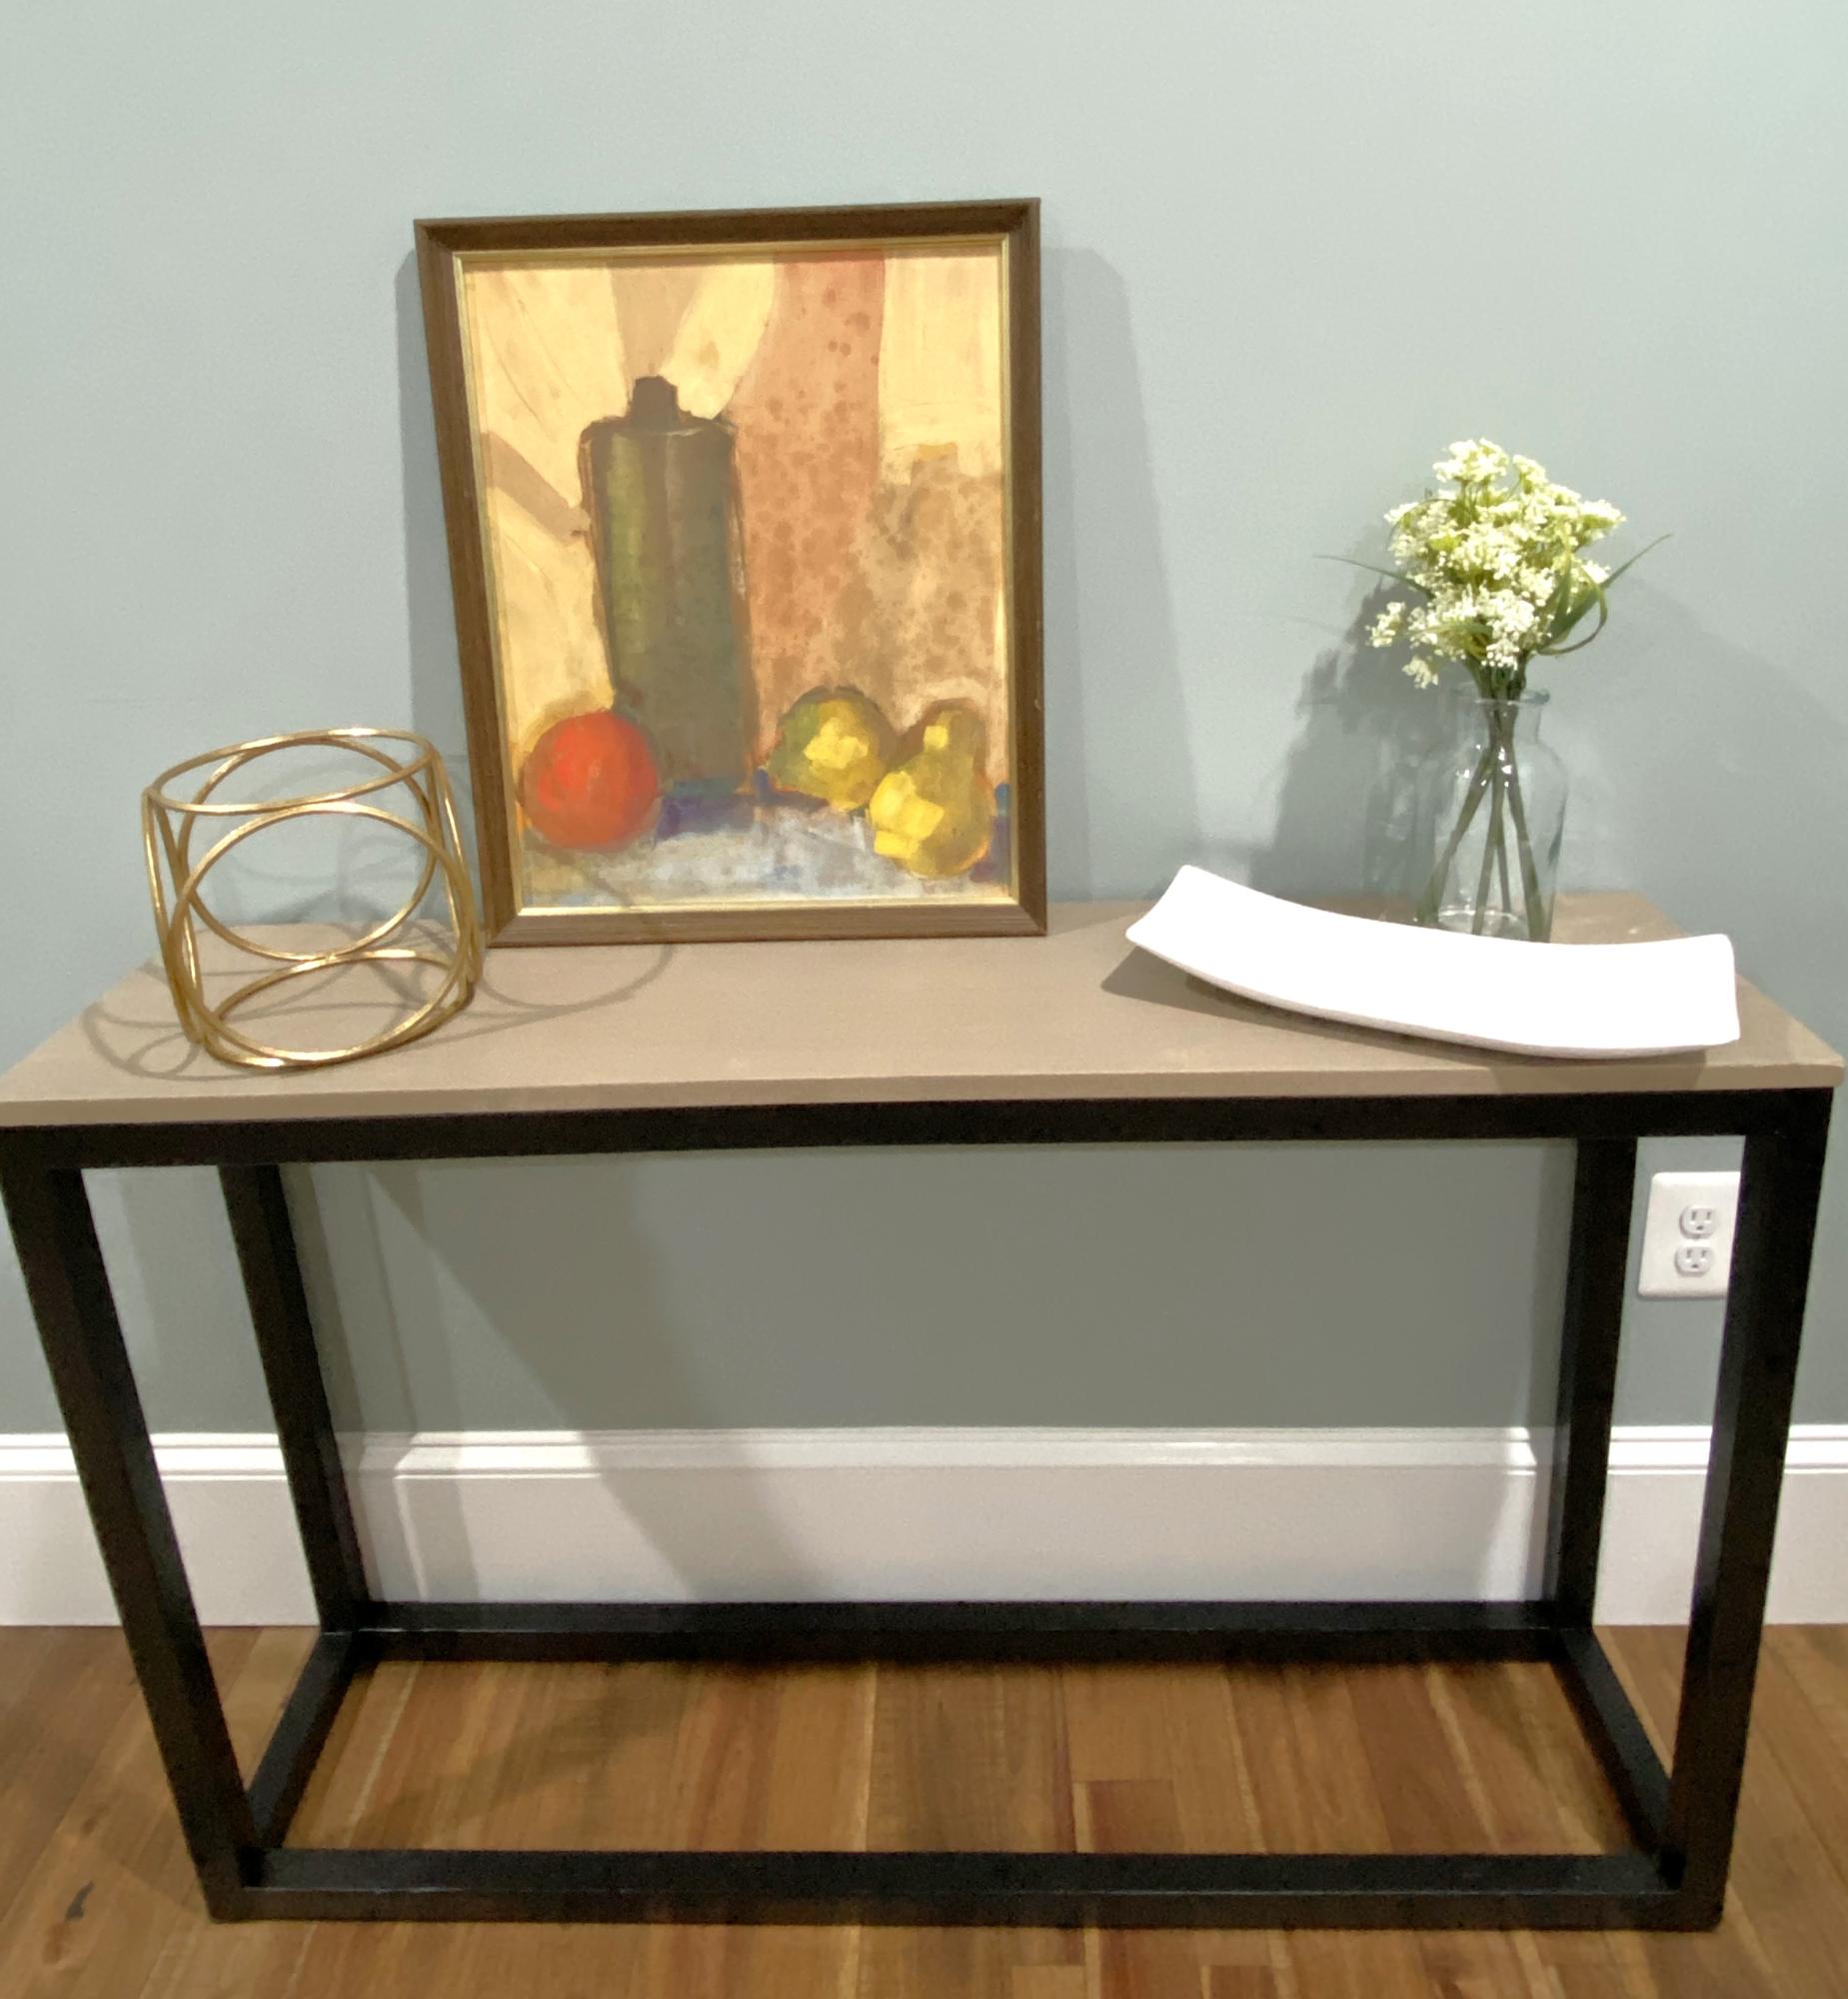
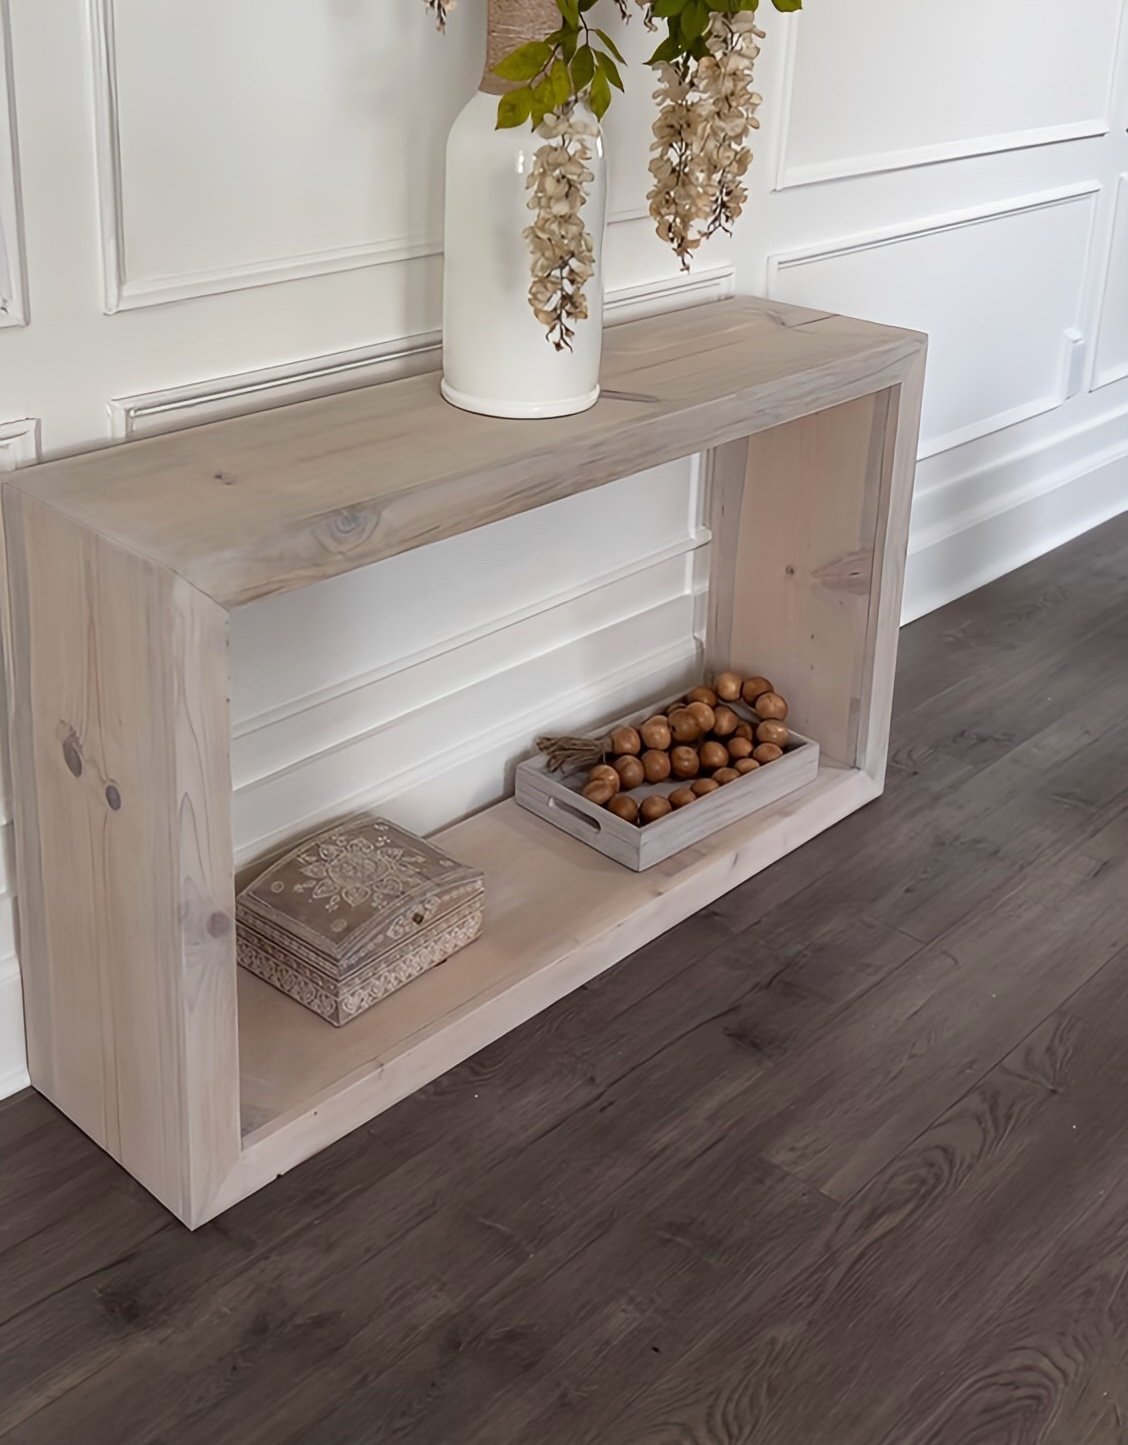
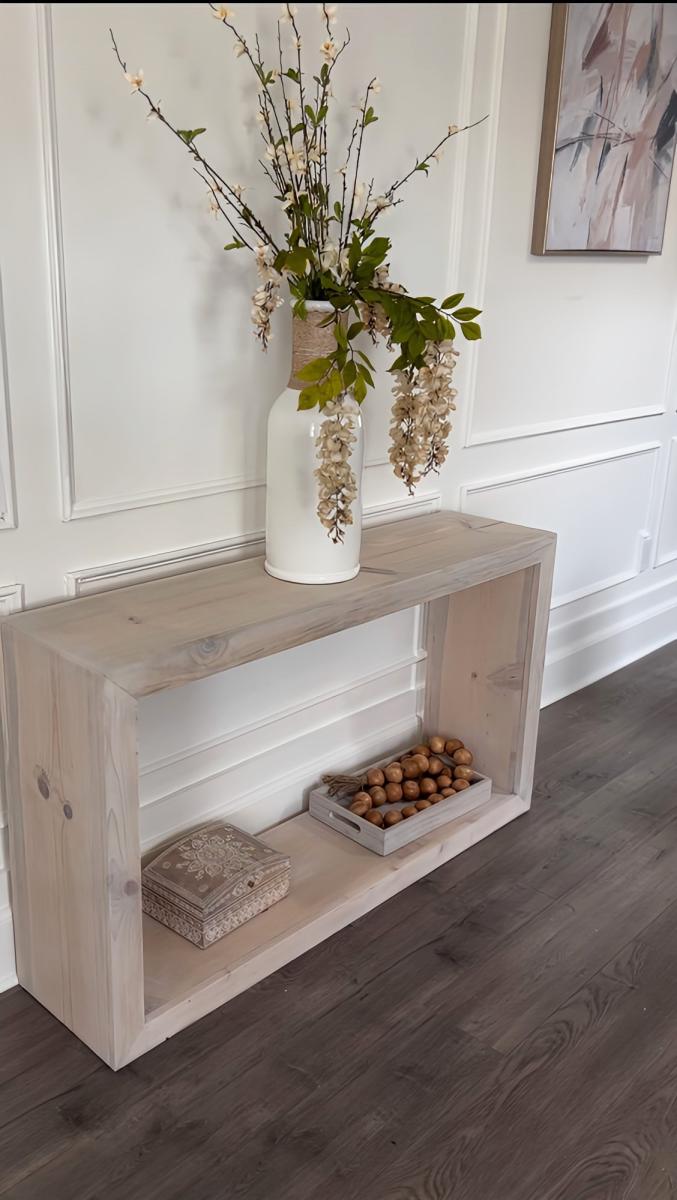
I built Ana’s console table plan to use in staging homes. I paint washed the top and painted the frame black. This is my very first project and I love how it turned out!
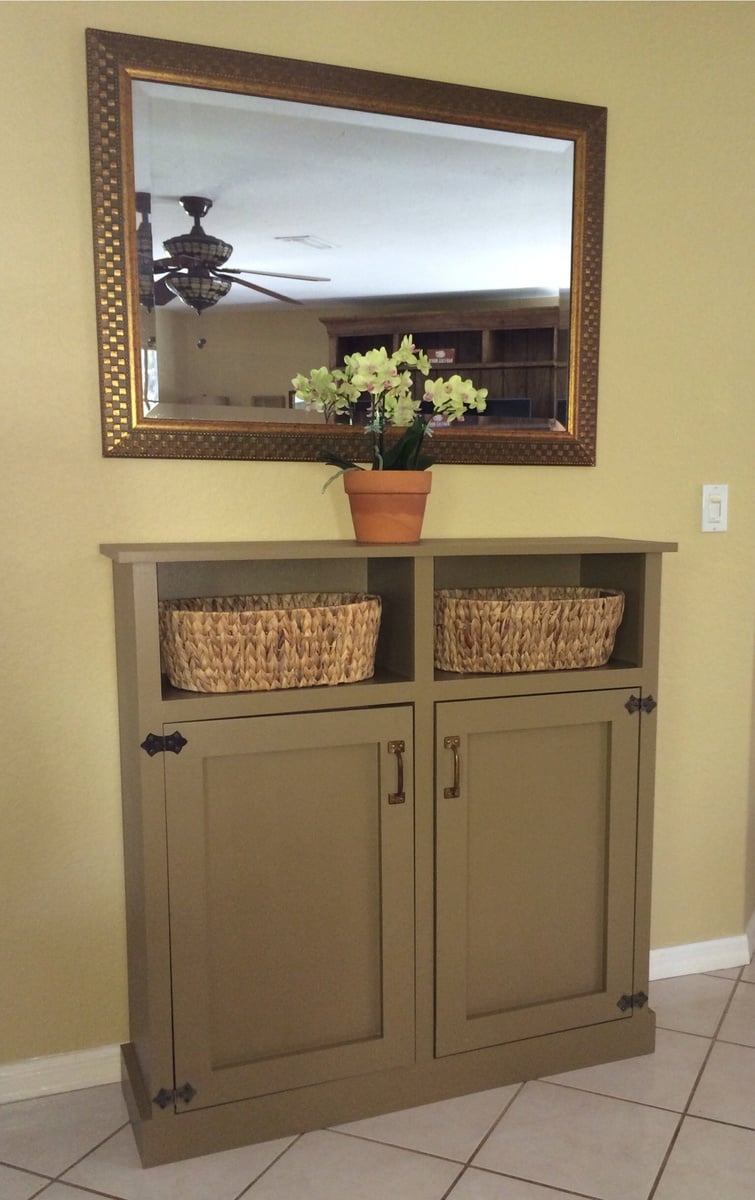
This is my first furniture build!!! I needed a narrow cabinet (from the wall) and found the plans on your site from Shanty2Chic. I LOVE this cabinet and I LOVE the Shanty girls along with you Ana! I finally put the doors on after I found the handles at a restoration store. I needed to make something 42.5" wide to fit under the mirror so I adjusted the length & height measurements of the original cabinet. This cabinet is 42.5W x 43H x 13D.
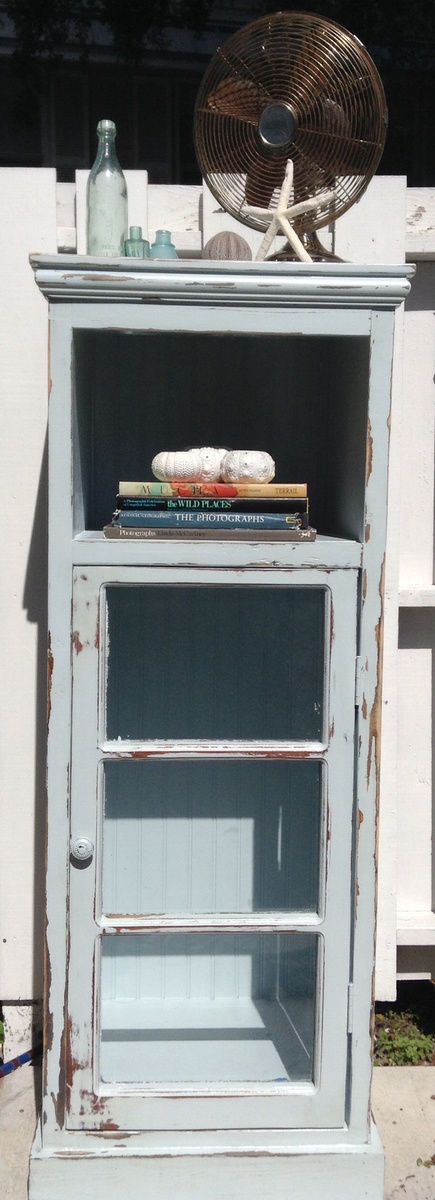
I was given an old window that was going into the trash from an old house in Key West that was being remodeled and decided I wanted to use the window as a door on a cabinet. These plans were very thorough and easy to follow. I modified the measurements to fit the window and am really happy with how it turned out. I added some trim to the top and bottom and used beadboard for the back to fancy it up a bit. I painted it in Sea Mist by Behr and distressed it by hand. This is my first post on this site. Thanks, Ana, for making this possible for me!

Mon, 03/17/2014 - 12:11
Love that color! I painted a console table in the same shade and distressed it. Still one of my favorite pieces to date! ( http://www.birdsandsoap.com/2011/07/touch-of-blue.html )Your cabinet looks great. I can't wait to get started building once the weather warms up here!
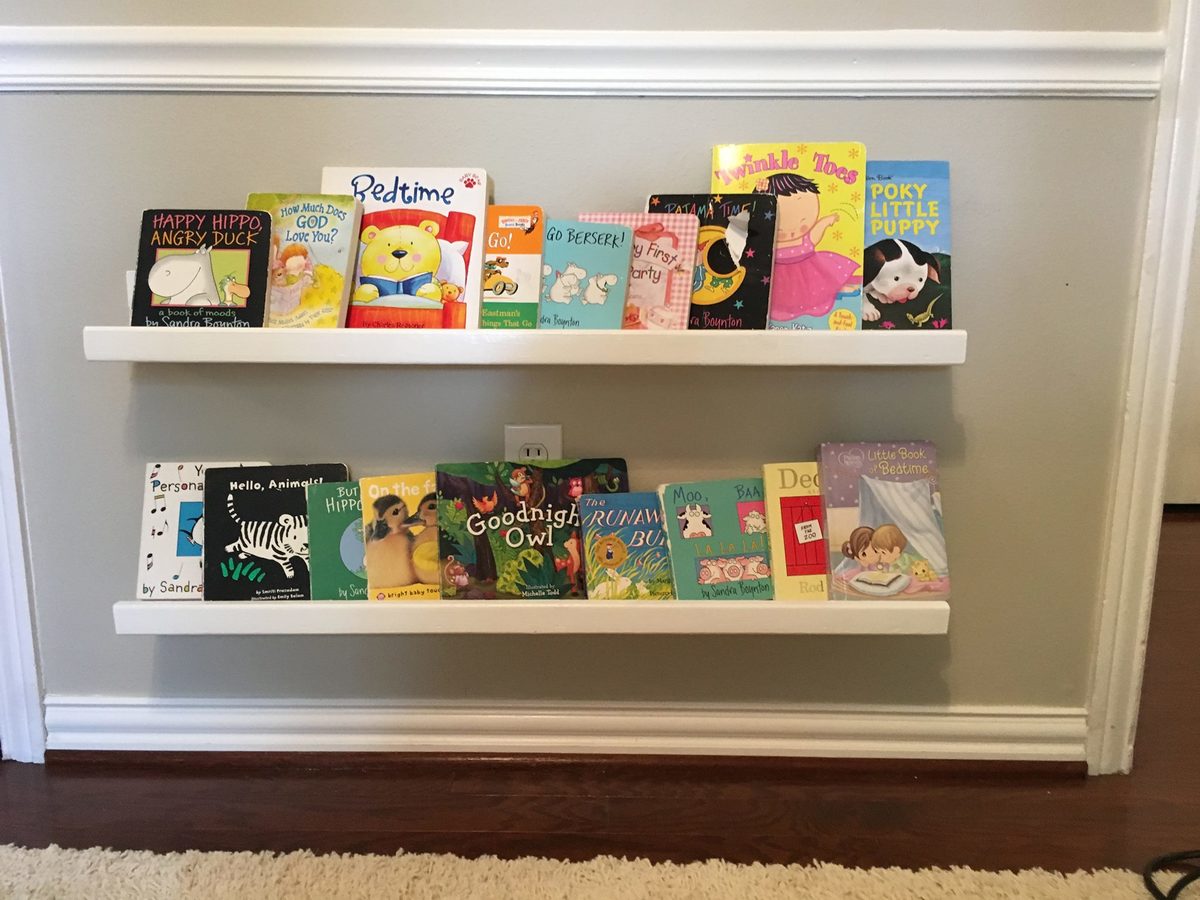
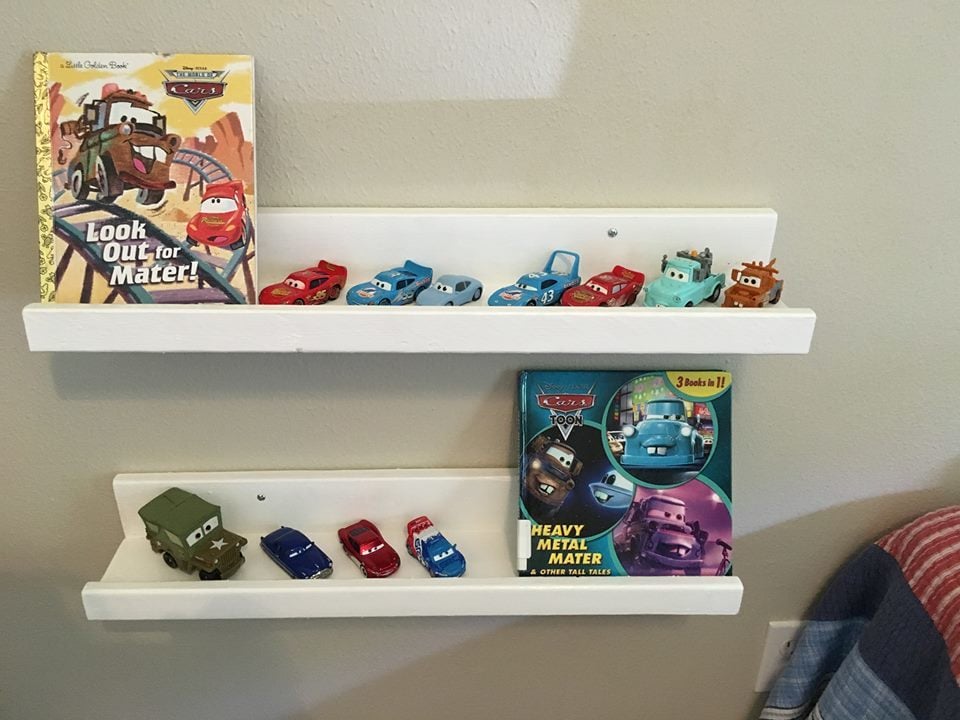
This was my first project after buying a miter saw. I used 2 inch screws to secure the back to the ledge, then nails (I think 2 inch?) to secure the front lip to the ledge. I then covered the nail holes with wood filler, painted with a white glossy paint that I had on hand for my house's trim, and secured into the wall with anchors and screws.
It was a fairly easy project and I used the cheapest wood found at home depot (each ledge literally cost less than a dollar for the wood). It did take me several hours but considering it was my first project, it was pretty fast. I'm sure someone with more experience could knock these out in 1-2 hours! It was a lot of fun and I can't wait to build something else.

Wed, 07/13/2016 - 11:27
Awesome!!! You did a great job, what a steal for $8!
THANK YOU ANA FOR ALL THE GREAT PLANS!!
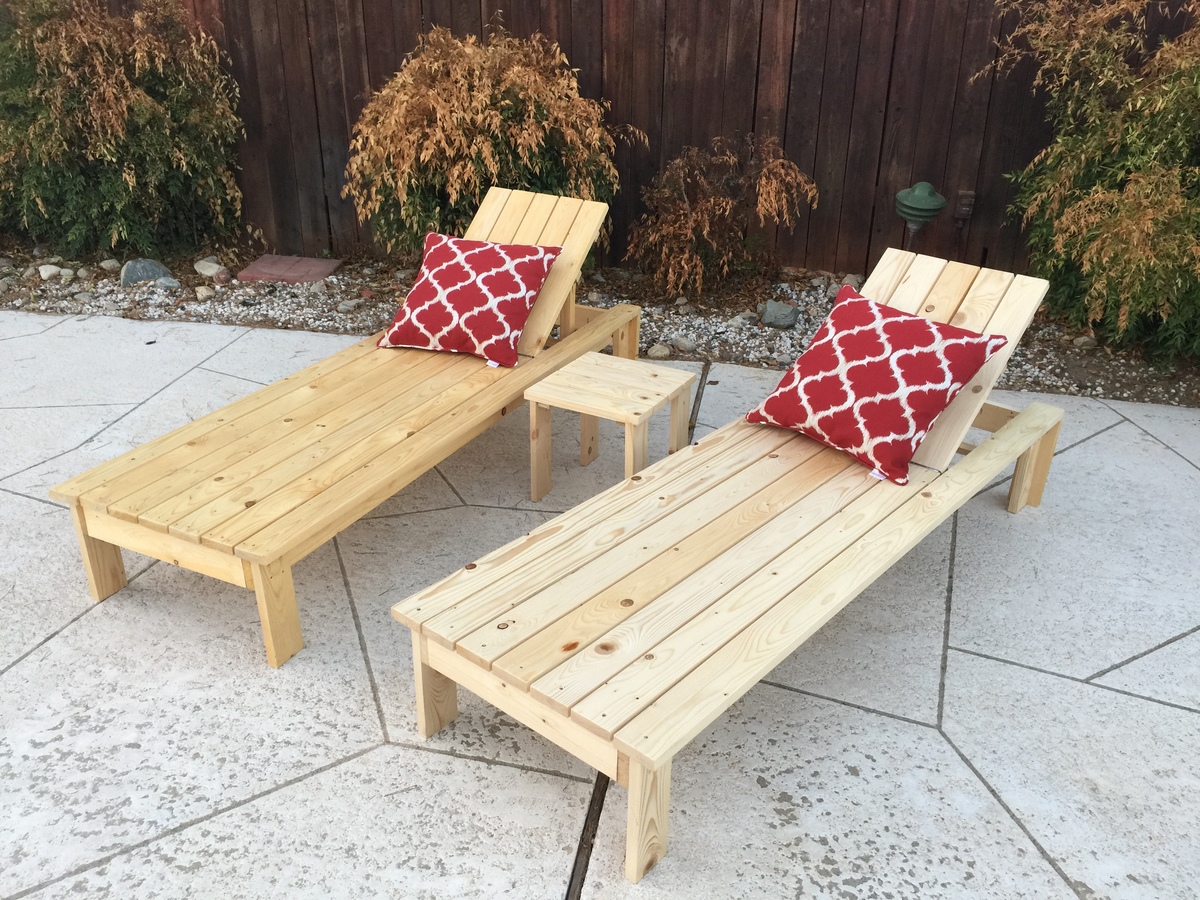
I am in southern california (mild weather) so i just used pine and coated them with urethane.
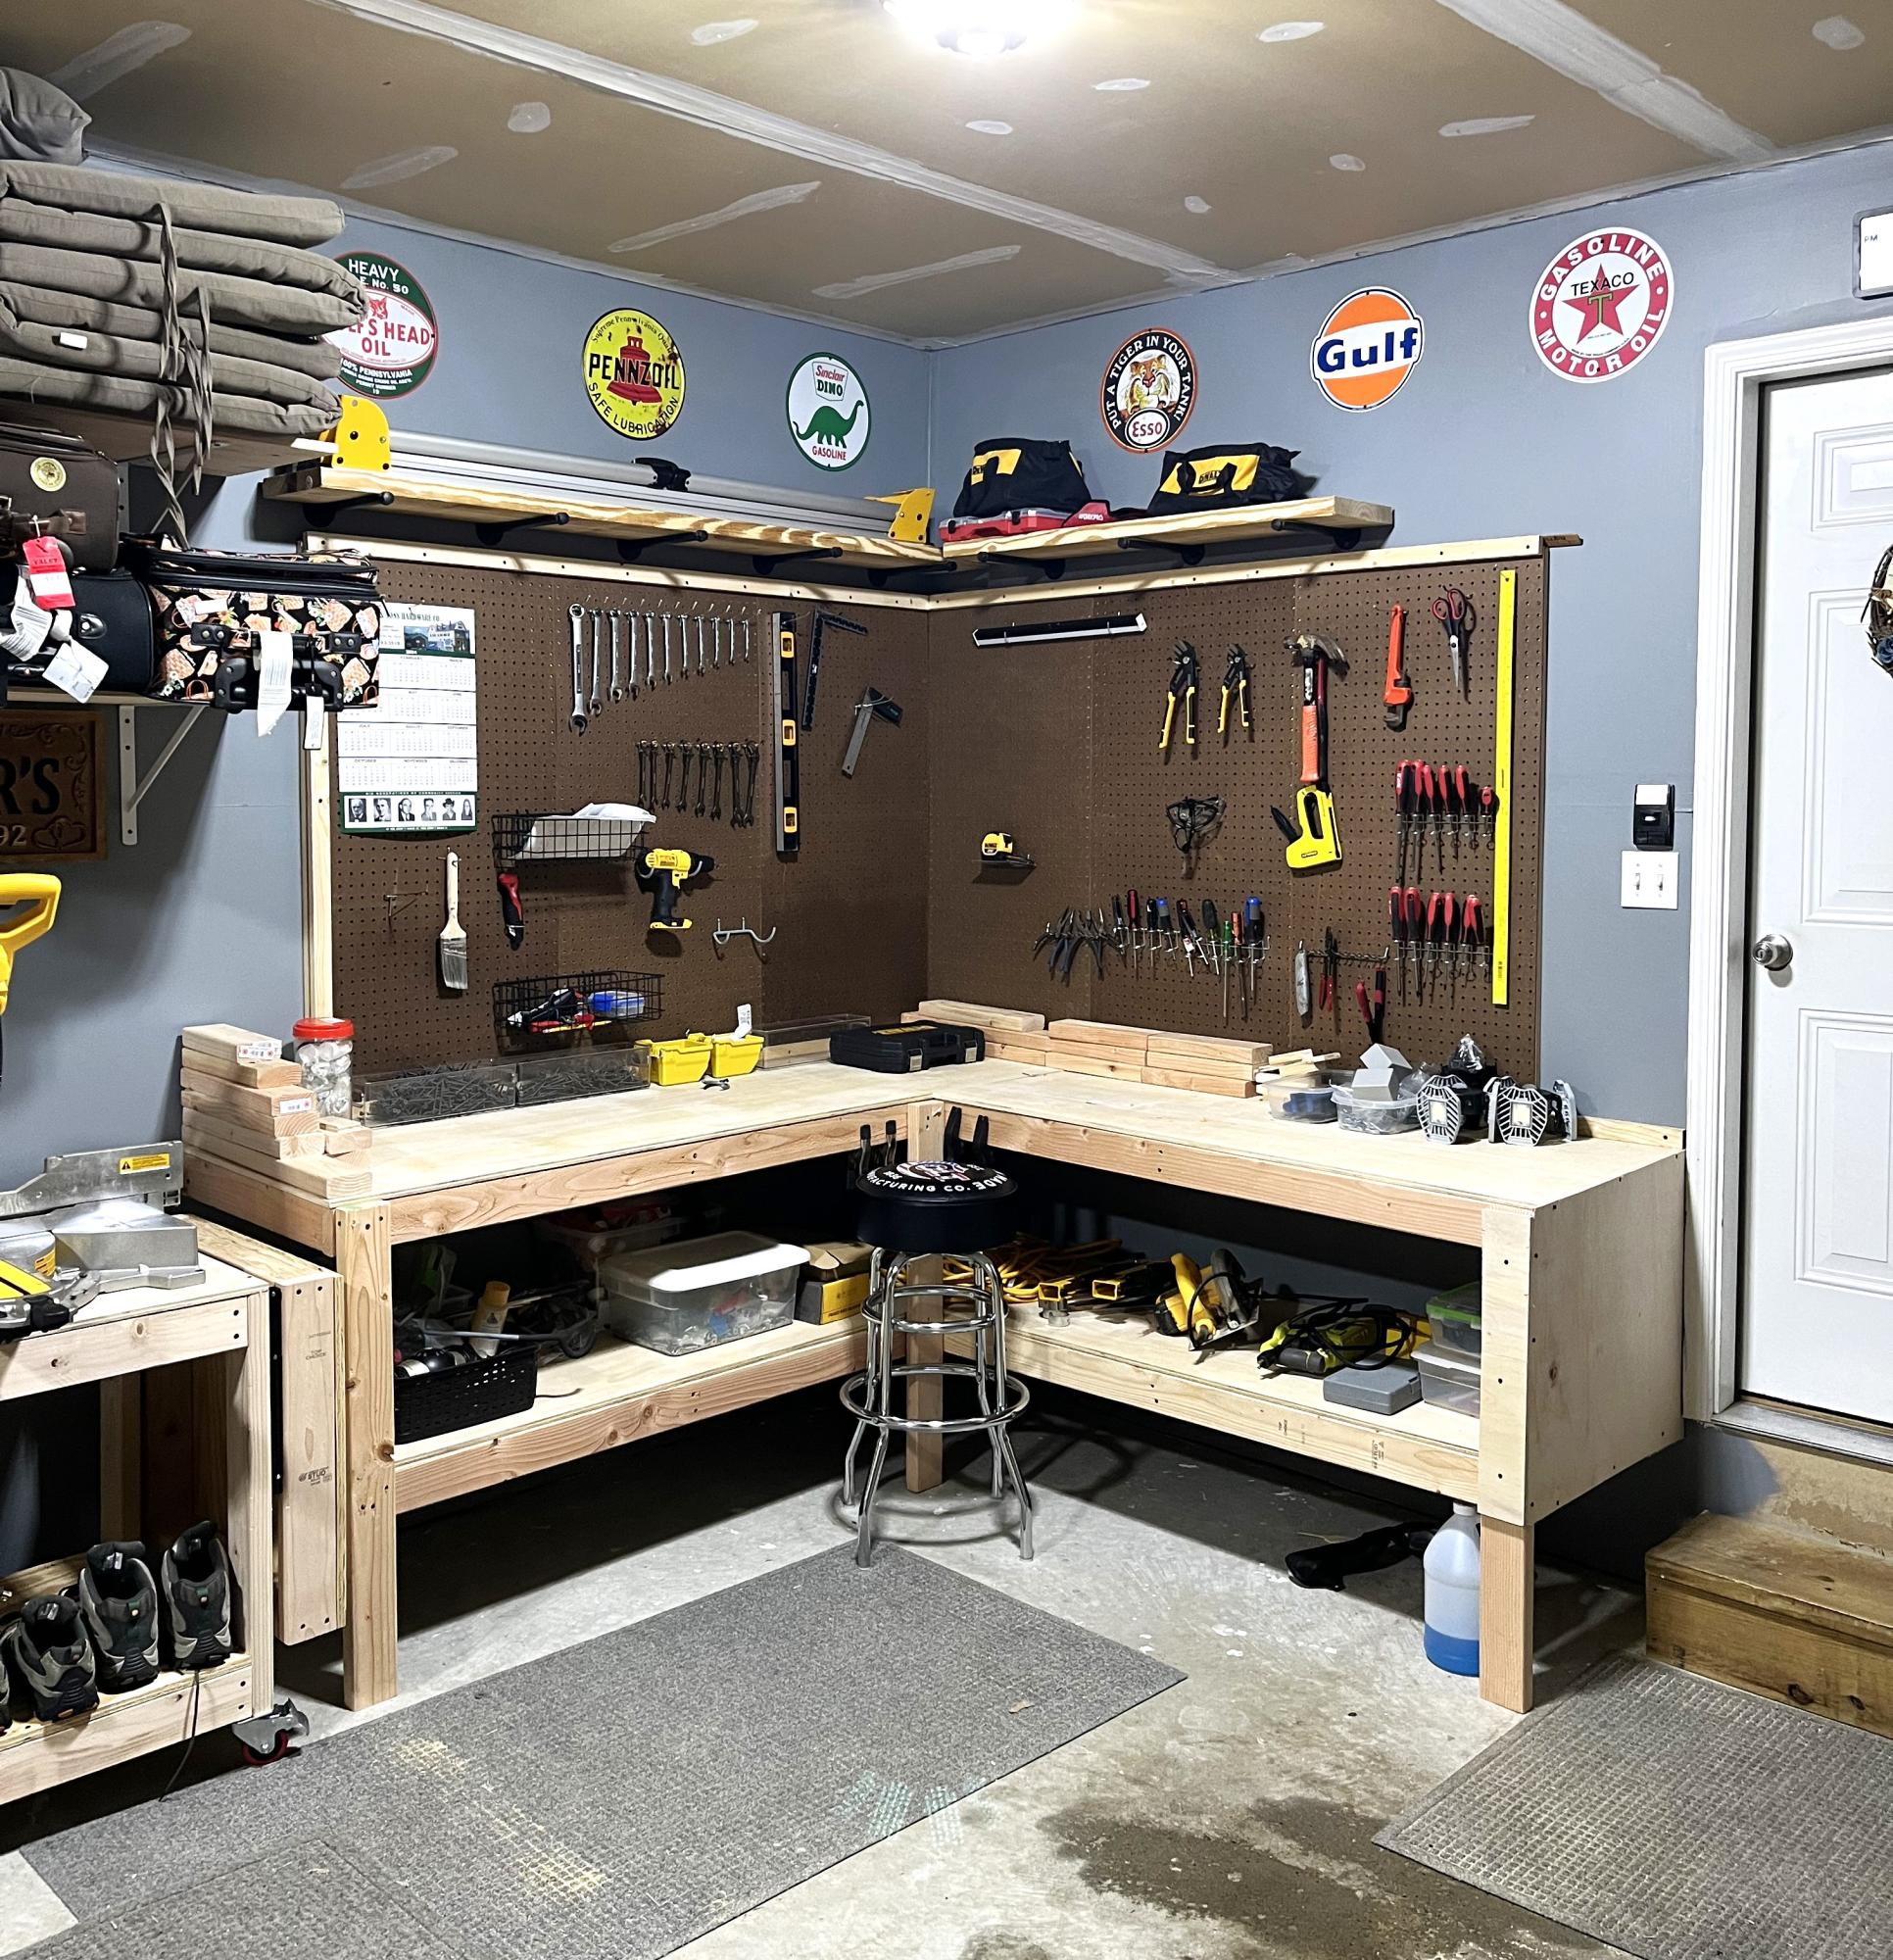
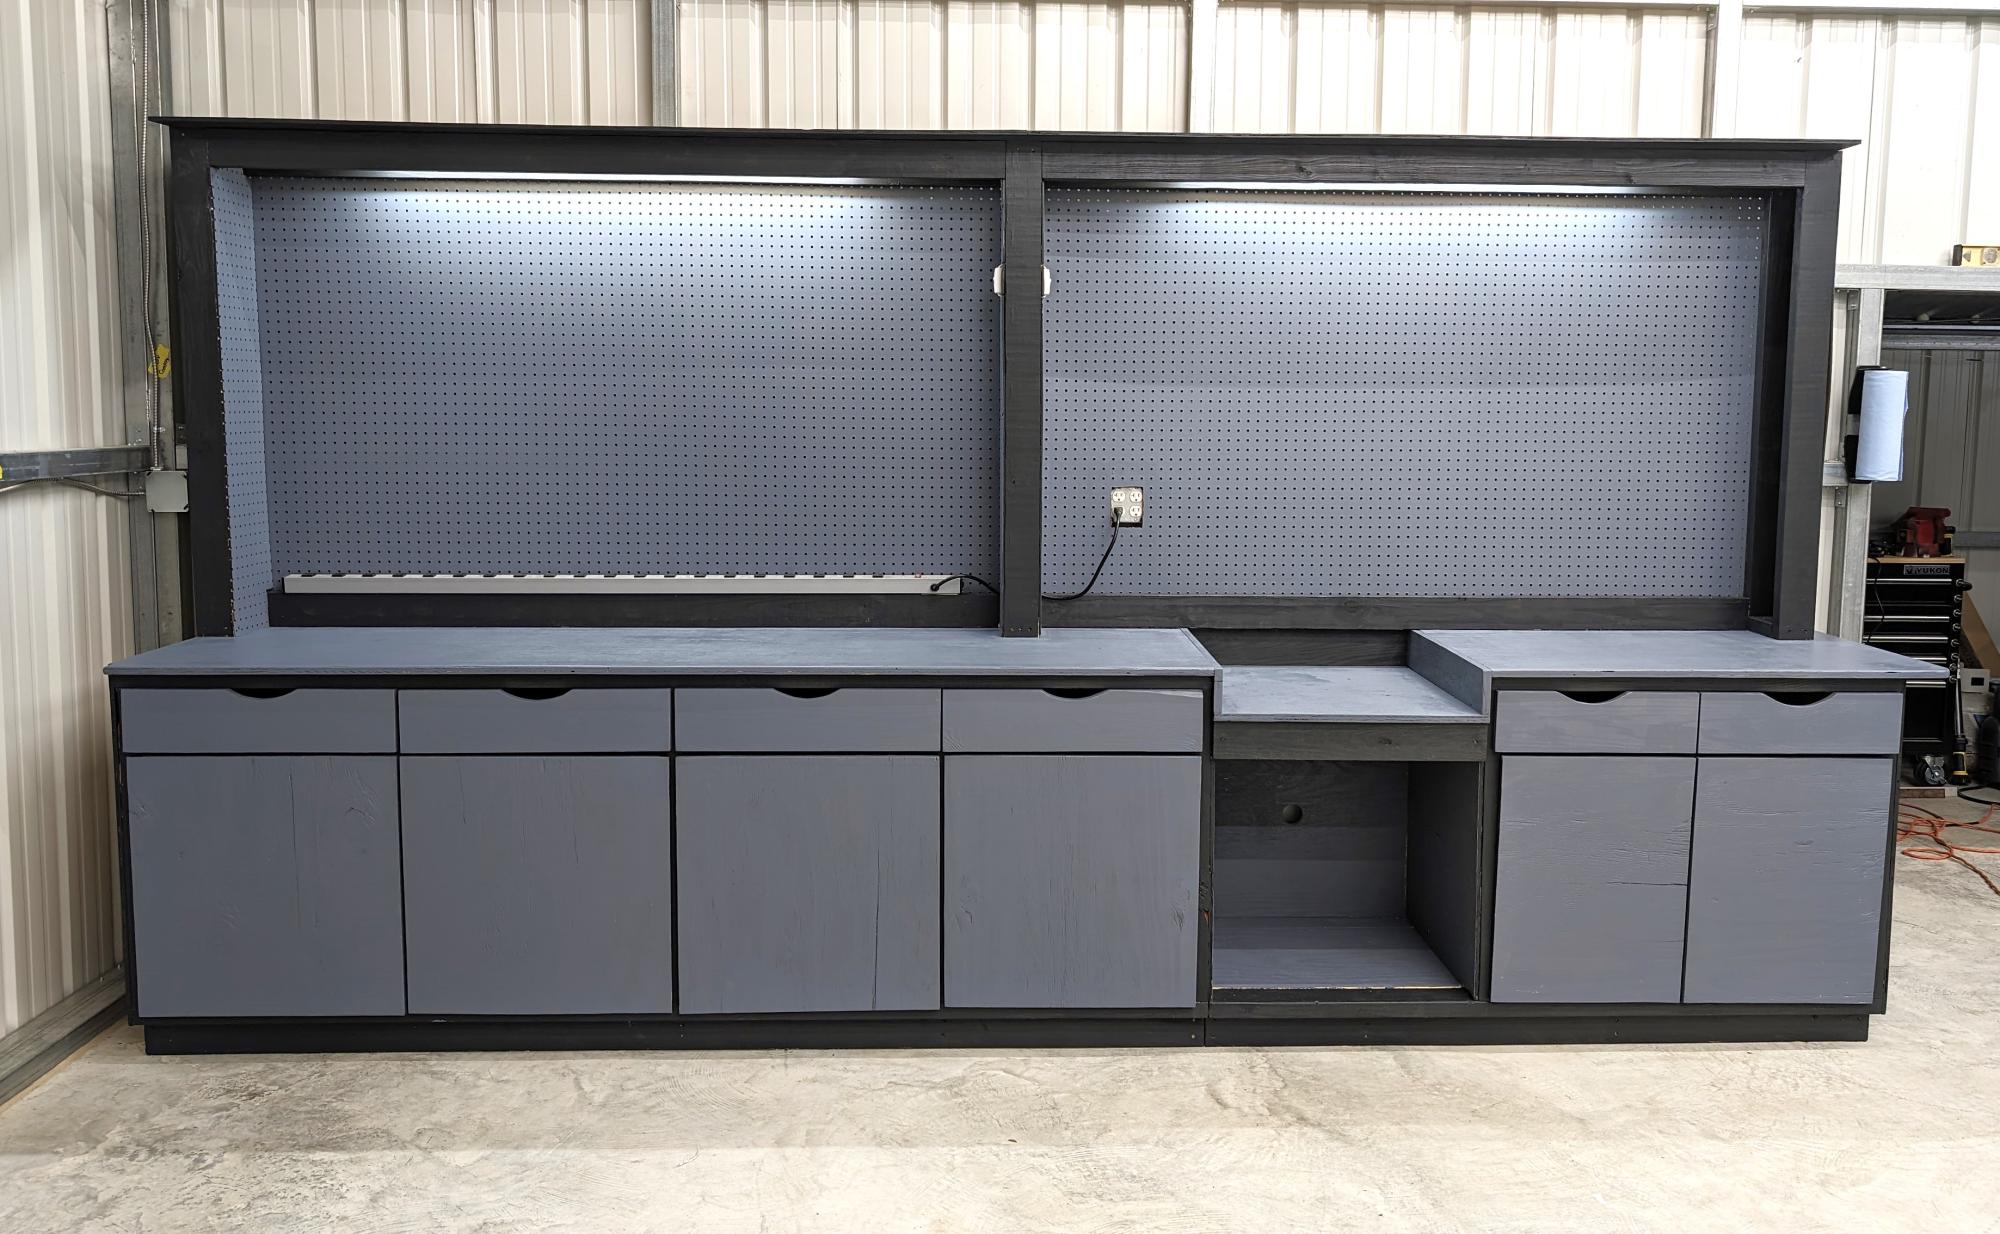
I wanted to clean up my garage and tools when I saw your work bench idea. Fun project and great organizer.
Mark Roessler
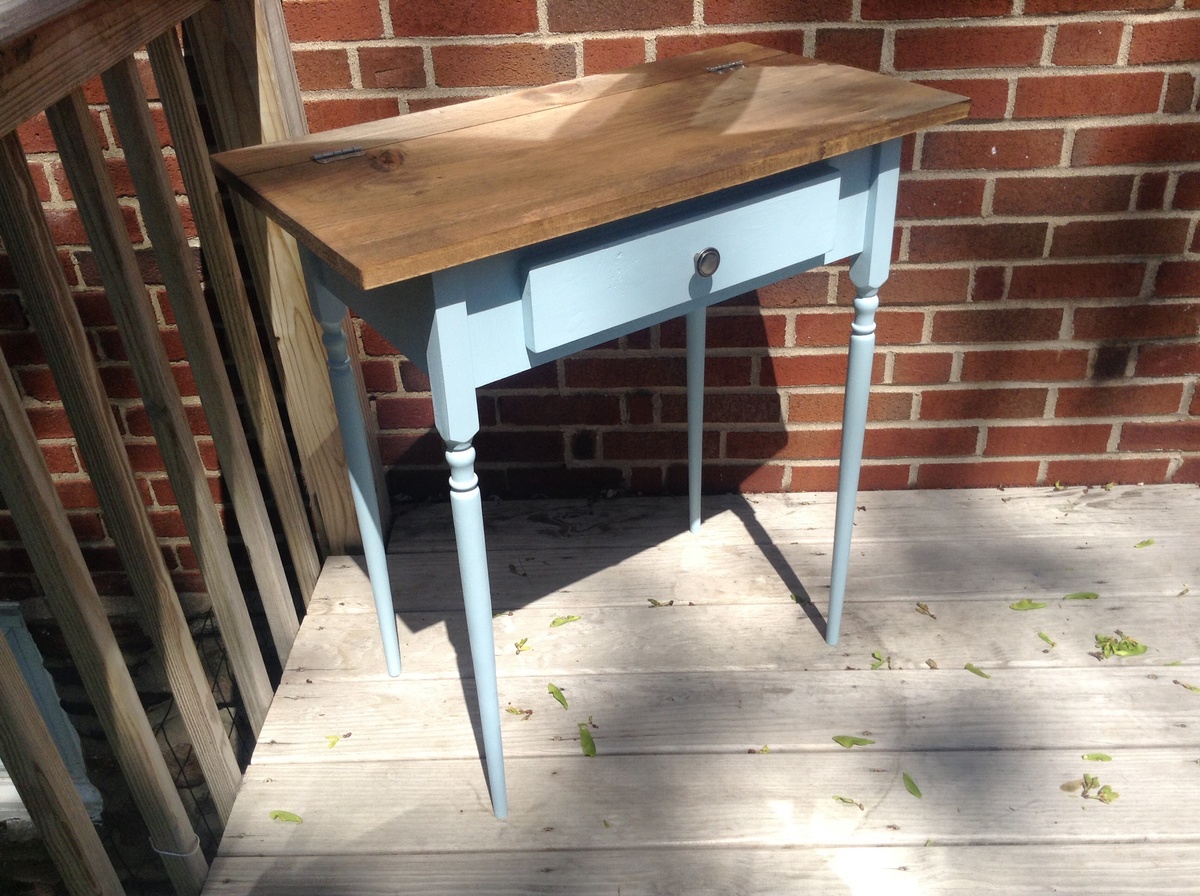
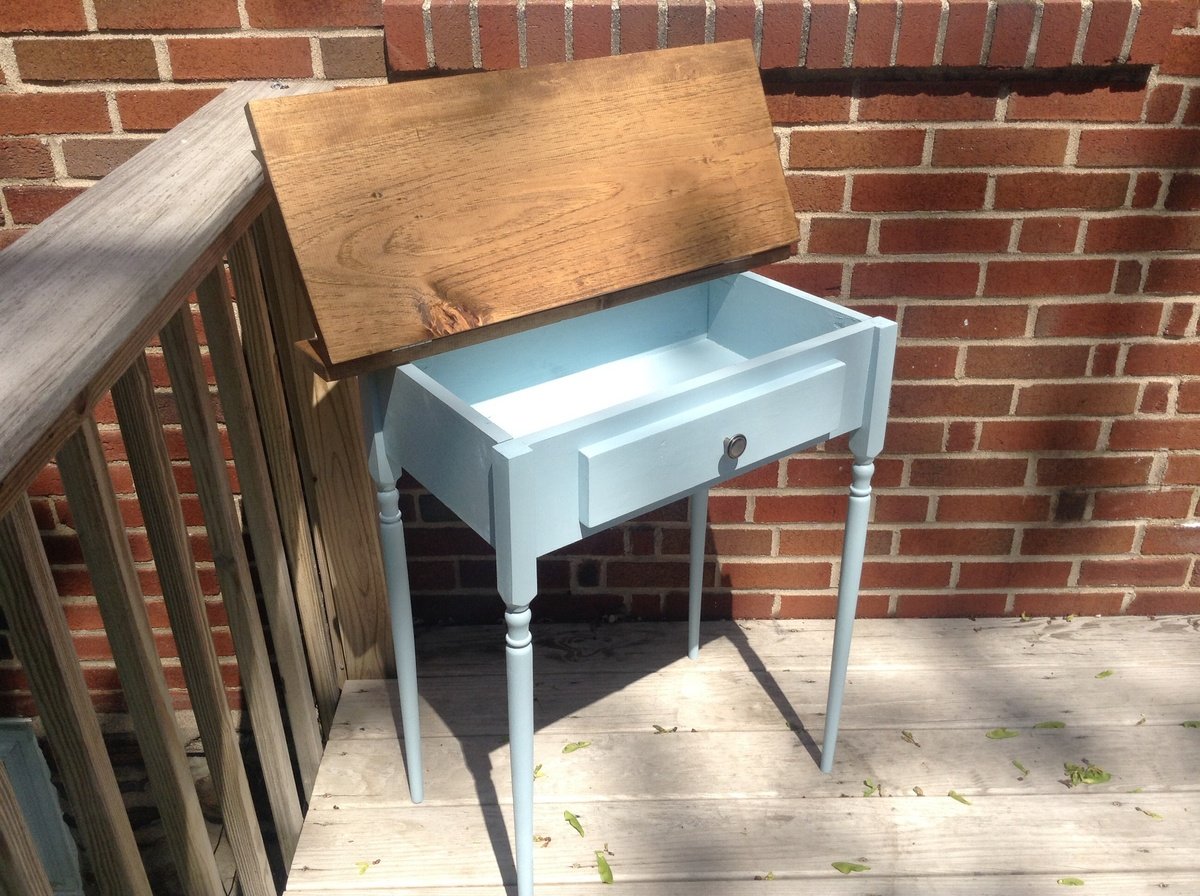
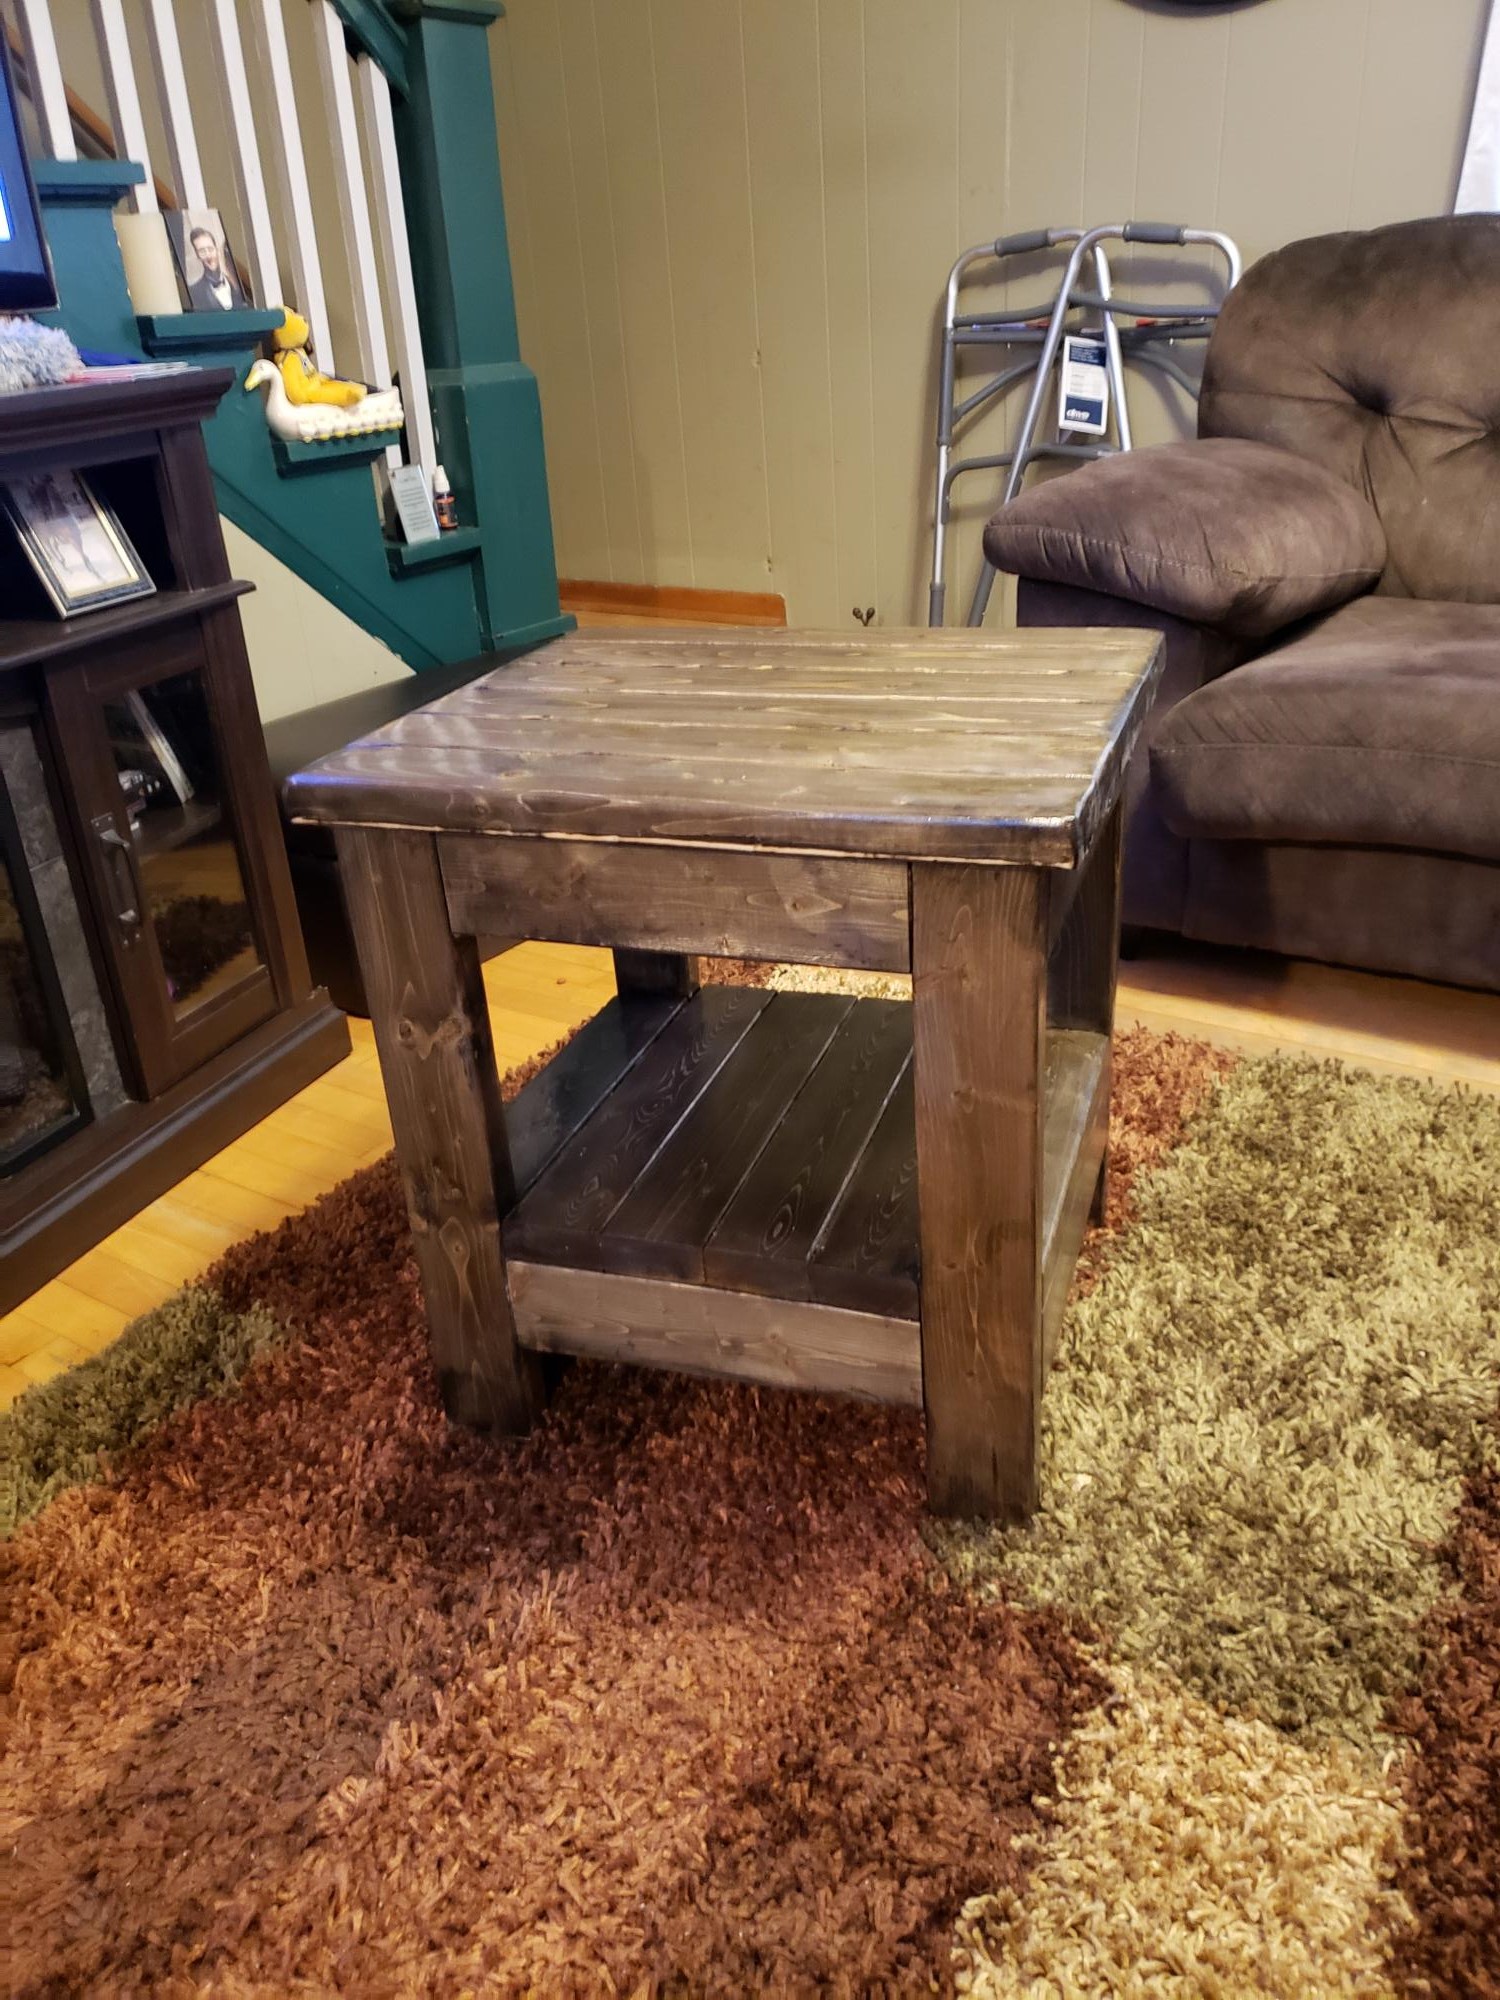
I loved the style of this desk but needed it to be quite a bit smaller. I reduced the measurements down from 48 inches wide to 28 inches wide. This required only 4 foot long 1x12. I added just one 15 inch wide faux drawer on the front. This was incredibly easy to build. It took me longer to paint and stain the timber than it did to build it.

I have never so much has touched a saw before, but got a wild hair to build something. This is my very first attempt. I didn’t put the X on it, but I did the rest. There are soooo many flaws and I’ve since made several other pieces. But I wanted to post this to show that if you put your mind to it, you can do anything! I’m in love with this piece. Thank you so much for the plans!

This small vanity is having a huge impact in our powder room! We were thrilled to remove the builder's grade prefabricated vanity and replace it with this custom built table finished in multiple layers of homemade chalk paint and that will soon house a vessel sink.


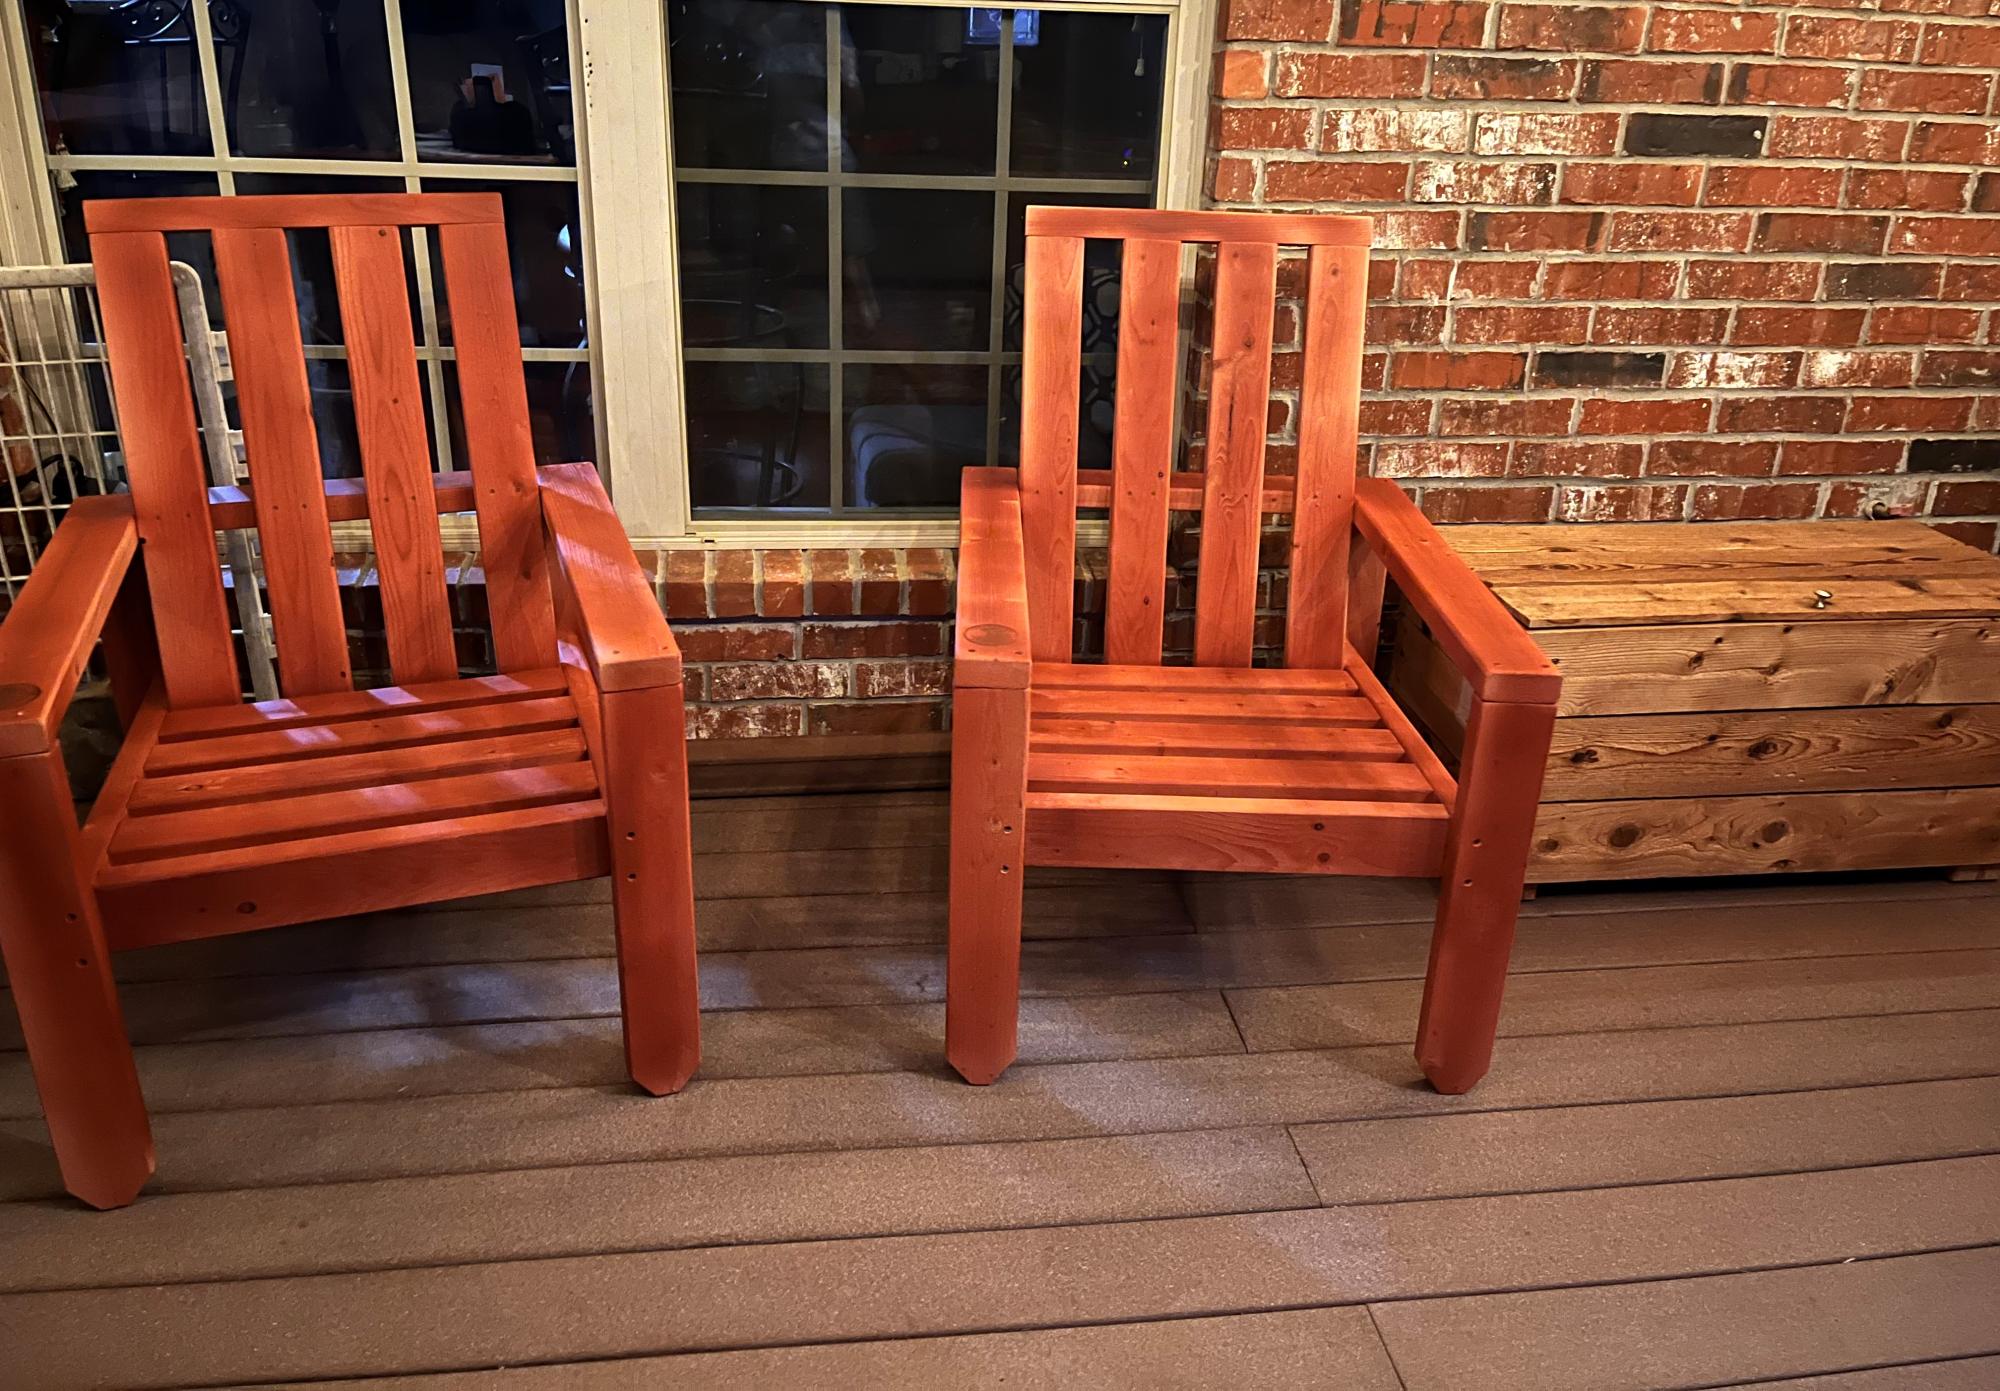
Ana White chairs along side my Ana White cedar storage chest (one of my 1st builds). Ana, thank you for the plans & for inspiring us to build!
Keith from Springdale, AR
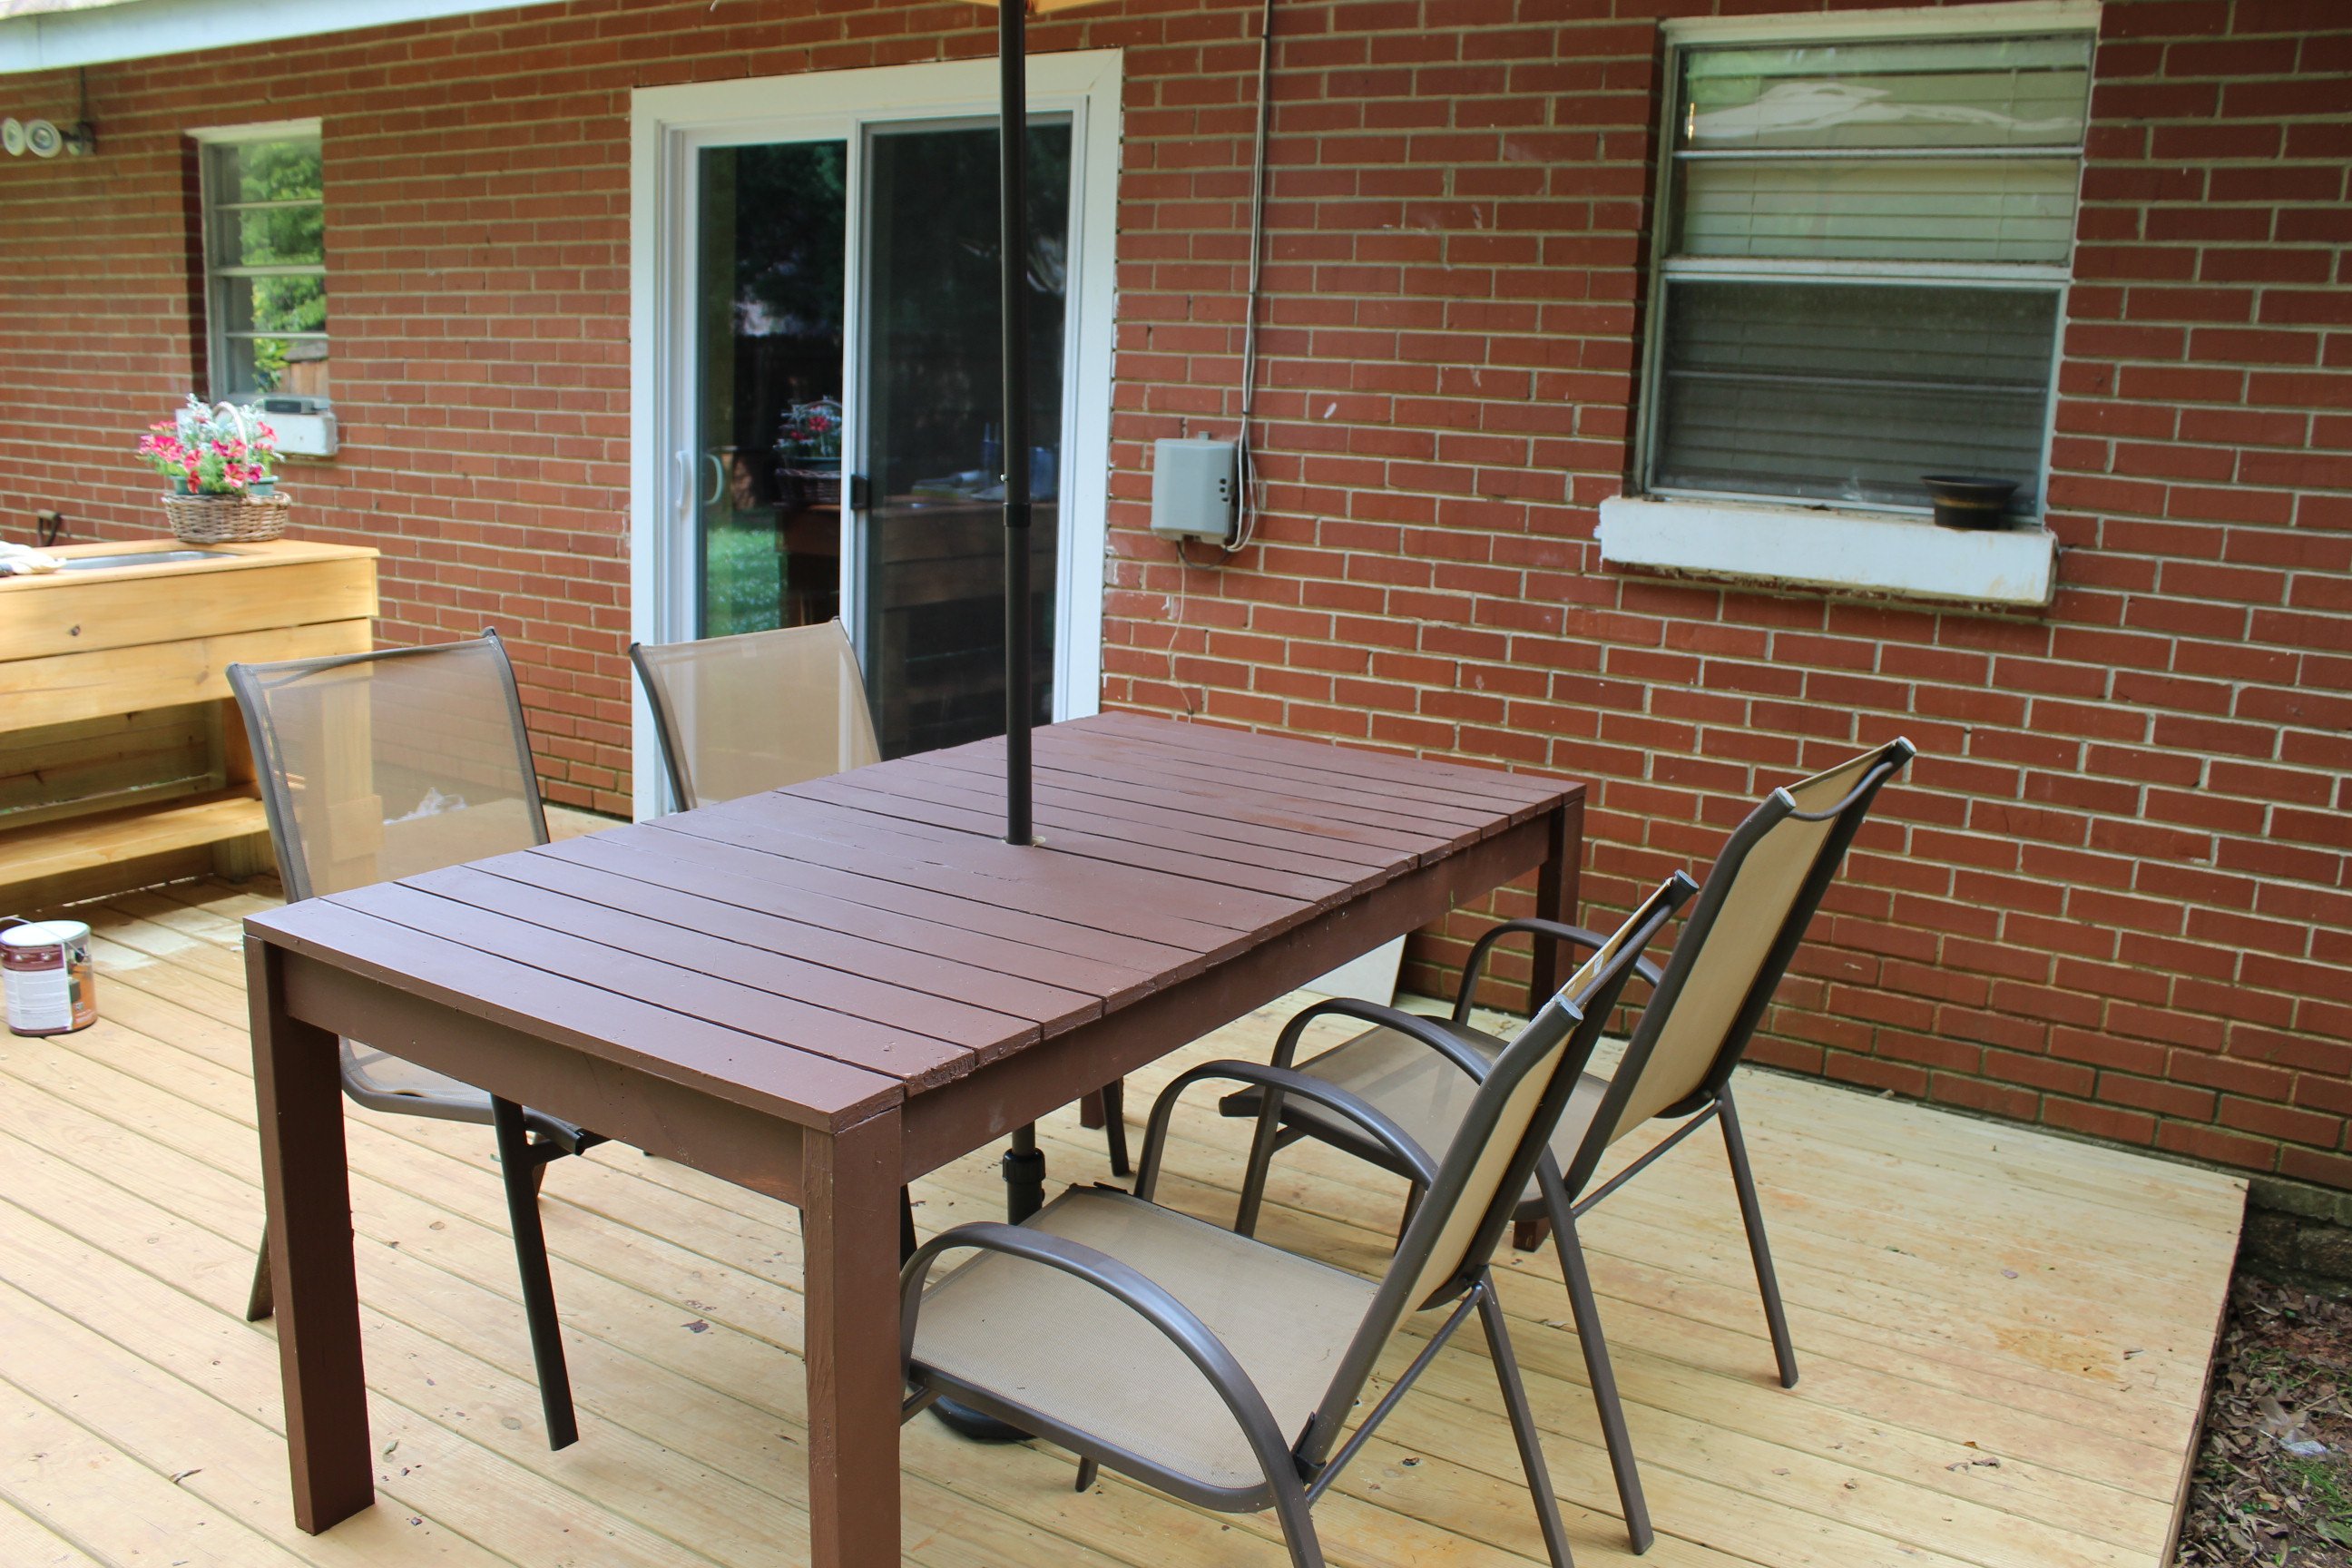
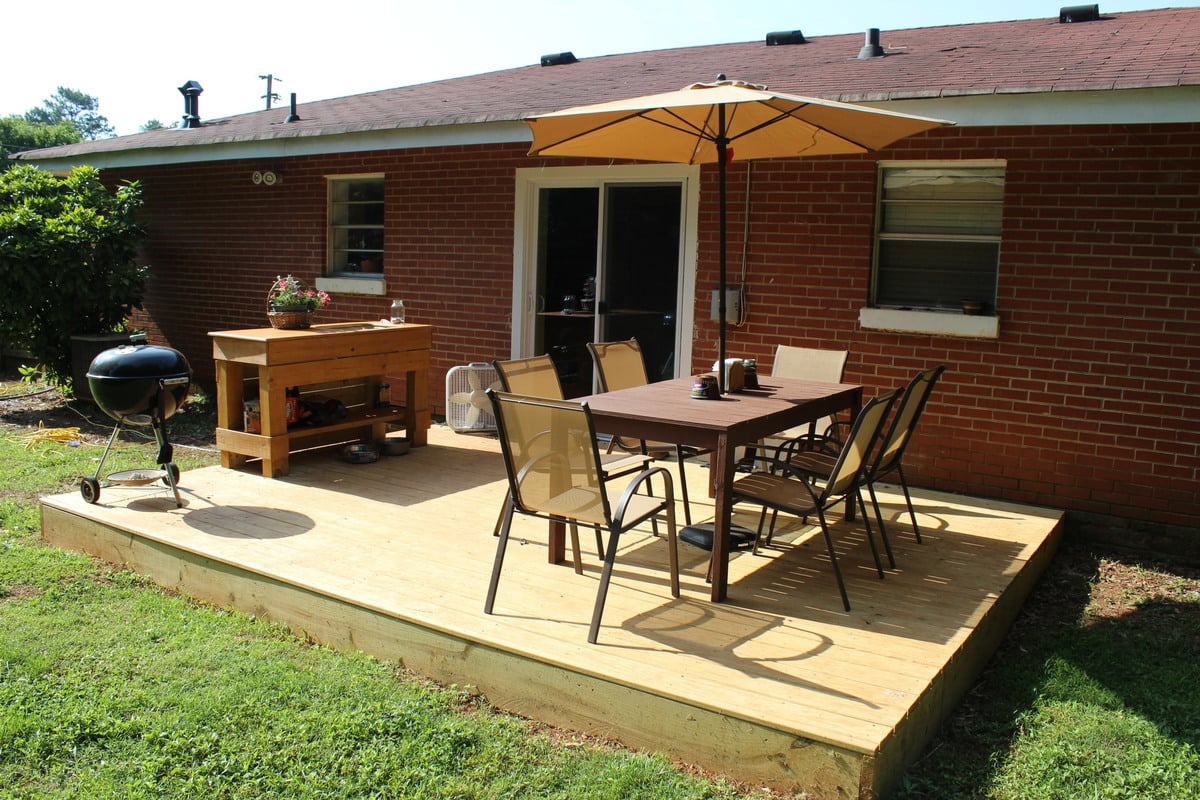
My wife and I were looking for a larger table for our deck and after searching and seeing that everything out there was 300 dollars and up for something decent I decided I would try building something. This table was perfect for our needs and looked easy enough for me to put together. The most time consuming part was staining all of the boards as I went but it was totally worth it in the end. I also deviated from using screws and used my nail gun along with some glue to put the top frame together and the slats on but I did use some 2inch deckmate screws to attach the legs. One problem I did run into was I was about half a board short on the slats which wasn't a big deal just ripped one on the table saw, not sure if I miss measured or what but either way. We love our table and will entertain around it for years to come.
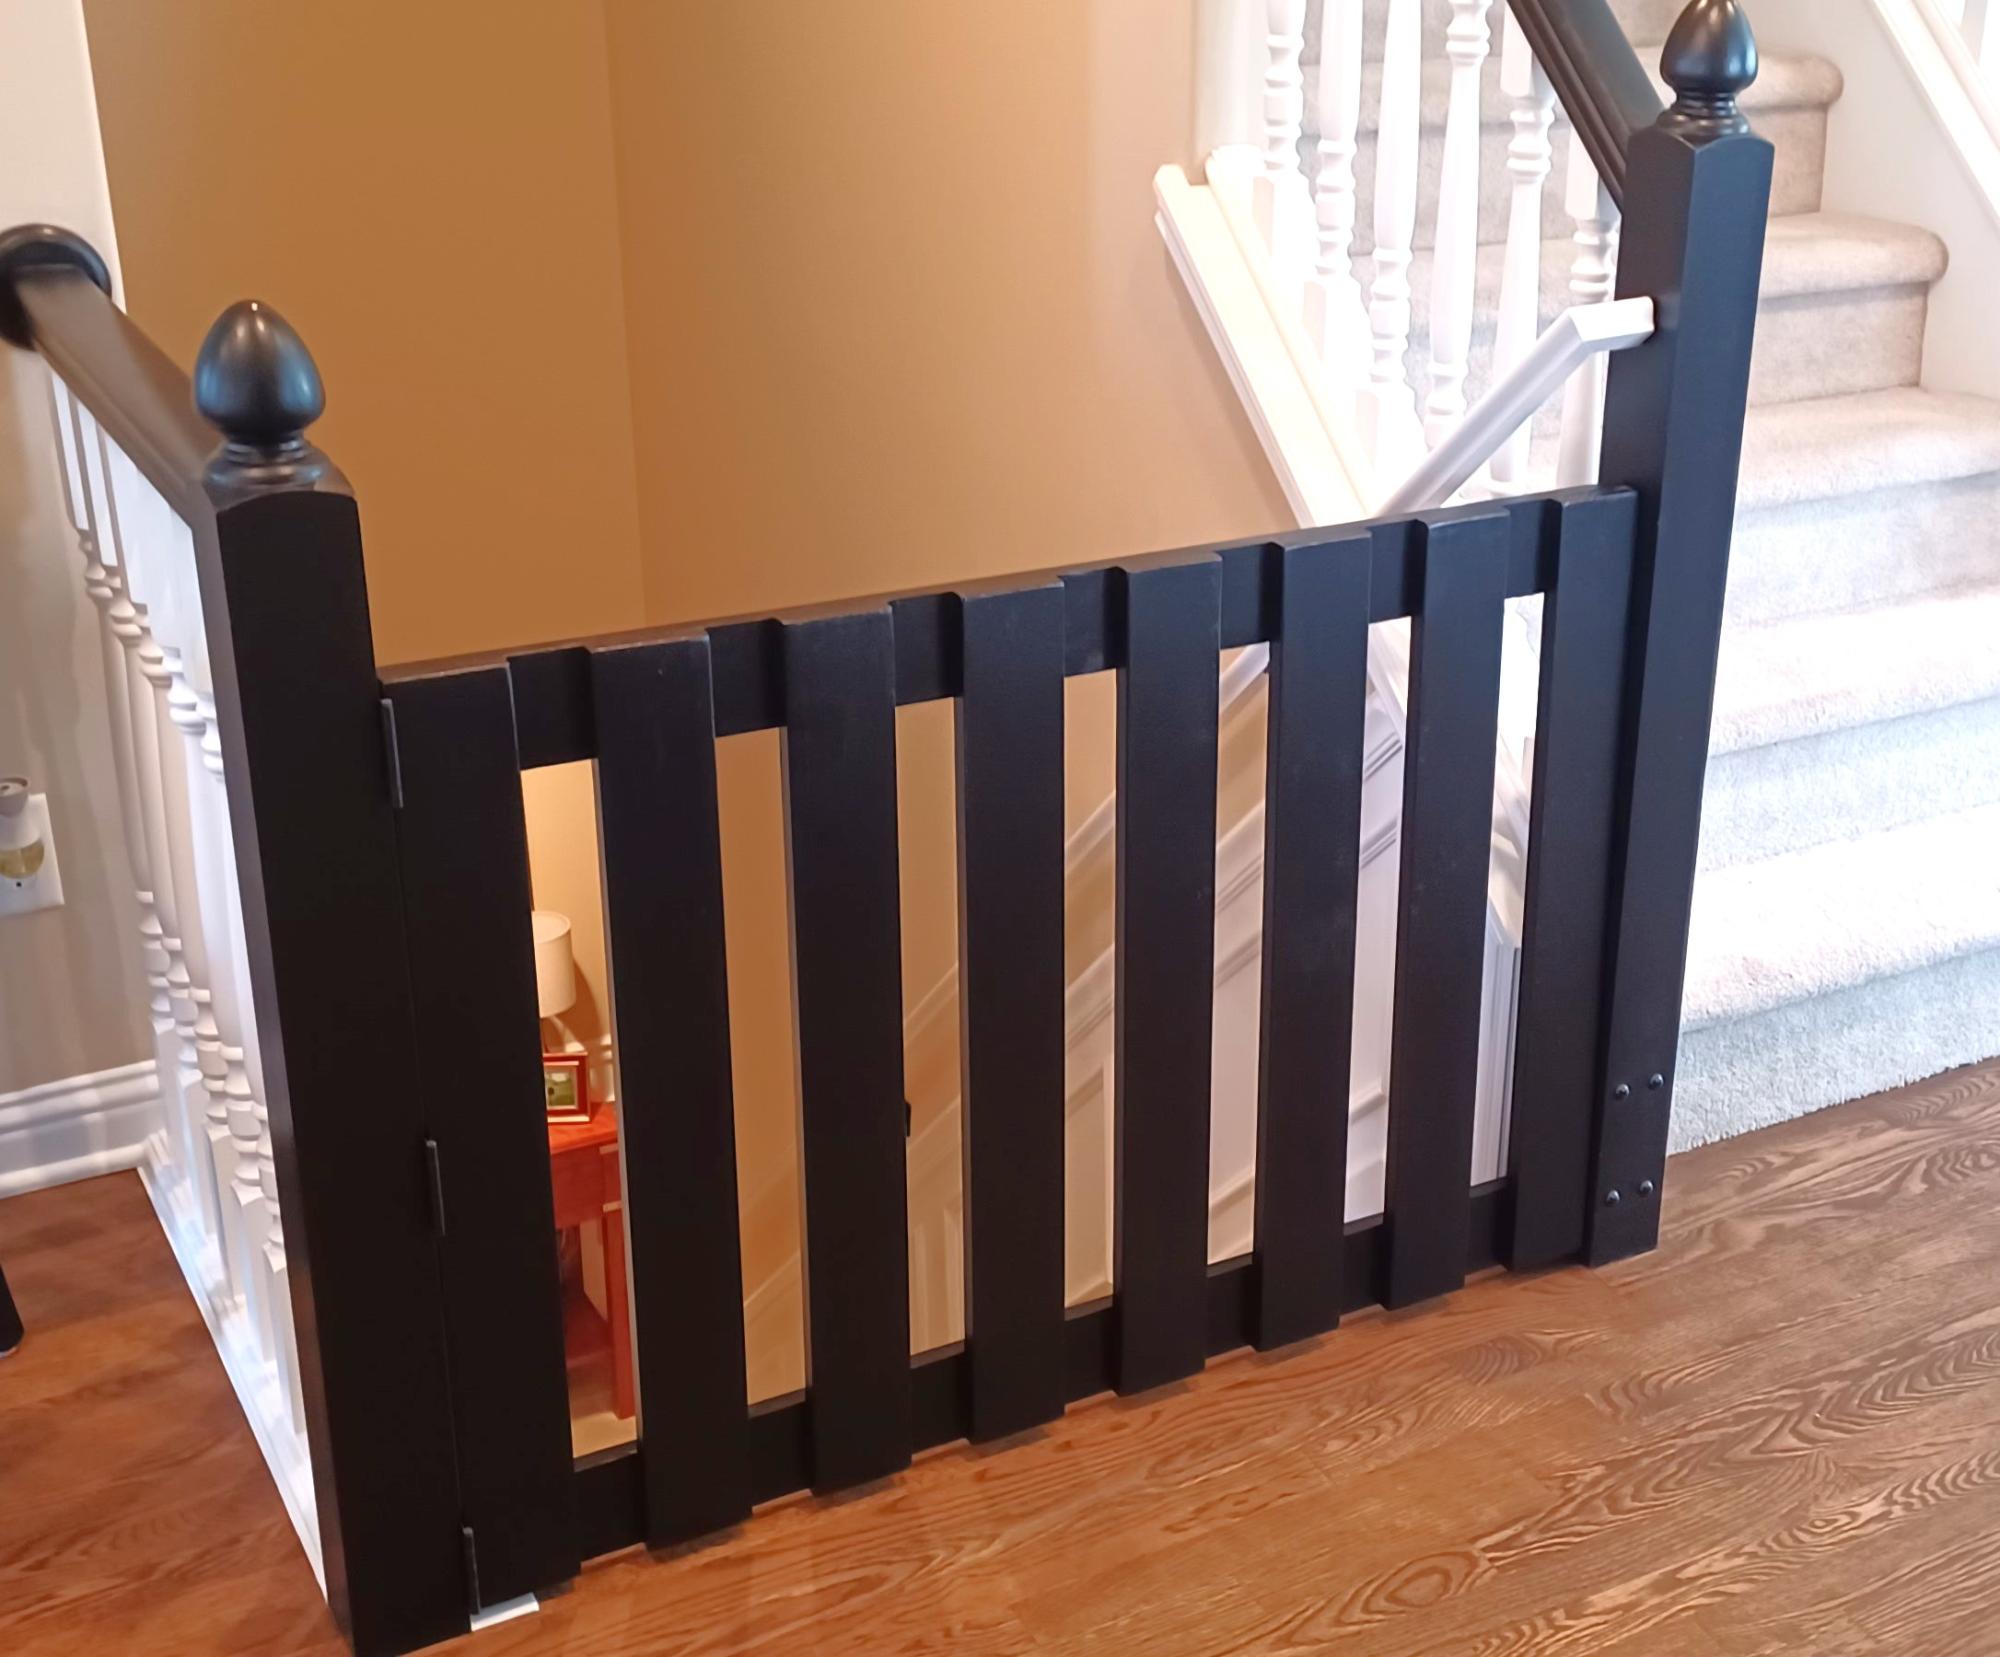
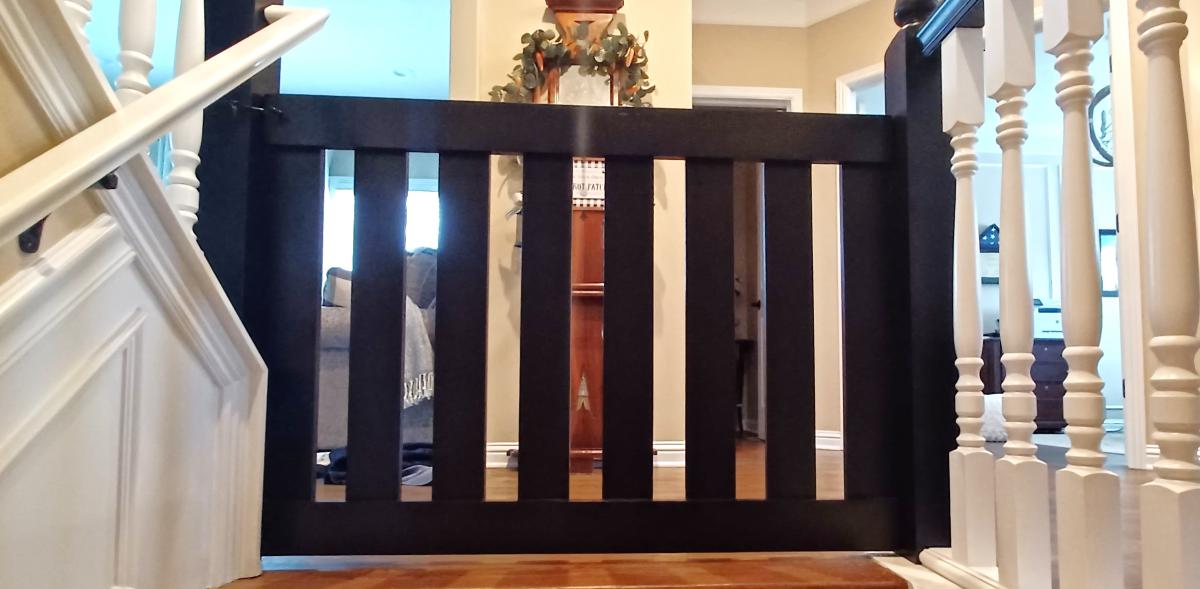
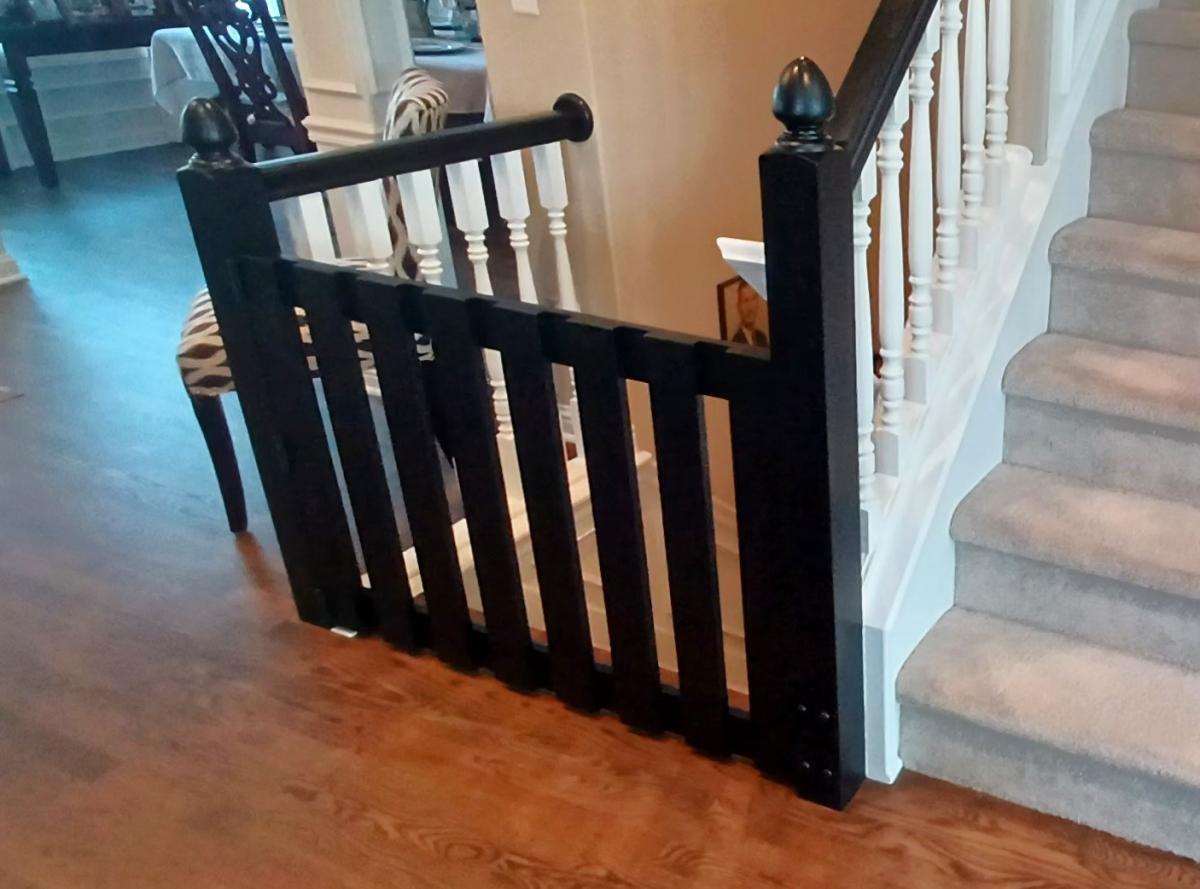
I took the pony wall idea and went with it.
Mazda Mitch
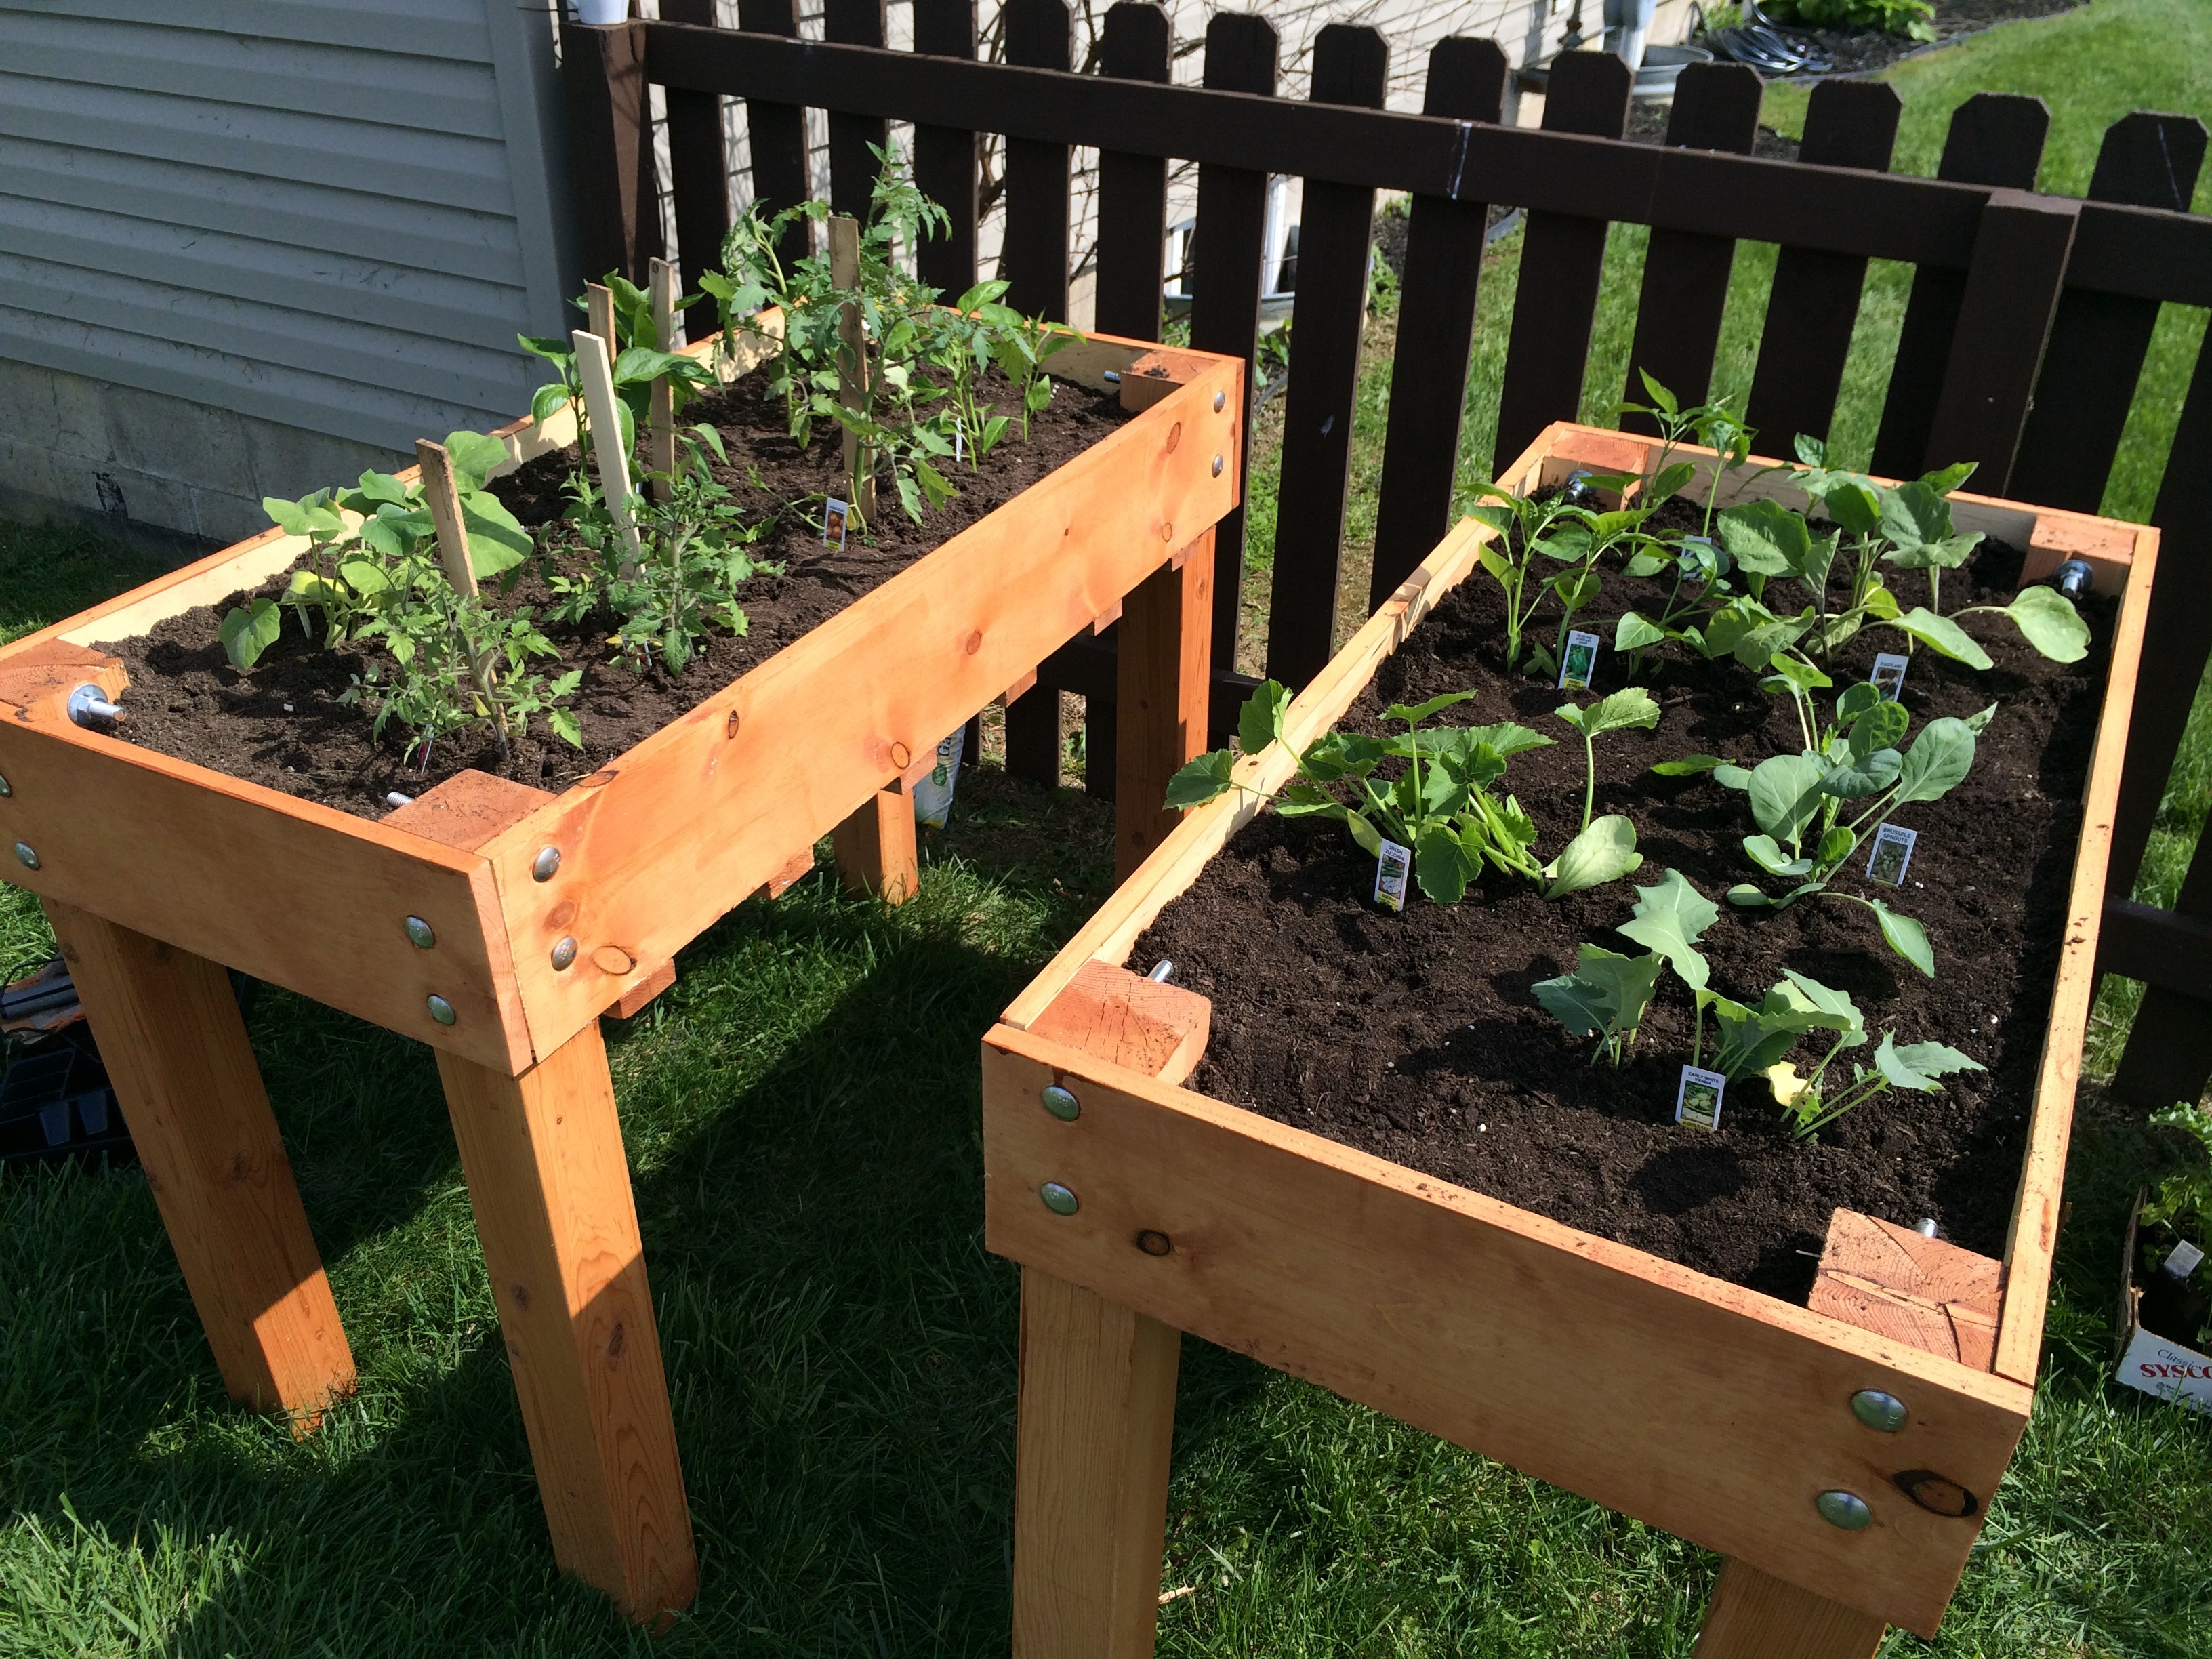
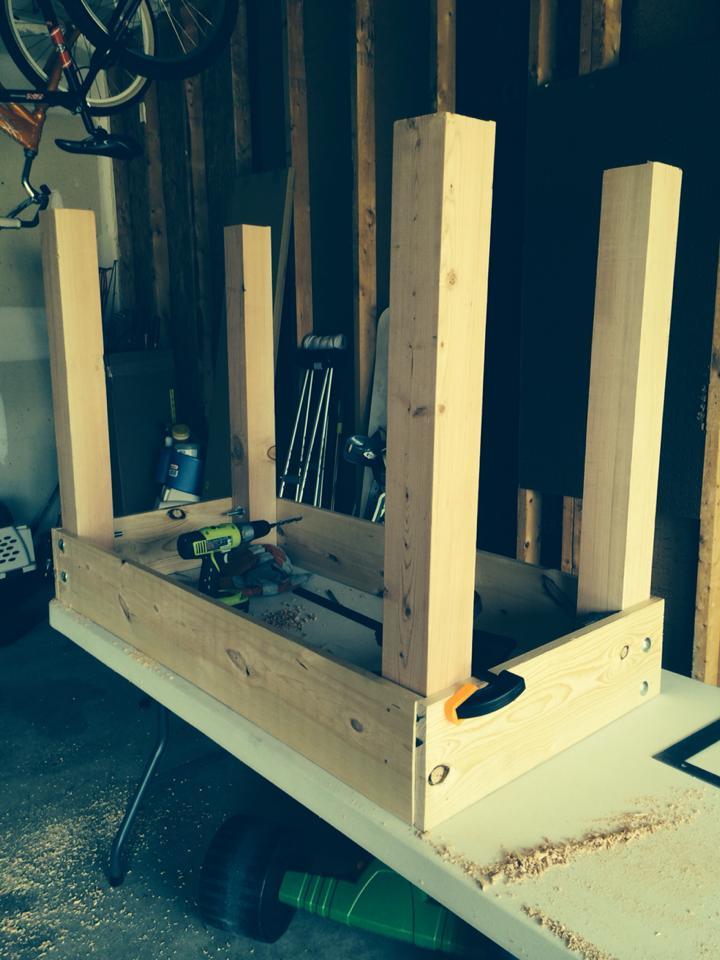
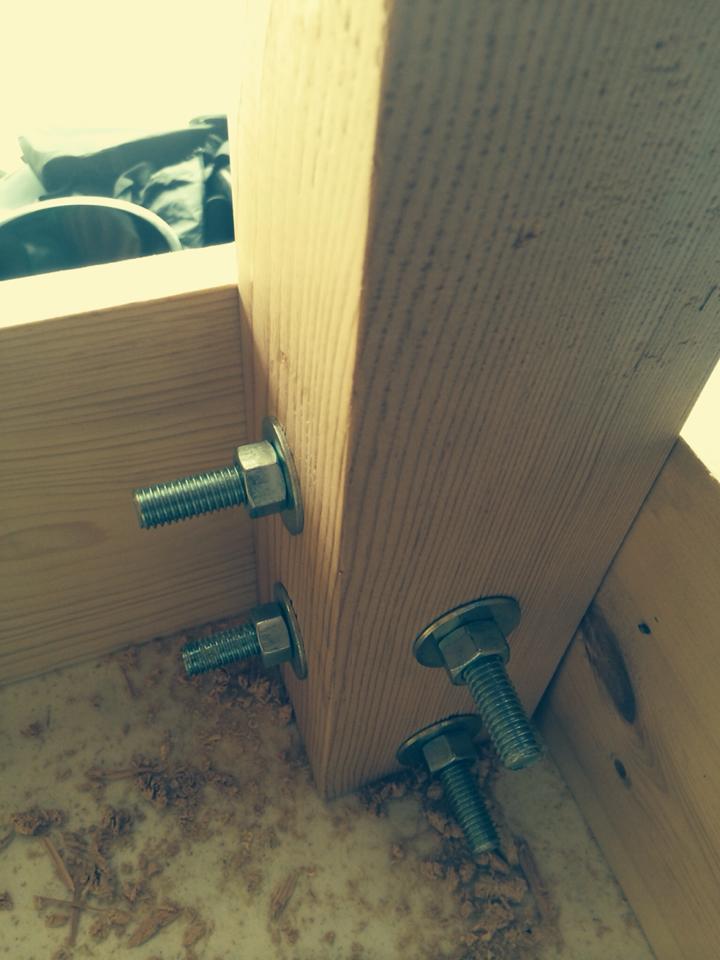
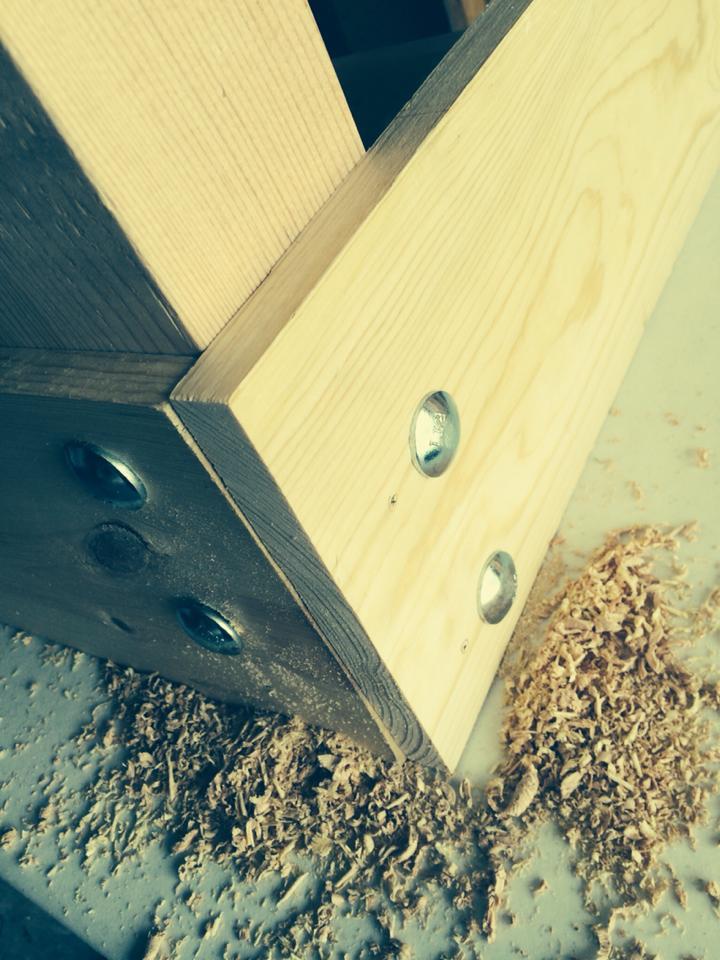
Here's our planters, and they're our first carpentry projects! We found that there were cost efficiencies when building 2 units. We also opted for nut and bolt attachments for the legs instead of making pocket holes…mainly because I don't have the guides for making pocket holes. Seems to work fine, although I do still need to get a saw that I can cut off the excess bolt length on the inside (see pics). Perhaps next time I should trust my measurements and buy the correct bolt length. Ended up costing about $250. Slightly more than the cost of ready-to-build planters at home depot, but those weren't elevated and not nearly as heavy duty or as large. Well worth the investment of both time and money, and a great starter project for beginners. Good luck to you all! -Don and Staci
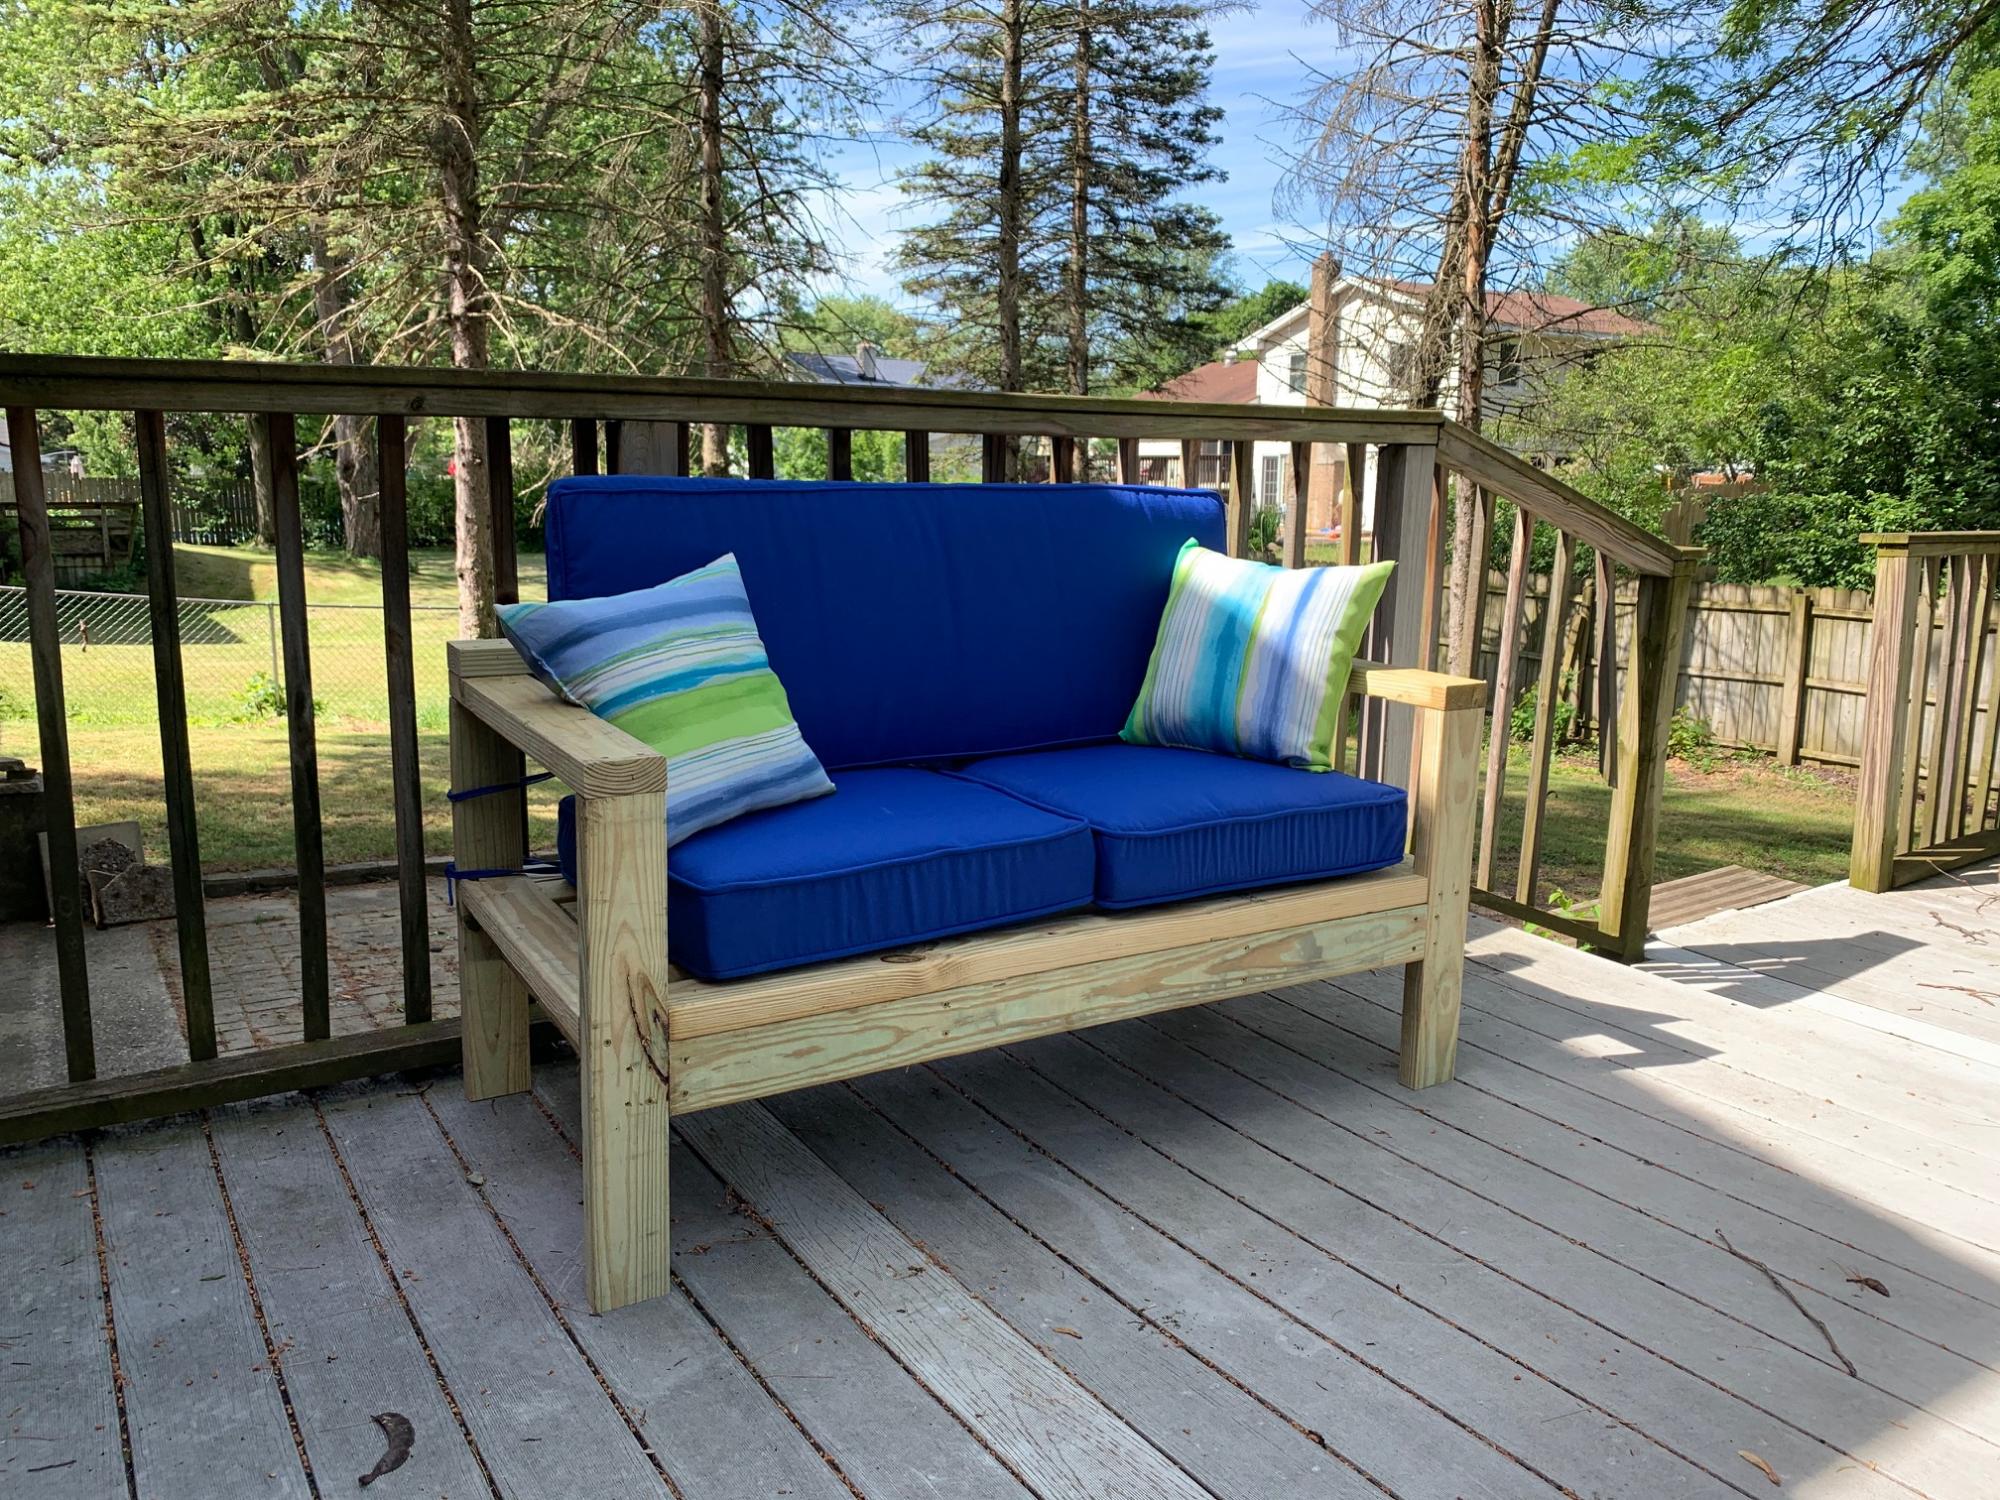
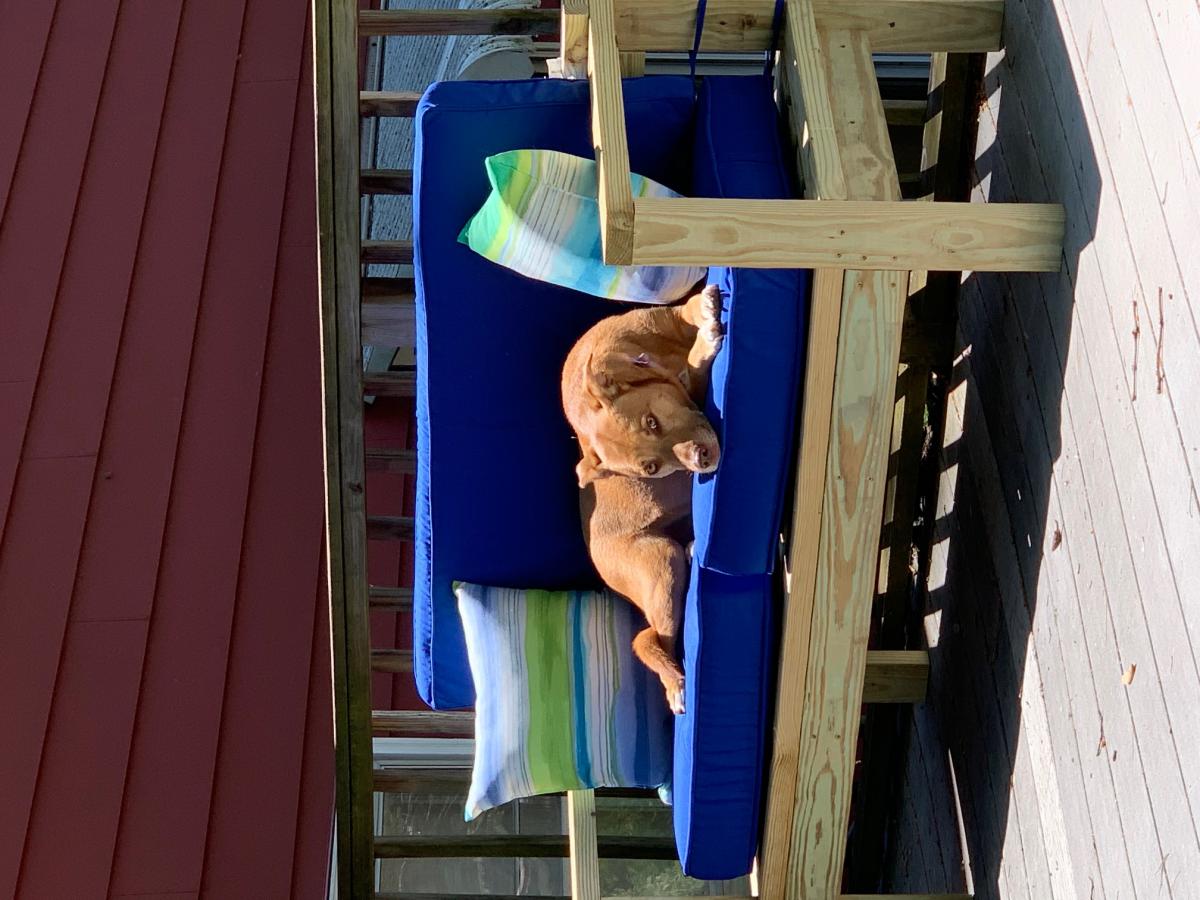
Had some leftover lumber from a friend's deck rebuild and decided to make a love seat for our deck. Modified the 2x4 Outdoor Sofa plans slightly to make it a little smaller but essentially built directly from your plans. My wife loves it! Only downside is we have to fight the dog for room. Thanks! I'll be using your plans again!
Thank you Ana for a great design. I was looking for a gift idea for my Dad on Father's Day and your design was perfect for what I wanted to make. My Dad really loved it! My name is Nathan and kinda new at builders with wood. You see, I am a brain tumor survivor of 20 years and I lost most of my vision from it. For the longest time I was told that I couldn't do this or that. Note, I am very careful and take safety seriously. Your ideas and designs have helped me a great deal with developing confidence with my newly learned skills and I wanted to thank you for that. Also, your designs are reaching people out there and they're bringing joy to a lot of people. Keep up the great work and I look forward to your next inspiration.

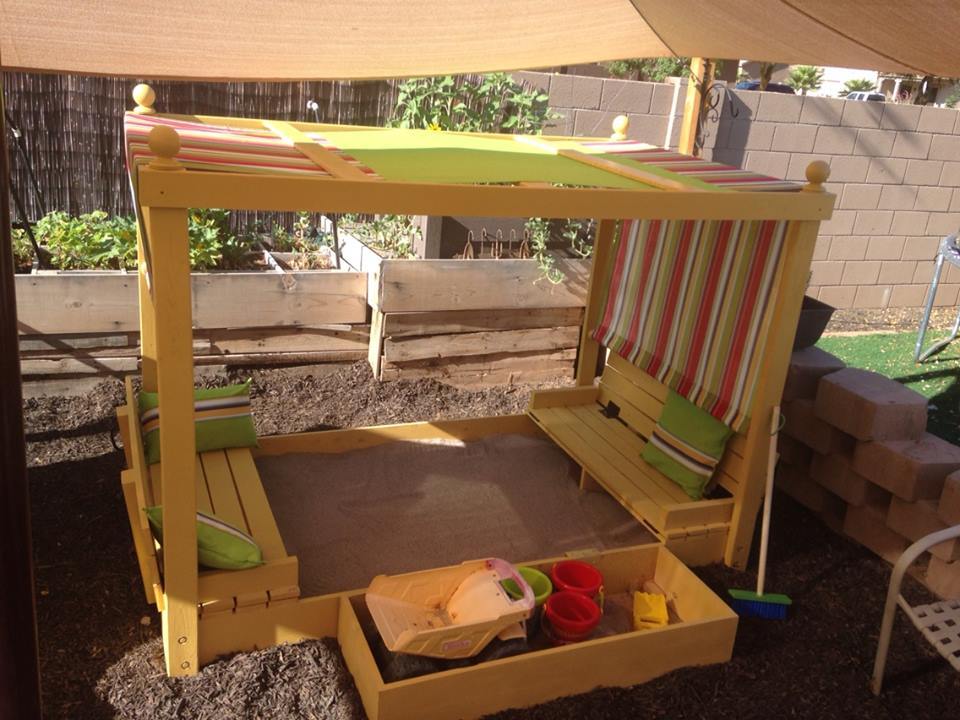
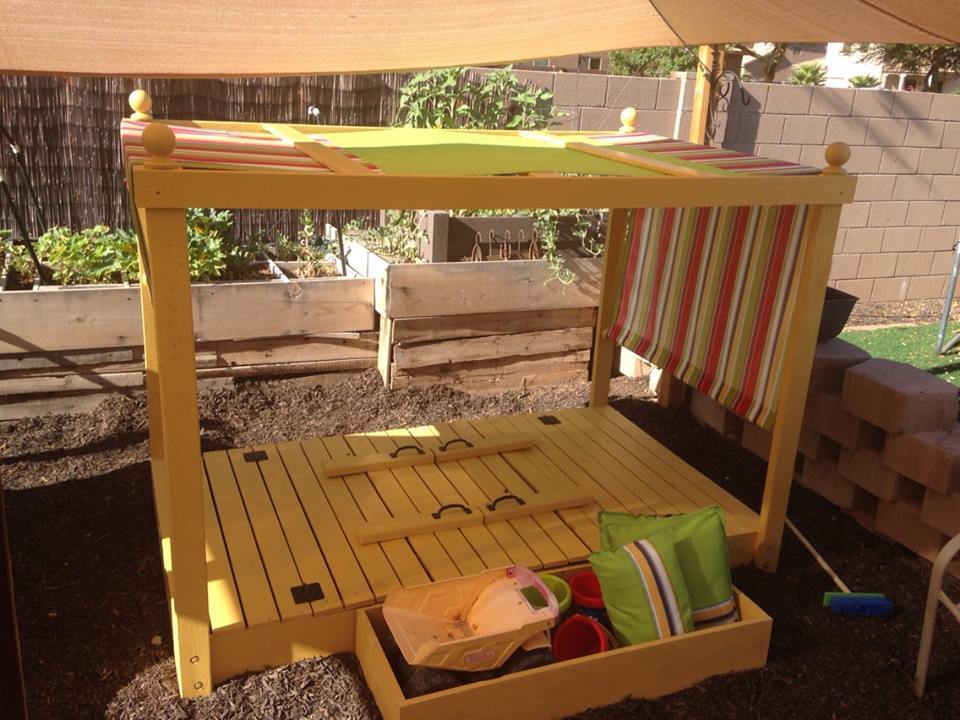
We adjusted the plan and created a 4x7 sand box with toy box and canopy. We are in love with the way this has turned out!

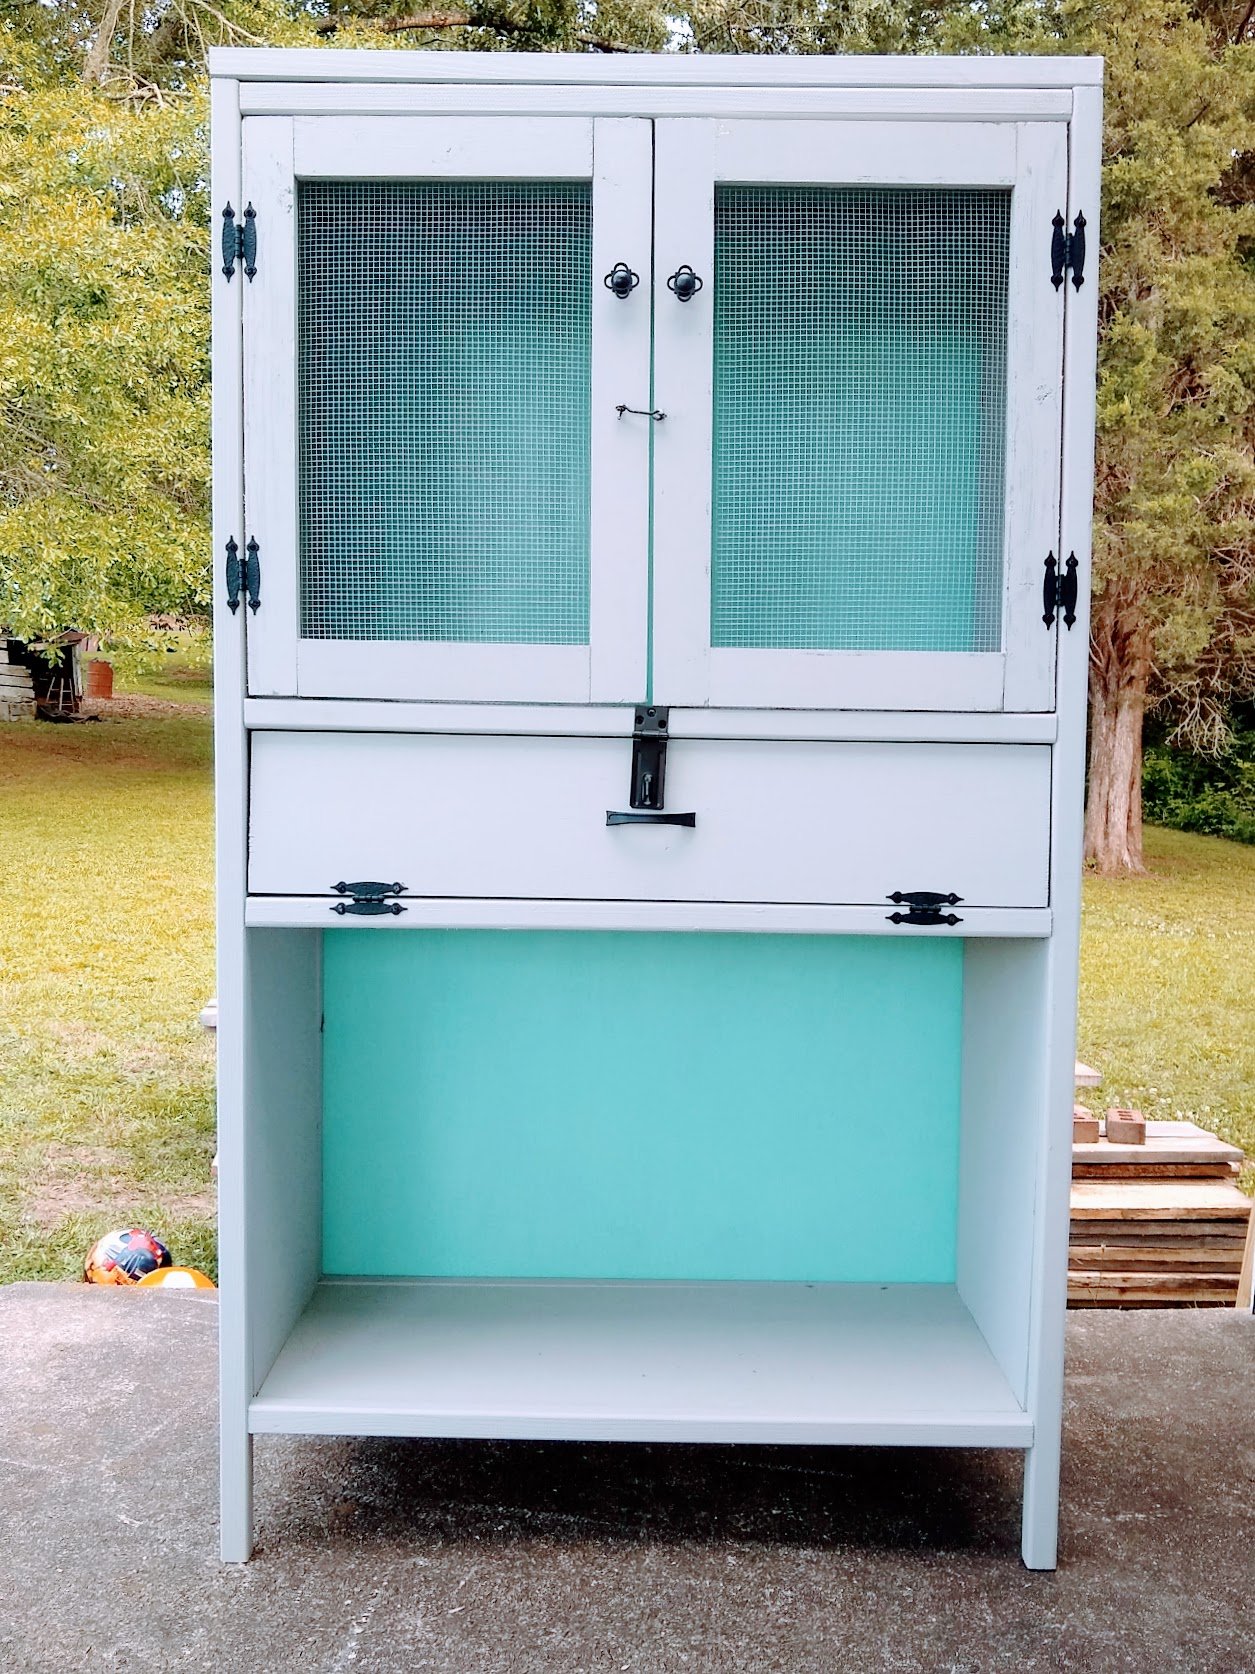
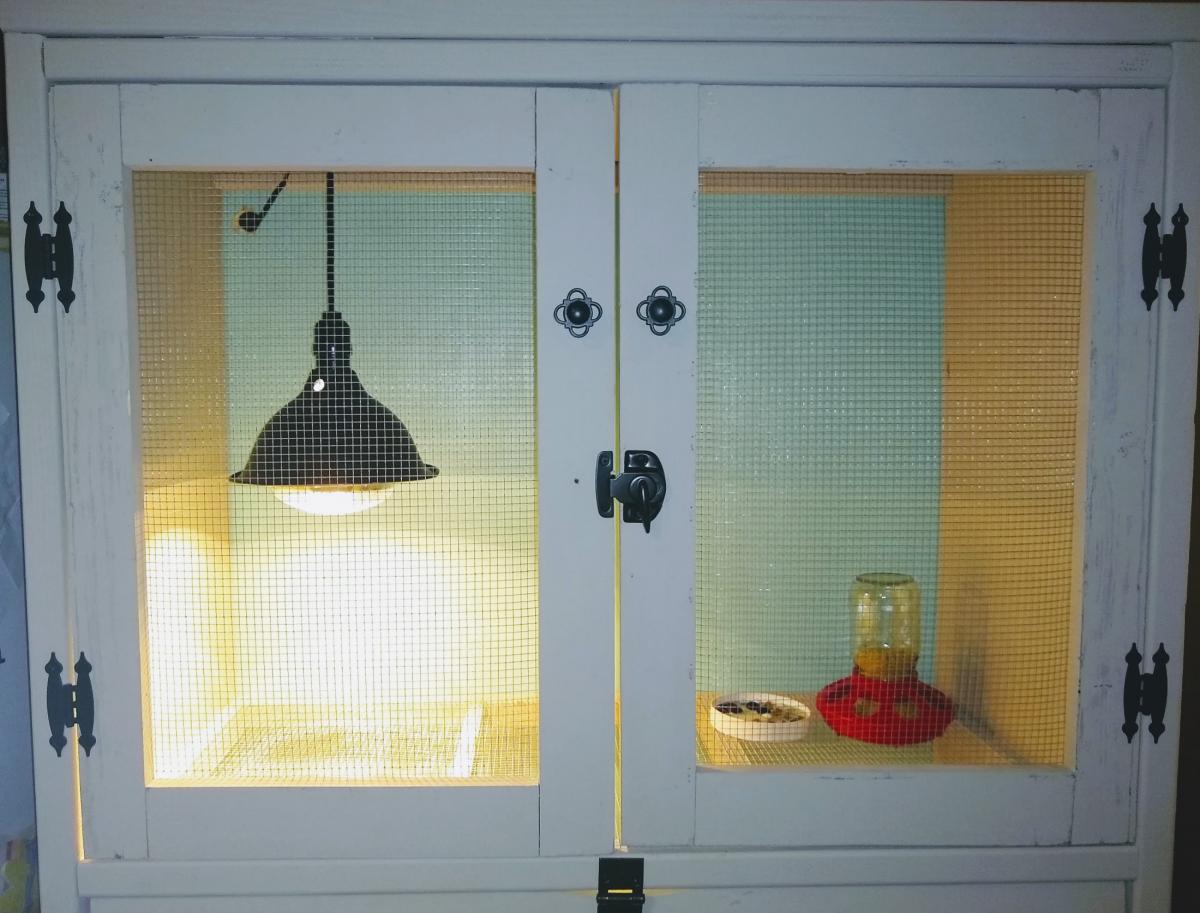
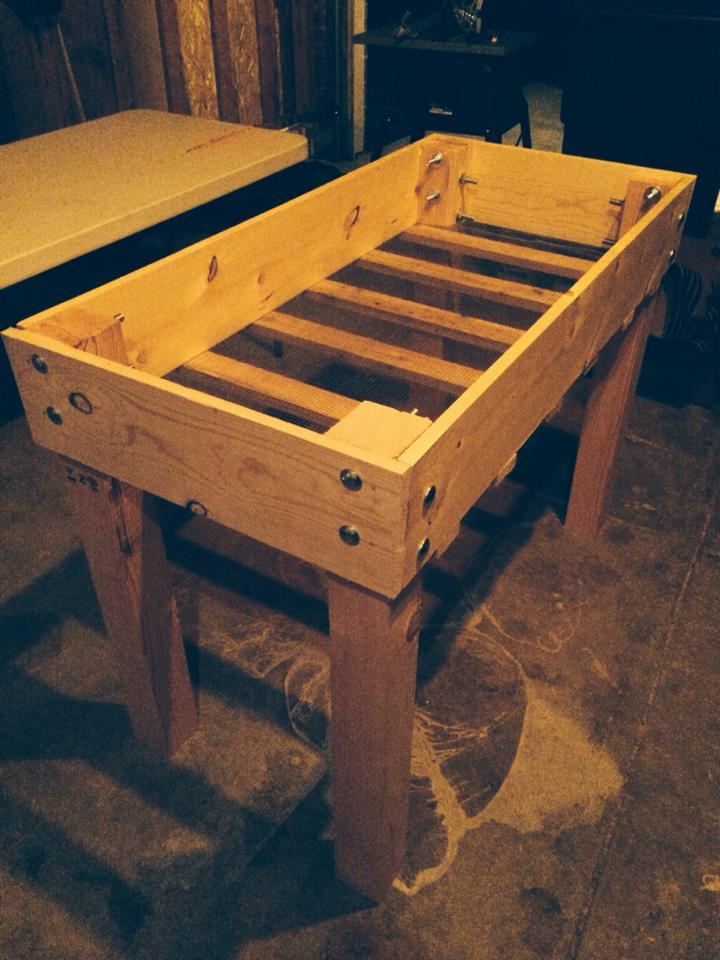
My family has started raising quail recently and I built their first home while they were still in the incubator. I have never done any wood work before, so this turned out much nicer than I expected! I followed the suggestion of having the brooder part on the top instead of the bottom and omitted the extra shelf. Two 5-gallon buckets fit nicely below the chicks. Since the quail are so small when they hatch, I used 1/4 inch hardware cloth for the "floor" but it wasn't long before that was too small so we had to change it to 1/2 inch. I am going to make a tray with each size of hardware cloth on it to make it easier to change out for next time, because they really do need both sizes.