Community Brag Posts

Cedar Tiered Flower Planter

Submitted by Anonymous (not verified) on Tue, 05/04/2021 - 14:30

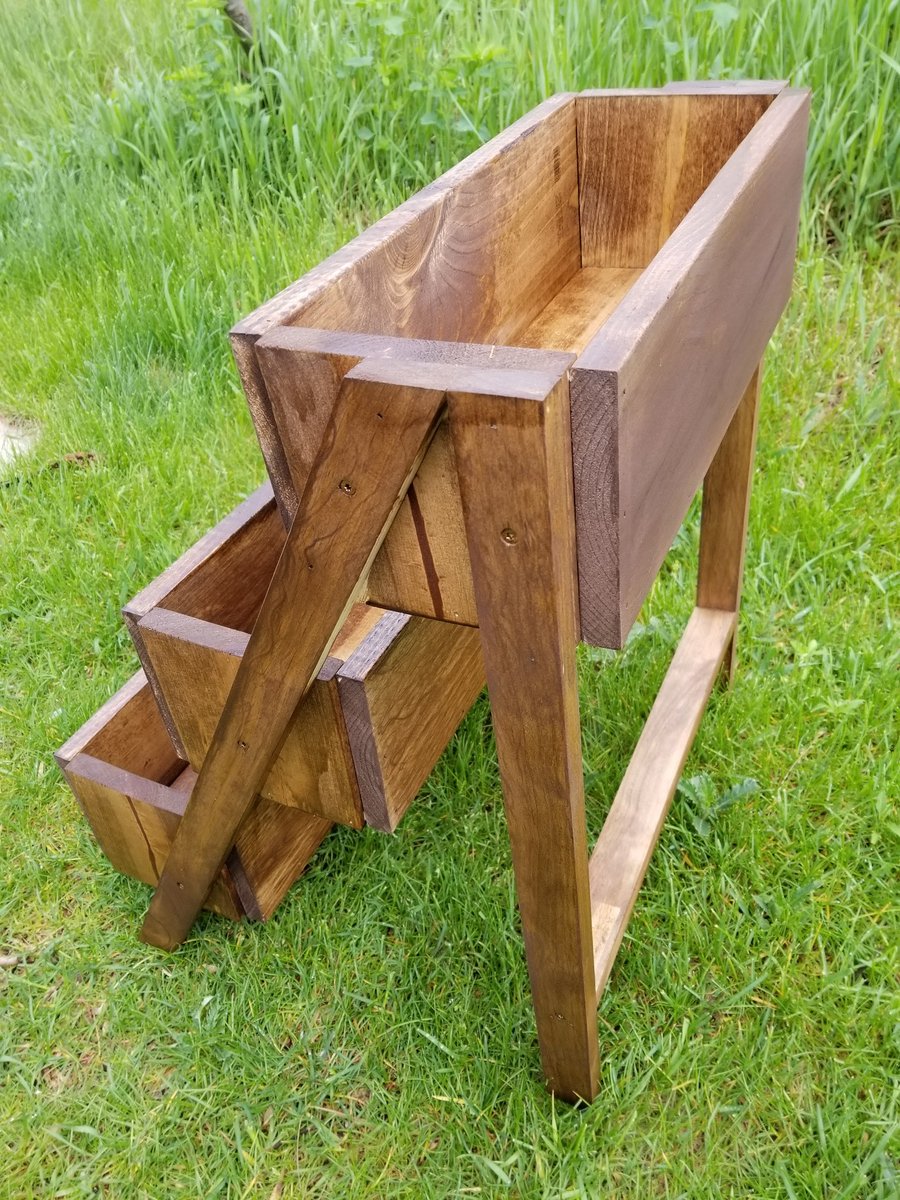
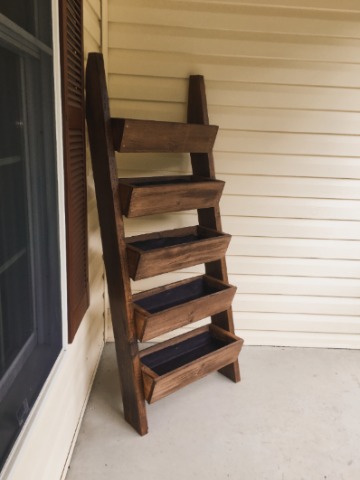
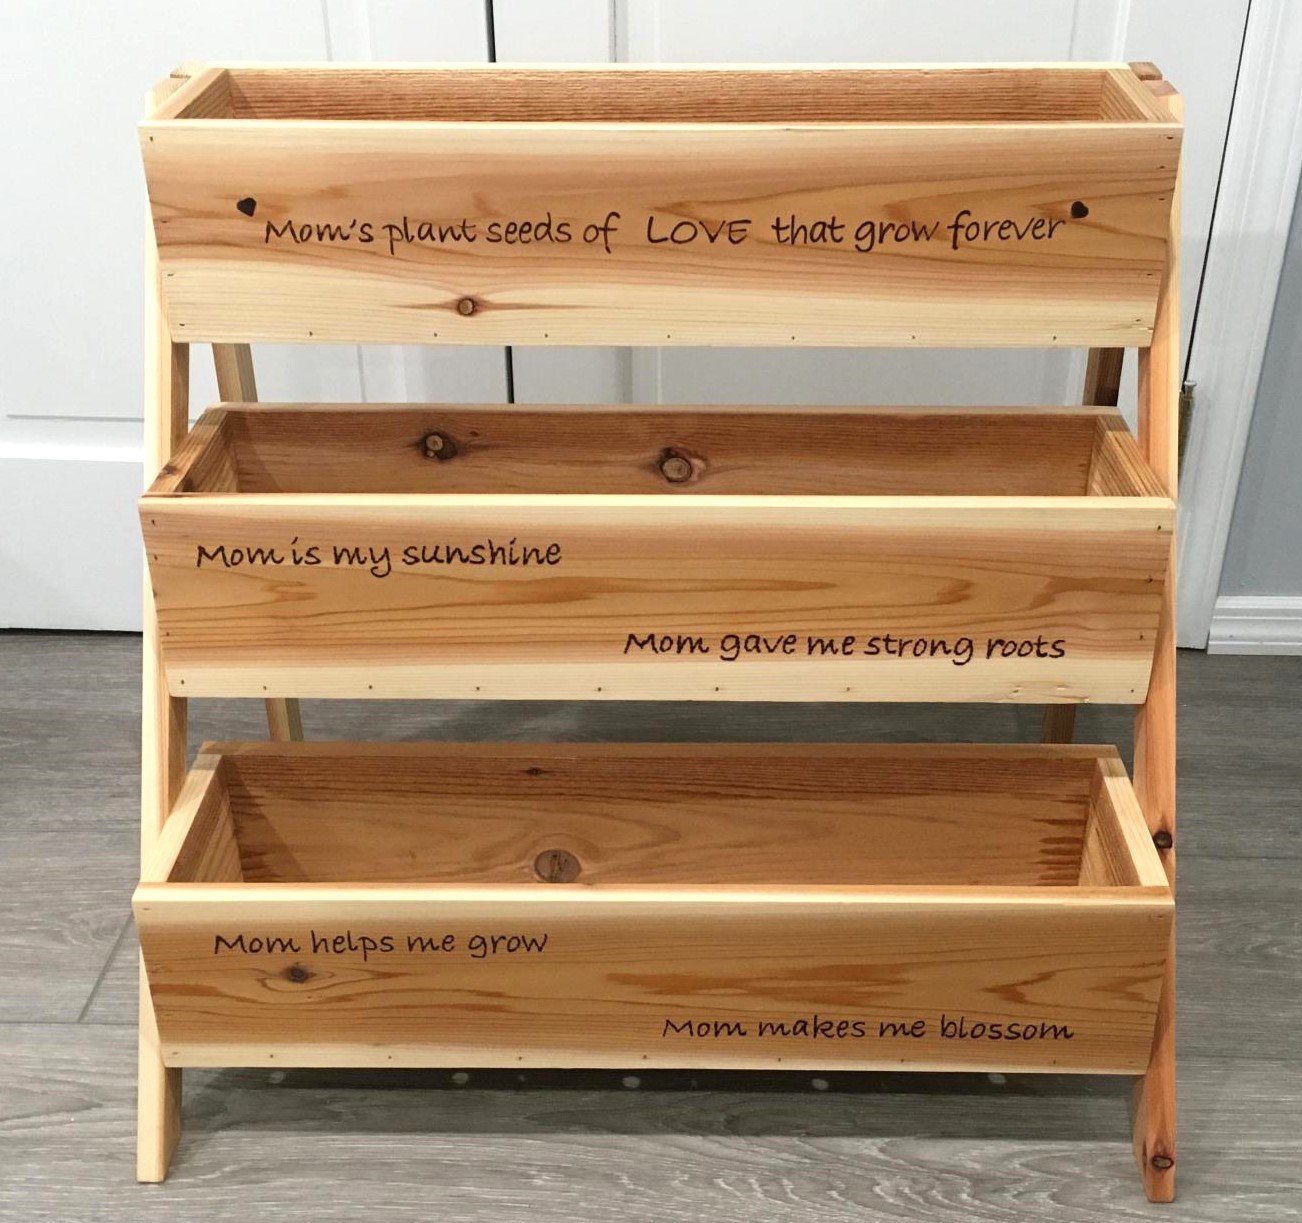
We made this tiered planter for a Mother's Day gift for my wife. It was a simple build and the plans are very easy to follow. I couldn't get any cedar fence pickets so I used standard 1x6x8 cedar boards that were available at the local big box store; that's why the cost is a little high. The planters were made 24" wide for more room instead of 16'" wide as per the plans. We personalized it by adding the quotes to the boards and burning them into the wood with a pyrography pen.

Estimated Cost
$50
Estimated Time Investment
Afternoon Project (3-6 Hours)
Finish Used
Varathane Classic Penetrating Wood Stain - Natural
Recommended Skill Level
Beginner

Comments

3 Tier Planter

Submitted by ranlim on Thu, 05/18/2017 - 21:24

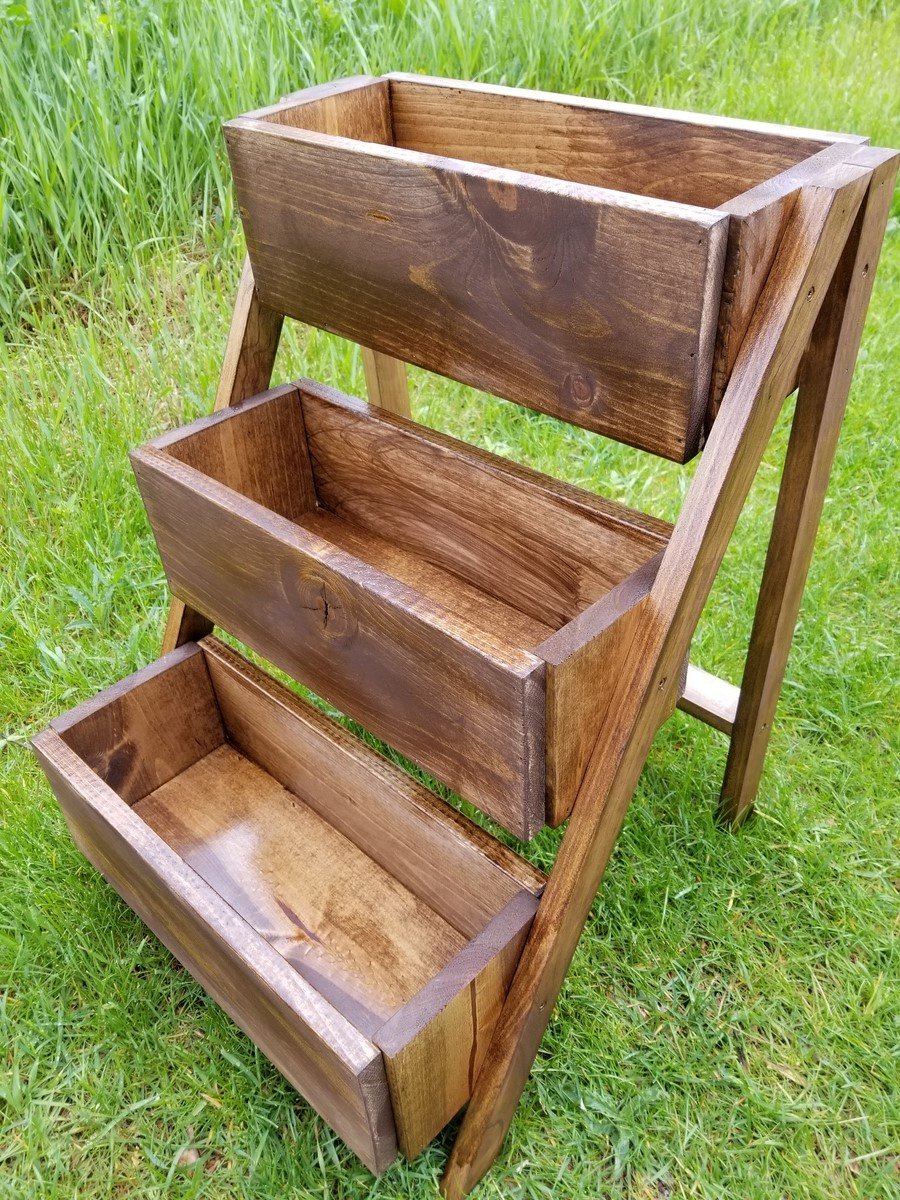
Love this planter. Used quality pine. Perfect size for the balcony! I use it for fresh herbs... i have have other people wanting one too!

Estimated Cost
17
Estimated Time Investment
An Hour or Two (0-2 Hours)
Finish Used
Special walnut
Recommended Skill Level
Beginner

Pet Kennel - Side Entrance

Submitted by Quovadio on Sat, 03/07/2015 - 14:32

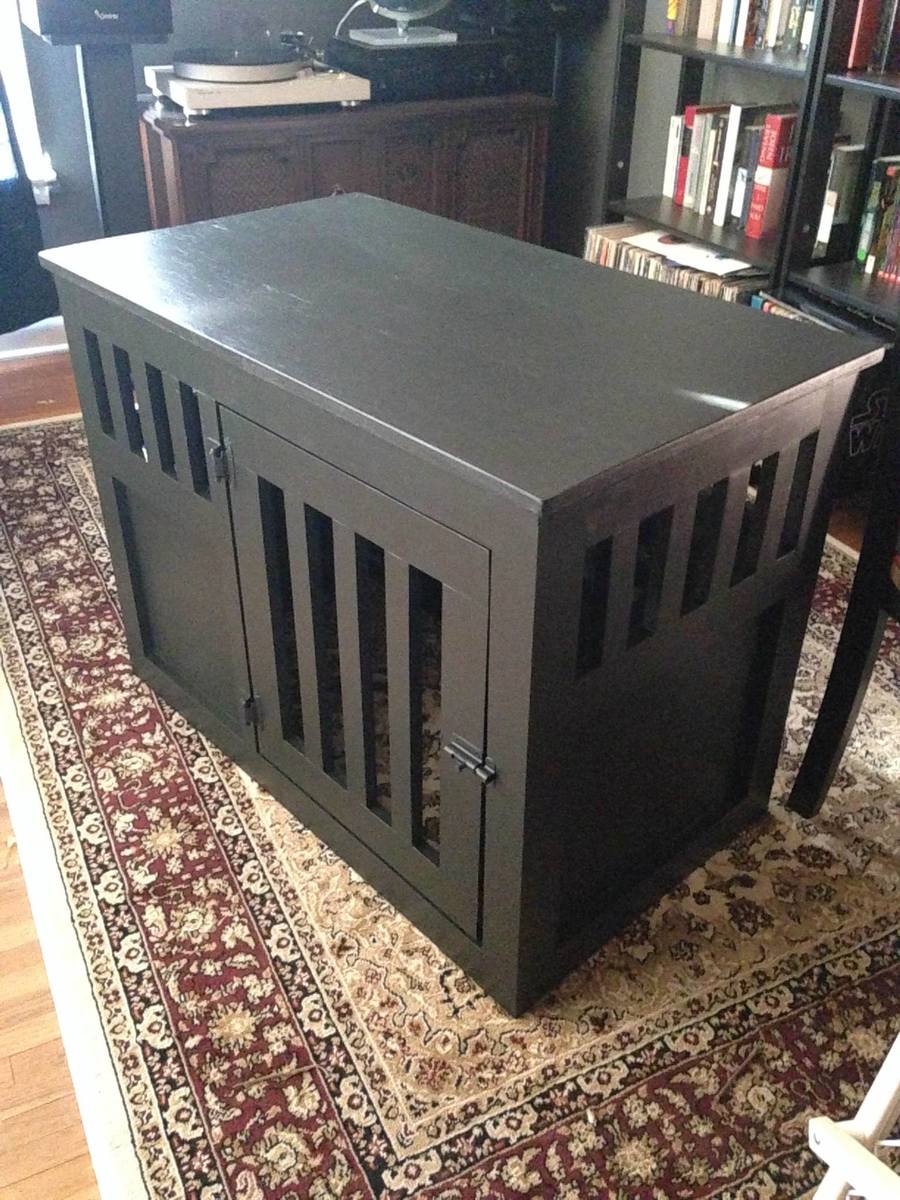
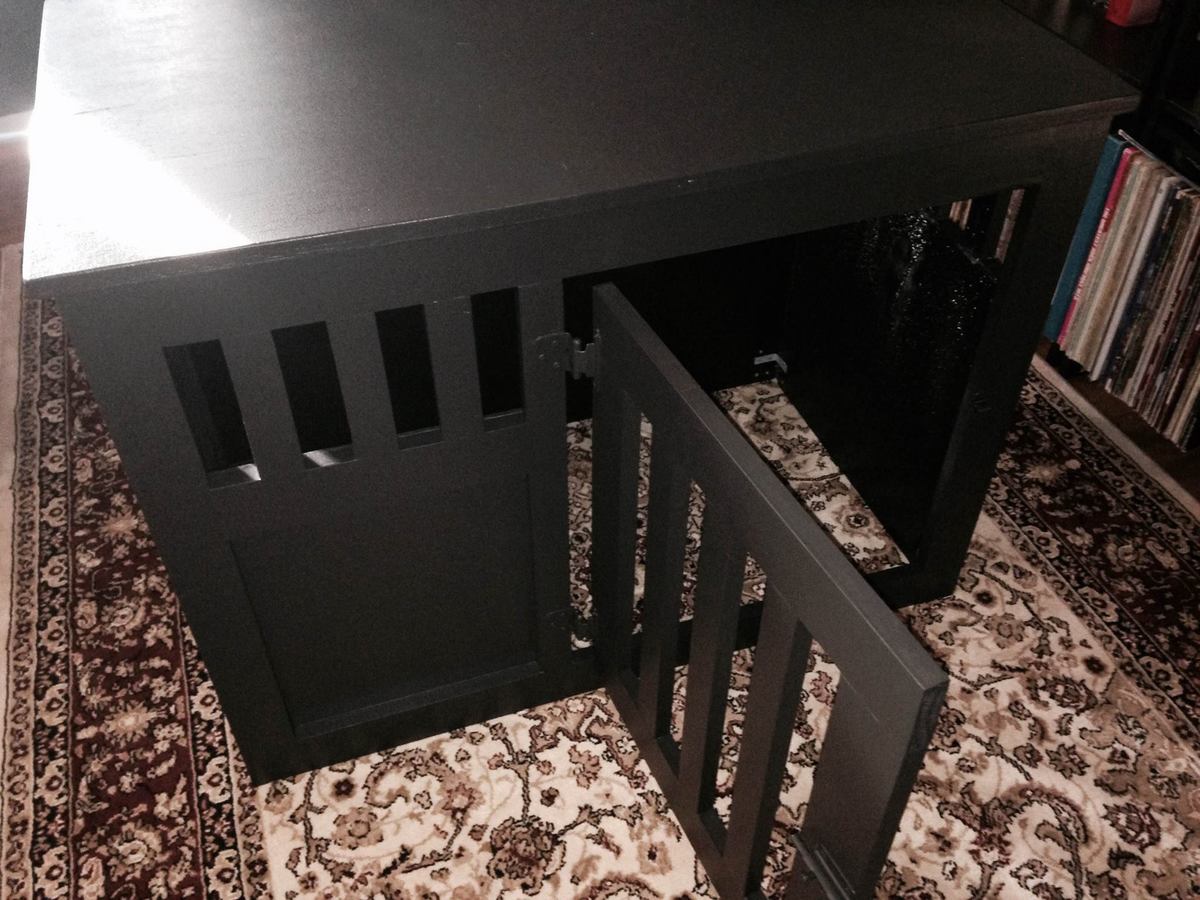
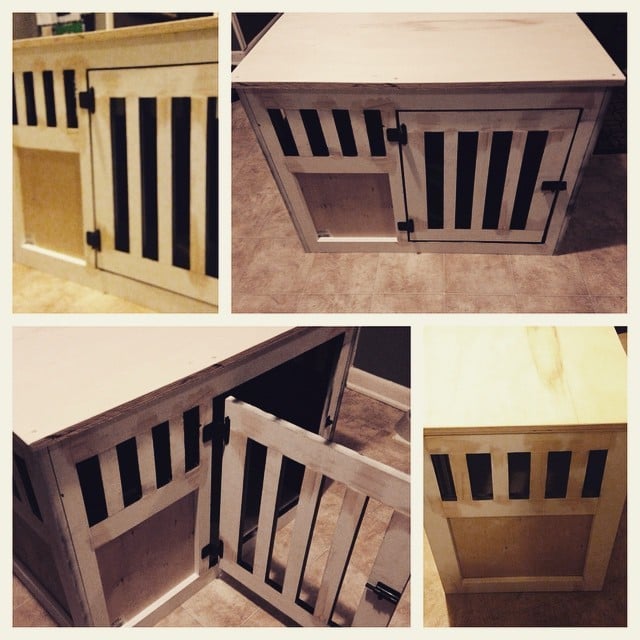
I used the basic plans with two significant alterations.  I made the dimesions slightly narrower, and I moved the entrance to the side.  Both of these changes were made because of space constraints in the location we chose.

Built from Plan(s)
Estimated Time Investment
Weekend Project (10-20 Hours)
Recommended Skill Level
Beginner

Comments

5-Tier Wood Planter

This plan was easy to follow, accurate and came together in just a few hours. I used some reclaimed barn wood for the 2x6s and dog-ear pickets for the remainder.

I made it harder for myself than it had to be. I didn't follow the directions closely enough and cut the box ends at 5 1/2" instead of 5 1/4". That meant that the bottoms had nothing to press-fit against. So, I had to do a little workaround to fix that. I made a 1" shelf at each end of each box so that the bottom could sit on these little shelves. The upside to this mistake is that there was now a drainage slot all along the front and all along the back of each planter box. 

I stained and sealed it. Finally, I lined each planter box with weed matting that I'd cut to size and cut drain slits in. The matting doubles as a way to keep the planting mix from falling out of the long drainage slots while allowing water to drain through the little slits I poked in the fabric. (I poked drain slits only along the front edge so that water would drain into the planter box below instead of onto the ground.)

I'm happy with the plan and the finished planter!

Estimated Cost
$35
Estimated Time Investment
Afternoon Project (3-6 Hours)
Finish Used
One coat of Cabots Premium Stain and Sealer in Gingersnap. One coat of Minwax Helmsman Spar Urethane.
Recommended Skill Level
Beginner

Modern Deck Chairs and Loveseat

Submitted by c.winks on Mon, 10/04/2021 - 12:59

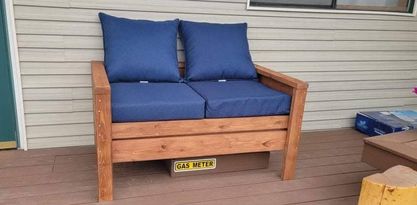
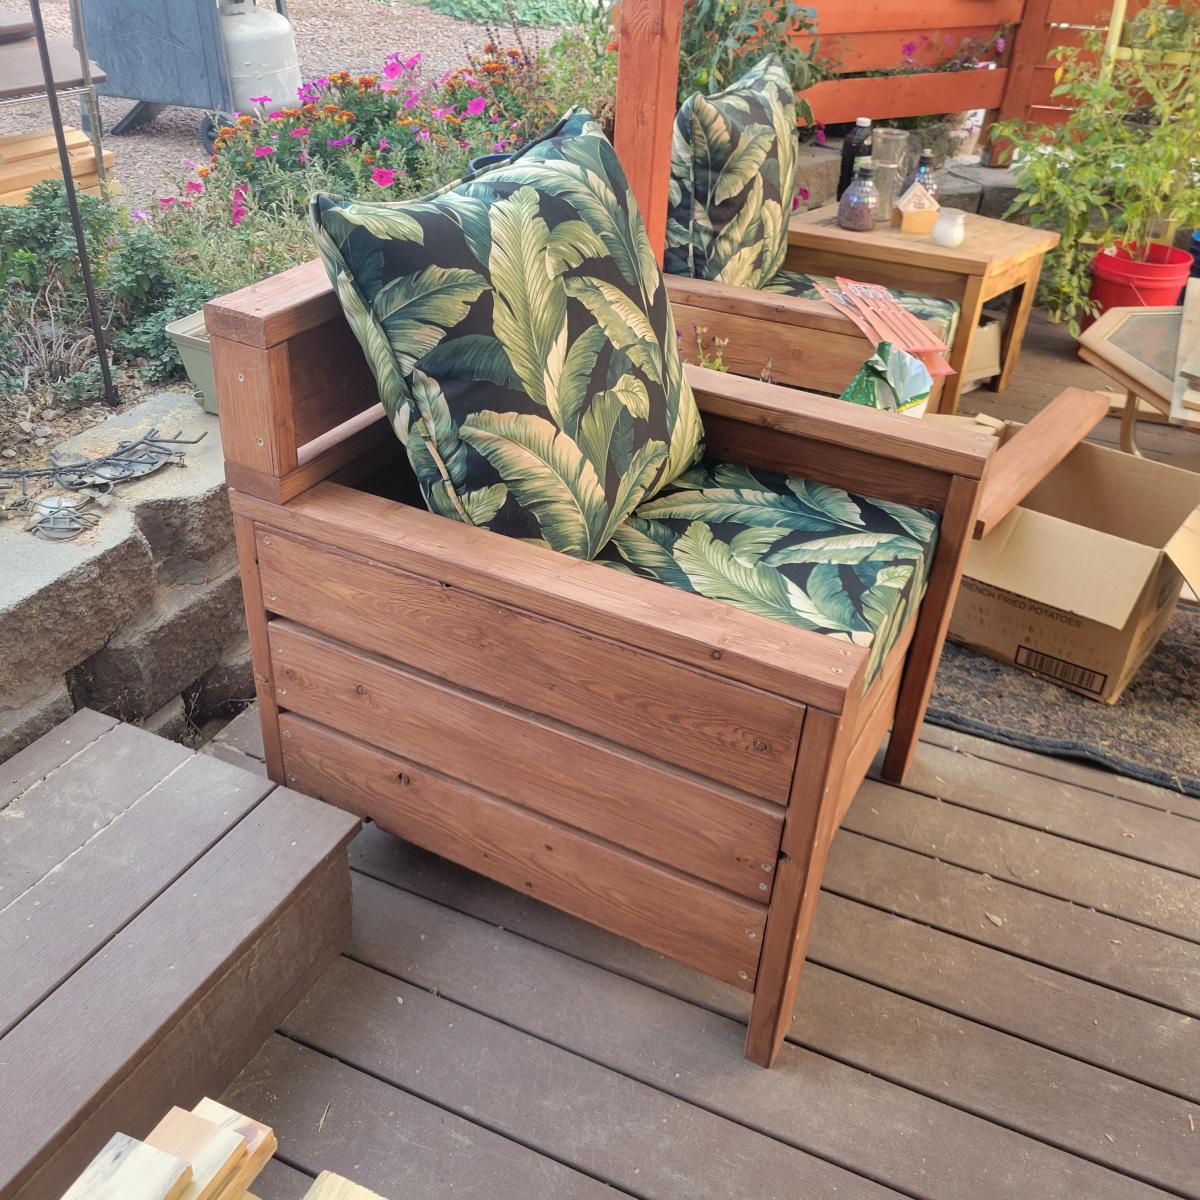
Love, love, love your projects and plans! I have made 3 of the Modern Outdoor Chairs so far, as well as the Modern Outdoor Loveseat and they are amazing. I purchased both the seat and back cushions for my chairs before realizing that the back cushion had nothing to lean against, so I modified the design and gave the chairs alittle more personality. Keep those plans coming, I can't wait to try more.

Comments

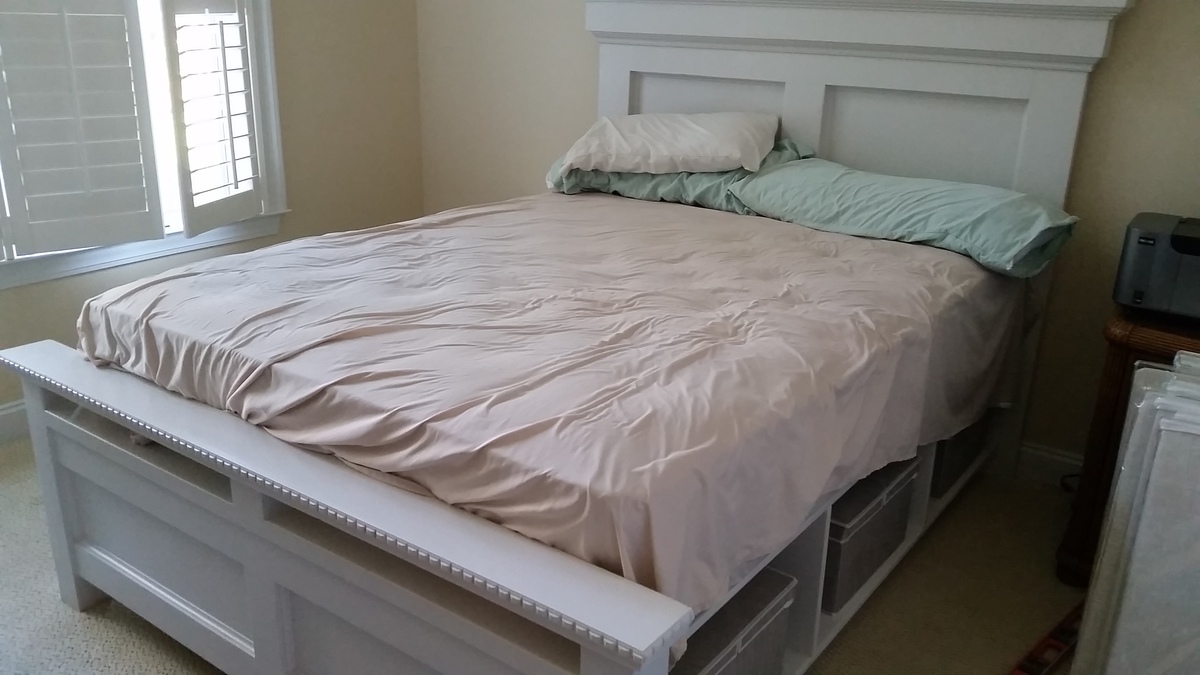
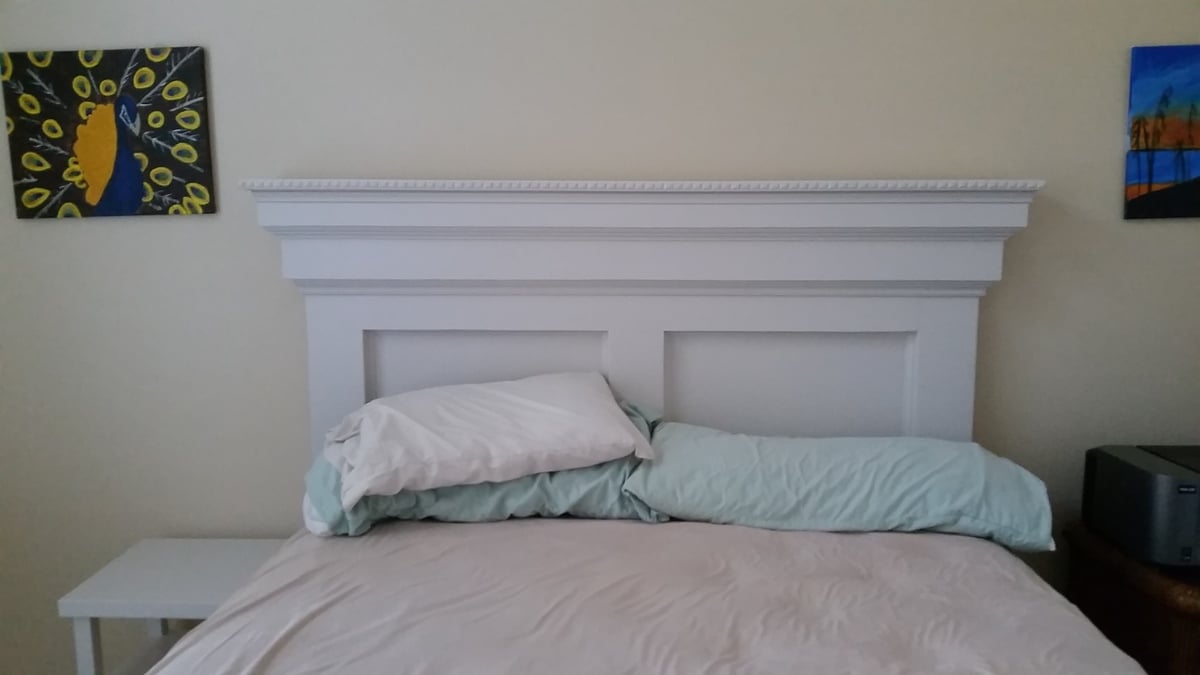
Mantel storage bed

This is a queen size mantel bed with storage as cubbies only (also Ana White).  The paint is Eider White from SW (white with grey undertones, no yellow) and water-based poly since I really didn't want any yellow in in.  

Estimated Time Investment
Week Long Project (20 Hours or More)
Finish Used
Eider White
Recommended Skill Level
Intermediate

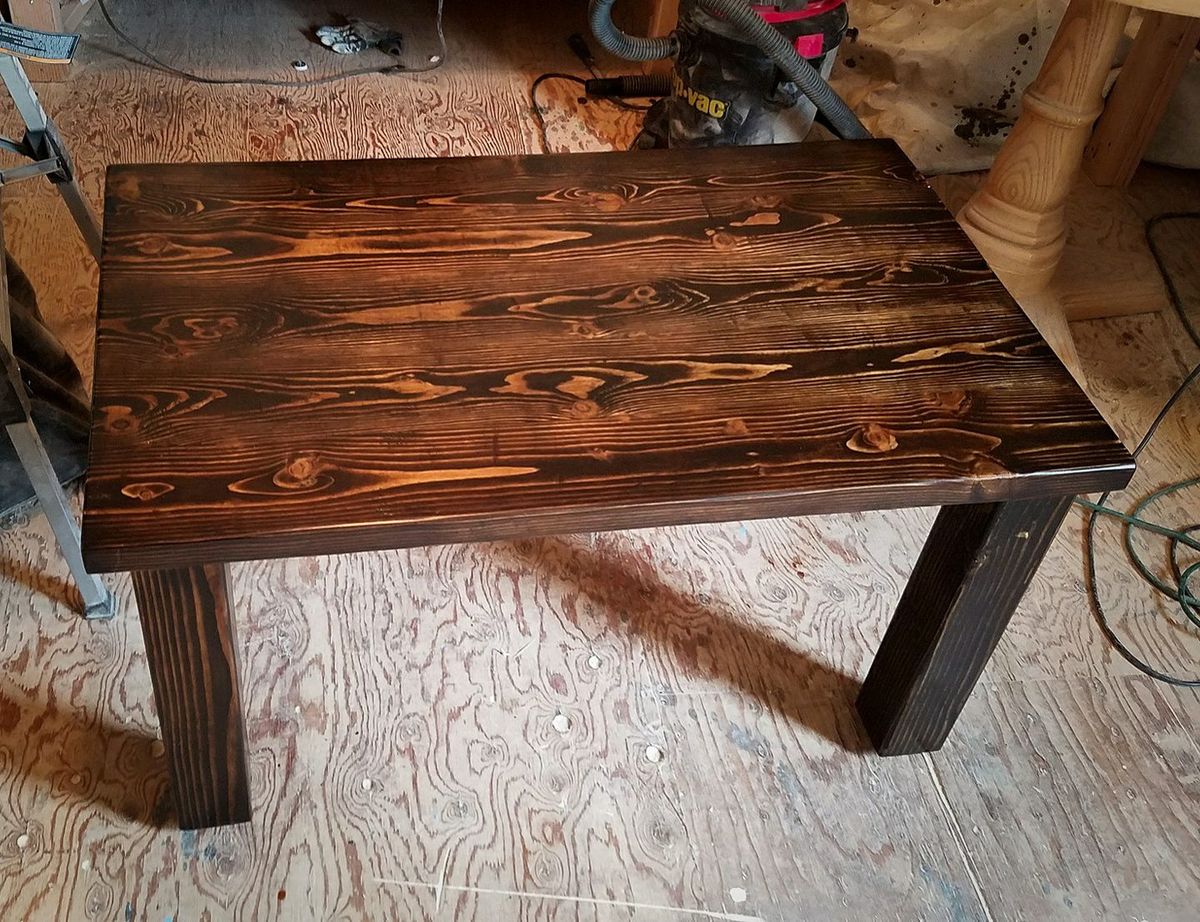
Coffee Table

Submitted by Malka on Wed, 09/13/2017 - 00:34

Coffee table stained in Jacobean, and finished with Minwax satin Poly.

Built from Plan(s)
Estimated Cost
$80
Estimated Time Investment
Weekend Project (10-20 Hours)
Finish Used
Minwax Jacobean Stain and Satin Poly
Recommended Skill Level
Beginner

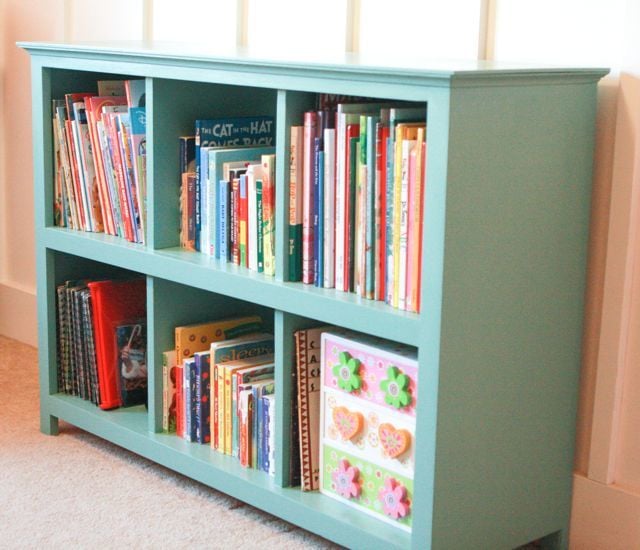
Another cube bookcase

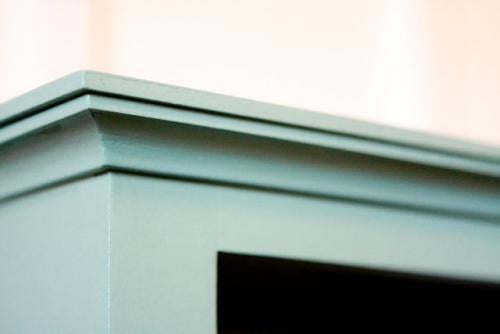
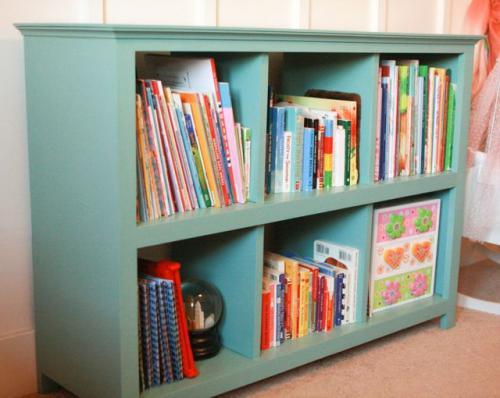
When I find clothes I like, I buy more of the same. Apparently this habit applies to furniture, too. This fall I built two cube bookcases for my 8 year old's bedroom. Last weekend, I built another, this time for my 6 year old. What can I say? The first two worked out so well I needed another!

For this bookcase, I had the lumber (at least the big boards, not the 1x2s) cut at Lowe's. The cuts were precise and square -- everything I want in a cut!

Just as I did with the first two bookcases, I used the Kreg Jig to put this one together and then I topped it with 1/4" MDF, attaching mitered cove molding underneath. At some point this winter I realized that my miter saw was out of square. I'm not good at fixing mechanical things, so my husband did me the favor of squaring the saw for me. Wow, what a difference! My cuts are so much more precise now that the saw is square again. Whew!

One change I made from the first two cube bookcases I built was in the finish. Instead of building and then finishing, I painted the surfaces that would end up on the inside of the bookcase before assembling the whole thing. Last time it was a bit of a nightmare getting into all the corners and inside tops of each cube. Painting the inside ahead of time was much simpler. Once the unit was put together, I sanded and painted the outside, touched up the inside, and then added two coats of poly to both the inside and the outside.
Built from Plan(s)
Estimated Time Investment
Weekend Project (10-20 Hours)
Finish Used
Ralph Lauren "Aged Mint" paint in a flat finish followed by two coats of satin polyurethane. I sanded lightly in between all coats.
Recommended Skill Level
Beginner

Swing and arbor

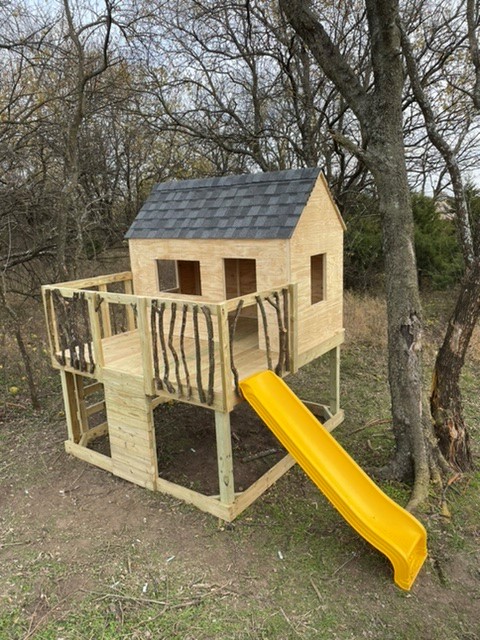
Weekend swing project

Recommended Skill Level
Beginner

Comments

Ana White

Tue, 05/07/2019 - 10:42

We don't currently have this plan available, although I'd be happy to draw it with the author's permission.

I have linked a few plans above that could be used to create this plan.  Just make sure you bury the arbor uprights underground on concrete pier posts or similar (like building a fence)

Home made bar

Submitted by Anonymous (not verified) on Mon, 12/27/2021 - 06:34

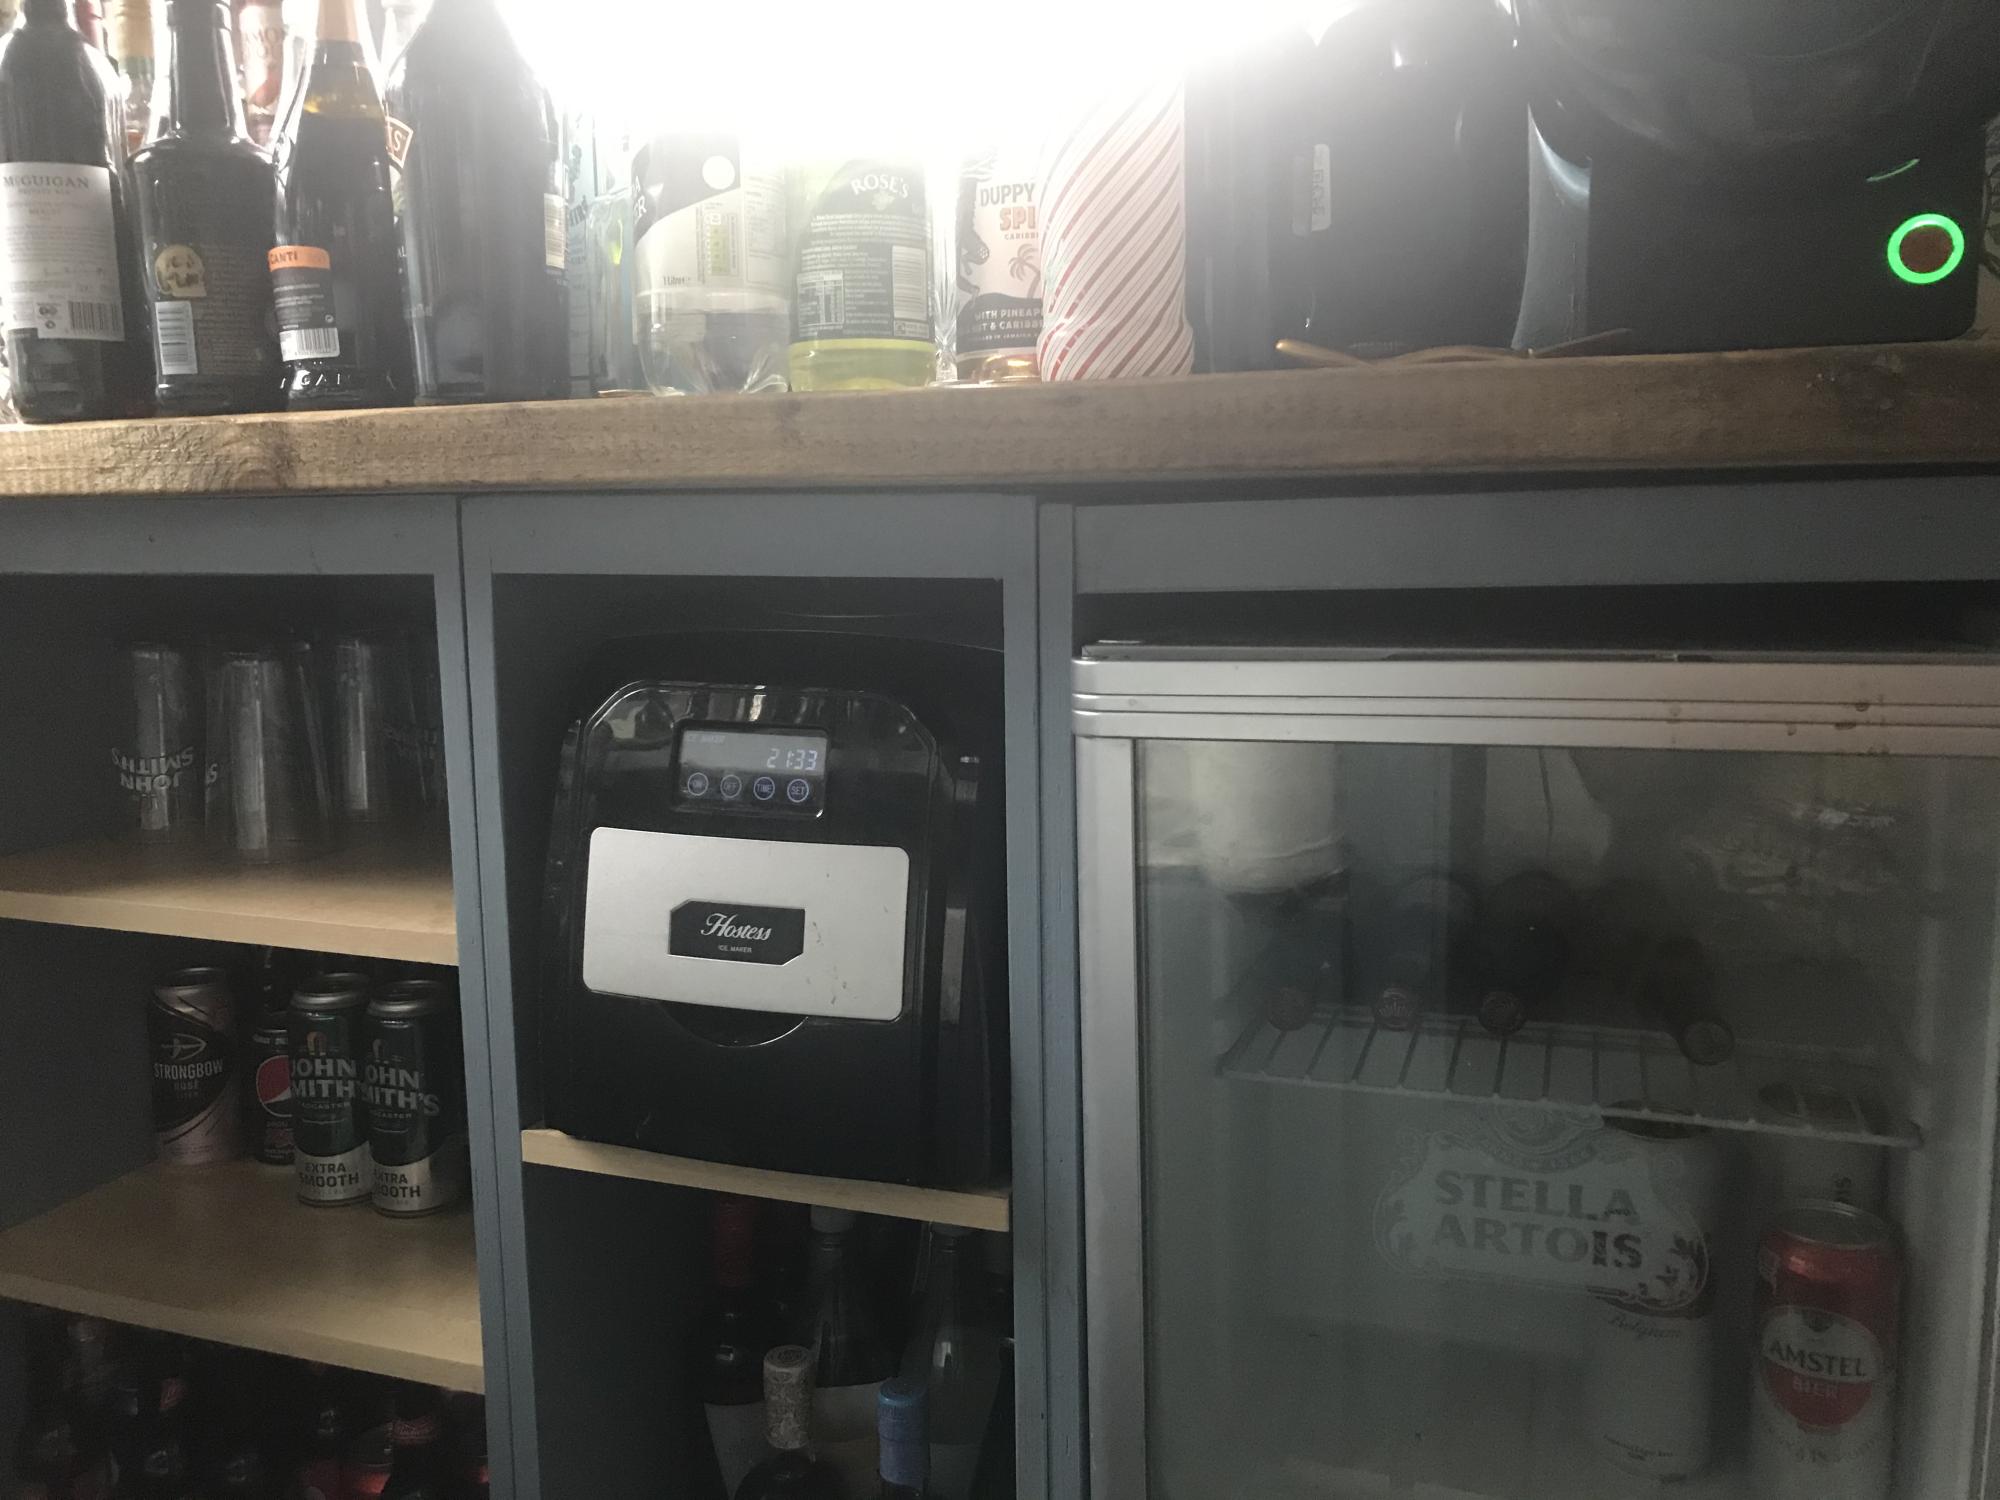
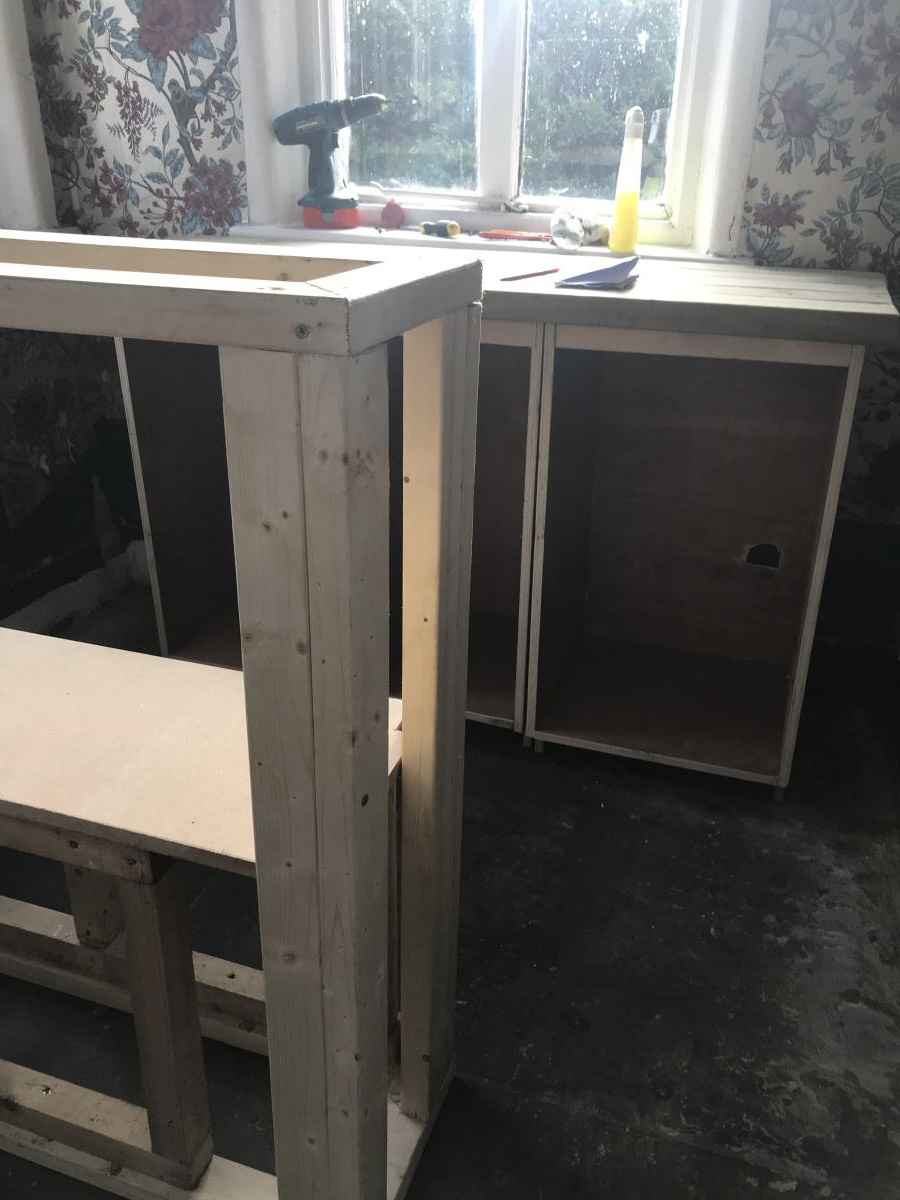
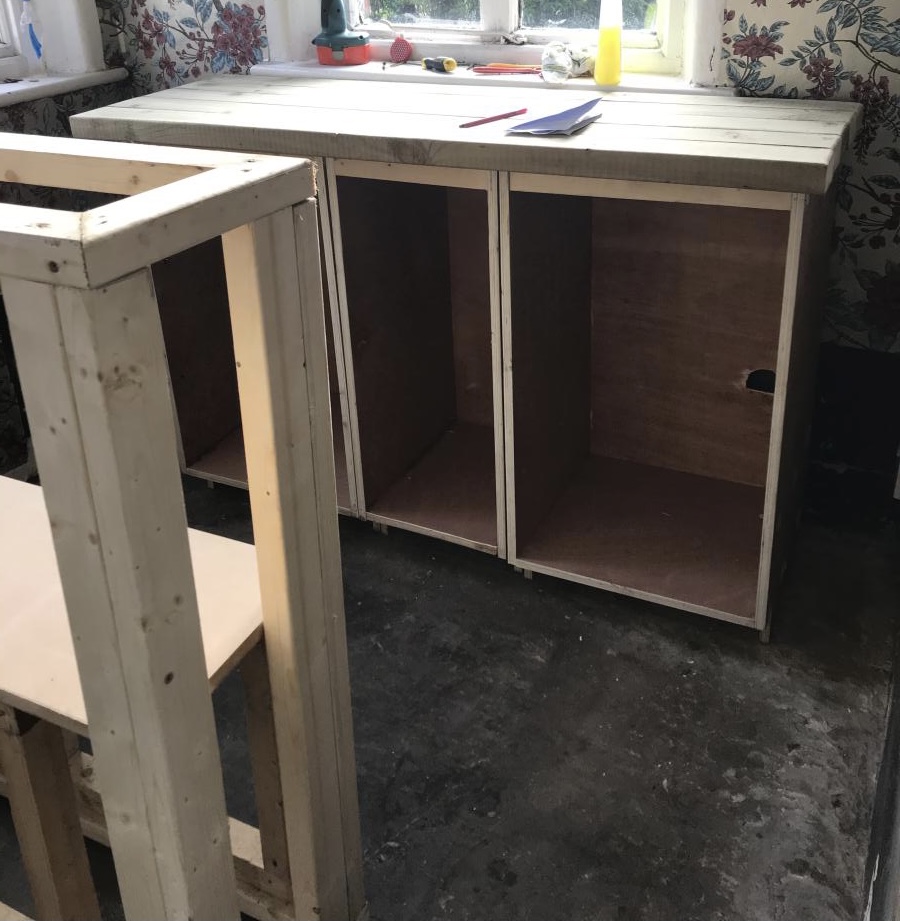
Based bar cupboard on kitchen carcass plans and then made the bar front as I went . The kitchen cupboard plans were easy to follow and I was really pleased with the results. This was a real hit at Christmas a really good base for mixing and even better folks brought bottles with them !!

Comments

Kids table with chairs/storage

Submitted by Anonymous (not verified) on Mon, 12/27/2021 - 19:33

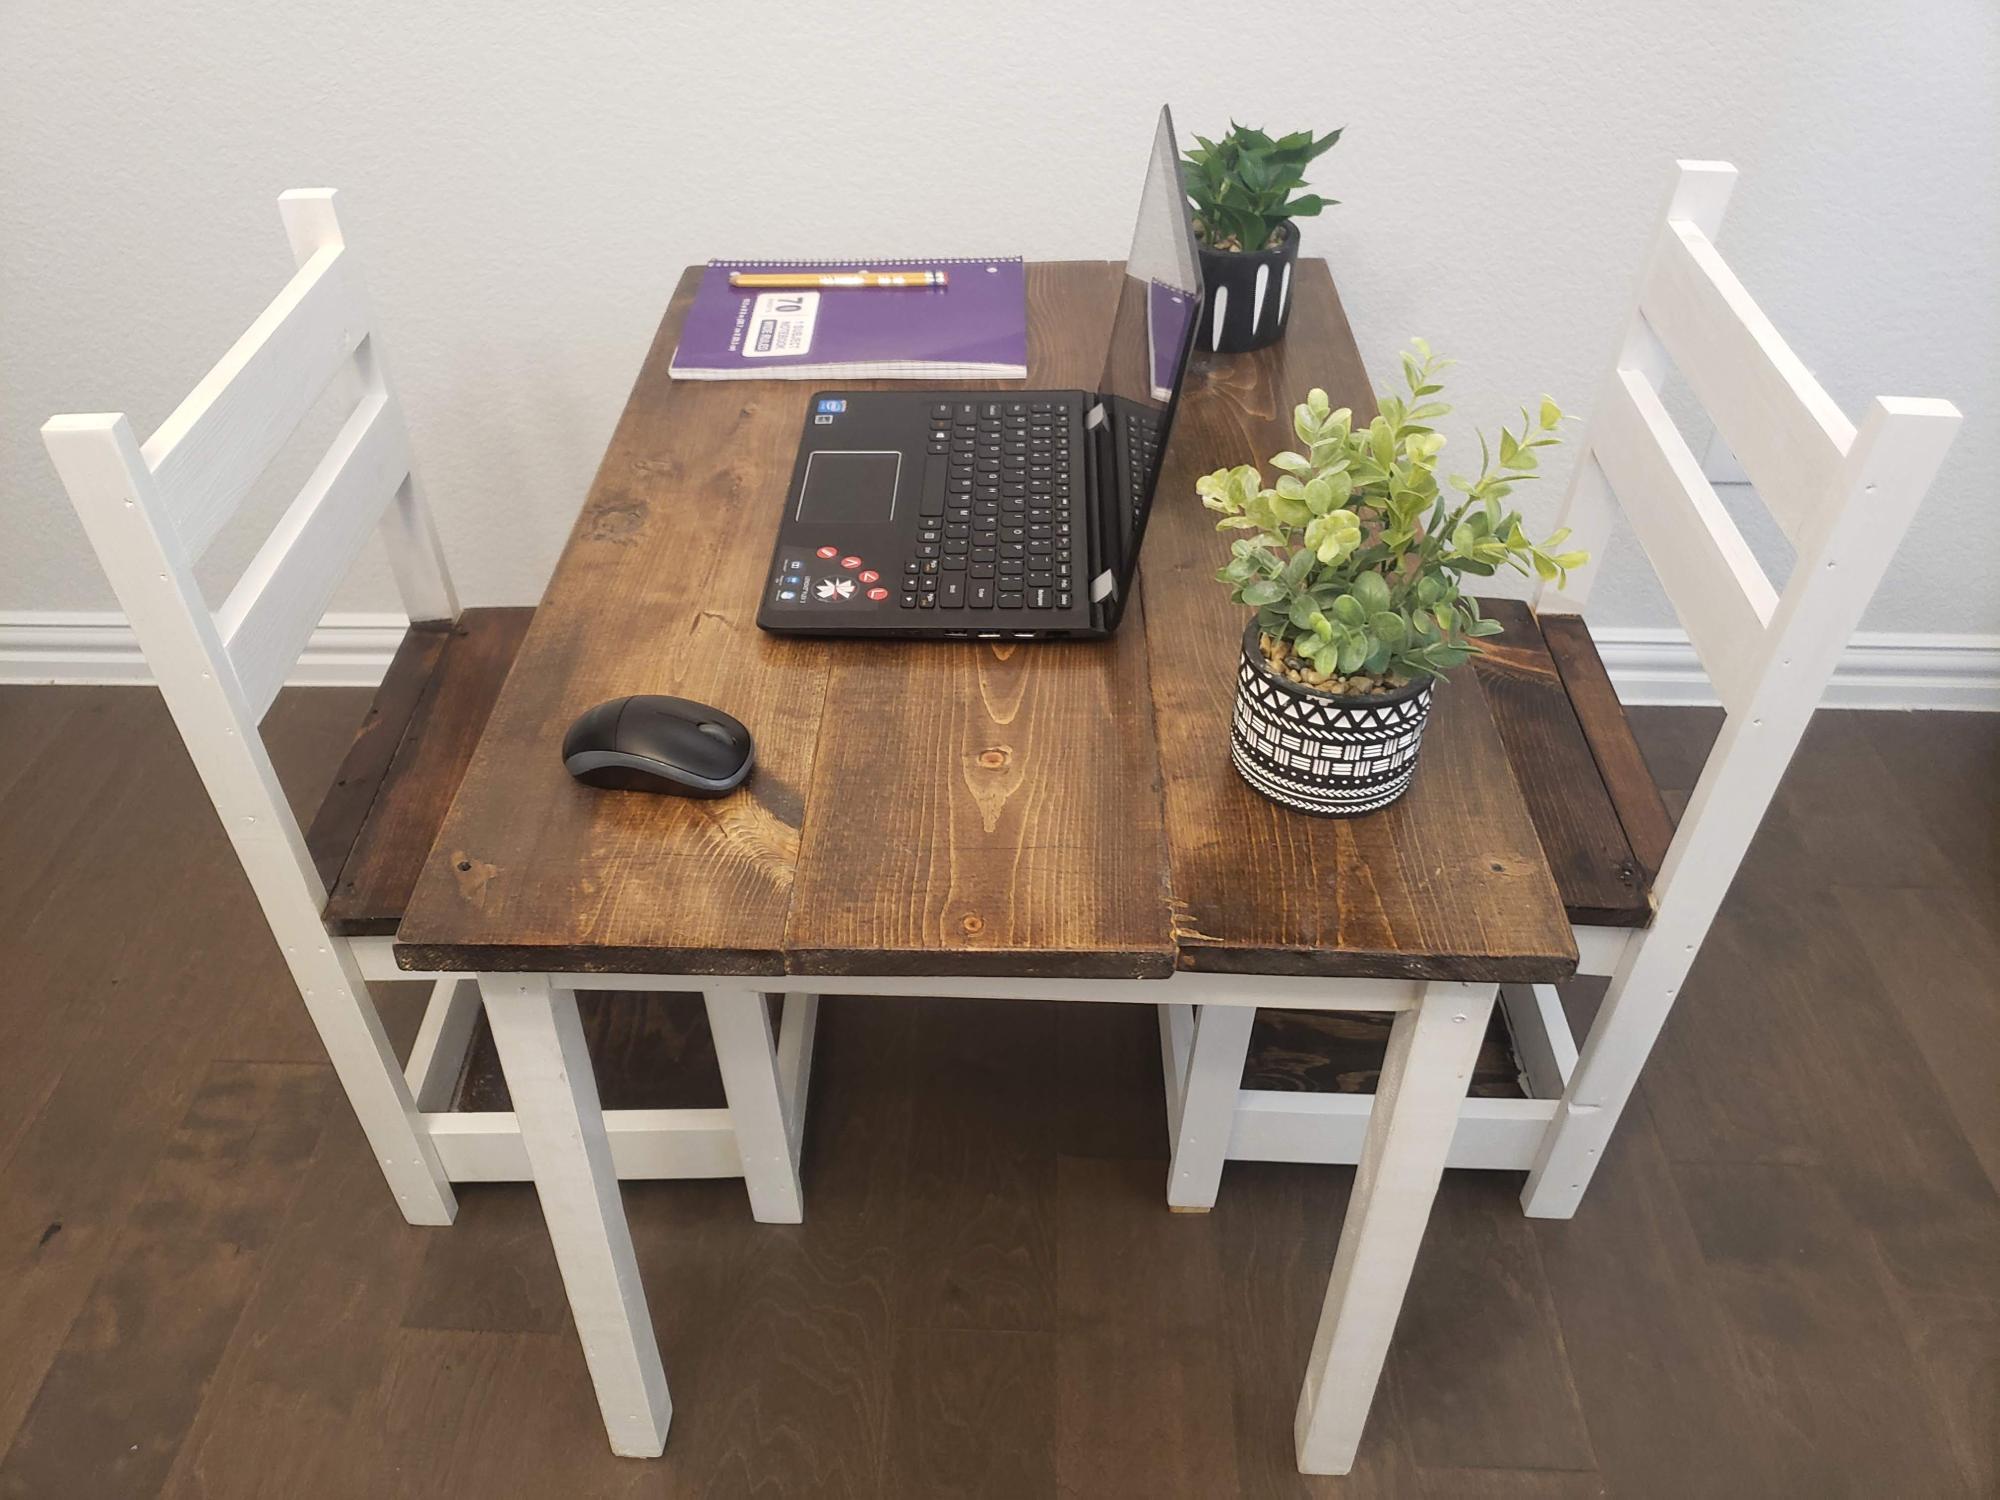
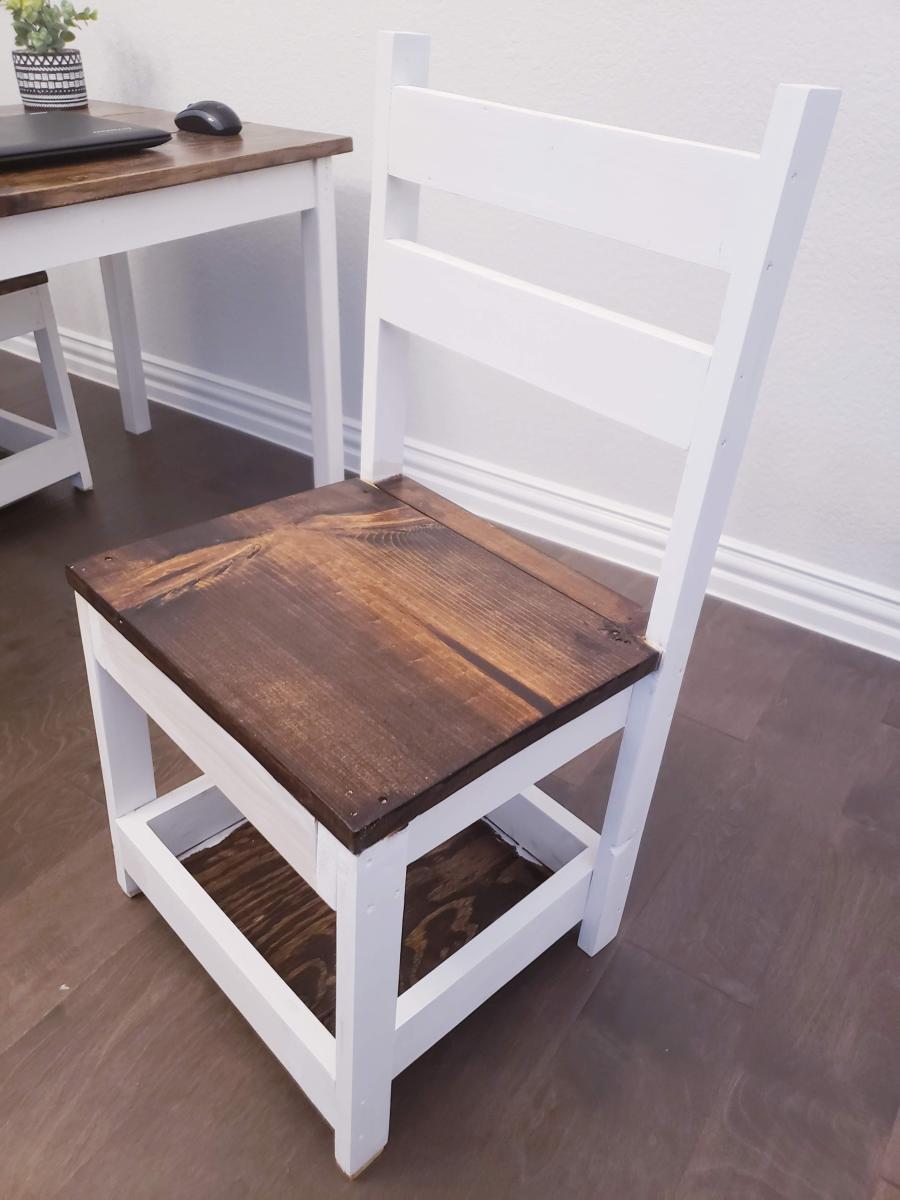
I love woodworking and trying different techniques...Thank you Ana for the detailed plans!..My niece loves it

Comments

Wood Closet Shelving

Submitted by Anonymous (not verified) on Thu, 01/13/2022 - 09:01

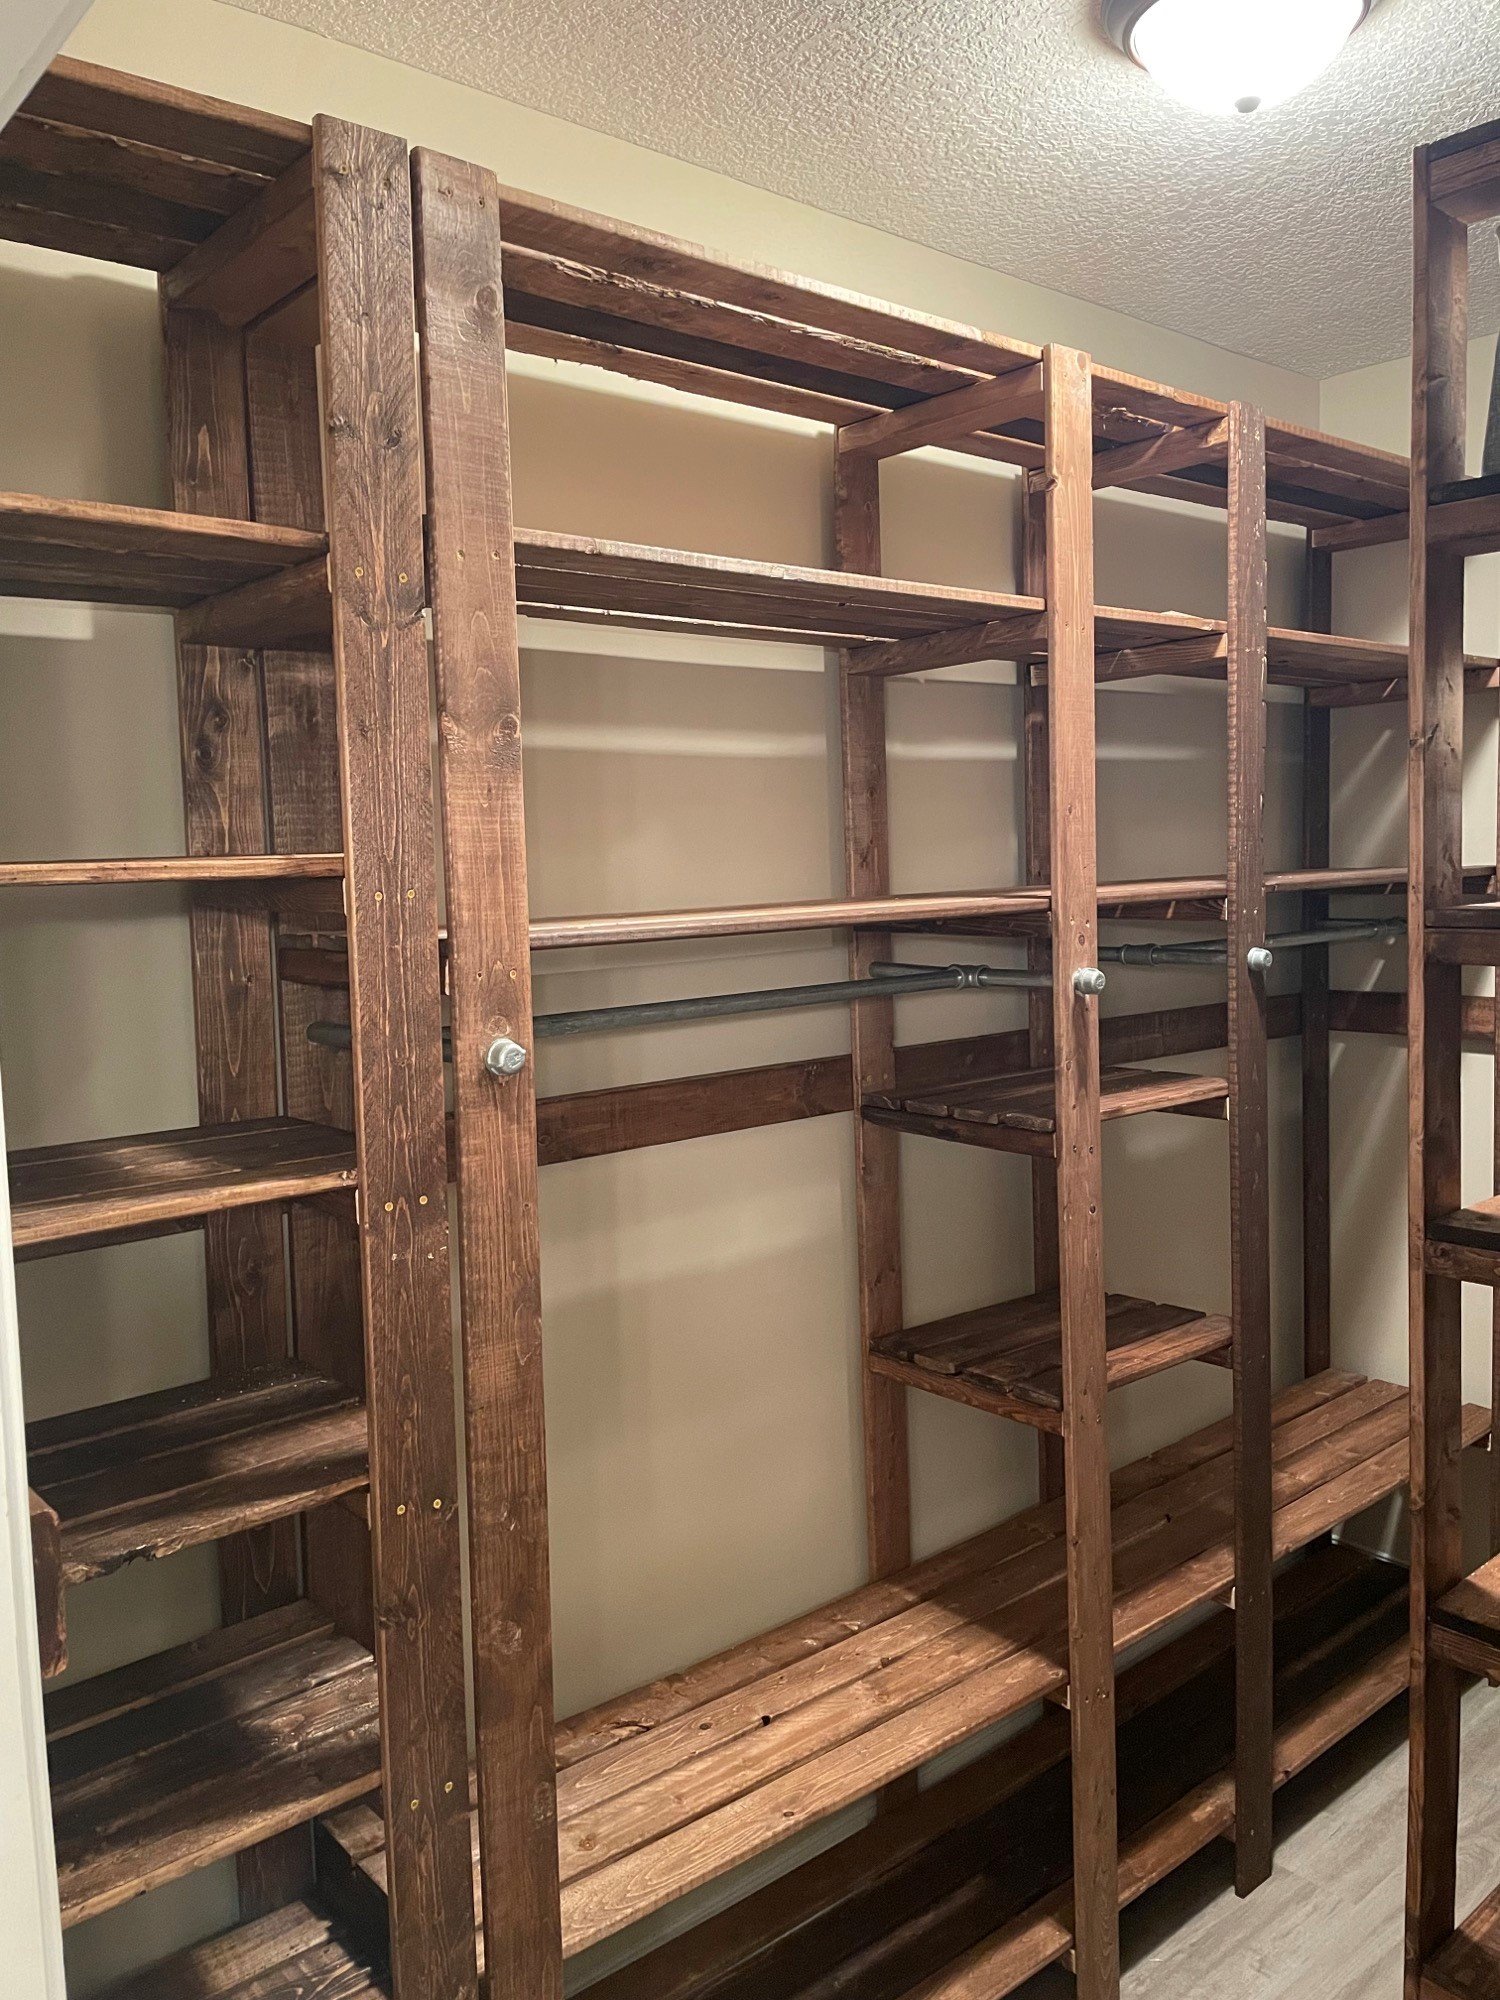
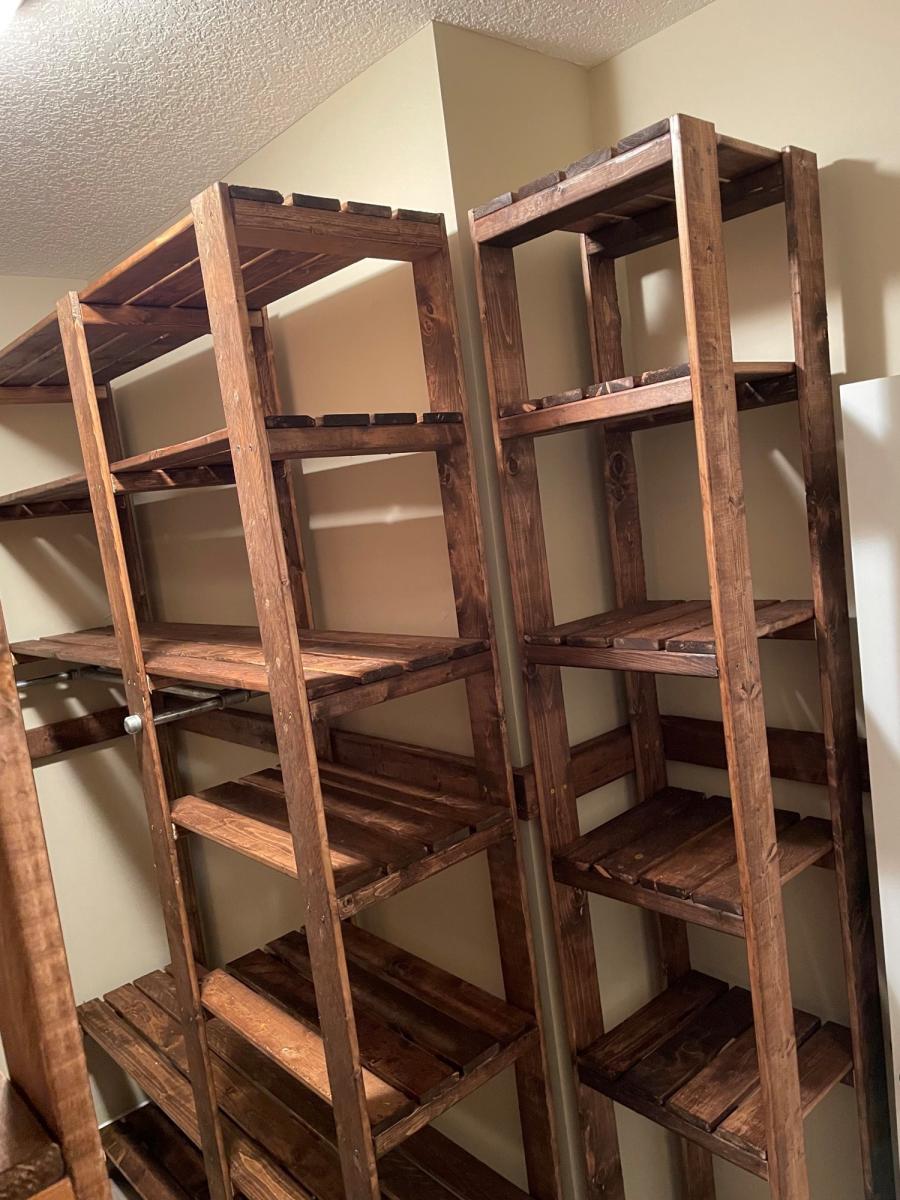
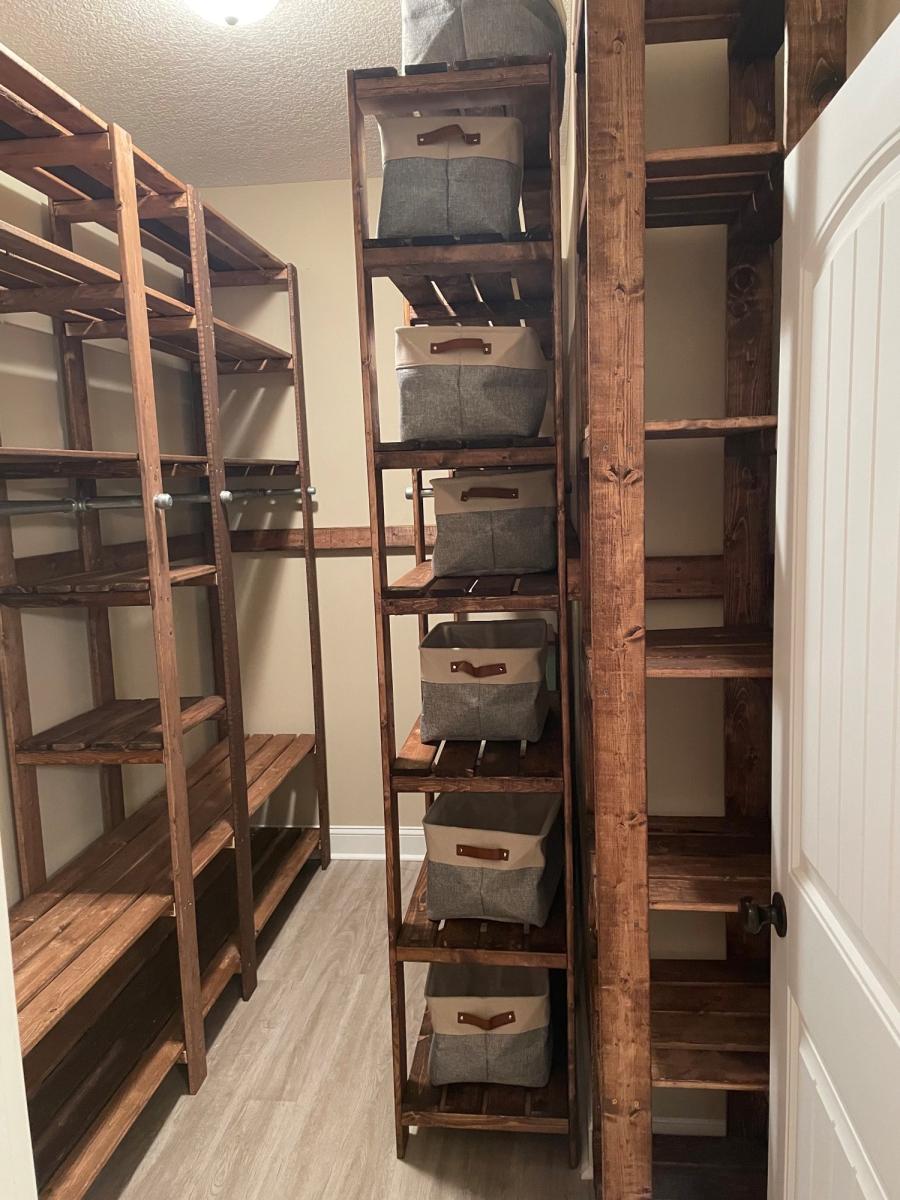
My closet system is four separate units that I butted up together and attached to the wall with a "decorative" 2x4 railing around the entirety of the closet. The main unit looks the closest to the real design but is 8 feet long and 8 feet tall to avoid extra cutting of boards. The smaller unit only has one area for hanging up clothes and is around 5 feet long which is just the length of the wall. I also built a unit for holding sheets and towels and another for my wife's shoes.

The plans are really easy to follow but I would suggest a few things:
-Do stain and boards before cutting; this would have been a nightmare otherwise.
-If you use the metal clothing rods (if I could go back in time I would have used wooden dowels) make sure that you put those in before you attach any boards between the support structures. I ended up having a 35 inch gap instead of a 36 inch gap and it killed my momentum.
-I made mine 8 feet tall because it was less to cut and then re-stain; time wise it probably was a scratch cause I had to build it in place and at the end it was very tight to work in the space.

Built from Plan(s)

Comments

Simple Outdoor Lounge Chairs

Submitted by tlcbbp on Tue, 05/31/2011 - 20:19

I am going to be making more of these, but I just loved how they turned out. The cushions were ten bucks at Target.

Estimated Cost
45 dollars, including paint and stainless/coated screws
Estimated Time Investment
Day Project (6-9 Hours)
Finish Used
Exterior Eggshell Paint
Recommended Skill Level
Beginner

Comments

Pantry Spice Rack

Submitted by SaraLodise on Tue, 08/06/2013 - 13:35

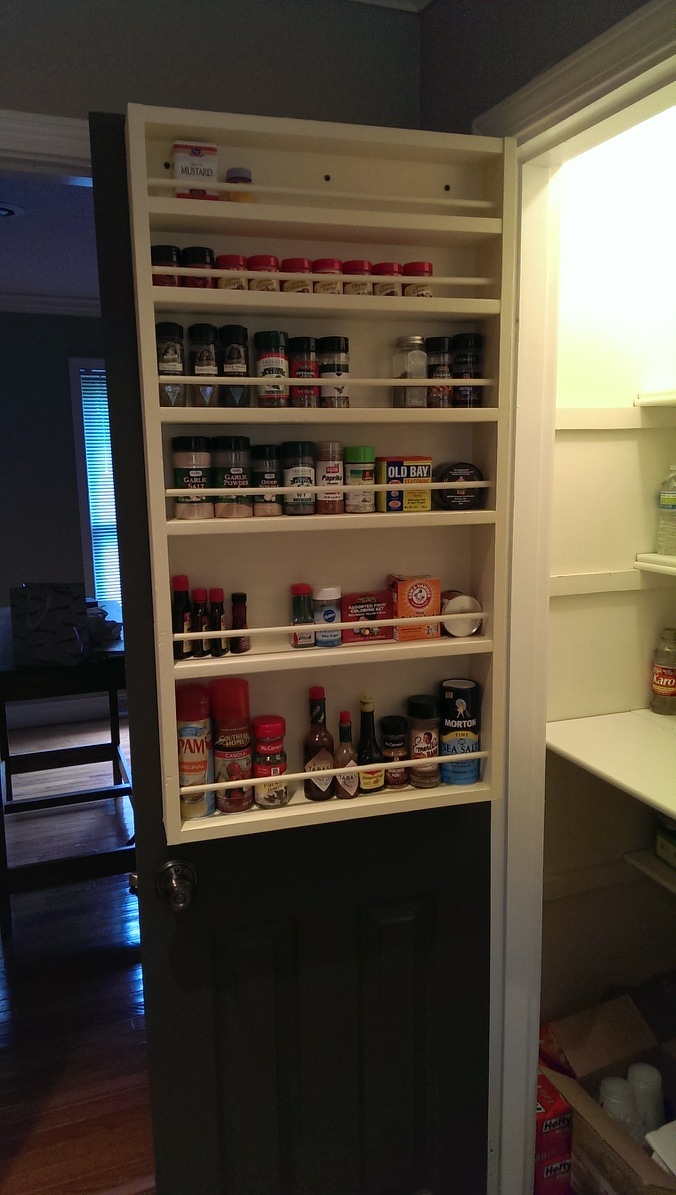
Love this simple plan! I took down a wall in my kitchen and, when cleaning out the cabinets, I found crazy amounts of spices. With this it's so easy to see all of them and find the one you want.

I did shift the shelves to make two 3 1/2" shelves and this made the bottom shelf 9" for some taller things. I found that I could not fit my shorter spice containers in the very top shelf due to the hanging board in the back of it. The hanging board may have been thicker than used in other's builds.

Built from Plan(s)
Estimated Cost
$30
Estimated Time Investment
Afternoon Project (3-6 Hours)
Finish Used
Primer & some left over interior paint from previous house owners.
Recommended Skill Level
Starter Project

Comments

OptimusGoof

Sun, 01/11/2015 - 12:55

I love how you shifted things around to accommodate for the bottom taller items. I need something exactly like this so I can tame the wild animal that is my pantry. Thank you for the inspiration. Great build!

RandyW

Sun, 01/11/2015 - 14:46

Is that a solid door? If not, how did you anchor it?

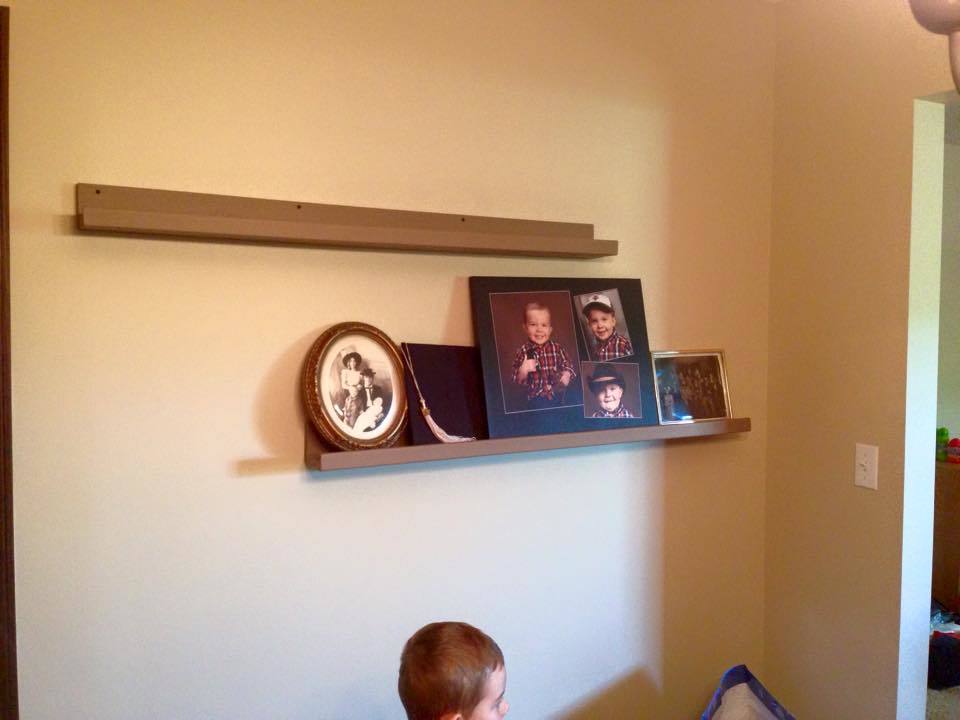
Picture ledge

Easy-peasy! Painted in a constrating color for a great look on the wall...

Built from Plan(s)
Estimated Time Investment
An Hour or Two (0-2 Hours)
Recommended Skill Level
Starter Project

Class/School Auction Projects

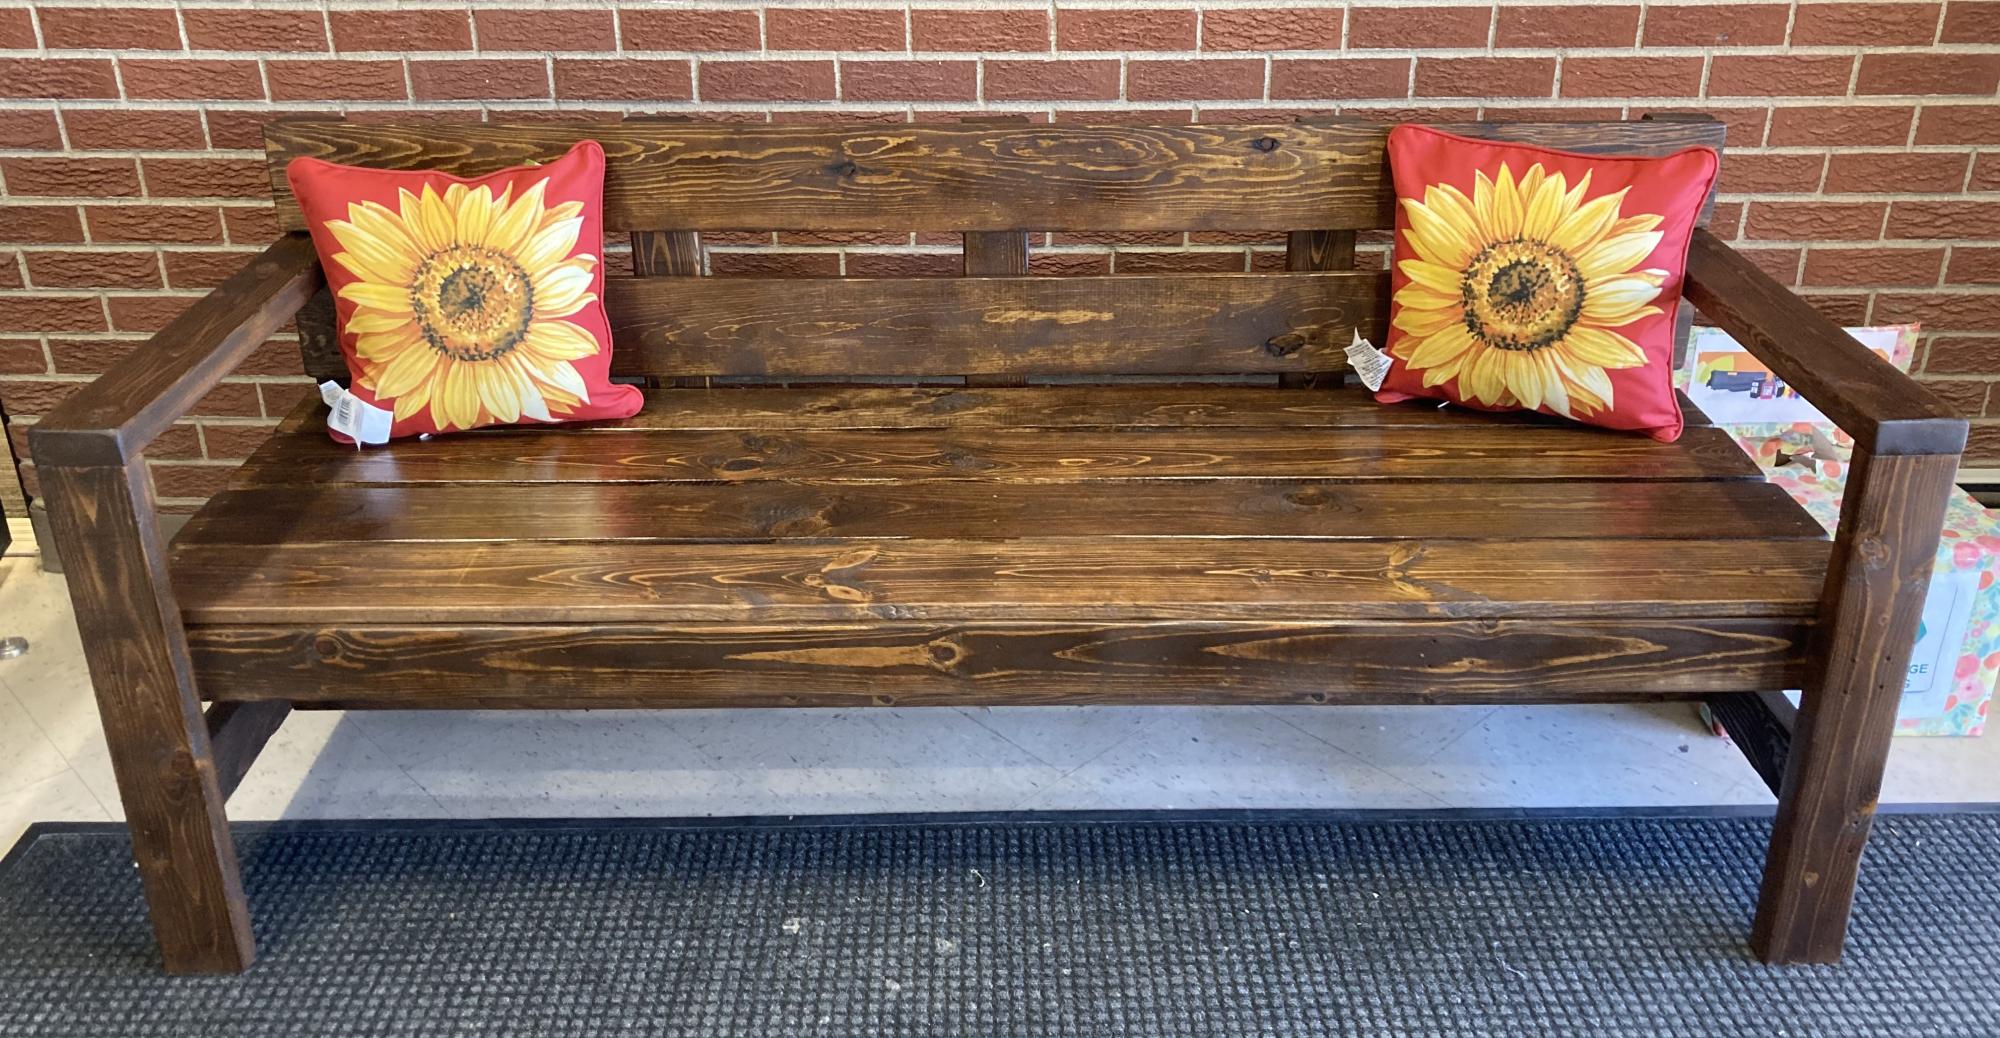
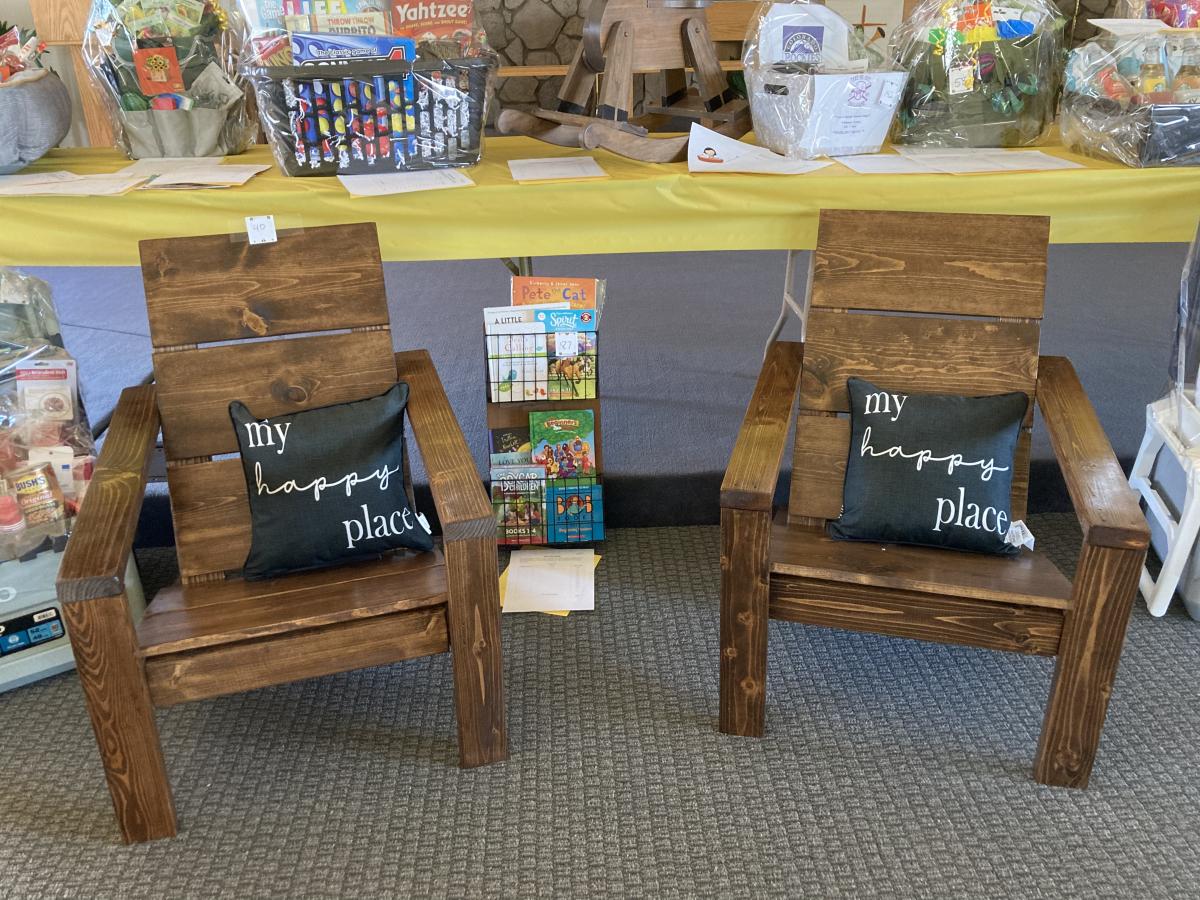
Submitted by jendon on Tue, 05/03/2022 - 15:32

This year my 2nd-3rd class built the Modern Park bench for the school auction. They sanded, stained, and set the screw for the seat and back.
I also made two Adirondack chairs with matching stain.
Both projects had two coats of poly and really shined. They were a hit at the auction and the kids and families really appreciated the experience and final products.
Thank you Ana for making plans simple to follow and new skills learned each time.
Blessings,
Jennifer

Comments

jendon

Mon, 05/16/2022 - 18:33

My students really enjoyed it and many picked up a tool for the first time. I like planting seeds in their heart and mind for the future!! Blessings, Jennifer

jendon

Mon, 05/16/2022 - 18:33

My students really enjoyed it and many picked up a tool for the first time. I like planting seeds in their heart and mind for the future!! Blessings, Jennifer

Monika

Sun, 03/31/2024 - 14:30

I've been helping with our class auction project, and it's been a fun experience. But balancing schoolwork and project deadlines can be tough. That's why I found this article finance.yahoo.com/news/pay-essay-top-5-safe-105019899.html on safe essay services helpful. It saved me time and stress, allowing me to focus on both my studies and the auction project.

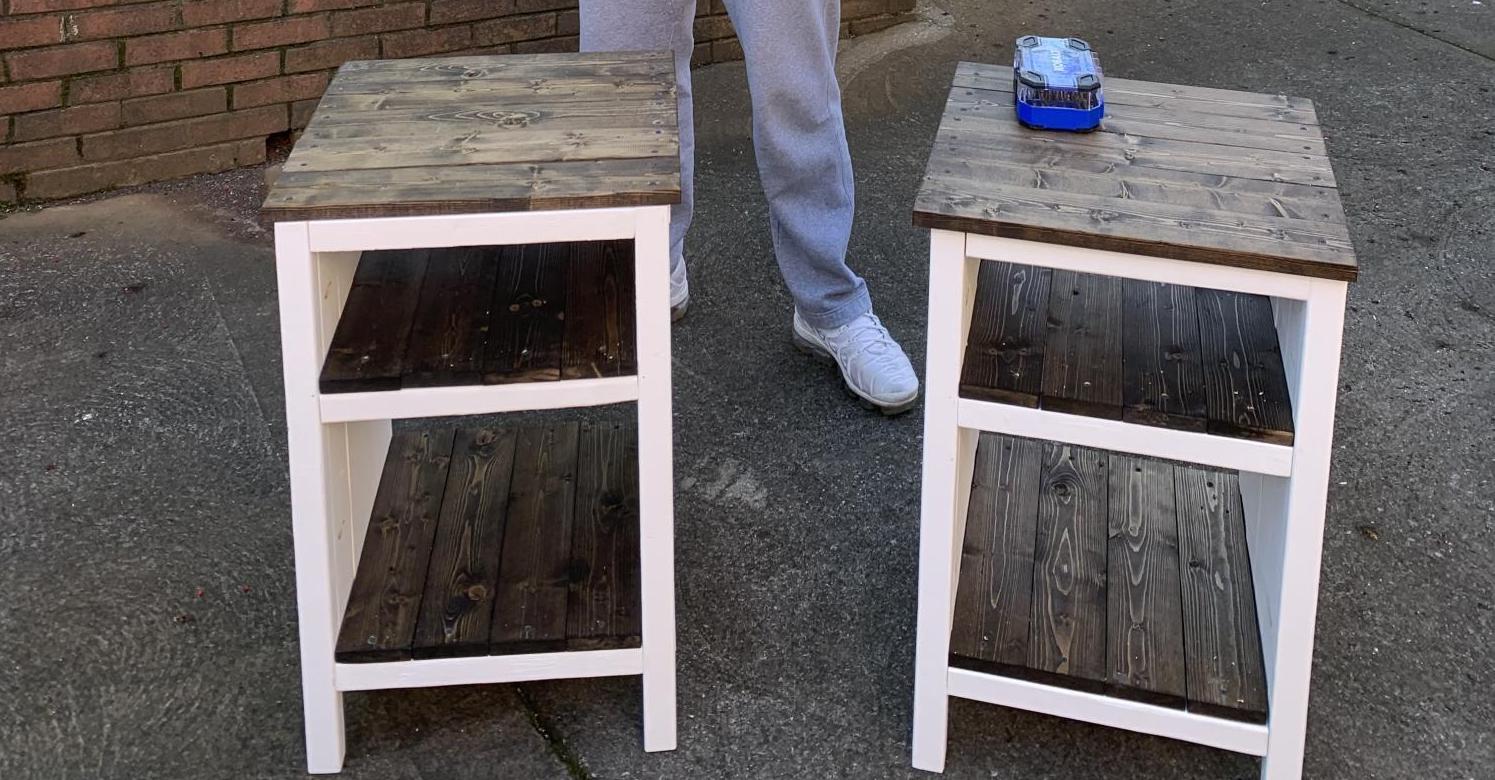
Planked Wood Bedside tables

Submitted by JMG on Wed, 07/06/2022 - 19:26

My son moved out and needed bedside tables. I have been hounding him to learn how to build and this was the first project he did! He was super proud of himself and how they turned out. Not bad for a first build! #mompride

Comments

My stainless steel kitchen island

Submitted by LRSinCA on Sat, 10/24/2015 - 22:36

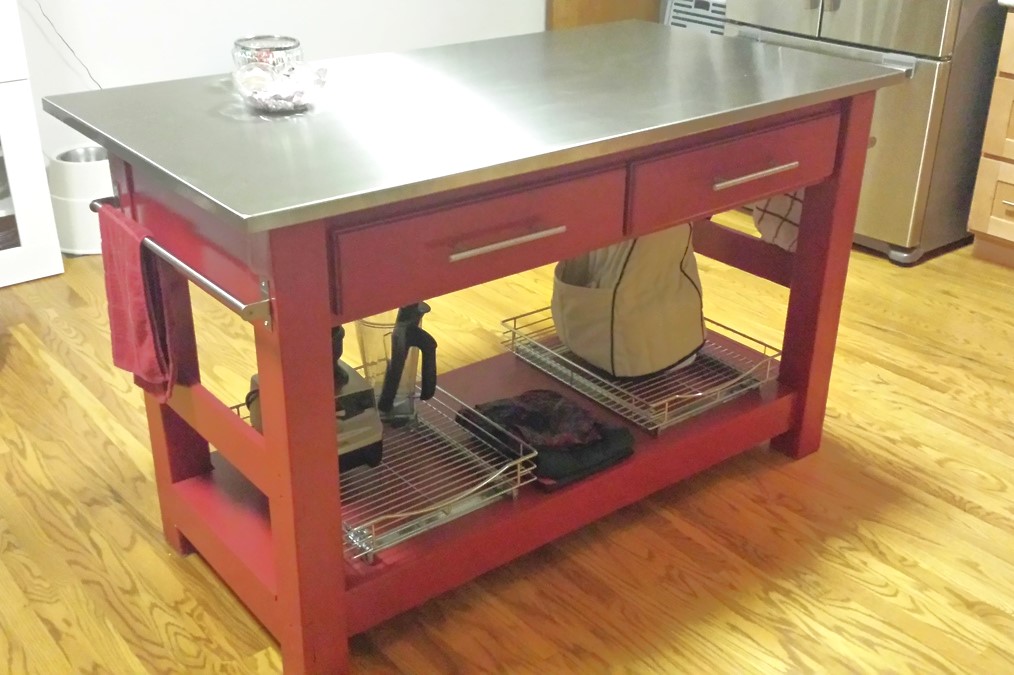
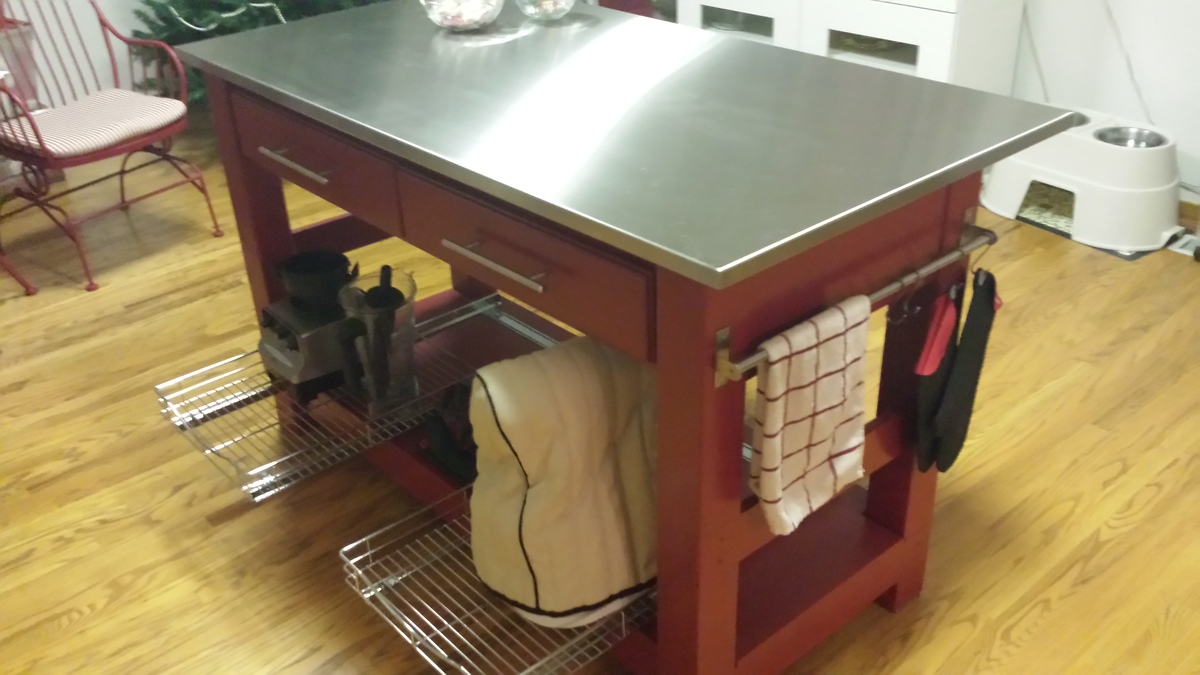
I really do enjoy my island. It has great storage and the added prep space has been wonderful. With the added counter space It has aloud me to make breads and pizzas and with the stainless steel top it is a breeze to clean. I really have enjoyed Ana's website with all the great plans and tips. 

Built from Plan(s)
Estimated Cost
It was a bit more expensive because of the top. In total it was around $400.00
Estimated Time Investment
Week Long Project (20 Hours or More)
Finish Used
I used a primer and then the Red paint on all the wood except the inside of the drawers along with the stainless steel top which I love. I used a spray primer to seal all the wood and then I used my Paint sprayer for the Red. I then used a gloss poly spay for the top coat to give it a nice shine.The stainless steel top I had made here in the Oakland, CA area. It works great to prep on and roll out pizza rounds.
Recommended Skill Level
Intermediate