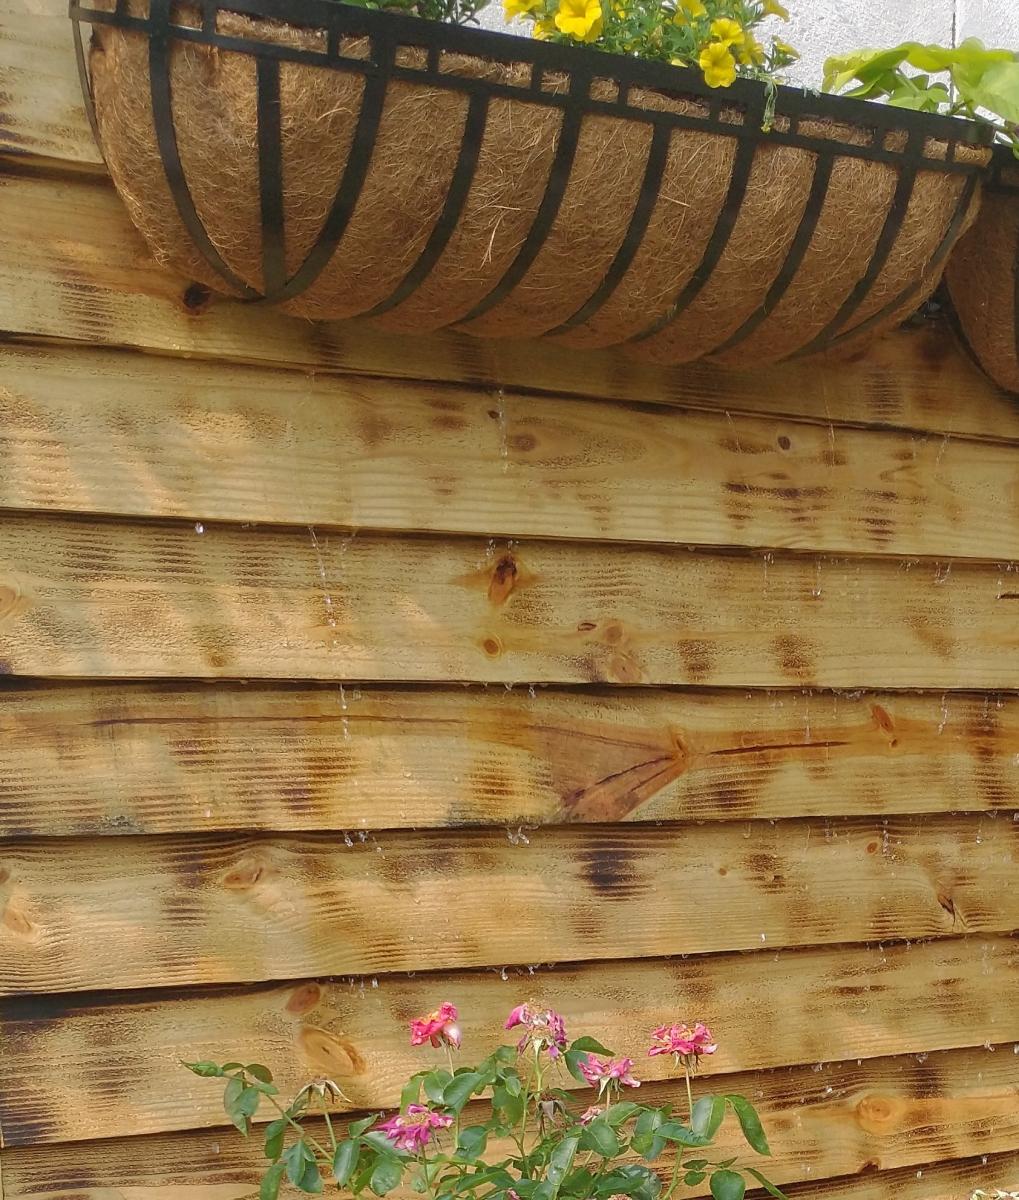
Privacy planter
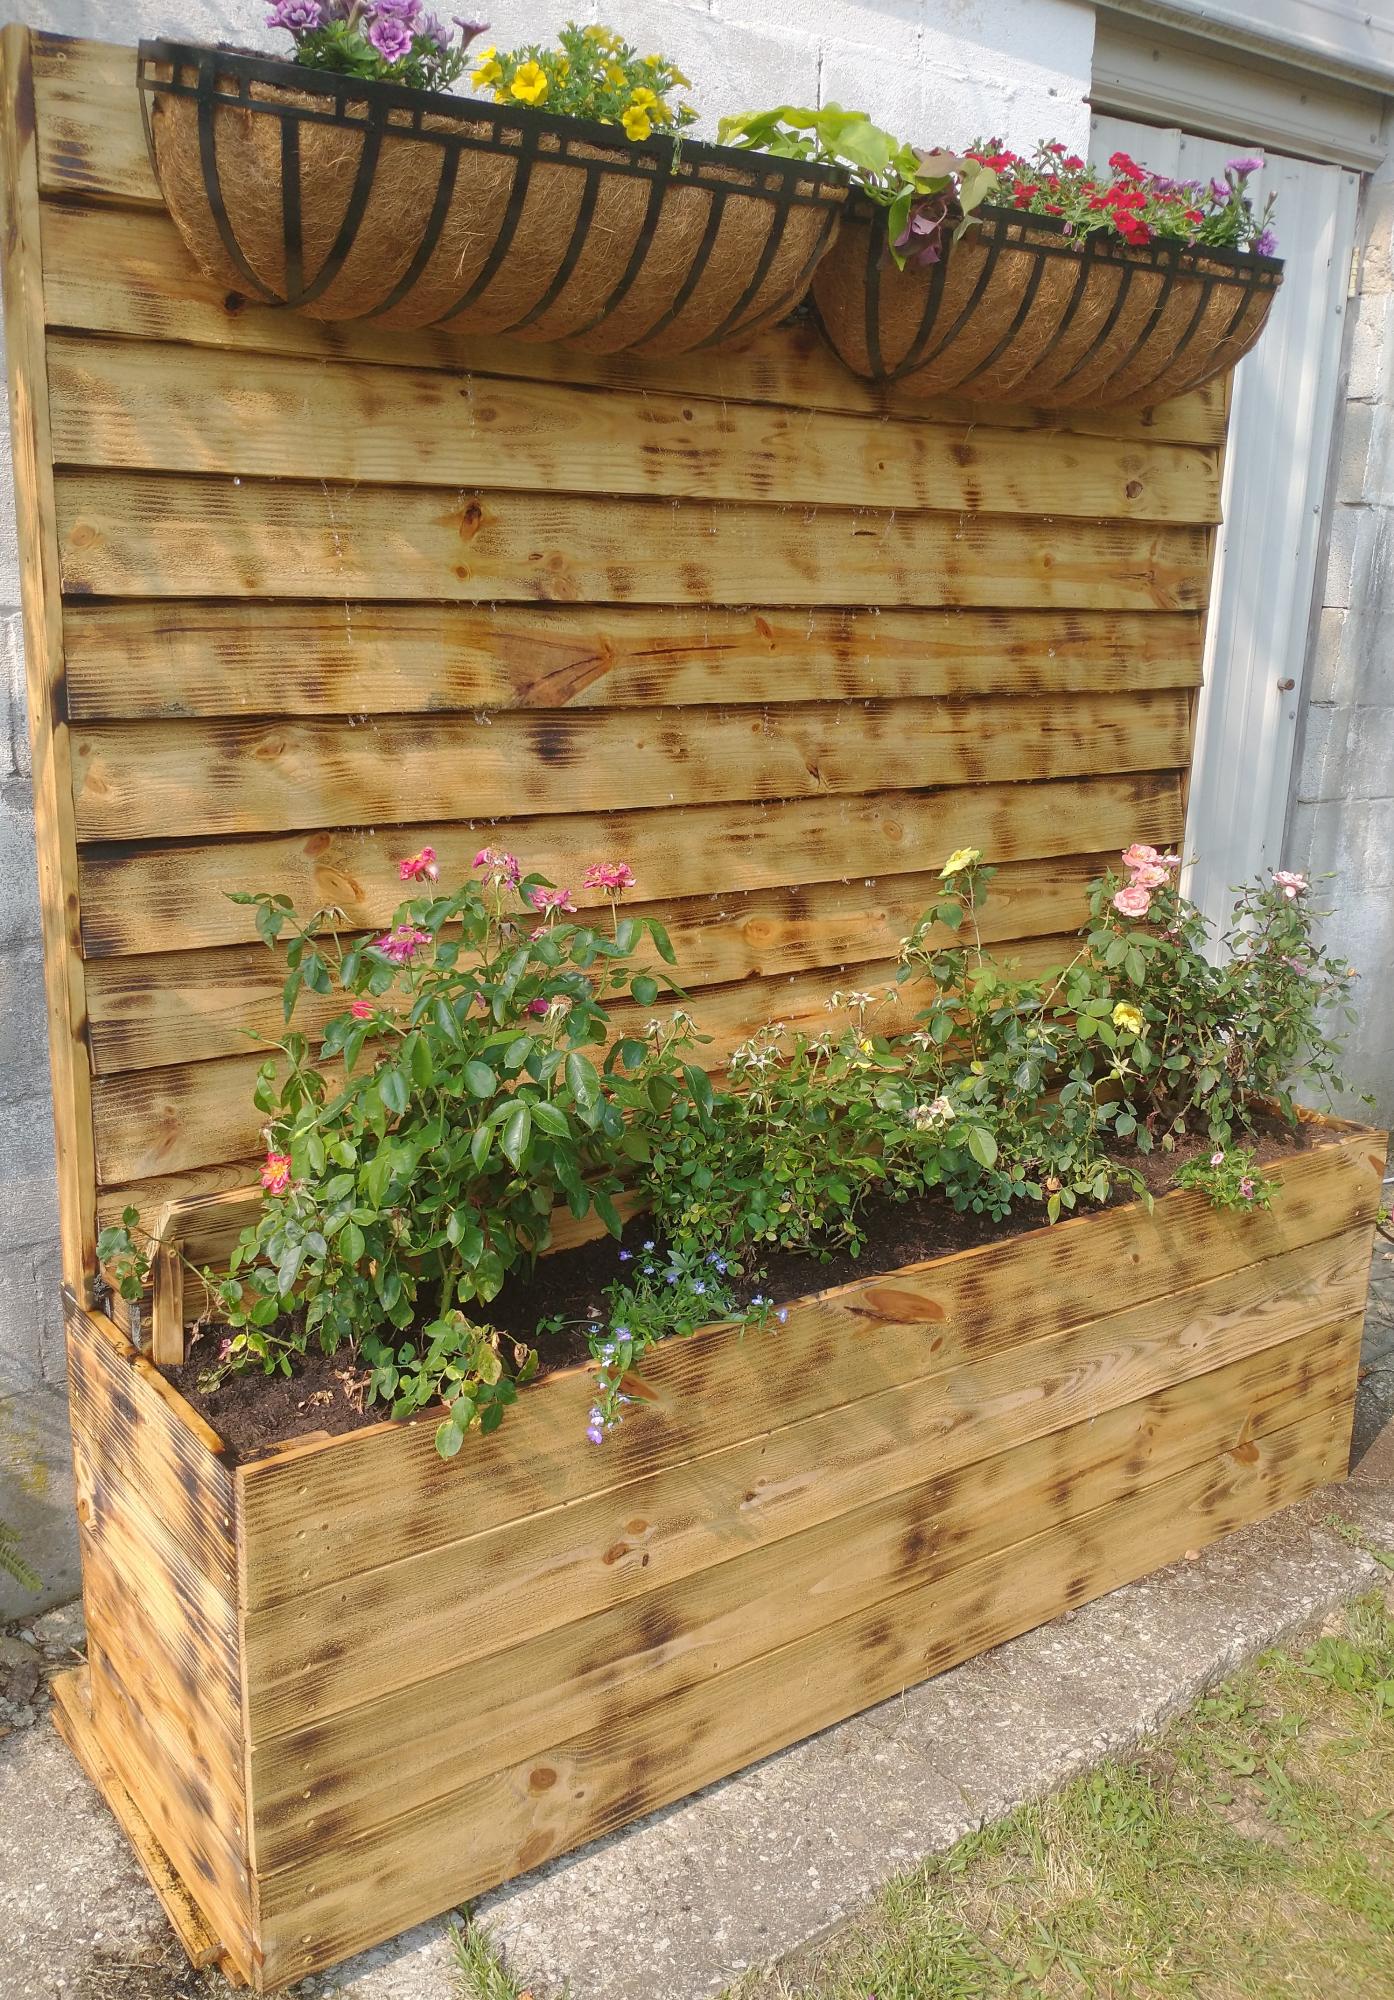
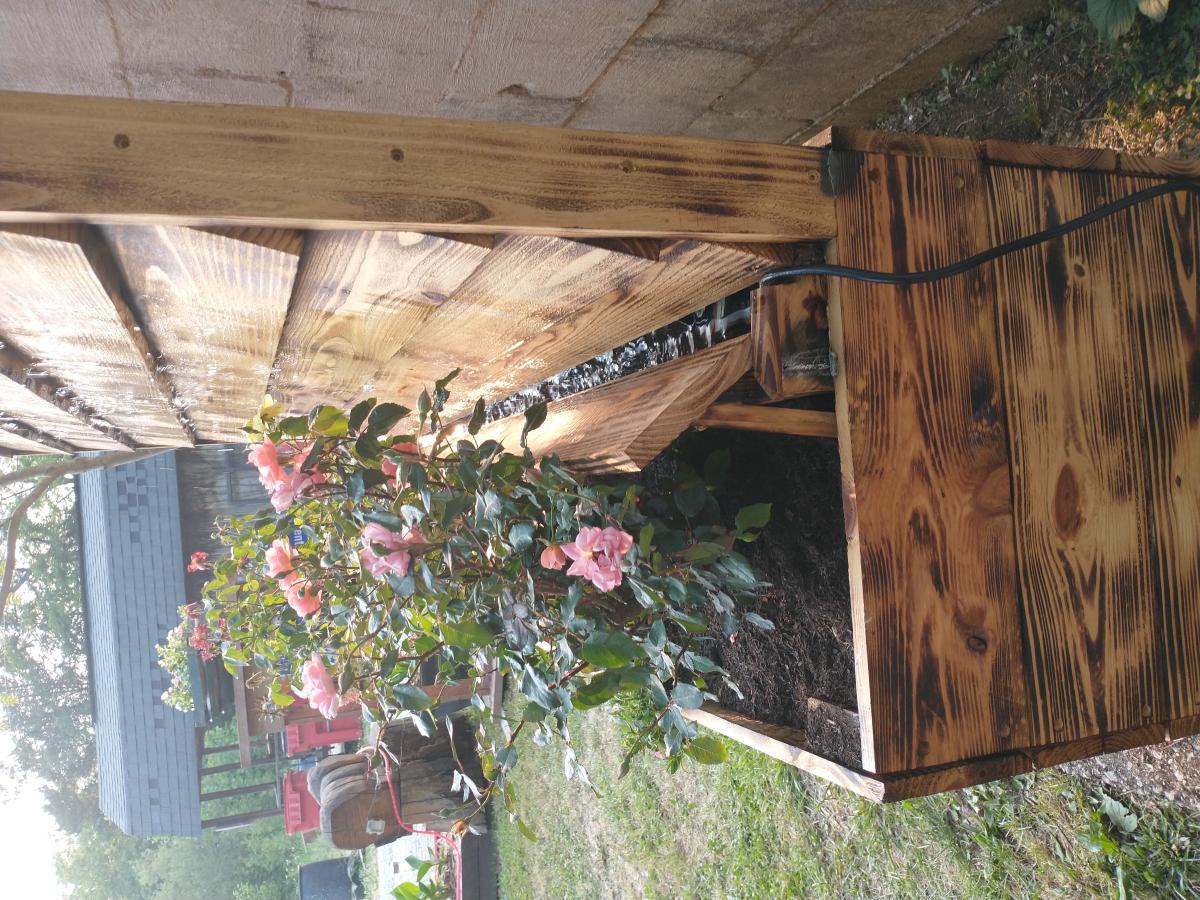
It's a take off of your privacy fence planter. But I added water to make it a water wall also.
Built from Plan(s)
It's a take off of your privacy fence planter. But I added water to make it a water wall also.
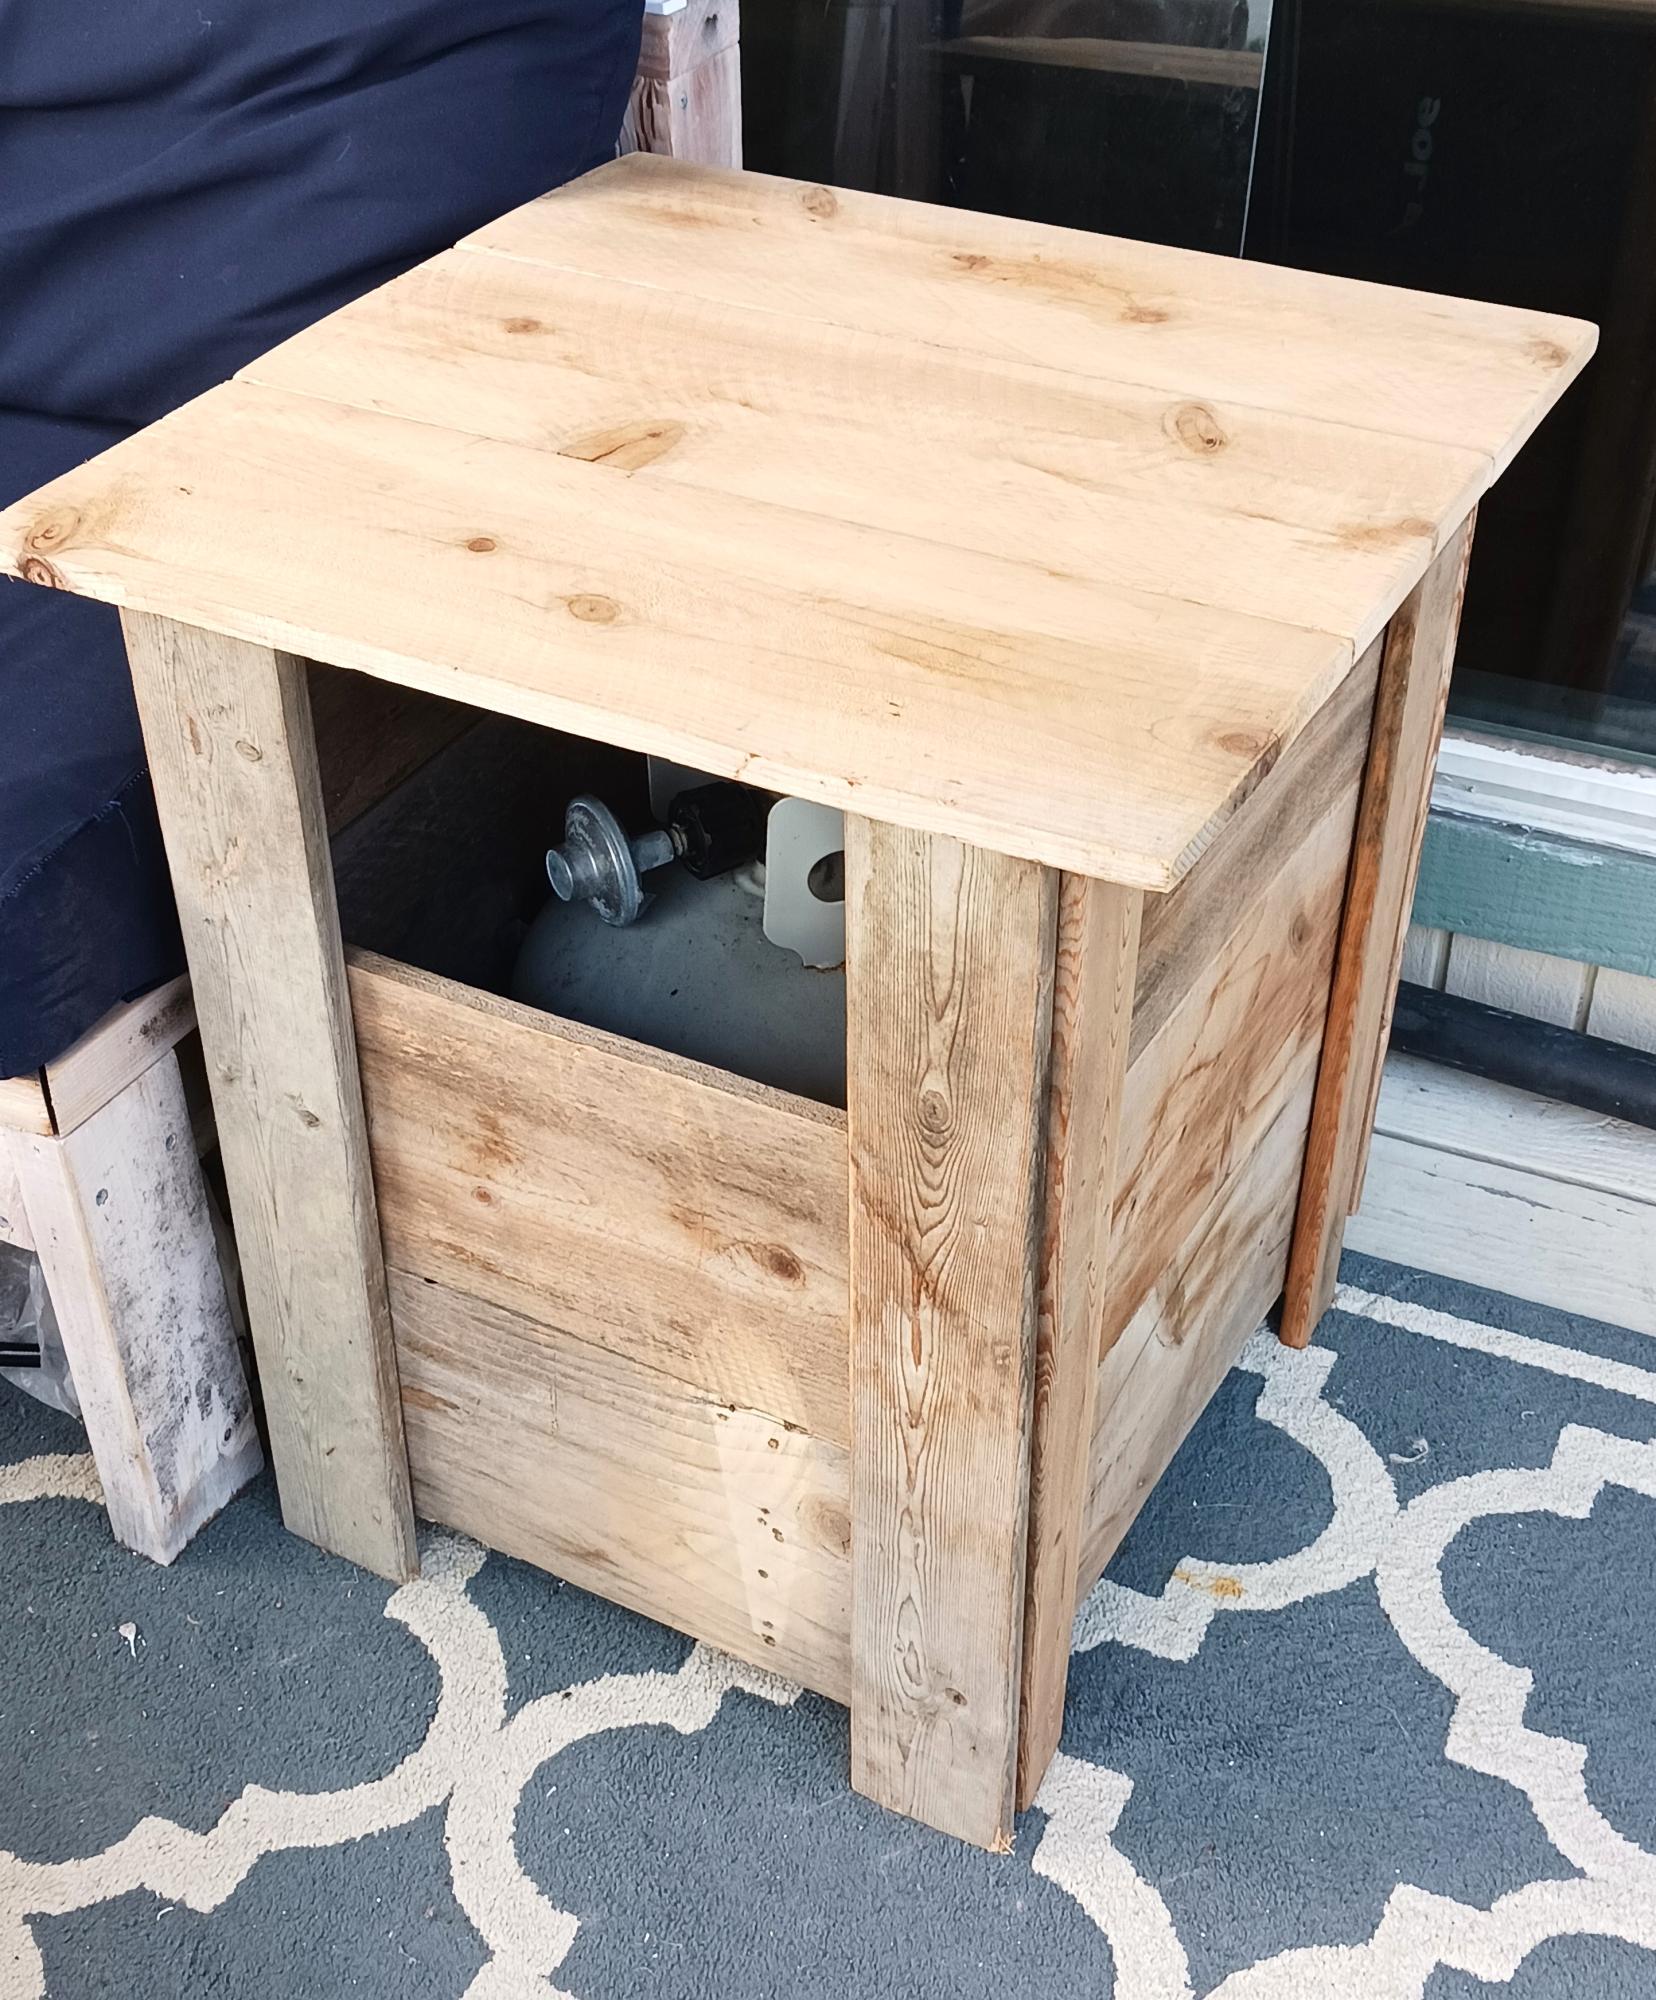
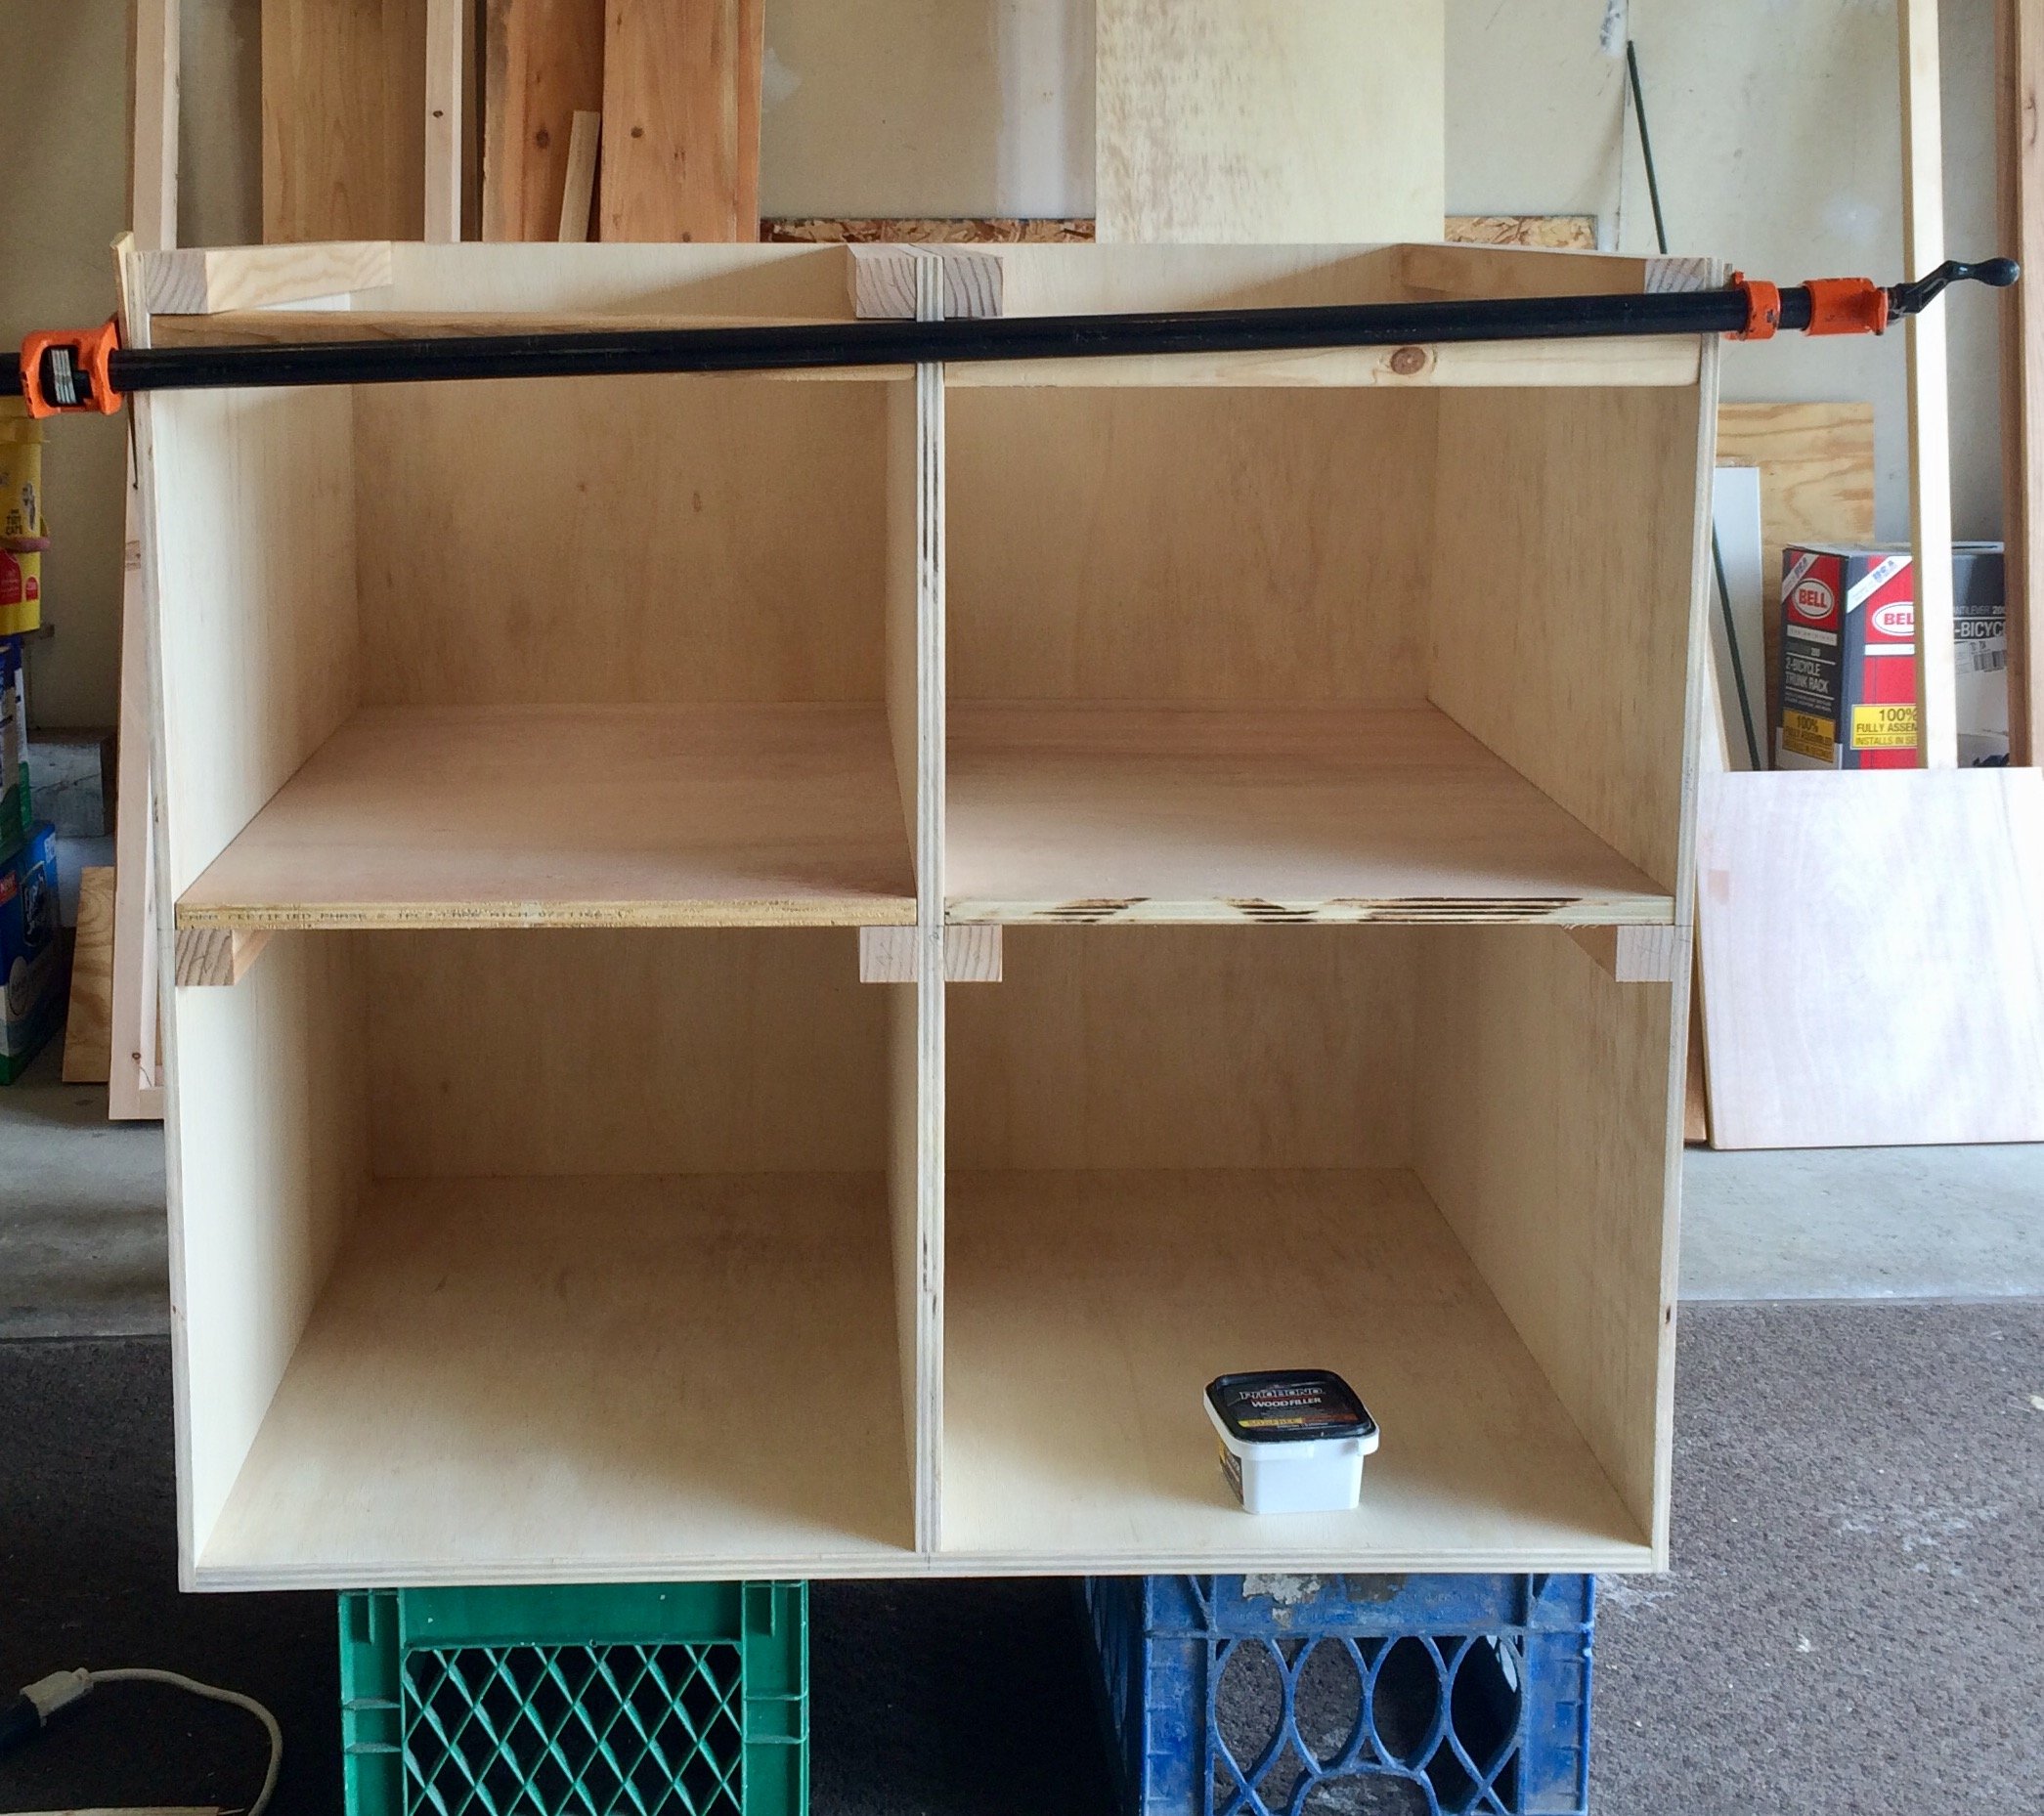
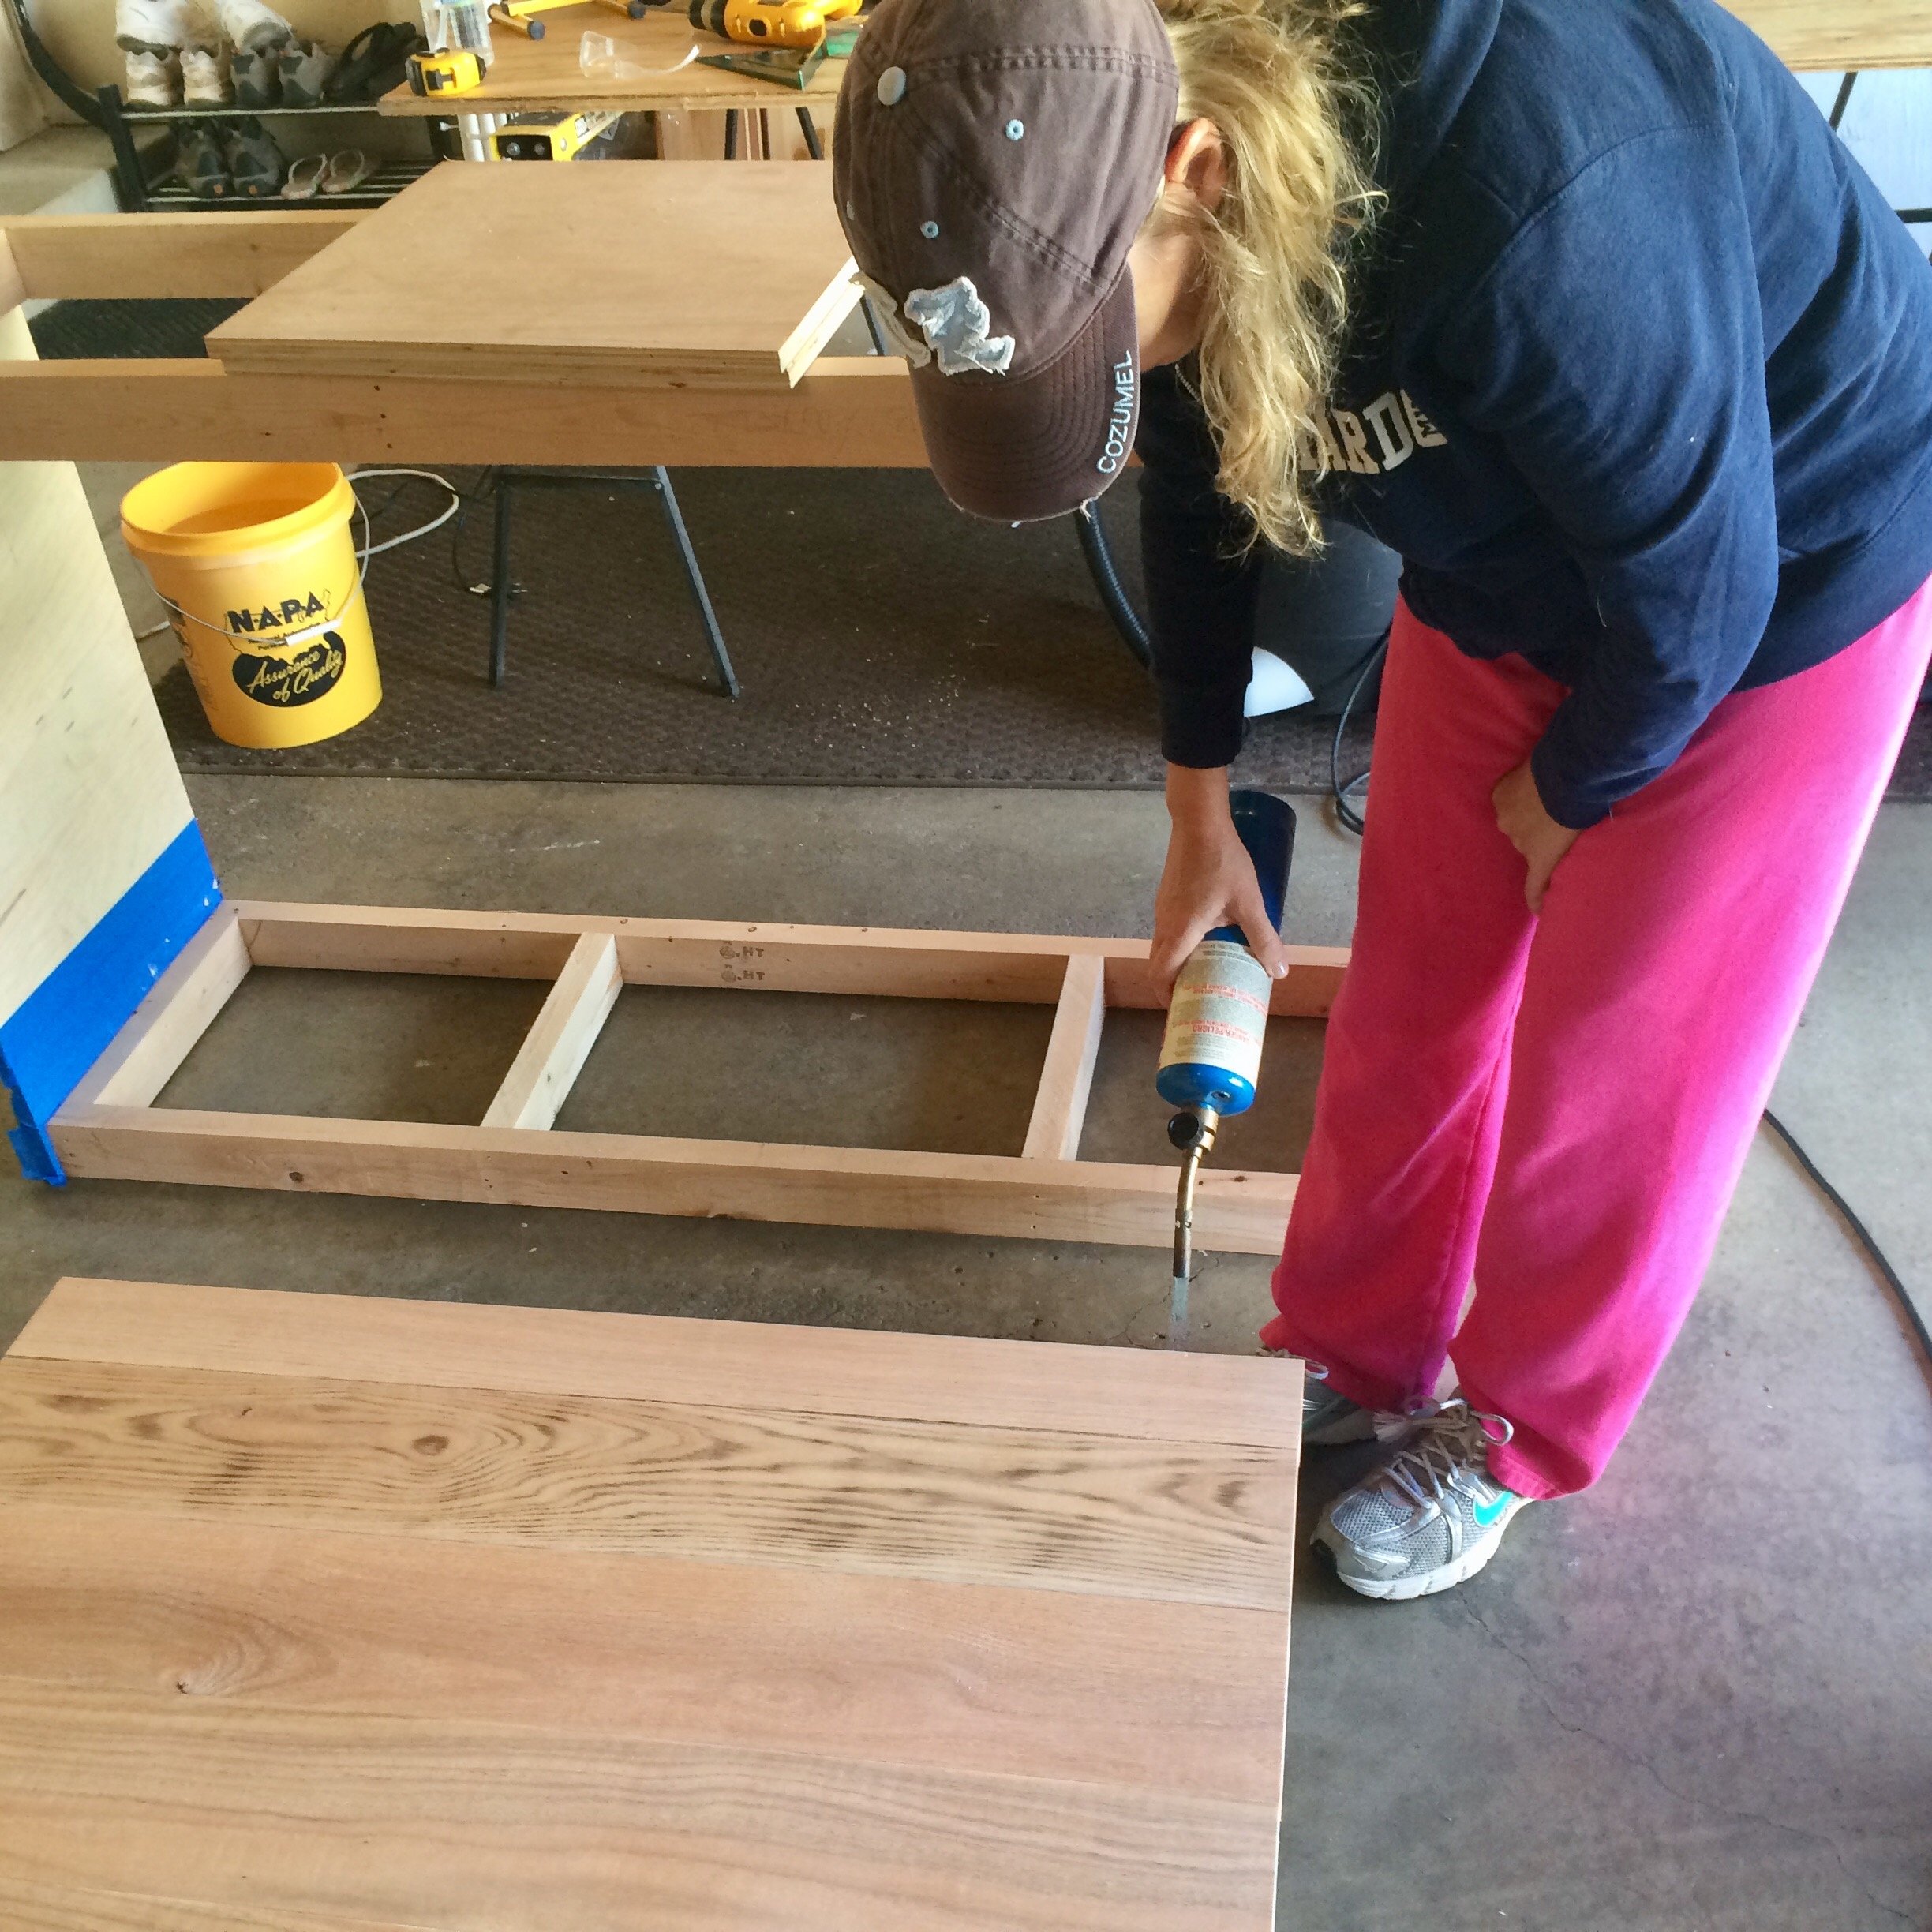
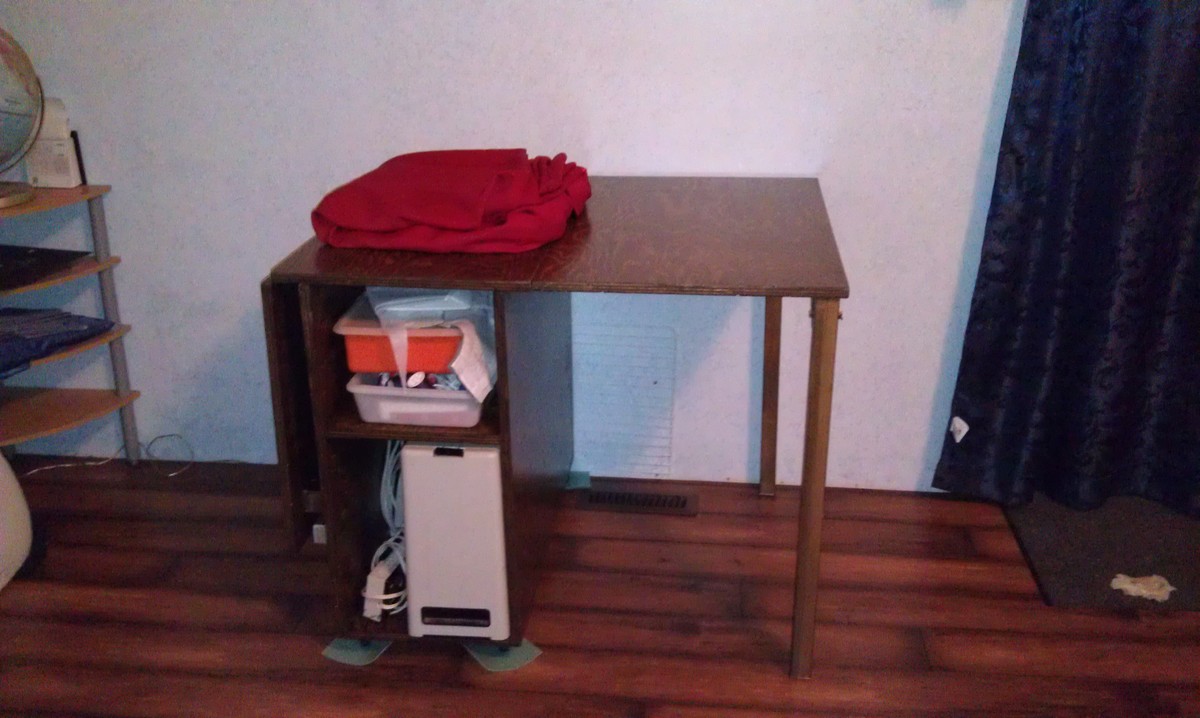
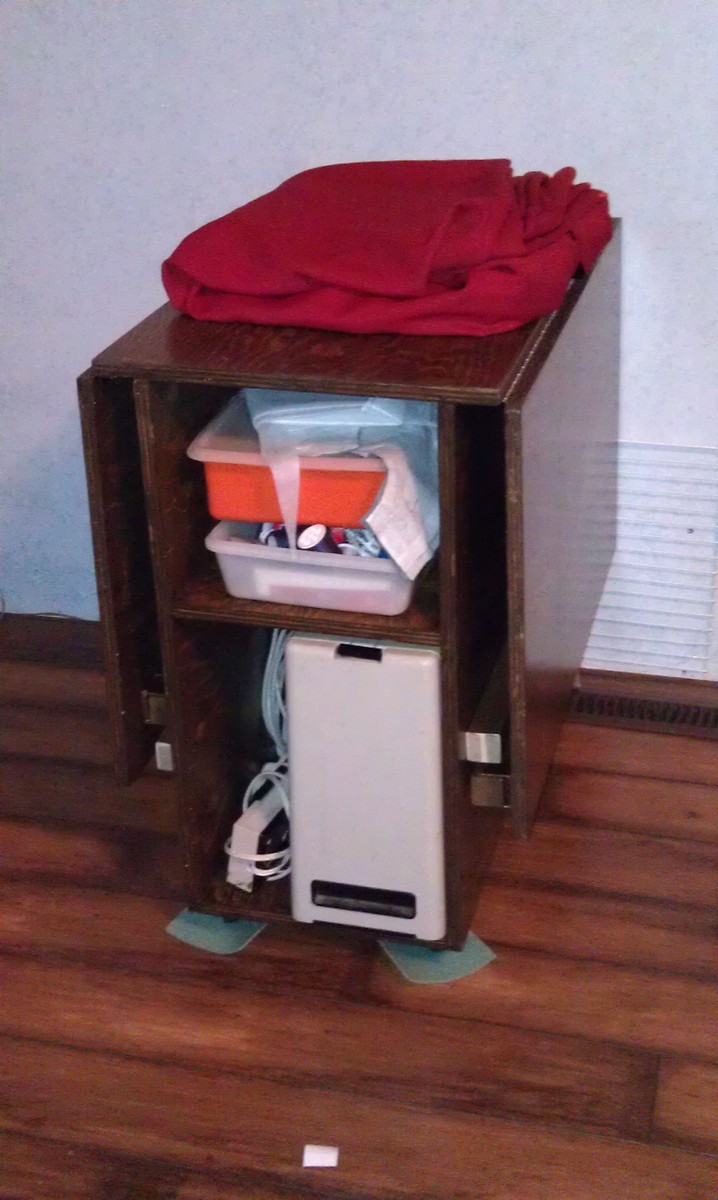
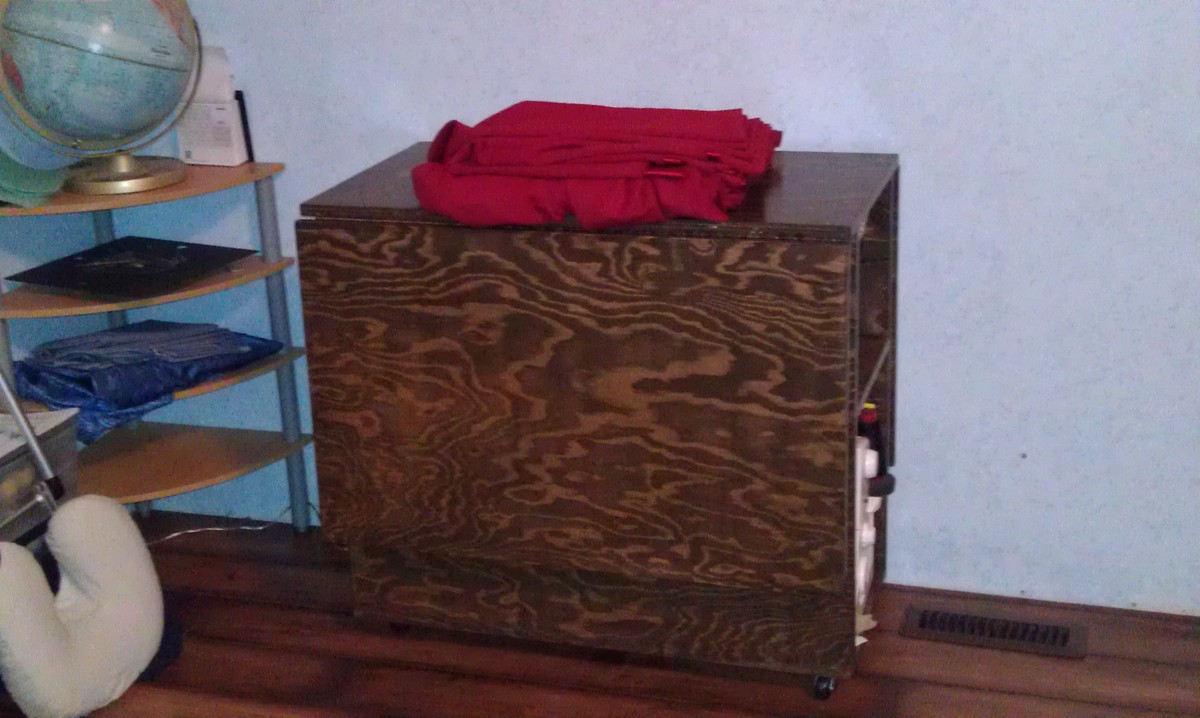
I had inquire on your Facebook about you making a new plan... i had wanted a side table to hide my propane tank. I used the planter plans as an inspiration for this table. It is regiment rough looking as I managed to build it using only scrap on hand. I did have one cedar board in my pile that was leftover from another project that I used for the top... pretty happy but know it would have been better with new wood that was the right size and not warped! The space at the top is on purpose to be able to teach in and turn the gas on and off.
Debbie Hertz
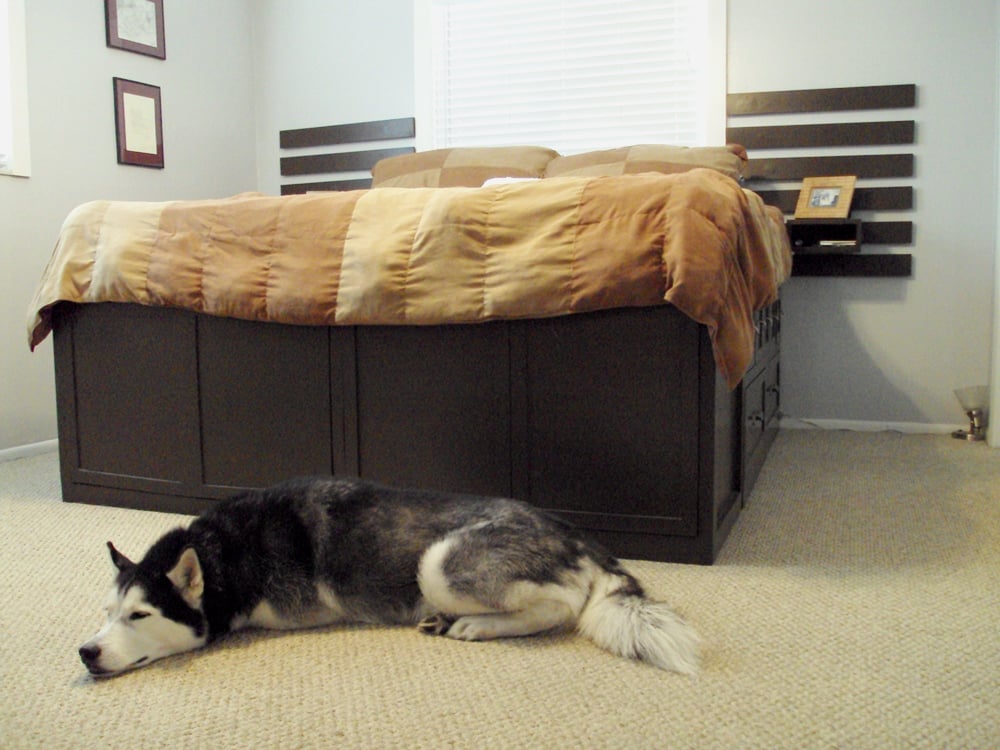
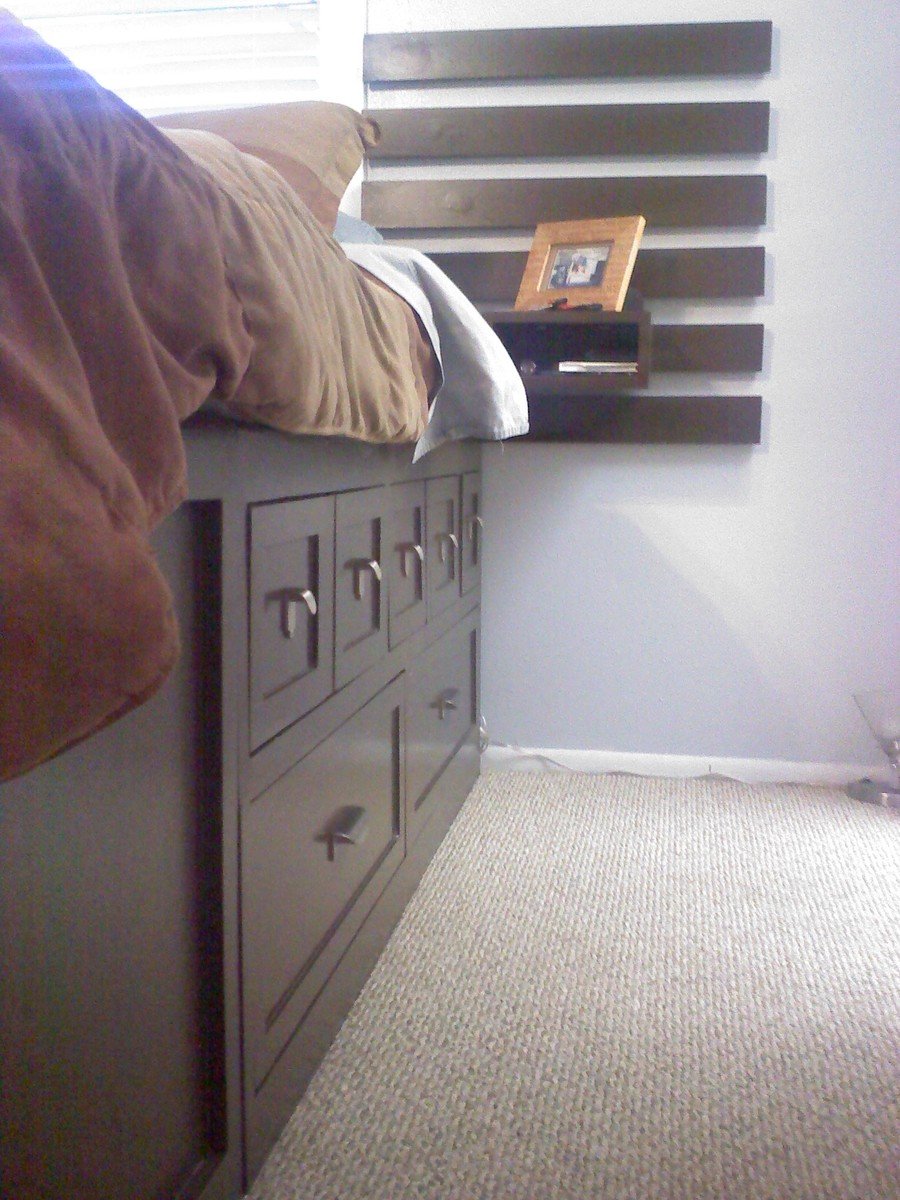
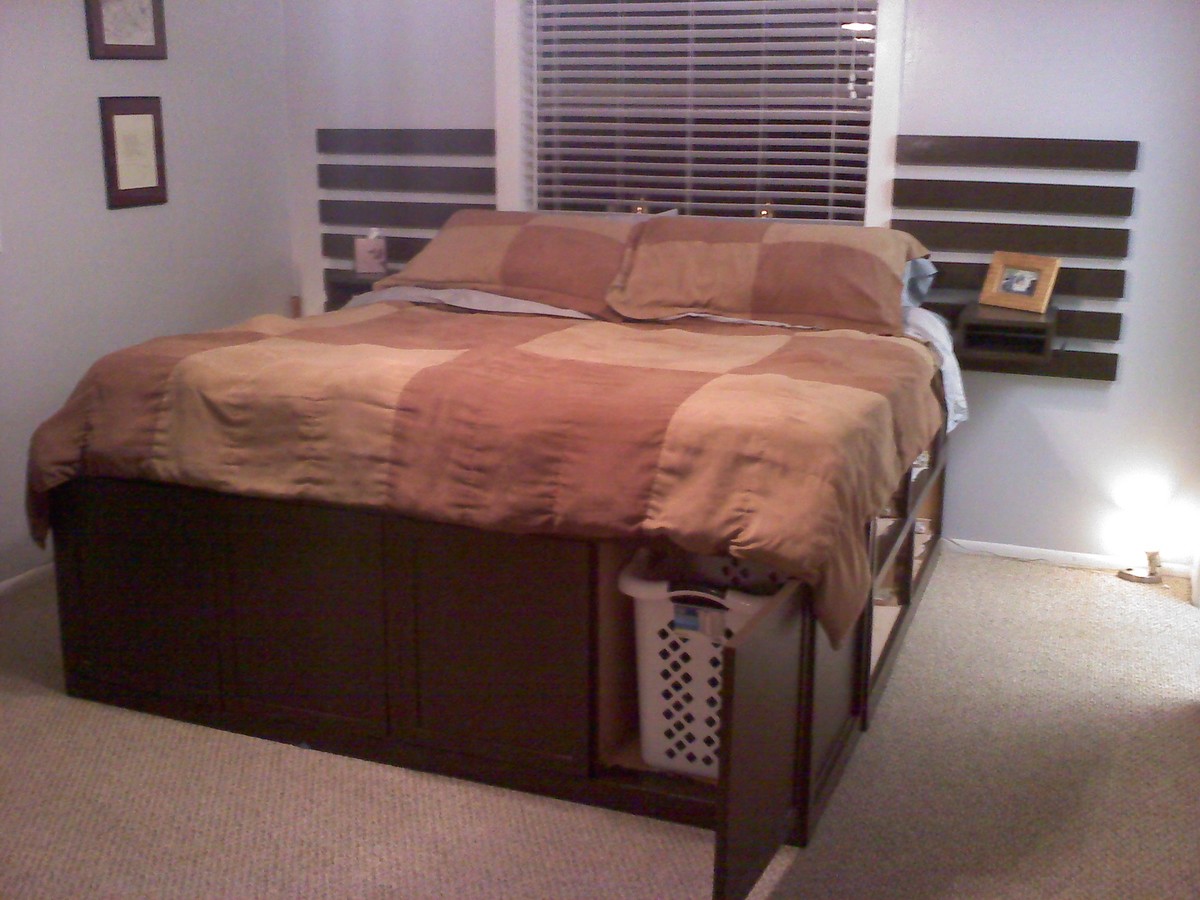
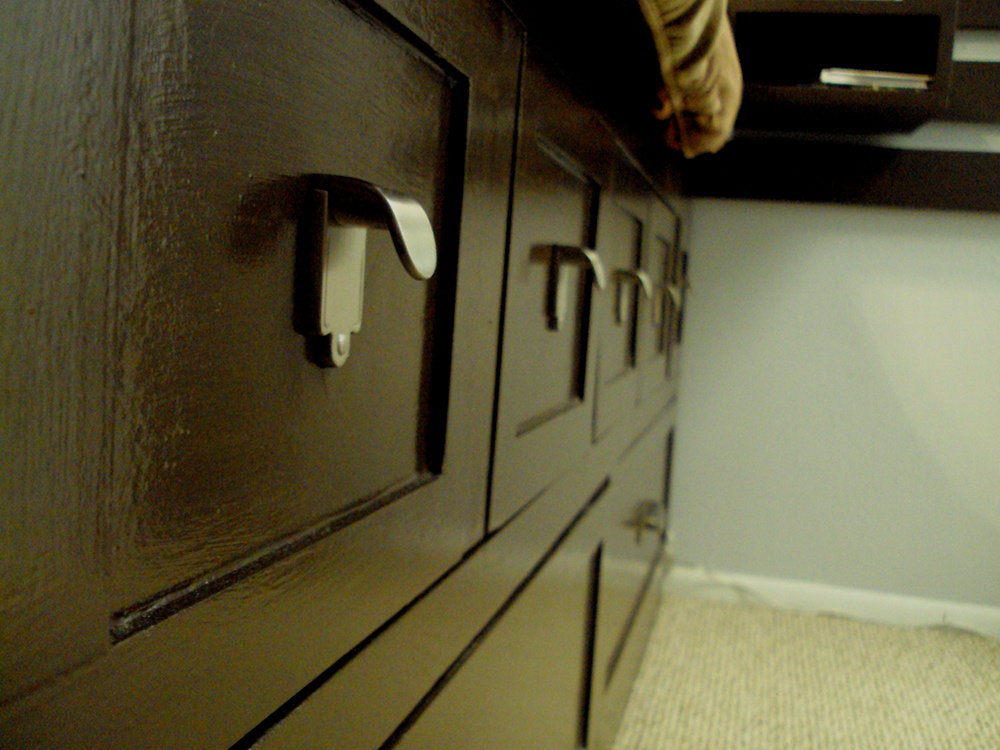
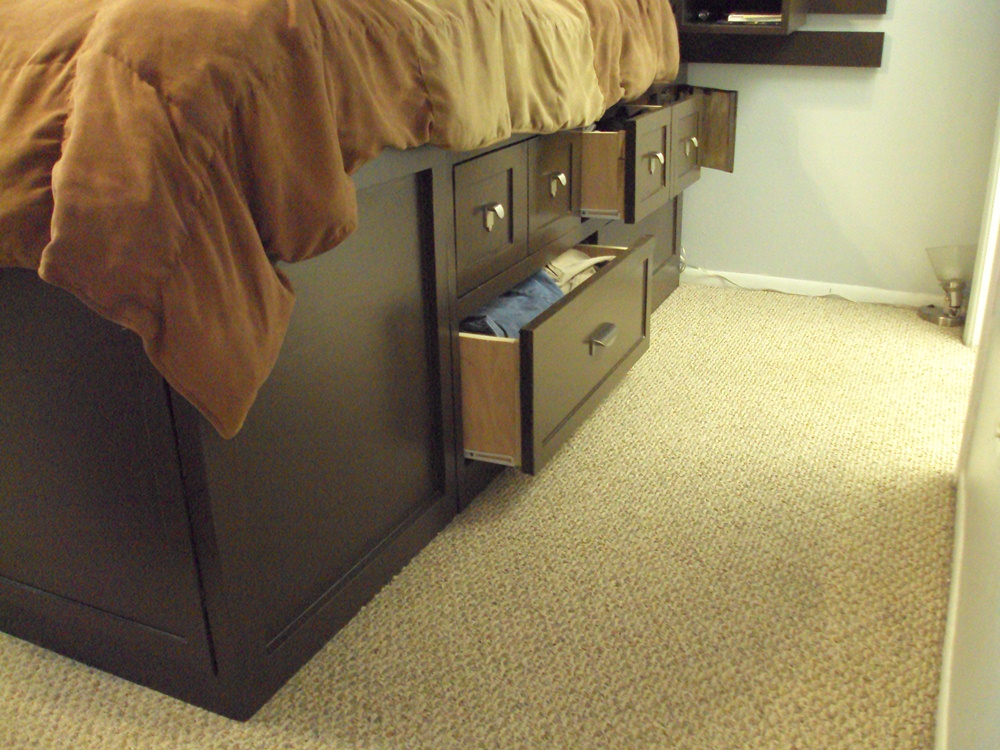
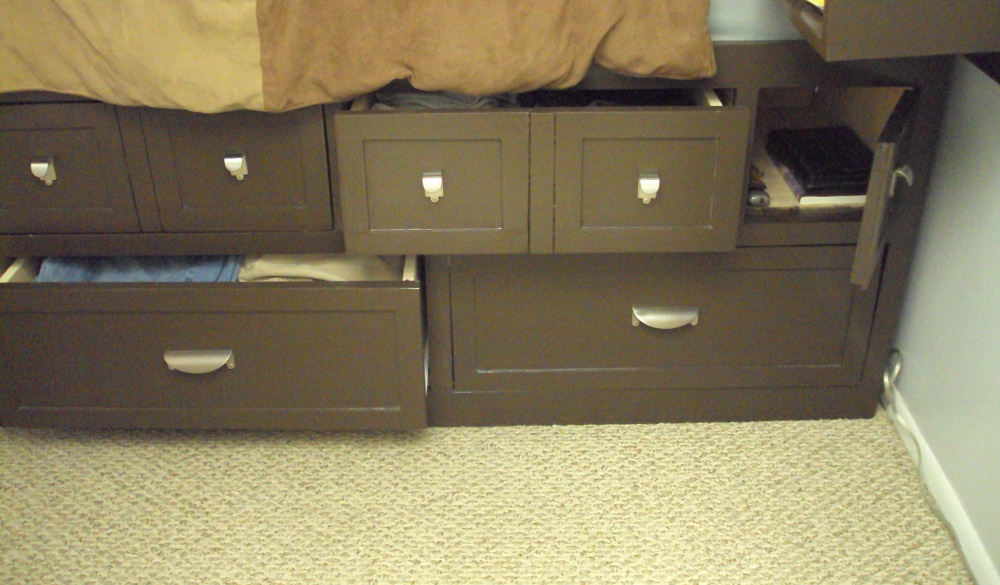
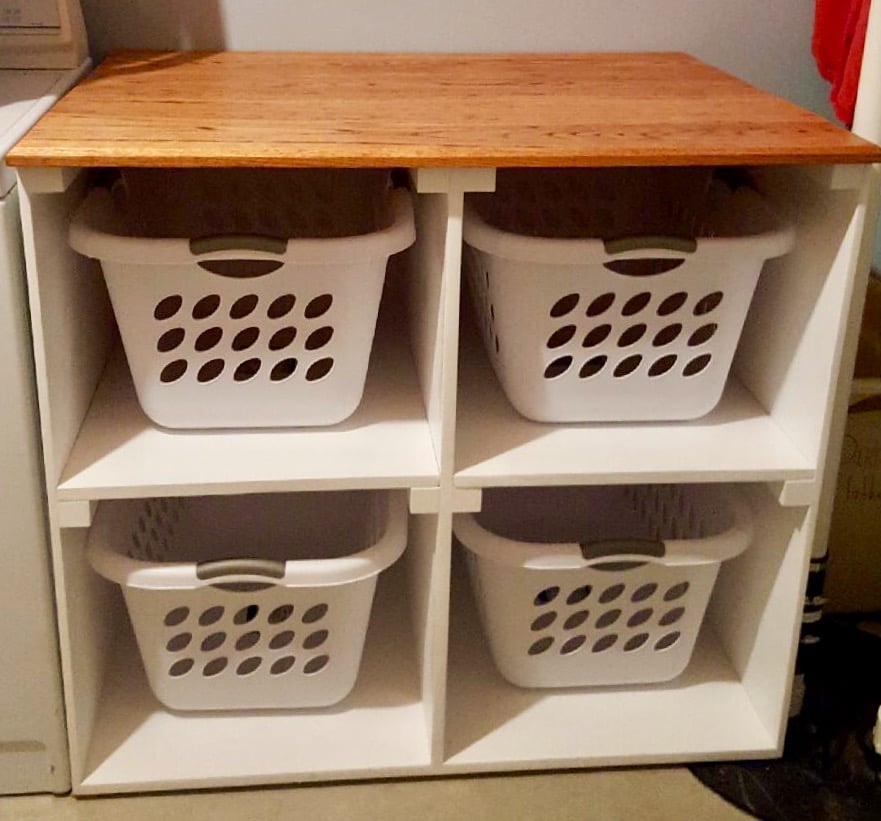
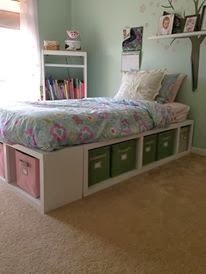
In an effort to gain some space in our home, I decided to build up. The Bed is tall (not a problem for us) but not too tall. The added heigh allowed for an extra 2 LARGE drawers on each side and an additional storage space we refer to as the "cubby." This last space has a pop open latch insted of a drawer due to the side table above them. The cabinets at the foot of the bed have the same pop open latch system and house 4 large laundry bins.
The bed feels incredibly solid and I've already had several compliments from friends. One of the best came from a rather neat and organized contractor friend of ours who's home decor is wonderful. He asked where I bought it. My response: Lowes , in a pile of lumber :)
The time it took to build this was months, due to only working a night or two a week after my toddler went to bed. It could easily be week project.
Mon, 03/19/2012 - 17:33
This is wonderful. You created practical beauty. Great job!

Wed, 03/21/2012 - 14:35
I did...
But today is my first chance to start playing with sketchup. I'll see if I can put those together for you. In the meantime. Here's some numbers to look at. Remember, the bed is TALL, but my wife and I are both around 6 feet.
Each side cabinet is 60 inches wide by 20.5 deep by 22.5 tall (to the platform itself). The entire bed is 77.25 wide at the base, with trim.
Mon, 09/07/2015 - 10:30
First of all......
Amazing work!!! This is exactly what I am looking for to make for my daughters BDay. She has a small bedroom. I have never been afraid to take on a new project. Saying that I will be having the lumber company cut all the pieces for me. It will house all her clothes/shoes and hamper.
Please tell me that you have the dimensions for this platfrom bed.
Sat, 04/30/2016 - 22:05
Great job. Do you have the measurements for this bed. If so can you email them to me, [email protected]. Thanks
Wed, 04/18/2012 - 10:36
Thanks HK
Having the laundry hampers on all sides is quite doable. Email me if you want [email protected] and let me know what types of hampers you are thinking...how many... do you need doors... how tall...what materials you want to use and what size bed. I can help you with the design/modification.
Thu, 06/28/2012 - 14:05
I love the modifications you have made! I want my husband to make me this same bed that you have done. With our 3rd baby arriving in 2 months I really need the space that our clothes are currently occupying. Have you been able to make up plans for this bed? If not, do you have a list of measurements and supplies needed to make this?
Mon, 07/16/2012 - 21:12
Hey BJ,
This is the other BJ (or as Greta would term it, "chick BJ")! I was looking at this site, and saw a picture of the bed you made, with the caption "BJ D made this." So I clicked on it, and it showed a picture of you, and I was like, "Hey, I know that guy! That's the guy that married my best friend! And that's their daughter! Wow, small world!"
Anyway, I was thoroughly amused, and also, I really like the modifications you made on the bed. I'm totally stealing some of your ideas when we make our new bed frame!
-BJ
Fri, 04/18/2014 - 15:18
Hi, I emailed you, but just in case you don't still have that email or it doesn't go through to you. Did you ever make plans for your modifications? If so, I would love to see them. My email is [email protected]
Thank you!
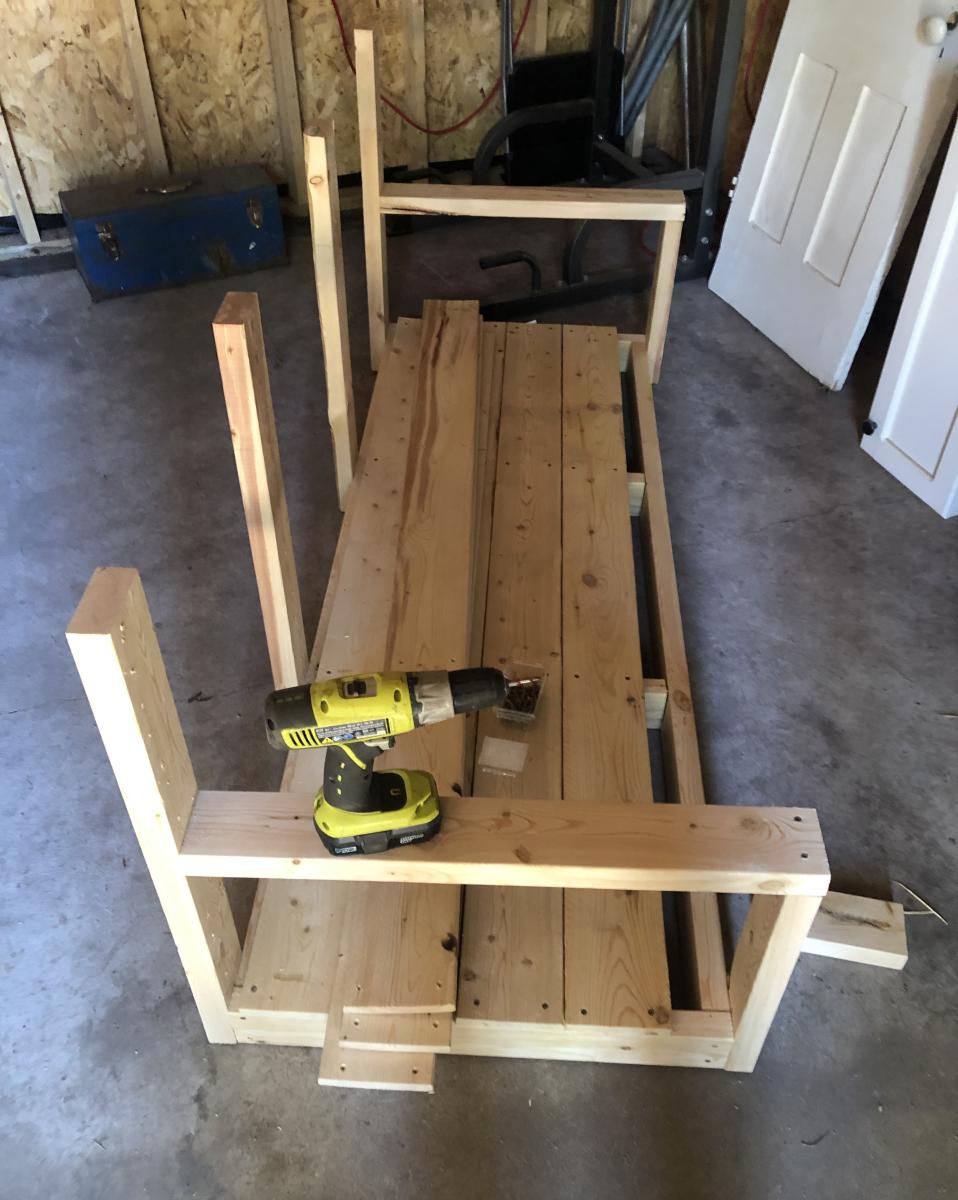
This is my first project ever built. I can't thank you enough for this site. I already have several other projects I want to build around the house because of this site. Thank you so much!
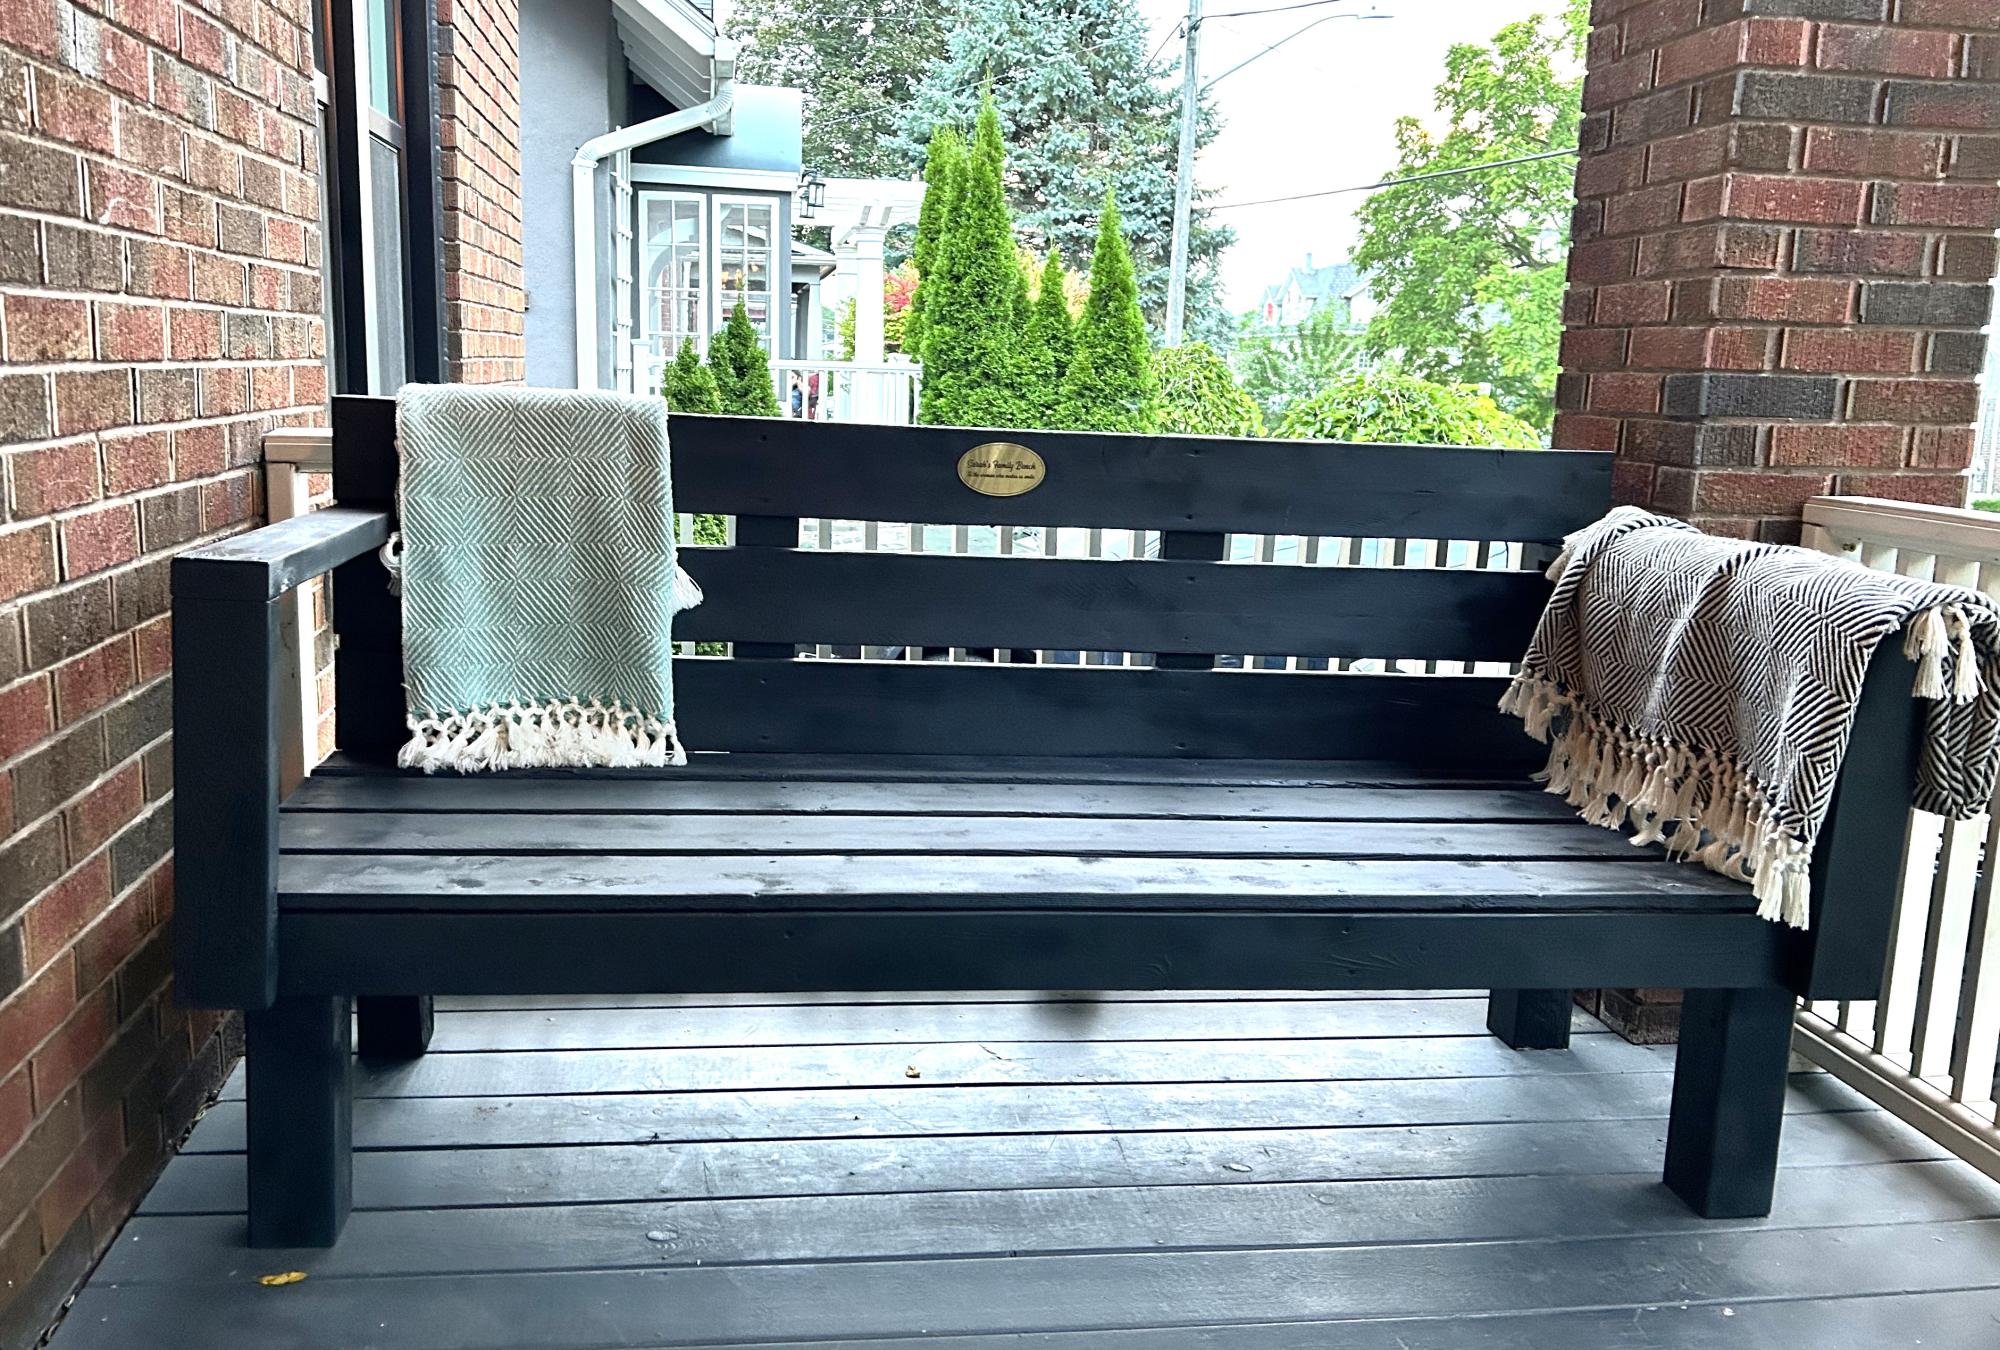
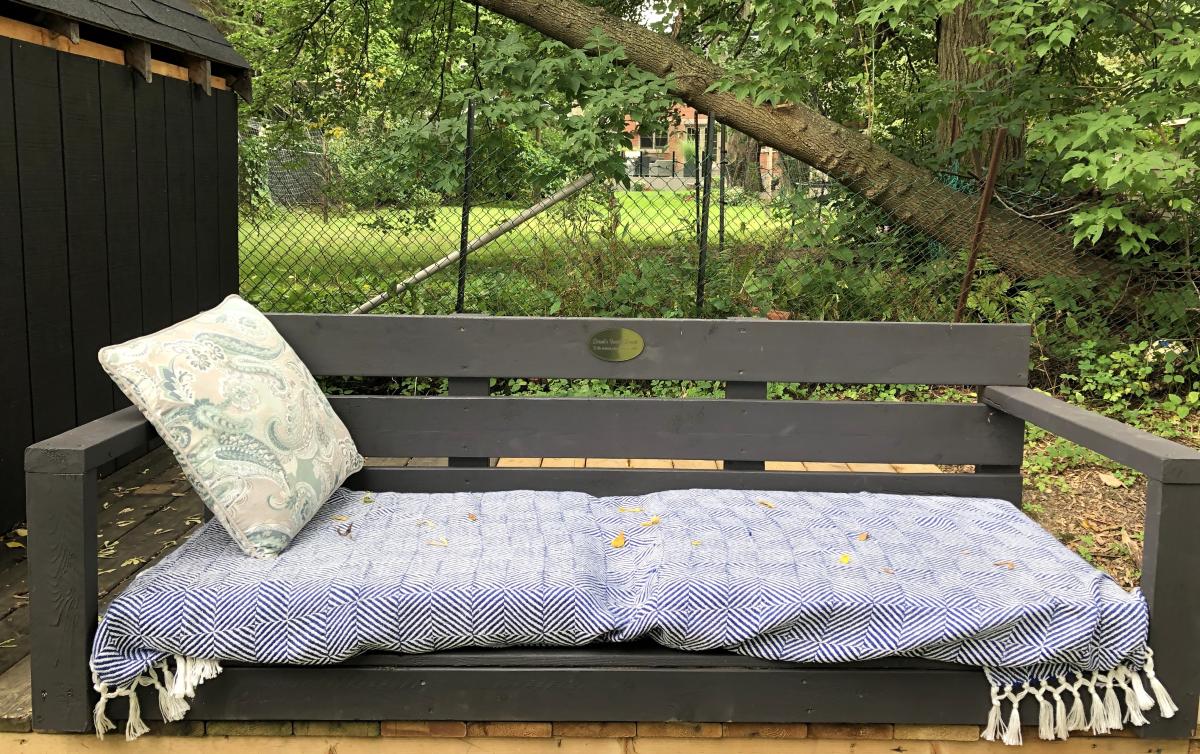
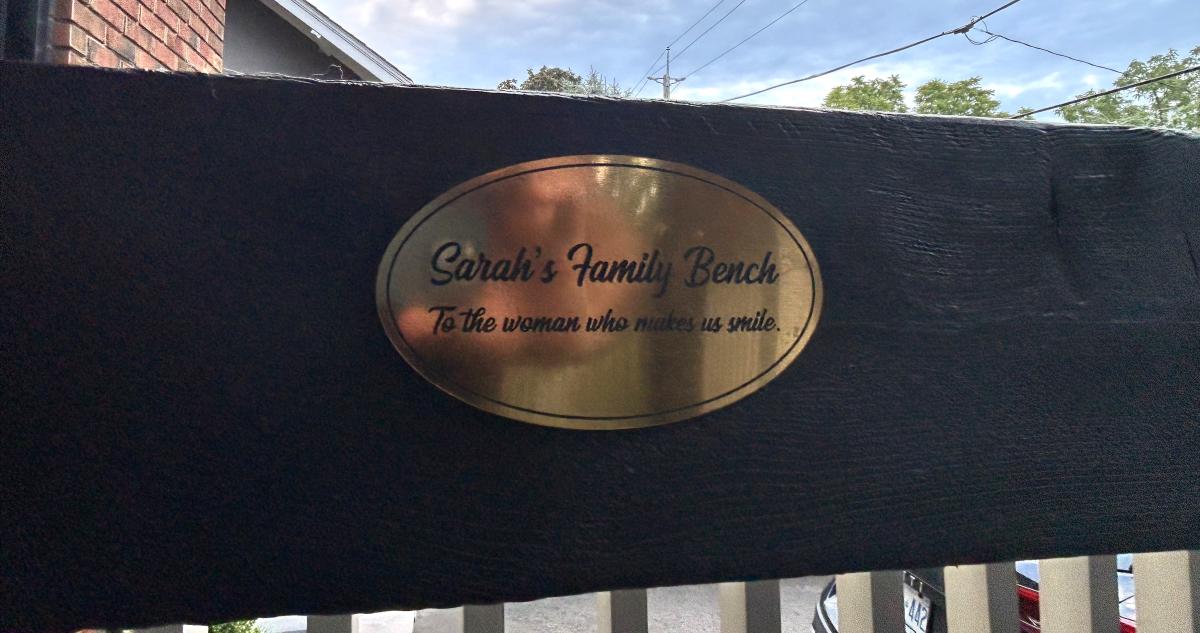
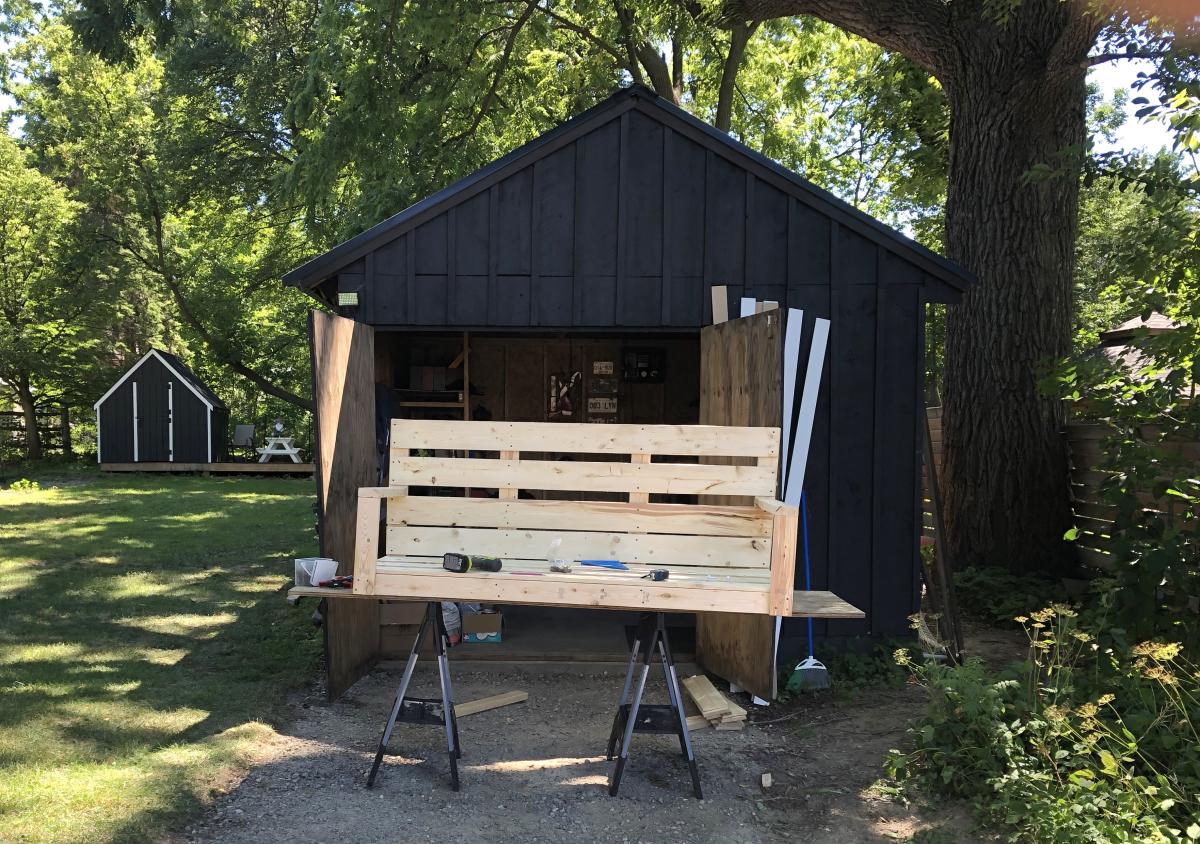
Made my wife a Ana White DIY porch bench for our 10 year wedding anniversary. Had a custom plaque made: Sarah’s Bench.
Looks beauty on our front porch.
Jesse Micak, Ontario, Canada
Wed, 08/30/2023 - 09:55
Beautiful bench and I'm sure your wife loves it! Thanks for sharing.
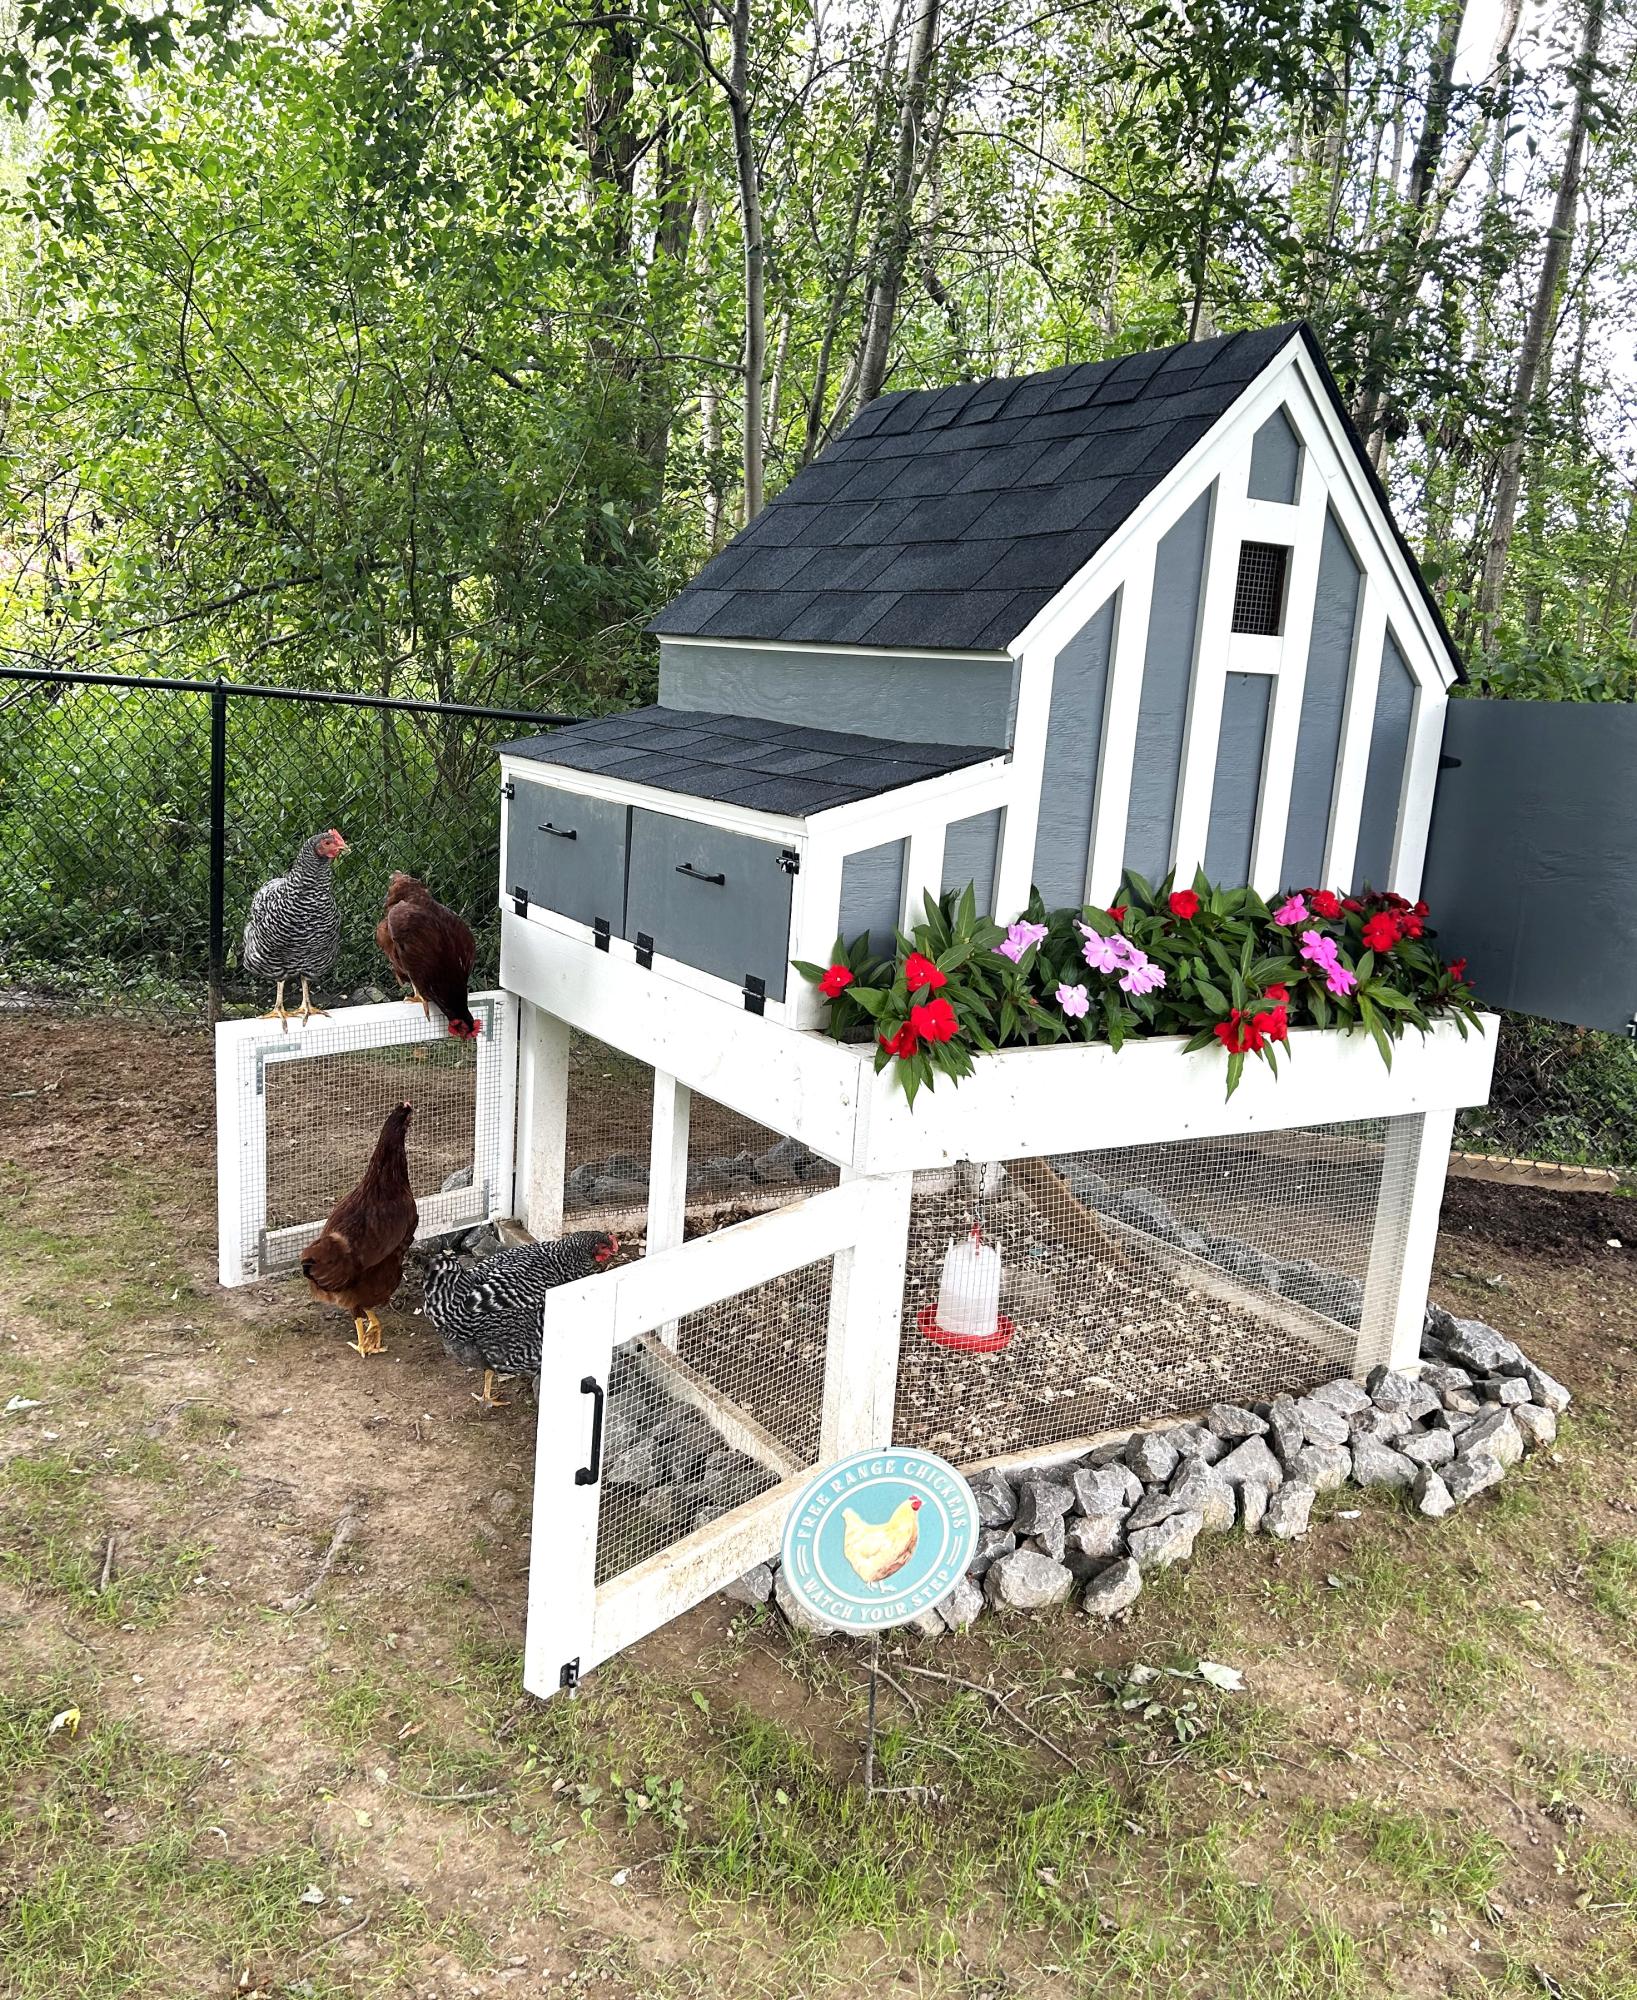
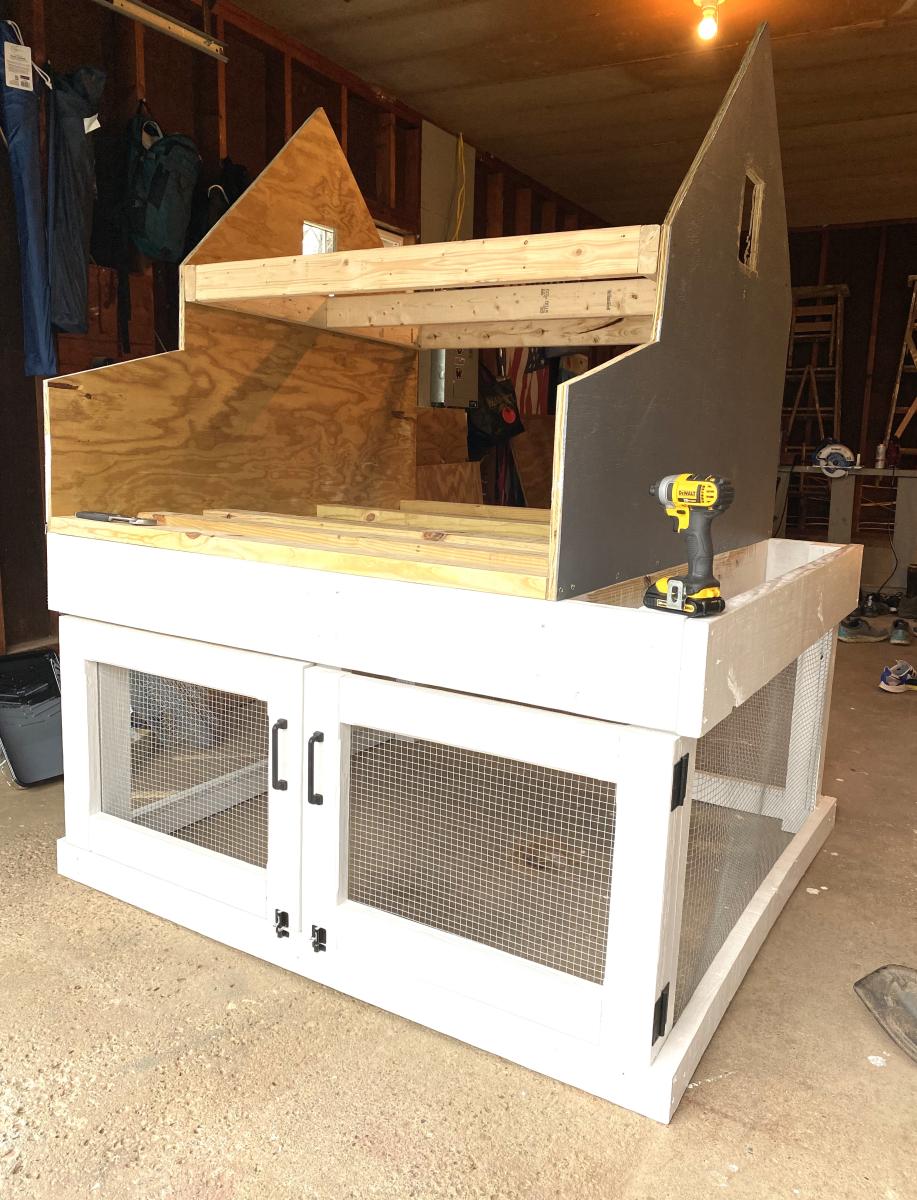
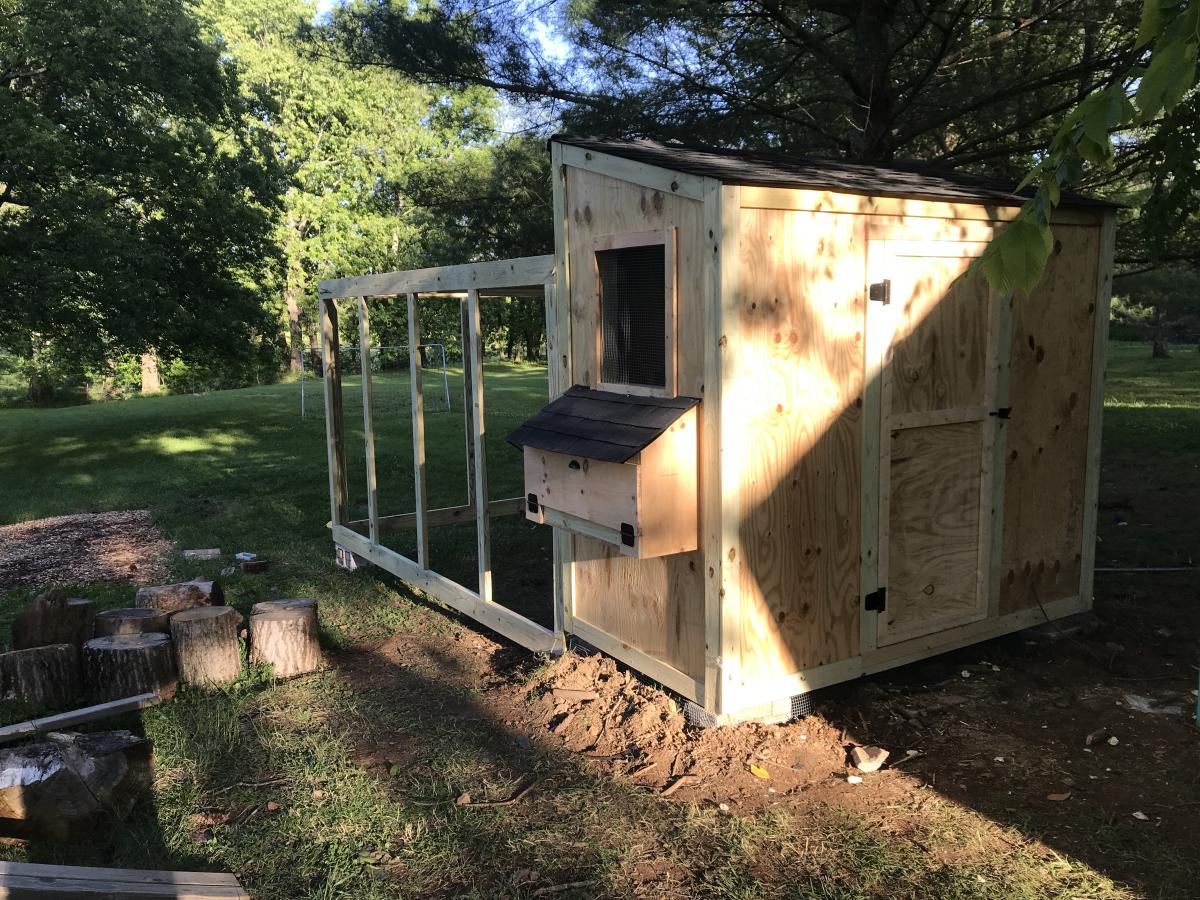
Absolutely loved how this thing turned out. Made a few customizations such as coop extension and drip edge. I have 4 happy hens and a coop that should last a lifetime. Thank you for the help!
Alex
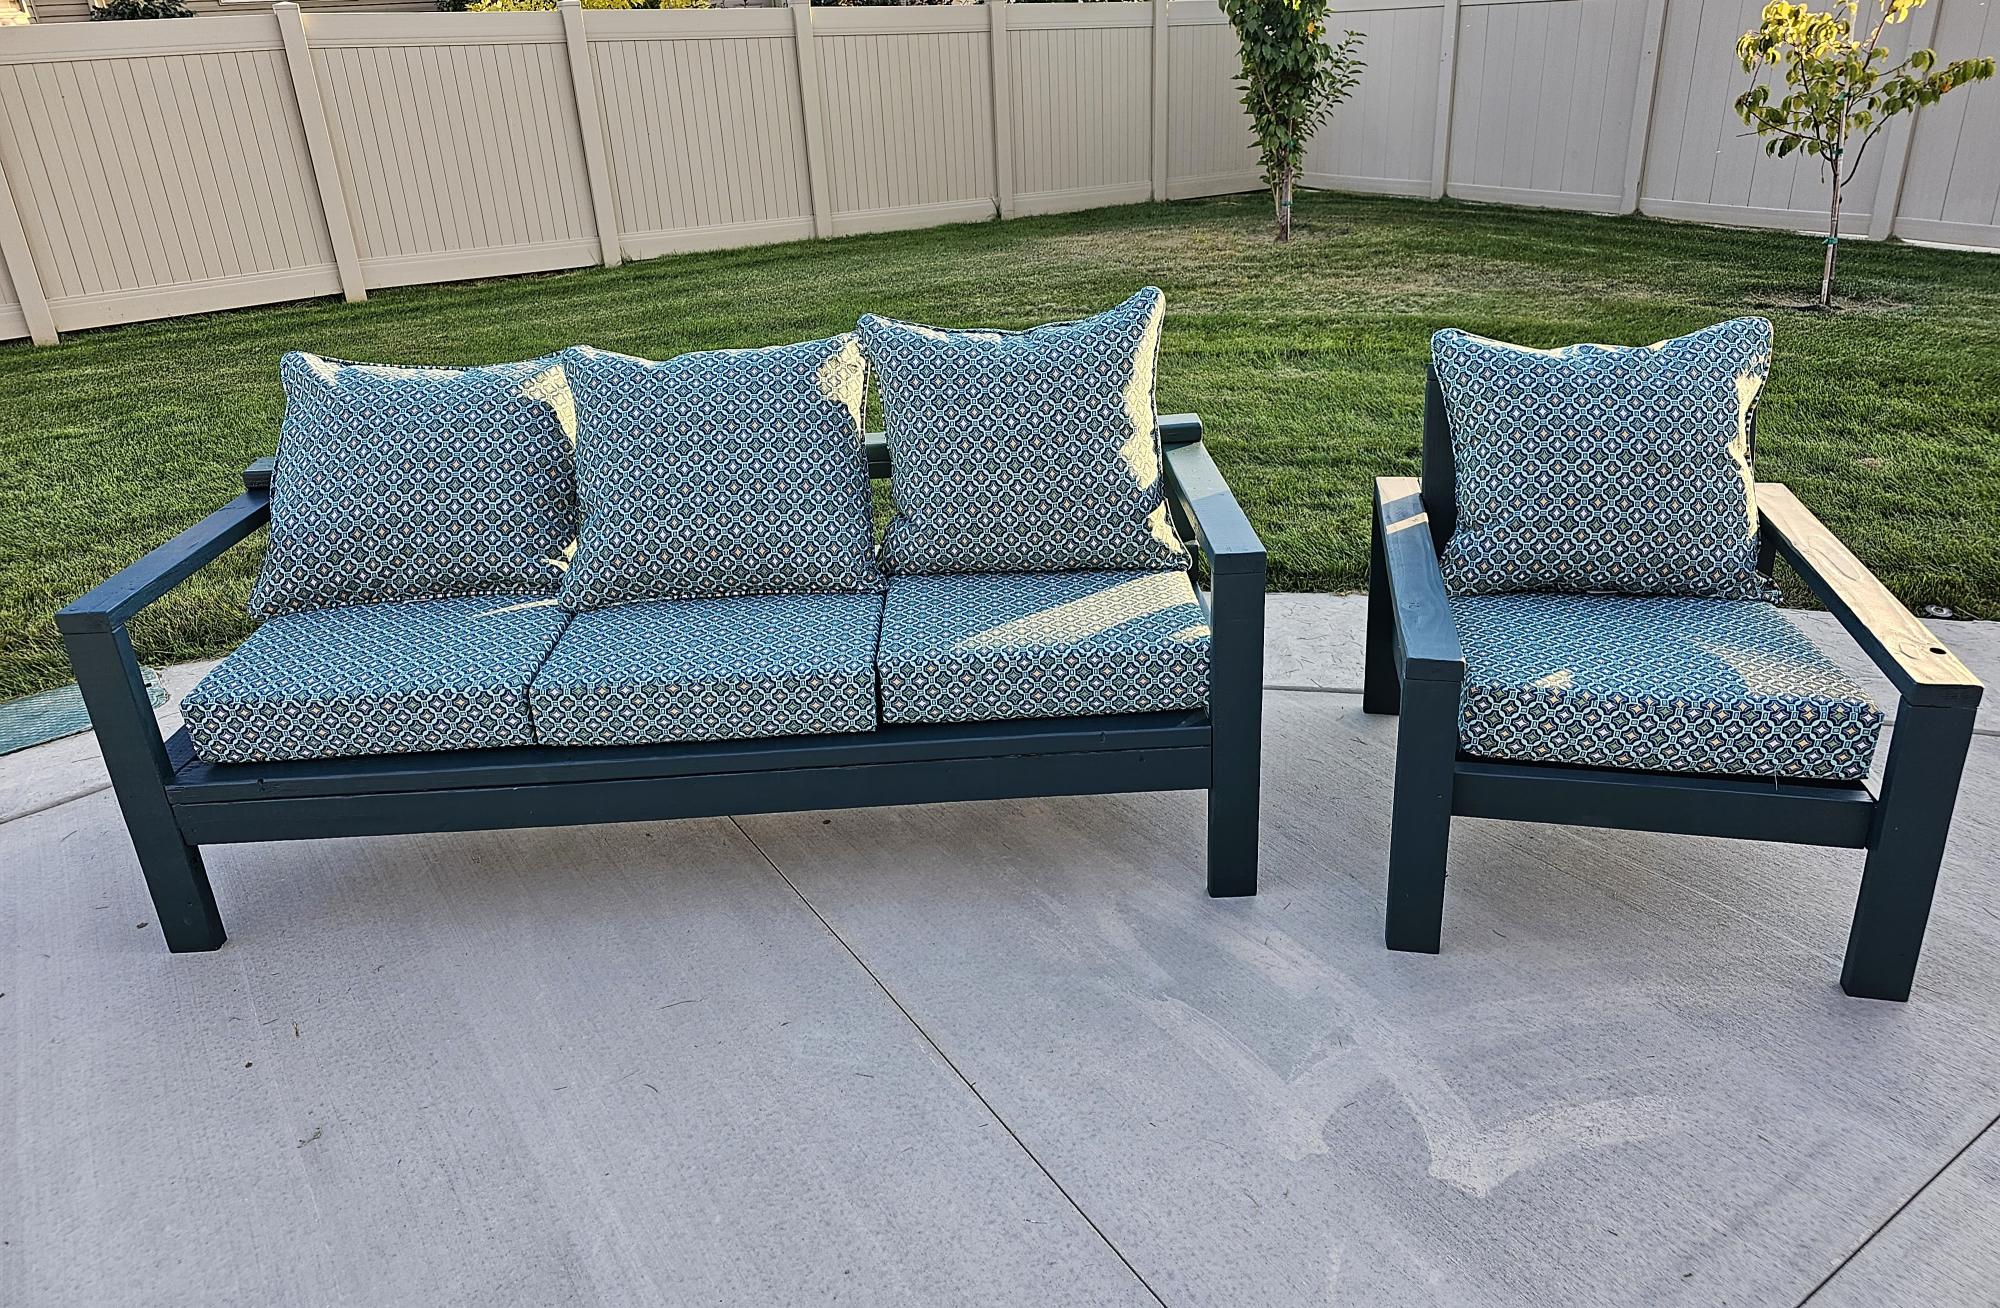
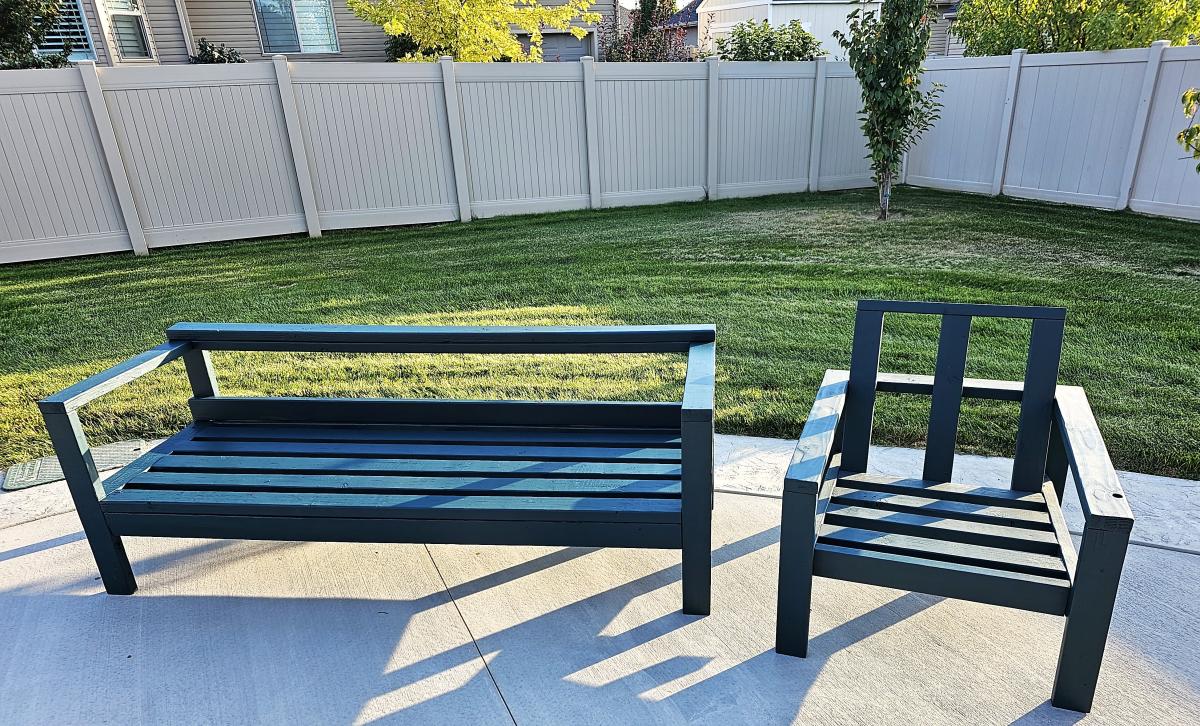
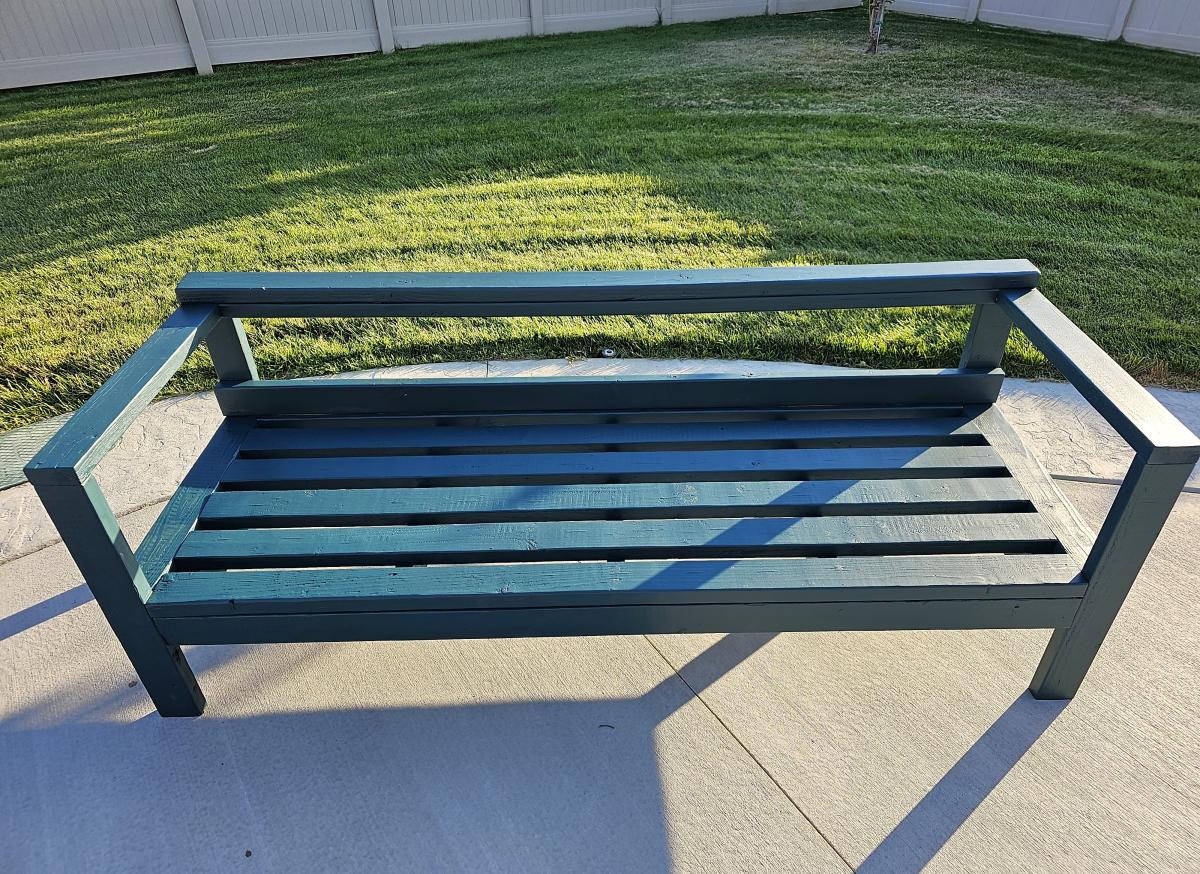
2x4 sofa and Chair. I added a couple pieces to the back of the sofa to stop the cushions from slipping through and another 2x4 to the top for a little more height. Stained a dark teal.

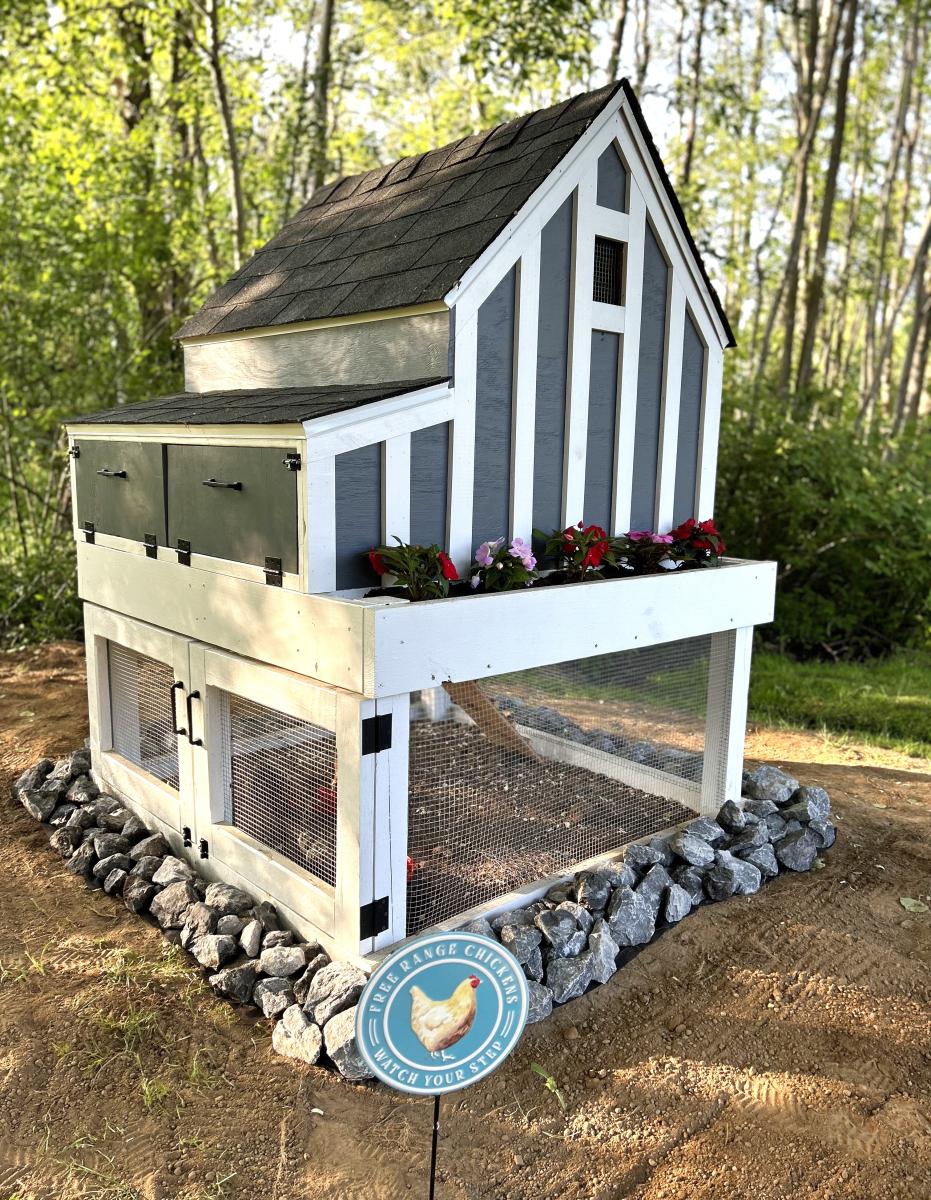
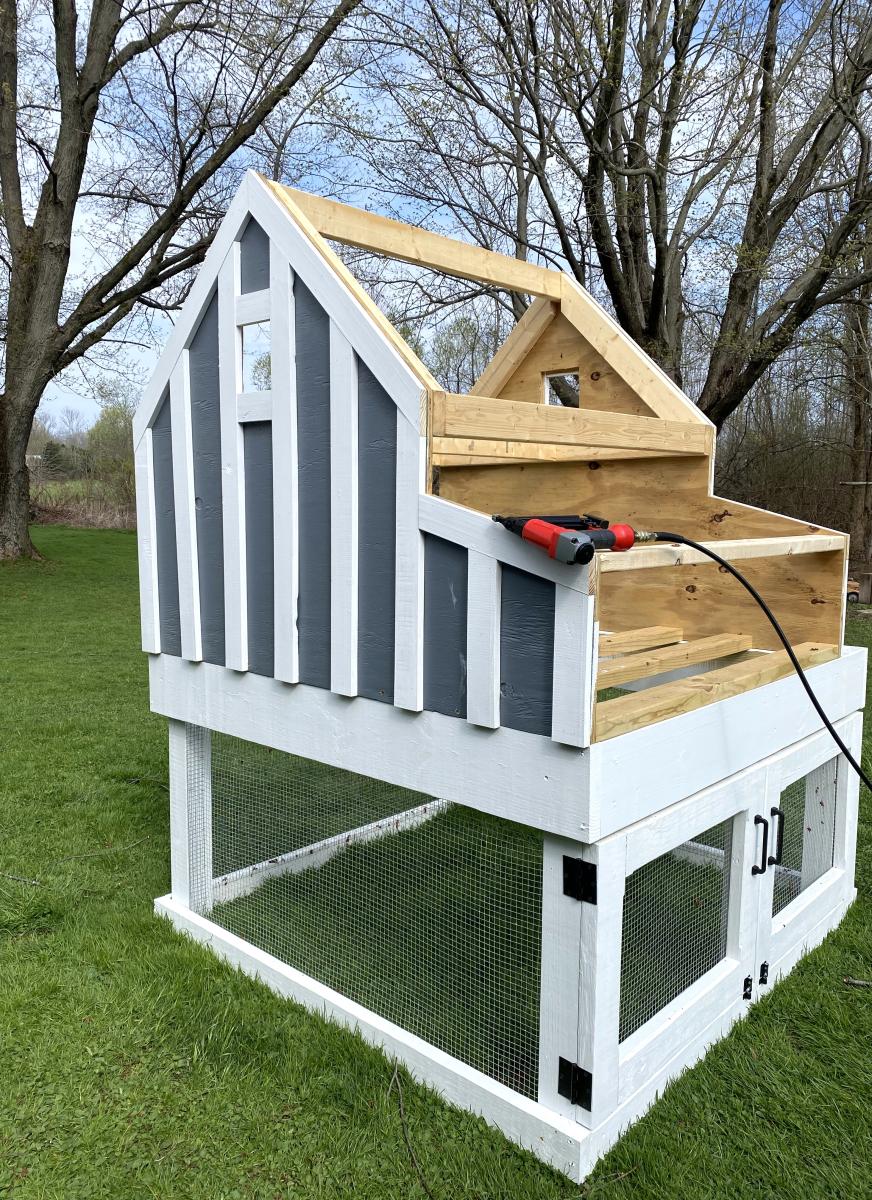
I had such a fun time on this shed coop/run build! My wife and I have 5 children and it was fun involving them in building everything about this coop and run. They have a wonderful sense of accomplishment in looking at what they helped build.
A few notes, while this what a fairly straightforward build, there are a lot of little intricacies to be aware of. Such as:
• Make sure your chicken coop is about a foot off the ground. It's best to do that so critters such as rats and snakes don't make their home under the shed and potentially eat their way through the floor.
• It is highly advisable to dig a trench about a foot to a foot and a half deep around the coop and the run and attach chicken cage fencing from the bottom of the coop/run into the trench, and then taper the cage fencing outward. This will prohibit critters such as raccoons from trying to dig under the coop.
• When you attach the poultry netting to the outside of the chicken run, staple one side really well, then move to the other side and pull the netting fairly hard to make the netting as tight as possible. (Also, be careful when putting the netting across the top of the run to not fall off the ladder as I did and dangle there until one of your kids comes to help you! Ha! :D )
Thank you, Ana, for posting these plans! We are so excited to get our little chickies out into their new home as soon as their feathers come in!
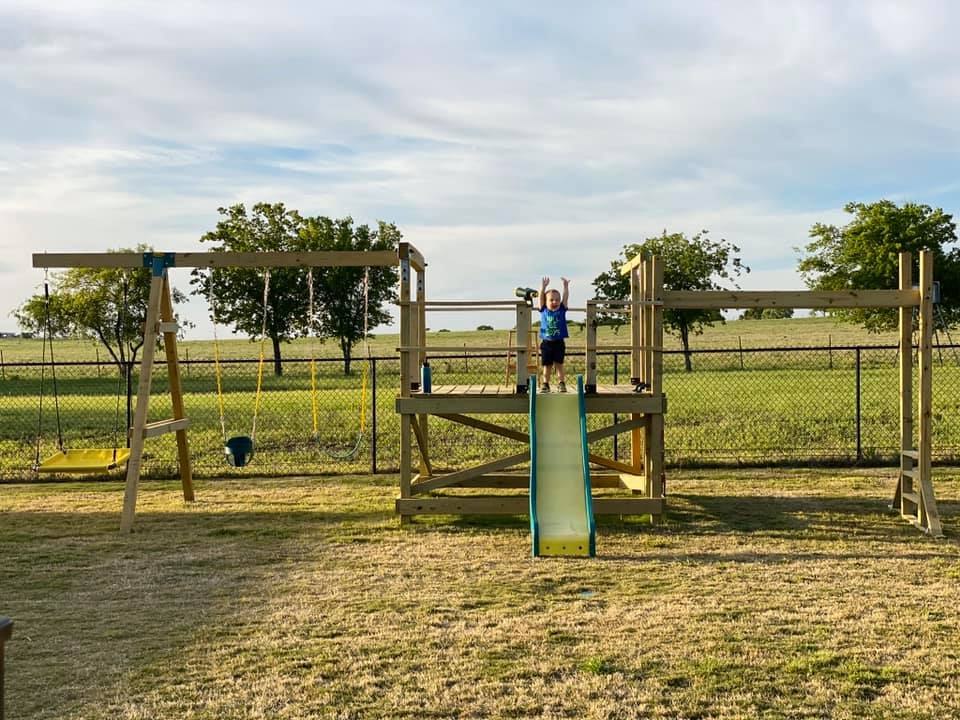
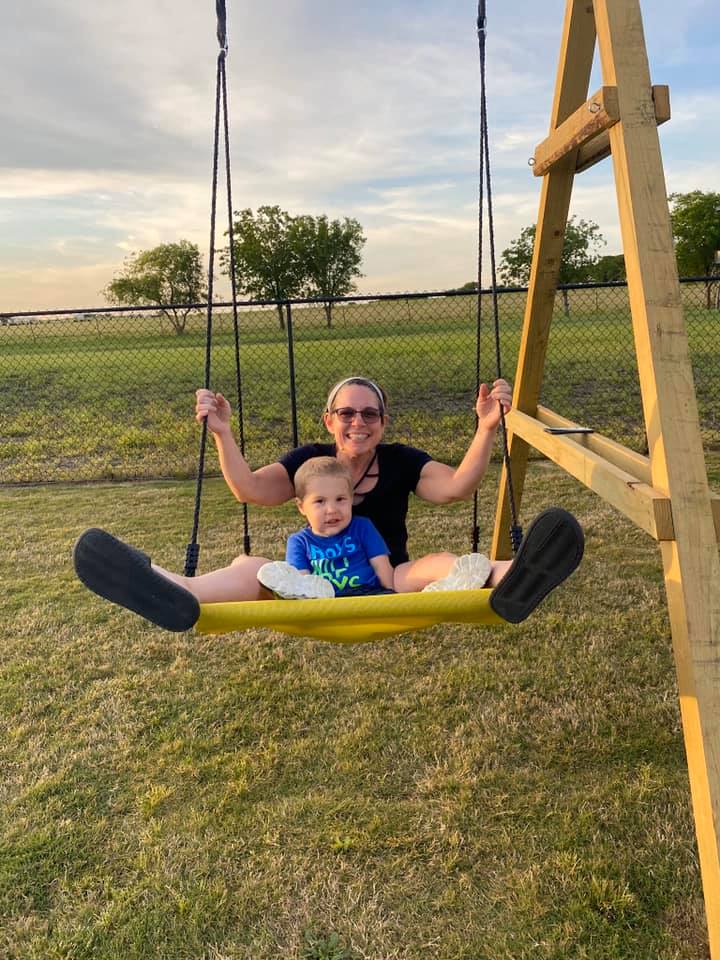
We are used to seeing our grandson every weekend but during the 2020 COVID quarantine we were unable to do so. Instead, we filled our time building him a swing set for our backyard. He loved it!! We are going to add more to the swing side but the hardware I want isn't available right now (apparently there is a lot of swing set building going on during this time). I look forward to many years of playing on this with our grandson and hopefully additional grandkids in the future... Our cost was pretty high mainly because our first round of lumber came from a local lumberyard that was willing to deliver within a few days (big box was going to take several weeks) and they had what is supposed to be higher end lumber (not sure I am convinced of that)....also, i chose some pretty expensive hardware (brackets) just for the added security.....


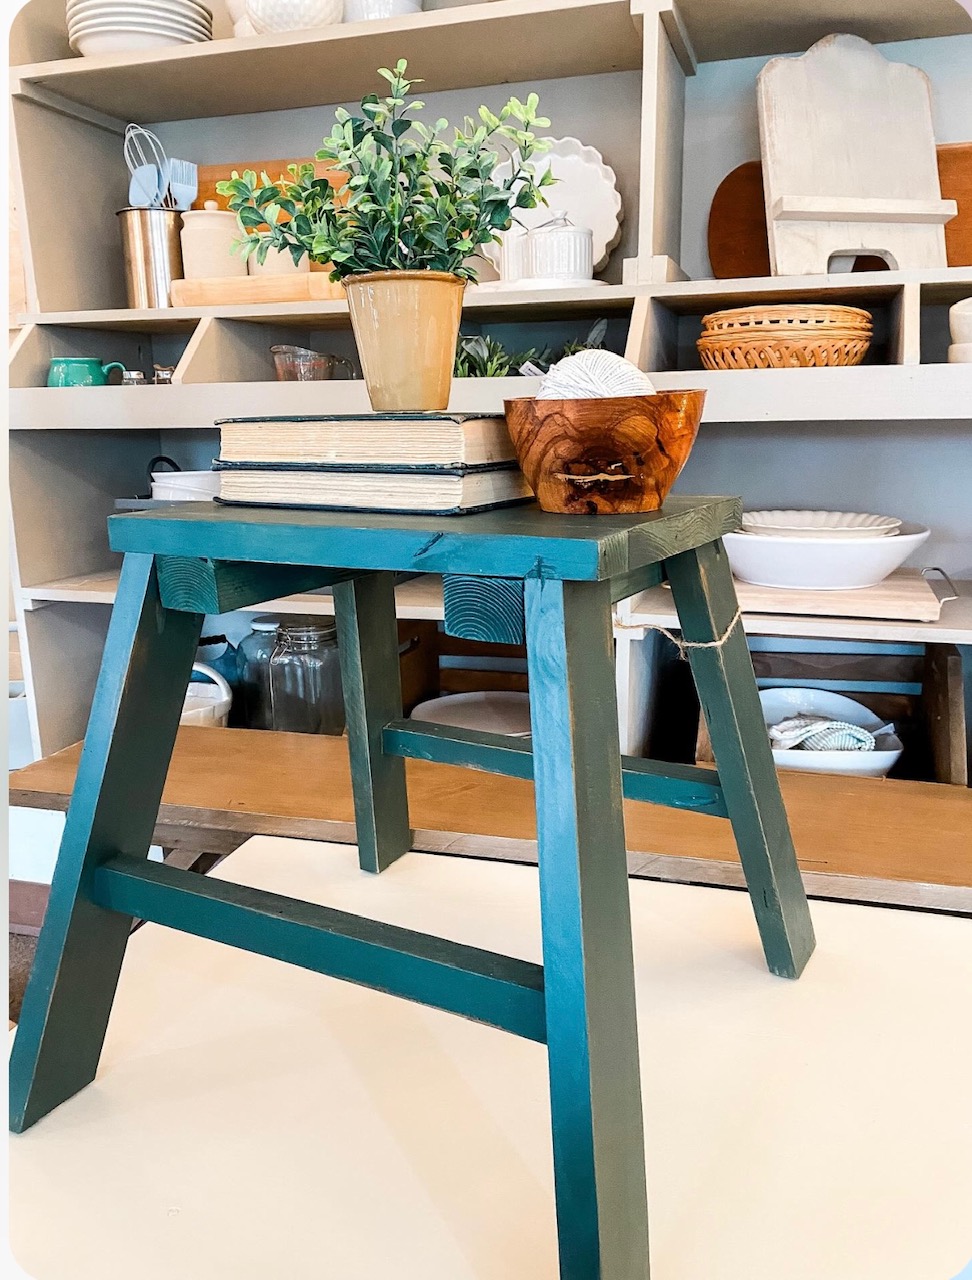
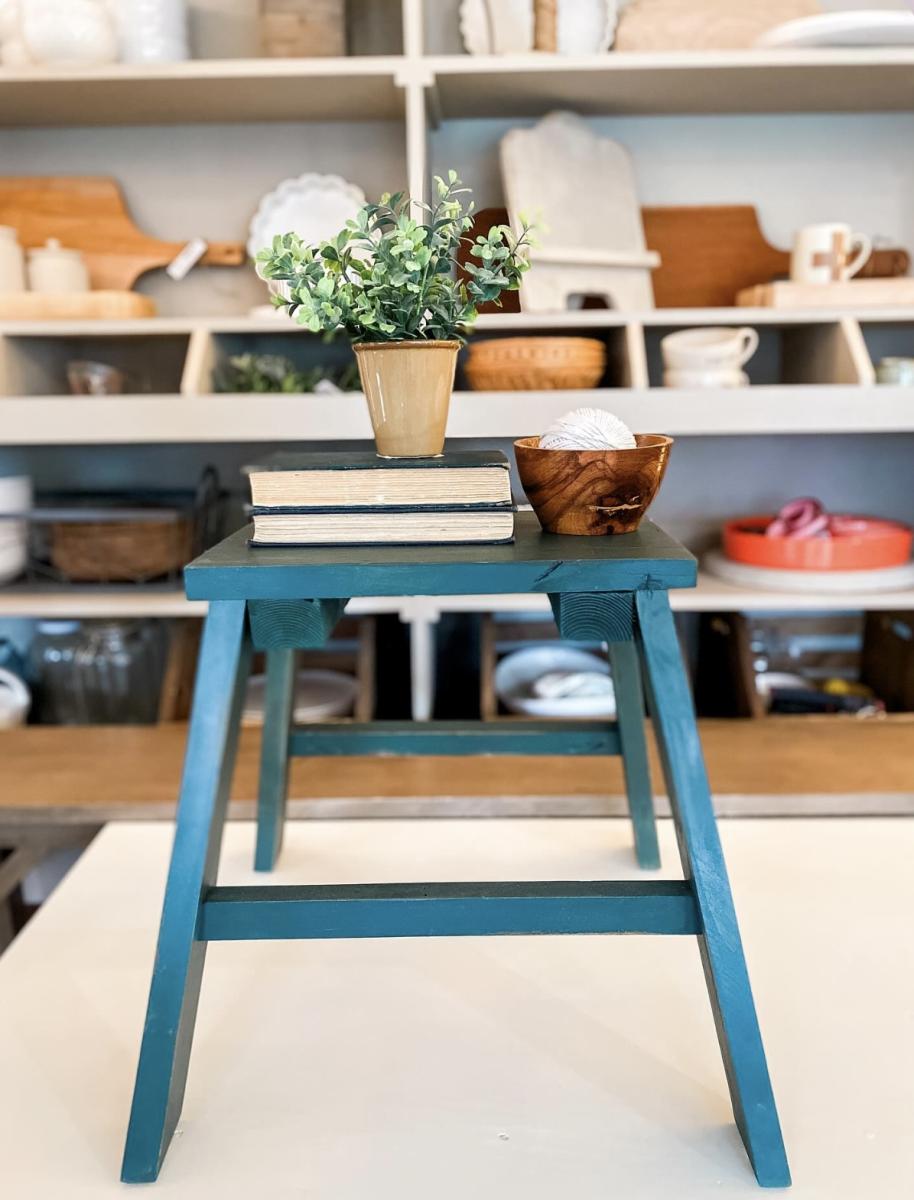
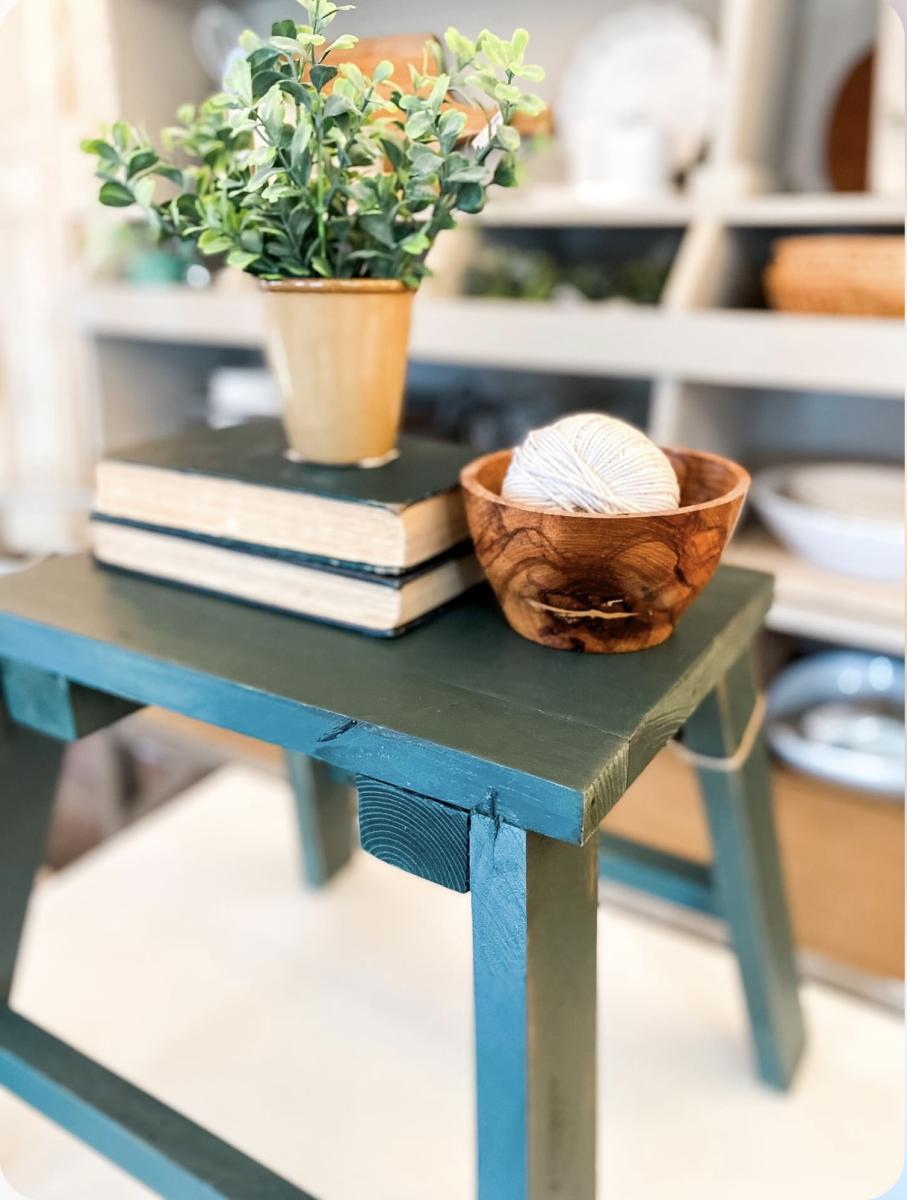
My kids needed a step stool and I had some scrap wood (2x10) left over from a previous project
Thu, 08/18/2016 - 20:12
Thank you! The dimensions are the same as the Ana White "Simple 1x10 Single Step Stool" except I used 2x10's instead of 1x10's like the plans called for. I also used some scrap pallet wood to make a design on the top of the stool.
- Stool height: 7 1/2" for legs, 1 1/2" for top, and 1/2" for scrap pallet wood; which gives a total height of 9"
- Stool width: 9 1/4" x 16"
- 5 degree angle cuts were made on the legs
Wed, 04/17/2024 - 09:21
Are the rails a 2x10 cut in half.? Or is it pallet wood?

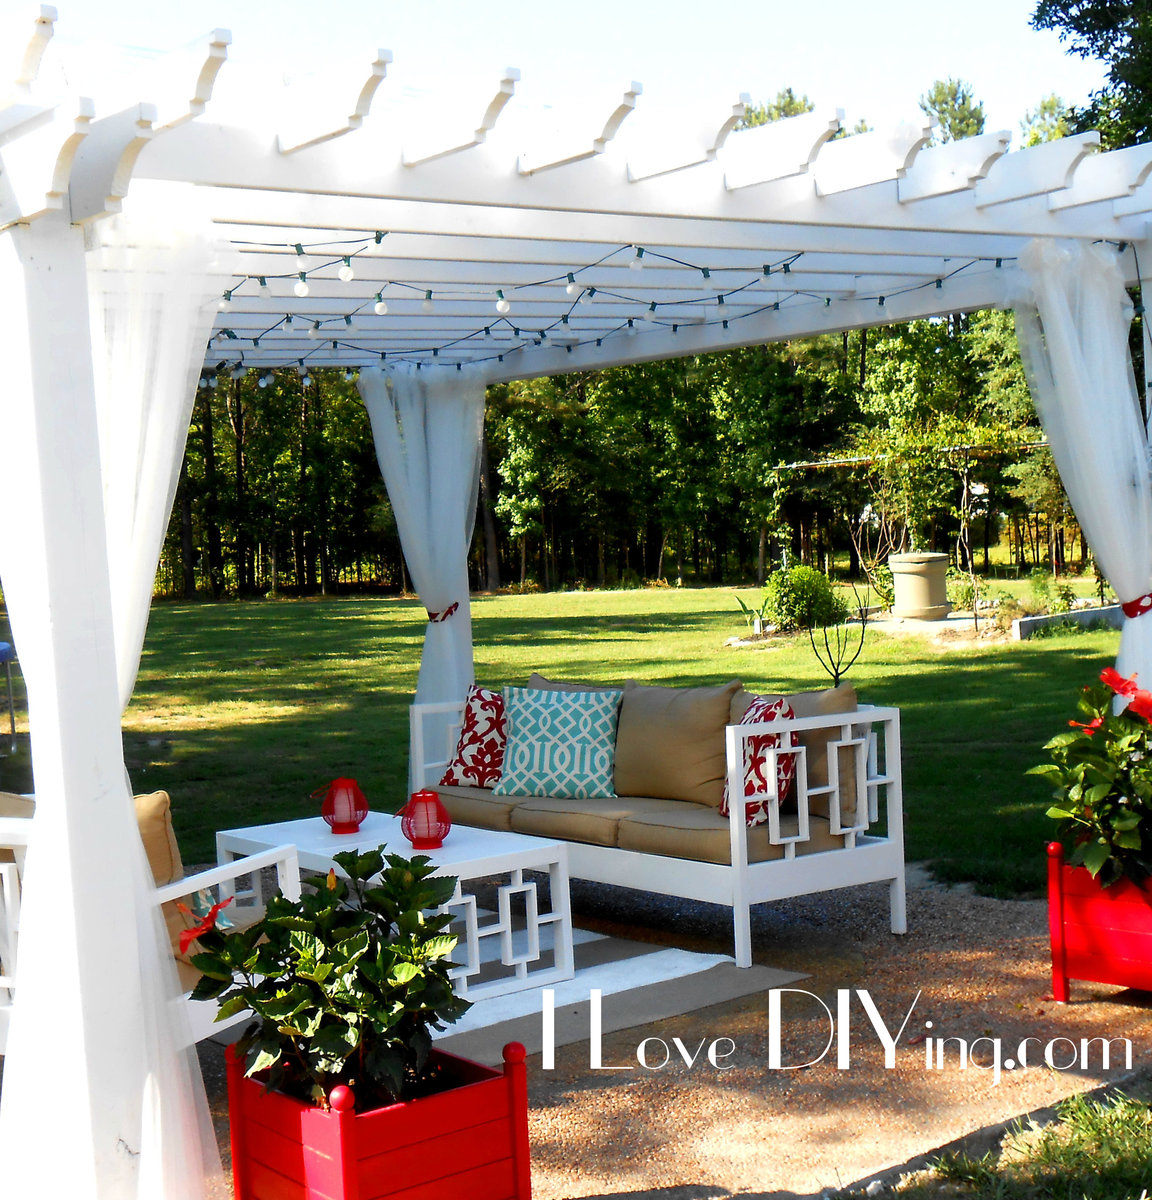
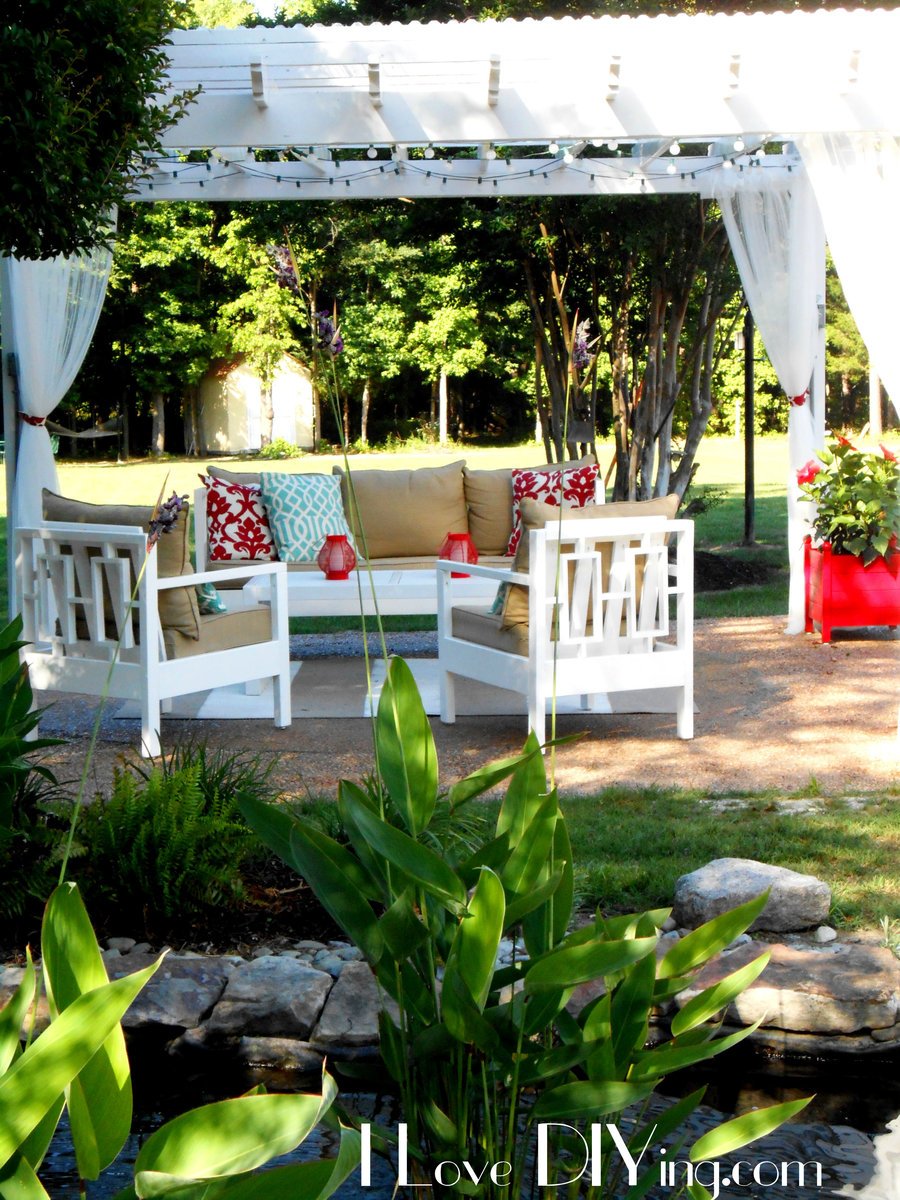
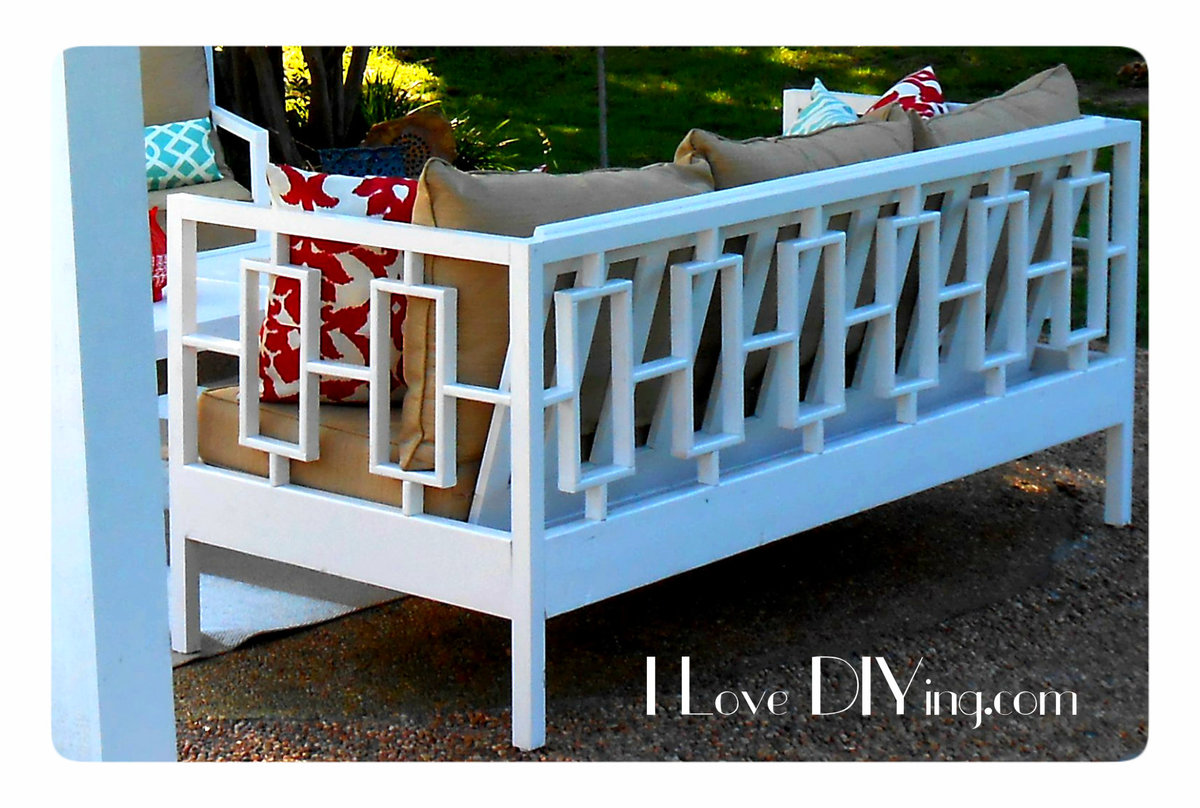
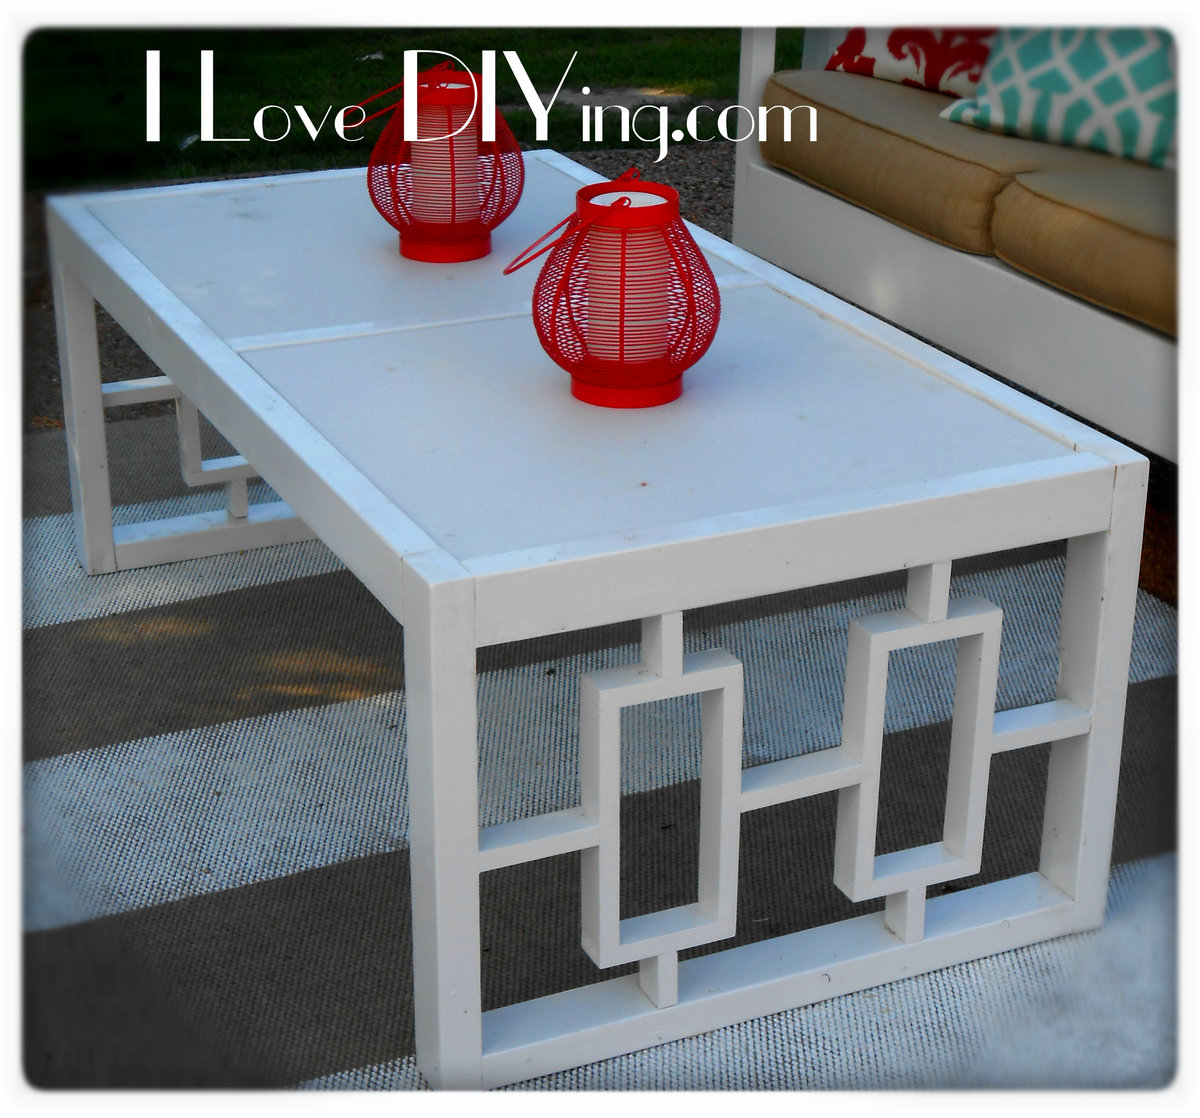
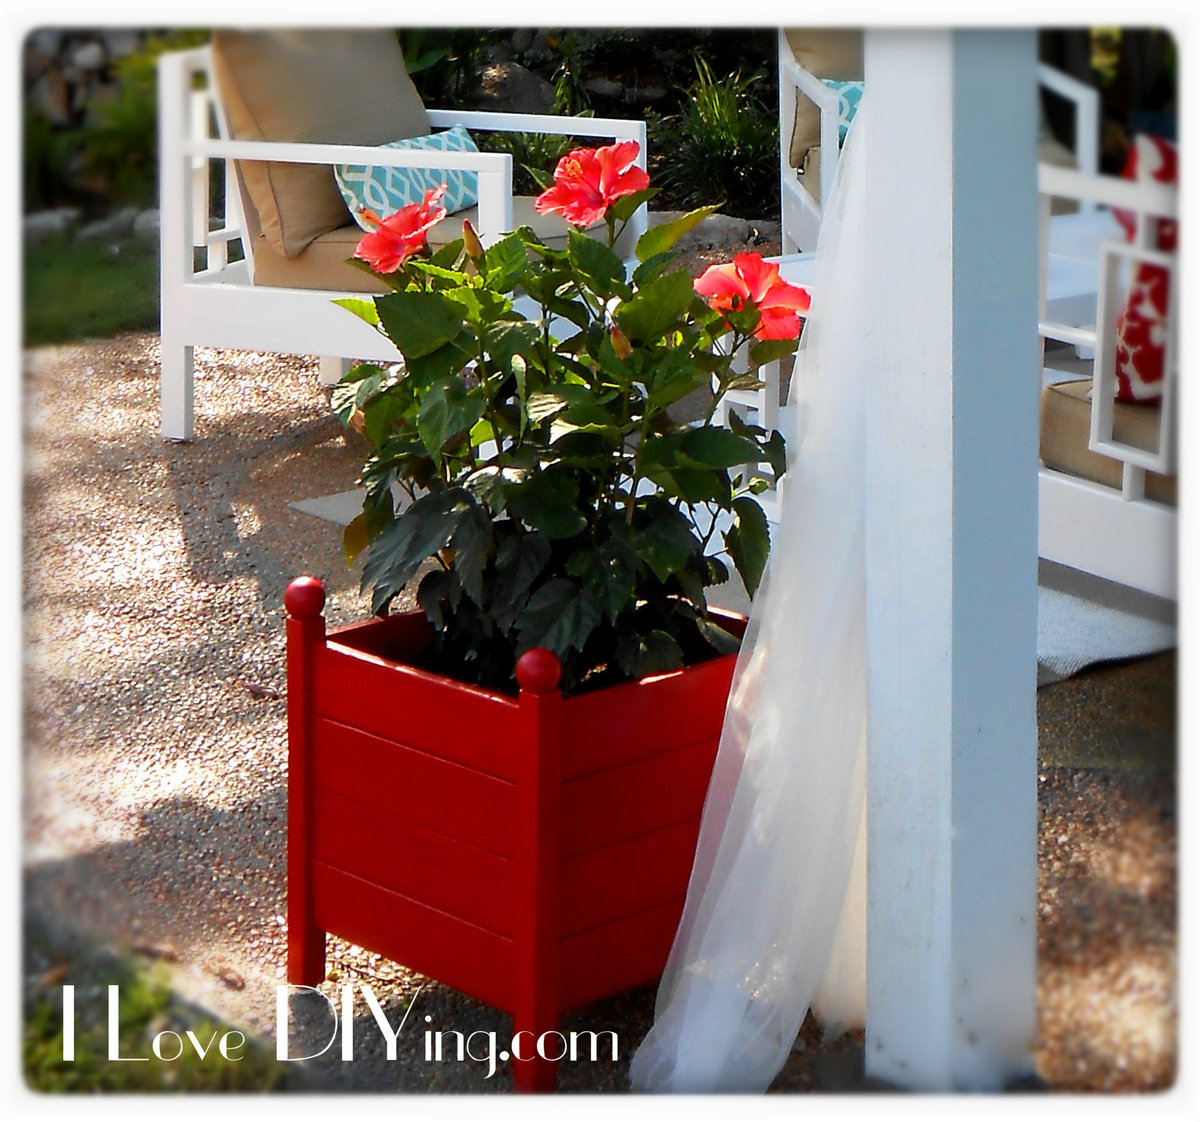
The pergola is finally complete! I'm sure I'll be adding some more things, but for now....I'm happy. I can not take credit for the Pergola, my husband built that, but there are lots of projects inside to tell you about. I built the sofa, coffee table, 2 chairs and 2 planters. It's a great spot for entertaining or just sitting with glass of wine. I really loved the Rectangles Daybed , but I really had no use for a Daybed, so with a few modifications, I came up with the sofa version. To make it more comfortable I used the slanted back idea from the simple outdoor sofa plan.I love how it turned out and it was fairly inexpensive too. Lumber cost was around $50. I used 2x 6′s, 2×2 furring strips, 1×2 furring strips and 1×4 furring strips. You really have to pick through the furring strips, with some patience I was able to find pieces that would work well for my project. Using the more expensive would would make things much easier, because there would be much less sanding and filling involved…but I love a bargain!! When I first built the sofa for this collection, it was for our covered porch. I was not intending to build any matching pieces. When we moved it to the pergola, I decided to build these 2 chairs. I used plan from the simple outdoor chair and modified the back to match the sofa. The lumber for the chairs cost about $25 per chair. I bought some 2X2 quartz tiles from the Habitat ReStore for $3 each! I thought they would work perfectly for the tabletop. I sketched up a quick design to match the other pieces and came up with this. I used 2×3′s and 1×2′s. The lumber cost was about $15. I also used the Square Planters with Finials plan. I love these planters do much and they were so simple! Thanks for all the fantastic plans and inspiration!!
Tue, 06/10/2014 - 11:05
Thank you so much Ana! I really love your work and can't thank you enough for all the fantastic plans!!
Thu, 05/12/2016 - 21:30
What a lovely space! Including the water feature behind the pergola. I'd love to pull it straight from your photos and drop it into my yard! (I'd better get to work!!) Thanks for sharing.

Custom cedar raised gardens installed for a deck railing
Urban Wood Solutions


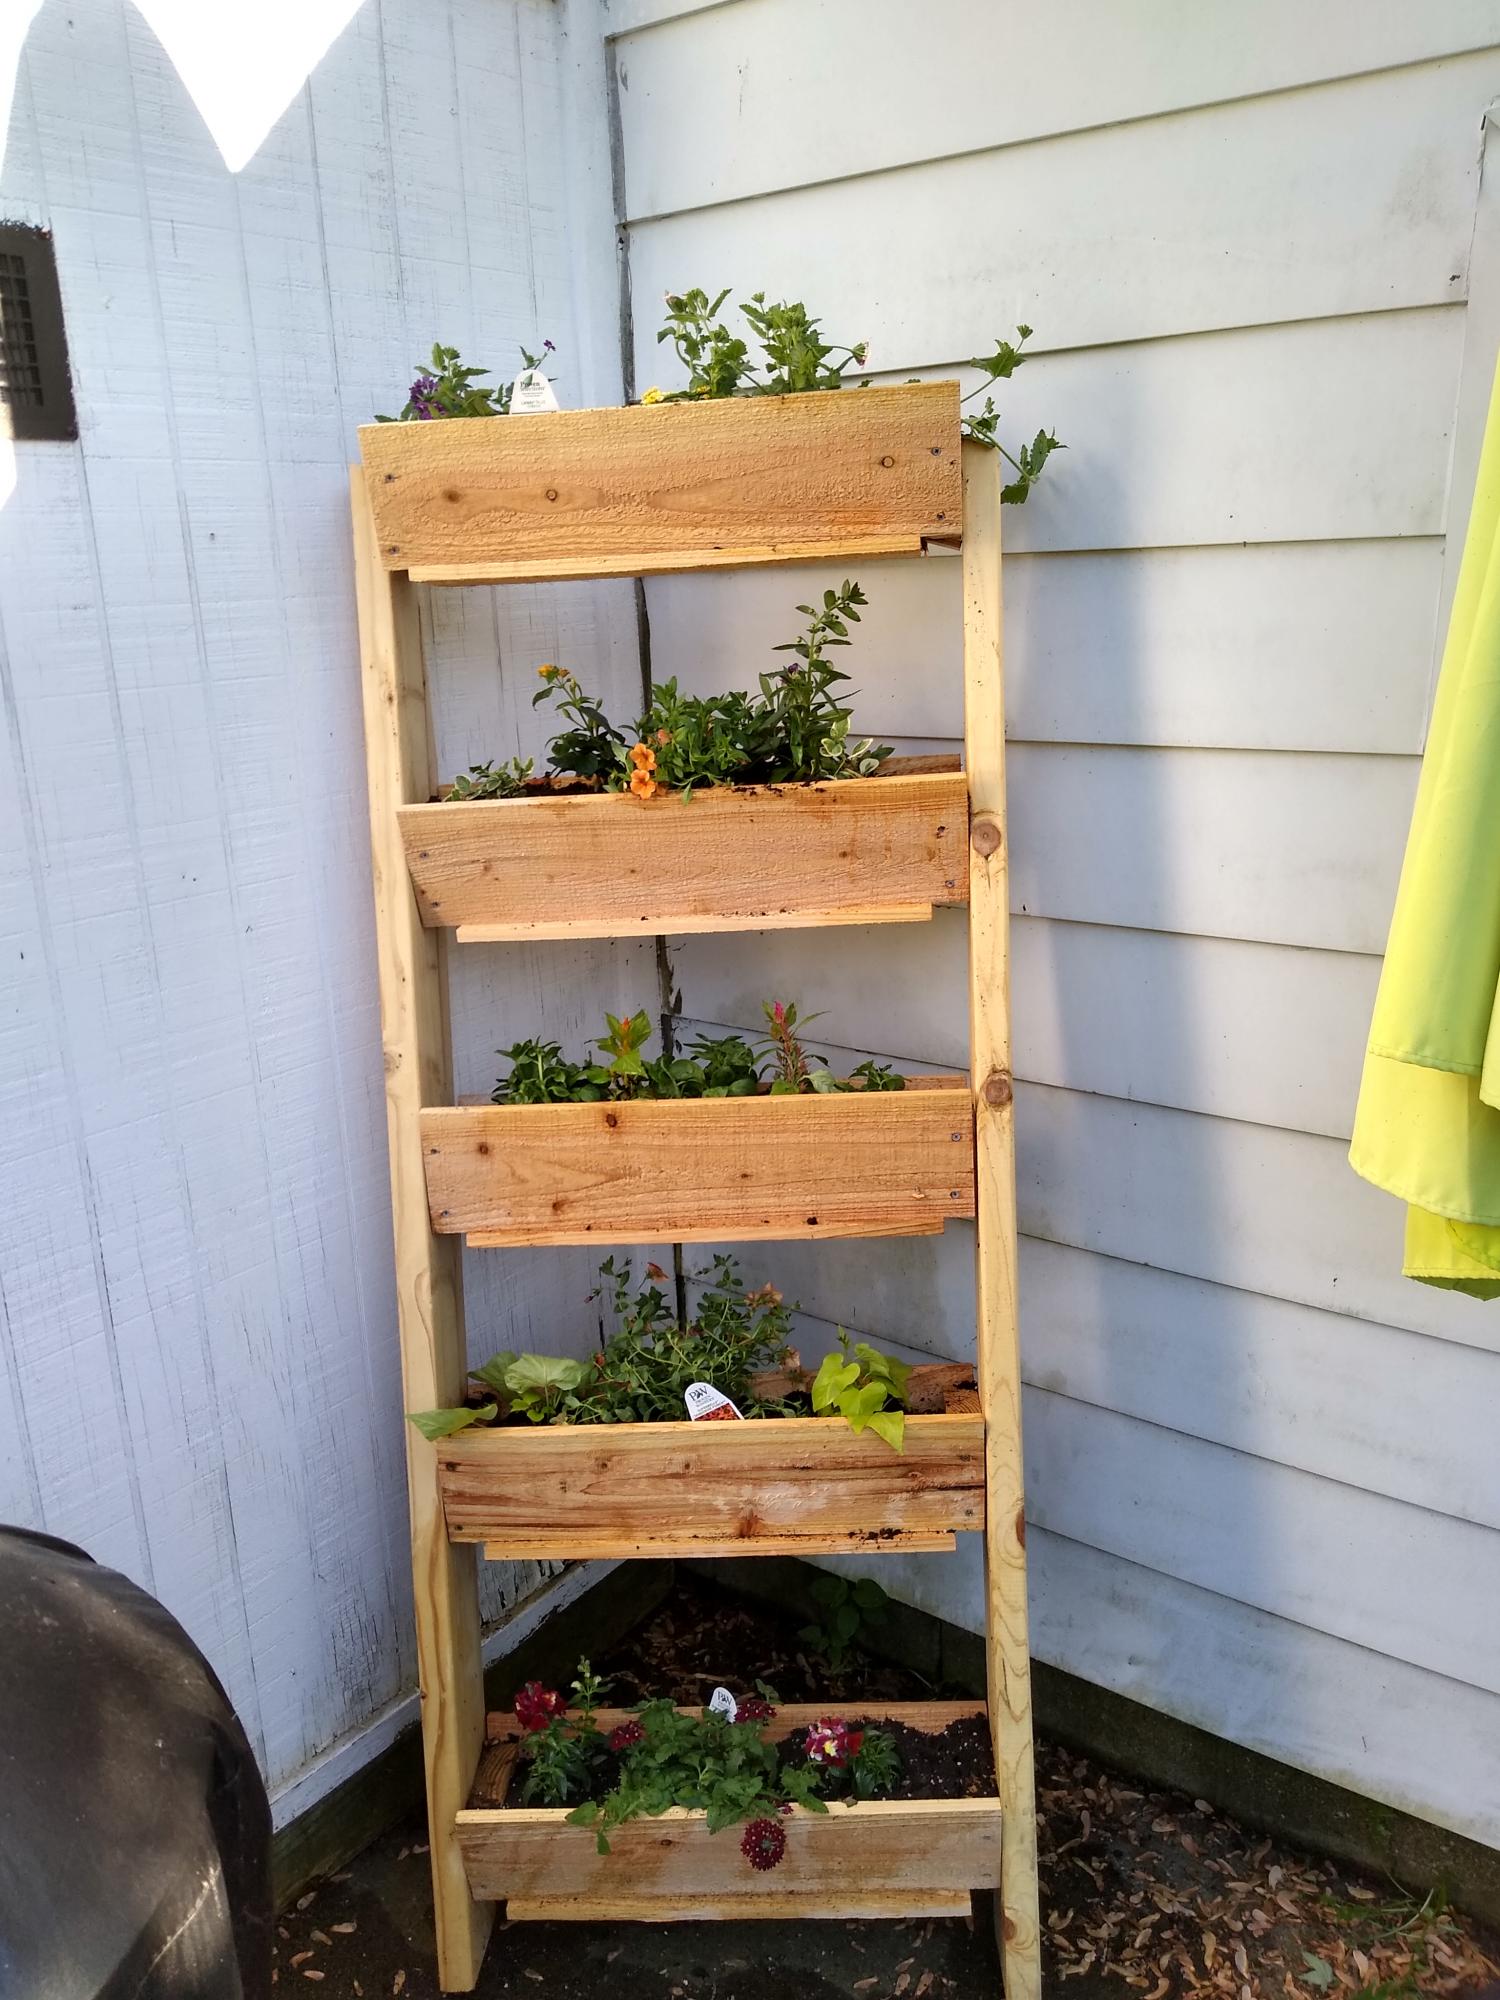
Flower box ! Easy to do.
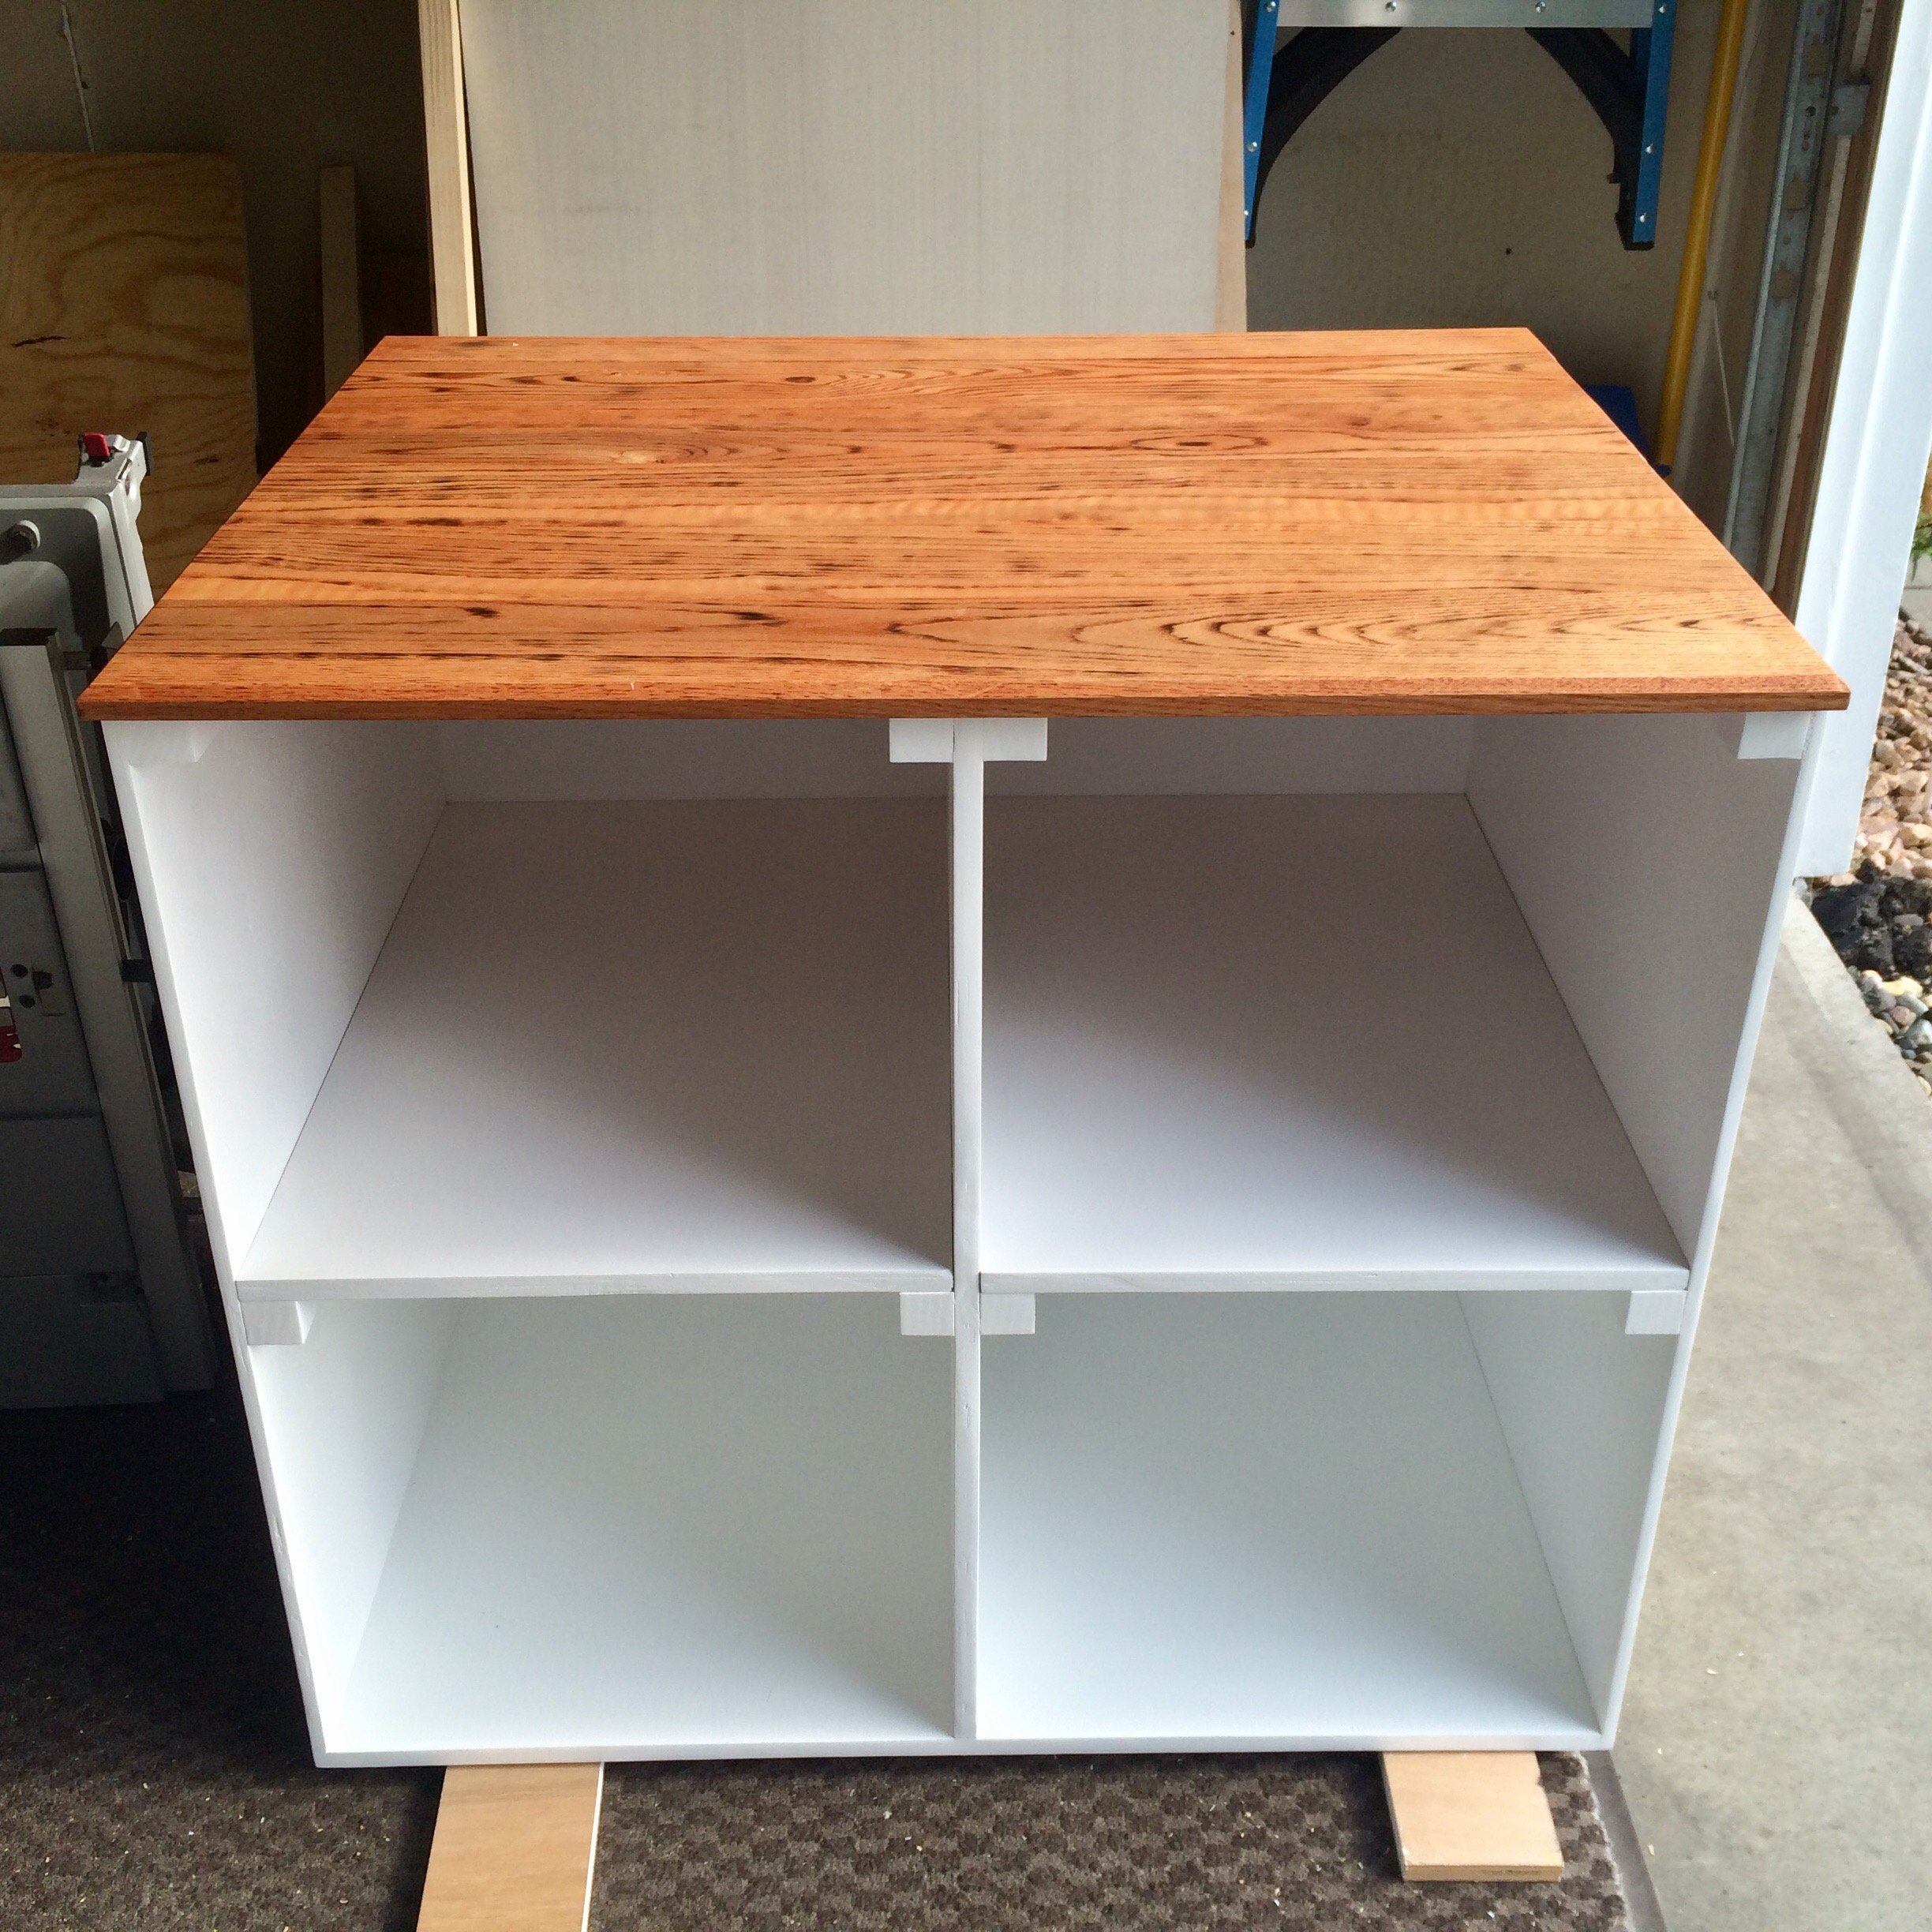
We modified this just for more stability around little ones. I also torched the Oak top so the grain would be more prominent and routered the edge.
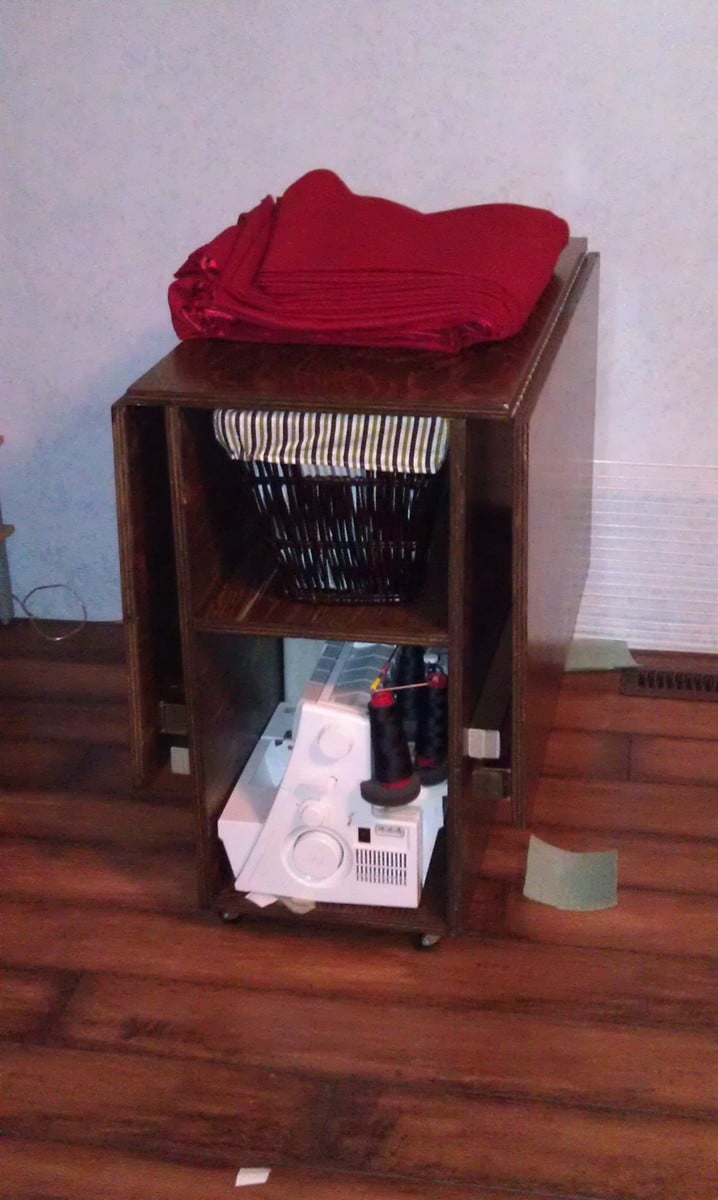
I made this sewing table using Ana Whites Sewing table for small spaces plan. I used 3/4" fir plywood.
I did however make changes to use continuous hinges (aka piano hinges) and upgraded the legs to 2x2's. I used folding leg brackets from Lee Valley Tools found here: http://www.leevalley.com/en/hardware/page.aspx?p=40035&cat=3,41306,41309
It's finished with a dark walnut stain, and three coats of water based varathane. All told this project took about a week. I had the pieces cut for me by the lumberyard, but they still required sanding before assembly. Then assembly took another afternoon. Staining & finishing took the longest, probably 3 days, since I could only work on it in the late afternoon - evening.
Approximate Costs:
$30.00 Hinges, screws, & 2x2's for legs, paint brush
$20.00 Stain & Finish (some savings here as I had some leftover from another project)
$30.00 Folding leg brackets
$50.00 Lumber Costs (this can vary wildly depending on your wood selection)
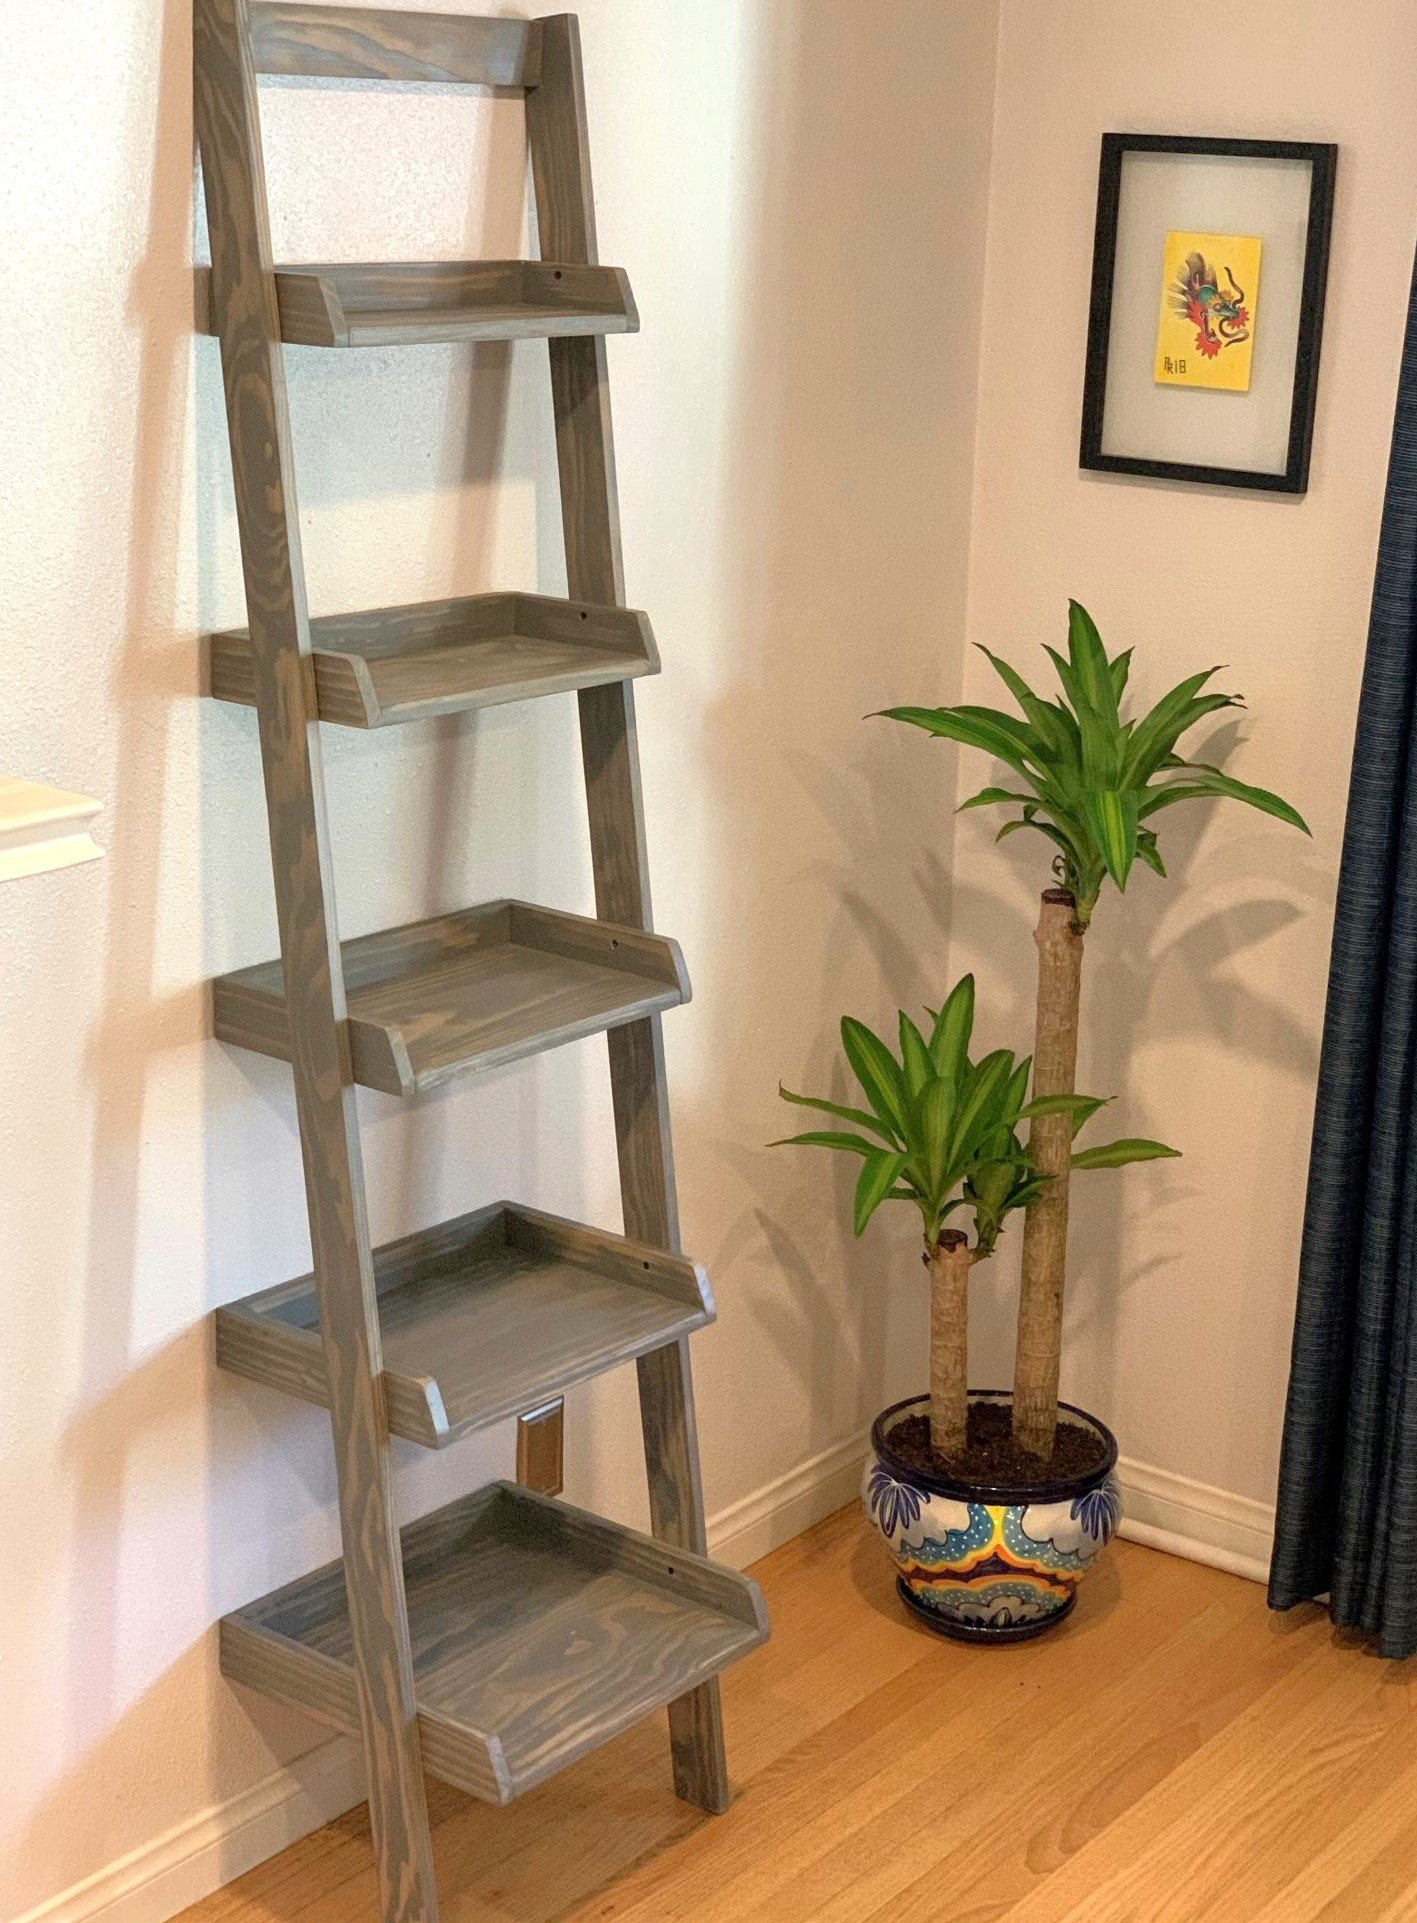
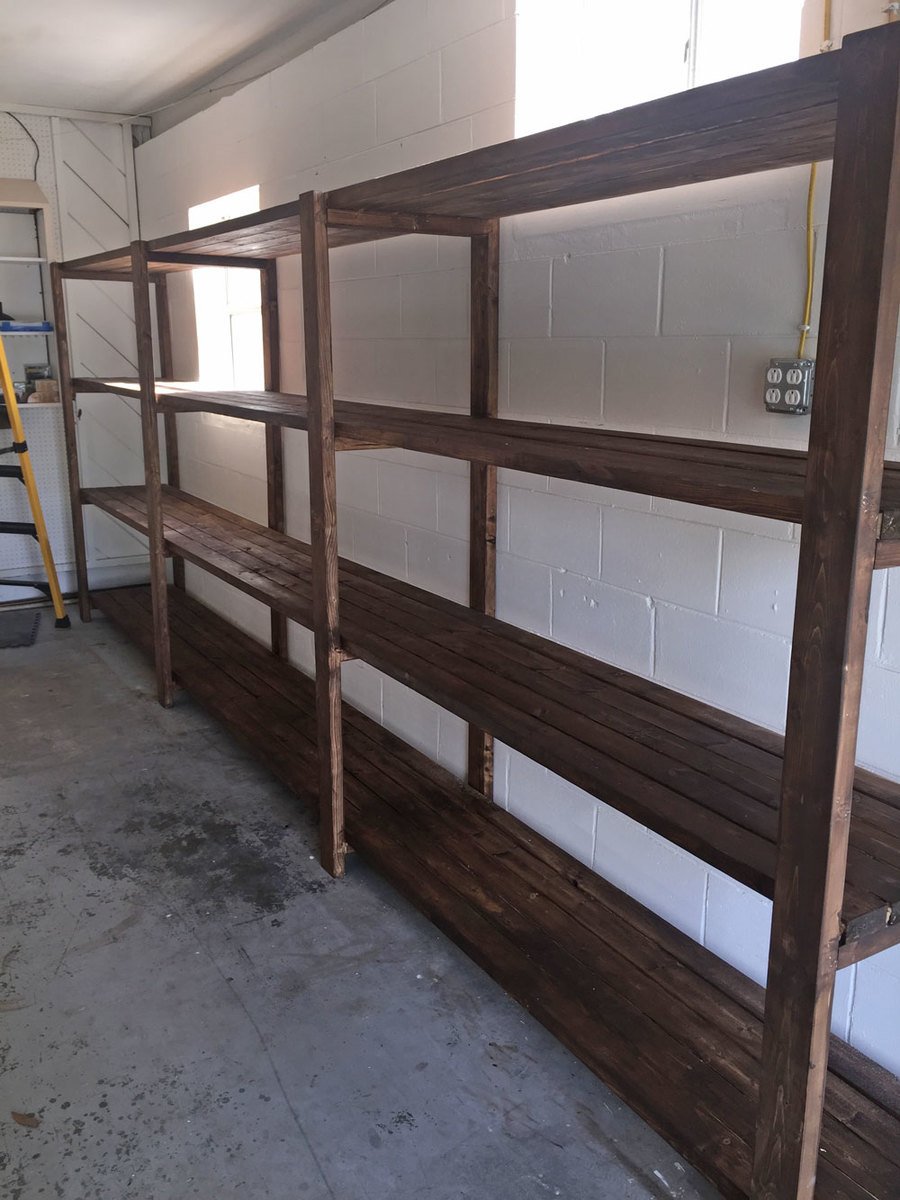
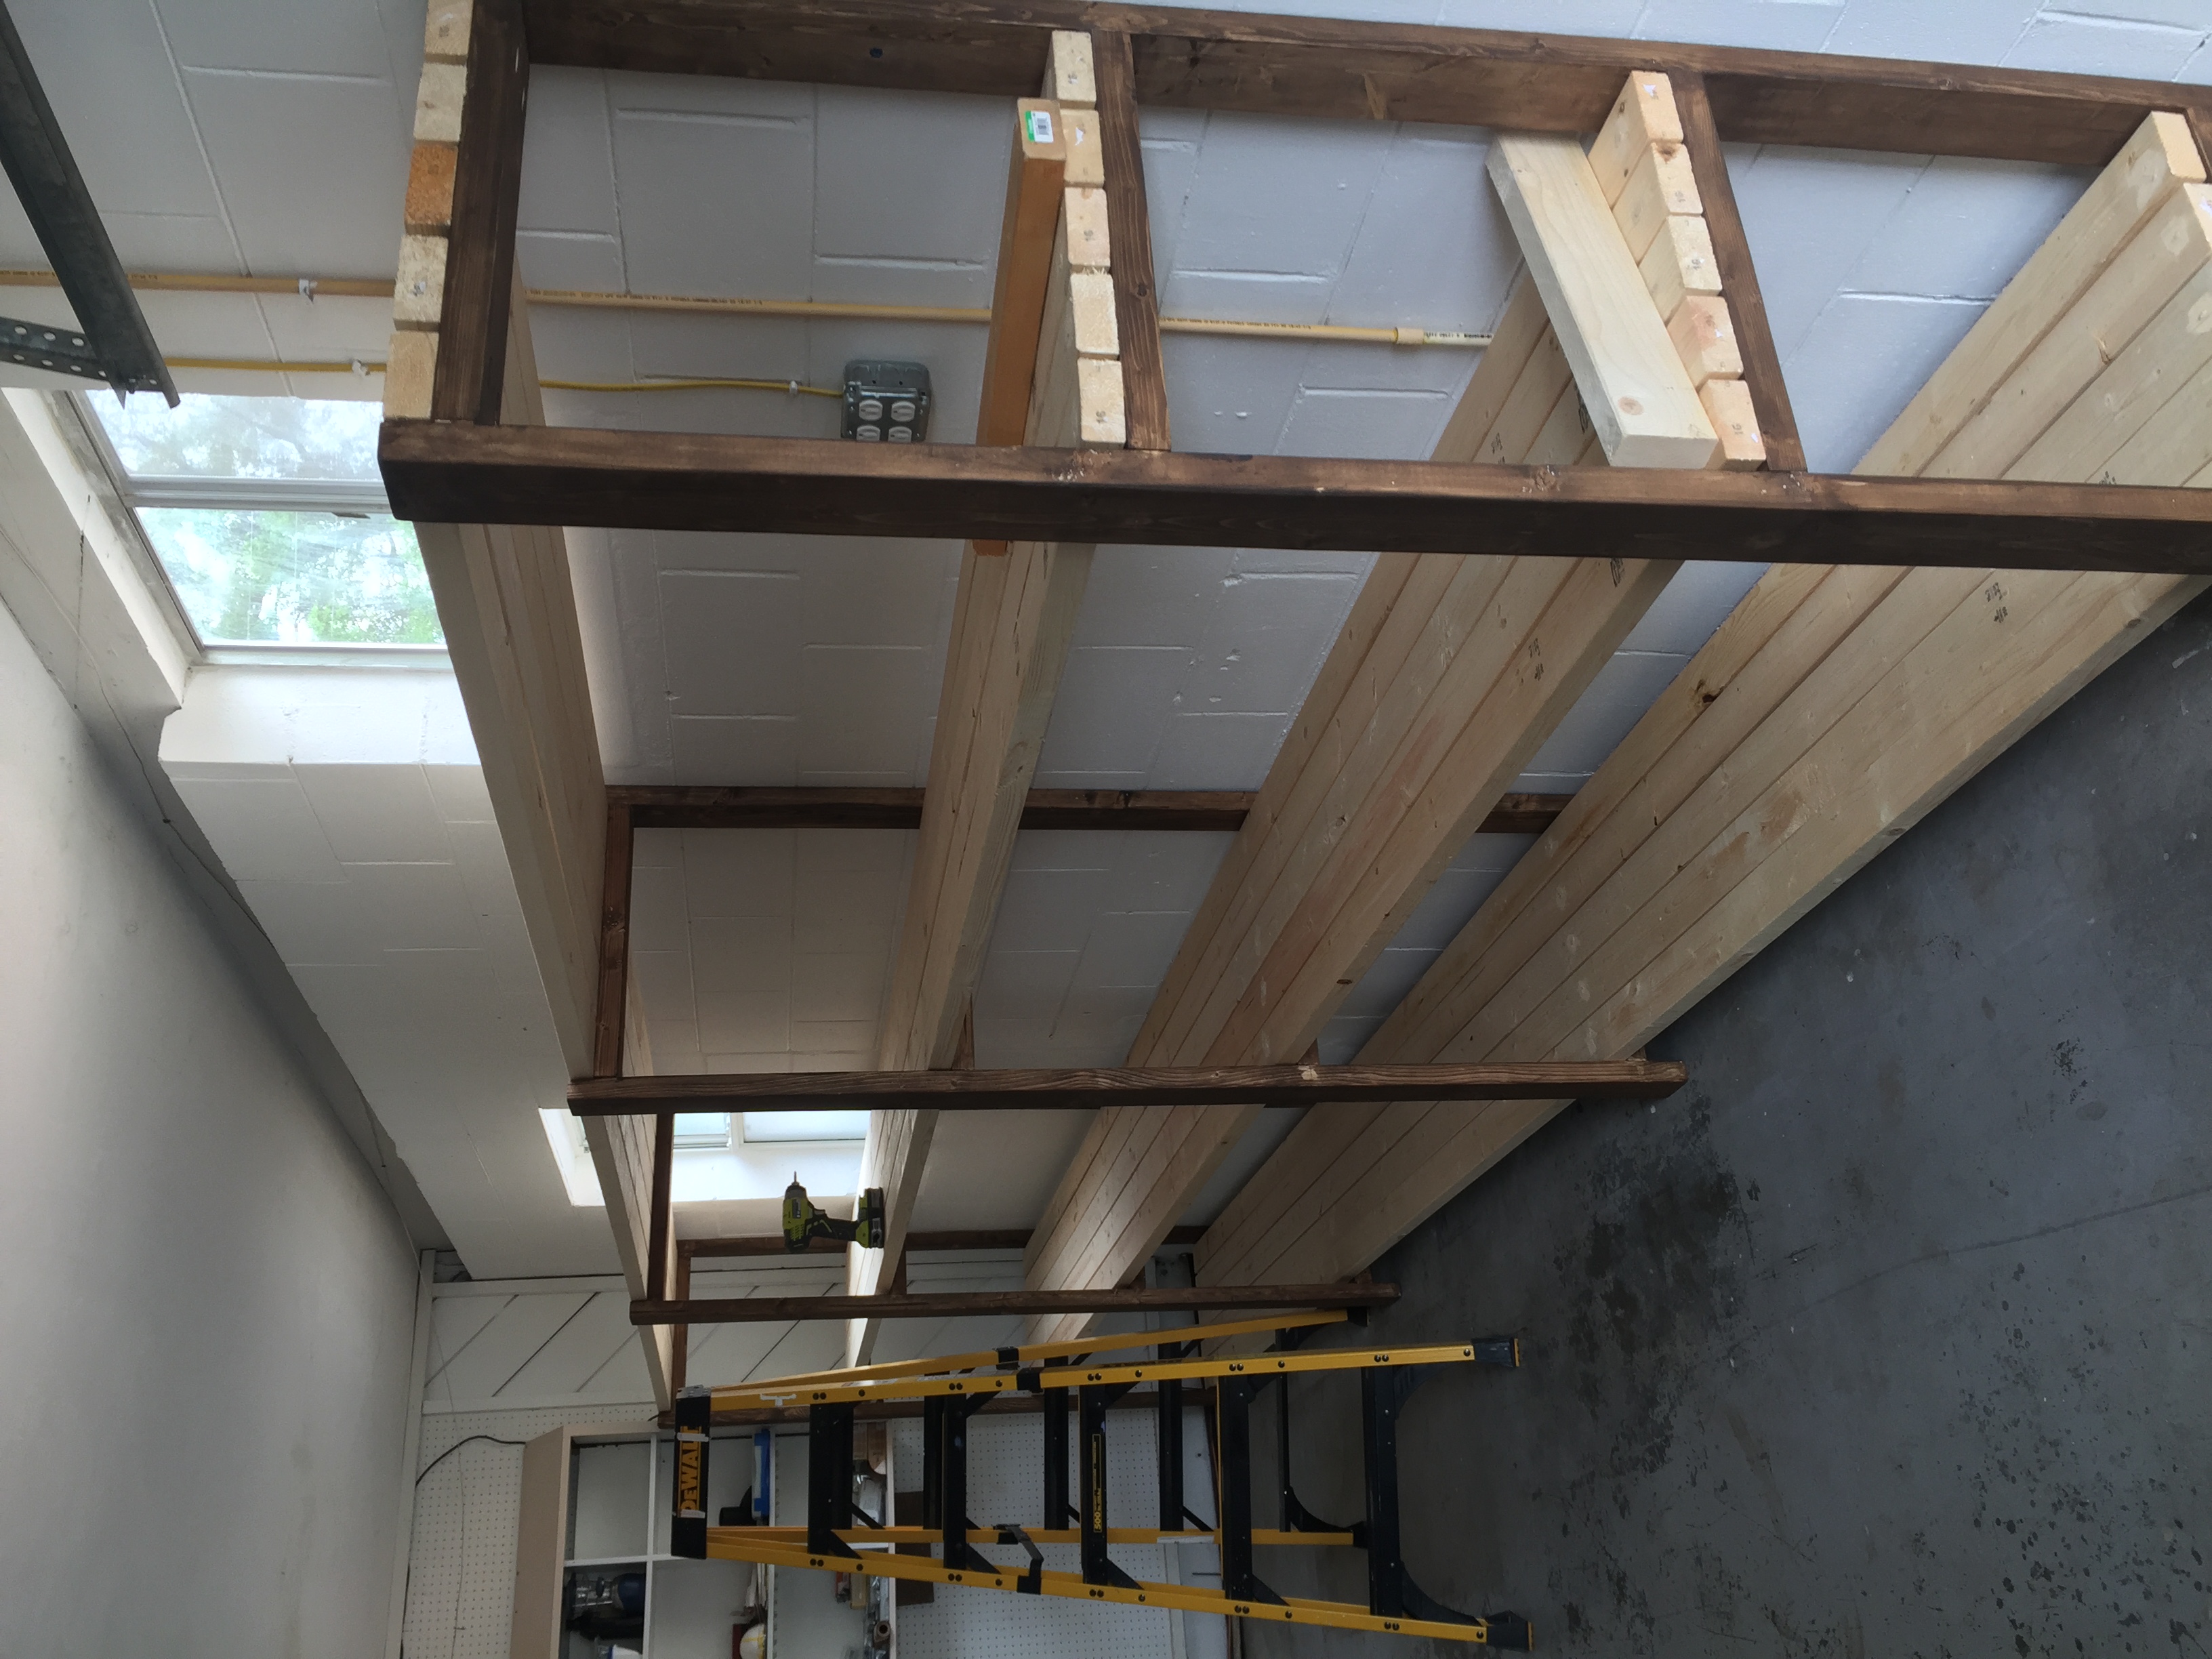
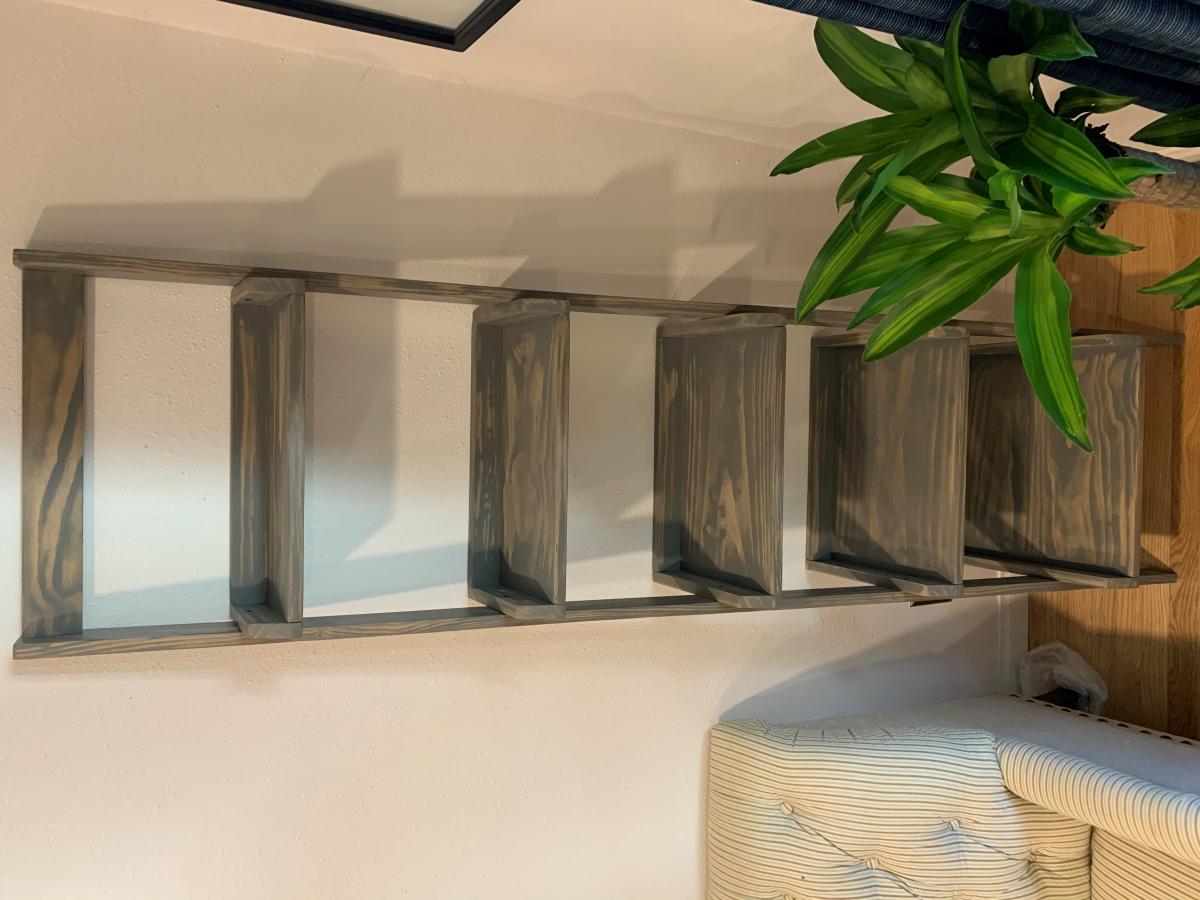
Another one bites the dust. Made this out of Ana instructions for a ladder shelf. Like the way this turned out alot. Ana White knows whats up :)
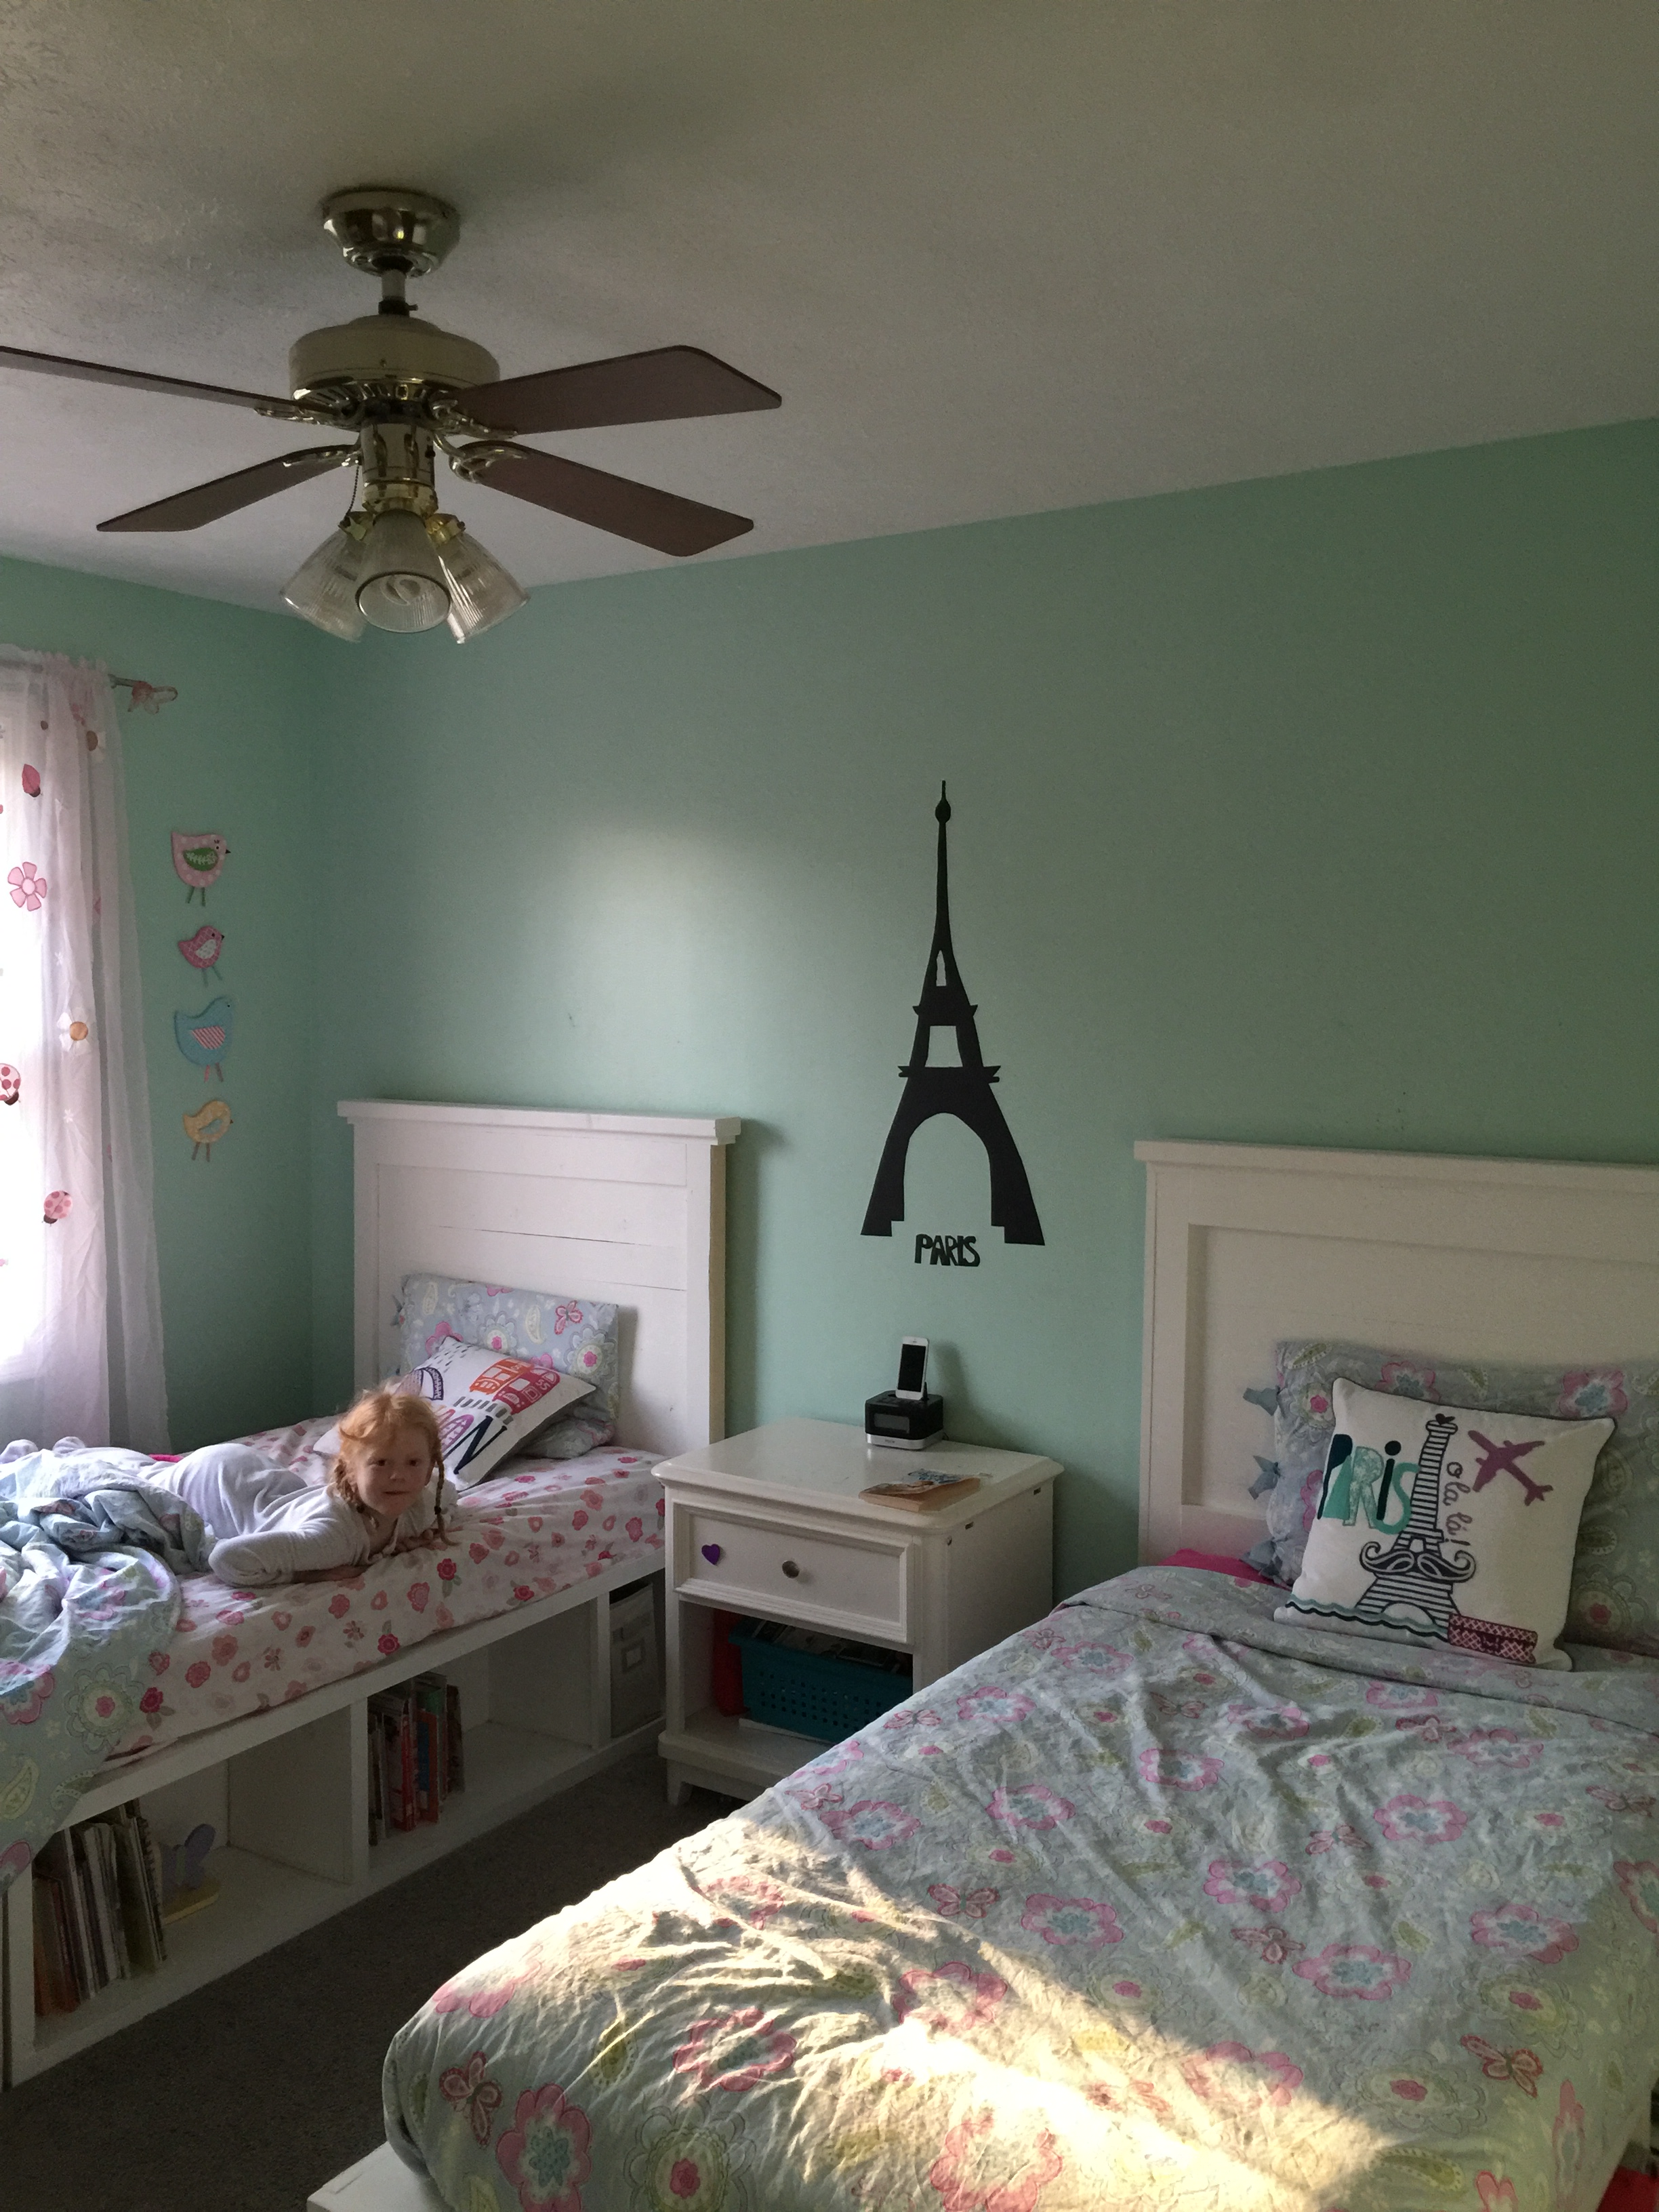
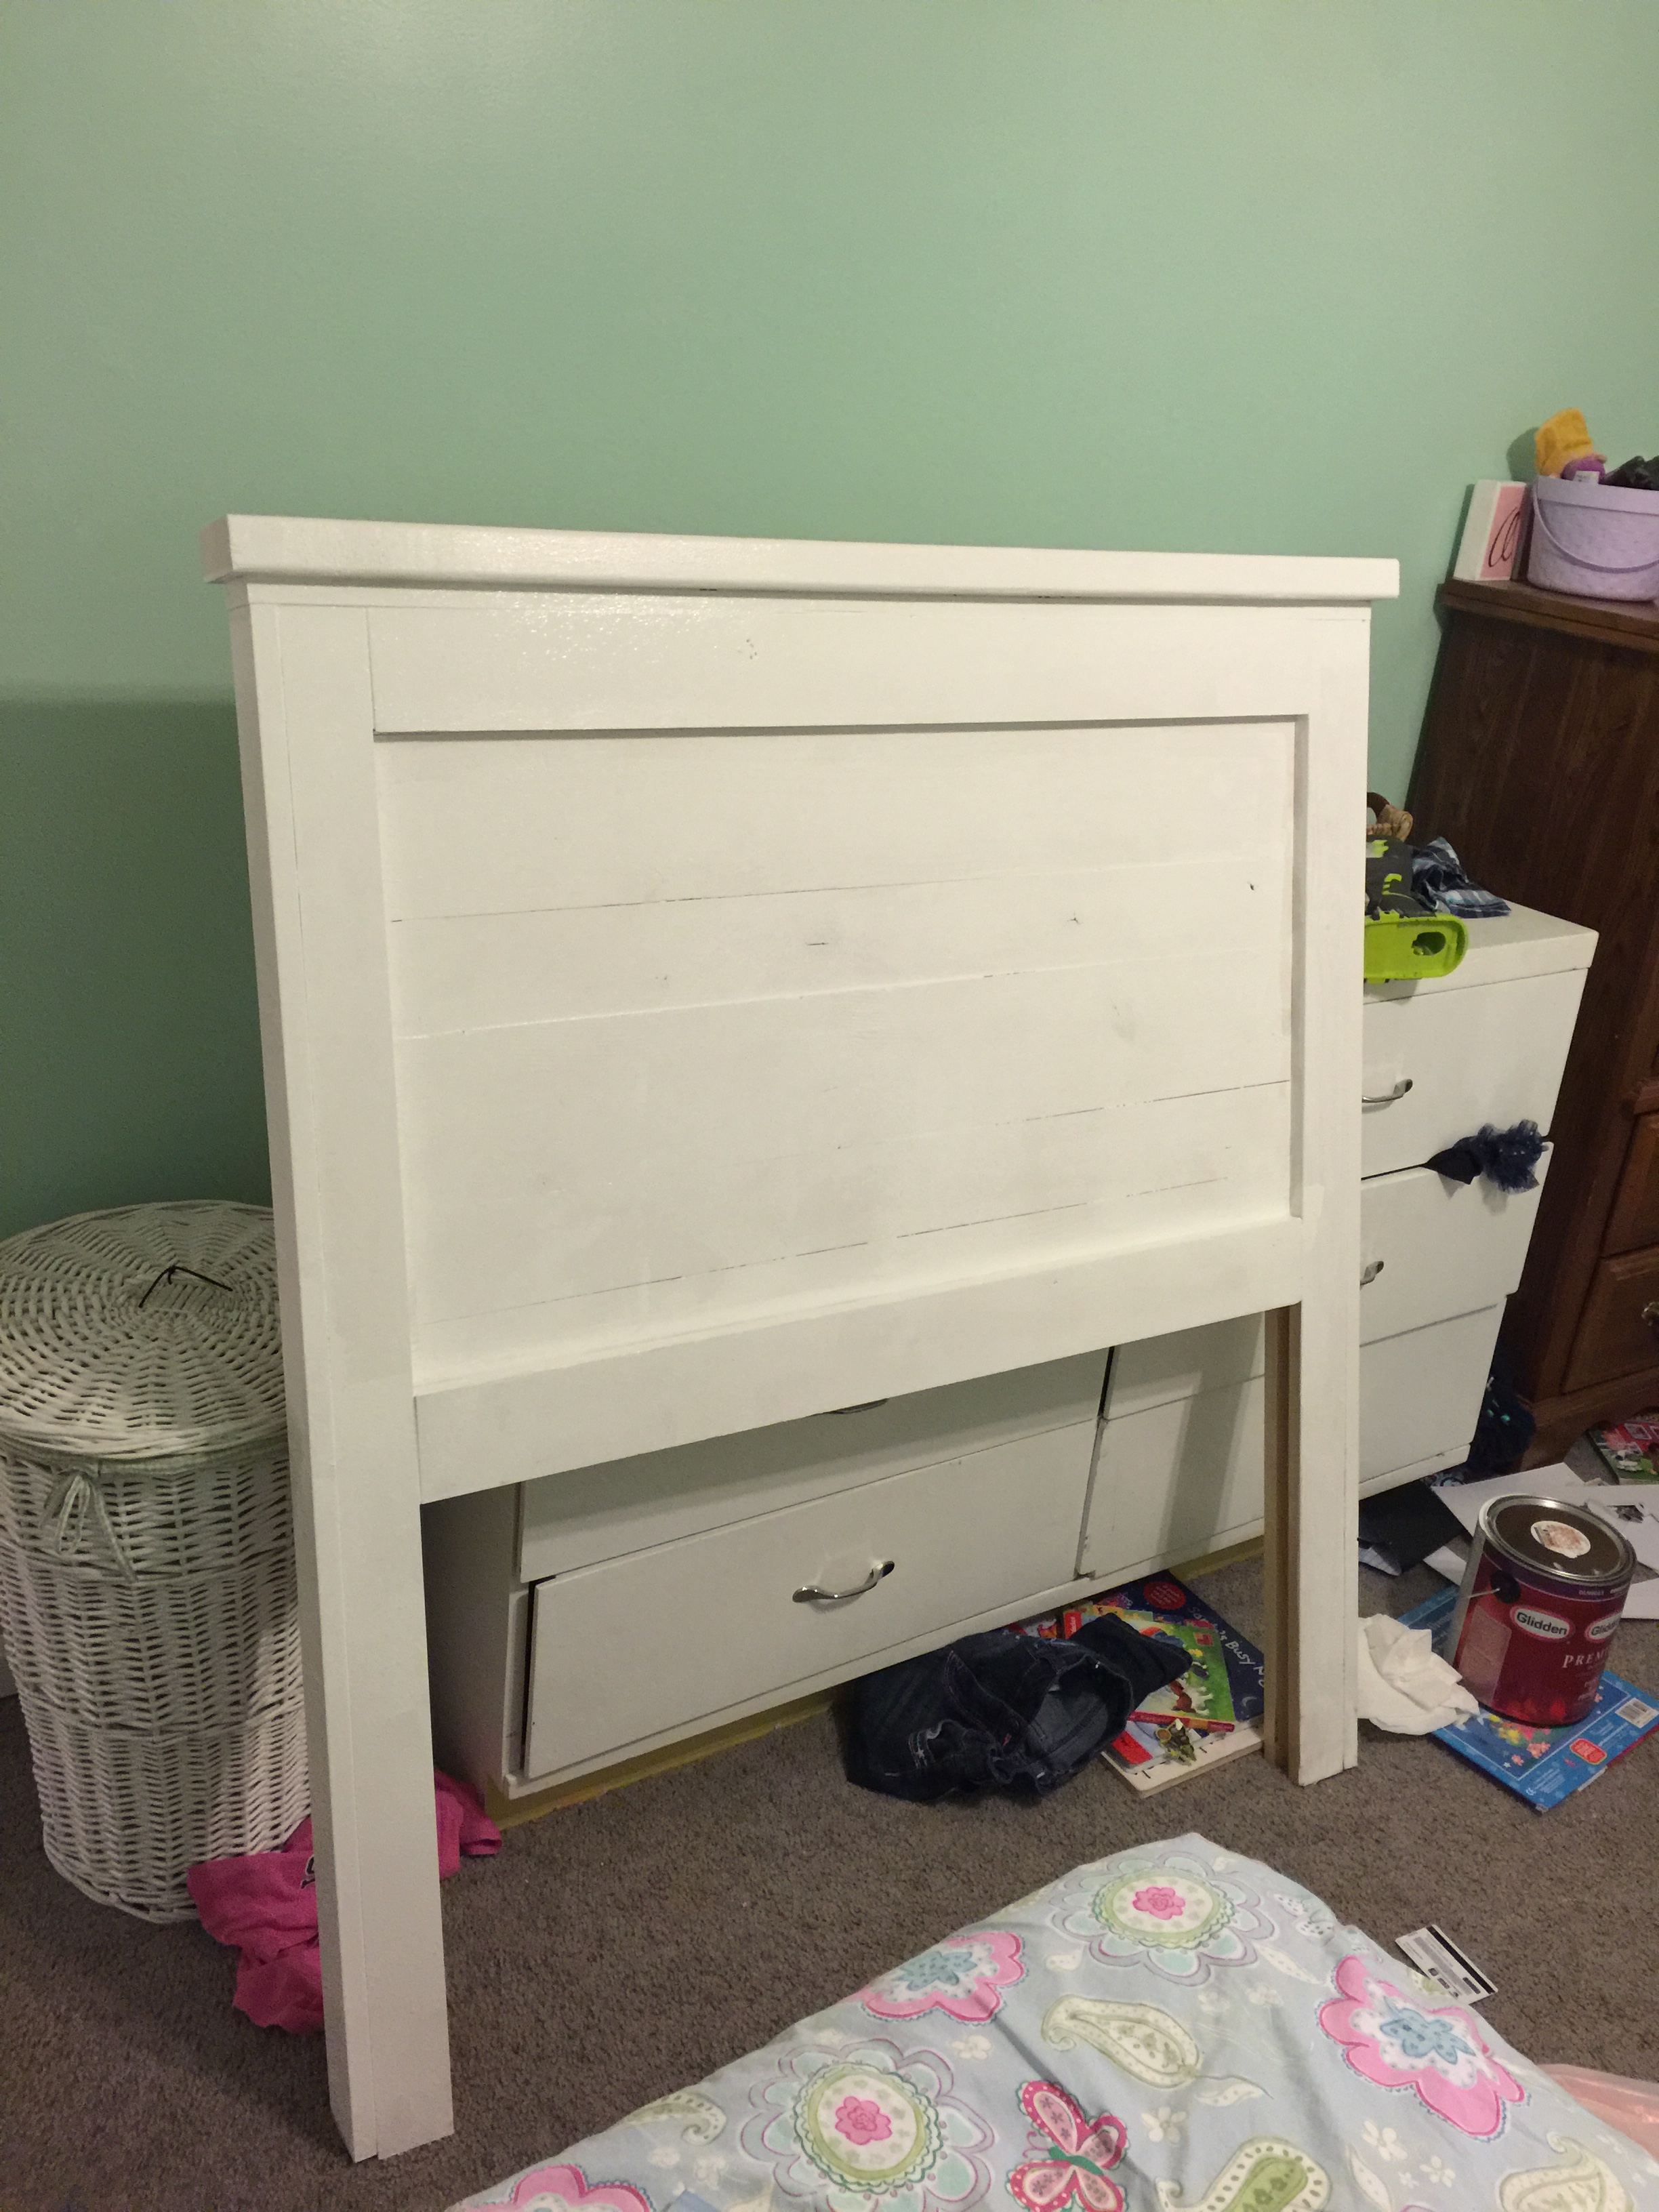
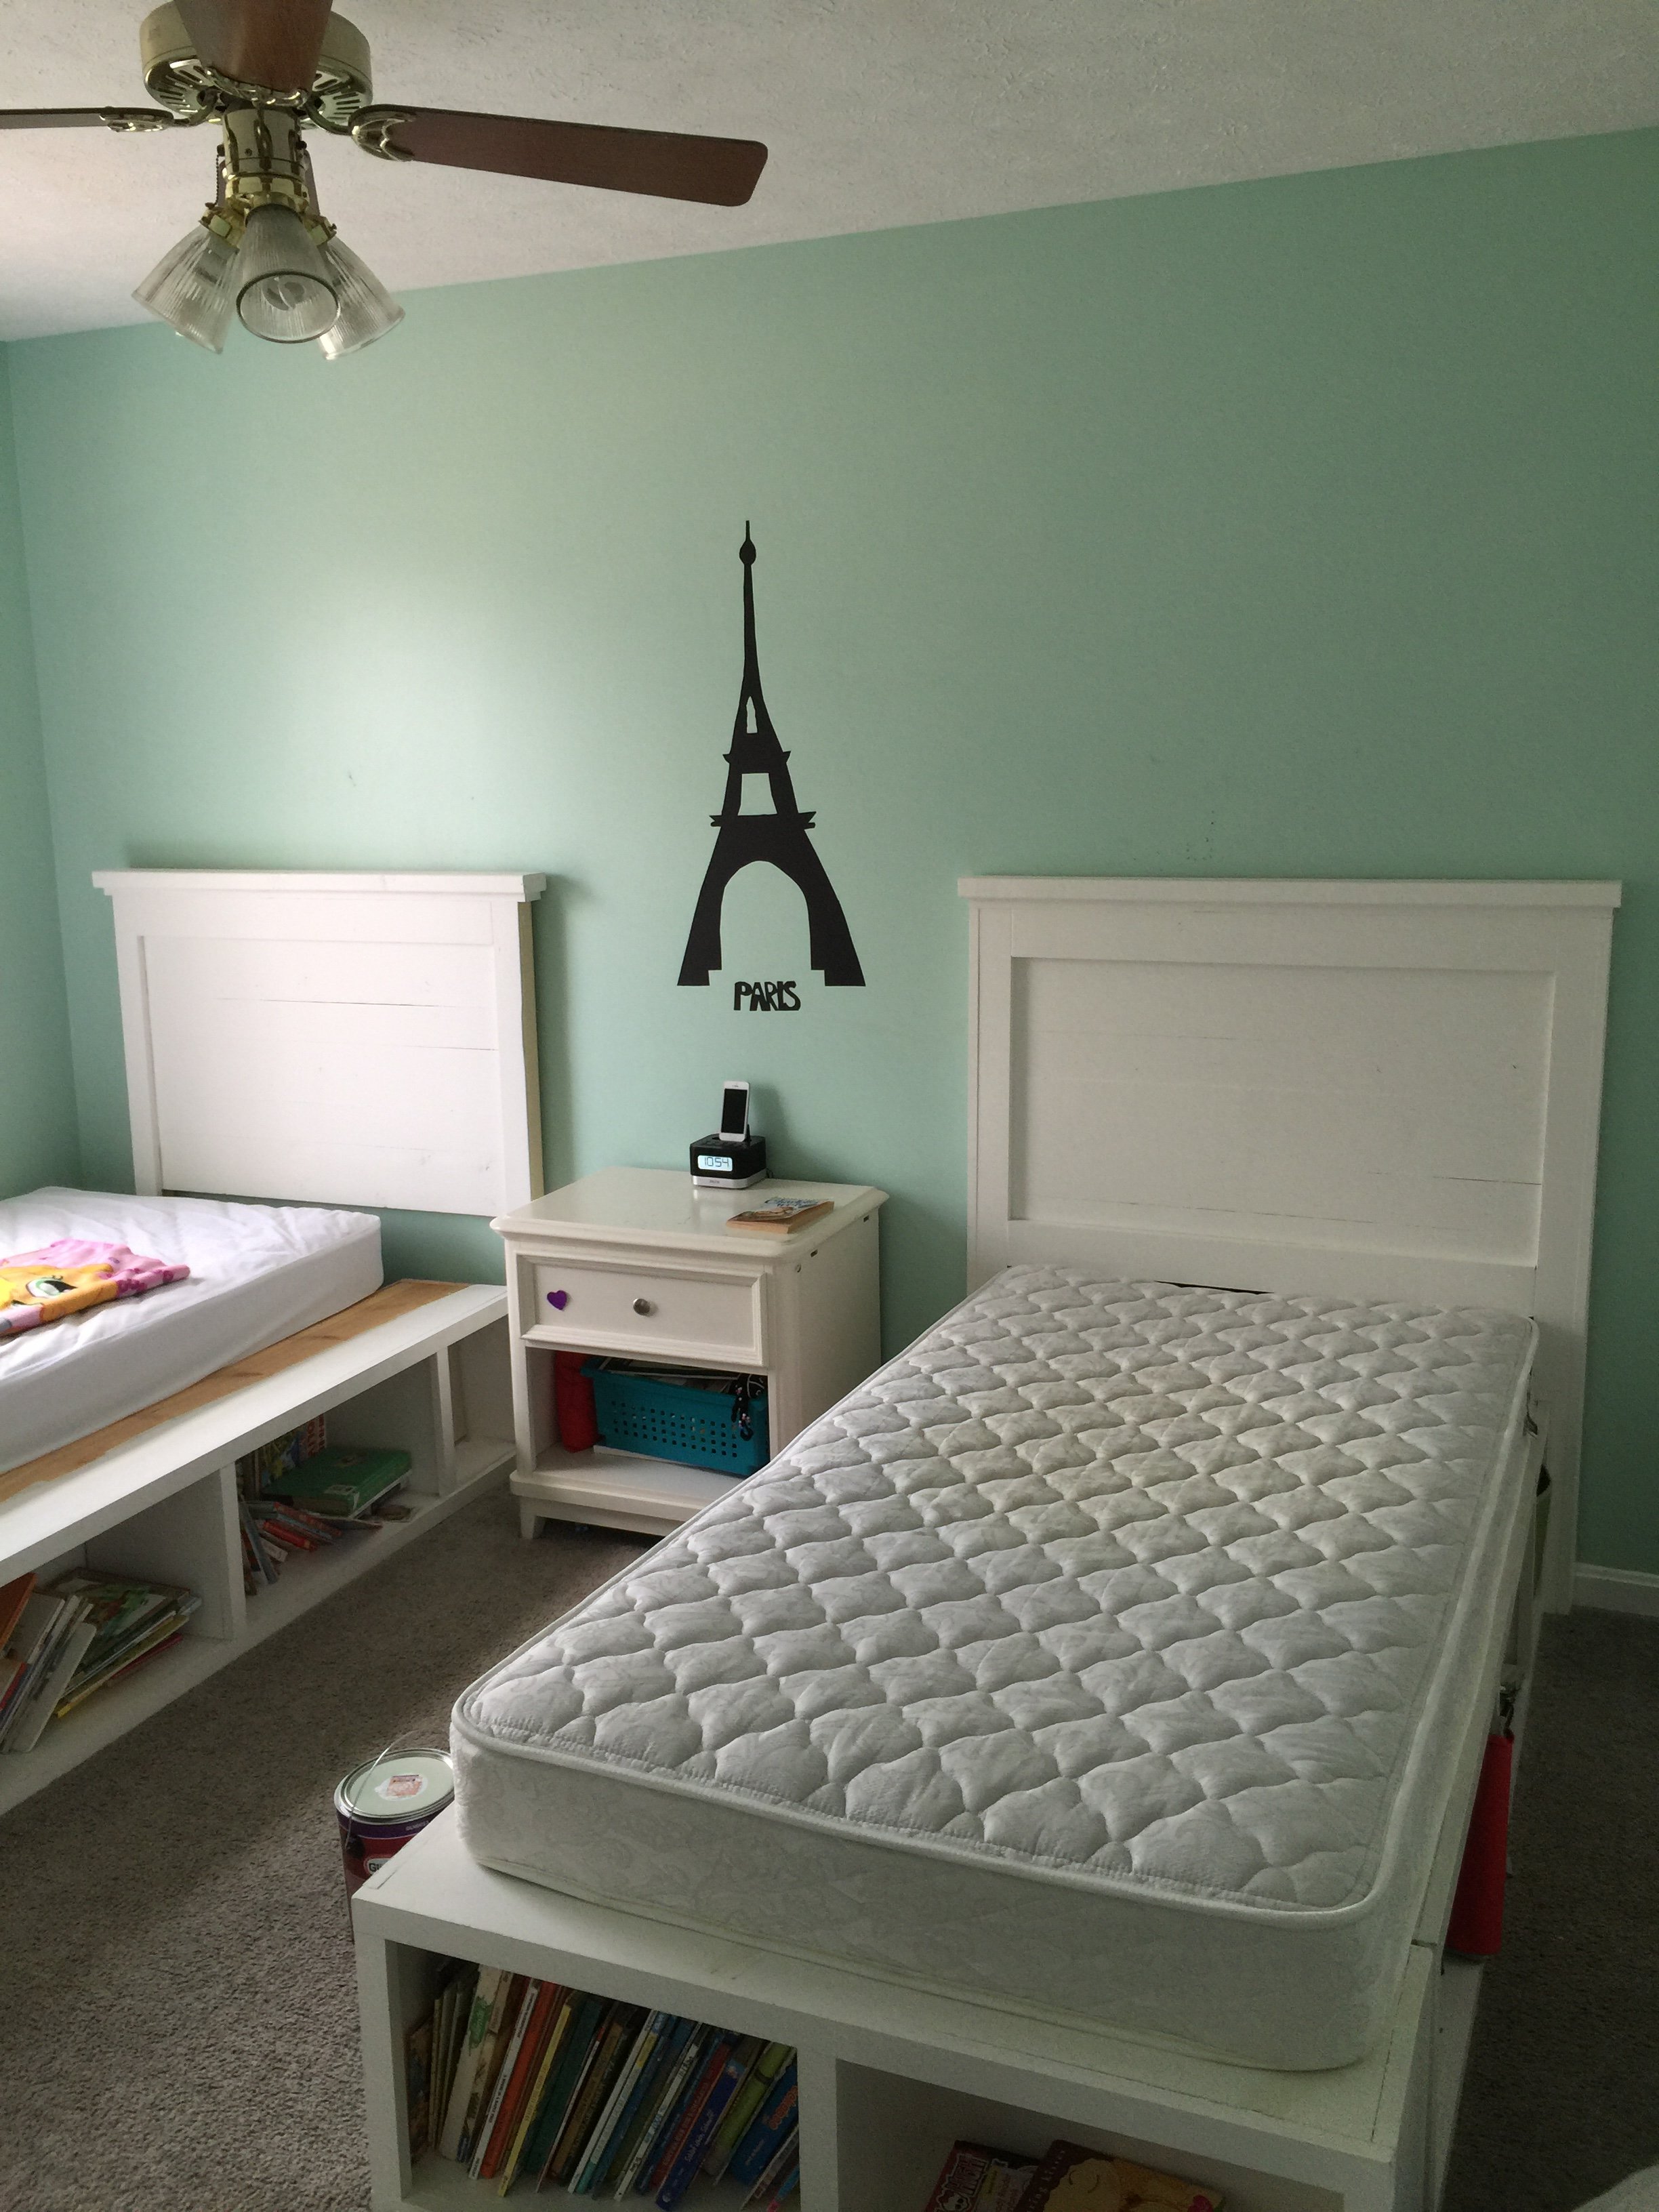
This was really my first build and it stemmed from not being able to find the kind of beds I wanted for my girls. My brother helped me cut the wood and assemble the first one and my husband and I did the second together. It was so rewarding to make them and I love how they turned out! You can store so much and they are sturdy pieces. My girls love them too. (bedding is from Pottery Barn) I would stay this is a beginner's project. You don't need any specialized tools. it was a lot of fun and now I'm it itching to buy a Kreg Jig so I can complete many more projects!
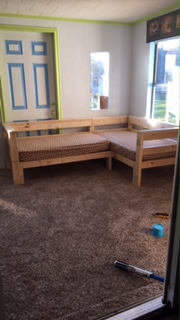
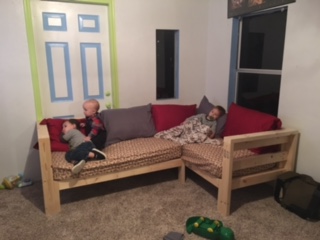
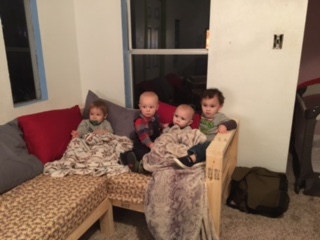
As soon as I saw these plans I knew we had to build it. We have six grandkids (all 2 and under) and they have a playroom at our house so I wanted something that they could sit on if they are watching TV and also something they could sleep on when they stay the night. This definitely fits the bill! This is our second build from Ana's website and it was pretty easy.
We followed the plans exactly. The only thing we added was a middle board to the back and the arms of the sofa. I didn't want them to get stuck between the top rails and and the mattress. We used dowels instead of screws to attach the slats to make it easier to move. We did not screw the two couches together. Since the room it is in has thick carpet, it is not moving at all. The kids love it and it is so sturdy. They could jump on it or off of it (which they have already done) and we don't have to worry about it breaking.
I sewed the crib sheets and I bought 5 standard sized pillows and some pillow cases. I so love this sectional!
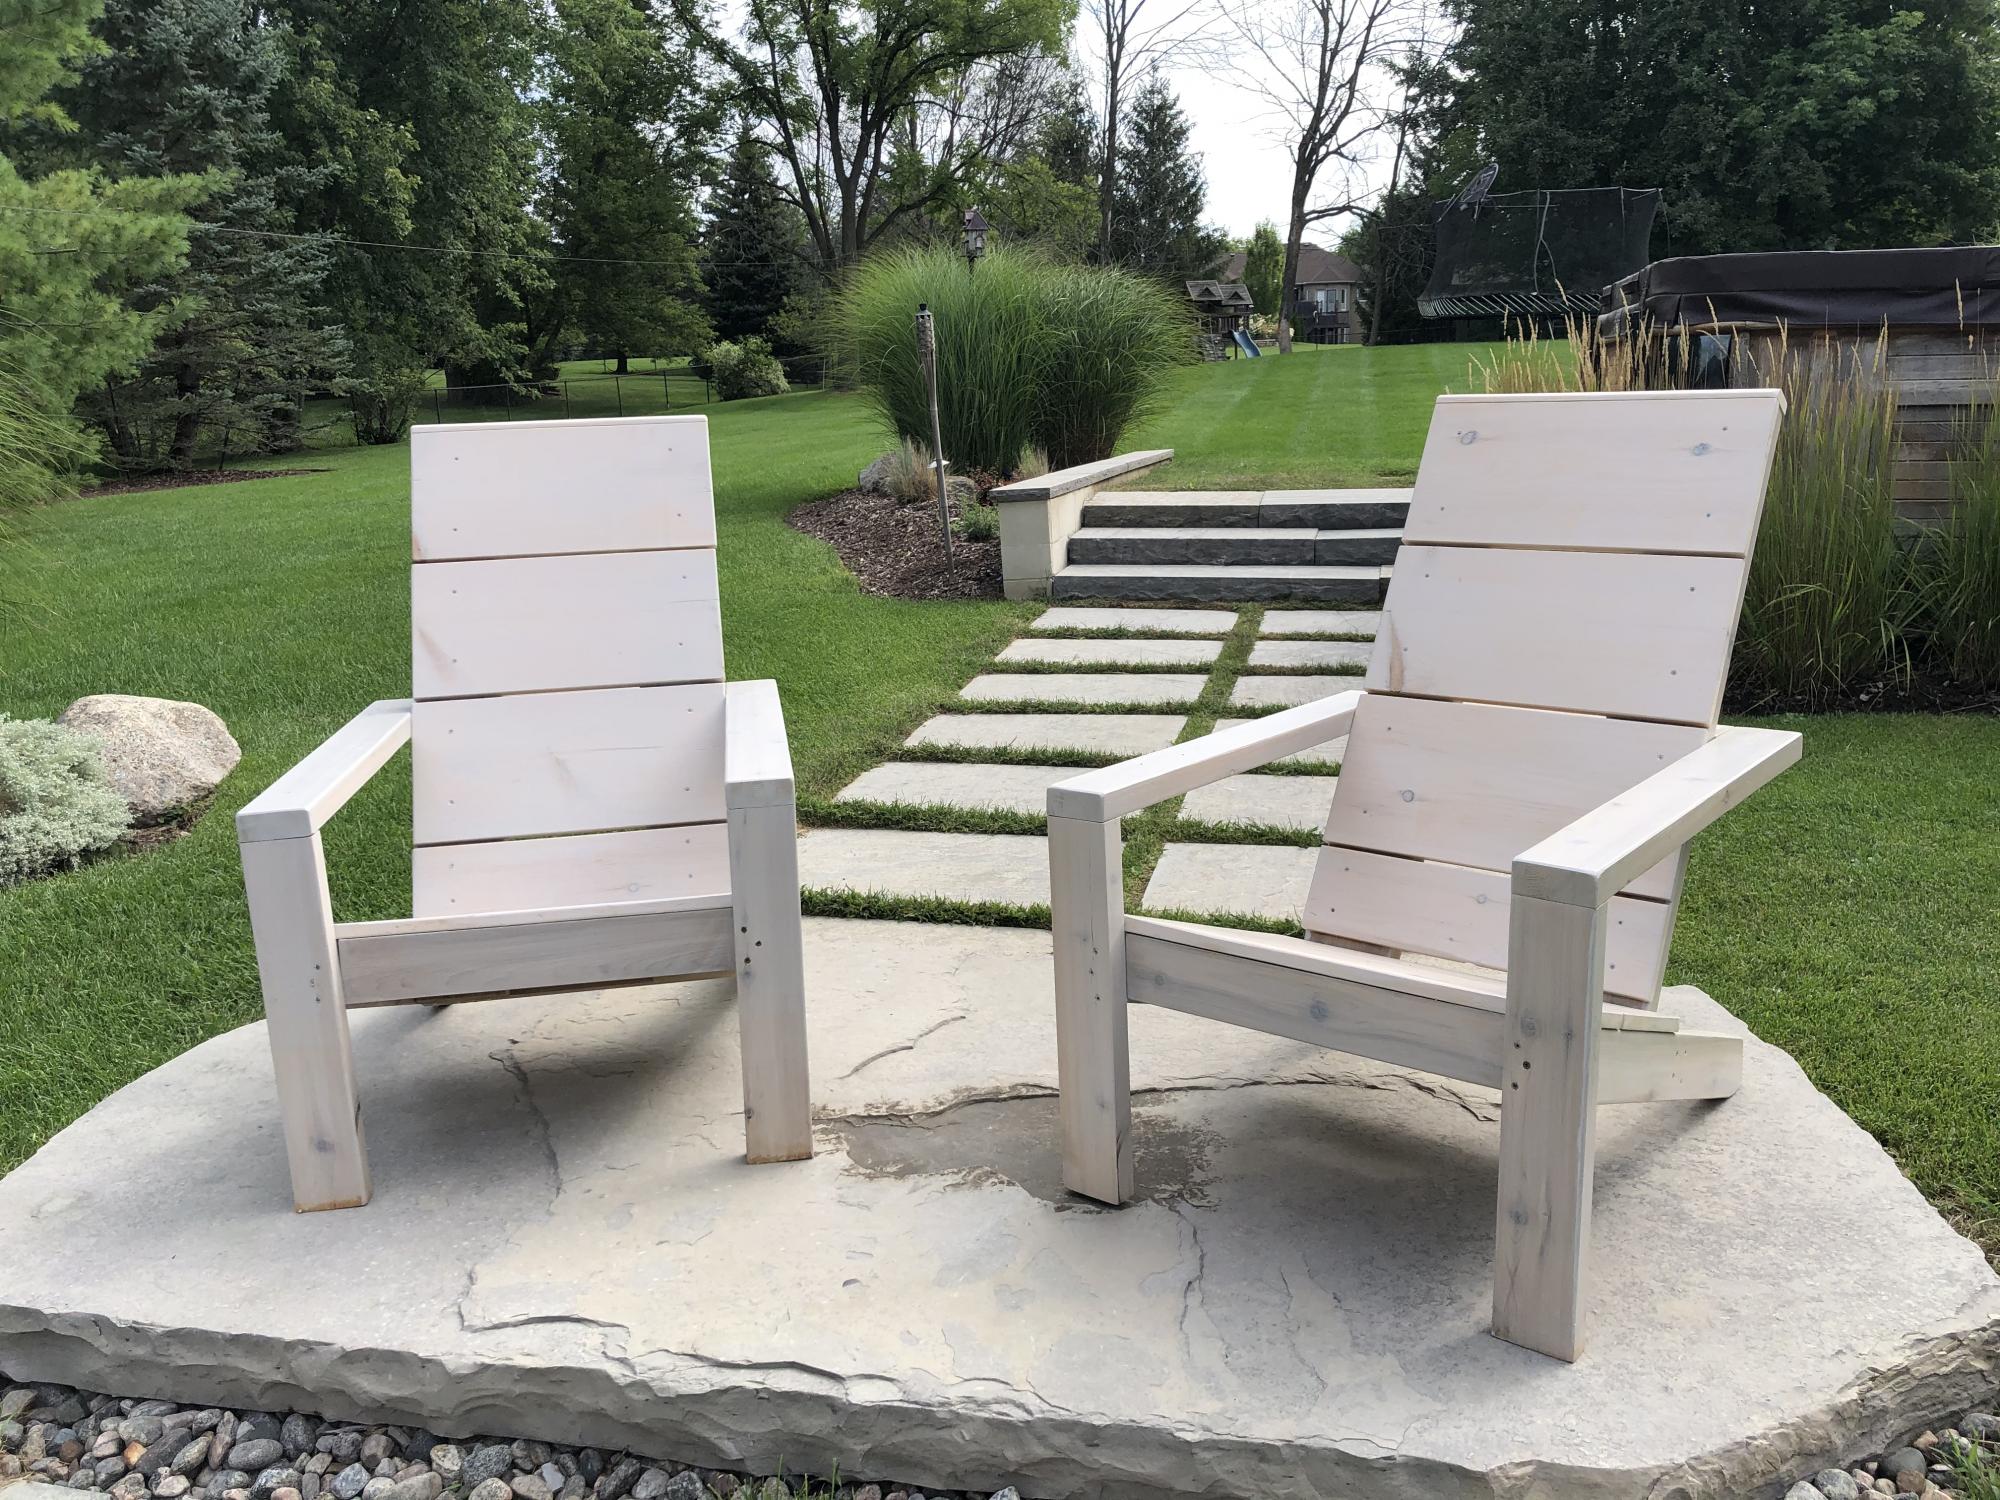
I finally finished my DIY Modern Adirondack Chairs! Frame made with 2x4 cedar lumber and seat and backs with 1x10 pine planks. Stained with Benjamin Moore Aborcoat silver grey semi-transparent stain with a clear coat. Used a free diy plan by Ana White with some slight modifications to make the chair back higher. Cost was a bit higher than expected but lumber has gotten more expensive during the Covid time.
Thanks Ana for the design and the YouTube video. I watched it at least 20 times!
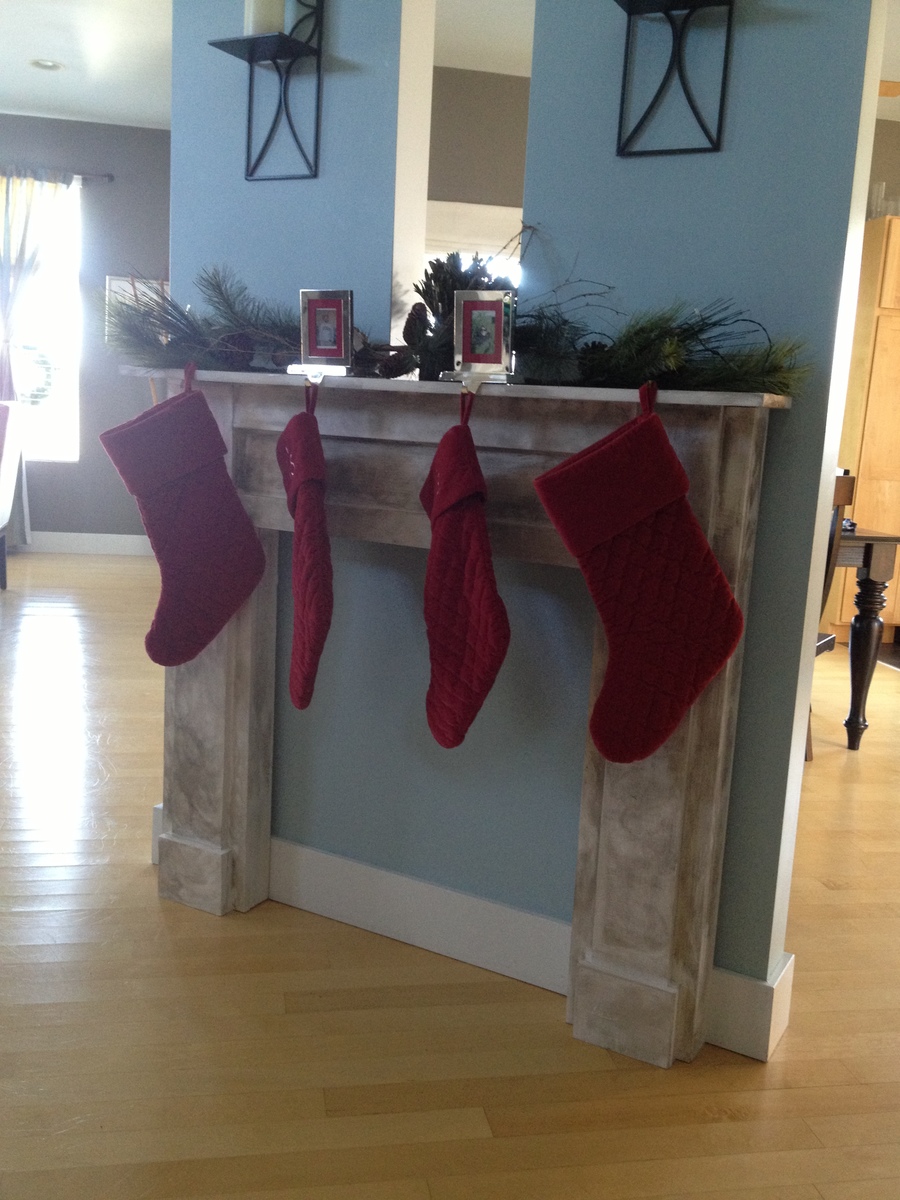
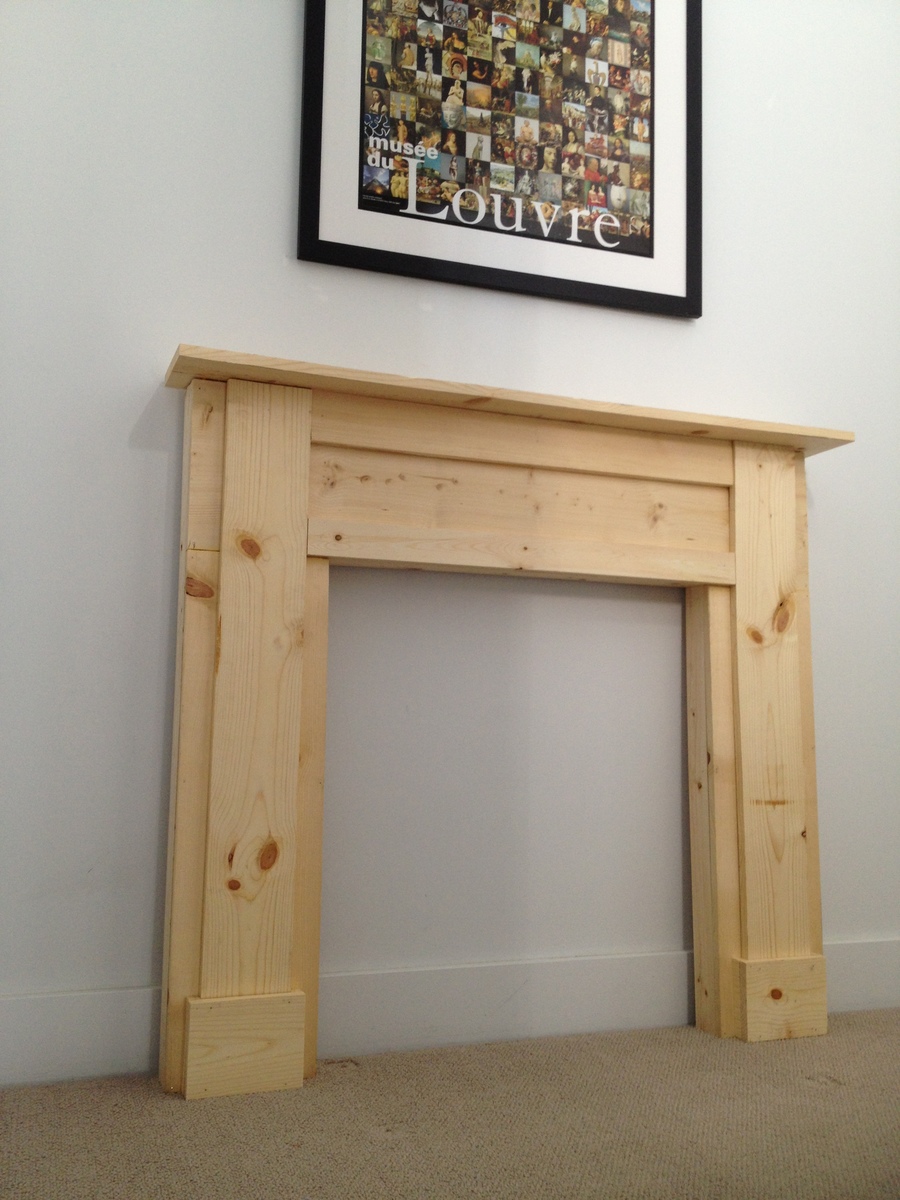
Our home (like many) does not have a fireplace or mantle. So, I decided to build one. Thank goodness for Lowes. They pre-cut all wood for me. I was afraid to use a drill (I'm a rookie), so I nailed all pieces of wood with 1 1/2 inch nails. Wood glue was fabulous prior to using the hammer. I omitted decorative molding too. I think I used too much antique paint, but I can always re-paint it next year. I don't think I'll have the mantle up all year long, but it's great for a Christmas decoration. I hope this gives hope to anyone out there considering this project. If I can do it, YOU can totally do it! Thank you SO much for helping a novice builder like me add something to our home.

Sat, 12/08/2012 - 11:12
That turned out really nice! The paint looks like marble in the picture.


Comments
Ana White Admin
Mon, 06/05/2023 - 07:52
Smart!
Love the added water wall feature! Thank you for sharing, it looks fantastic.