Community Brag Posts

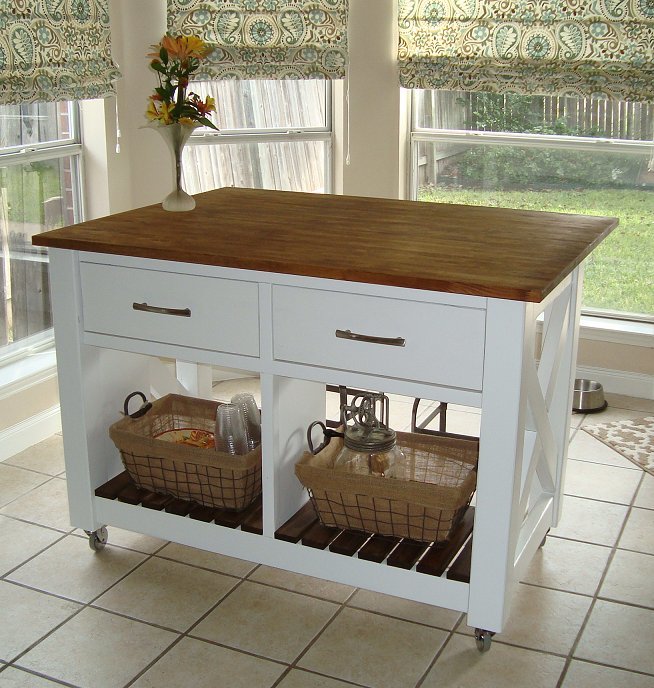
Rustic X Kitchen Island - DONE!

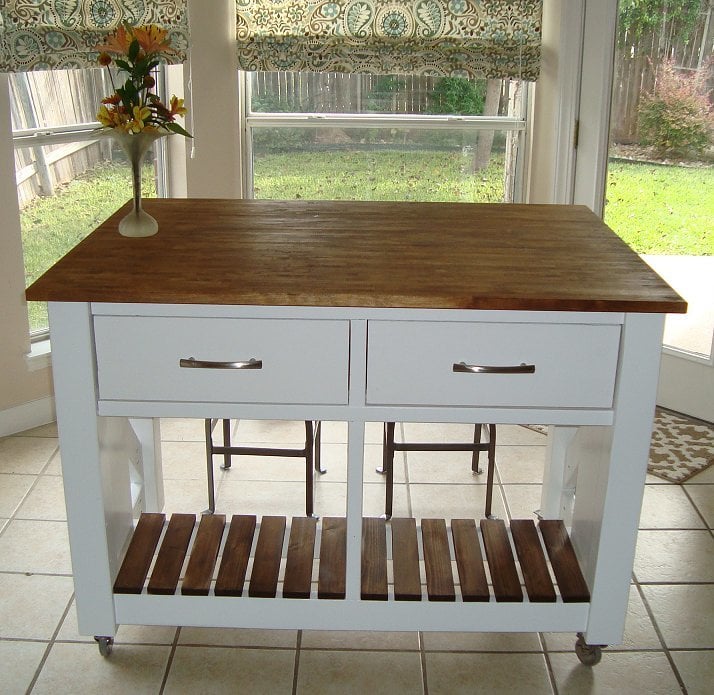
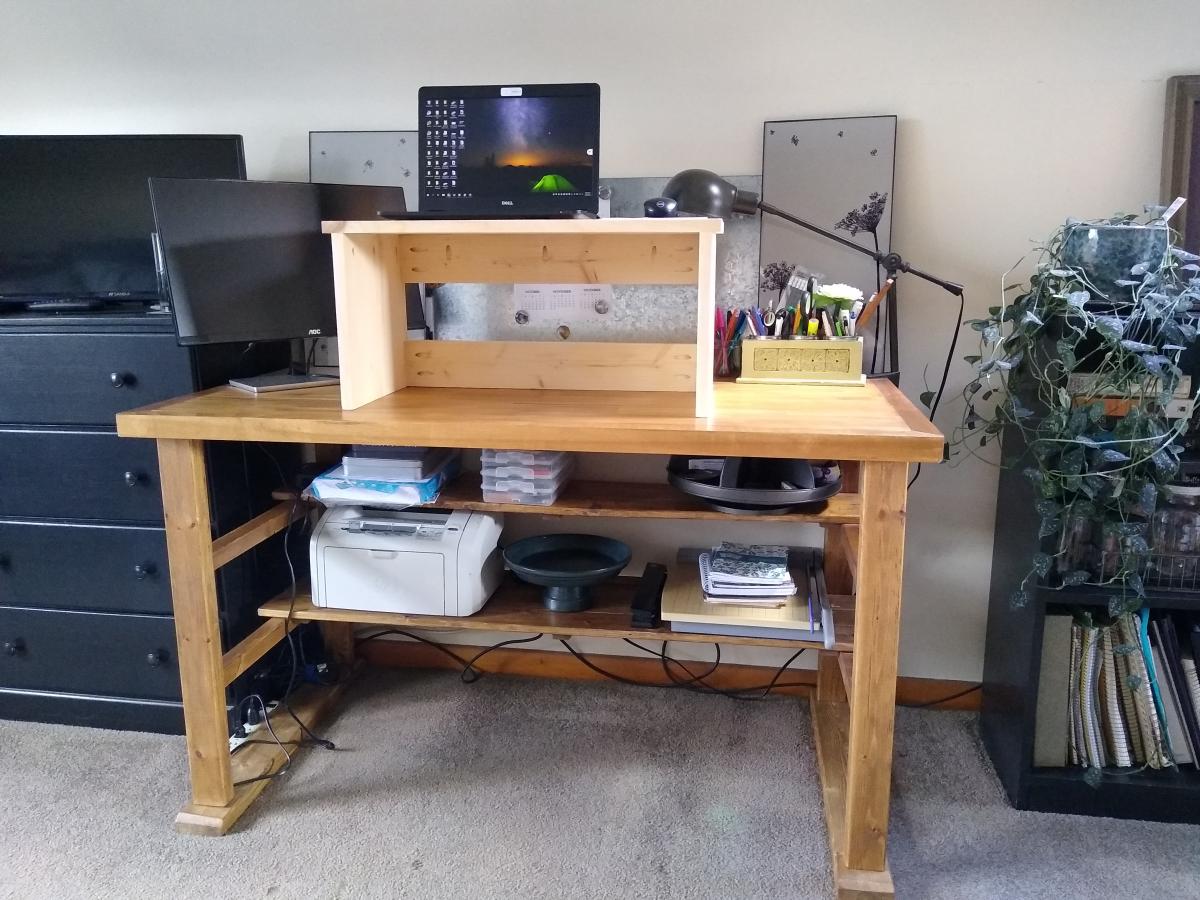
I had always wanted a kitchen island and saw this project. Seeing that the plans were well written I decided to tackle it. In addition I made a few small modifications to enhance the style of the island. These included using 4x4's on the corners and a IKEA butcher block top. The top allows for a larger surface area to work with and more space to sit under. The stools in the picture are from World Market and they were the perfect pair for the island. The island is great for family gatherings or just sitting with your morning coffee. I had family over for Thanksgiving and received lots of compliments. Thank you Ana!

Built from Plan(s)
Estimated Time Investment
Weekend Project (10-20 Hours)
Finish Used
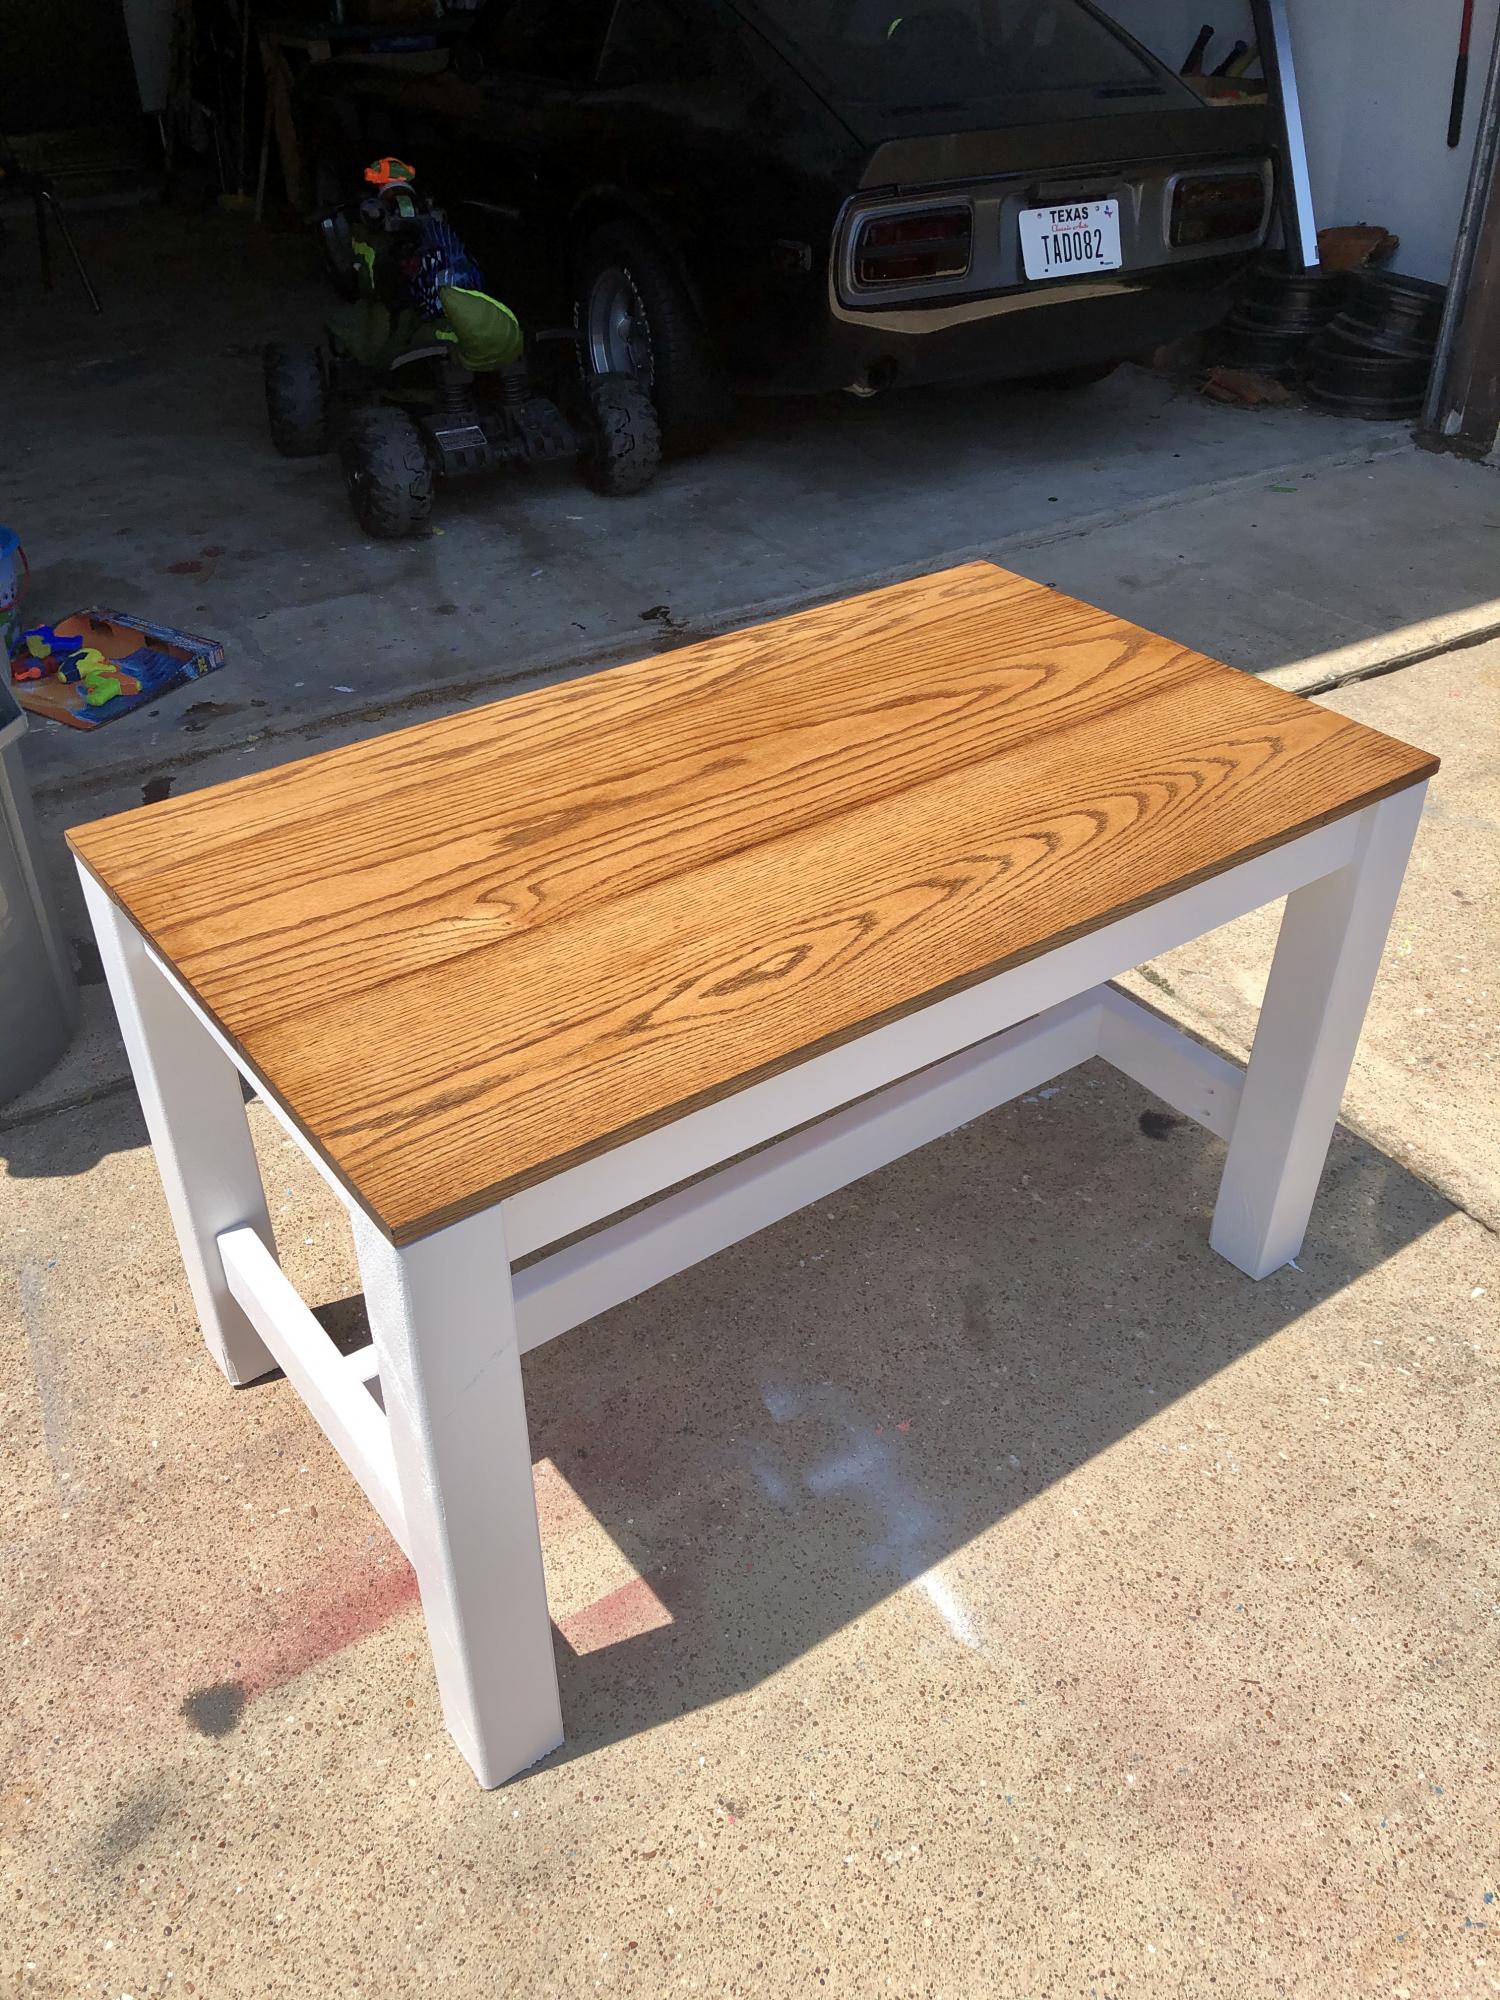
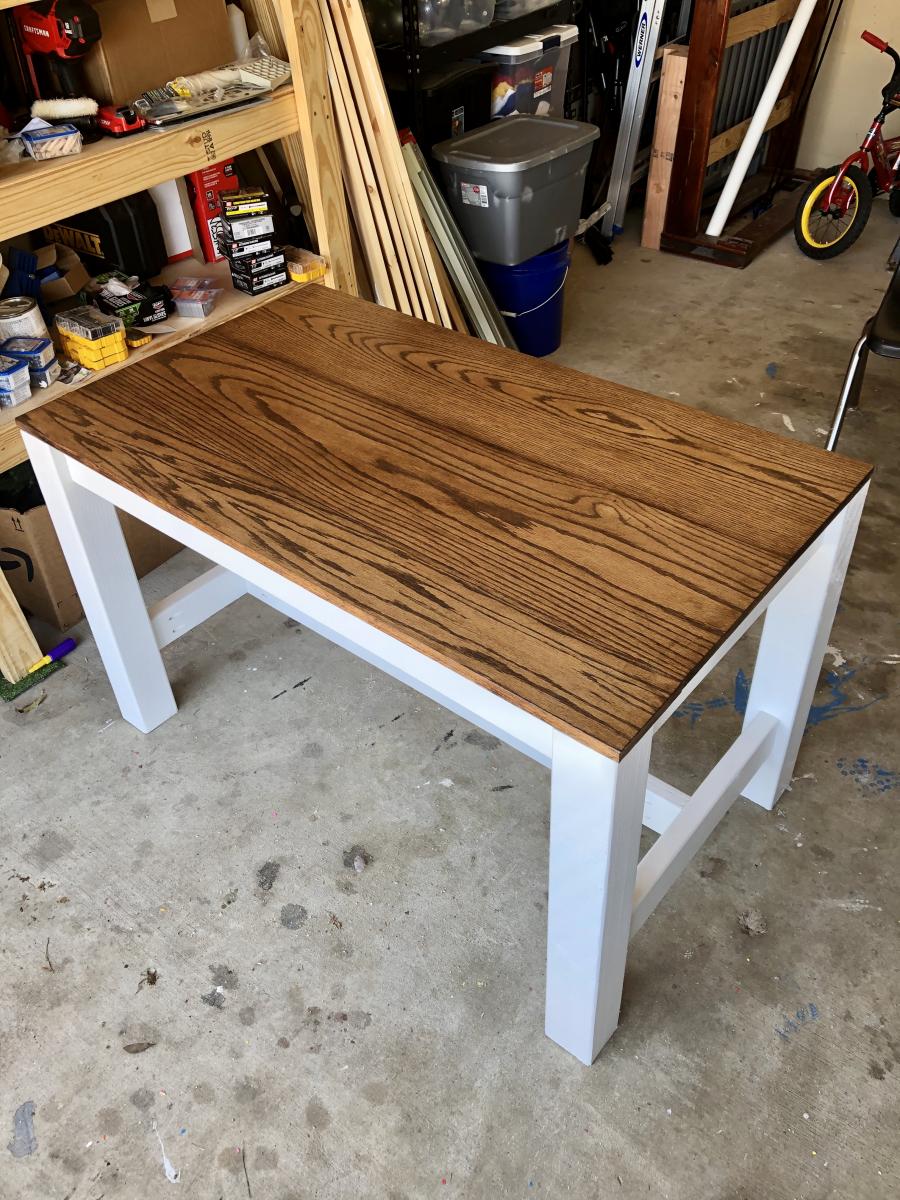
Valspar white latex paint from Lowes on the bottom and Minwax Mission Oak stain on the top.
Recommended Skill Level
Intermediate

Comments

MaryMurray

Tue, 12/03/2013 - 17:43

I love how this looks. This is actually next on my list of projects, thanks for the inspiration!

Jcalloc

Thu, 03/05/2015 - 08:13

May I ask what kind of wood you used for this project?

$10 Ledges Shelves... Favorite Project!

I love how these turned out! I did use my Kreg Jig to attach my back and bottom boards, but you could easily pre-drill and use regular screws. You can see a full tutorial at http://www.shanty-2-chic.com/2012/01/20-shelves-anyone-can-build.html !!

Built from Plan(s)
Estimated Cost
$10
Estimated Time Investment
An Hour or Two (0-2 Hours)
Finish Used
Rust-Oleum Wood Care stain in Dark Walnut
Recommended Skill Level
Starter Project

Comments

Round Side Tables

Submitted by Anonymous (not verified) on Fri, 06/16/2023 - 18:39

I first made a set of these for my wife to use on the deck. She liked them so much that she's using them in the living room! (Second photo.) These were made from rough lumber left over from a building project so took a fair amount of time to cut and prep. I don't have a planer so the belt sander outside was put to good use. Then, to make them them fit well, I recut the sides, and rather than pocket holes I glued them into a plank before cutting the rounds with my table saw. That also gave me a tight flat top.

Her friend saw them and wanted a set, so here they are. Again I recut the sides and glued them to create a smooth plank. This time I used the router and a circle jig to cut the tops, giving me a much nicer finish. They will be stained mahogany and finished with multiple coats of polyurethane.

The large one I simply upsized from the original plan, roughly scaled. It is 22" tall, made with 2x8 lumber selected and purchased at the box store. My wife's friend is totally delighted with them! Thanks Ana for the inspiration.

Built from Plan(s)

Comments

My first Chunky Build

This is my first build and im really proud of it. We needed a new platform bed to fit our new matress! Yeah! a queen size bed! I discovered ana's blog and i got really inspired by all the projects in the blog! For the construction, i used birch for the showing parts, pine for side rails and center support and spruce for the slats. Actually, i haved cut de sides and builded the legs then i oiled evething before assembling. I used my Kreg Jig r3 to join the sides and i used a corner metal bracket to join the legs to the sides! Everything is attached from the inside, so no filler needed! I also decided to use 1x6 for the legs to get a taller bed. If you want your matress lower in the frame use 2x4 instead of 2x6 for the center support. Adjust de side rails to fit with the 2x4. Can't wait to build something new! FYI: I know my english is bad but its not my first language!Im french canadian!

Estimated Cost
250$ finishing oil included
Estimated Time Investment
Weekend Project (10-20 Hours)
Finish Used
Deftoil Danish oil finish color fruitwood
Recommended Skill Level
Beginner

Comments

veggie storage

Submitted by tjhead on Thu, 03/24/2016 - 10:08

I loved this plan.  It was my first build from Ana White plans and a true jumping off point for my imagination.  I used pine boards, matte red underneath and semi-gloss white top coat.  Steel wool was my tool for the distressing.

Built from Plan(s)
Estimated Time Investment
Day Project (6-9 Hours)
Finish Used
Matte red undercoat and semi-gloss white
Recommended Skill Level
Beginner

DIY Outdoor Furniture Set

Submitted by Anonymous (not verified) on Fri, 08/04/2023 - 11:32

Loving this furniture! We modified it slightly by raising the height of the couches. Added some height and a slight tilt in the back. The chairs are super comfortable as the plans are done. We used 6” 25x25 cushions. We plan on staining soon.

Jaime Sallis


Seasonal And Holiday

Coffee Table

Submitted by Bunnie1978 on Sun, 03/25/2012 - 20:58

This is my second build. I used the Benchright plan but had to modify it for one drawer. The Dimensions are 39 long, 25 wide, and 19 tall. I have heard others comment on how difficult drawers are. I thought I would just jump in head first with the kind of drawer that closes flush with the rest of the table - really had some trouble with making it square. I ended up shimming the face onto to the drawer because even though it opens and closes smoothly, it isn't square with the rest of the table...

I had originally planned to make the 20 second tidy up table for my living room and begun purchasing materials. However, I was let go from my job last Sunday, so changed my plans. I took inventory of all the supplies and materials I had on hand and tried to find a plan that would not require any more spending to build... to sell... to pay rent.... and thus the new table was born. And I love it. And I hate to sell it.

I tried to copy the finish on the 20 second tidy up table, and this is how it ended up. I used Minwax Golden Pecan for the base color and Red Oak for the accent color. The colors got a little blended together through the staining process. I really love how it turned out though because it's a nice warm color. The only thing I don't like is the grain in the pine didn't take much if any color, so it's still a bit yellow, which seems slightly out of place when I look at it. I think it will darken with age and look a little better. Otherwise, this was a super fun project!!

Estimated Time Investment
Week Long Project (20 Hours or More)
Finish Used
Minwax Golden Pecan, and Red Oak. Followed by several coats of semi-gloss poly. Final coat was spray on.
Recommended Skill Level
Advanced

Comments

Bunnie1978

Tue, 03/27/2012 - 06:09

I will try to do that this weekend... if I can find some money to get stain with. Hehe. I think it would look really great stained with the same method that Ana used on the 20 second tidy up table... rubbing the edges with a darker color... I love that look.

Guest (not verified)

Tue, 04/10/2012 - 04:58

This is awesome! I love it. You did a great job. Do you by any chance have the construction process on this? I would love to try it for my "first" project!! thank you.

My Simple Outdoor Lounge Chair with 2x4 modification

I modified this chair with 2x4's as the base and 2x2 for decoration on arms, this is prior to sanding and finishing

Built from Plan(s)
Estimated Cost
$15-$20 dollars, depending on local lumber prices and finishing options.
Estimated Time Investment
An Hour or Two (0-2 Hours)
Finish Used
Unfinished
Recommended Skill Level
Beginner

Comments

RandyW

Sat, 06/13/2020 - 16:33

I always take my sander to the sharp edges and round them off

Toybox Bookshelf

Submitted by Anonymous (not verified) on Mon, 09/18/2023 - 15:46

Toy bin box with cubby shelves

Caleb

Built from Plan(s)

Comments

Grandy TV Table

Submitted by Anonymous (not verified) on Tue, 05/31/2016 - 07:34

Love this tv table! It was my husband's first project from Ana's plans, and it turned out really well. The most difficult part was deciding how to make the sliding barn door hardware, since paying $70 for hardware when the wood cost about that much seemed crazy. My husband built it and I stained it, Sunbleached by Varathane. A nice blue-grey.

Built from Plan(s)
Estimated Cost
$100 (or less) for wood. Up to $80 for sliding hardware unless you DIY it.
Estimated Time Investment
Day Project (6-9 Hours)
Finish Used
Sunbleached stain by Varathane, followed by 2 coats of a matte polyurethane.
Recommended Skill Level
Intermediate

Lap desk/Standing desk

Submitted by mrsnyder on Sun, 04/26/2020 - 09:01

Built this last weekend so I would have the option of standing at my desk - these plans work perfectly for that purpose! Quick and easy build that I was able to do with scraps on hand. Highly recommend for anyone who has suddenly found themselves working from home and is finding their desk chair just isn't comfortable enough for a full day of work. Easy to move out of the way when not needed and provides a nice way to quickly move work things off to the side but keep them handy for the next day. Thank you for the very timely plans!

Built from Plan(s)
Estimated Time Investment
An Hour or Two (0-2 Hours)
Finish Used
None yet. Will have to wait for some nice weather to stain/seal outdoors.
Recommended Skill Level
Starter Project

Comments

Adjusted Counter Height Farmhouse Table

Submitted by rahurtado on Mon, 05/04/2020 - 23:26

I liked the look of the “counter height table” and adjusted the height to make it a table for an office. I used 4x4s for the legs and oak for the top.
I used a biscuit joiner to join the top, a Dremel tool to carve grooves in the frame so I could attach the top with figure 8 fasteners (allows wood to move as it expands and contracts).

Recommended Skill Level
Intermediate

Custom Gate

Submitted by zduchene on Fri, 04/18/2014 - 22:41

When we first moved into our new home one of the first things that I built for it was this custom gate that resides at the top of our stairs. We needed this to keep the baby from falling down and keep the dogs out when need be. Overall it was a great way to separate the two areas. It is also inexpensive and easy to build. I used a pneumatic nailer for all of the joinery on this one so it was quick to build as well.

Estimated Cost
75-125
Estimated Time Investment
Afternoon Project (3-6 Hours)
Finish Used
Early American Varathane Stain
Recommended Skill Level
Beginner

Twin farmhouse bed with cubby bookshelf

Submitted by Natalieeh on Mon, 05/11/2020 - 12:51

My friend needed a bed for her son... she described what she was looking for but couldn’t find in her price range... so I told her it would be cheaper for me to build it... around $280 I built this bed.... it took me a week but I didn’t work on it everyday. All in all, I could probably do it in 3 days. I am a Slow builder though

Estimated Cost
300
Estimated Time Investment
Weekend Project (10-20 Hours)
Recommended Skill Level
Intermediate

Comments

Farmhouse Toy Box

Submitted by Abby721 on Tue, 05/12/2020 - 17:58

Super simple build with fabulous results! I have been using as a coffee table and it looks awesome and is functional for lots of toy storage as well. It would also work so great to house extra blankets and throw pillows. I added a lid support so it does not slam shut on little hands. This would also be a perfect addition to any playroom for some nice looking toy storage!

Built from Plan(s)
Estimated Cost
$50
Estimated Time Investment
Afternoon Project (3-6 Hours)
Finish Used
For the legs I used Rustoleum Canyon Black paint and for the rest I first used Minwax Weathered Oak with Minwax Early American over the top.
Recommended Skill Level
Beginner

Book or Magazine Ladder Shelf

I made a more narrow version of this bookshelf. I needed a place for the thicker books to go, so I left the top shelf open. This bookshelf has made it so simple for the boys to clean up after reading. Even my four year old knows to put his books back!!! YESSSSS!

Built from Plan(s)
Estimated Time Investment
Afternoon Project (3-6 Hours)
Finish Used
Special Walnut
Recommended Skill Level
Beginner

Modern Adirondack Chairs

Submitted by Anonymous (not verified) on Sat, 05/23/2020 - 21:10

Just followed the plans, and am in love with the finished look!

Estimated Cost
50
Estimated Time Investment
Afternoon Project (3-6 Hours)
Finish Used
Exterior Grade Paint/Sealer
Recommended Skill Level
Intermediate

Comments

Farmhouse Medicine Cabinet

Submitted by Anonymous (not verified) on Tue, 02/13/2024 - 12:42

A medicine / bathroom vanity I built for my son’s master bathroom. Constructed of 3/4 oak veneer , 1x2 and 1x3 red oak for the face frames and doors. I used a combination of dowels and dominos to assemble. The metal for the doors was purchased at The HD. Finished off with Minwax English Chestnut stain and 4 coats of Shellac.

Gary Fox

Back