Community Brag Posts

Farmhouse Table

Submitted by Anonymous (not verified) on Mon, 08/22/2016 - 13:56

I tried to replicate the original post on this site (which is awesome by the way!)  I did make a few changes so this might help others:

1. Made total table length 72" to fit our dining room.

2. Flipped the stretcher boards towards the inside part of the table for more leg room while sitting on either end of the table

3. 2 inch pocket hole screws to attach table top to the frame (instead of 2 1/2 inch so they wouldn't go through the table top)

4. Two 2x10s (instead of 2x8s) for the breadboards.  For extra support, I used four 3 inch metal brackets (purchased at Lowes) that I painted white and attached under each breadboard (8 total brackets used- 4 under each side)

5. Olympic brand latex white eggshell paint for the legs/apron for the table and bench.  I then applied 3 coats of Minwax Polycrylic Matte (water based) to help protect the water based paint.

6.  To help with the gaps between the boards that create the table top (I have two kids so you can imagine the crumbs!), I used Dap white caulk in between the boards and wiped away the excess.  I then proceeded with the Rust-Oleum chalked ultra matte white paint (using 1:1 ratio of water and paint) to create that lighter foundation for the next step.

7. After using the Minwax Dark walnut stain 2716 (one coat), I used 3 coats of Minwax Fast Drying Polyurethane clear satin to finish and loved the result.  


Estimated Cost
$225
Estimated Time Investment
Week Long Project (20 Hours or More)
Finish Used
The following was used in this order:

Table top:
Foundation color: Rust-Oleum Chalked ultra matte paint (1 coat whitewash finish and wipe away any excess like for staining)
Stain: Minwax Dark Walnut 2716 (1 coat)
Finish: Minwax Fast Drying Polyurethane Clear Satin (3 coats)

Apron & Legs for table frame and bench frame:
Paint: Olympic True White Latex eggshell (2 coats)
Finish: Minwax Polycrylic water based matte (3 coats)
Recommended Skill Level
Beginner

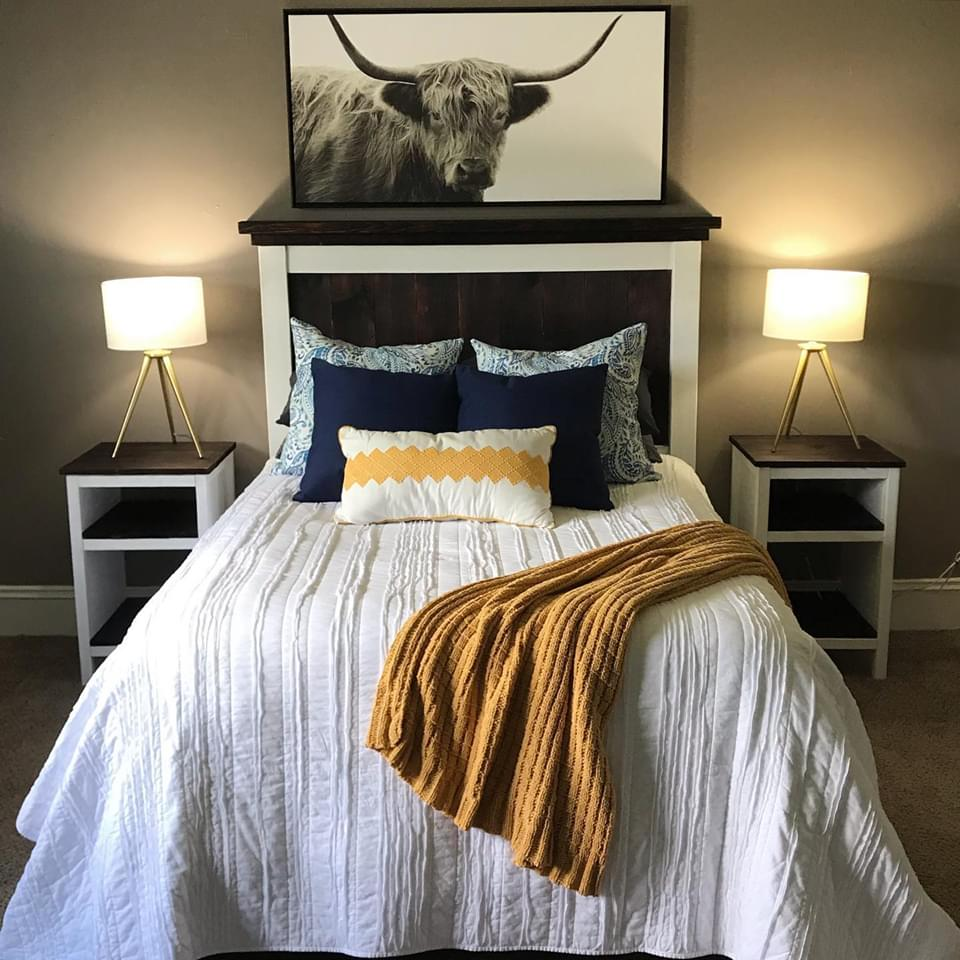
Farmhouse Headboard and Planked Wood Bedside Tables

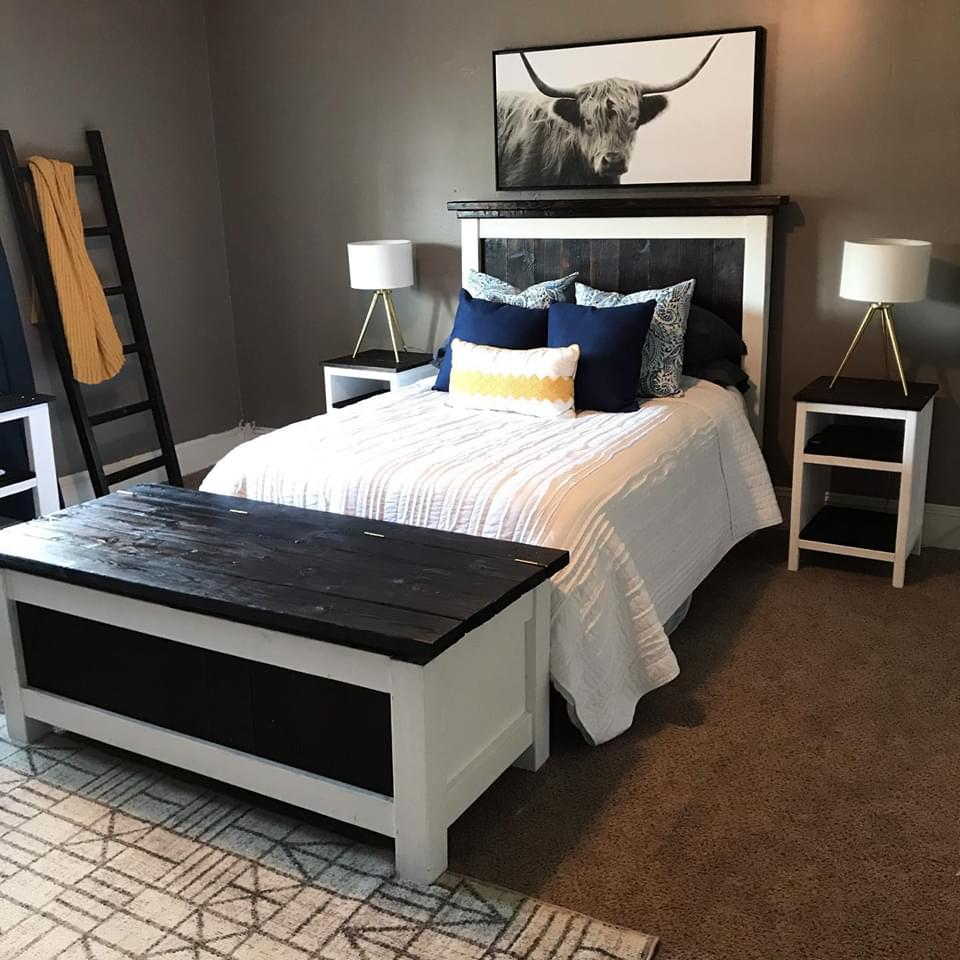
For this project, I made the headboard from the Farmhouse Bed plans. I omitted one of the 1x6 slats to fit to my metal frame. I made two planked wood bedside tables with shelves and I created a lift top bench that was inspired by both the bed, and the side tables. Finally, I threw together a blanket ladder using 2x3s.

Estimated Time Investment
Weekend Project (10-20 Hours)
Finish Used
Behr off the shelf white in Satin, and shou sugi ban with Maker Brand simple finish.
Recommended Skill Level
Intermediate

Tall Farmhouse Headboard

Submitted by Anonymous (not verified) on Sat, 03/02/2024 - 11:34
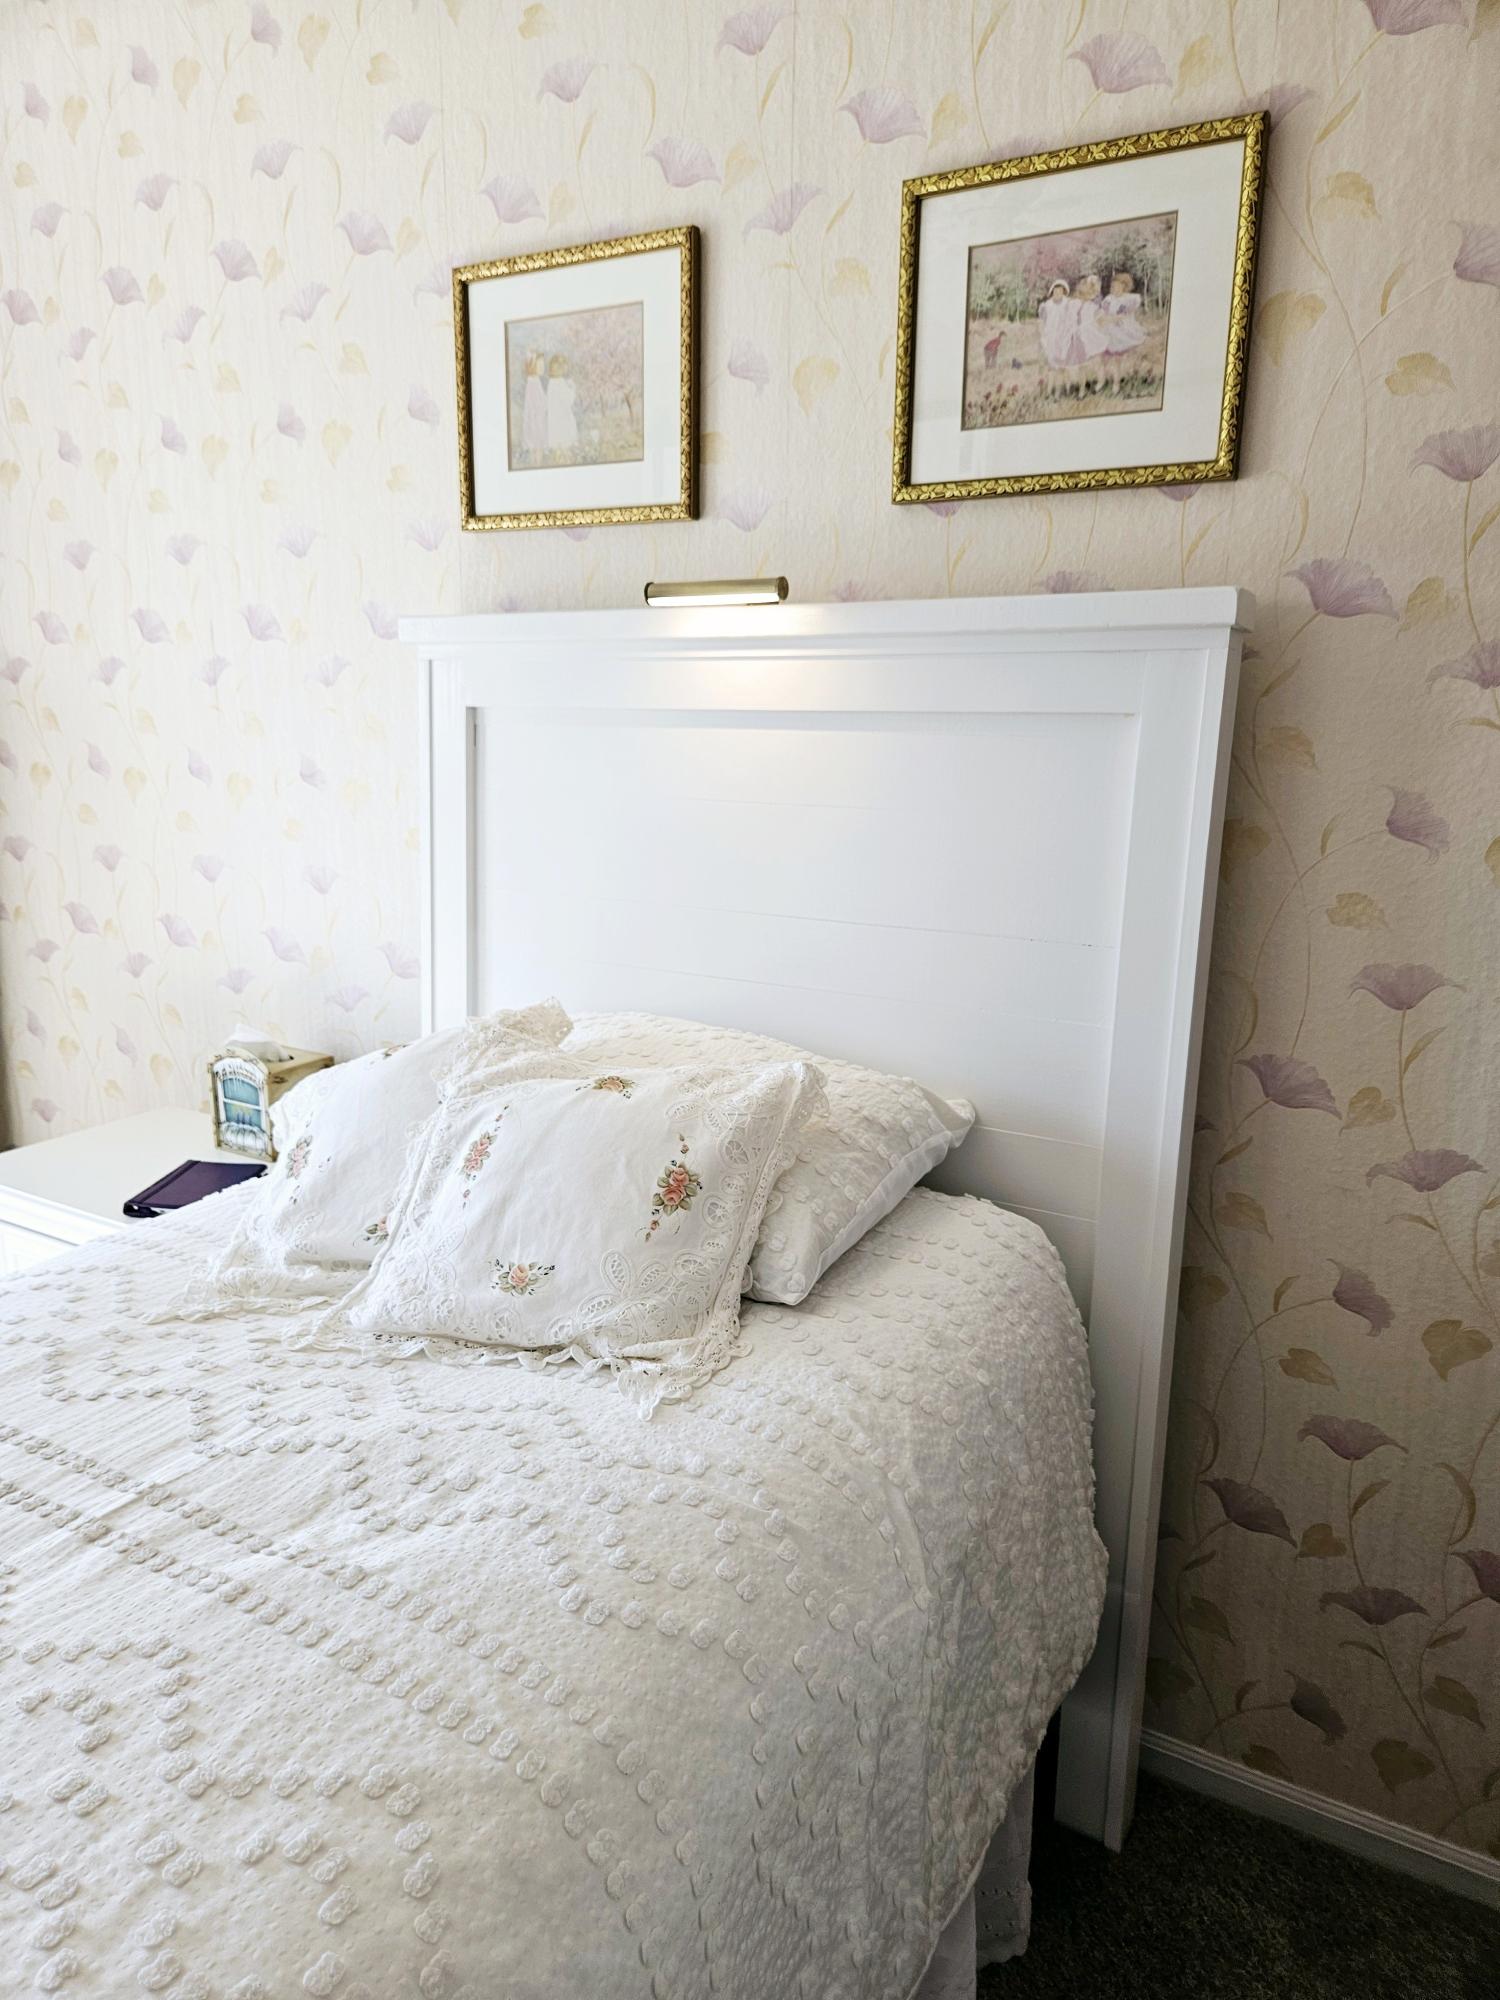
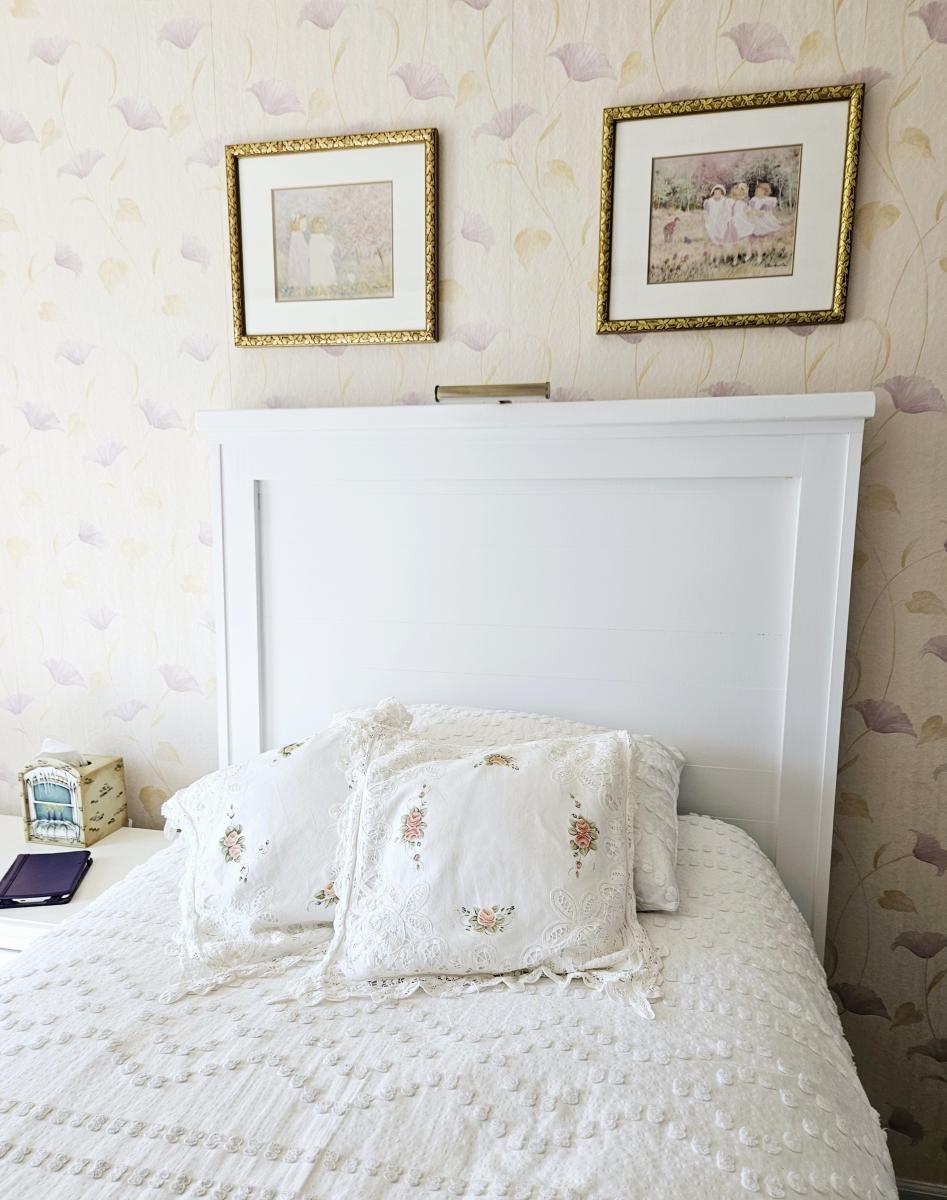
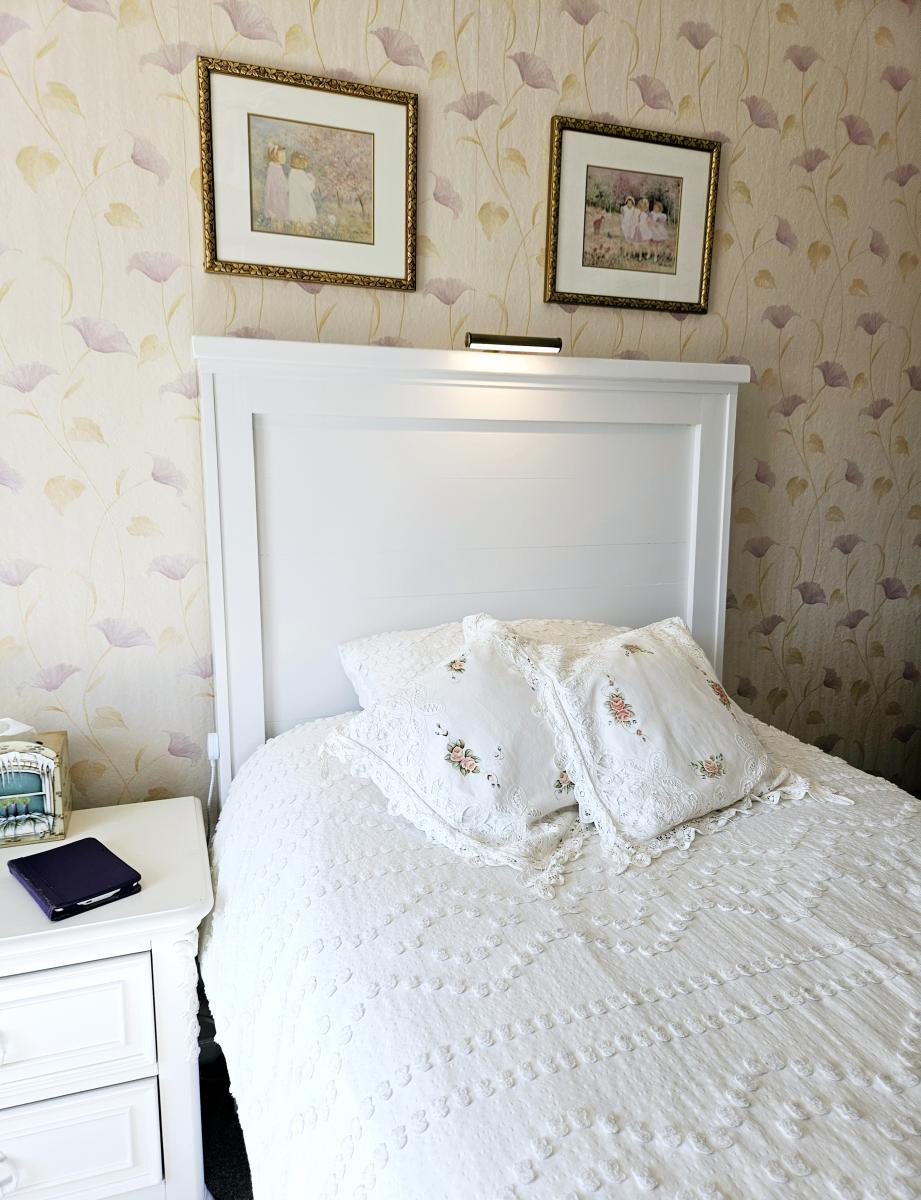
 am thrilled with my new headboard. The plans made every thing about this project FUN and DOABLE. I'm a 70 year old Granma who loves to DIY. SO fun to show my photos of what I did ALL BY MYSELF! THANK YOU FOR YOUR WONDERFUL PLANS! With out them my pretty new headboard would never have happened. WHAT FUN. I mounted an LED picture light fixture on the top for reading in bed and mounted the corded on off extension cord switch to the side of the leg for easy on off ! Again, THANK YOU!

Cheryl King

Entryway bench and shelf

Submitted by susanuva on Mon, 07/30/2012 - 13:58

Here is my very first project.

Estimated Cost
$170.00
Estimated Time Investment
Weekend Project (10-20 Hours)
Finish Used
Stained with Red Elm Gel stain
Recommended Skill Level
Starter Project

Comments

Family Tree

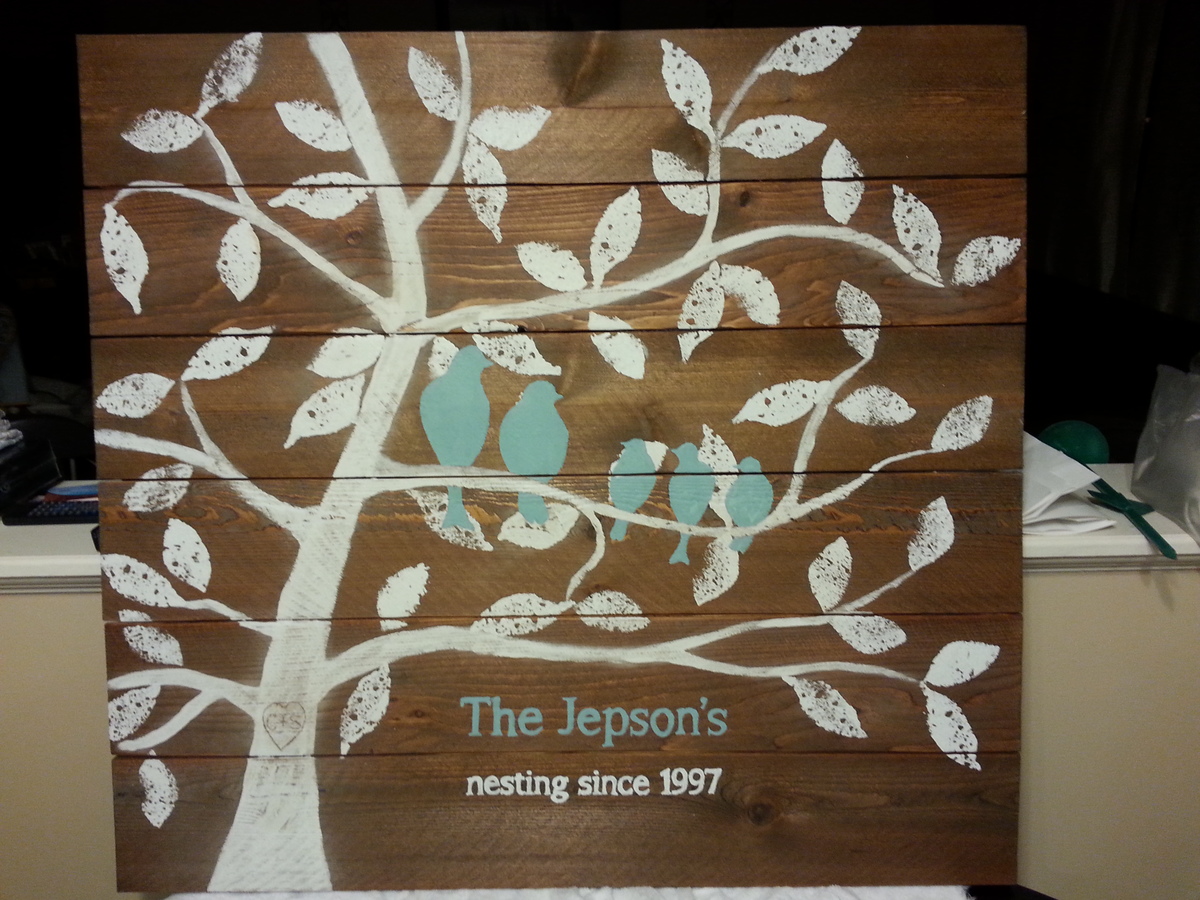
Loved Ana's original of this and we saw cedar plans on sale over the holiday weekend we had to give it a shot. Loved how it turned out. Thank you for the inspiration.

Built from Plan(s)
Estimated Cost
$10
Estimated Time Investment
Afternoon Project (3-6 Hours)
Finish Used
Early American
Recommended Skill Level
Starter Project

Rustic X Console with 5 board bench

Submitted by Rifka on Fri, 08/26/2016 - 08:42

I wanted this console but not as long. 

Built from Plan(s)
Estimated Cost
$20
Estimated Time Investment
Weekend Project (10-20 Hours)
Finish Used
Annie Sloan white paint on base
Dark wax and sealer on top.
Light distressed
Recommended Skill Level
Beginner

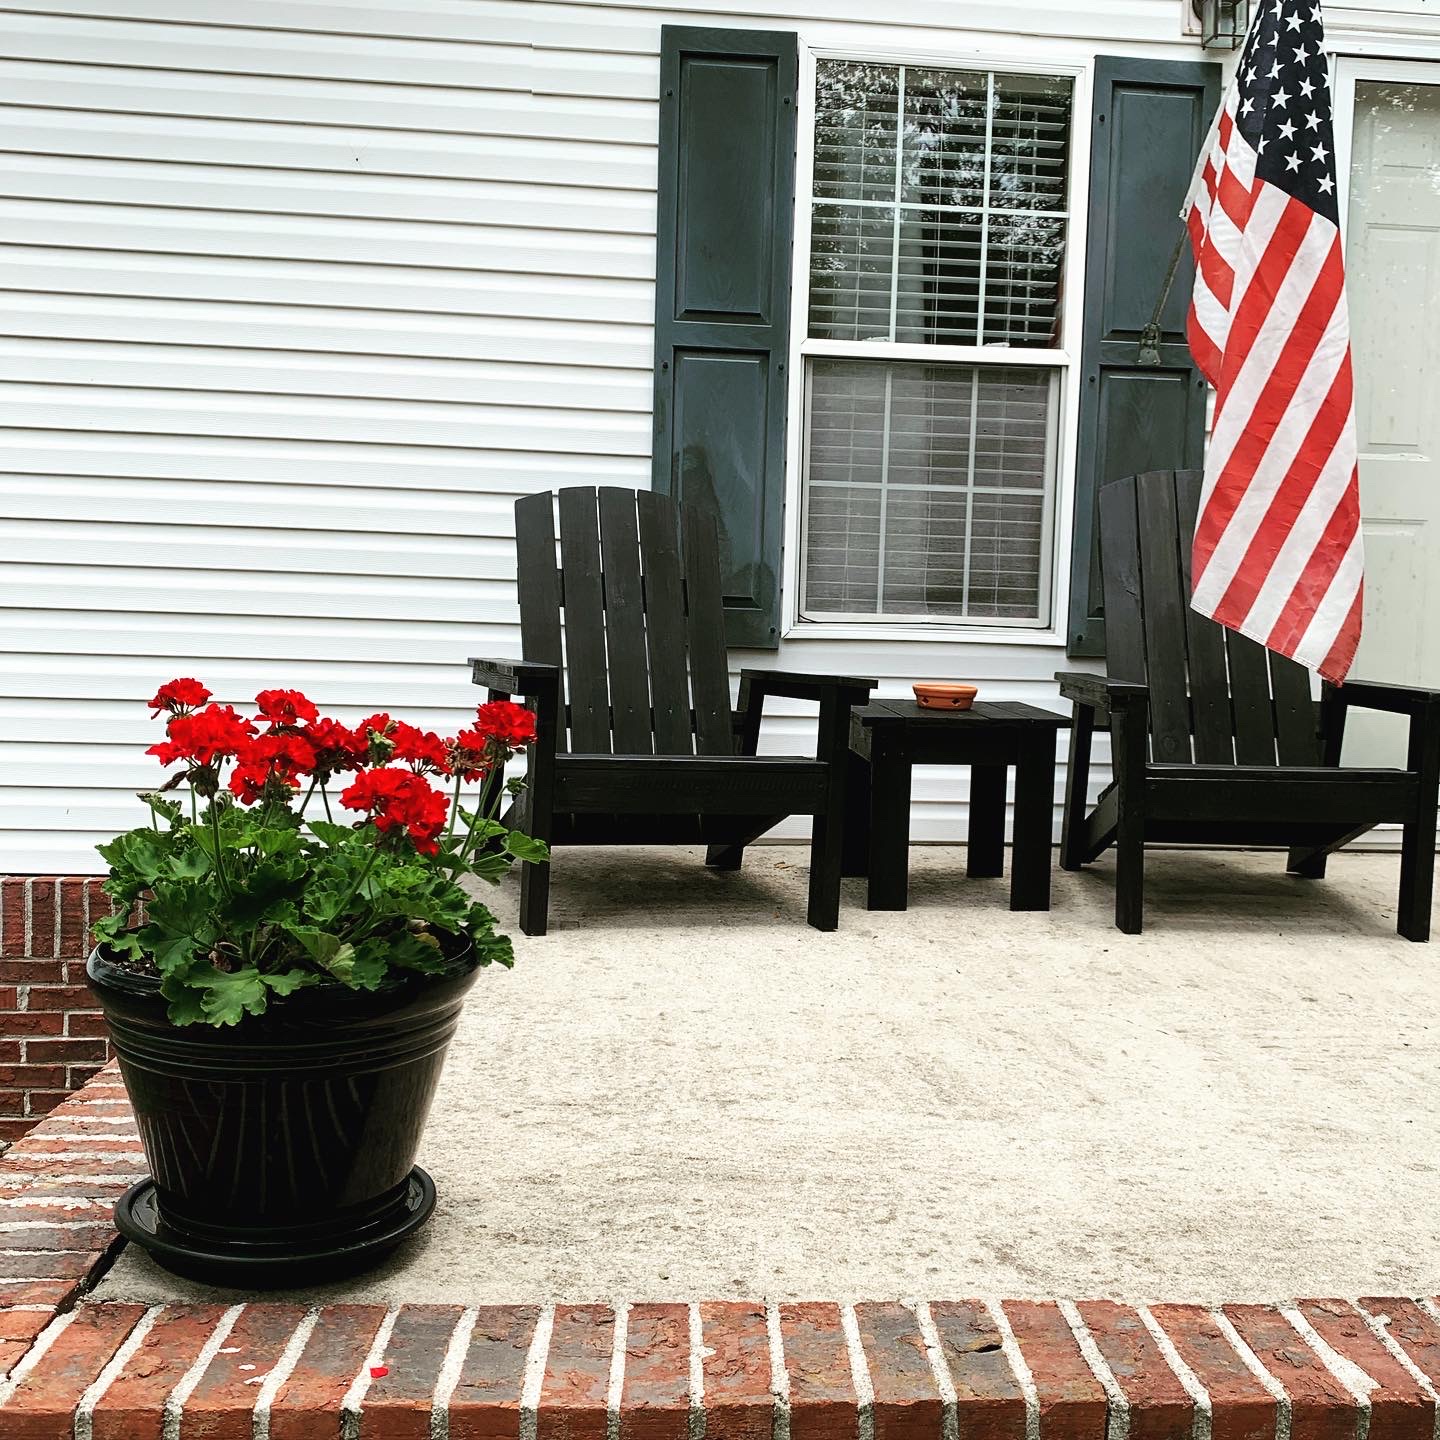
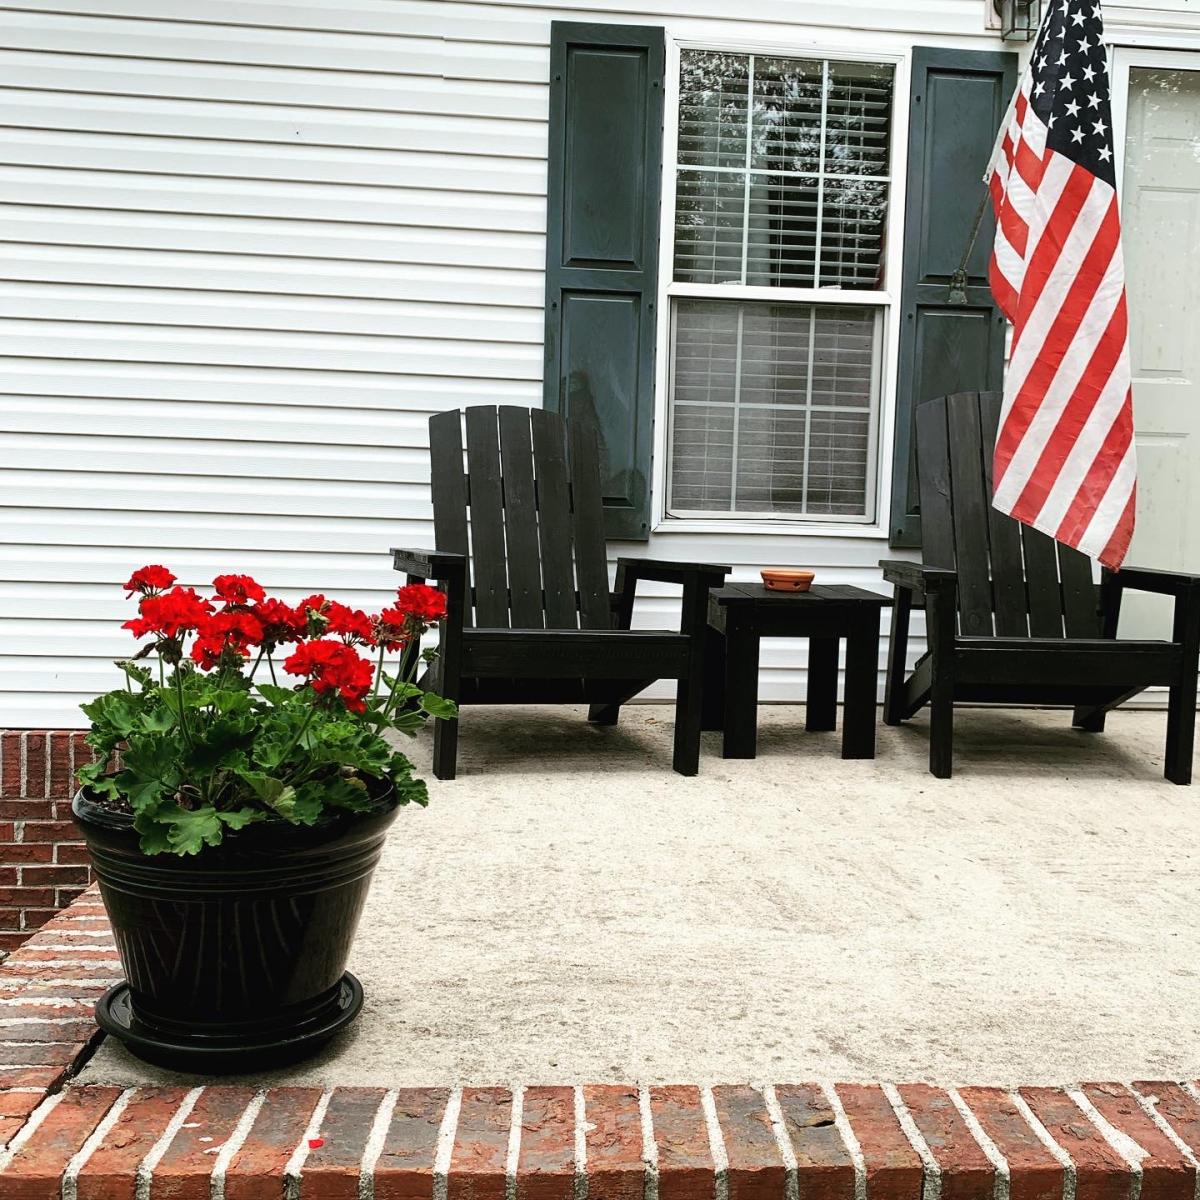
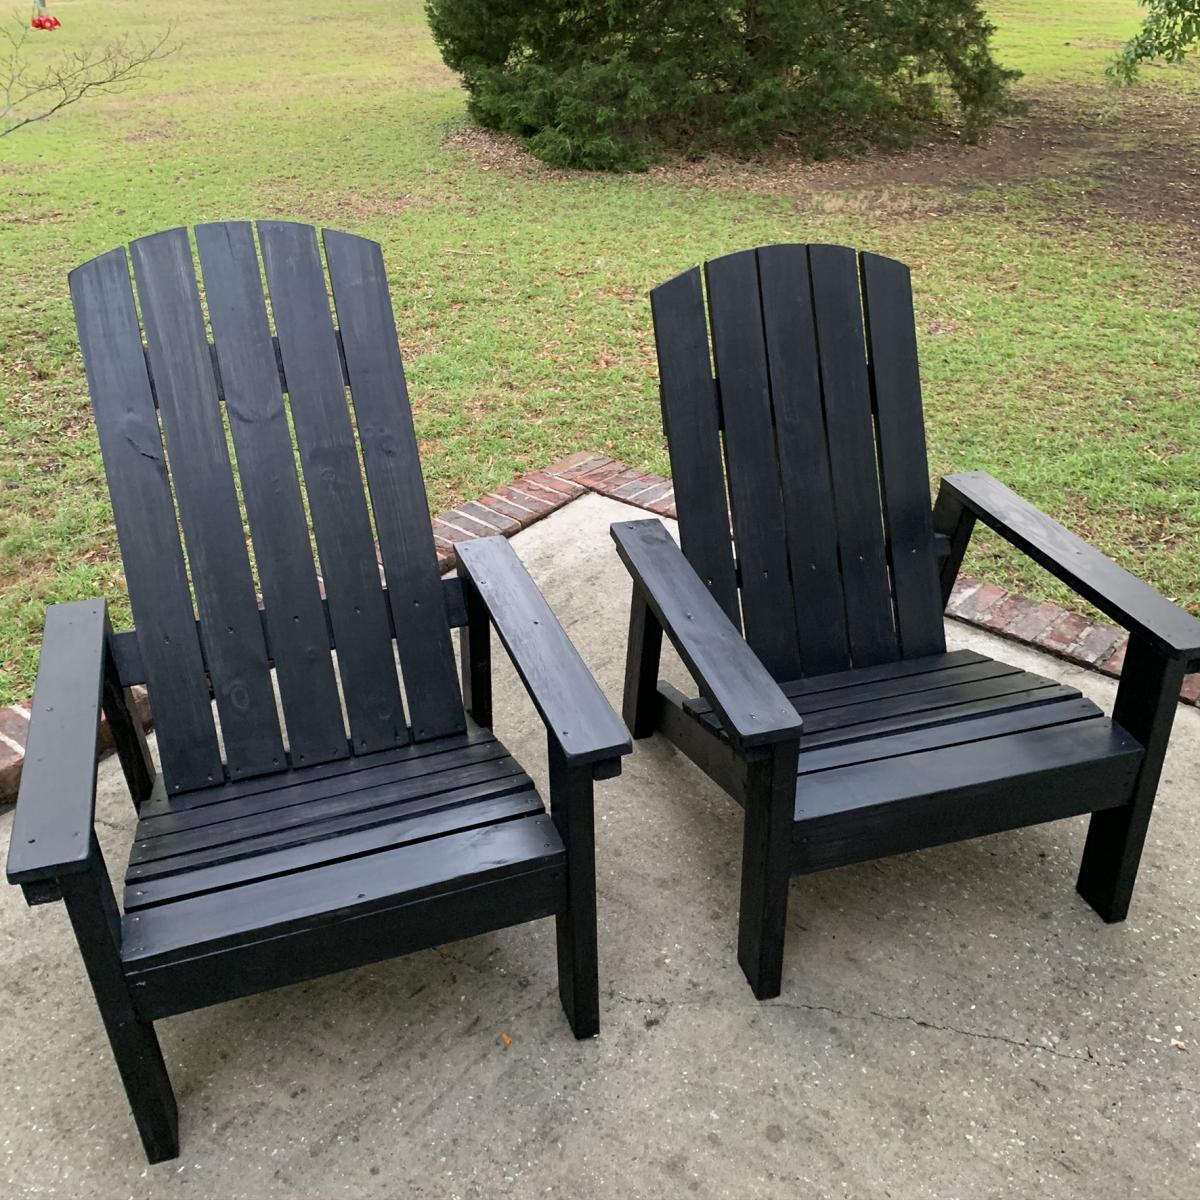
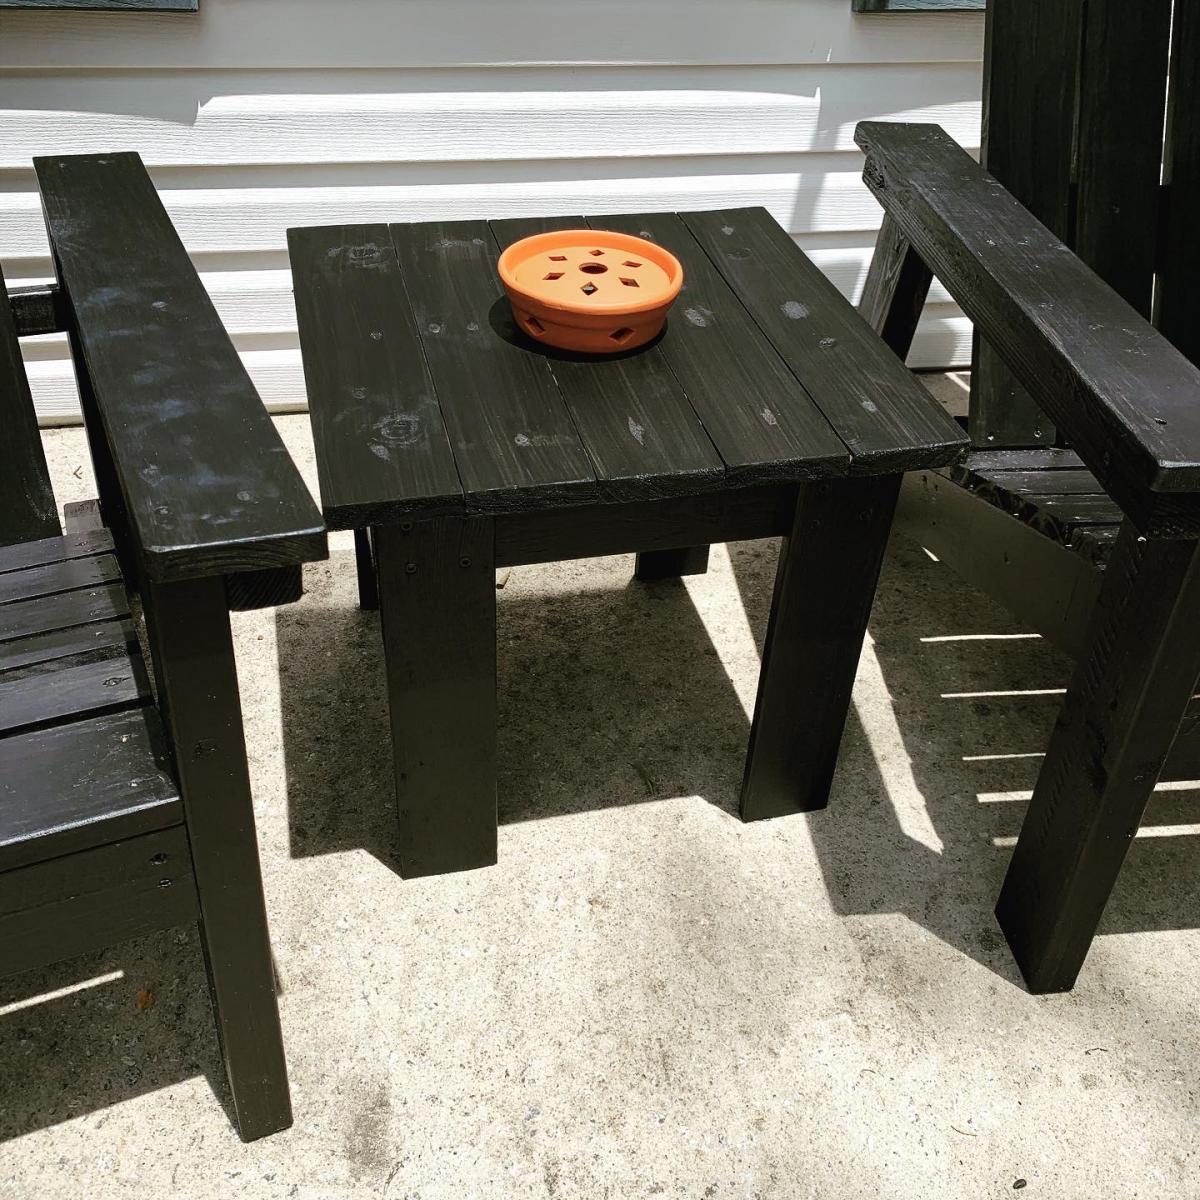
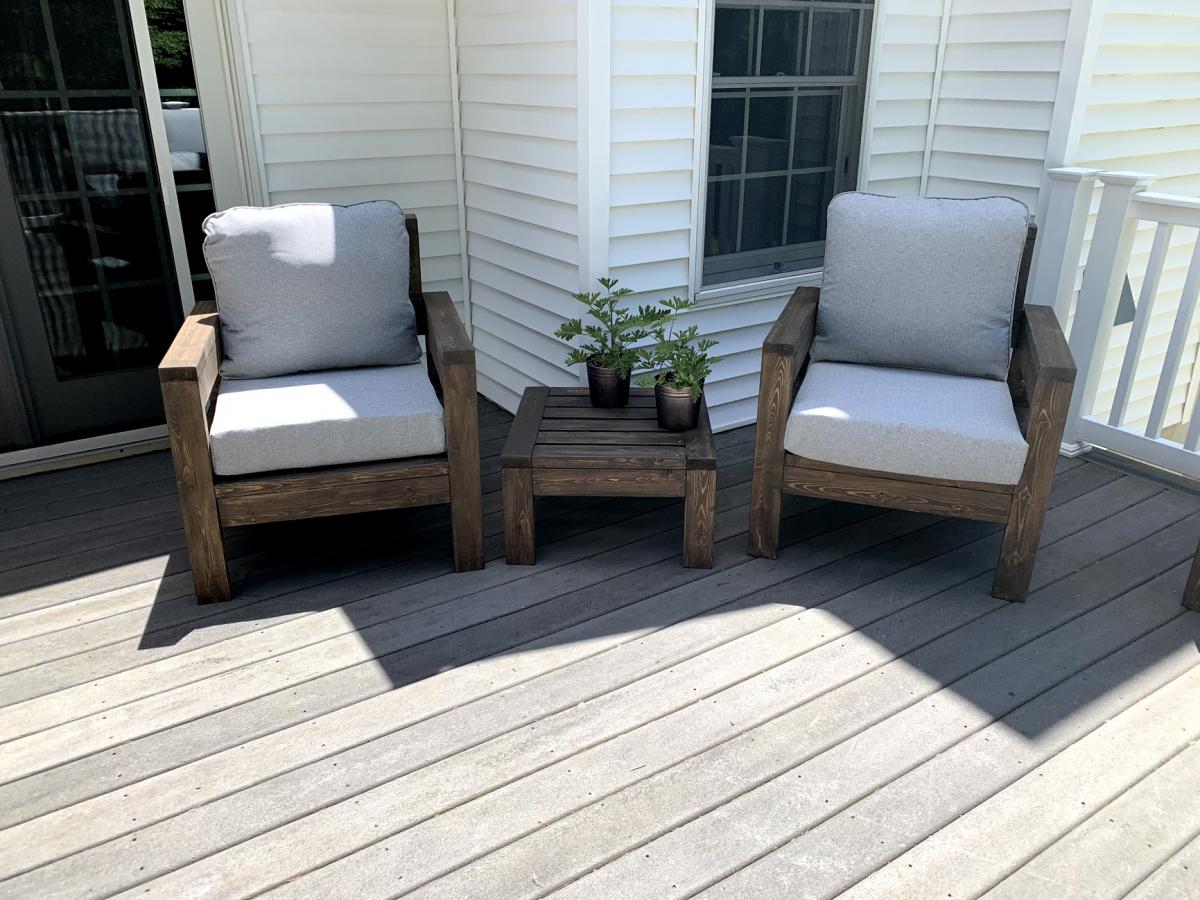
Adirondack Chairs with matching table

Submitted by Anonymous (not verified) on Sun, 06/07/2020 - 12:08

My dad and I spent 2 weekends making his and her Adirondack chairs for my husband and I and a matching side table!

Estimated Cost
$140 total for chairs; $9.96 for table
Estimated Time Investment
Weekend Project (10-20 Hours)
Recommended Skill Level
Intermediate

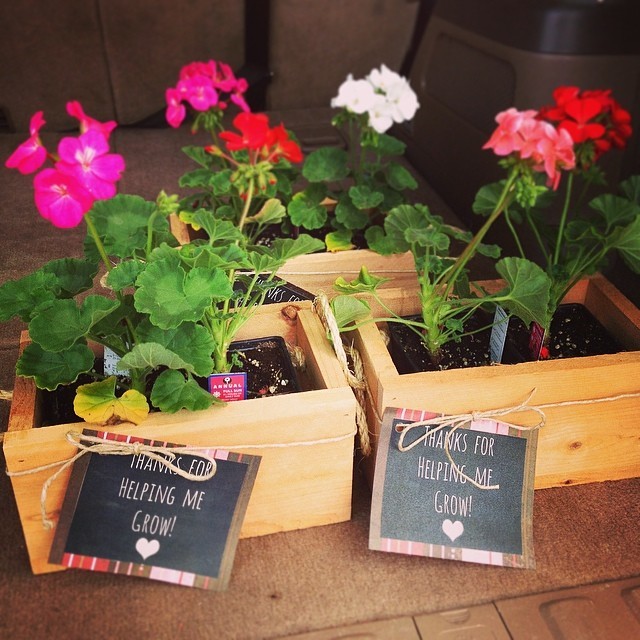
Cedar flower box teacher's gift

Submitted by Benjies on Wed, 05/28/2014 - 10:02

My daughter is finishing her last week of preschool. I wanted to make a small "thank-you" gift for her 3 teachers. I pieced together different ideas from ana's site and other places on the Internet. The printout is from shanty 2 chic's website. I created 3 boxes using 2 six-foot cedar fence panels. I cut mine down to size based on the dimensions of the flowers I used. Drilled a few holes on each edge and used 1/4" sisal rope to make handles. Used hemp to tie the label's to each box. Each box took approximately 15 minutes to make. Including the cost of the flowers, each box cost less than $5 too!!

Estimated Cost
$5 / box
Estimated Time Investment
An Hour or Two (0-2 Hours)
Finish Used
No finishes. Just drilled some drainage holes. Cedar is great for outdoor use!
Recommended Skill Level
Starter Project

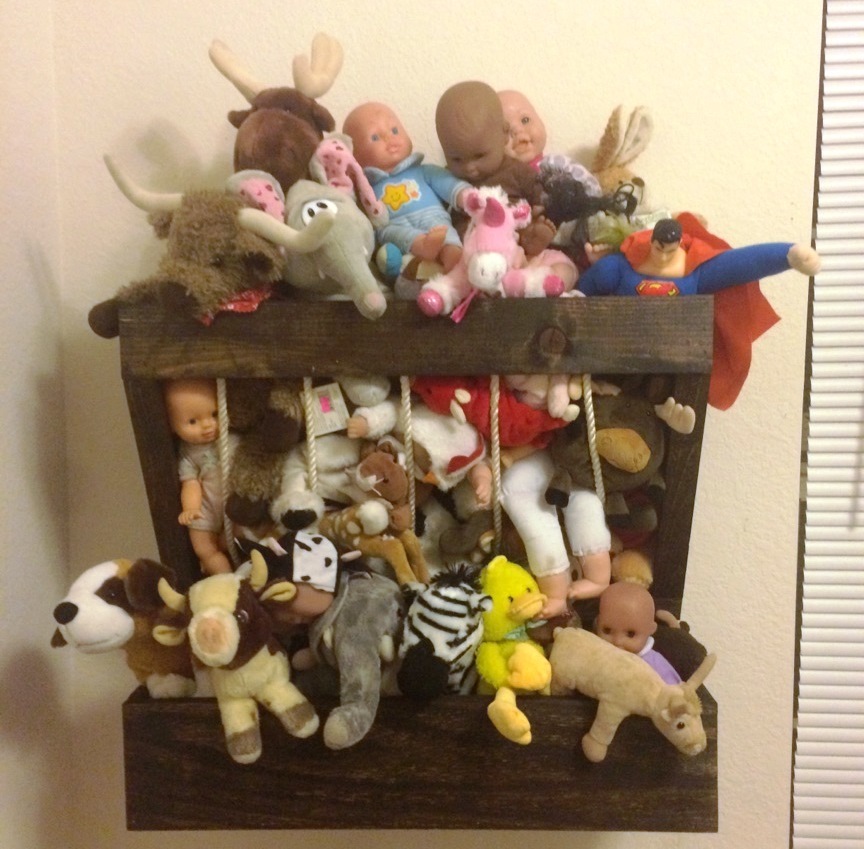
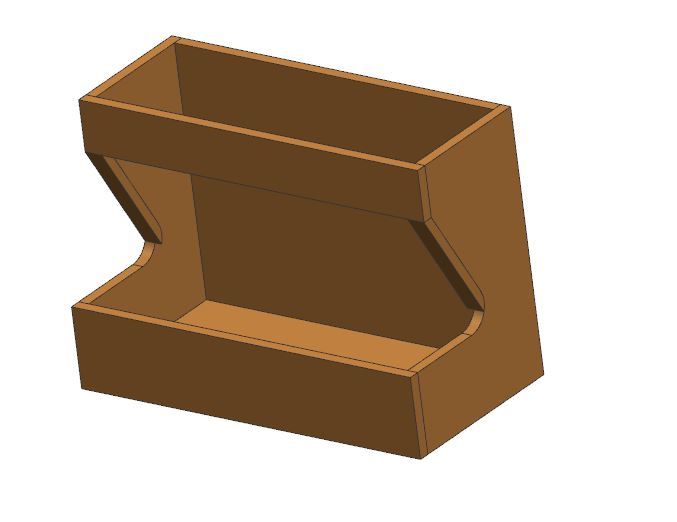
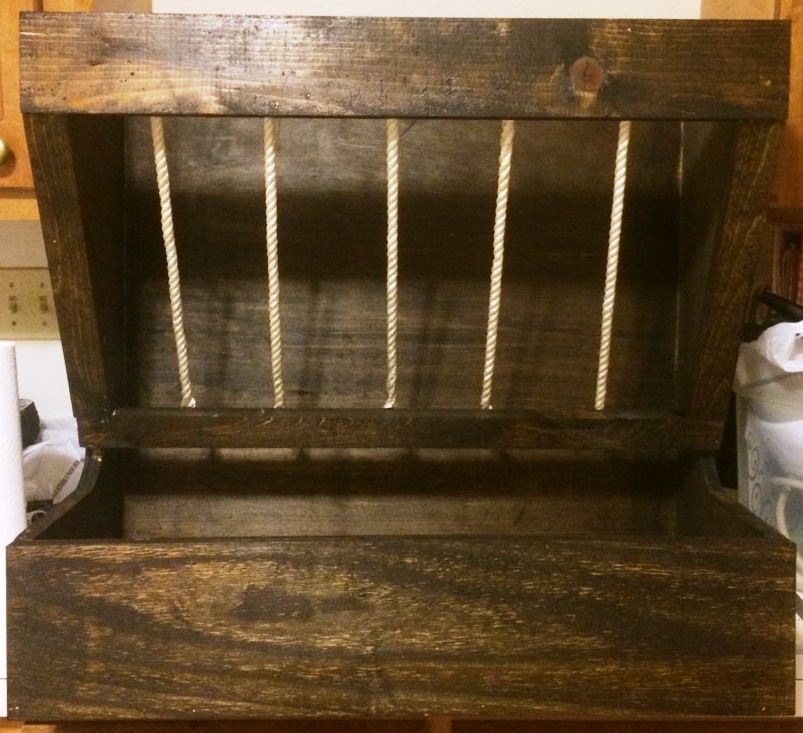
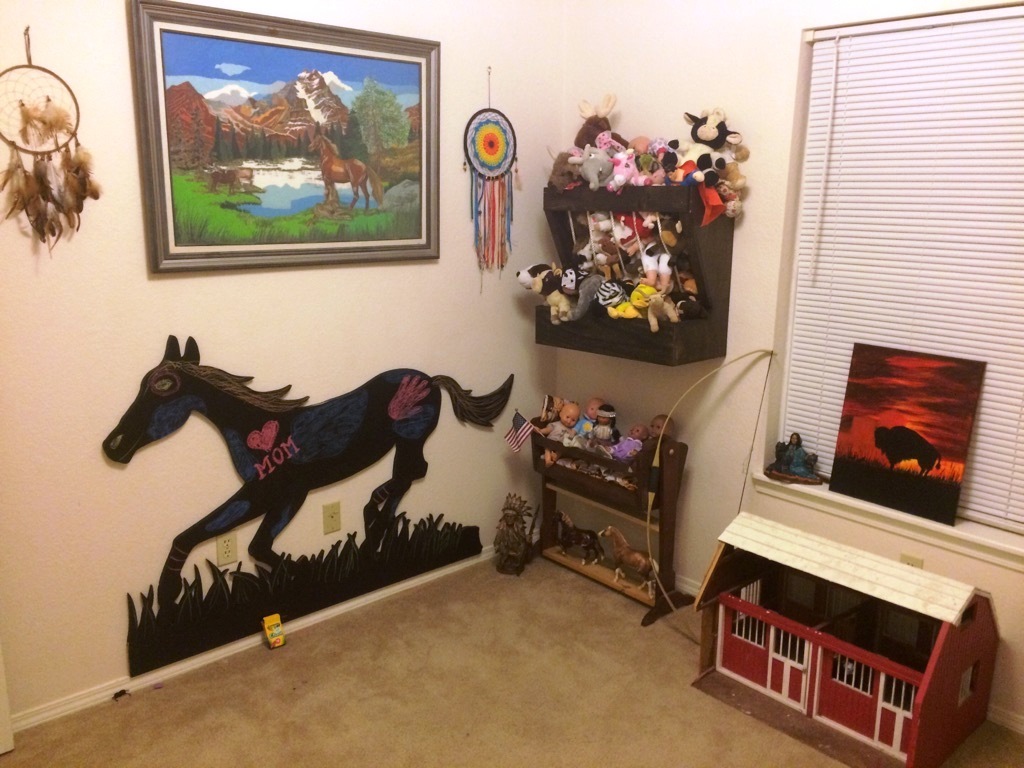
DIY Hay feeder Stuffed Animal Storage

Submitted by SweetAsh on Mon, 08/29/2016 - 08:12

All scrap lumber was used on this, cost was $0

3/4 plywood 2'x4'

1x6x24"

1x4x24"

1x2x13" front trim

Estimated Cost
$0-$10
Estimated Time Investment
Afternoon Project (3-6 Hours)
Finish Used
Minwax Dark Walnut
Recommended Skill Level
Beginner

Comments

SweetAsh

Mon, 08/29/2016 - 08:29

My son loves horses, so I made him this Horse Wall Hay Feeder to keep with the theme but where he would have a place to put his babies! :)

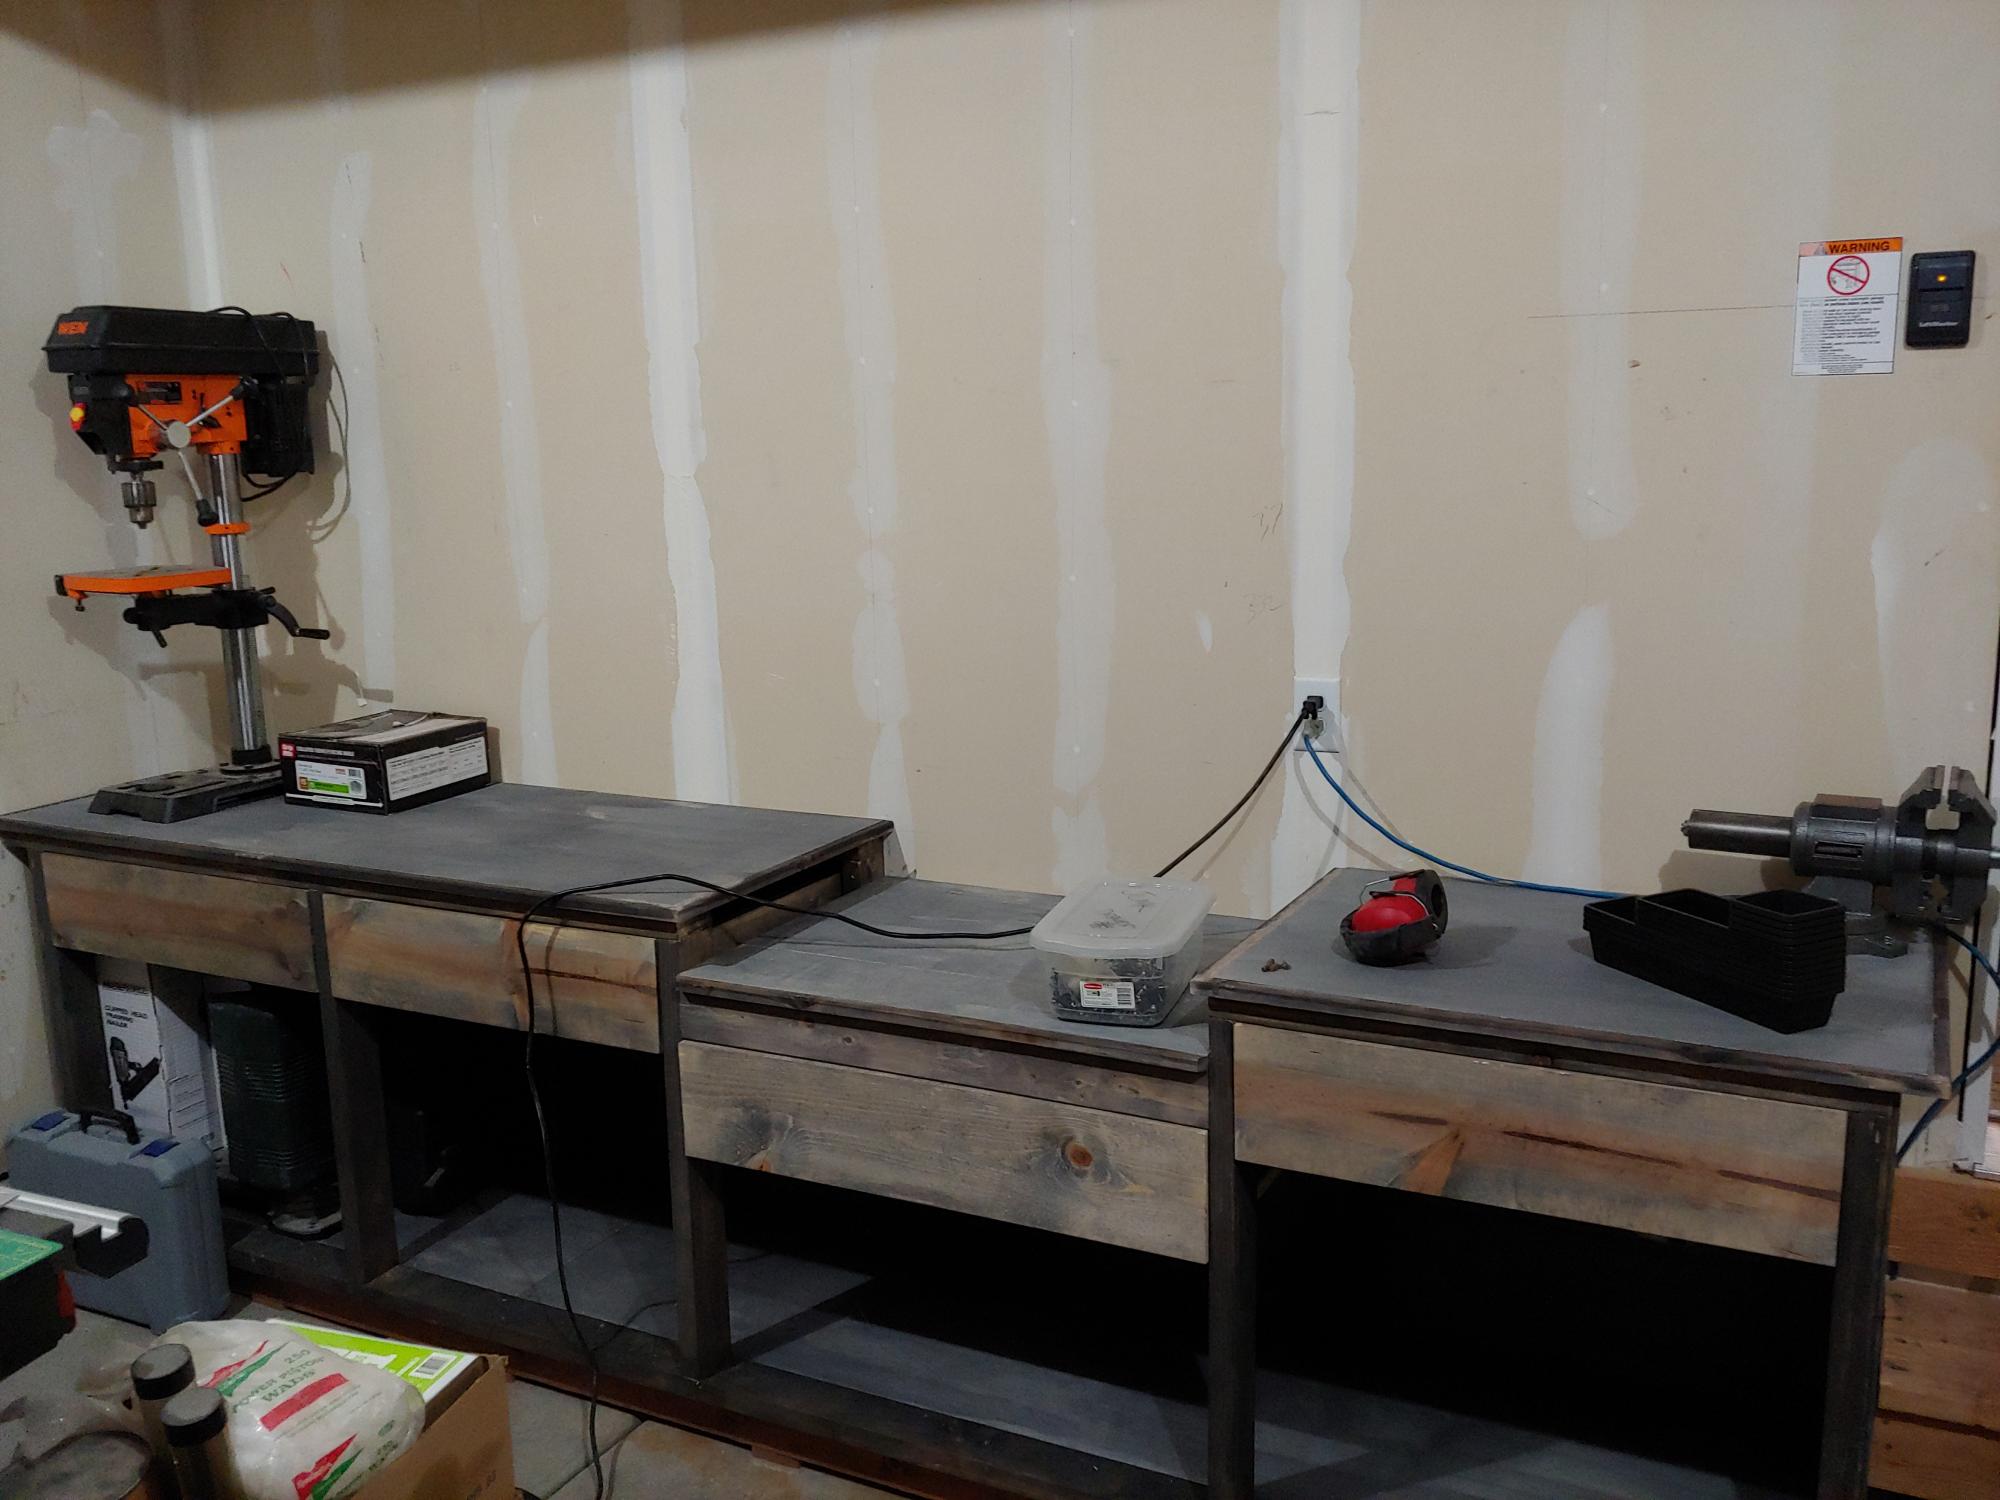
Pony wall work bench

Submitted by Anonymous (not verified) on Wed, 06/10/2020 - 09:22

Had to shorten plan due to garage size. Added drawer under miter station. Pined weather wash.

Built from Plan(s)
Estimated Cost
$450
Estimated Time Investment
Weekend Project (10-20 Hours)
Finish Used
Pined
Recommended Skill Level
Intermediate

Brookstone Desk and Hutch Combination

Submitted by JLW on Mon, 08/06/2012 - 19:16

I saw this plan and knew that I had to build it for my home office. The top of the desk is the perfect size for my HP printer/scanner. I added the cork backing as suggested in the plan - works great for adding notes and papers to the back of the desk.

Because I am taller I modified the plan by not adding the middle drawer to the desk. This gave me the knee room I needed to be able to get my desk chair underneath and close enough that I could type. I also cut a hole in the desk top to place an cable grommet in so that I could run wires for my electronics through it. I added two pocket holes in the back plate to further secure it to the desk bottom.

The only disappointment I had was not with the design but with the stain. While I like the color, at a distance it ends up looking like paint rather than stain. I don't know if the wood was drier than normal and soaked the stain more, or if it just stained darker than I thought it would (i.e. should have stayed with one coat rather than two). But, when I'm sitting at the desk I can see the wood coming through the stain so the dual character of the stain isn't so bad.

The design is quick, simple, and easy to follow. It came together in no time.

Estimated Cost
$80
Estimated Time Investment
Day Project (6-9 Hours)
Finish Used
Minwax River Stone tinted stain, Minwax satin wipe on poly
Recommended Skill Level
Beginner

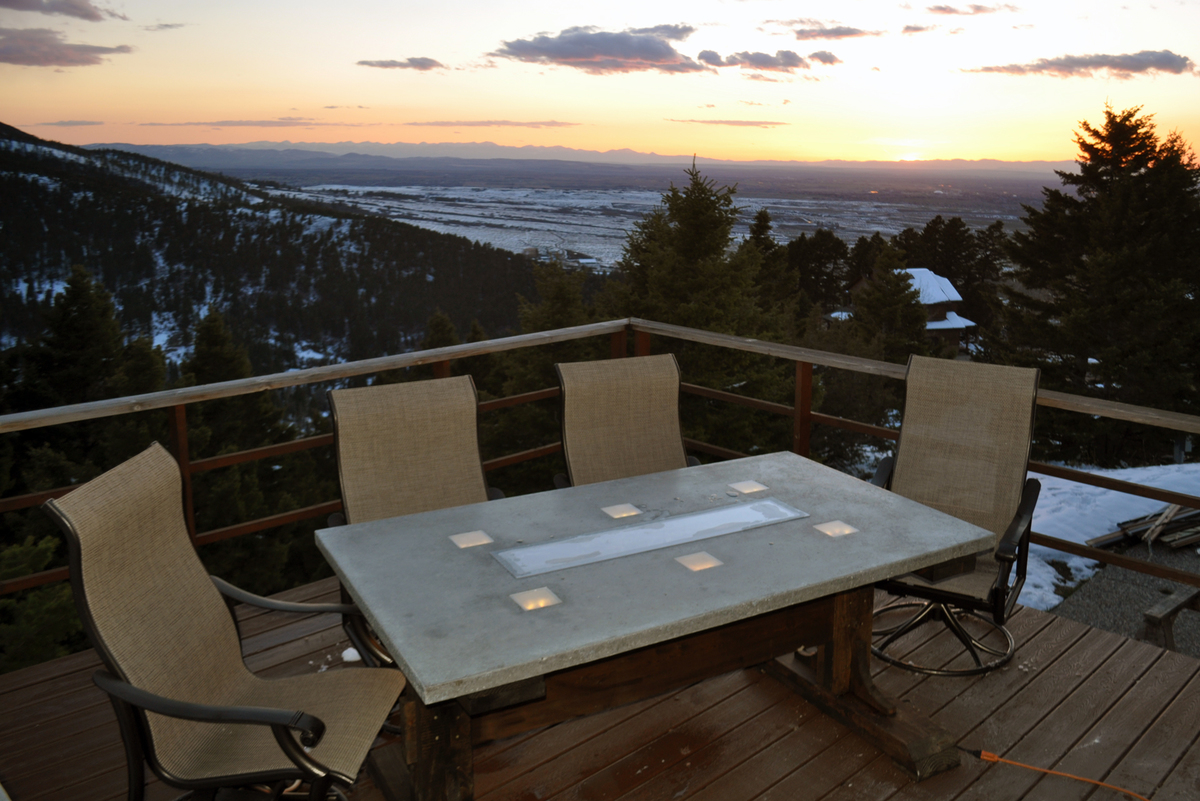
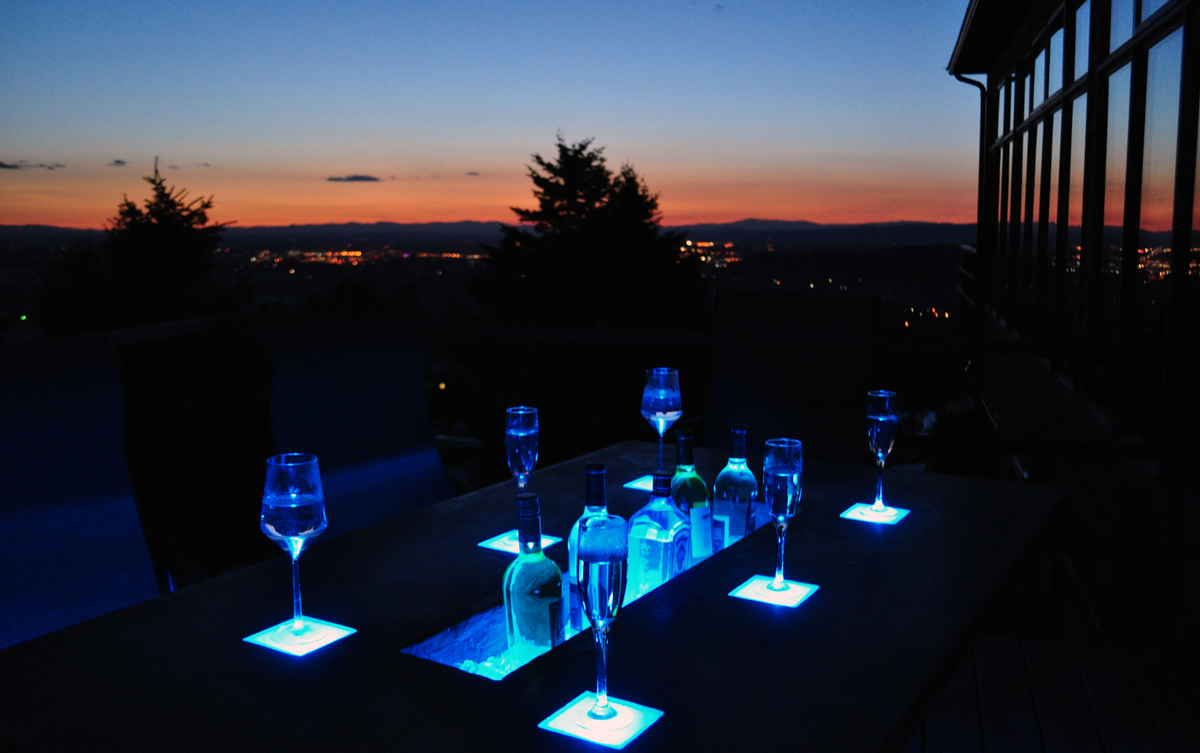
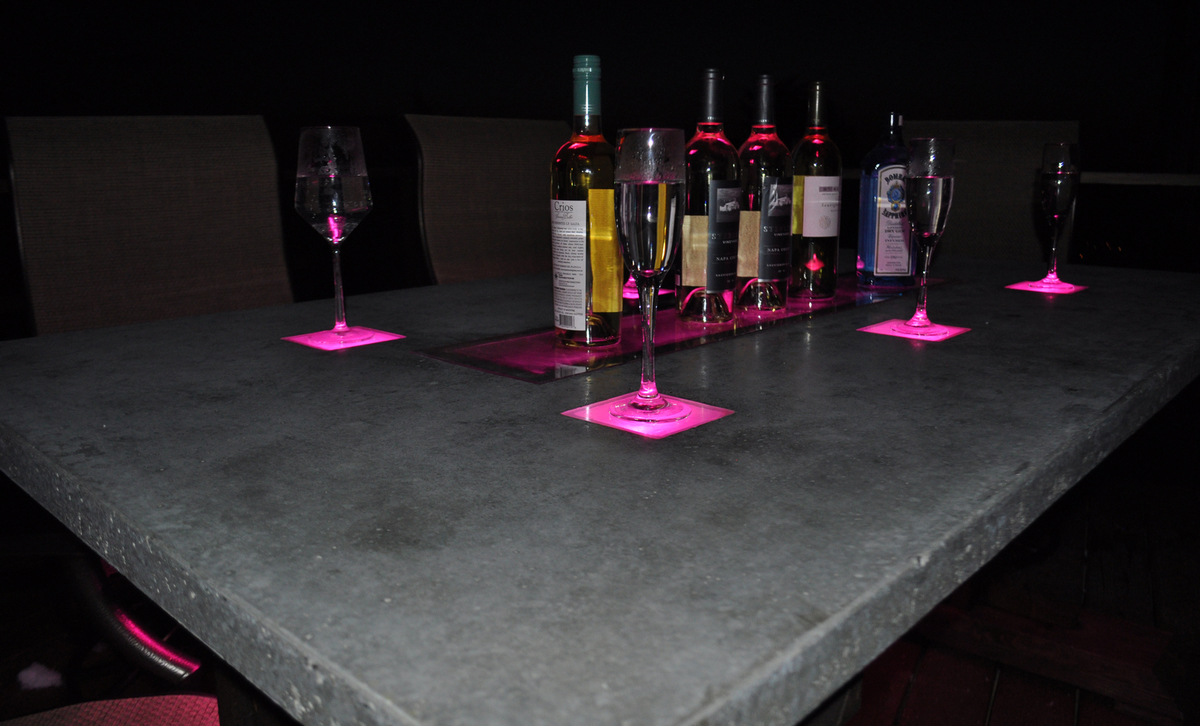
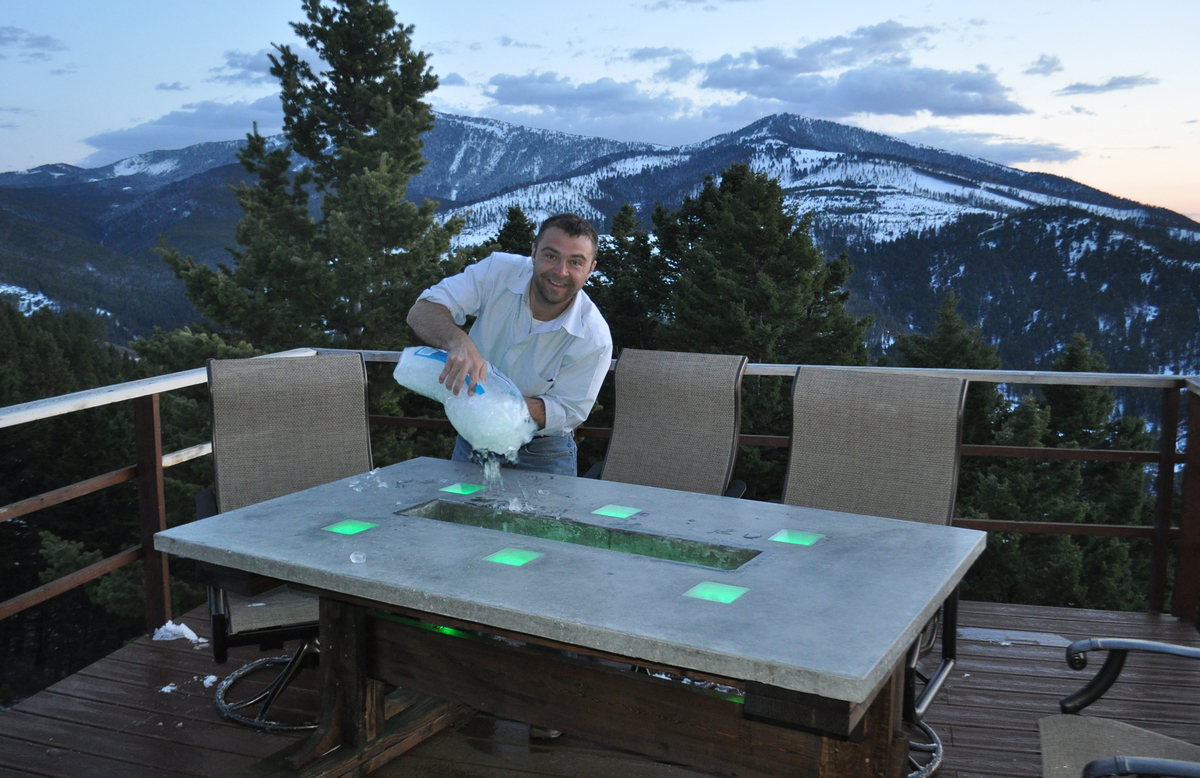
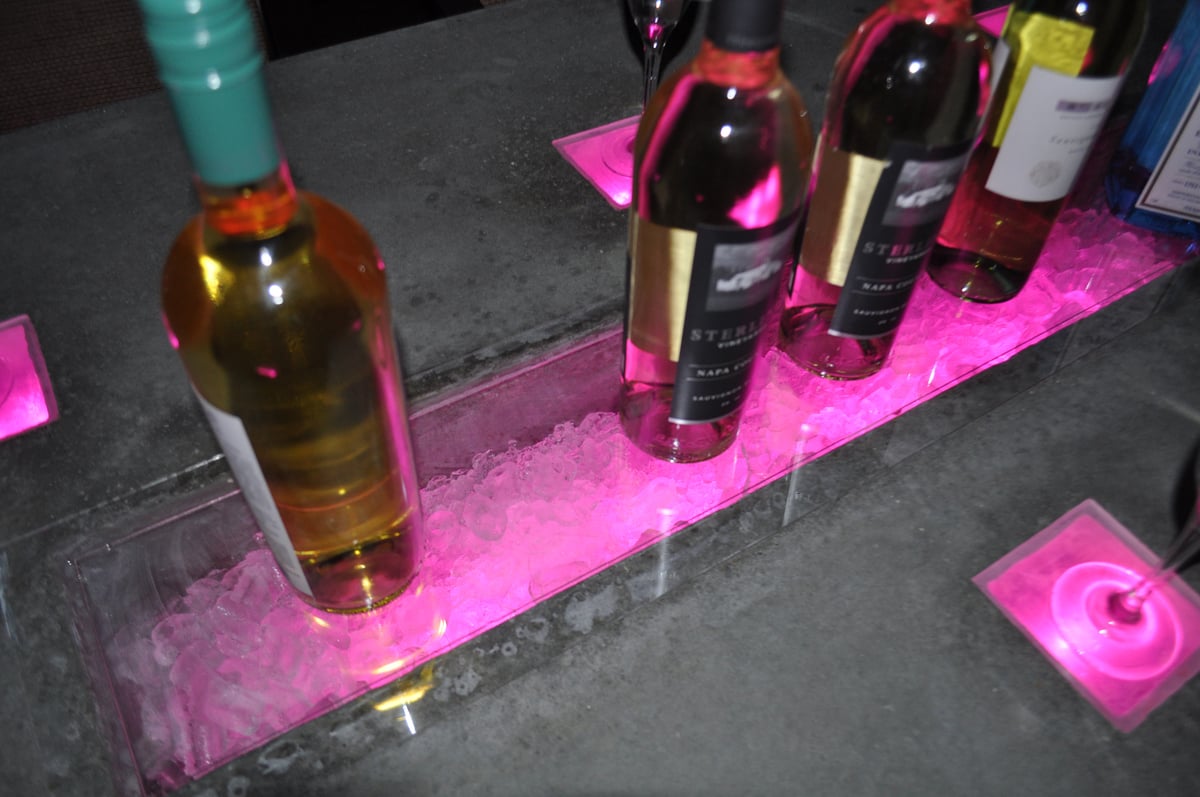
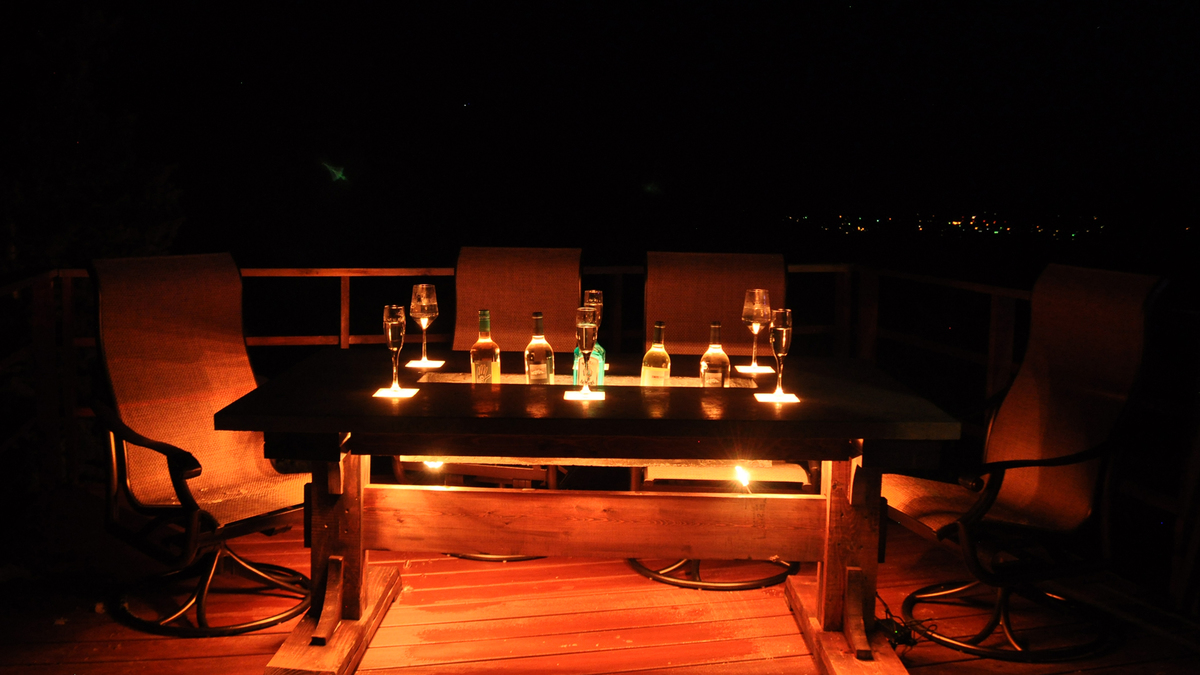
Pedestal base and Concrete Top with L.E.D. Lights and a Built-in Cooler

Submitted by petesveen on Fri, 05/30/2014 - 10:37

I wanted to build a really neat table for the patio and came up with the idea to do a concrete top with LED lights and a built in cooler. I loved Ana's plans for the pedestal base and so I used her plans to create the base. I did modify the plans a bit to help it hold up the the heavy concrete top. I have the modifications listed on my blog. There is also a complete 17 minute tutorial showing how to do the concrete top.

Built from Plan(s)
Estimated Cost
$350
Estimated Time Investment
Week Long Project (20 Hours or More)
Finish Used
MinWax Dark Walnut Stain with 3 coats of Minwax Outdoor Spar Varnish
Recommended Skill Level
Advanced

Comments

spiceylg

Fri, 05/30/2014 - 11:47

What an awesome build! Also, where do you live with such a gorgeous view?!

Sweat Pea Garden Bunk Bed

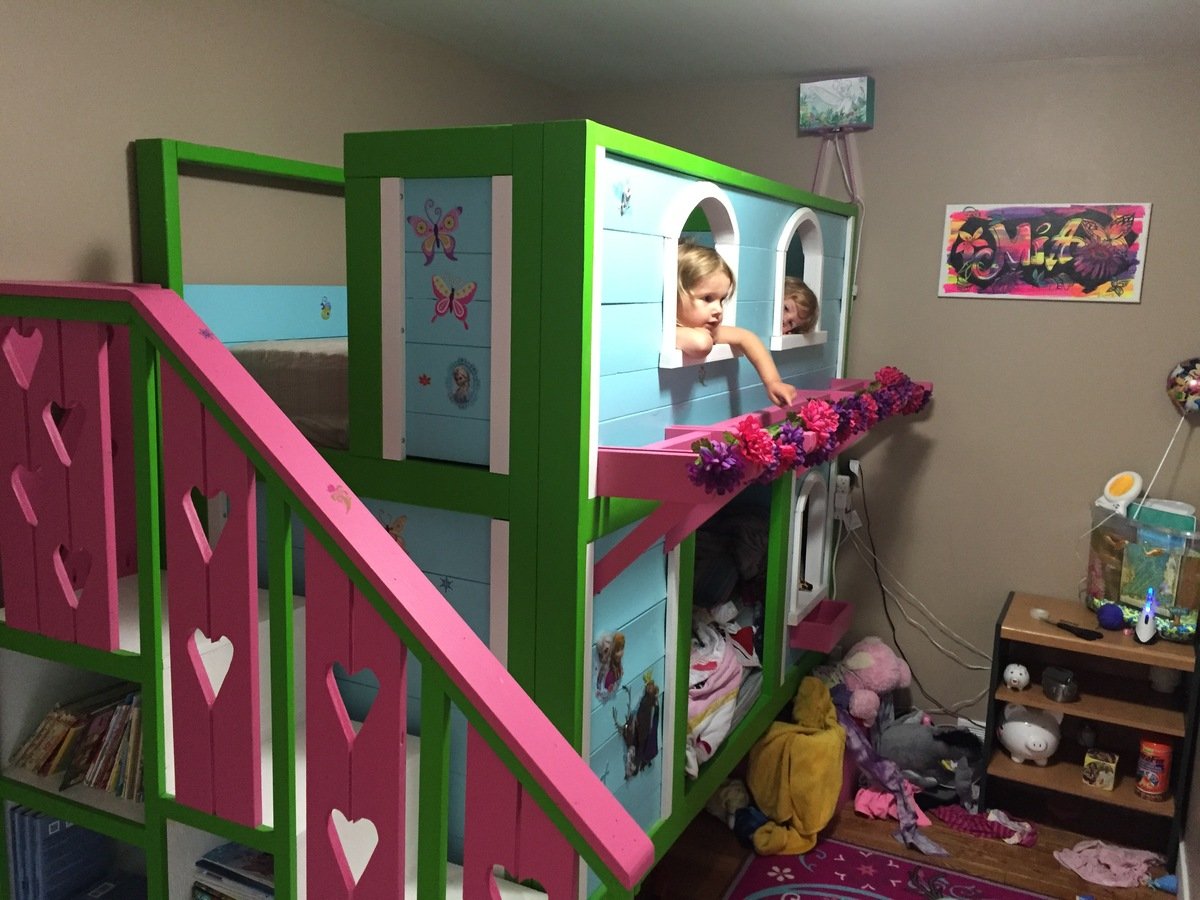
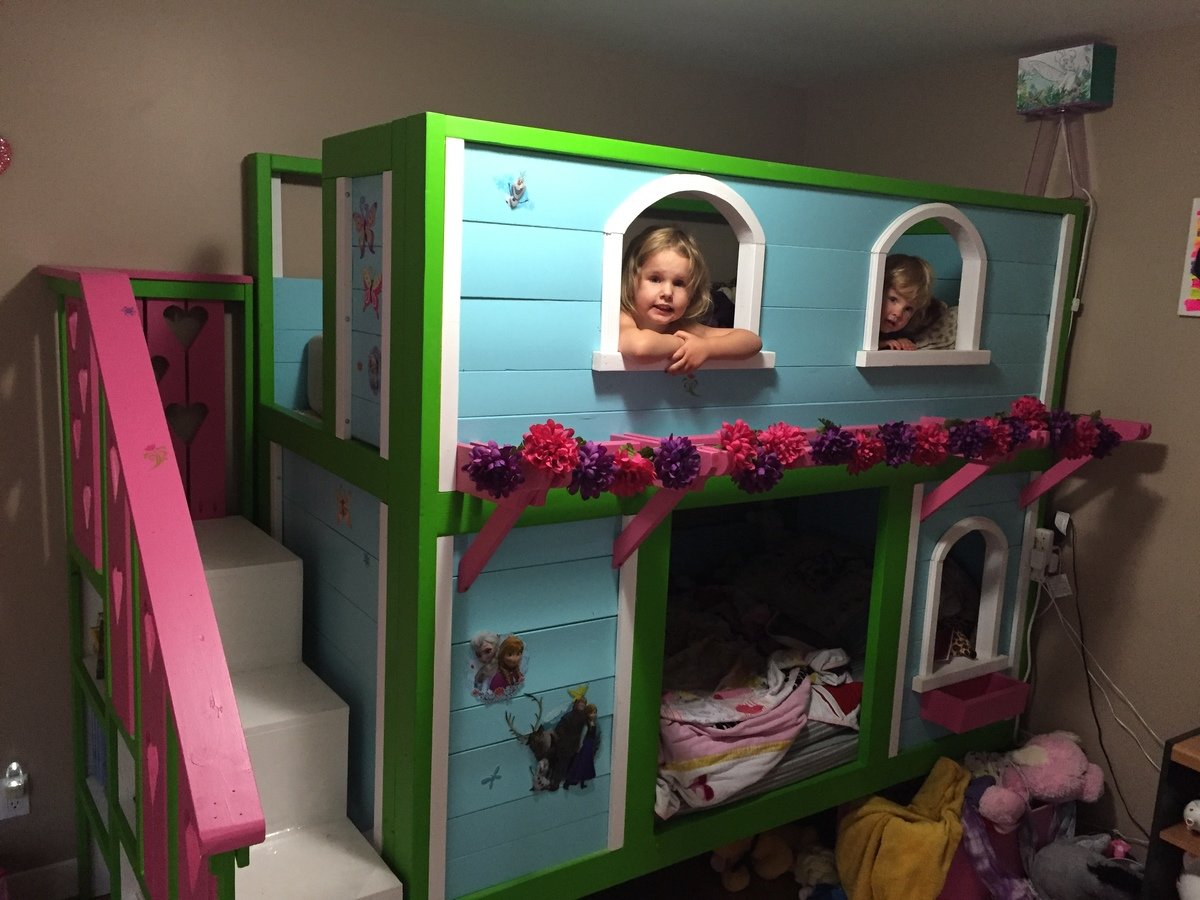
Started this about a year ago, working for an hour or two at a time, all nights. Then the little one started talking about having sleep overs once the bunk bed was done. Luckily i had a week of vacation this summer and spent most of that time completed the bed. I still have to complete the storage boxes for under the bed, and just need to find some nice hinges to mount the upper window shutters. We let the girls pick out some stickers and decals, hence all the awkwardly placed Elsa & Anna Stickers. Girls love it. 

Estimated Time Investment
Week Long Project (20 Hours or More)
Finish Used
Wood Filler, Paint
Recommended Skill Level
Intermediate

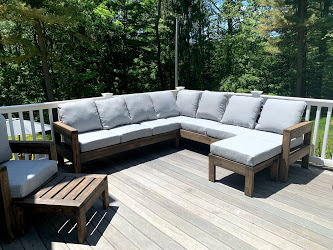
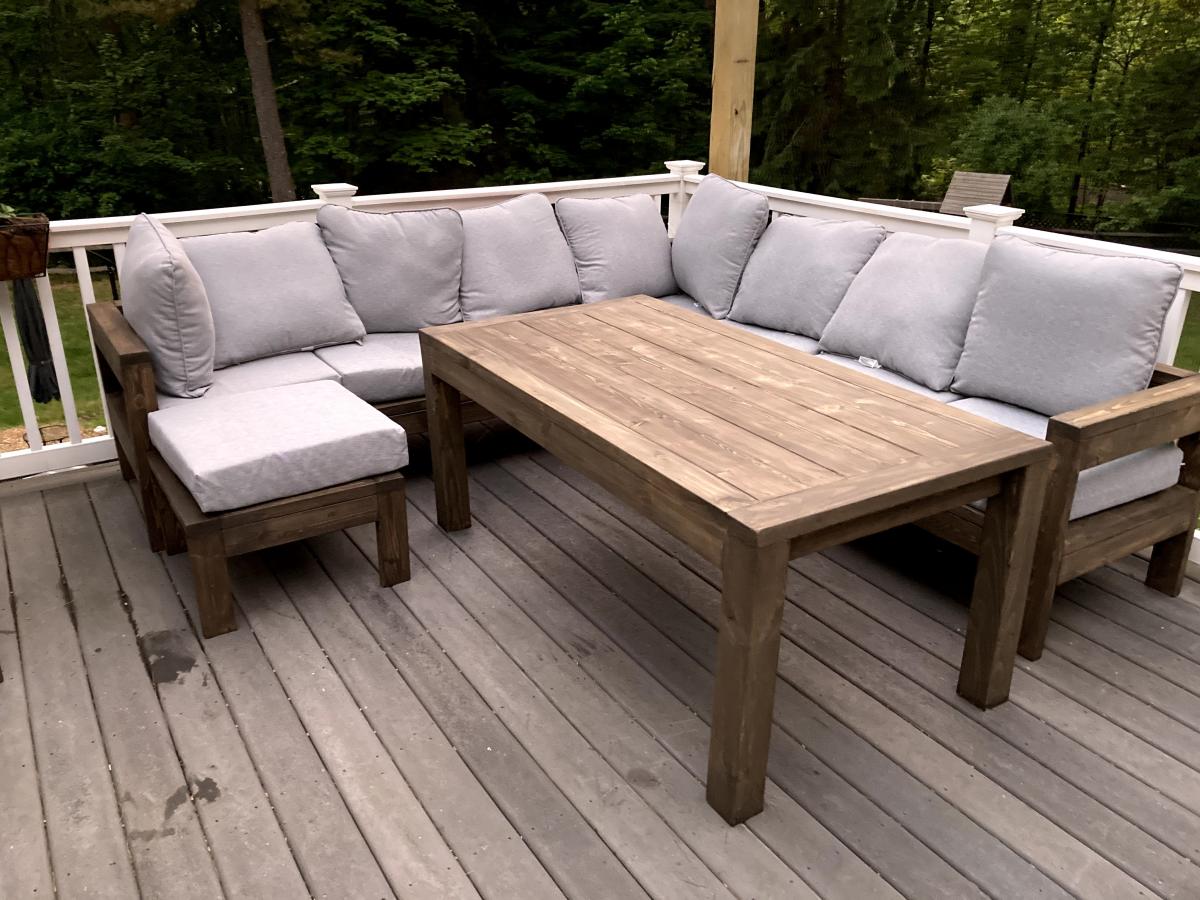
2x4 Outdoor Sectional with Matching Chairs, Ottomans and Table

Submitted by Anonymous (not verified) on Fri, 06/12/2020 - 20:51

We were looking for outdoor furniture for our deck, and for the size and amount we needed it would have cost us at least $2000. We really like the idea of having an outdoor sectional that we can also use for dining, and we had trouble finding a set we liked. We found Ana's plans for the 2x4 Outdoor Sectional, and i loved the look. After seeing what others have done with the plans, I thought I would be able to modify it to get everything we needed for much less cost than buying a set.

We ended up extending the size of the 2x4 outdoor sofa by one 24" section, for a total length of 96". I then used the same design to make two outdoor chairs, just reduced the length to 24". I modified the 2x4 outdoor coffee table plans to create two ottoman's that can be moved around to make the seating more lounge style Finally, I modified the coffee table plans to make a 5 foot outdoor dining table. All in all, it took about a week and I couldn't be happier with how it turned out!

Estimated Cost
$800 Total ($200 for the wood, $600 for the cushions)
Estimated Time Investment
Week Long Project (20 Hours or More)
Finish Used
Valspar Semi-Transparent Antique Oak Stain
Recommended Skill Level
Beginner

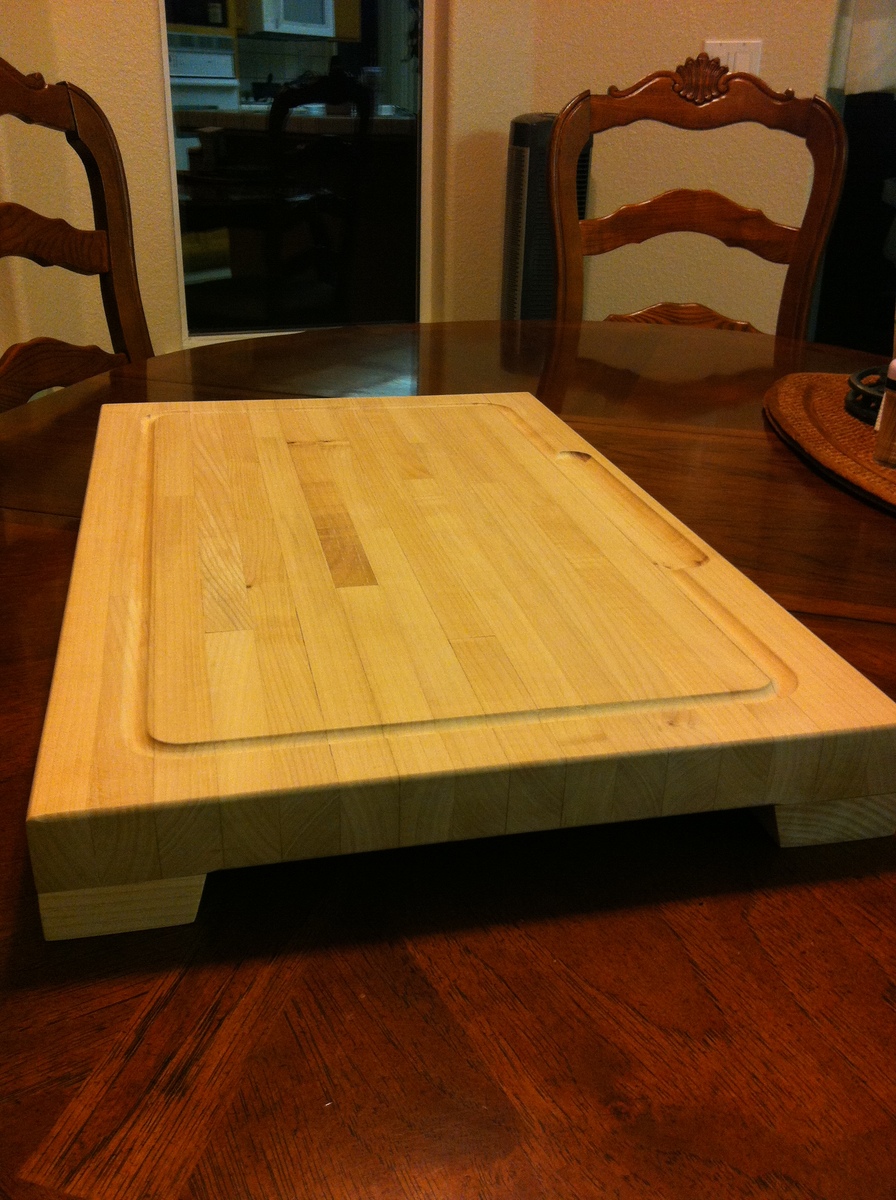
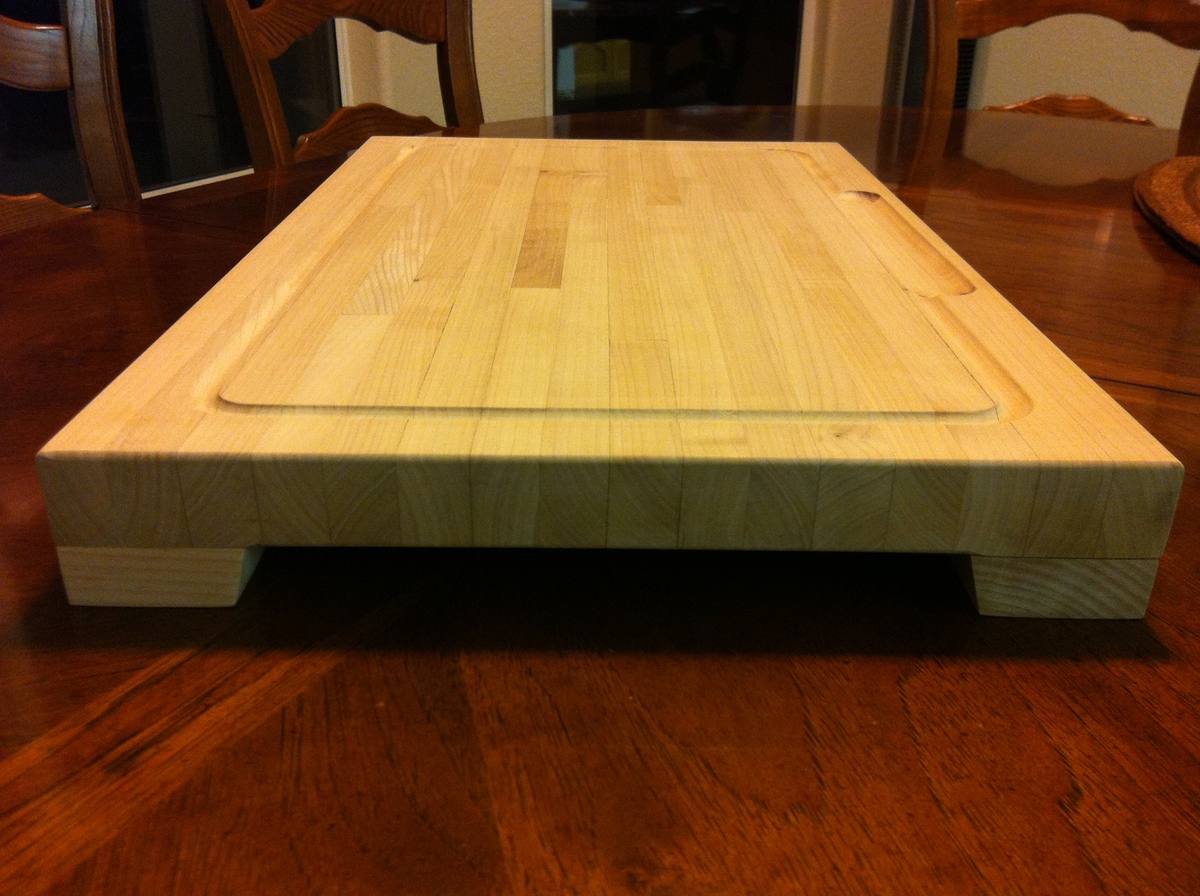
Huge butcher block cutting board - my very first build ever!

Submitted by kendikat on Thu, 08/09/2012 - 14:37

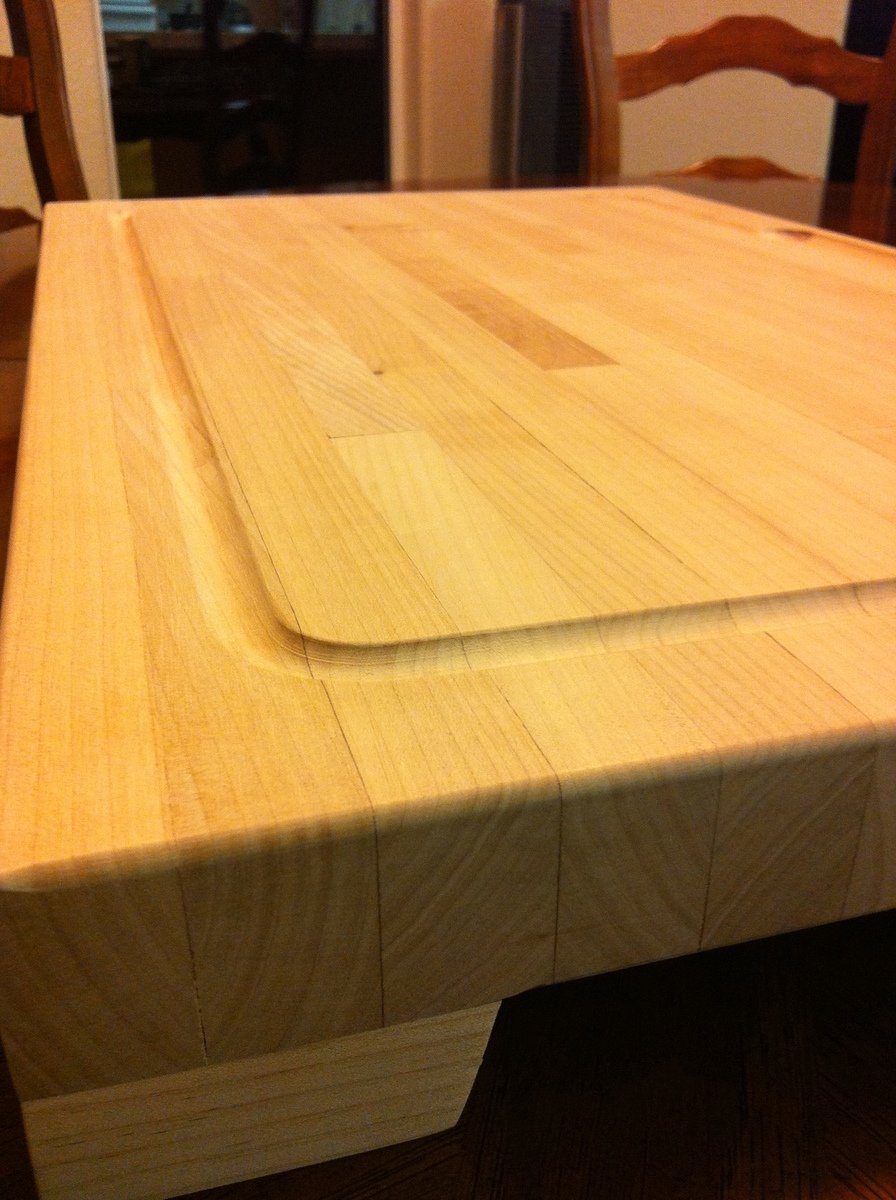
This was my very first build ever! I enrolled in a beginning woodworking class at the local community college and our first assignment was to make a cutting board. All that was required was a super simple cutting board with some wood strips glued together then cut into a shape of some sort. But I decided that if I was going to bother making a cutting board, I was going to make something awesome and useful. I wanted to make a butcher block style cutting board. My boyfriend's only input was that he wanted something "big enough to hold a tri-tip". This was the result! It's made of PC maple and measures 23-1/4" long by 14-1/2" wide and 2-1/4" tall with the feet (1-1/4" thick cutting surface). It took me way longer than most of the other people in the class, but I love it. For this project alone, I had to learn to use the table saw, the compound miter saw, the planer and jointer, the router, an assortment of machine sanders and palm sanders available in the school's shop, the glue scraper (oh goodness I hate glue squeeze-out), and how to do clamping set-ups. At the very end, I finished it with mineral oil, and we broke it in with an amazingly delicious prime rib at New Year's ;D

Estimated Cost
$20
Estimated Time Investment
Week Long Project (20 Hours or More)
Finish Used
Mineral oil, just a regular bottle from the drug store. Apply a liberal coat, allow to soak in, apply again, allow to soak in, and so on, until it goes for at least a few hours without absorbing any more, then wipe off the excess.
Recommended Skill Level
Intermediate

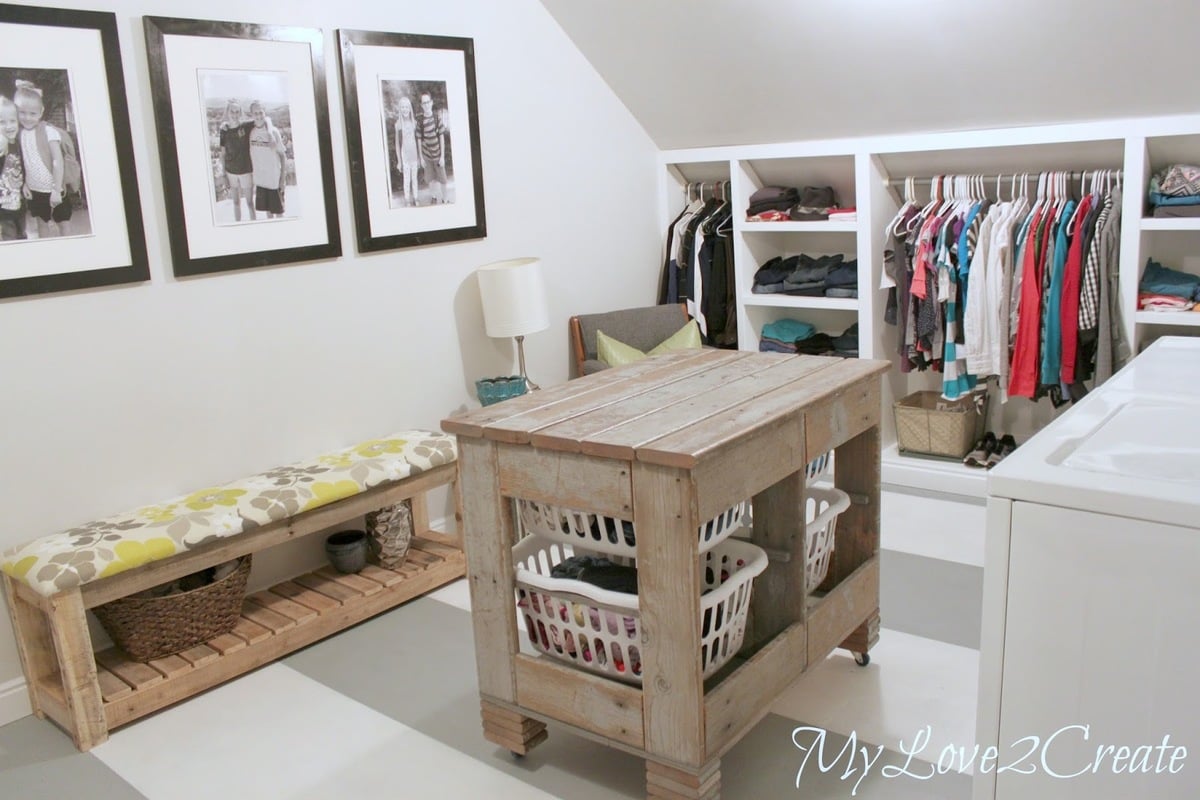
Old Deck Wood Laundry Crate

Submitted by dmcarwin on Mon, 06/02/2014 - 07:56

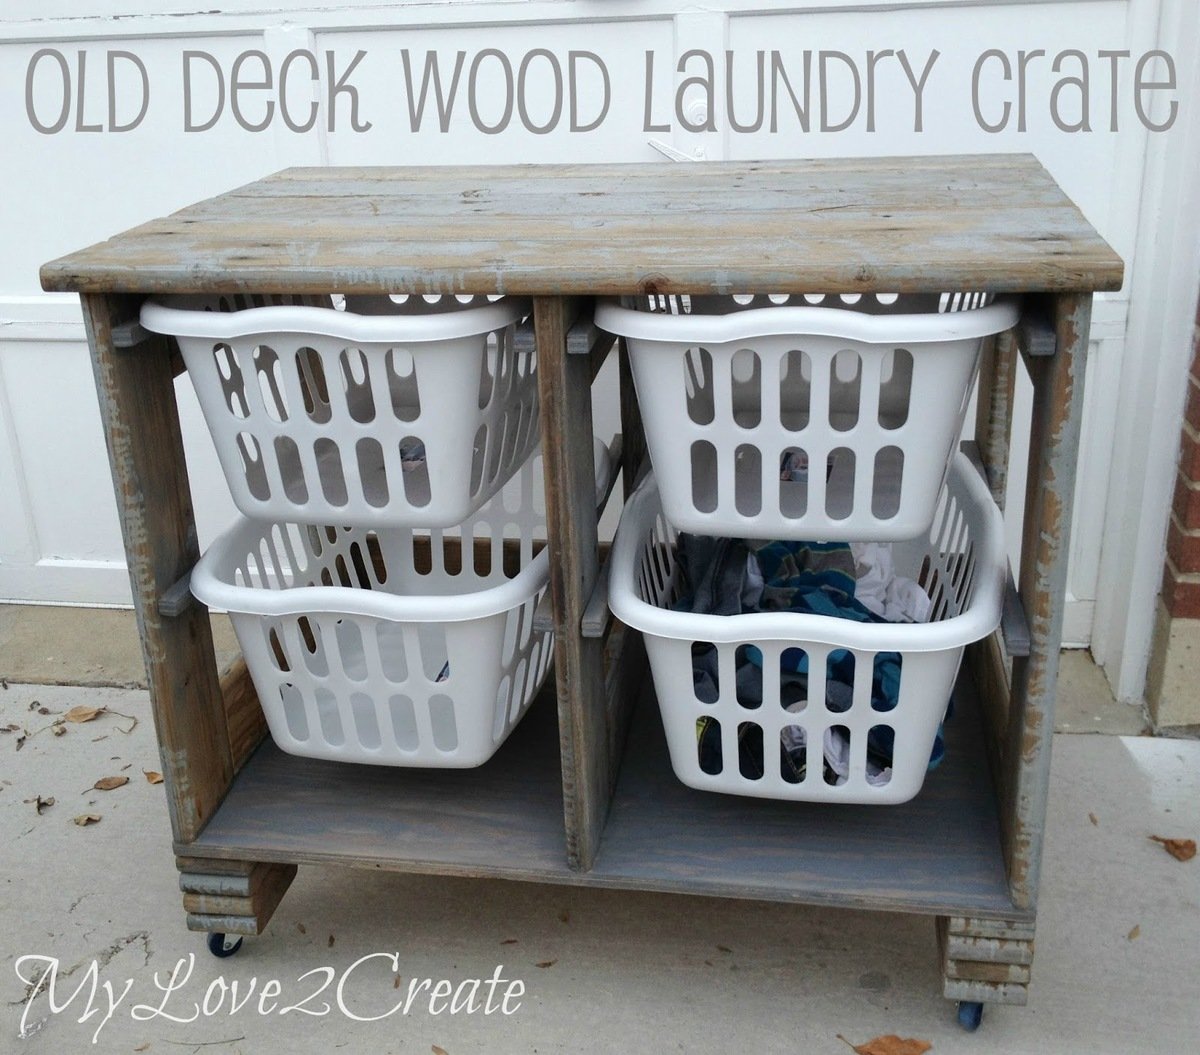
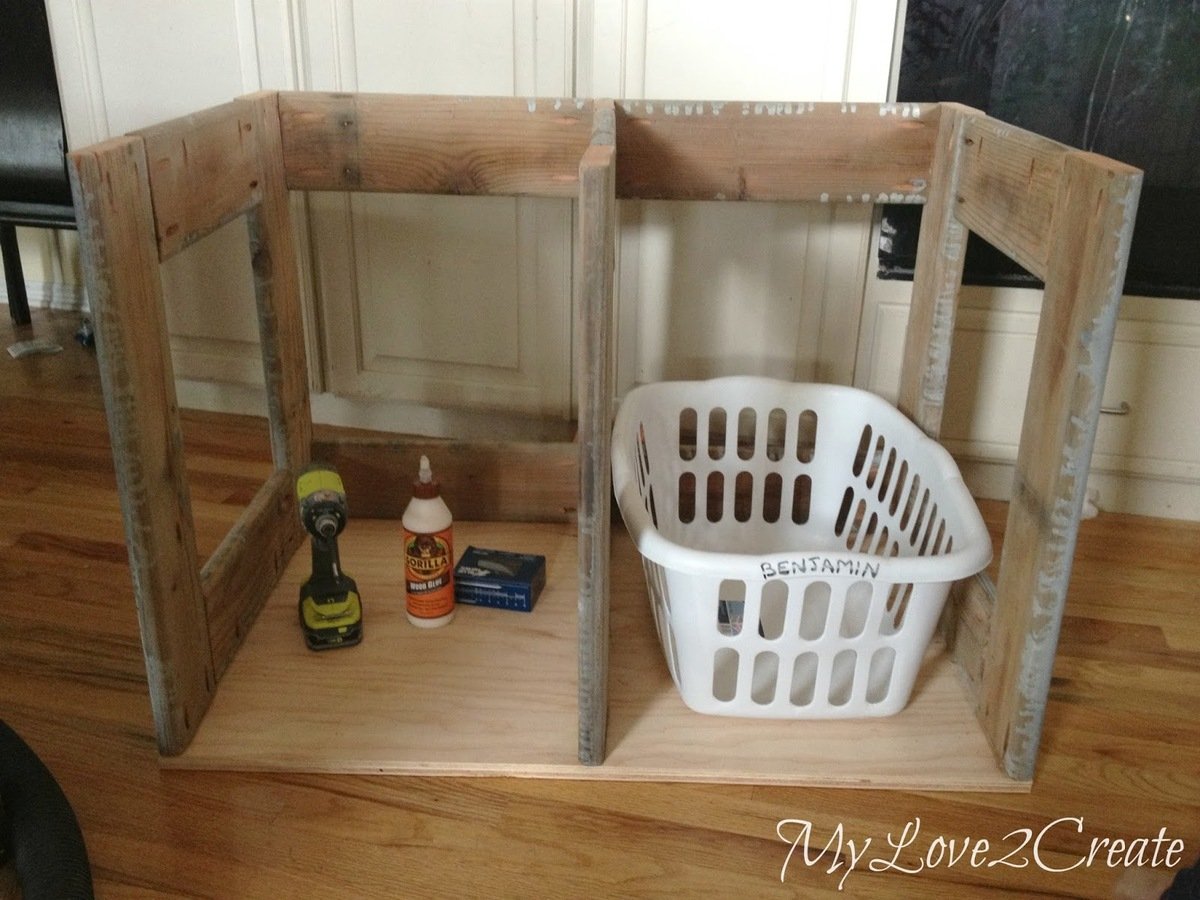
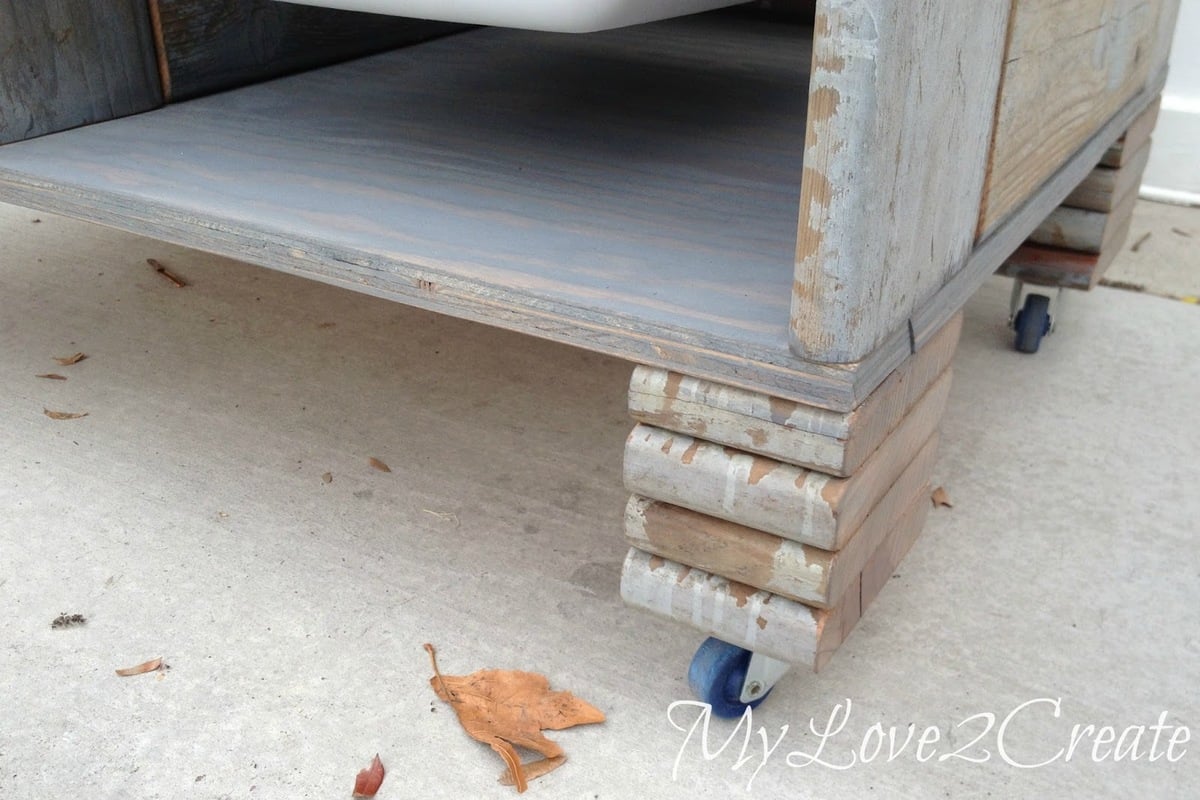
I have been in love with Ana's laundry dressers since she first posted them. When I helped makeover my sister's Closet/Laundry room I knew she had to have one! Only problem? We were out of funds. I wouldn't let that stop me!! With some free old deck wood I modified Ana's laundry dresser into a rustic awesome laundry crate! Talk about bringing cute to the laundry room, this totally fits the bill, and it is of course useful. She uses the top as a folding station too. To make it taller I cut small pieces of the deck wood and stacked them for feet, which I love! Then I added casters so she could roll it around the room. For a full tutorial check out my blog post, you won't be sorry!

Built from Plan(s)
Estimated Cost
Free! (ok, I spent $4 on casters, they were on sale at Harbor Freight)
Estimated Time Investment
Afternoon Project (3-6 Hours)
Finish Used
Three coats of poly on the top.
Recommended Skill Level
Beginner

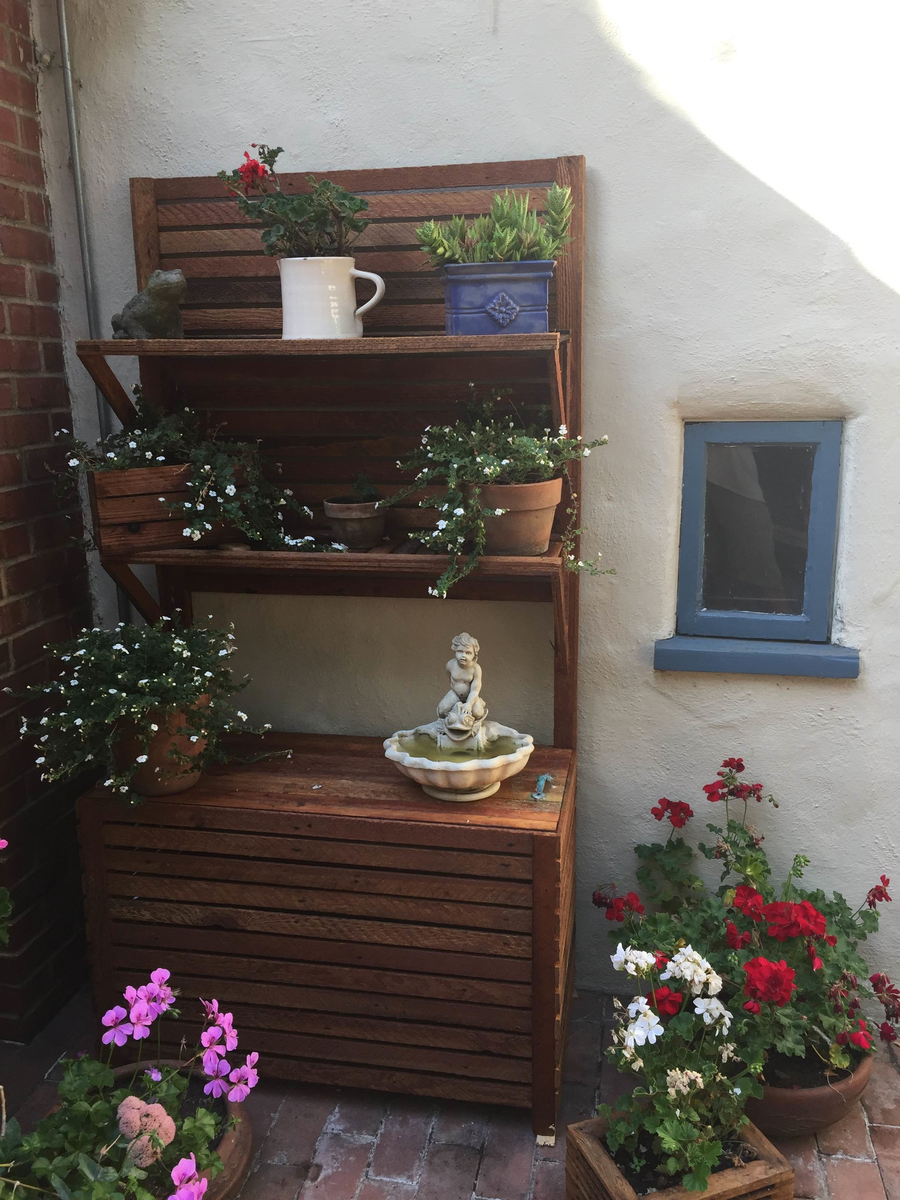
Ikea inspired outdoor storage bench and rack

Submitted by Anonymous (not verified) on Sun, 09/04/2016 - 17:29

This project is based on the outdoor storage bench at morelikehome.net, which was based on an Ikea outdoor storage unit.  I used 100 year old lath that I recycled from a remodeling project.  The lid of the bench lifts off, it will eventually hide the timer for a drip irrigation.

Estimated Cost
less than $30 due to recycled wood. The most expensive item was the wood glue.
Estimated Time Investment
Weekend Project (10-20 Hours)
Finish Used
redwood stain, brand is Preserva Wood
Recommended Skill Level
Intermediate
Back