Fancy X Farmhouse Table & Bench
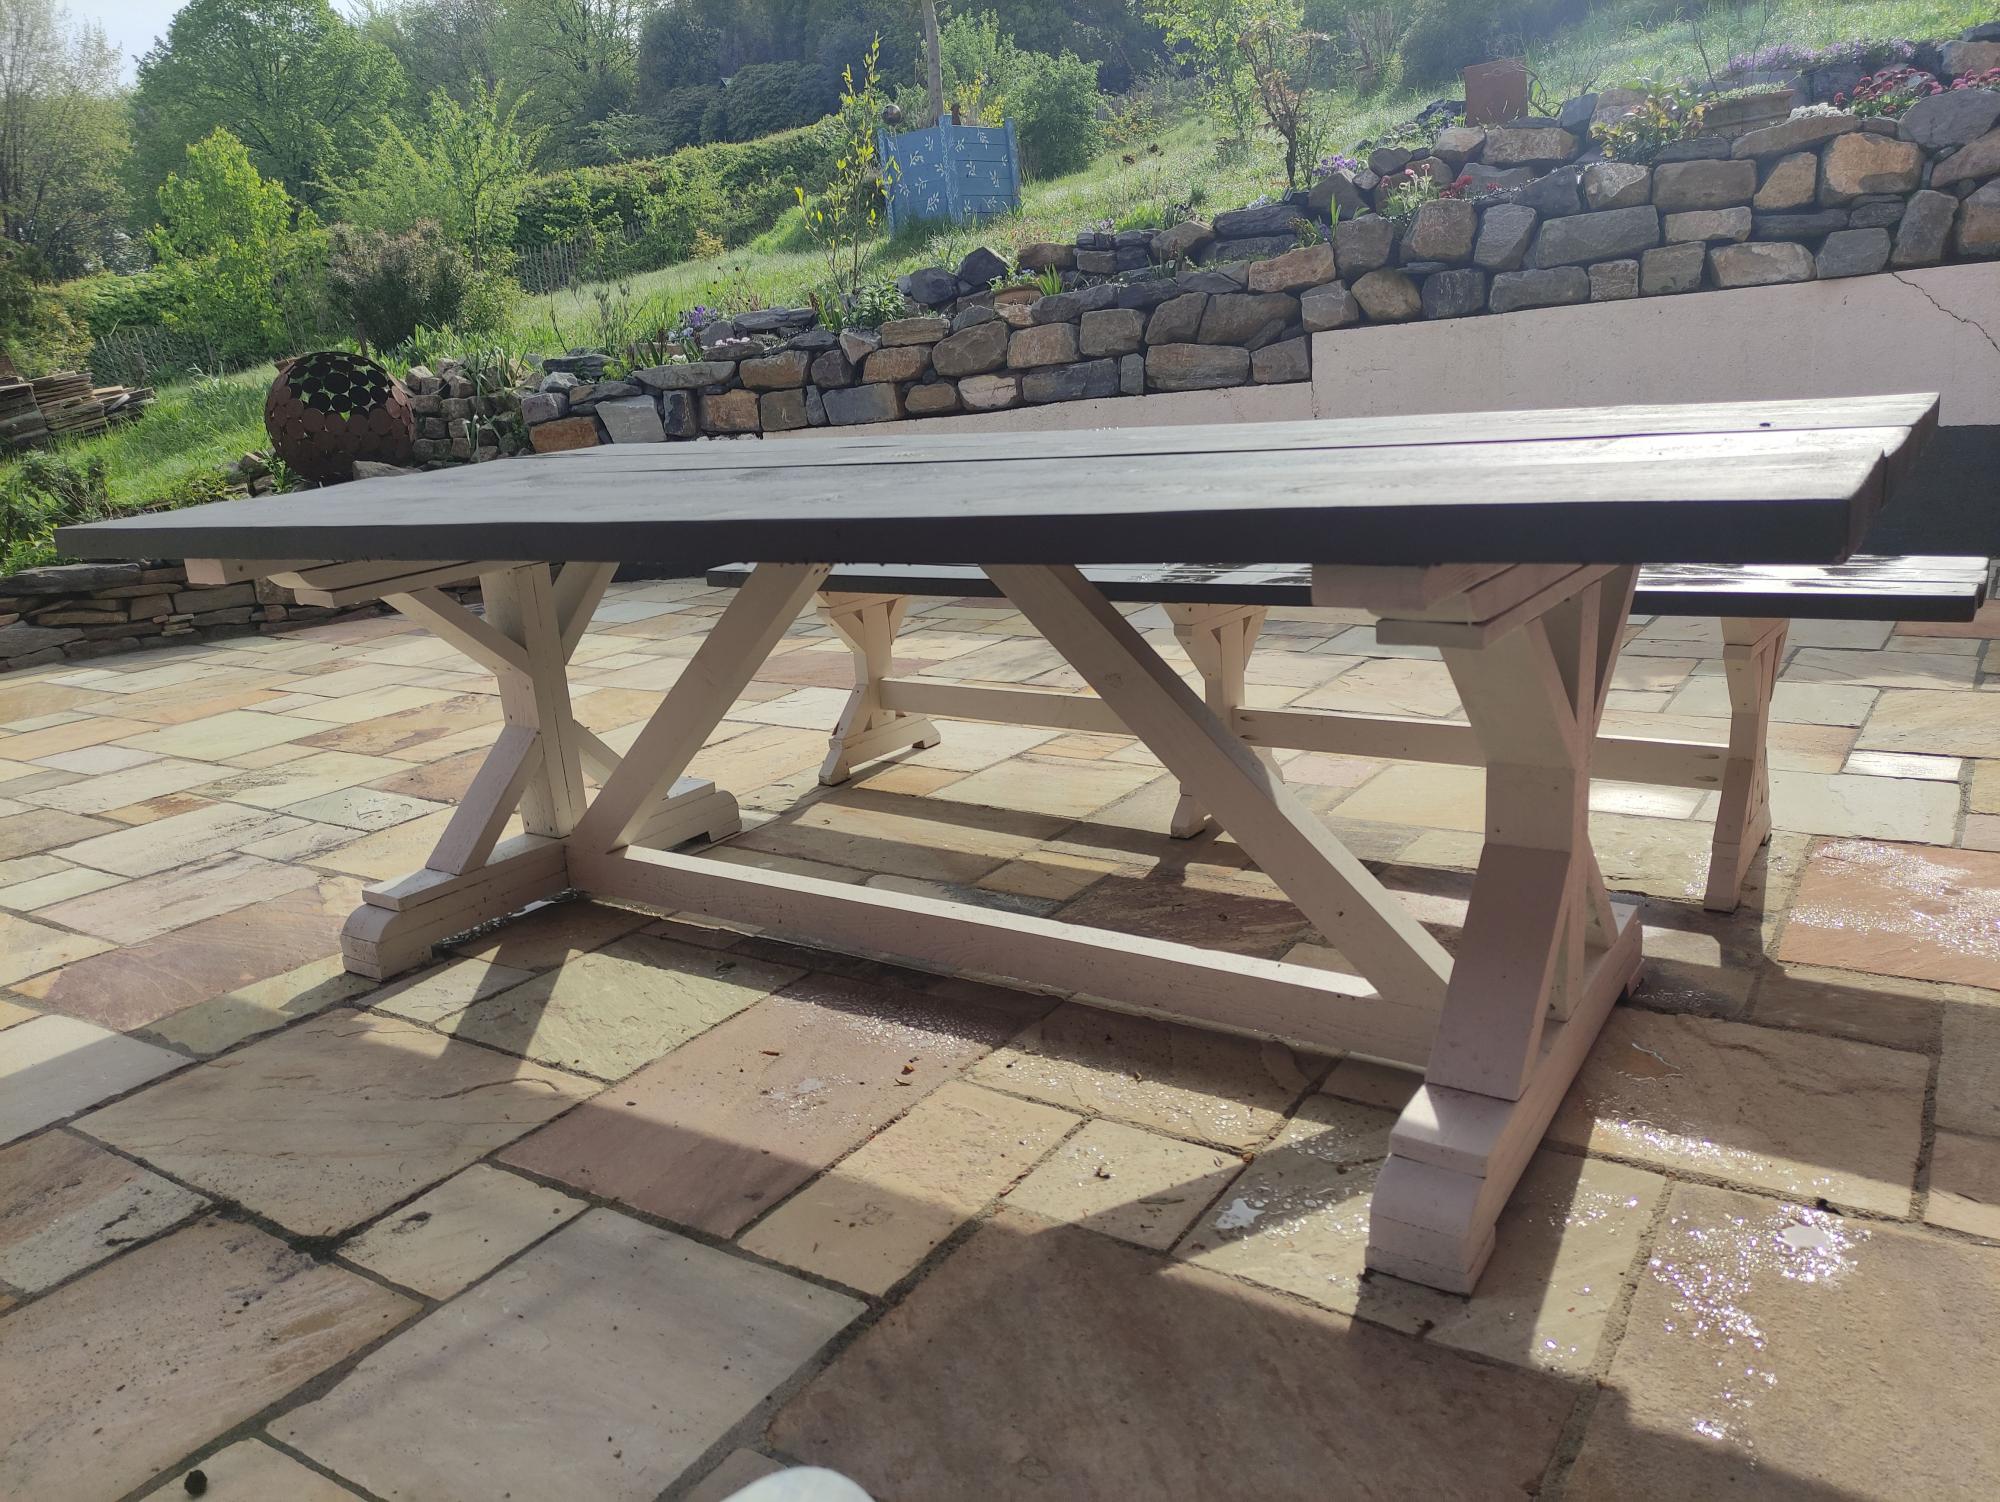
Last summer we got a new terrace and definitely need new outdoor dining furniture.
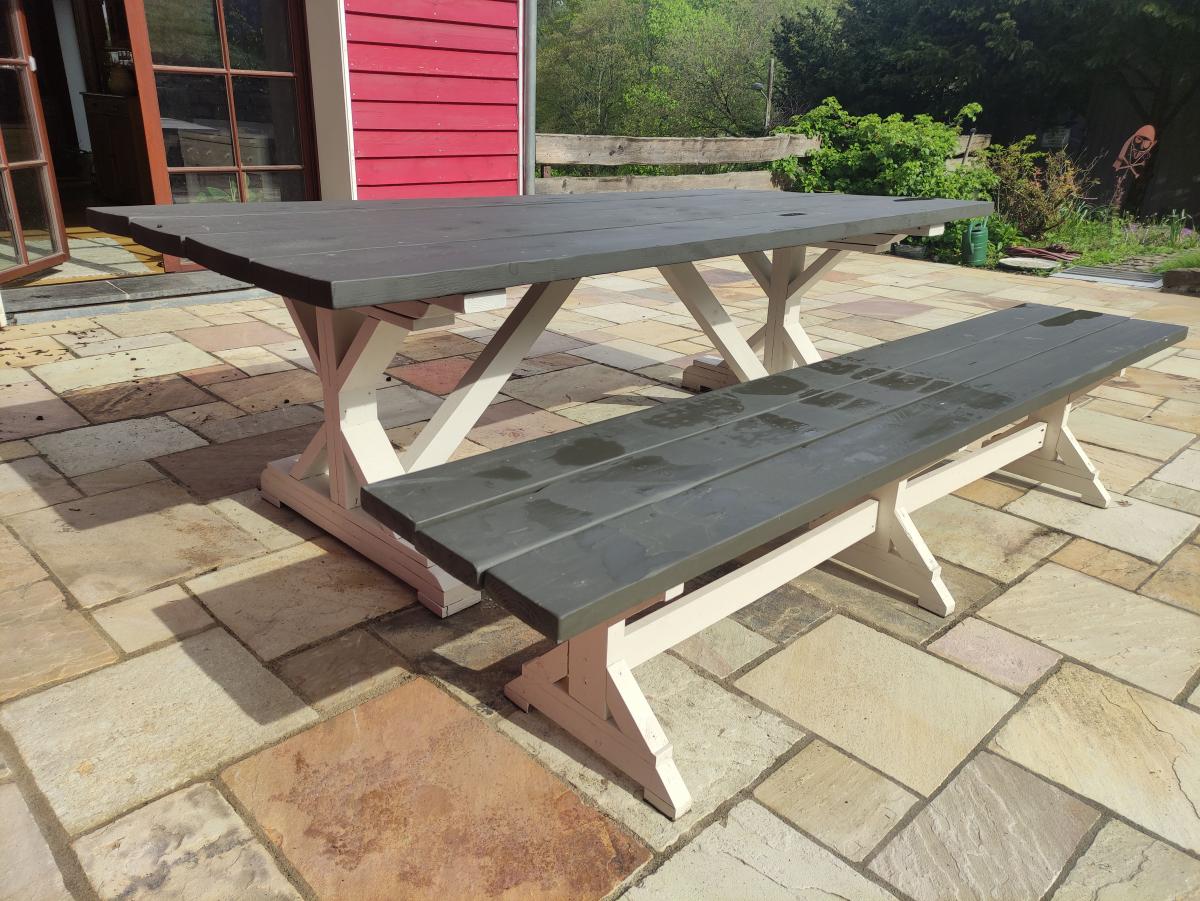

Last summer we got a new terrace and definitely need new outdoor dining furniture.


I was inspired by the custom closets on this site and decided to have a go at it. My daughter is in high school, so I wanted something functional with a bit of teenage flair.
Of all the designs I researched, I loved Kristen's design (from Pink Toes & Power Tools here: http://ana-white.com/2012/02/closet-organizer) the most, but wanted to add a substantial shoe section and not lose any rod space in the process. I also needed one rod section to be longer than the other two to hang her dresses.
All in all a fun project where I used just about every tool I own:
Circular saw to rough out the plywood shelves and supports.
Table saw with a cross-cut sled (http://wnwoodworkingschool.com/5-cuts-to-a-perfect-cross-cut-sled/) to make the plywood pieces all perfectly square & an extra long rip fence.
Router (with jig) for the dovetail joints, detailing on the drawer fronts and rounding the leading edges of the shelves.
Power drill for mounting the drawers, drawer fronts and handles
Compound Miter saw for the various face framing pieces and the shoe moulding
Pipe cuter to cut the rods (also made a jig to both hold the rods in place while I mounted the supports and set it at the correct height and distance from the wall--used a planer in making this)
Orbital sander
Brad nailer during assembly (also made a jig here to set the plywood pieces on during the tower assembly to keep the back square while I used 90 deg clamps on the fronts).
Airless paint sprayer (I have learned that my wife does not like brush marks!)
Washers for spacing the drawer fronts (found this trick online and it works like a charm!)
Lots of clamps!!!


Sat, 09/12/2015 - 02:44
what are the specs? I like yr layout and I need to re-do my over eager 1st diy attempt in my ip. this looks like the perfect layout. thanks
My father in law wanted to remodel an old bedroom to a princess room for our daughters' visits. We came for a weekend with our tools and built it in pieces, which was easy to assemble and finish after the rest of the room's remodel was finished.
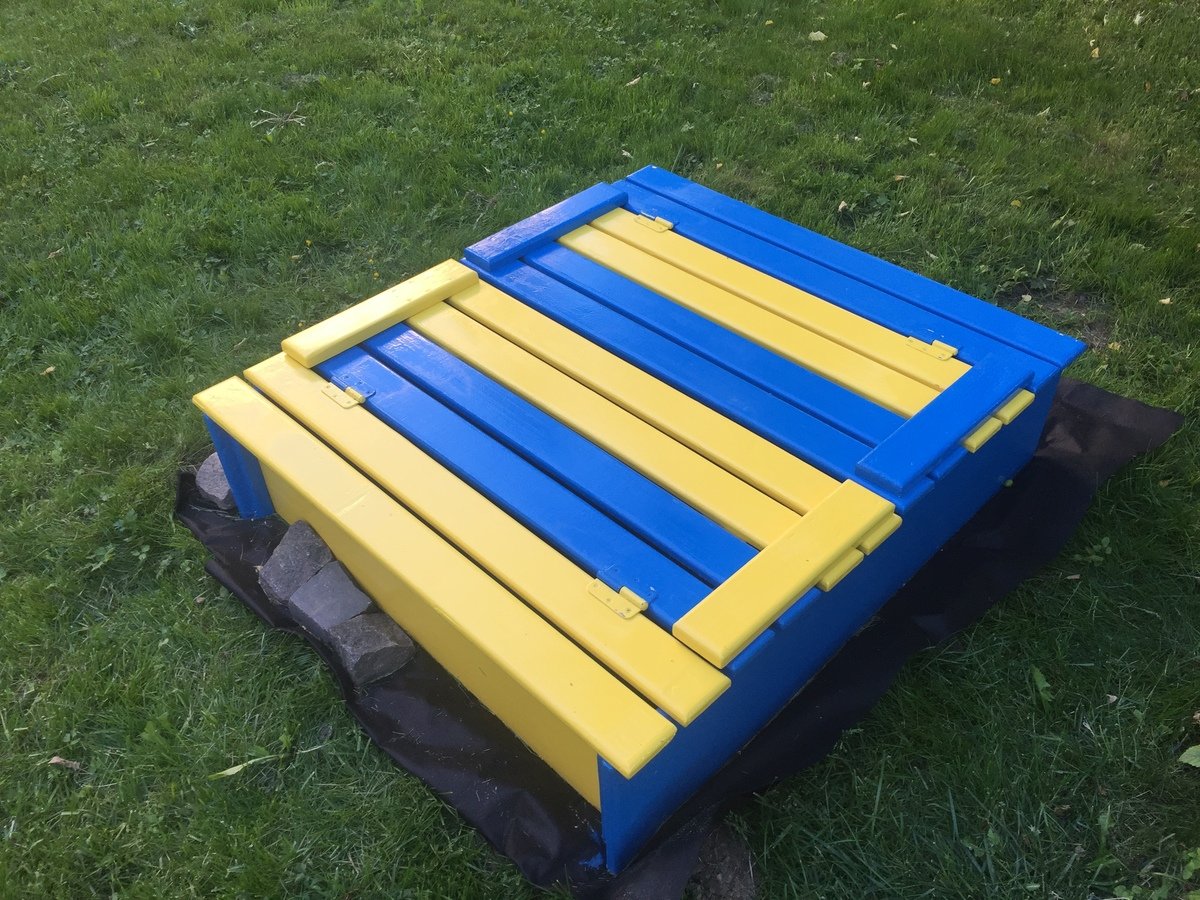
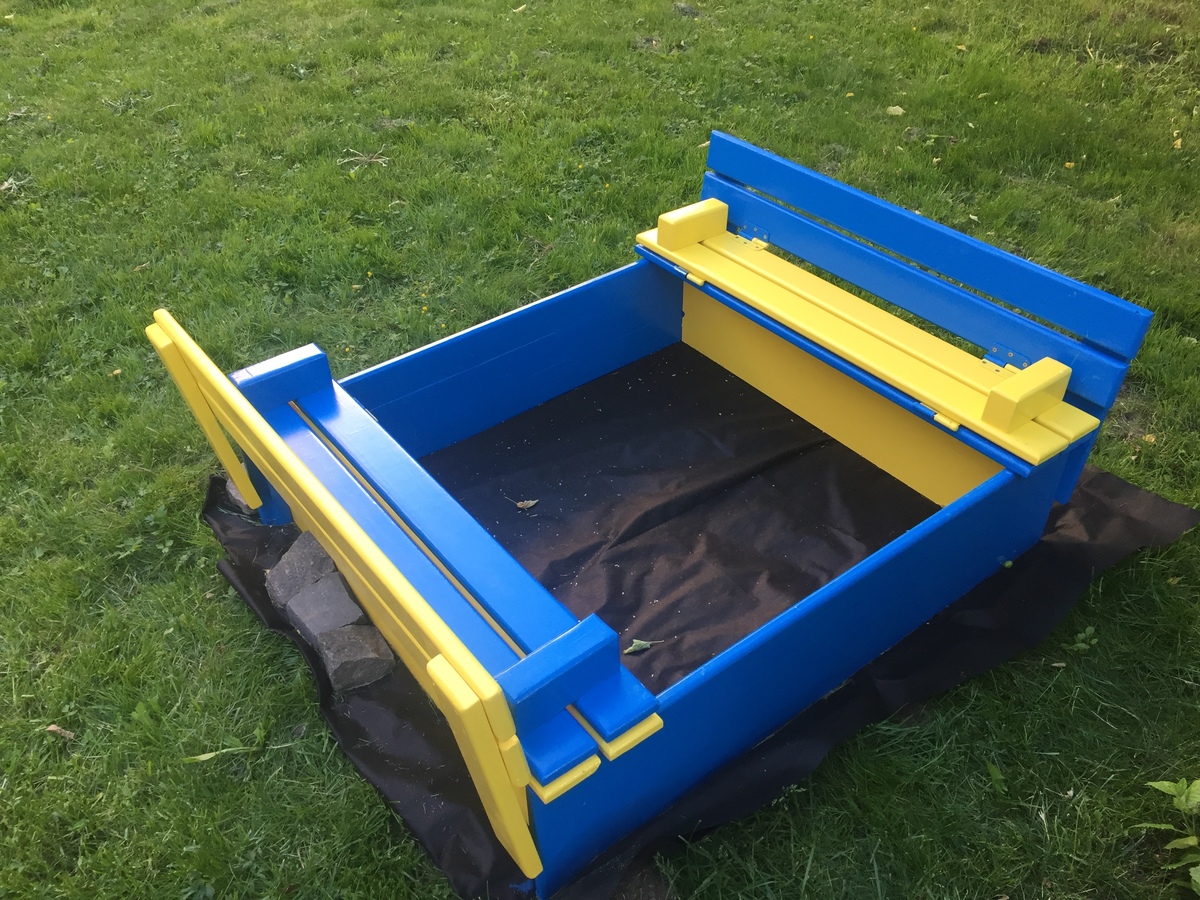
I live in Lviv Ukraine and painted it in he national colors of Ukraine.
The wood came from a old pallet.
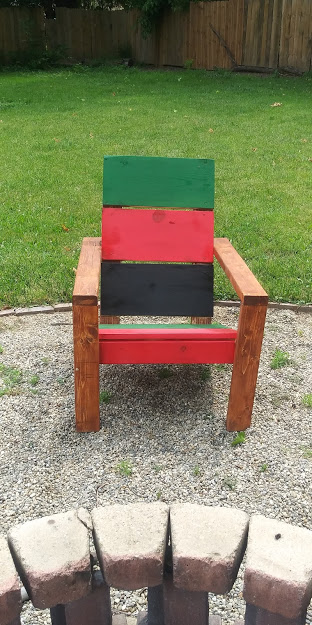
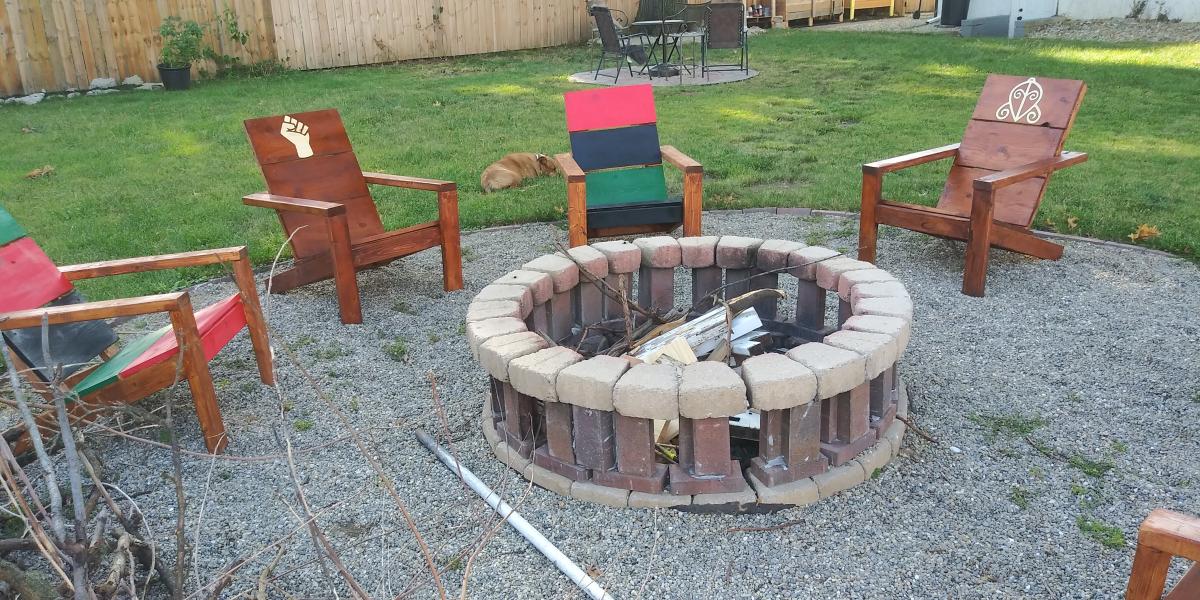
Built a set of six. First chair wasn't perfect, but with each build it got easier.
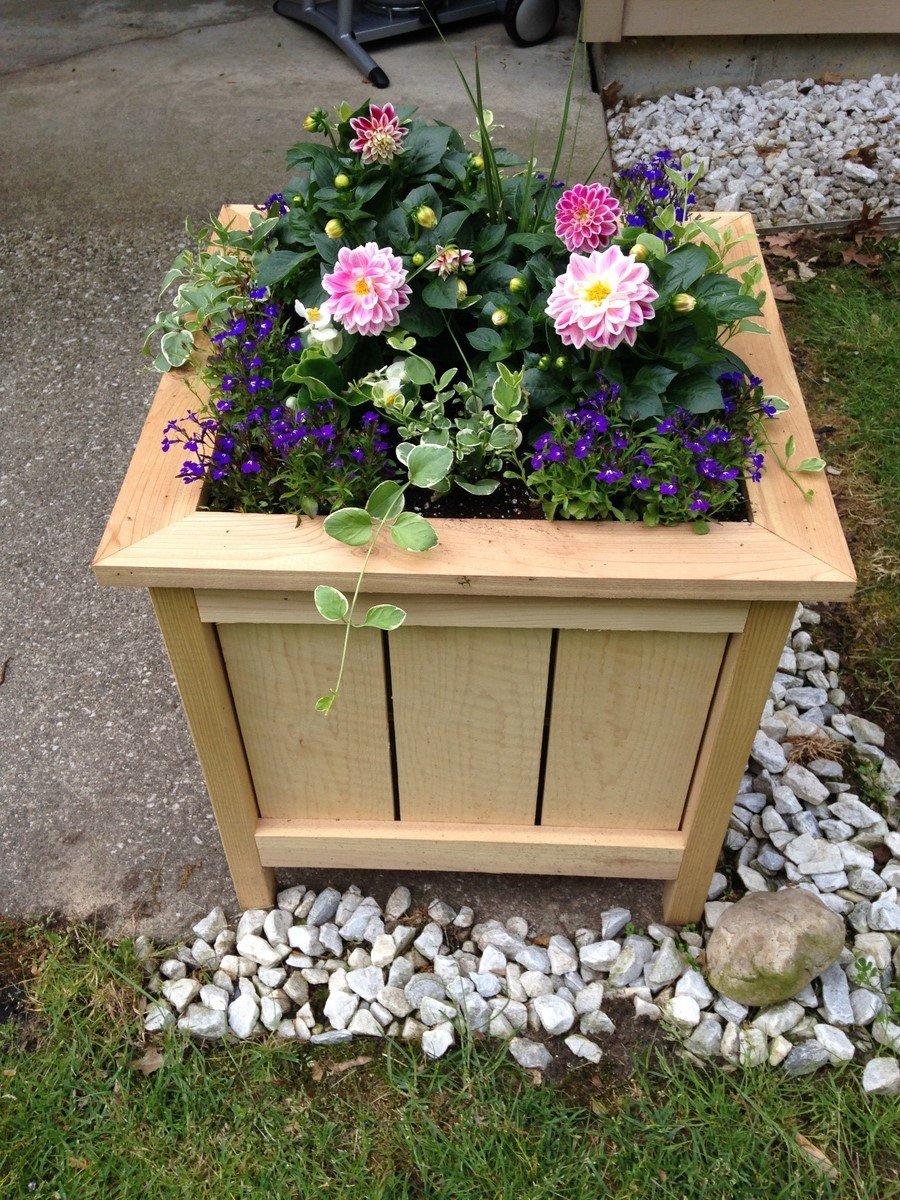
This was a Mothers Day gift for my mom. She absolutely loves it! She lives in a retirement complex and neighbors are complimenting her on it all the time! I did decide to go with all cedar instead of using any pine, so that did increase the cost. I also altered the plan like others and added a trim piece on the top. I think that makes the planter! Thanks Ana for the wonderful plans!
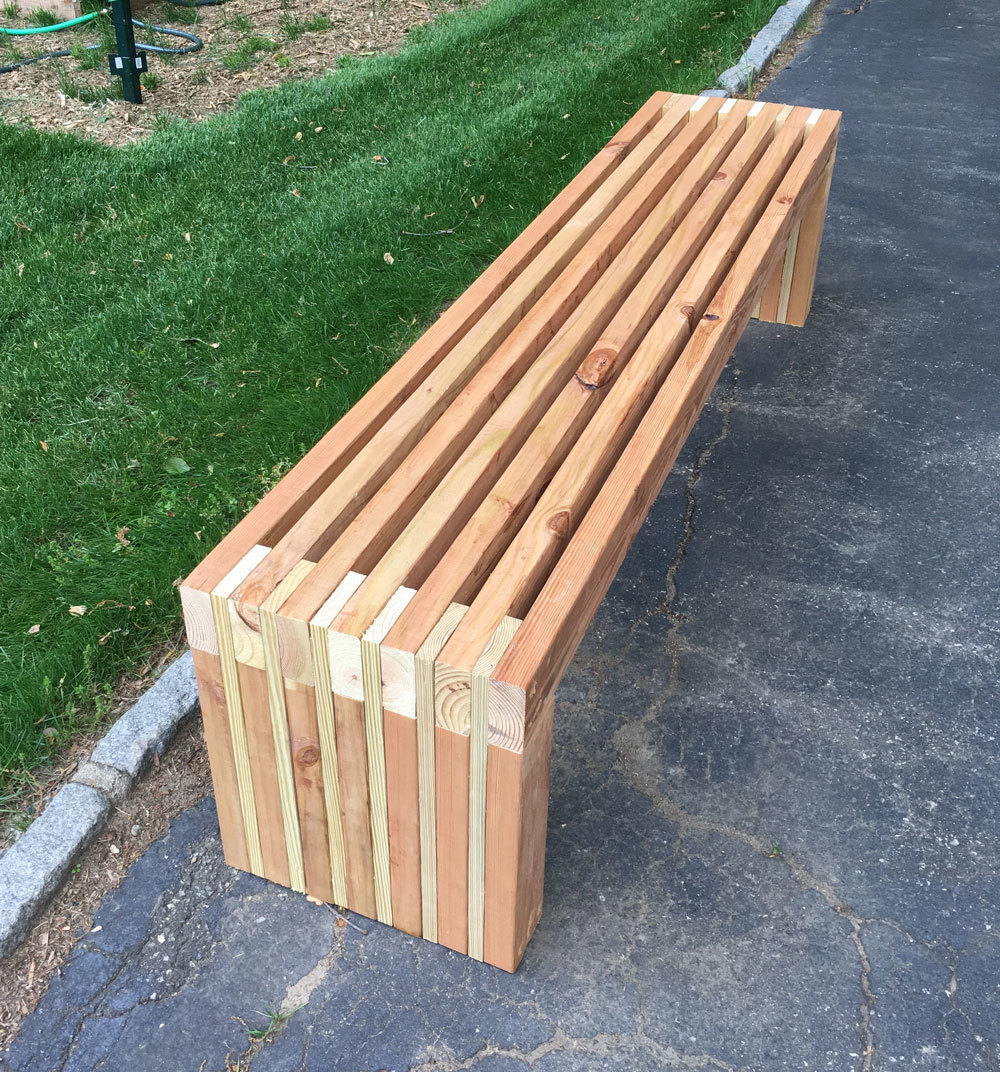
Great bench
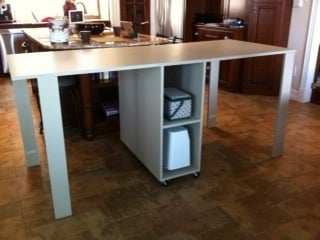
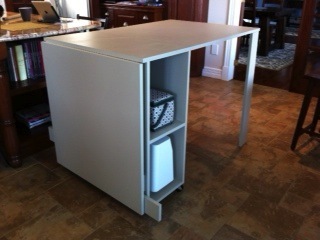
We did it in MDF as suggested, used piano hinges, and changed the height to 36" because I'm used to work at counter height and wanted a larger surface, plus I don't mind sewing sitting on my stool. We had the store cut all the pieces, but this table is very heavy using this material. We also made the legs at 4" considering the weight. The only disadvantage of making it 36" high is that the legs will stick out once folded, unless you have the room and adjust the depth at 36" as well. I overlooked that detail but in the end, I don't mind since this table is stored away out of the view when not used. It did soak up a lot of paint... Already used it and it's great to have my space ready to use roll away, not having to clear the counter or dining table to work.
Tue, 01/28/2014 - 05:11
Do you happen to have the new measurement layout for what you did????!!
I was trying to work it out, but math isn't my strongest suit!
Also-- did you consider making it wider so the legs wouldn't stick out??
(I am planning for plywood instead of mdf)
thanks!
Several years ago, the first woodworking project I finished was the Vintage Step Stool built with plans by Ana White. I use the step stool just about every day. I had some scrap lumber taking up space in my garage, so I decided to use it to build another step stool. Check out the blog link for more project details.
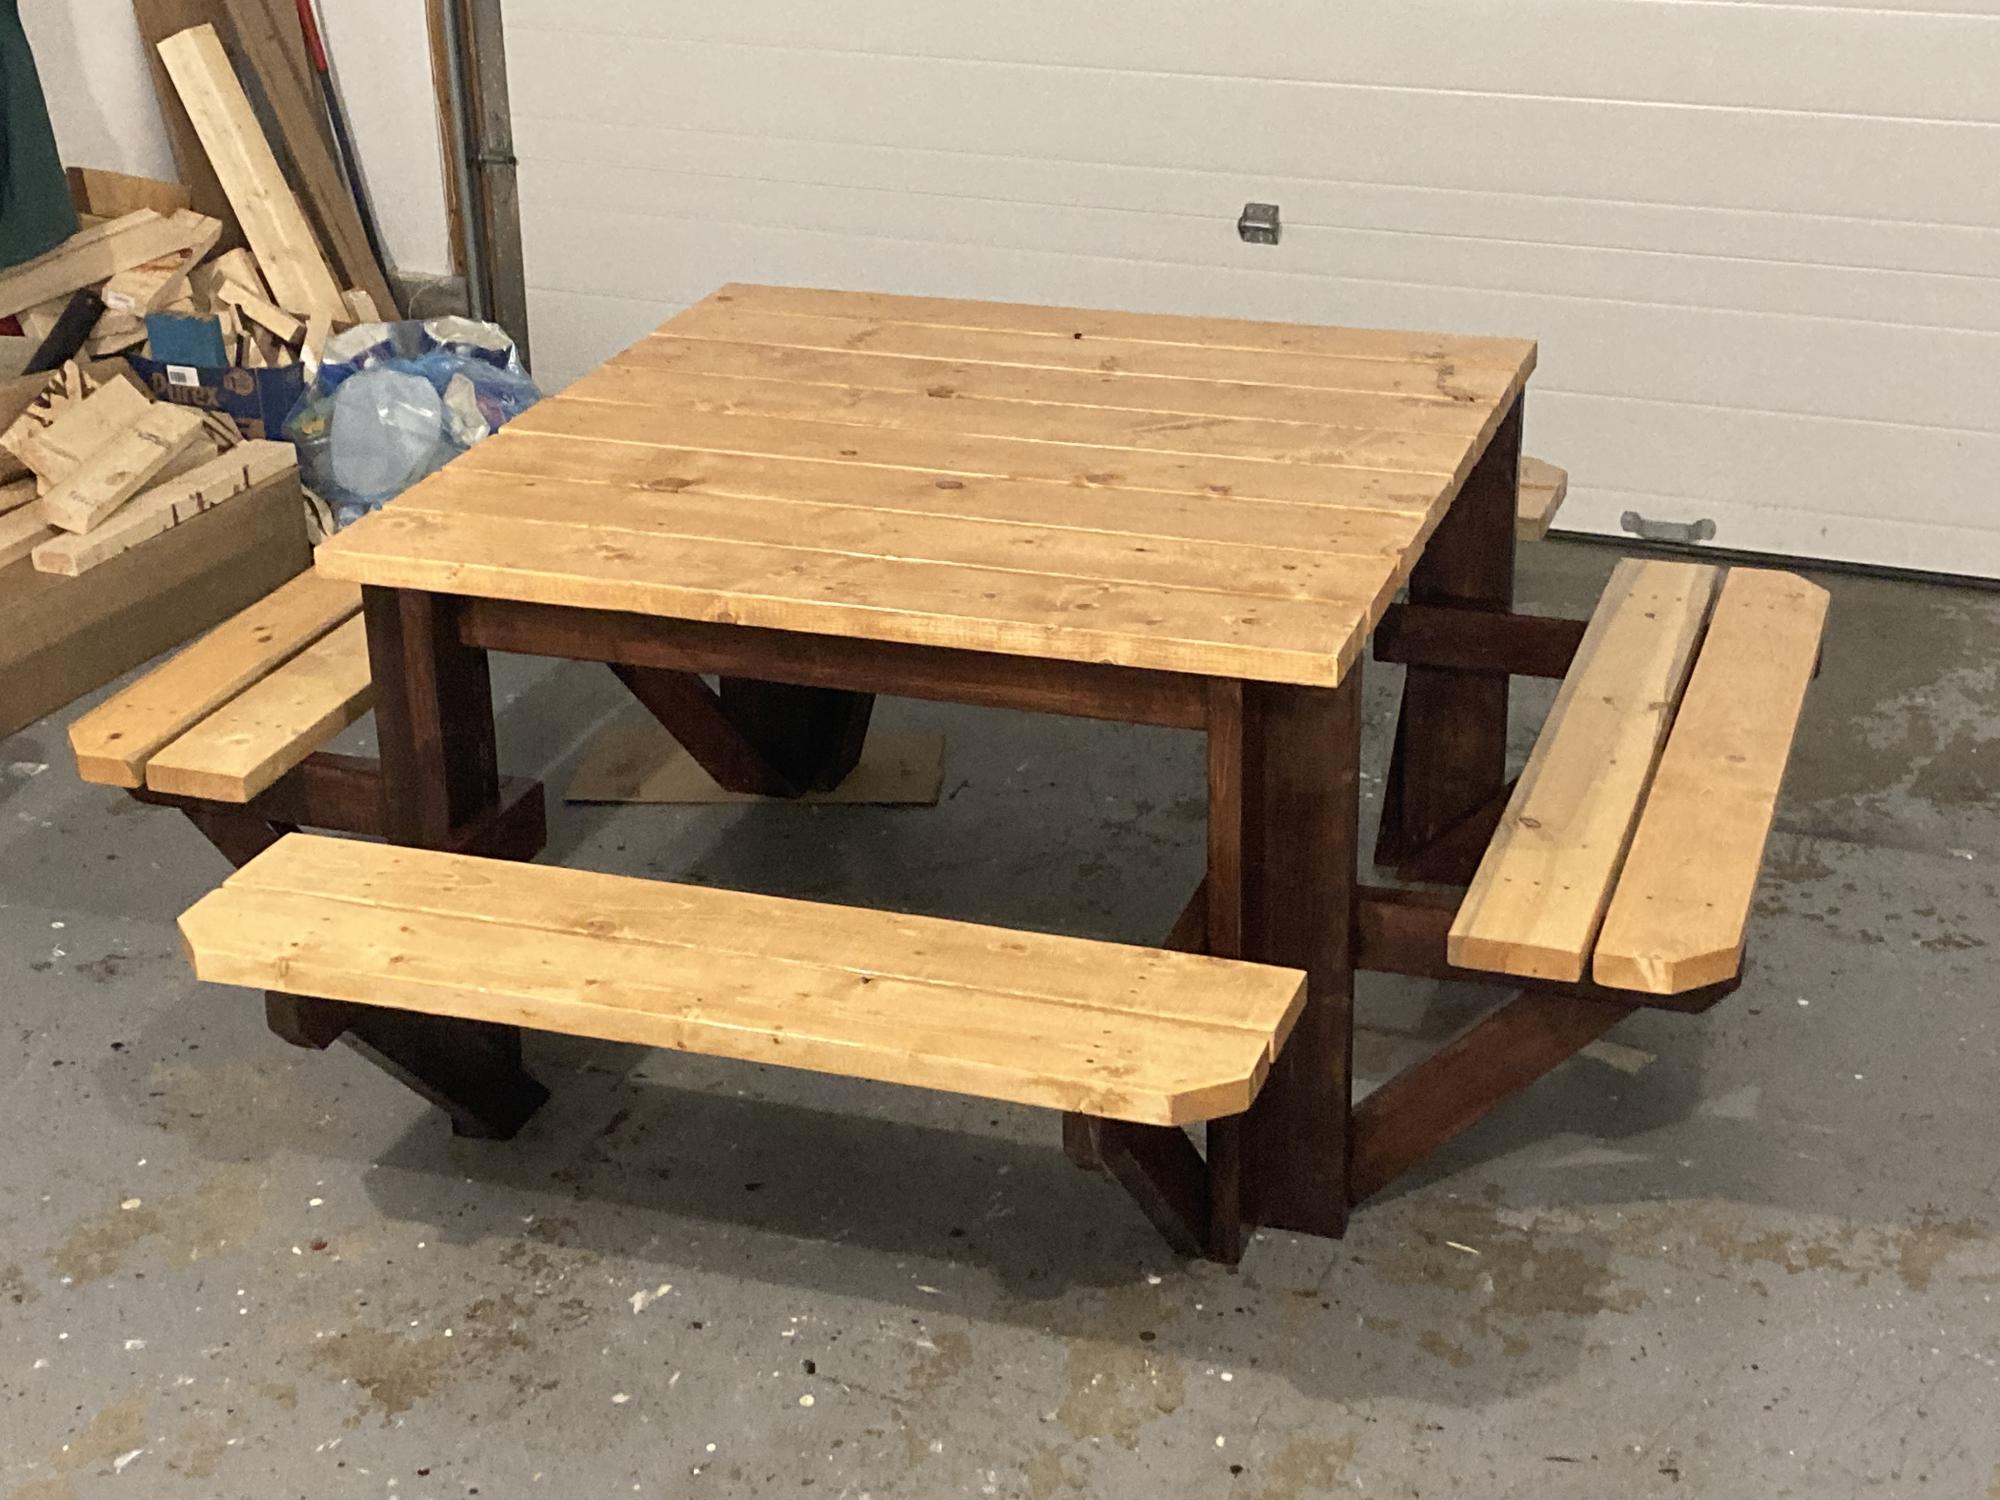
Enjoyed this project although with the price of lumber it was a little expensive to build. The only modification I made was to put a cross brace in the centre of the table top. That allowed me to attach the top boards a little more securely as some of them were a little bowed. I'll add a better photograph once I get it out of my garage and on to the back deck. It is a little heavy.
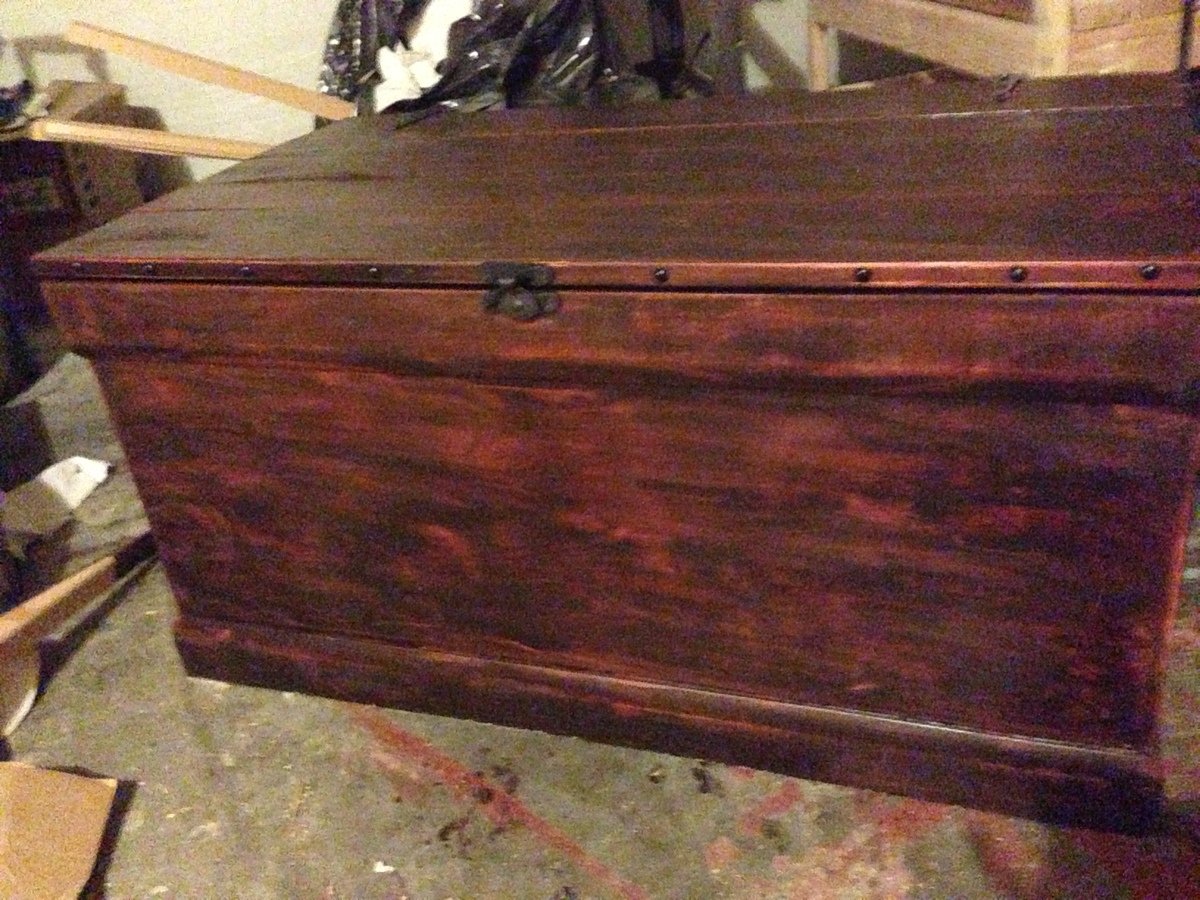
My best friend has really wanted an antiqued trunk but they were way out of her price range.
I built the becca trunk but planked the top with 1x4's and 1x6's and made the trunk just a tad deeper. Worked perfectly!
For the finish I stained it minwax china red and then added gf java gel stain over the top. distressed it and sanded it until I got the look i wanted.
I cut up an old belt we had and used that for handles, found a window sash lock, nail head trim and black strap hinges at blue. The base molding I bought was only 3 1/2 inch as it was much cheaper (82 cents a foot) than the 4 inch. worked great for me.
It was a super easy and fast build! Now I get to make one for me :)
This trunk is super sturdy and she absolutely loves it!
Price breakdown for me as I had screws and nails, scrap wood for lid and even the java stain...
40.00 for one sheet of 3/4 purebond plywood (will make another trunk with other half)
13.00 for one sheet of 1/4 ply
16.40 for base moldings
2.00 nail head trim
6.00 strap hinges
12.00 minwax china red stain.
4.00 for latch
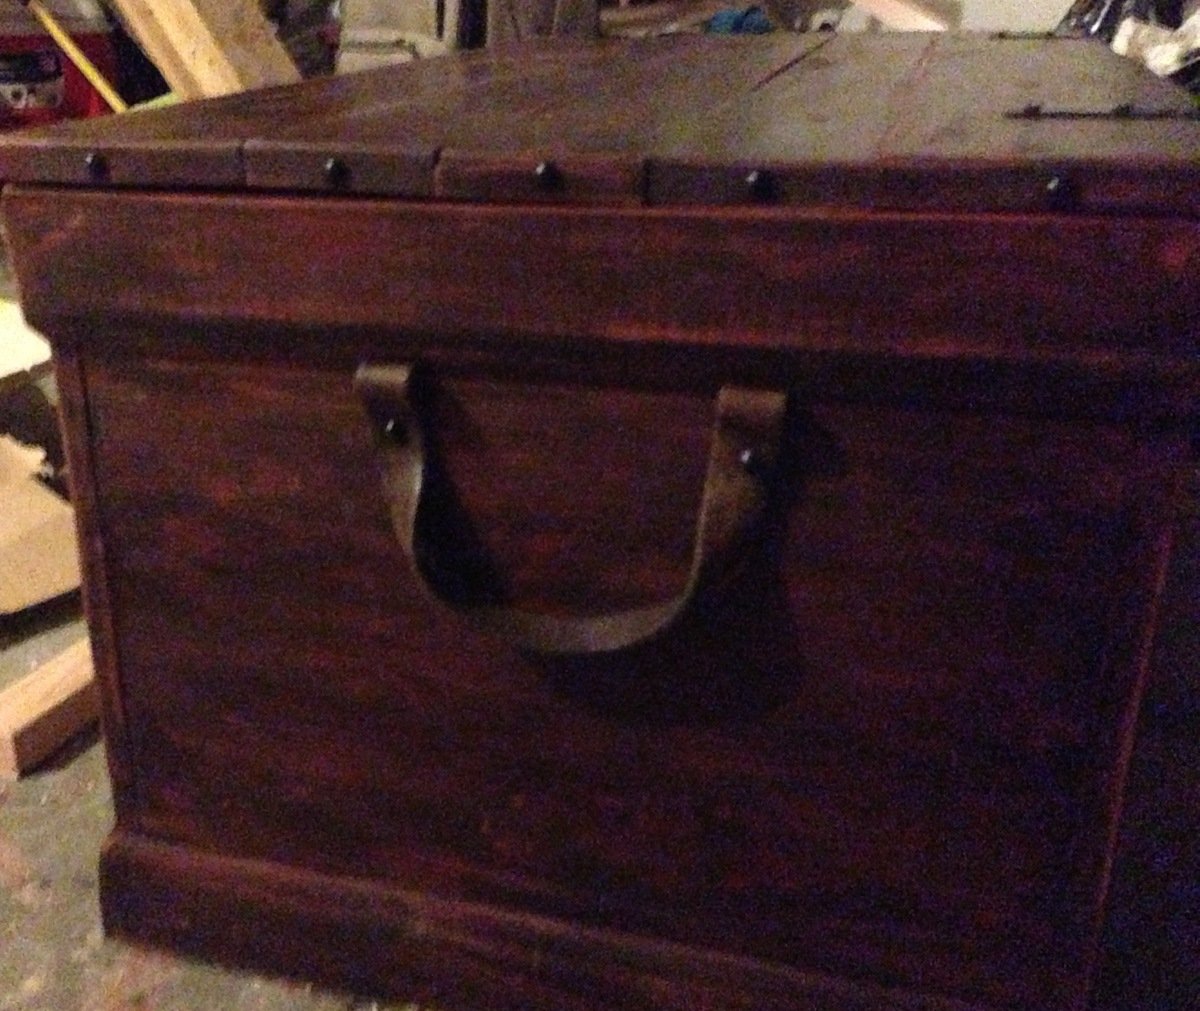
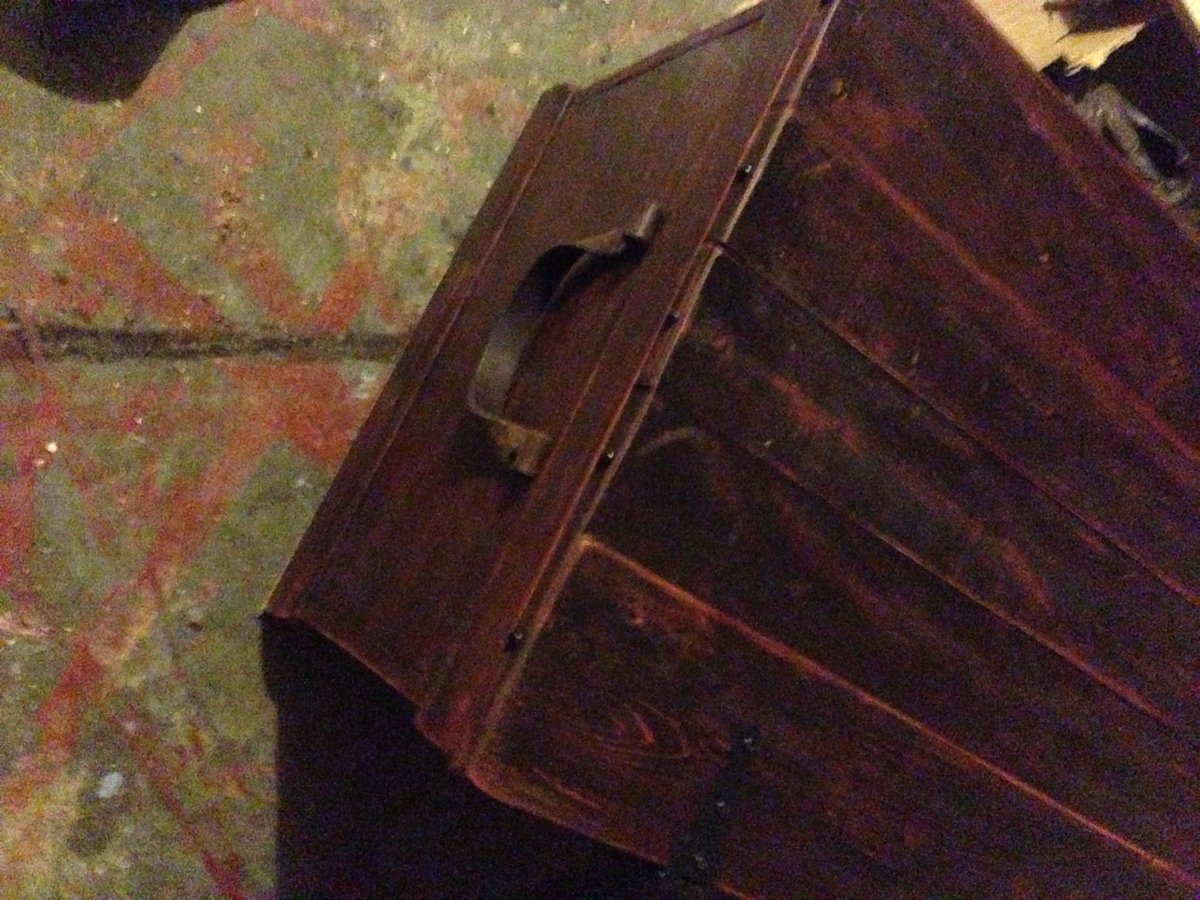
Thu, 01/30/2014 - 11:06
Hi,
I'm basically doing your modified design. however, I noticed that the black strap hinges that I got at the local hardware store are longer than the base molding on the back side. So either I would have to cut part of the hinges or bend them to contour with the molding. Or, have the strap go underneath the molding, which would look odd. I did do more online searching and saw that there are black strap hinges that have a short end, but I don't think the short end would get past the 3/4" inch of board that is my chest top thickness, or if it does, it would barely make it.
So my question to you is what specific hinge did you use, and how did you lay it out? Did you fasten the hinge to your base molding?
So, after two years searching and not finding a square coffee table. I decided to see if I could build one. Having never built ANYTHING before I found Ana's plans and proceeded to get to it.
After we framed it, I kind of realized, "hey! I think I can do this."
One would think, since I belonged to a theater company for a while and I majored in theater in college, that I would have learned how to do this. However, I was very very good at walking up to people as they finished something and asking them if they needed help.
The breadboards didn't line up perfectly (the original plans were for a 2' x 4' table and I modified it. But, then i kind of fell in love with the edges.
The stain wasn't as red as I was hoping for. But it works. (Cabot Red Mahogany)
And now we have our coffee table.
I know. I know. Like bazillions of coffee tables haven't been built by humans over the years. But, this one means a lot to me. Cuz, you know, I'm really talented at handing over a credit card and asking someone else to do it for me.
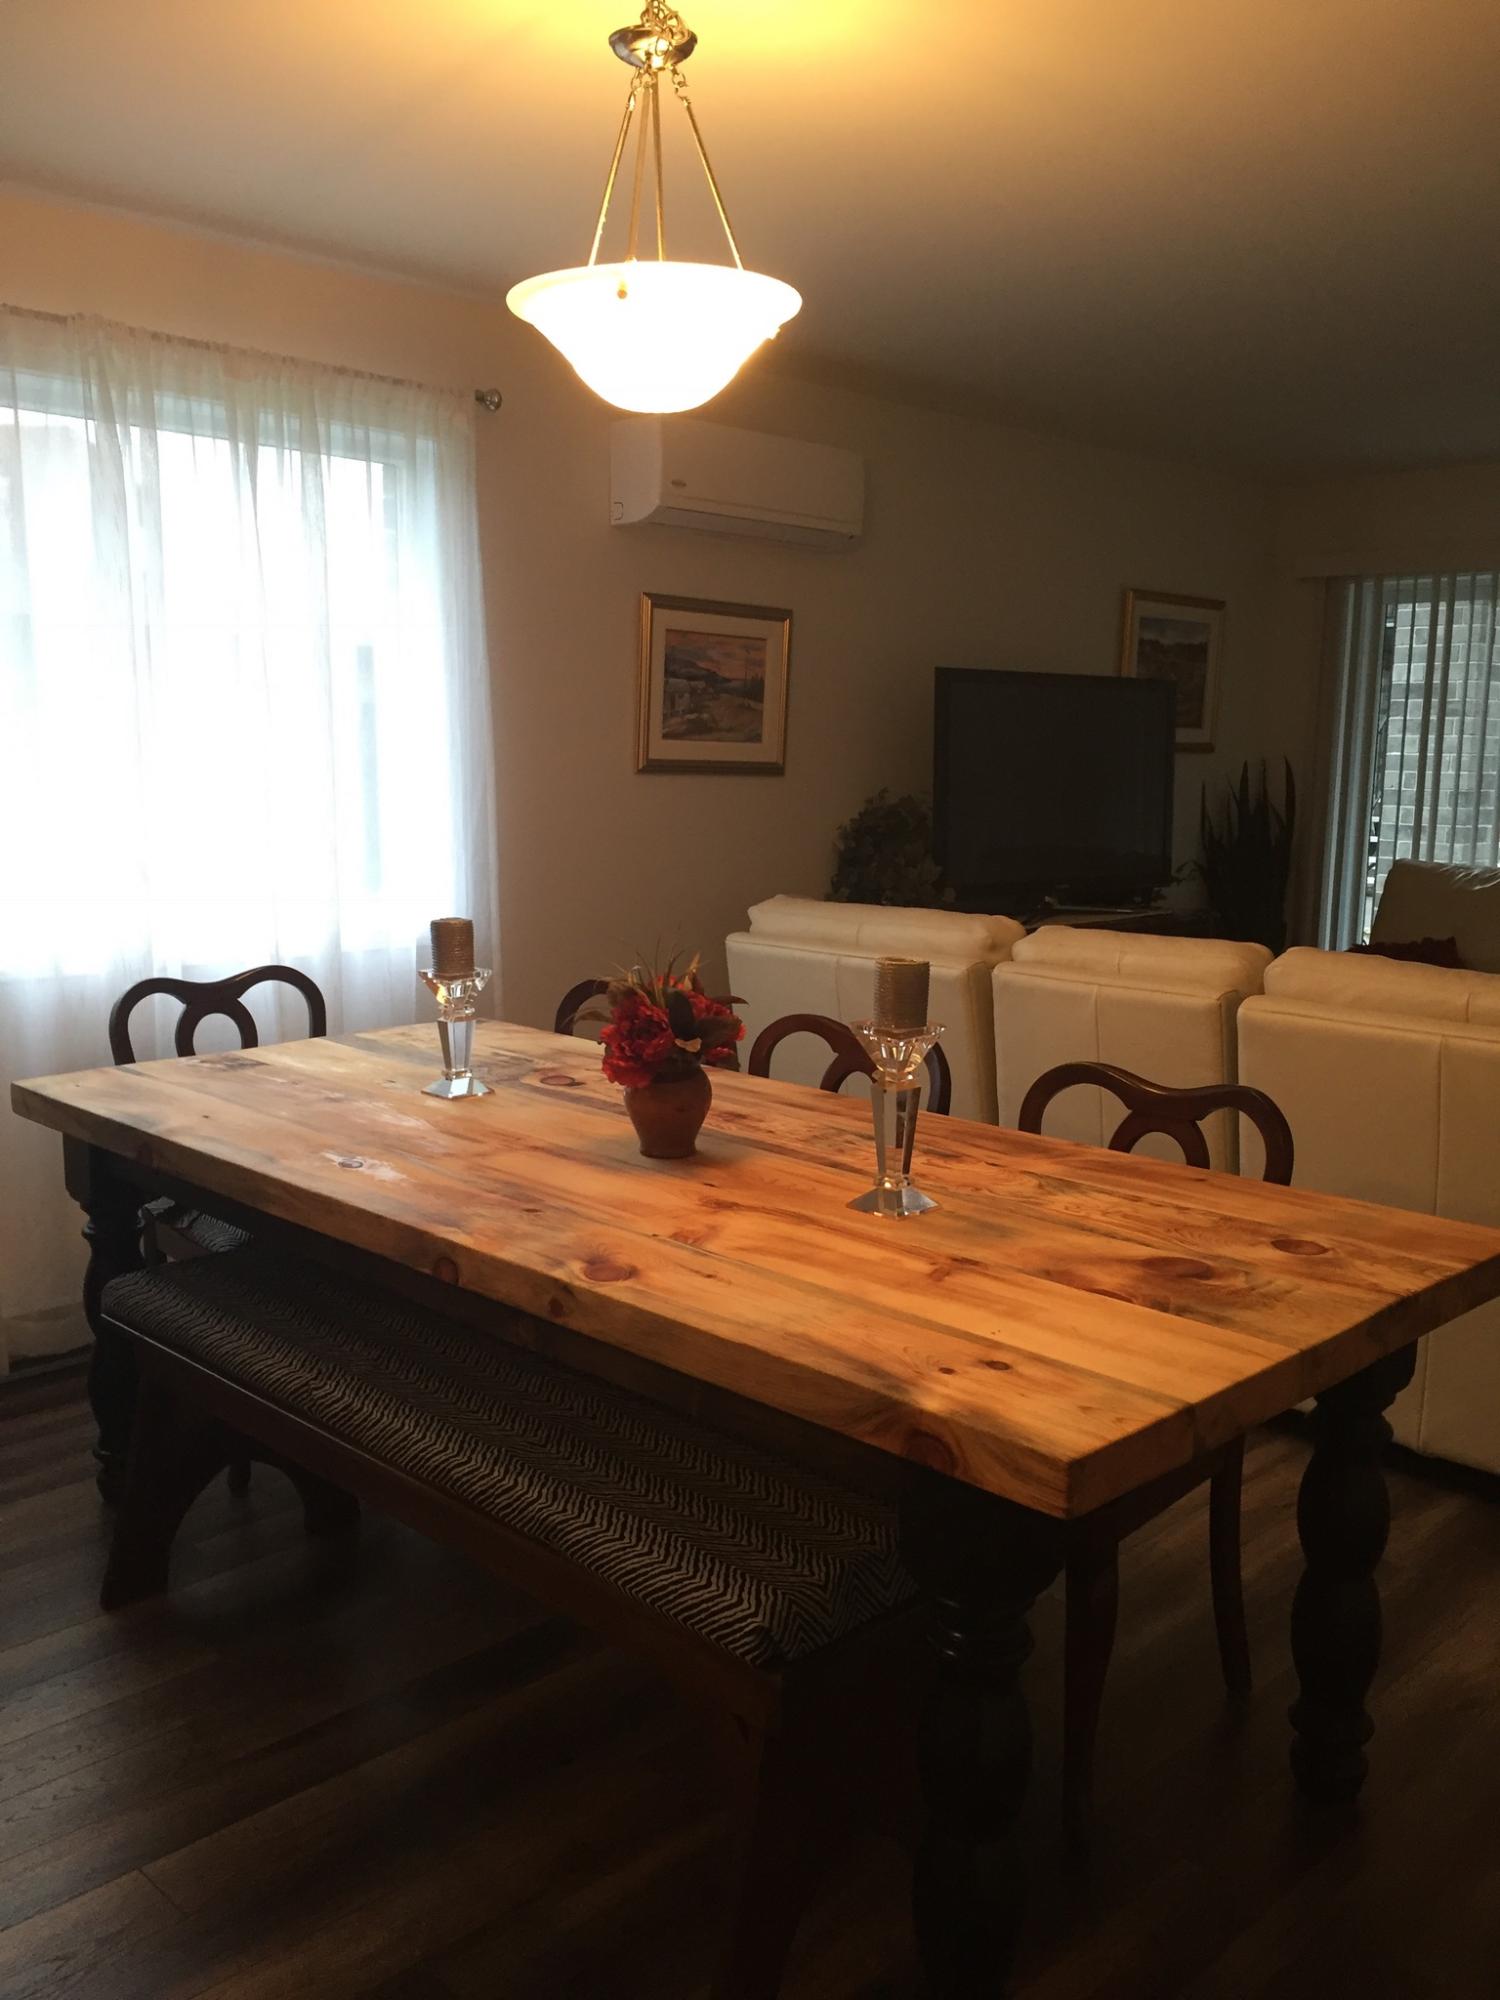
A pine tree at the cottage was diseased and needed to be cut down. We had a portable saw mill come to slice the tree into 2.5 inch planks which became a couple of tables after about 5 years of drying the wood.
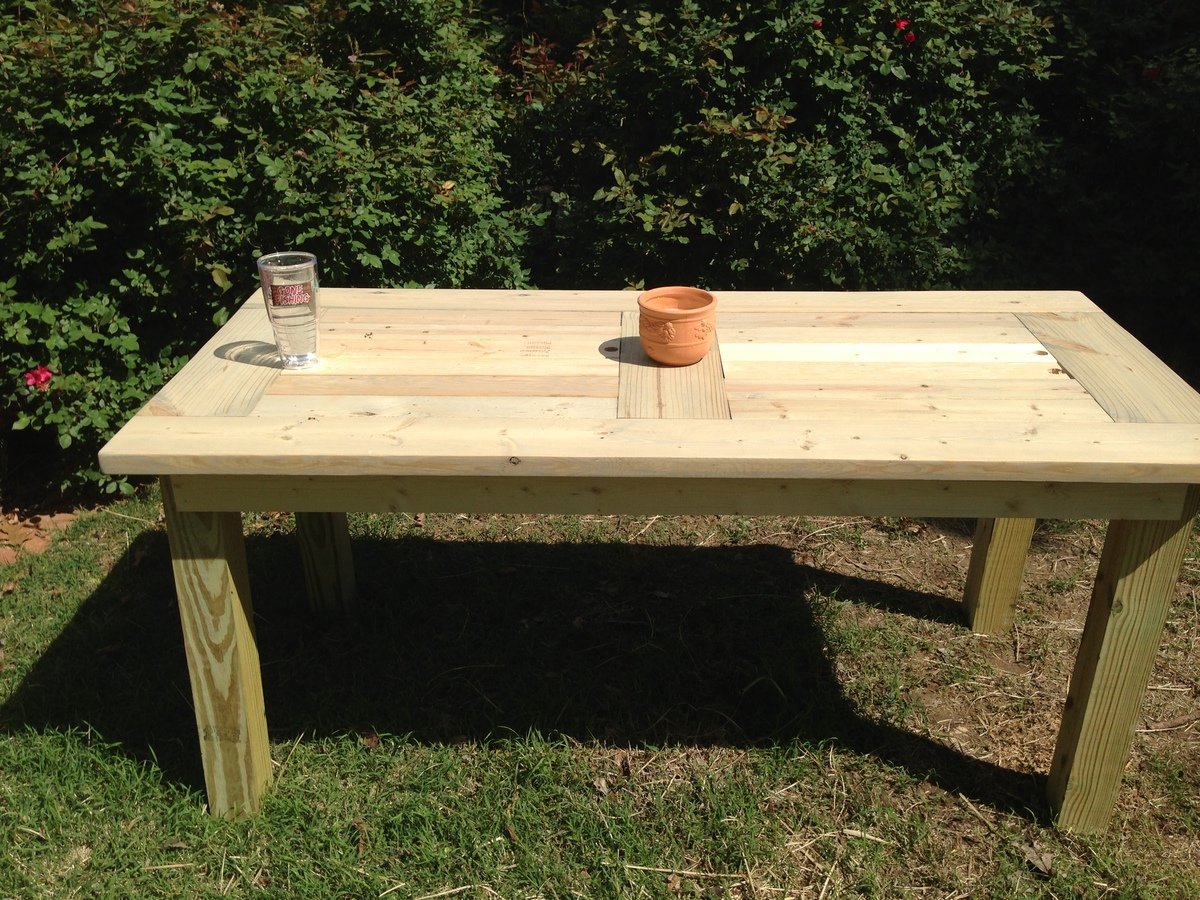
Weekend project, I used 4x4's instead of the 2x4's to give a heavier look, now off to buy a bandsaw to give them a 1/4" taper to give a more refined look.
Sat, 12/28/2013 - 08:39
What were your dimensions since you went with 4x4 instead of 2x4?

My boyfriend and I wanted a calm relaxing beach feel at our Florida vacation home, however with kids in college and two getting married, we were on a tight budget. We found these plans on Ana White's website. He made the headboard and bench and I distressed it to make it look weathered. We used Minwax Dark Walnut as a base, let it dry over night, and lightly wiped it down in the morning. We then used Rustoleum "Chalked" in White Linen and applied it with a large stencil brush we found at Michaels craftstore. We applied it almost haphazardly, purposely making it look rough. The chalk paint dries quickly. We then brushed on some clear Americana creme wax. We are very happy with the end result, it was our first project build, and we nailed it. Thanks. Ana!!!


I can't find ceder fencing here where we live so I just used a 1x6 I already had. I sealed it with Rustolem's Spar outdoor polyurethane in semi-gloss.
My 6 year old daughter planted the little basil plant seeds a couple weeks ago and we are giving this to one of her teachers this week as an end of year present.
I tried hand painting the herb garden part but it looked really bad so I sanded it down and added the little chalkboard vinyl stickers instead.
I used mostly stuff I had on hand to make the box... I used sissel rope for the handles since I had some. The only cost was for the stickers, terracotta pots and the seeds
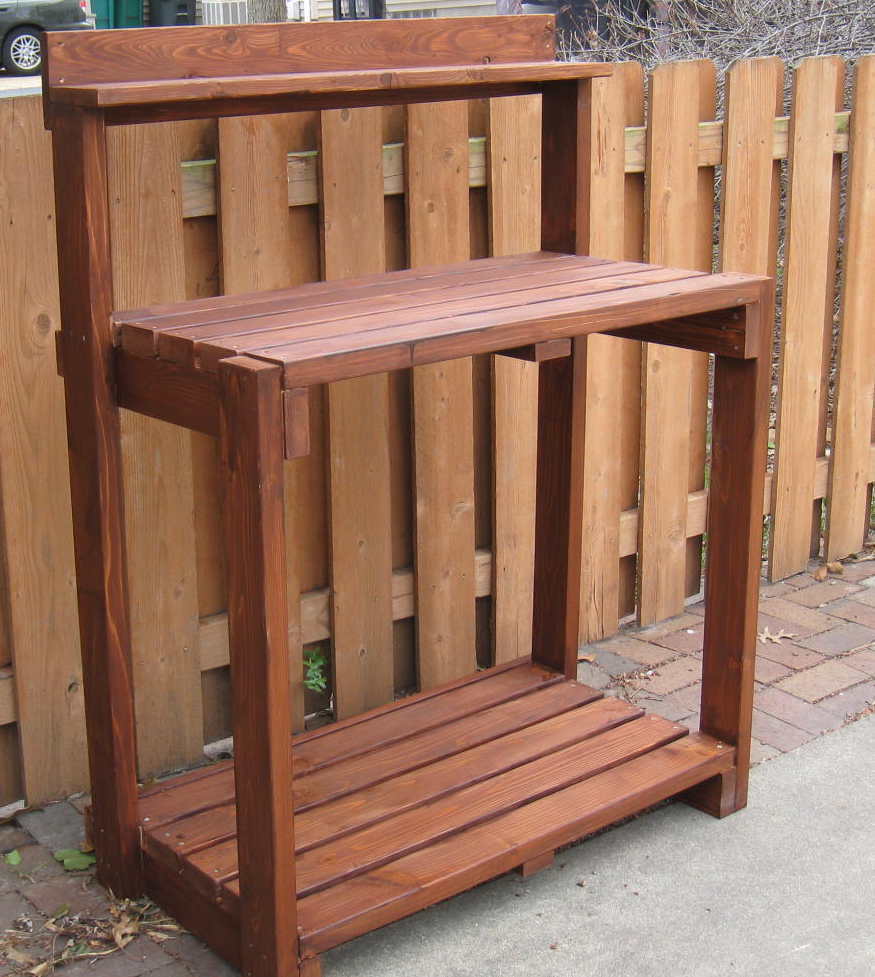
The plans are great. This went together really fast. I am cheating a little here, it is not quite complete; I need to add the side blocks on top and my wife would like a another panel added to the front at work height level, just for looks. But the overall look won't be changed. I struggled some with finishing (I usually do). A couple spots have runs I didn't see. One will be covered by the front panel I'll add,but another needs sanding.
Just for fun I added a picture of the bench 3 years later. Its held up well to a lot of use and a lot of sitting out in the elements.
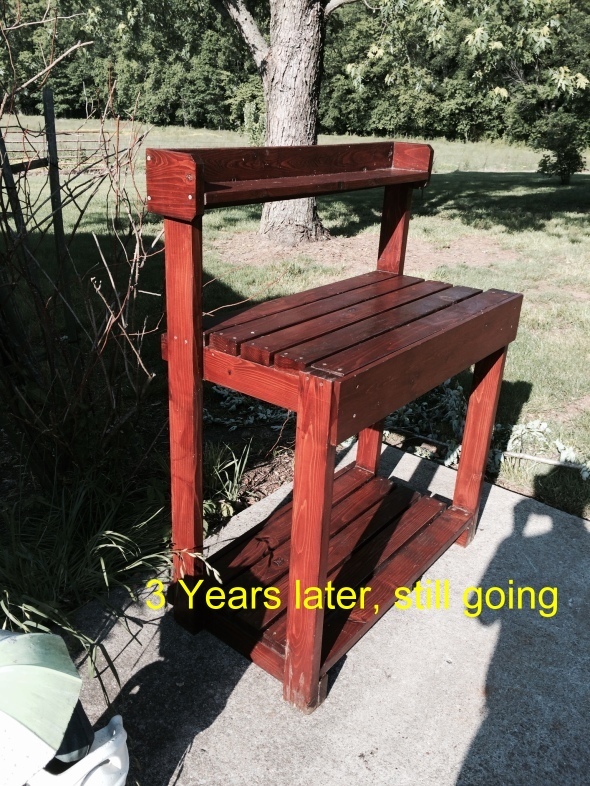
I used the plan for the simple potting bench, but because I had a lot of reclaimed wood, I used well supported 1x4's instead of 2x4's, simply because I had an abundance.
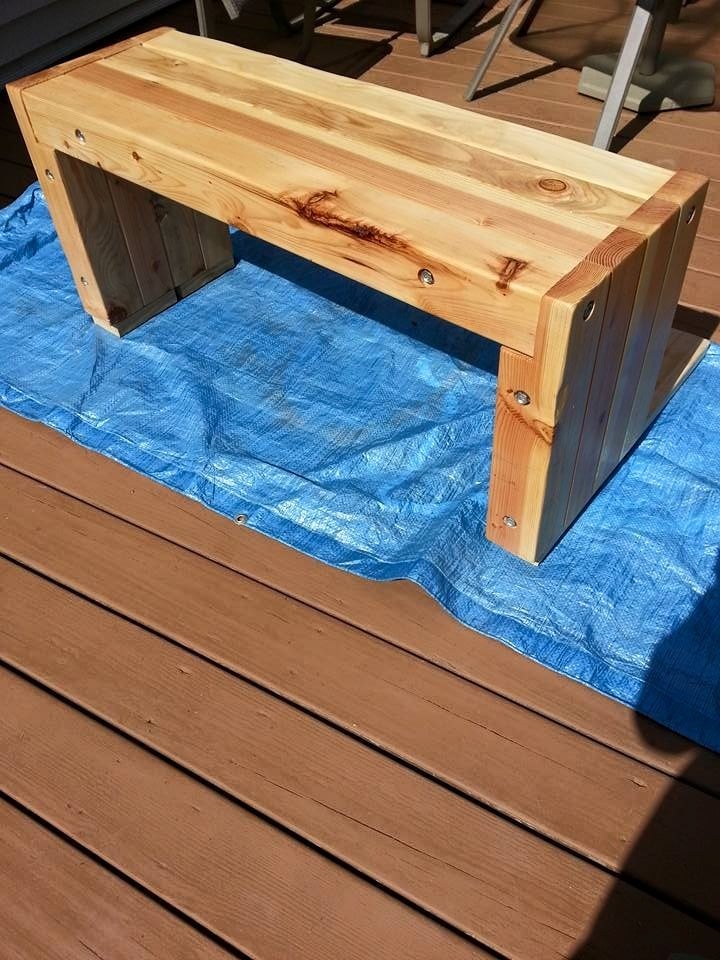
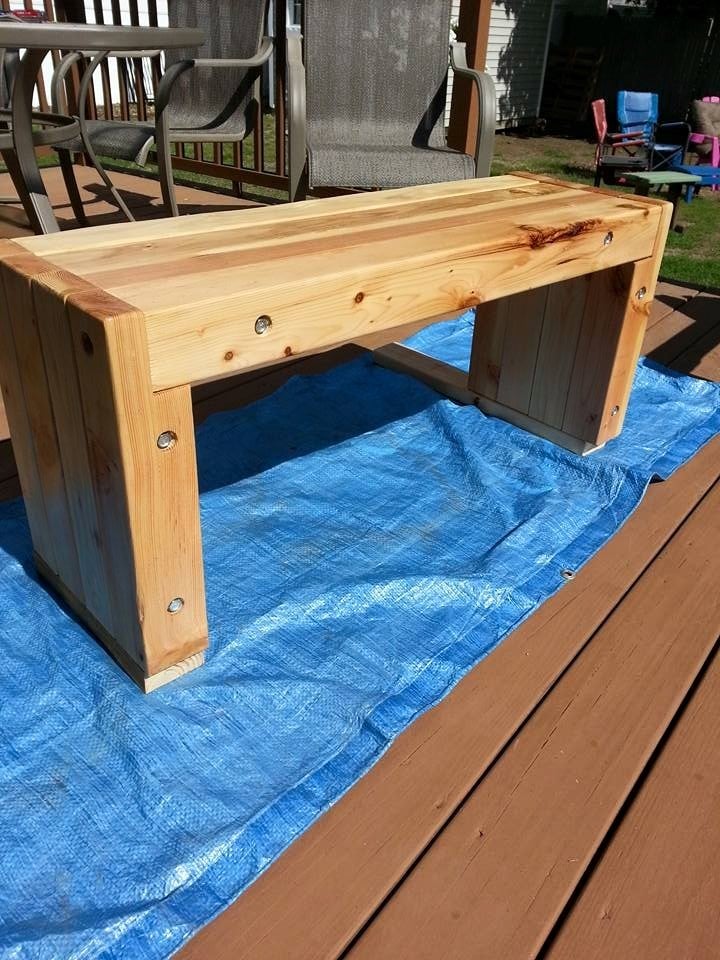
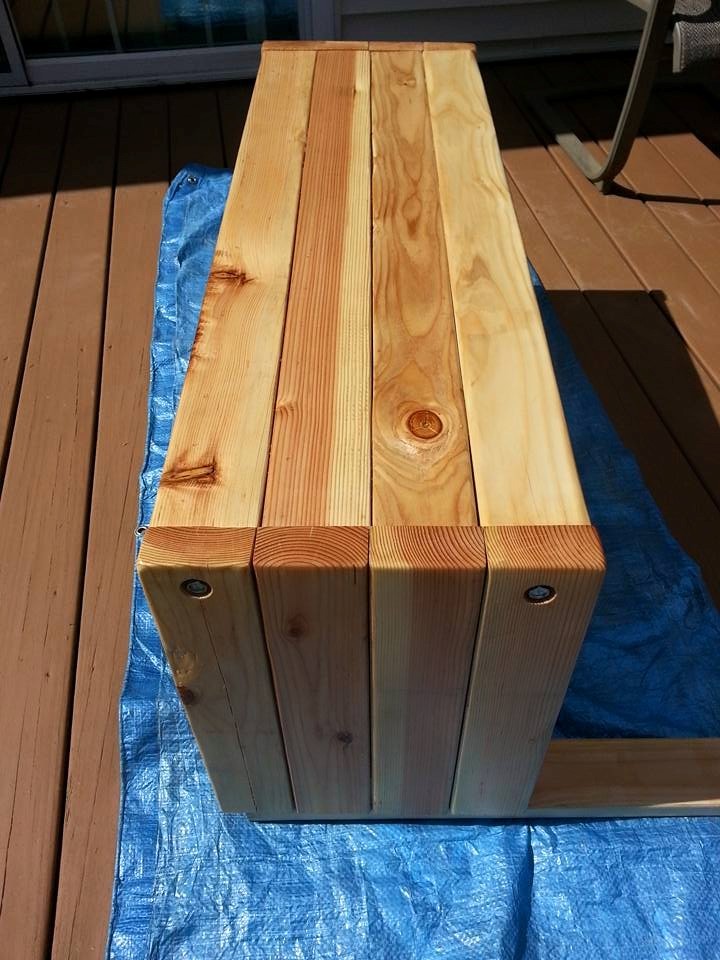
Modified the Cherished Bliss plan a bit to include Carriage bolts instead of pocket holes and I notched the top of the legs to make a shelf for the top.
Legs were cut at 18" and the top is 40". The two center 4x4's are connected with two internal (and smaller diameter) carriage bolts and glued together. The end 4x4's are glued and then a 1/2 x 6" carriage bolt with a pre-drilled "Head" hole (using 1" paddle bit).
Very easy to make but this baby is heavy!!!
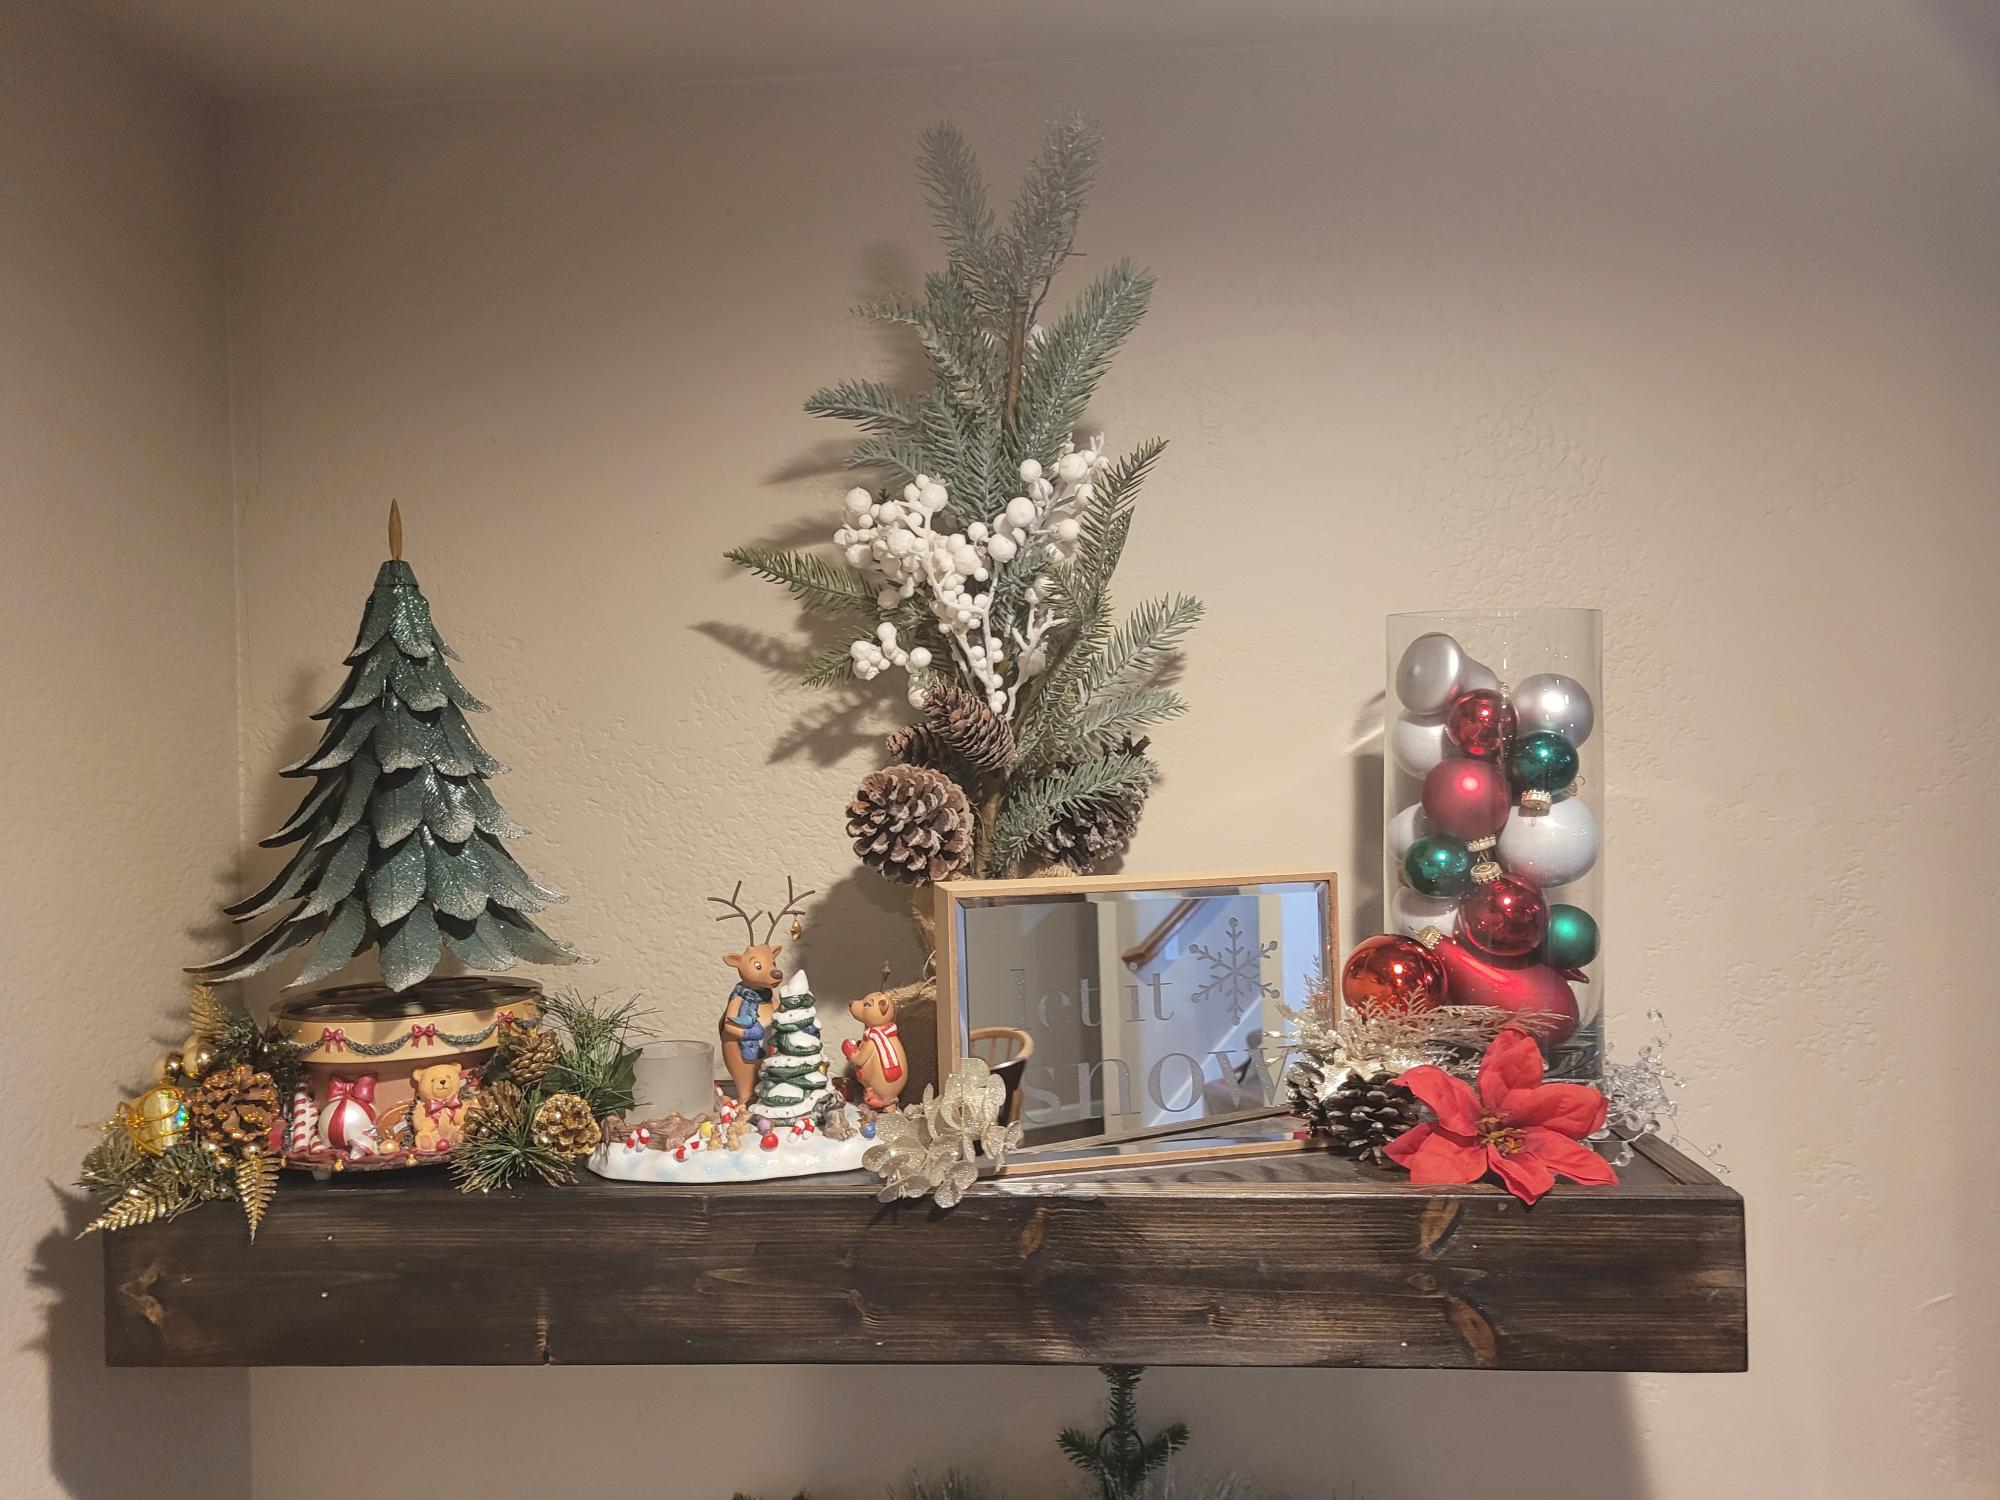
Utilized your idea... First ever woodworking project. My wife is super excited these shelves came out superb. She is excited to see what I have planned next. Thank you.
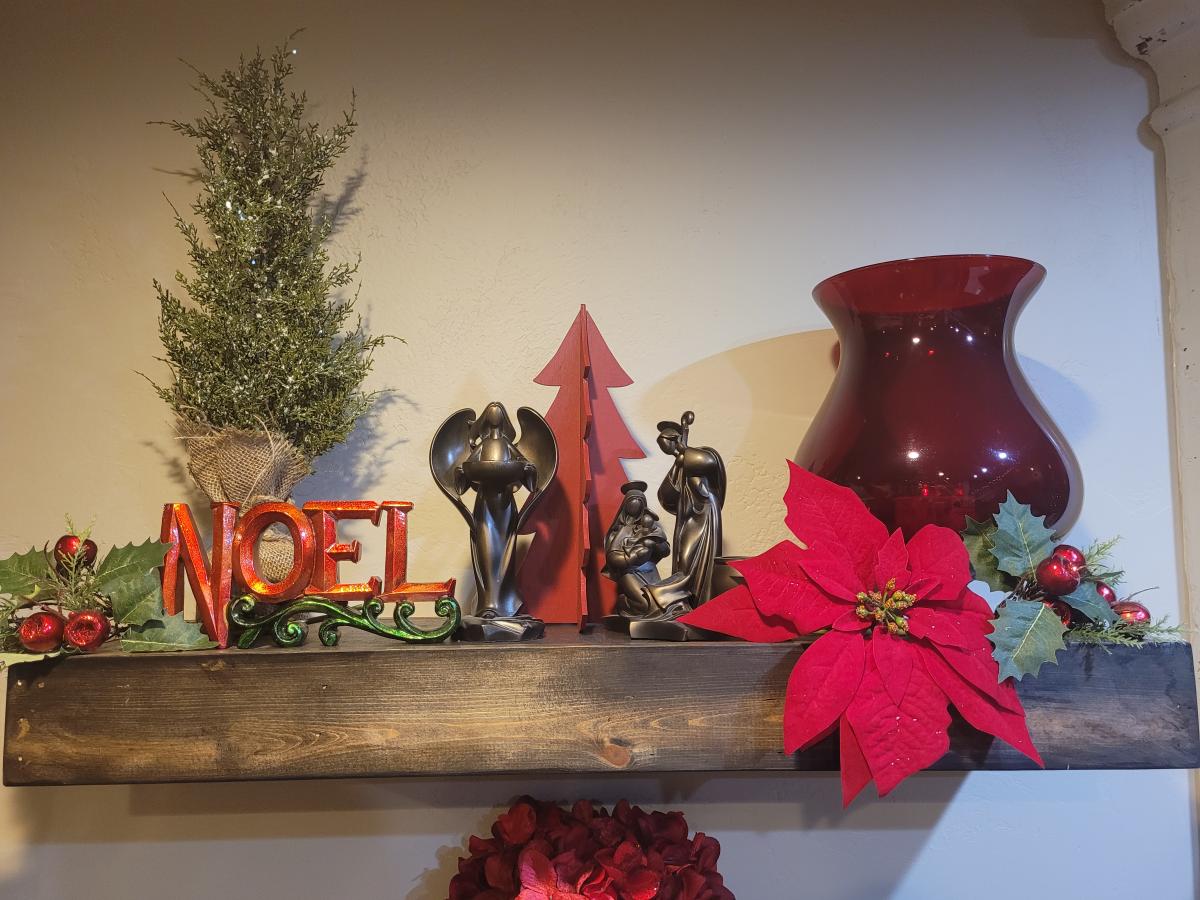
Mon, 12/27/2021 - 22:22
Way to go, that looks amazing! Can't wait to see your next project:)
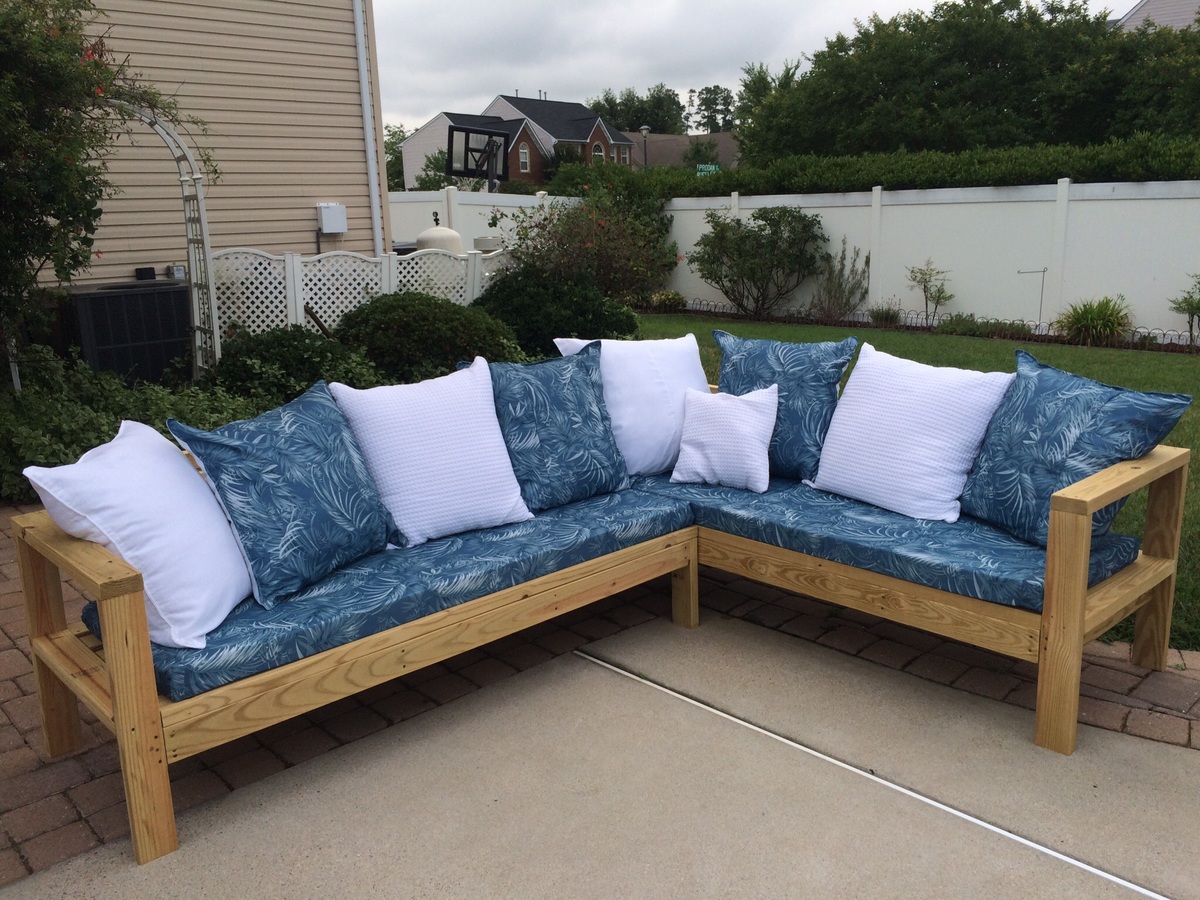
I made the cushions and pillows myself using shower curtains as a cheap and water-resistant fabric alternative. I also ordered the foam and pillow forms on-line. This was a great Father's Day project completed with help from my son and husband. Great plans!
Comments
Ana White Admin
Fri, 05/14/2021 - 11:14
Wonderful!
Very nice, thank you for sharing!