Community Brag Posts

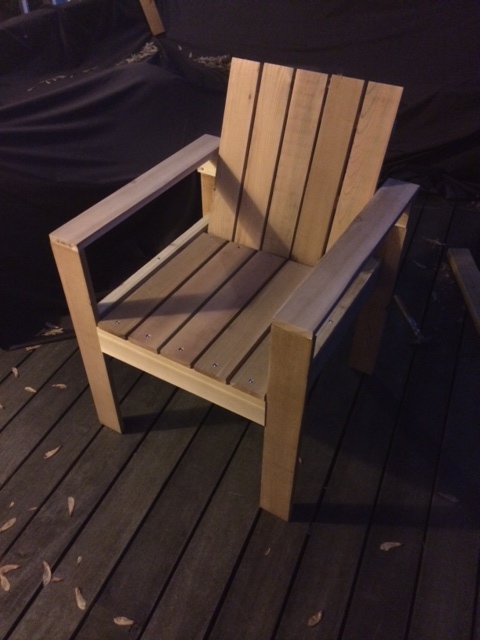
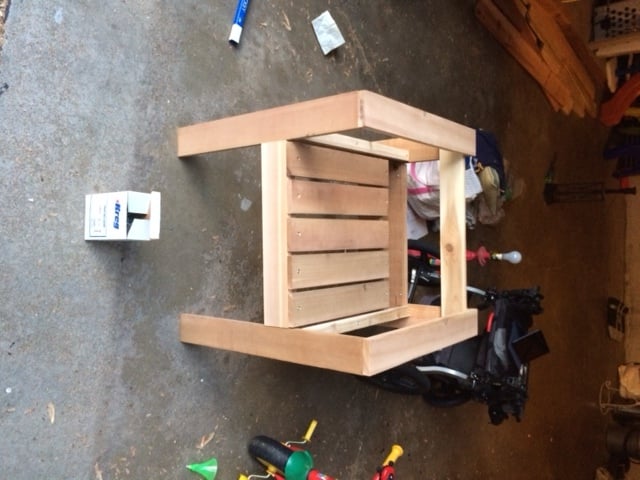
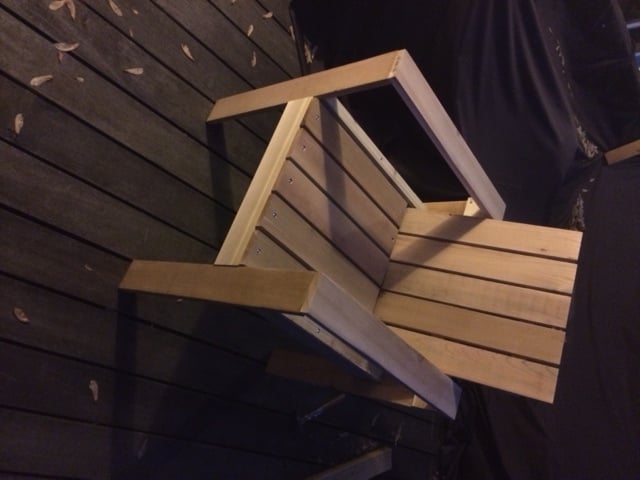
Little Helper Towers

Submitted by kmetter on Mon, 05/12/2014 - 07:40

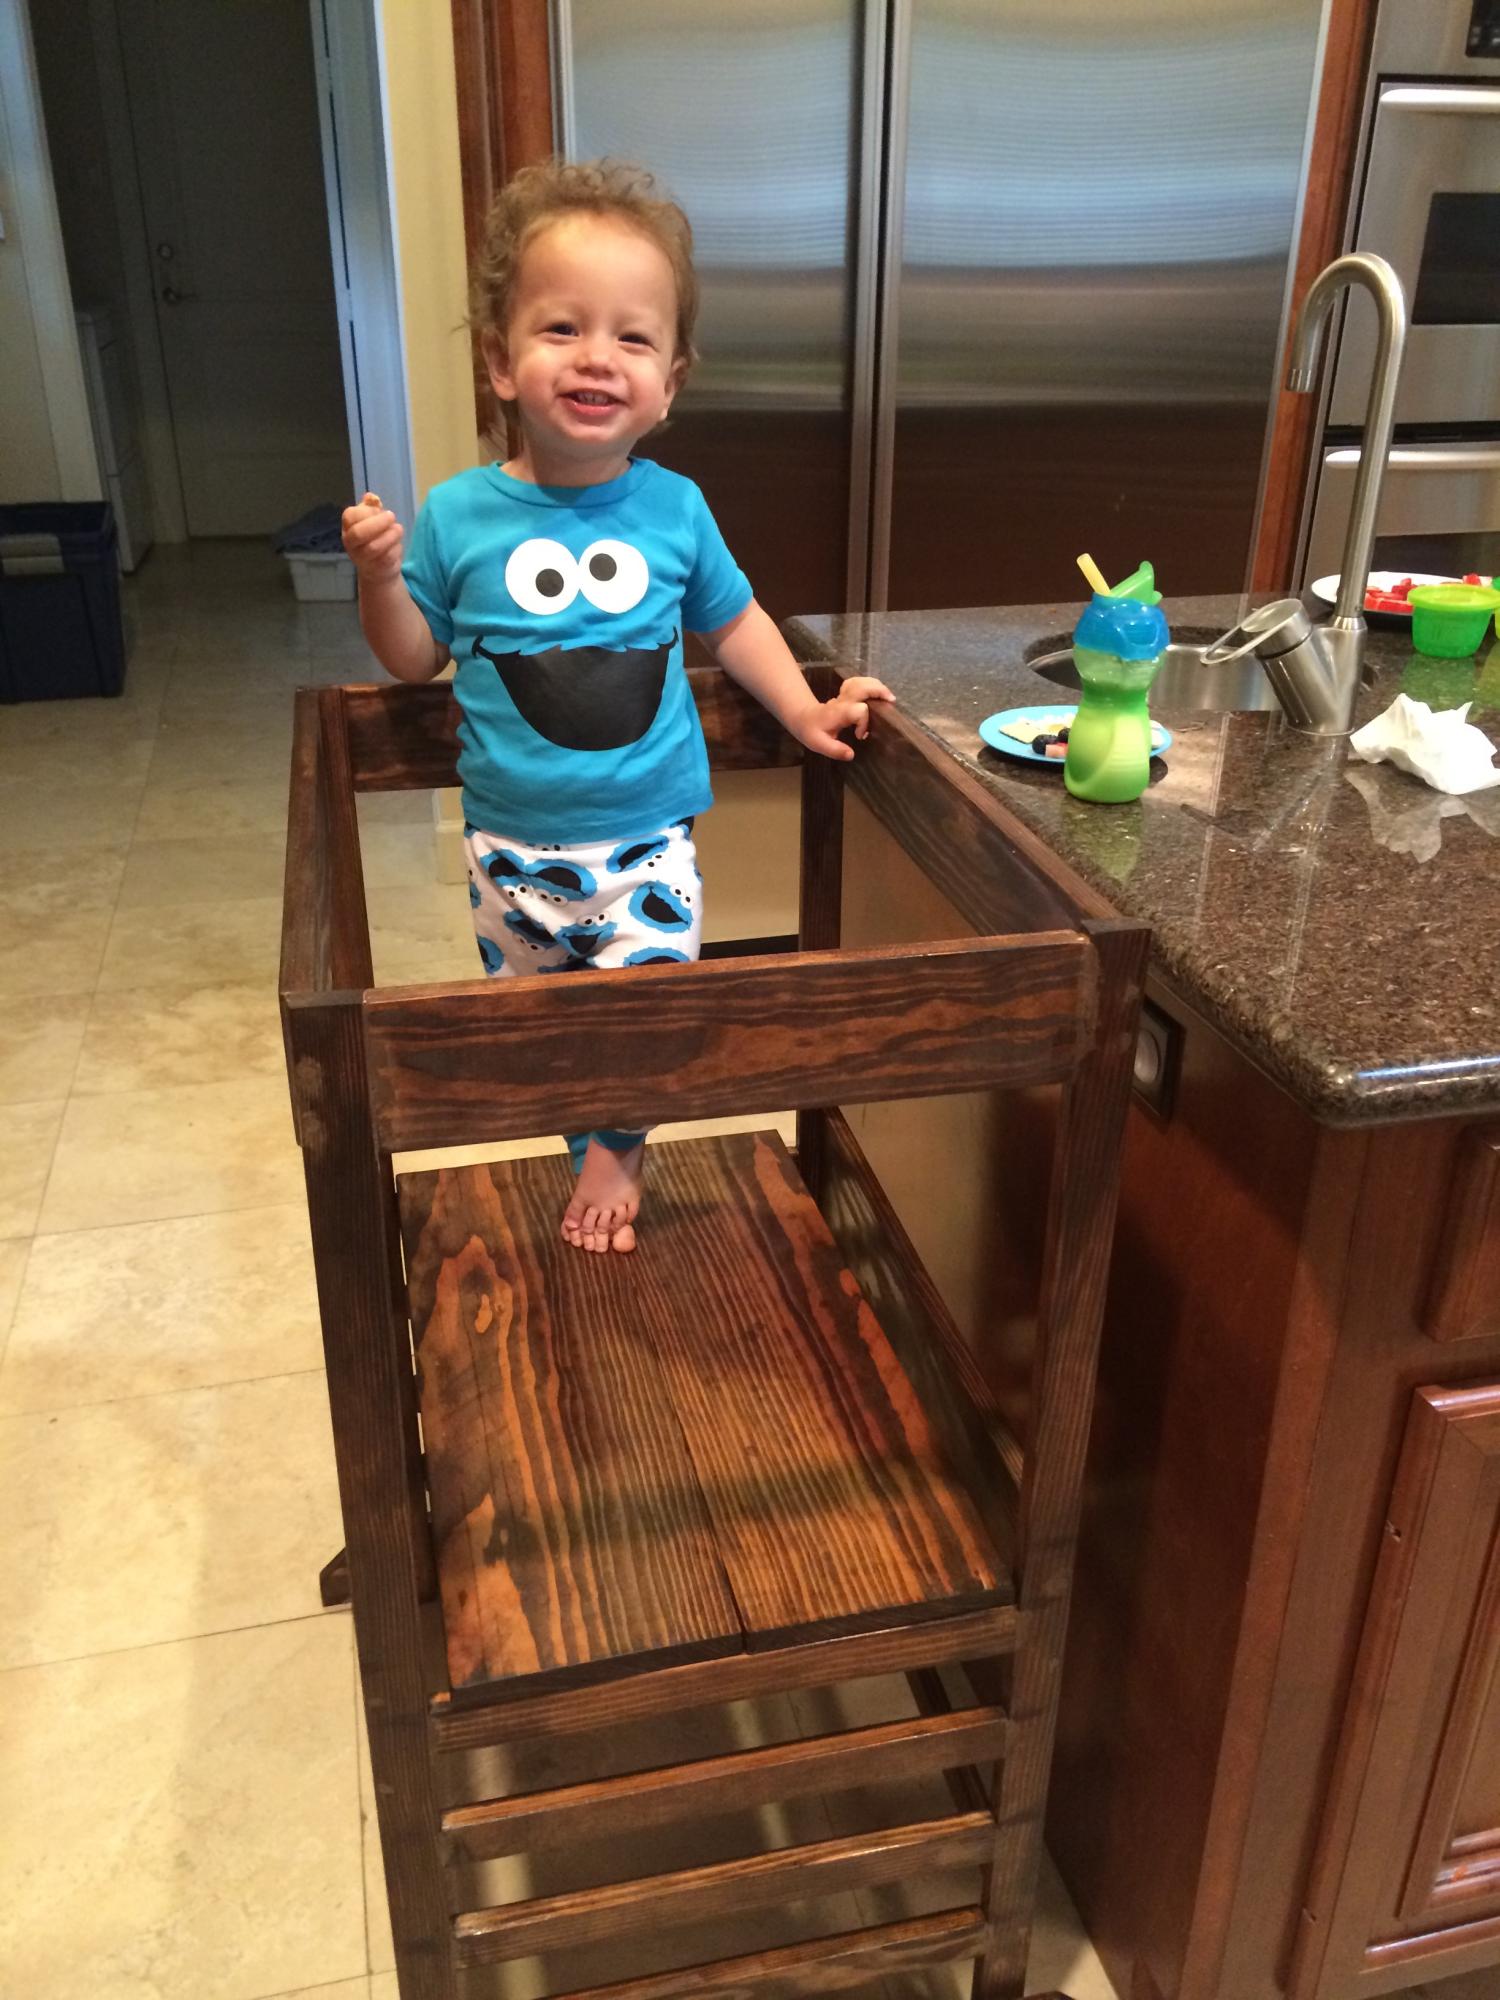
Took the dimensions for the little helper towers and used the 24 inch width so it can accommodate two kids. Built two of these for my nephew, one for his house and one for my parents. Took 3 days of work, so I must not be as efficient as everyone else, but boy does he love them. Been eating all of his meals in his "tower" ever since he got them. Makes the effort worth it! One note: I couldn't get the pocket screws to work at all, ended up destroying a few pieces of wood which required an extra trip to the lumber yard. I would suggest just using counter bores.

Built from Plan(s)
Estimated Cost
70 each
Estimated Time Investment
Weekend Project (10-20 Hours)
Finish Used
Simple Stain from Home Depot with a varnish.
Recommended Skill Level
Beginner

Simple Outdoor Table

Submitted by MrThompson on Sun, 08/14/2016 - 08:30

I was inspired by Handymommy's set, using the arm chairs instead of the standard ones, so thanks to you!

The wood I had was all rough cut 1 x 6's so I had to adjust the plans a bit.

Built from Plan(s)
Estimated Cost
$250
Estimated Time Investment
Week Long Project (20 Hours or More)
Finish Used
Helmsman clear gloss
Recommended Skill Level
Starter Project
Seasonal And Holiday

Garden bed with folding screens

Submitted by Kate_14 on Wed, 05/27/2020 - 09:39

I added folding screens to my garden bed to prevent my dog to go in it. It can also discourage hares, cats and other animals. The folding screens make it easy to work in your garden.

Estimated Time Investment
Day Project (6-9 Hours)
Finish Used
None
Recommended Skill Level
Beginner

Rustic X Bench

Submitted by Aisha on Mon, 07/23/2012 - 10:11

Created the small easy rustic x bench, it was super easy to build even with all the small angles. Very good plans, the video was also nice to watch before getting started especially since I made mine 36" long and the handy tip on how to cut the cross braces helped. I also decided to use a 2x12 for the bench top as opposed to the 1x12 because it felt even more rustic to me.

Estimated Time Investment
Afternoon Project (3-6 Hours)
Finish Used
One coat of Varathane's Red Mahogany and two coats of Poly.
Recommended Skill Level
Beginner

Outdoor High Top Patio Set

I designed and built this "Caribbean Inspired" outdoor patio set based on the plans for the "Vintage Bar Stool". Once the stools were built, I designed the table to fit the height of the stools. The table top has stone mosaic tile and all surface are painted bright Caribbean colors. I do need to add the finishing touch of a cooler on the bottom shelf, but that's coming!

Built from Plan(s)
Estimated Cost
$225 for the material for the whole set (Not including the solar powered LED umbrella)
Estimated Time Investment
Weekend Project (10-20 Hours)
Finish Used
Behr exterior primer & paint, bright Caribbean Colors!
Rust Ole um clear lacquer spray finish (For sealing the paint & protection.)
Recommended Skill Level
Beginner

14 person farmhouse table

Submitted by Udeyhawk on Tue, 08/16/2016 - 16:49

My wife wanted to seat 14, so I basically doubled the plan with a few extra inches on each side.  We also wanted umbrellas, so drilled  holes where they would just meet.  The stain is the Behr semi-transparent deck stain and sealer in Harbor grey.

Estimated Time Investment
Weekend Project (10-20 Hours)
Recommended Skill Level
Beginner

Flatware Caddy

Submitted by Eddie A on Sun, 05/31/2020 - 13:19

We camp a lot in our travel trailer and until now we’ve always used a coffee mug to move our utensil around and keep them easily accessible; the problem was, that coffee mug was constantly falling over! I saw this and knew I HAD to make one.

Made this with scrap 2x6 and 2x4 boards which cause the measurements to be a bit different, but the results were still great! Super easy and gonna be very useful!!!

Built from Plan(s)
Estimated Cost
$10
Estimated Time Investment
An Hour or Two (0-2 Hours)
Finish Used
Varathane Weathered Wood Accelerator
Recommended Skill Level
Beginner

Modern Outdoor Sectional

Submitted by jtcalypso on Wed, 07/25/2012 - 10:02

Loved doing this as my first ever building project. Ana's plans made it easy and I found a tutorial for making the cushions at Sew Mama Sew. It's not perfect but we love it because it seats so many people comfortably and is exactly the right size for our patio. (All of our friends have complimented it like crazy, too!)

Estimated Time Investment
Week Long Project (20 Hours or More)
Finish Used
Opaque stain
Recommended Skill Level
Starter Project

Comments

spiceylg

Wed, 07/25/2012 - 10:34

You did a great job and those cushions are fab. I am a sewing novice and was too afraid to take them on.

JoanneS

Thu, 07/26/2012 - 16:32

You did such an awesome job on this. And it's your first project -- wow, it looks like it came right out of a furniture store and cost thousands! The piping on your cushions is a wonderful touch and it looks so flawless. Just beautiful!

Michelle212 (not verified)

Mon, 10/22/2012 - 08:15

Wow, this is really great. I love that color - How did you do the stain/paint? Is it meant for outdoor use?

Outdoor Lounge Chair

Submitted by Goldy272 on Mon, 05/19/2014 - 09:44

Simple outdoor lounge chair for use on our deck. This is a good design though if I had to do it over again I would make a few alterations:

- It's a bit flimsy, so for the chair frame, I would use 2x4's instead of 1x's.
- We are going to use them for seating at our patio table so I will make the others a bit shorter. The depth is awfully big for a dining chair but would be good for lounging.
- Used a 1x4 on the inside of the back frame to make the chair back more upright (as it said in the modified plans) would definately recomend.

Built from Plan(s)
Estimated Cost
$25
Estimated Time Investment
Afternoon Project (3-6 Hours)
Finish Used
None yet.
Recommended Skill Level
Intermediate

Farmouse

Submitted by Anonymous (not verified) on Fri, 08/19/2016 - 23:09

My first building project ever. Love it and plan on putting it in my dining eventually 

Built from Plan(s)
Estimated Cost
70
Estimated Time Investment
Weekend Project (10-20 Hours)
Recommended Skill Level
Beginner

Family Back Deck COVID19 Project Facelift

Submitted by Anonymous (not verified) on Tue, 06/02/2020 - 11:53

Thank-you so much Ana White! We took on our back deck as a family COVID19 “homeschool” two weekend project! Why just build a sectional sofa when you can build a sectional sofa, coffee table, farmhouse table with two benches, two Adirondack chairs and a side table that the 11 year old designed and built himself! Mission accomplished, he’s a builder for life.

Our deck was brutally neglected and the boys had had some exposure to power tools and small builds. We decided that the best way to remedy the situation was to set up a family build all at once so that the tools are out and then put back away after the build is complete!

The plans were easy to follow and incredible! Thanks again so very much!

Estimated Time Investment
Week Long Project (20 Hours or More)
Finish Used
Stained the sofas, chairs, coffee and end table with outdoor solid stain. Used the same solid stain on the bottom of the farmhouse table benches, and outdoor oil based spar varnish on the farmhouse table and bench tops. Finished the look by refinishing the deck with Behr Penetrating Oil finish in Chocolate and cushions from Lowes for the sofa. Adirondack chair cushions were sewn by myself with Sunderland fabric leftover from front porch, cushion inserts from IKEA.
Recommended Skill Level
Beginner

Modified Trestle Table

Submitted by Ryan on Fri, 07/27/2012 - 06:24

This is the kitchen table that I made when my wife said I "wasn't handy", I'm pretty sure she meant she wanted me to replace the ceiling in the dining room...

I took the Farmhouse Table plans and changed them a bit to create a true trestle table. I'm pretty happy with the results.

Unfortunately there isn't anywhere to put the Google SketchUp of this project.

Estimated Cost
$250
Estimated Time Investment
Week Long Project (20 Hours or More)
Finish Used
I used a cherry gel stain and a jacobean traditional stain, finished with poly. Two coats of cherry followed by the jacobean and three coats of the poly.
Recommended Skill Level
Intermediate

Comments

Ryan

Wed, 09/05/2012 - 11:57

Basically I combined the farmhouse and trestle table plans that Ana has up here... I didn't want to use a metal bar to fasten the legs, so I used a wood cross brace. Though honestly with the large box legs, the table is very sturdy even without a cross brace. I have a Google SketchUp of this project if you want it.

MaryMurray

Sun, 12/01/2013 - 20:05

I love the color of the finish. I am just about ready to start building my farmhouse table and was looking for a nice color for the finish. Thanks for sharing!

Florida Cypress Truss Beam Farmhouse Table

Submitted by Abesurfman on Thu, 05/22/2014 - 19:37

Here's my take on the Truss Beam Farmhouse Table using native Florida Cypress which was cut to size from raw logs at a local cypress mill. Thanks so much for the inspiration and plans. My wife loves it and it looks great in our first home.
I finished it with Odies Oil and a combination of Odies Oil and Odies Butter for the table top to preserve the natural beauty of the wood while protecting it from food and liquids.
I probably spent $600 in all but I got a killer deal on the wood which should have cost around $800-$900. I would guess that if I were to try to buy a table like this one out of the same wood, it would have easily cost over $3,000.

Built from Plan(s)
Estimated Cost
$600
Estimated Time Investment
Week Long Project (20 Hours or More)
Finish Used
Odies Oil & Odies Wood Butter. Both are rub on applications.
Recommended Skill Level
Intermediate

Comments

spiceylg

Fri, 05/23/2014 - 11:07

This table is on my must have build list. This is a beautiful build and that wood is gorgeous!!!

Jake'n'Leelo

Mon, 11/10/2014 - 08:16

Hi! Your table looks amazing! Did you modify the size? If yes, what tabletop size did you end up going with? I am going to have to modify mine to fit my dining space but am concerned about how it will affect the truss beams.

In reply to by Jake'n'Leelo

Abesurfman

Wed, 01/07/2015 - 08:05

I modified both the tabletop and the base.
The final length of the top was about 69" (+ or - an inch or two). In the pics you'll notice the breadboard ends are half the original size. These pieces were pecky cypress and one of them was very pecky which would have made it difficult to join.
As for the base, because of how sturdy the table top joints are (pocket screws and wood glue) and the smaller breadboard ends, I decided it wouldn't matter if the table legs were directly bellow the breadboard end joints. I also preferred extra legroom clearance (tall people problems) so I made that the priority and adjusted the base for the desired legroom. Not sure the exact measurement but it looks like it was about 15" on each side. After almost a year of everyday use it seems that I was right, supper sturdy and going strong.

jefsocmw

Thu, 08/06/2015 - 10:19

Your table looks awesome. I am preparing to make this also and during my research I have found comments over the concern with attaching the breadboard ends. Instead of pocket holes, the true woodworking suggestions are to use mortise and tenon joints with gaps to allow for expansion and contraction a described here, http://goo.gl/Or5HJM. What method did you use and how is it holding up? My goal is to build a table that will last and that looks professionally made our as close to it as I can get. 

Keepsake doll crib and highchair

Submitted by Anonymous (not verified) on Mon, 08/22/2016 - 12:54

We were trying to figure out what to give our granddaughter for Christmas when the great grandparents arrived with our 2 kids old maple crib from the 80's. After much debate(well, not really, apparently the crib now breaks every law in the book!)  we decided to repurpose it into keepsakes. Enter Ana White!  We settled on a doll crib and doll highchair.  After many design changes trying to best utilize the old wood we came up with these. As you can see they were a hit and luckily very sturdy!  There are now 2 doll cribs, 2 high chairs and 4 granddaughters, each family has a set as a keepsake.  There are a few scraps left just in case a grandson happens along! Should be enough for a logging truck!

Estimated Cost
$30
Estimated Time Investment
Weekend Project (10-20 Hours)
Finish Used
Original finish plus Danish oil and clearcoat on cut ends
Recommended Skill Level
Intermediate

Picnic table

Got the plans on here had a little trouble with the angles on the seat but overall looks good and was easy to follow the plans

Built from Plan(s)
Estimated Cost
Free wood just time invested and $10


in screws
Estimated Time Investment
Afternoon Project (3-6 Hours)
Finish Used
None yet
Recommended Skill Level
Advanced

workbench

Submitted by vic b on Mon, 07/30/2012 - 13:43

kids workbench

Estimated Cost
$60
Estimated Time Investment
Afternoon Project (3-6 Hours)
Finish Used
clear finsih
Recommended Skill Level
Beginner

OutDoor dining table

My wife and I were looking for a larger table for our deck and after searching and seeing that everything out there was 300 dollars and up for something decent I decided I would try building something. This table was perfect for our needs and looked easy enough for me to put together. The most time consuming part was staining all of the boards as I went but it was totally worth it in the end. I also deviated from using screws and used my nail gun along with some glue to put the top frame together and the slats on but I did use some 2inch deckmate screws to attach the legs. One problem I did run into was I was about half a board short on the slats which wasn't a big deal just ripped one on the table saw, not sure if I miss measured or what but either way. We love our table and will entertain around it for years to come.

Built from Plan(s)
Estimated Cost
Around 80 Dollars
Estimated Time Investment
Day Project (6-9 Hours)
Finish Used
I used a Behr deck stain that was solid the color is called Russett and I did with a 3inch brush.
Recommended Skill Level
Beginner
Back