Simple 2x4 potting bench modified to include antique window.
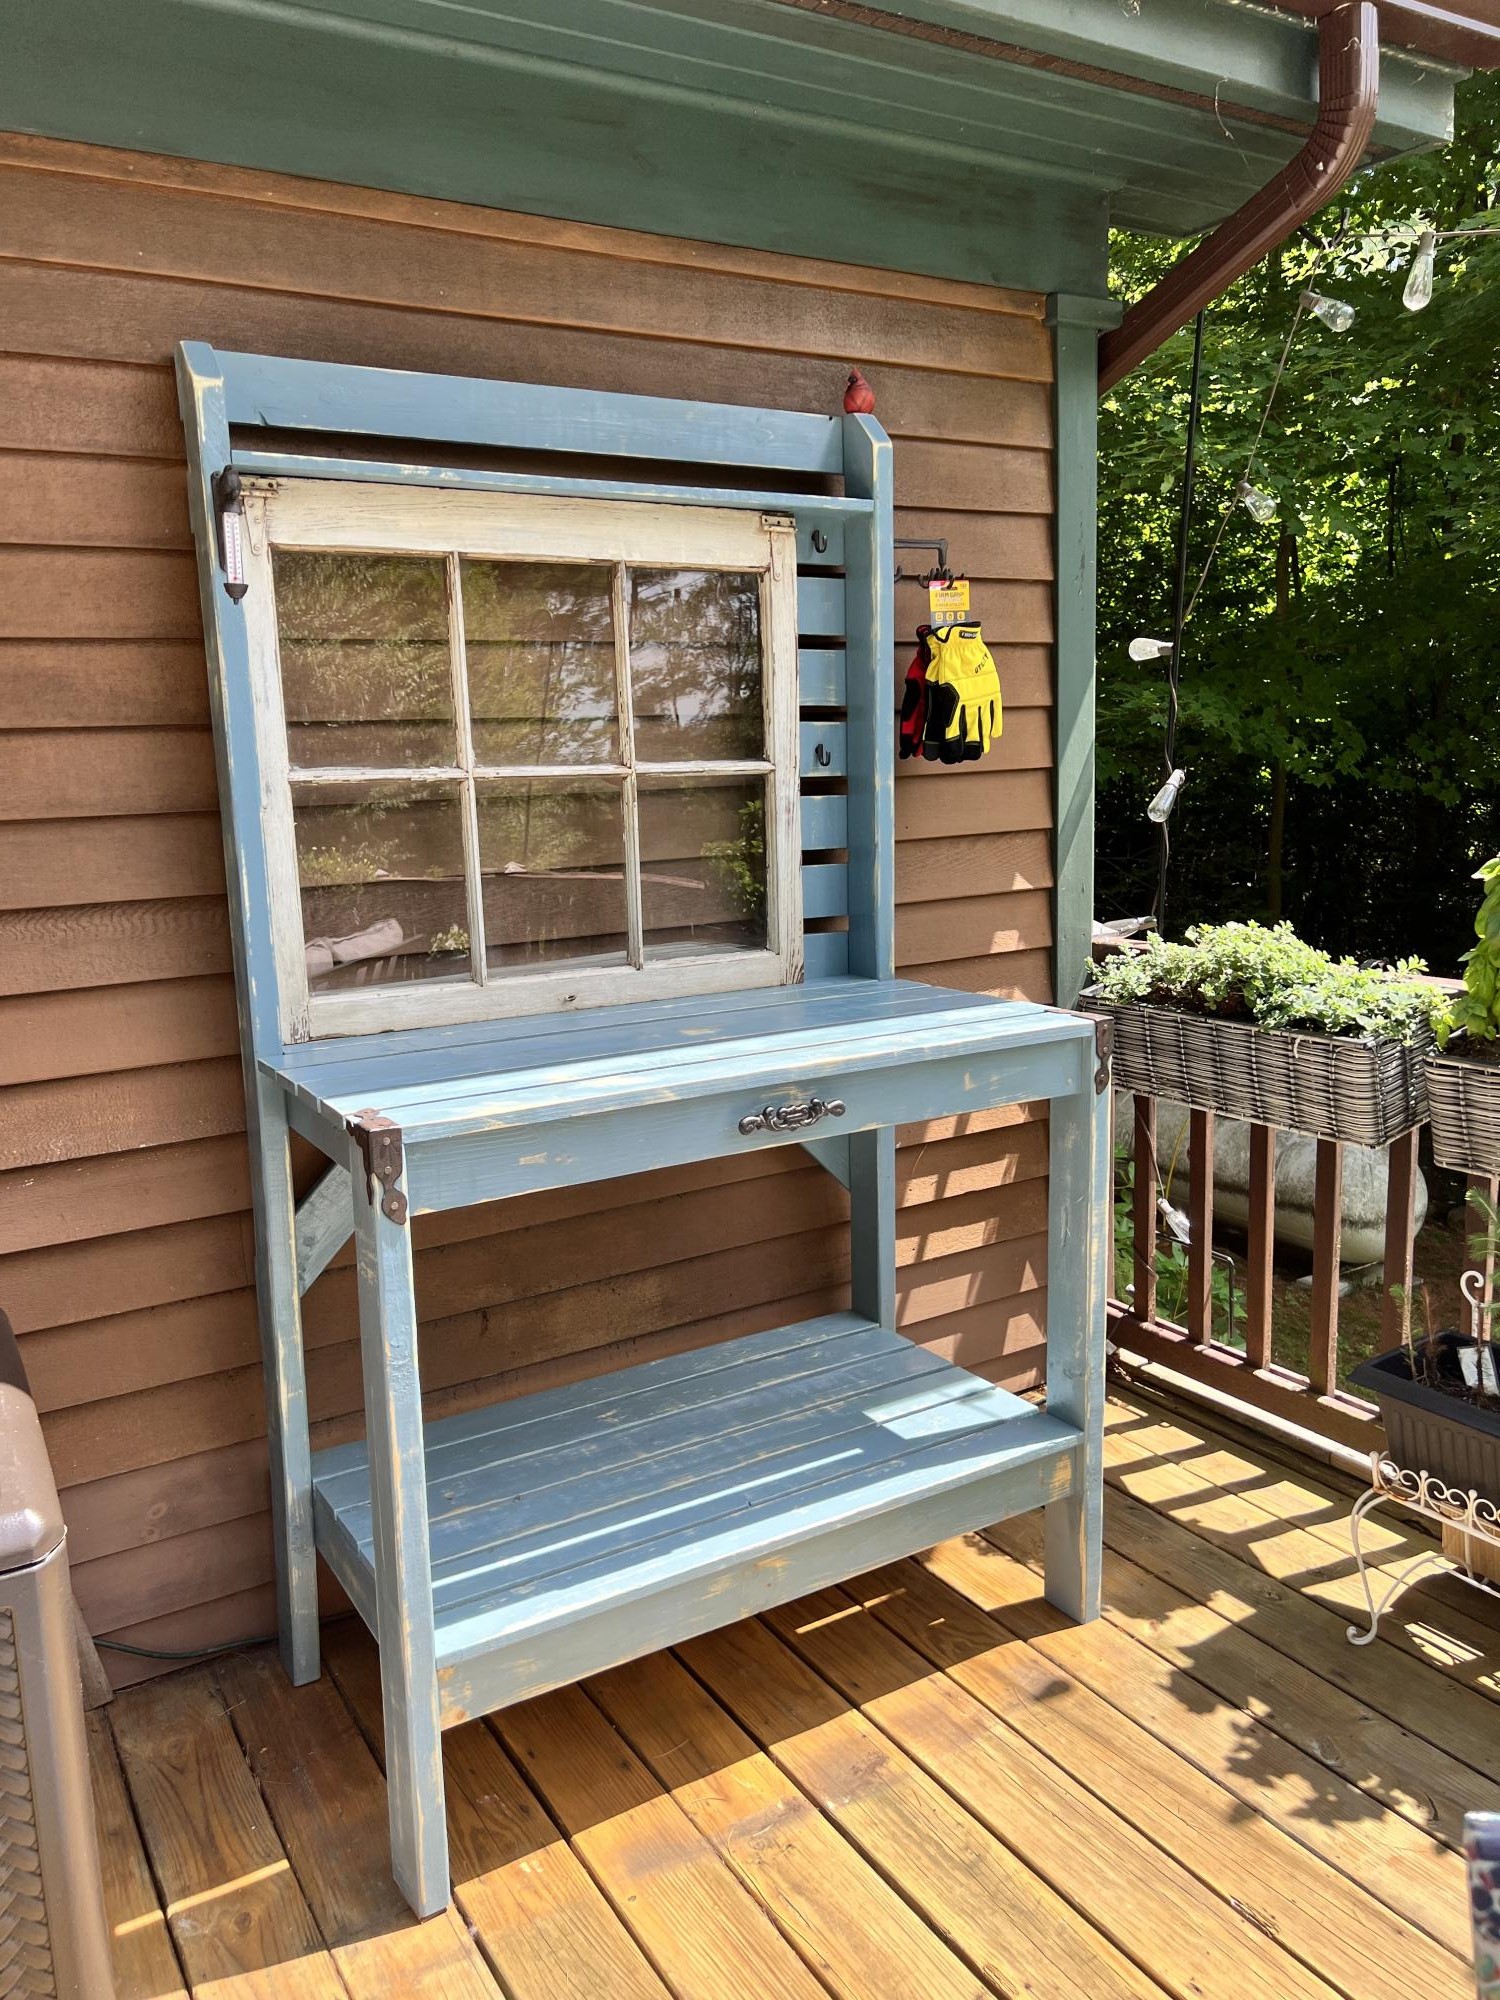
I made this for my mom for her birthday. I just modified the measurements to accommodate the window and added some cool hardware.
Built from Plan(s)
I made this for my mom for her birthday. I just modified the measurements to accommodate the window and added some cool hardware.
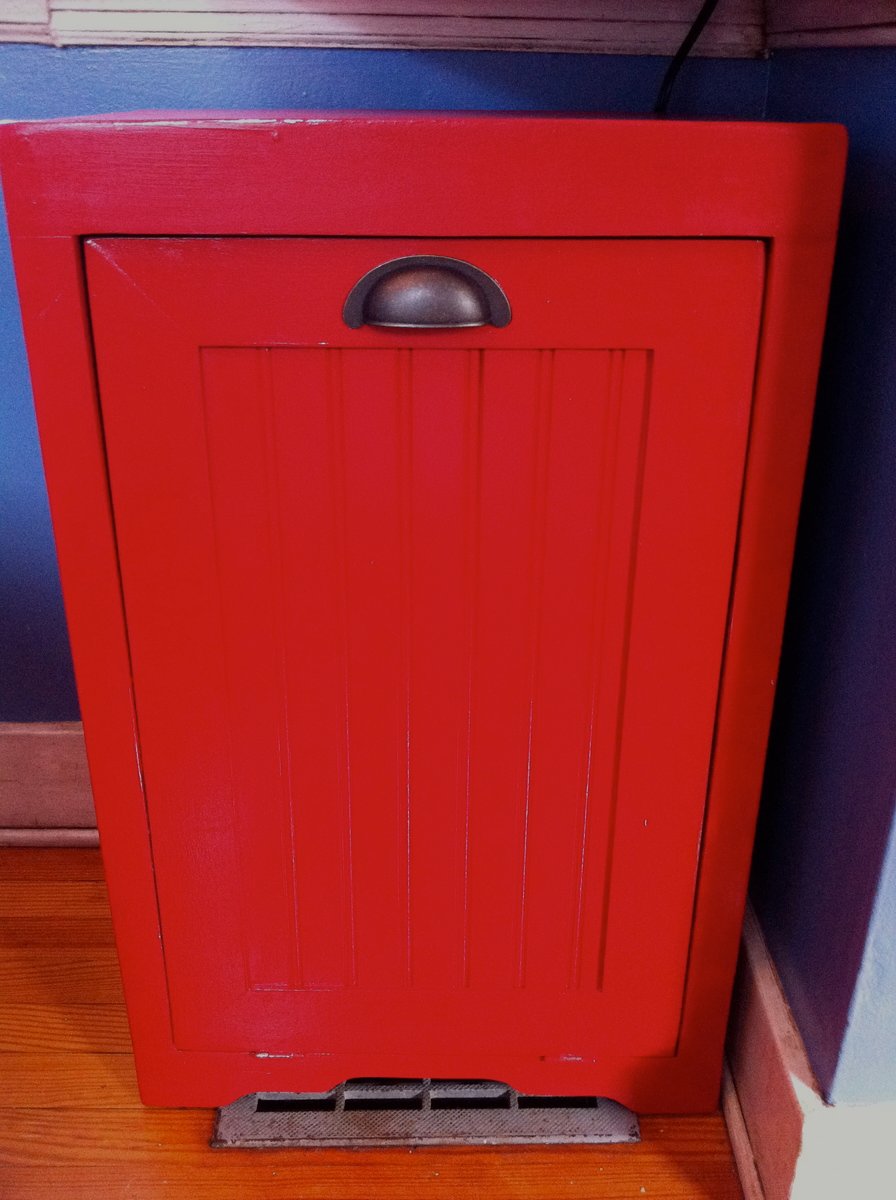
We built this tilt-out cabinet for our trash and plan to build a matching one for our recycling. We modified it a little and used bead board on the face of the cabinet to match some other elements in our kitchen. We painted it bright red using some leftover paint and absolutely love it!
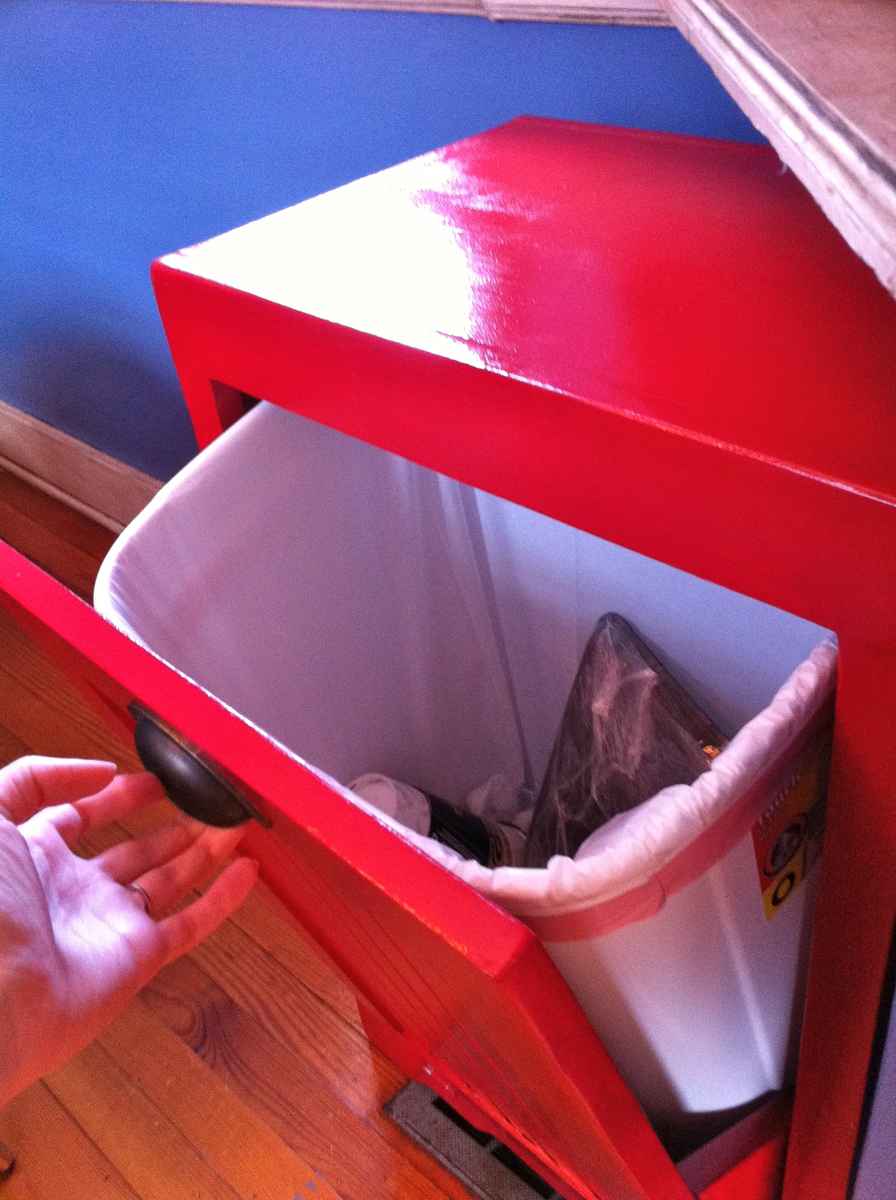
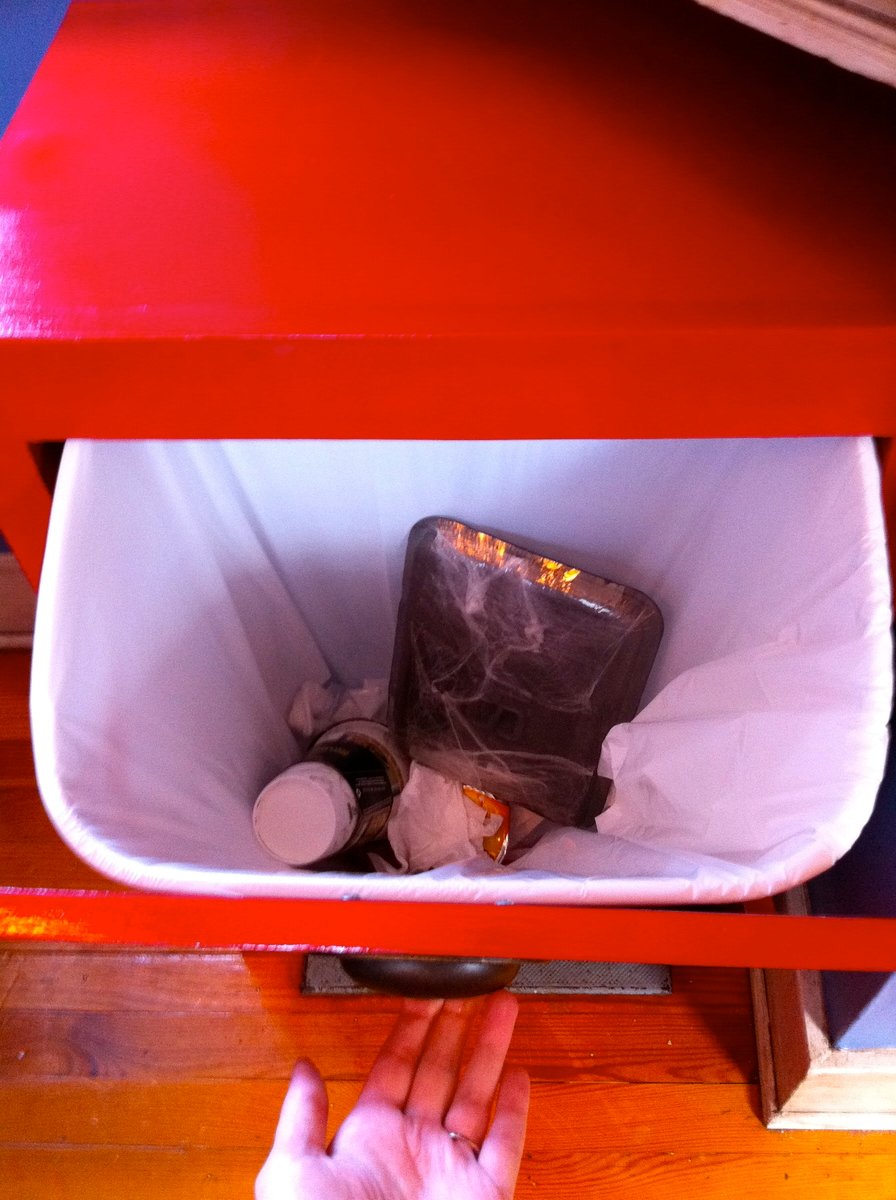
We ended up not using any mechanism to prevent the drawer from falling to the ground - the trash can we purchased is JUST big enough that it stops the drawer from opening all the way, which is great!
There are more pictures below and on our blog, http://strawbridgestuff.com

In reply to plans by project maker
Thu, 03/01/2012 - 09:40
We used Ana's plan for a tilt-out trash can, http://ana-white.com/2011/04/wood-tilt-out-trash-or-recycling-cabinet, and just used some beadboard paneling instead of doing the raised panel on the door. Hope that helps!
Fri, 09/07/2012 - 12:35
Your trash bin looks great. I too love the beadboard. I am putting a lot of beadboard in a small house I am planning on renting until my kids are out of college, then I want to make it into a place I can teach sewing and make furniture covers.
Thu, 10/29/2015 - 08:51
Is there a sketchup file for this plan? I would like to modify it alittle but it would take me awhile to reproduce due to my bad sketchup skills.
Thanks!

Sun, 03/27/2016 - 01:31
I love this! I live in a one bedroom apartment and I just have a space between the fridge and a cabinet for pots and pans where the bin sits. I've always found this ugly to be honest but haven't known how to change it but this is perfect, thank you!
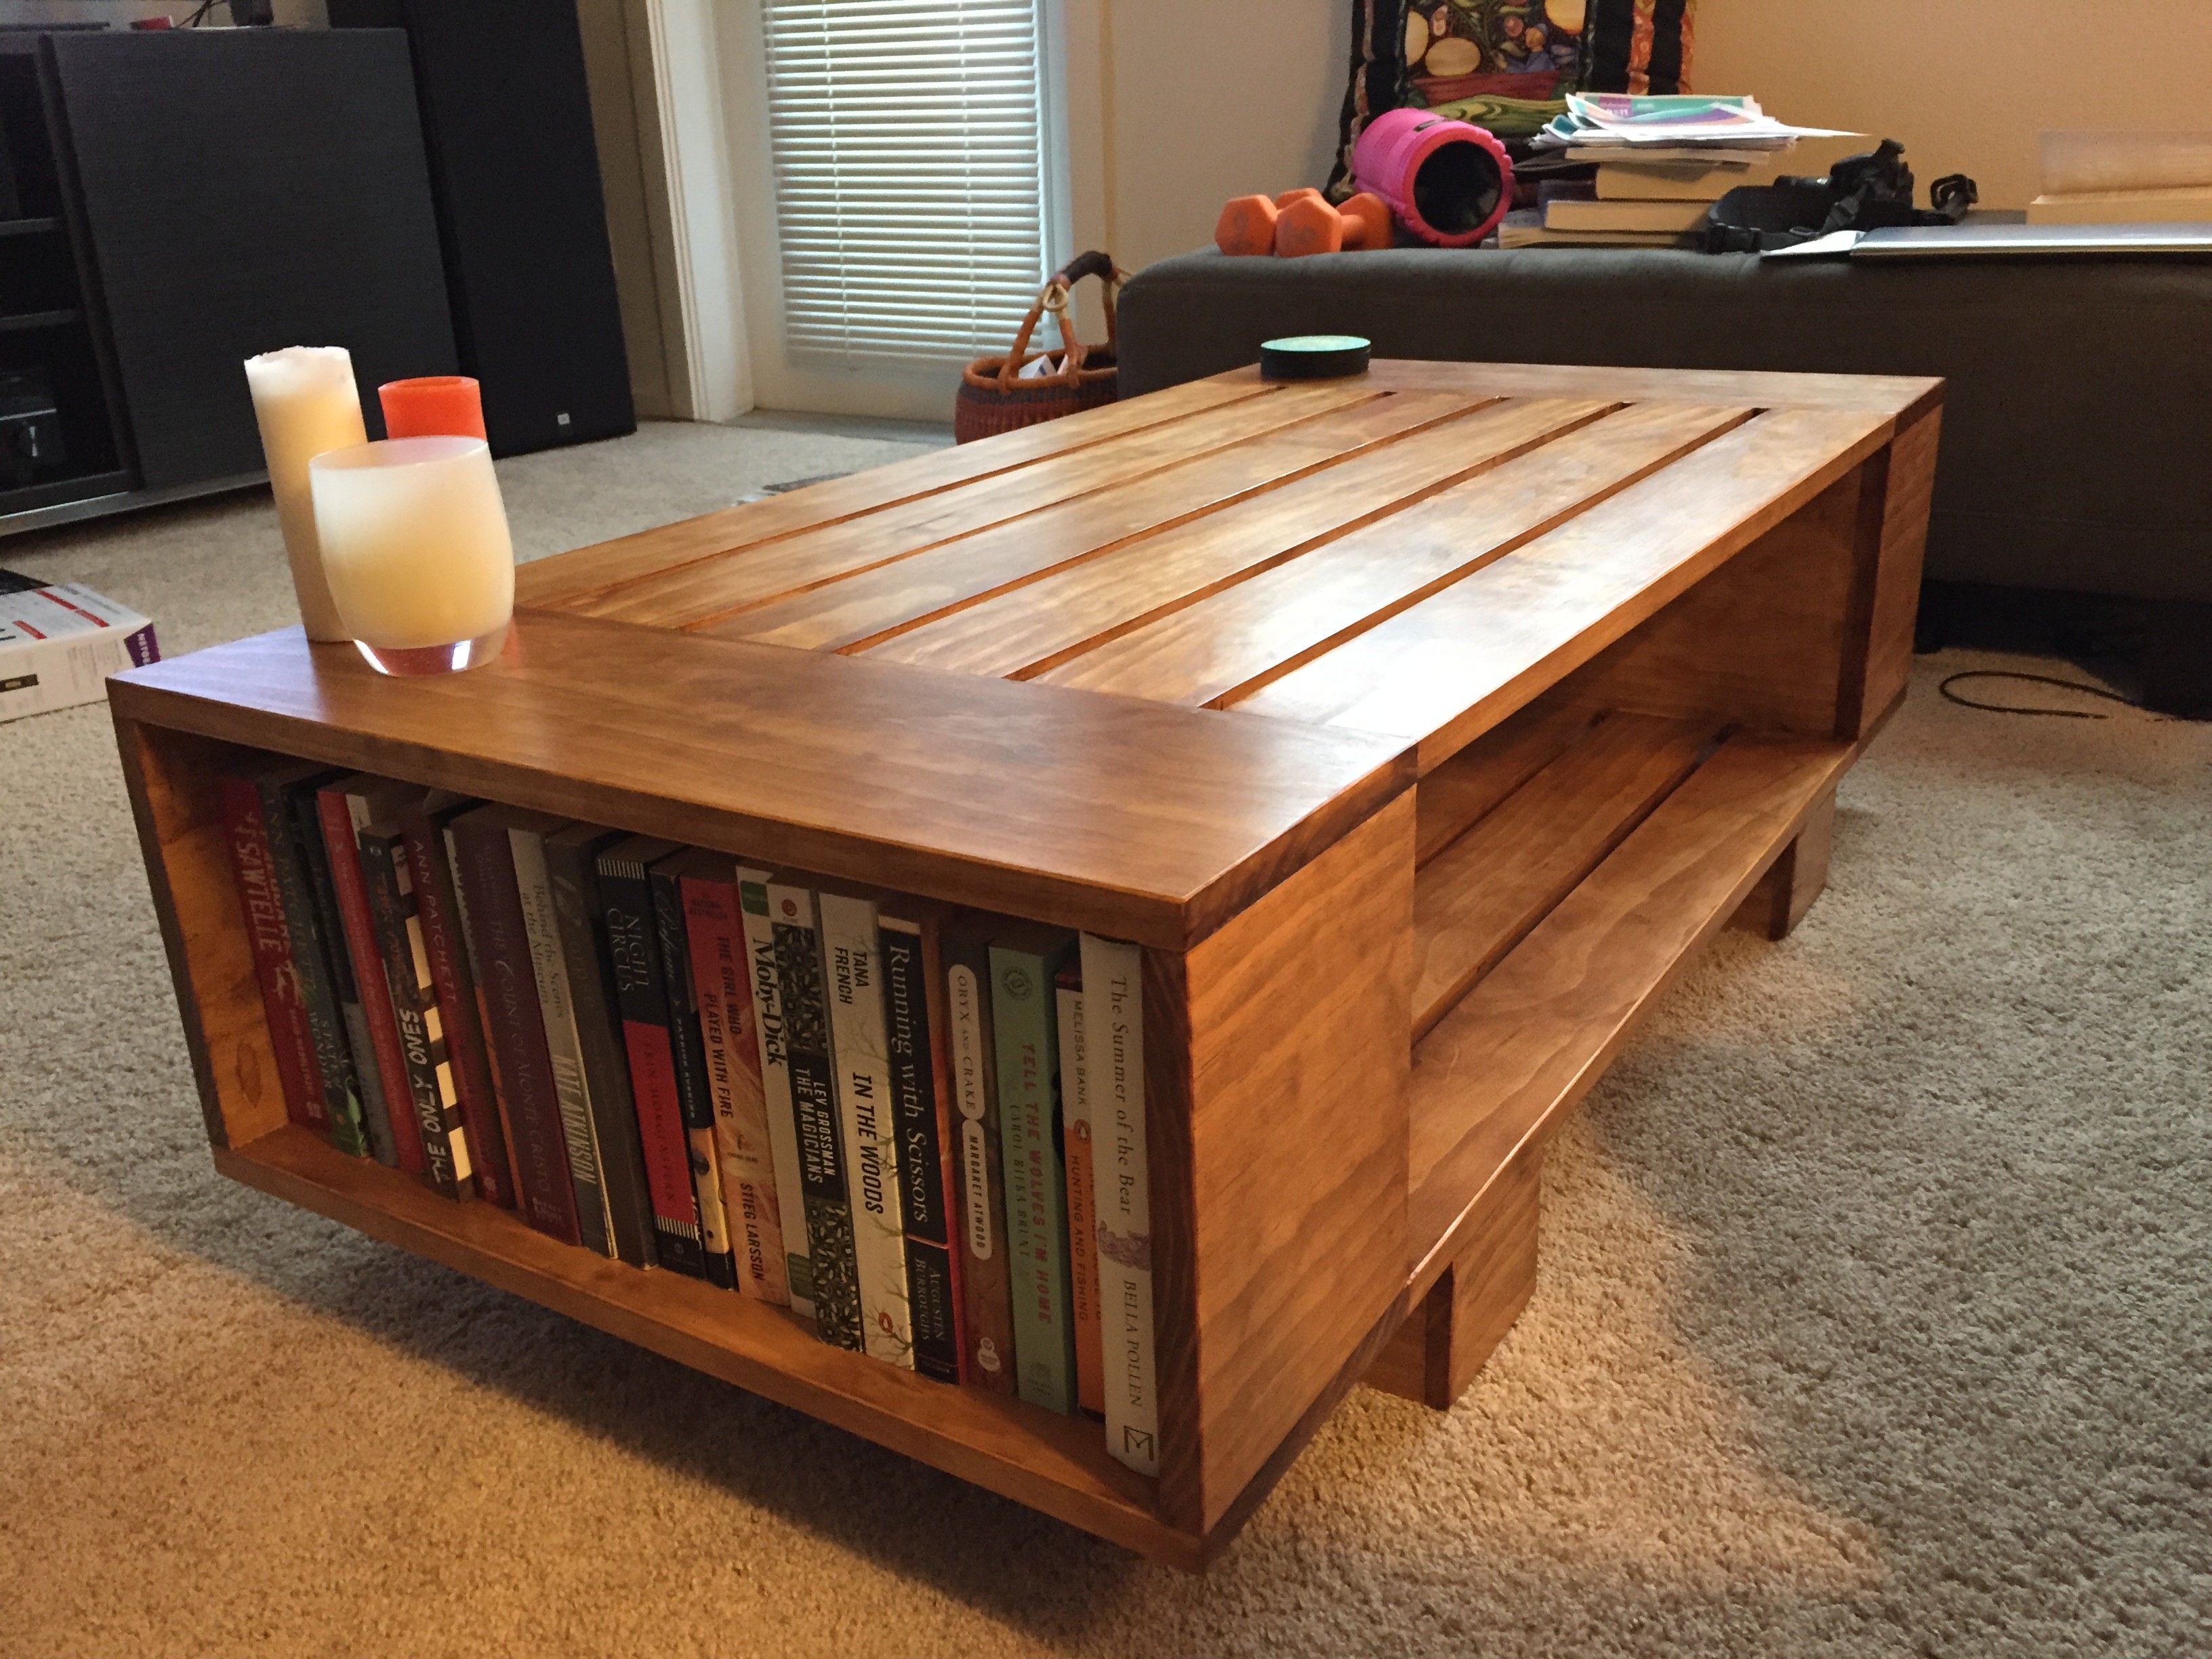
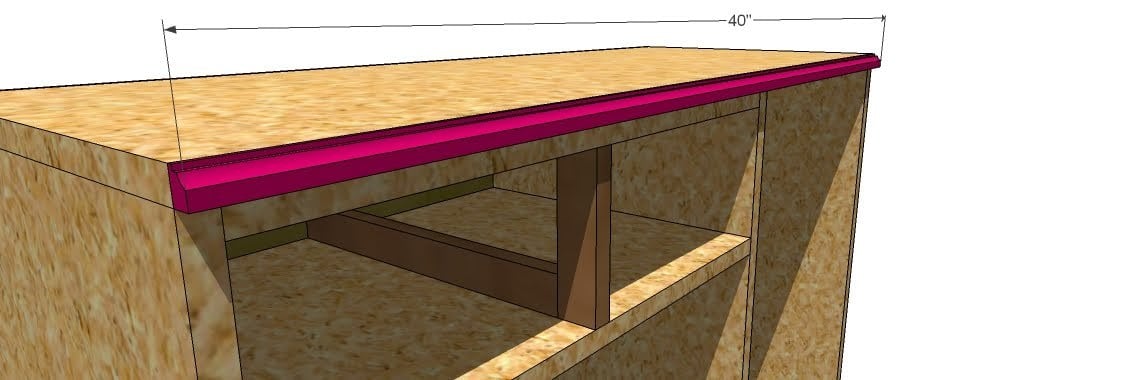
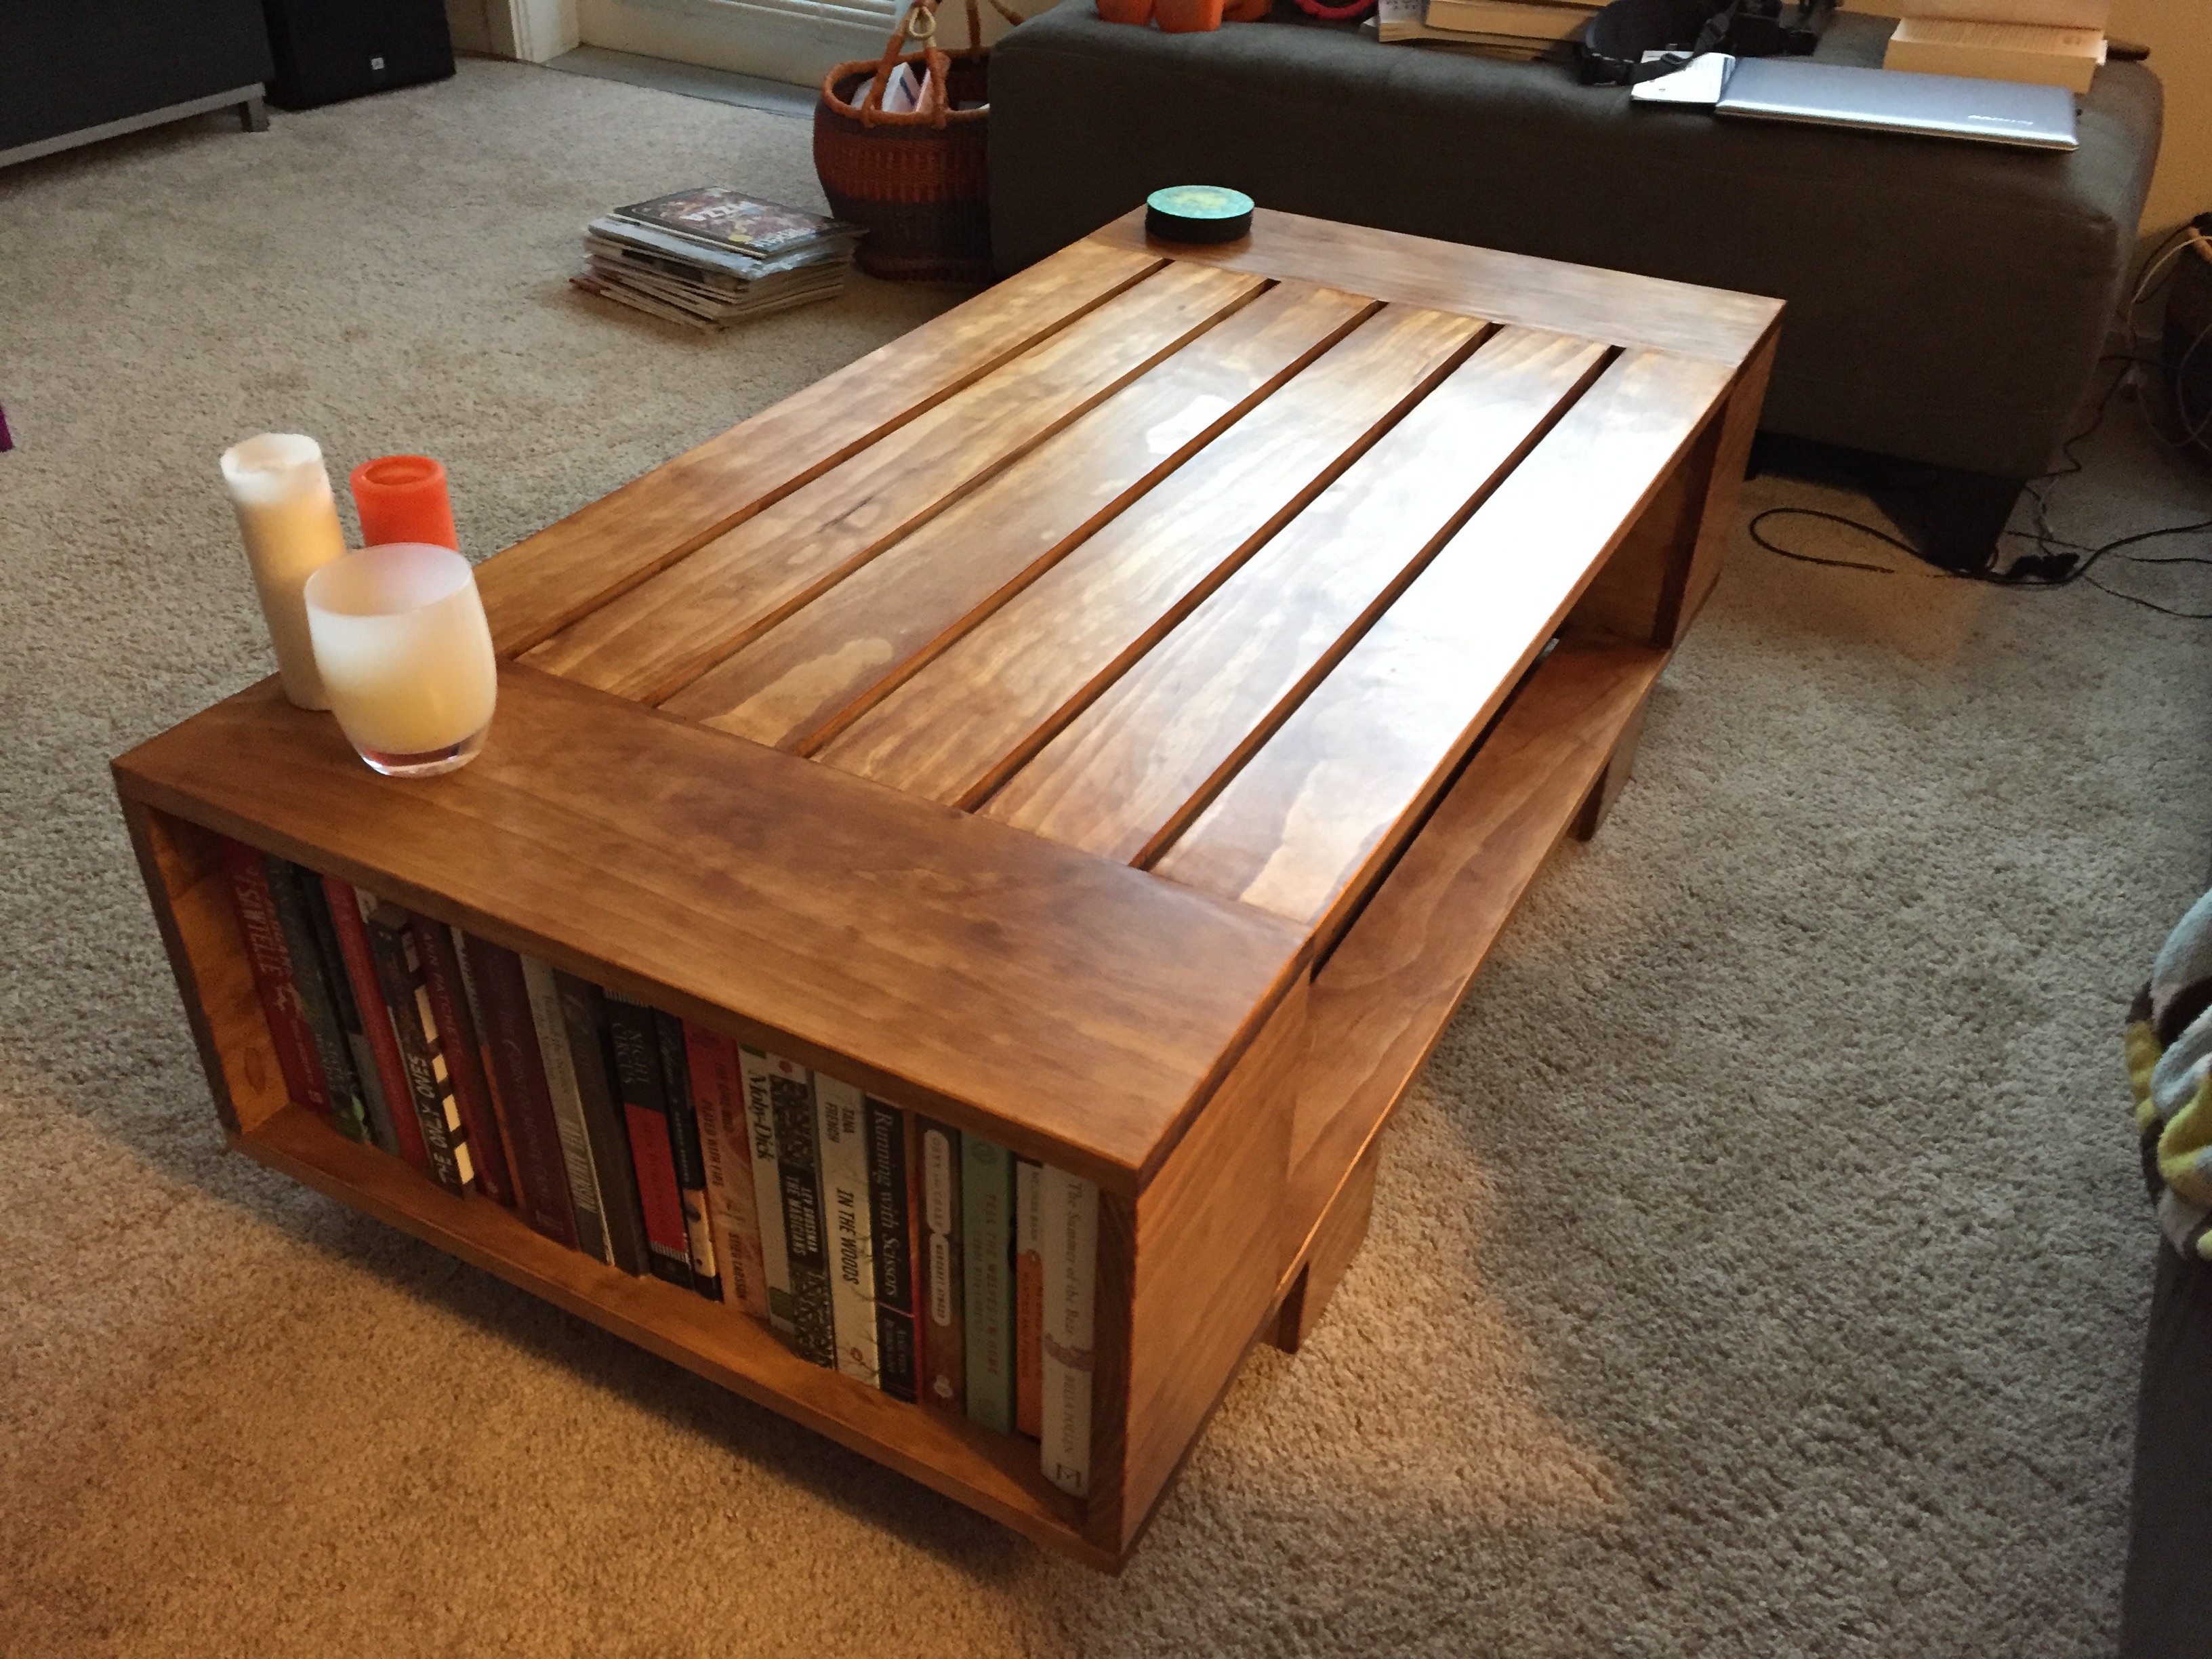
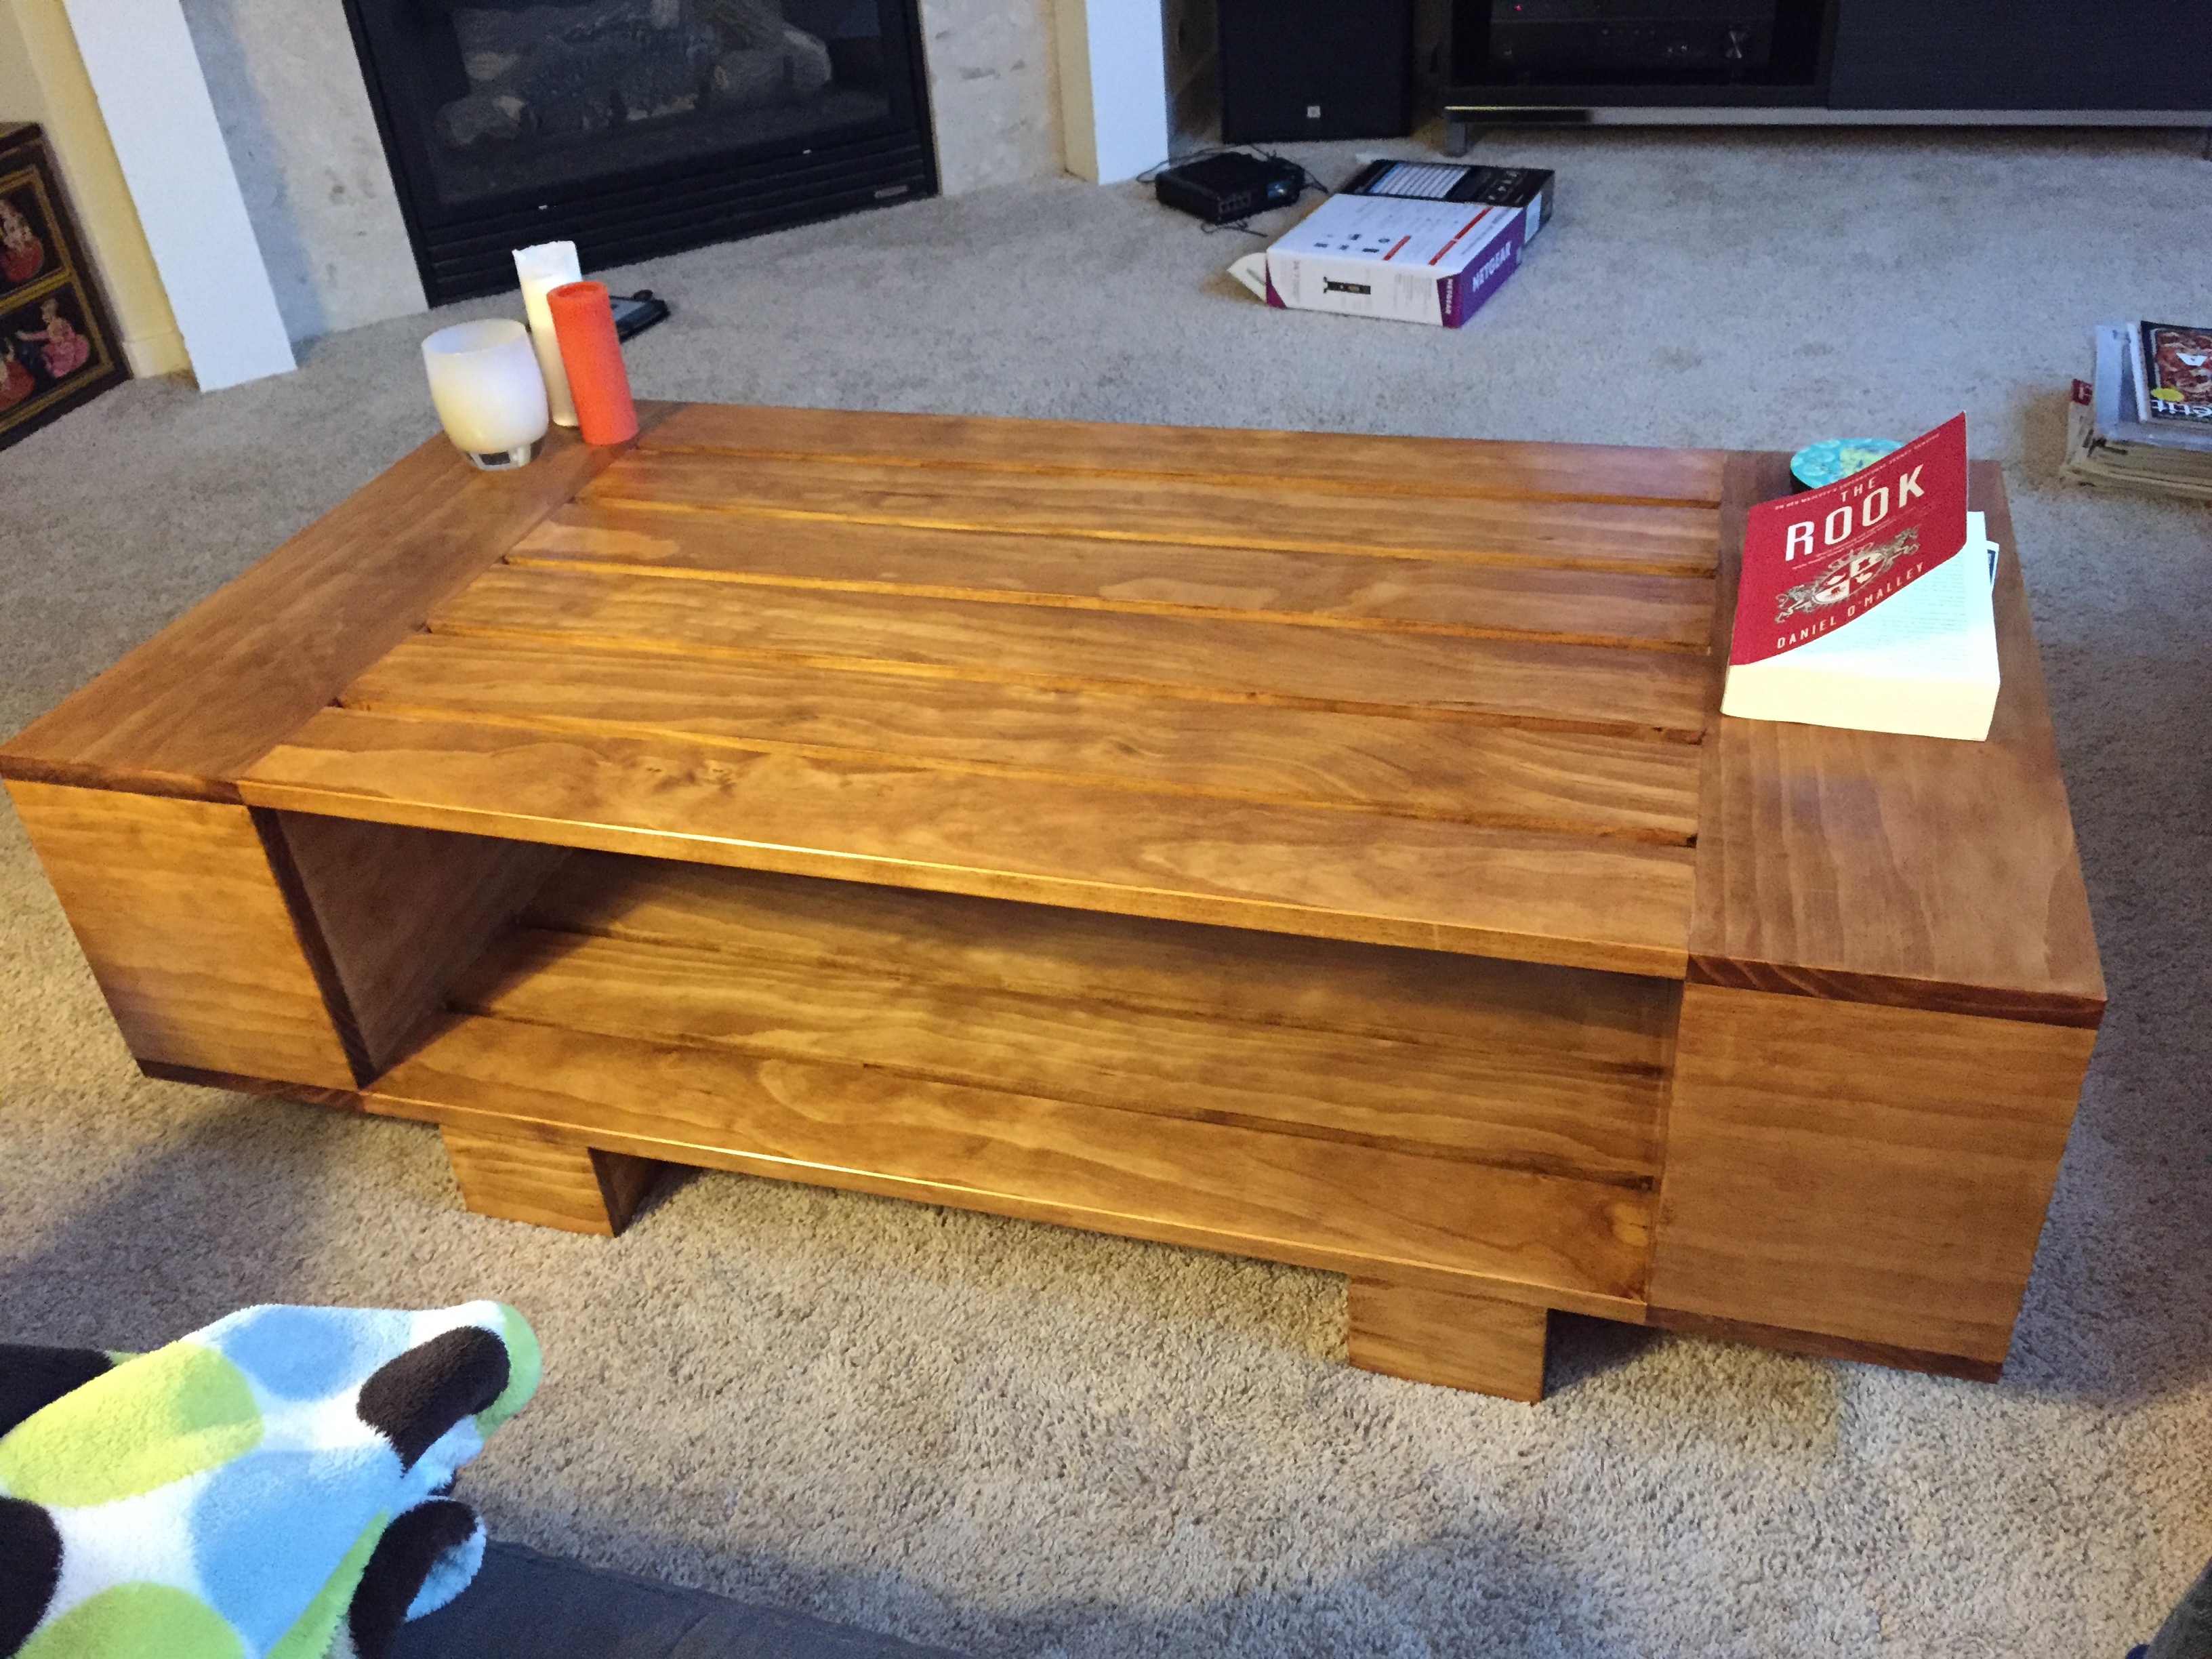
First time I designed a piece of furniture. Made out of pine. Slat top and bottom with book shelves on both ends. Joints held with glue and pocket screws. Minwax pre-stain conditioner. Two coats of Minwax Provincial stain. Three coats of polyurethane.
Sat, 01/14/2017 - 08:58
I really want to make this table! It's simple, yet very functuional and exactly what I need! Please help me with some plans or some instructions. It is the first piece of furniture I will try to make on my own :)))
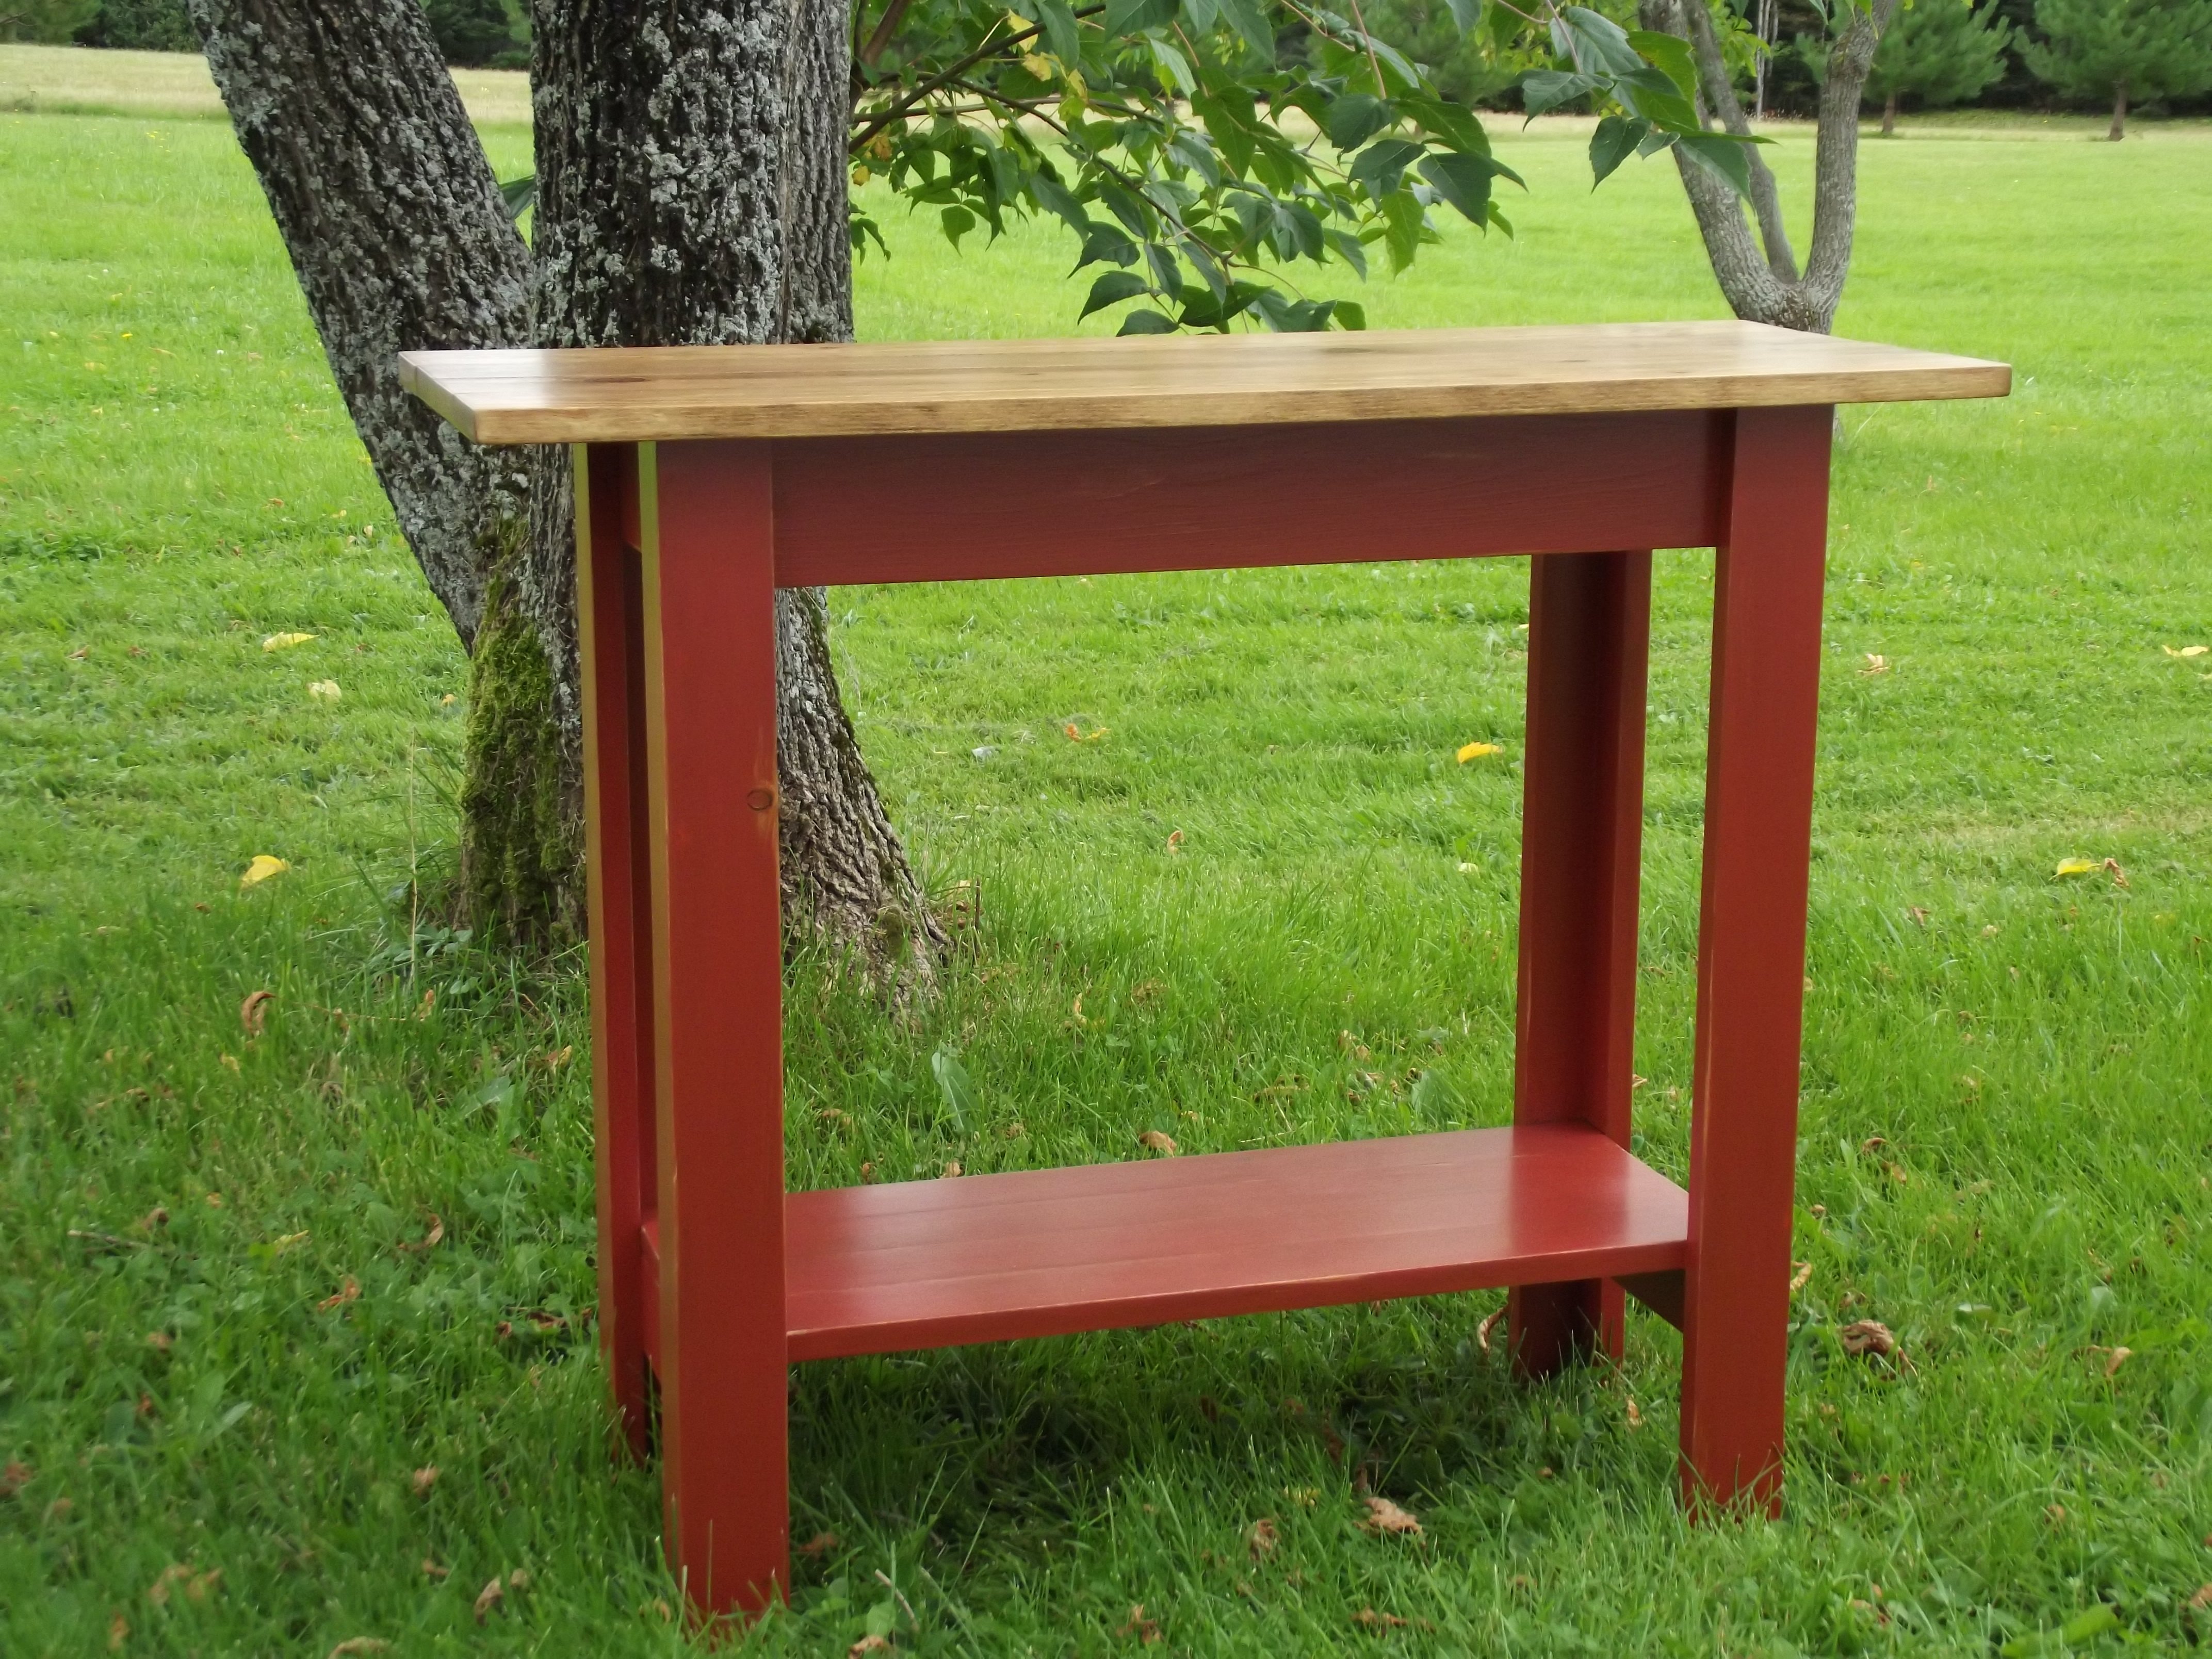
I used Ana's plans for the Simple, Cheap and Easy Console Table and modified it. I used 1x4 boards for the top of my table and added a bottom shelf using 1x3s. The top is stained with Minwax Early American and the bottom of the table has 2 coats of red paint and a chocolate glaze. I lightly sanded some areas of the table (it was my first time distressing a piece of furniture so I didn't want to overdo it) and then I used a chocolate glaze to get a distressed look. I finished it with 3 coats of Polyurethane.

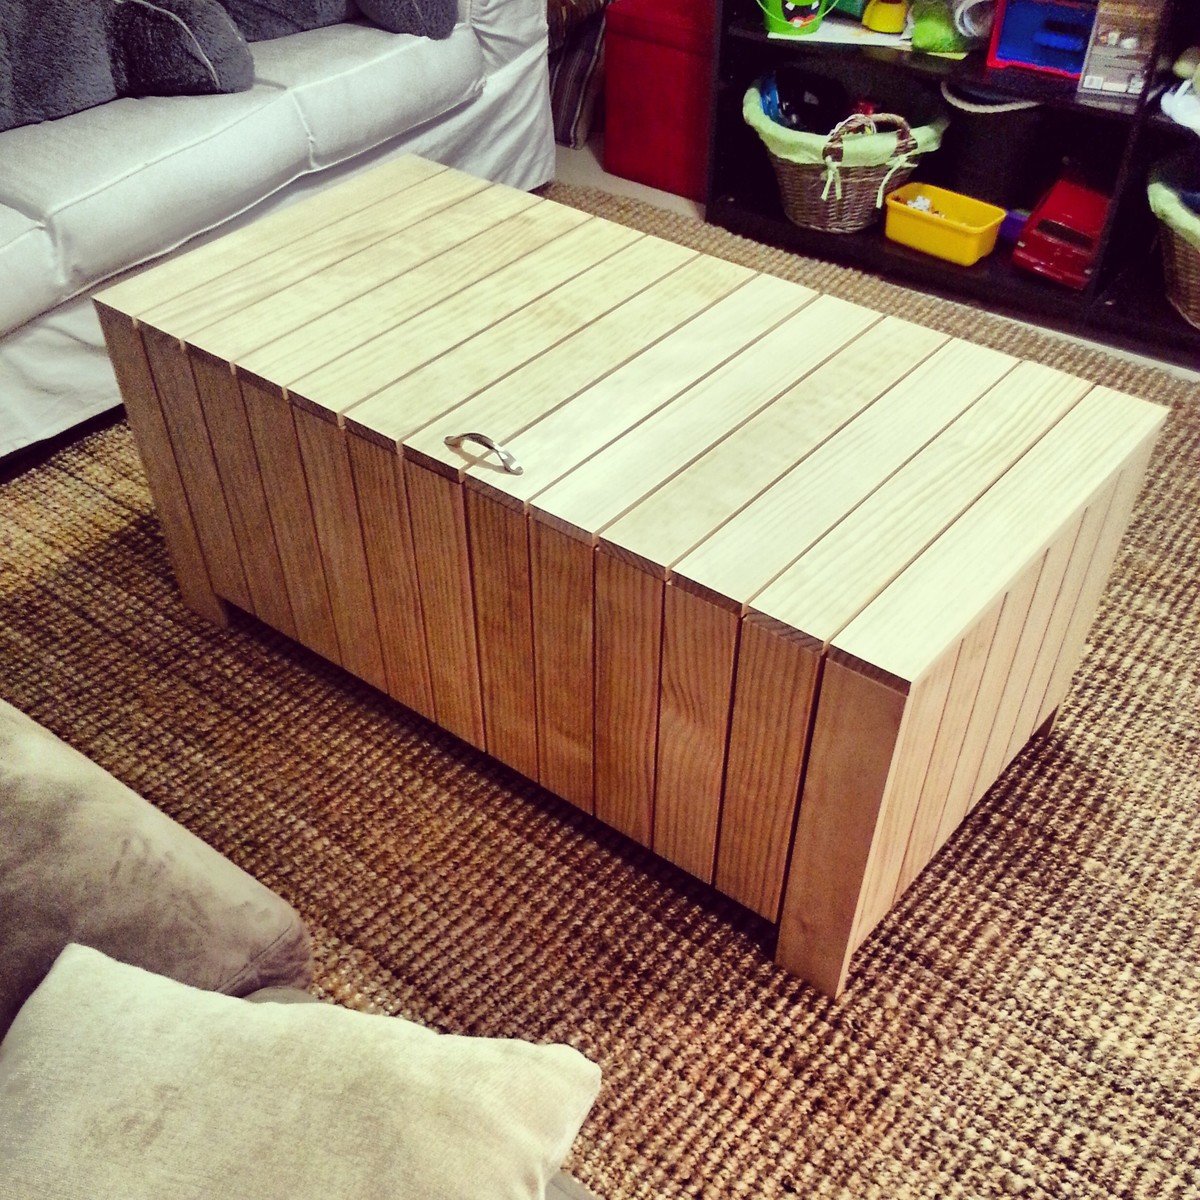
I am redesigning my family, which is really the children's playroom. I have decided to change it to a beach theme. I saw the project on this site and knew immediately it would be a perfect fit as a storage/coffee table. Within 5 minutes of me completing the box, my three year old started filling it up with toys.
I have to admit it is slightly tall for a coffee table, so I'm debating cutting off the legs. It would be easy enough to do without taking the entire project apart and it would make it the perfect height.
I did have to plan my build around my work schedule and the kids, so I did what Ana suggested and built a panel a day. I cut all the wood one day, then built a panel a day. The last day, I started putting the pieces together, put the bottom boards in and made the top.

I followed the plans except for the top, I used a 2x12, 2x4 and 2x12 pocket holes together.
Burnt the wood with a torch and stained over.
Thanks for the plans!
Questions? [email protected]
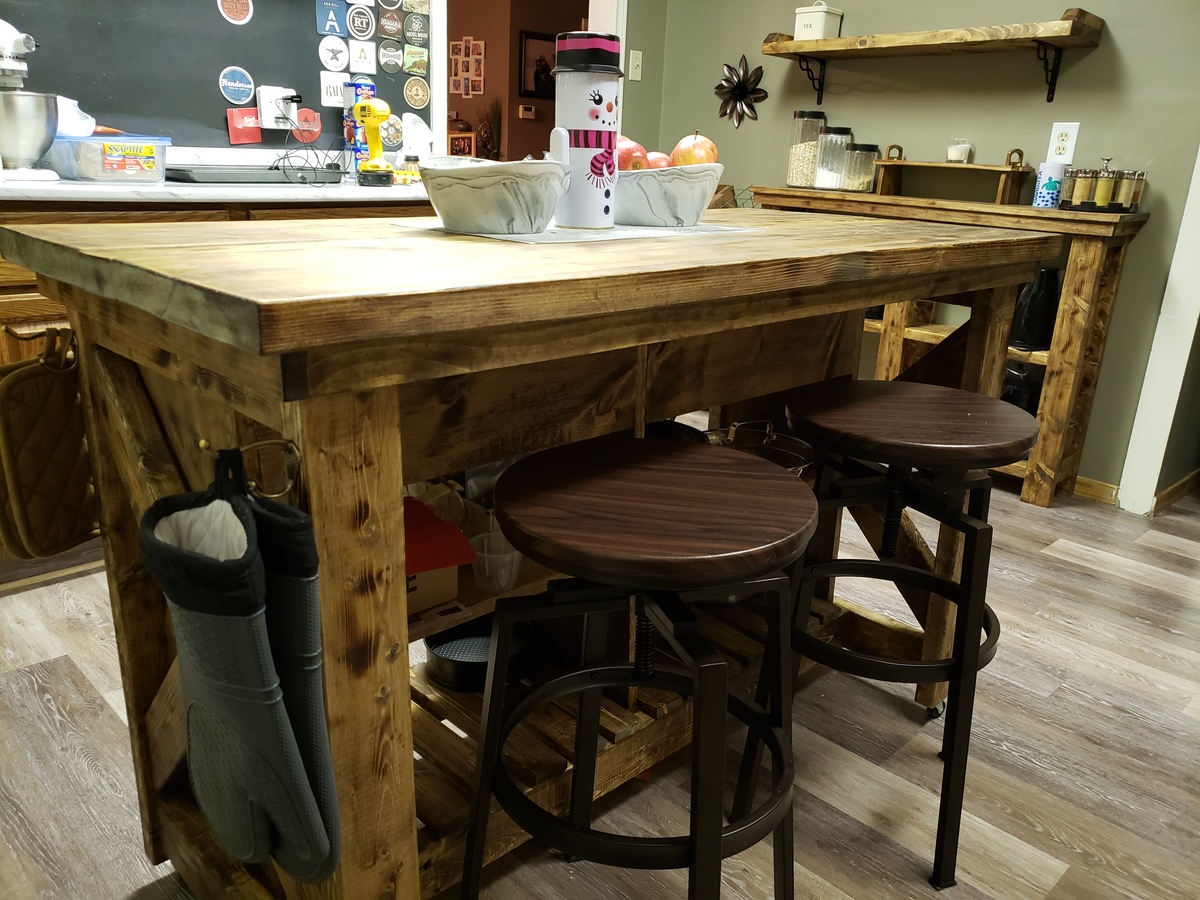
Had fun making this one! Kept it rustic and added something other than white. Thanks for the great plan!
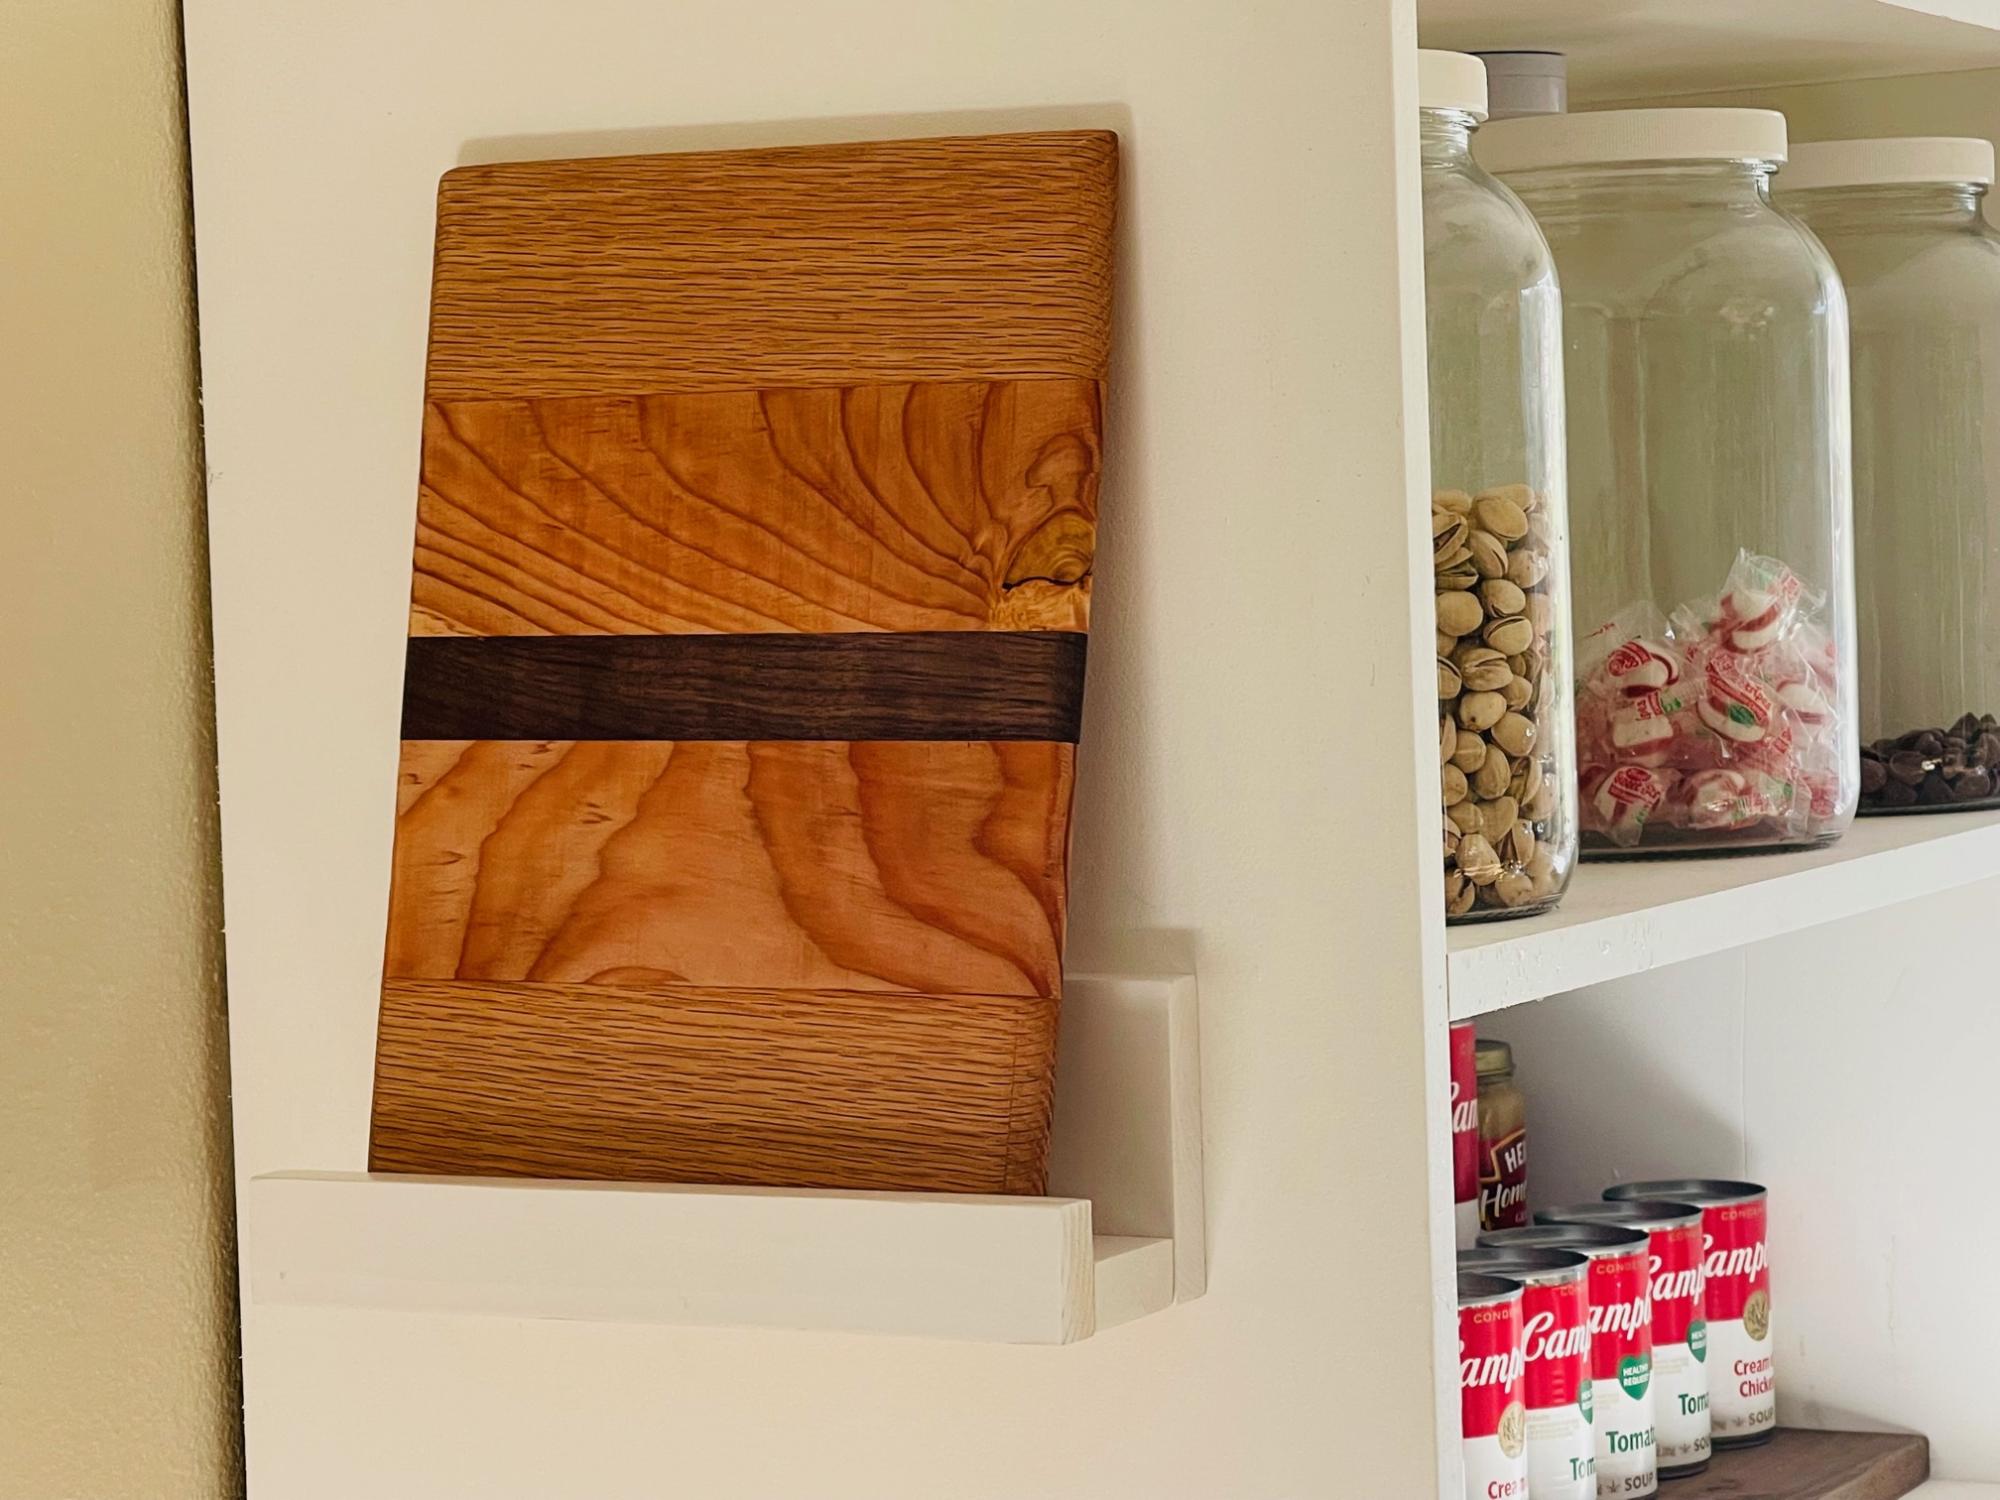
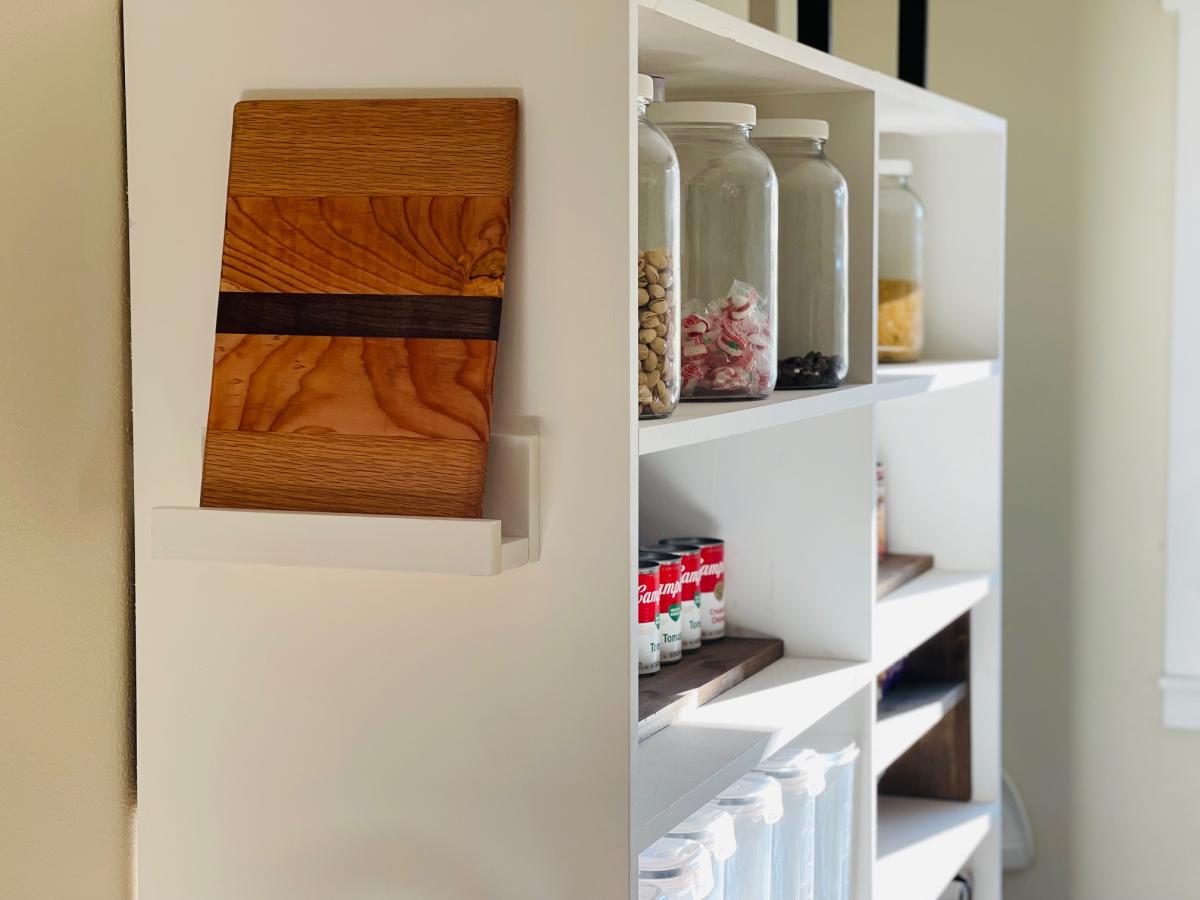
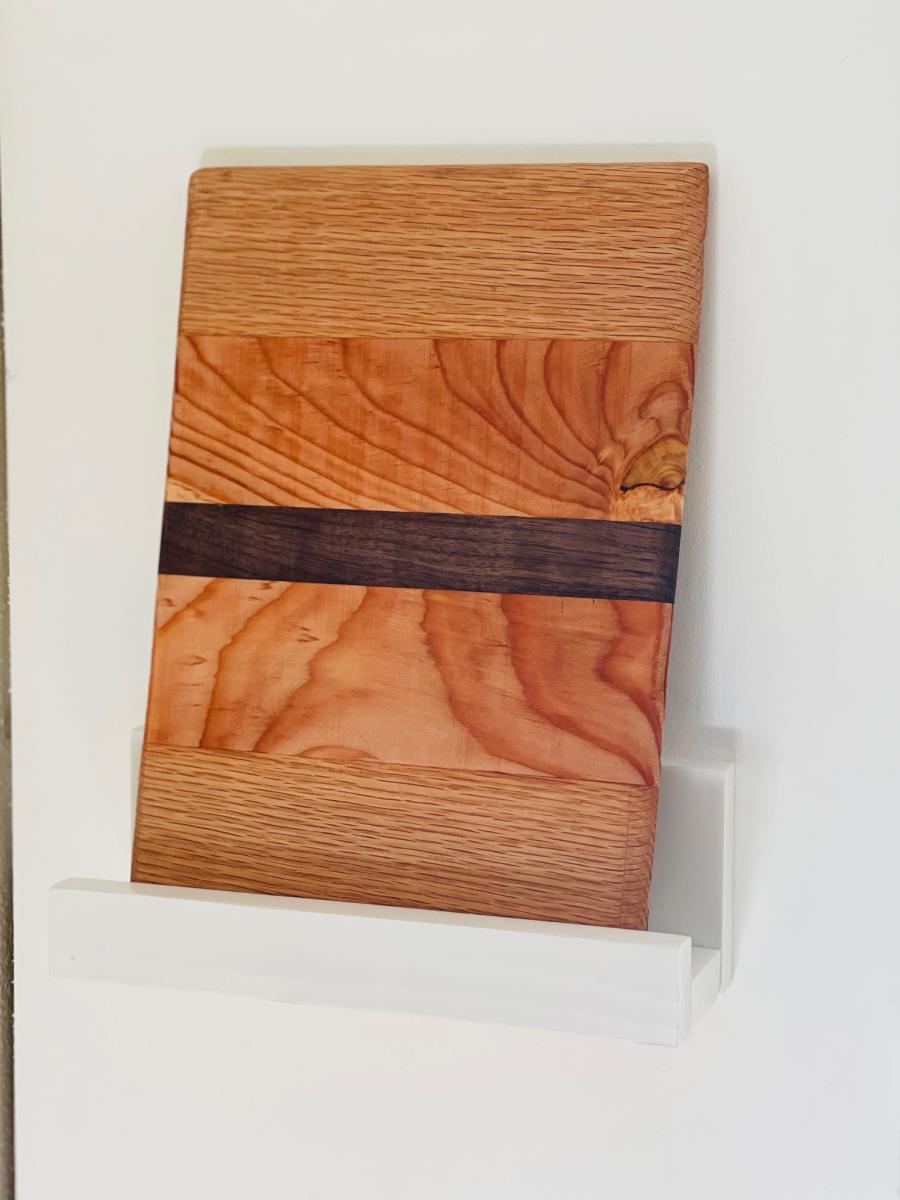
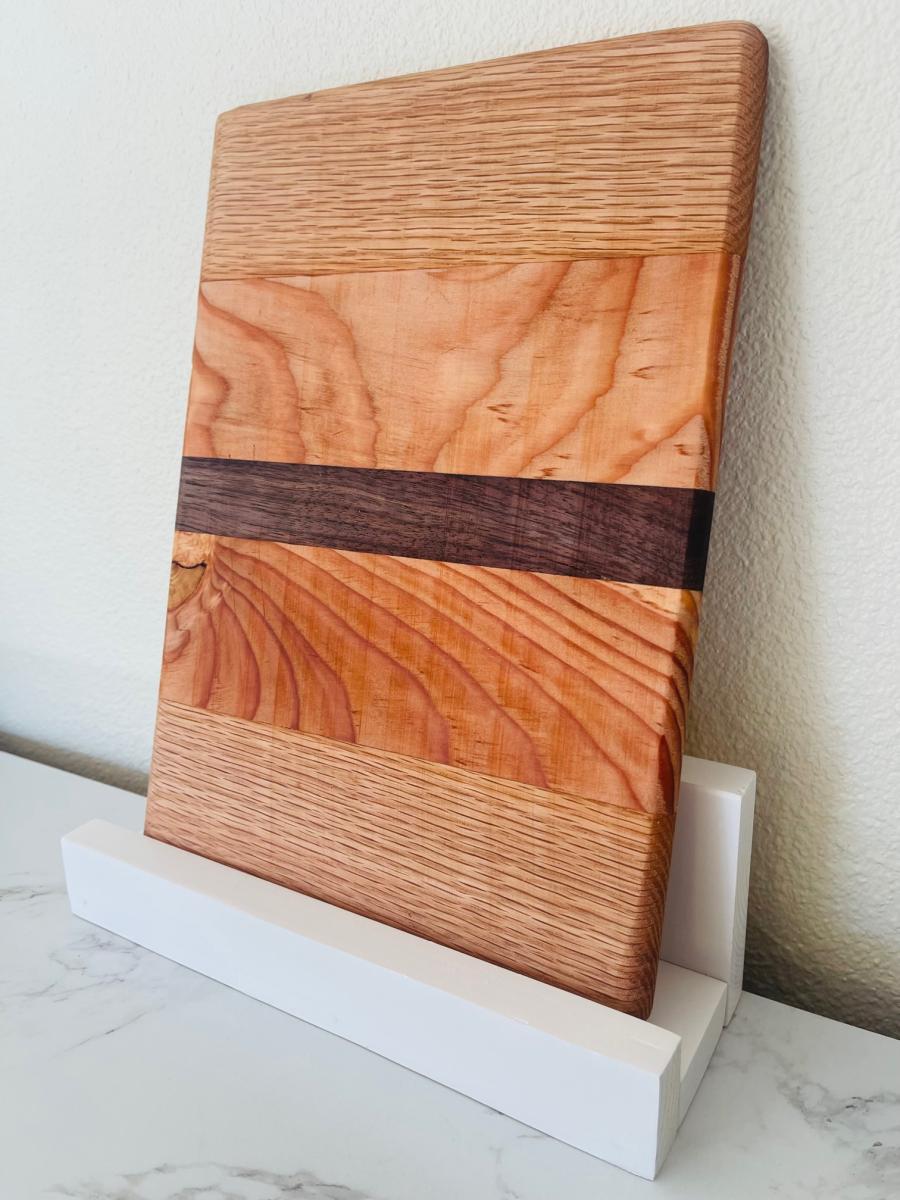
My sophomore daughter built a cutting board in woodworking class. She did a beautiful job, so I wanted to display it. Took me about 10 minutes to build this little shelf. Can be used on the counter, or attached to a wall or pantry shelf. I decided to attach to the side of my DIY freestanding pantry that I built using Ana's Shelf Help service. I'm happy the whole family is able to enjoy her beautiful cutting board and this makes it easy to use and put up when not in use.
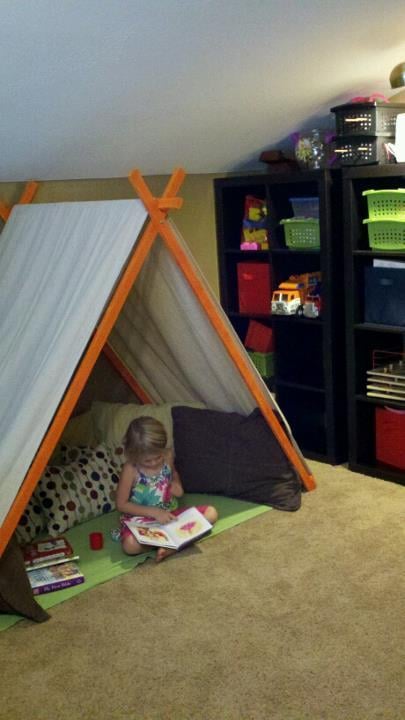
I loved this plan as soon as I saw it. The only modification I made was I used a 4x16 8oz drop cloth up on over the center instead of curtains or fabric and painted the wood with orange gloss spray paint. The kids love it. I think we may make come doors and ties to make it cozier but they love it!
Wed, 09/28/2011 - 13:44
I love your tent! I am thinking of making one but want to get an idea of the area it will take up. Can you tell me how much space (l, w, h) it takes when assembled? Thanks!
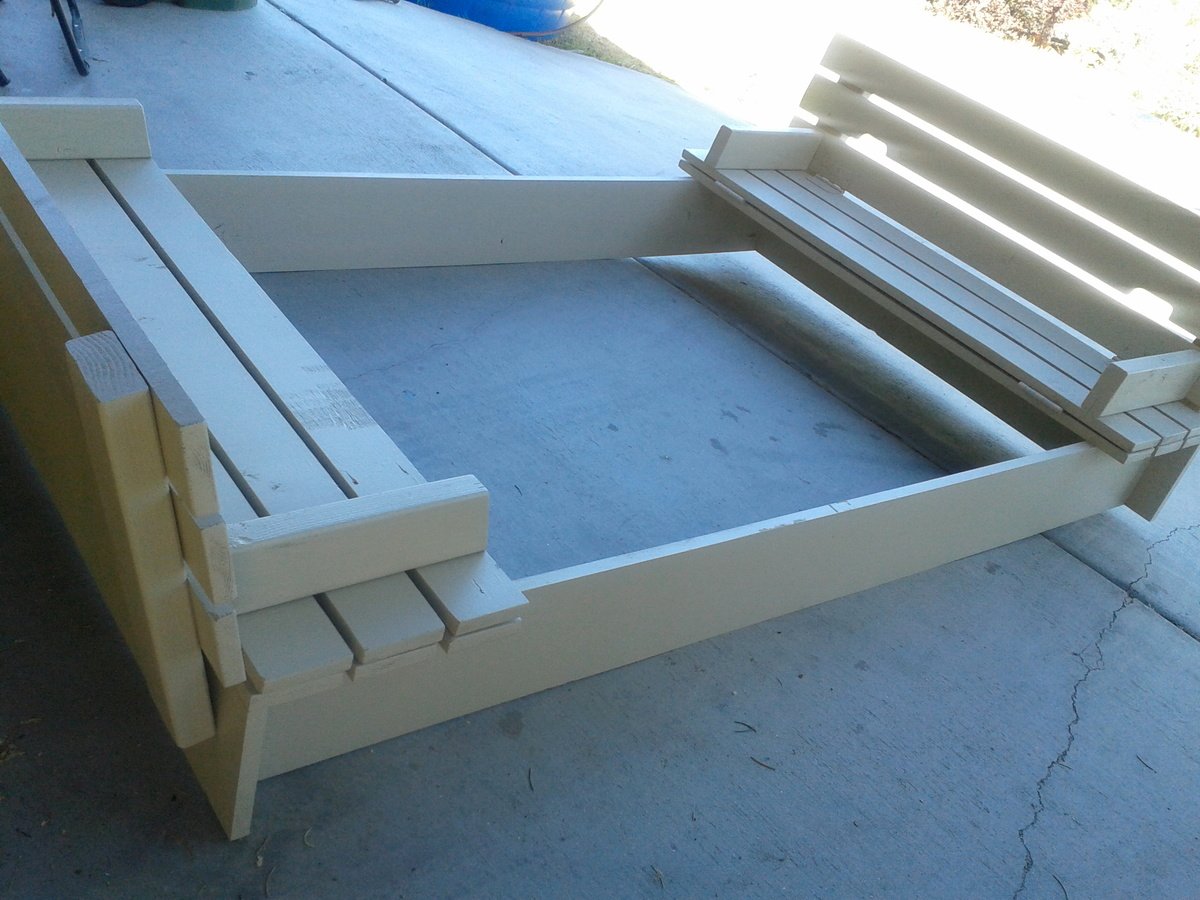
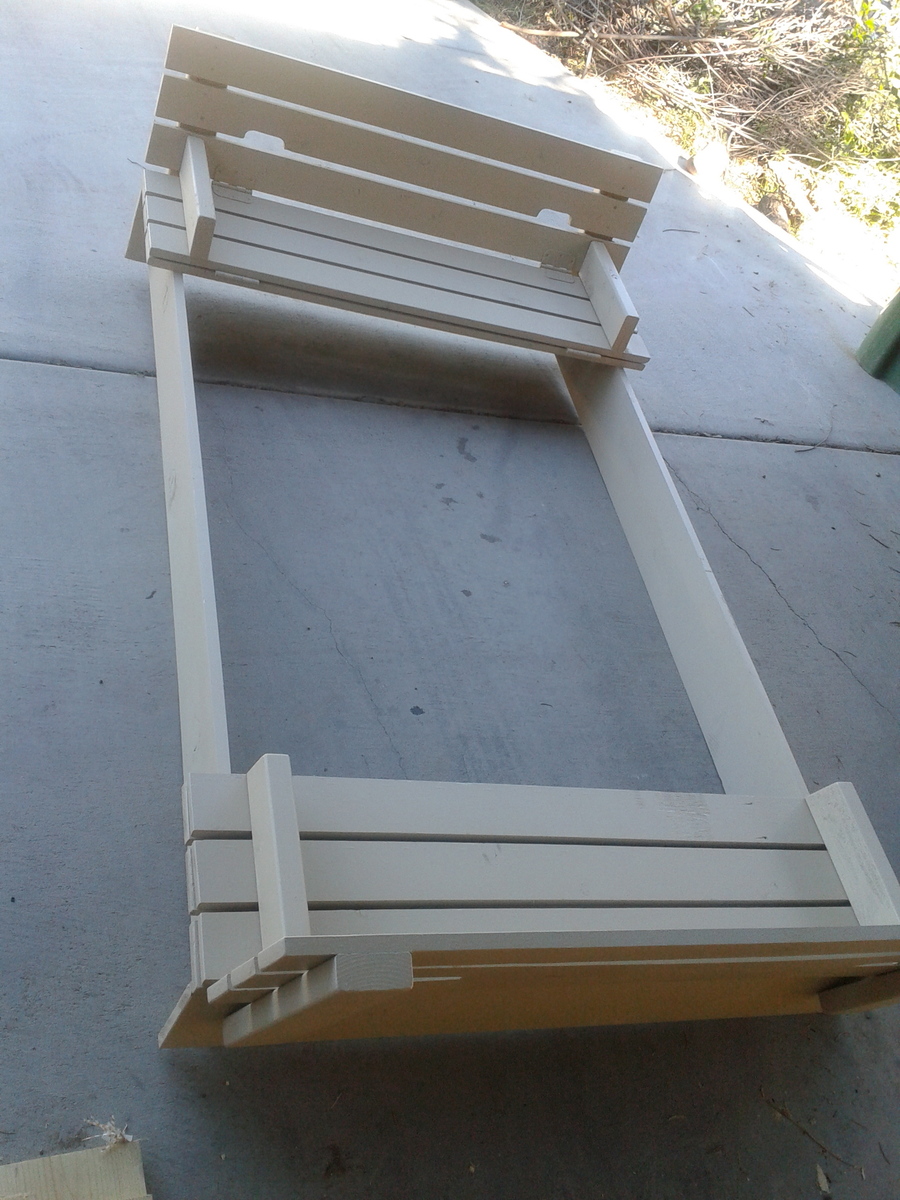
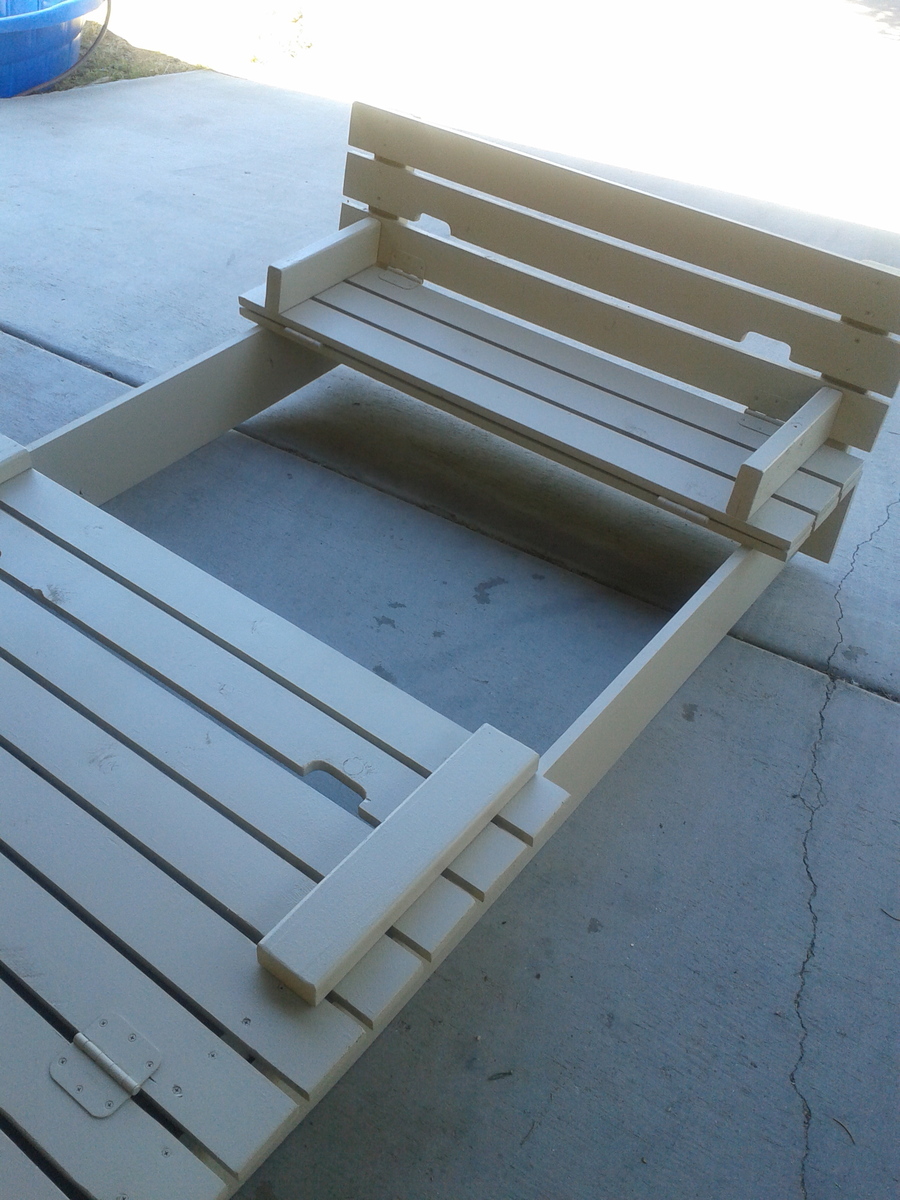
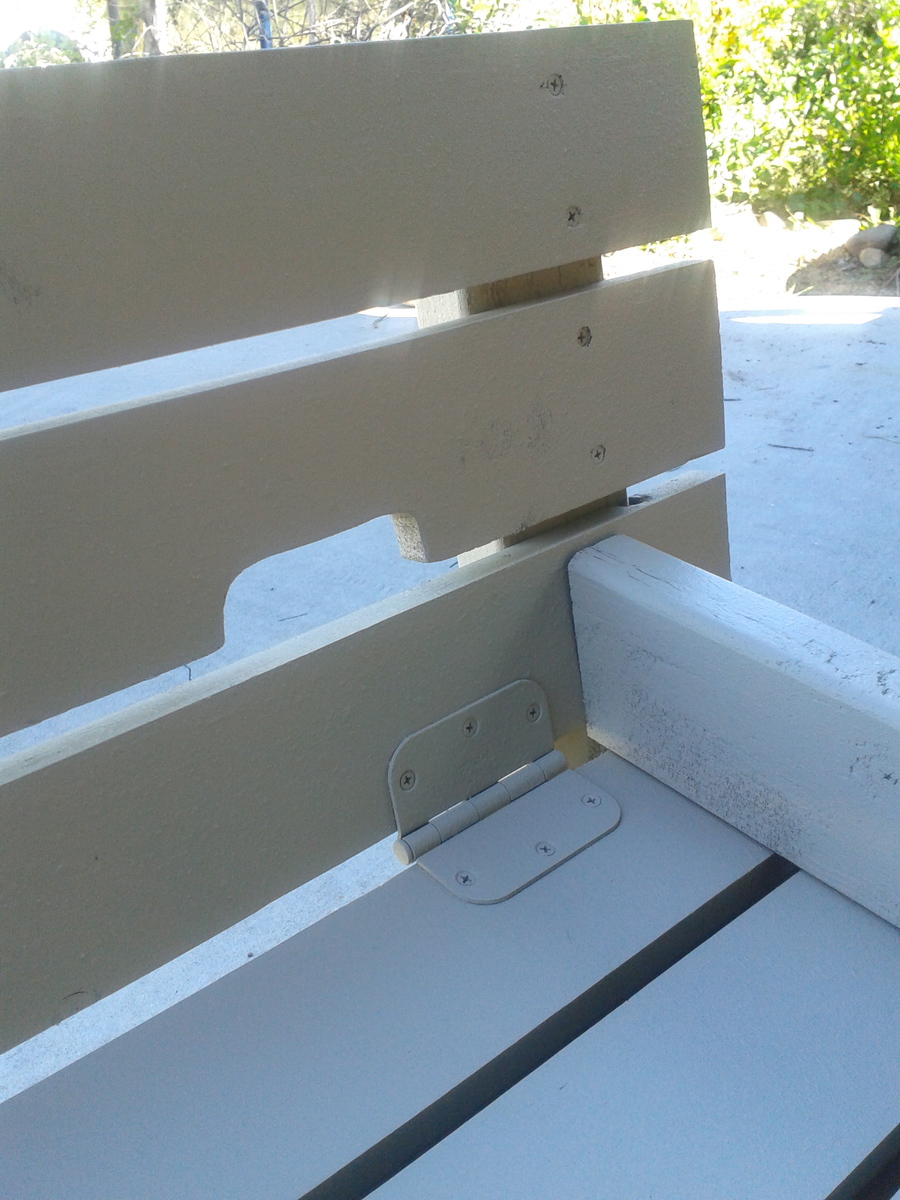
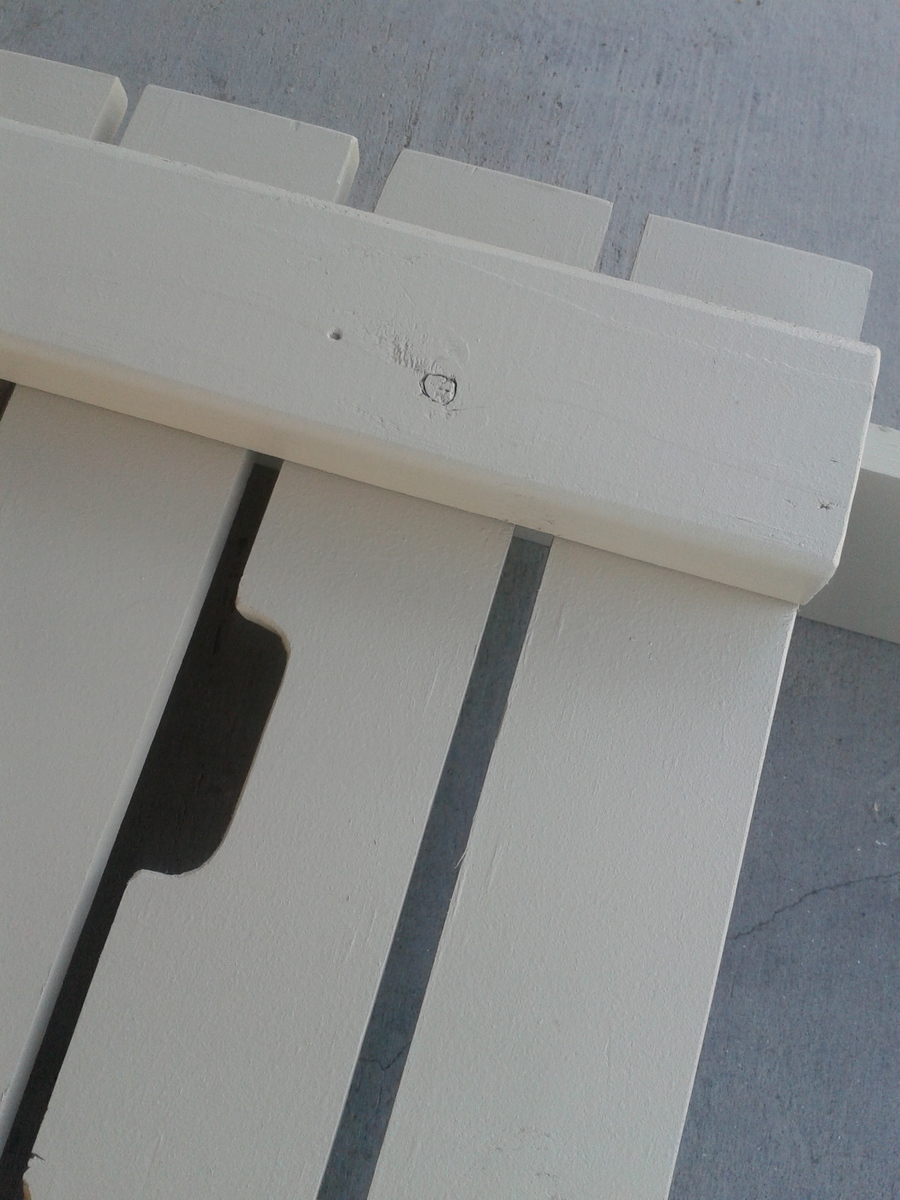
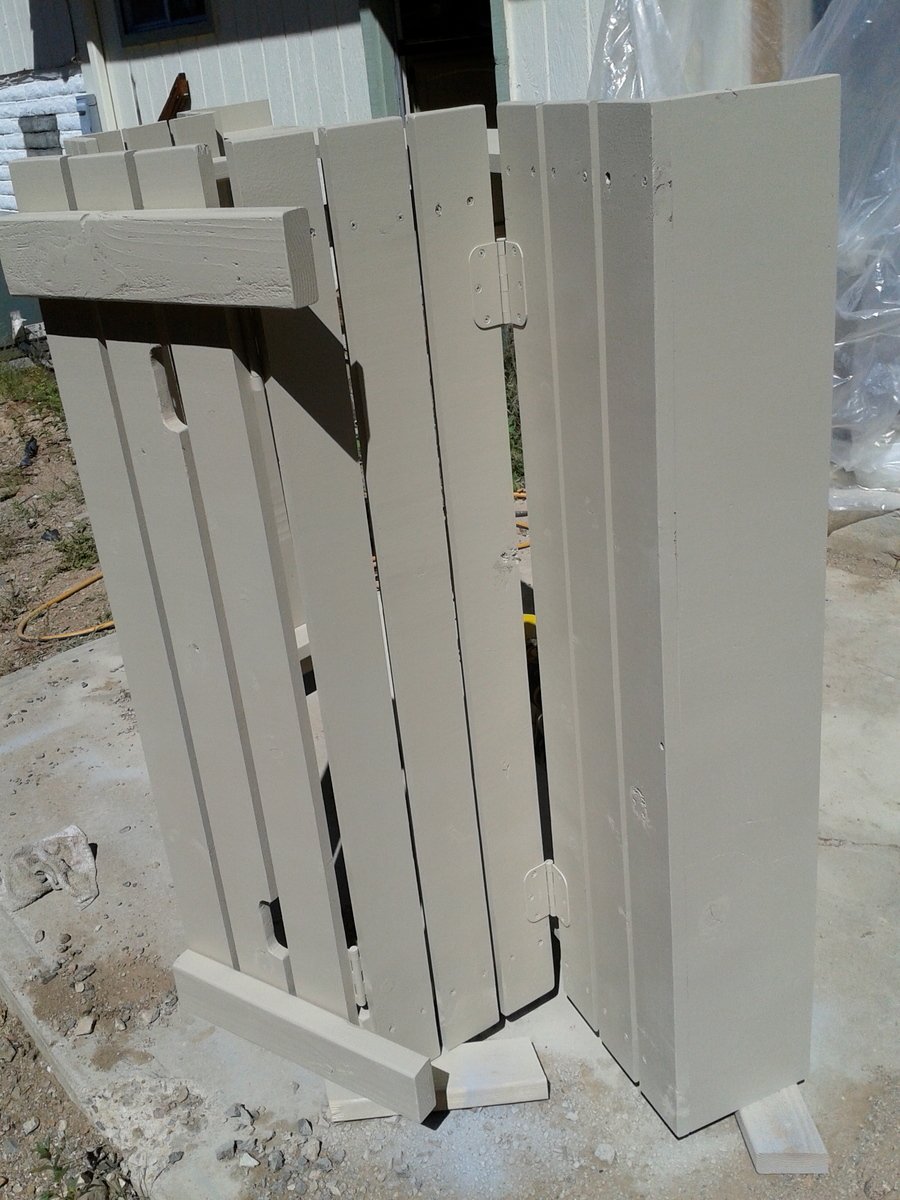
On this project we modified a few things like the arm rests which we cut at an angle to keep kids from pinching fingers in there if someone decided to move the bench back on them. We also modified the size which we made 6'x4' to maximize play sand space and kid space. Therefore this made our benches bigger so that big kids (my husband) could sit on the benches and play in the sandbox. Yes there was talk about putting cup holders but I won the conversation by mentioning sand in his drink and we would have to do a sippy cup. We notched out the handles instead of installing handles which made it look sleek. We used the template from the hinge so it matched the shape....clever huh? We decided to primer and paint this one sandstone in the brick and mortar sample book by Behr and had them put it in an exterior paint color for us. We used a wagner paint sprayer which made the project fast at the end. Overall still an easy project for anyone. I do suggest pre drilling all holes first before screwing in screws so the wood doesn't split when doing the slats on the top.
Wed, 04/08/2015 - 12:41
I was wanting to make a big one like a 6ft by 6 ft and was wondering how long you made everything.
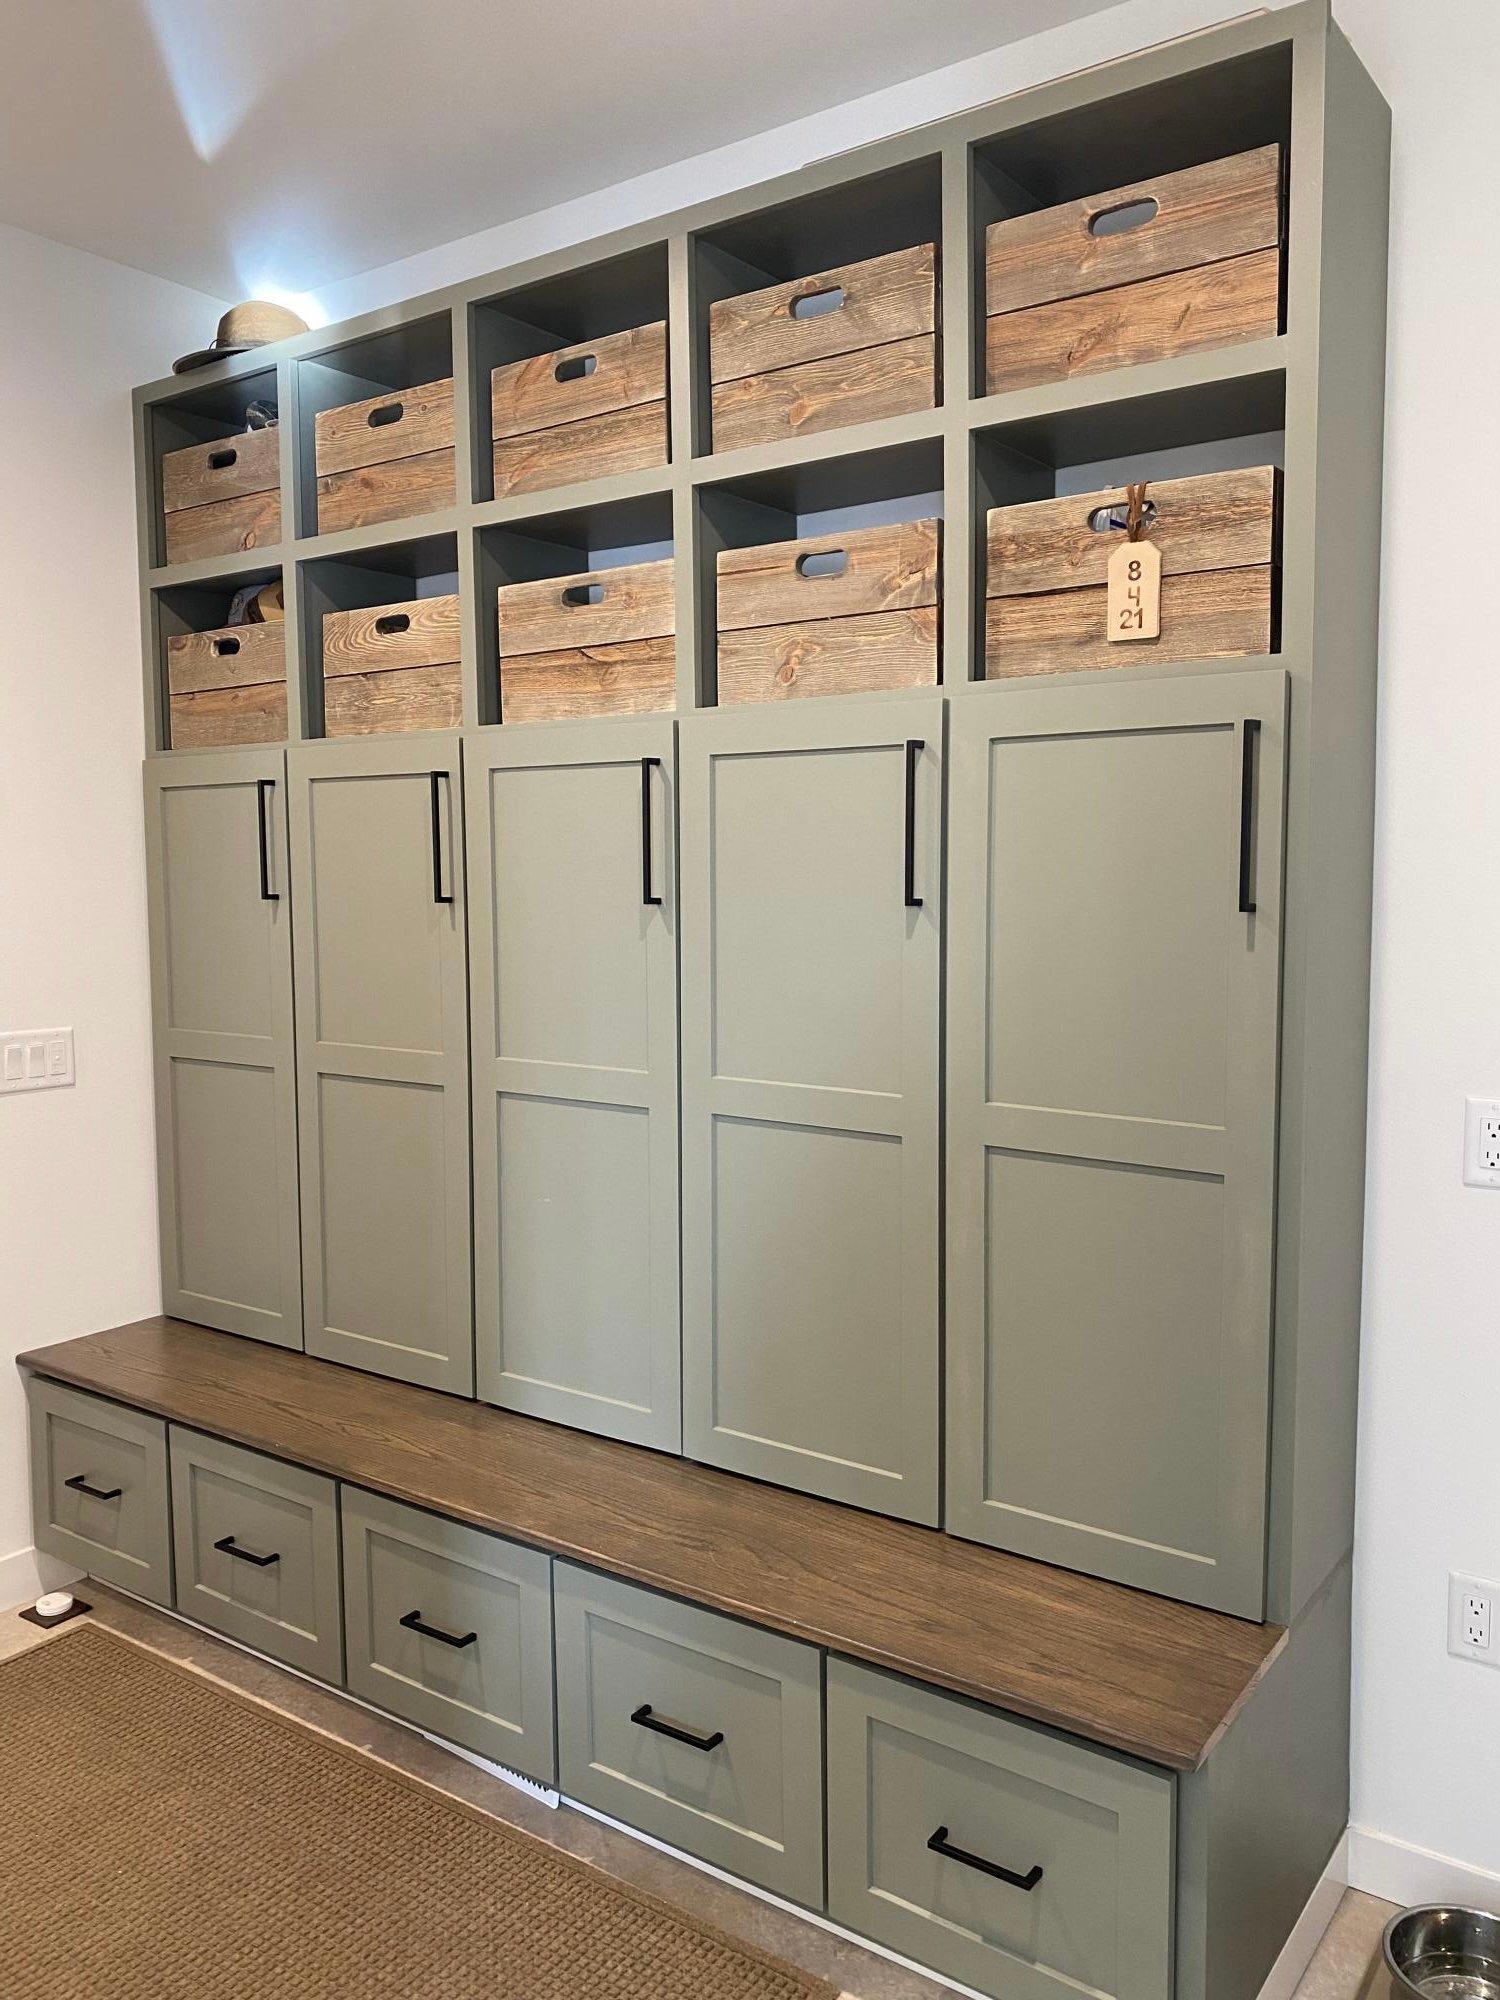
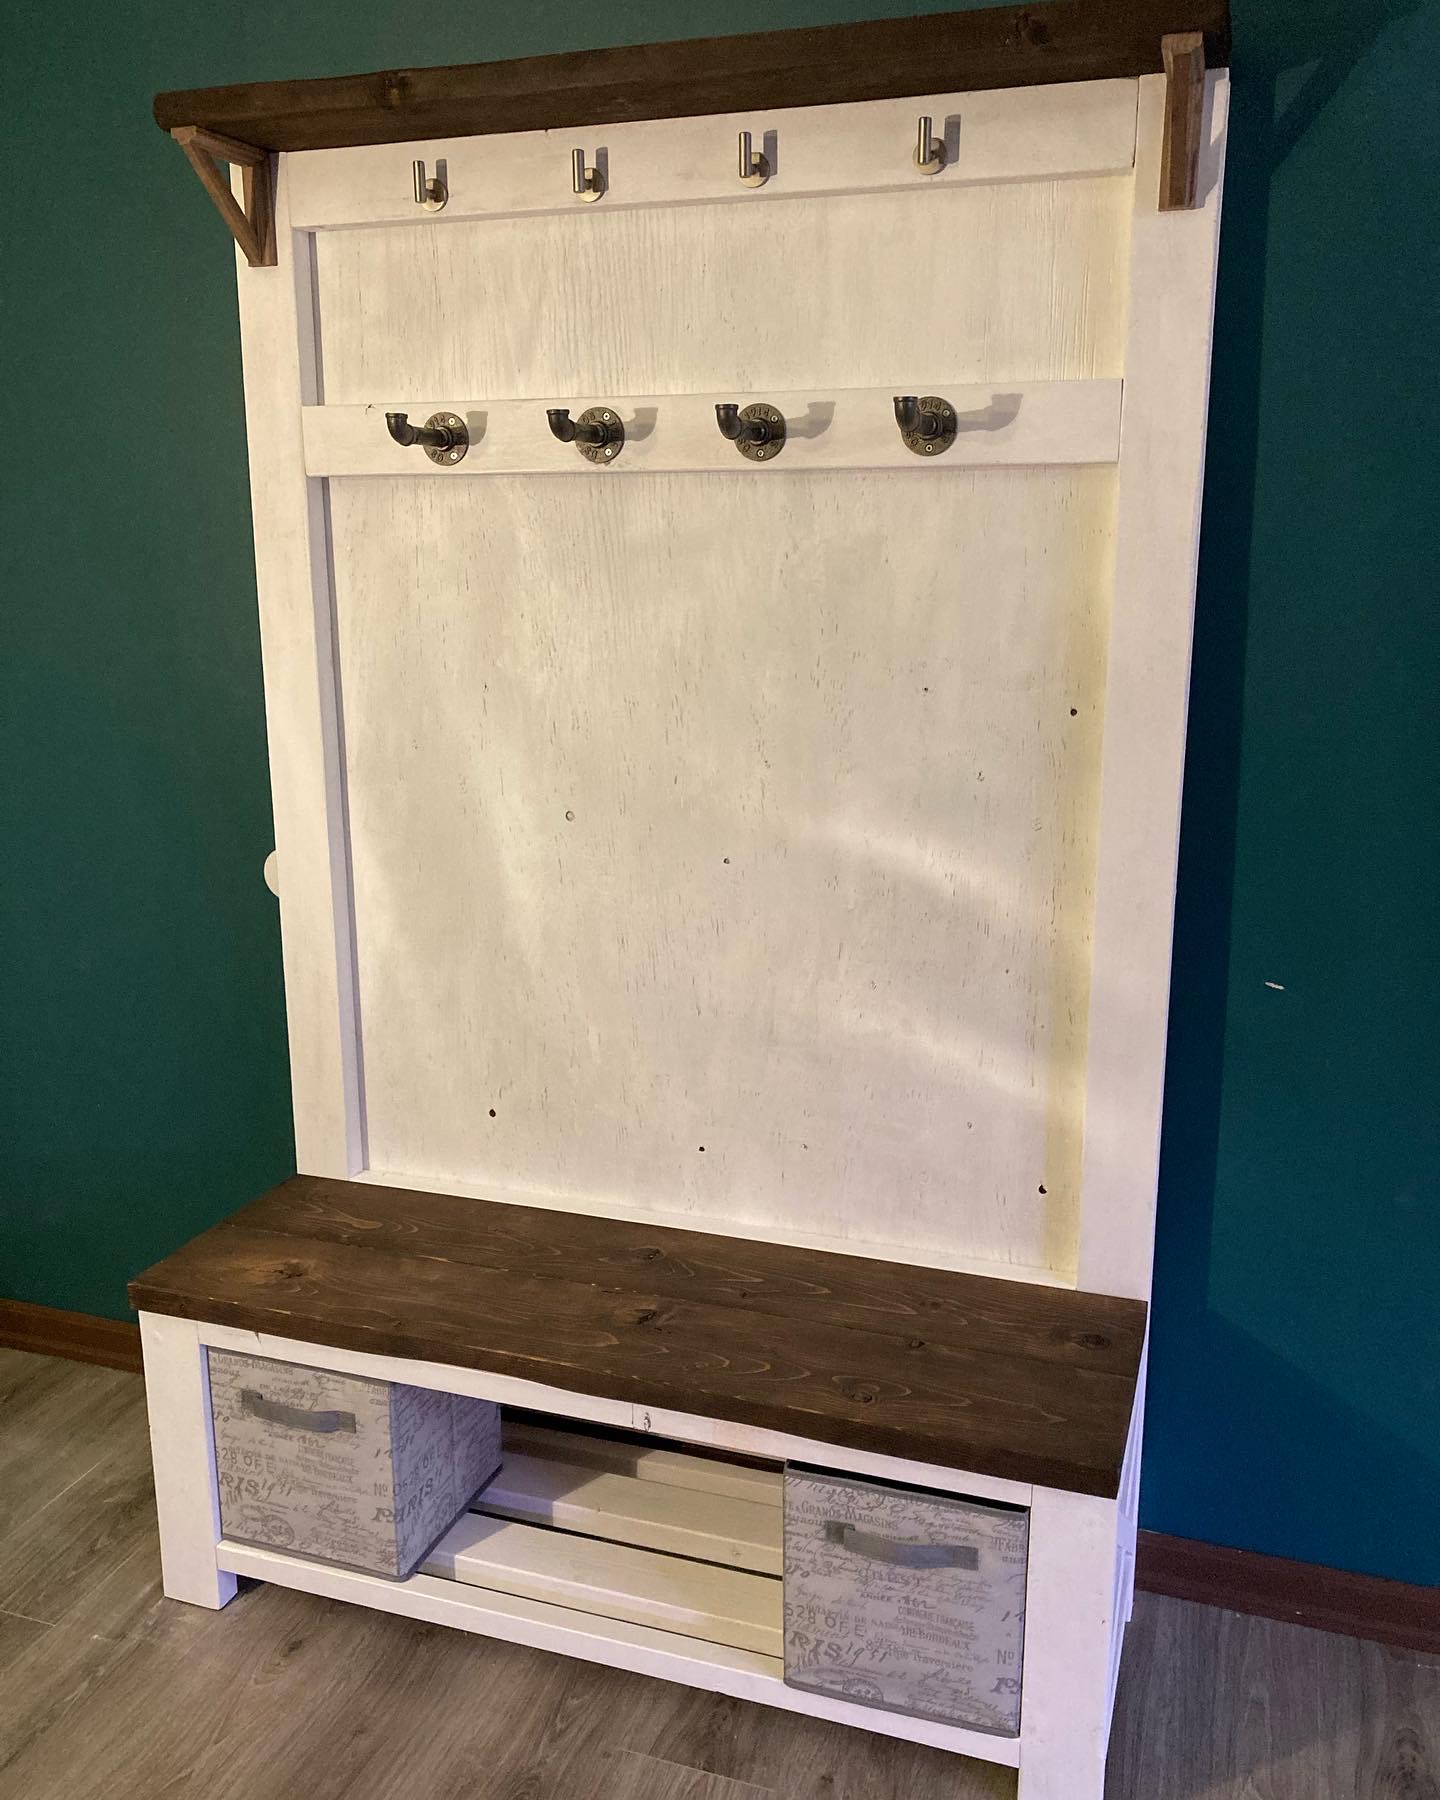
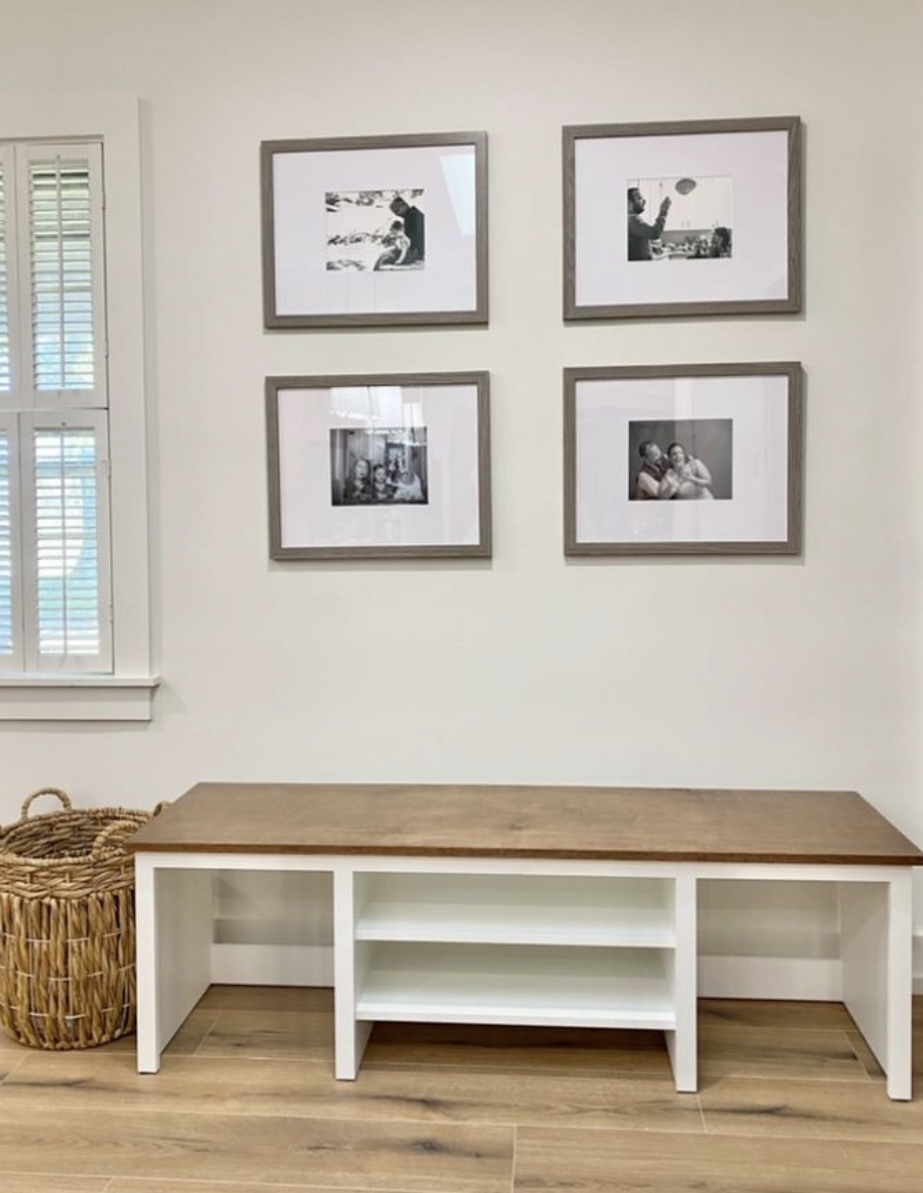
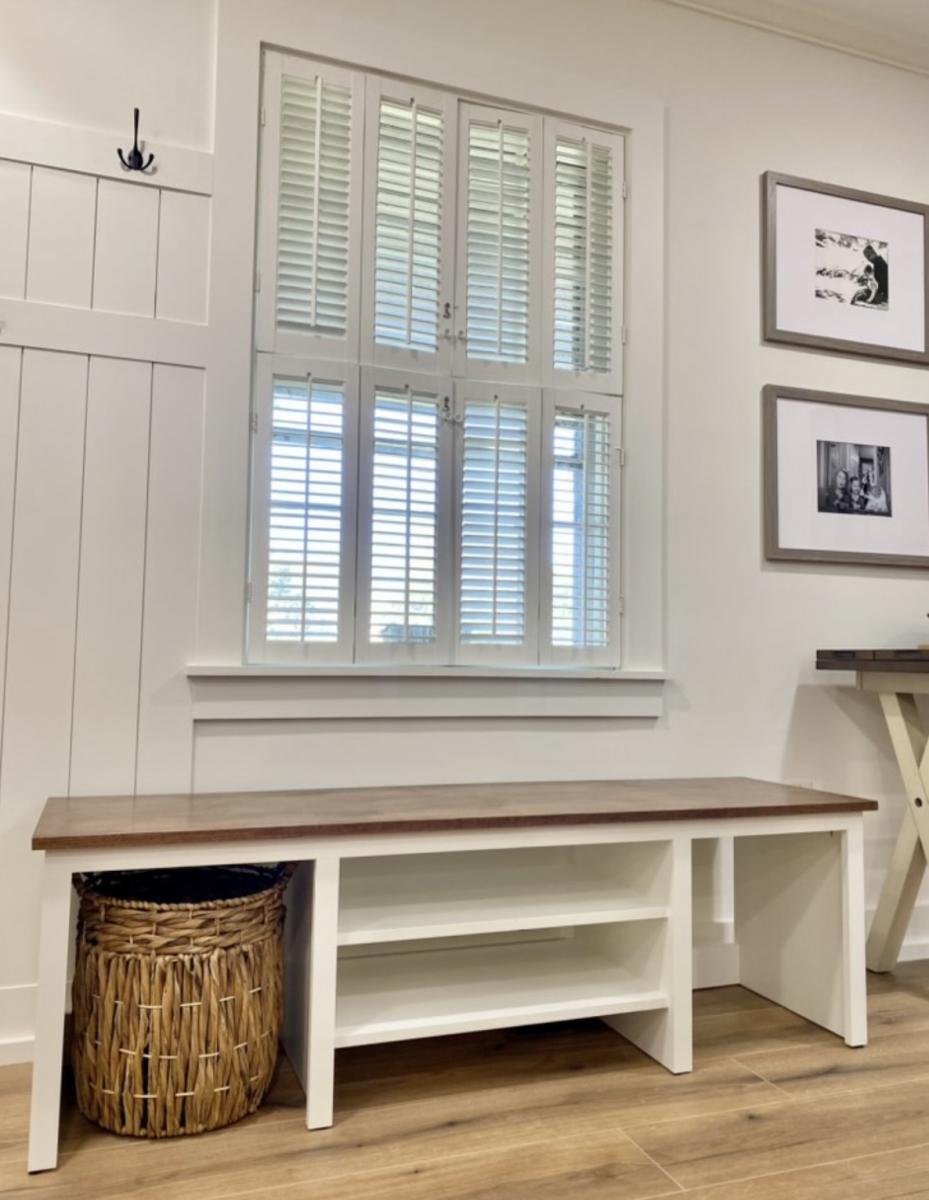
Thanks to Ana White we learned how to make these cubbies. The wood for the stained bench is from trees milled from my husband’s family farm.
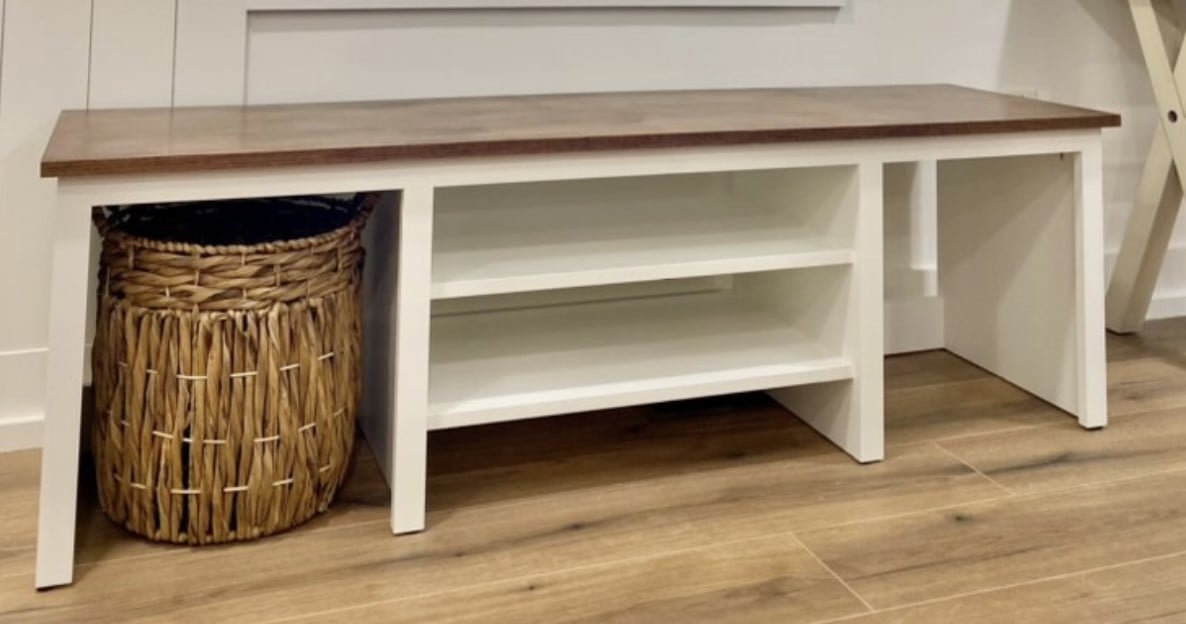
Storage bench using Shelf Help by Judith Noffz
"What can I say … we love Ana White’s Shelf Help Now.
We both love the quality of the wood. You just can’t find that around here. I love that I can create what’s in my mind with a drawing and rob can take her template and build!!!"
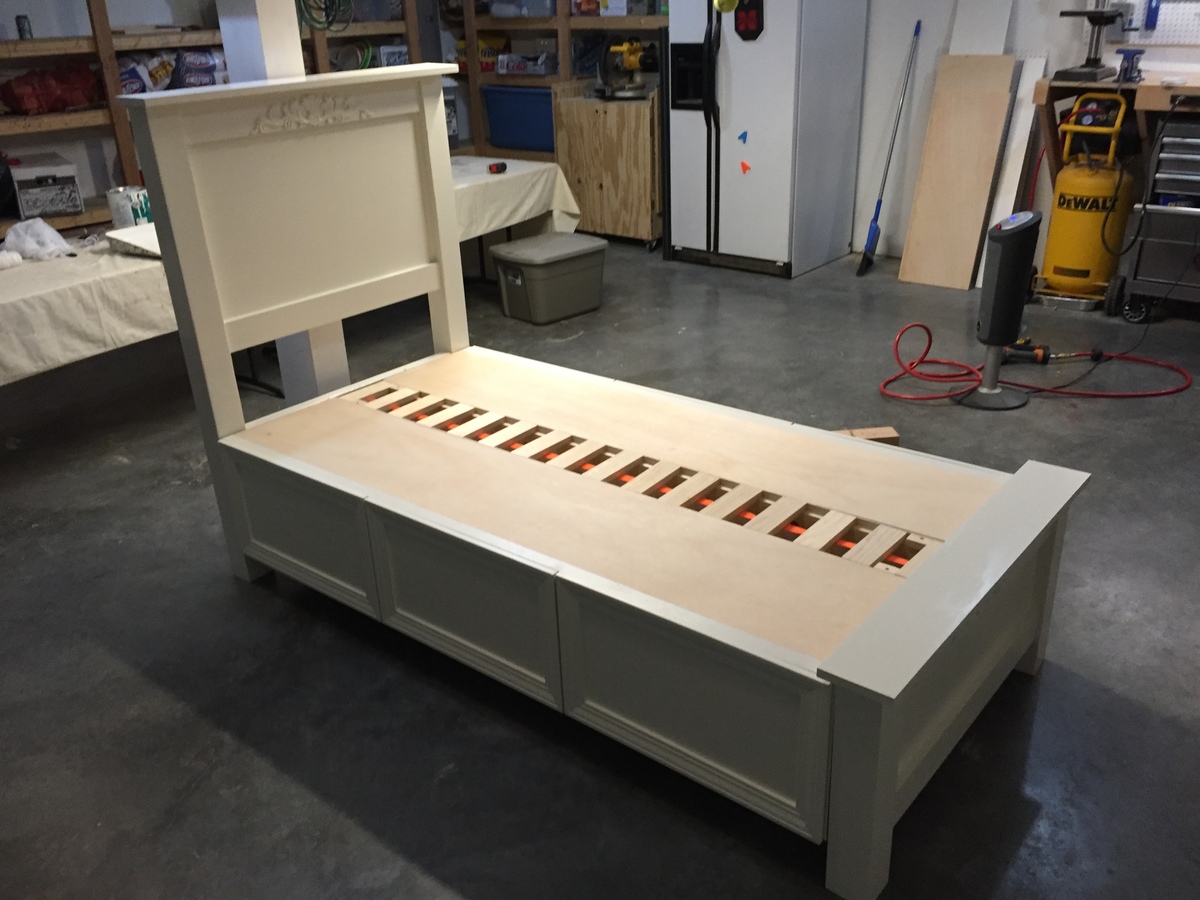
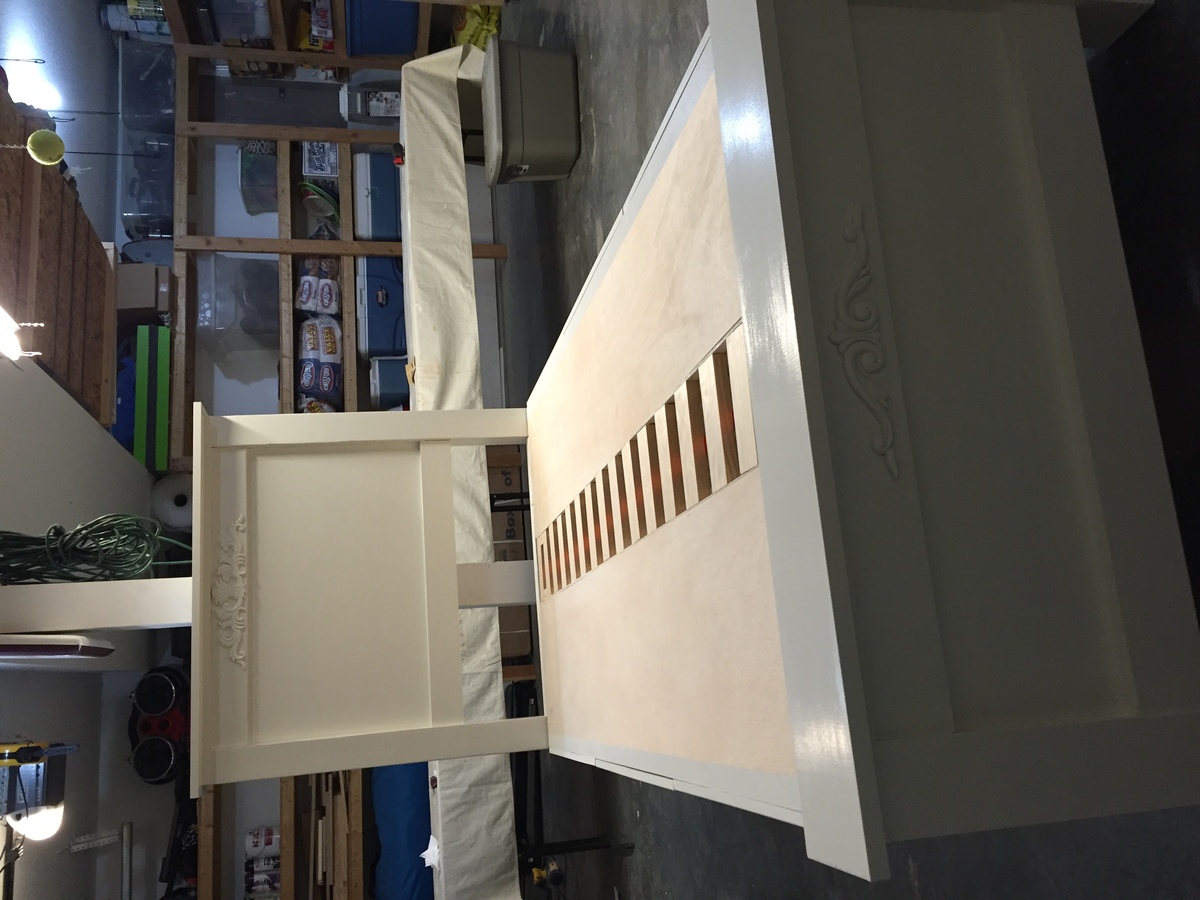
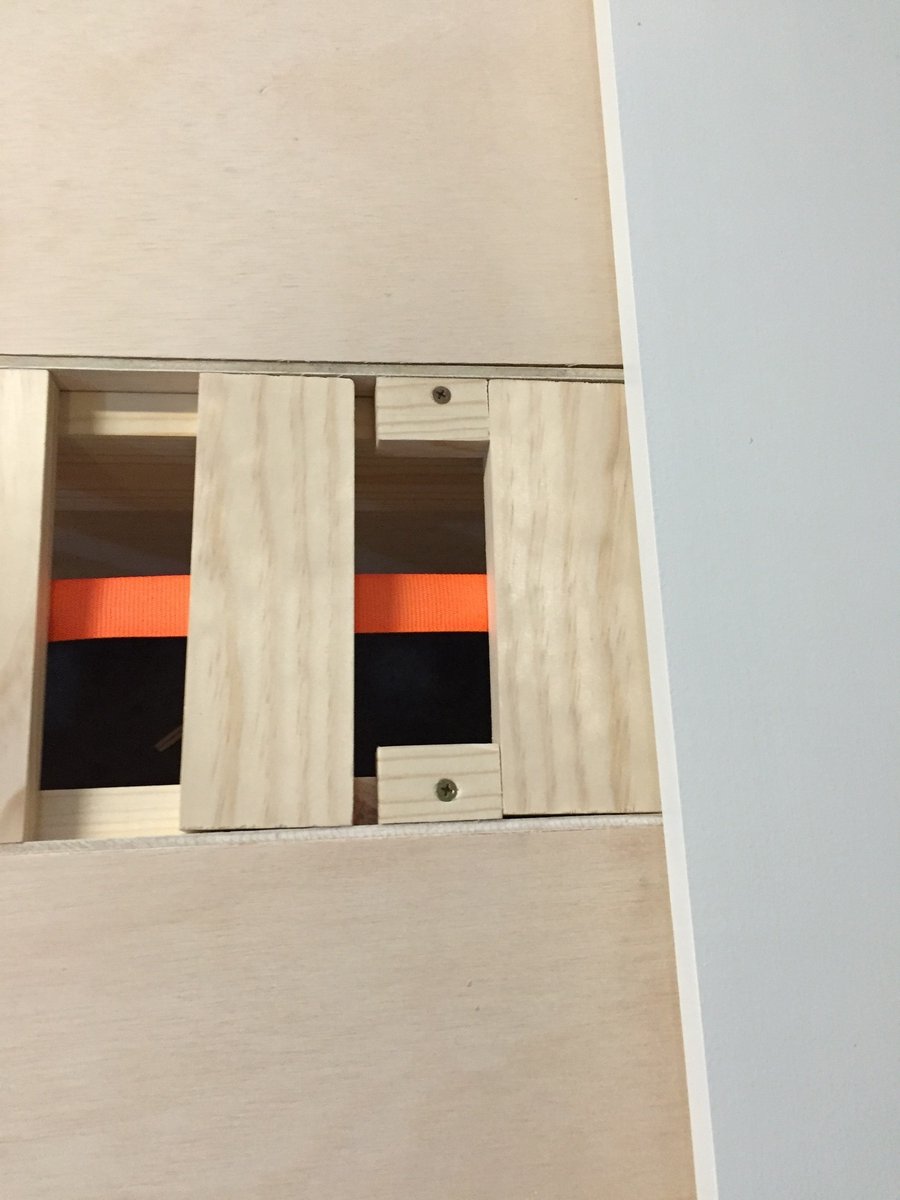
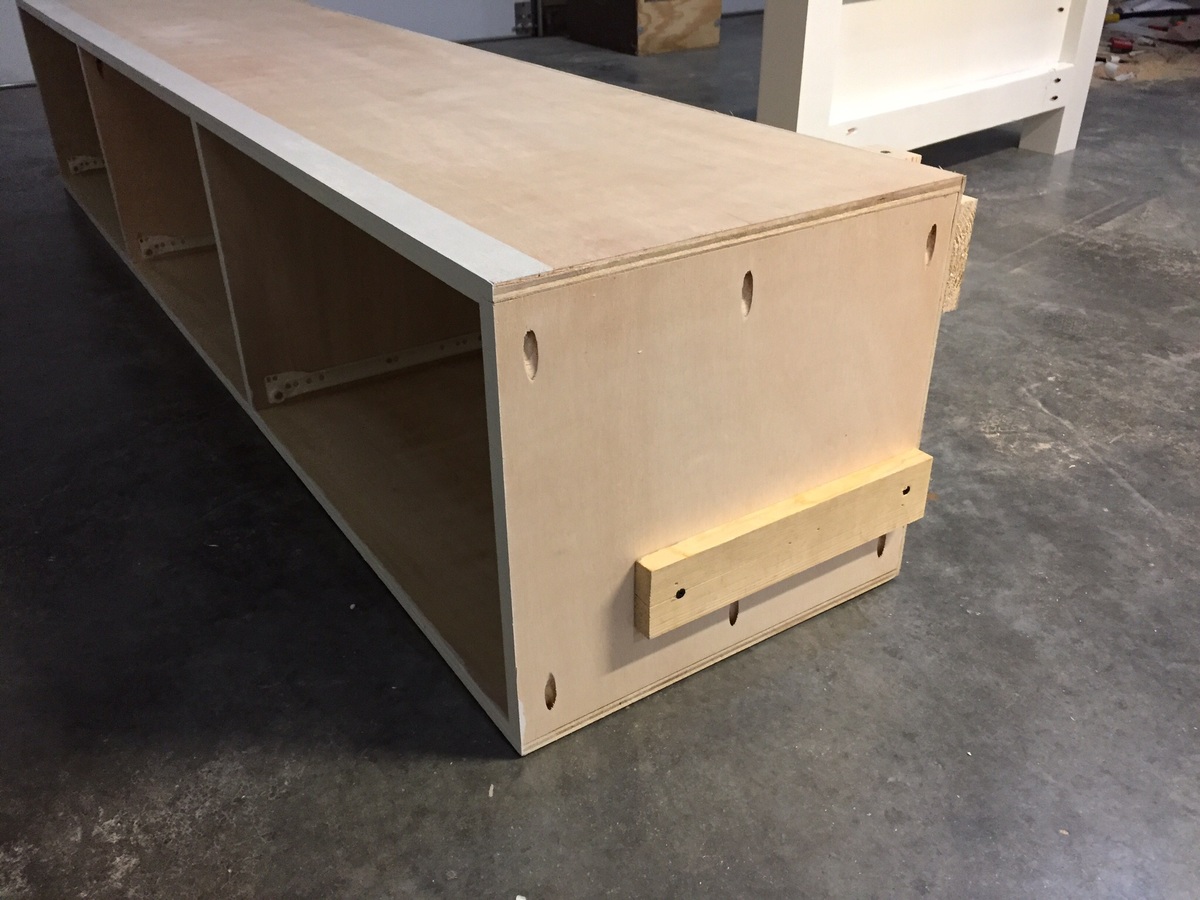
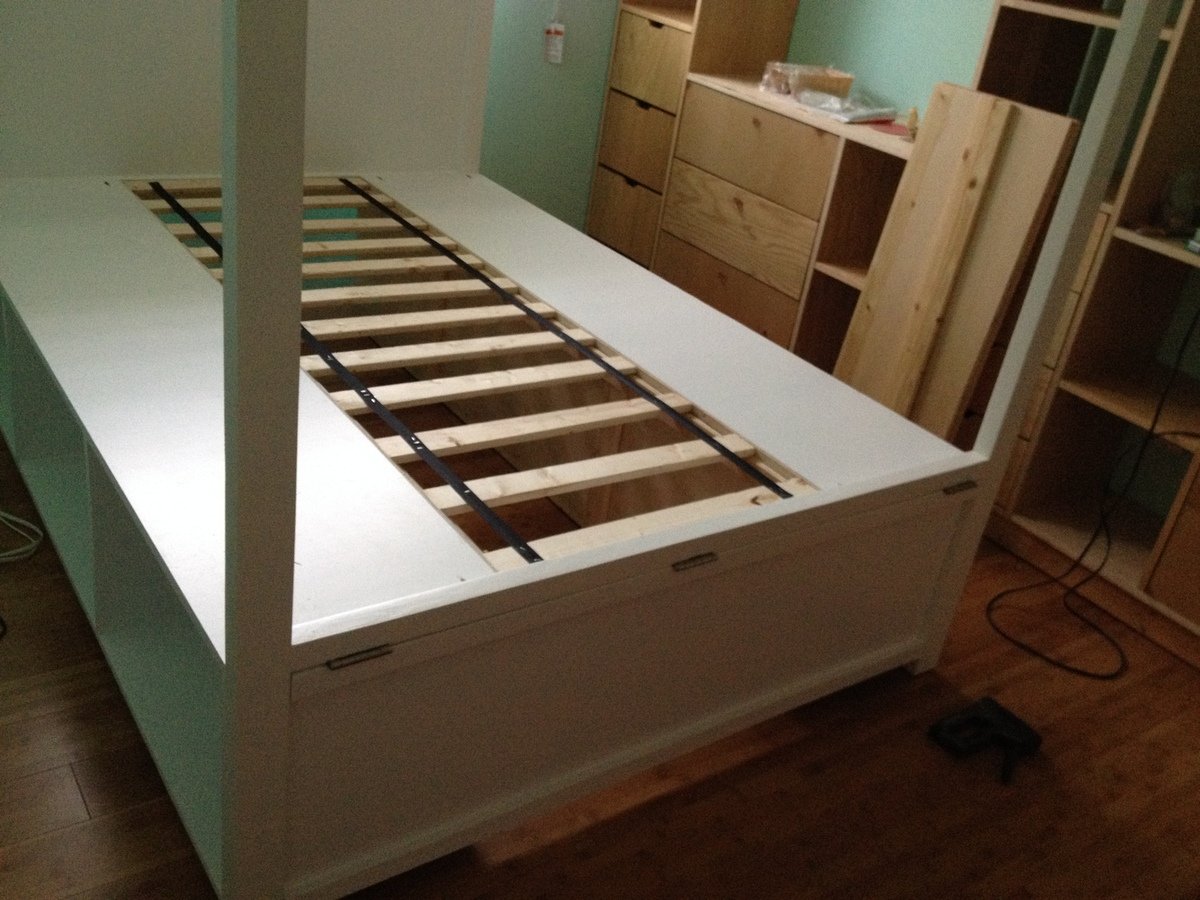
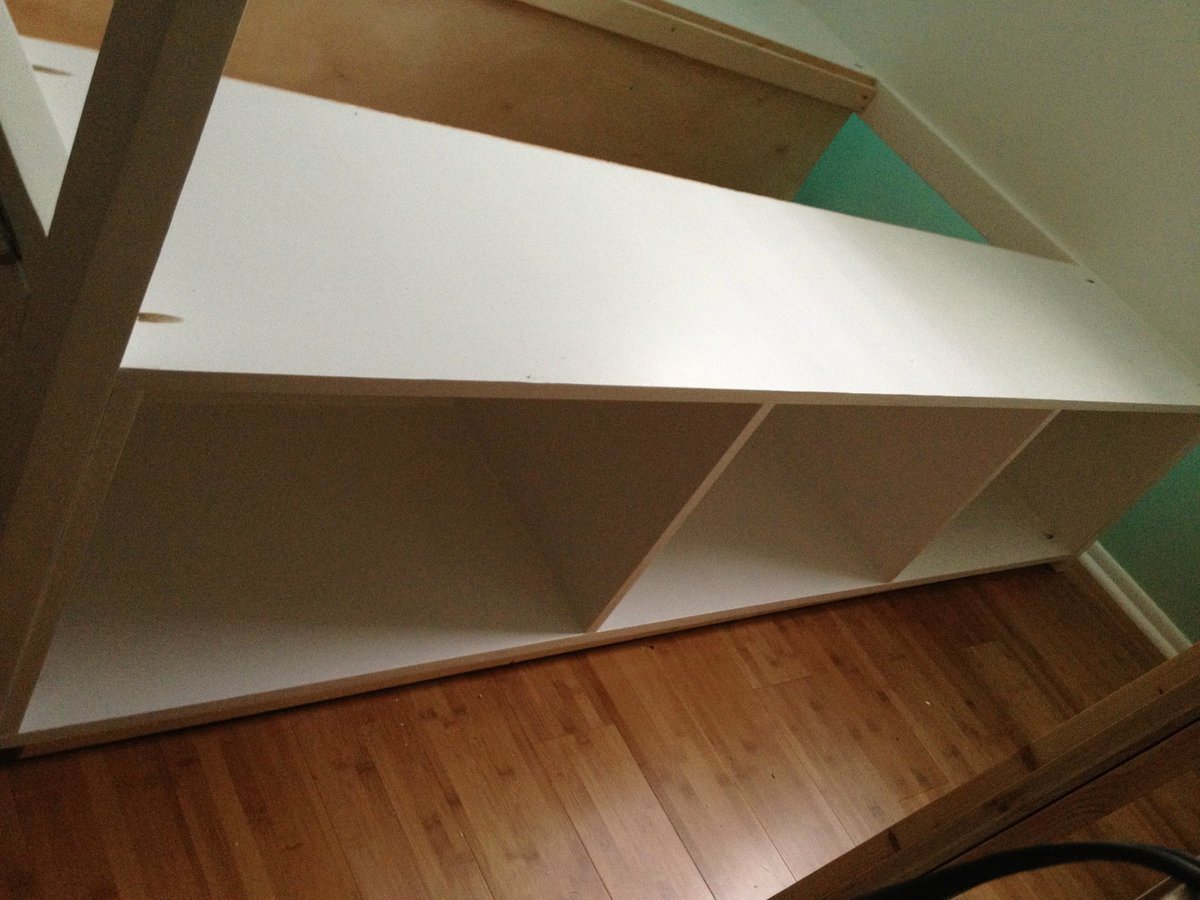
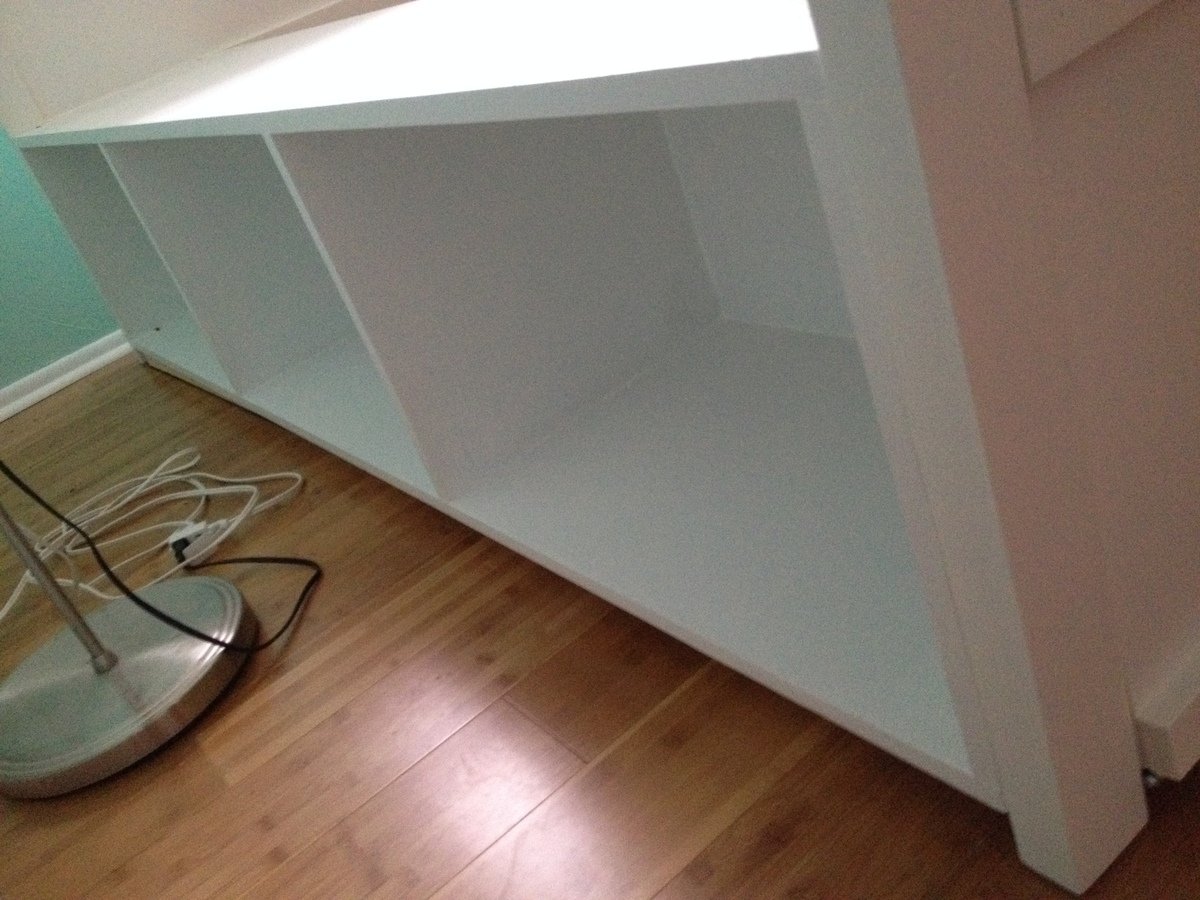
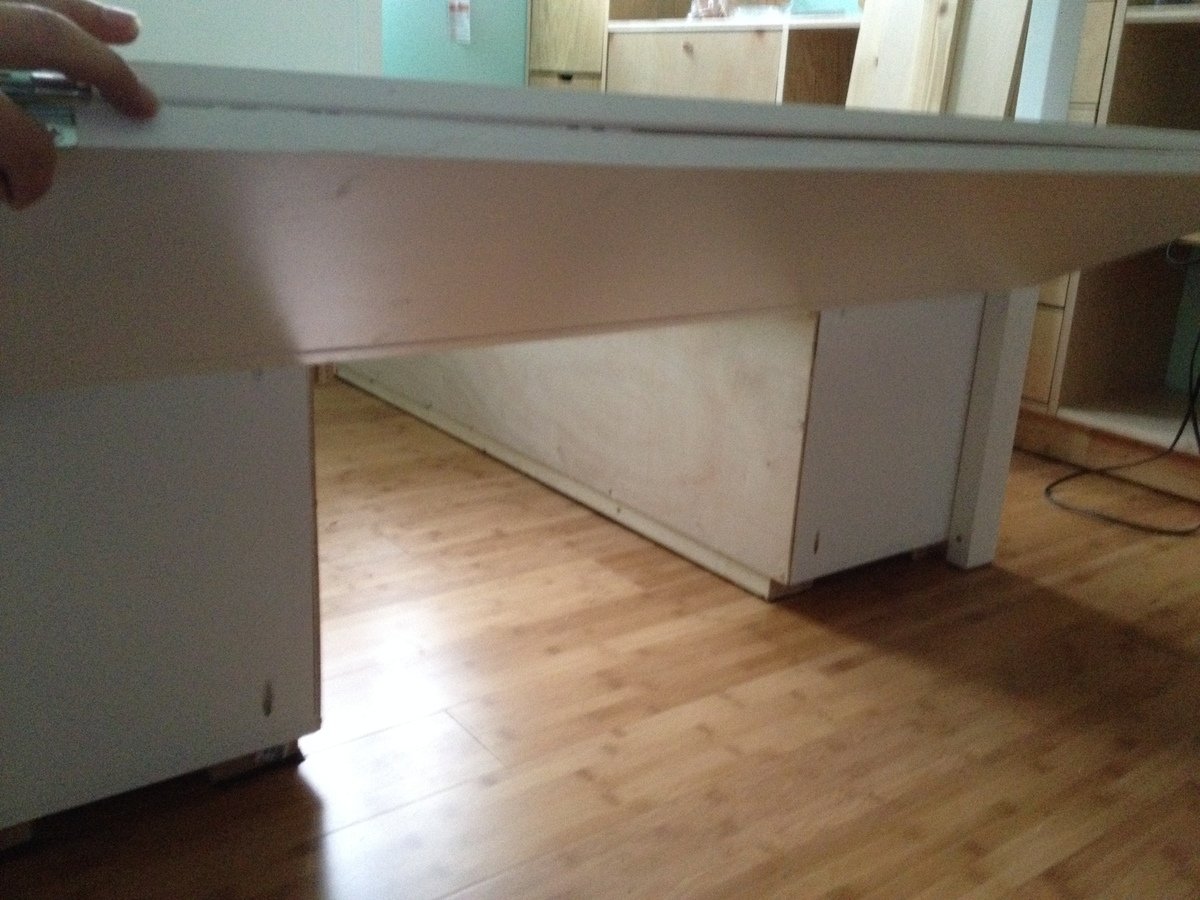
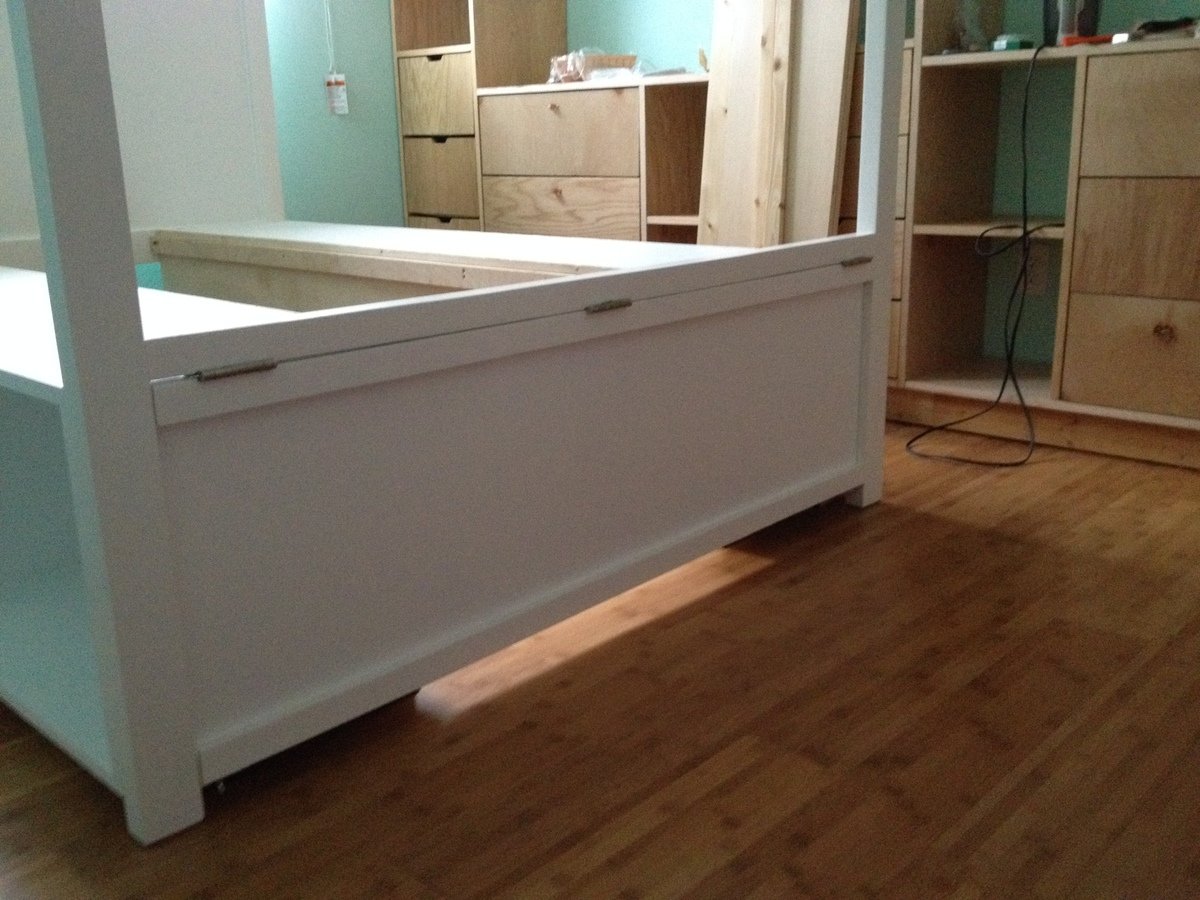
First time posting on here, made several items from this site. Thanks for all the plans. I modified this to a twin size for my daughters first bed and added a few features so I wanted to share. Twin is 39x75 so I just made it 21 inches narrower and almost 5 inches shorter. I say almost because I made the storage boxes 75 3/4 so that the drawer boxes would divide evenly into 3 to be the same size. The height of the bed is the same as Ana's plans. A few other small additions I made were webbing stapled to the slats and a small peice of scrap wood at each end to keep them taught so I didn't have to screw them all in. This makes it easier to move later as well. I also attached scrap wood 3 1/2 inches from the bottoms of the boxes so that they can easily rest on the 2x4s from the head and foot board. This makes it easier to assemble, especially if you plan on moving the bed in the future. just rest them on those 2x4's and screw together. My daughter loves her new bed.

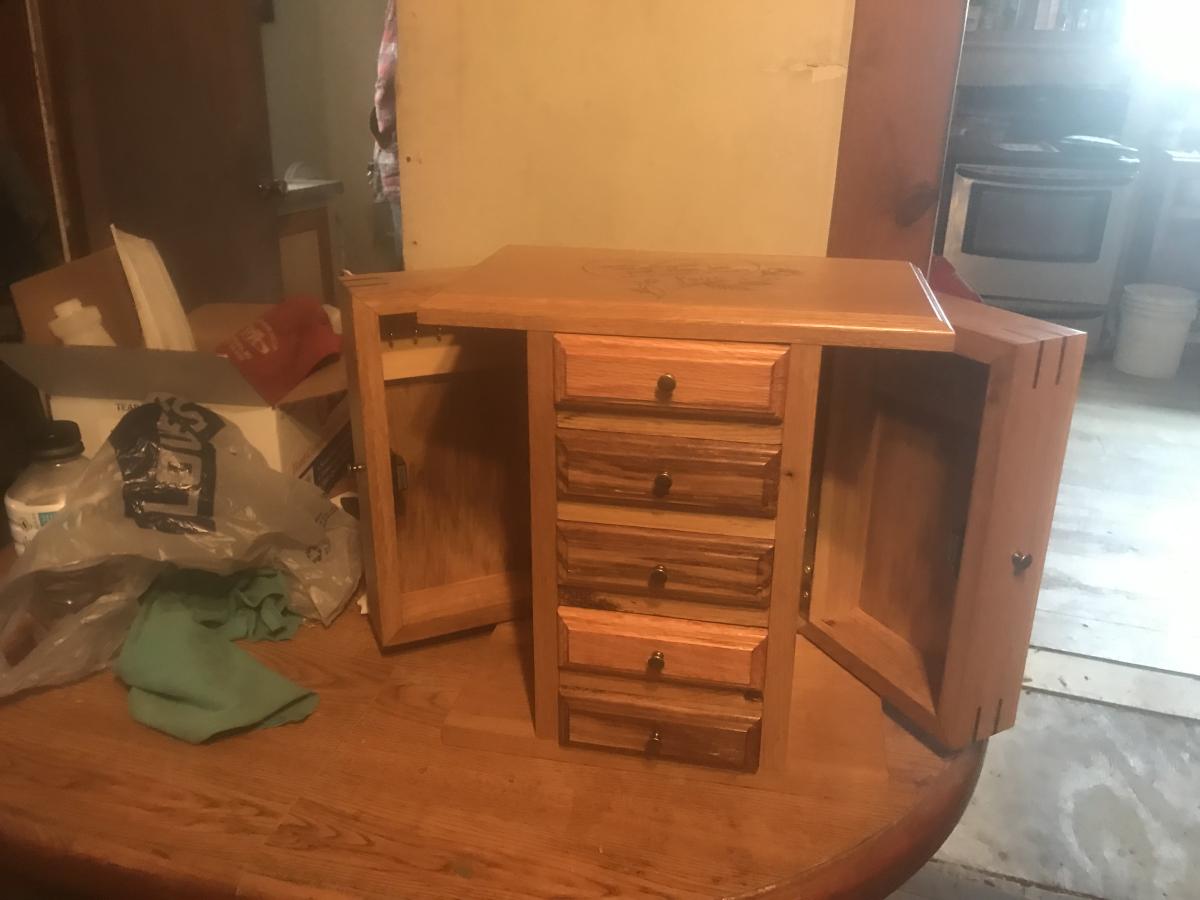
Fancy Jewelry Box it came out very nice. Made with white oak.
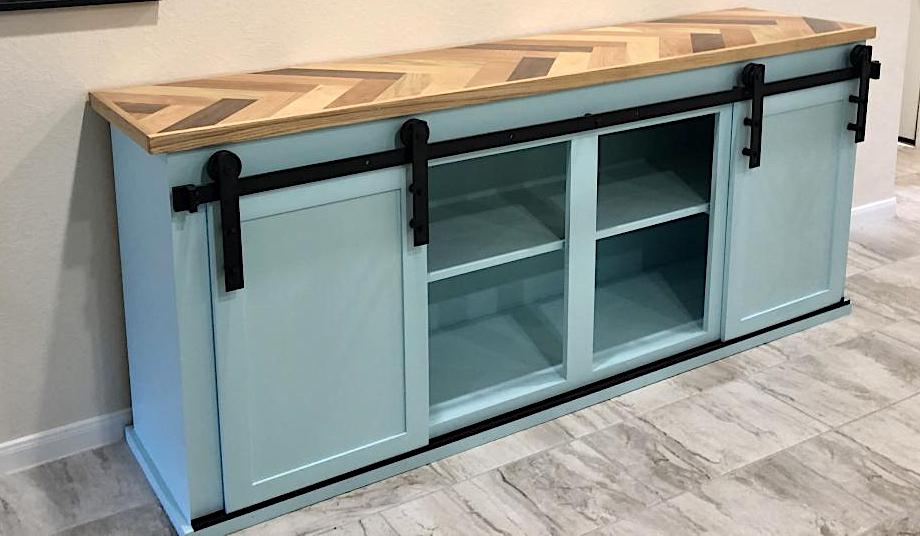
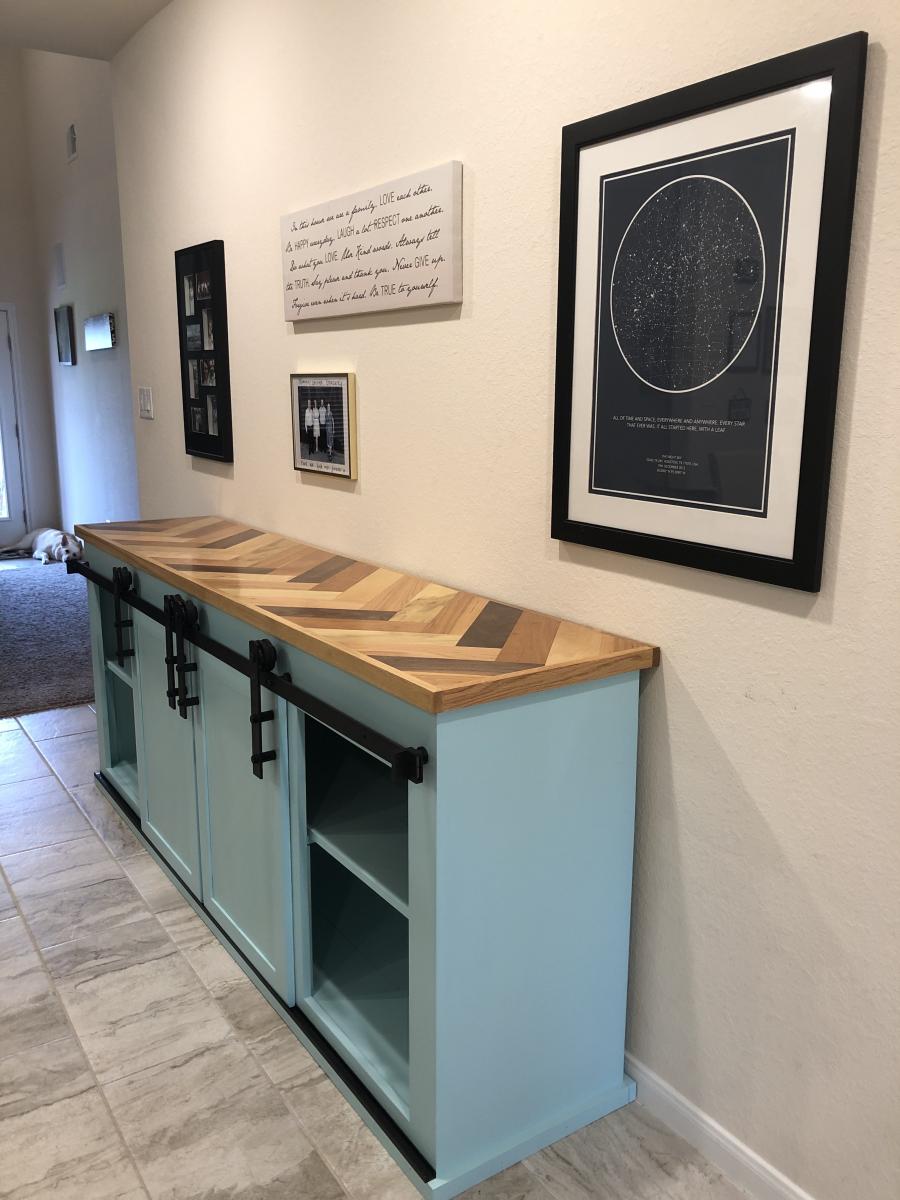
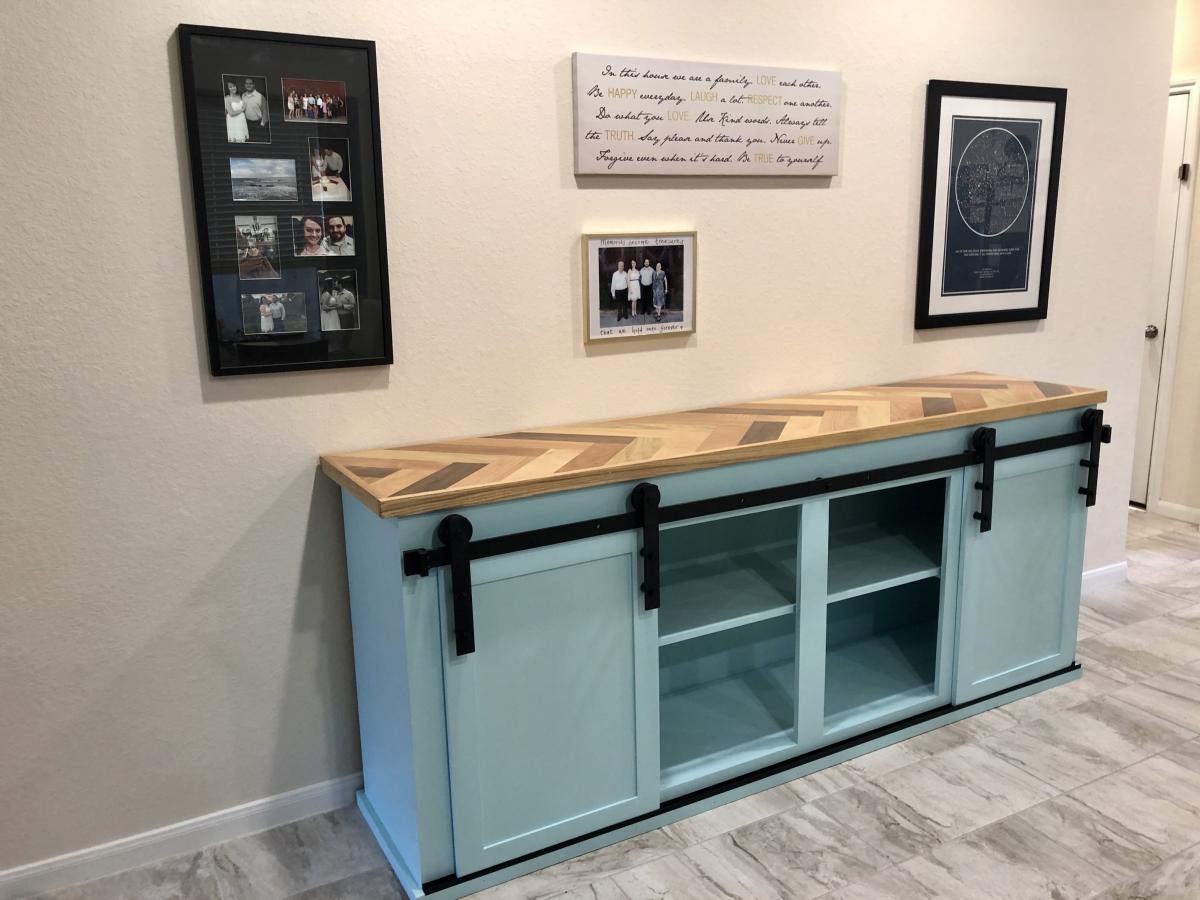
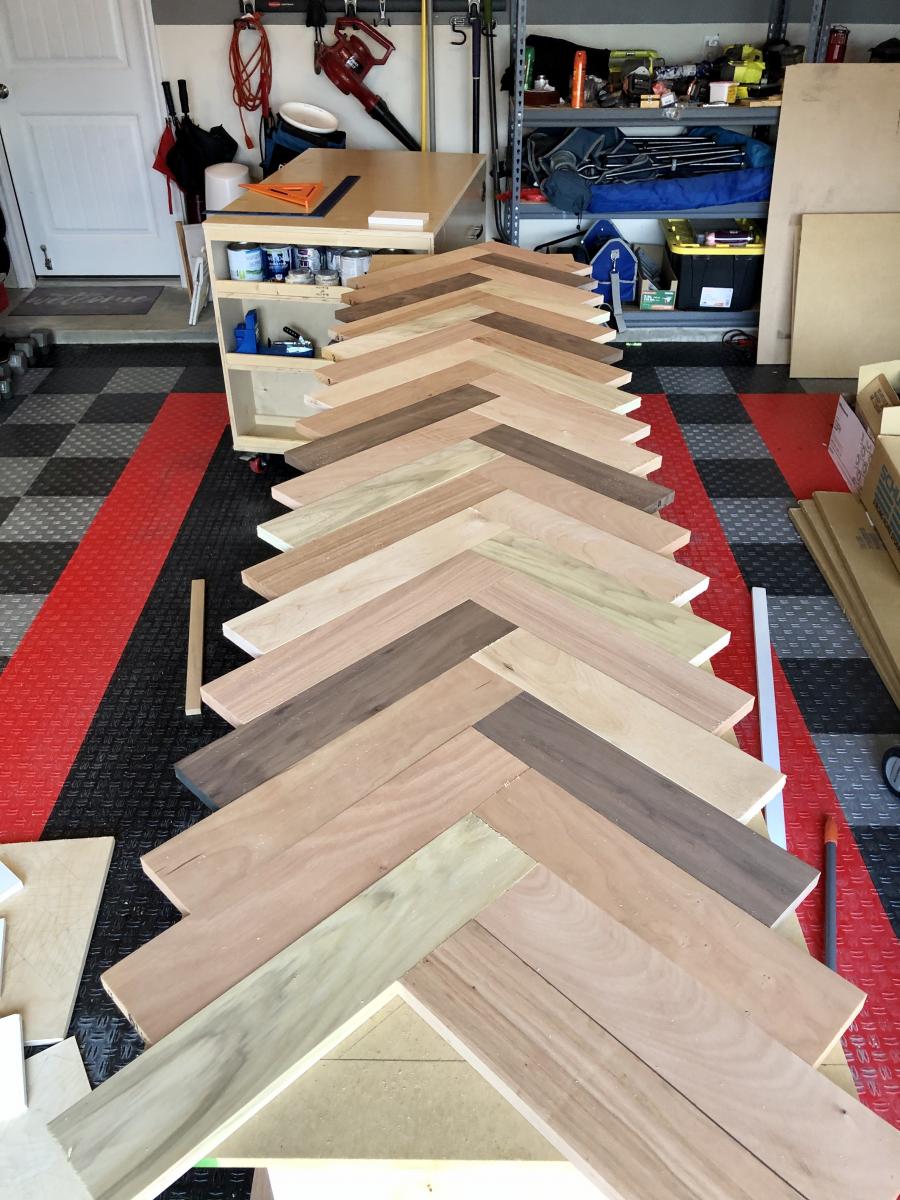
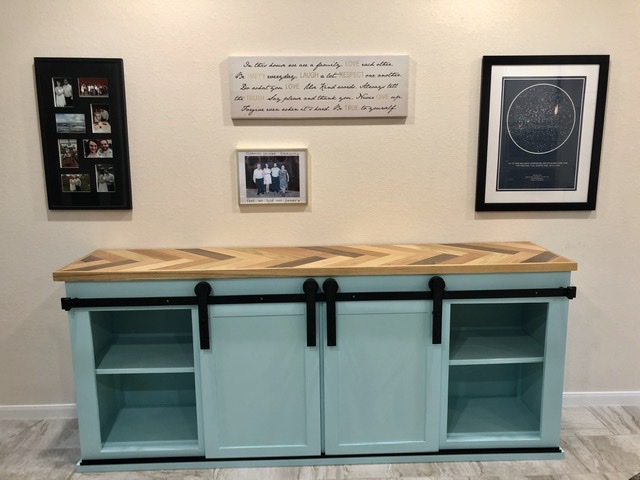
We wanted a large buffet for our hall and these plans were perfect. We modified the design to fit our needs, and painted the buffet a wonderful pop color that matched some accents throughout the house.
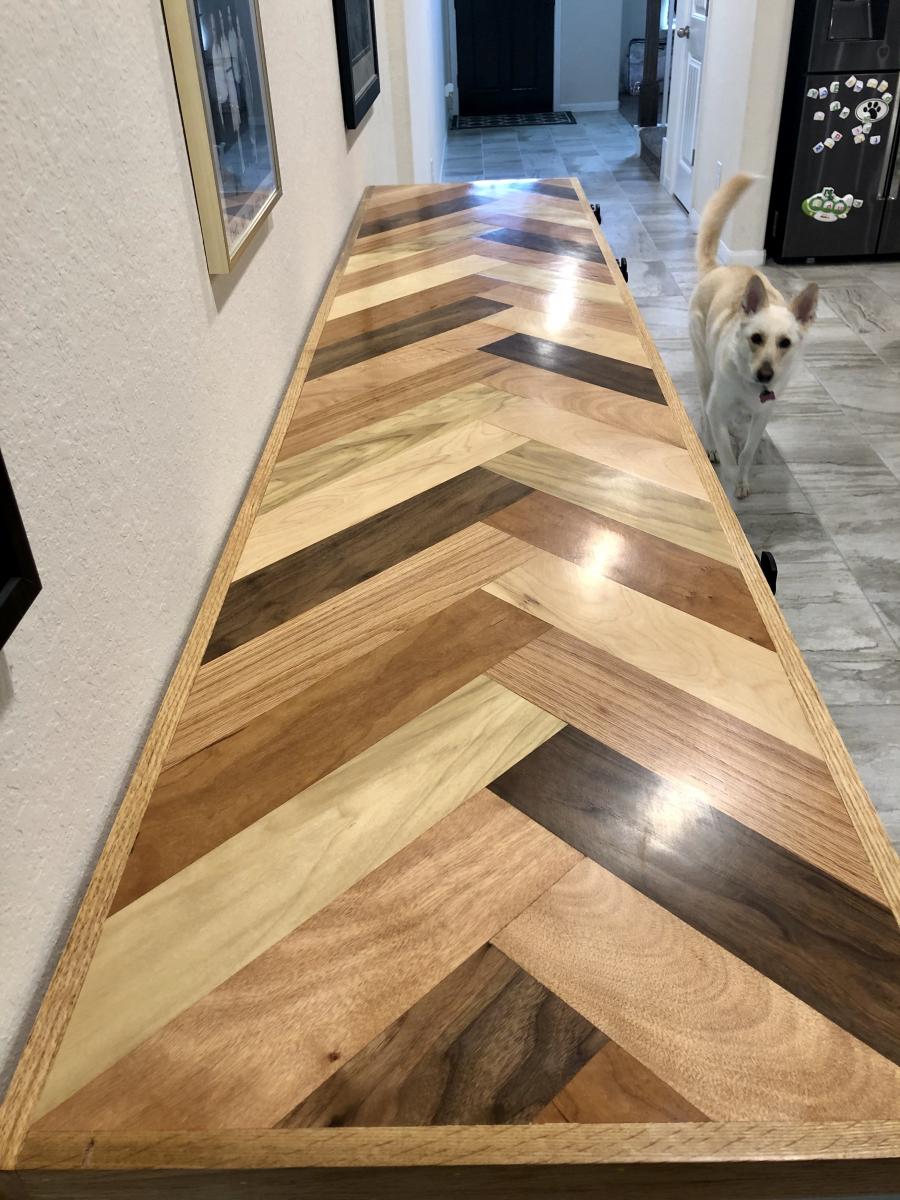
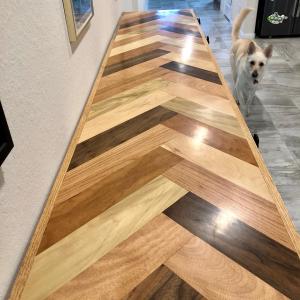
What really brought the project together was the herringbone top. We used 7 different species of wood sealed with poly and then finished with wax.

Wed, 10/02/2019 - 09:44
This piece is one of the most stunning I've ever seen! Thanks so much for sharing a brag post!
Sat, 10/05/2019 - 20:19
Thanks and thank you for always sharing incredible plans! Ever since I saw your miter station with carts I’ve been obsessed.
I combined the full-sized Hannah canopy bed plans with the Farmhouse Storage Bed with hinged footboard by birdandsoap here: http://ana-white.com/2011/07/farmhouse-storage-bed-hinged-footboard . Decided not to taper the ends of the 2x3s. There's so much storage underneath!

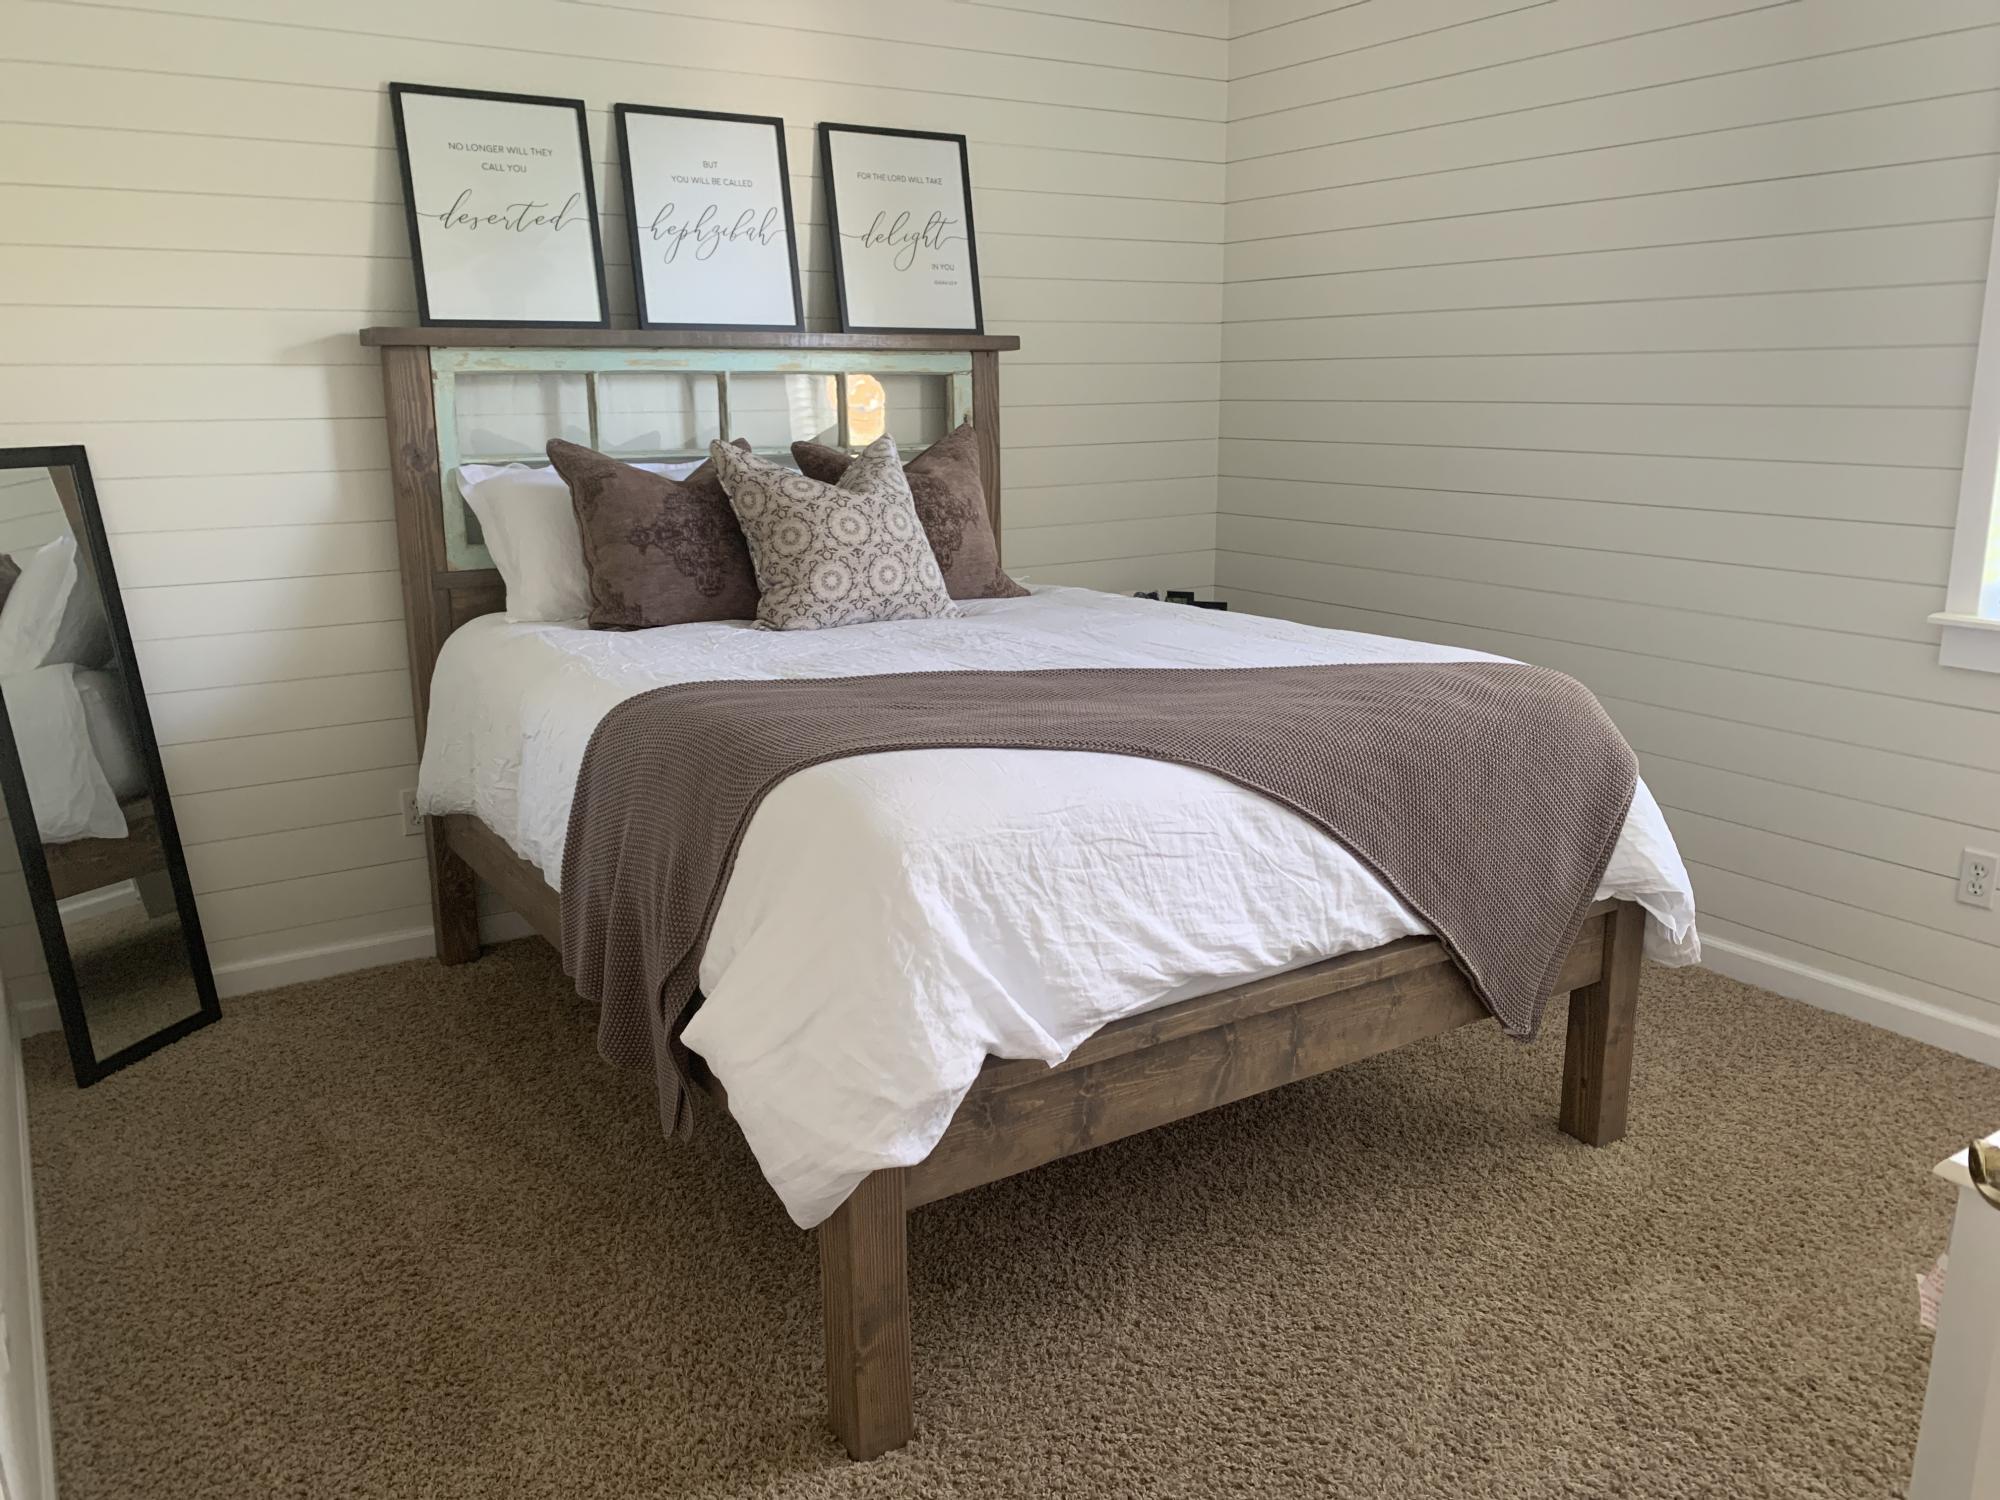
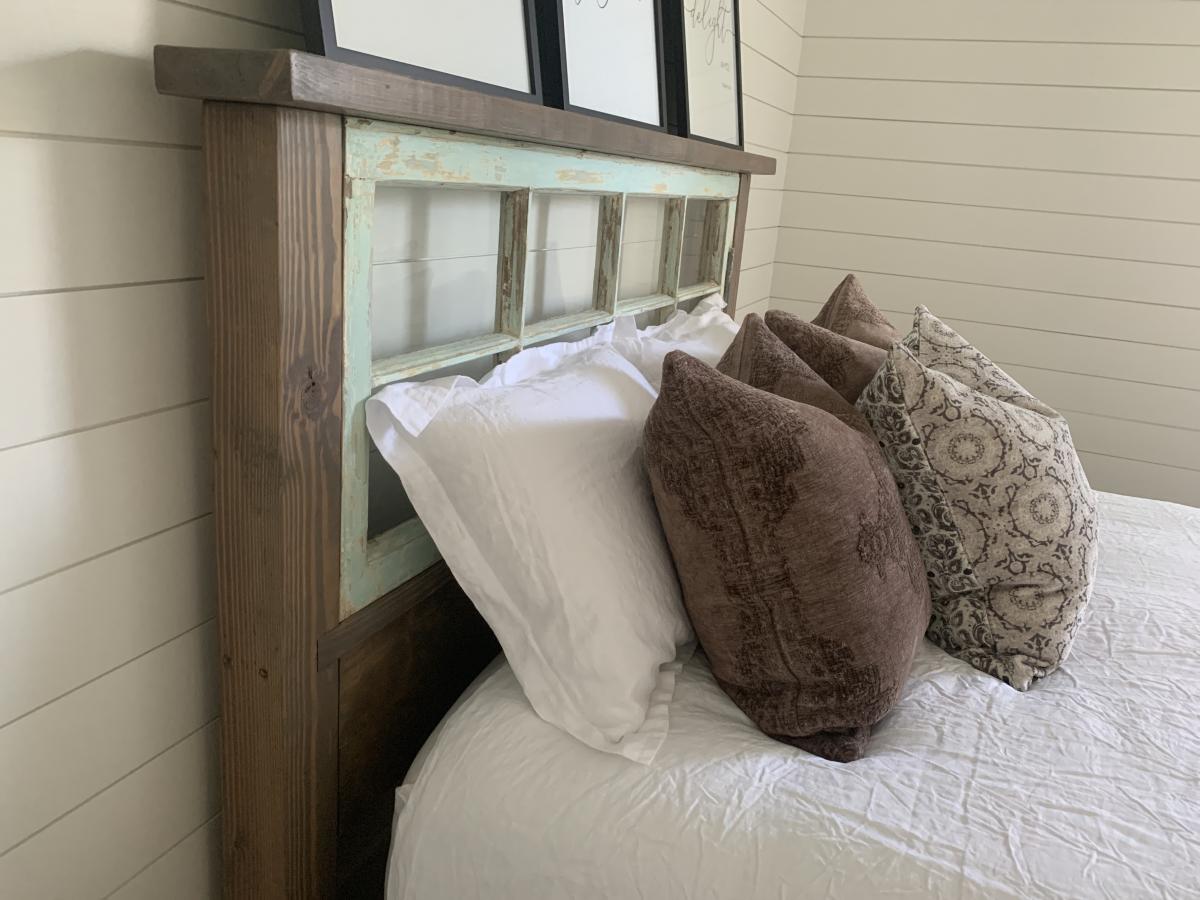
I had been searching the internet looking for plans to make a headboard out of an old window I found. I came across these plans and they worked perfectly. Thank you for the great plans and tutorial!
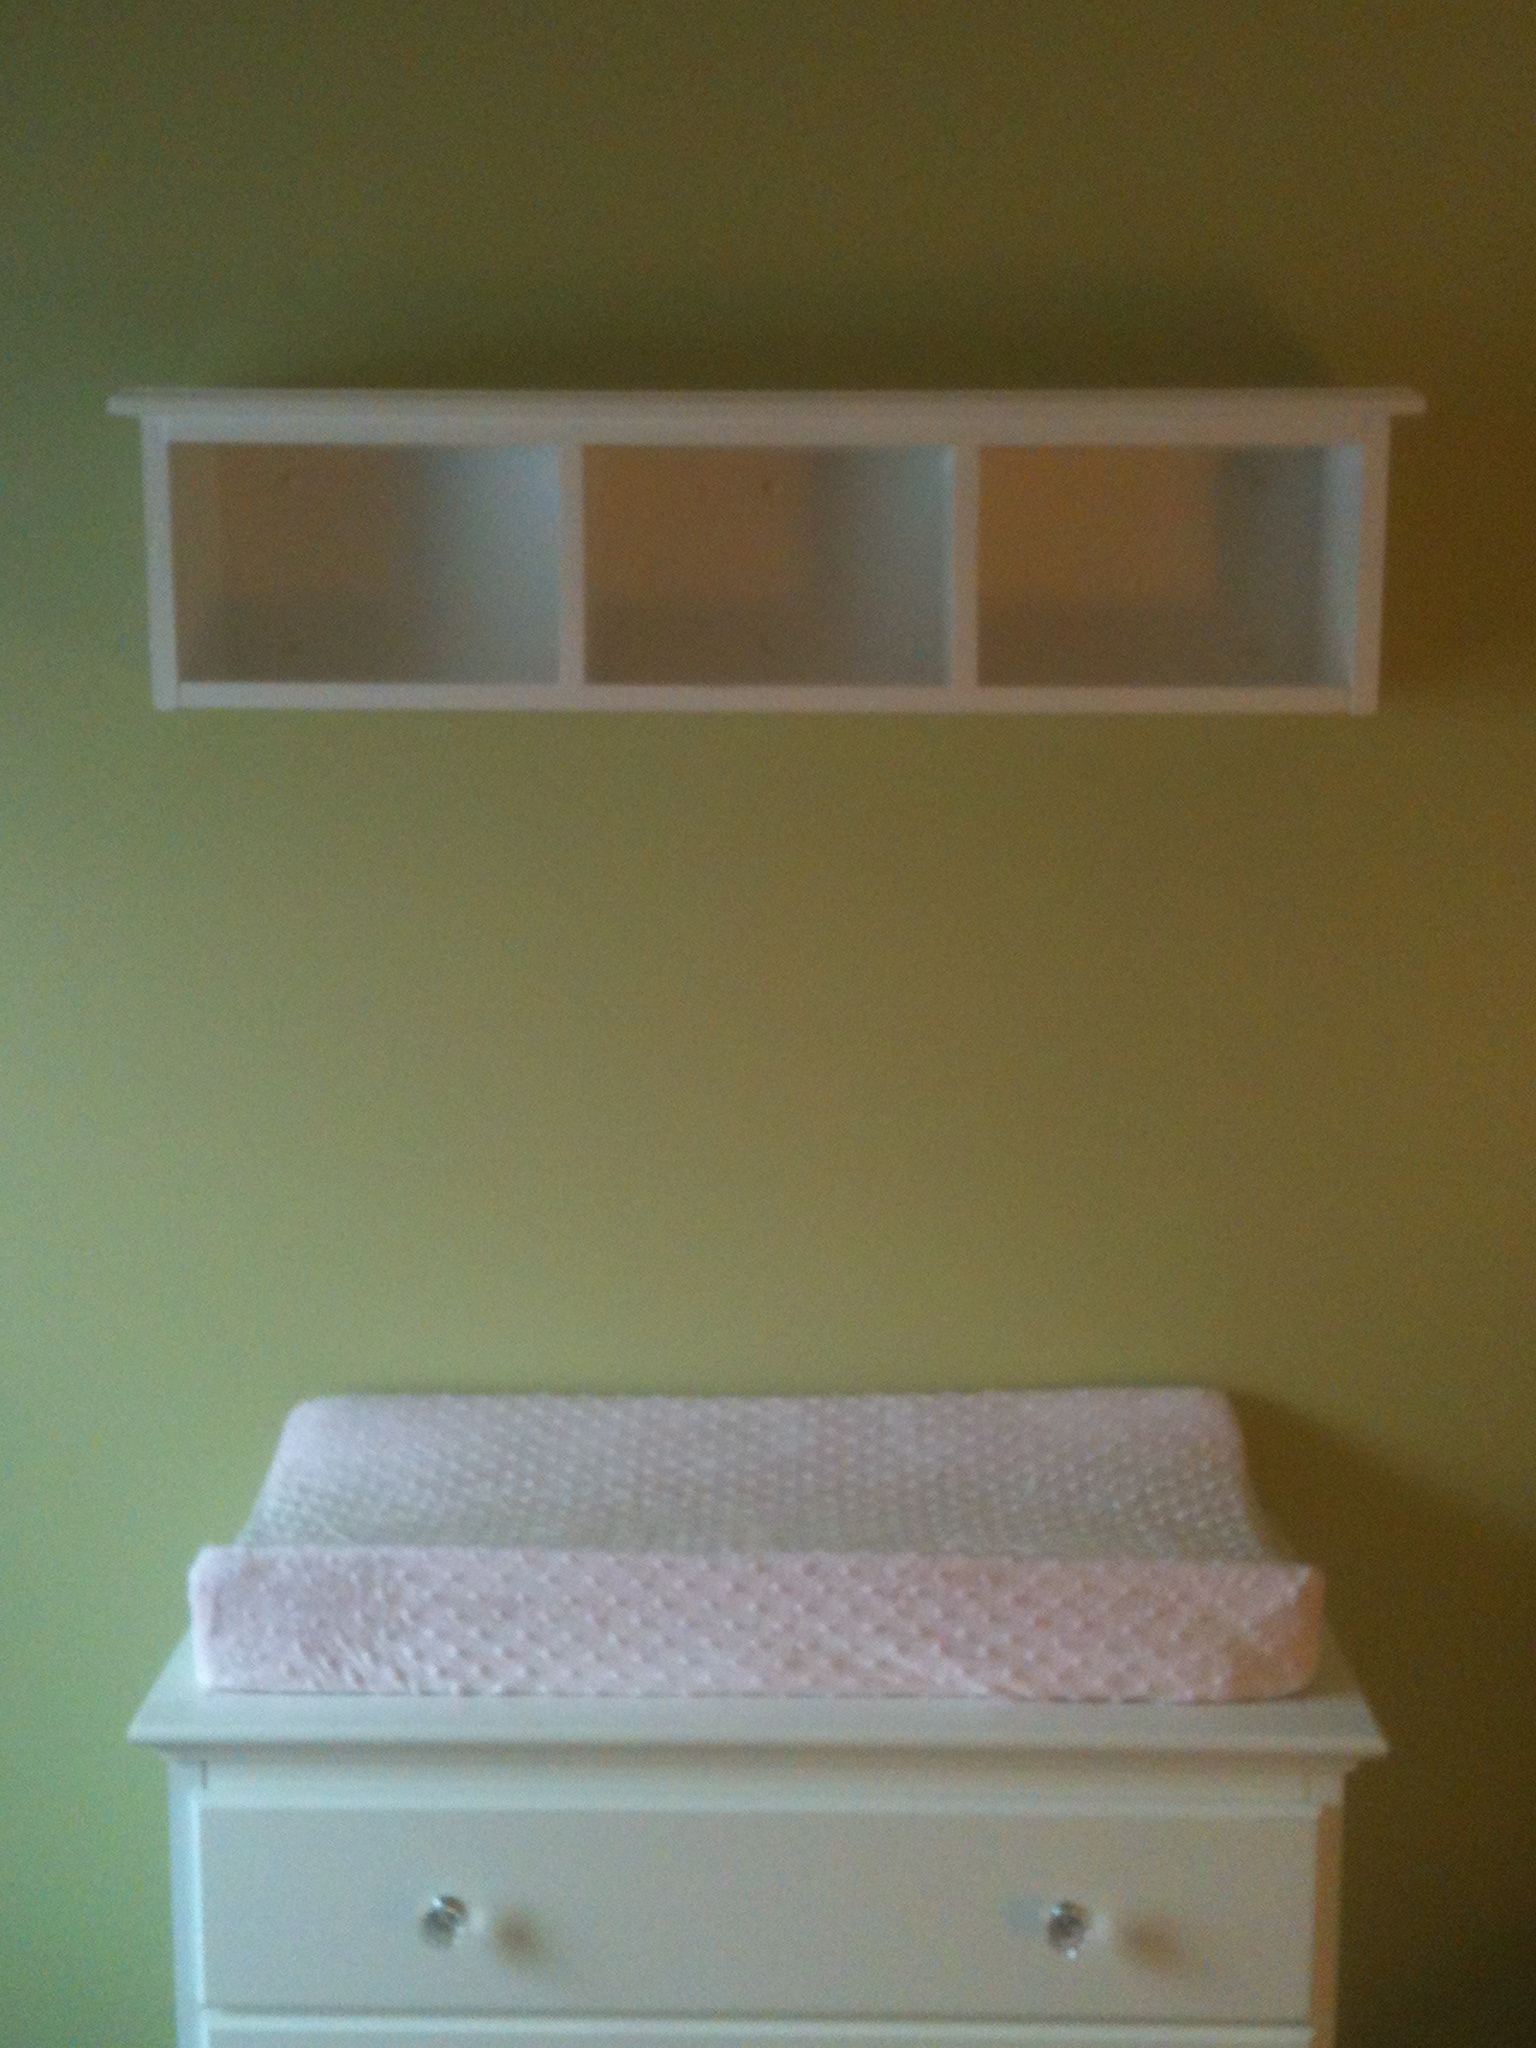
I made this shelf roughly from the entryway shelf plans. I modified it to meet our needs in our nursery. We hung it above the changing table/dresser (that we bought) and my wife put some nice pink polka-dot baskets in the cubbies. We use it to put baby accessories in (socks, lotion, rash cream, hair bows, etc.) This was my first project and it turned out better than I expected! It was an all day project for me, since it was my first, but shouldn't normally take that long.
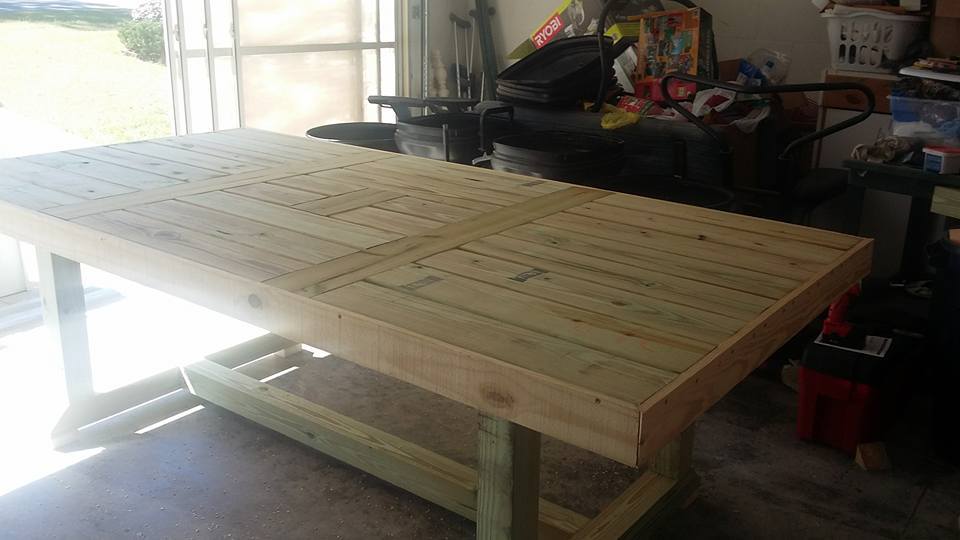
I decided since I was doing a lot of wood working projects I needed to have a work table. I came across the patio table on Ana site and fell in love. I now have a great table in my garage for all my woodworking projects.
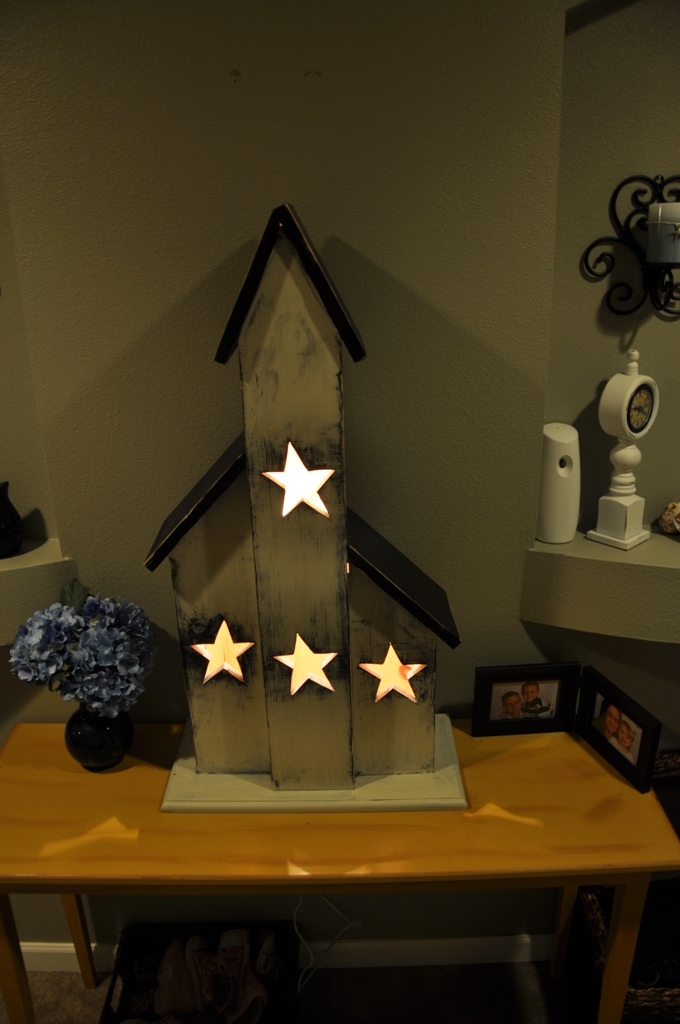
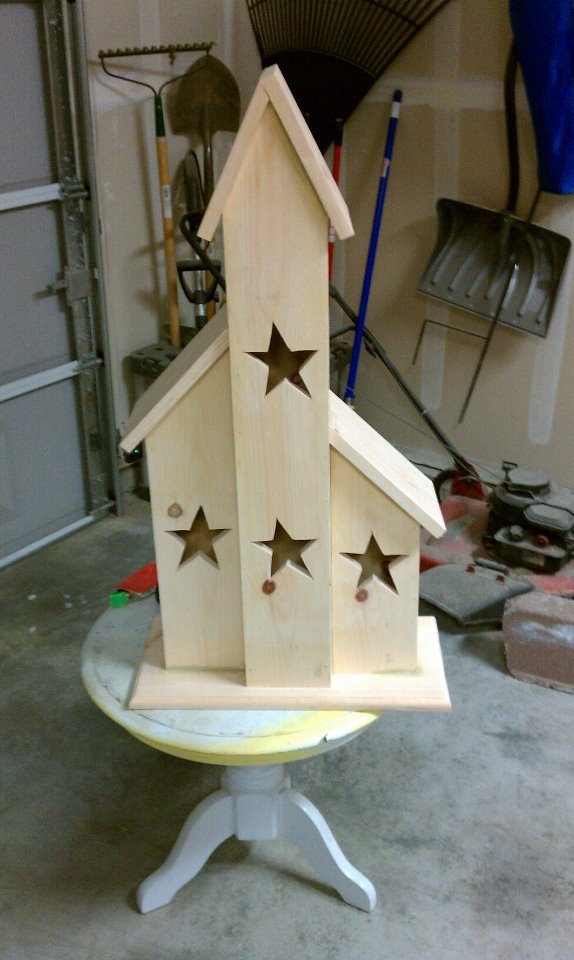
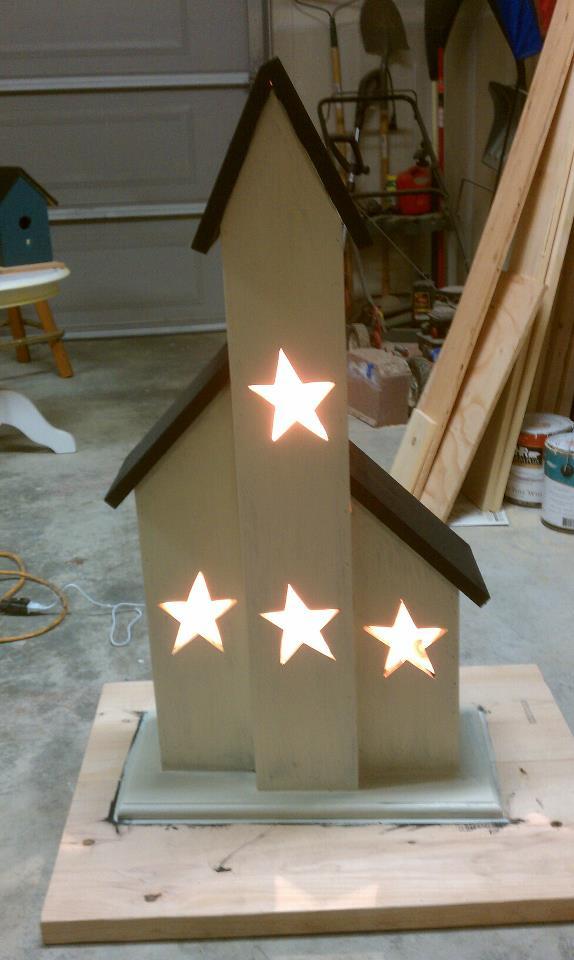
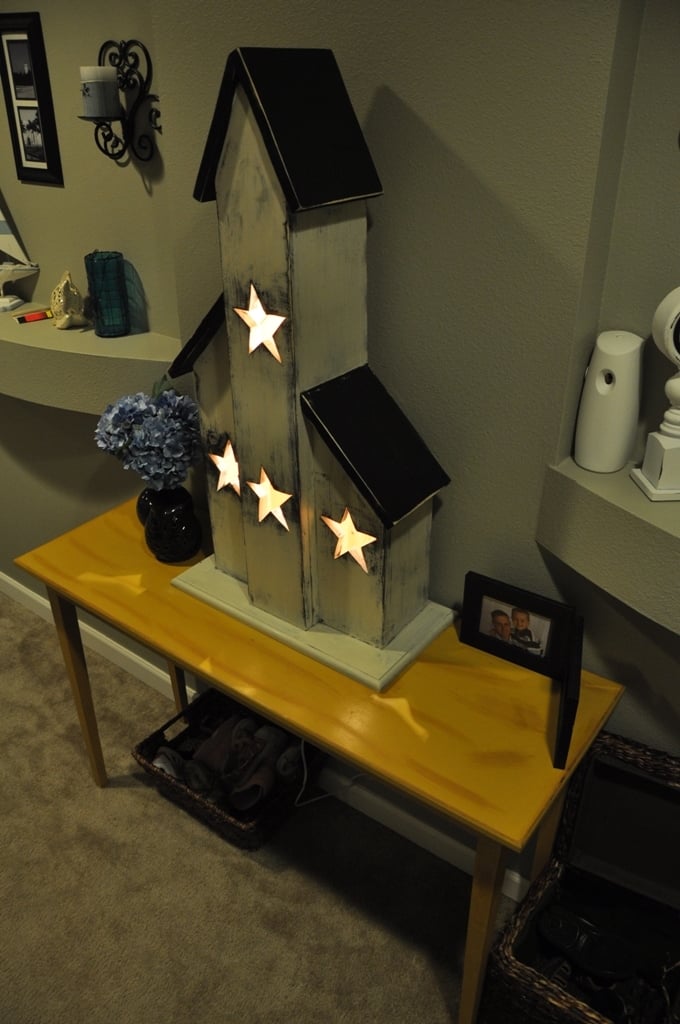
My wife went shopping one day in a primitive furniture shop and found this saltbox house that she loved. So I decided to get a picture of this house and build it myself. This project was a lot easier than I thought it would be. Hope you enjoy.
Sat, 08/22/2015 - 15:11
First let me say Thank You for your service. I know this is an old post but any chance you could post dimensions/instructions to make the saltbox house? I think it is beautiful.
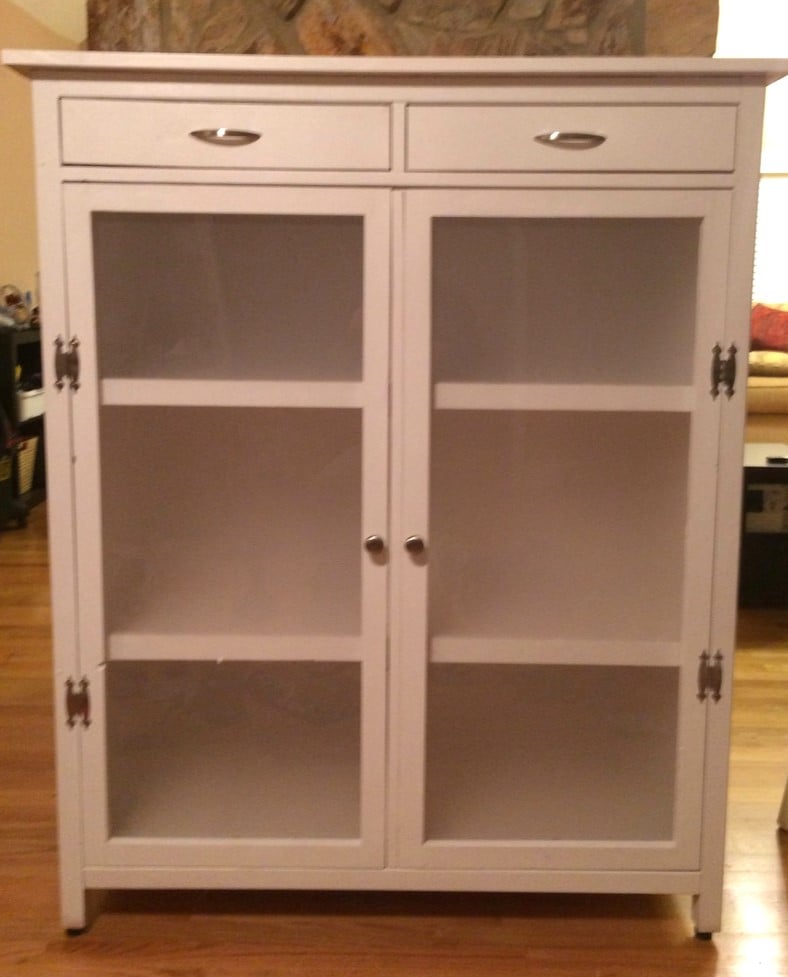
This was my first build for Katy and she loves it! We used acrylic glass and used the frosted spray pains from krylon.
Thu, 01/09/2014 - 16:32
Sorry guys and gals I couldn't figure out oh to rotate it on my phone! But you get the picture

Comments
Ana White Admin
Mon, 08/08/2022 - 16:56
Thanks for sharing!
This looks awesome, love the added window idea!