Community Brag Posts

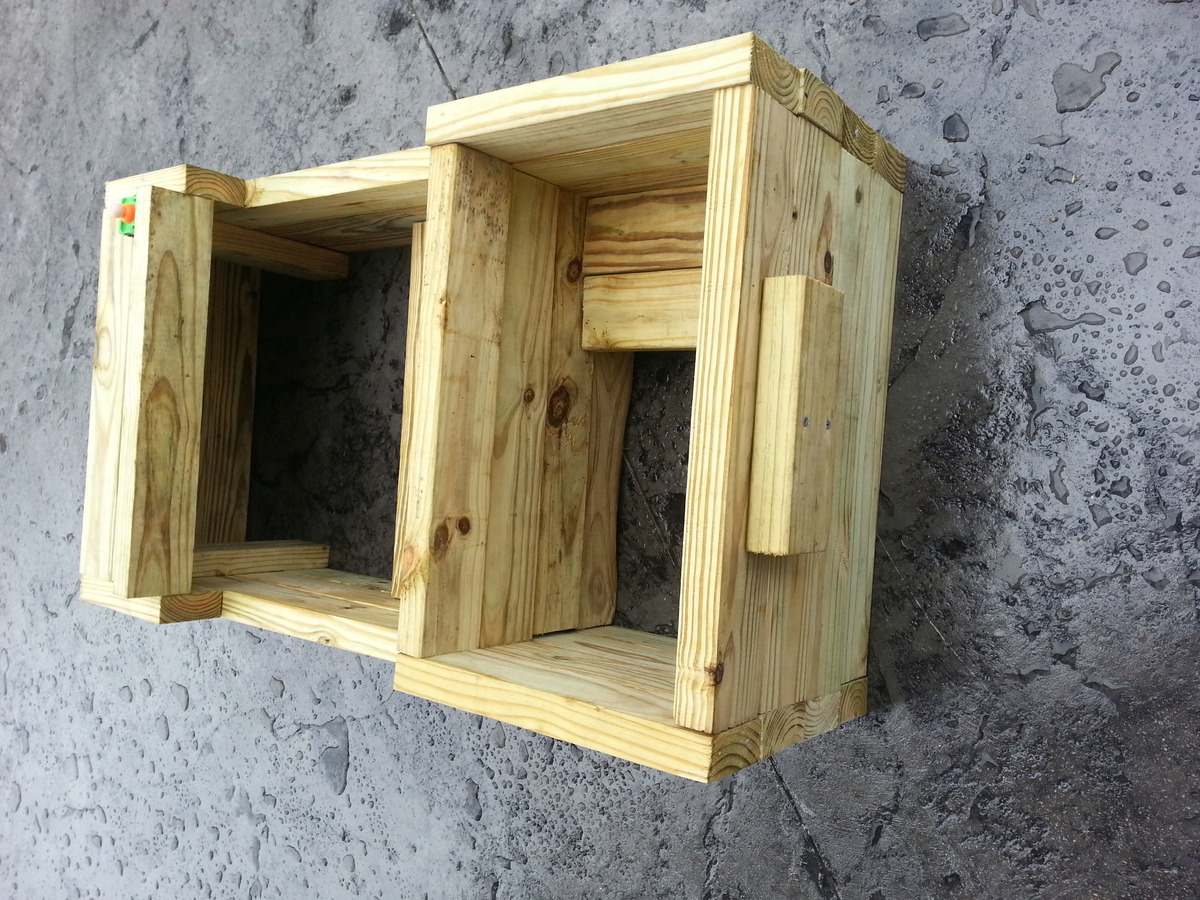
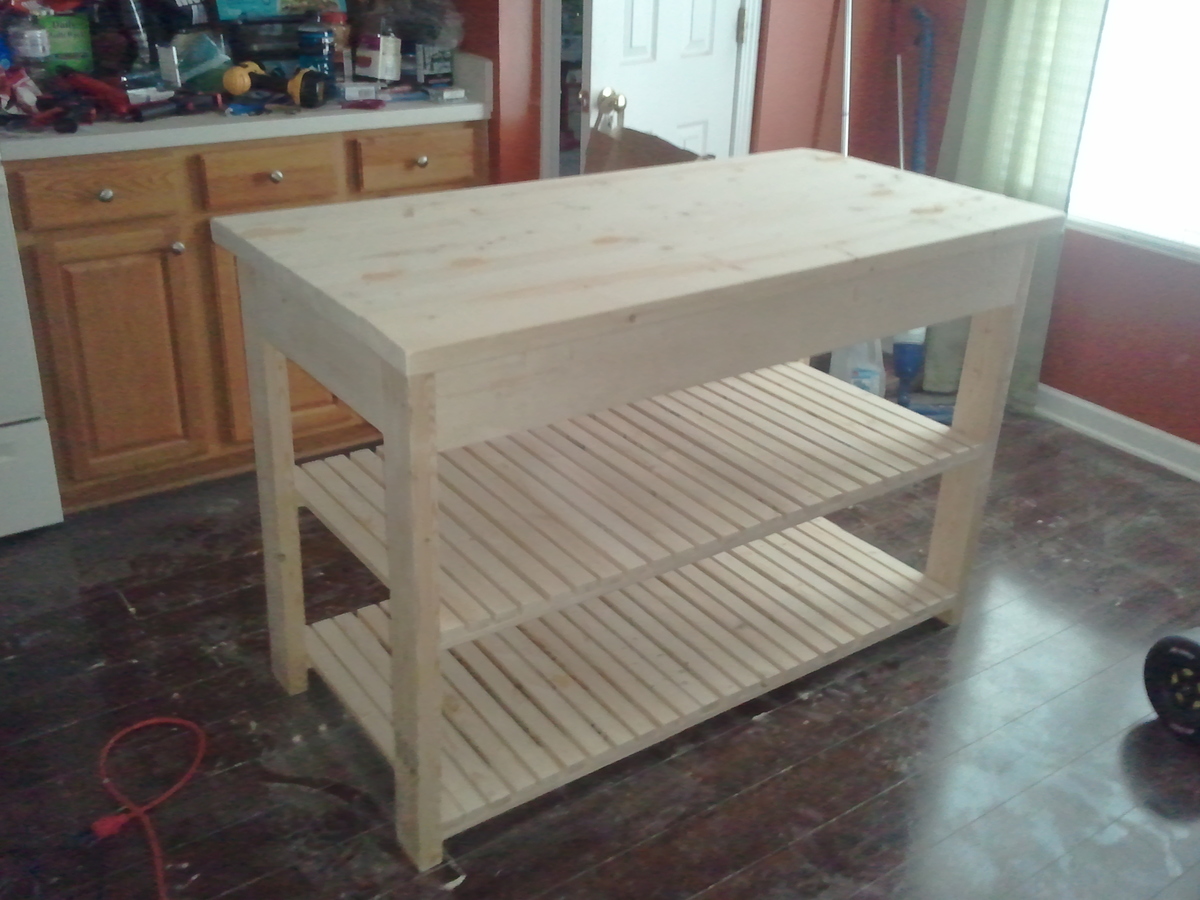
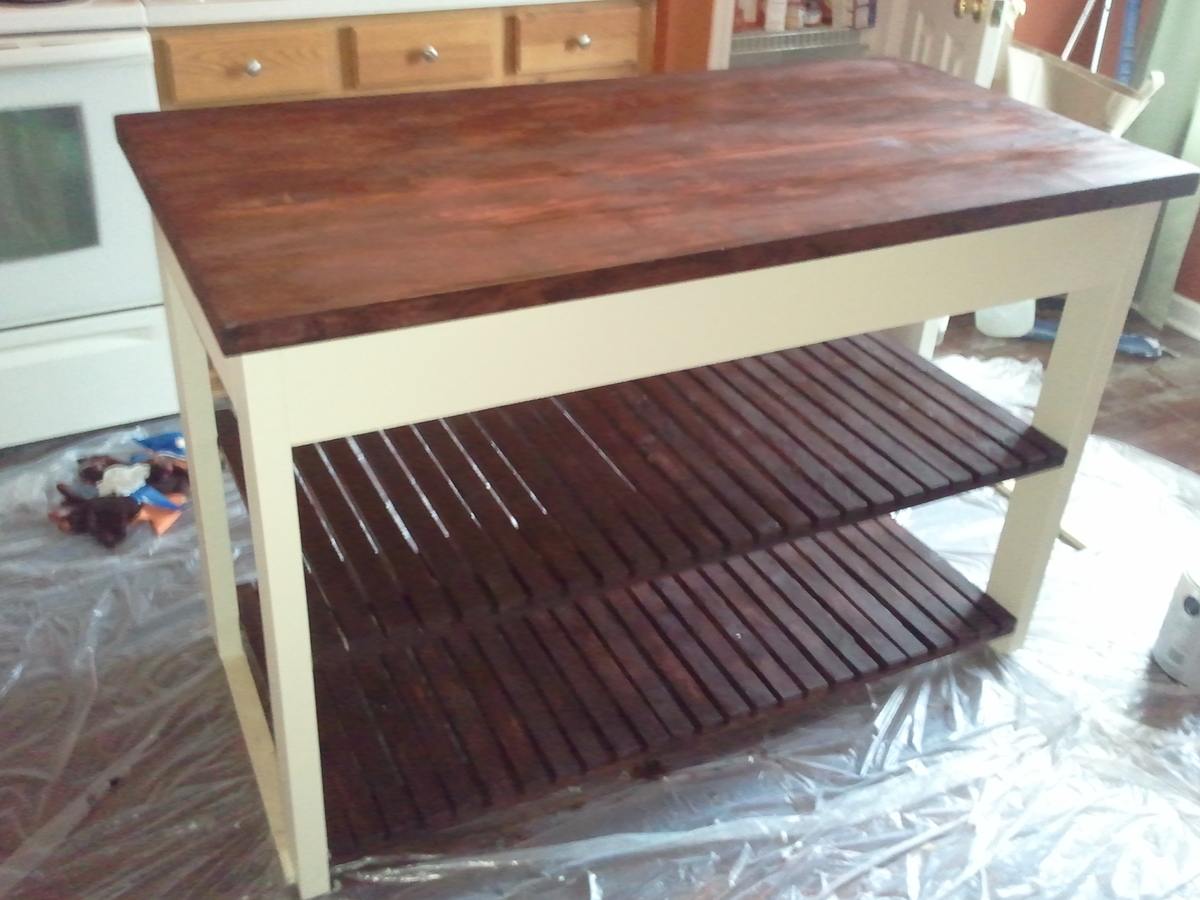
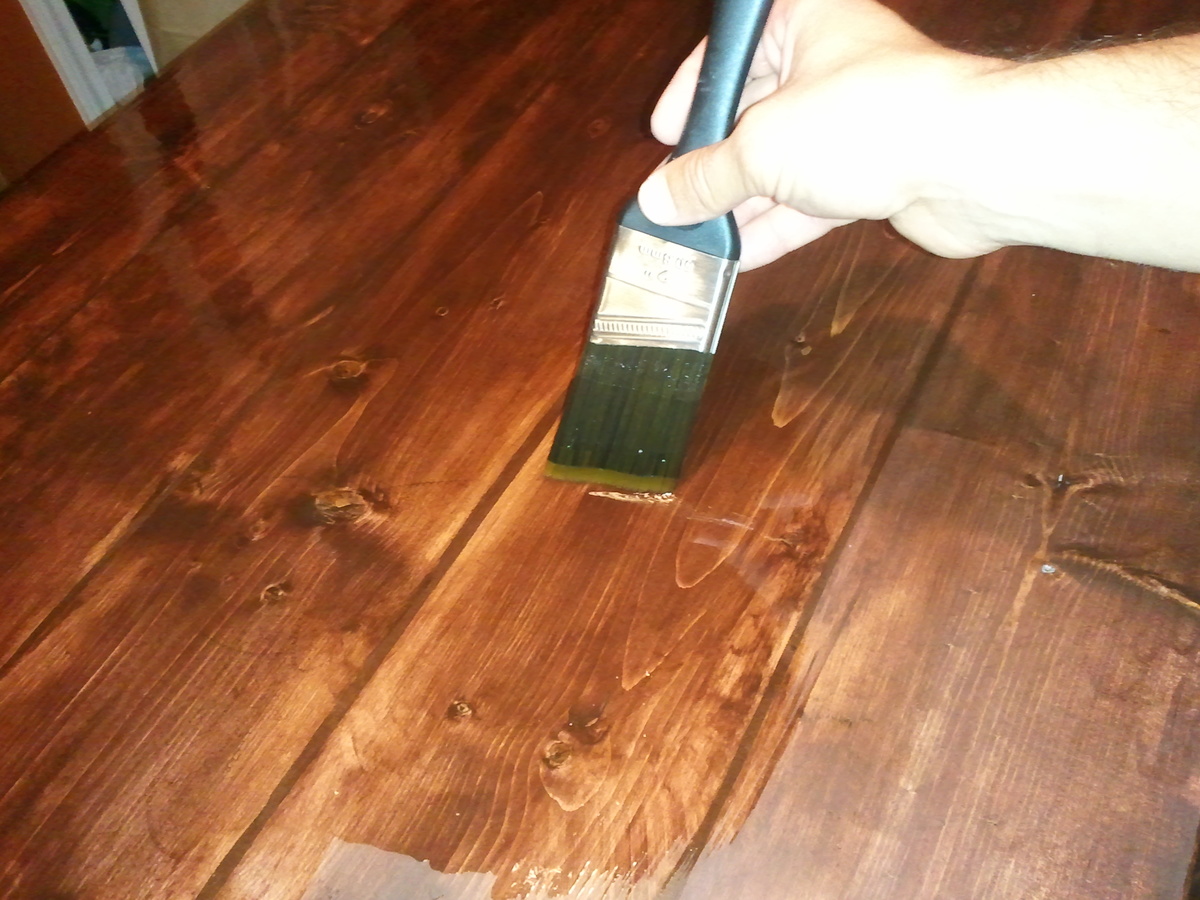
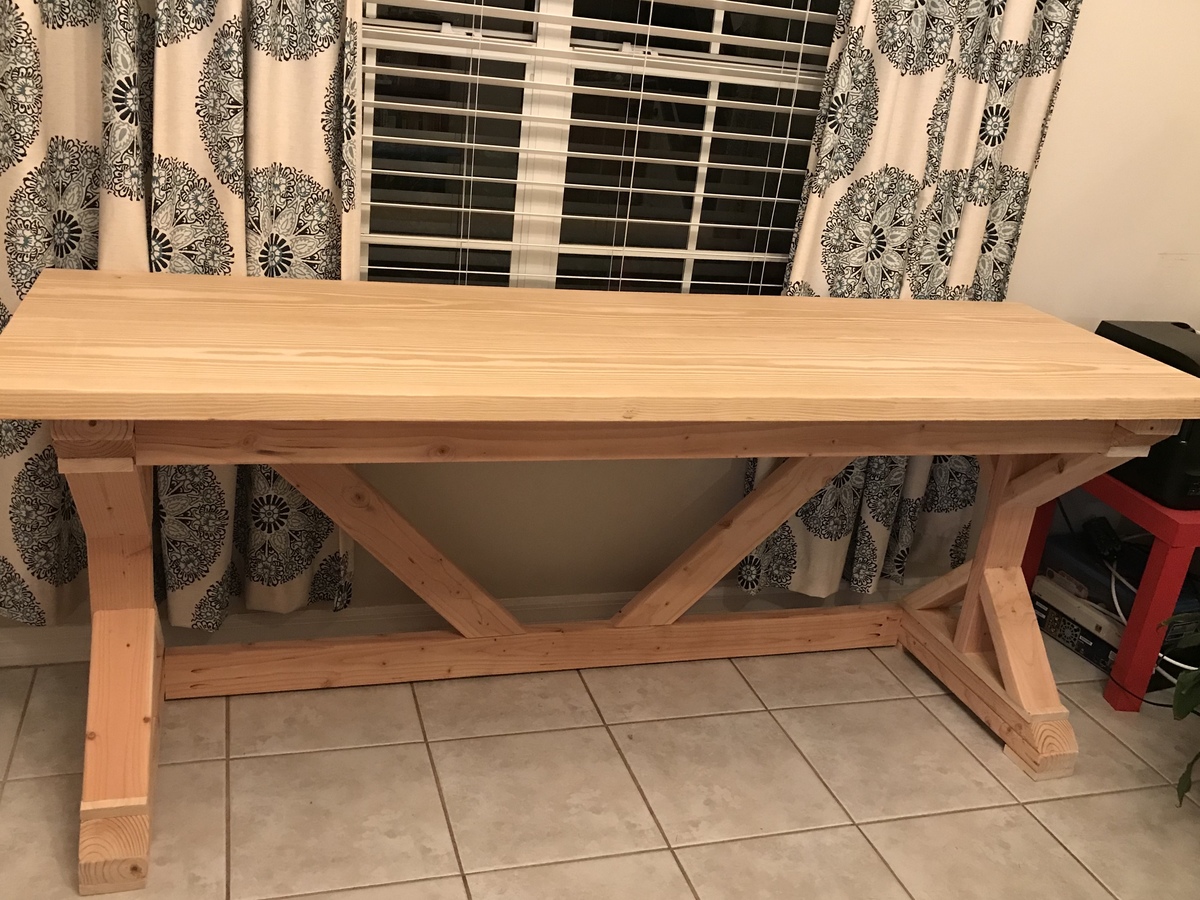
Best Workbench I have ever had!!!

Submitted by Anonymous (not verified) on Tue, 10/05/2021 - 03:45

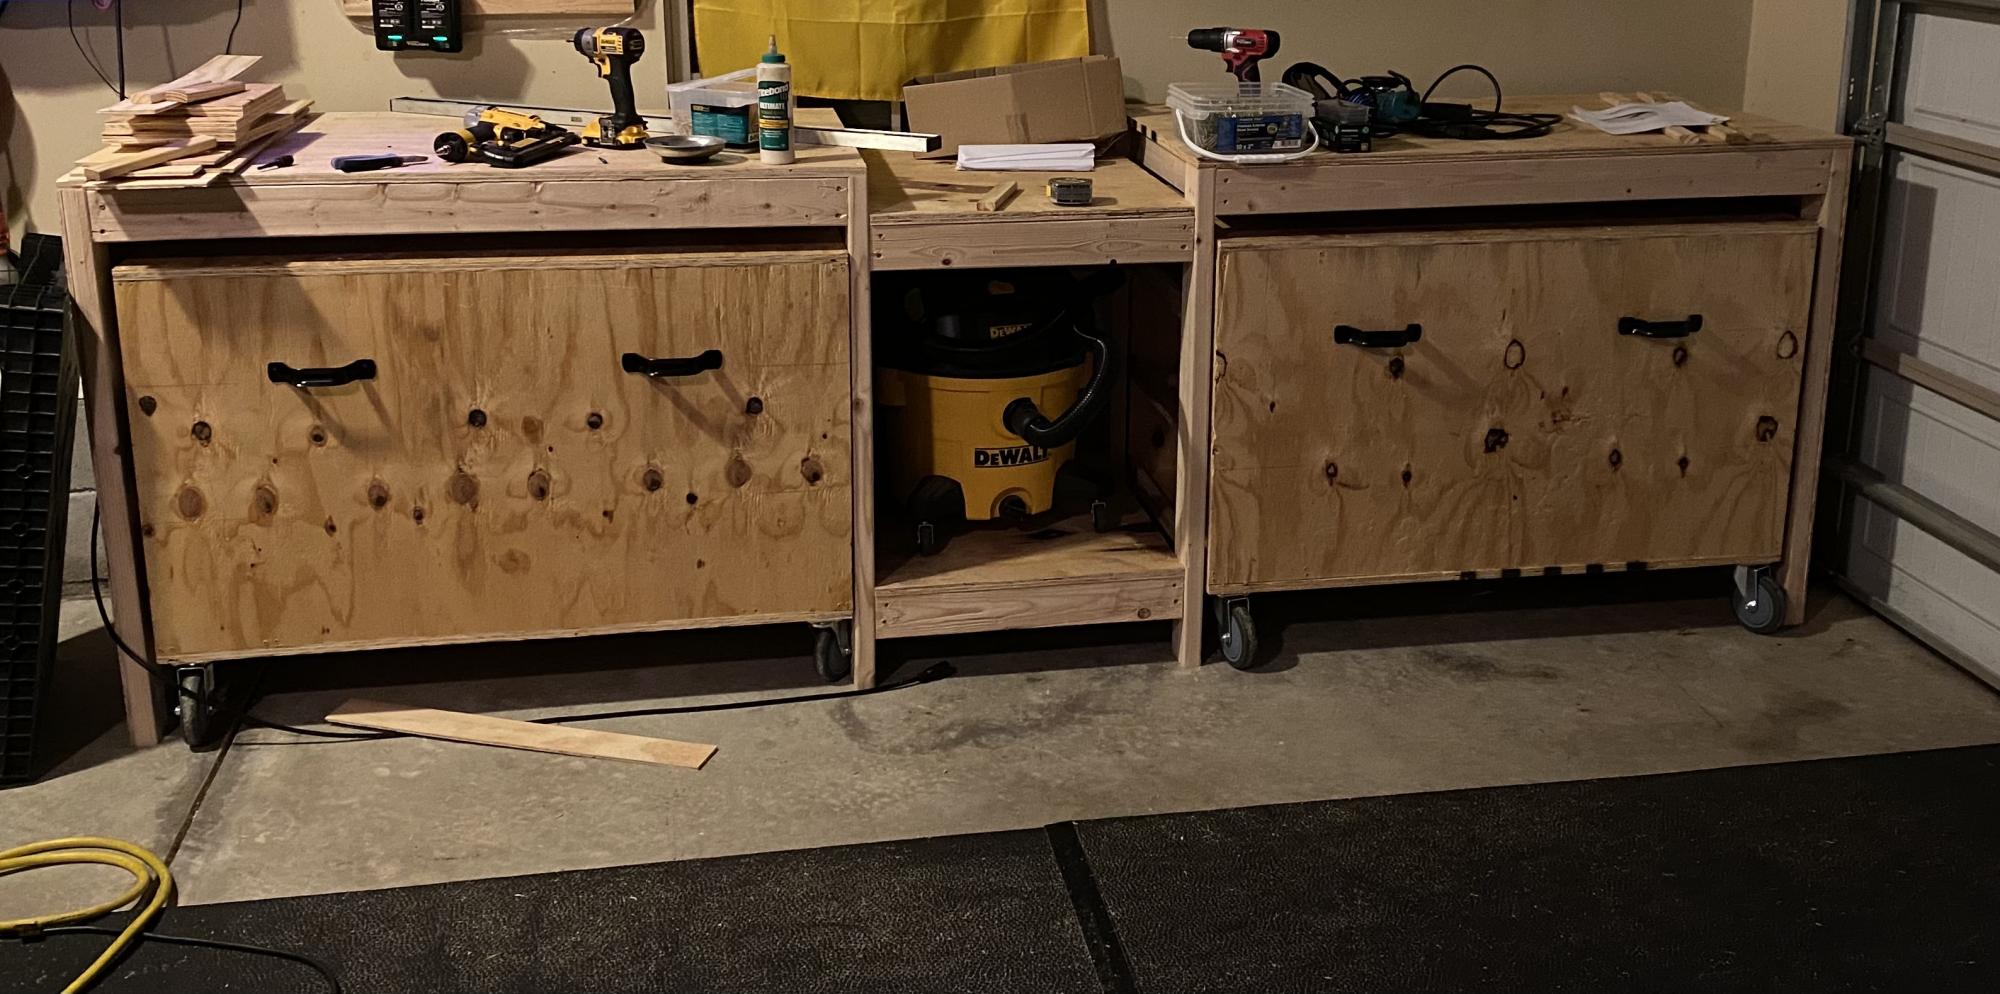
I have been searching for a way to maintain some neatness in my garage. Search stopped the second I found these plans. I am able to fit everything I need while keeping the garage neat and full of open space! I would most definitely recommend this build for anyone looking to save space, build something that is practical, and is completely customizable. Also, it took a buddy of mine and myself a day of hanging out to get the project done to include breaks for pizza!
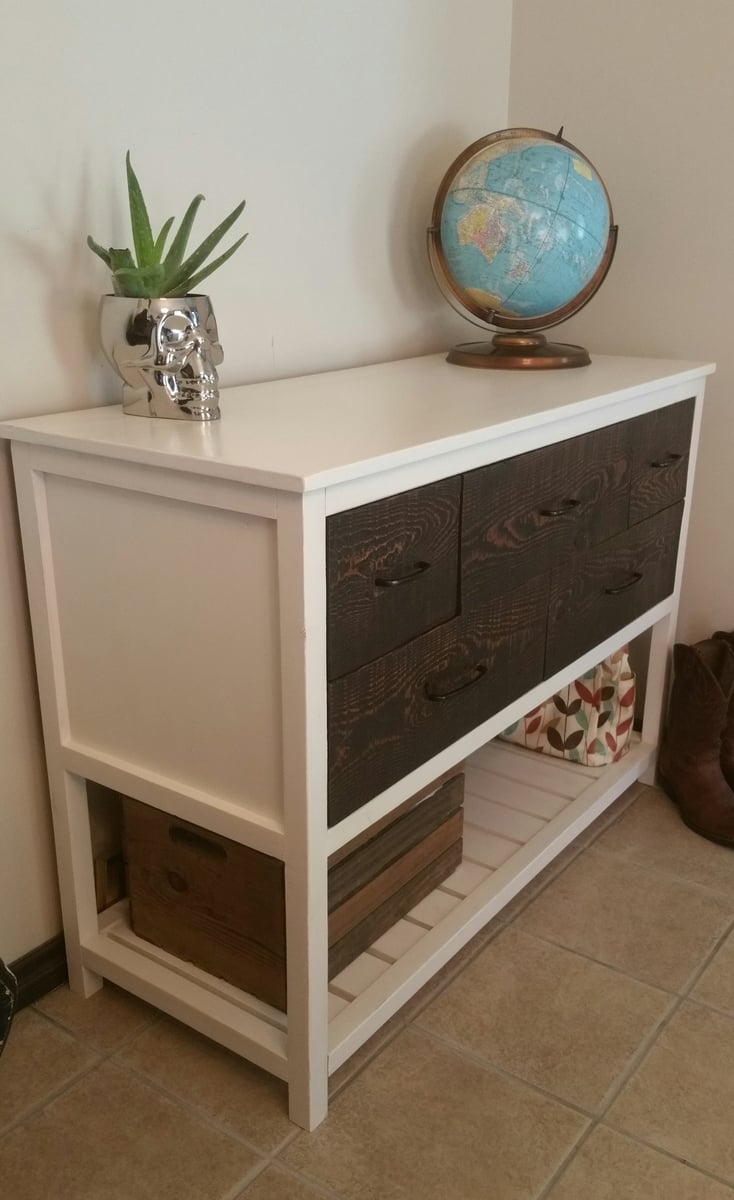
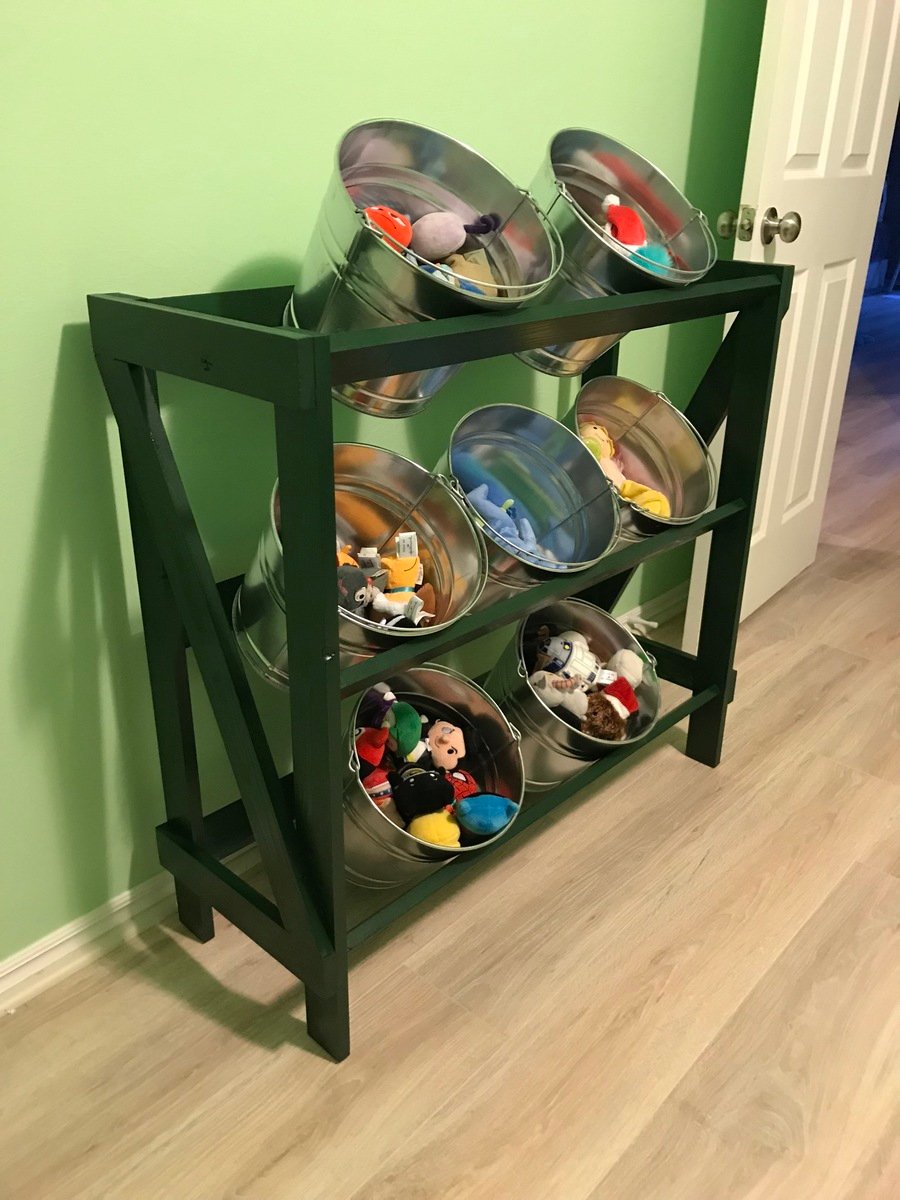
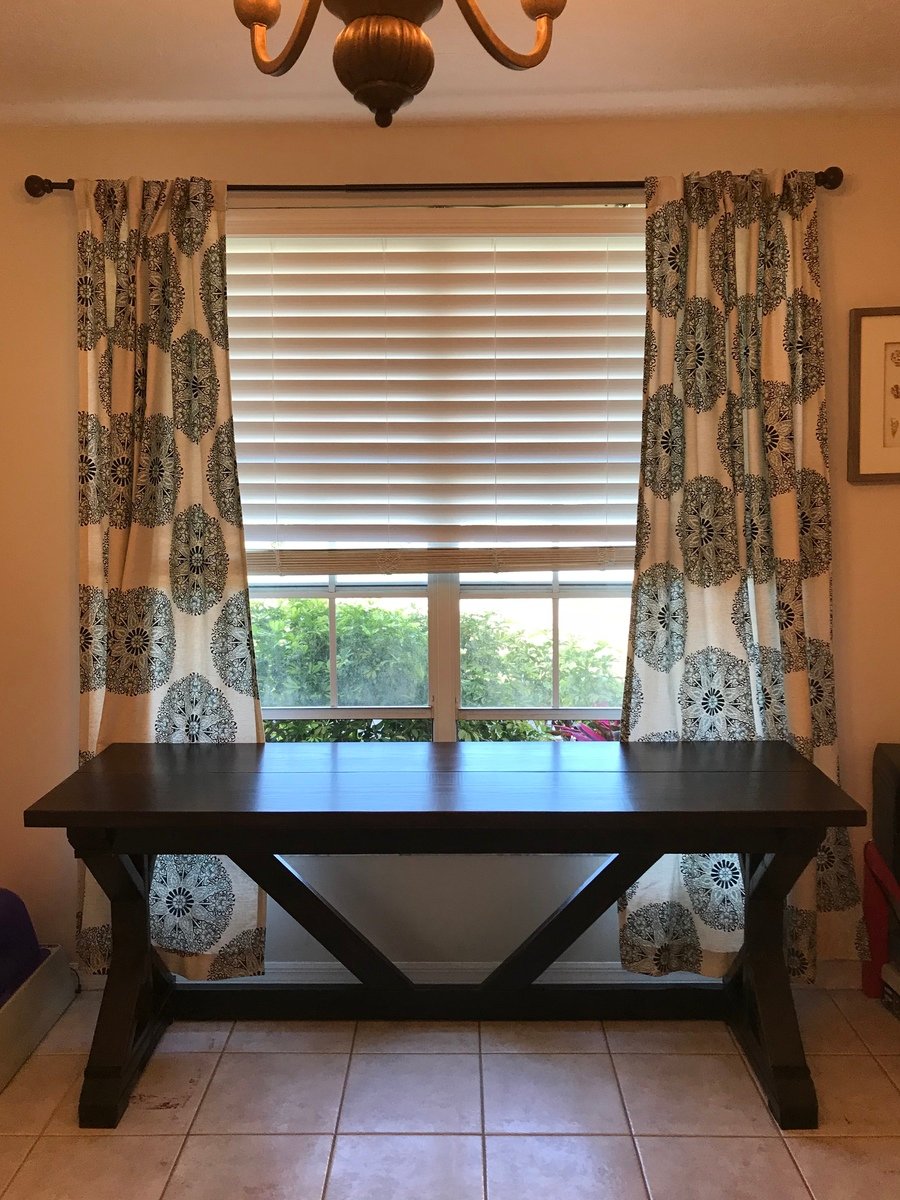
Raised Garden Beds

Submitted by kari on Sat, 03/12/2011 - 09:54

I made these last summer for my sister. And she didn't even use them yet! Very easy to make. She did want them taller, so that is the only modifacation I made. We're hoping the bunnies won't notice all the yummy veggies up this high :) I know, probably wishful thinking. Makes a great kid corral too.

Estimated Cost
it's been a while
Estimated Time Investment
An Hour or Two (0-2 Hours)
Finish Used
none
Recommended Skill Level
Starter Project
Seasonal And Holiday

Modern outdoor patio chairs

Submitted by BubsGarage on Sun, 09/17/2017 - 17:32

Added a little extra back rest. Made a double chair in the process of making a 3 cushion couch.


Estimated Cost
$95 for the chair with the cushion
Estimated Time Investment
Afternoon Project (3-6 Hours)
Finish Used
Deck stain and sealer
Recommended Skill Level
Beginner

Comments

TerDickison2

Mon, 06/10/2019 - 18:43

I really like the backrest. I built the chair as is from the plans but found it really needs the backrest. Can I ask how you attached the backrest screw-wise and what the angle is? It looks like the backrest might have been screwed on from underneath the armrests before the armrests were screwed to the body of the chair. Am I thinking in the right direction? Thanks in advance!

inside corner wall cabinet

First cabinet in my kitchen remodel.


Built from Plan(s)
Estimated Time Investment
Weekend Project (10-20 Hours)
Finish Used
Sherwood by Sherwin Williams. Special purchase 5 gallon minimum. Water based lacquer. Dark Mahogany stain, HVLP sprayed on lacquer.
Recommended Skill Level
Intermediate

Modern outdoor chairs and tables

Submitted by mcneece on Mon, 12/18/2017 - 14:10

Project is still in progress but so far this has consisted of a firepit, 20x20 slab, 4 cypress columns, bistro lighting, 2 modern outdoor chairs, 1 modern outdoor bench, 4 matching tables, and a project screen.  To come: flower bed, projector storage stand with casters and hinged top, outdoor speakers, and possibly a green egg stand, and extending power to the back of the slab.

Estimated Cost
$75 per chair, $100 per bench, $40 per table
Estimated Time Investment
Week Long Project (20 Hours or More)
Finish Used
Thompson waterseal (transparent)
Recommended Skill Level
Intermediate

Reclaimed Wood Console Table

Submitted by Ashbrouw on Mon, 06/22/2015 - 17:09

We just used pine from the framing and craft sections of Home Depot. The drawer fronts are cut from rough cut lumber from a lumber yard in town. I'd say it cost around $120 to make (Paint, lumber, screws, etc). We used thinner particle board for the backing (instead of the size listed in instructions) and hammered and glued the drawer bottoms on. Also, we used pocket holes to make the drawer frames instead of using glue and nails. We made it 2" taller than the plans said. Bought drawer handles from the Habitat For Humanity Re-Store for $1 each and spray painted with Krylon's Oil Rubbed Bronze in satin. Took us about 15 hours start to finish, but over the course of a couple of weeks as we had time to work on it. Wait time between coats of paint and poly, etc. Very happy with how it turned out and plans were straightforward and easy to follow!

Built from Plan(s)
Estimated Cost
$120
Estimated Time Investment
Weekend Project (10-20 Hours)
Finish Used
Chalk paint lightly distressed, a primer on the plywood table top before painting, Minwax Polycrylic to finish. Drawer fronts were stained with Minwax Wood Stain in Espresso. Sealed with Minwax Polyurethane.
Recommended Skill Level
Intermediate

Modern Slat Top Outdoor Wood Bench

Submitted by ckaye on Sun, 07/07/2013 - 18:38

We wanted an outdoor bench for our front entrance way, this one is just what we were looking for! Thank you for the plans.

Estimated Time Investment
Day Project (6-9 Hours)
Finish Used
2" x 6" Spruce Black Stain
Recommended Skill Level
Beginner

Comments

beardjulie

Wed, 05/04/2016 - 10:01

I am really a novice. The plans say that the 1x4's should be 18-1/2" high? But the measurement of the vertical legs are 14", and the horizontal piece is 4" high, which adds to 18". It all looks flush in the photo. Could you explain what I am missing? Thank you so much!

In reply to by beardjulie

Rudystawarek

Wed, 05/04/2016 - 11:30

So from what i see in the plans Each 1x4 board is to be cut at 18" and the 2x4 is to be cut at 14-1/2". Cutting the 2x4 at 14-1/2" will insure the 1x4 and 2x4 are fluish for the end product. It doesnt seem to add up given the demensional names of the lumber hahaha however the actual width of a 2x4 (the one the will be going horizontal) is acutally 3-1/2". so then you cut you 2x4 leg piece at 14-1/2" and then lay the horizontal 2x4 on top the total height will be 18" and should be flush with your 1x4 that is cut at 18"

beardjulie

Fri, 05/27/2016 - 14:04

That is too funny! That is a dead give away that I'm new at this! Thanks you!

beardjulie

Fri, 05/27/2016 - 14:04

That is too funny! That is a dead give away that I'm new at this! Thanks you!

2x4 little car, work in progress

I think I'm the first one to use this plan. I am a newbie so maybe I made it harder on myself but I diverted a little bit. I did not have 4 inch screws that would work with the treated lumber, and they were going to cost me a very pretty penny to get. I did have a box of 3 inch treated wood screws leftover from when we made the floating bunk beds » {LOVE THOSE} so instead of building each side, I had to build it level by level,attach them all together inside once I was finished. I use some leftover pieces to add a little seat in the trunk and a license plate. you also might have a few scrap pieces that you could use for rear view mirrors and headlights, but I would like to keep this simple and chic. I have a small wood slat piece that I will use for a grill on the front { from an old wooden toddler bed rail} so his car will look just like the tiny Fisher Price one he plays with! I'm still searching for a free steering wheel off an old toy or perhaps I will use my husband's 2.5lb free weight. I think it is perfect if I can figure out how to attach it... and how to get away from my husband ;)

Estimated Cost
$30
Estimated Time Investment
Afternoon Project (3-6 Hours)
Finish Used
debating on stain vs paint
Recommended Skill Level
Beginner

Comments

www.iwantbdpho…

Wed, 07/10/2013 - 14:01

this is my first solo project. I had the store do most of the major cuts so that was a definite time saver. I only had to do my angle cuts and kept on my leftover pieces to do my modifications. this will sit outdoors so I had to spring for the treated lumber. since I built it level by level I had to secure it inside. all except the last trunk level were secured under the hood out of the way. securing the final level of the trunk gave me the idea to use a "license plate" instead of just a random piece of wood.I can't wait to put it in the play driveway to add to his big outdoor play house! thank you for an excellent easy to follow plan. maybe now I can get a plan for a matching gas pump?? :-)

DMax2010

Sat, 07/13/2013 - 05:05

Are there any measurements for the cuts? I really want to make this for my little guy!

Grandy Sliding Door Media Console

We decided to go big or go home. We made the console almost 8 ft long out of all Rustic Alder. Took almost a month with a few hours here and there in the garage. But everyone loves it and we can't wait for it to find a new home! 

Built from Plan(s)
Estimated Time Investment
Weekend Project (10-20 Hours)
Finish Used
Tops and doors Java Gel Stain, Painted in a light gray milk paint...All General Finishes products.
Recommended Skill Level
Intermediate

Comments

Platform Outdoor Sectional

We made our sectional higher off of the ground than the original plan by replacing the single 2x4 base with stacked 2x6s, stained it black and used cushions from Target that we managed to get at 50% off. It fits beautifully in our screen porch and has made what was a waste of space into an outdoor living room. Thanks for the great plans!

Estimated Time Investment
Weekend Project (10-20 Hours)
Finish Used
Olympic Maximum Stain and Sealant
Recommended Skill Level
Beginner

Comments

lscrandall

Sun, 07/14/2013 - 08:21

I love what you did with the plan. When we do our Pergola on our patio - we are going to change to this type of furniture or a new farm house table. I love the paint color ideas and the adjustments all for such a great price! Great job!

Queen size storage bed with headboard storage

Submitted by Cranky on Mon, 01/29/2018 - 12:49

There was some deviation from the original plans..  We made the storage boxes a bit taller and the headboard has several new features.

First off, the under-bed storage takes up the whole size of the bed.  So the drawers (six of them) are nice and deep.  One of the drawers is actually the dog's bed now.

The picture doesn't show it but behind the headboard there are cubbies for storing books, tablets, phones, glasses, etc.

On both sides of the headboard there are four electrical outlets plus two USB charging outlets for charging tablets, phones, etc.

There are two reading lamps on the headboard as well.

I did the construction portion while my talented wife did the amazing paint job.


Estimated Time Investment
Week Long Project (20 Hours or More)
Finish Used
FAT paint, charcoal colour.
Recommended Skill Level
Advanced

Comments

Axel

Sun, 06/09/2019 - 04:28

That's awesome! Do you have notes on how you did the modifications and the additional features?

Kitchen island

Submitted by adk_native on Sun, 07/14/2013 - 18:36

Needed a kitchen island and loved this plan when I found it on your website. I have tools to cut the lumber but thought I would let Lowes cut the lumber to save me some time. Ha! Made small corrections with what you need like just 2 2x4s to make the 4 legs. Like Ana said, it's all about math. Thank you for the plans. Friends already wanting me to make one for them, ha. Ps...my dad is sold now on the kreg jig!

Built from Plan(s)
Estimated Cost
100
Estimated Time Investment
Weekend Project (10-20 Hours)
Finish Used
Heavy cream color paint. 1 coat of red elm gel stain by minwax. Left it on for awhile to get a good dark color. 3 coats of minwax semi-gloss polyurethane.
Recommended Skill Level
Beginner

Fancy X Desk, Or my Chunky Medieval Desk

Submitted by Labumy on Sun, 03/04/2018 - 14:27

We estimate that the cost of this project was right around $50, but we had a lot of tools and materials already.  This was a fun project and a great piece for the cost. I would suggest staining as much as you can before assembling those legs!  Staining and applying poly was a pain in the butt!  We used a dark mahogany Minwax stain and 2 coats of Minwax poly. It took us a while to do it because we have a 11 month old that keeps us on our toes. 

Estimated Cost
$50
Estimated Time Investment
Week Long Project (20 Hours or More)
Finish Used
Minwax Mahogany and Minwax quick dry poly
Recommended Skill Level
Beginner

Comments

Dianne Kynaston

Fri, 11/04/2022 - 13:34

Looking for plans, but how far forward do the two slanted pieces come under desktop. Can you slide a drawer unit under there?

DIY PLANTER BOXES WITH PALLET WOOD

We picked up a couple 14.9" square plastic garden planters from Home Depot and ended up creating some wood planter boxes from pallet wood for them to sit in. 

I didn't add up the cost of these boxes, because we had most of the wood and only needed a few pieces, but I'd say they were definitely less than $10 a box. 

We altered our dimensions to fit our HD planters so they would slip in for a snug fit and made the legs flush with the top of our sides. We build a simple frame for the top, which allowed the lip of our HD planters to sit firmly on top. 

Something I didn't do, but wish I did: fill in the cracks with wood filler.  There were a couple places that really could have used it, but I was in a rush and decided to skip it.  They turned out great, but could have been even better had I taken an extra 30 minutes.  On an off weekend, we are going to use wood filler in the seams, sand them down, and do a second coat of white paint. 

Can't wait to plant these with some mums for Fall! :)

Built from Plan(s)
Estimated Cost
$20 total for 2 boxes.
Estimated Time Investment
Day Project (6-9 Hours)
Finish Used
White Semi-Gloss outdoor paint
Recommended Skill Level
Beginner

Farmhouse Bench

Submitted by tsibiga on Mon, 06/20/2011 - 09:59

I built the farmhouse table and needed a farmhouse bench to match. The building plan helped make it so simple and I couldn't have done it without the inspiration of Ana White. I used leftover 4x4"s for the legs and then pretty much followed everything else that the building plan said.

I've tried to document better at: http://www.tommyandellie.com/Site/Home/Entries/2011/6/14_Farmhouse_Benc…

Estimated Cost
$15
Estimated Time Investment
Afternoon Project (3-6 Hours)
Finish Used
I distressed the wood a little bit and then used Dark Walnut stain and a couple coats of Poly.
Recommended Skill Level
Beginner

Comments

tsibiga

Thu, 06/30/2011 - 04:48

After building it, I realized that this would make a great bench anywhere. I could easily see this as an outdoor bench, around the pool, around a picnic table, along a deck, anywhere.

dmcarwin

Sun, 10/02/2011 - 21:05

It looks so beautiful with your table, great job! I am looking to build a bench for my counter/bar. Do you think it would work to build it counter height? I am totally new to building and building a bench for my counter is my first priority.

tsibiga

Mon, 10/03/2011 - 05:46

Thanks for the great comments! I think you could totally make this at as a counter height bench (approximately 24"). I would be a little worried that if it was too long it could topple over easily. So if you had about a 60" length to cover, I would probably build two 30" benches that can butt up to one another.

One other thought is to make some stools.....I posted some of those from an ana-white plan as well for you to check out; http://ana-white.com/2011/06/simplest-stool-saddle-back-style

Hope that helps....let me know if you have other questions.

Tommy

dmcarwin

Wed, 02/15/2012 - 18:14

Tommy, I appreciate your helpful comments. Like how I just got it today, some priority in getting the bench done! =) I am getting back it now however.... So, I love the stools you made! I am trying however to limit the amount of things (stools/chairs) that my little kids can push around the kitchen. I am considering the two smaller benches at counter height. If I could do one at 24" tall do you think 55" would be too long? I was thinking it would be good to put supports across the length (maybe 10" or 12" from the floor?) to help stability and to use for little ones climbing up. If that makes since? Anyway thanks for your help I really appreciate it!

Buffet, serving table

I made this buffet, serving table to go with a large gathering farmhouse table I made. I loosely used the farmhouse table plans but did some designing of my own based on a picture my friends had of what she wanted.

Estimated Time Investment
Weekend Project (10-20 Hours)
Finish Used
Varathane - Kona stain
Recommended Skill Level
Intermediate