Community Brag Posts

Clubhouse based on Ana's Plan

Submitted by MattSl on Tue, 05/03/2011 - 09:18

I used Ana's plan as a base.

I changed it from 8x8 to 8x12, made the 4x4x8's to 4x4x10' for a higher main platform and swing platform, and added a 12' long monkey bar set to the other side. Also, an 8' climbing wall and a plank walkway to accompany the two slides.

For the clubhouse, I used Hardiplank 4x8 sheets for the siding and an EZ-Framer kit for the structure itself.

The slides I purchased from Lowes, monkey bars from Amazon, and the swing frame braces from Amazon as well. The swing kits I got from ebay.

Estimated Cost
1500
Estimated Time Investment
Week Long Project (20 Hours or More)
Recommended Skill Level
Intermediate
Seasonal And Holiday

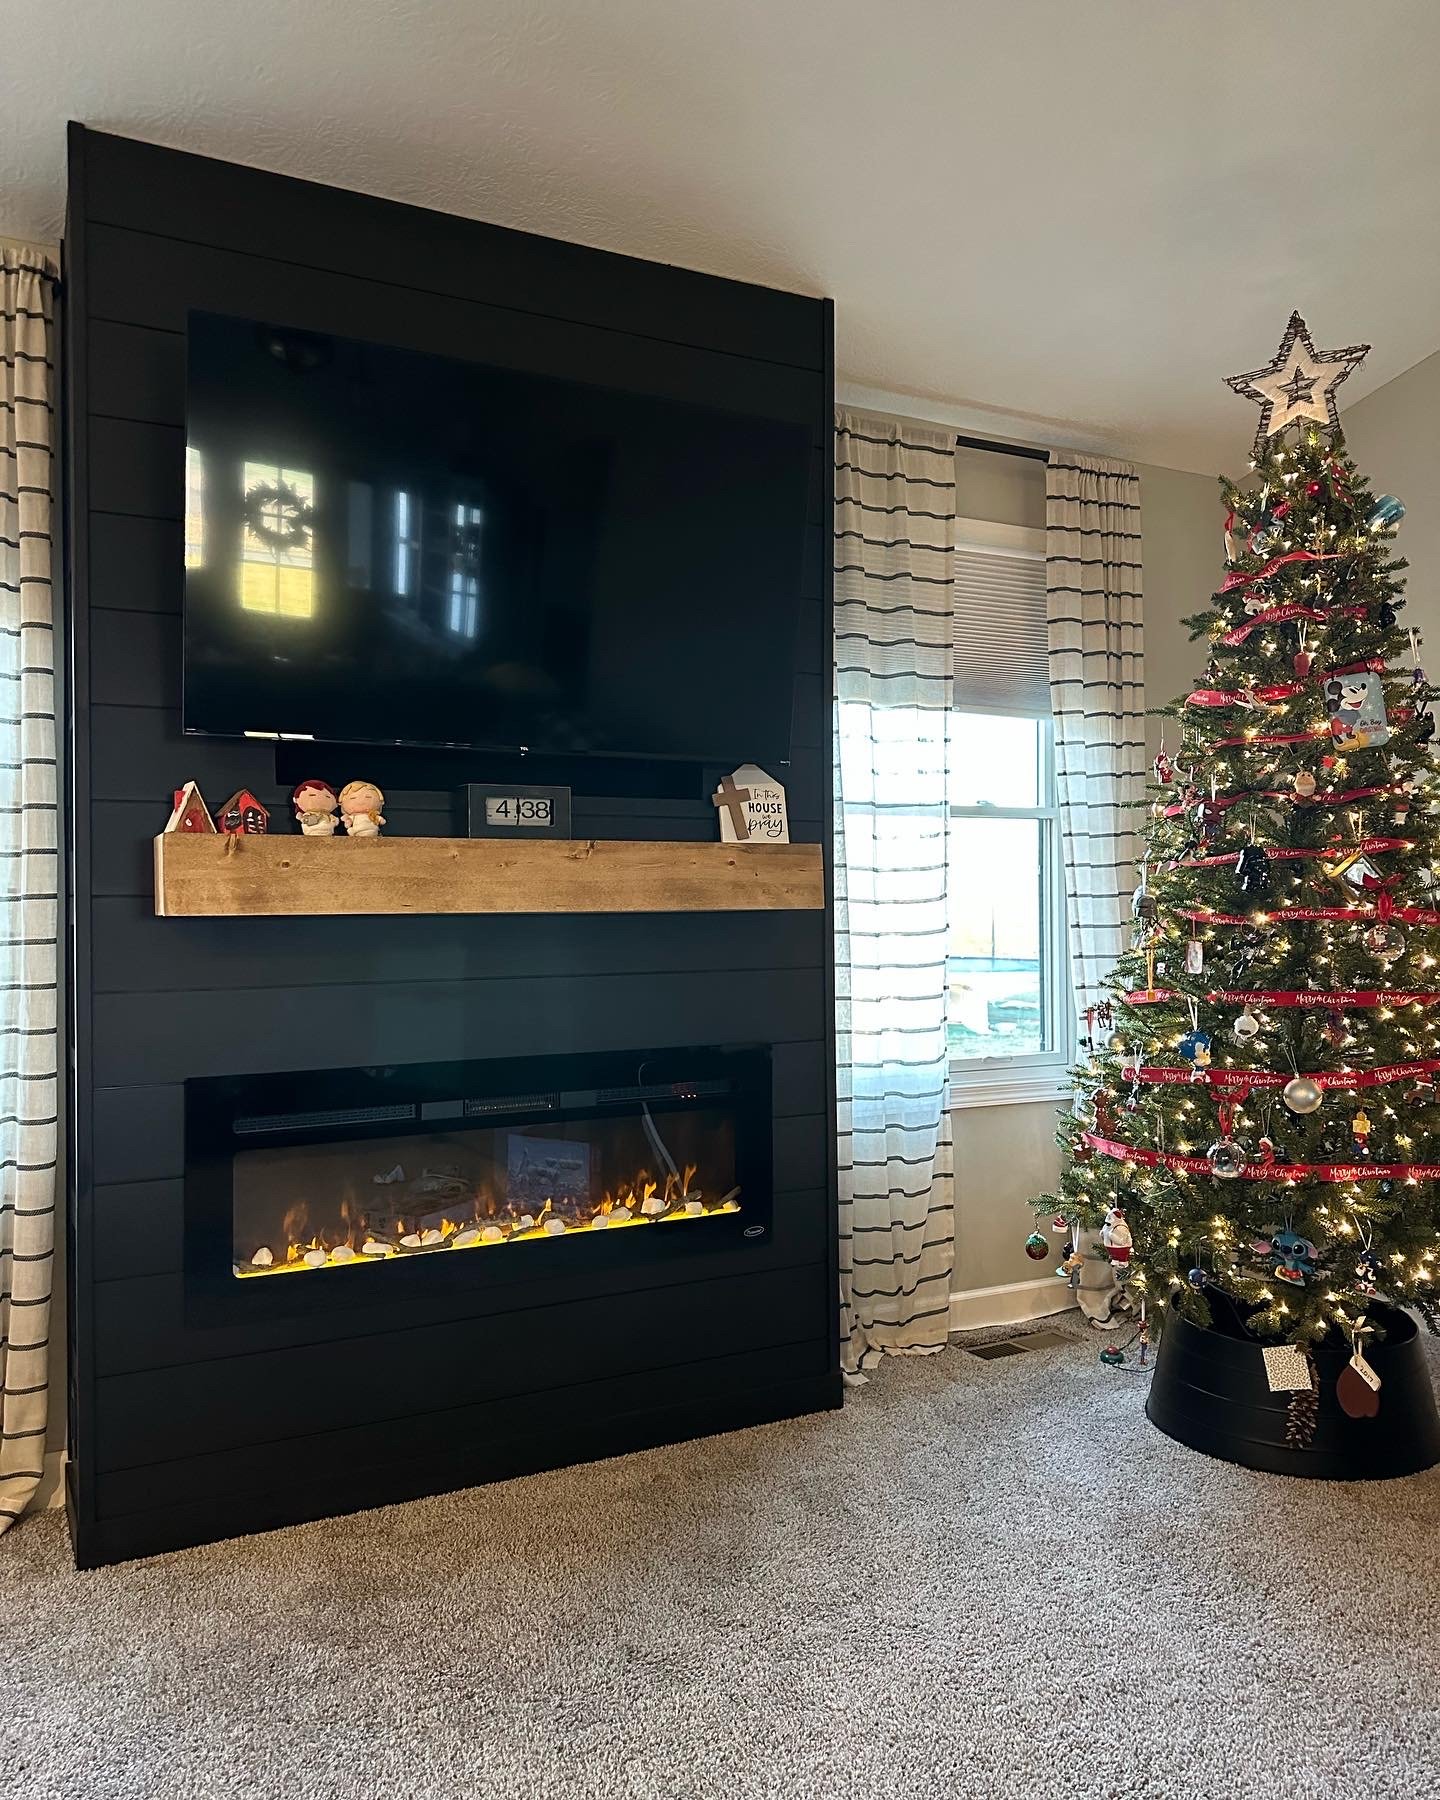
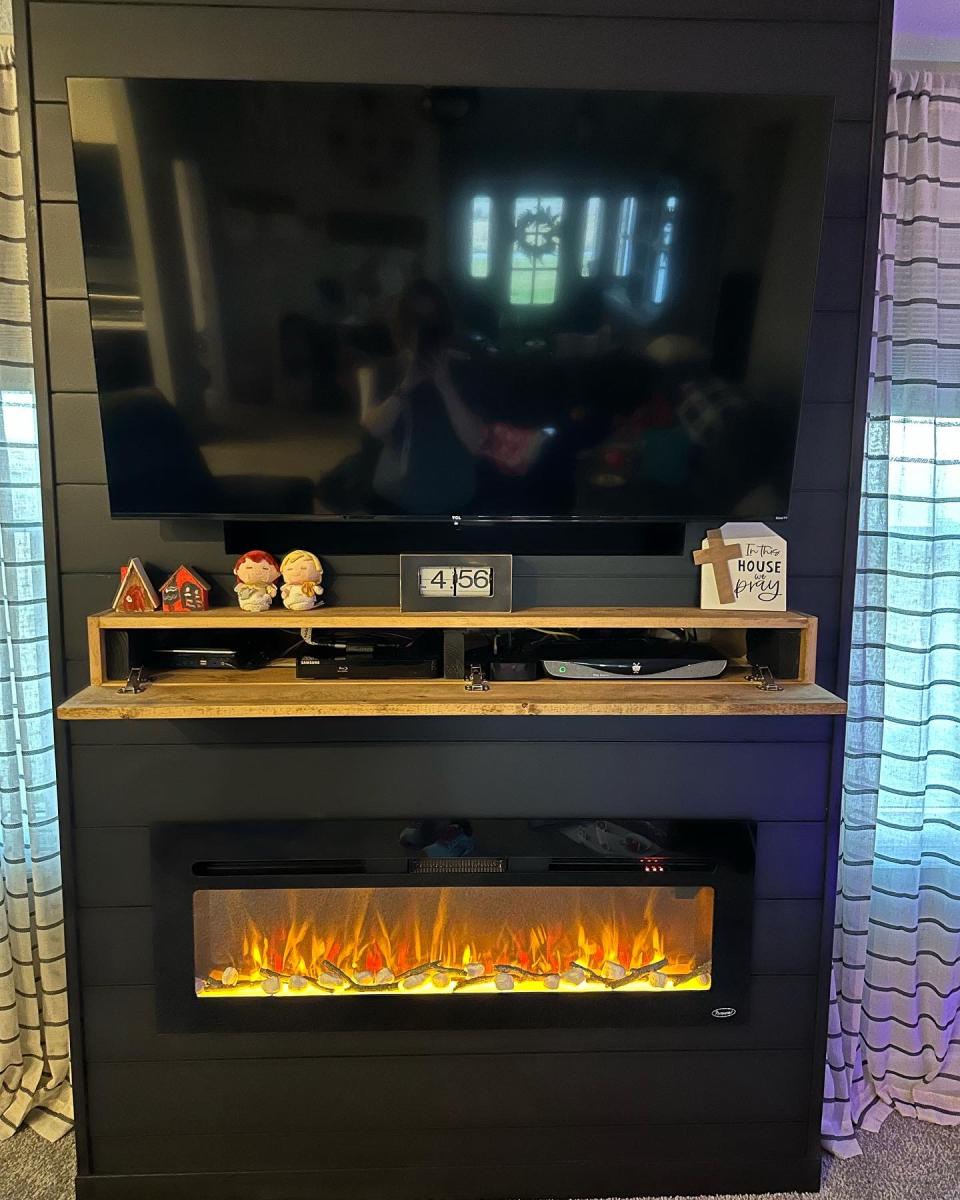
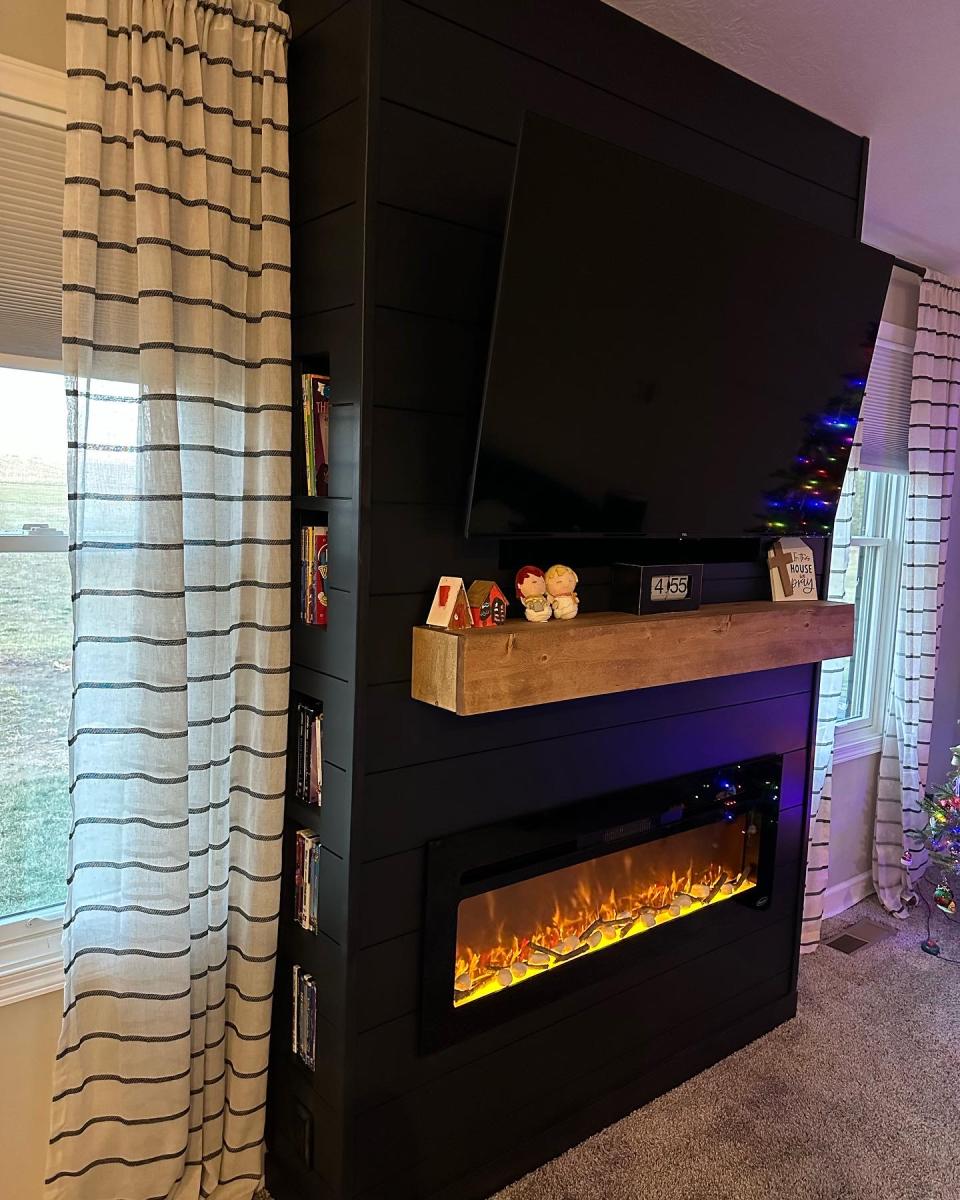
Fireplace with hidden Mantle storage and side bookshelves

Submitted by ibseenu on Thu, 12/01/2022 - 14:30

Thank you Ana for you Fireplace design as it was exactly what I needed! We’ve lived in our house for 3 years now and I’ve wanted a fireplace ever since. Your plan was perfect and with a few modifications I made it come to life. My 9yr daughter as I was almost done building thought there should be a shelf for books and movies below the fire place. It gave me the idea of adding storage on the sides. I had already had the idea of the mantle storage and just used a floating shelf idea and made that. This was a lot of fun!! It took me a little over a week to build. But can’t wait to build something else for our house… like the mudroom!

Amy

Comments

jtemperley

Sun, 01/08/2023 - 19:02

That looks awesome! My husband and I are planning on doing this as well. I do have a question, as I see you have carpet just like us. Did you cut out the carpet where you built out, and if so how did you go about that, or did you just build on top of it?

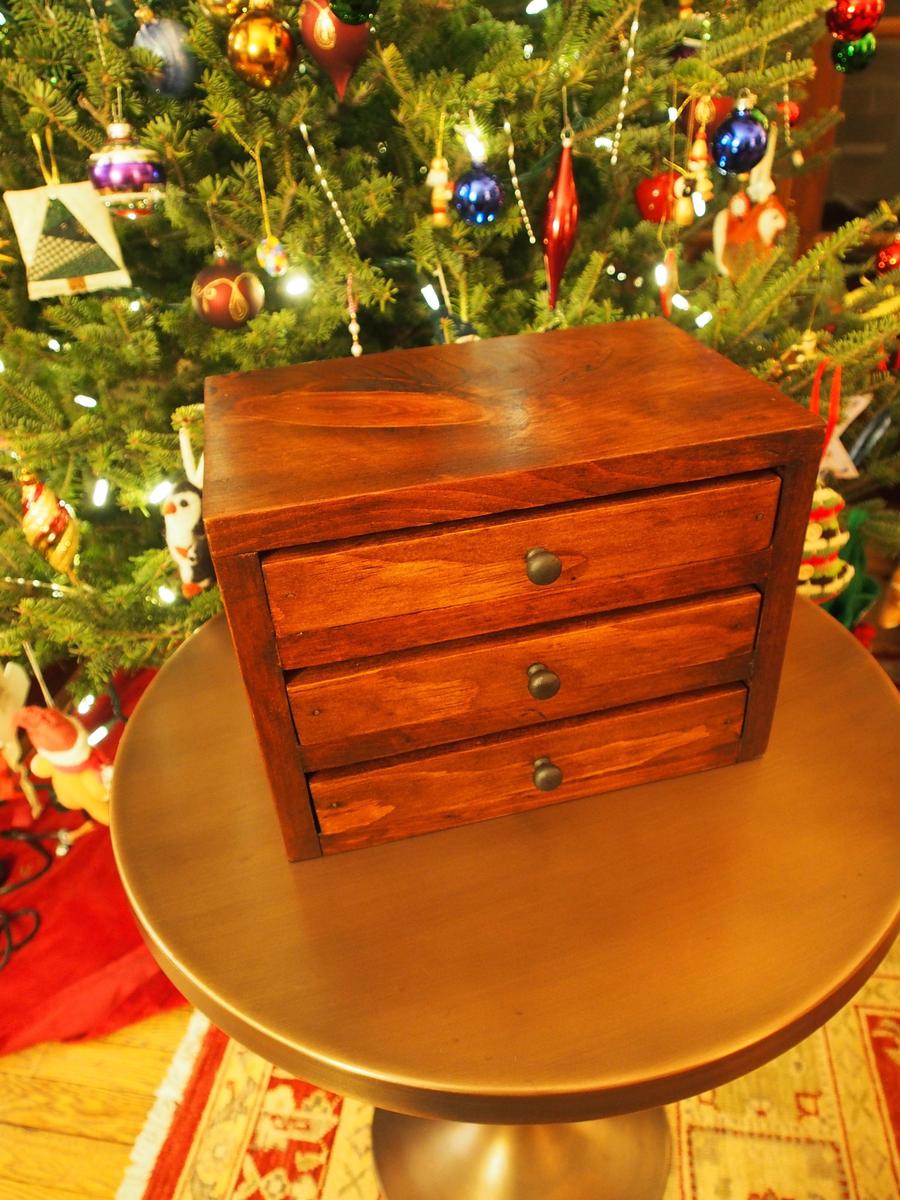
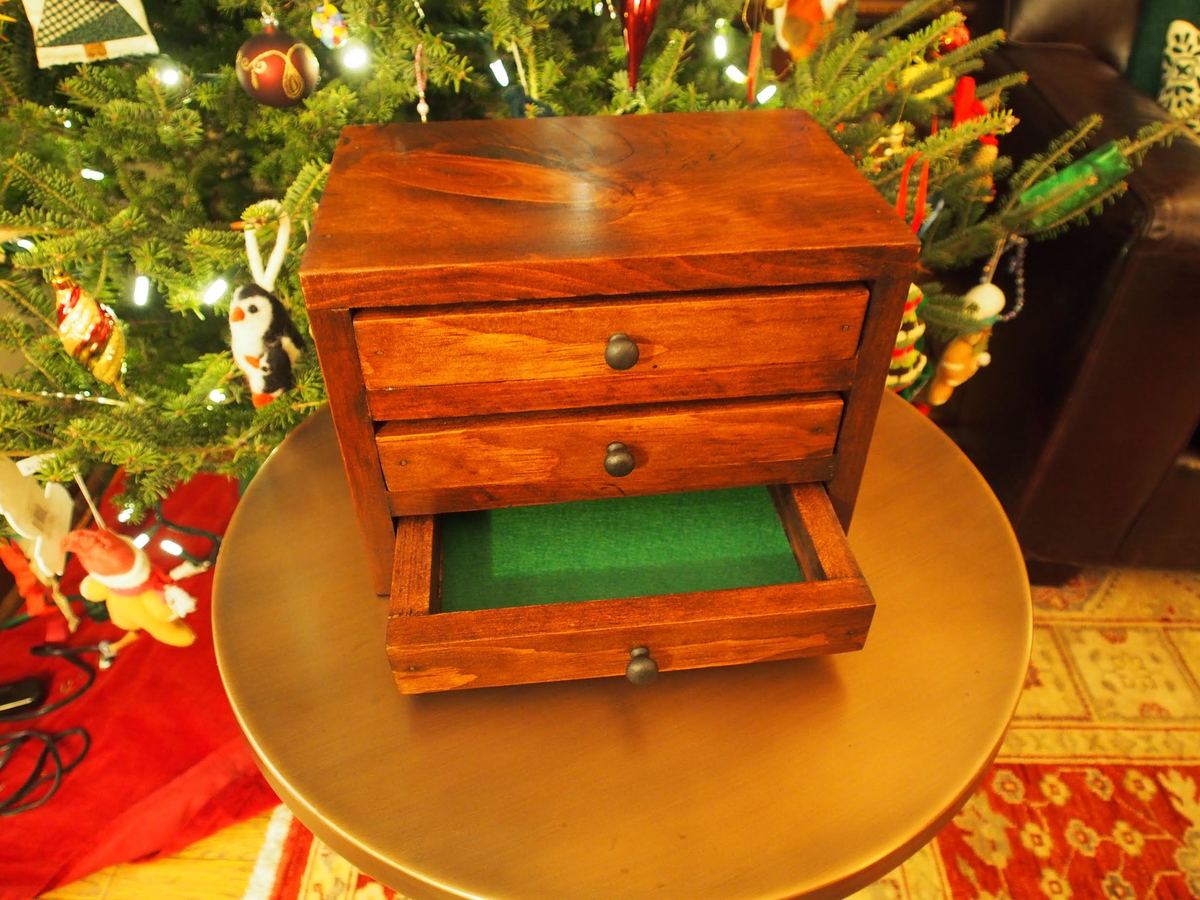
Jewelry Box 2

Submitted by yhaas on Thu, 12/17/2015 - 20:58

I built this as a Christmas gift for my office partner/best friend.

Built from Plan(s)
Estimated Cost
$50 (bit of a guess, more if I add finishes which I already had, less if using scrap wood)
Estimated Time Investment
Weekend Project (10-20 Hours)
Finish Used
I used wood conditioner, then stained with Goudey stain in Rosewood. Next was a shellac washcoat, followed by glaze in Van Dyke brown, another washcoat, and finished with 2 coats of Tried and True varnish oil, then another 2 of Tried and True original wood finish. Knobs and felt were from Lee Valley.
Recommended Skill Level
Beginner

Comments

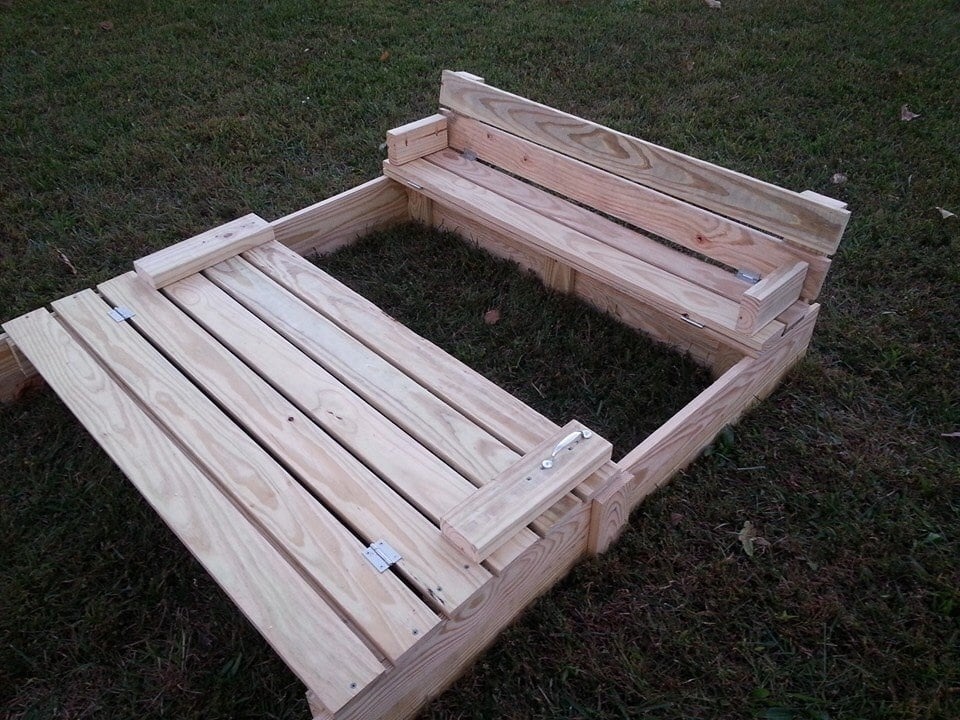
Sandbox with built-in seats

I modified this a tad from the original plans to suit my needs. I will eventually be adding a platform with attached slide and swing set.

Plans were easy to follow. My store didn't have 1x8's so I stacked 1x4's and used my Kreg jig to join them together and then I added extra bracing.

I had seen this on Pinterest a couple years ago and thought it was the coolest thing! Io excited I was able to build it myself!

Built from Plan(s)
Estimated Cost
About $40
Estimated Time Investment
Day Project (6-9 Hours)
Finish Used
None yet. I will stain and seal everything when I get the entire play set finished.
Recommended Skill Level
Beginner

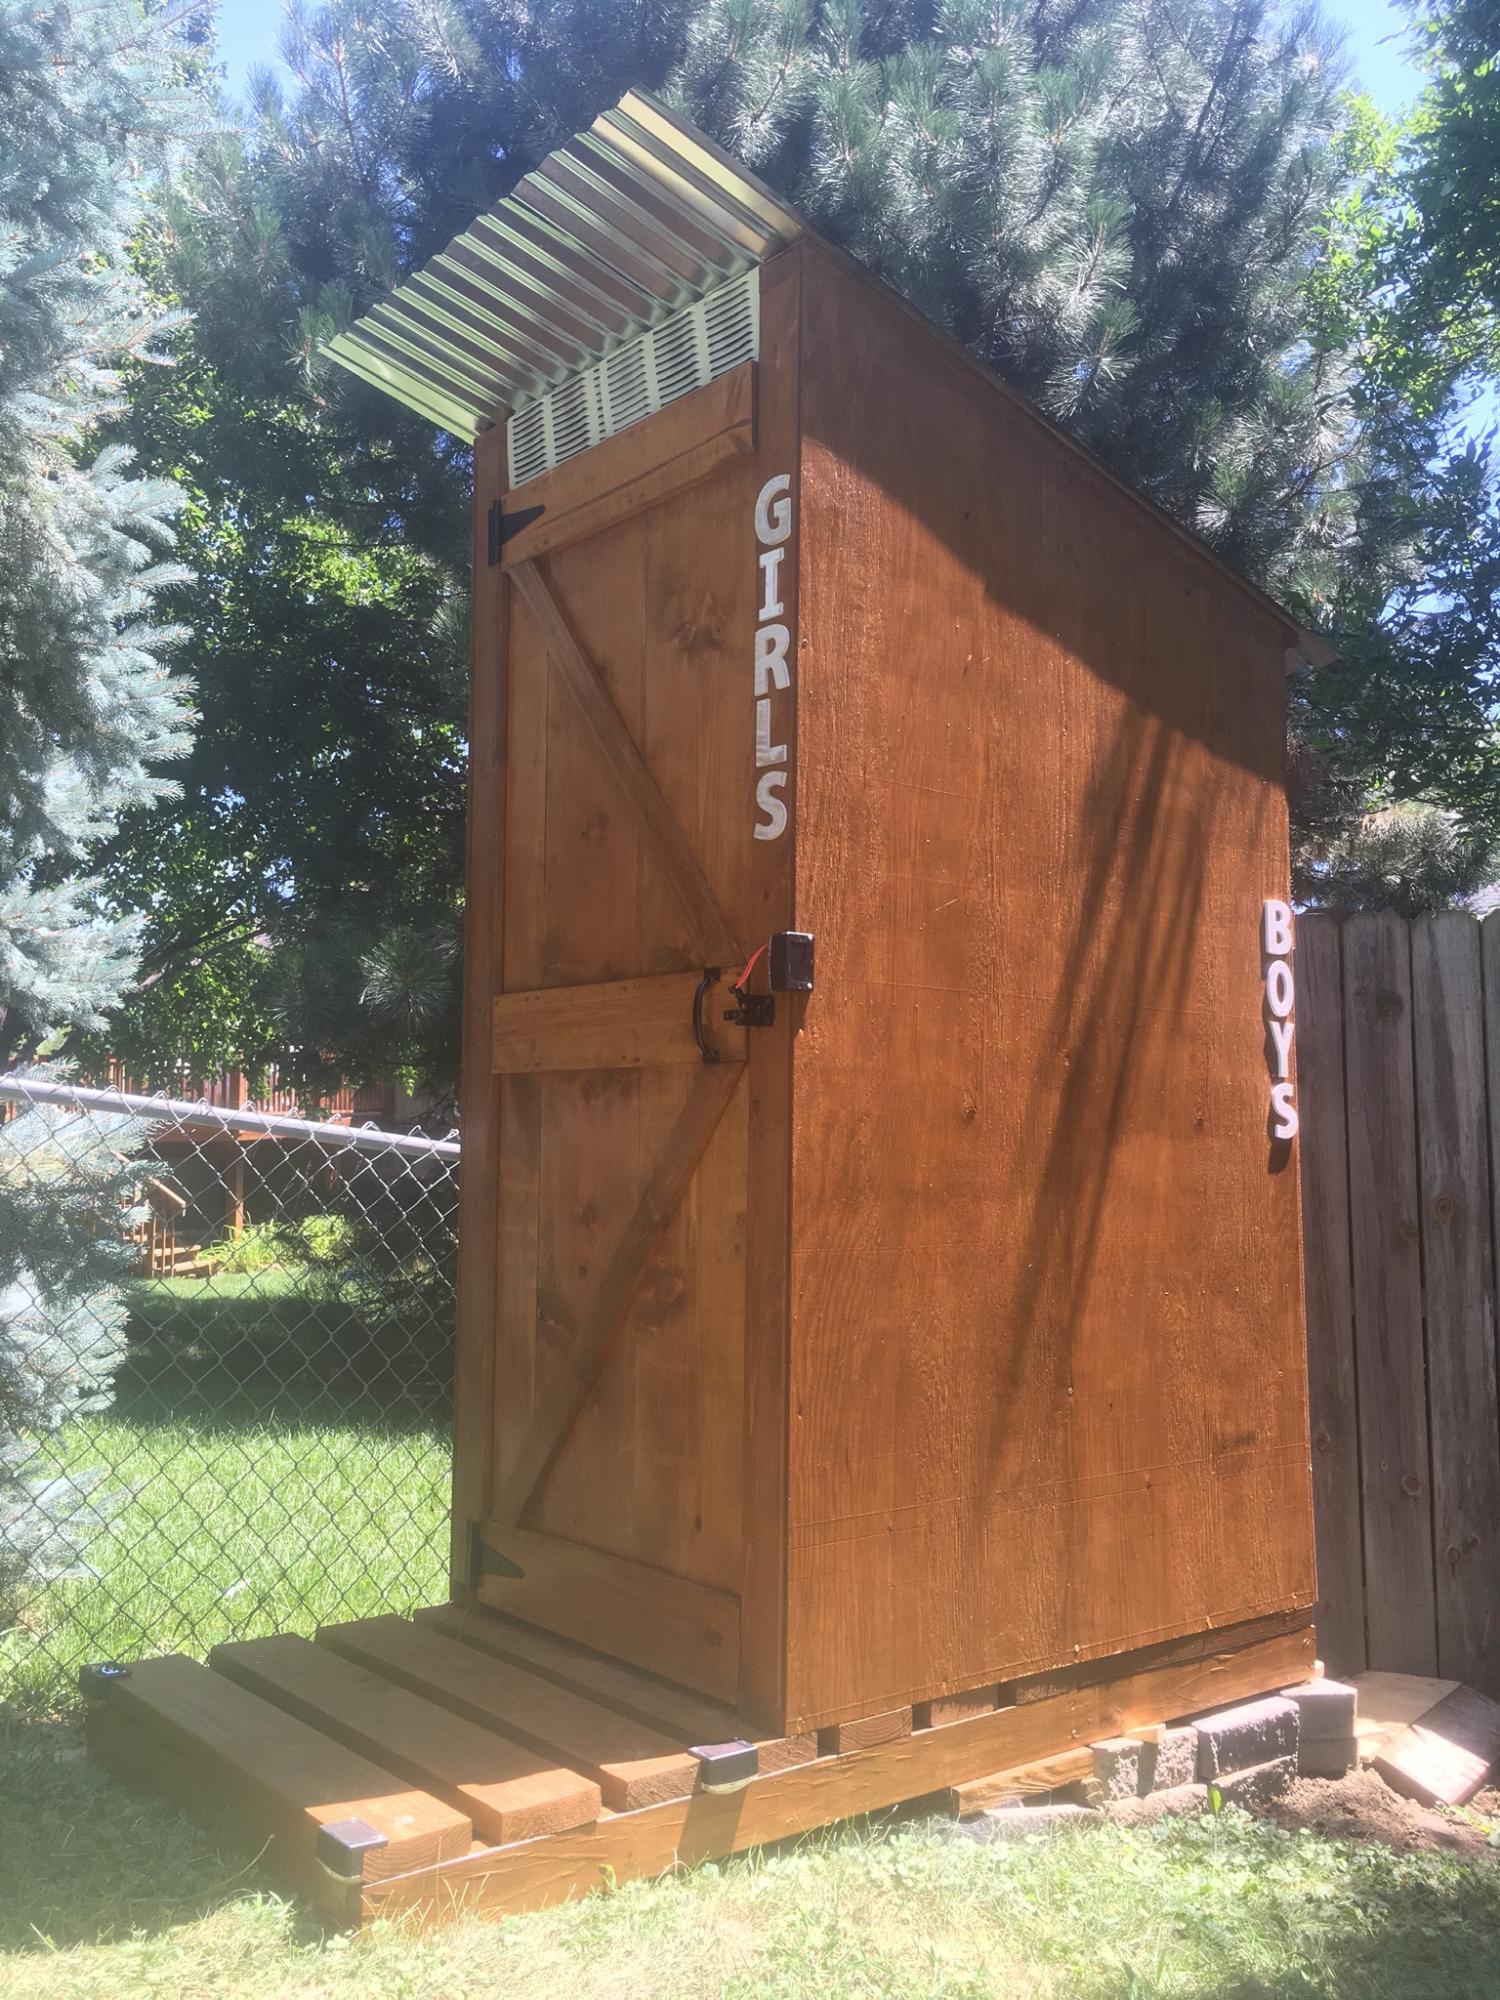
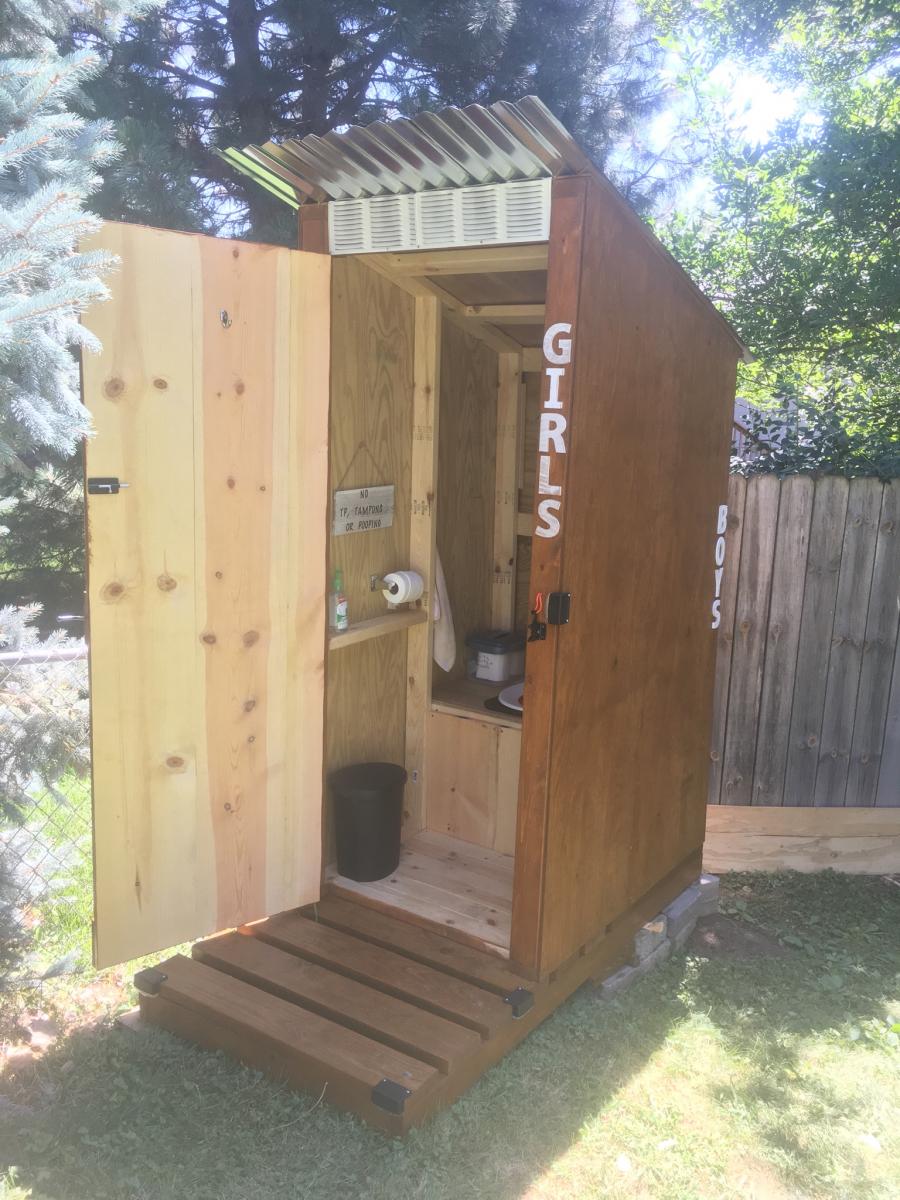
My simple Outhouse

Submitted by Anonymous (not verified) on Wed, 07/31/2019 - 17:14

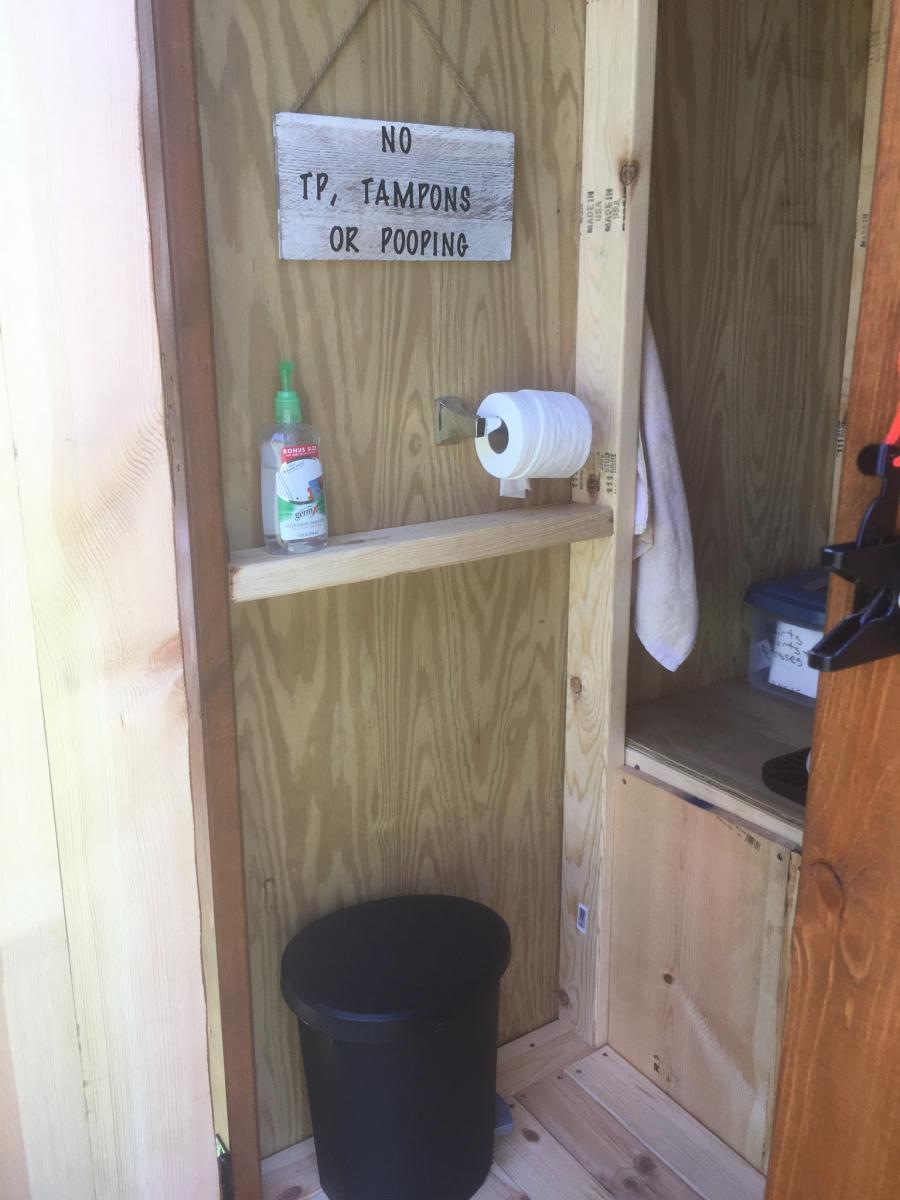
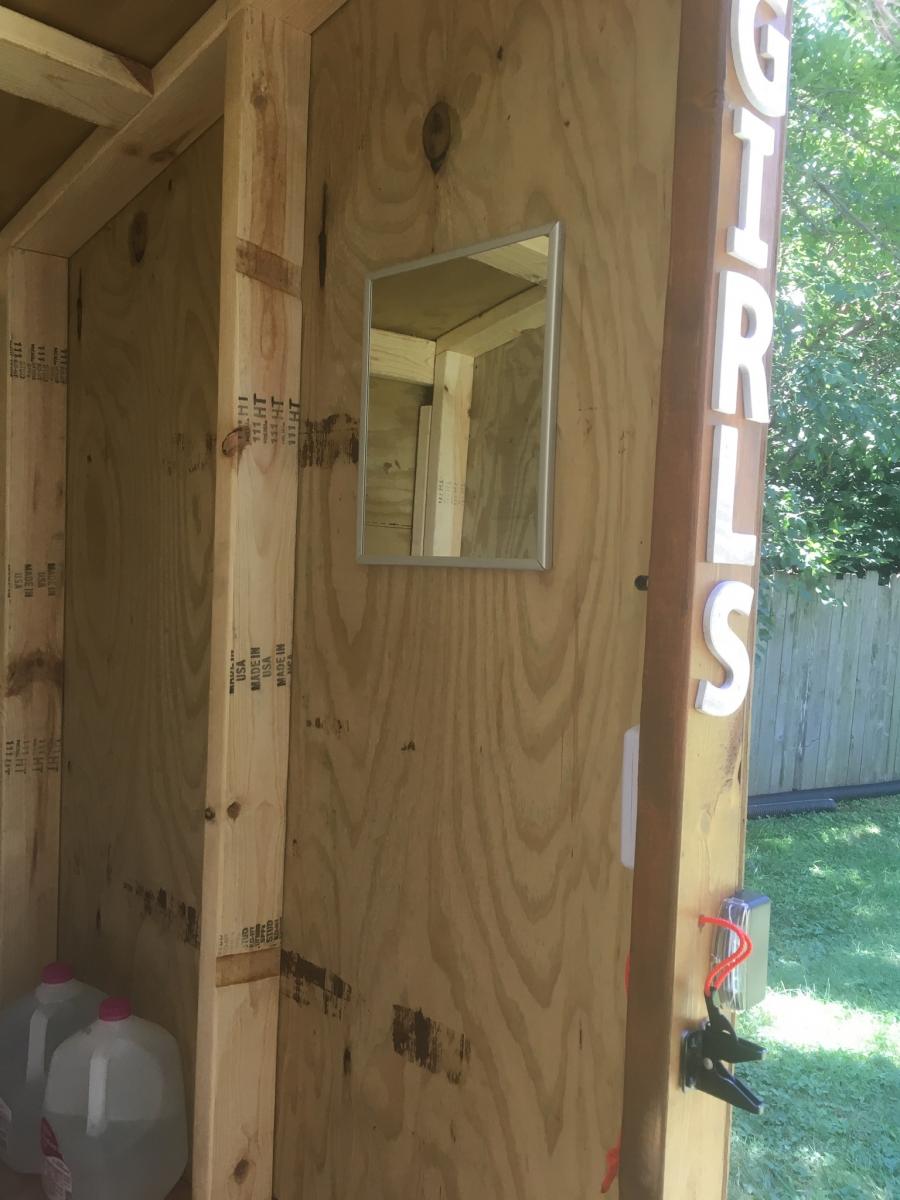
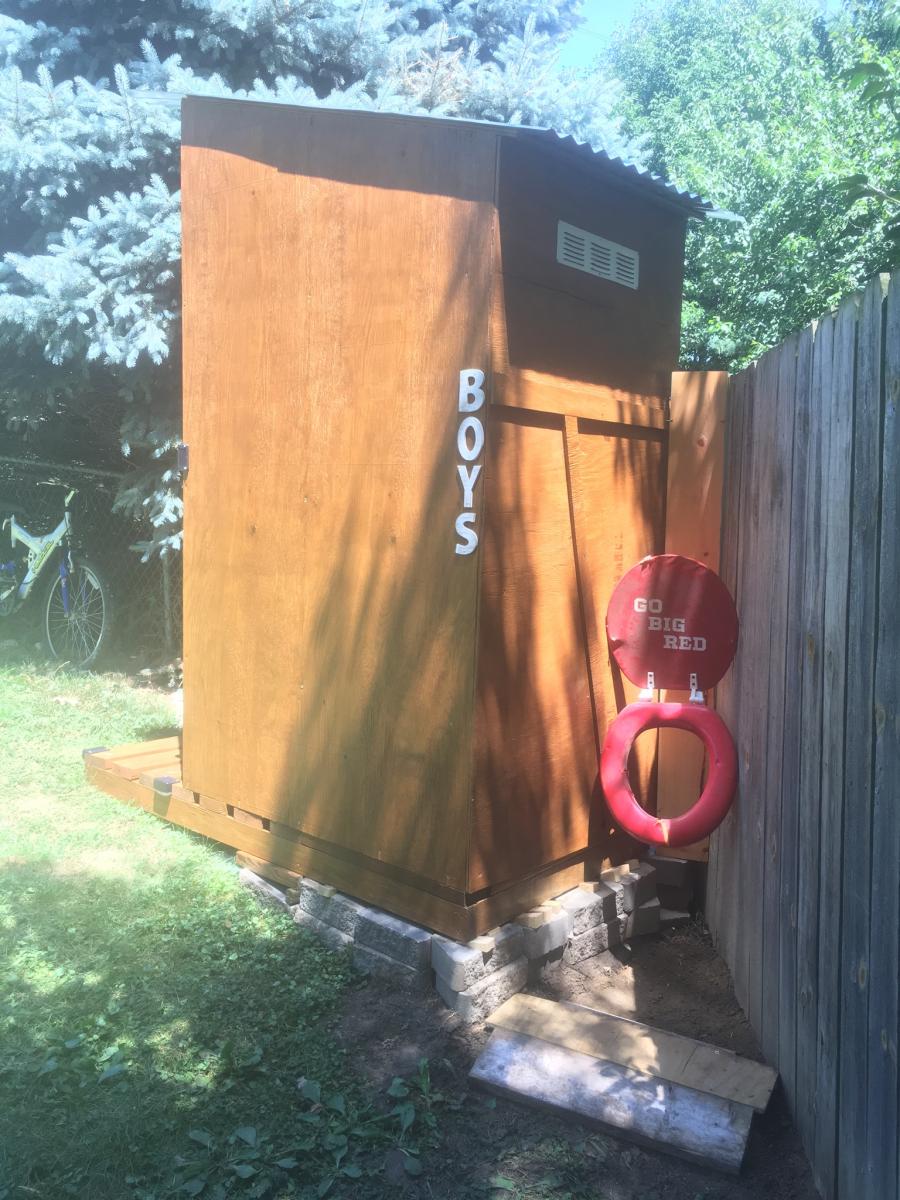
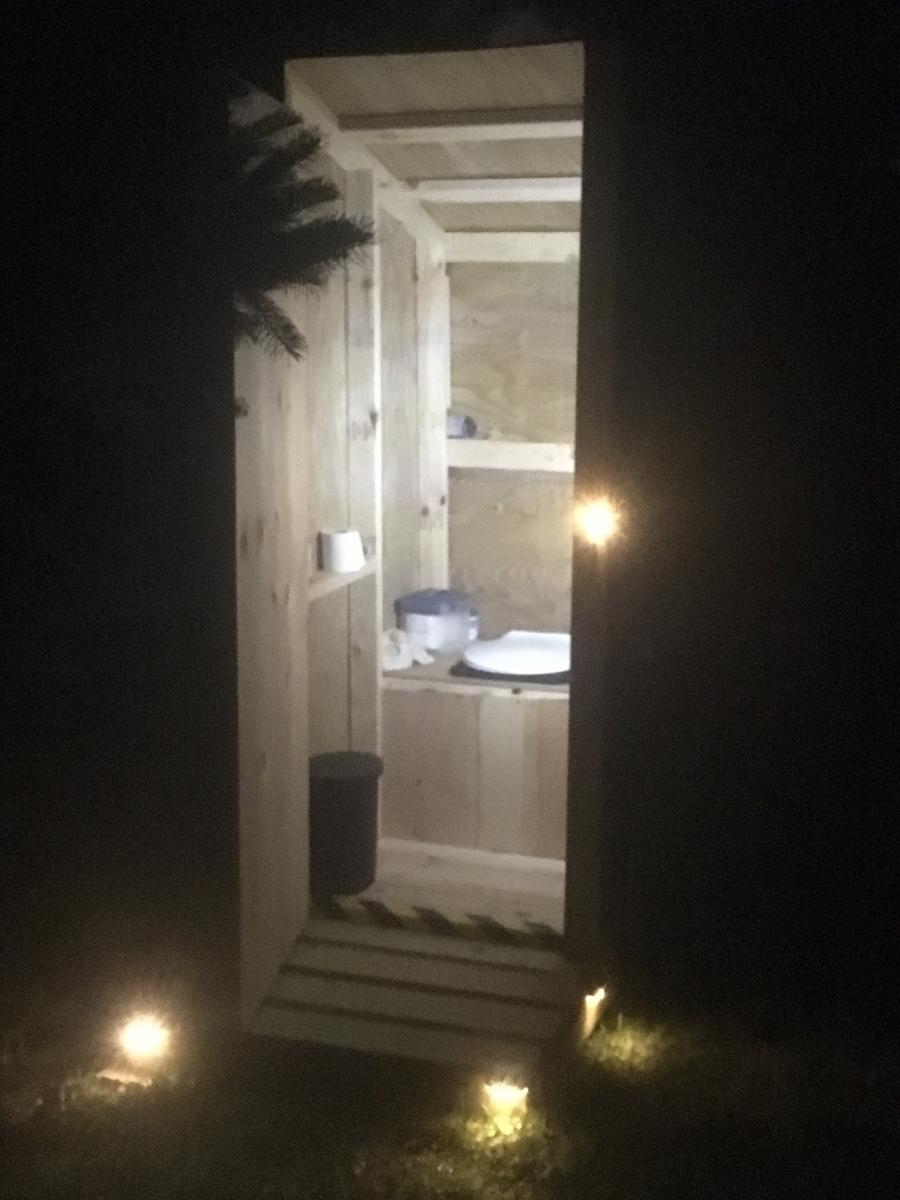
<p>I worked on this for about 2 weeks in my free time. I modified the original plans from this site to accommodate my needs. I just wanted a “#1” only place near my pool so I didn’t have to dry off and walk all the way up to the house. The trash can is for the TP and I will just toss it when I need to. I used a traffic cone as a pee funnel and attached&nbsp;tubing to the end of the funnel&nbsp;that I buried down along the slope of my yard against the fence line.&nbsp;I ended up adding an area for boys since I didn’t want the inside all gross. I added solar deck lights to the outside and a light inside too.&nbsp; It turned out amazing!!!</p>

Built from Plan(s)
Estimated Cost
$300
Estimated Time Investment
Week Long Project (20 Hours or More)
Finish Used
Varathane Premium fast dry oil based stain in the color “Ipswich Pine” and Varathane Ultimate Spar Urethane oil based in clear satin. One coat of each.
Recommended Skill Level
Intermediate

Comments

modern outdoor lounge chair

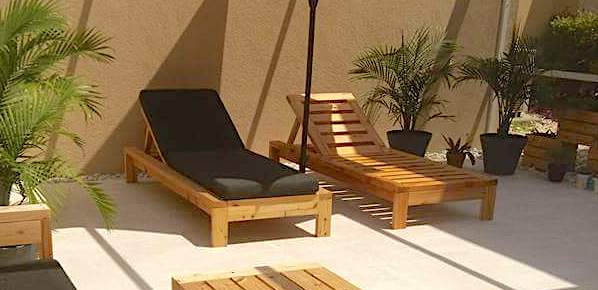
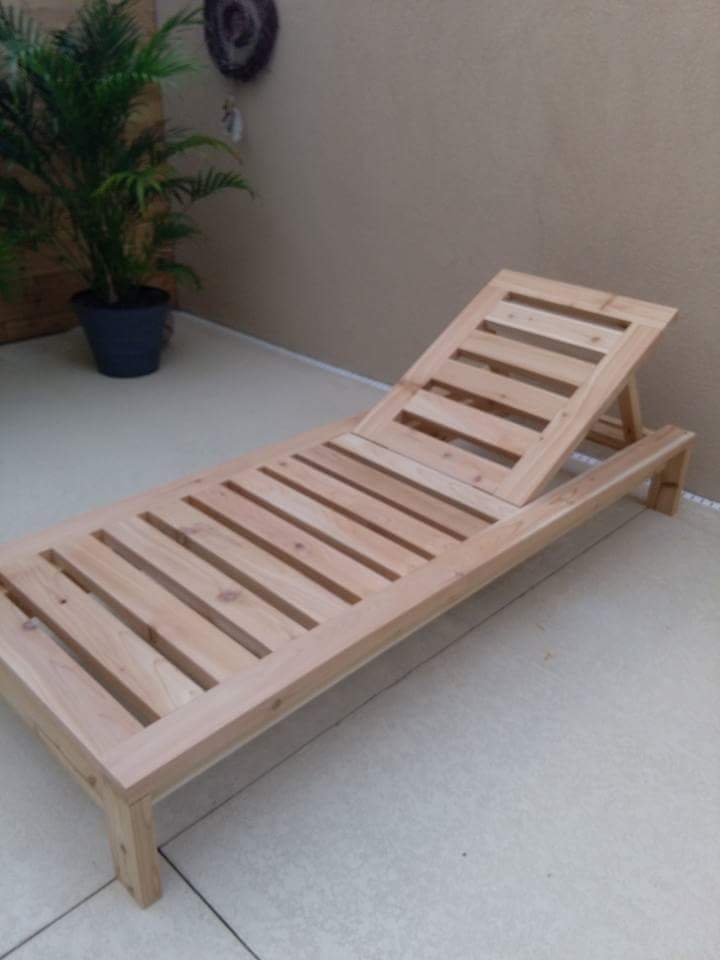
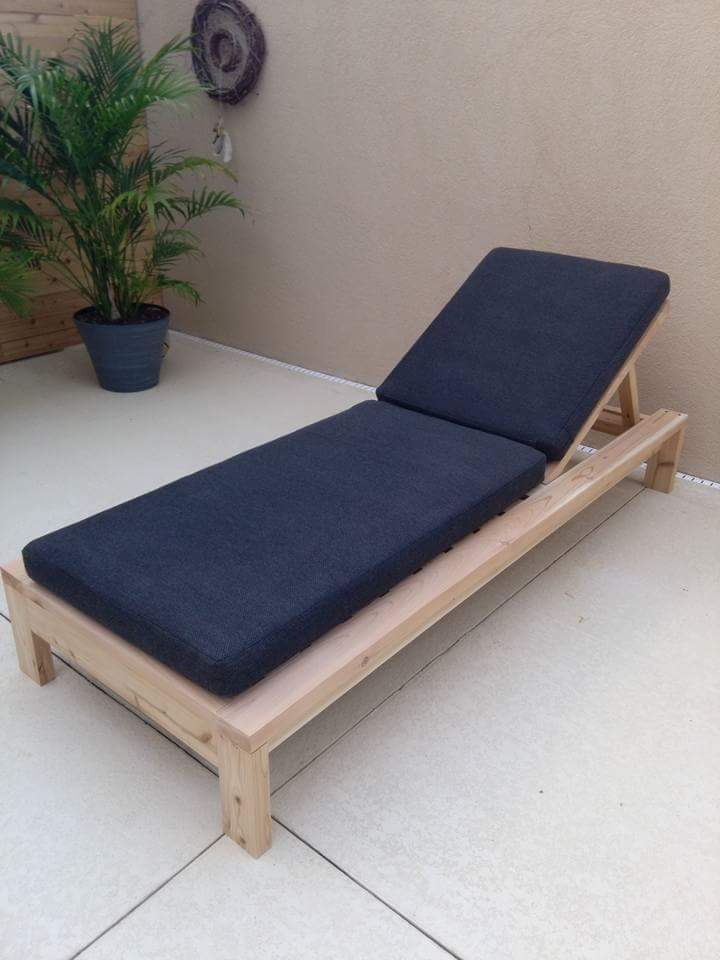
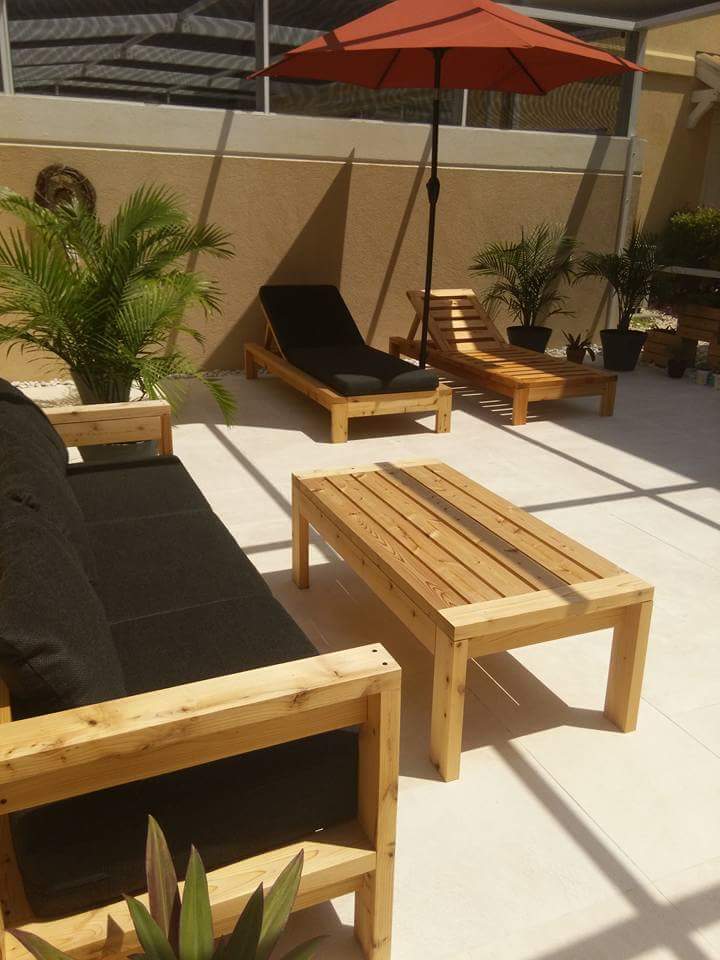
Just finished this beauty, entirely made with 2x4, plans were modify to match our outdoor sofa and coffee table. I think our best looking project so far ;) Thank you for inspiring me to build !!!

Estimated Time Investment
Week Long Project (20 Hours or More)
Recommended Skill Level
Beginner

Comments

Seasonal And Holiday

Kentwood Bookshelf

Submitted by BeckySmith on Thu, 05/10/2012 - 05:11

This was one of my first bigger builds. I am so happy with the way it turned out!

Estimated Time Investment
Day Project (6-9 Hours)
Finish Used
Golden Oak. I applied the stain with a foam brush and wiped off excess after about five minutes.
Recommended Skill Level
Beginner

Comments

canadianlam

Thu, 05/19/2016 - 19:05

This bookcase wouldn't be out of place amongst the Pottery Barn's bookcases. In fact, it inspired me to go out this afternoon and buy some cedar boards so I can start building my own version first thing tomorrow. Thank you, Becky.

Rustic X Garden Shelf

My wife wanted a Garden Shelf to replace the one that just gave up the ghost, so I browsed my favorite site for plans similar to what I was thinking.  Thats when I found the Rustic X Book Case.  Perfect.

I need to stuff larger objects then books in there, so I changed it to 3 shelves and I put those on top of the cross members.  That was easier and it gives it that work bench look.

For the X's, I had the wood to risk so I tried recessing them.  I dry fitted (chop saw highly recommended) and marked them and when I flipped them over, they aligned perfectly.  With a circular saw set to just slightly less then 1/2 depth, and some very careful cutting, they fit together quite well.

Sturdy with a bit of class.  I'm pleased.  Thanks.

Built from Plan(s)
Estimated Cost
Less then $100
Estimated Time Investment
Weekend Project (10-20 Hours)
Finish Used
Thompson's Wood Seal - Honey Amber
Recommended Skill Level
Intermediate

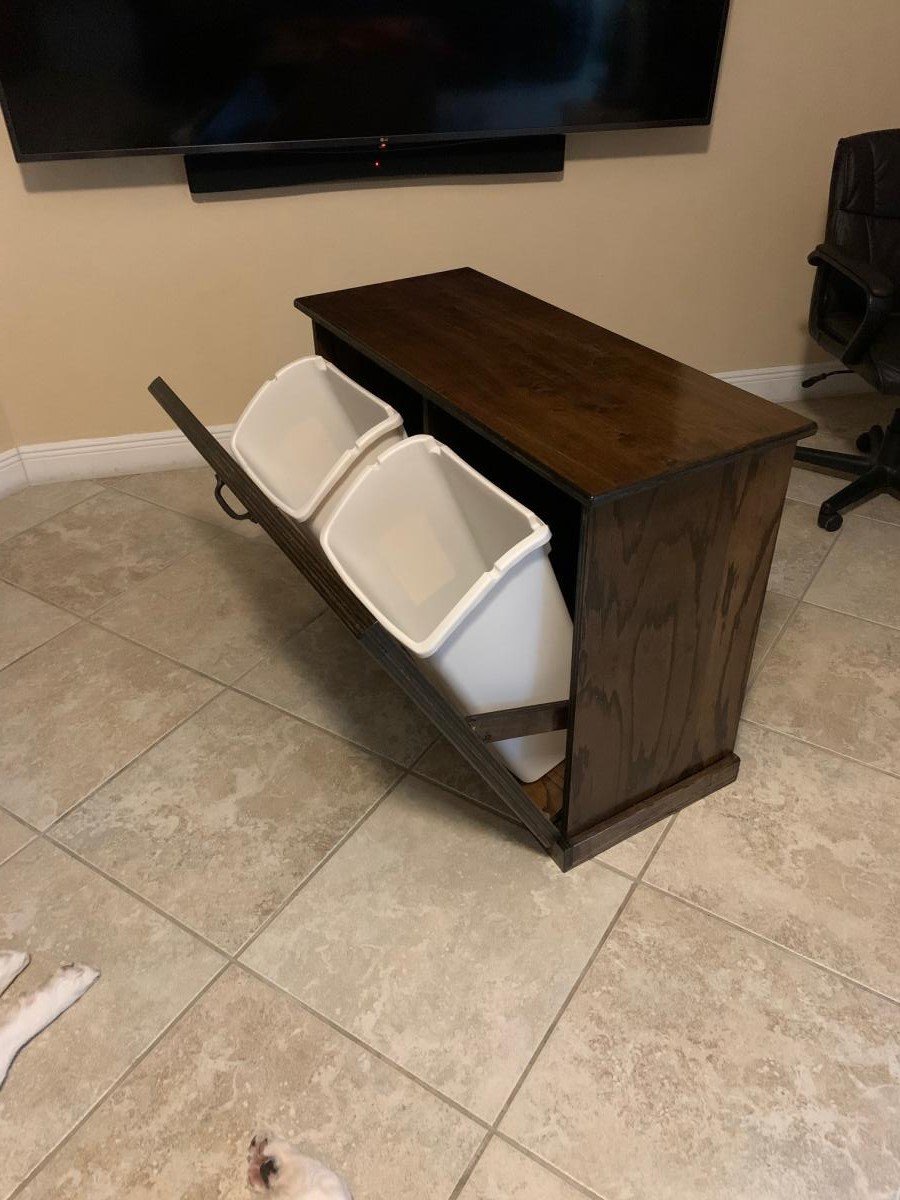
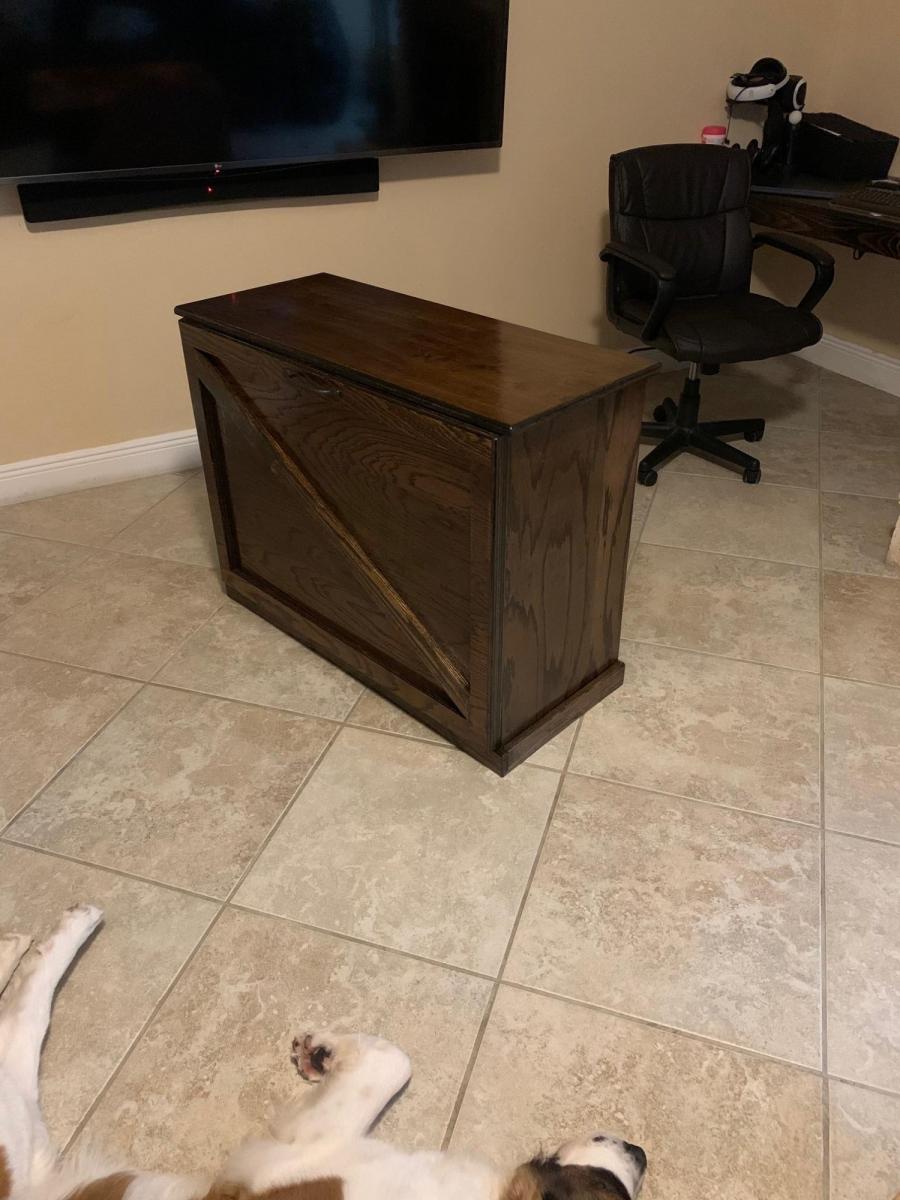
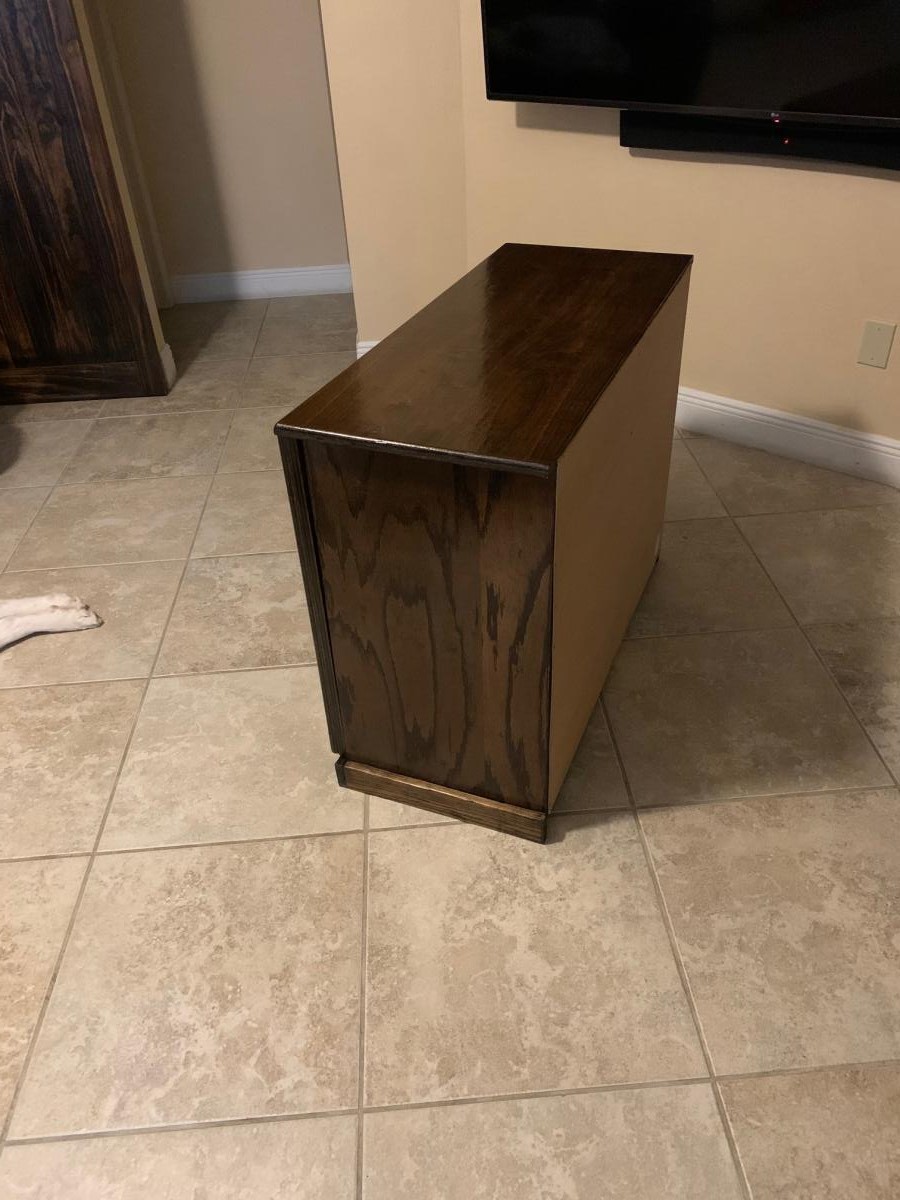
Tilt Out Recycling Center

Submitted by ppavel on Fri, 09/18/2020 - 07:36

Tilt Out Recycling Center to match the floating desk and barn door in the same room. Great project from the recycling center plans. (slight modification)

Estimated Cost
$80
Estimated Time Investment
Weekend Project (10-20 Hours)
Finish Used
Espresso Stain (Minwax)
Polyurethane Finish (3 coats)
Recommended Skill Level
Beginner

Comments

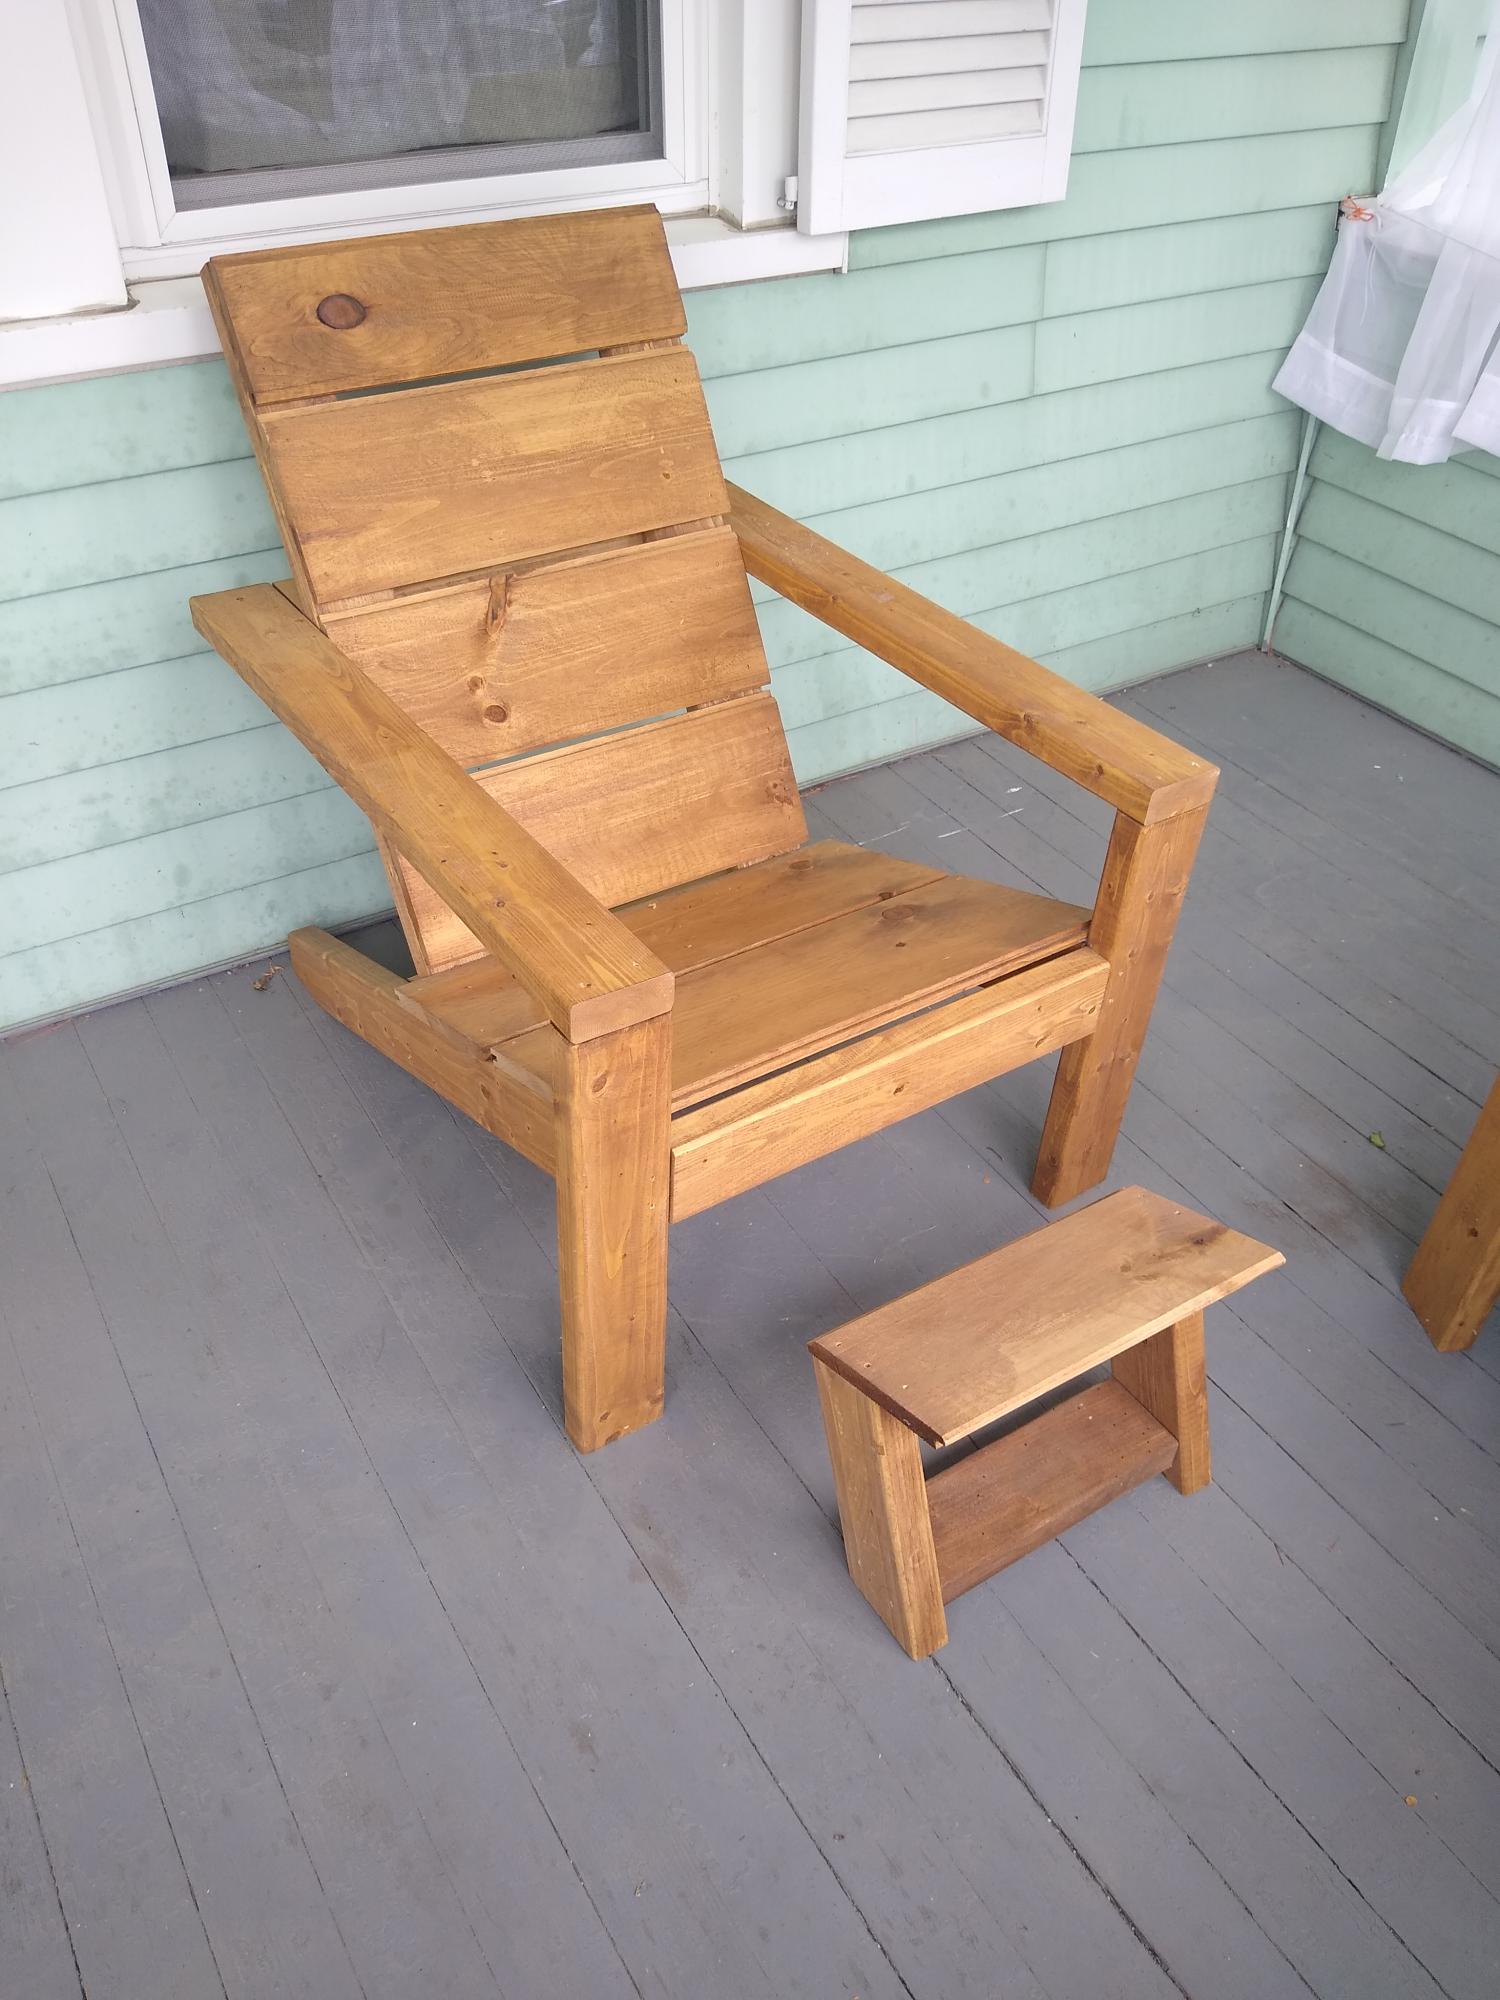
Adirondack chair with small foot rest

I LOVE the chairs, not only am I making them for me but I am helping my friends make them as well. The plan is so easy to follow (once you figure out how to cut the stringers). I needed a foot rest so I made this one with the scrap. The angle is from the stringer and I just used the scrap that I had left over from making the chairs, no more cutting needed. Thanks!

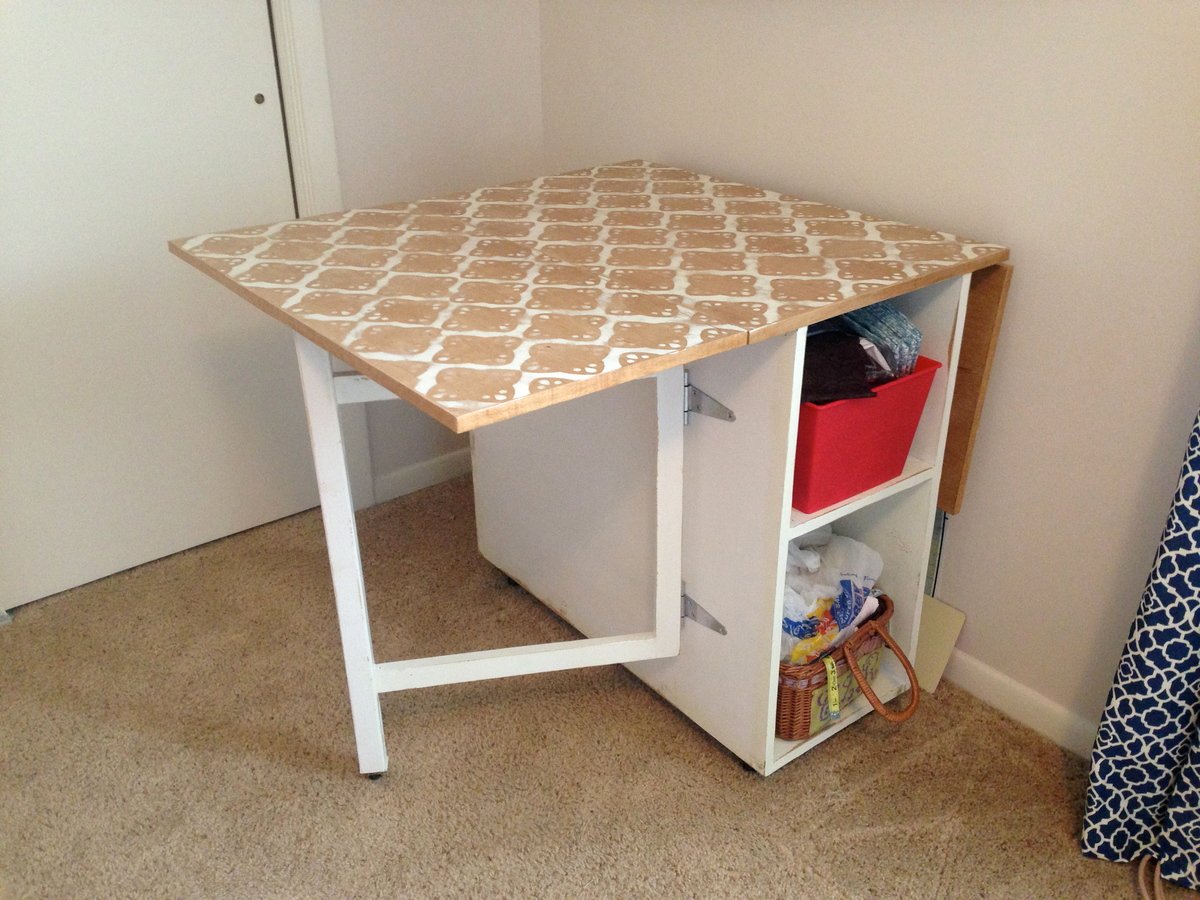
Gate-Leg Sewing Table

My husband and I built this table as our first project. We followed all of the dimensions from Ana's "Small Sewing Table" project here: http://ana-white.com/2010/10/plans/sewing-table-small-spaces?page=1 The only thing we changed was the size of the table top and the legs. We were worried about putting my heavy sewing machine on top of the leaf called for in the plan, so we created gate legs to support the leaves. Since the legs were going to be folded up in between the base and each leaf, we extended the center portion of the table top to accommodate the change. After it was assembled and stained, I decided that I didn't like the solid color, so I stenciled on a pattern with white latex enamel paint (what I had on hand) and continued to paint the base. After lightly scuffing it up with the sander, I layered 3 coats of poly on top. It has held up well, even after many large quilt projects! I just LOVE my sewing table!

Built from Plan(s)
Estimated Cost
$120
Estimated Time Investment
Weekend Project (10-20 Hours)
Finish Used
Golden Oak Minwax Stain
Polycrilic
Valspa Latex Enamel in Satin White
Recommended Skill Level
Beginner

Comments

TinyHouser

Fri, 08/05/2016 - 13:41

Hi there. Could you please tell me what the brackets are you used with the gateleg? Do you remember where you got them? Thank you!!!

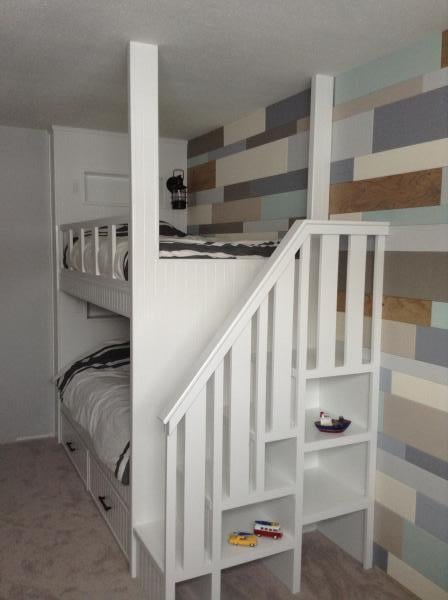
Bunk bed

Built this bunk bed for my two boys. Used the sweet pea storage stairs plan as a starting point and altered things from there to suit. The wall is just 3/8 plywood cut into planks and painted various colours. 

Finish Used
White semigloss. Monamel from General paint.
Recommended Skill Level
Intermediate

Comments

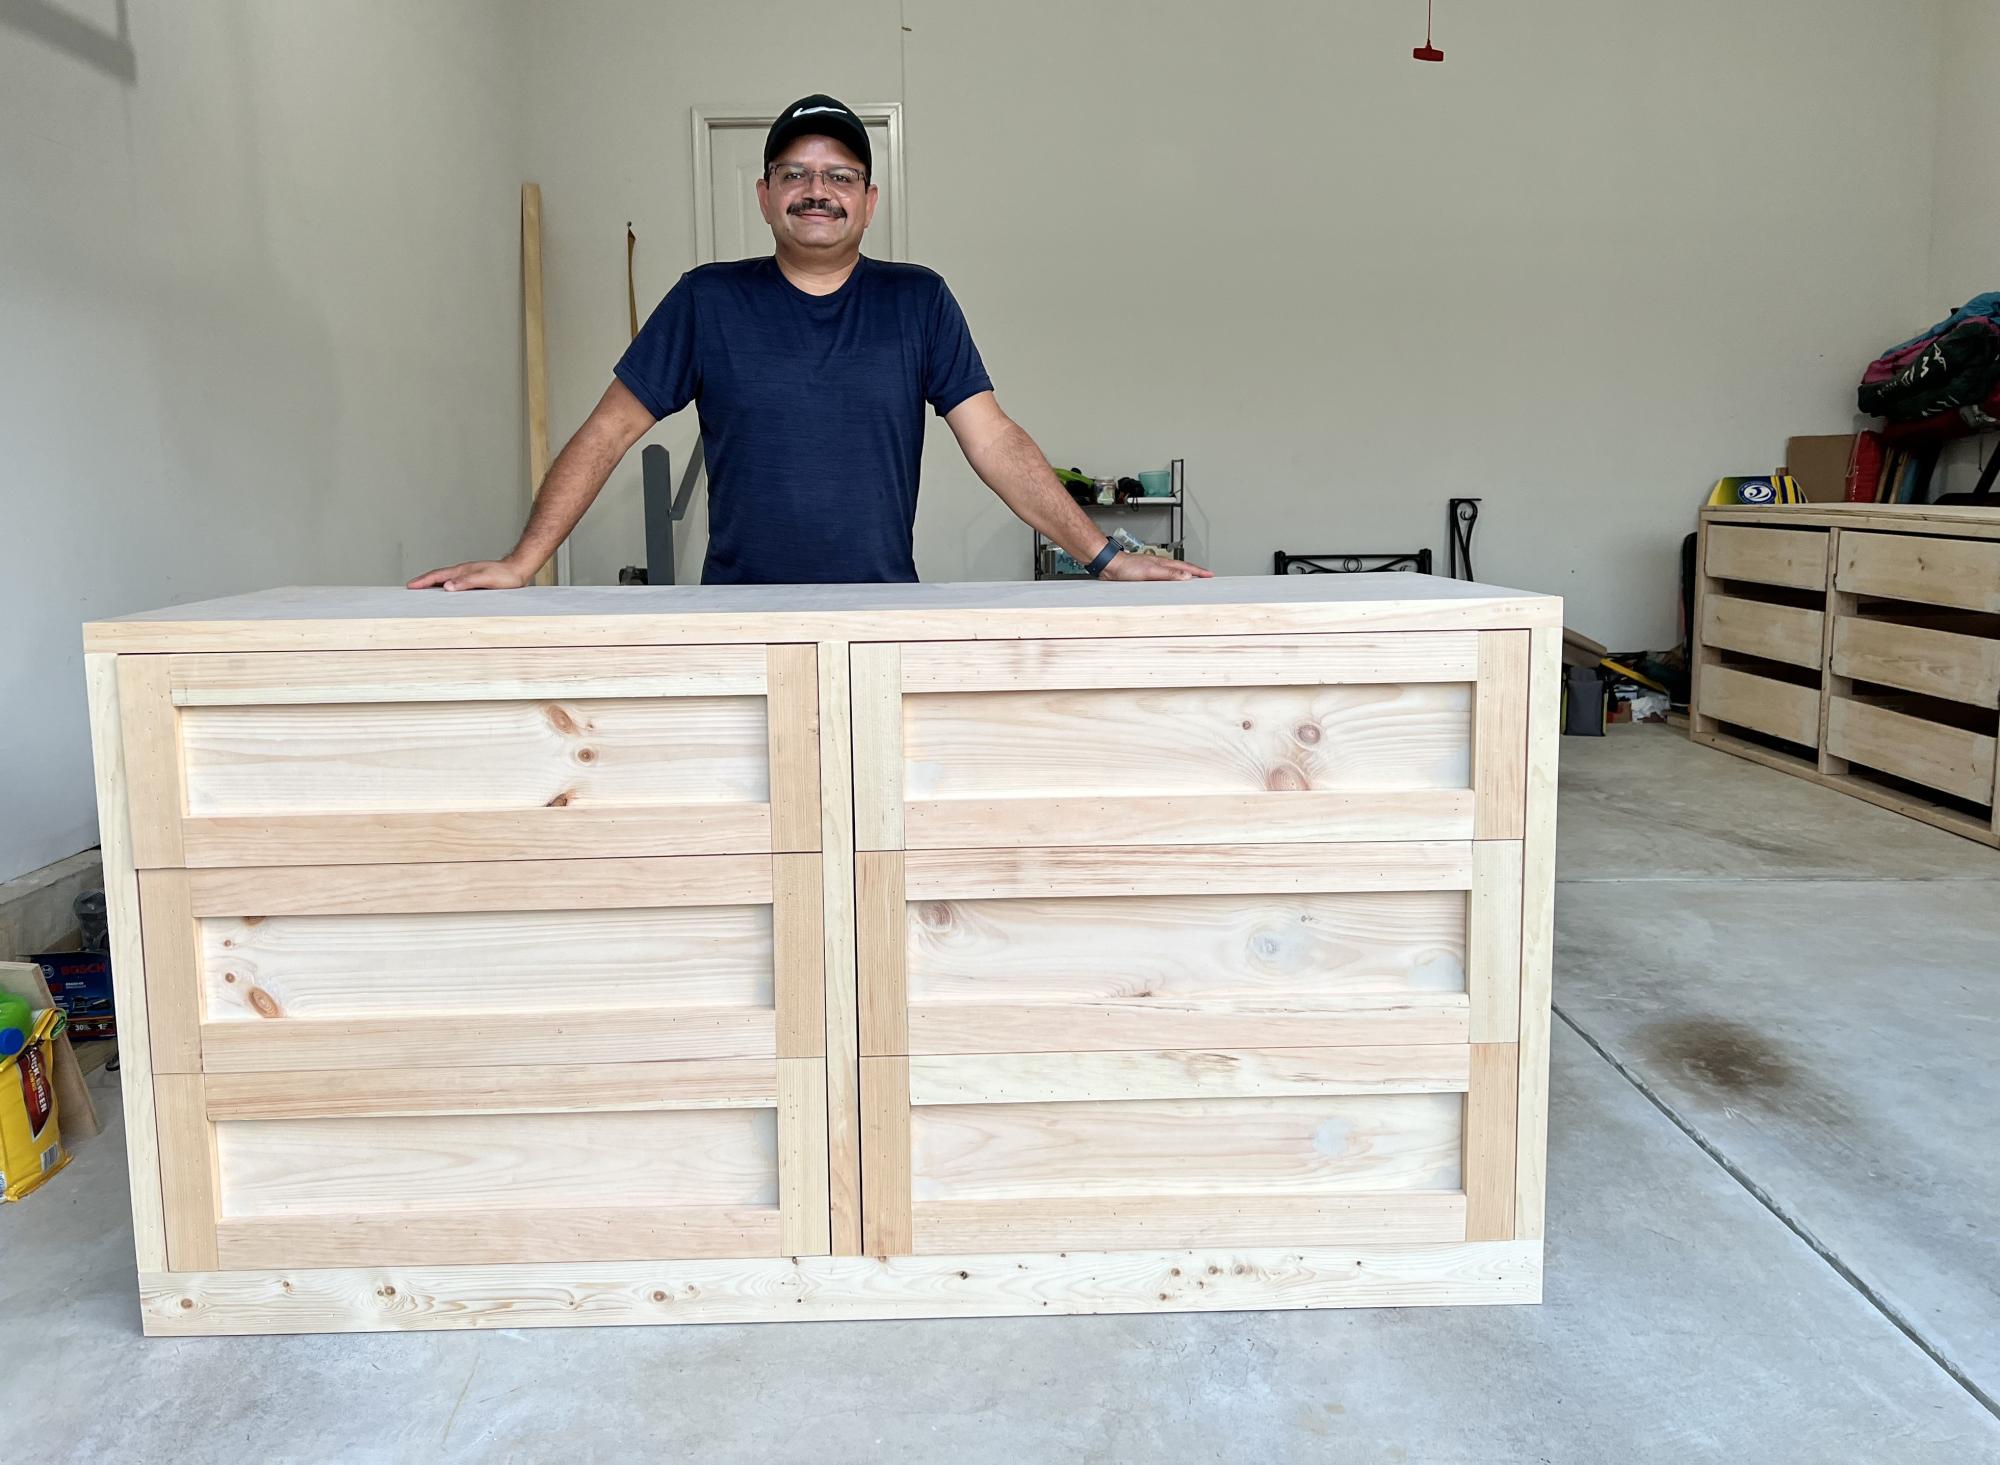
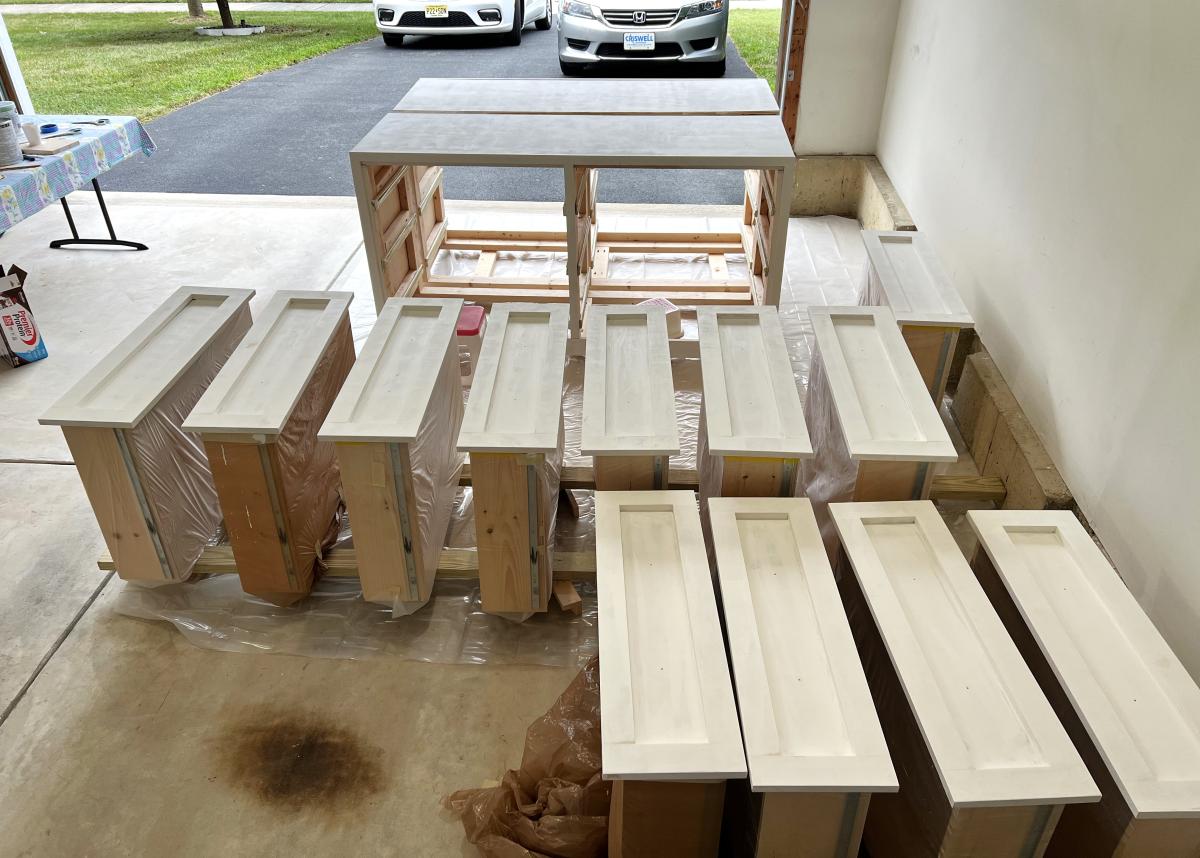
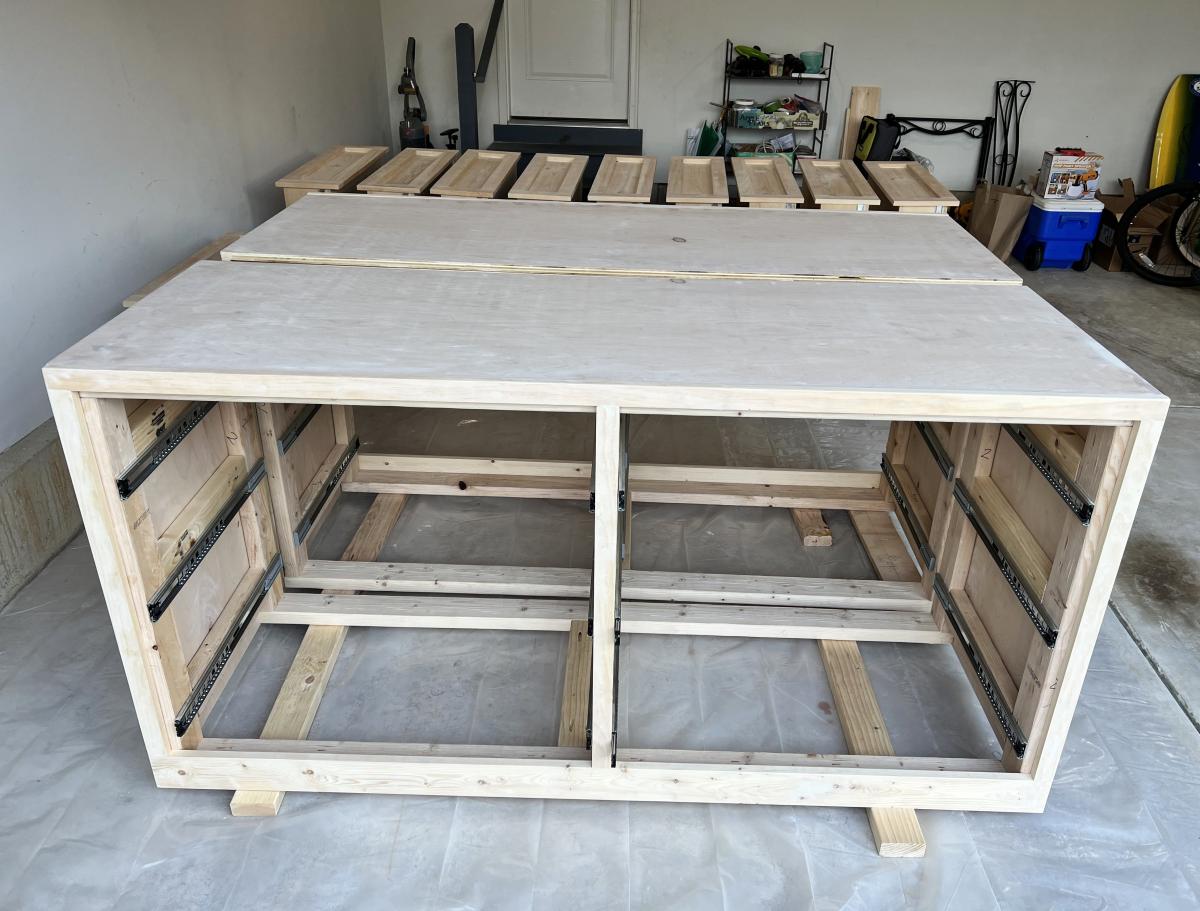
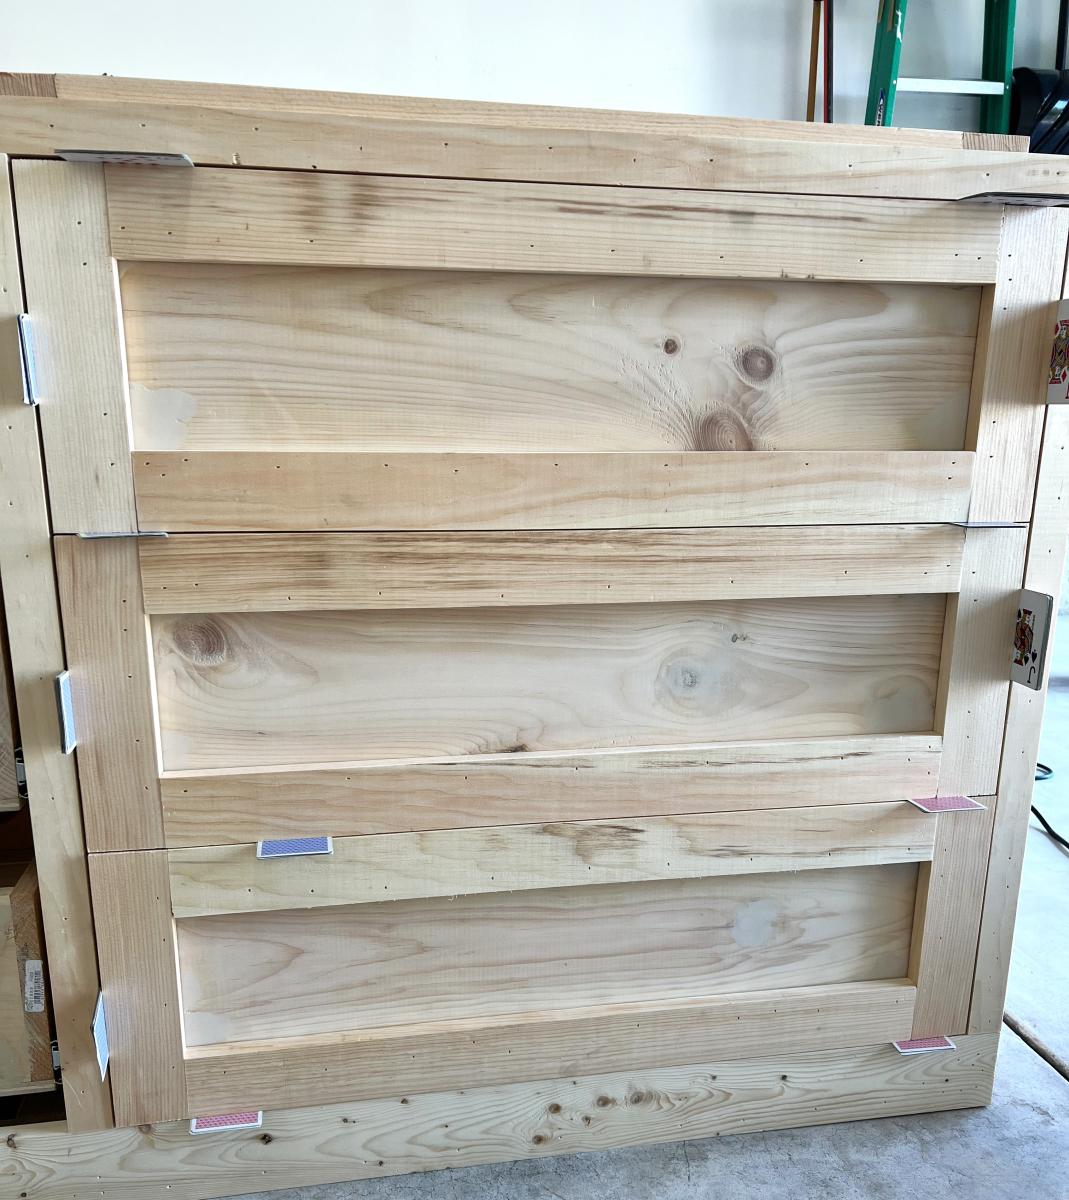
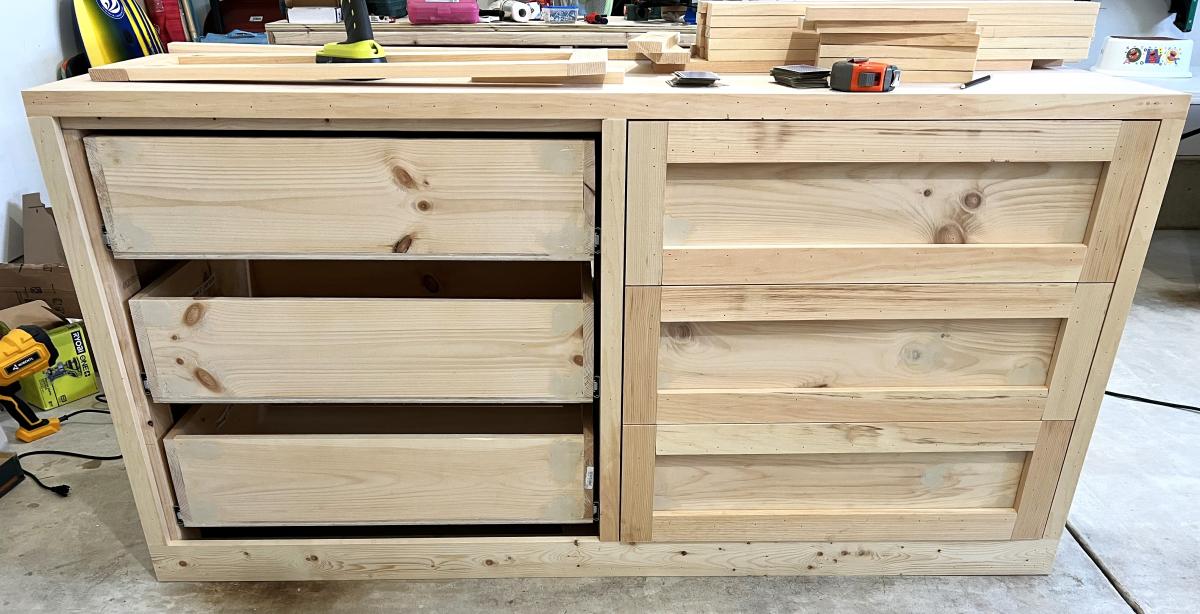
Jumbo Wood Dressers

Submitted by Anonymous (not verified) on Sun, 09/10/2023 - 13:17

Built two jumbo sized dressers 72 by 36 3/4 by 24 3/4. Painting is still pending. One can see playlist here


Rasik

6' Square Sandbox

I've been wanting to buy or make a sandbox for my son for a couple of years now. Since seeing this on Ana White I knew I had to make it. My son is 4 yo and I didn't think the 4' square sandbox would be big enough for him, so I made it bigger. Ours is 6' square.

Materials:
4@1x8x6'
12@1x6x6'
2x4 - used leftovers from another project
8 hinges
4 handles
decking screws

Cut lengths:
2@1x8 cut to 71.5 (long sides of the box)
2@1x8 cut to 70.5 (short sides of the box)
did not cut the 1x6 boards (top planks) - actually designed the other boards to fit their length to prevent cutting (saving time) (note that original plan uses 1x4 planks - I used 1x6s so I could use the same number of planks but cover a larger area)
4@2x4 cut to 11.5 (arm rests)
4@2x4 cut to 18.5 (back supports)

followed instructions for assembly otherwise. At my husbands suggestion we put the handles on the sides and can easily open from either side - prevents having to lean over to the middle to open (back saver)

I finished the project in 4 hours including clean up and a couple of small breaks. This is my first Ana White project. It was a lot of fun to build and I hope my son will enjoy it for years to come!

Built from Plan(s)
Estimated Cost
$190
Estimated Time Investment
Day Project (6-9 Hours)
Finish Used
Sand and stain with sealer included
Recommended Skill Level
Beginner

Comments

Mrs. Chellebelle

Sat, 09/01/2012 - 20:59

Wow, this is just what I need! I've been wanting to make a sandbox for under the playhouse but the other plan was too small. This would be great for the little guys. Thanks!
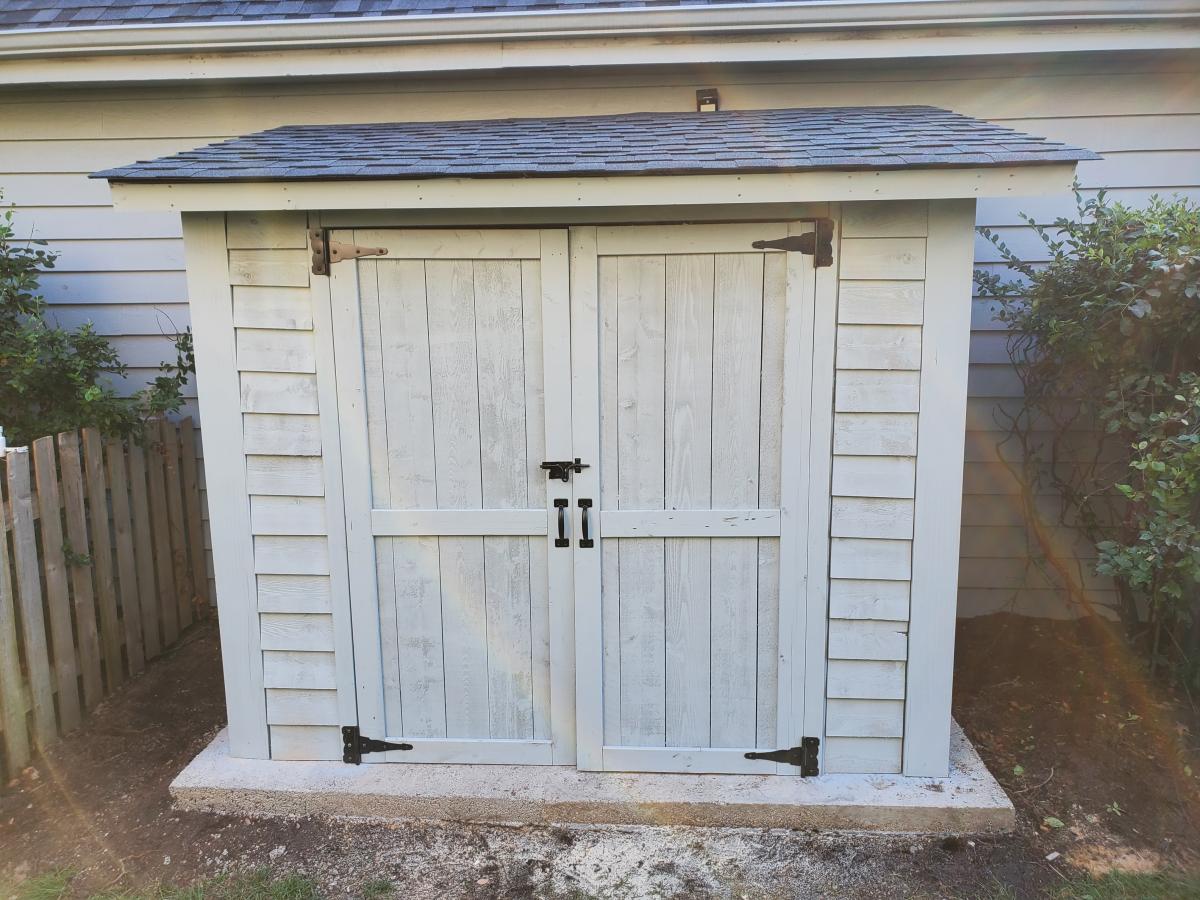
Eric's Cedar Shed!!

Submitted by Anonymous (not verified) on Mon, 07/06/2020 - 21:35

Thank you for the plans, shed turned out great! My association required me to match the siding color, roof color, and anchor to a concrete slab. So I poured 25 bags of 80lbs concrete to make a 9x5 slab. Redid the plans for an 8x4 shed, built the frame with 2x4s and not 2x2's, installed flashing, ice/water shield + felt + matching shingles since I'm near Chicago, and used a flexio finishing sprayer to paint the shed. Saved some $ by using 2 Redwood Grain Fiber siding panels for $22 each at HD.

All in all very happy with my shed and all my dangerous yard tools and woodworking tools can be put away from my toddler.

Built from Plan(s)
Estimated Cost
400
Estimated Time Investment
Weekend Project (10-20 Hours)
Finish Used
Behr Premium Plus exterior paint
Recommended Skill Level
Intermediate

Weatherly Sofa

Submitted by astcgirl on Mon, 11/11/2013 - 14:25

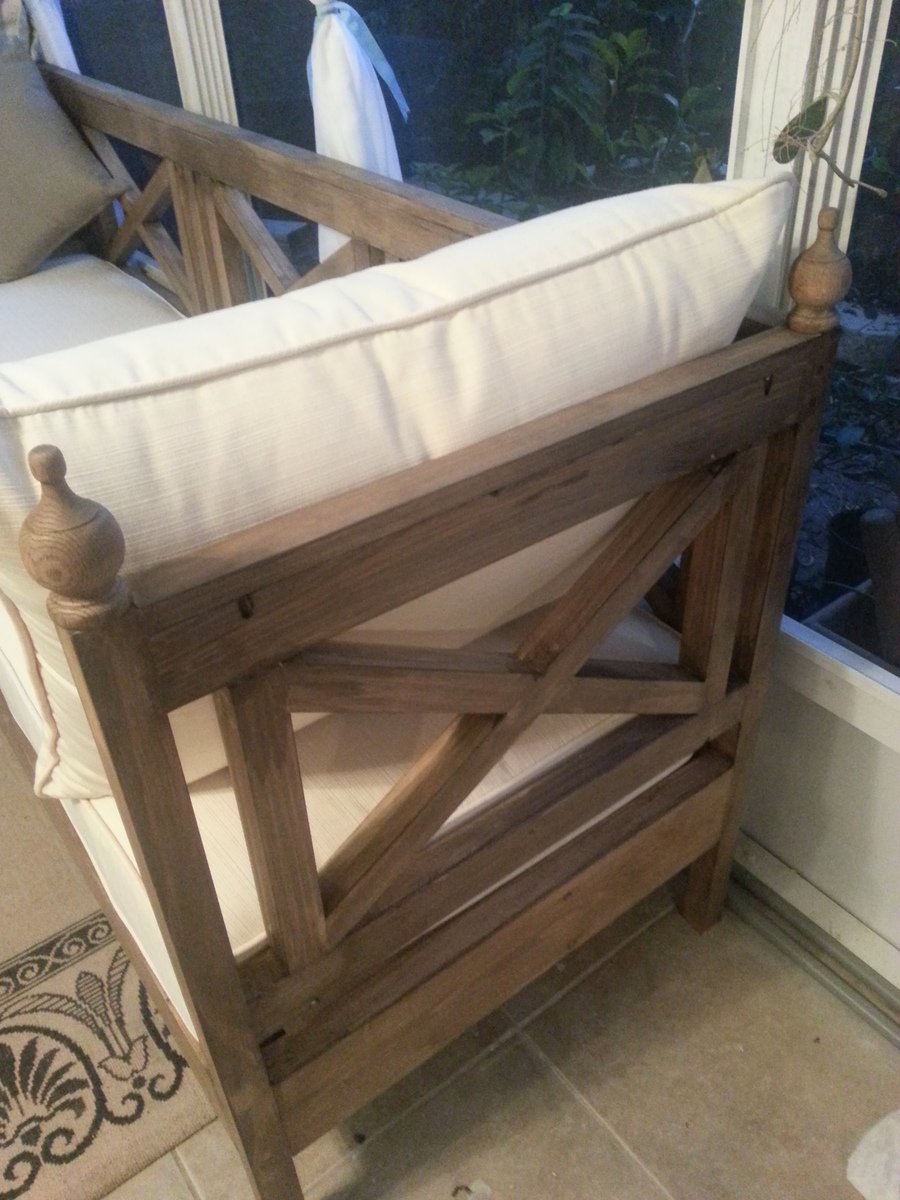
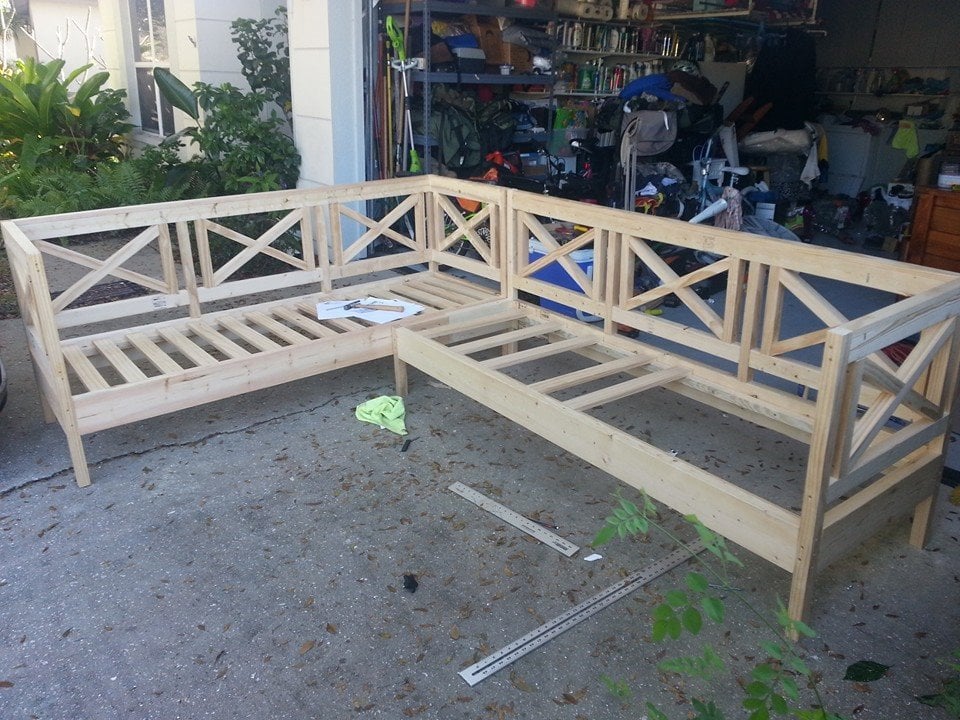
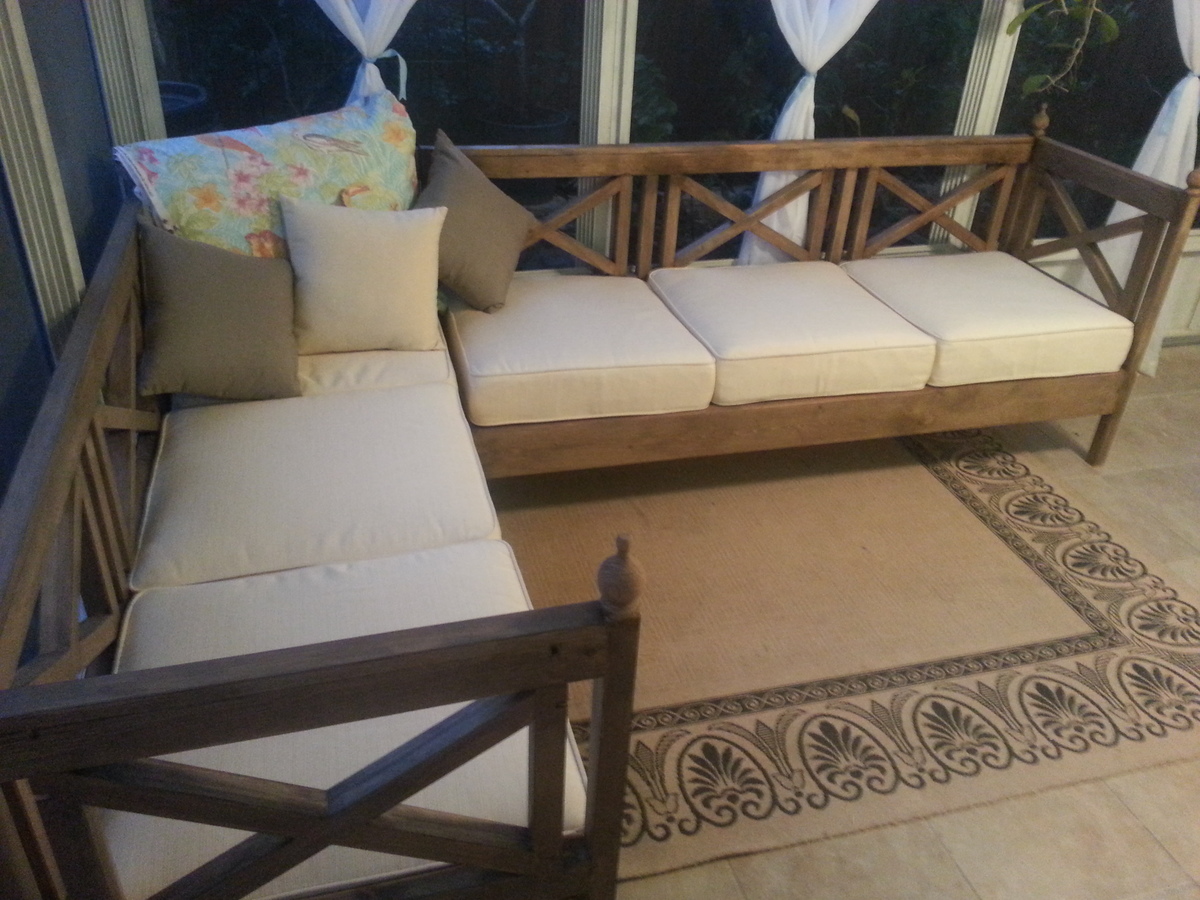
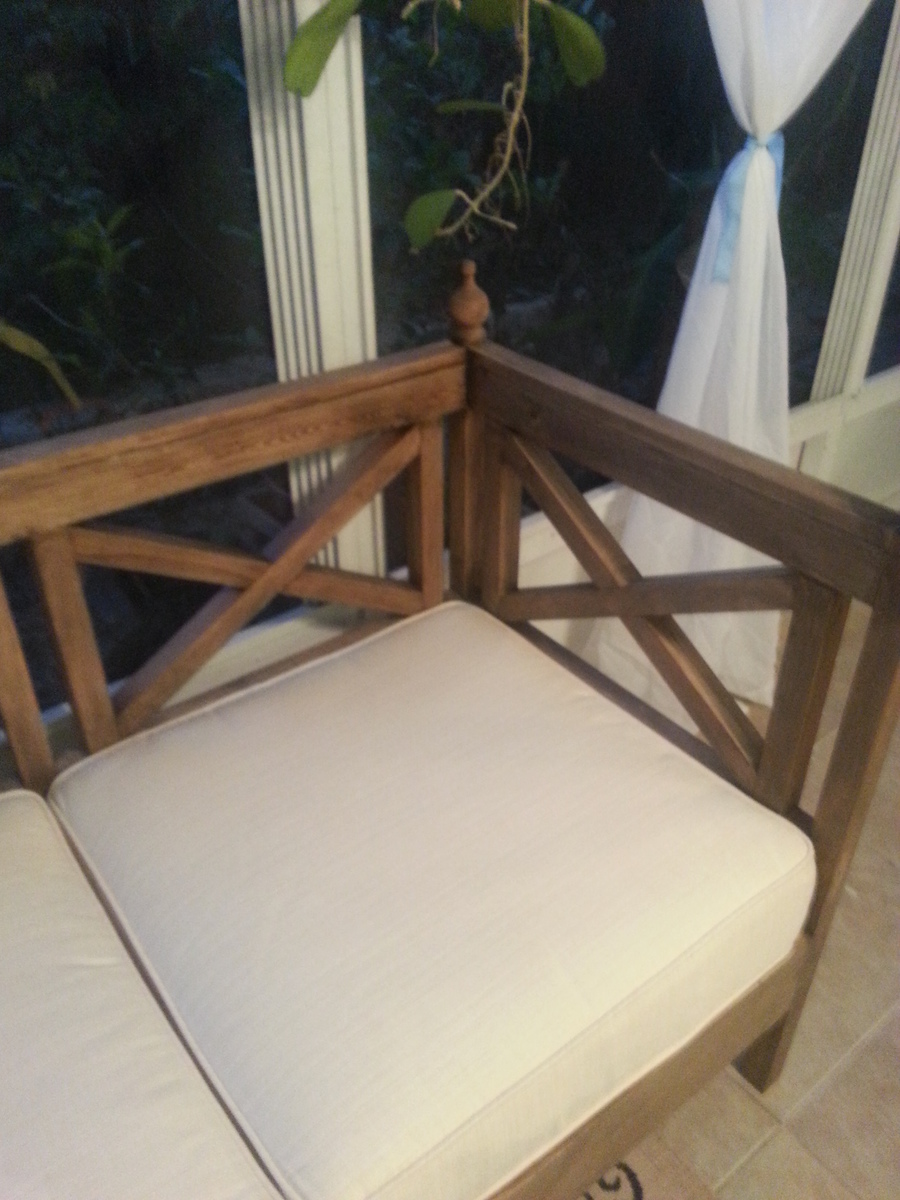
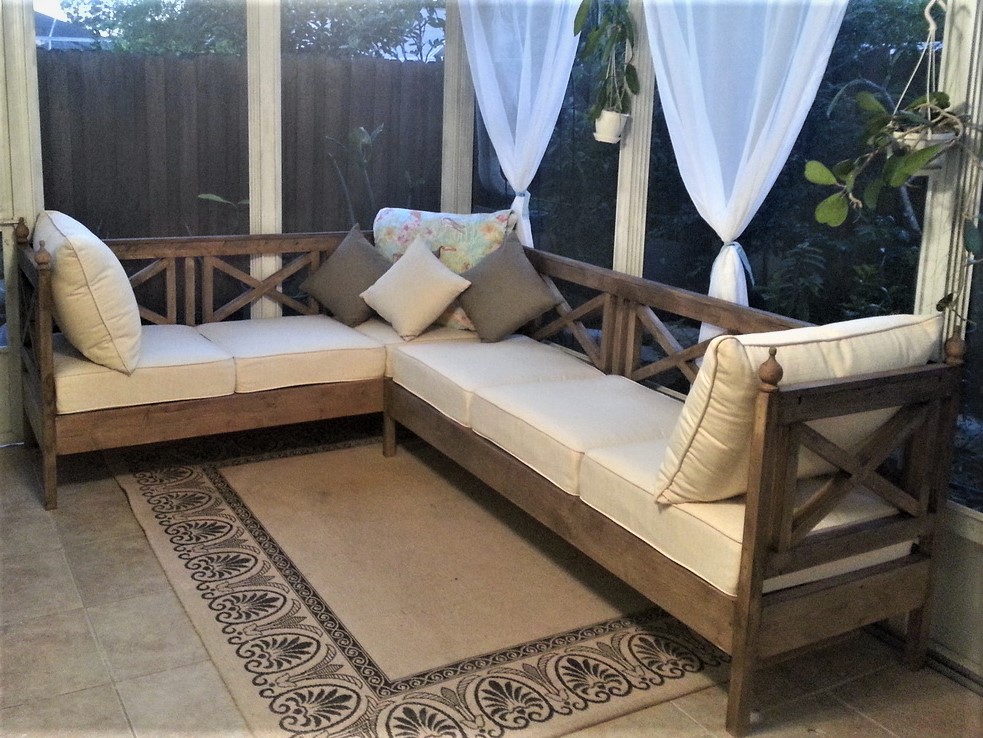
Just wanted to show my Weatherly Sofa (Sectional) that I built recently. I've been drooling over Ana's plans for months now, I waited patiently until I could get a good deal on a Kreg Jig since so many of Ana's plans use it. I purchased my cushions first, I really wanted Sunbrella fabric since they will be outside in my Lanai so they need to stand up to the Florida elements, I was so excited when I found the seat and back cushions for $40 a set discounted from $98, however I kept watching them after I purchased them and they eventually dropped down to $20 a set (called Lowes and they refunded me the difference), so total for all 8 seat and back cushions was only around $170...the problem with them however was that they were 25 x 25 and not the 24 x 24 that Ana recommends in the plans. I just modified the length of the sofa's by adding 3" and With by 1" which did increase my cost of wood since I was short certain pieces however I really wanted them to fit and not look squashed in there. The extra 3" made them fit perfectly. I also have 8 matching back cushions but they are a little too puffy to keep on there so I just use 2 on the ends and stored the rest. The small cushions I also purchased were on sale for $4 a set of 2. This was a relatively easy project. I was a little intimidated to use a compound miter saw to do my cuts so instead I just purchased a Stanley Clamping Miter box that was able to do the 30 degree cuts to make the x's. Total cost was $470 with all the cushions. I used Behr Weather Proofing Wood Stain & Sealer Semi-permanent in COFFEE which gave it a driftwood beachy look. It is so comfortable and sturdy. I love it and considering it was my first build from Ana's site I'm now hooked....Thank you Ana

Built from Plan(s)
Estimated Time Investment
Week Long Project (20 Hours or More)
Finish Used
Behr Weather Proofing Stain and Sealer Semi-permanent (Coffee) they didn't have quarts so I just got 4 sample cans and only ended up using 3.
Recommended Skill Level
Beginner

Patio Furniture in Progress

Submitted by lbrown on Thu, 01/05/2012 - 13:08

I built six armless and two corner sections of the outdoor sectional but now I need to paint it and make cushions. For more details: http://www.homeandawaywithlisa.com/blog/2012/1/5/patio-furniture-in-pro…

Estimated Time Investment
Weekend Project (10-20 Hours)
Recommended Skill Level
Intermediate

Cubby Storage Bench - First Project!

Submitted by Anonymous (not verified) on Fri, 08/11/2023 - 11:33

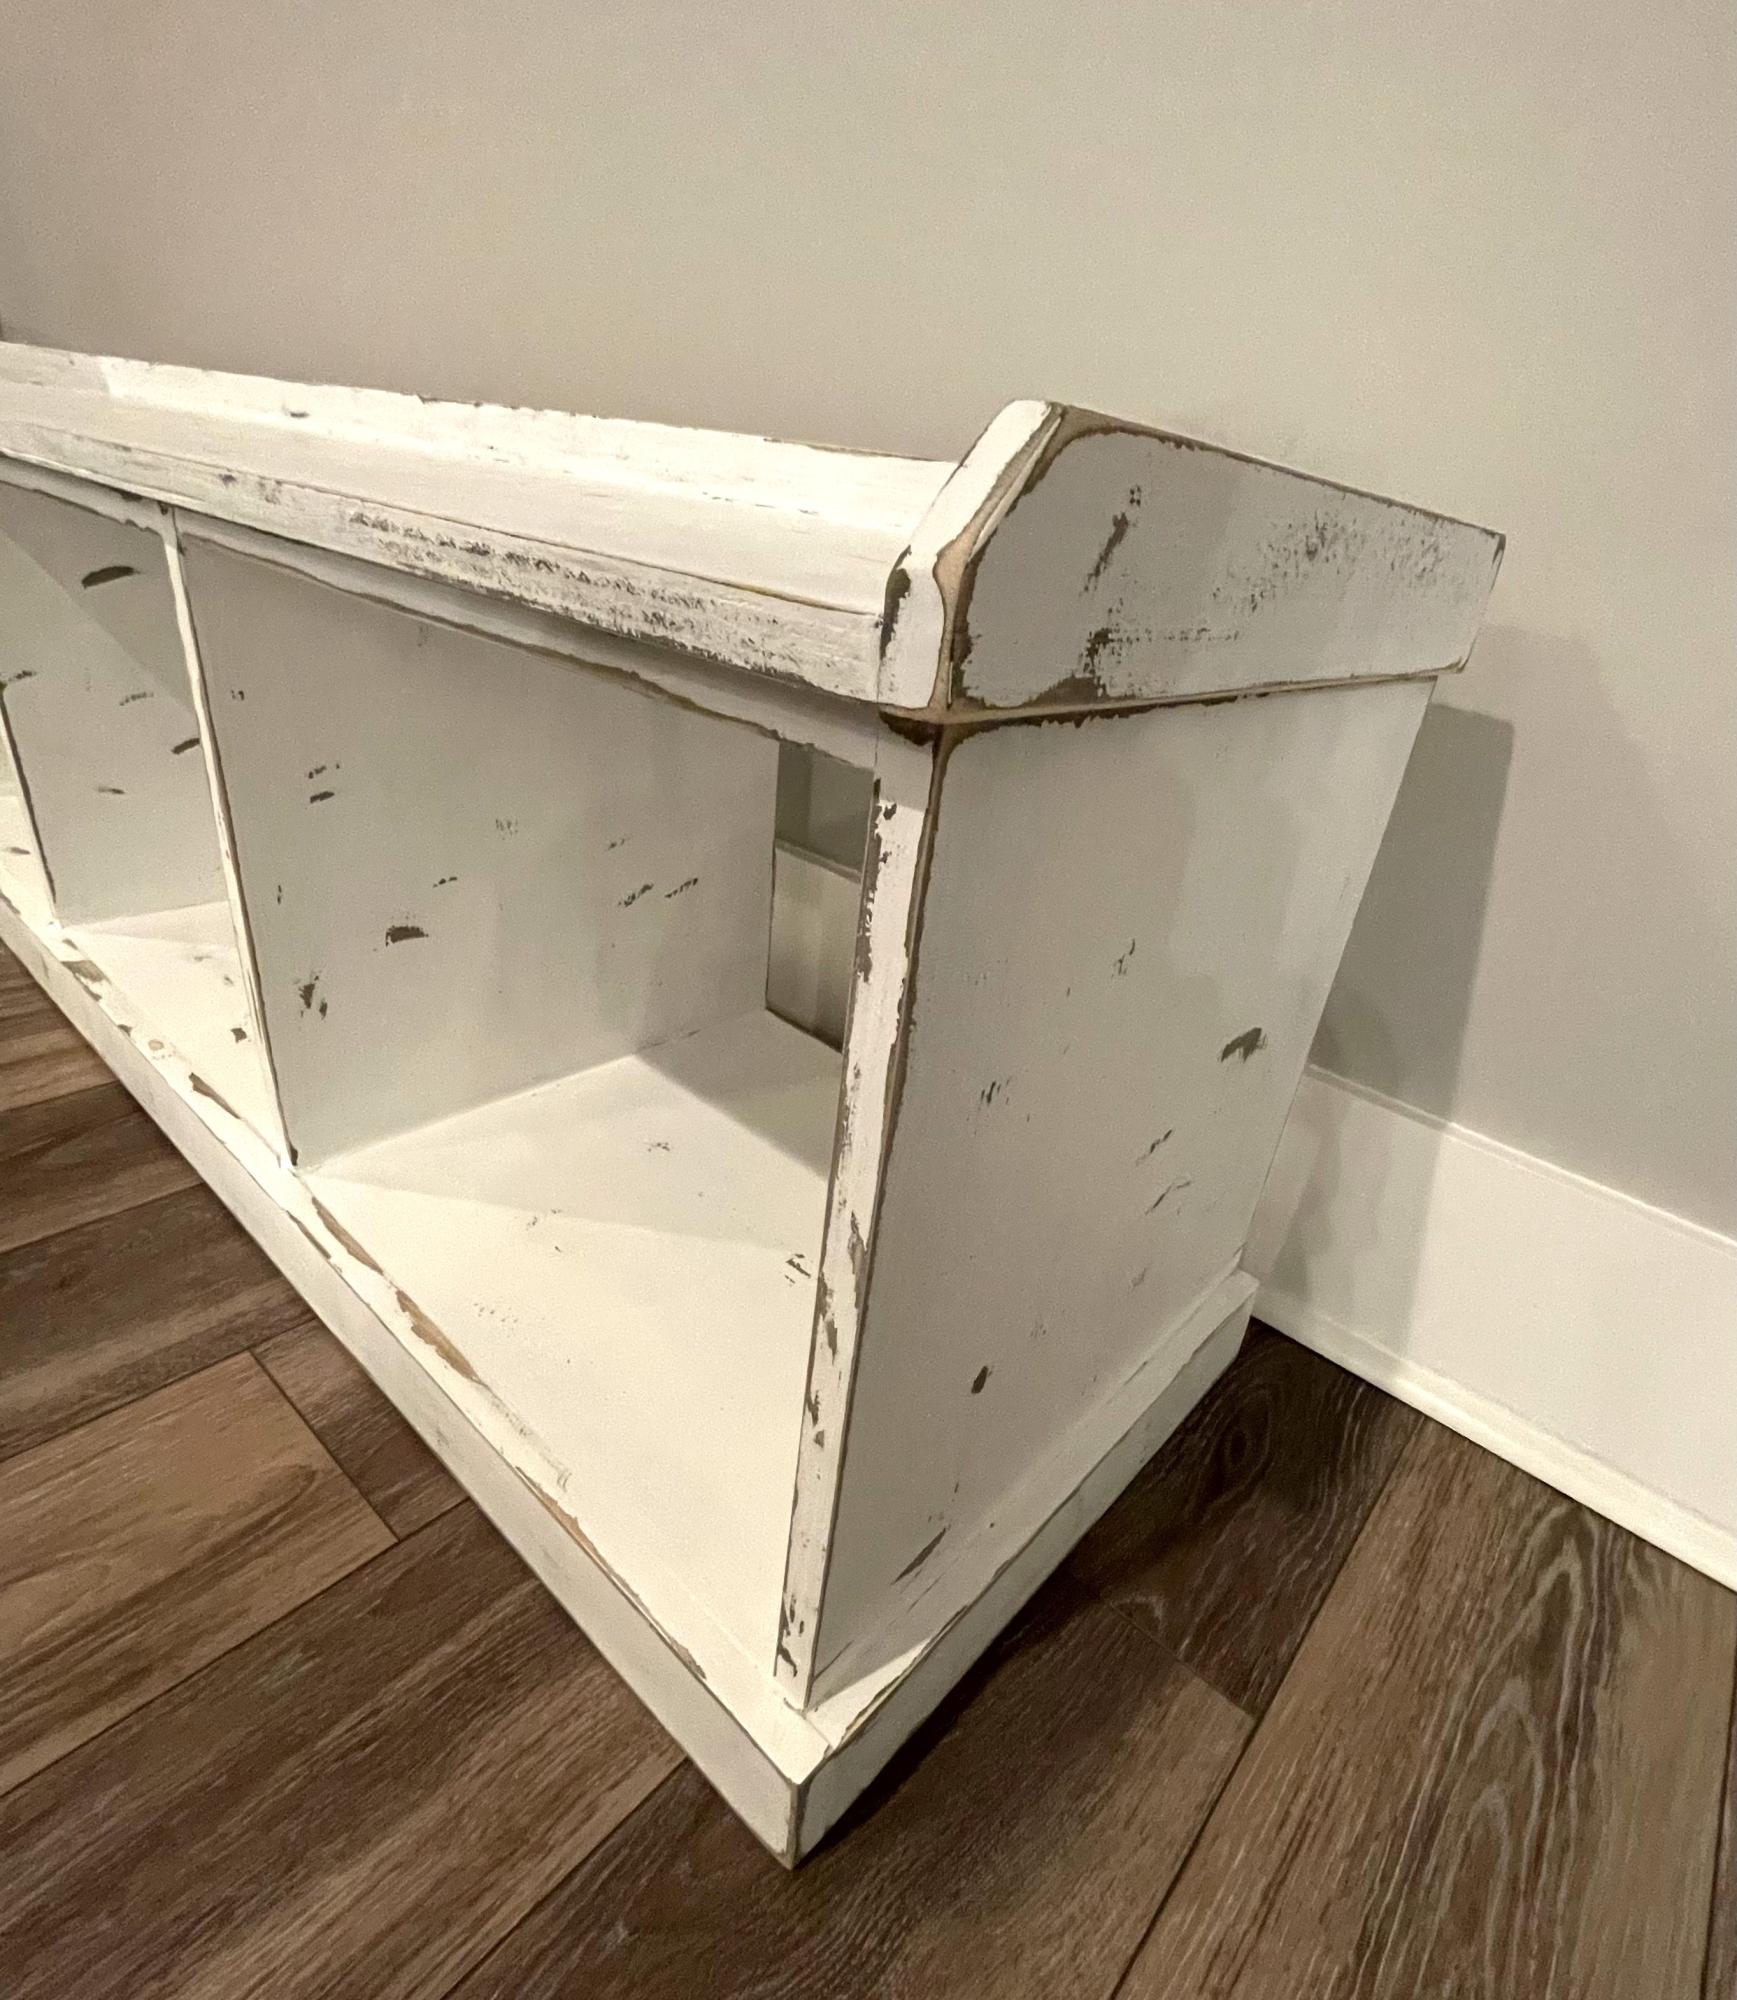
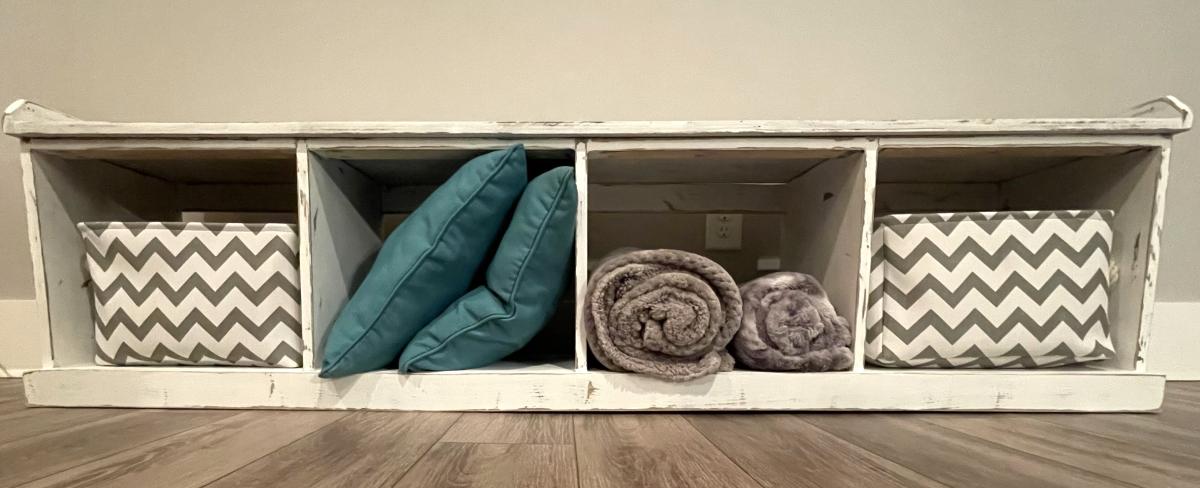
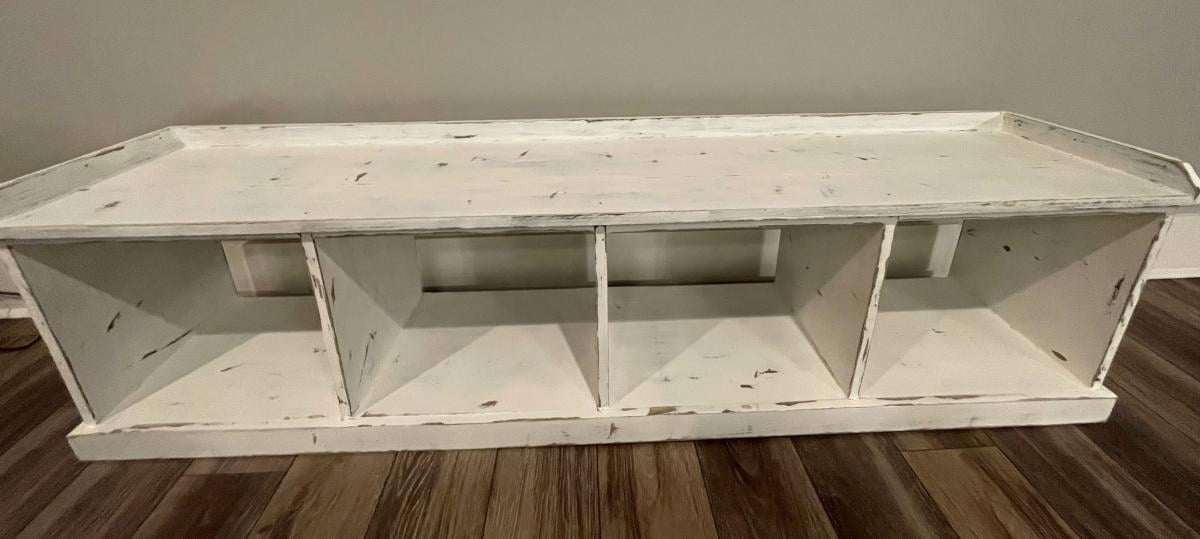
This was our first attempt at making furniture and even though the difficulty rating was ‘intermediate’, the detailed instructions made the process less complicated. Our version of Anna White Essential Entryway Bench turned out better than we expected! Once it was built, I stained it grey, painted it white, then distressed it to make it look antique. I added a custom made foam cushion to the top and, voila!

TammyA


Built from Plan(s)

Outdoor Sectional

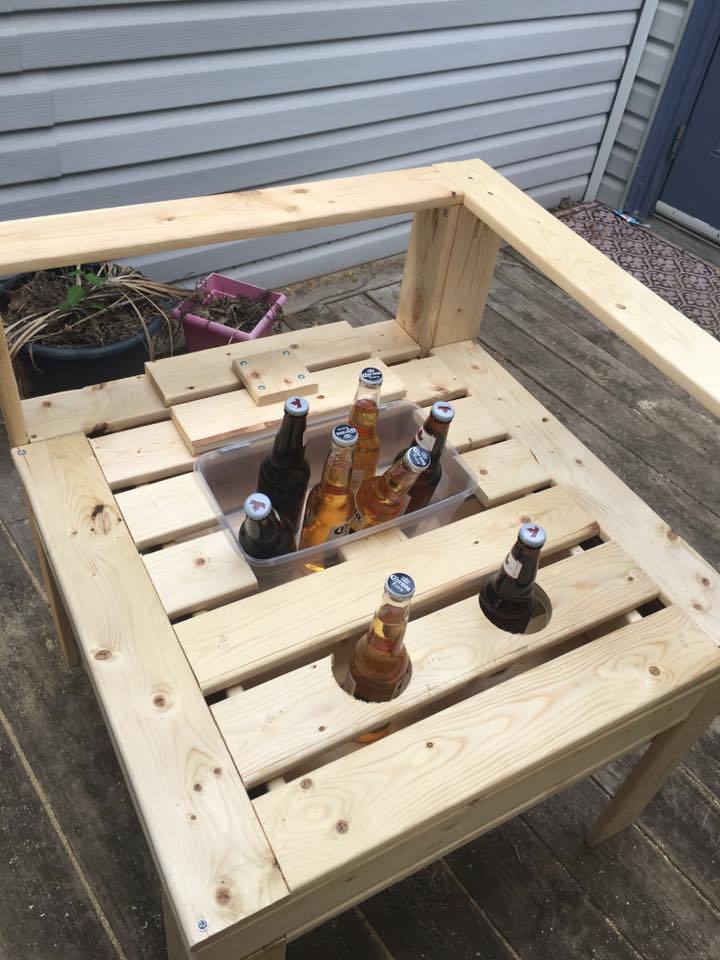
Submitted by nikkiice on Sat, 05/28/2016 - 17:40

I had so much fun building this! I got a little creative with the corner section and decided to make it a table. I built a small hatch so that I could put in a container for ice and cold beer. When the hatch is not in use, the container can be removed and the hatch can be closed to provide more table space. I also added drink holders! 

Estimated Time Investment
Week Long Project (20 Hours or More)
Finish Used
none yet
Recommended Skill Level
Beginner
Back