Community Brag Posts

Outdoor Sectional

I scaled back the length of the sofa by a few inches and I made the sectional only one seat to fit my space on the deck. This was my first woodworking project that I did by myself. I got the cushions for more than 1/2 off at Ikea so the whole project cost about $150 ($80 for the cushions). It took me about a week to complete but the total time was less than 10 hours to build and stain. I'm pretty happy with how it turned out.

Estimated Cost
$150
Estimated Time Investment
Weekend Project (10-20 Hours)
Finish Used
Pittsburgh Paints Stain & Sealant in One for Decks, Fences, & Siding in Walnut. I brushed on the exterior stain just like a paint. I did the top part of the sofa first, then flipped it over and stained the bottom. Read instructions on the label.
Recommended Skill Level
Beginner

Comments

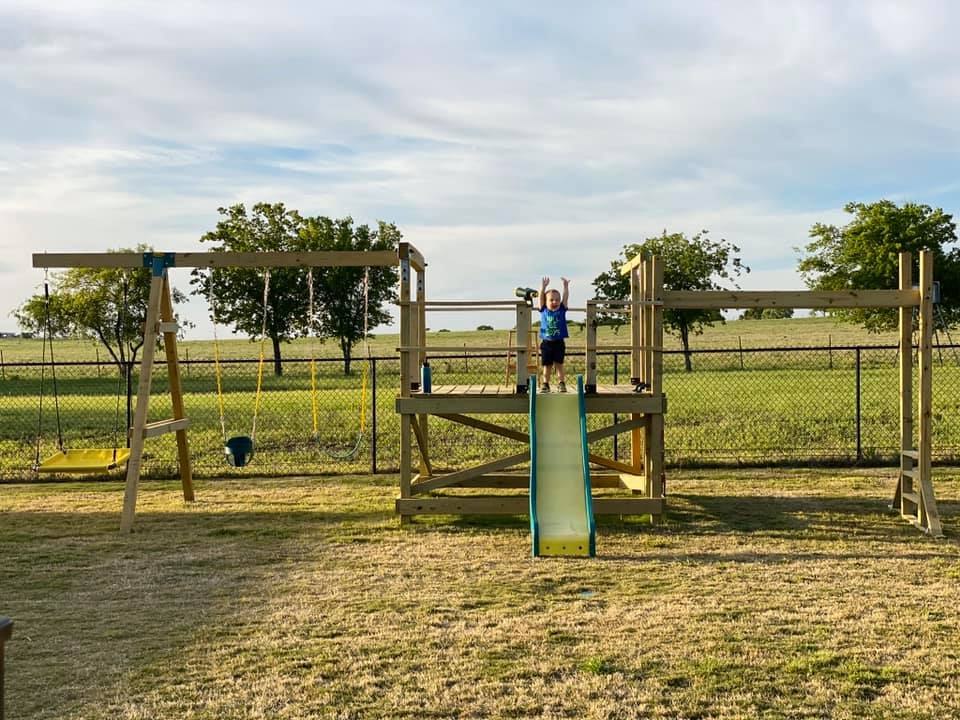
Swing Slide Playset for Grandson

Submitted by shellyward on Wed, 05/20/2020 - 09:22

We are used to seeing our grandson every weekend but during the 2020 COVID quarantine we were unable to do so. Instead, we filled our time building him a swing set for our backyard. He loved it!! We are going to add more to the swing side but the hardware I want isn't available right now (apparently there is a lot of swing set building going on during this time). I look forward to many years of playing on this with our grandson and hopefully additional grandkids in the future... Our cost was pretty high mainly because our first round of lumber came from a local lumberyard that was willing to deliver within a few days (big box was going to take several weeks) and they had what is supposed to be higher end lumber (not sure I am convinced of that)....also, i chose some pretty expensive hardware (brackets) just for the added security.....

Estimated Cost
1800-2000
Estimated Time Investment
Week Long Project (20 Hours or More)
Finish Used
not done yet but will be staining/sealing when the wood is ready
Recommended Skill Level
Intermediate

Comments

Seasonal And Holiday

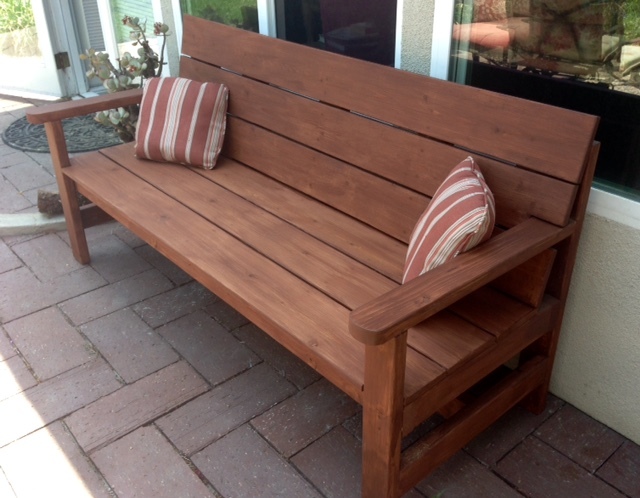
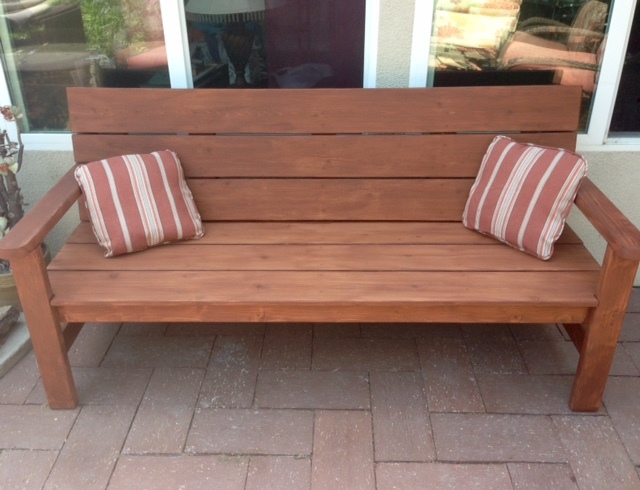
Modern Outdoor Bench

Submitted by Anonymous (not verified) on Tue, 08/09/2016 - 16:29

Great plans!  I modified the bench by adding a slanted back (which enabled me to put the slats closer together), extending and curving the front of the arms and extended the seat to the outside of the legs.


Recommended Skill Level
Intermediate

Comments

Farmhouse Storage Bed With Hidden Drawer

Submitted by Beekeeper on Wed, 12/10/2014 - 17:35

Ana, thanks for these plans! They inspired me to make my first bed build. I also want to thank all of you that added brag posts! They gave me ideas for some of the modifications that I made. I did this build by mixing your Queen Farmhouse and Queen Farmhouse Storage bed plans. I also added a number of modifications to suit my own preferences. The drawer boxes I changed by building a faceplate (I didn't want the plywood ends exposed), and by increasing in depth to maximize some additional storage. Since I increased the drawer sizes, I went with the euro roller bearing slides. I increased the foot-board height to be slightly higher than the mattress. I also designed the footboard to have a removable inner section with hidden latches on the inside. I did this because I wanted to make use of the "dead space" between the drawer boxes. I then used this space to house a hidden drawer, that is approx six feet deep (I couldn't help myself-I love hidden drawers wink). Because I added the hidden drawer, I changed the opptional center support to 4X4 blockes that were pocket screwed under the center of the boxes. I ended up using birch plywood and fir for this build. For my first bed build I'm fairly happy with how it came out. Thanks again!

Estimated Cost
I didn't keep exact track of the cost of this bed, but I think it was about $800.
Estimated Time Investment
Week Long Project (20 Hours or More)
Finish Used
I haven't got there yet, but I am planning on putting a mahogany stain and then a polyurethane. All
Recommended Skill Level
Intermediate

Comments

spiceylg

Thu, 12/11/2014 - 07:41

This is your first build and you did all of those awesome modifications?! Really impressive and it looks perfect! Congrats and welcome to the community!

In reply to by spiceylg

Beekeeper

Sun, 12/14/2014 - 06:03

Thanks for the compliments! It was a fun learning experience. Making all the modifications definitely slowed down the build, but also made it more rewarding!

beckbg

Fri, 12/12/2014 - 13:18

I just started my bed (mostly out of Baltic Birch) and am wondering where you were able to find such nice 4x4s. Your bed is gorgeous! No luck here. I bought redwood, but really wanted fir for the sharper edges. It's my first project, too. I also bought same drawer slides, but the soft close. Didn't want the slam. I figure building it will be the easy part compared to procuring nice 4x4s! Hope you can help!

In reply to by beckbg

Beekeeper

Sun, 12/14/2014 - 06:01

Thanks! The 4x4s I found at a place called Better Living Building Supply. They had a pretty nice assortment of fir, including the 4x4s, so that is why I chose it for the build. Finding the 4x4s slowed down my start on the build. Our local Lowes only had them in treated pine.

athingvall

Sat, 09/05/2015 - 20:47

Thank you for the pictures, the bed turned out Awesome.  I was wondering about the latching system for the foot of the bed.  Do you think a piano hinge on the lower would work too?  Also on the center drawer did you use rollers or is it just friction?  Can't wait to start the build.

Thanks

Codding58

Mon, 02/15/2016 - 14:11

This is excellent!!!   I really like this, so much in fact that the wife is going to have to get used to it too. lol   But really, GREAT work!    Any chance you could post a pic and or comment about how you attached that removeable end?    i think this is the best part!    Cheers!

Kmaynard19

Tue, 12/10/2019 - 08:42

Beekeeper,  Awesome build!!!  Have you posted your altered plans anywhere?  I'm very interested in your build, I was wondering about some aspects of it and how you approached it.  Plans would clear it up instead of bothering you with all my questions.

NinjaPinky

Sat, 06/20/2020 - 09:06

I, like many others, have been wondering if you'd share your plans for this modification. It just looks so great!

tammis50401

Mon, 11/16/2020 - 15:42

Bed turned out awesome. I was wondering if you have the plans for the bed with a list of supplies it took to make this bed. I so want this bed it's just what we are needing

Great job

Rustic X coffee table with Minwax Classic Gray stain

Submitted by cariaw123 on Thu, 11/21/2013 - 07:54

This project was quick and painless. I recommend for a beginners project (but expect to get frustrated over building the x's into the side though). I stained our table with the Minwax Classic Gray stain and used the Minwax water-based polyurethane to seal it. I realize that the stain is difficult to see but it is a beautiful stain that has turned into my go-to stain. The stain is not too gray and you can see the natural color of the wood through it. The photo gives the impression a glossy finish. In reality, it is more matte.

Built from Plan(s)
Estimated Cost
$80-90
Estimated Time Investment
Afternoon Project (3-6 Hours)
Finish Used
Minwax Classic Gray stain with Minwax Water-based Polyurethane.
NOTE:The stain goes on pine and whitewood VERY differently. The pine pieces come out very dark with the stain being brushed on and immediately wiped off. For the whitewood, you can leave it on for 10 minutes and it'll reach a threshold for the amount of stain it will accept. I just sanded the darker pieces down a little bit to match the lighter pieces. (Does that make sense?)
Recommended Skill Level
Beginner

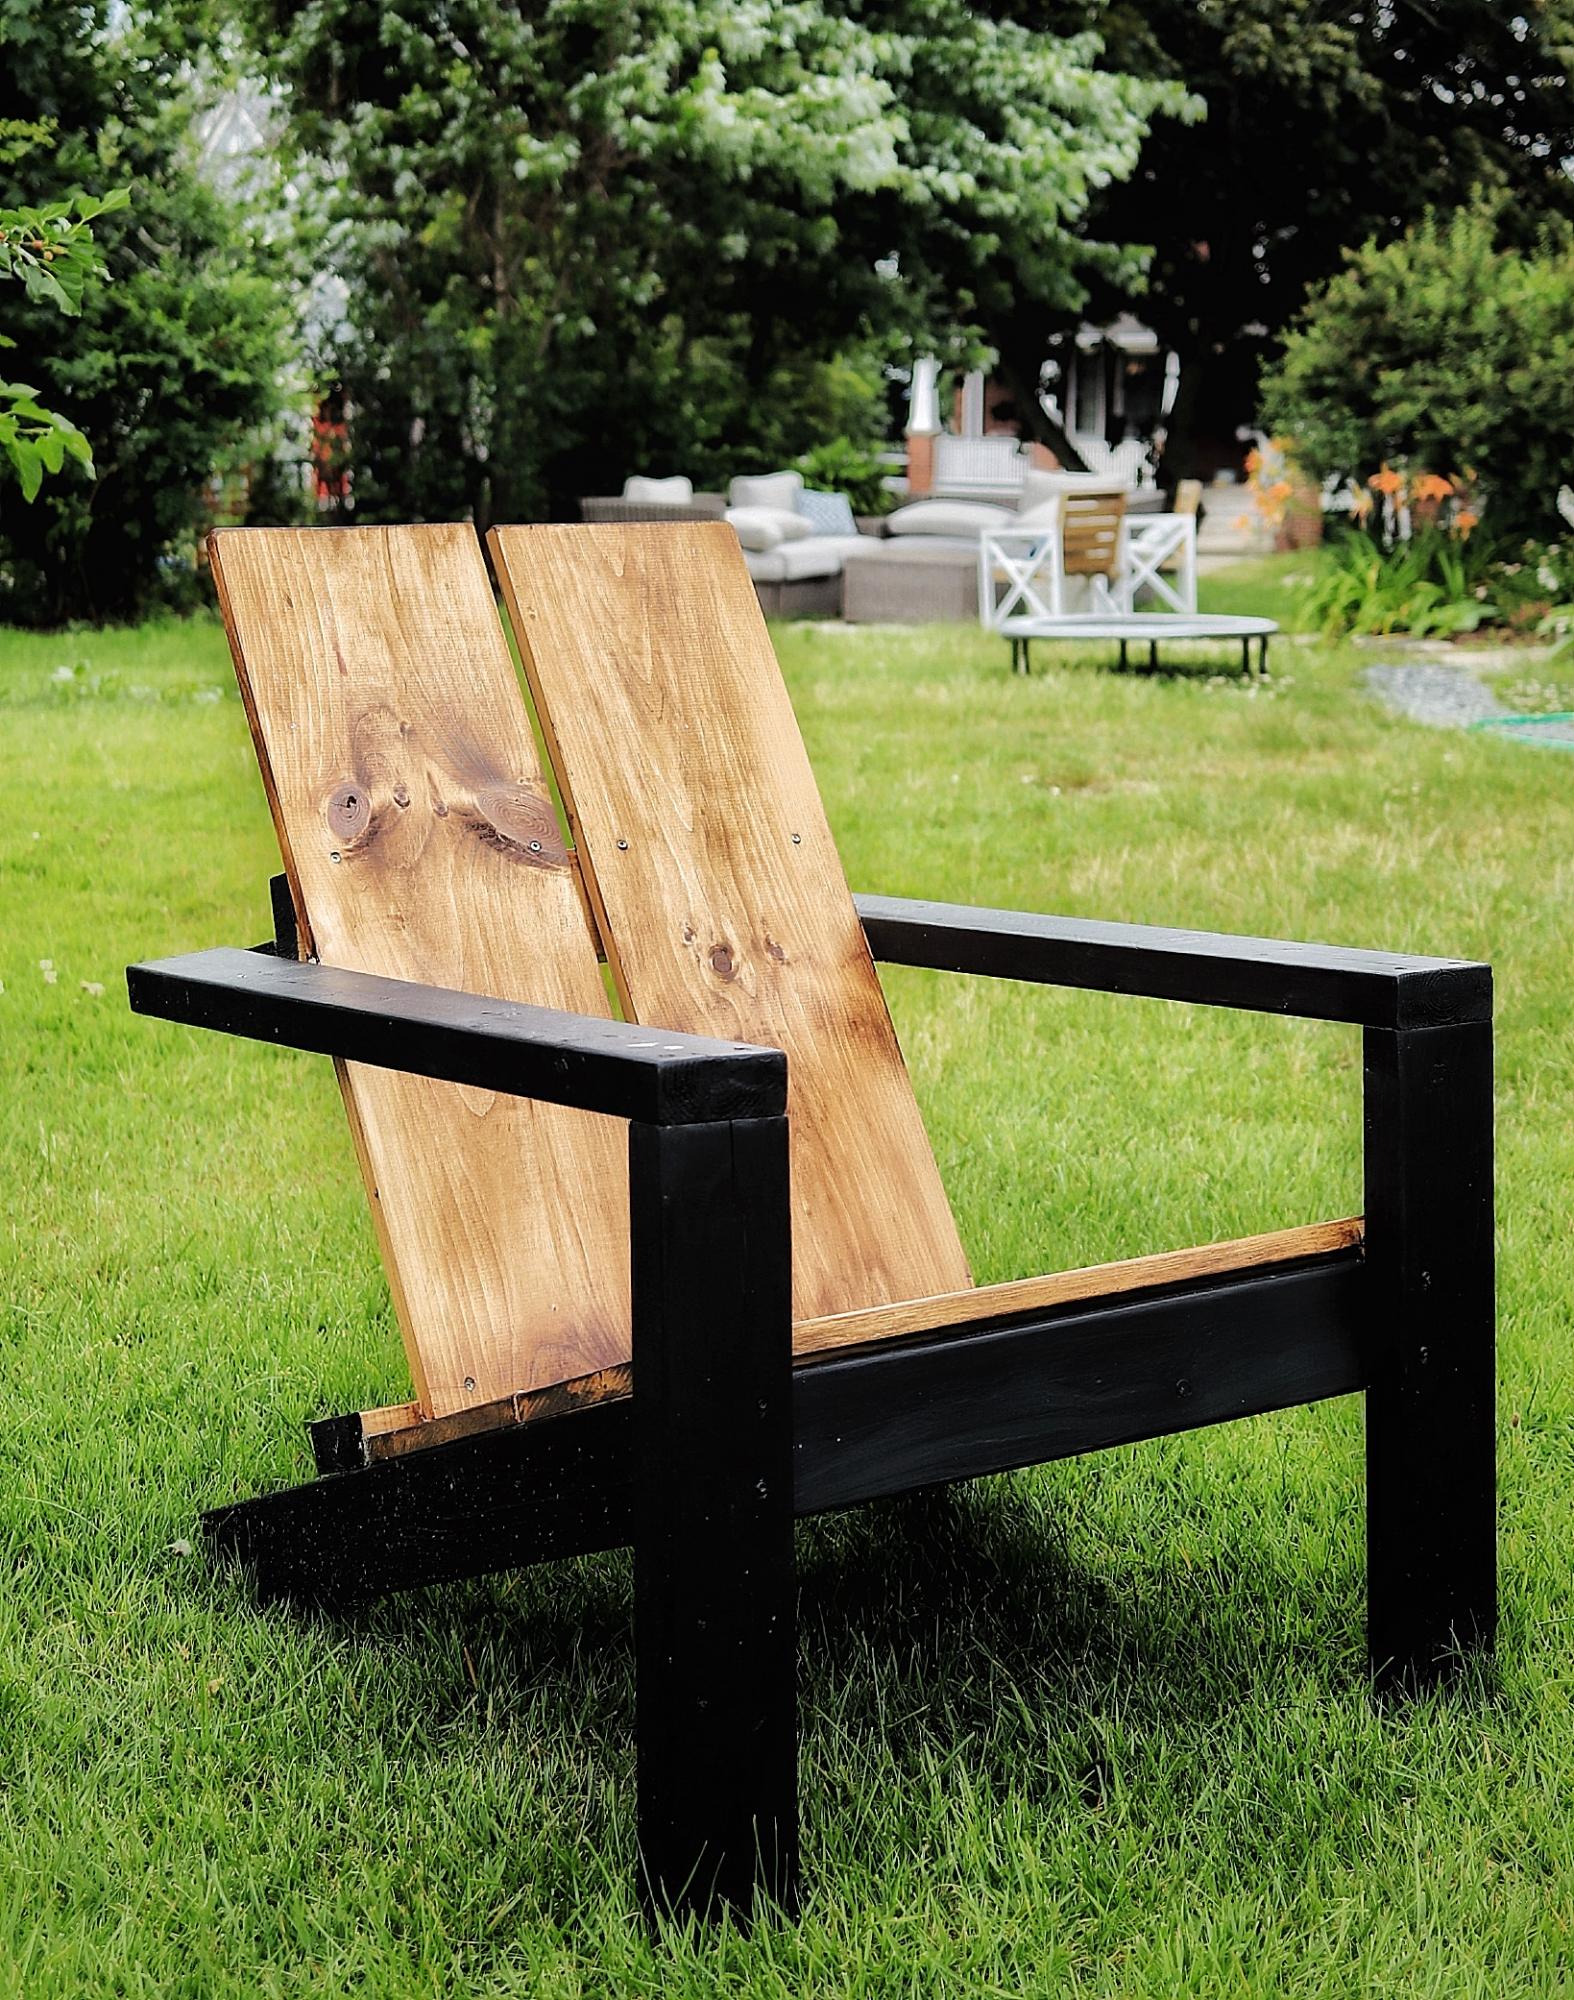
2x4 modern Adirondack Chair (modified)

Submitted by Anonymous (not verified) on Thu, 07/02/2020 - 17:45

I was so excited to find the plans for these awesome chairs, I’ve built 7 this season already—the modification happened as an accident, but I loved the result !

Estimated Cost
$30
Estimated Time Investment
An Hour or Two (0-2 Hours)
Finish Used
MinWax Aged Oak and Black paint
Recommended Skill Level
Intermediate

Comments

Seasonal And Holiday

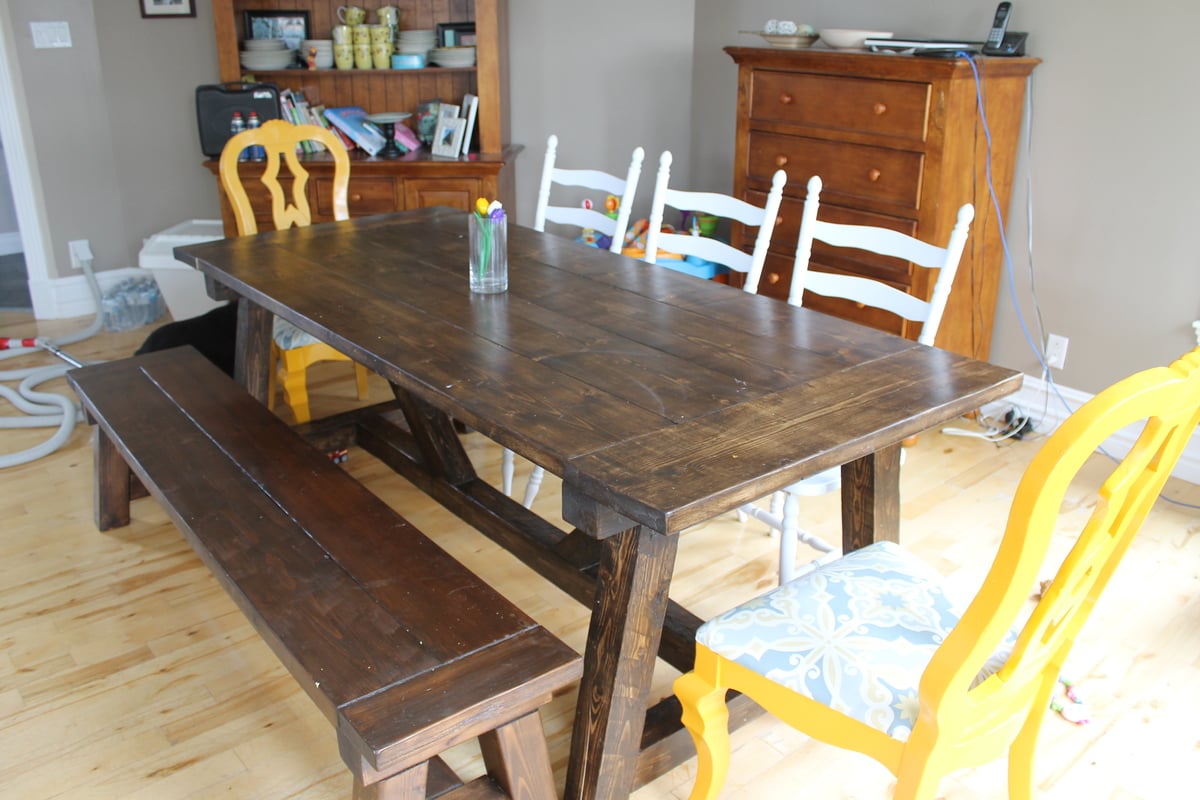
4x4 truss beam table and bench

Submitted by Joagirard on Fri, 07/04/2014 - 20:24

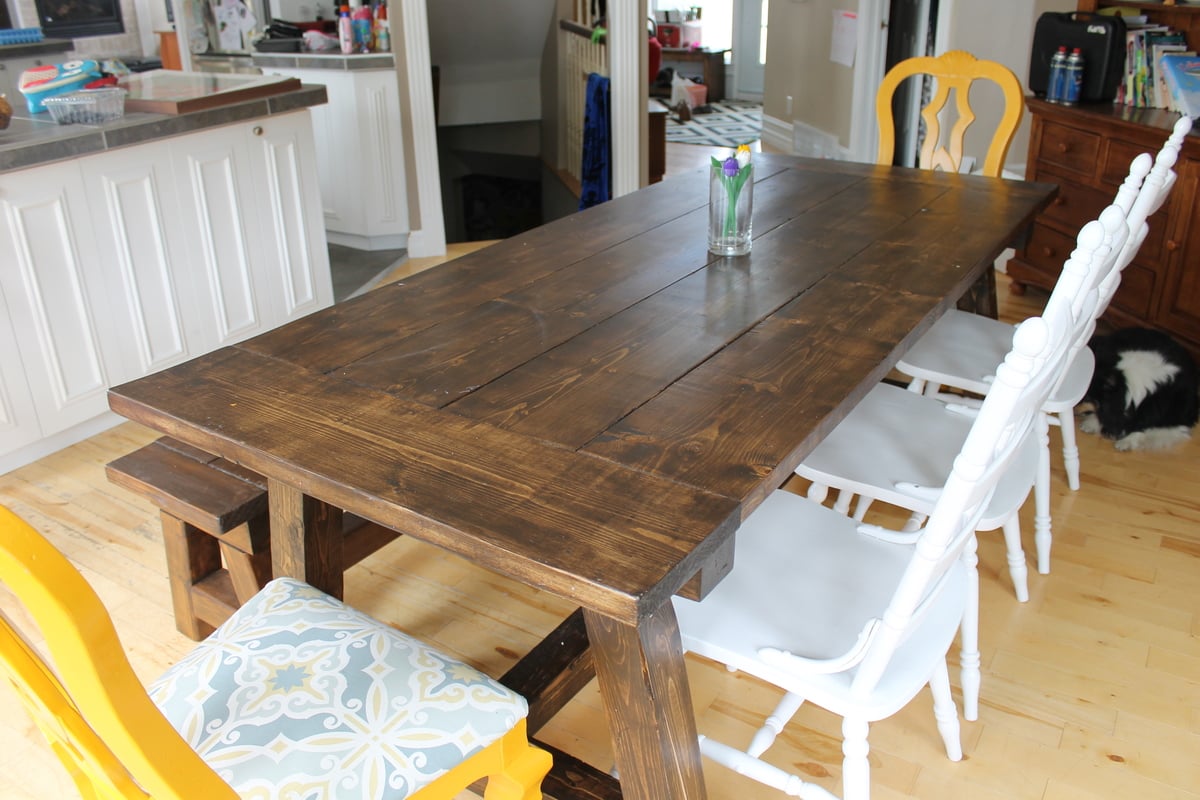
We needed a big sturdy table for 8-12 persons for our big dinning room but didn't want to pay 3000$ for it. Then i found Ana-white's site and thought "why not!". It's my first project, i started whit the bench and then made the table. All buy myself, my husby doesn't even know how to use a saw. He help me carry it inside thought ;) The plans were realy easy to follow. Somebody stop me, i'm refurnishing my hole house, i can't stop! In 2 months i'v made 2 dinning tables, 2 patio tables, 1 coffe table, 5 benches. So if i can do it, you can too!

Estimated Cost
300$
Estimated Time Investment
Weekend Project (10-20 Hours)
Finish Used
1 coat of dark walnut varathane in gel applied with an old t-shirt followed by 2 coats of varathane professional finish in satin applied with soft brush. I sanded between the 2 finished coats.
Recommended Skill Level
Starter Project

Built in closet

Submitted by AndyH on Mon, 06/13/2016 - 19:14

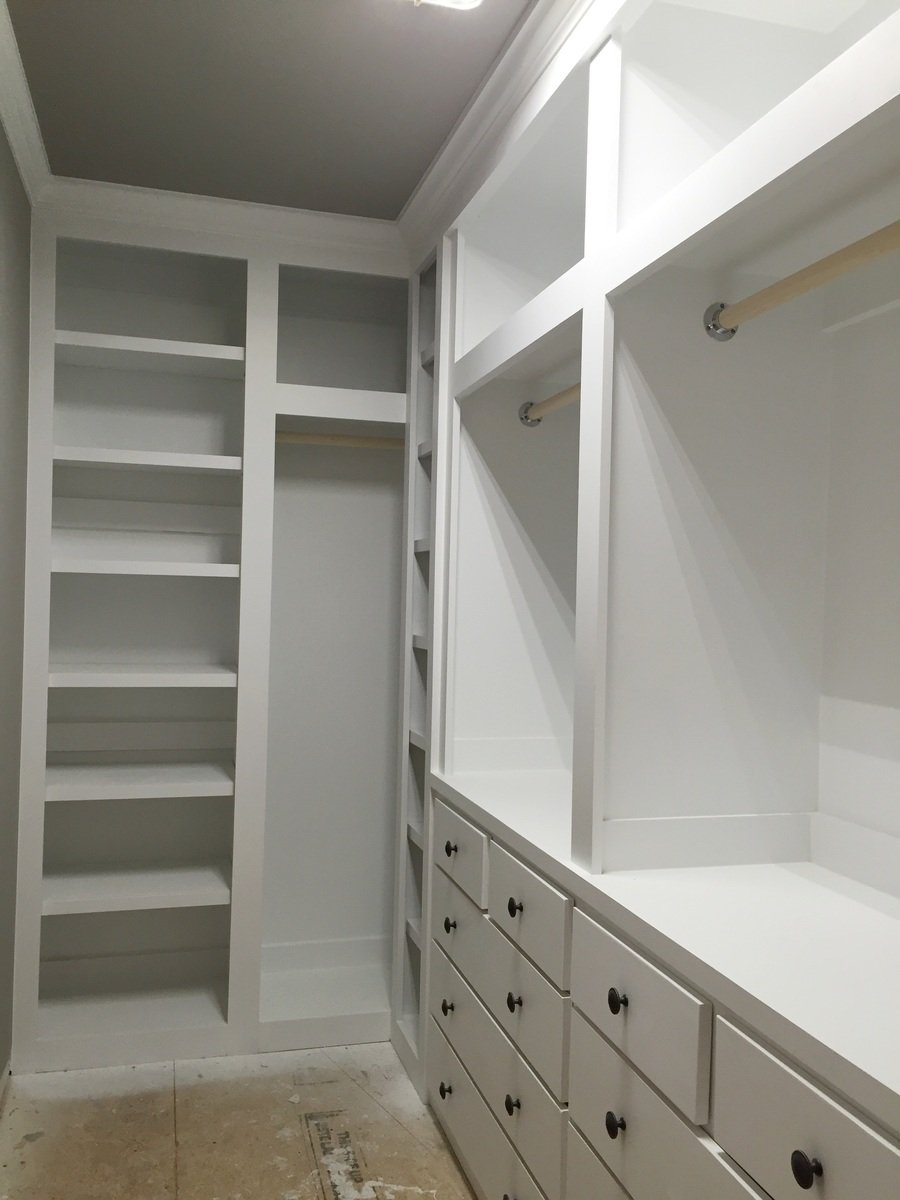
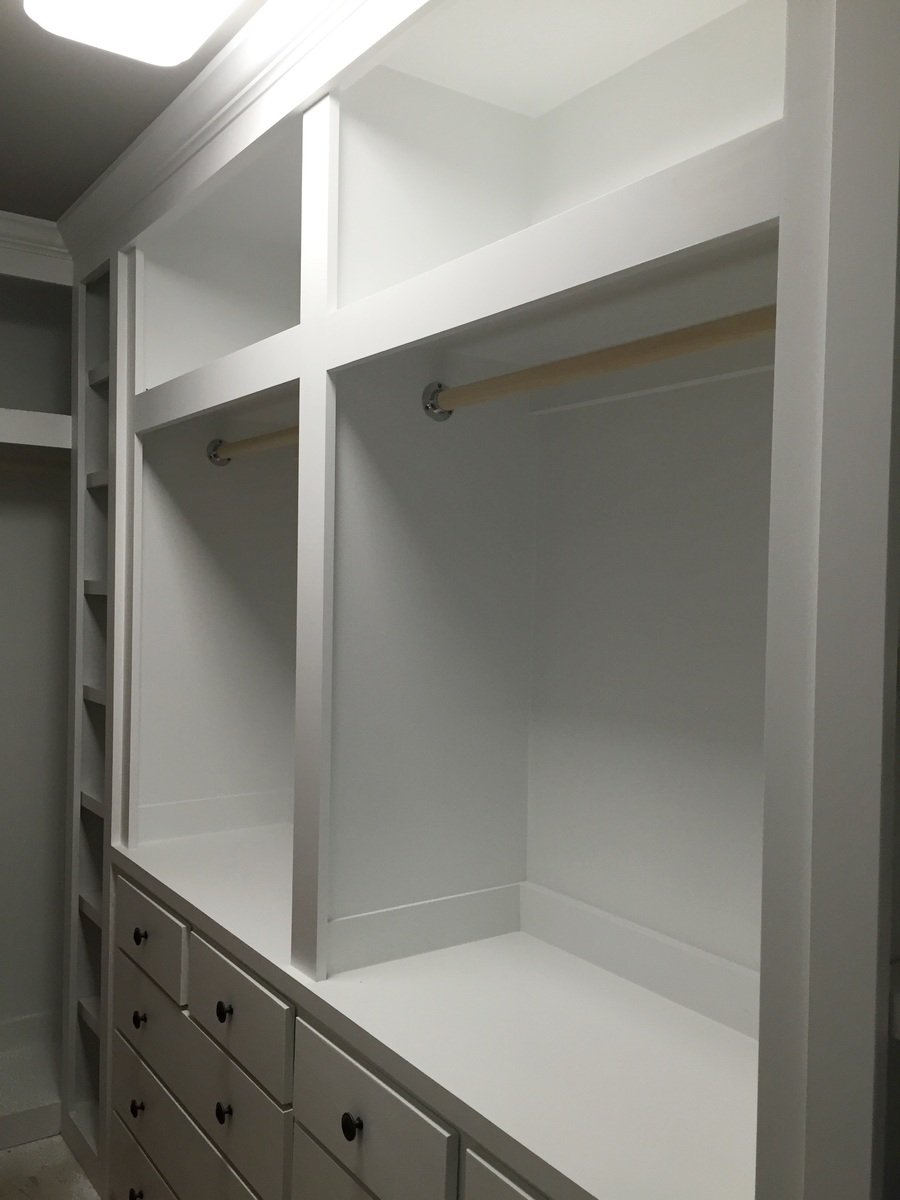
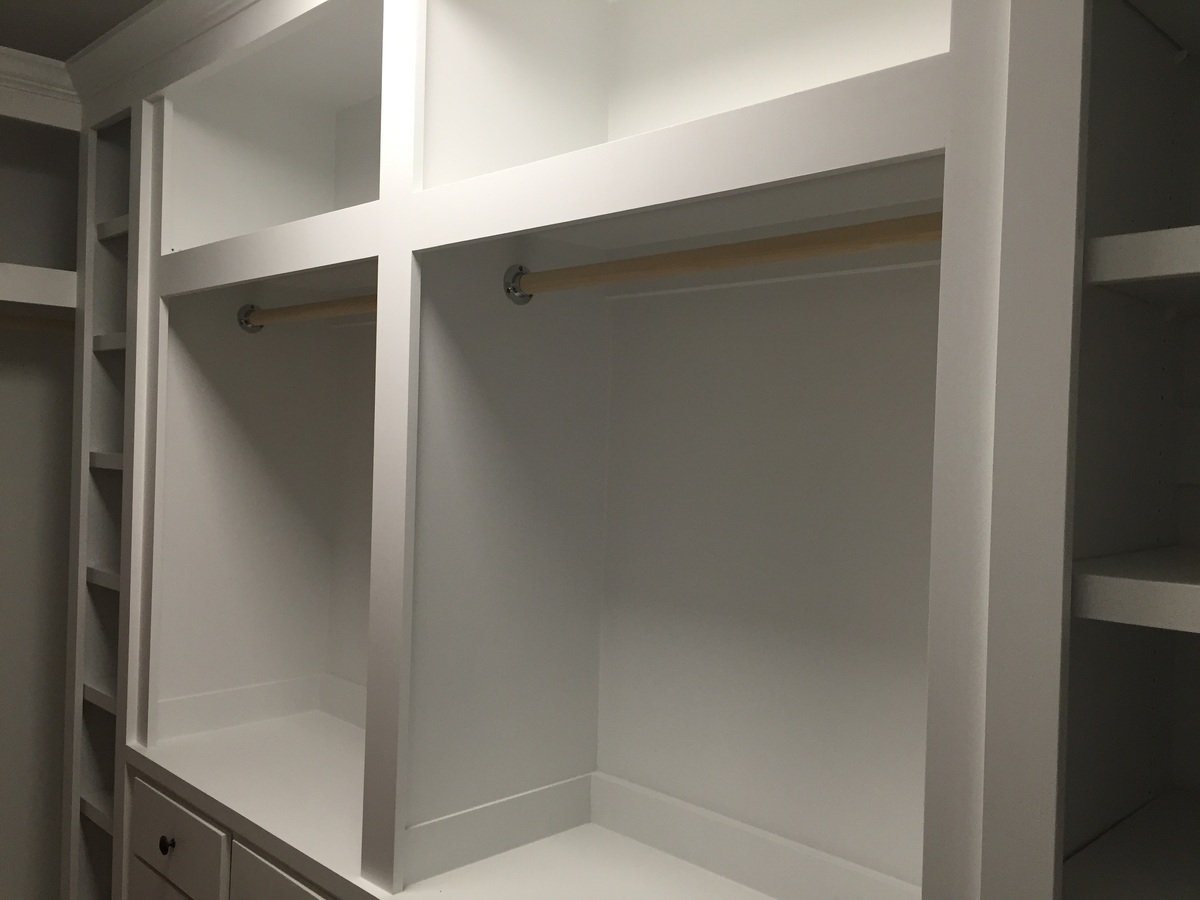
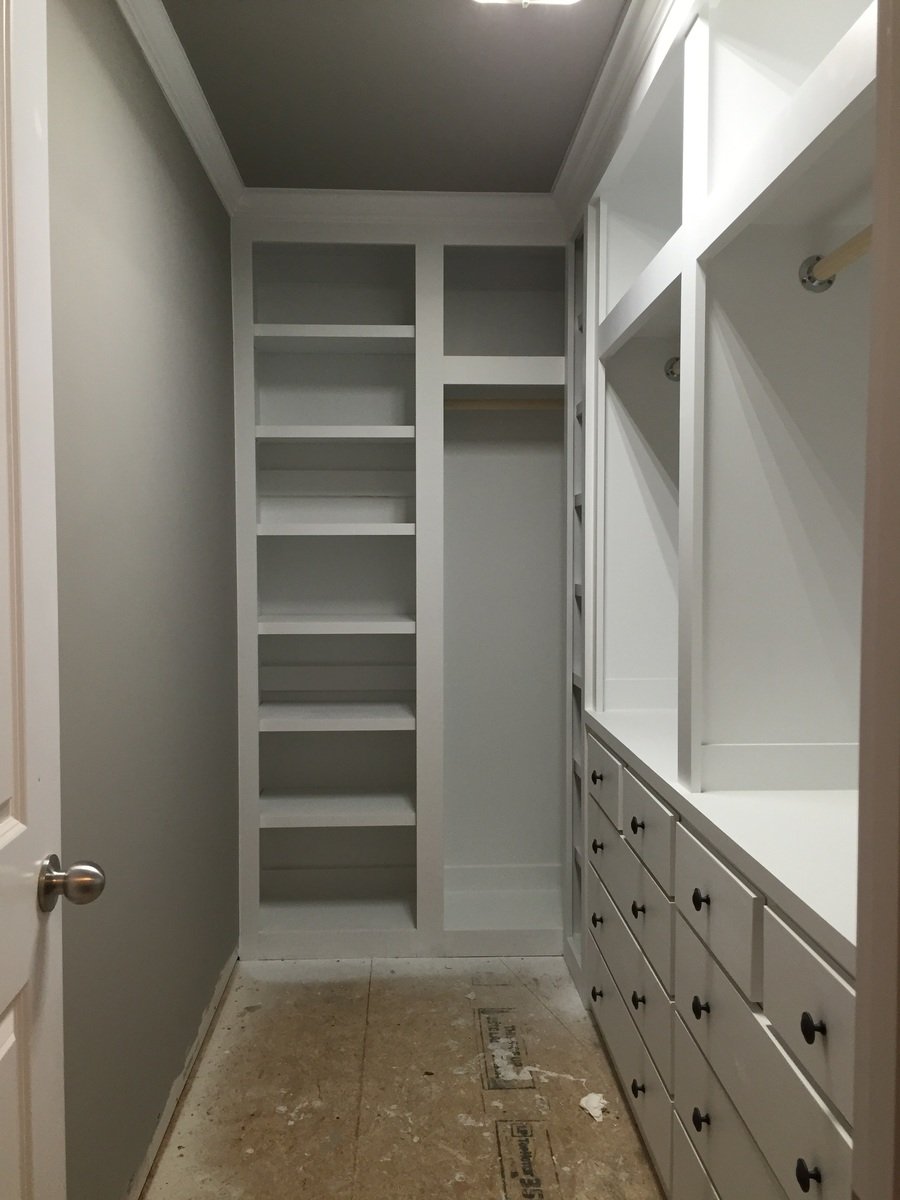
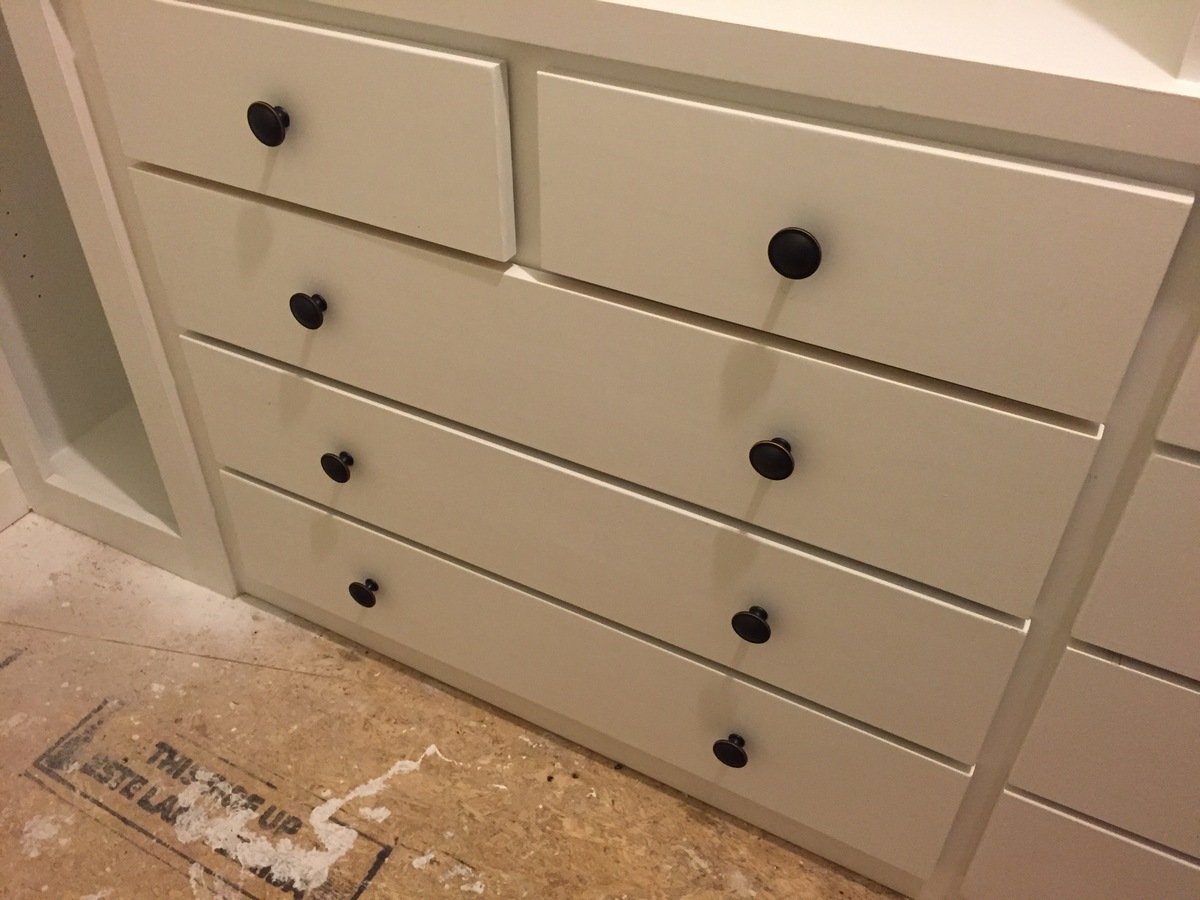
Built in closet to replace builder grade wire wracking.  Closet is approximately 11 feet by 5 feet.  consists of two shoe racks with 7 shelves each.  6 large drawers and 4 small drawers.  Two hanger sections with storage  above them.  End wall has hanger for longer items and storage above and a cabinet with shelves.

Yet to finish the floor.

Estimated Cost
$1000
Estimated Time Investment
Week Long Project (20 Hours or More)
Finish Used
Sherwin Williams Extra White satin paint.
Recommended Skill Level
Intermediate

Bailey Console Table

Submitted by Anonymous (not verified) on Thu, 07/21/2016 - 16:21
Built from Plan(s)
Estimated Cost
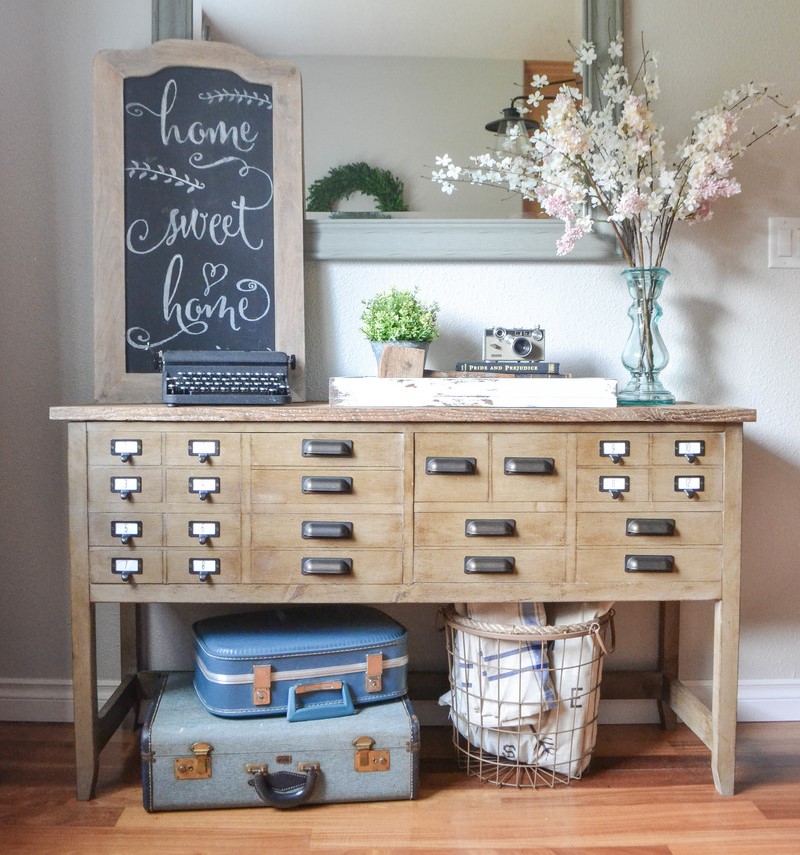
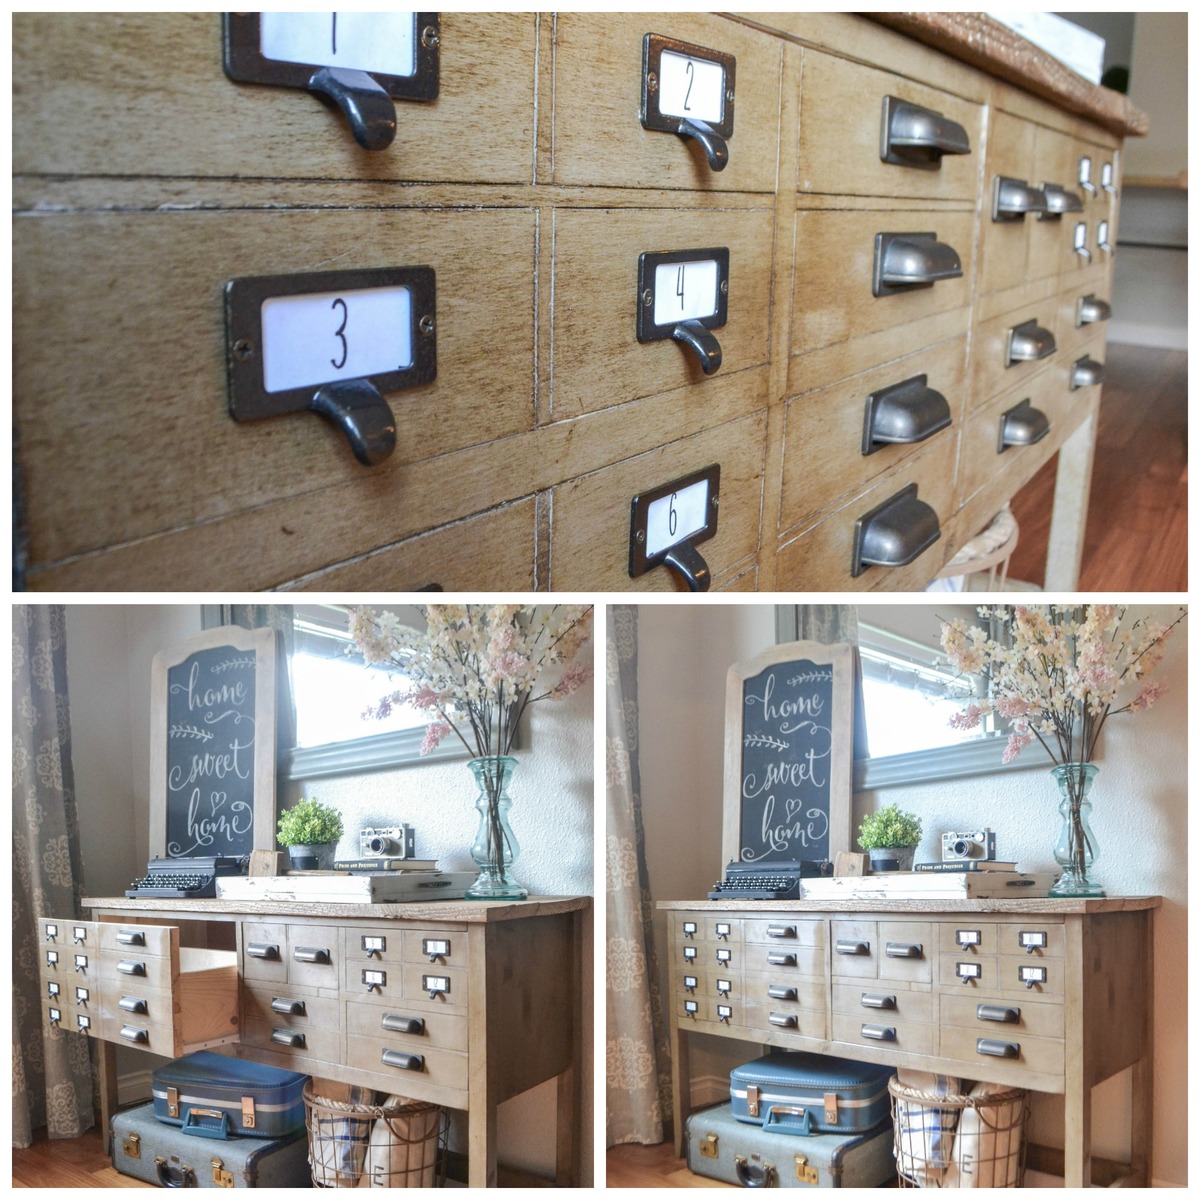
About $100, including reclaimed lumber (though I also used scraps I had on hand)
Estimated Time Investment
Weekend Project (10-20 Hours)
Finish Used
Annie Sloan chalk pain in French Linen, then topped with dark wax
Recommended Skill Level
Intermediate

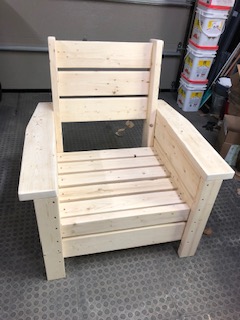
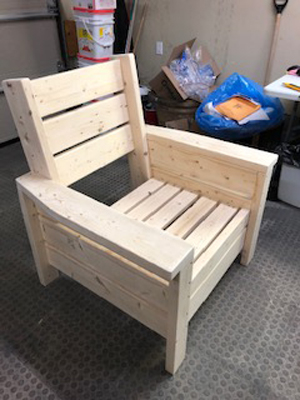
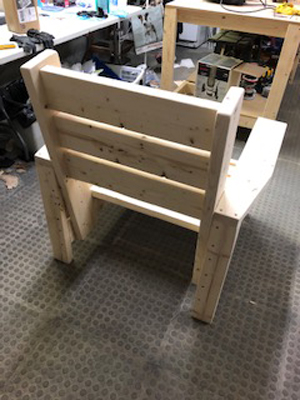
Modern Outdoor Chair - High Back Adirondack

Modified with a high back and modern adirondack arms.

The base of the chair is built exactly to the plan except that the arms are done in a modern adirondack style.

The back was made independently to fit inside the base and then attached to the plan base.

Very comfortable but very heavy chair even without the modified back.

Not stained yet obviously.

Cushions are hard to find I think I would make it slightly smaller next time and maybe even find the cushions first and alter the plan to fit.

Estimated Cost
$45 Can
Estimated Time Investment
Afternoon Project (3-6 Hours)
Finish Used
None yet
Recommended Skill Level
Beginner

Comments

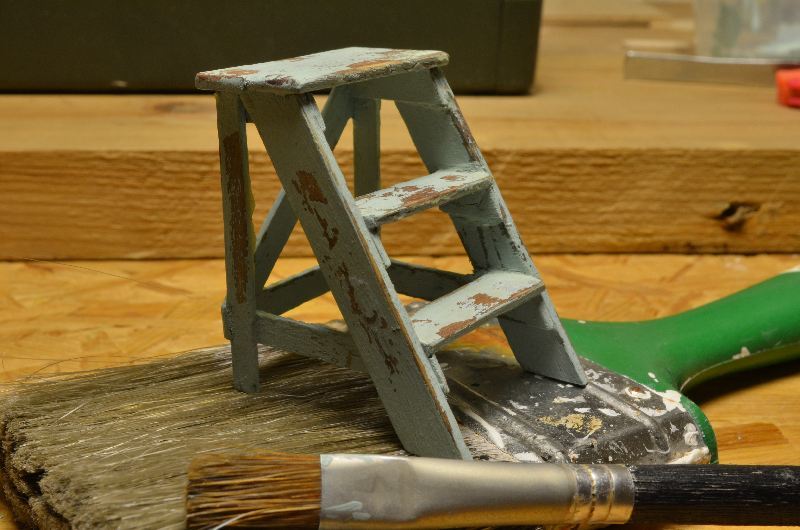
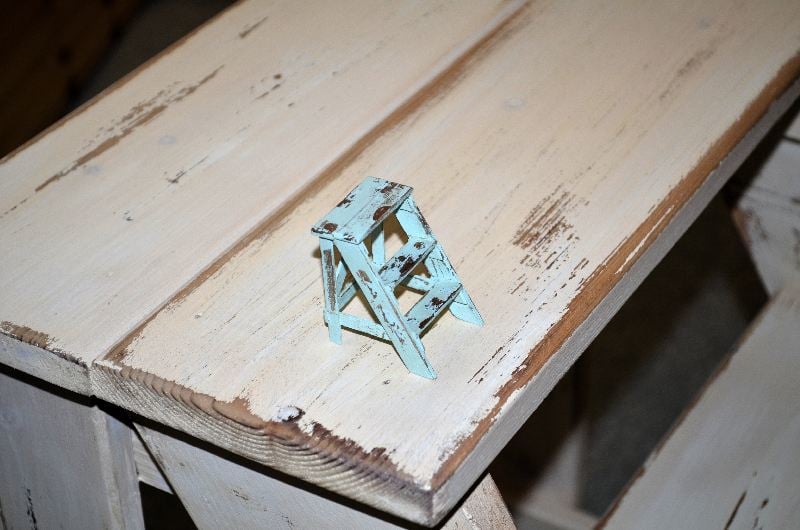
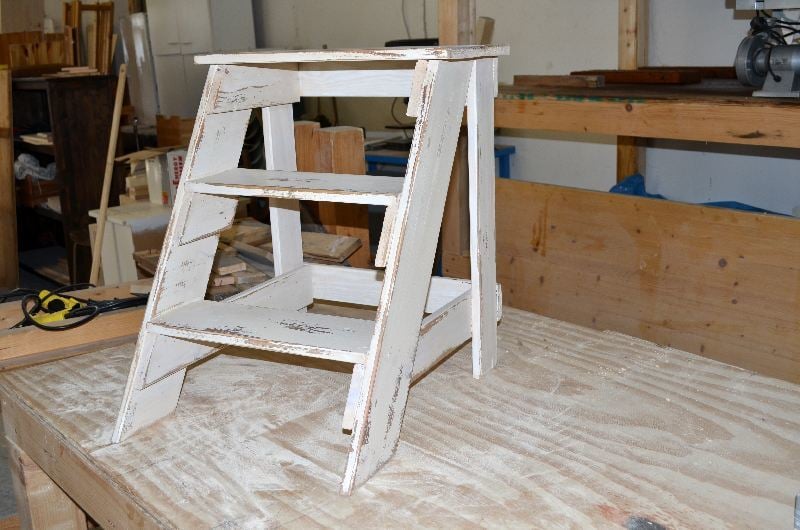
Vintage step stool end table, in 1:1 and 1:12

Submitted by uli on Sun, 06/09/2013 - 09:17

I built this step stool for friend, and a tiny version for my own dolls house. I had expected difficulties with the angled parts, but it went together very easily. I stained both of them with a vinegar/steel wool mix, painted with homemade chalkpaint. At last I sanded them for a distressed look and coated them with brown finishing wax.

Estimated Time Investment
Afternoon Project (3-6 Hours)
Finish Used
vinegar/steel wool mix, homemade chalkpaint, dark finishing wax
Recommended Skill Level
Beginner

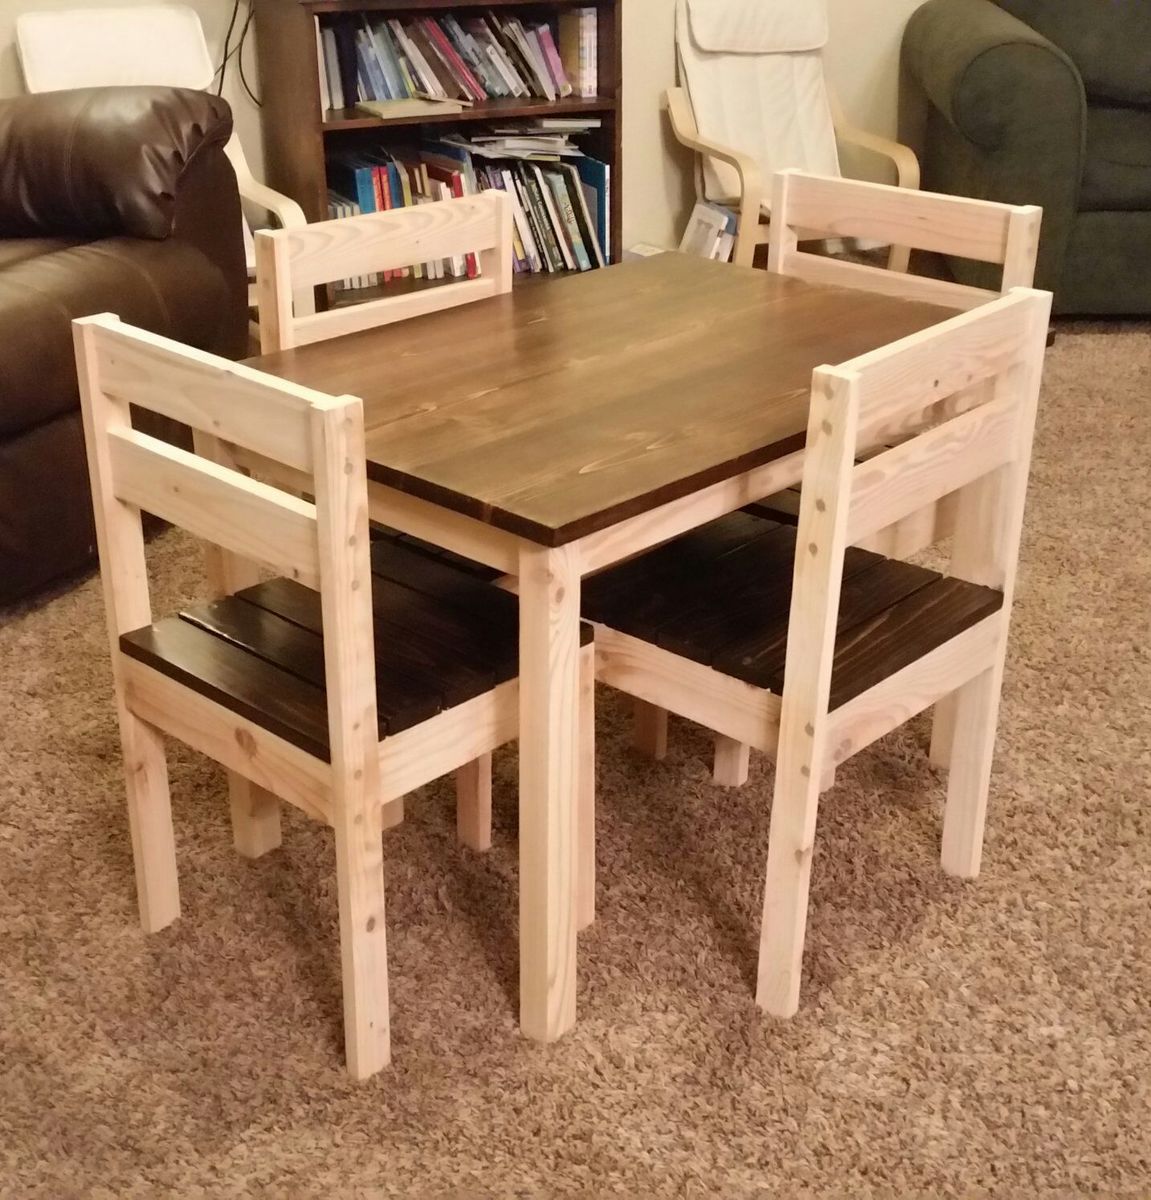
Kids table and chairs

Great little project. Finished just in time for Thanksgiving.

Andy

Estimated Cost
50
Estimated Time Investment
Day Project (6-9 Hours)
Finish Used
Mirrowax, polyurethane semi gloss
Recommended Skill Level
Beginner

Comments

JoanneS

Thu, 11/26/2015 - 07:14

You did a super job!  These are absolutely adorable!  Happy Thanksgiving!

Cedar Slat Top Bench

Submitted by Anonymous (not verified) on Tue, 01/15/2019 - 21:48

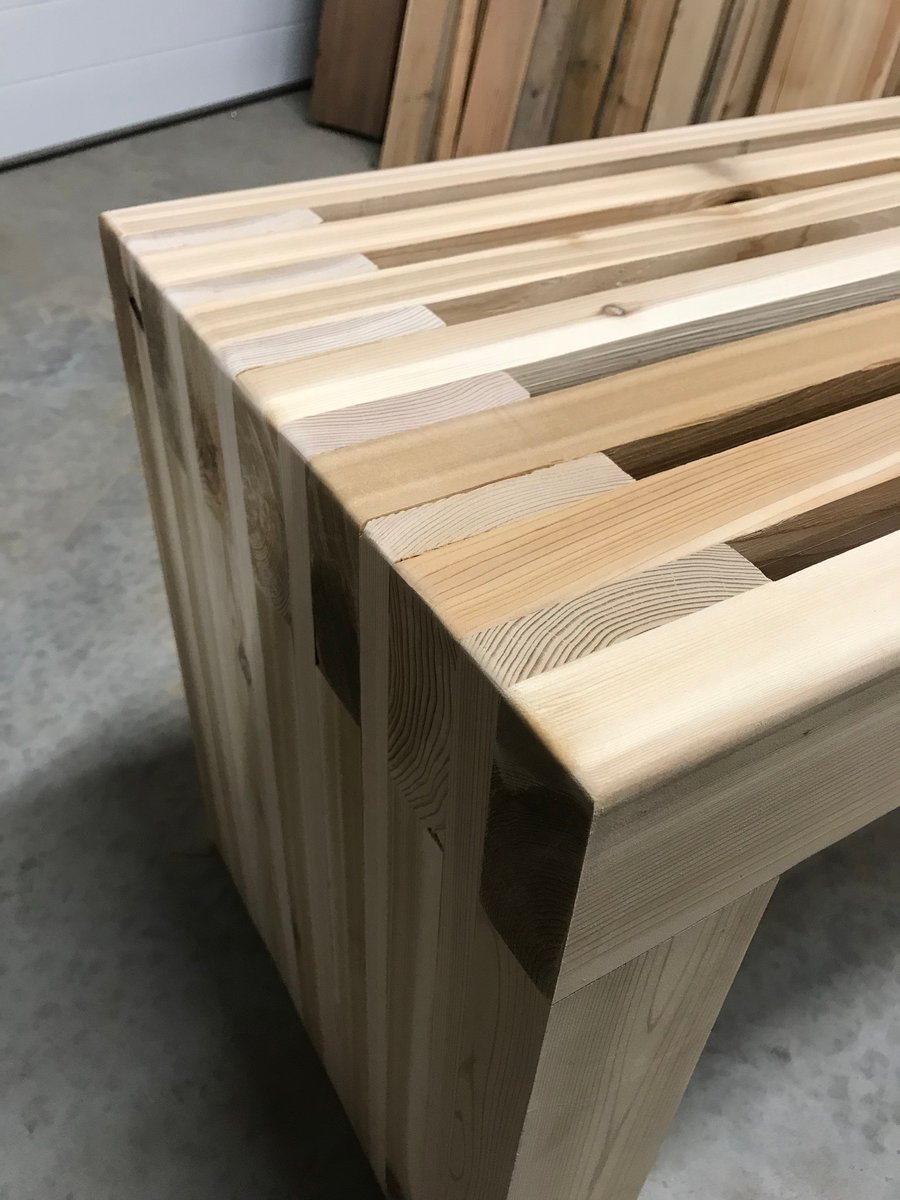
I really enjoy making this bench. I build them out of cedar and vary from 4’-6’. My customers love them. Simple prep work consisting of planing all boards to same dimensions can save a lot of time in sanding. Building 3 more this week. 

Estimated Time Investment
An Hour or Two (0-2 Hours)
Recommended Skill Level
Beginner

Comments

Levi's play kitchen

Submitted by Ash Matson on Thu, 12/26/2019 - 11:17

We modified the plans a little we made the 2 pieces together instead of separate. We used a 2” hole saw to cut out the oven knobs, then drilled holes a tad bigger than the screw so they would still turn once attached. We also made the back splash taller to accommodate our faucet that had to attach on the back splash instead of the counter top. We used all pocket holes to attach everything it makes it look so much nicer but doesn’t need to be done that way. We bought vinyl circles for the burners on the stove. A dog bowl for the sink and a laundry room faucet for the faucet.

Links to products we used

Faucet - https://www.amazon.com/gp/product/B01KRCTHEA/ref=ppx_yo_dt_b_asin_title_o07_s00?ie=UTF8&psc=1

Oven hinges - https://www.amazon.com/gp/product/B004K7V8UU/ref=ppx_yo_dt_b_asin_title_o08_s00?ie=UTF8&psc=1

6 – 4 inch circles matte black Stove vinyl - https://www.etsy.com/listing/713062039/circle-circles-pack-set-vinyl-decal-car?ref=yr_purchases

Sink 56oz dog food bowl - https://www.amazon.com/gp/product/B00H6OXRN0/ref=ppx_yo_dt_b_asin_title_o01_s00?ie=UTF8&psc=1

Oven handle - https://www.lowes.com/pd/Sumner-Street-Home-Hardware-Vail-10-in-Center-to-Center-Matte-Black-Pull/1001368422

Estimated Cost
100.00
Estimated Time Investment
Weekend Project (10-20 Hours)
Recommended Skill Level
Beginner

Comments

Barn Door Entertainment Center

Submitted by Anonymous (not verified) on Sun, 04/16/2017 - 20:09

My husband and I built this together.  It was a fun project!

Built from Plan(s)
Estimated Cost
$500
Estimated Time Investment
Week Long Project (20 Hours or More)
Finish Used
Annie Sloan Chalk Paint and Annie Sloan Dark Wax.
Recommended Skill Level
Intermediate

Comments

Vintage Simple Bench Nightstand

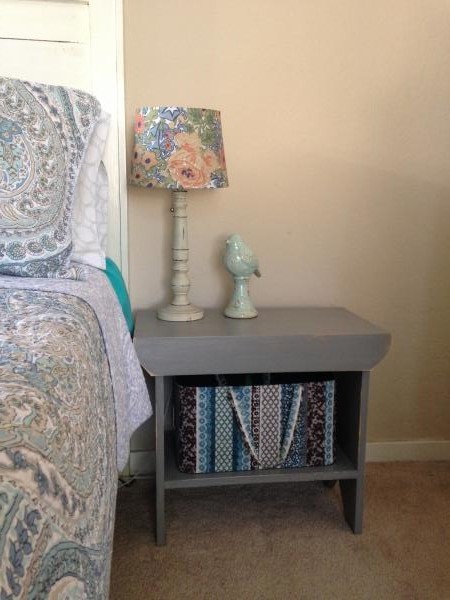
I loved the country gray paint, so stayed with that. But my bed is one of the farmhouse beds and needed it to be a little taller. It turned out beautiful and have already made a second to match! 

Built from Plan(s)
Estimated Cost
$25
Estimated Time Investment
Afternoon Project (3-6 Hours)
Finish Used
Rustoleum's country gray and water based sealer
Recommended Skill Level
Beginner

Dartboard Cabinet

I had a big empty wall in my den/man cave, so I decided to build a dartboard cabinet instead of just hanging a dartboard on the wall. No plans for this, I just made it up as I went. Measured twice, sketched it out and cut as I went.

I use pine 1x4's for the frame and back. 1x3's for the accessory box, 1x2's for the door frame, and poplar strips for the doors and door braces. The darts are held by 6" long 2x2's with holes drilled.

Wood screws, finish nails, and small brads were used to hold everything together.

The chalkboards are simple MDF's cut and sprayed with chalkboard paint. Overlay hinges are used for the doors, and the dartbord is held on with screws from the back so it can be replaced when needed.

The Alabama A is hand-painted.

Estimated Time Investment
Day Project (6-9 Hours)
Finish Used
Minwax Classic Gray with light coats of spray glosscoat.
Recommended Skill Level
Beginner

Farmhouse toy box

Submitted by Jayna on Fri, 02/12/2021 - 13:34

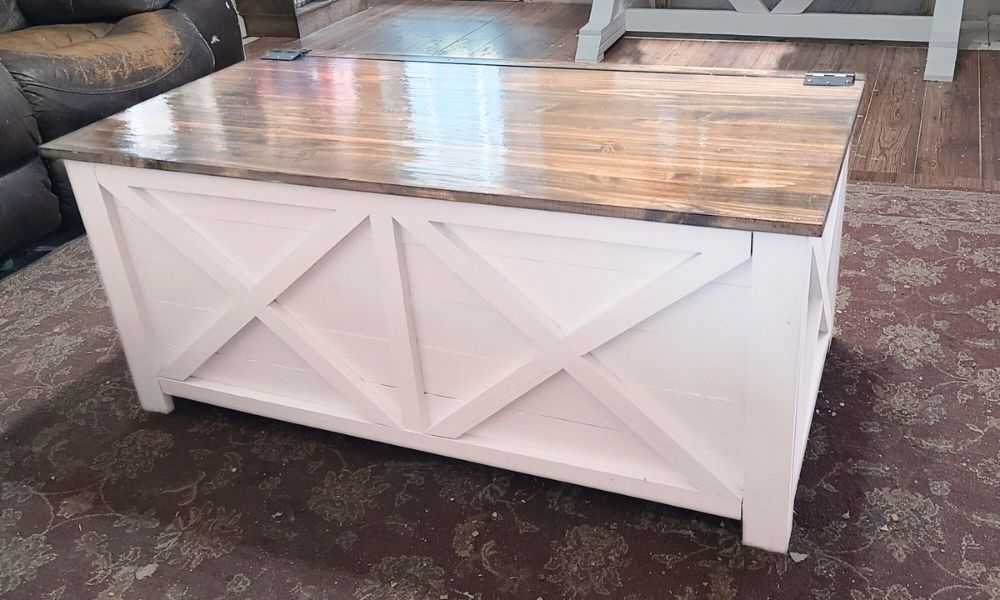
Made a few adjustments to the farmhouse toy box. Made it a little bigger and added Xs out of 1x2s around it to give it a little extra something! I'm using it as a storage coffee table and I couldn't be happier with it! So in love!

Built from Plan(s)
Estimated Time Investment
Day Project (6-9 Hours)
Finish Used
Minwax dark walnut stain, three coats of Varathane clear gloss polyurethane, and painted with Valspar white paint.
Recommended Skill Level
Beginner

Rabbit Hutch for Indoor and Outdoor

Submitted by thediyplan on Fri, 03/26/2021 - 15:34

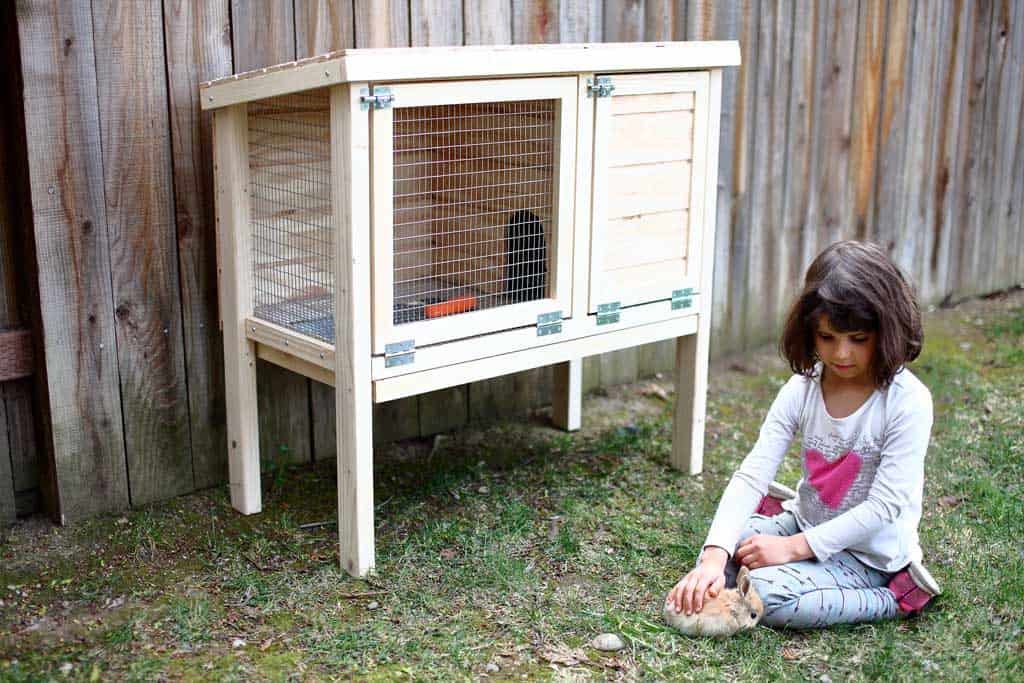
Looking for a cute, interactive pet to add to your home. What about bunnies? These creatures make great indoor pets. But before getting the rabbits, they will need a hutch to live in. To solve this problem, I’ve made detailed plans on how to build a DIY rabbit hutch that could be used indoor and outdoor.

The hutch has a litter pan under the floor that could be removed for cleaning. Since the hutch is only 3 feet wide, it could be easily moved around.

See my website for additional pictures and how I've built it, TheDIYPlan.com

Estimated Cost
$140
Estimated Time Investment
Day Project (6-9 Hours)
Recommended Skill Level
Intermediate