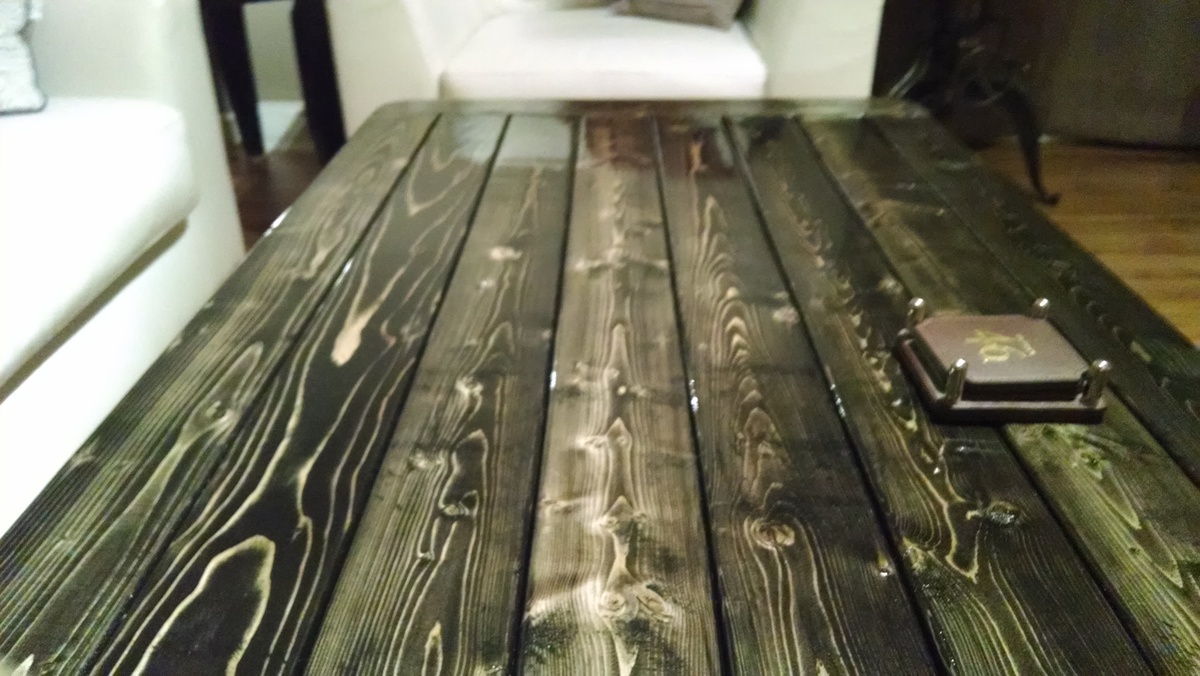
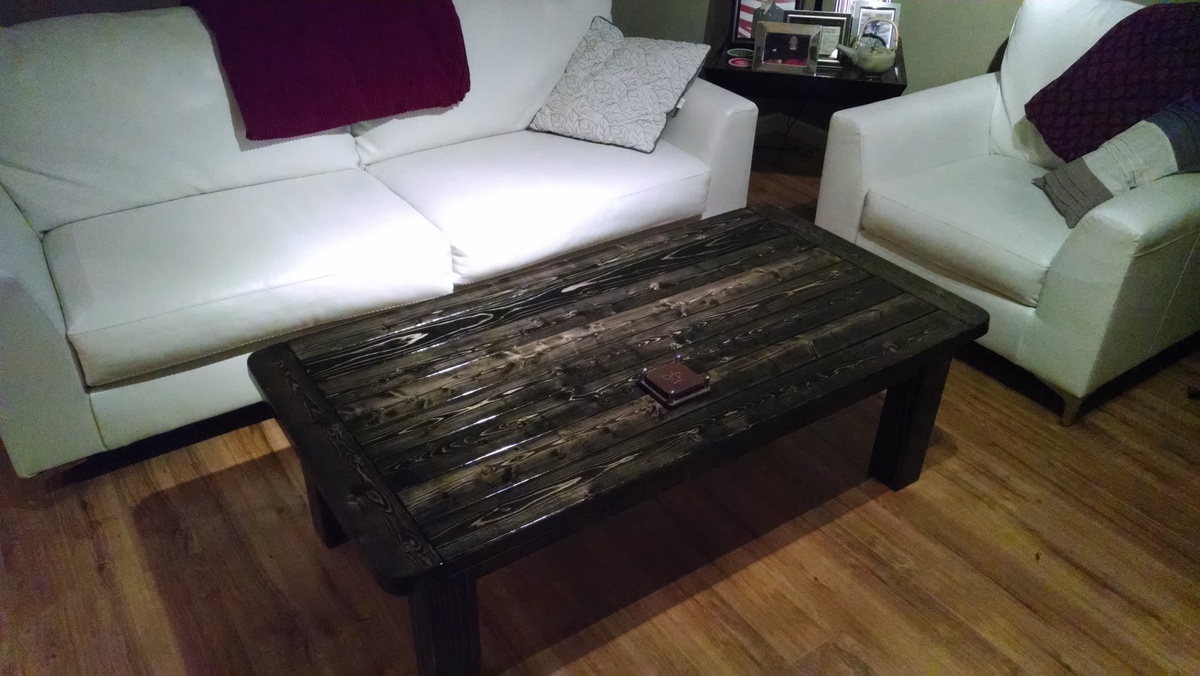
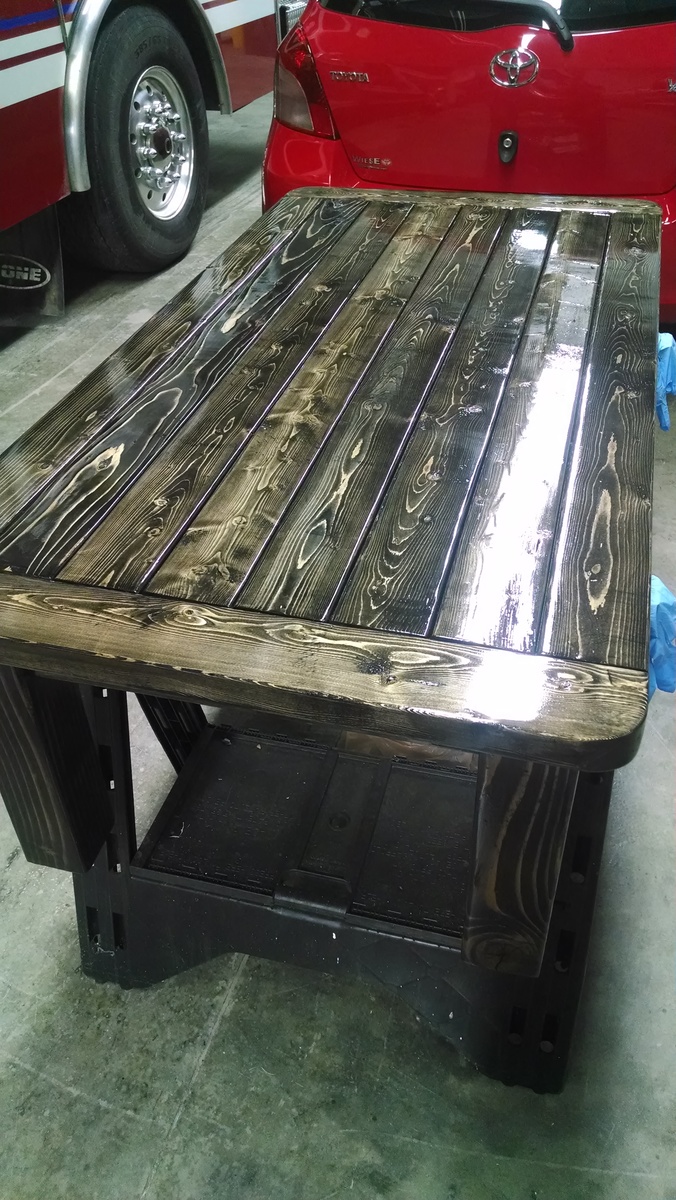
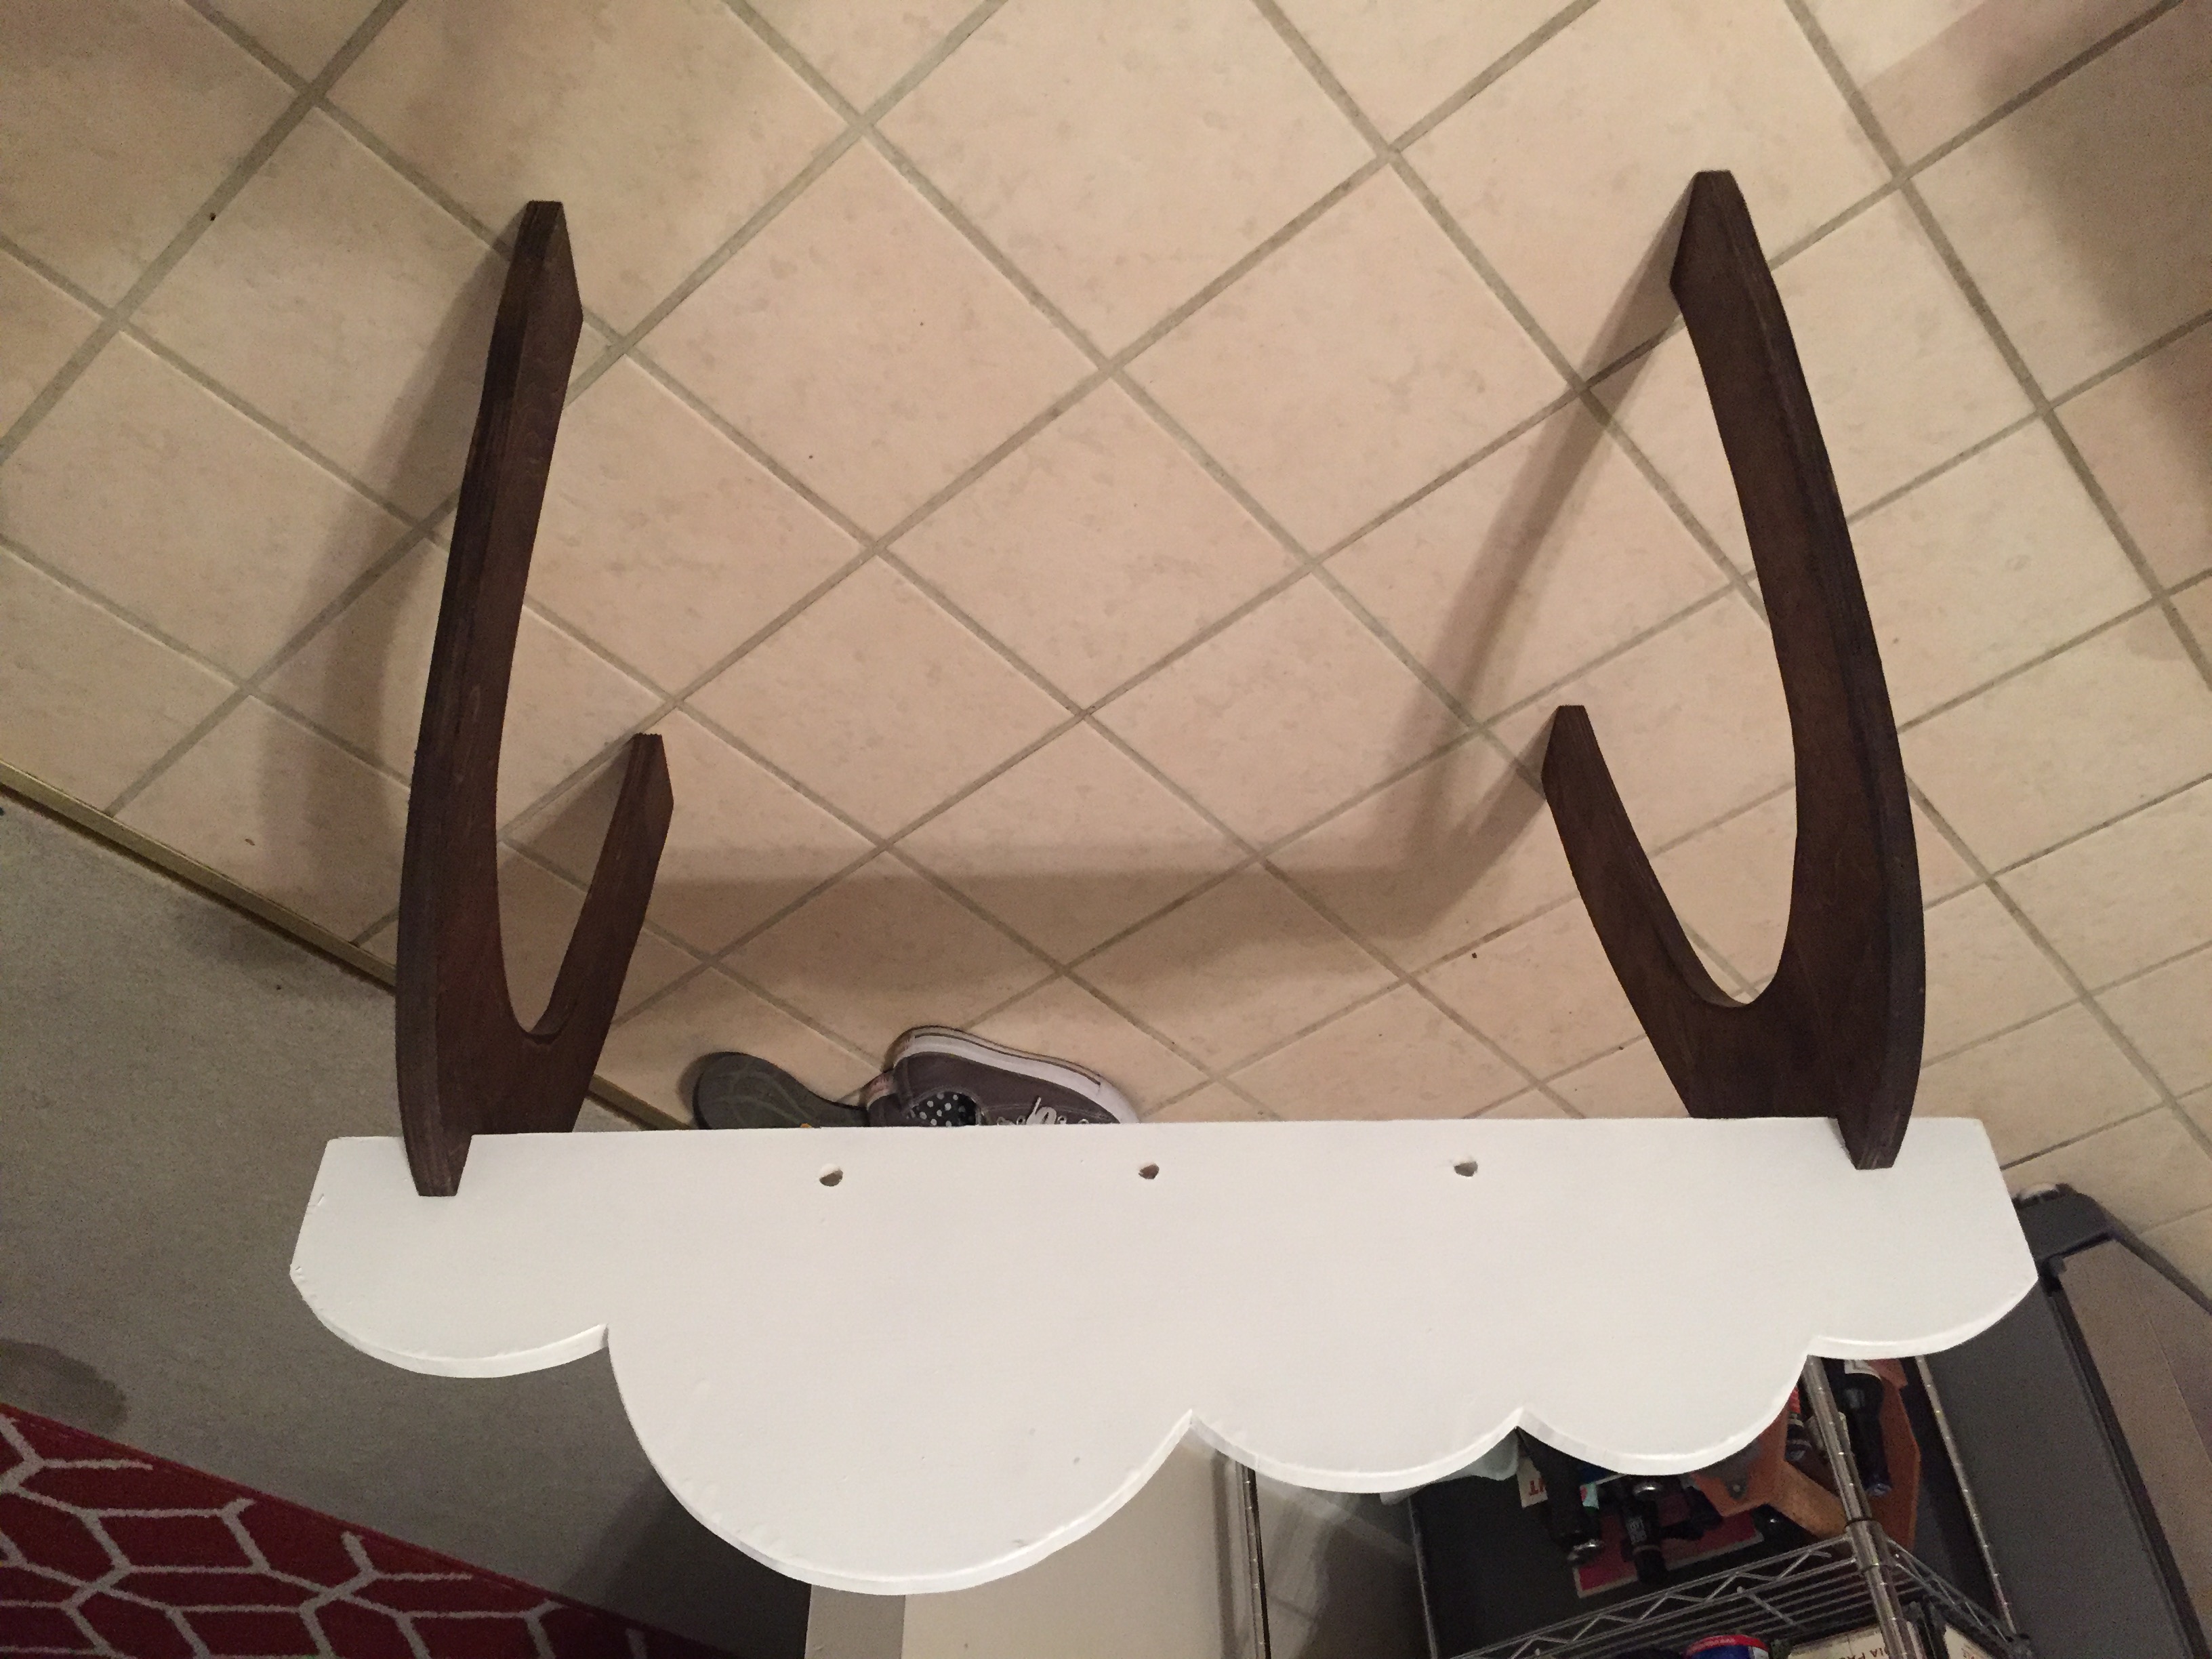
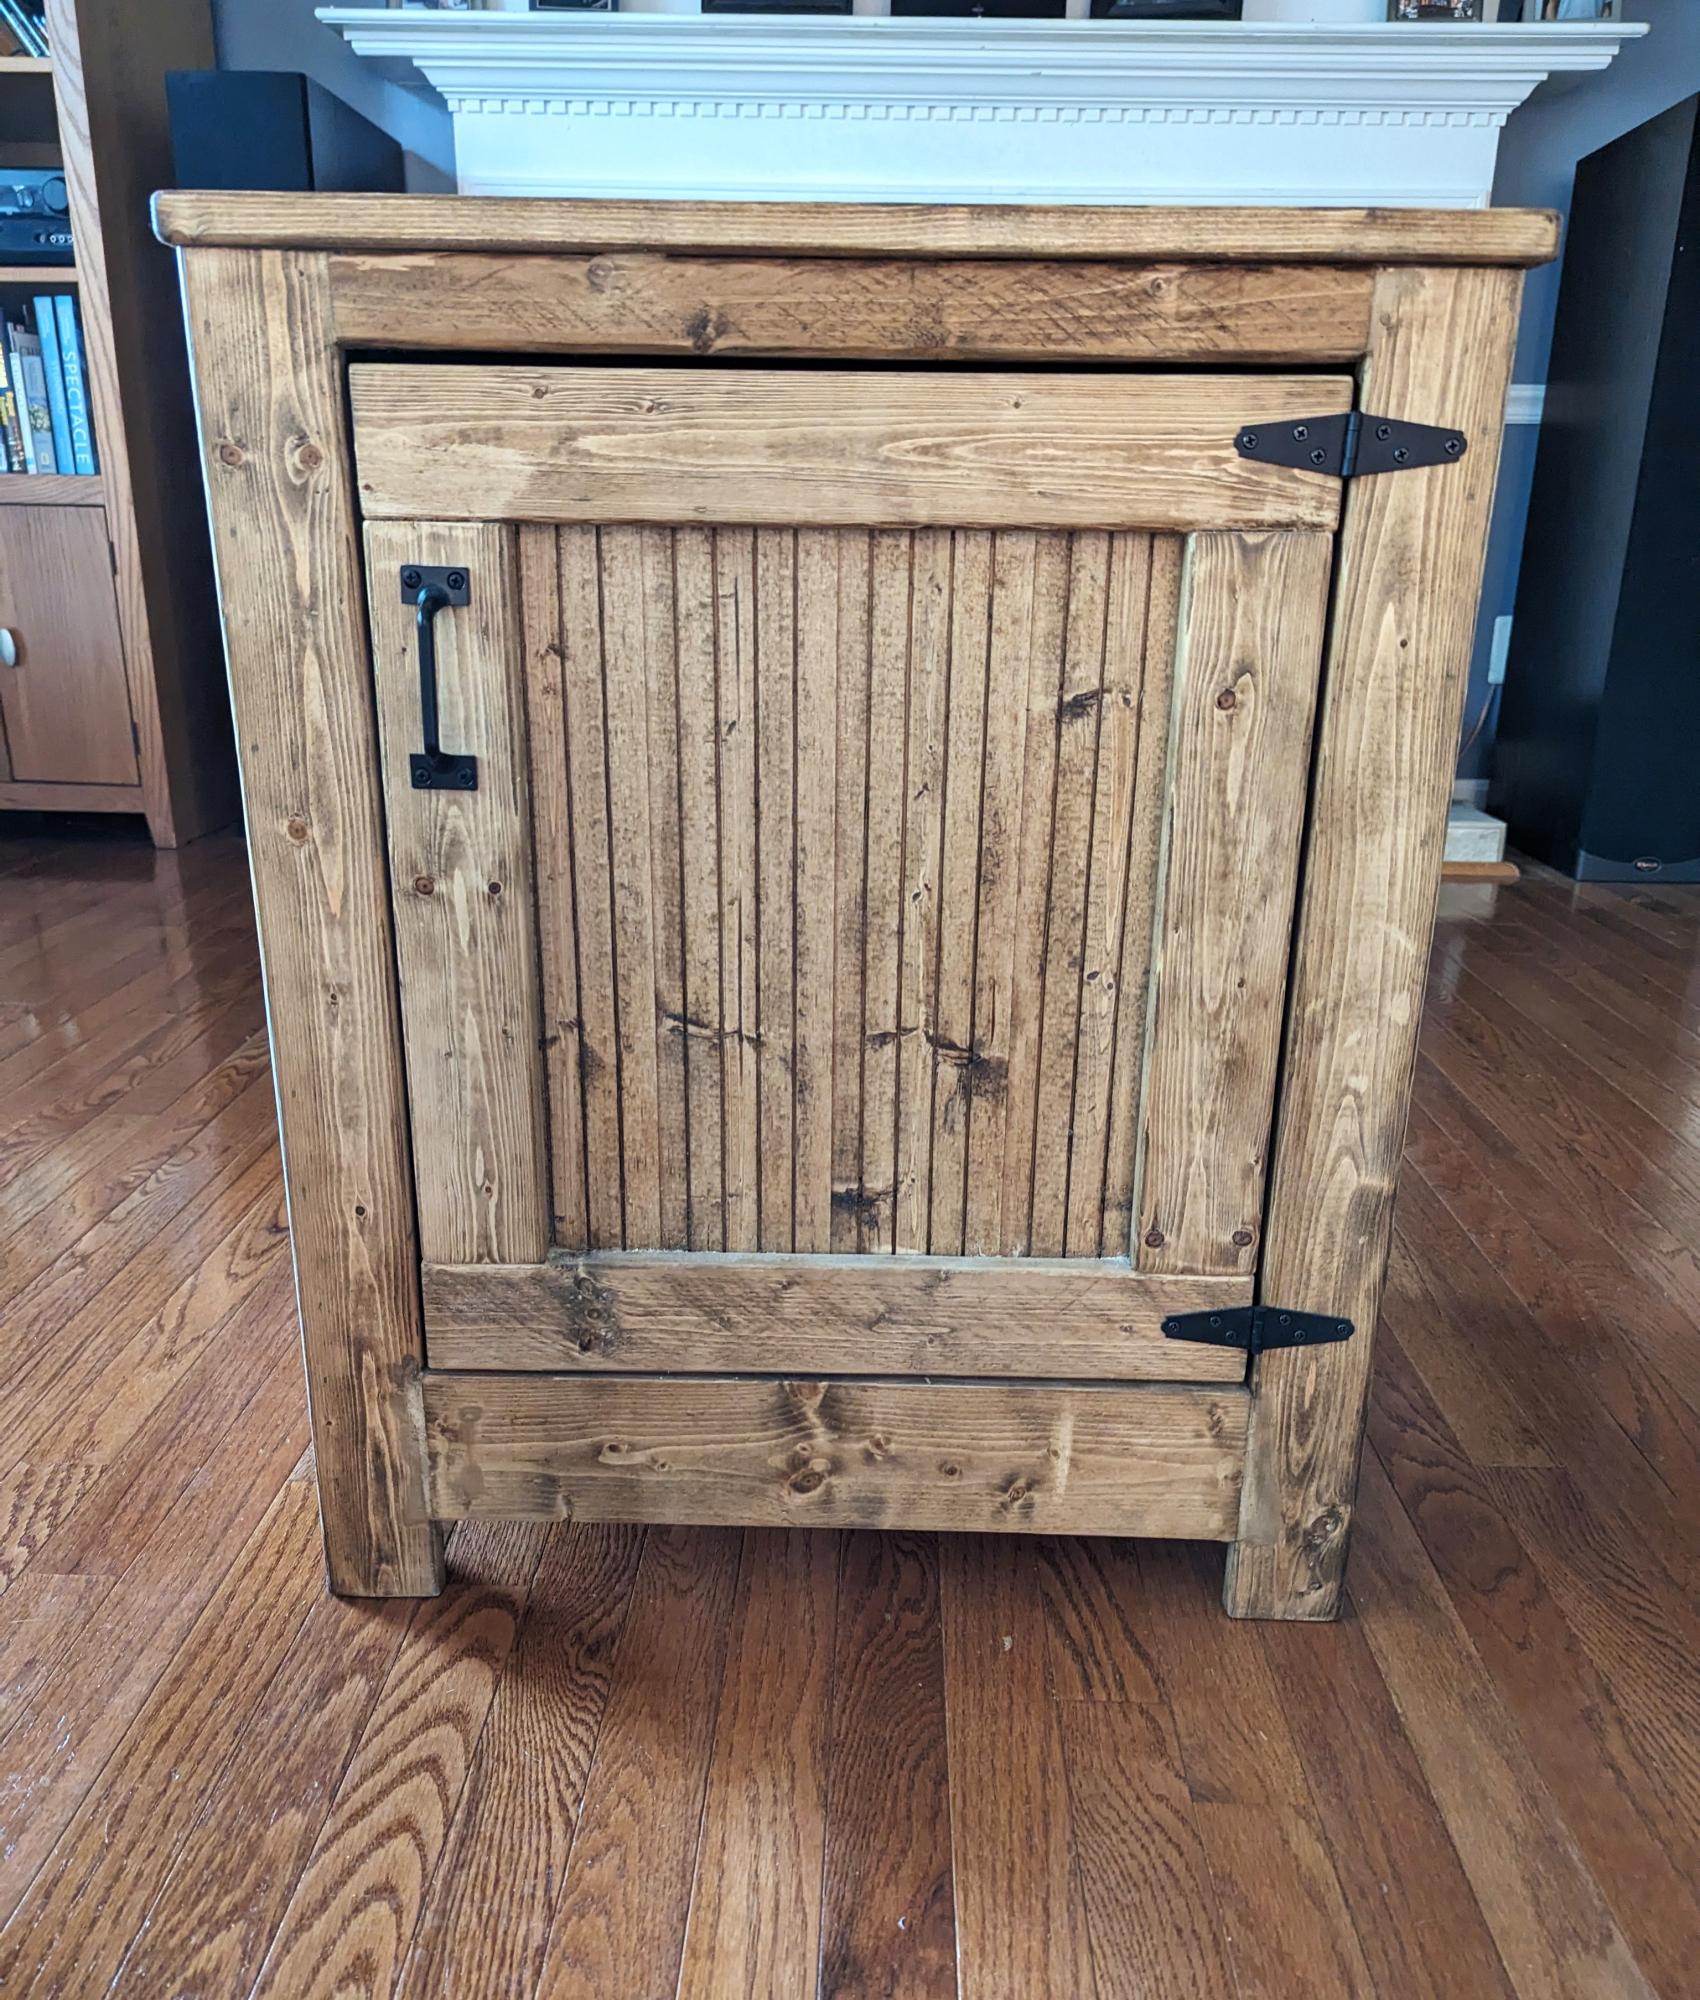
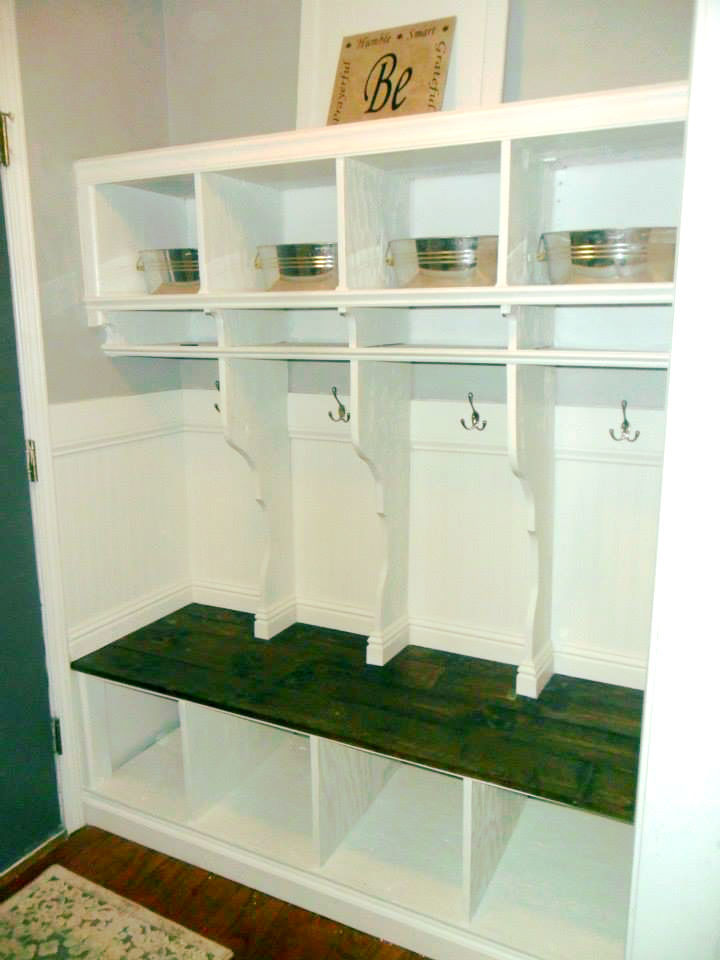
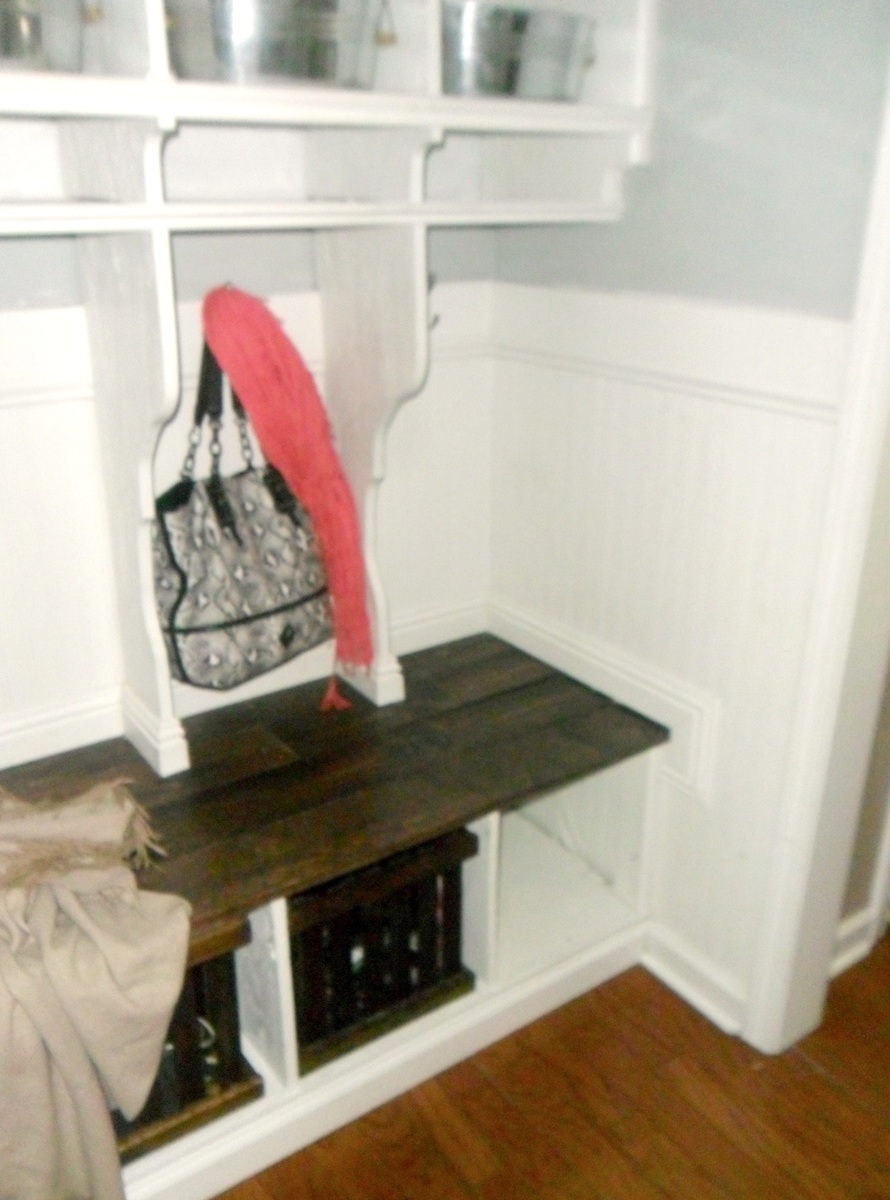
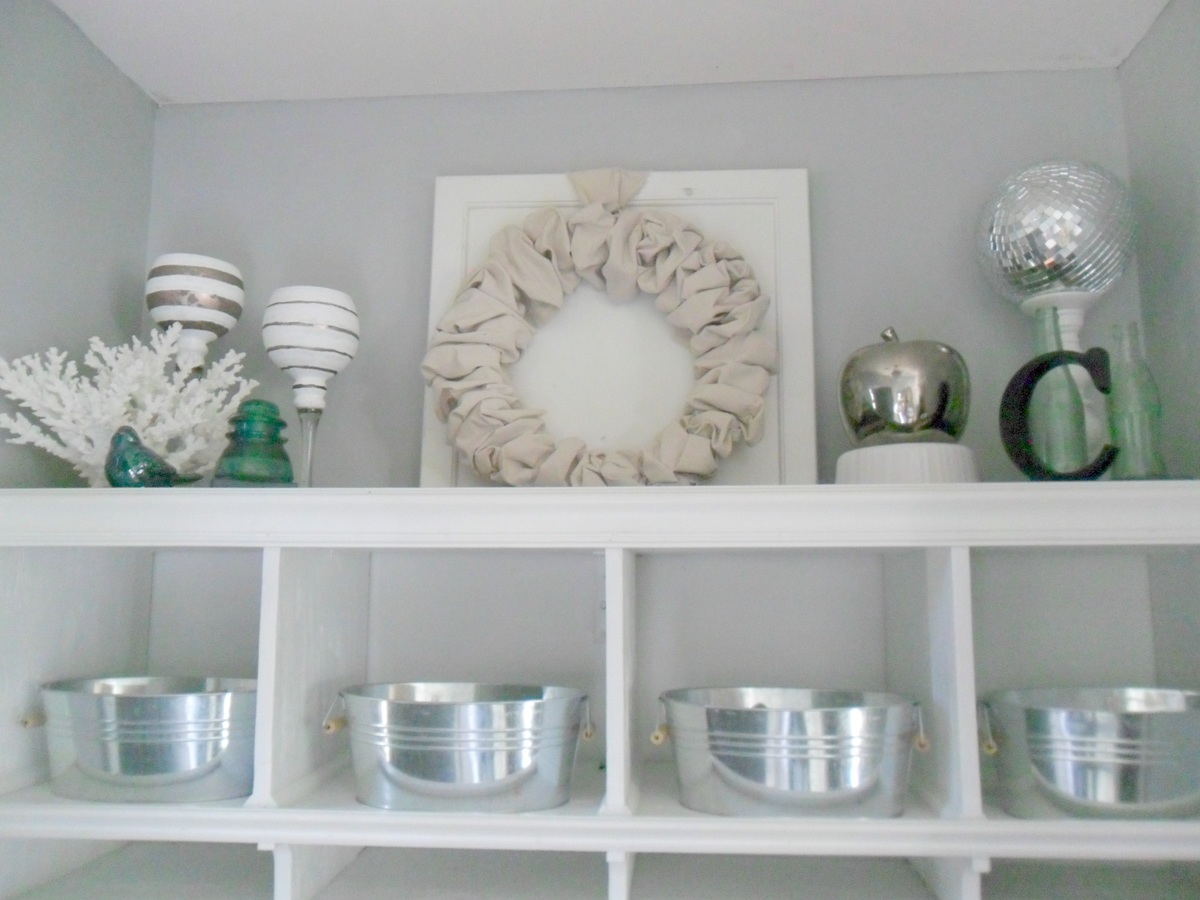
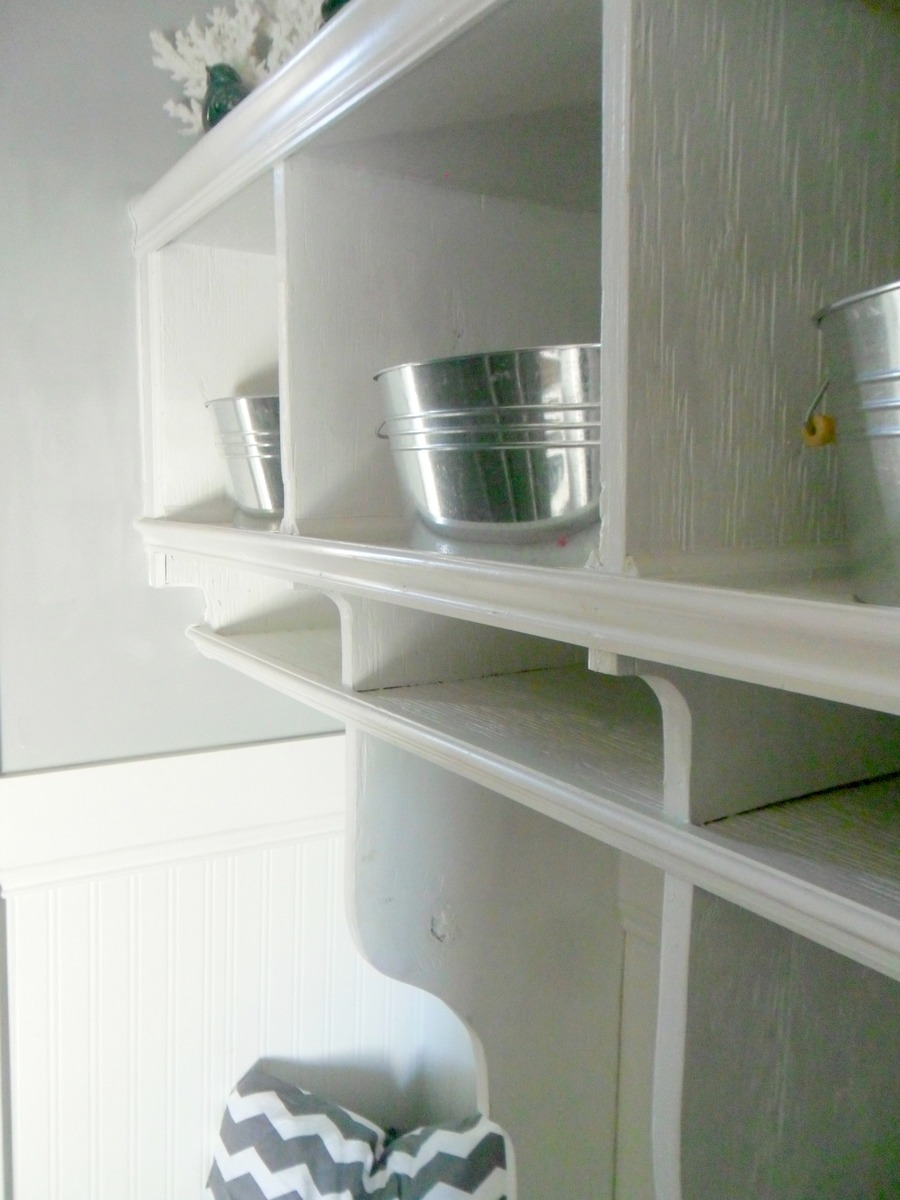
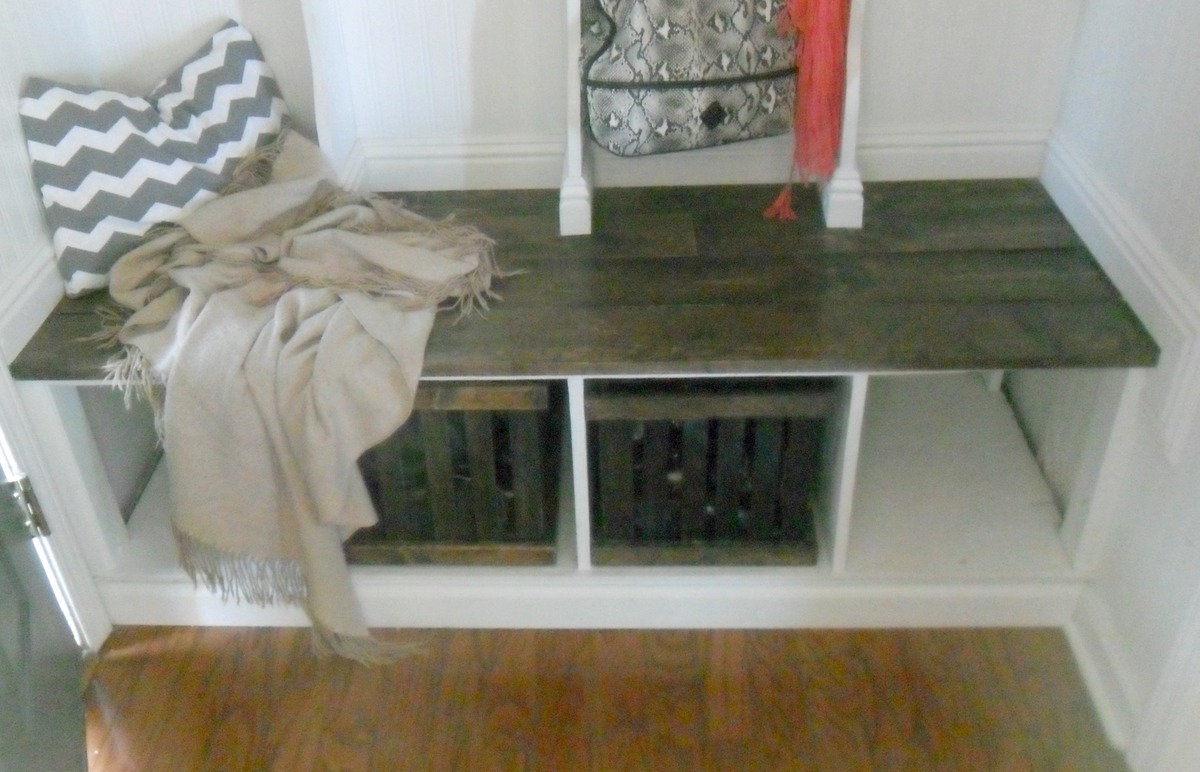
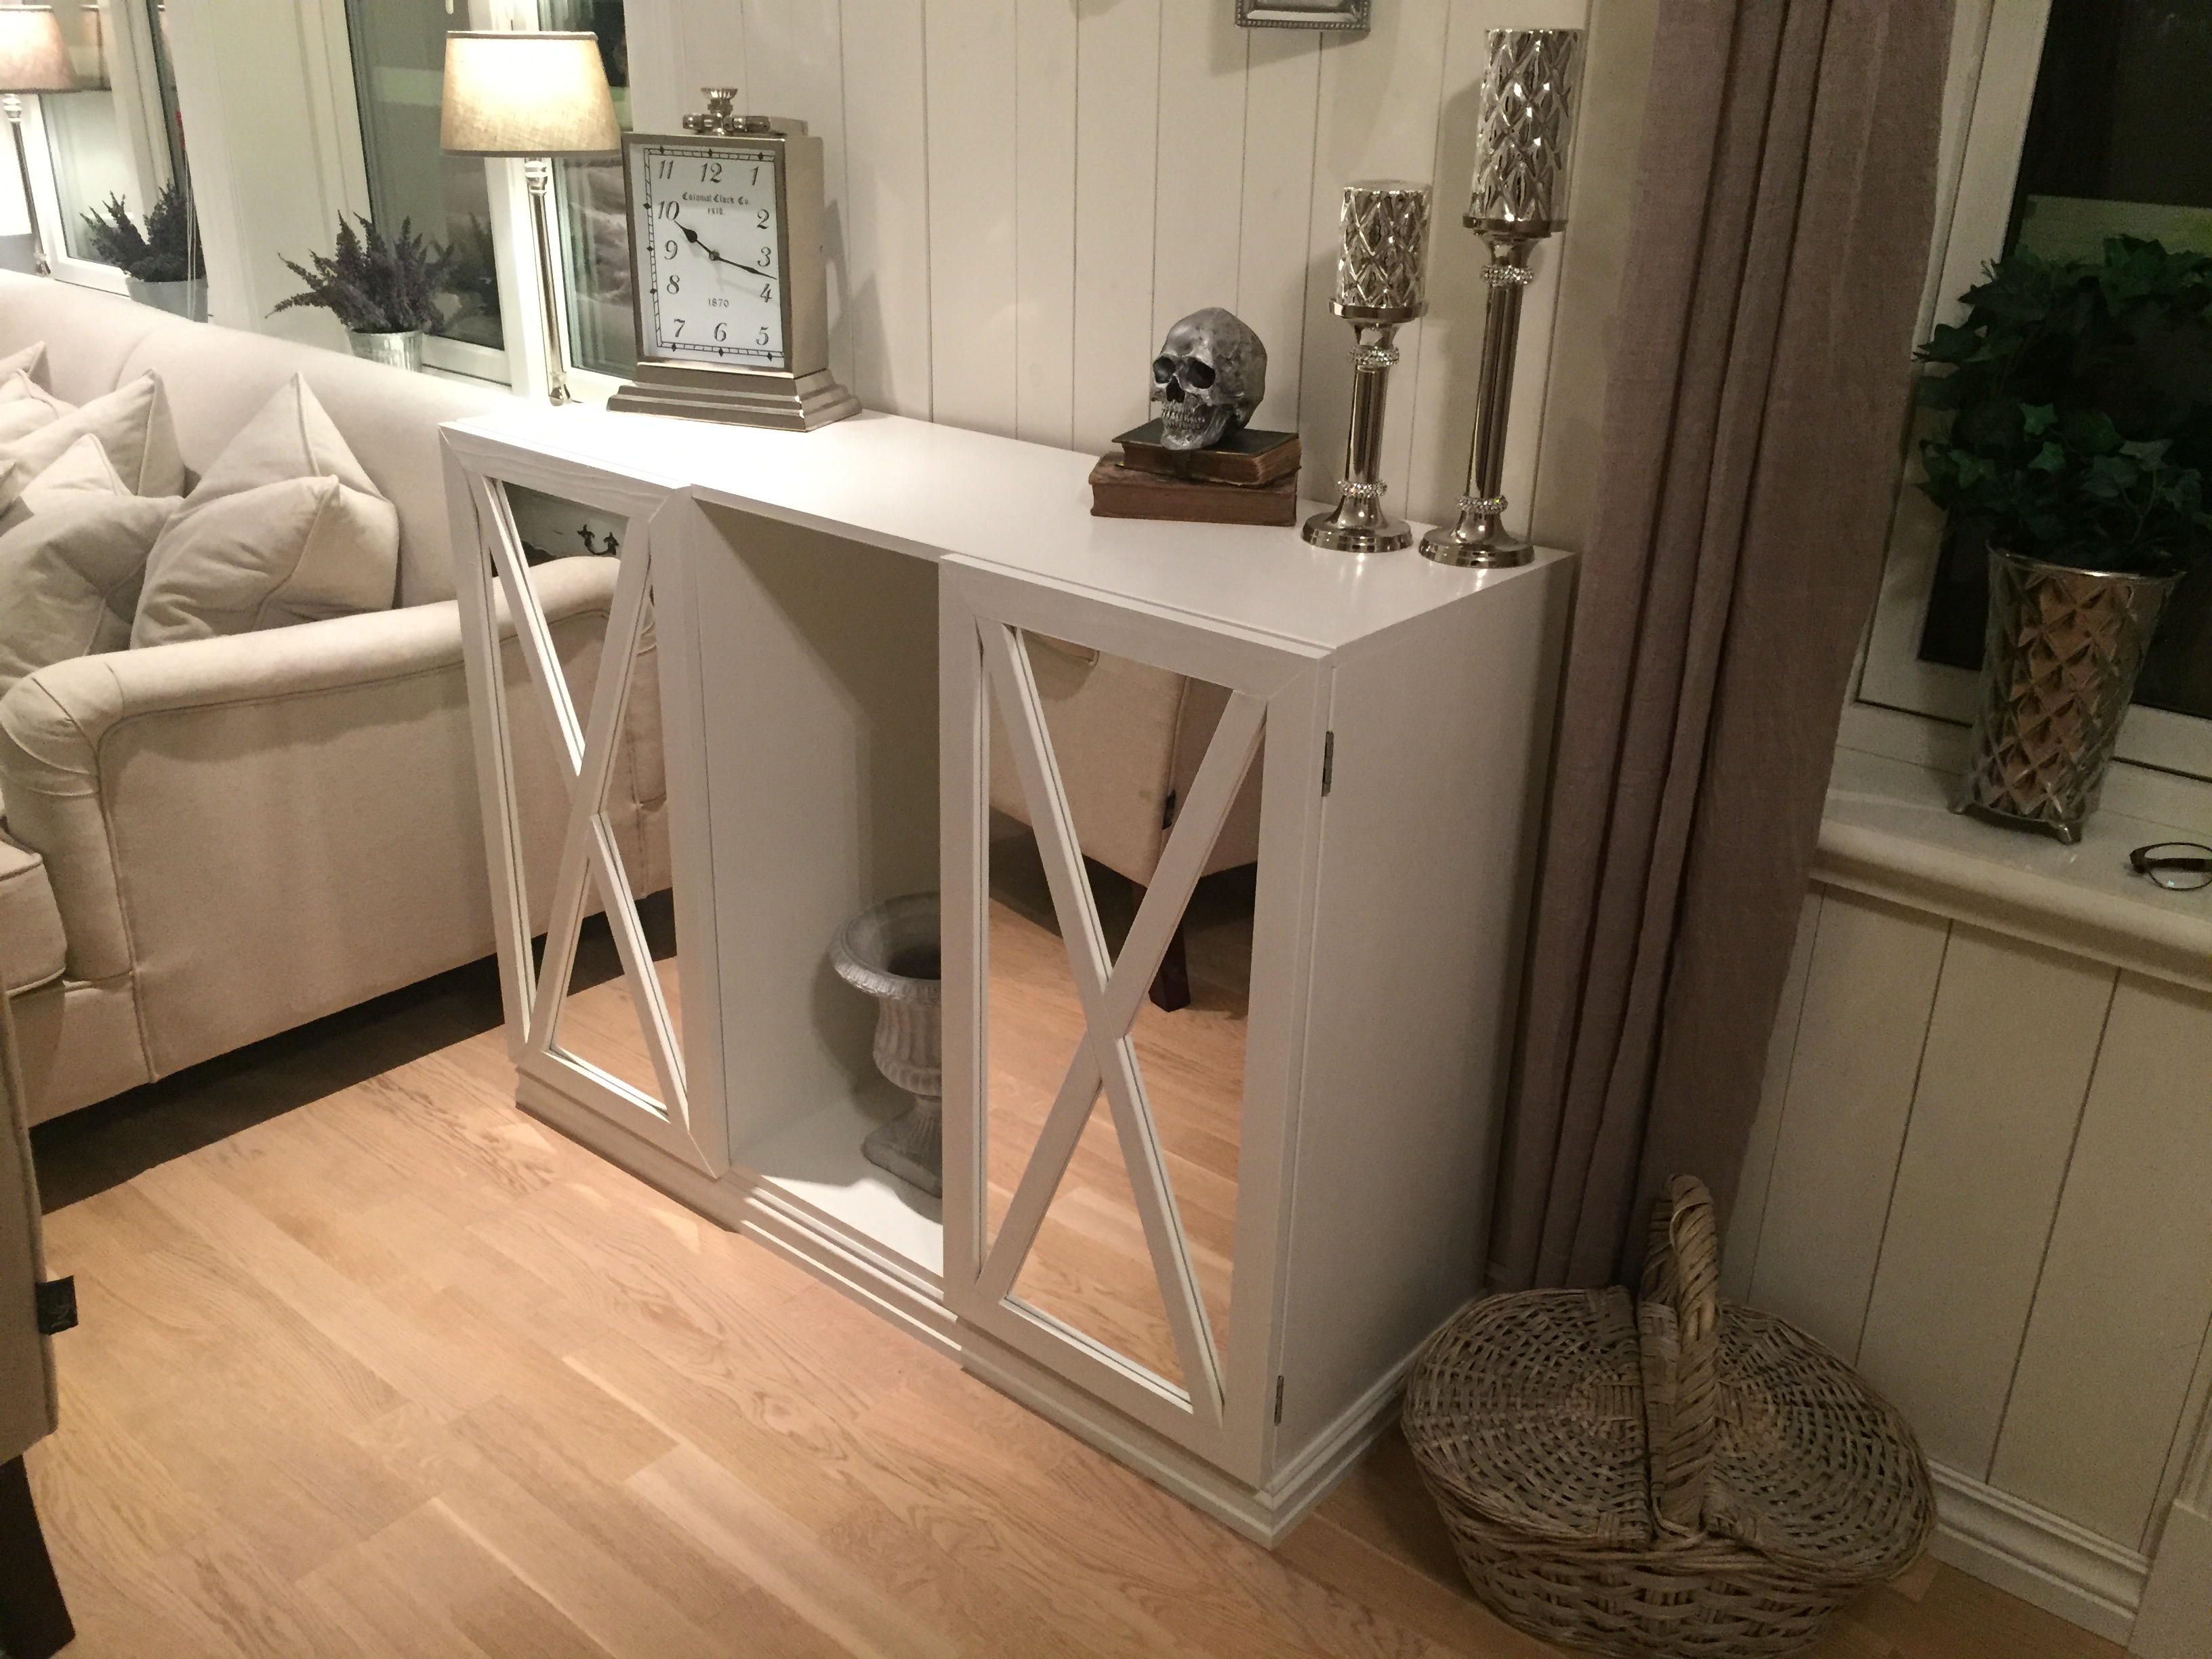
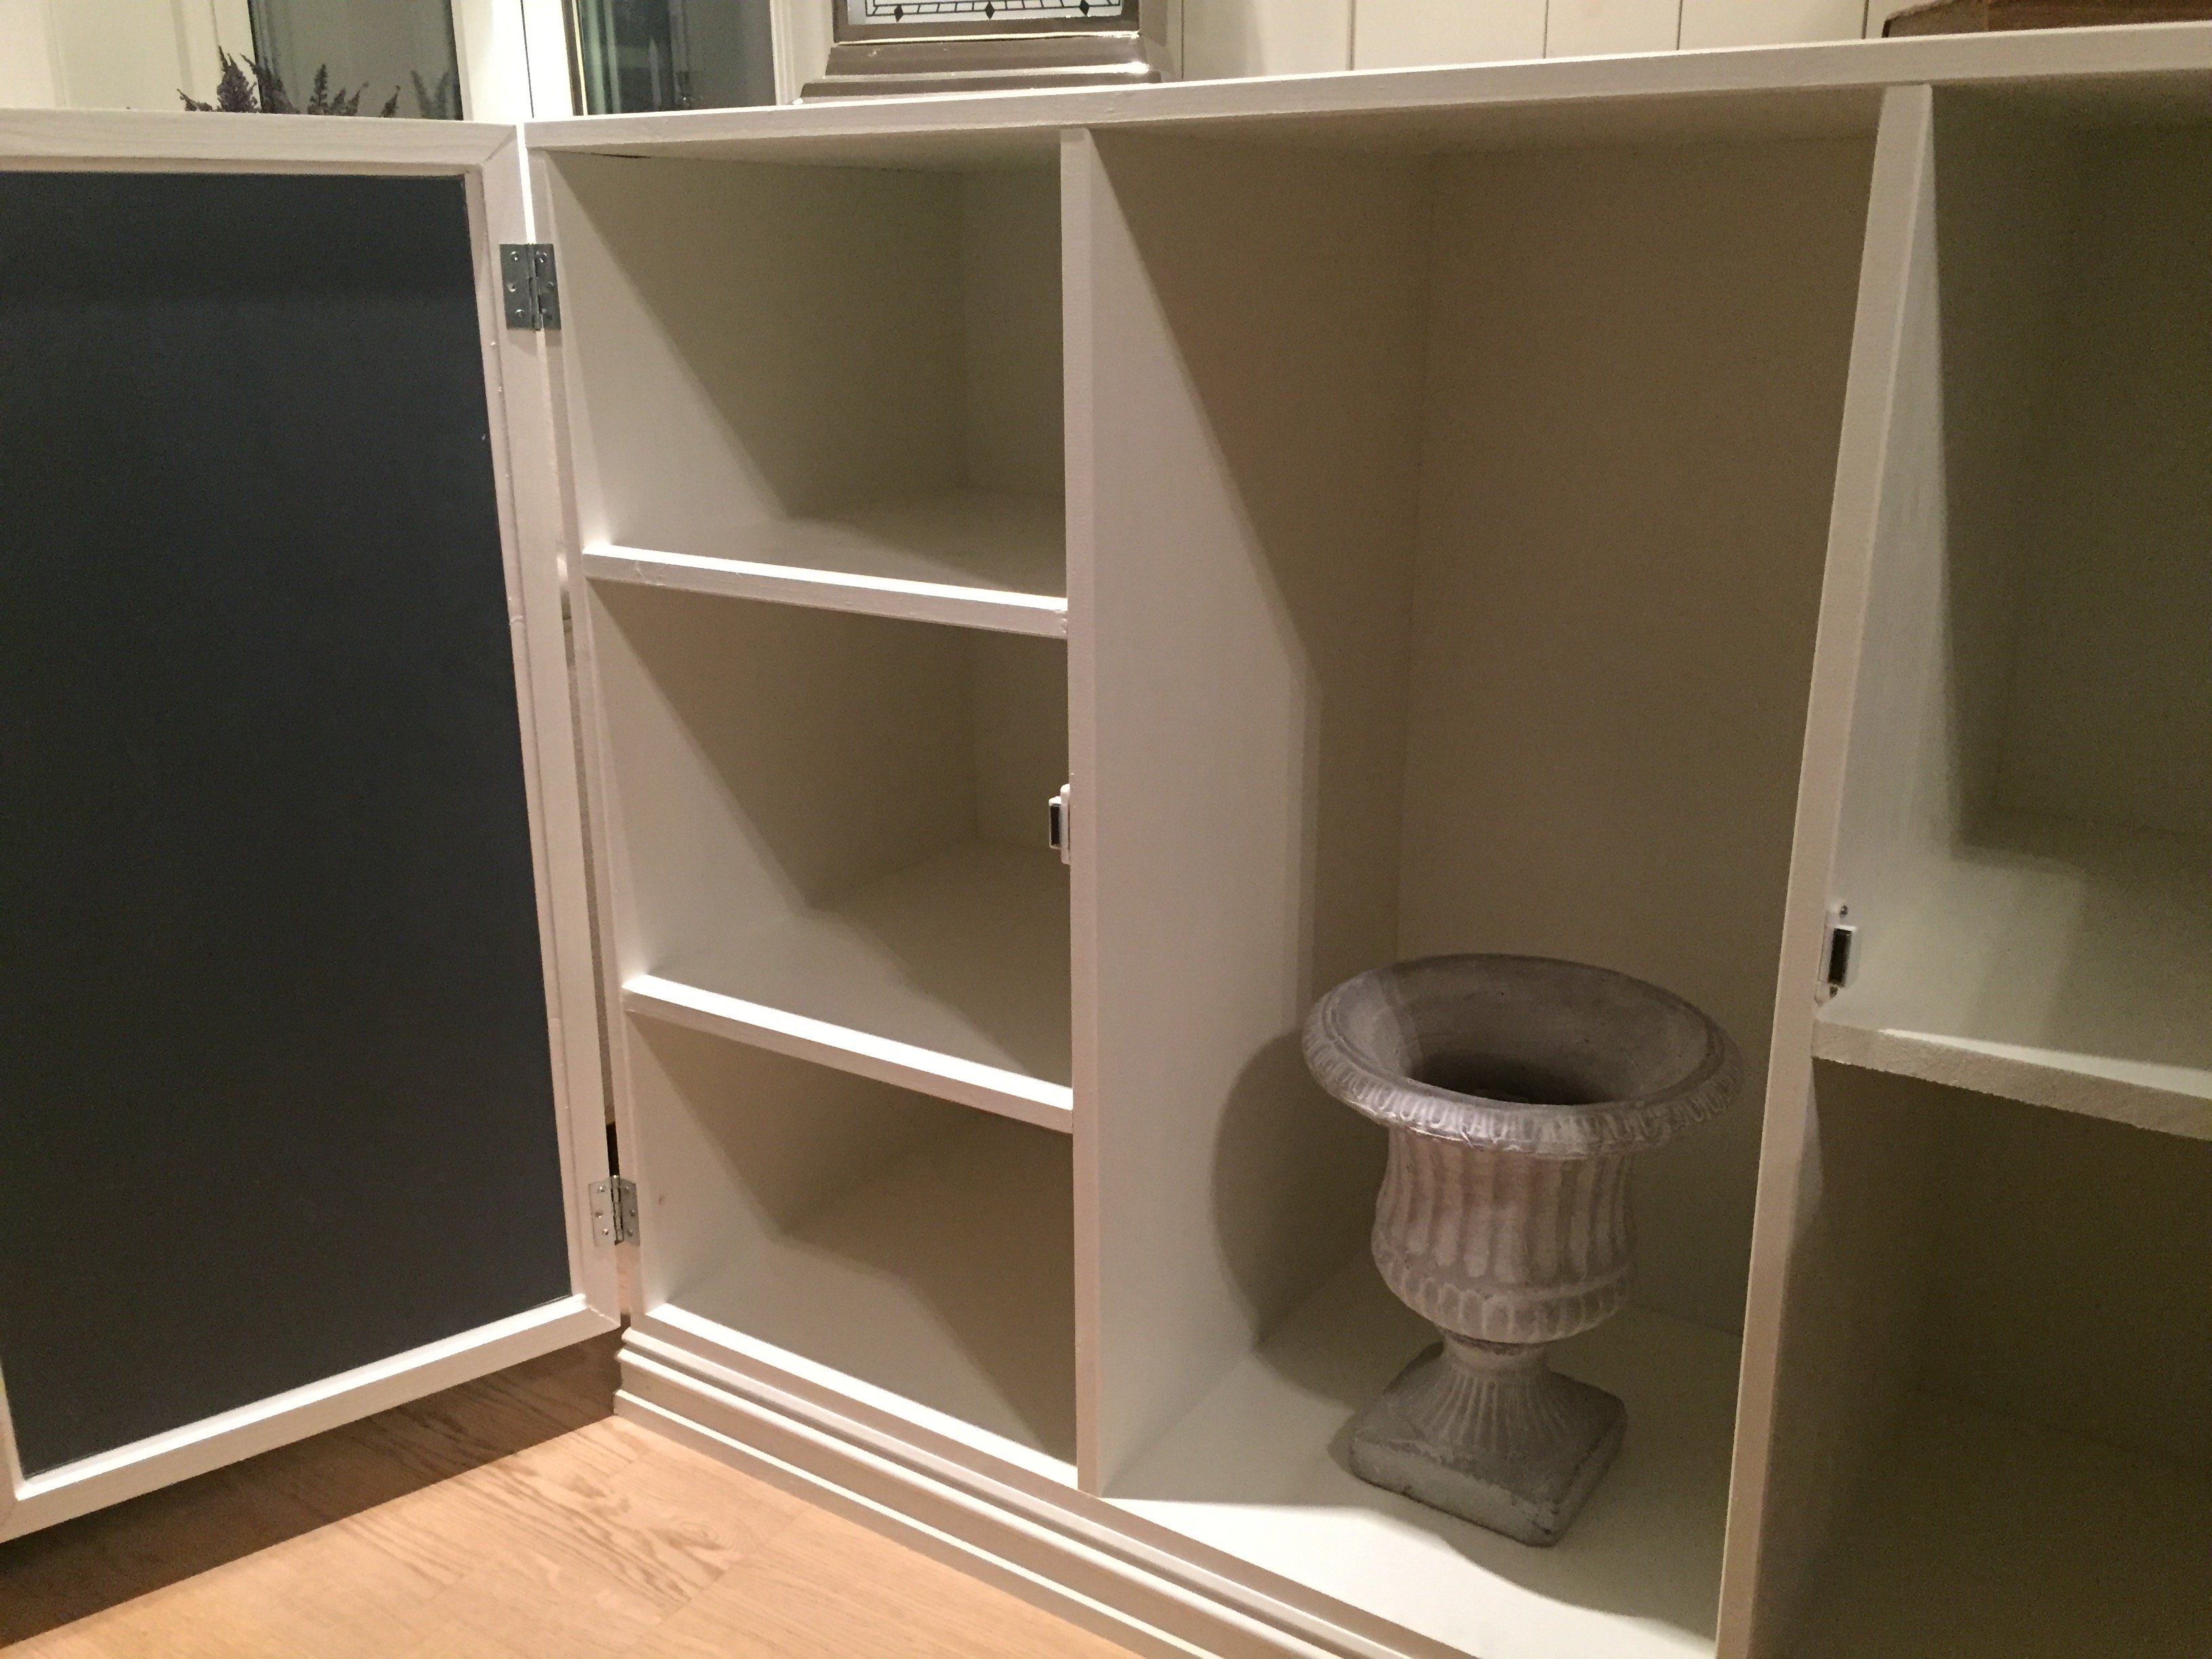
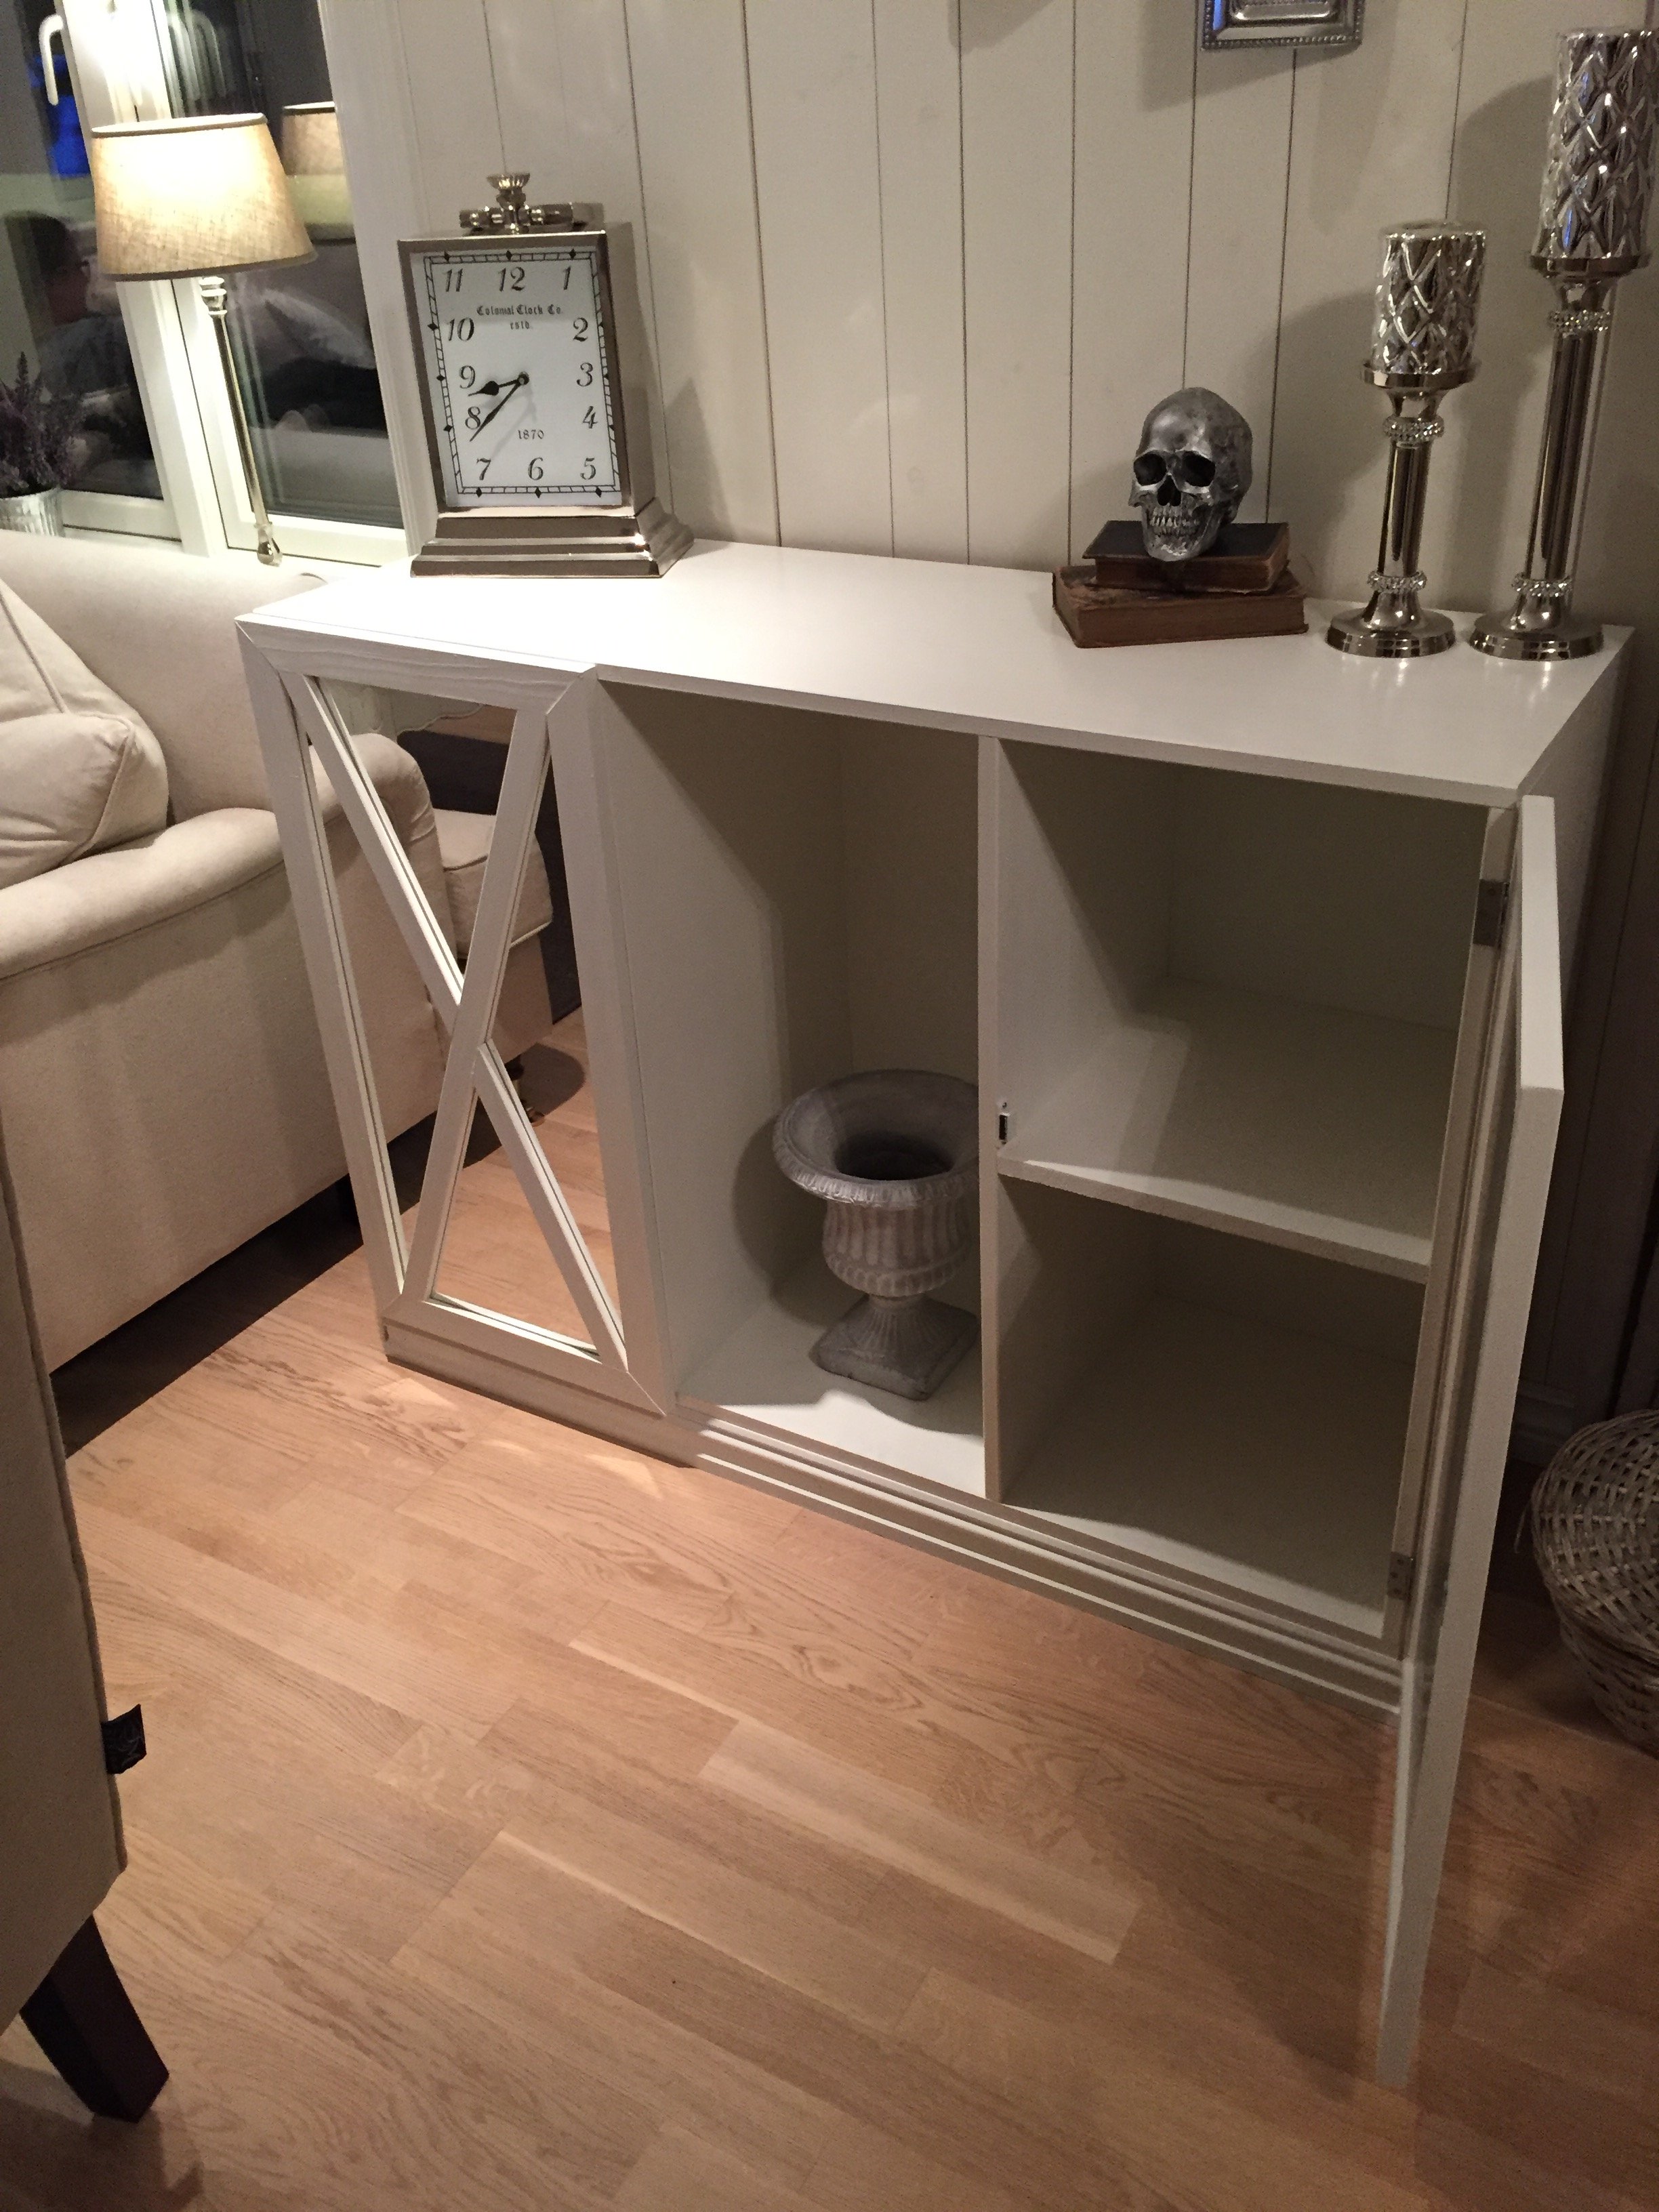
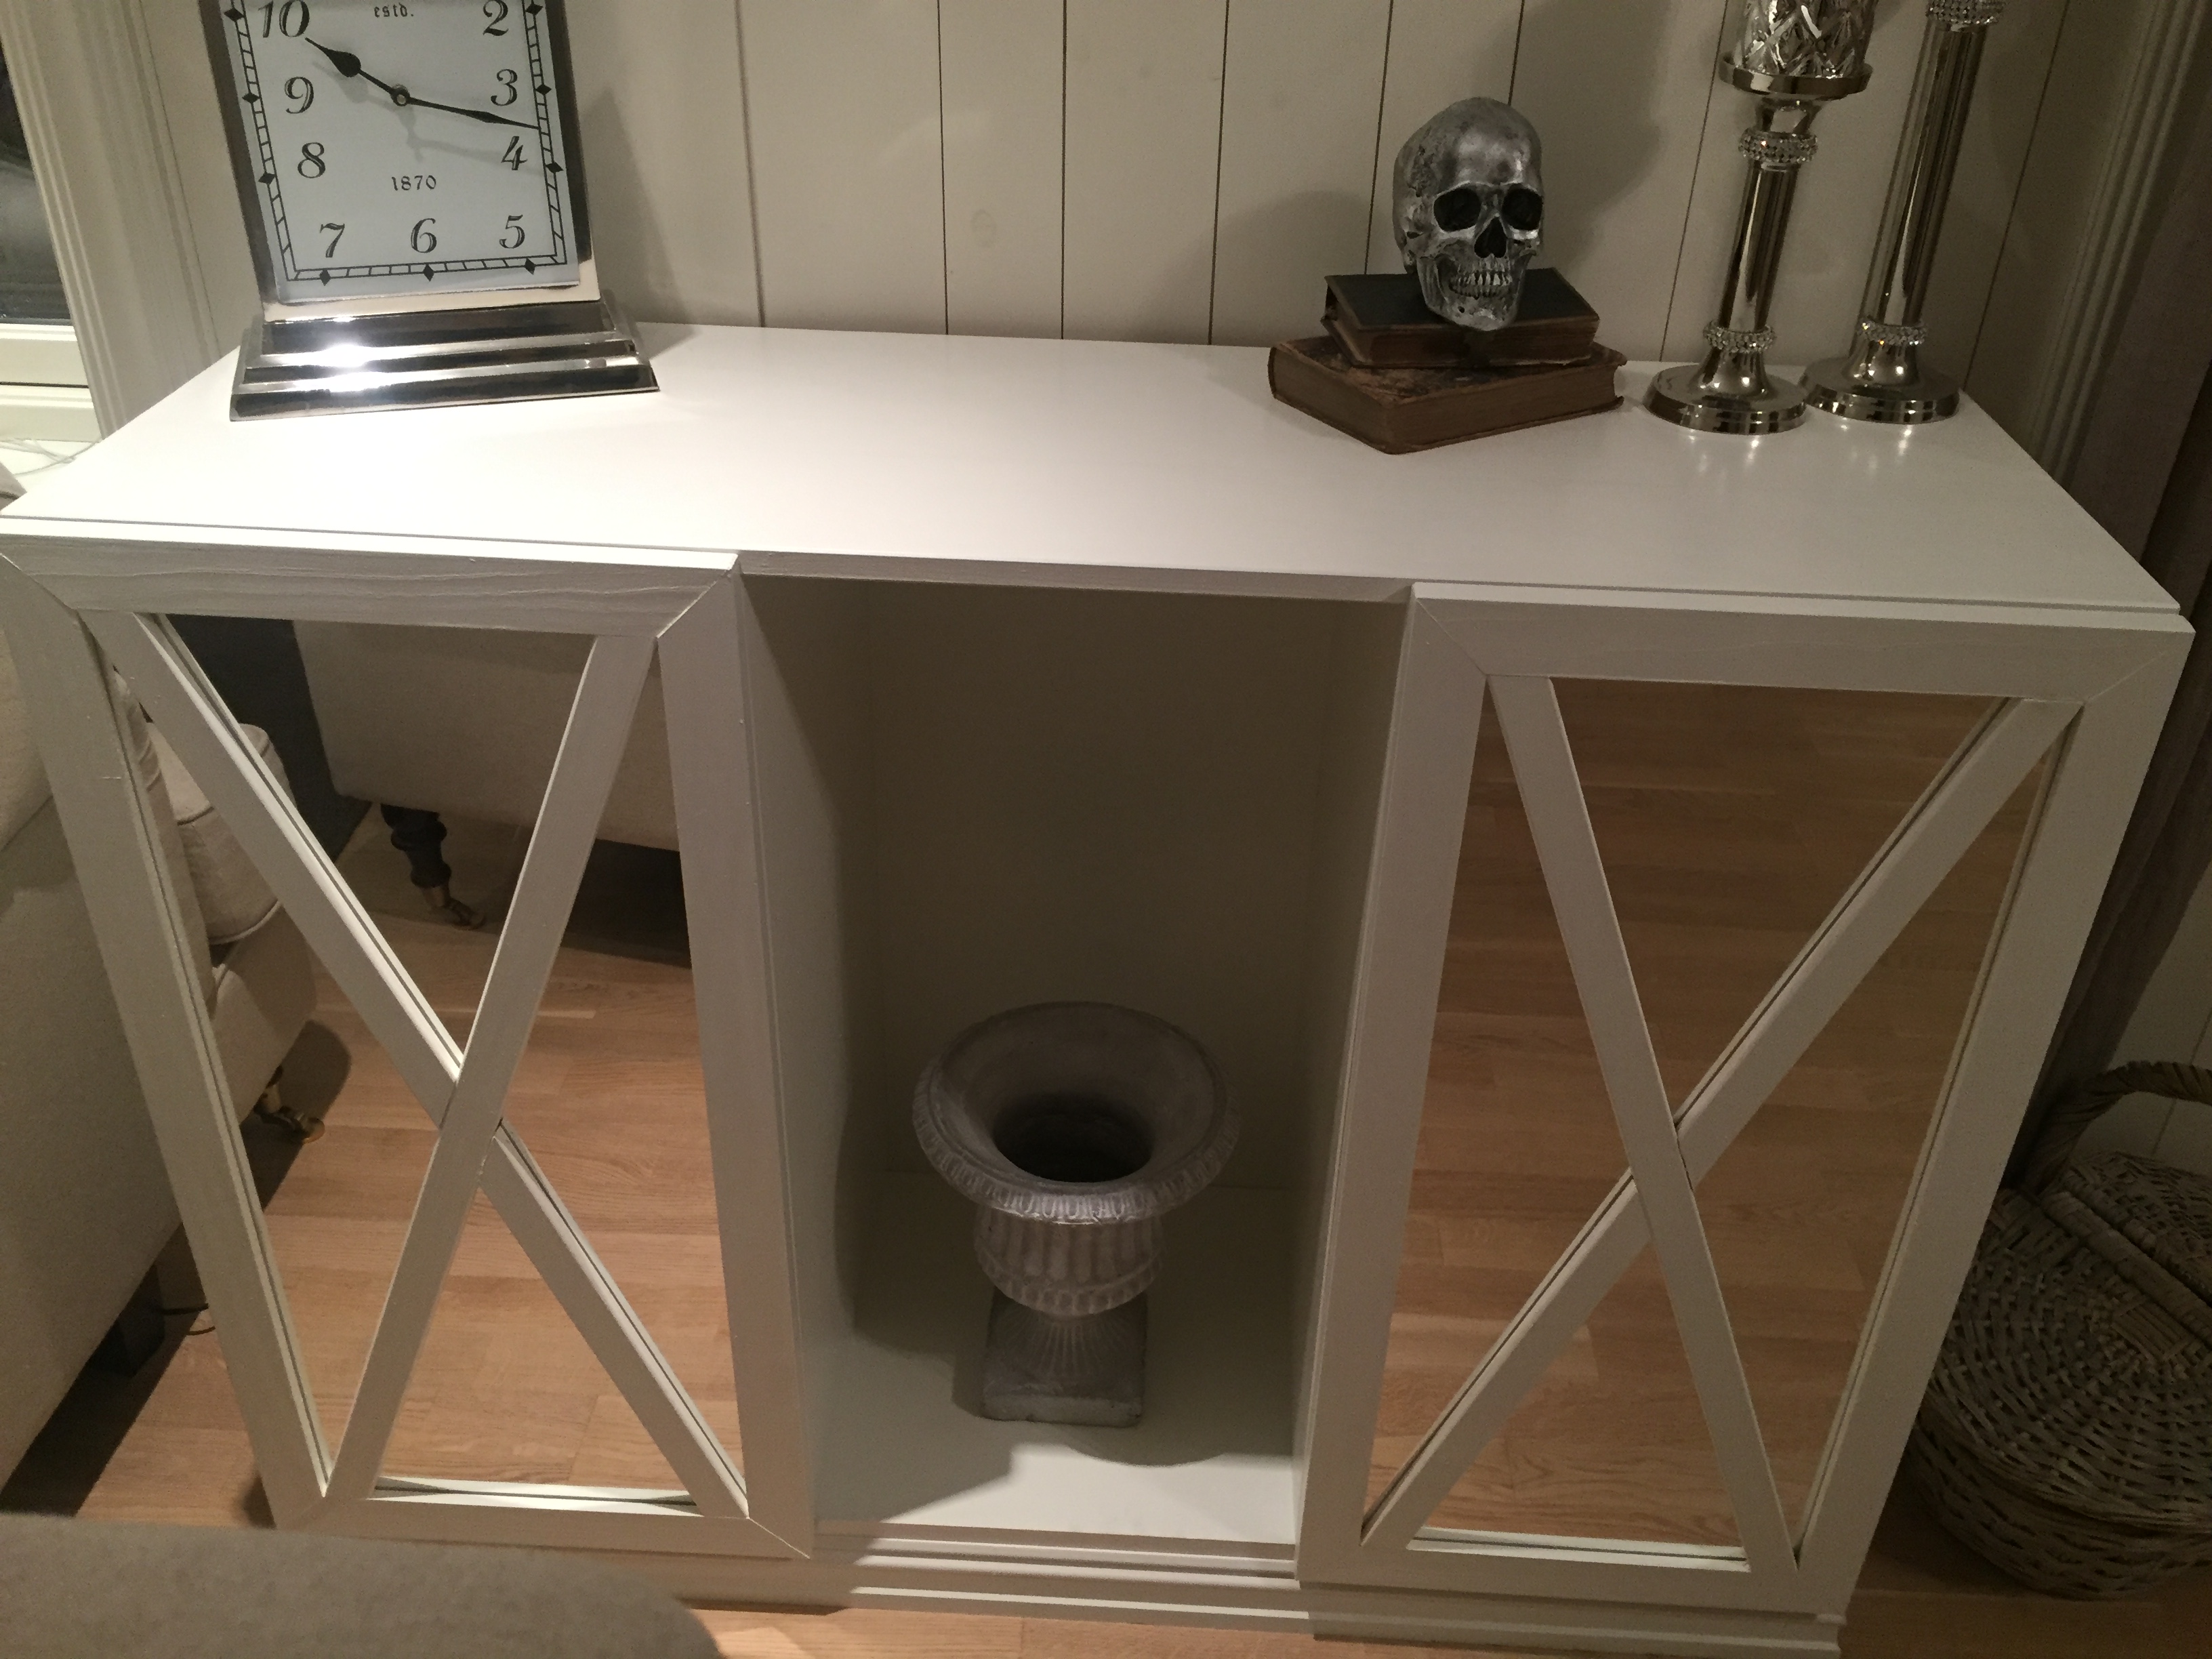
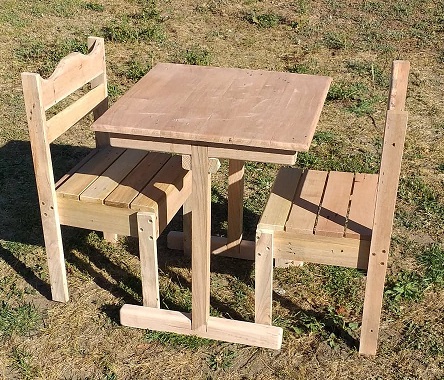
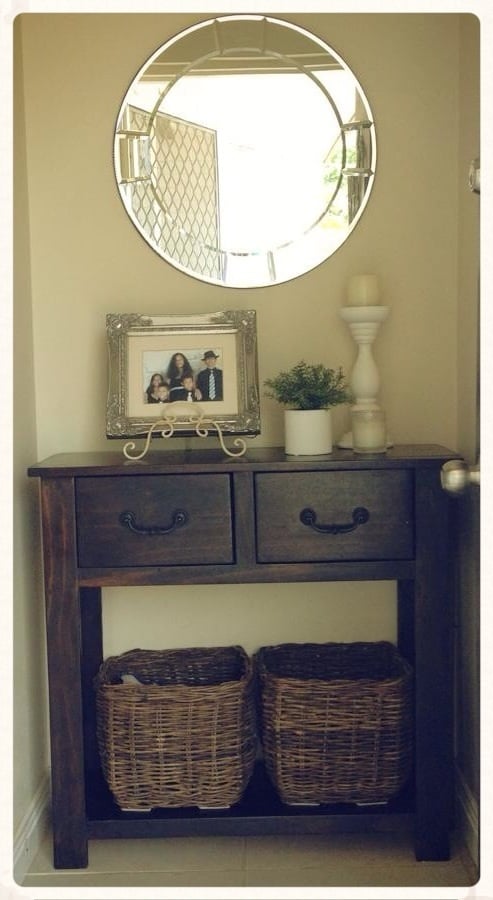
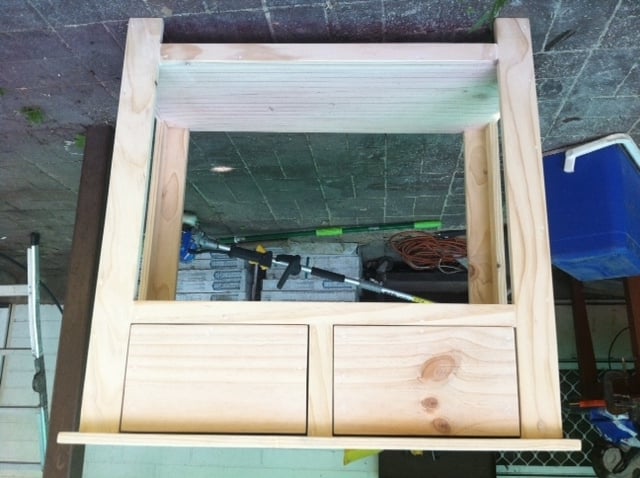
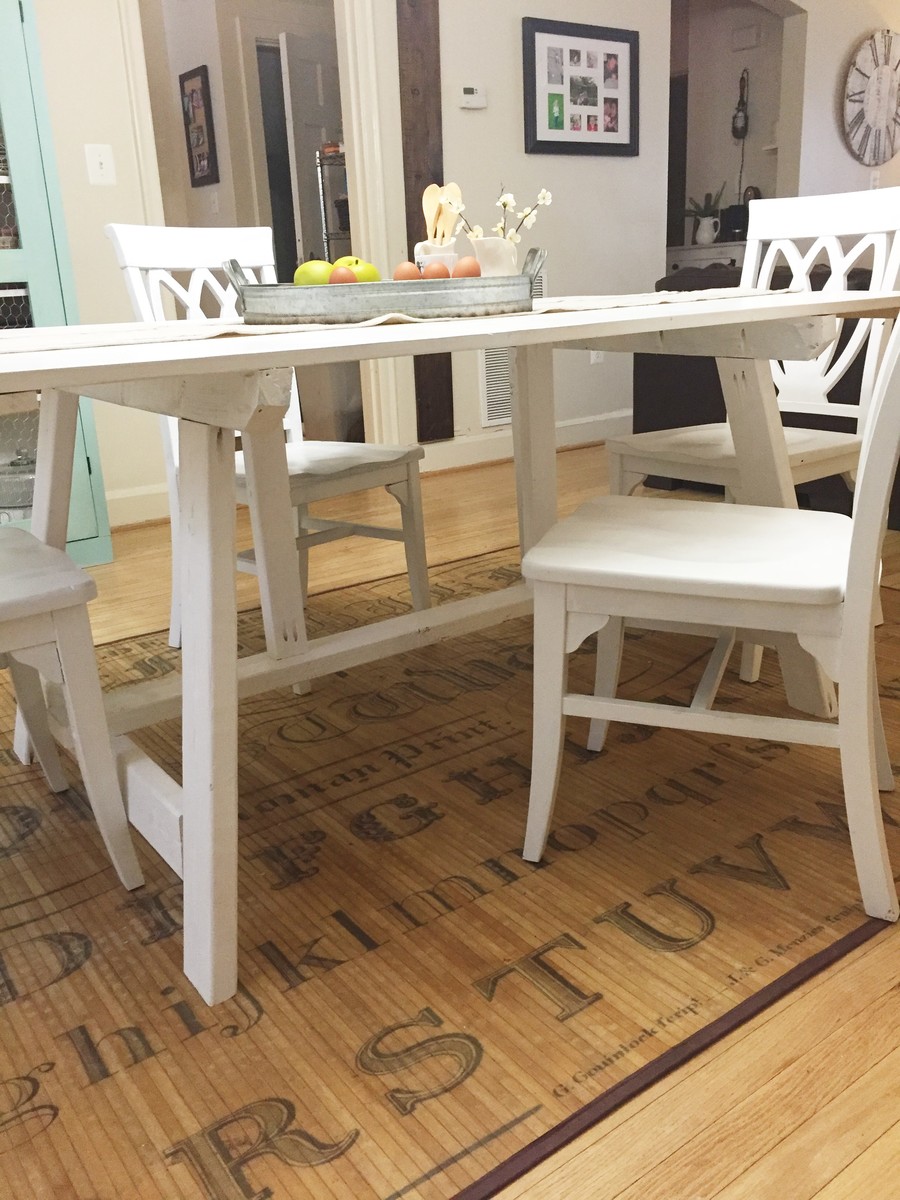
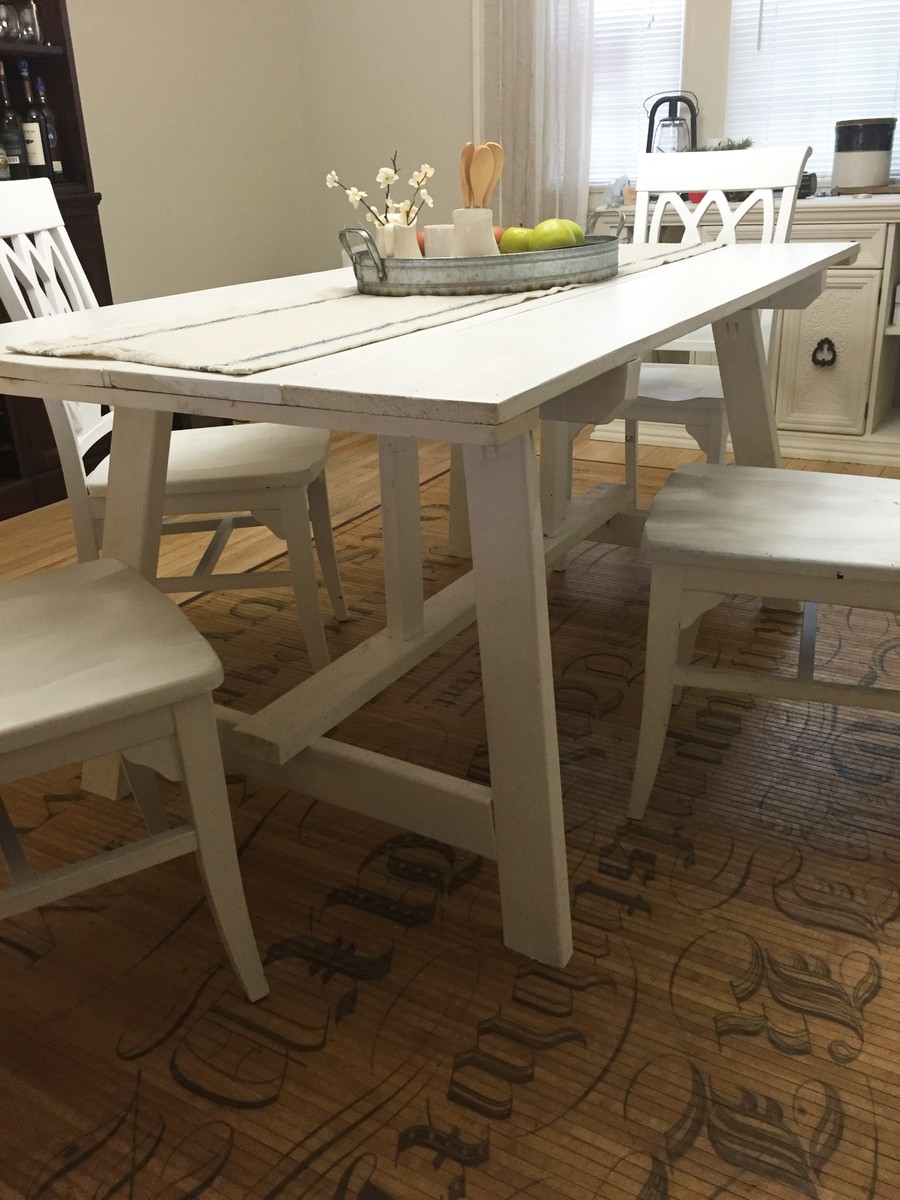
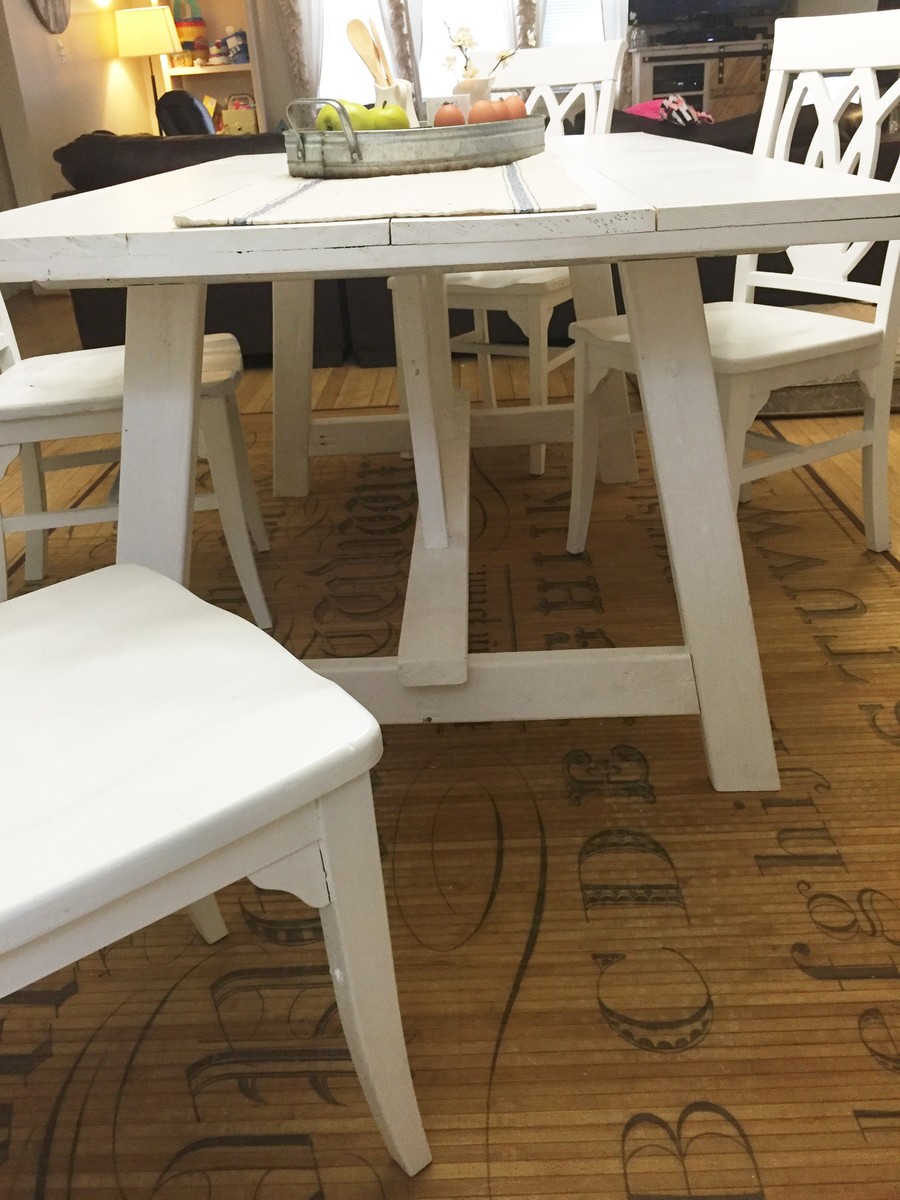
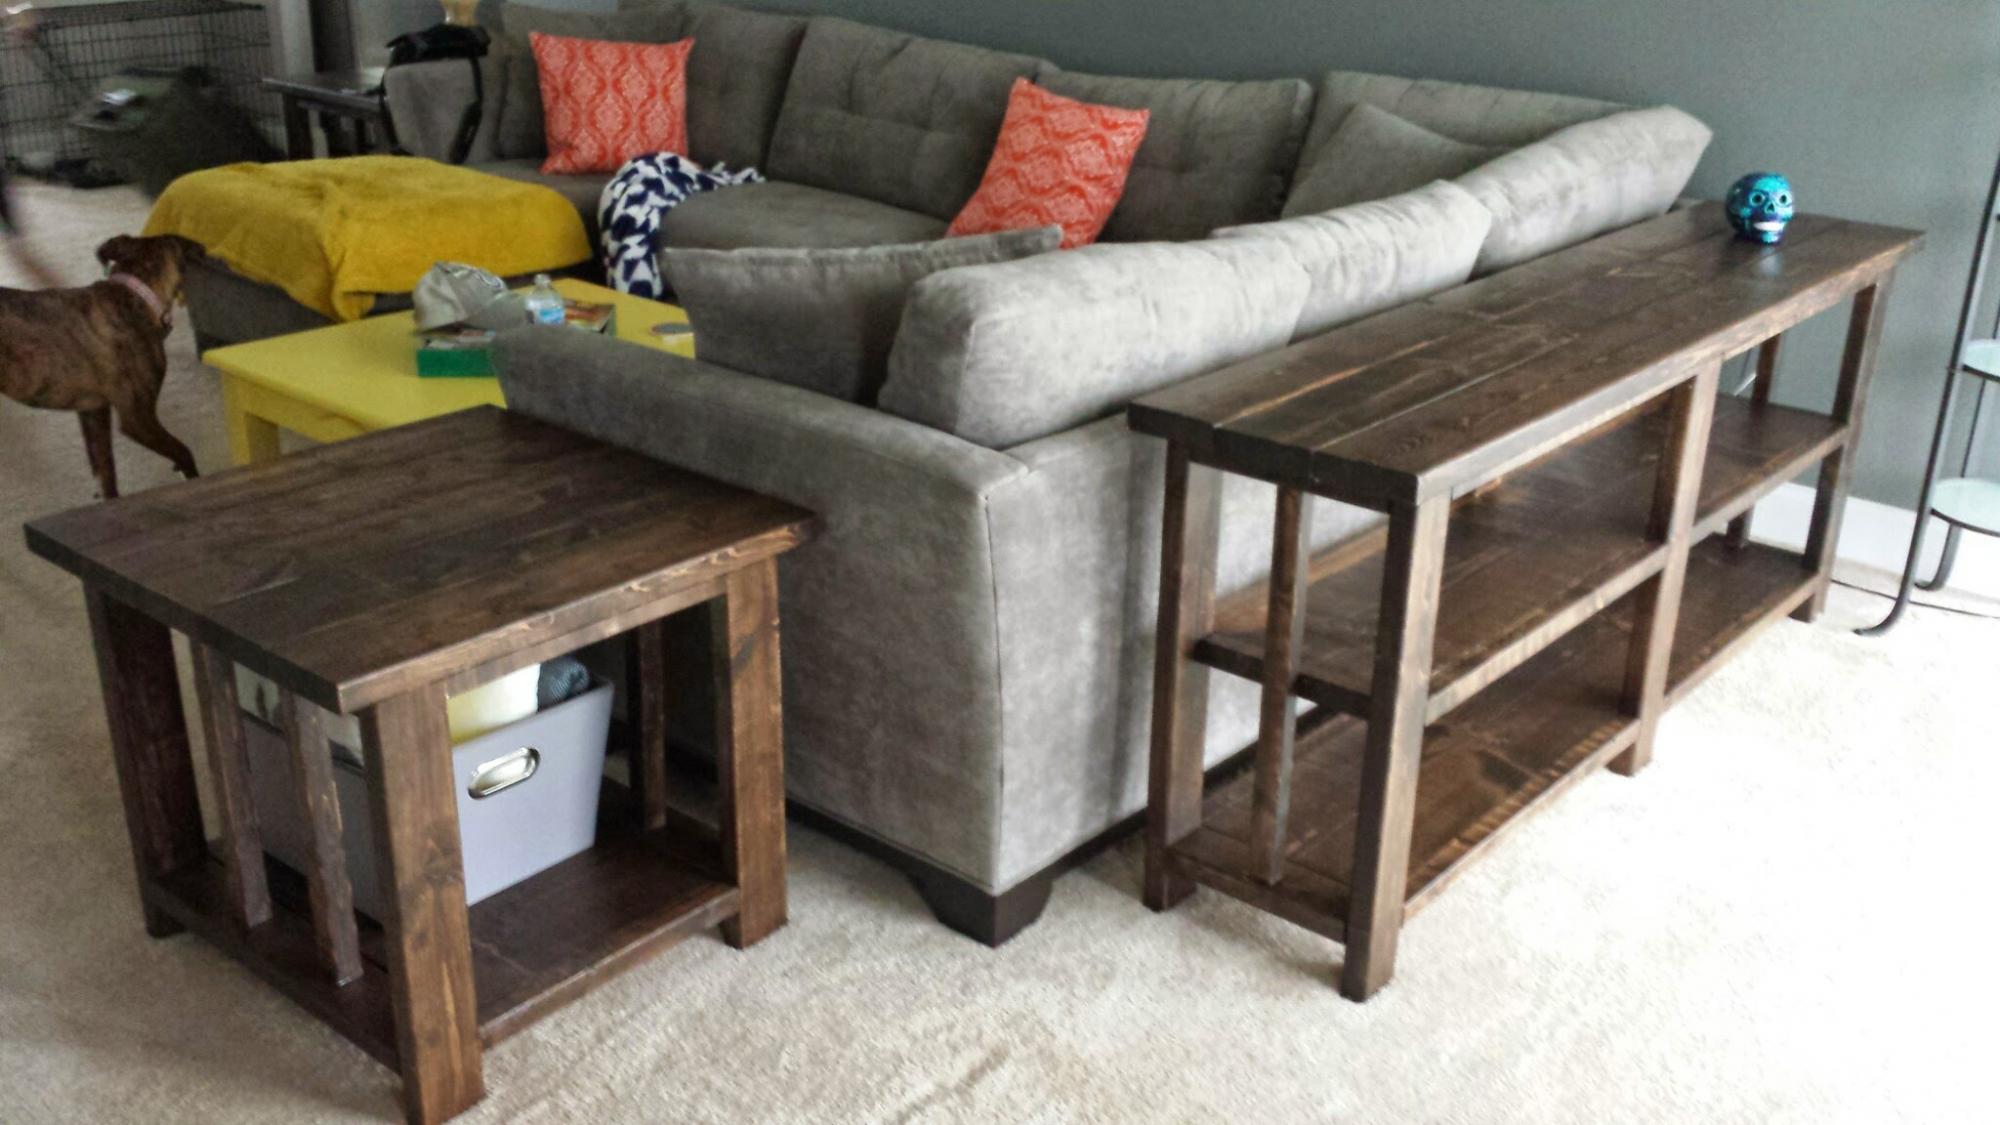
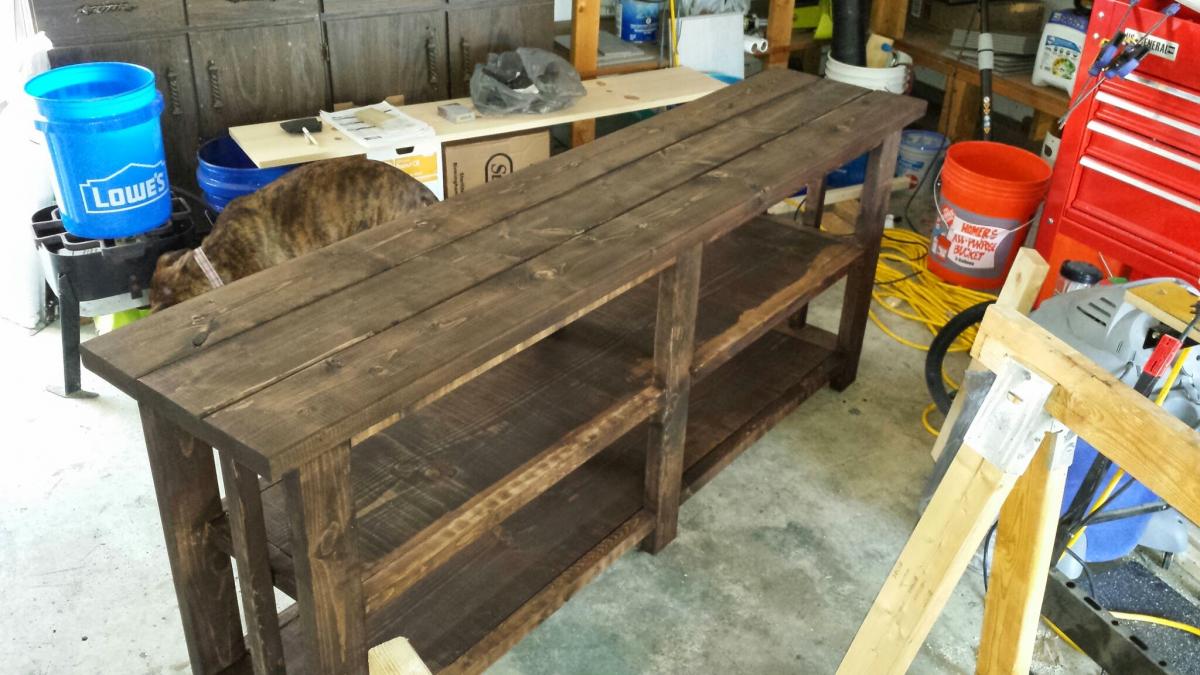
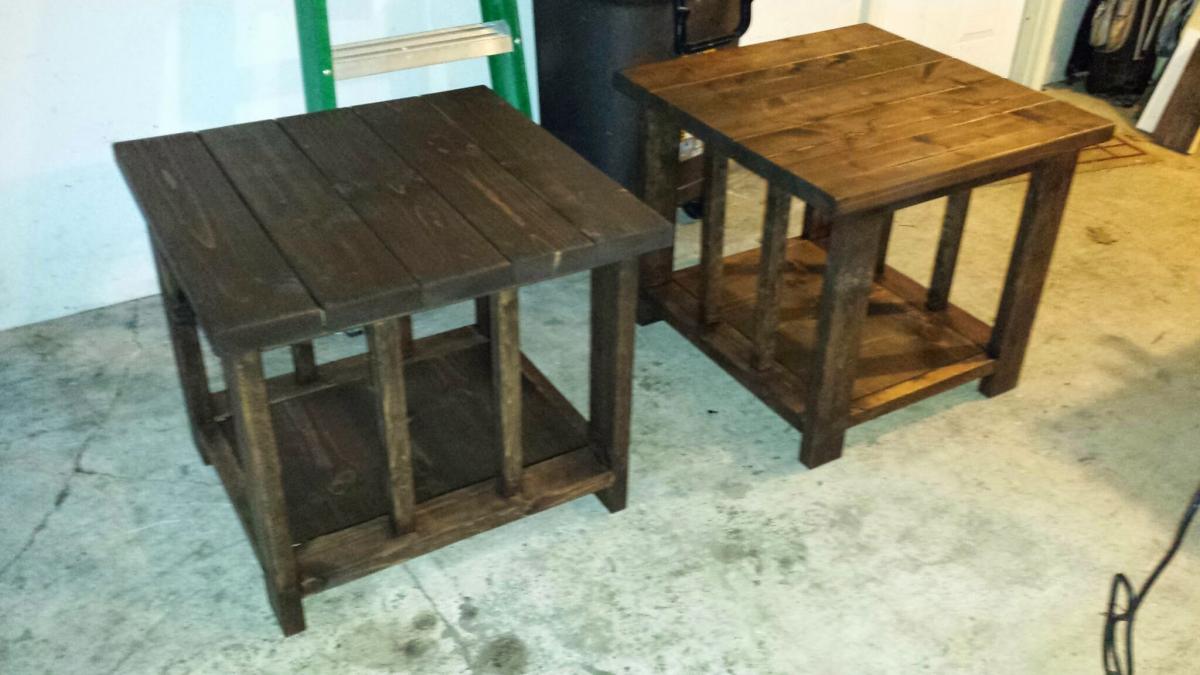
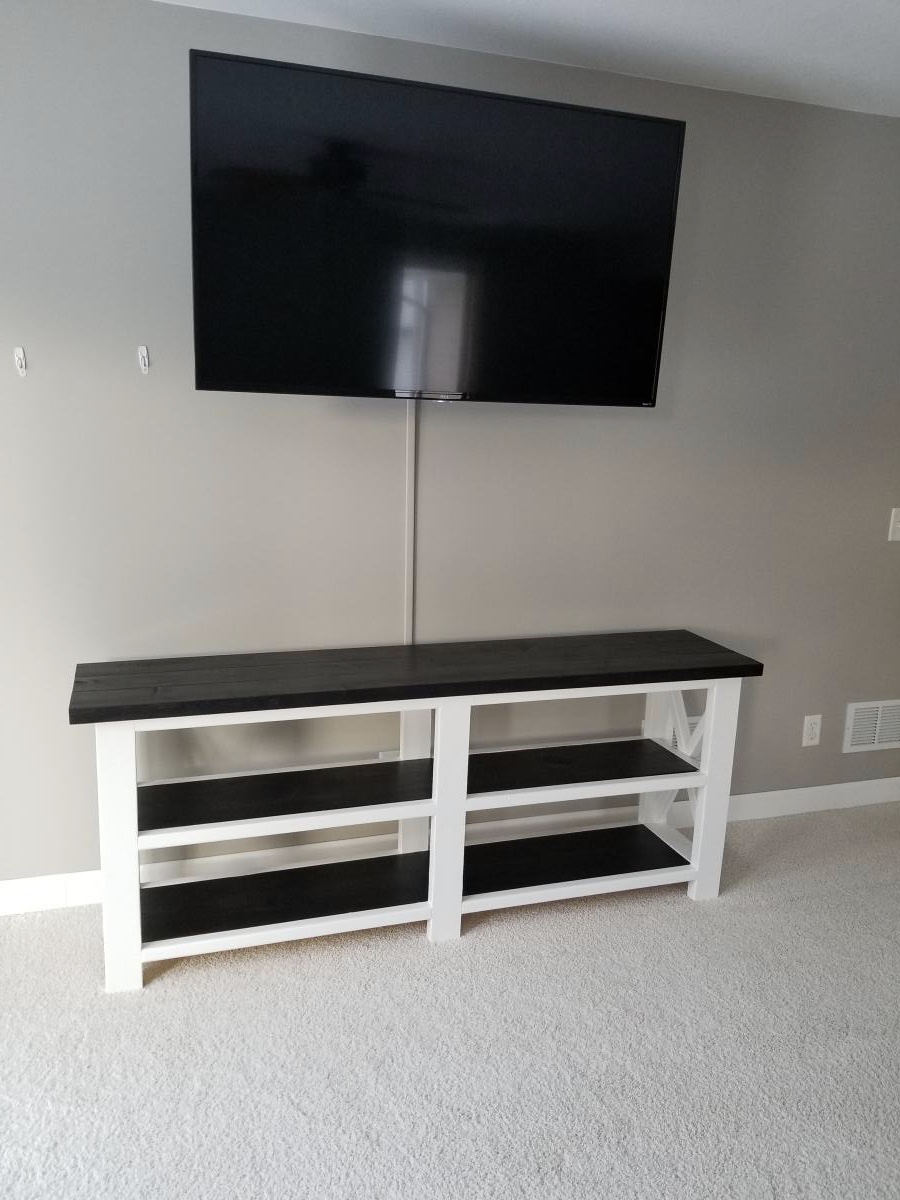
Rustic X Console Table
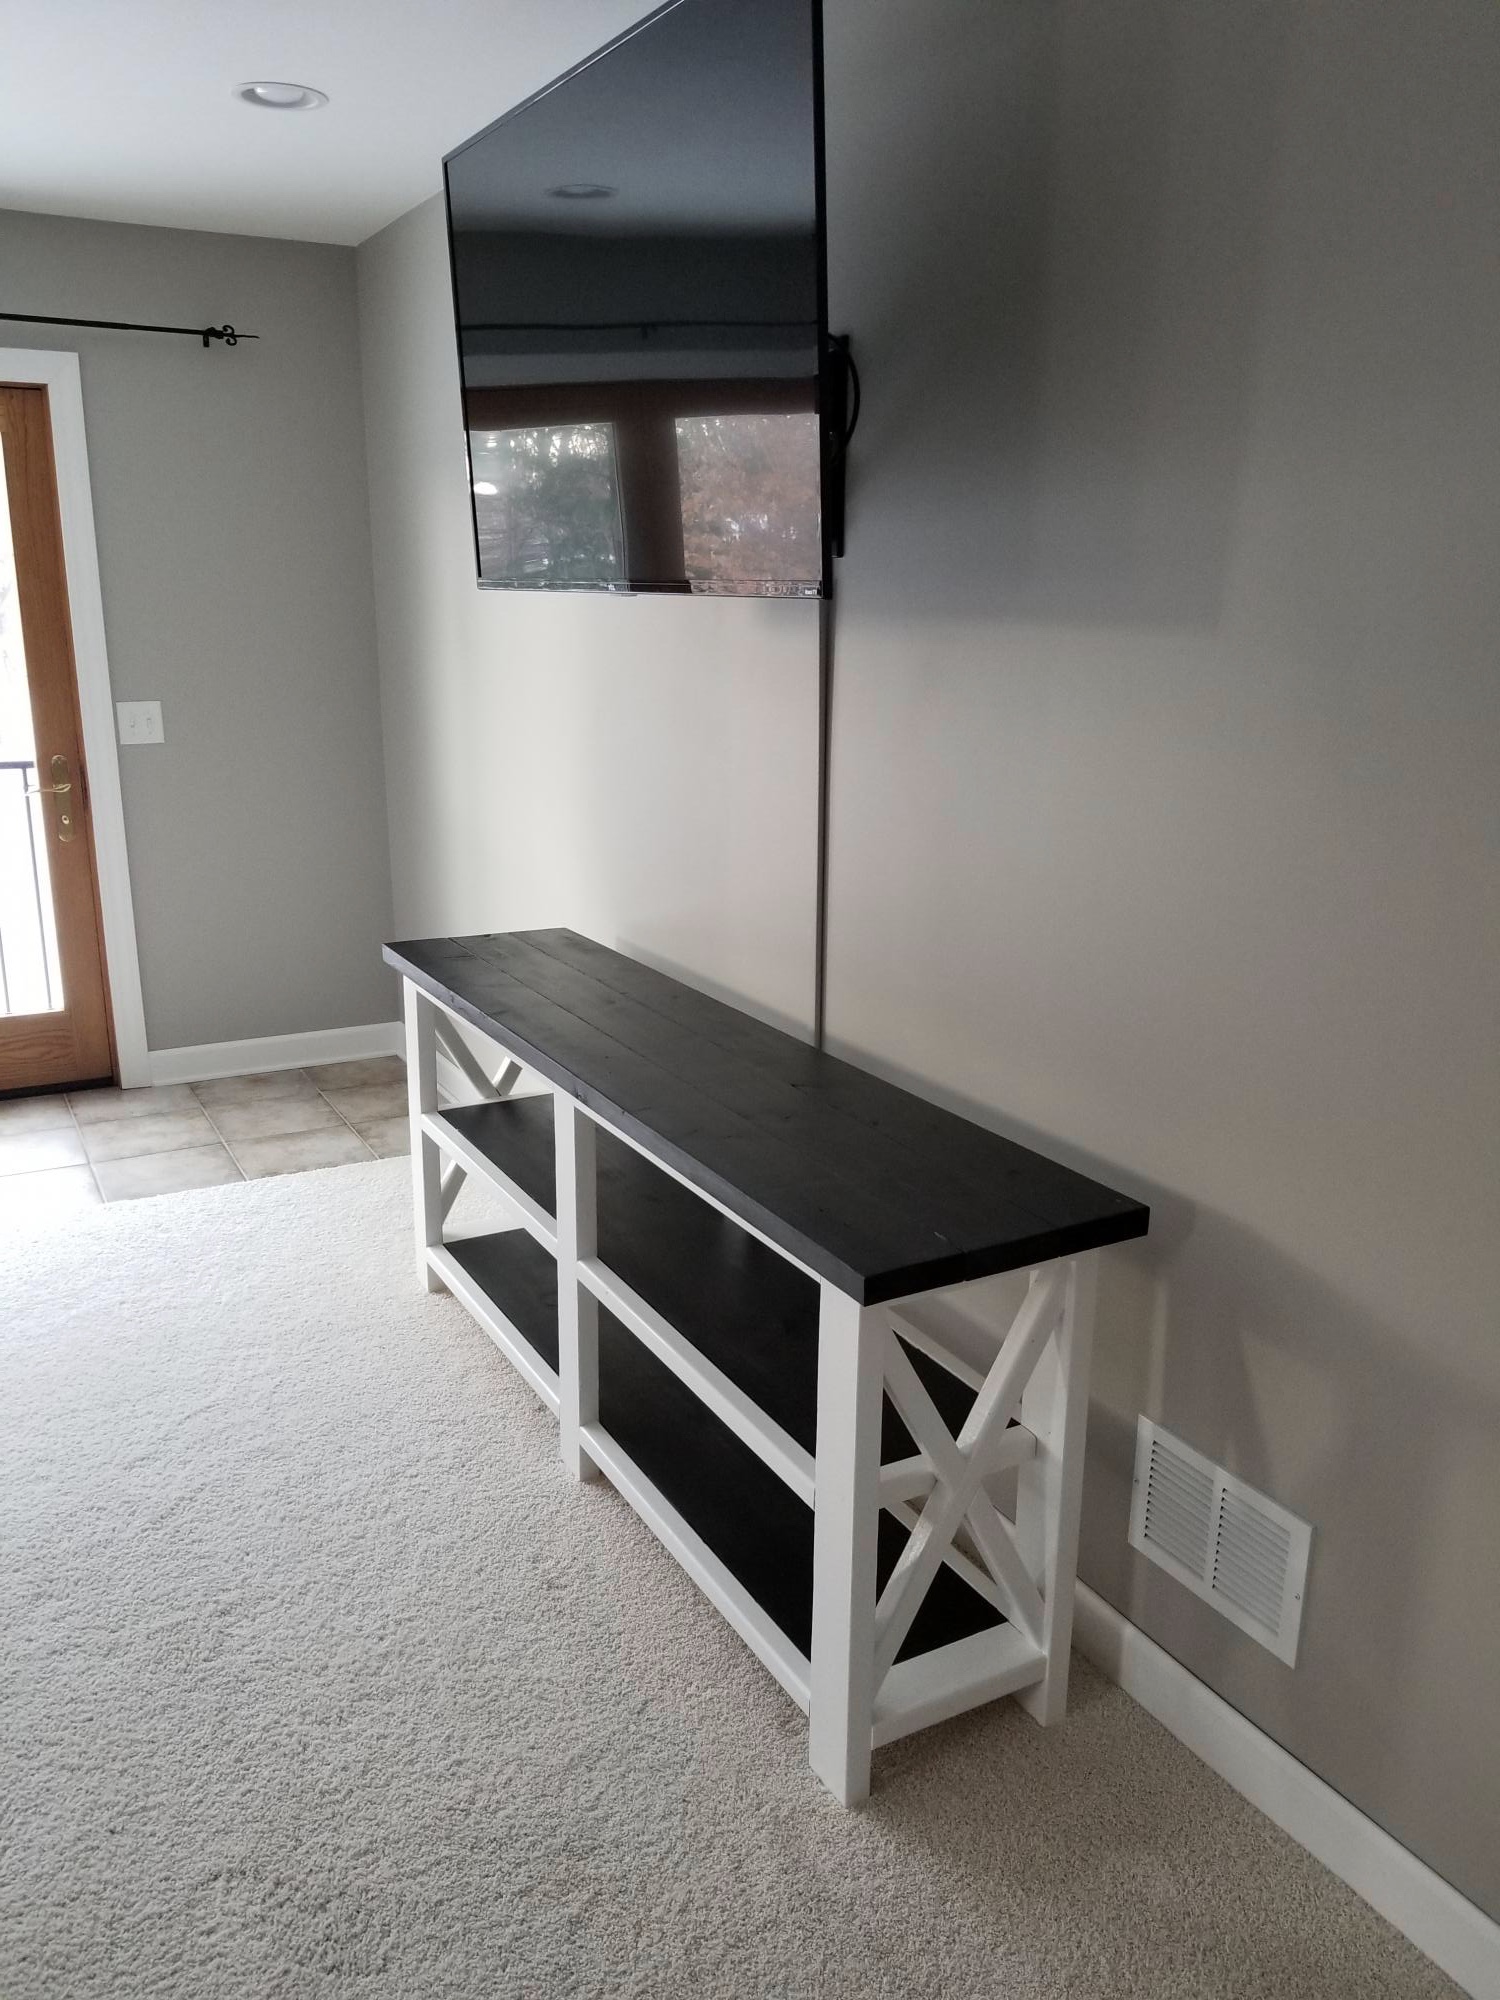
This was based on the Rustic X Console Table plan
Built from Plan(s)
Estimated Cost
60
Estimated Time Investment
Weekend Project (10-20 Hours)
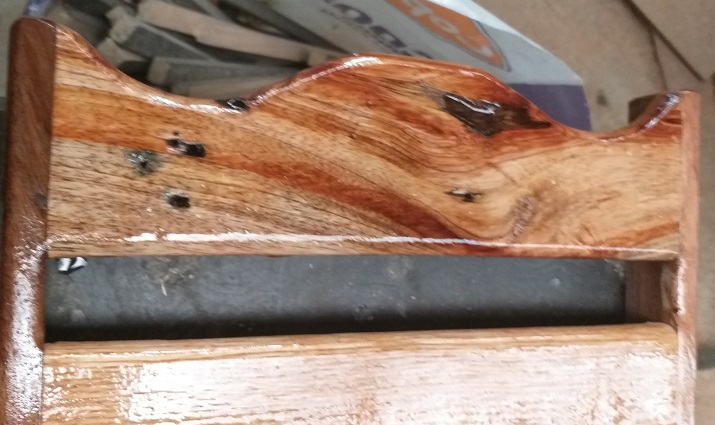
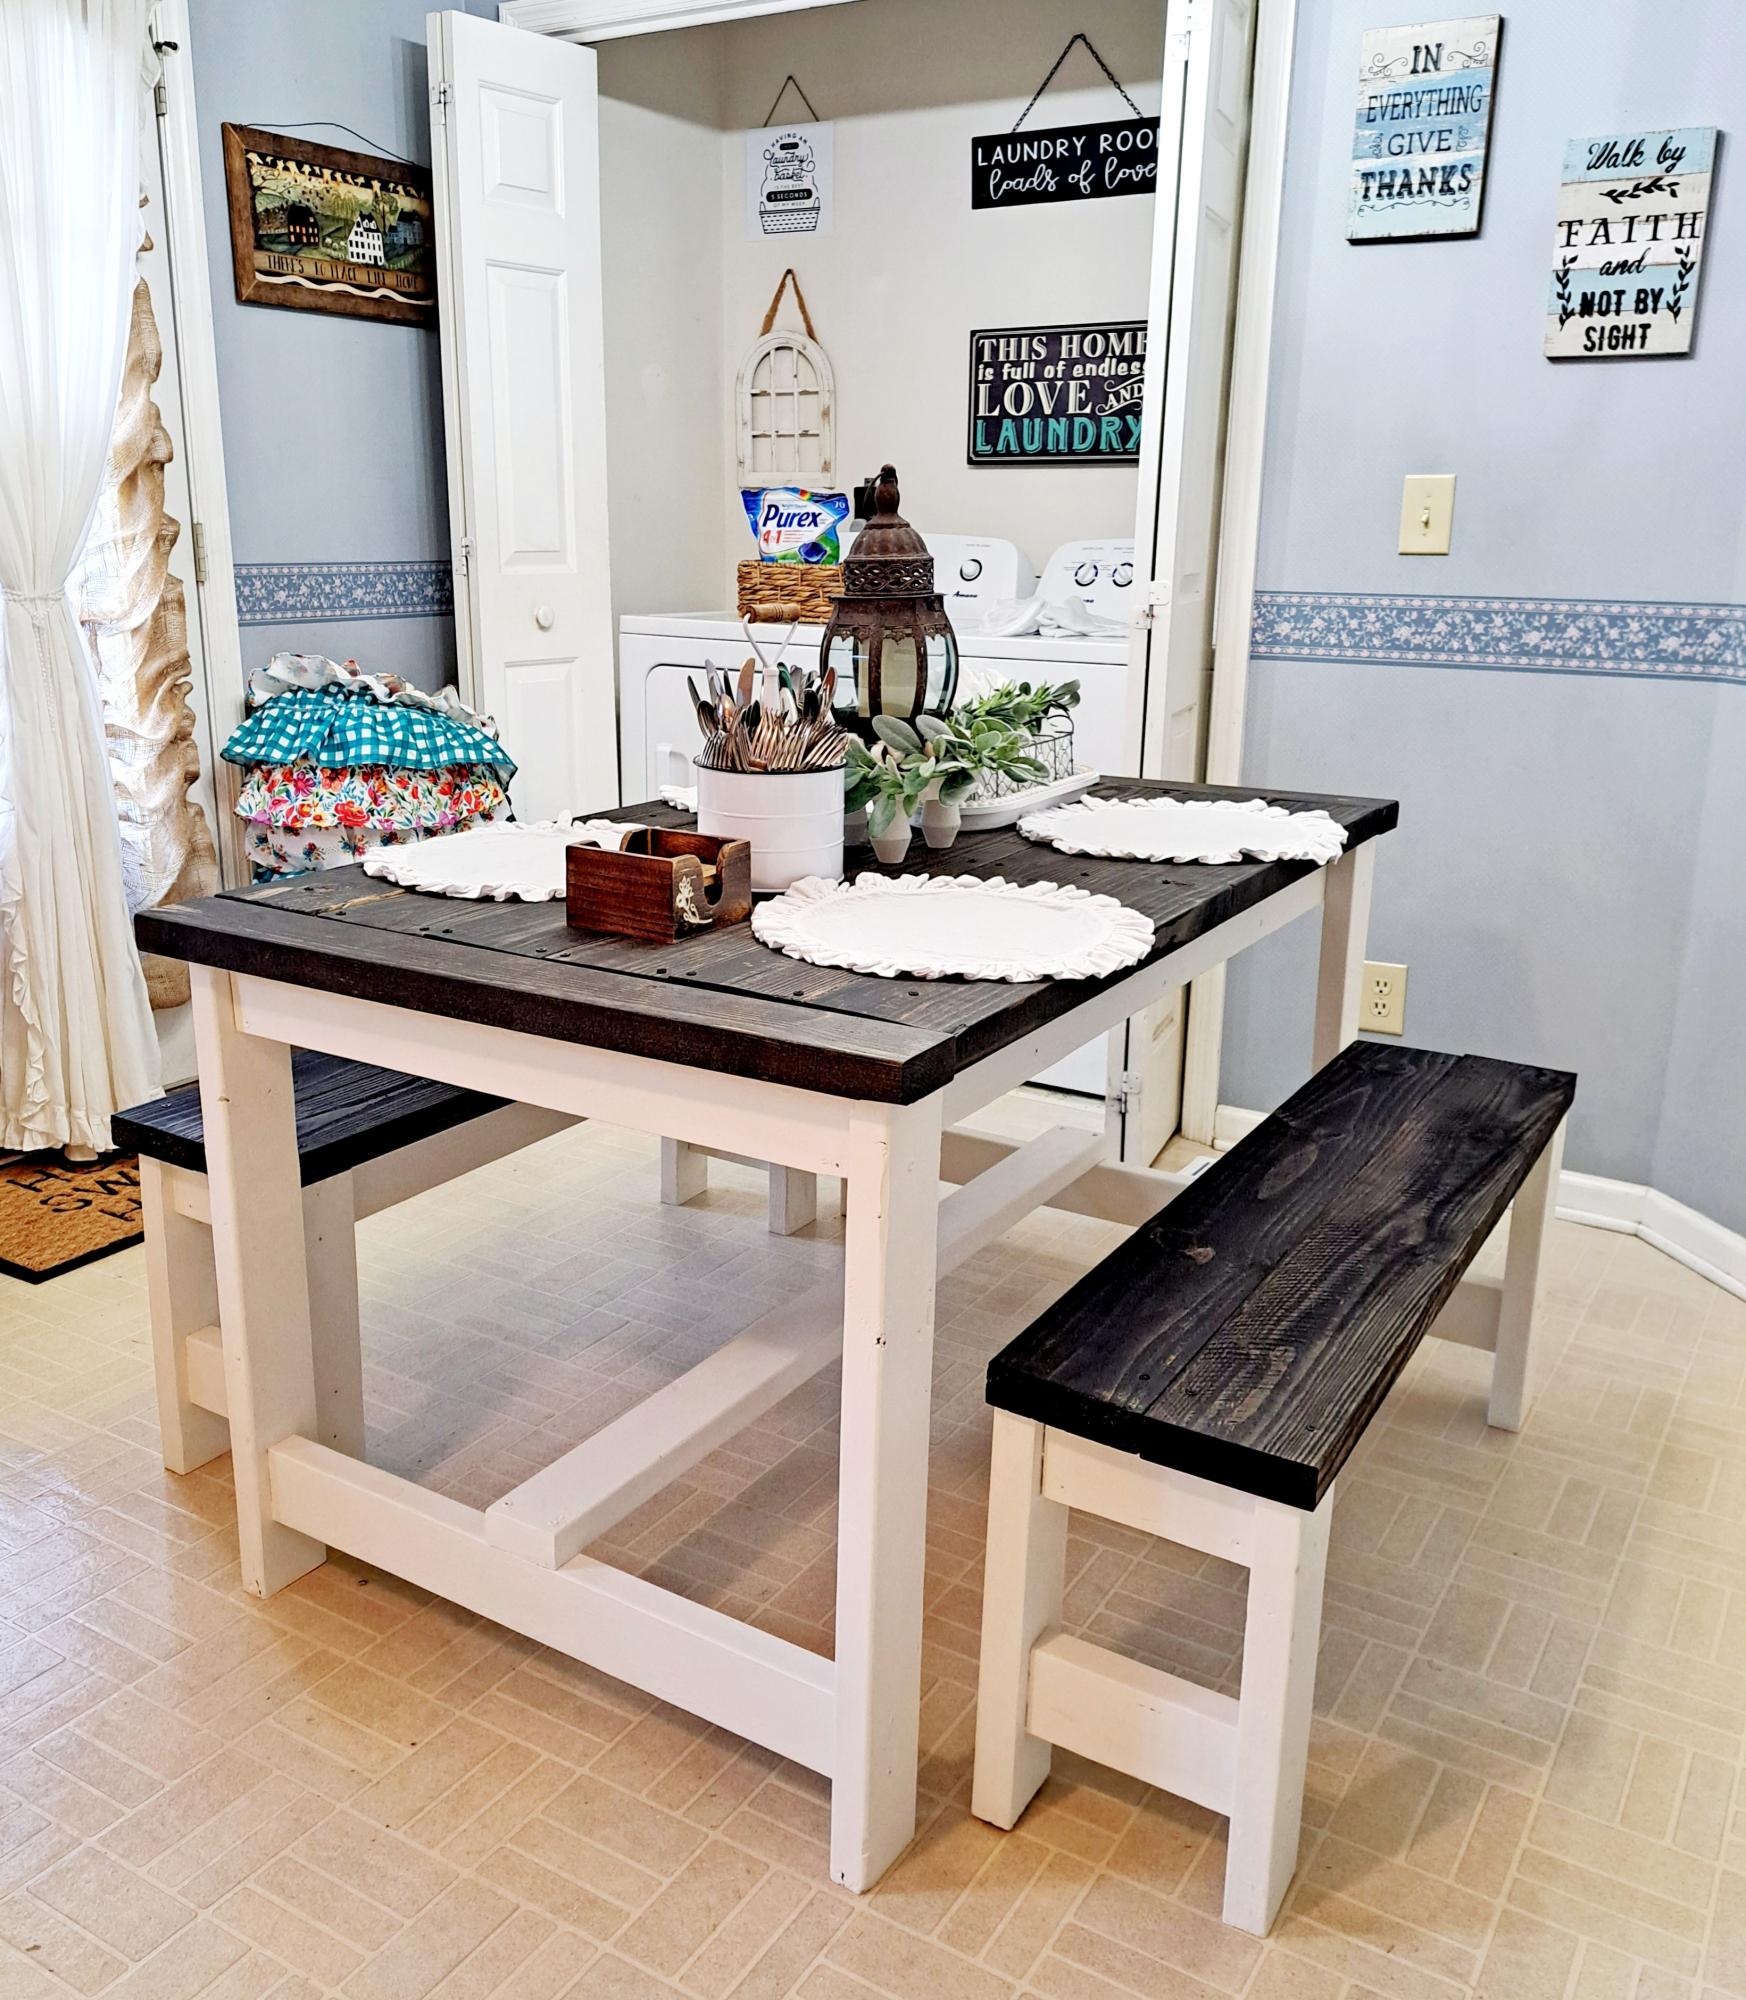
Finish Used
Varathane Charred Wood Accelerator, white semi gloss paint. The only advice I will add is to sand and paint / stained before building the table.
Recommended Skill Level
Intermediate