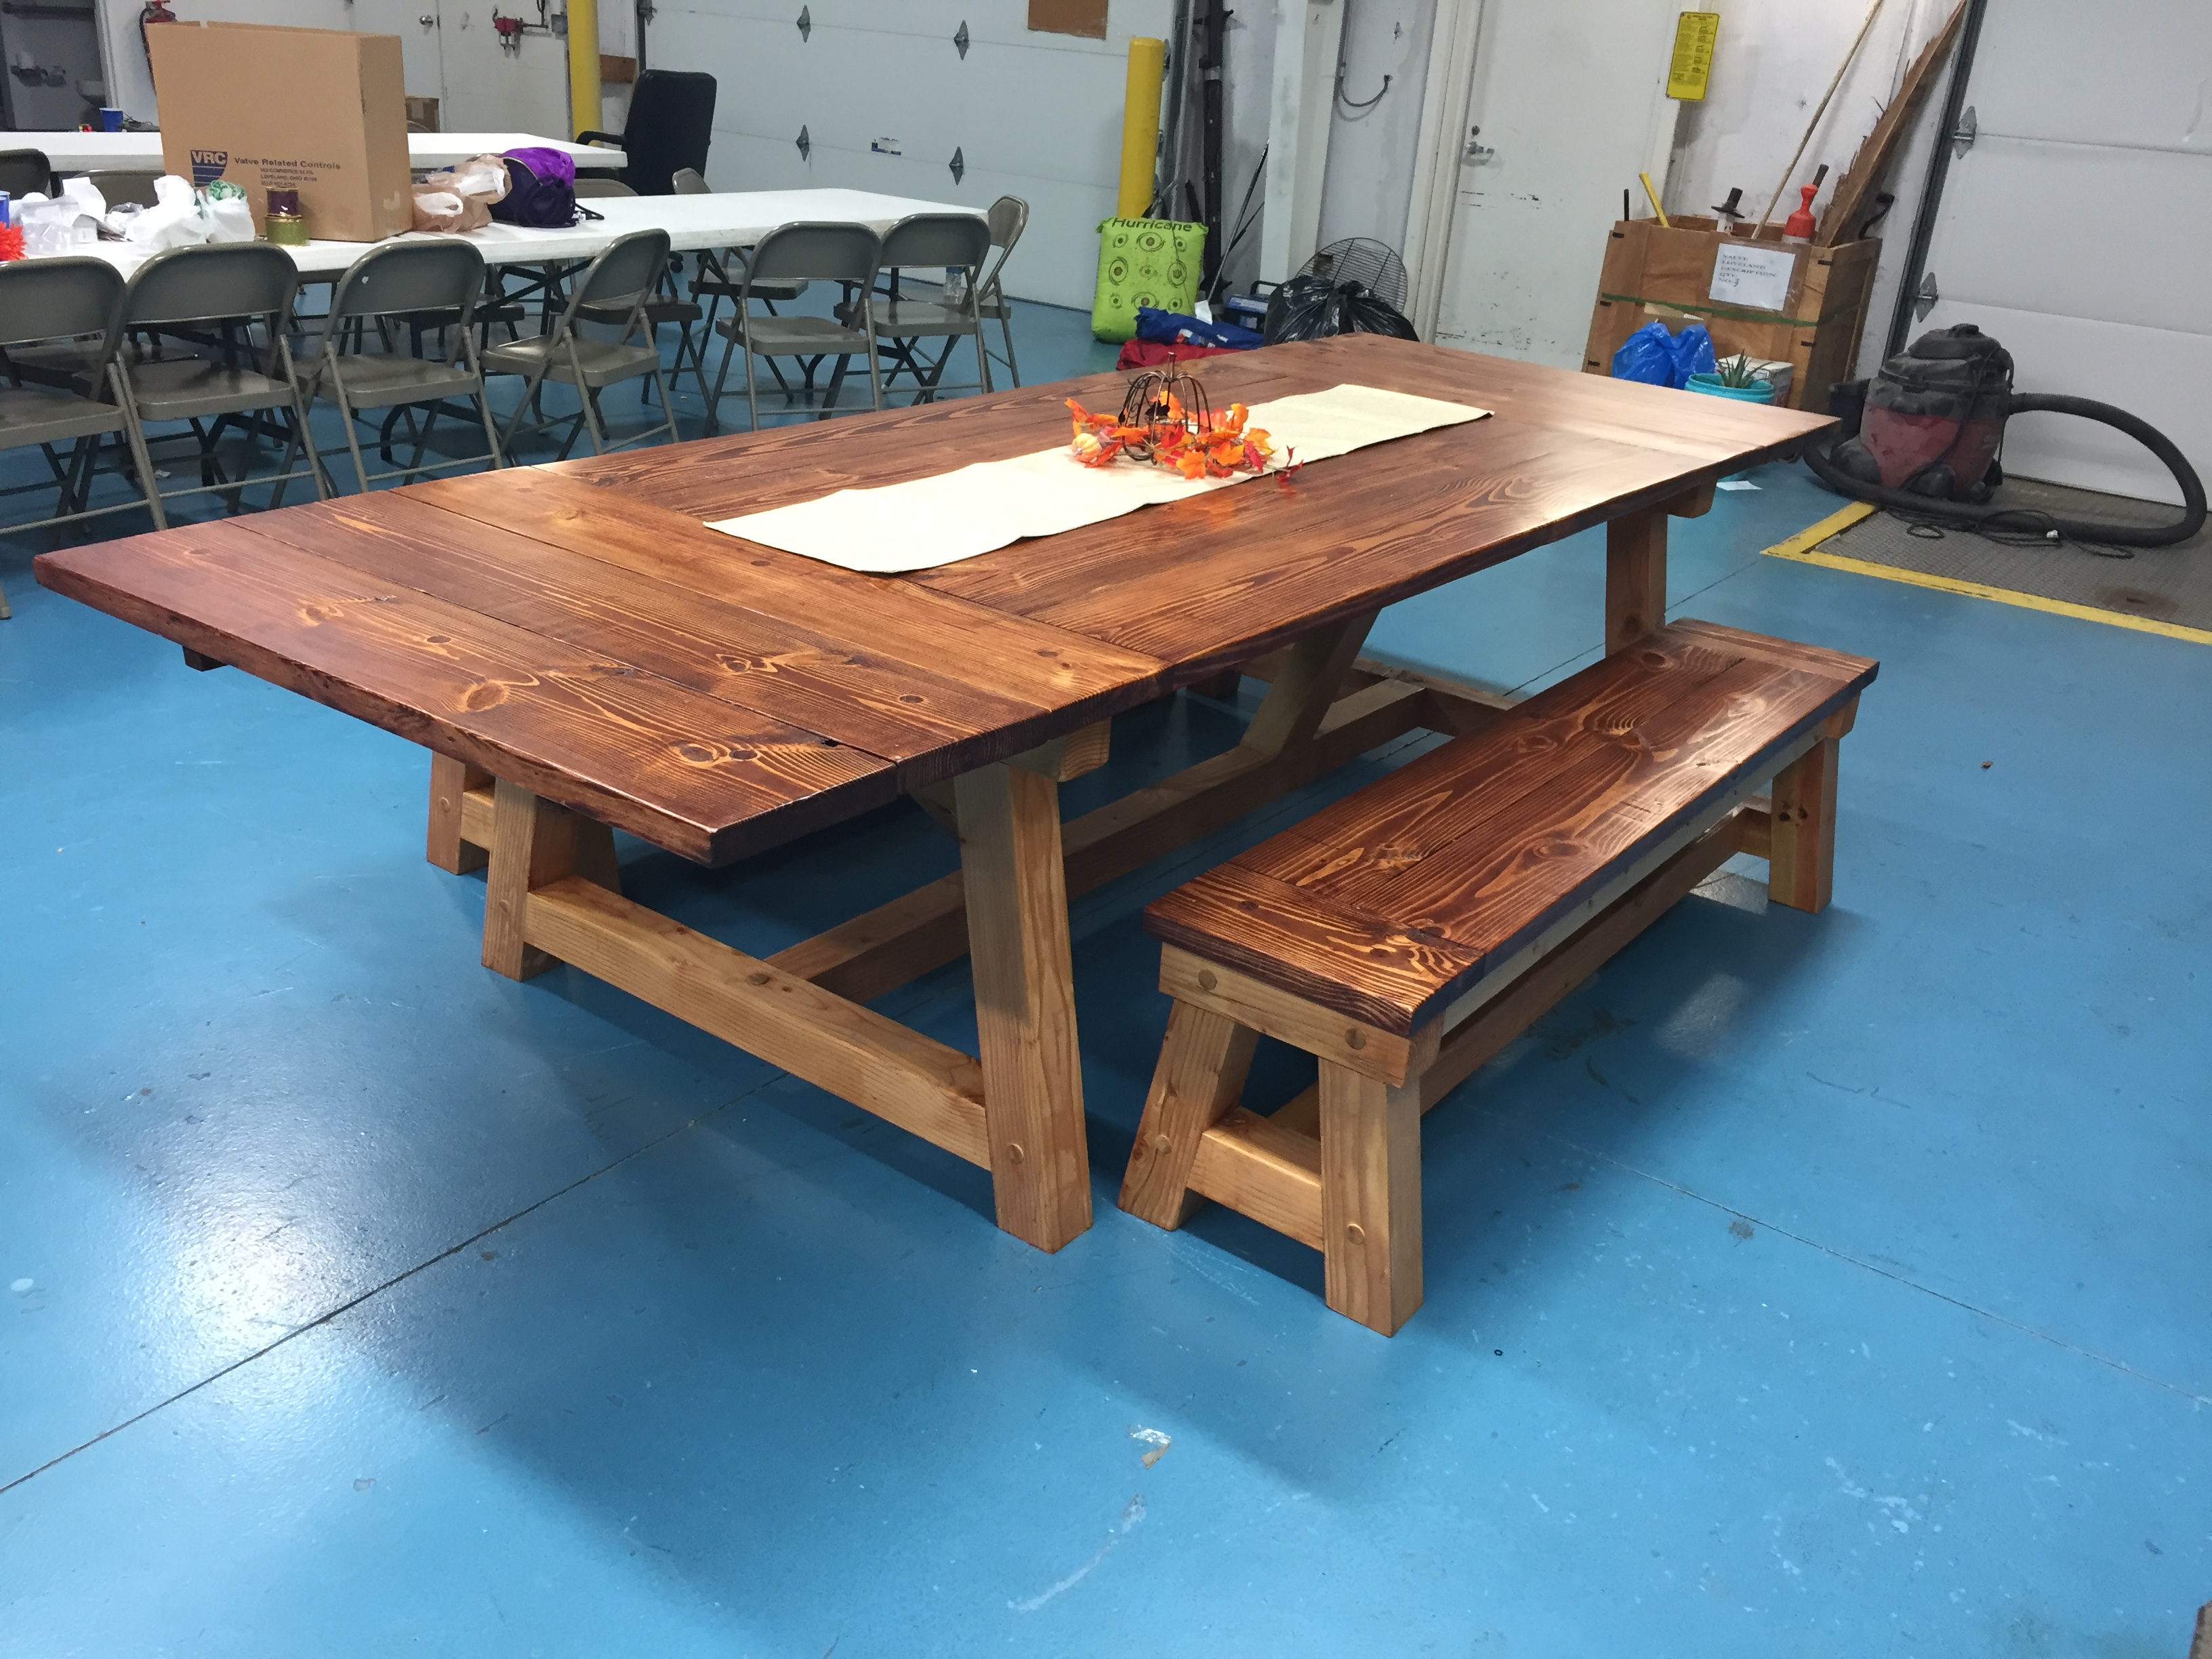
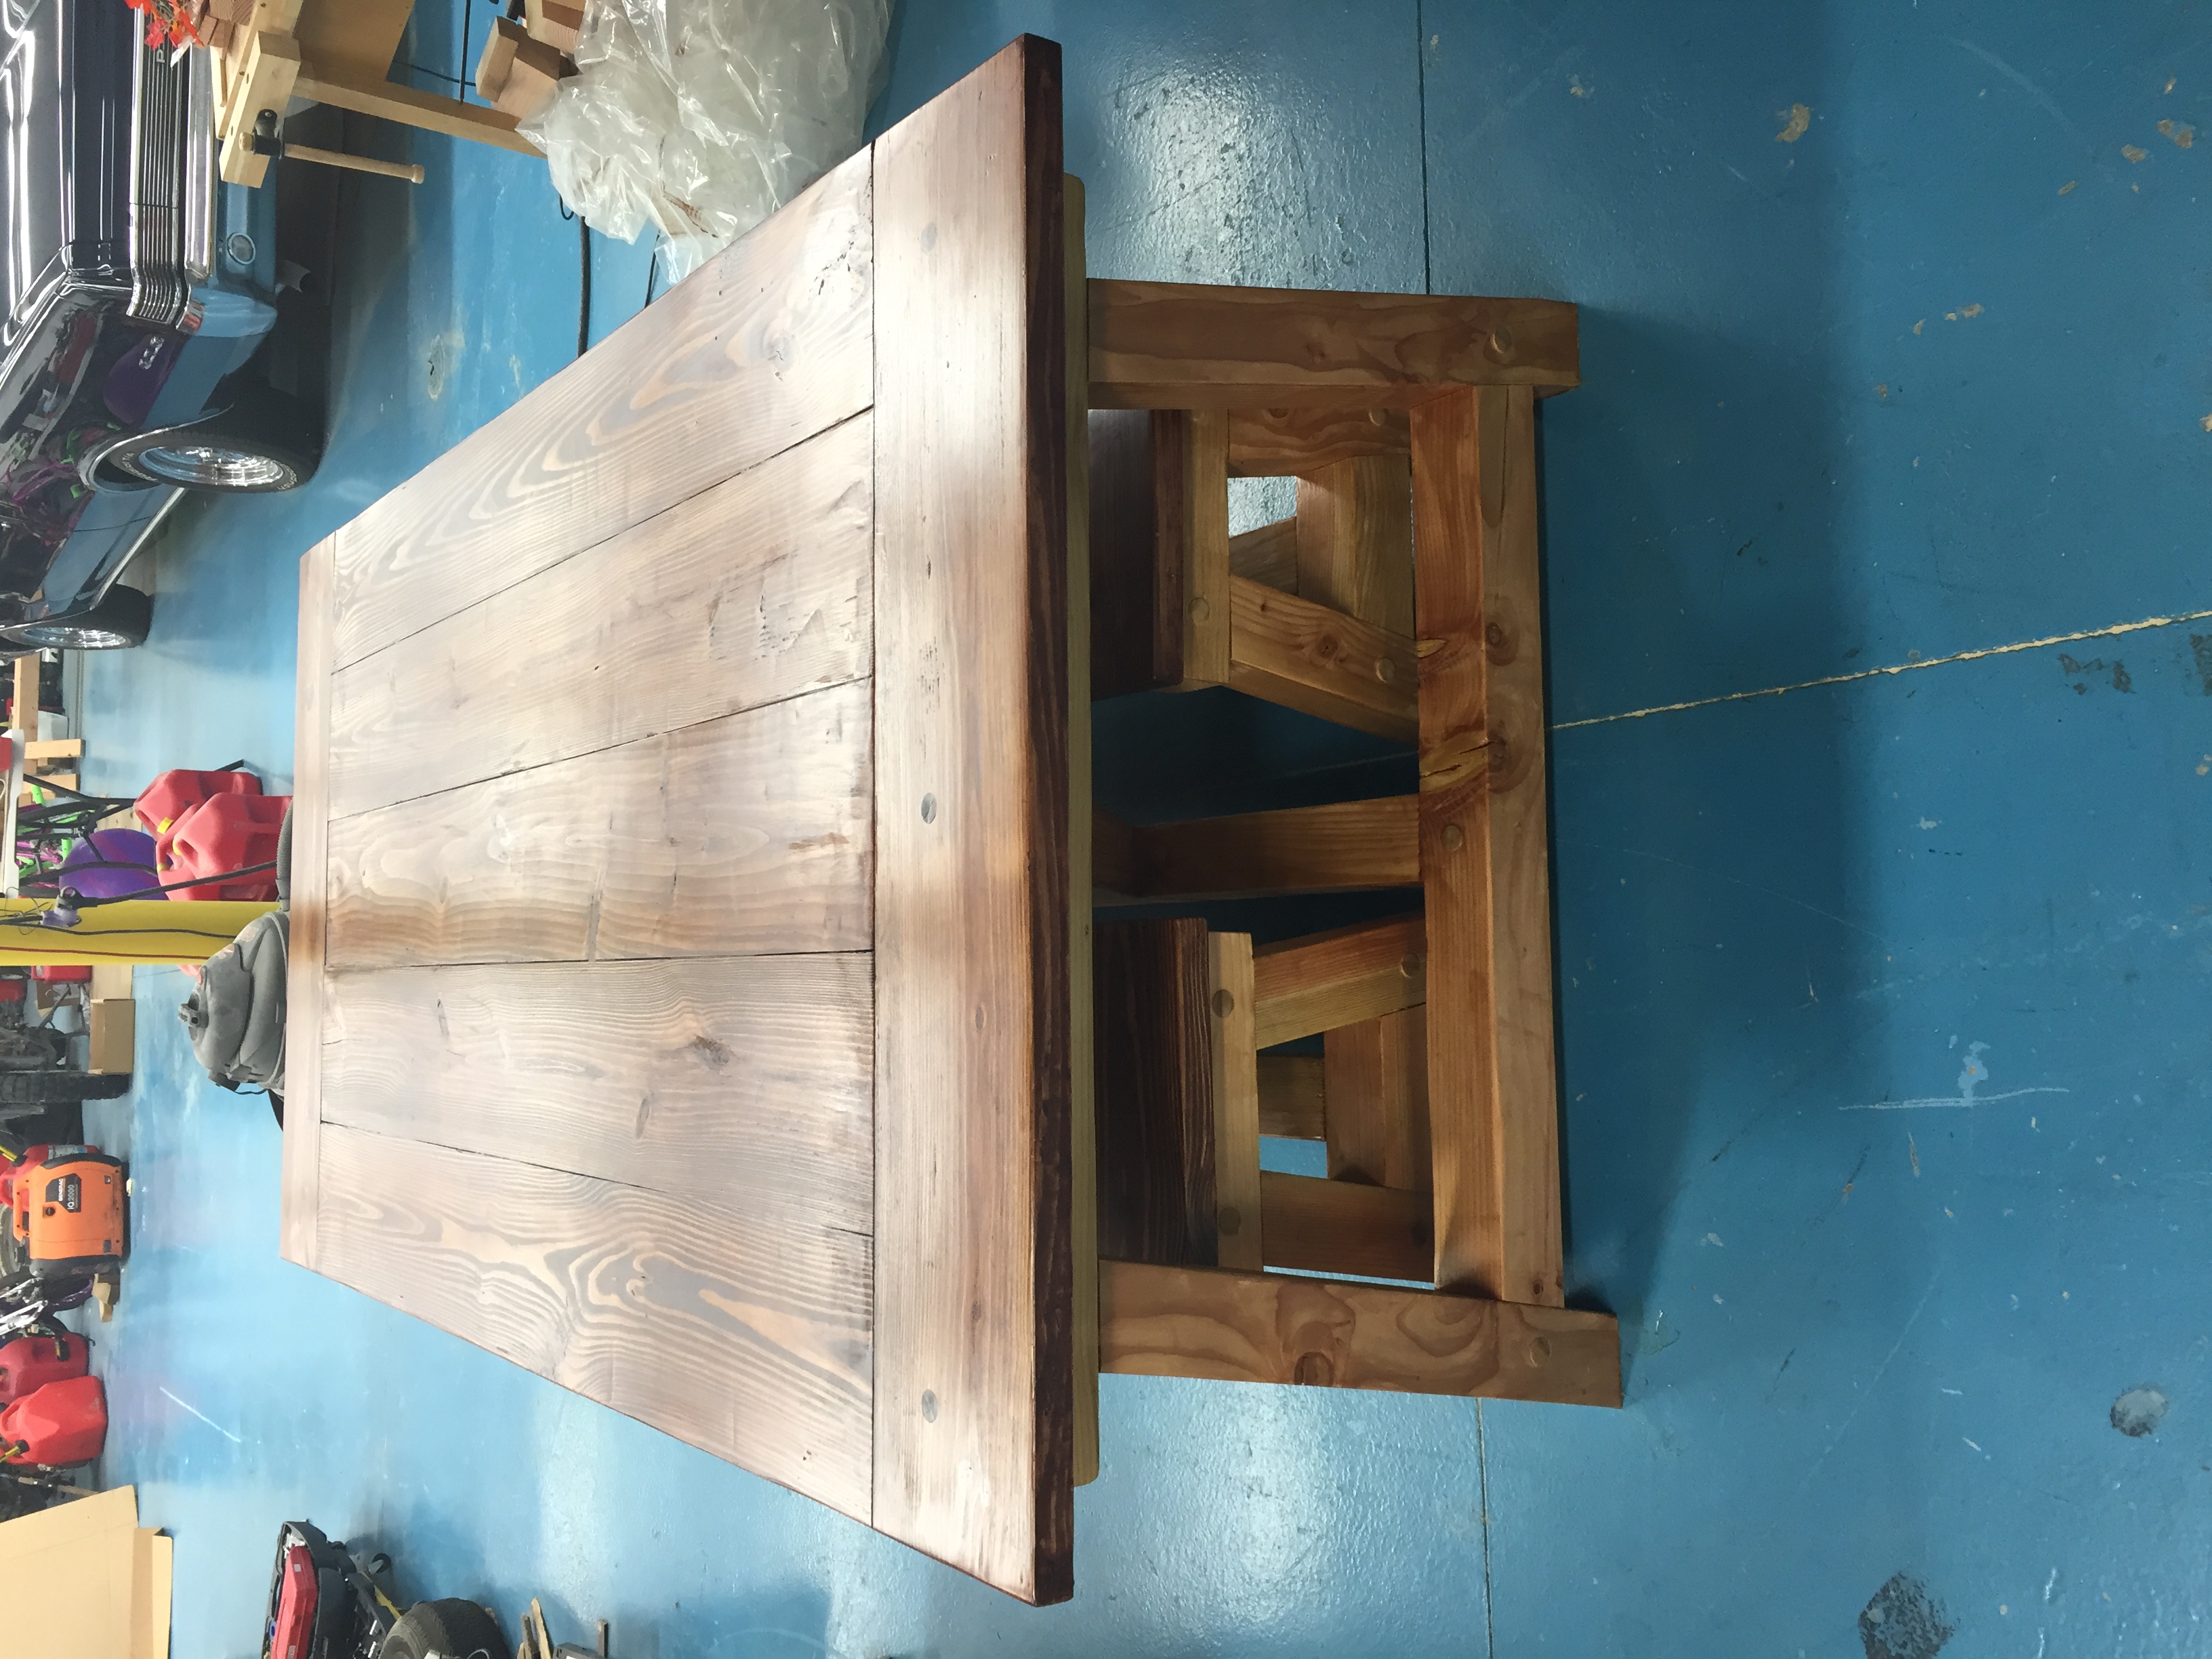
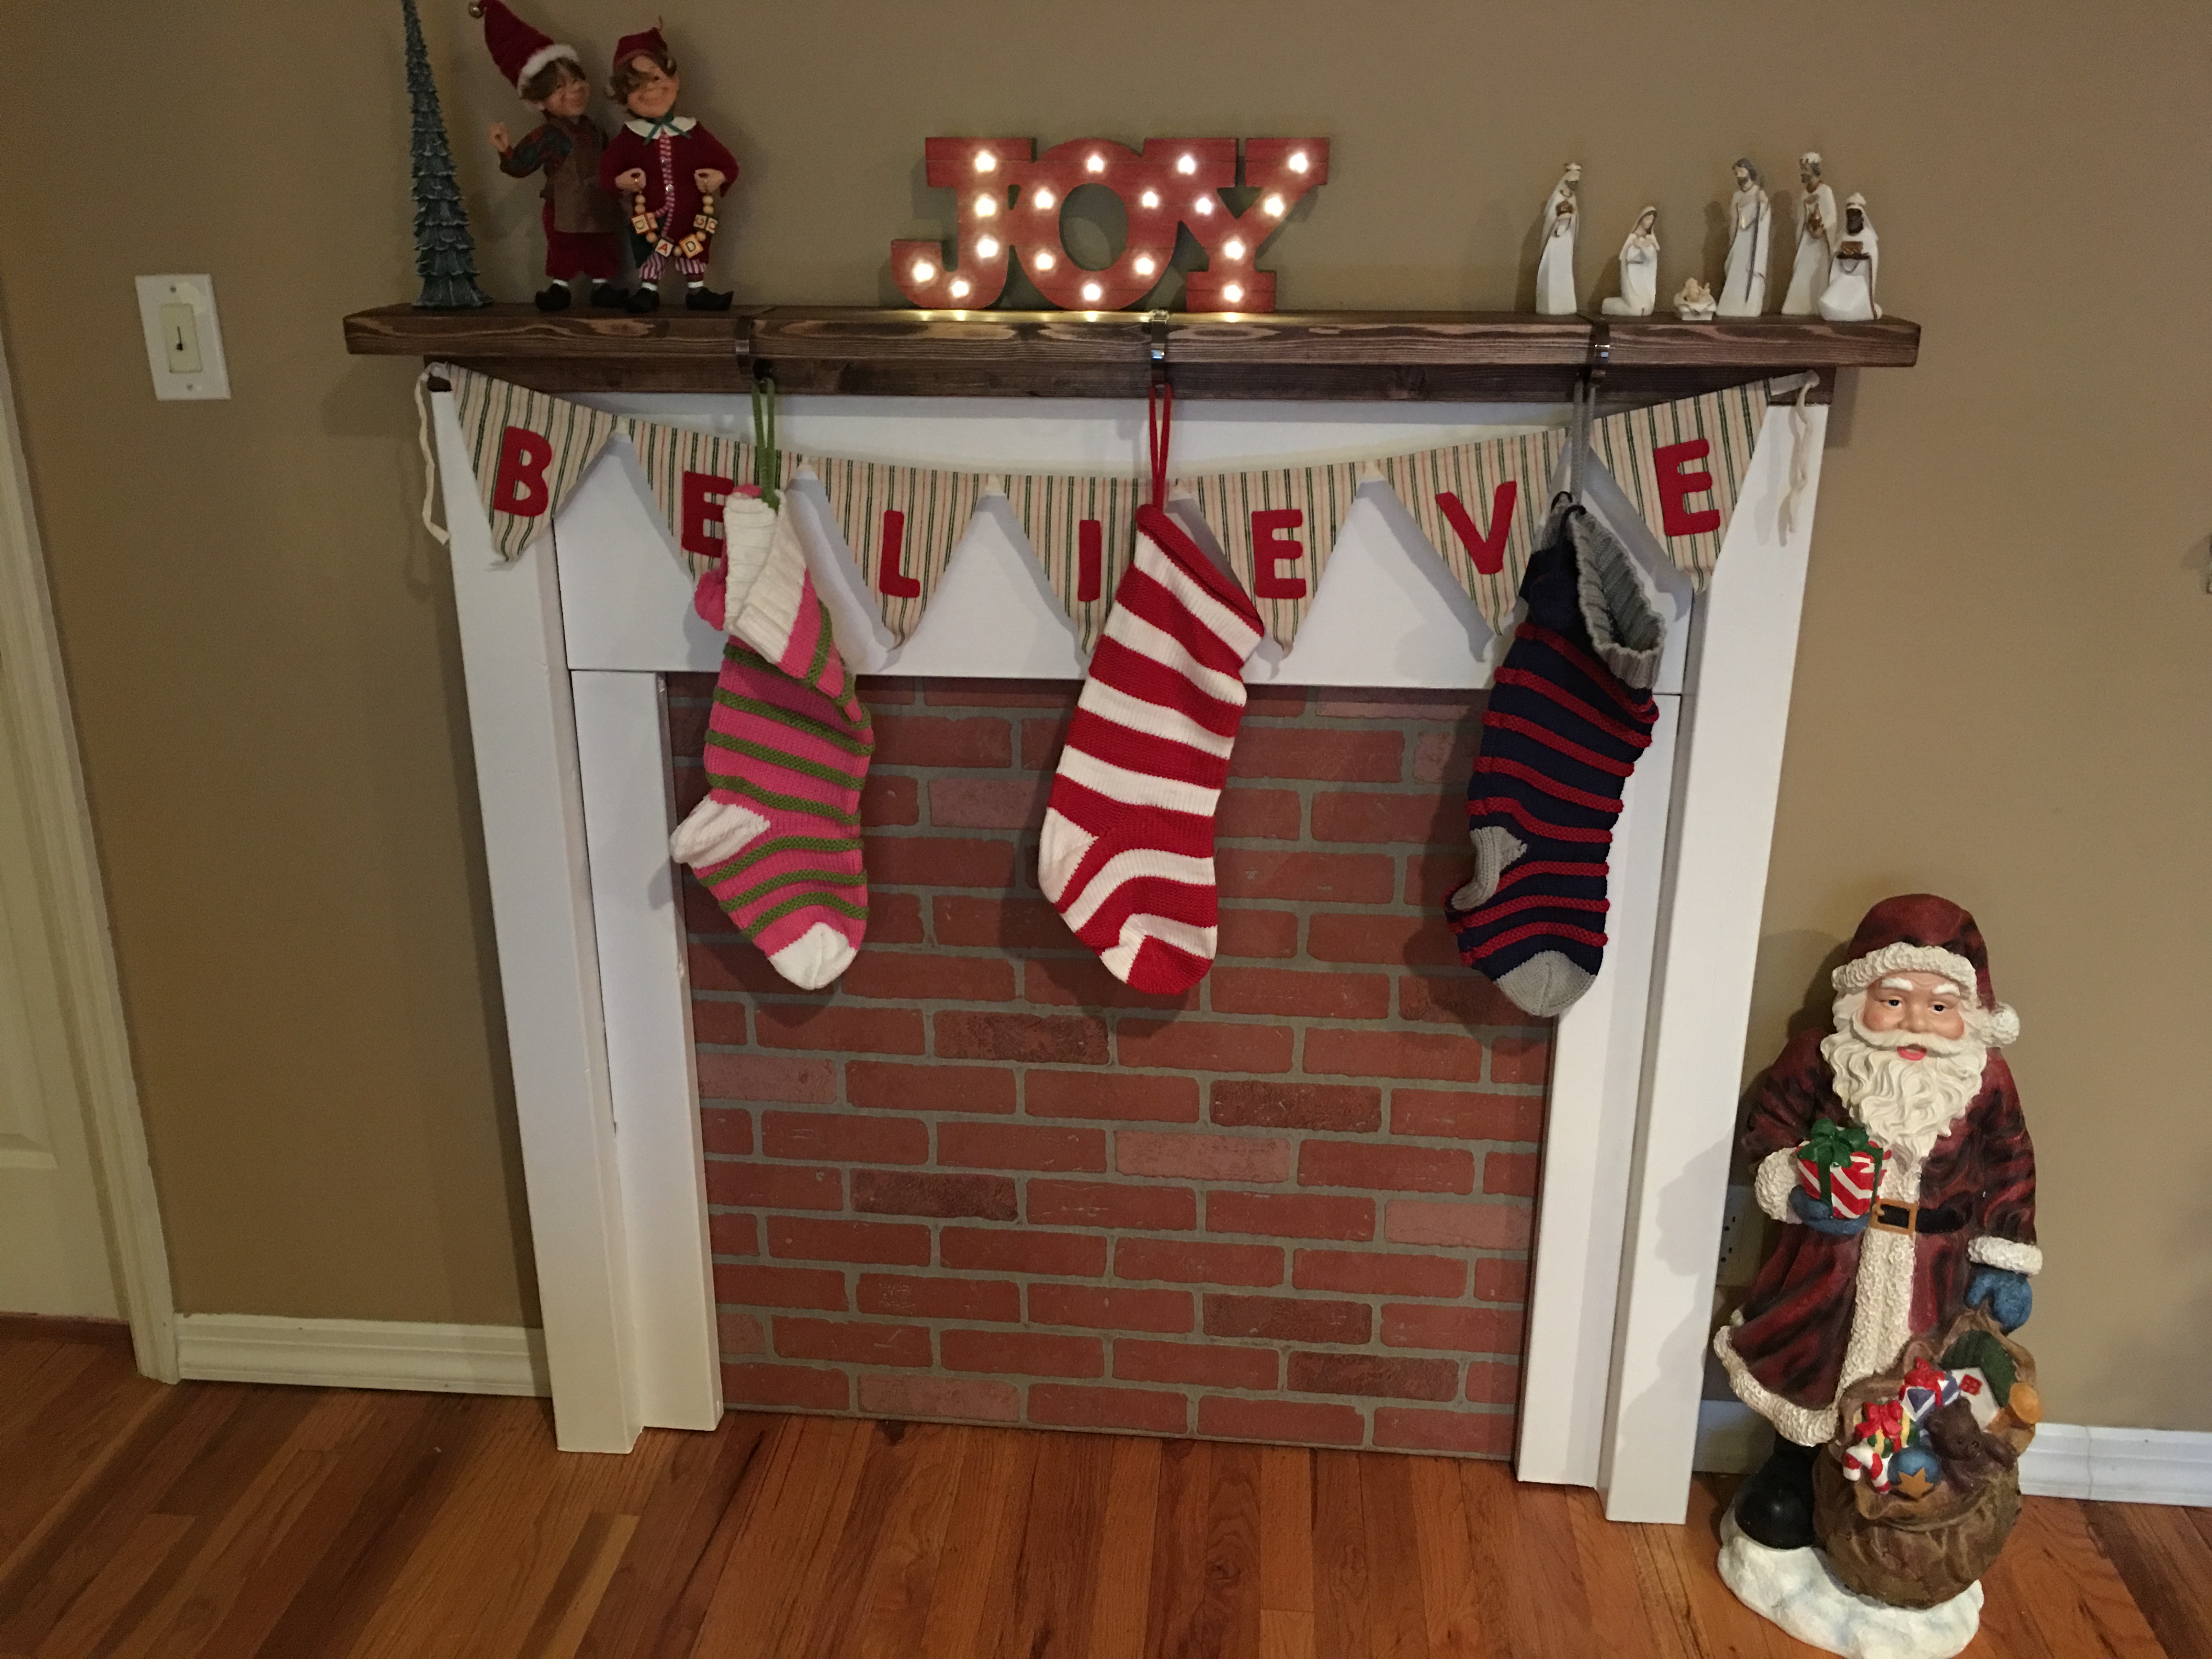
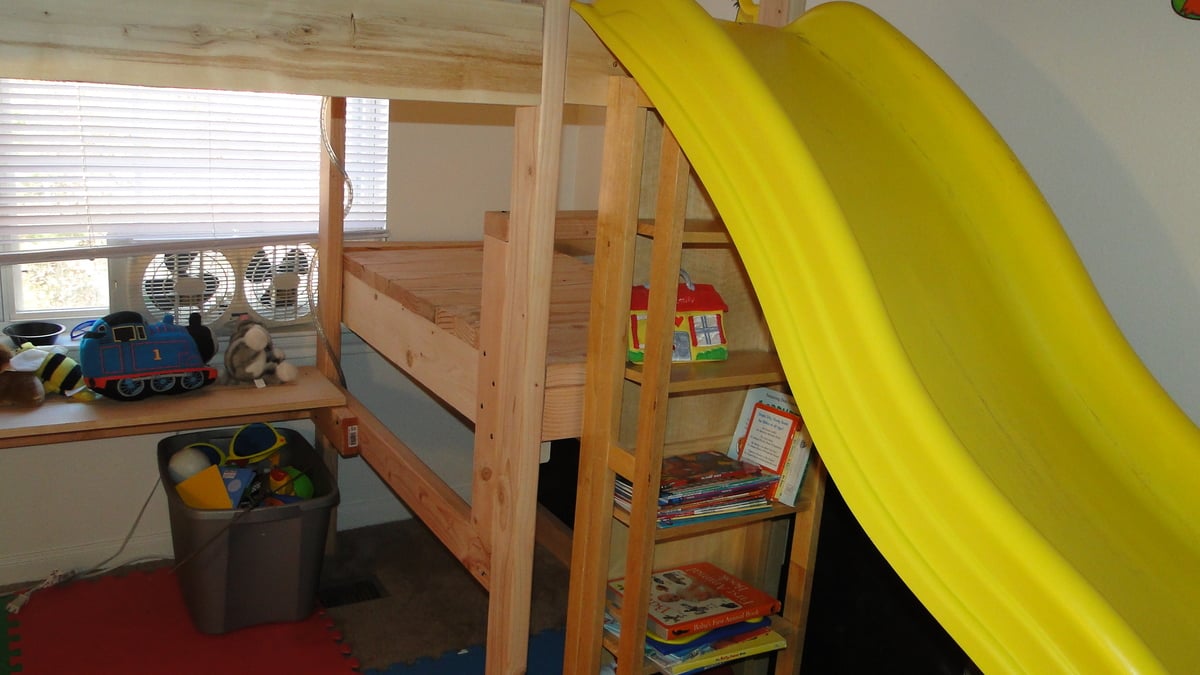
thank you ana you inspired me to begin with this!
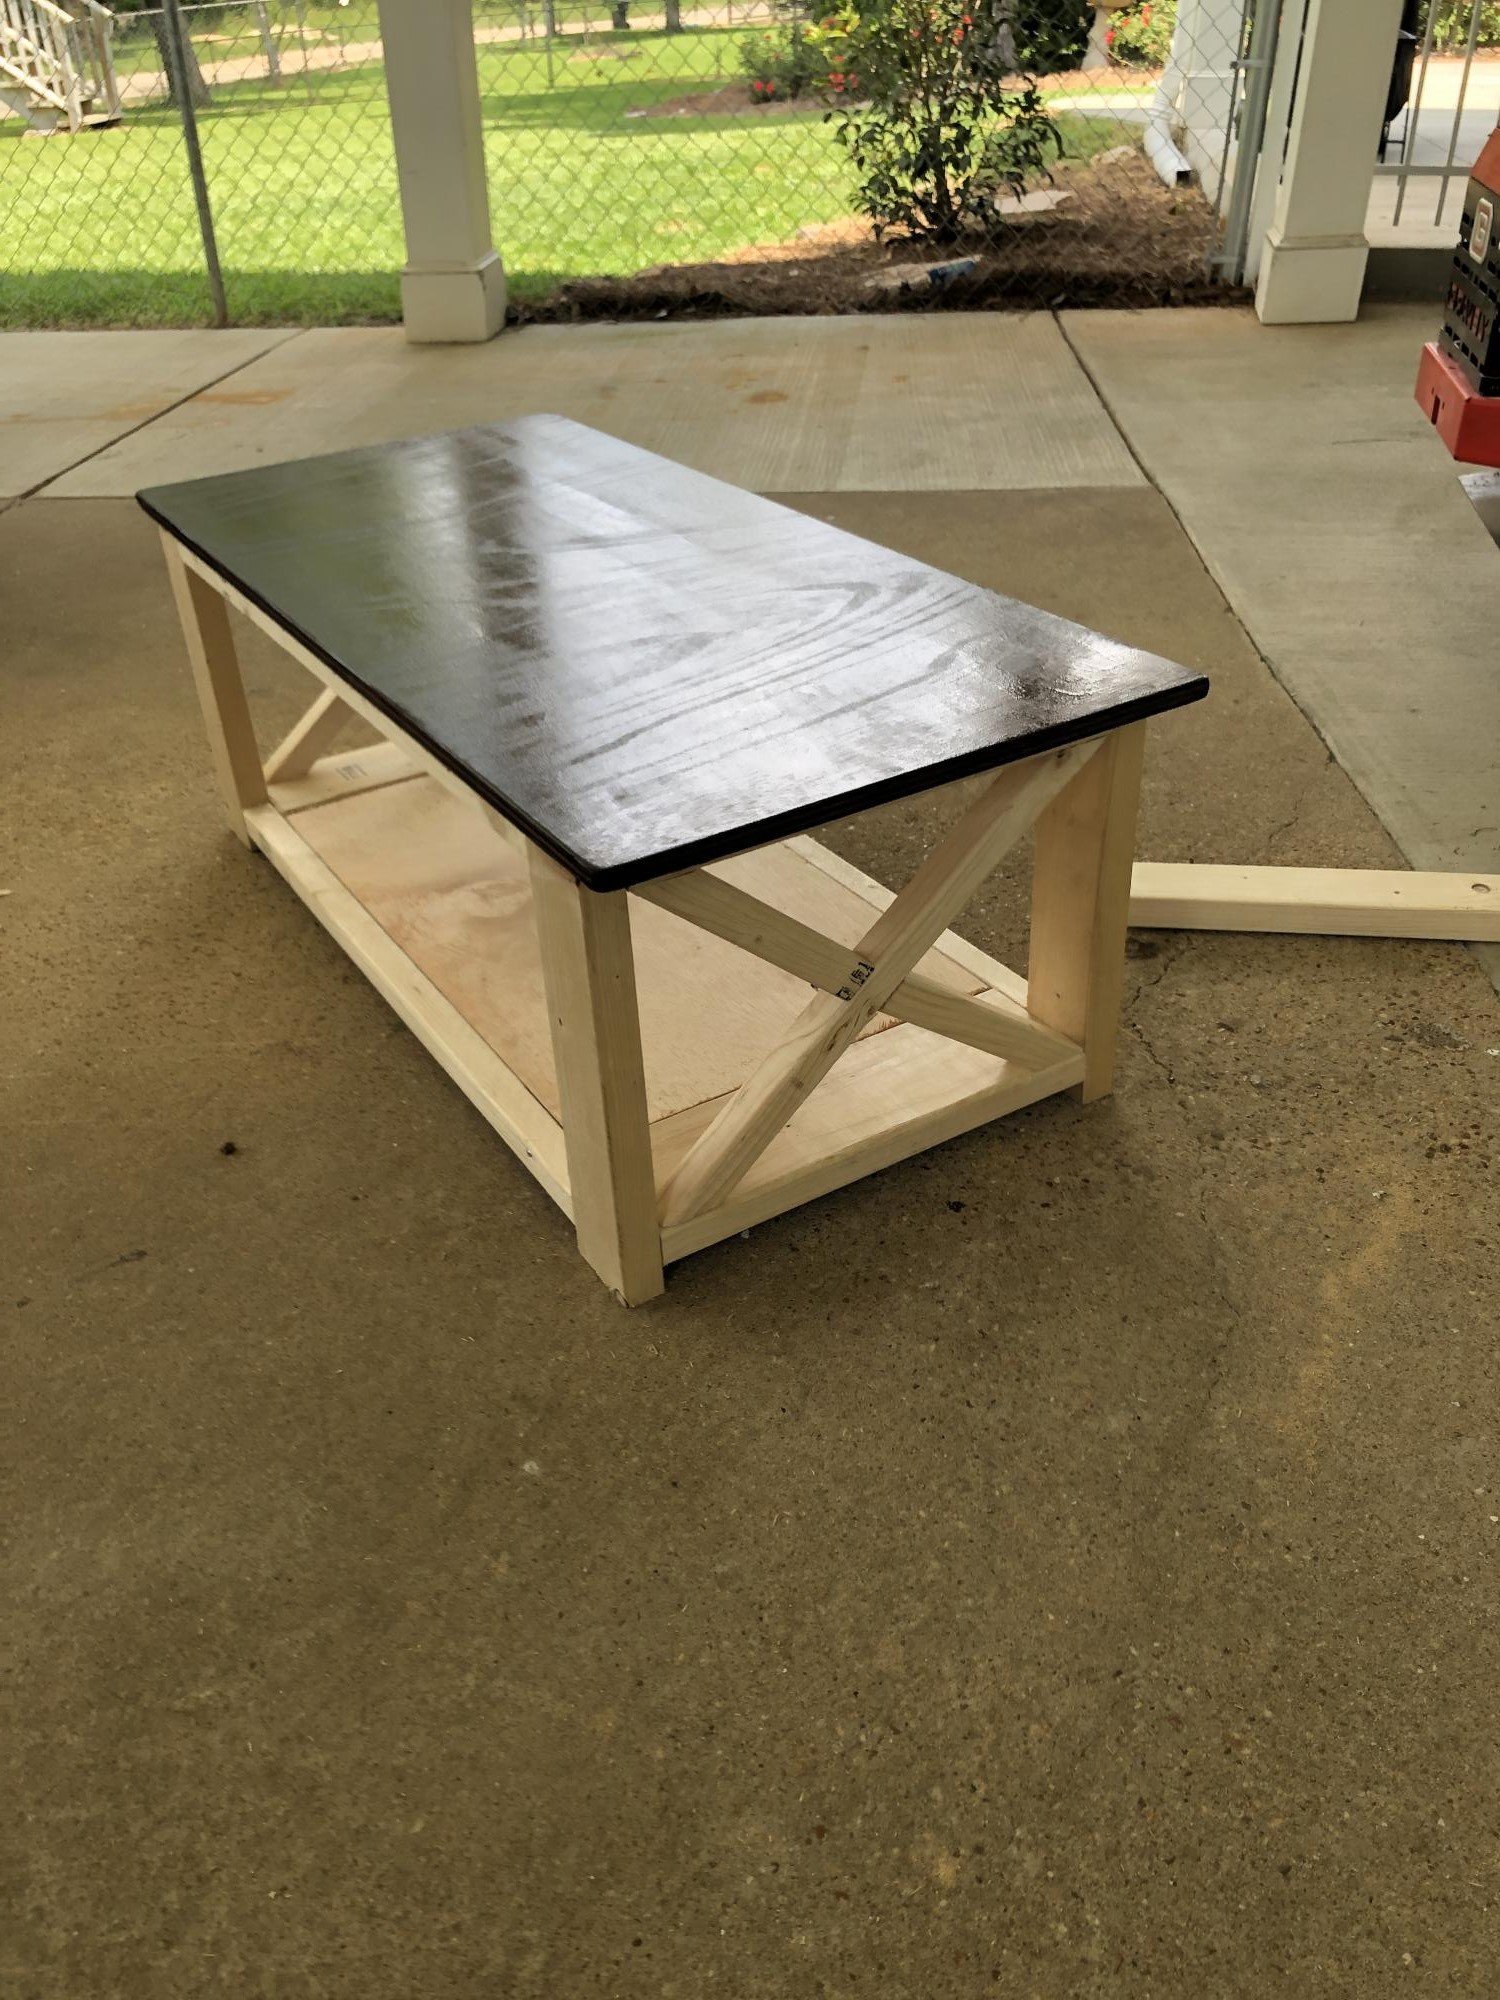
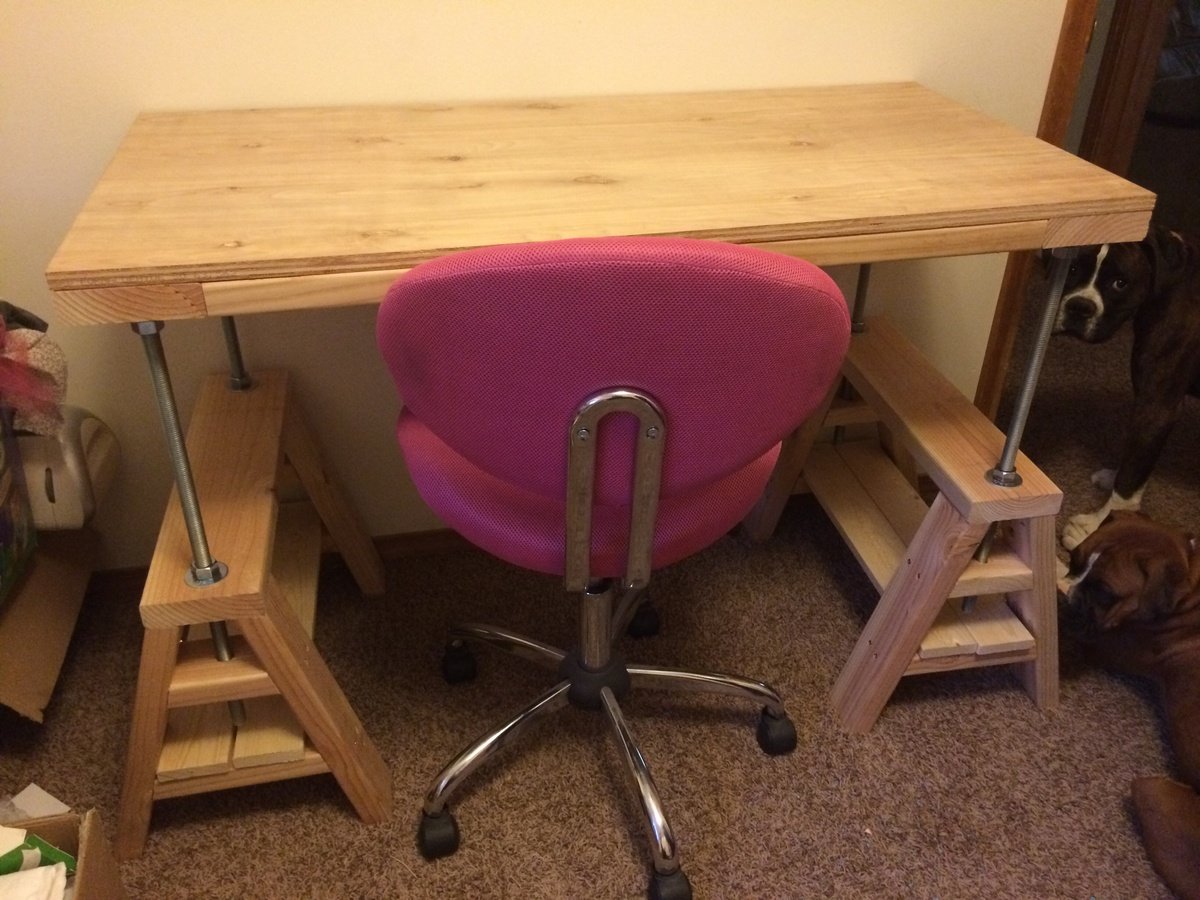
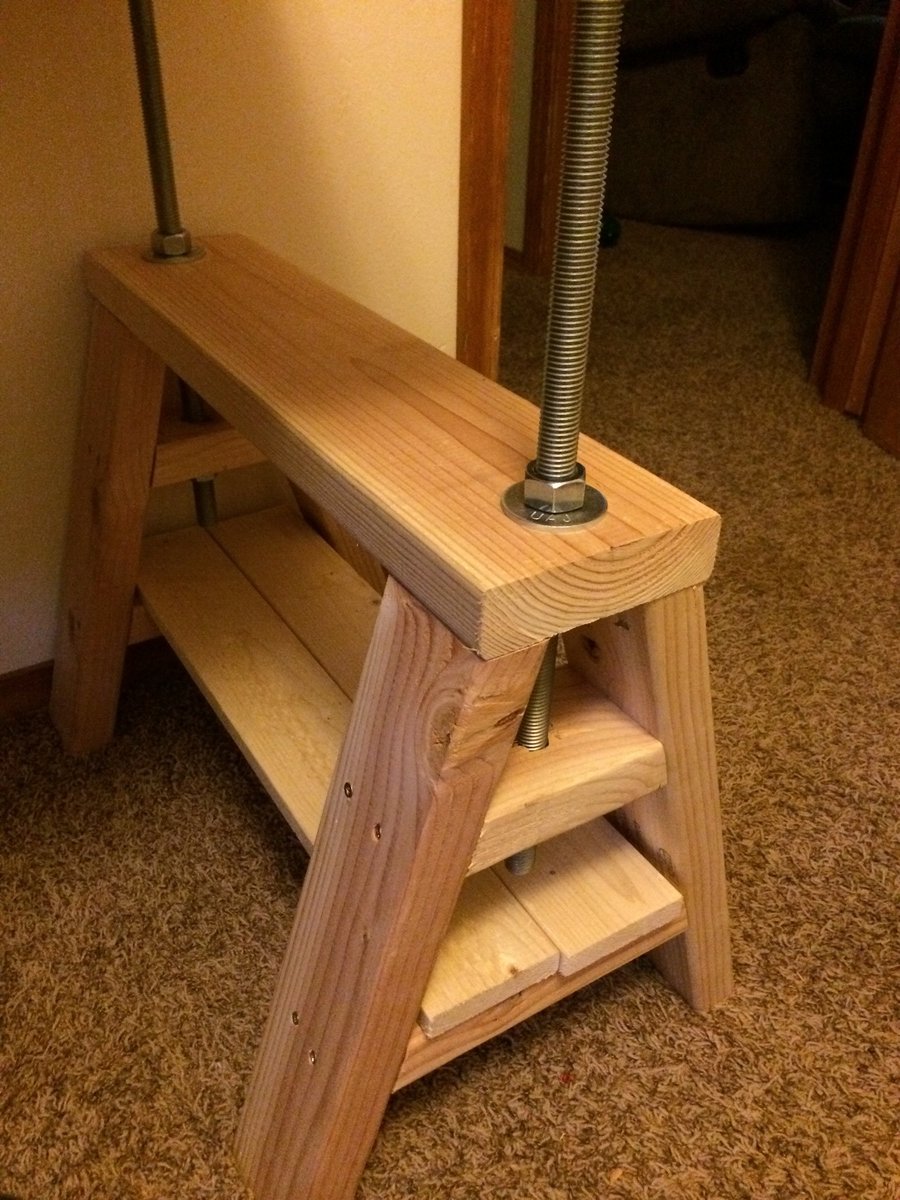
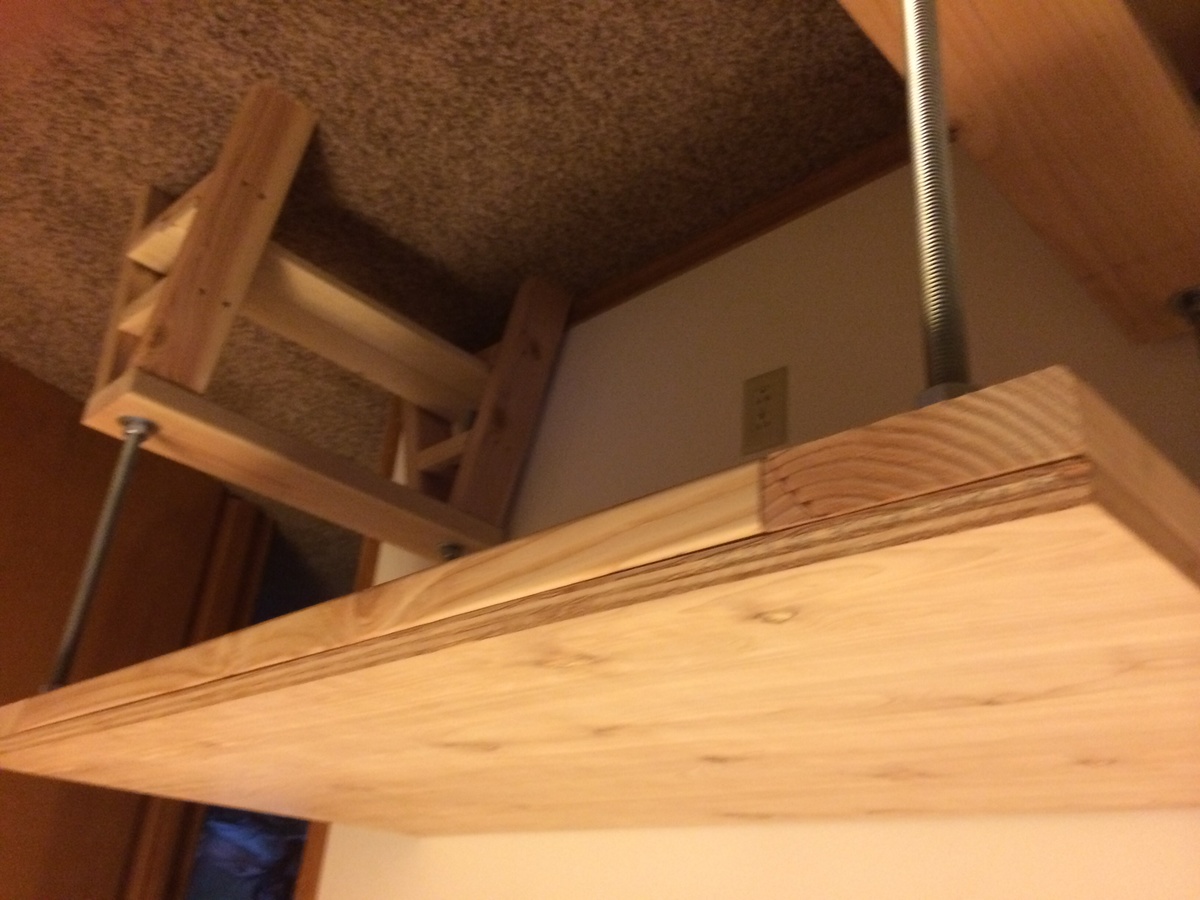
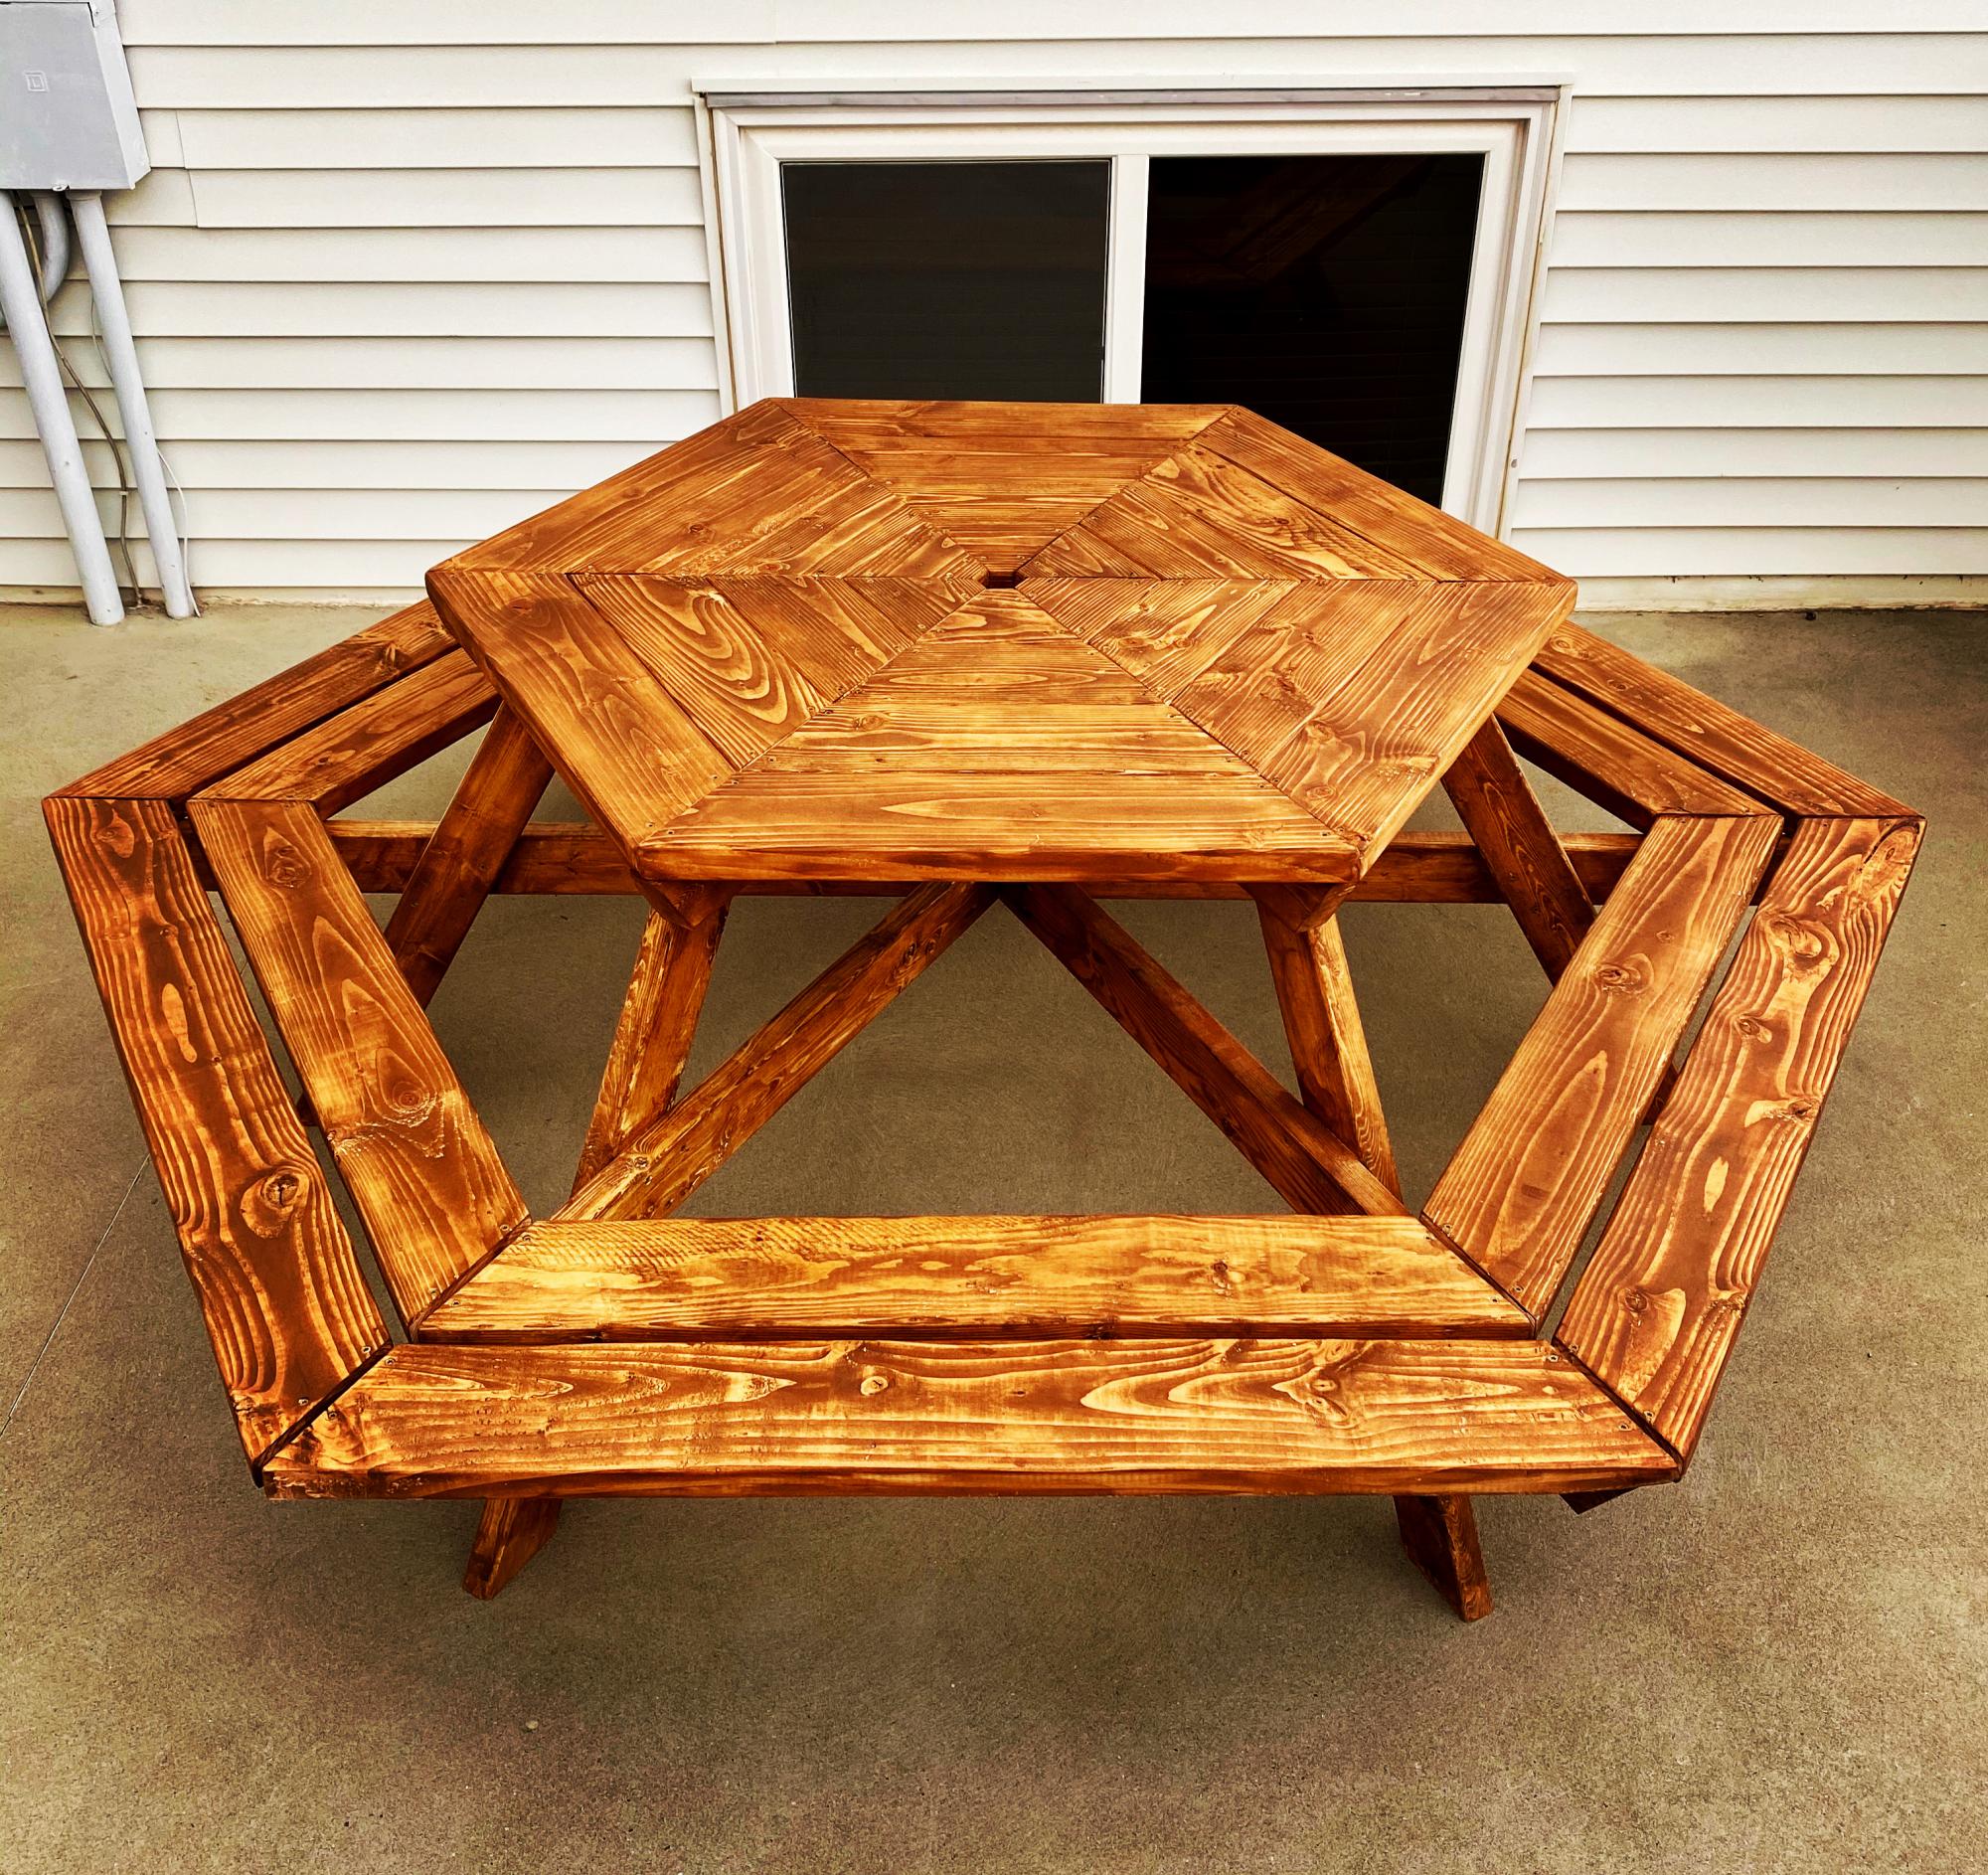
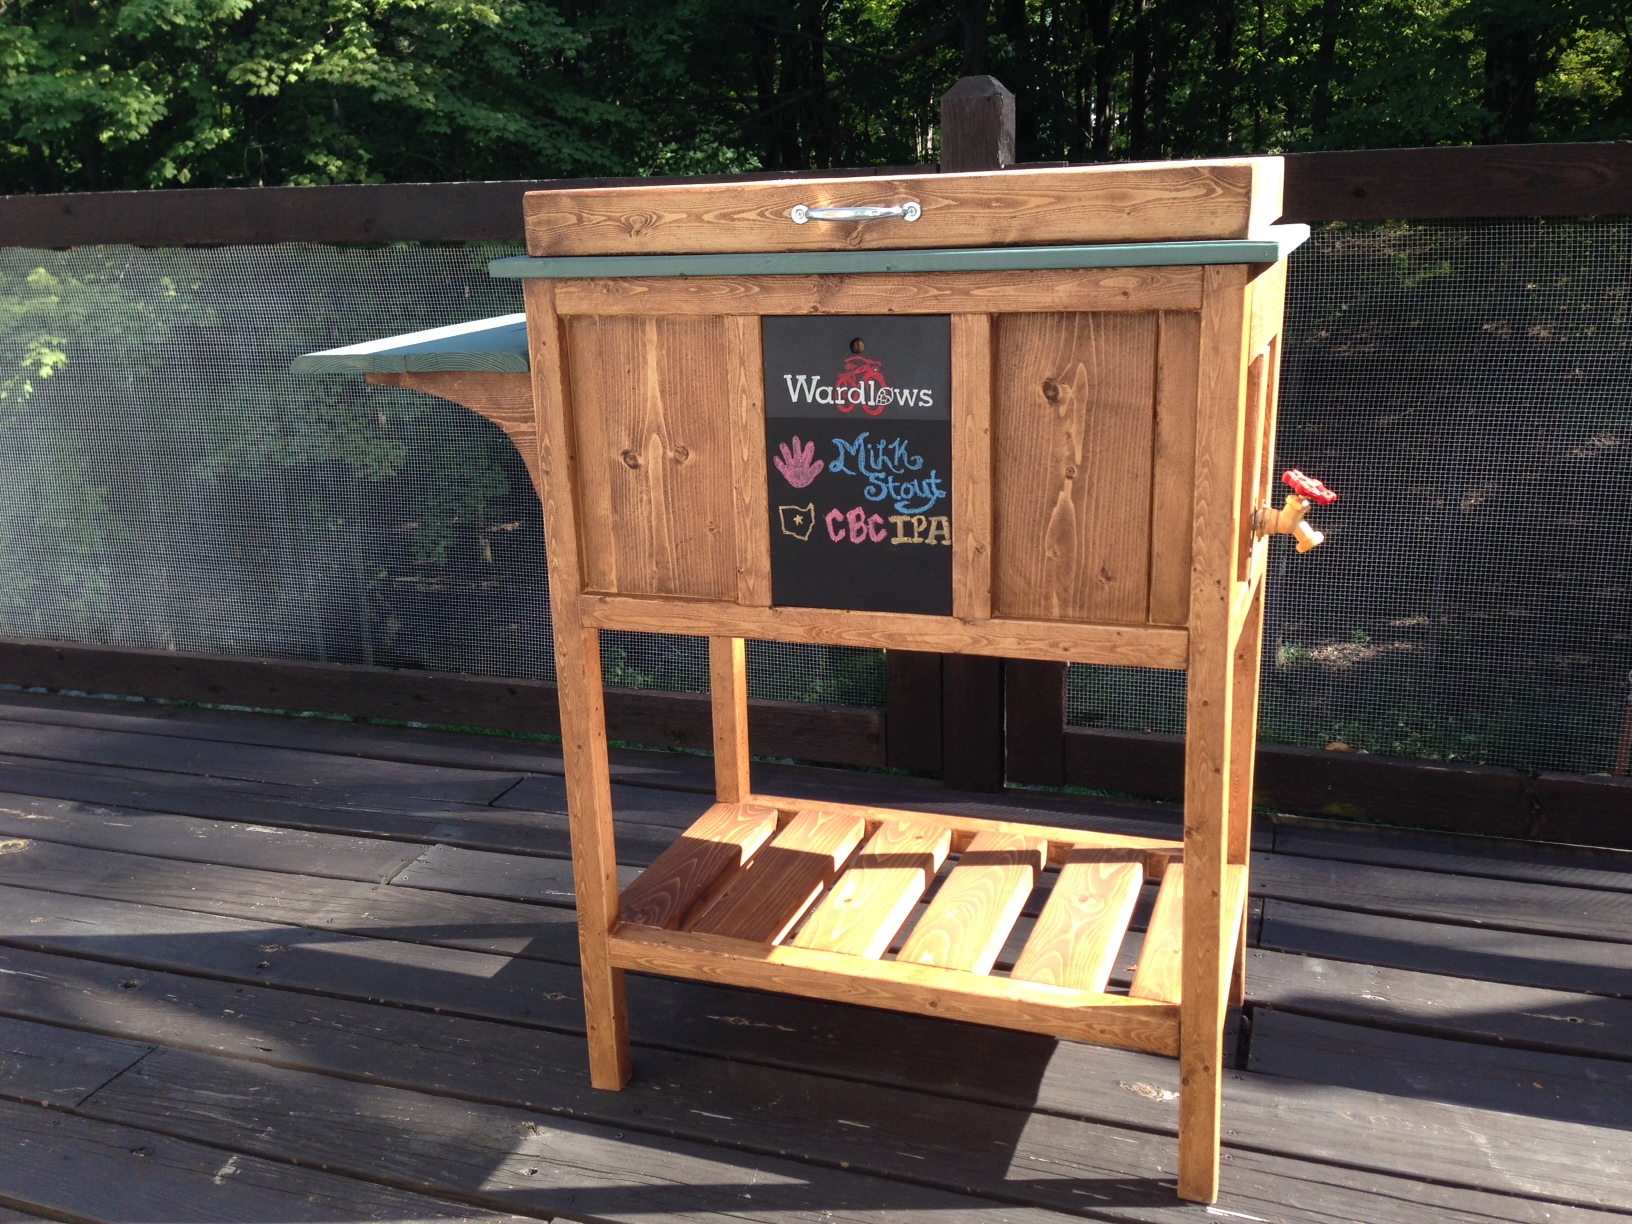
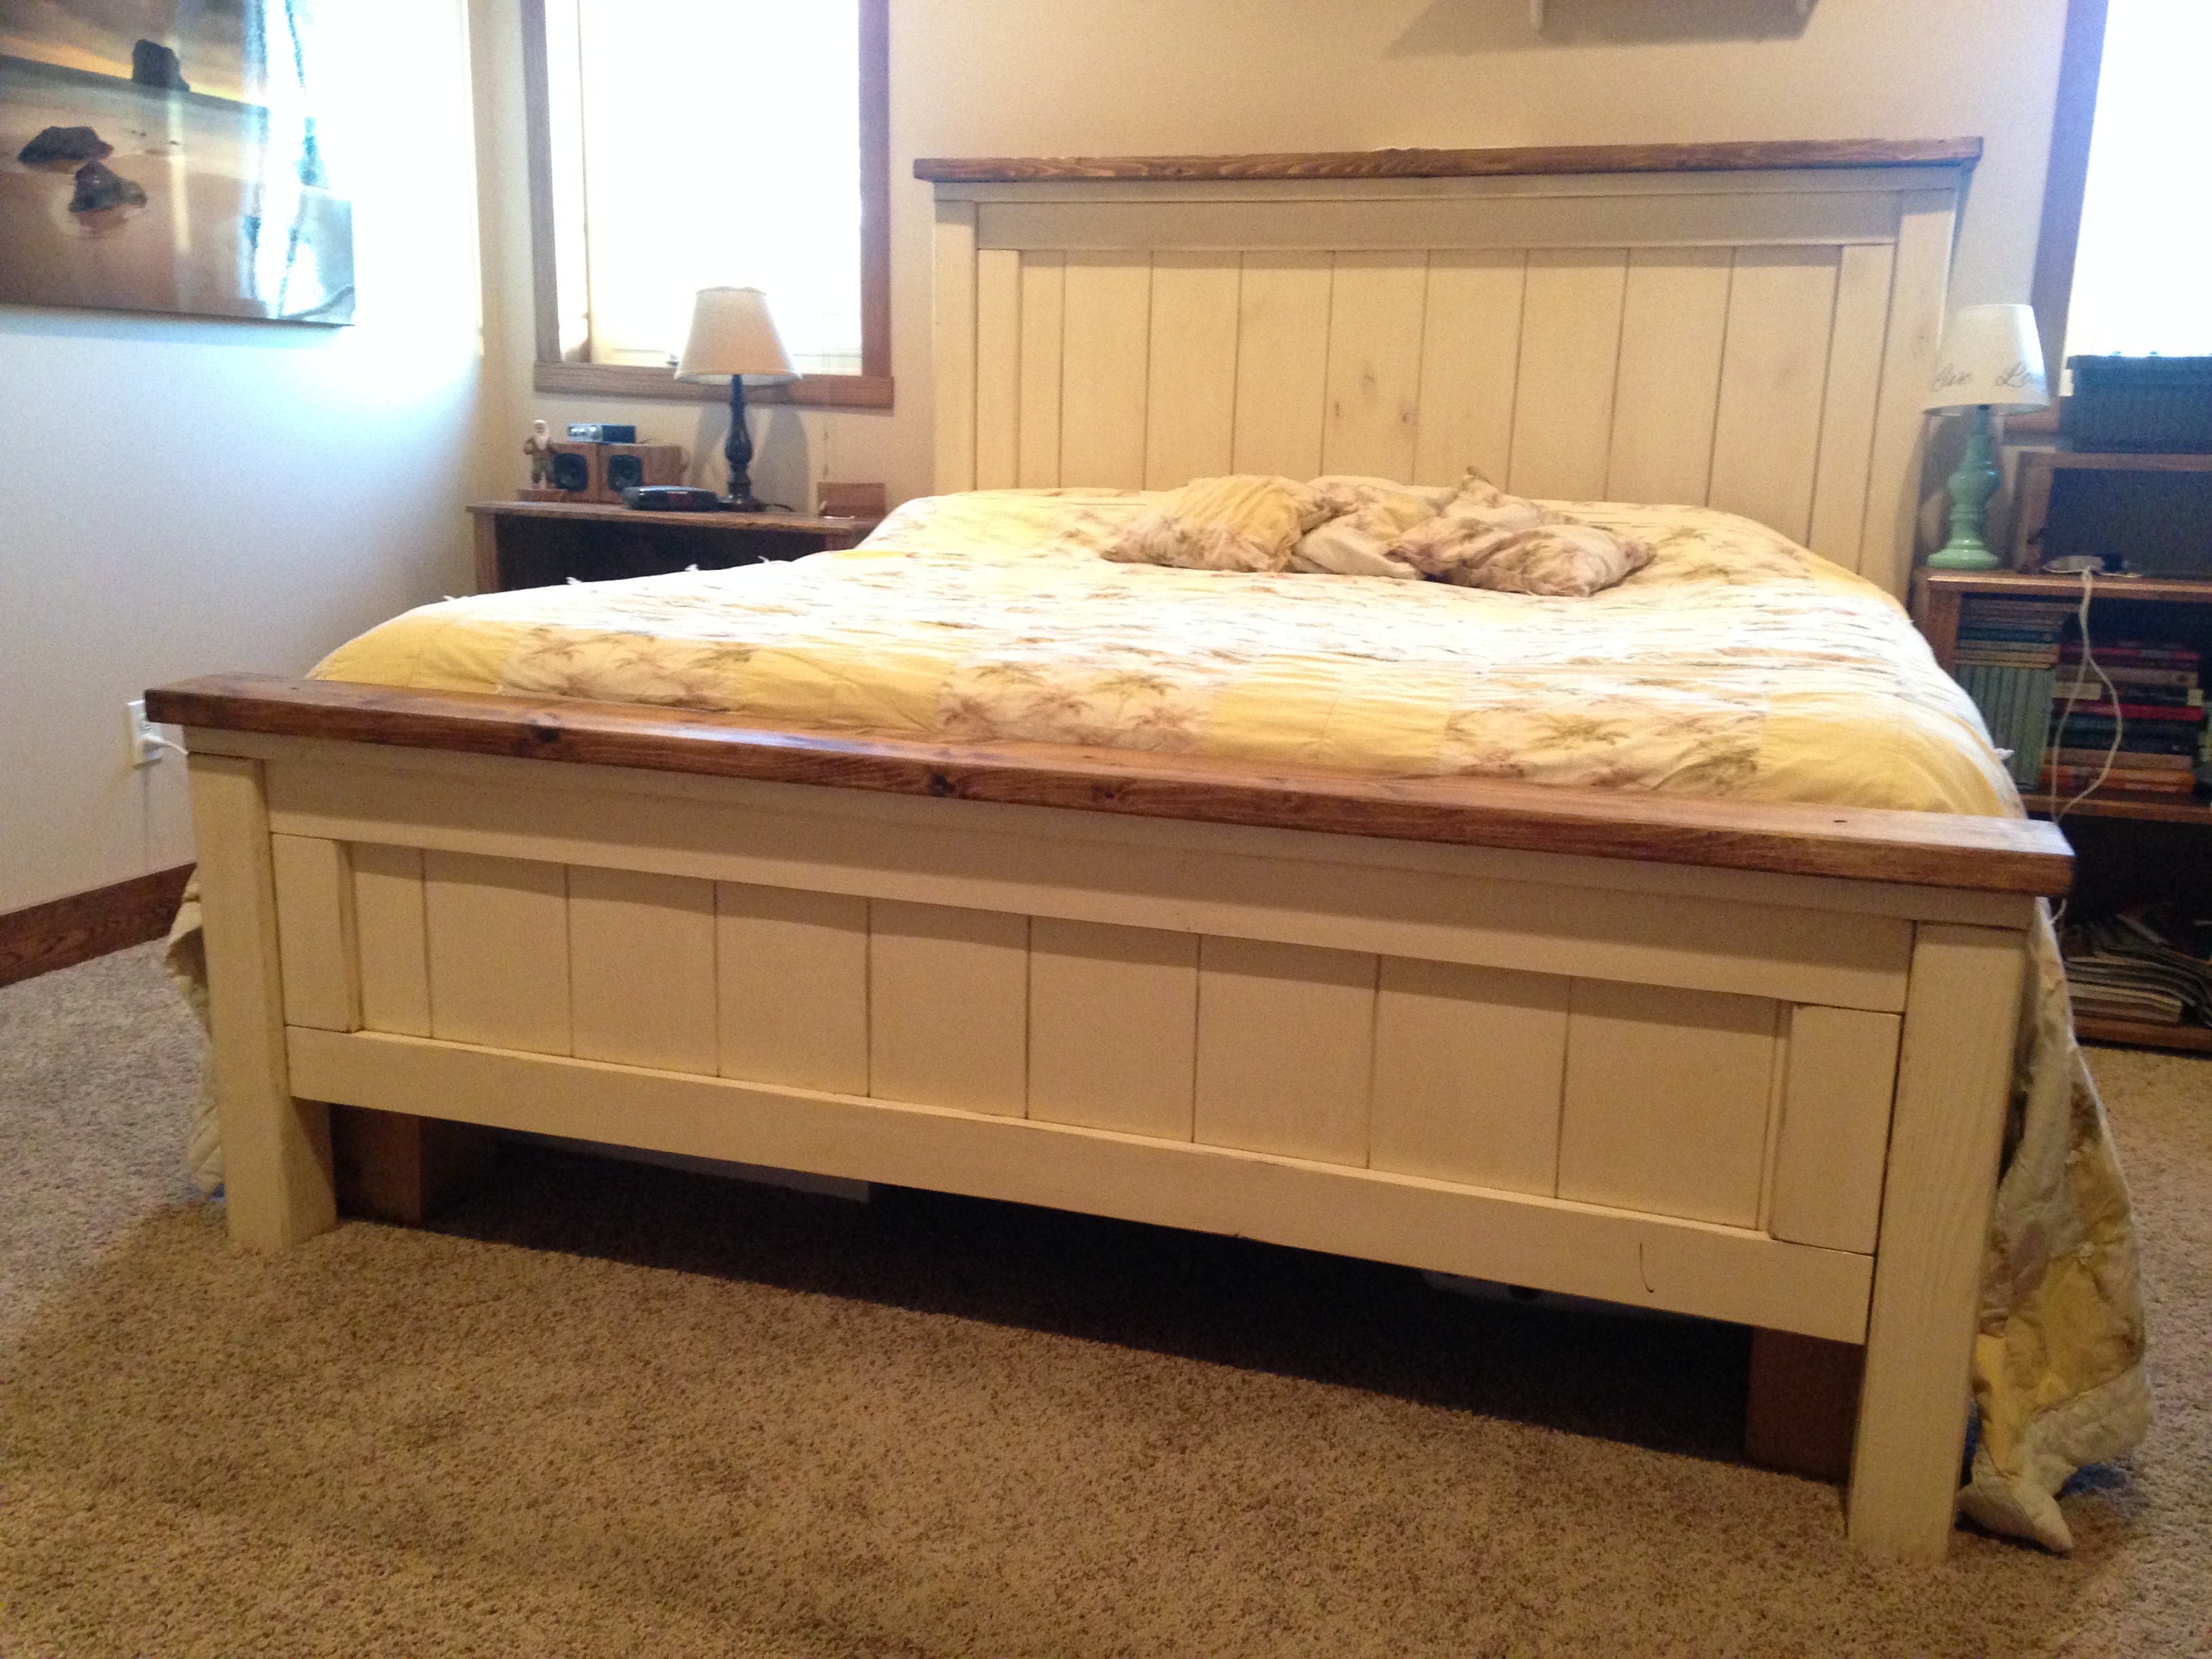
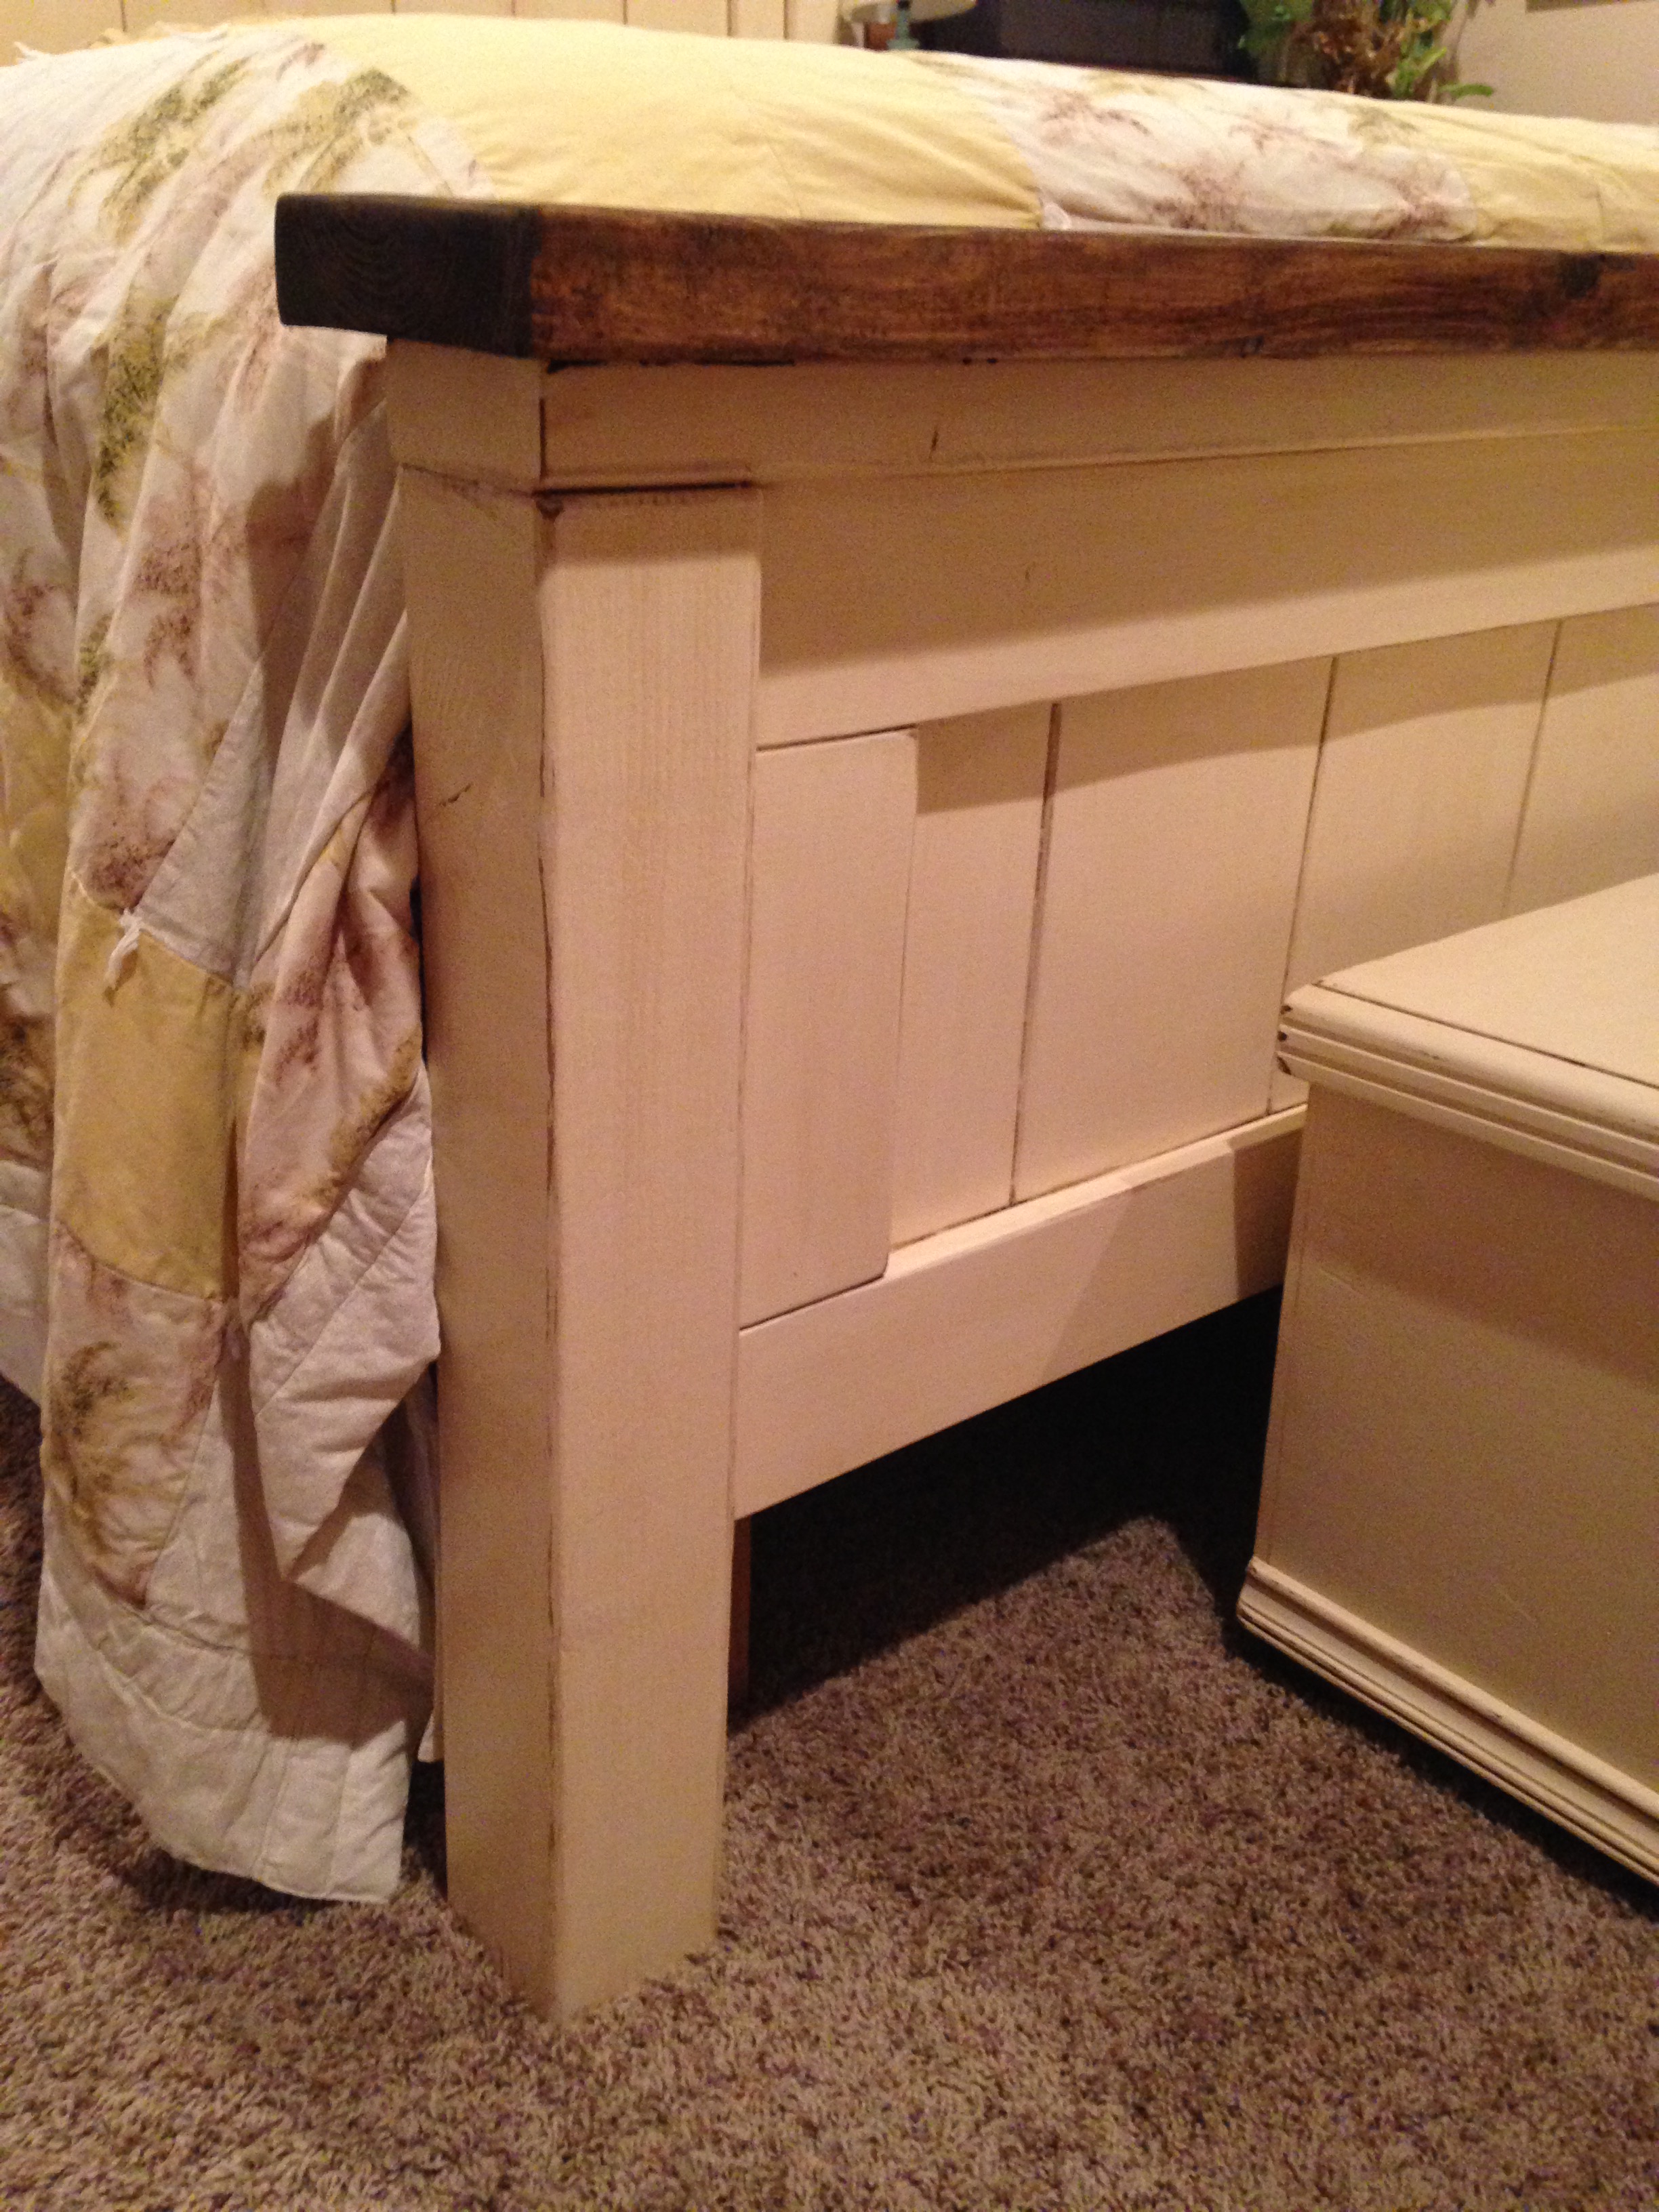
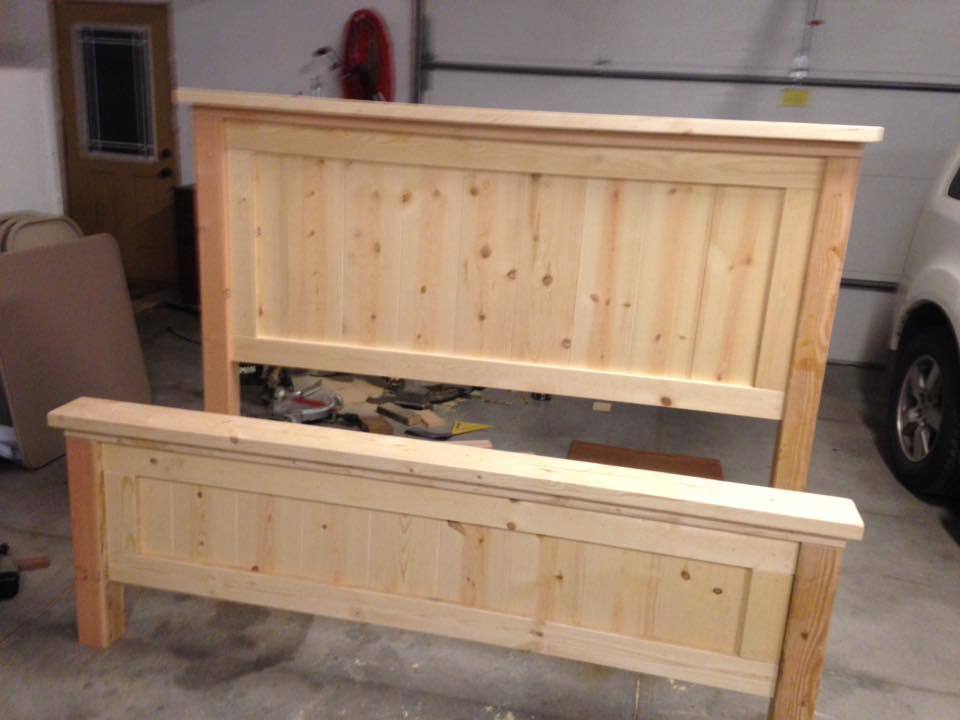
Thank you Ana because you were my inspiration. I would've never dreamed of building my own furniture before I saw you doing it. I loved doing it I loved outside the US and the machines and jigs are difficukt and expensive here but I've managed to get the basics. this is my 5th project and was a lot of work because the woods here are exotic but not dried in kim and come with lots of imperfections but are beautiful..anyways thanks again!
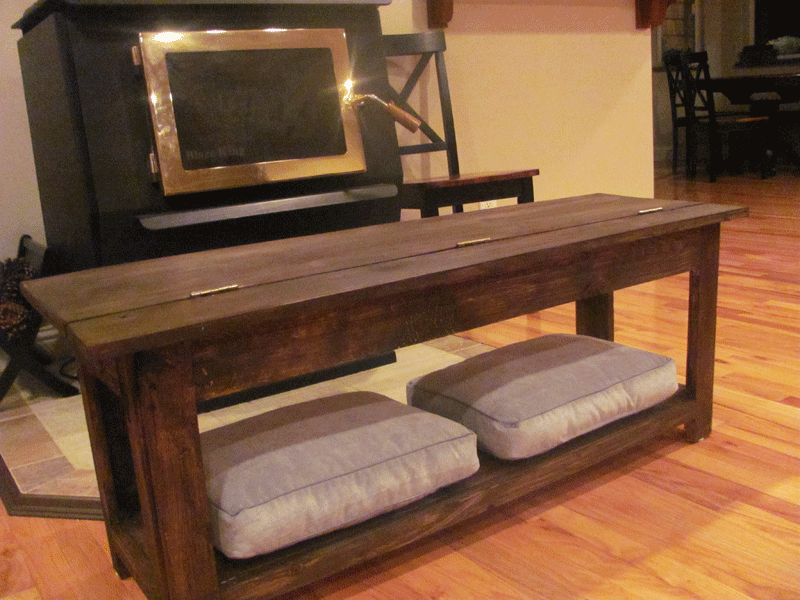
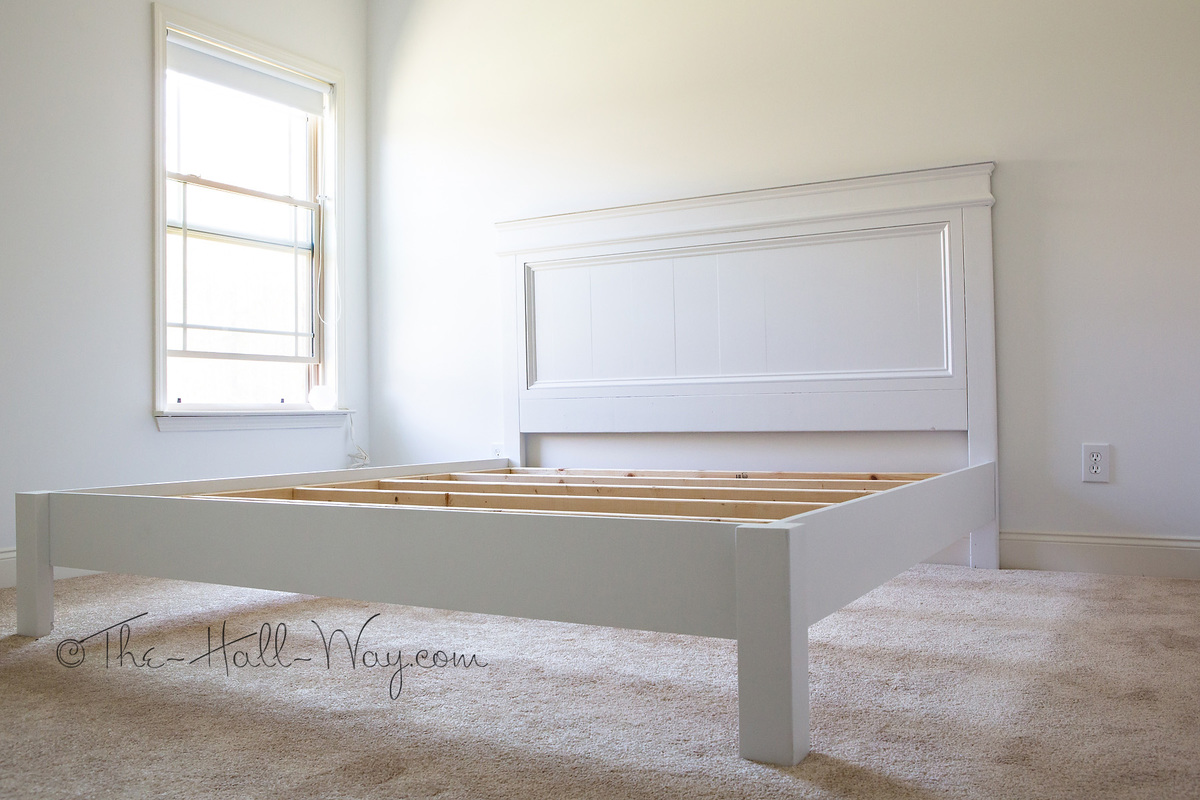
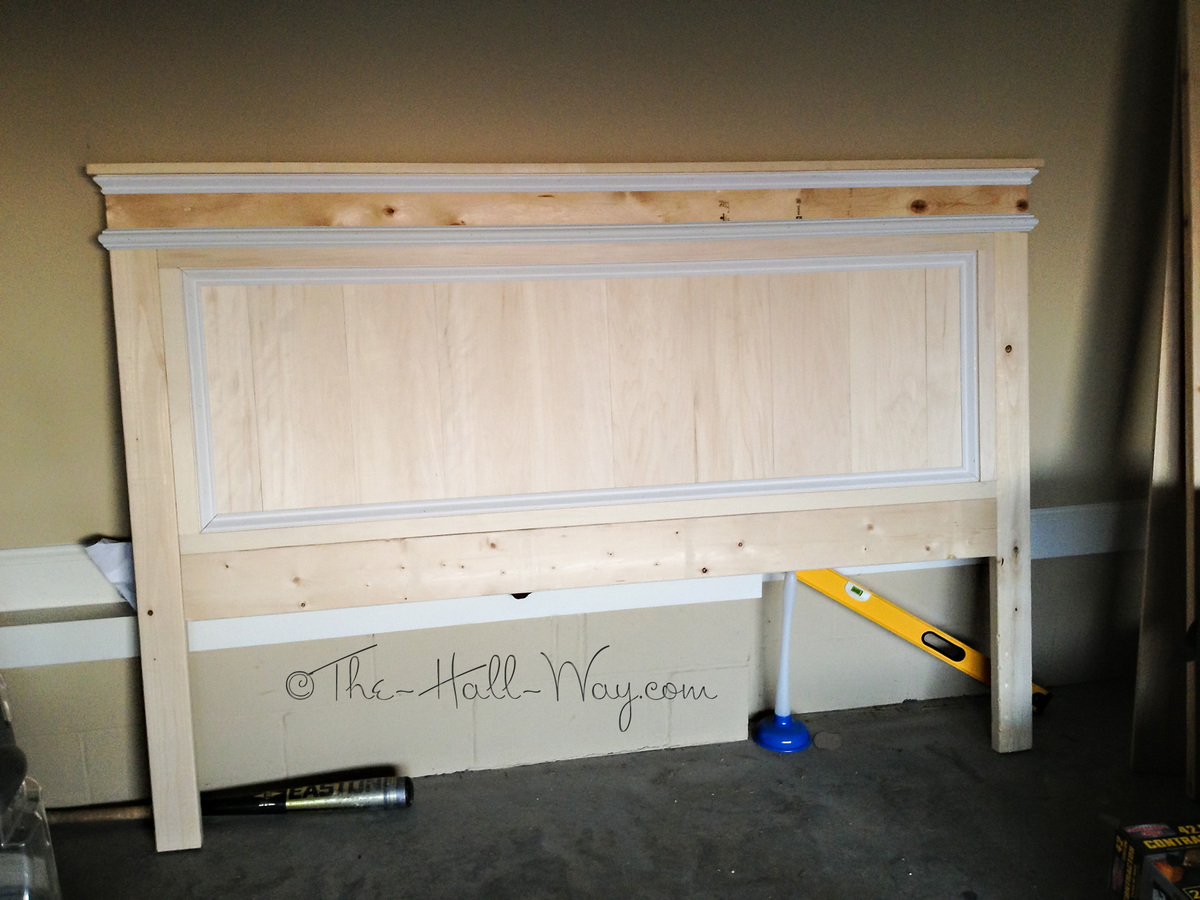
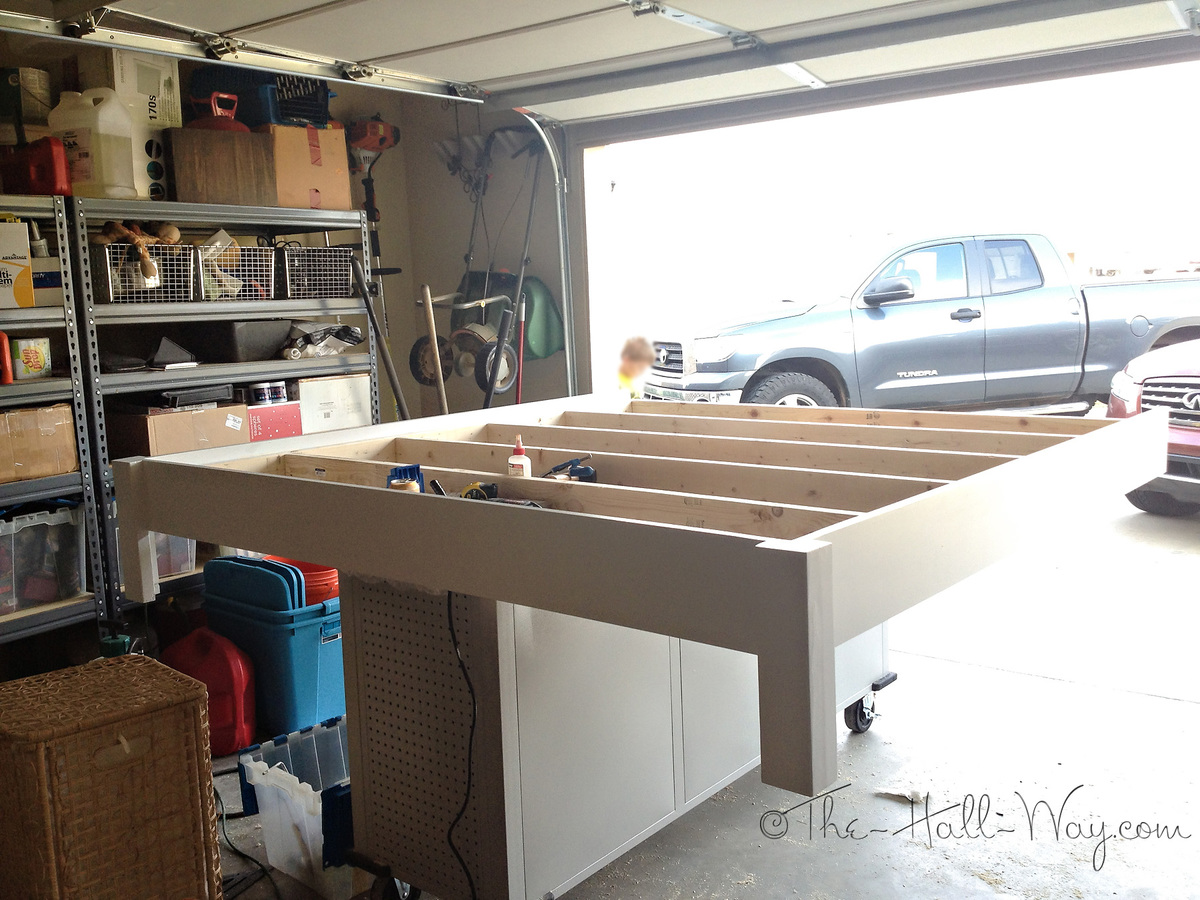
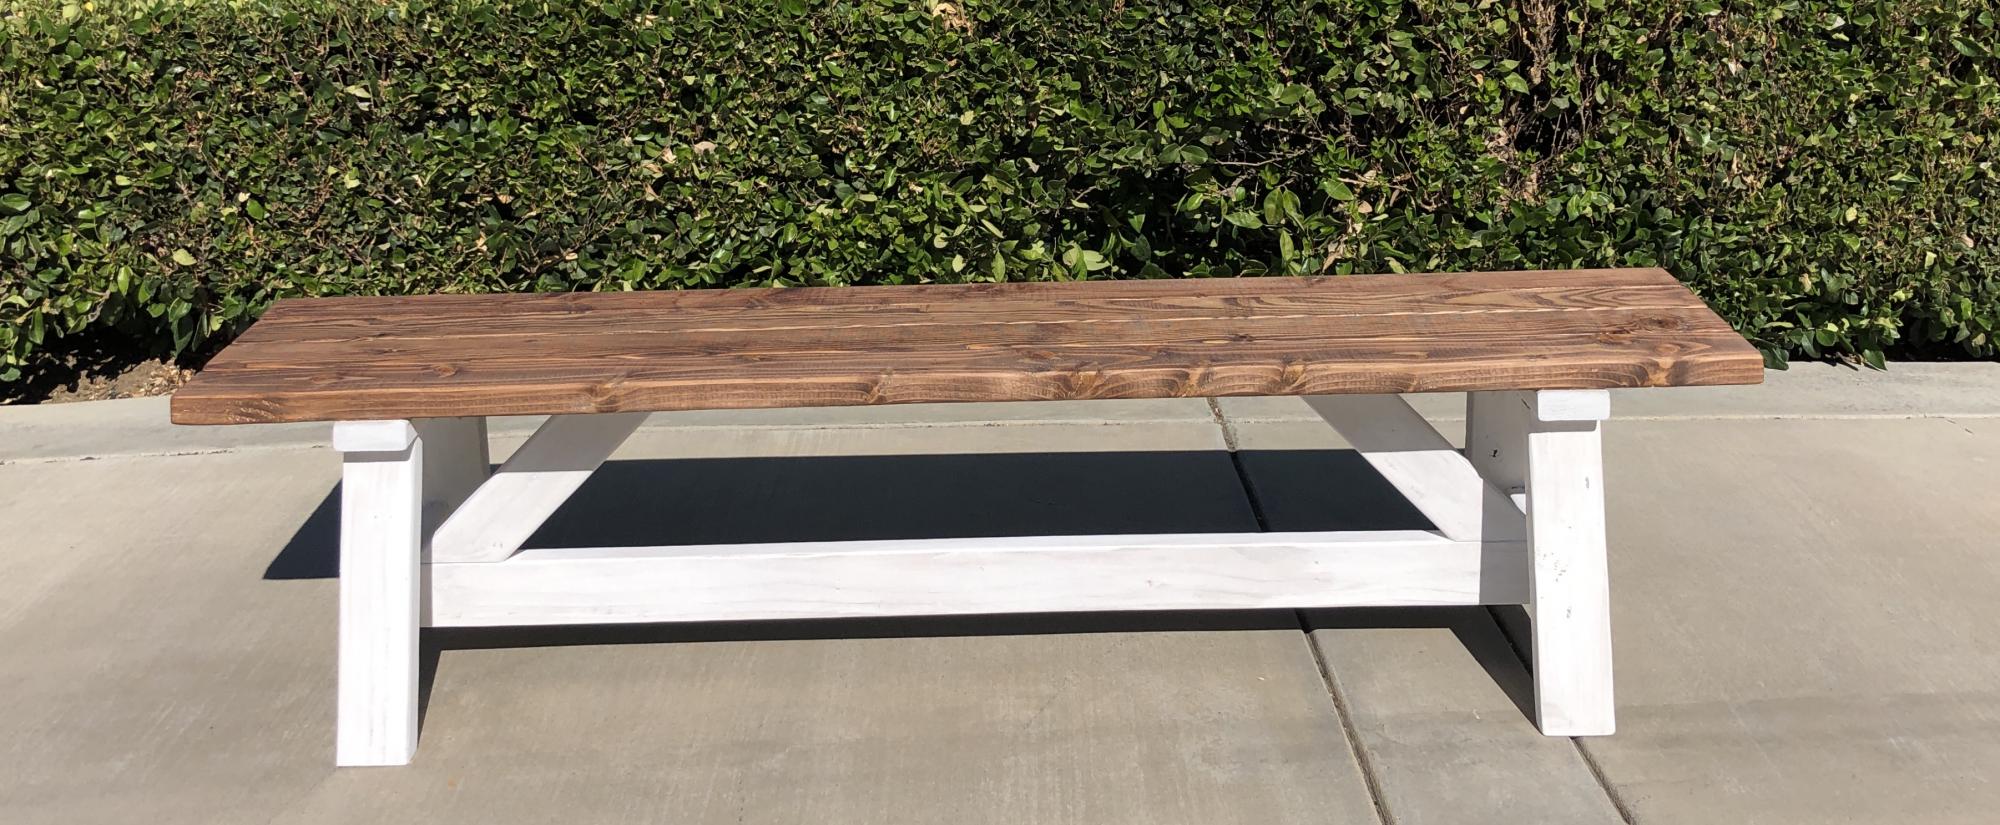
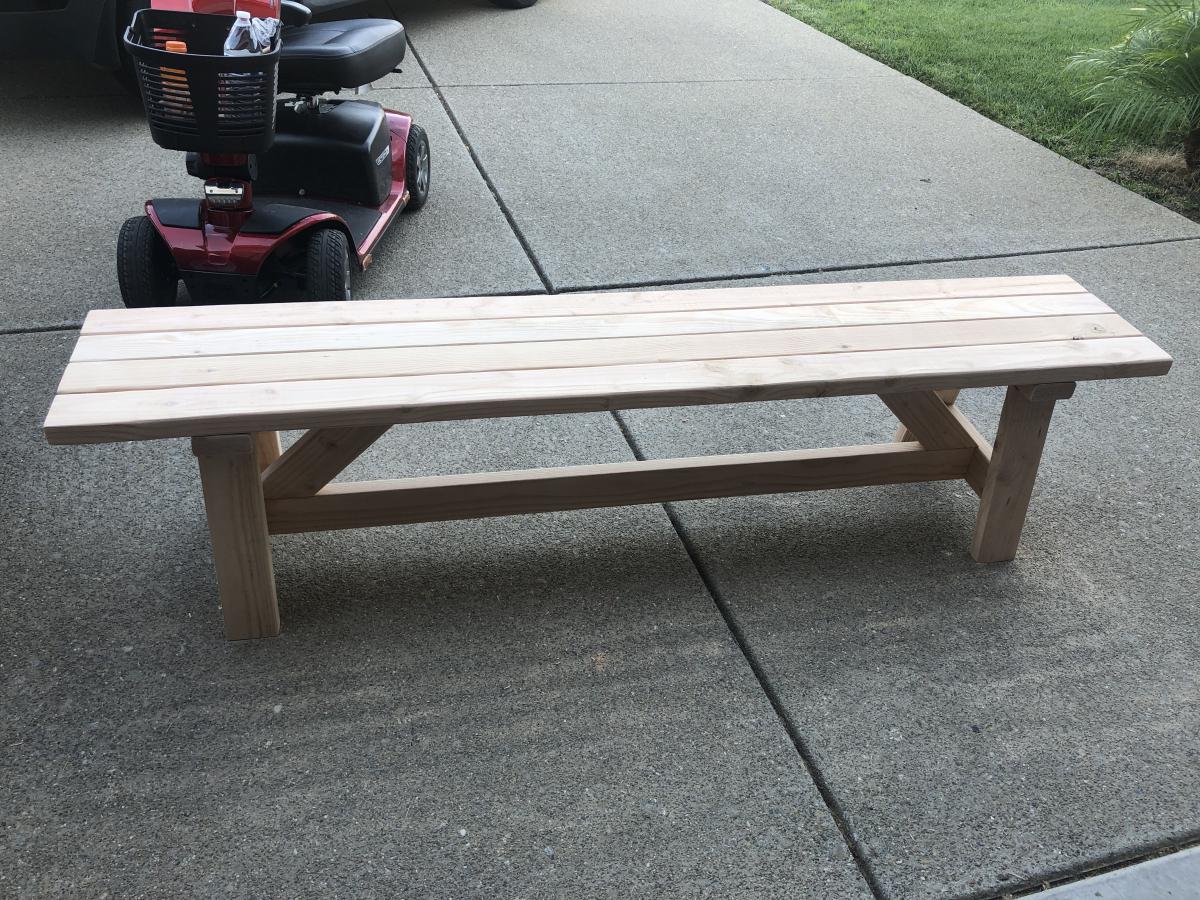
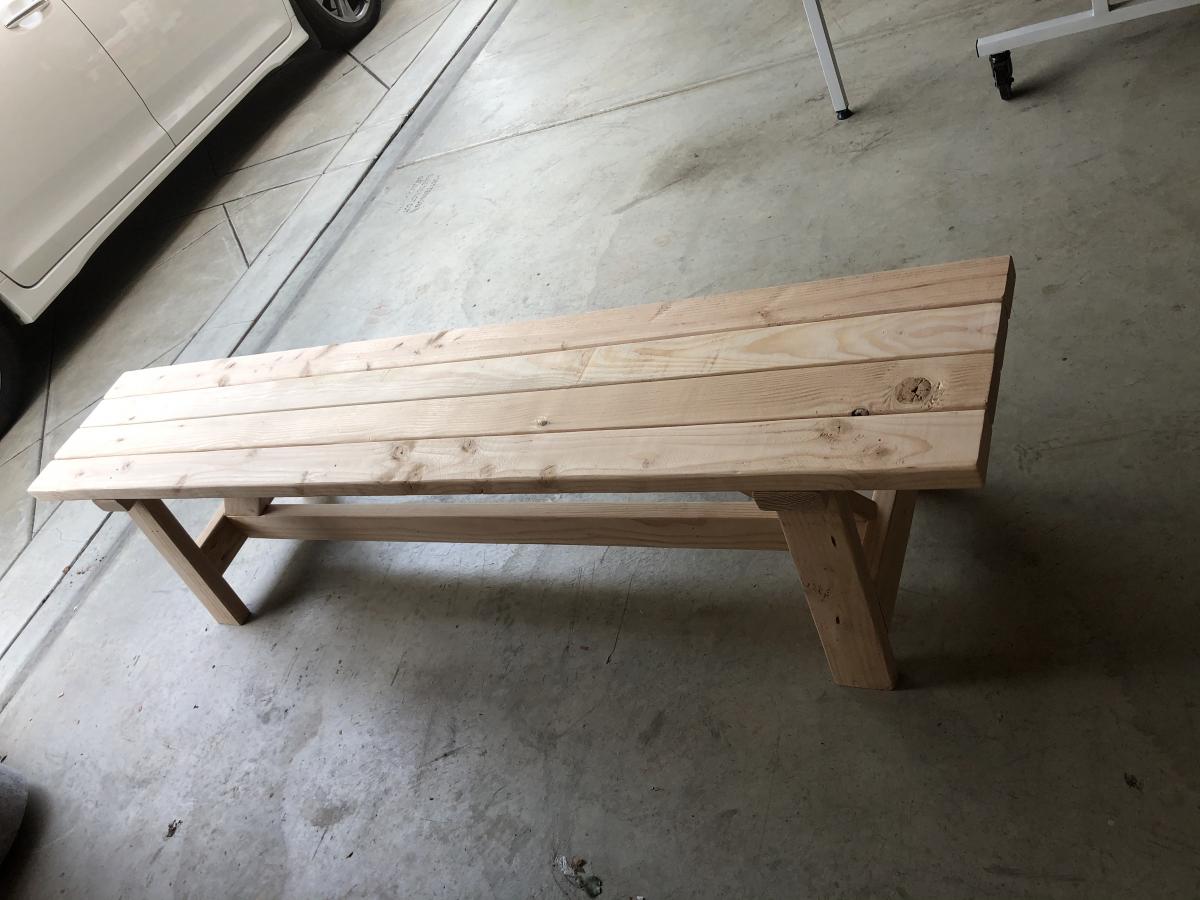
Built from Plan(s)
Estimated Cost
250 usd
Estimated Time Investment
Week Long Project (20 Hours or More)
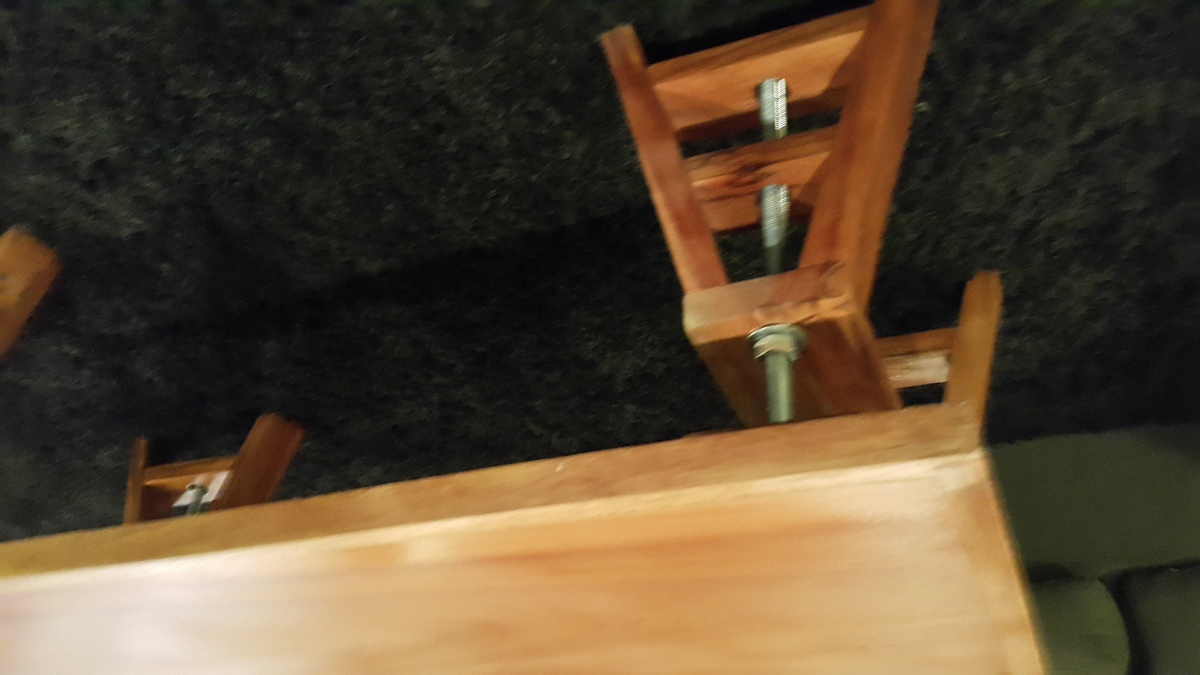
Finish Used
wood sealer then 240 sand paper then polyurethane high gloss the same finish used for cars.
Recommended Skill Level
Intermediate