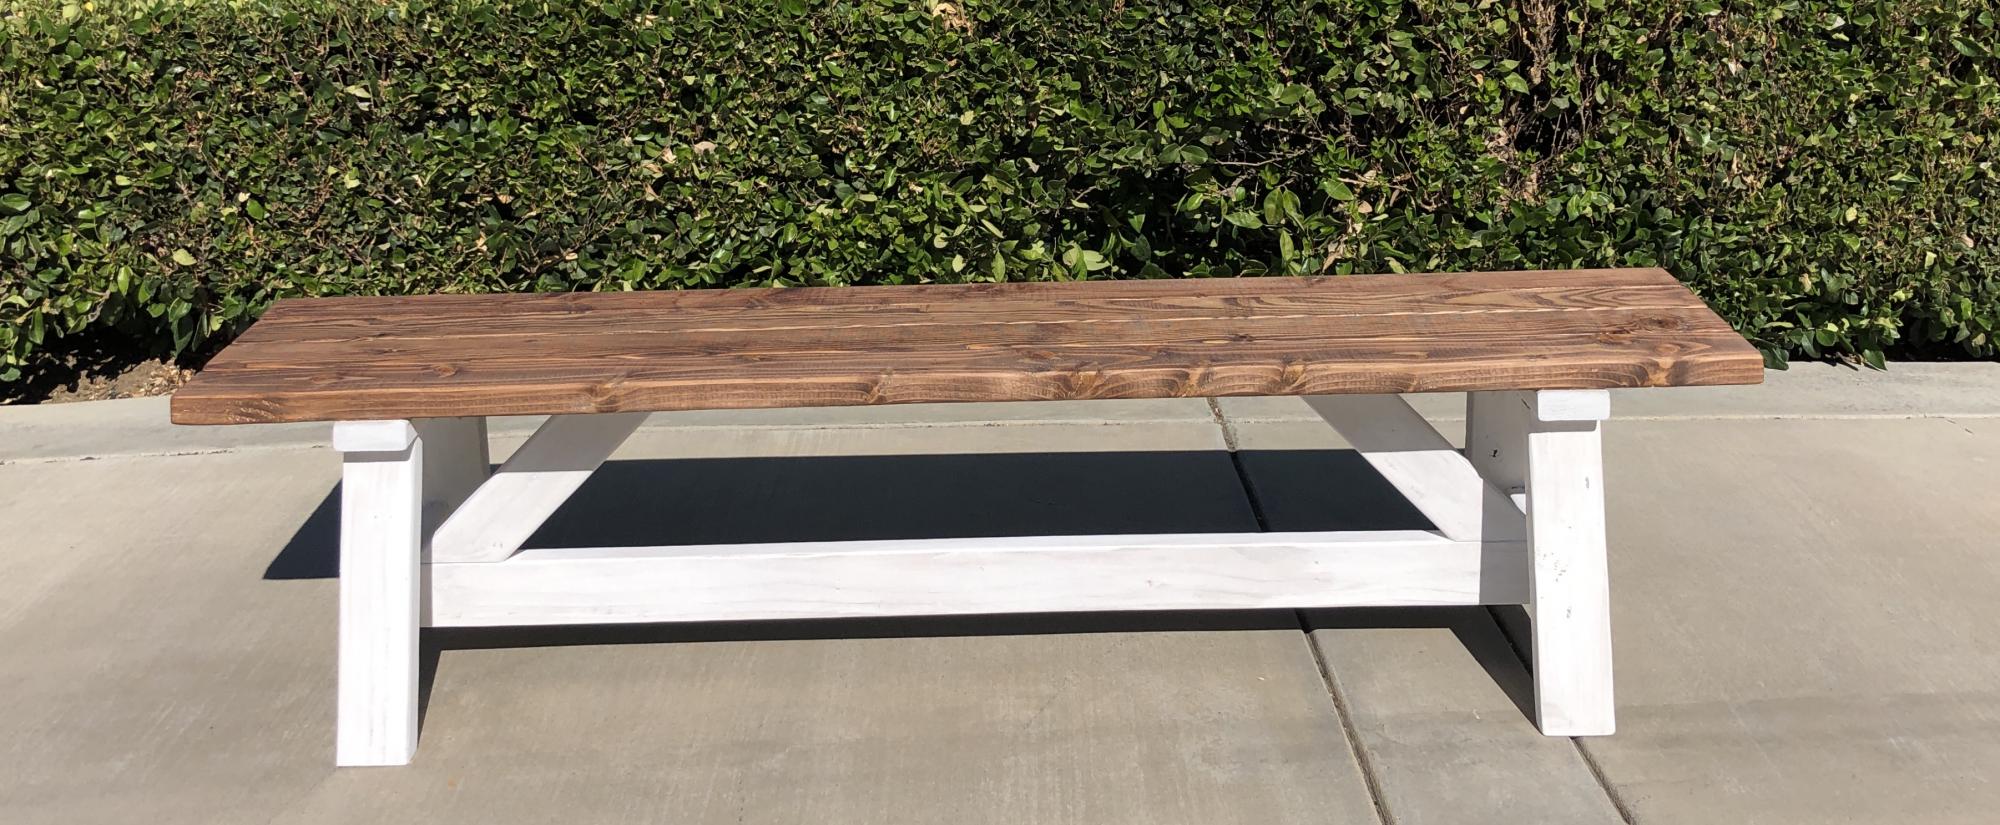
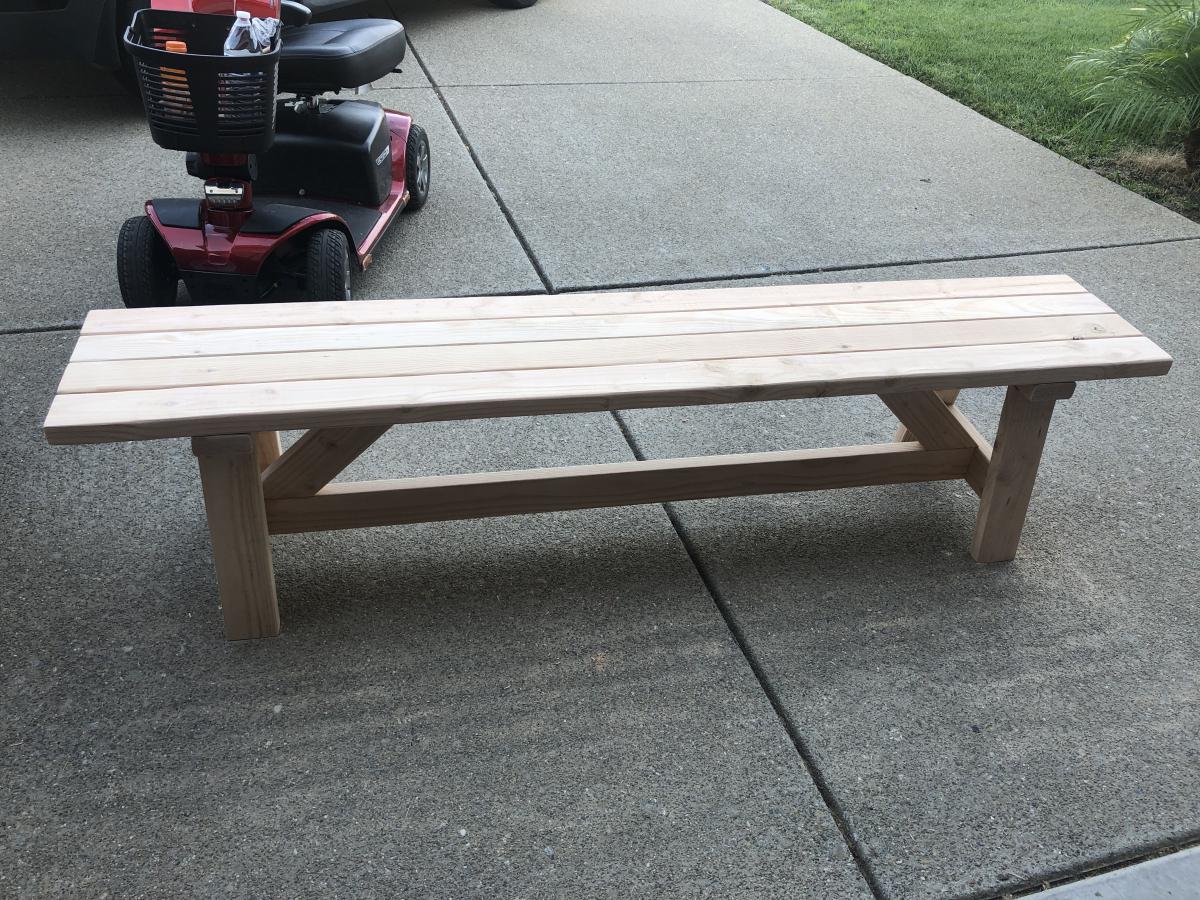
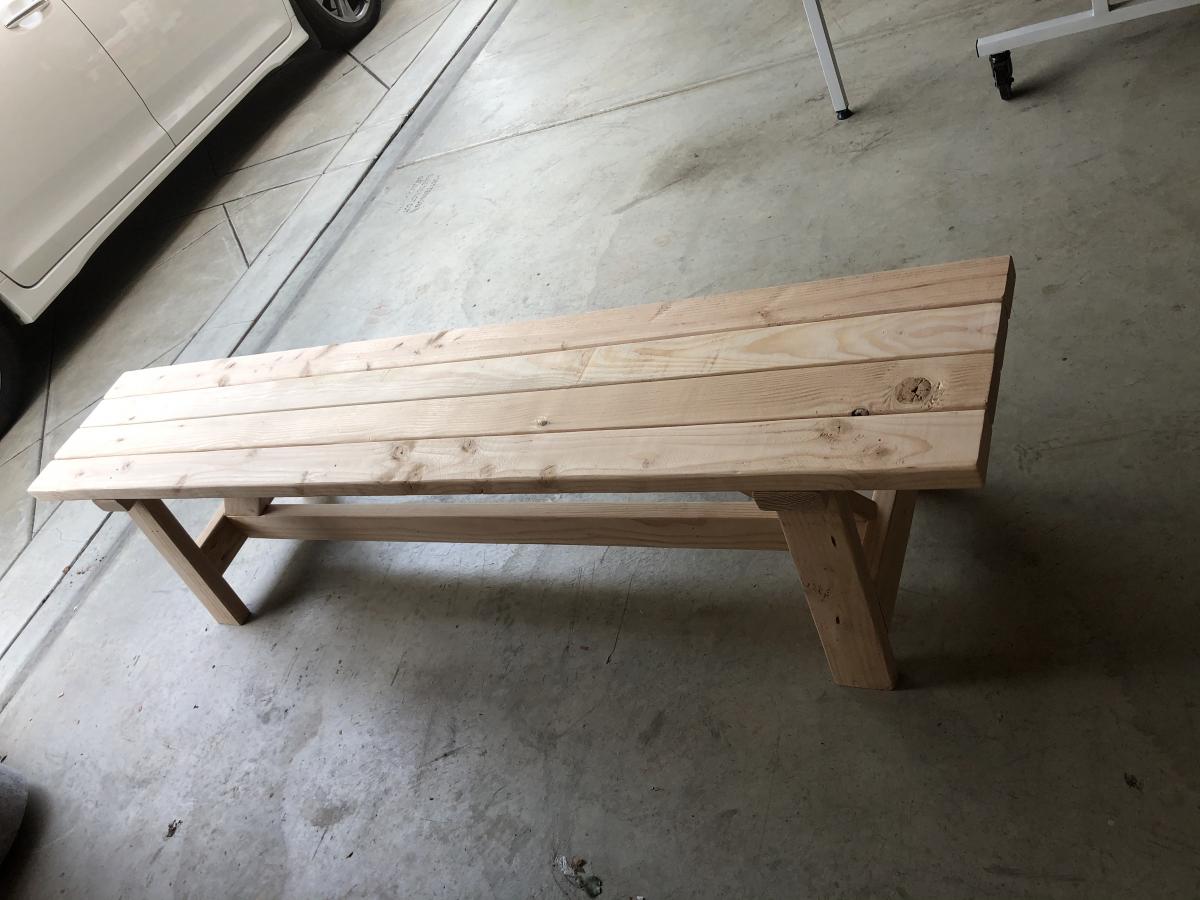
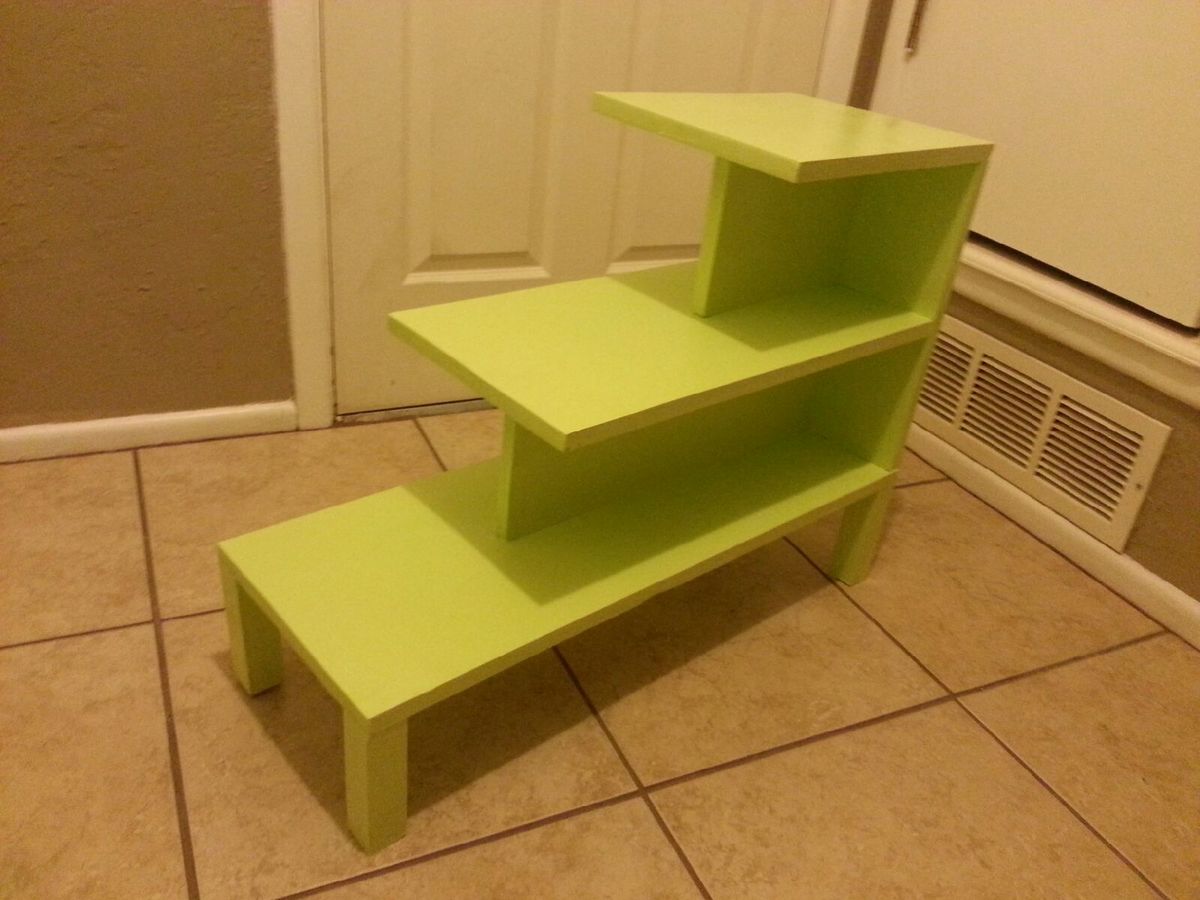
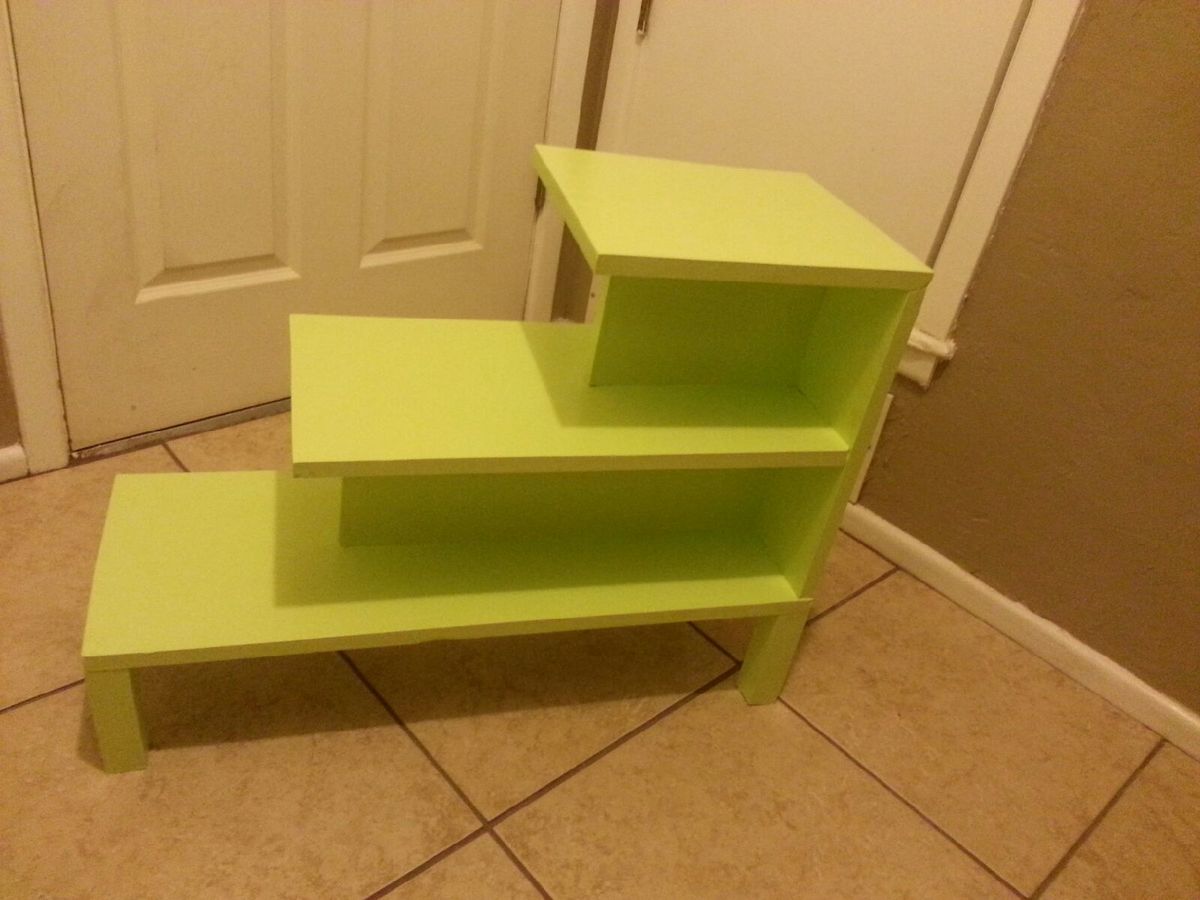
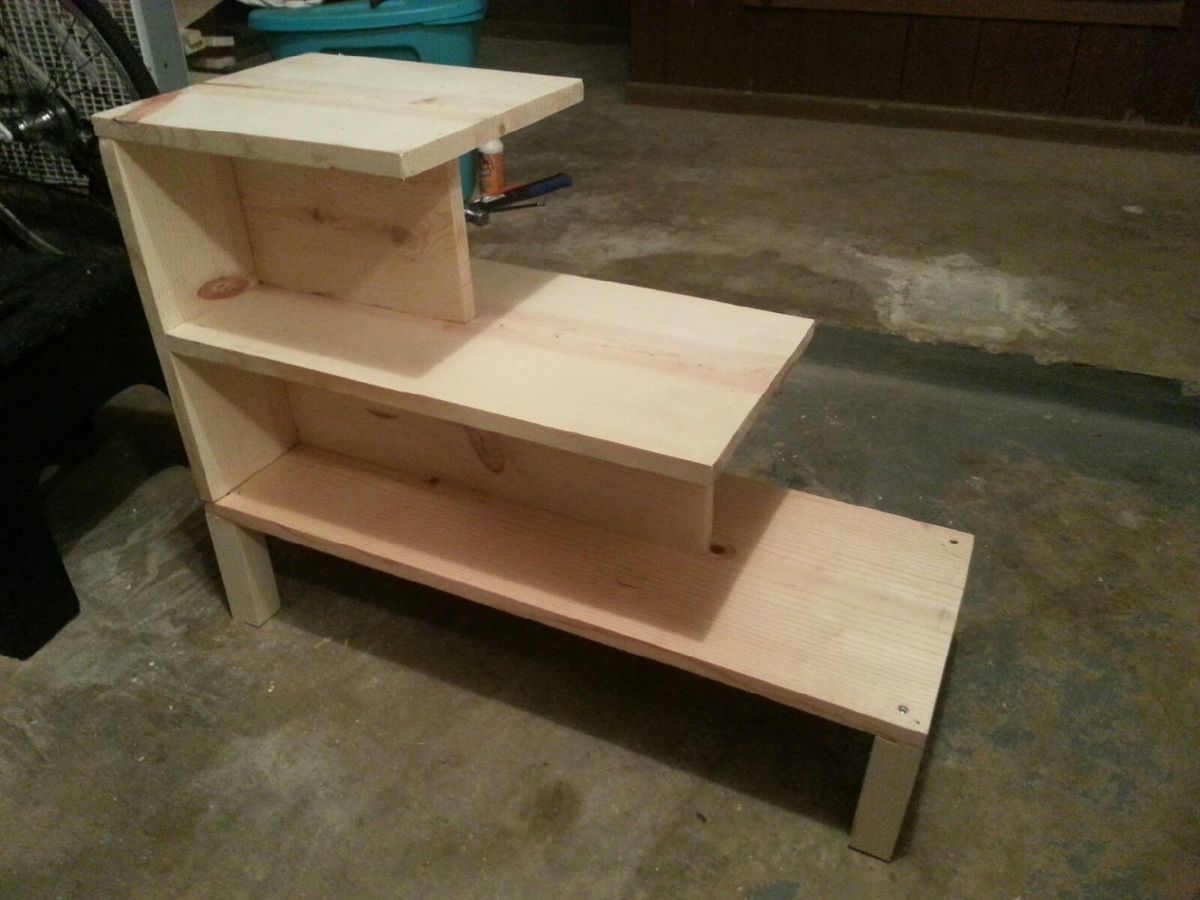
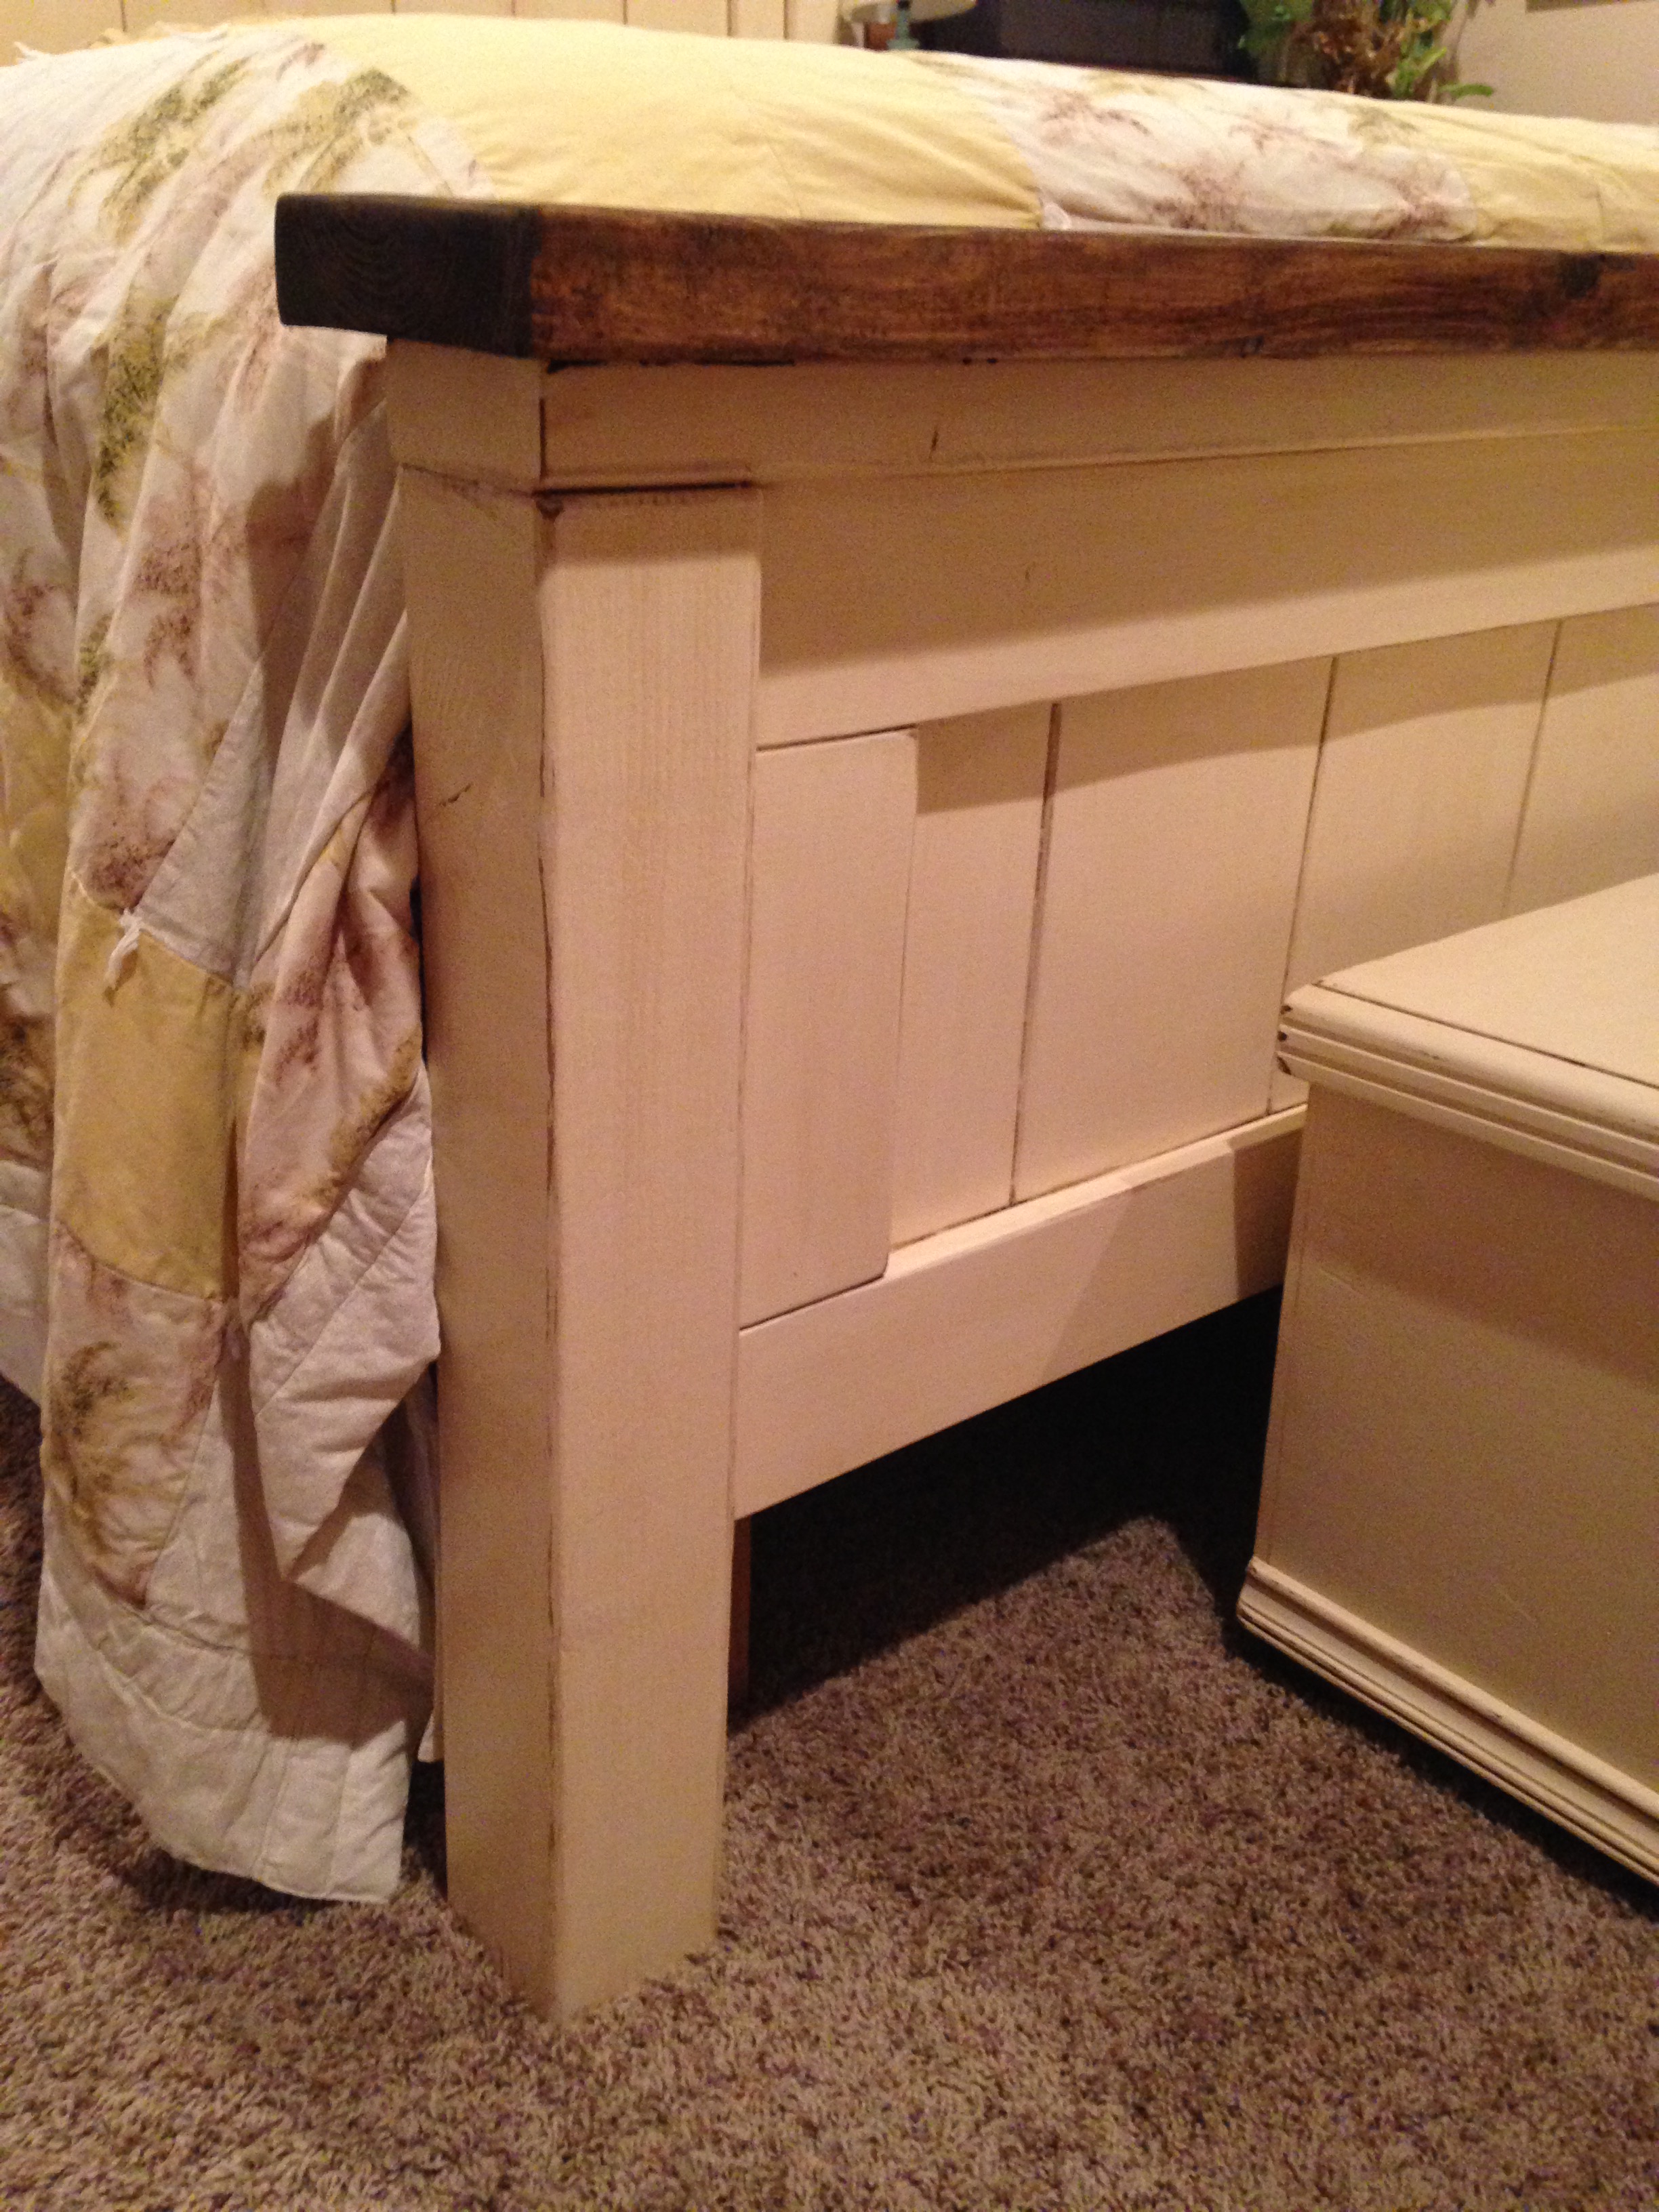
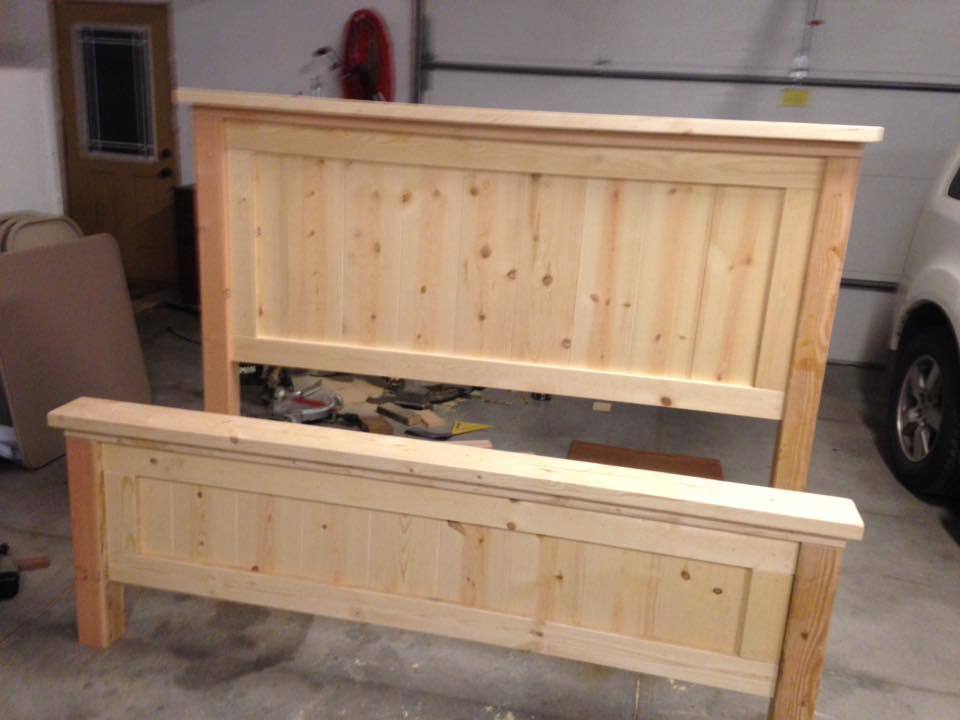
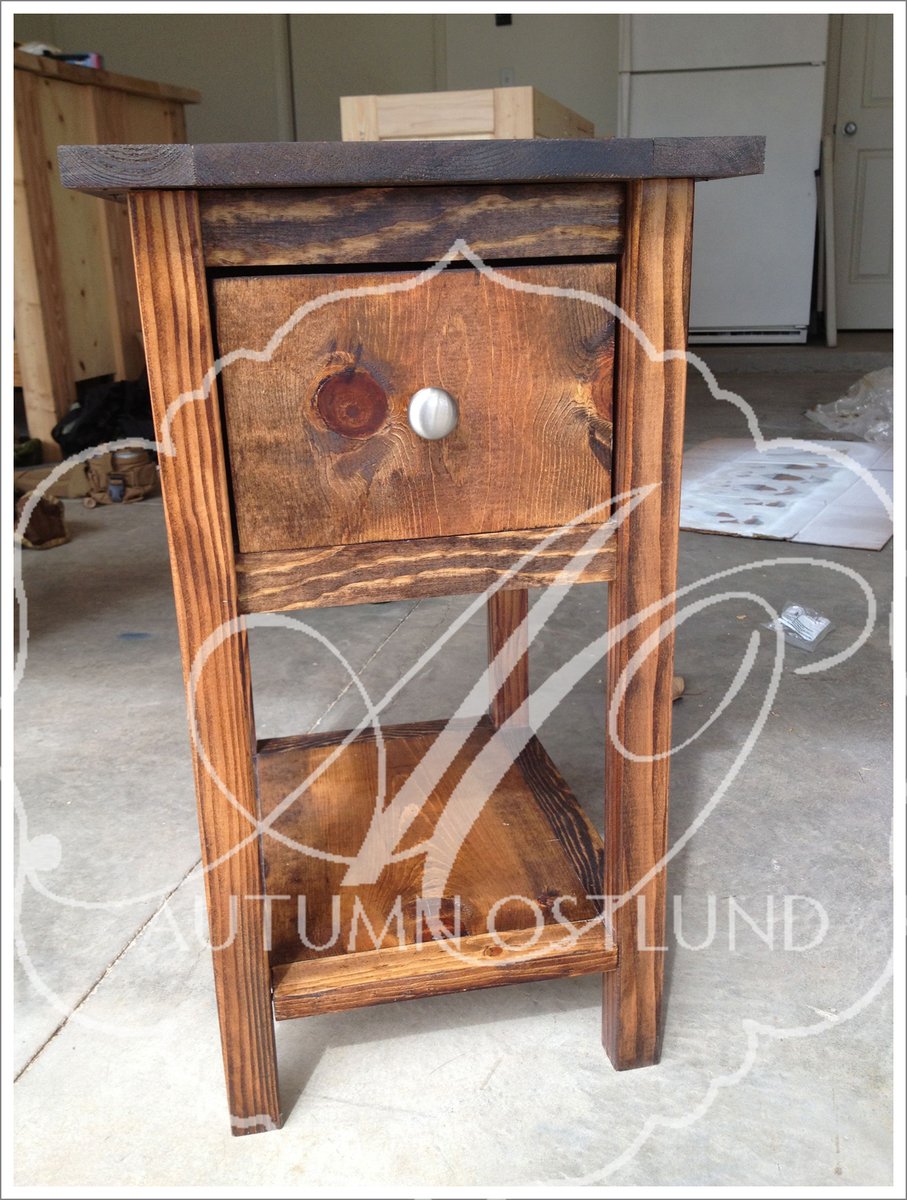
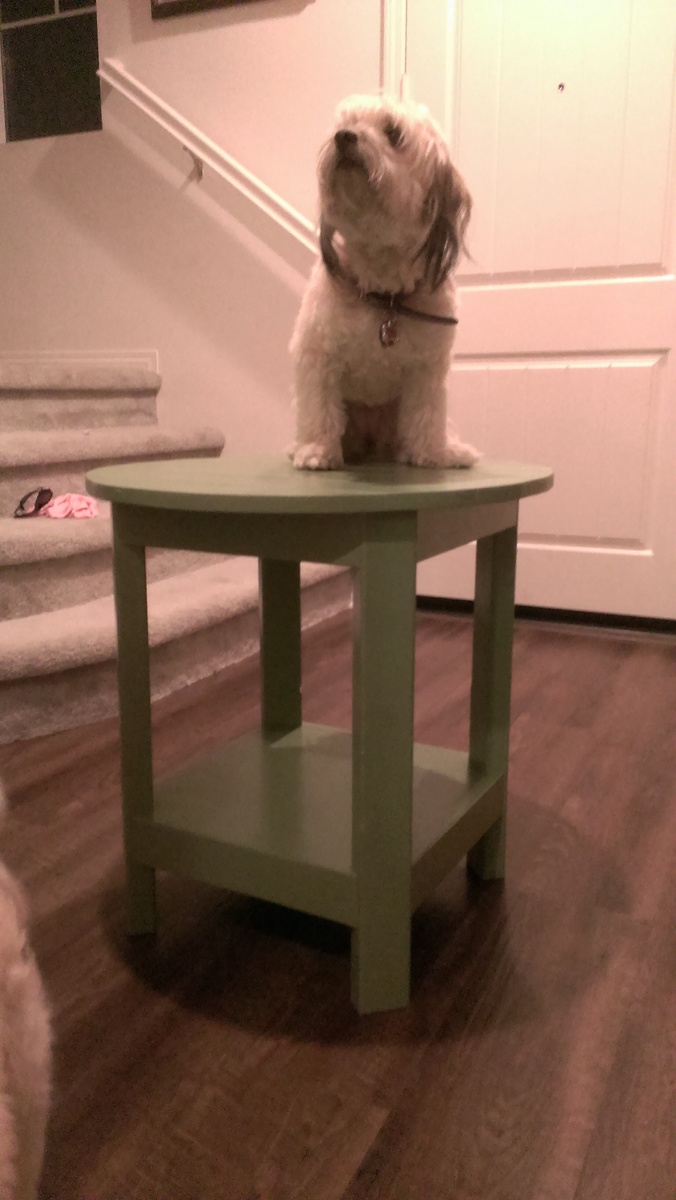
End table (pre sanding)
This was the first project my husband requested to help with! It was a great for teaching easy cuts with a miter saw and pocket holes with a kreg jig. Thanks to this end table we now build things together!
Built from Plan(s)
Estimated Cost
$30
Estimated Time Investment
Day Project (6-9 Hours)
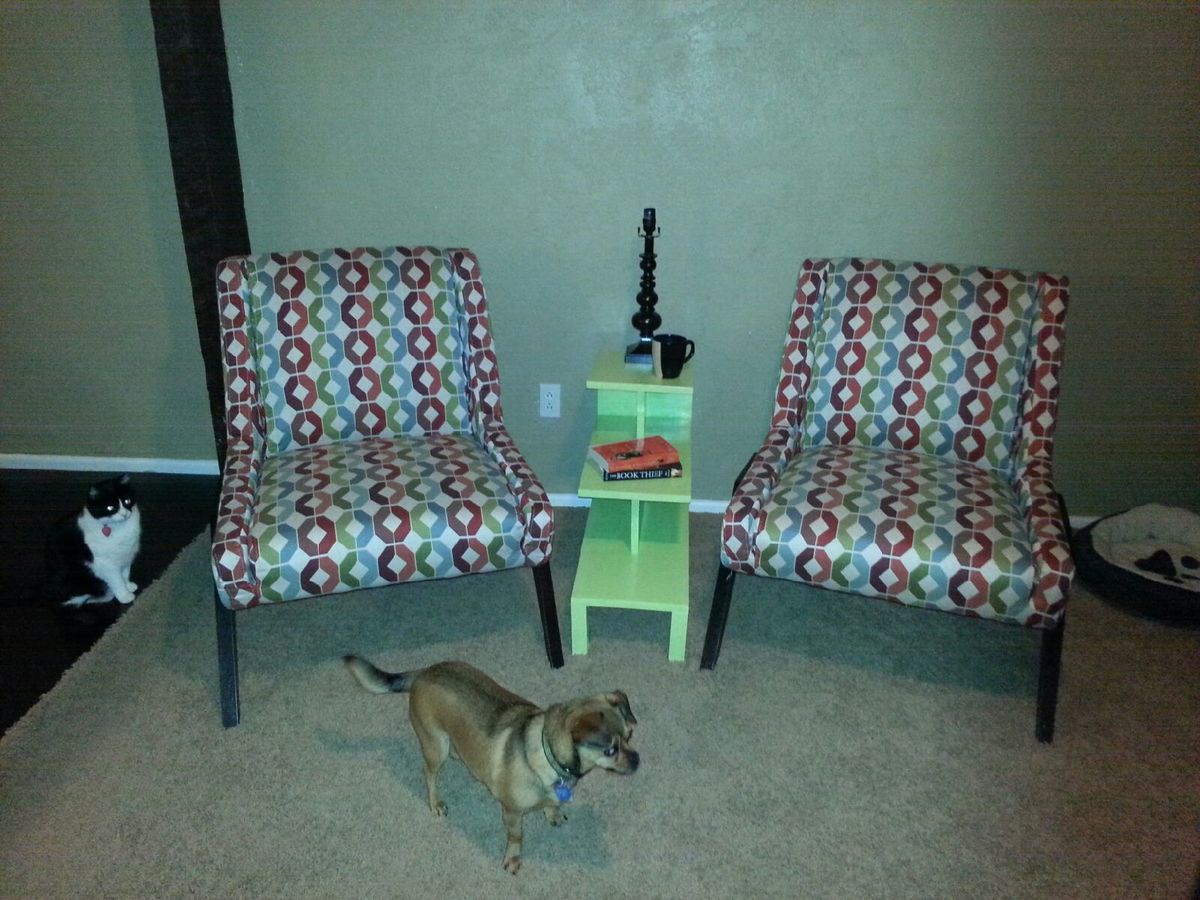
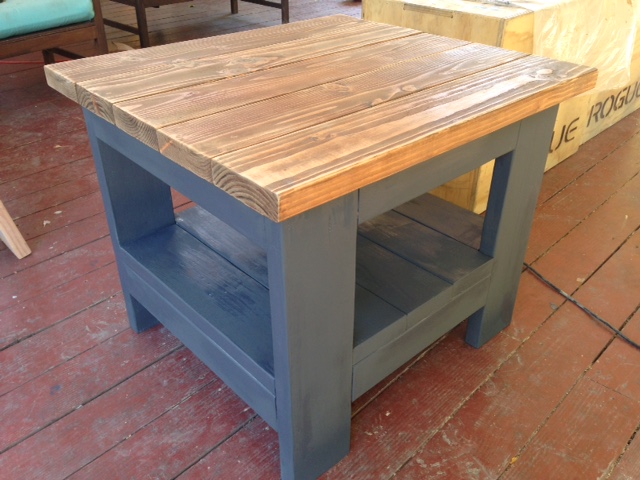
Finish Used
Stain on top and chalk paint on the bottom
Recommended Skill Level
Starter Project