Kitchen Island
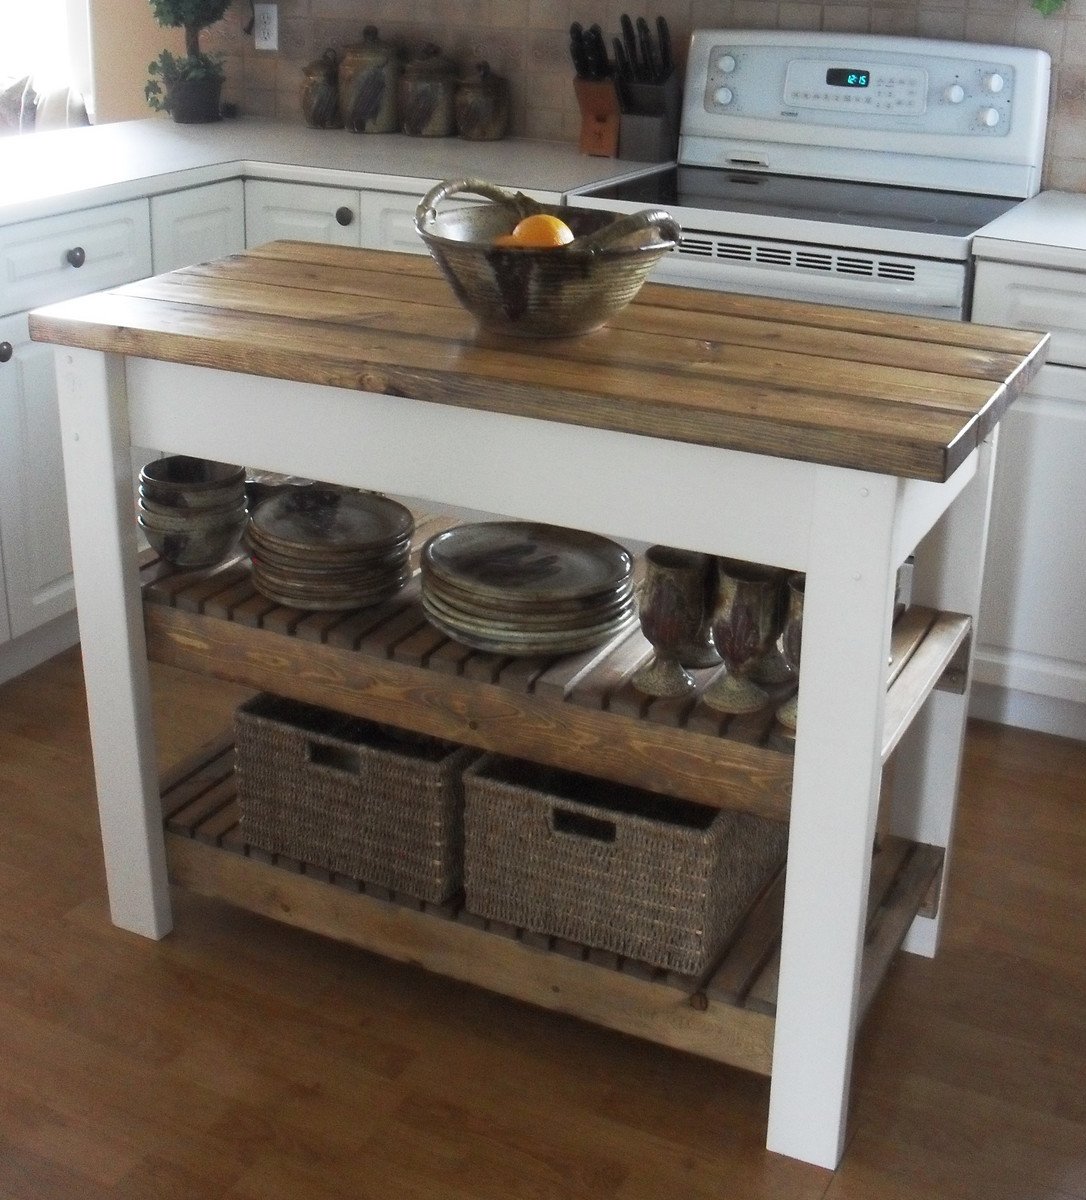
The plans were easy to follow. I modified my island to fit my space and cut it down to 44 inches in length.
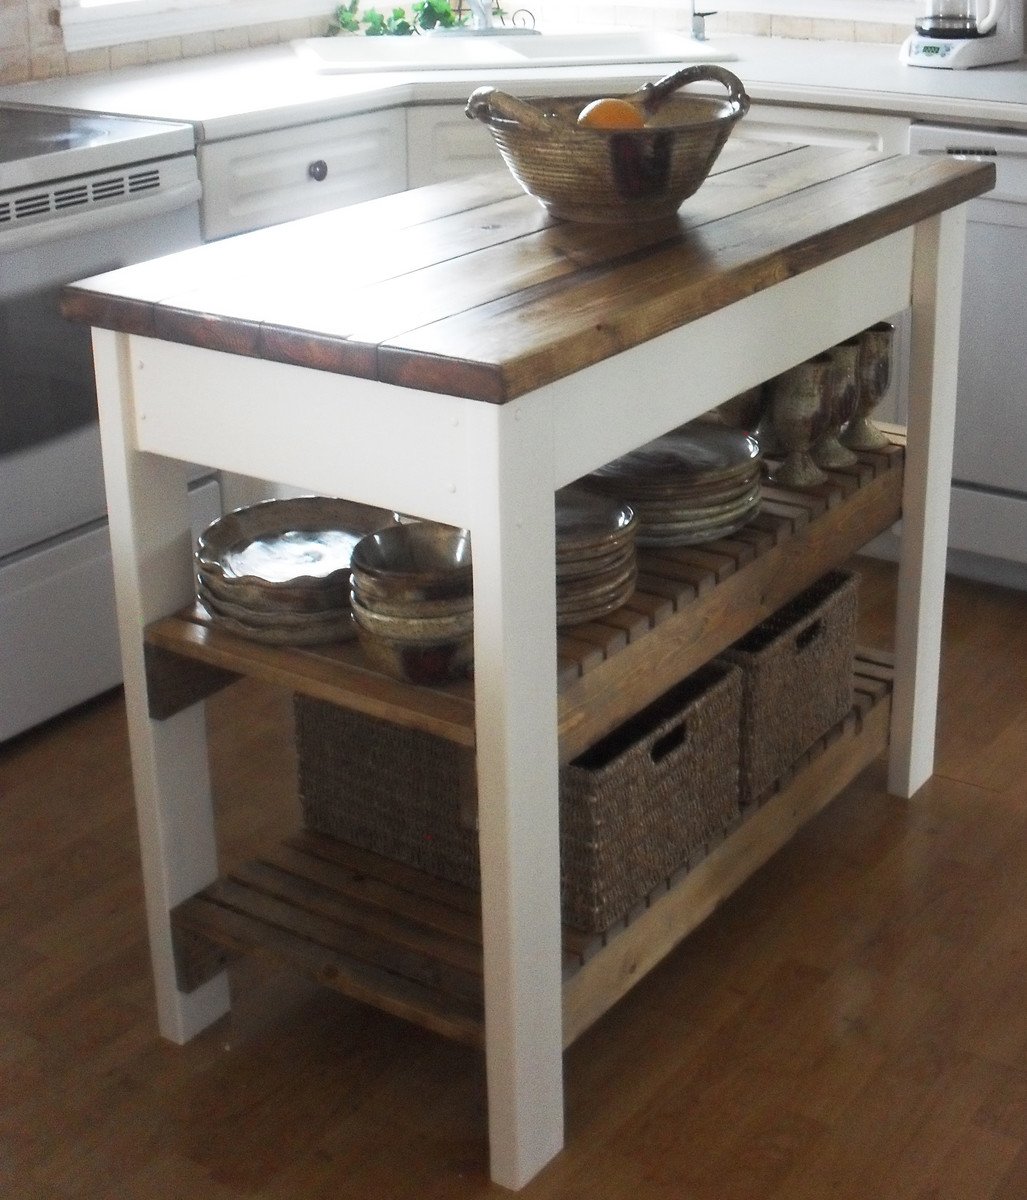

The plans were easy to follow. I modified my island to fit my space and cut it down to 44 inches in length.

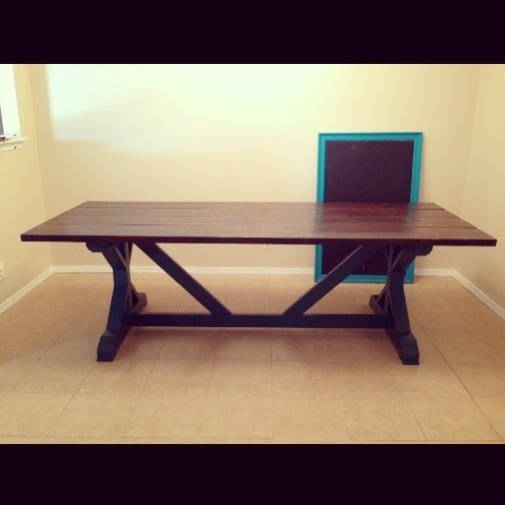
My husband tackled the Fancy Farmhouse Table and finished it in 1 weekend and it looks amazing! I could not be more thrilled with the outcome.
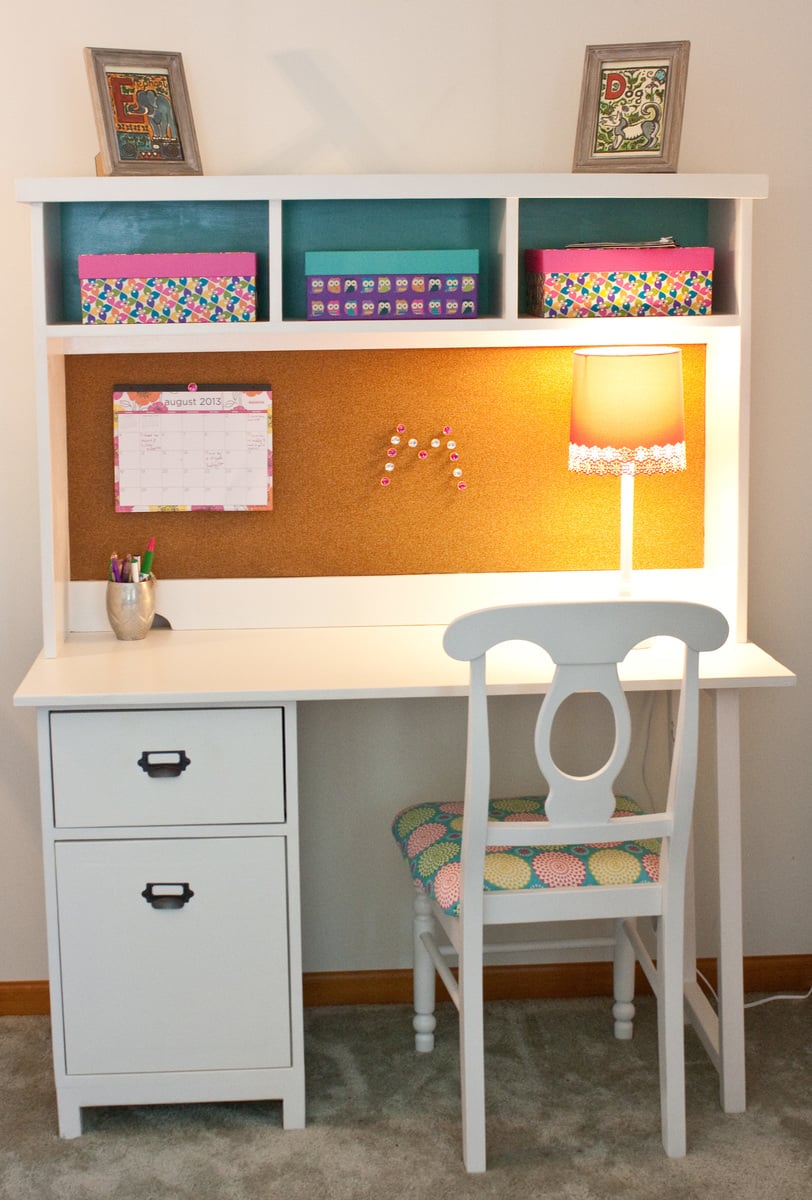
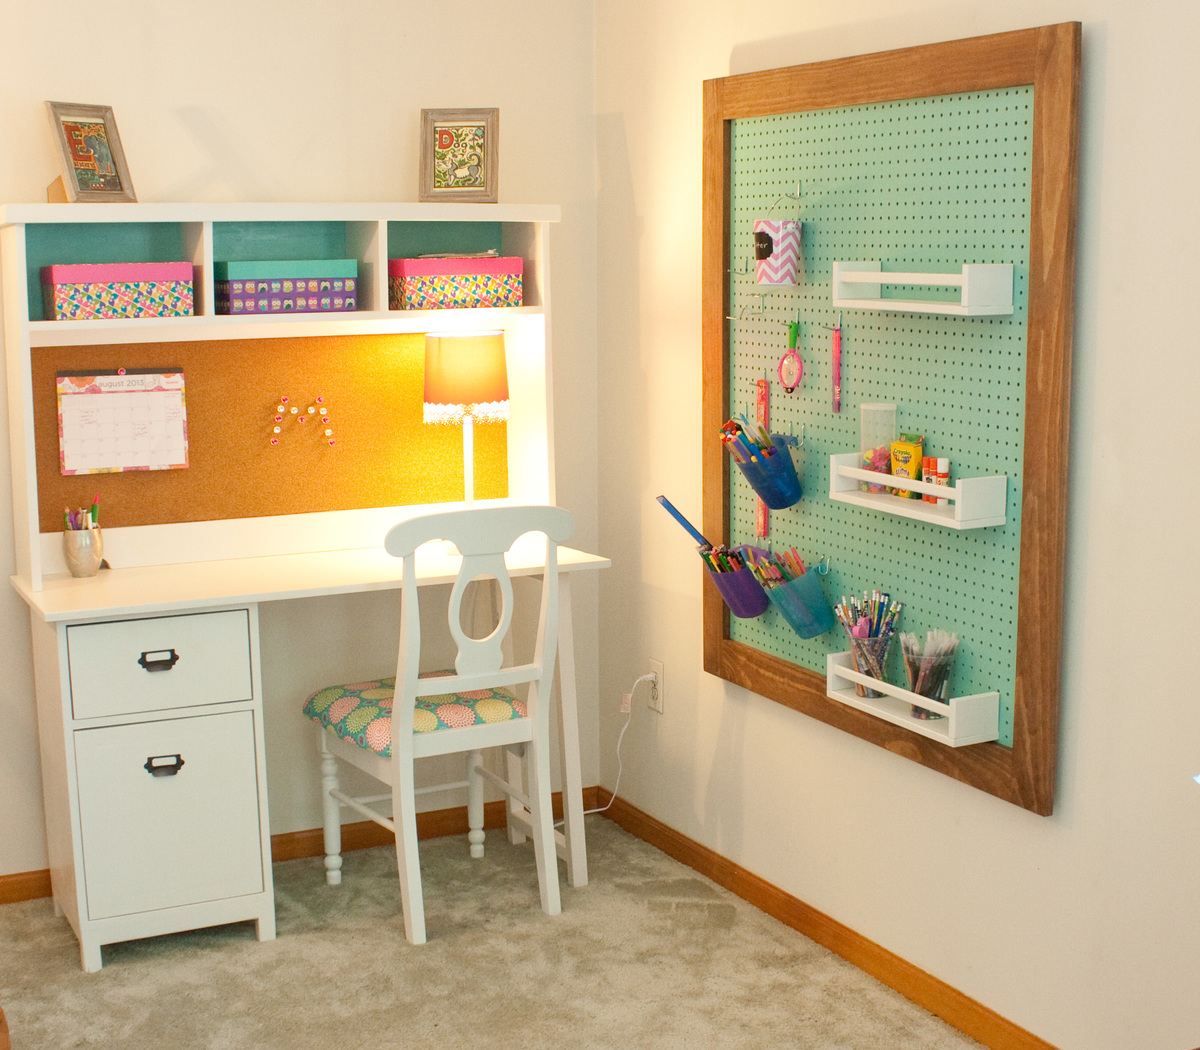
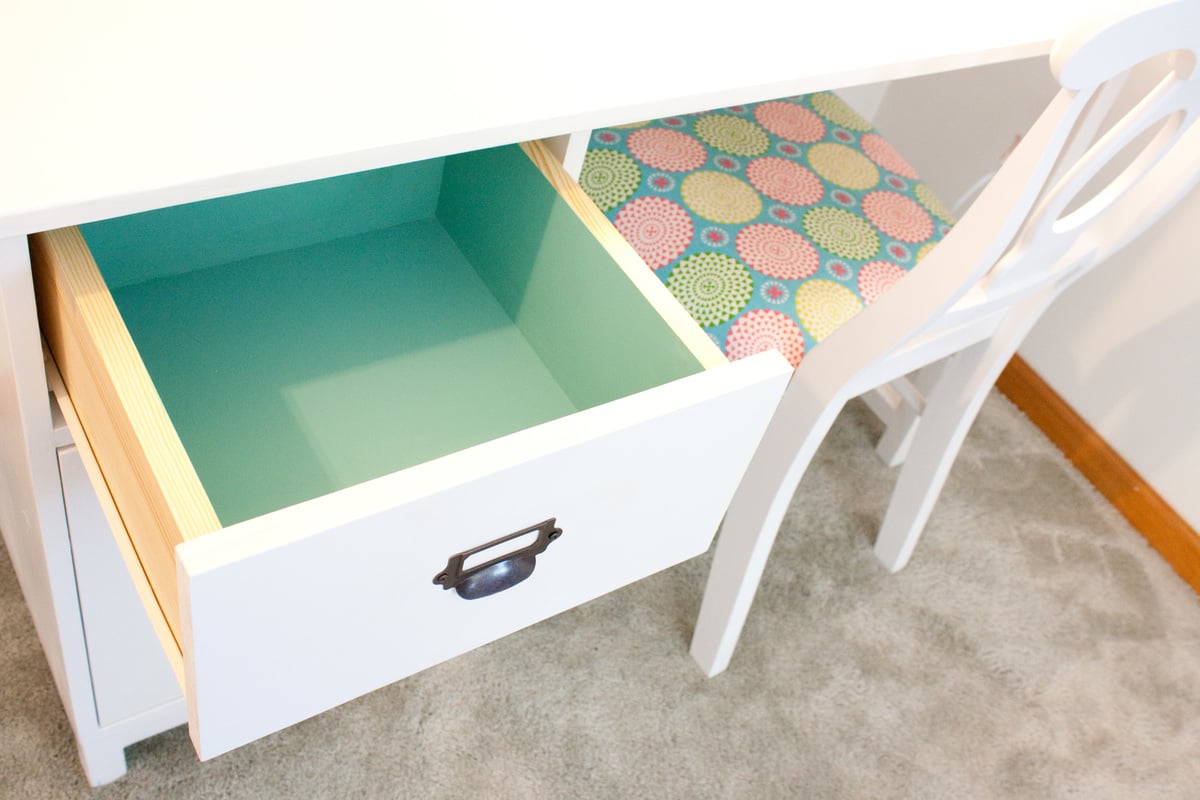
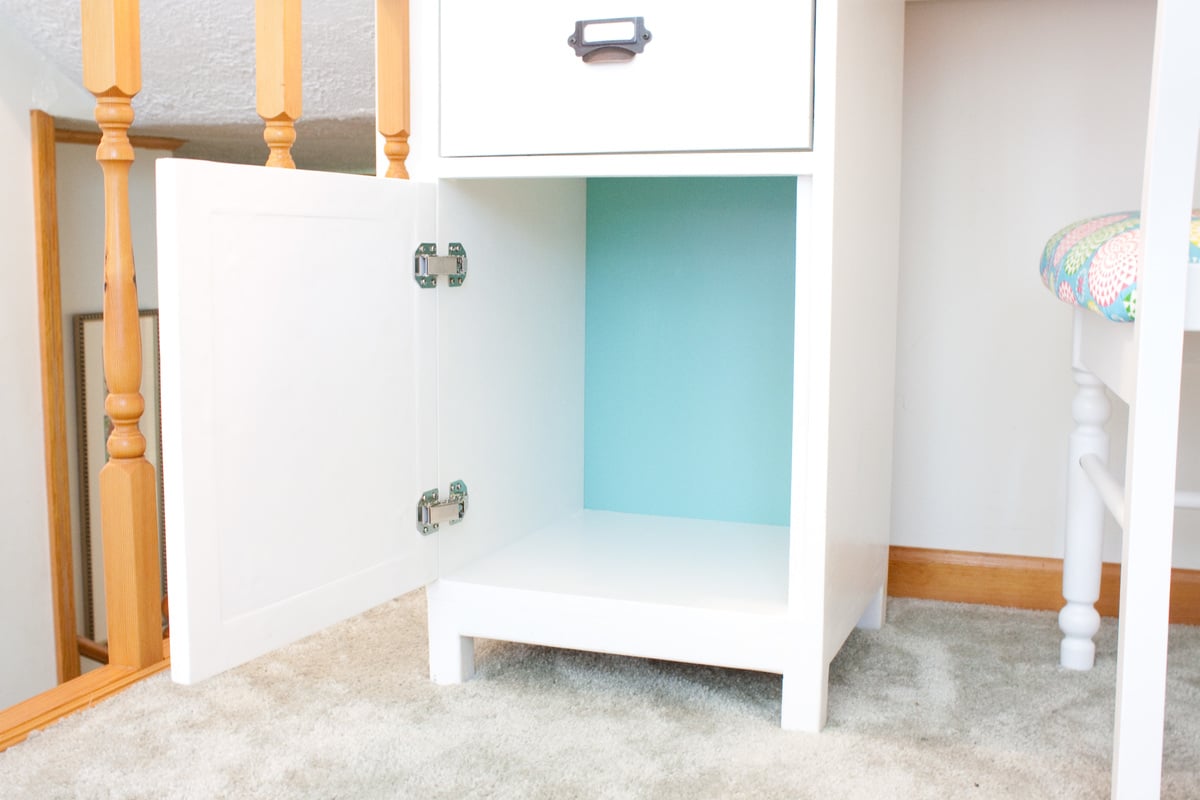
I made this for my 6 year old who just started the first grade. The only modification I made to the plans was to make a couple cutouts in the hutch for cords. I also added cork which comes in a 24 by 48 inch roll.. I ordered all the hardware from the same place that Jaime from That's my Letter suggested in her build post. This was my first drawer and it was intimidating but it was fairly easy and cute as it can be:-) The plans were very easy to follow! I got the idea for the peg board organizer from the Shanty 2 Chic website. It's just 1x4 frame around the pegboard. The chair was a craigslist find I painted and made a cushion for with some foam and cute fabric. I'm really happy with how it turned out and look forward to the day when my daughter will actually use it. LOL
Mon, 08/26/2013 - 07:39
Absolutely adorable! I love all your finishing details as well.
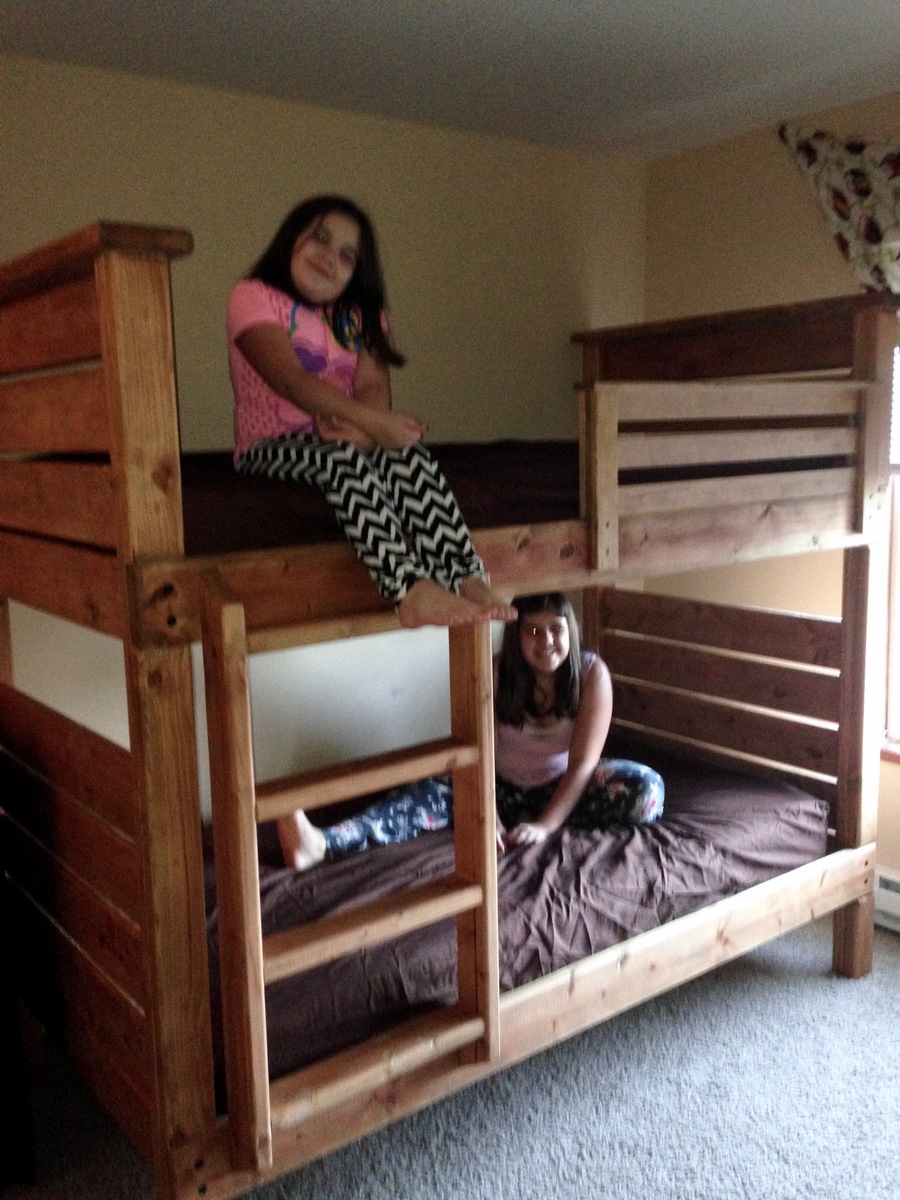
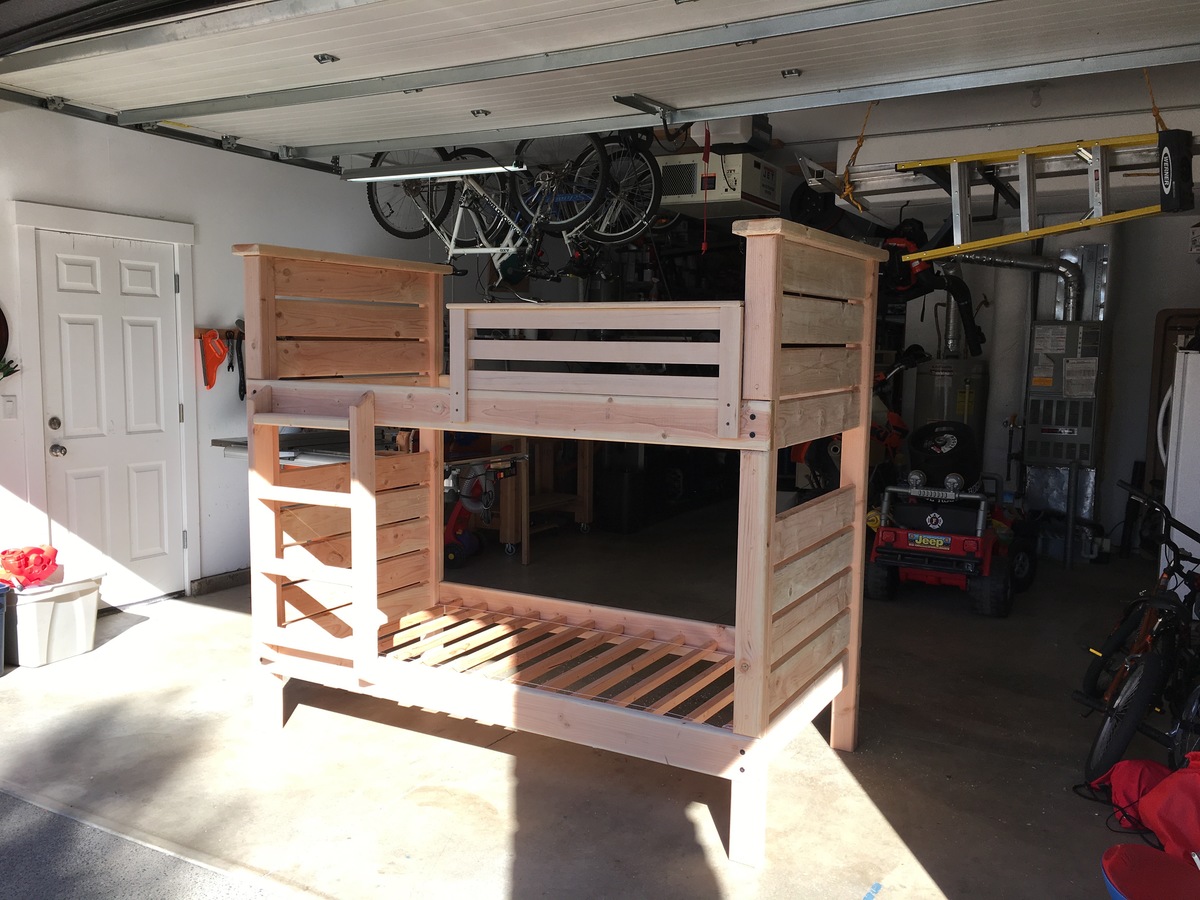
I made another one of these bunk beds for a family near my community. This time I made all cuts from longer boards 16' + The boards had less nknots, which required less sanding and came out better!
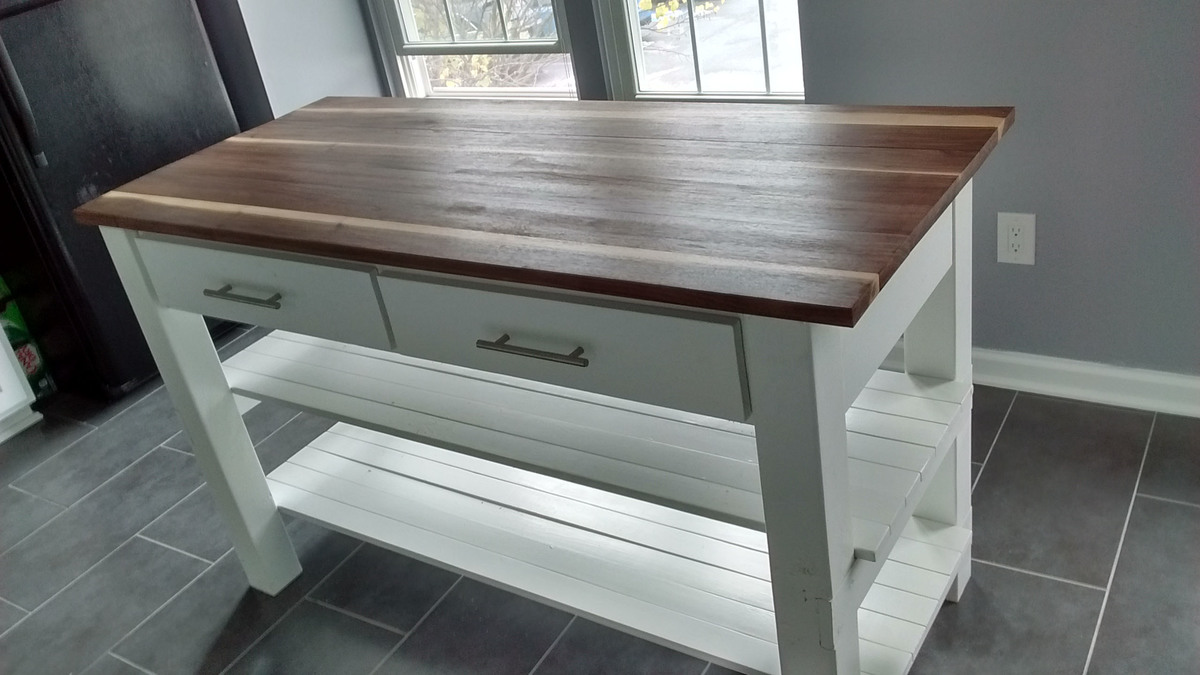
I used the plans from Michaela's kitchen island, but modified the top. Instead of 2x4s pine studs, I used black walnut boards a friend of mine had lying around. They were ~1x8" boards so I ripped them to ~4" width and ~60" length. They were a little warped so I glued and screwed them togther using a Kreg jig (best tool ever). This made a huge difference and there was only minimal gaps (1/16") between the boards. I ended up borrowing a belt sander from another friend to take out the 1/16"-1/8" lips in the boards. First time using a belt sander and it took a few minutes with 80 grit across the grain to get a level surface. Used 120 grit paper with the grain to smooth out the scratch marks from the 80 grit. Attached the top to the base with screws, finish sanded with 220 and 320 grit, cleaned up the dust with a tack cloth and then applied a few coats of polyurethane. For the drawers, I couldn't find 21" slides so I ended up modifying the drawers for 20" slides. Another fun and satisfying project!
Thu, 11/05/2015 - 15:31
I don't seem to have friends with stashes of black walnut lying around : D
I am kind of a visual organizational neat freak and I have been annoyed by all the little things taking up good shelf space in my pantry for a long time now. This just kept getting pushed down the list ya know, not a major project. Anyway, grabbed an extra board at the store the other day and knocked this one out. I LOVE it. I made it short because I want to build a trash bag holder for the bottom half of the door. We'll see how long it takes me. I did use a 1x4 instead of Ana's plan which uses a 1x6. I only needed small things to put in here.
Tue, 09/20/2011 - 09:41
Ah, well dang it, now I have no excuses! LOL. This is on my list of things to do as well--yours looks great!
Wed, 09/21/2011 - 09:31
I love it! Great price,too!
I especially love how the design corals all those pesky little things that always seem to get pushed all the way to the back of my cabinets and drawers.
I'm definitely putting this on my list of things to build!
Cindy from Indiana
Thu, 09/22/2011 - 08:19
I just got an anchor that looked like it had a little more 'umph' to it. It is called a Cobra Tripple Grip. It looked like it had a section that popped open a little more once the screw went in. I thought that might hold it a little more securely. I feel no movement when I jiggle it at all.
Sun, 01/15/2012 - 08:29
Very nice project.
Just came along looking for a storage shelf and I saw your door shelf. Going to build one of these for sure, sick of the little wire ones we have falling down every other day.
Sun, 01/22/2012 - 19:28
Thanks for the idea. I had to purchase one instead of make one because I live in an apartment.
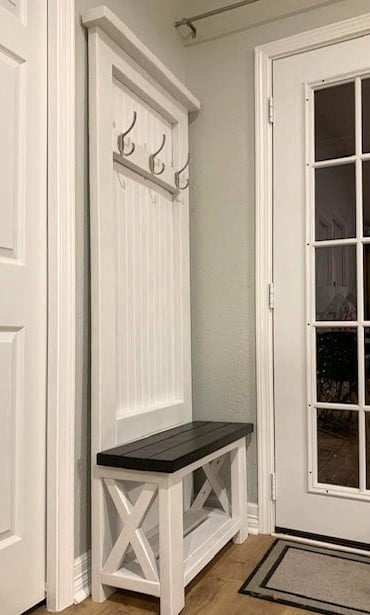
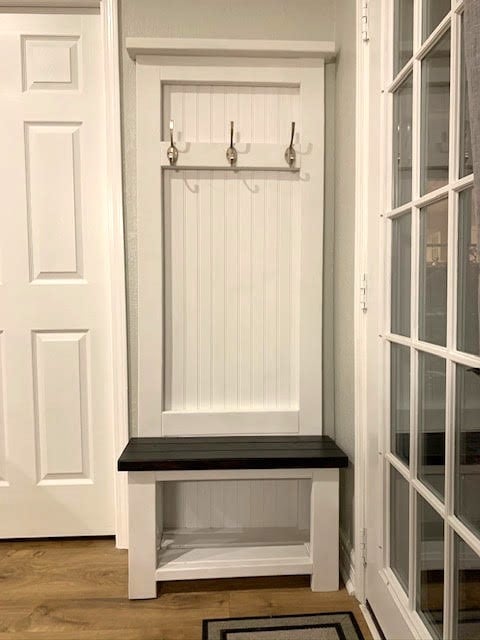
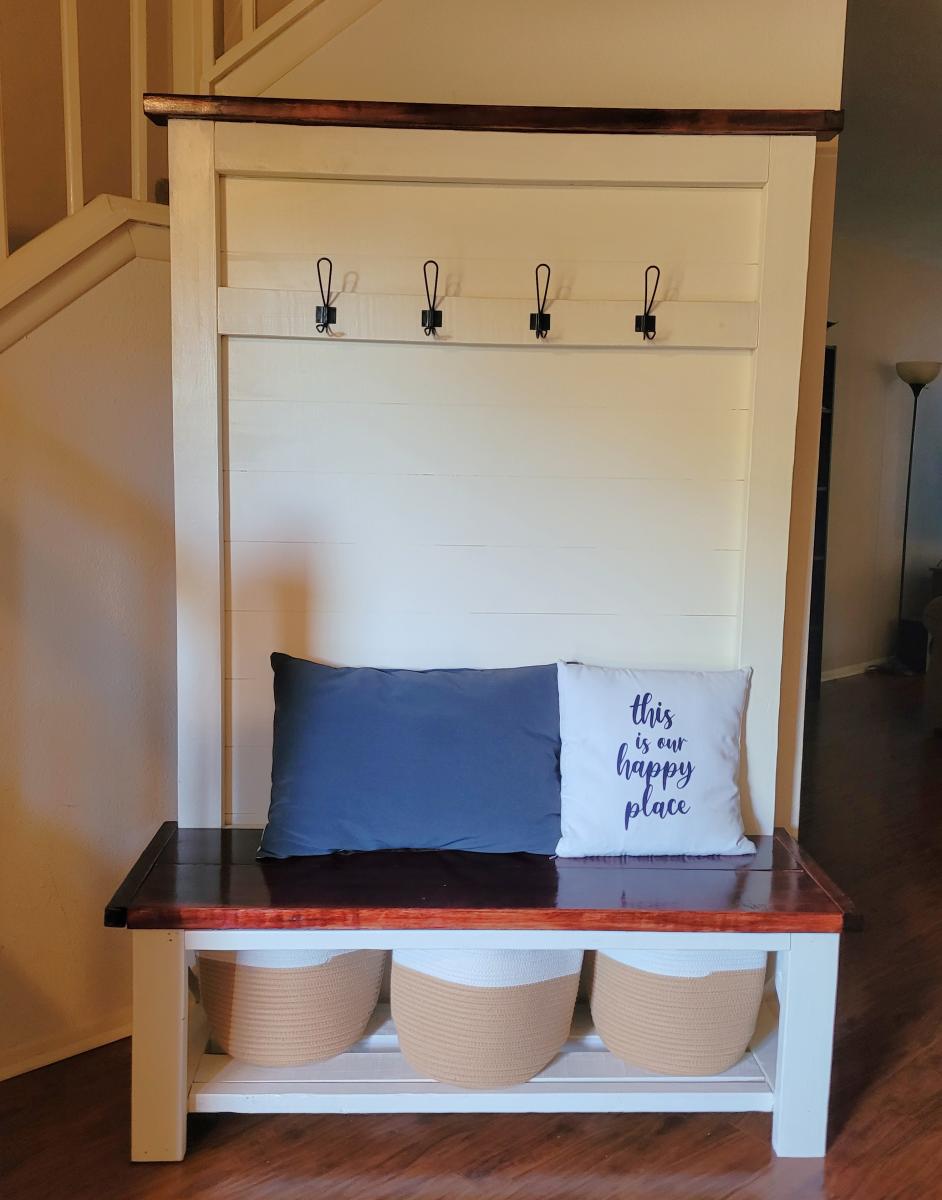
Farmhouse hall tree modified for the space!
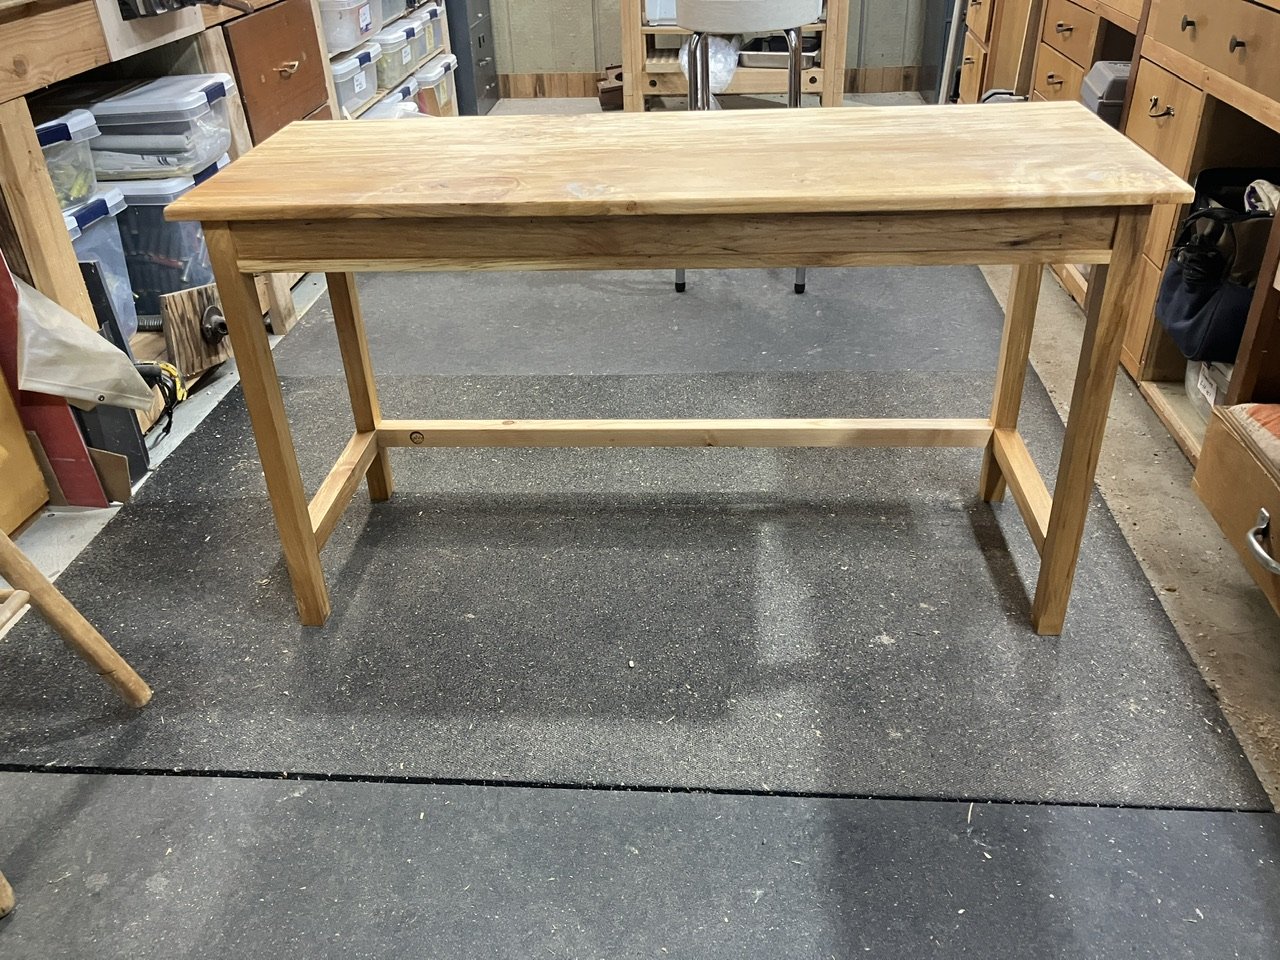
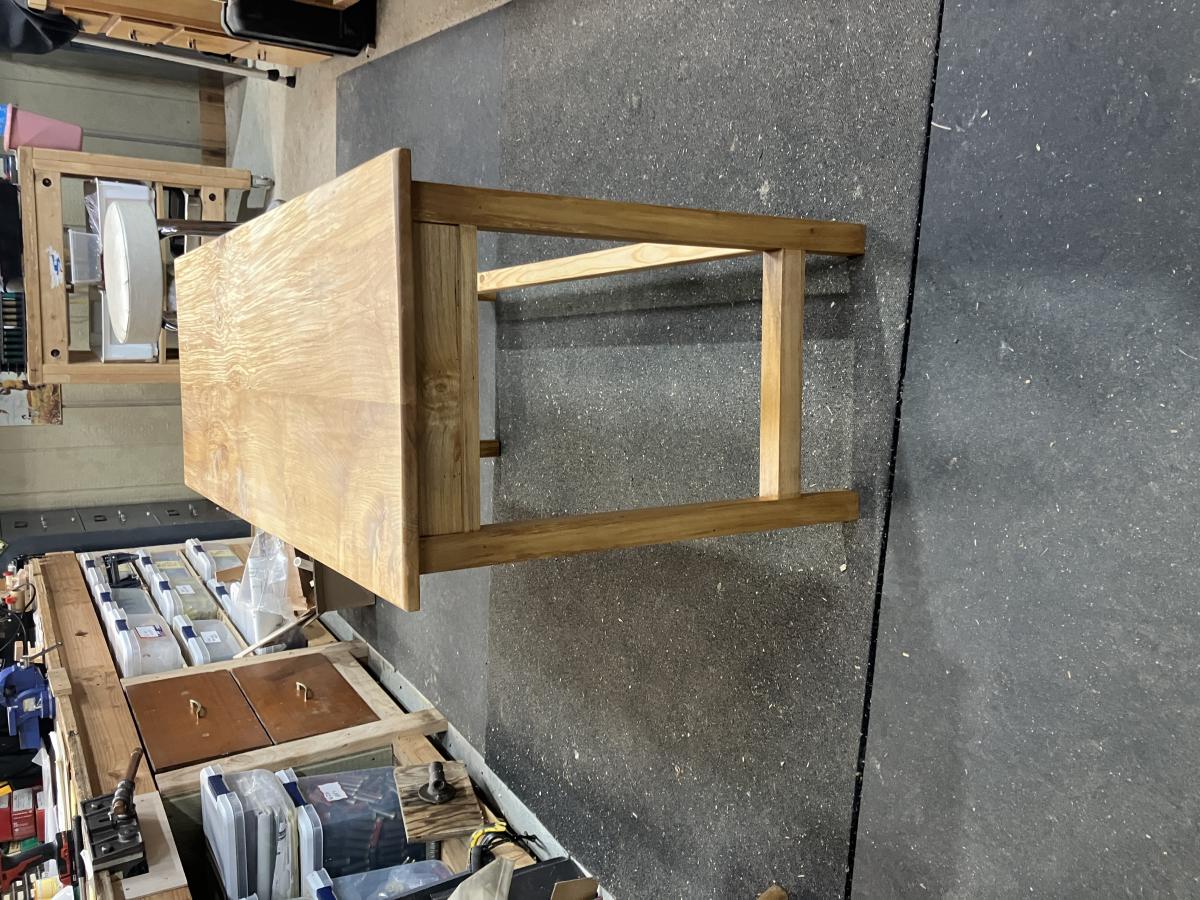
Made a 48x18x27h version of the Little House table to use in a small office . The Wood is Spalted Alder resourced from our WA State property finished with a clear satin urethane top coat. Fasten with pocket holes and glue for the frame.
Christmas 2010 my husband and I made our little girls a kitchen using Ana's plans. We used the materials on her cut list, and used paint for the finish. Used fabric scraps to sew the sink skirt, found the knobs at hobby lobby and habitat for humanity, and small bar faucet at Home Depot. It turned out amazing!
Thu, 12/15/2011 - 19:04
Julie, this kitchen set is gorgeous!!! Thanks for sharing!
In reply to Julie, this kitchen set is by Ana White
Tue, 12/20/2011 - 16:04
Thanks so much for the compliment! Means SO much coming from you! I love your site and your plans, Ana you are amazing! Thank you for making me your featured builder this month, I had no clue until someone saw my face on your blog! I feel like a rock star now ;)
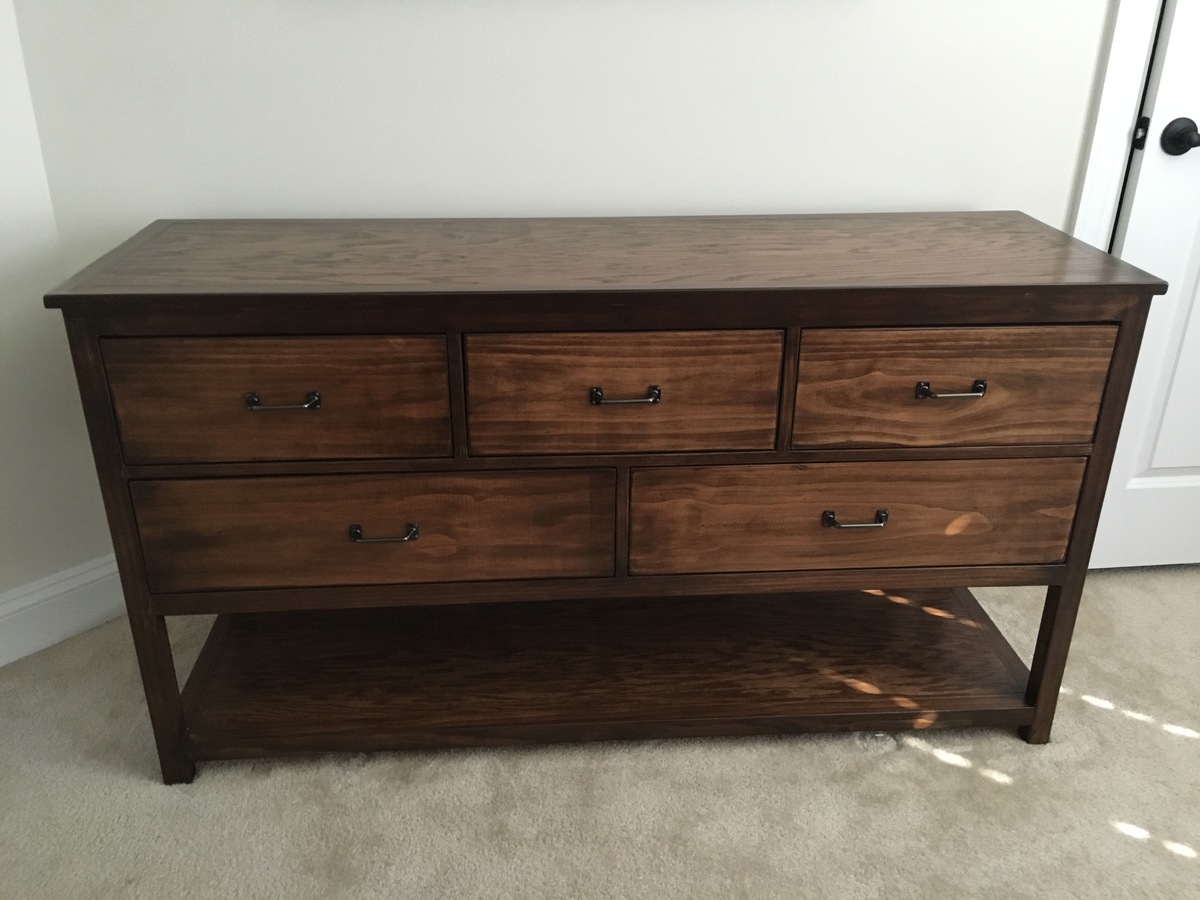
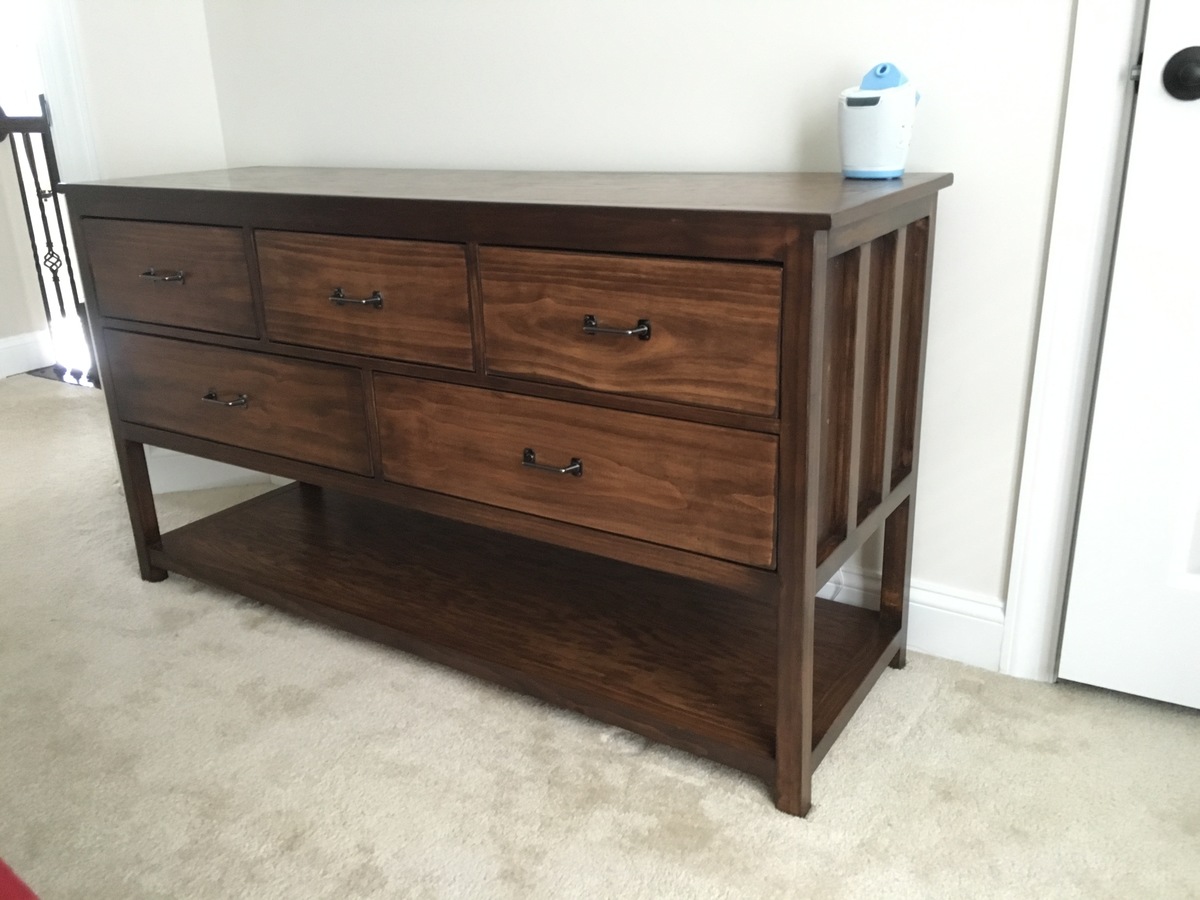
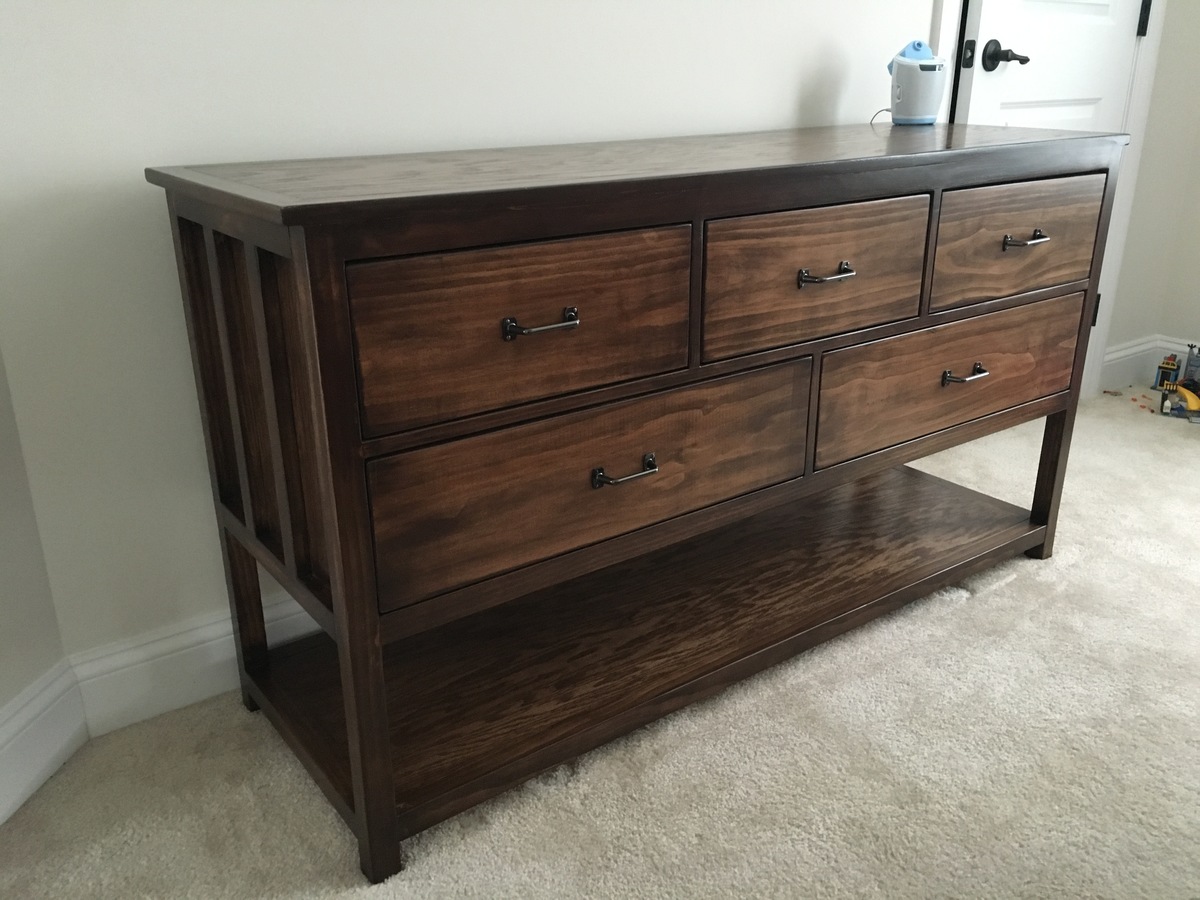
My husband built the dresser for our three-year-old son. He built and stained the dresser over the course of a week.
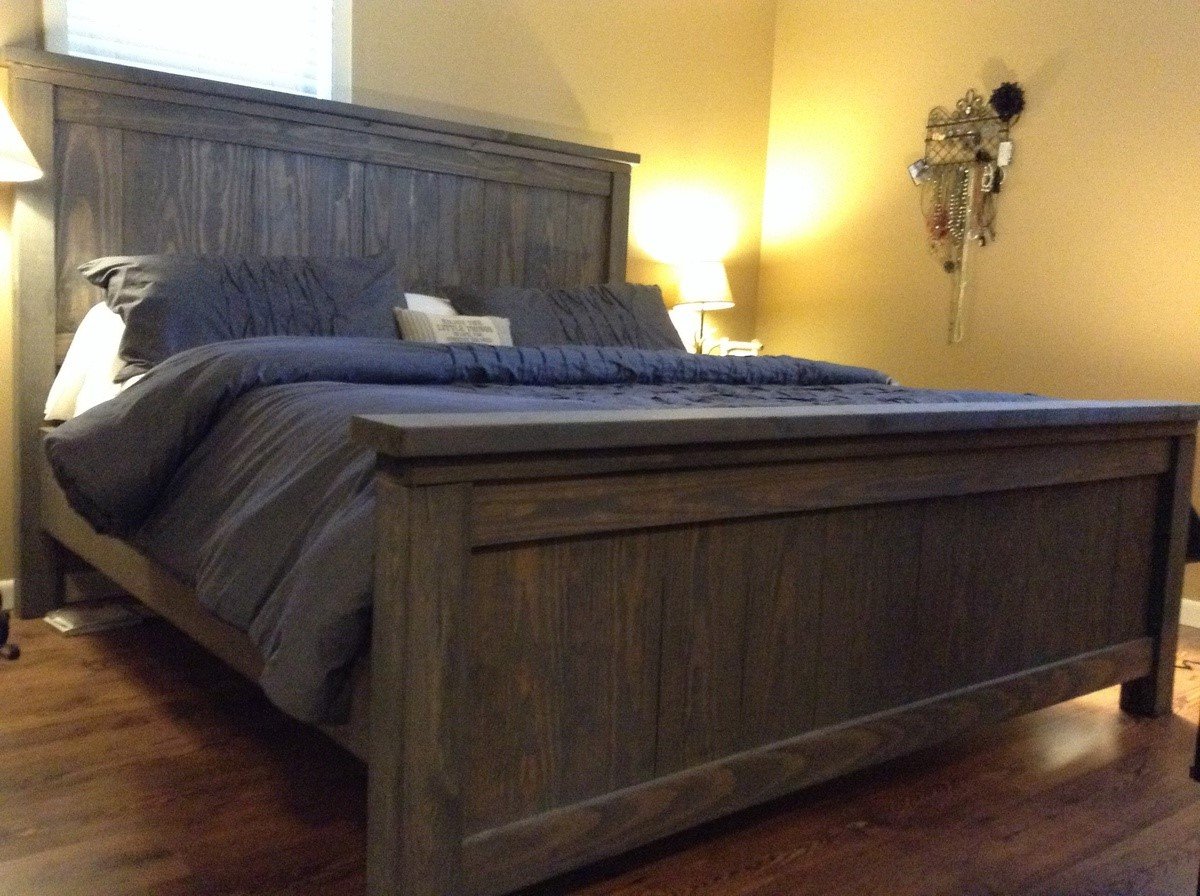
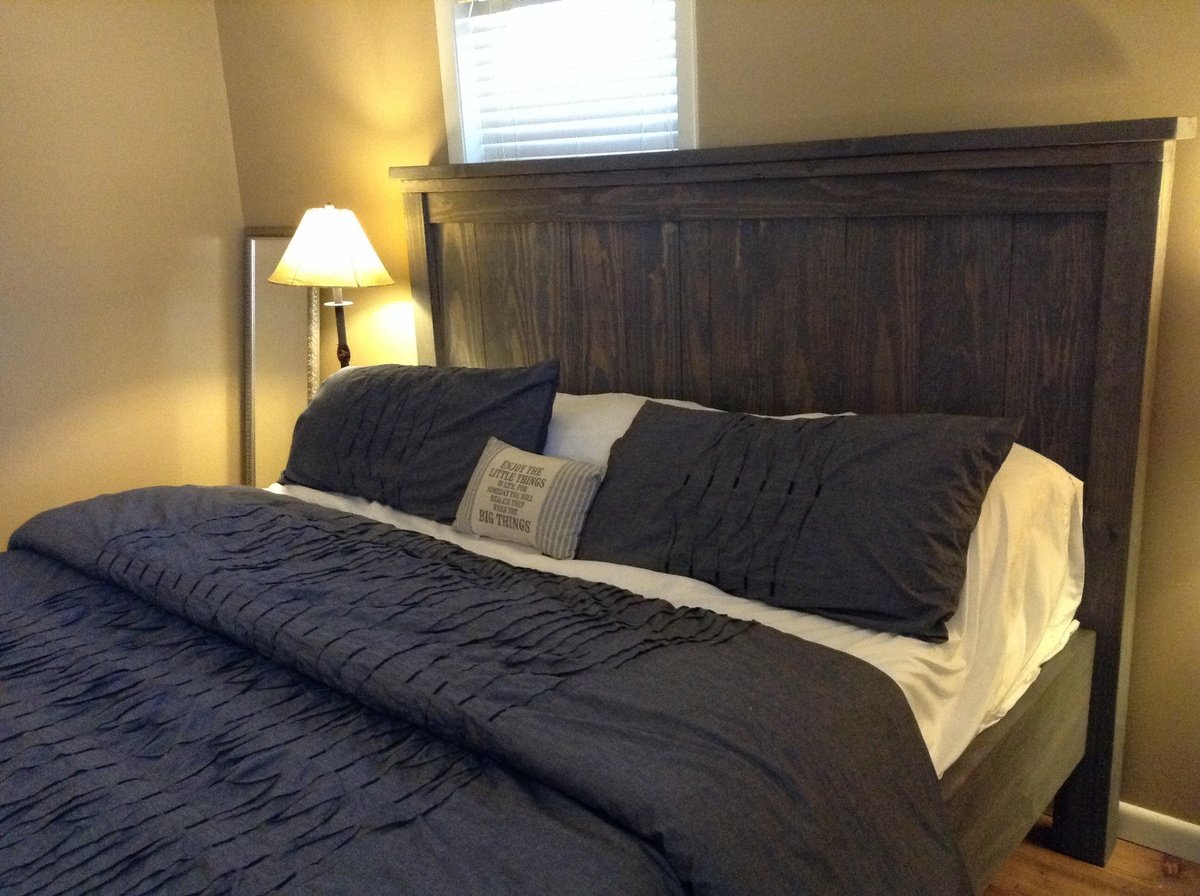
My husband and I built this for our first furniture project. I have the bug! Now I must make night stands . I got the look by staining first with min wax dark walnut, followed by rustoleum weathered gray. This was my first time to ever stain anything, so this does not take much experience to do. Love it! We followed the advice to measure our mattress first, which was good because it turned out to be narrower than many kings. We built the bed custom to our mattress . We also made the height a few inches taller to have a nice tall bed. The footboard is lengthened also. I wanted it to come up above the end of our mattress. This project is easy once you get going. It is also addictive!
I saw the plans for this and had to have it! My husband had it assembled pretty easily (we've built several dining tables/benches, but this was our first piece that went out of that box, lol) and the whole project took maybe a day or two including staining. We left of the end pieces just because we were trying to get it done quickly for Thanksgiving; we intended to add them on later, but I kind of like it open. Everyone who has seen it loves it!
Sat, 12/07/2013 - 21:46
Your hall tree looks really good! (Early American is my favorite stain color!)
Val @ artsybuildinglady.blogspot.ca
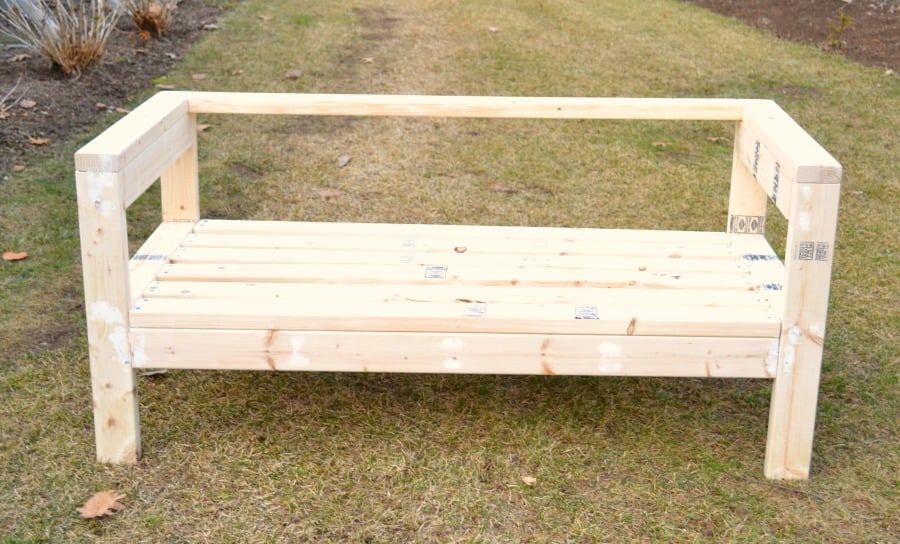
I have been looking for something to add extra seating to my deck while also filling an awkward corner that I have never been able to find prefab furniture to fit. This build reminded me a lot of the large X bench that Ana made for her cabin (that I also built for my front porch.) It is super simple and so sturdy. I can't wait to sew cushions for it and build the second half.

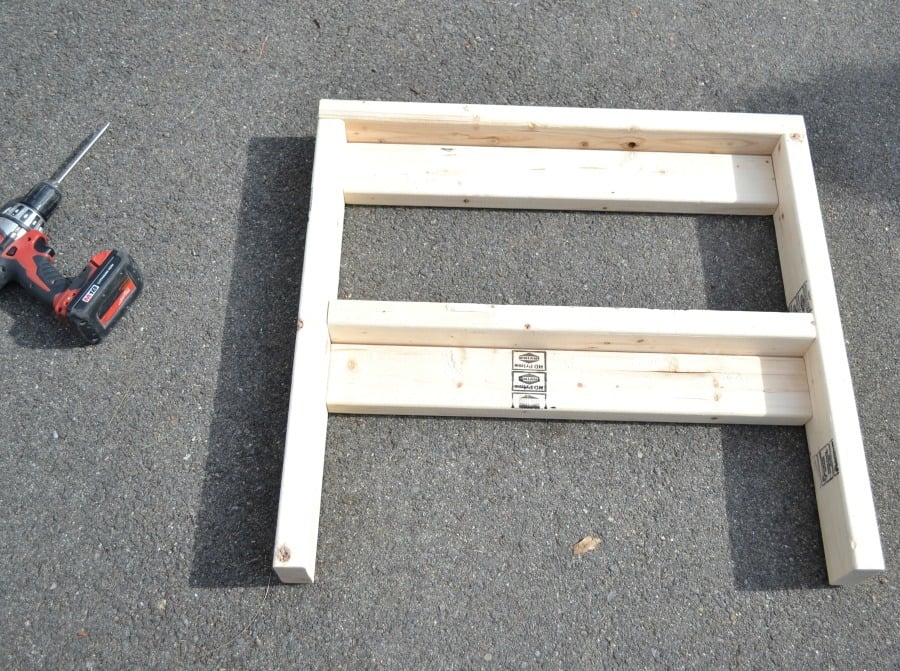
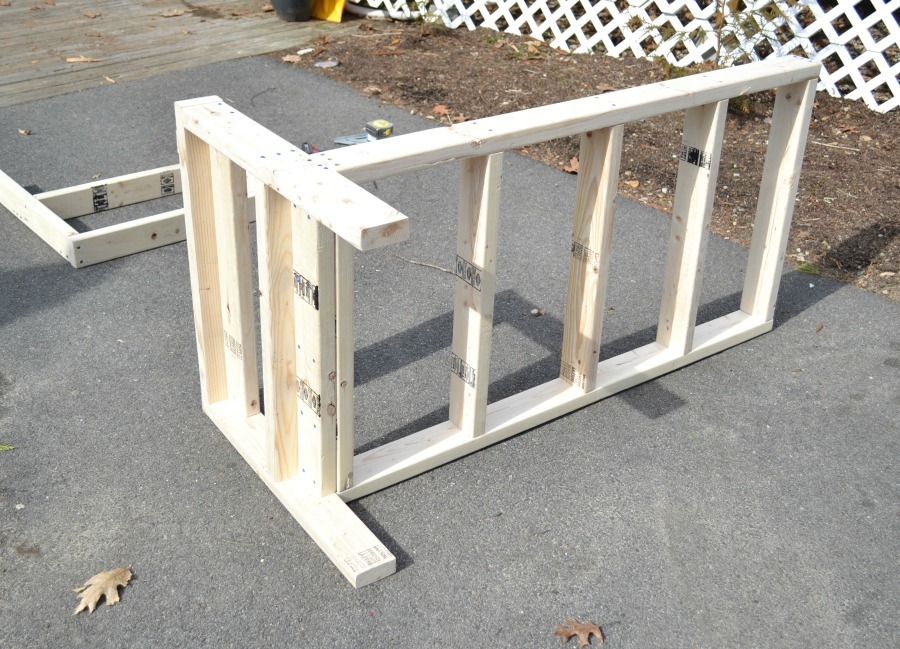
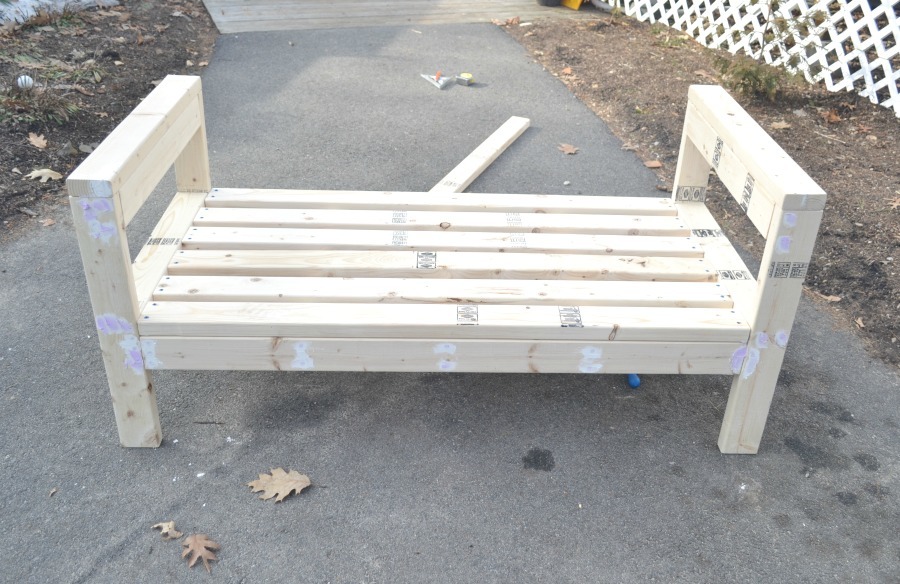
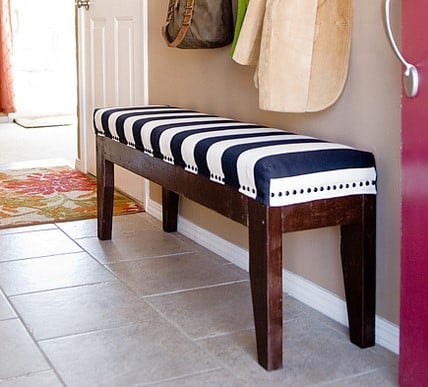
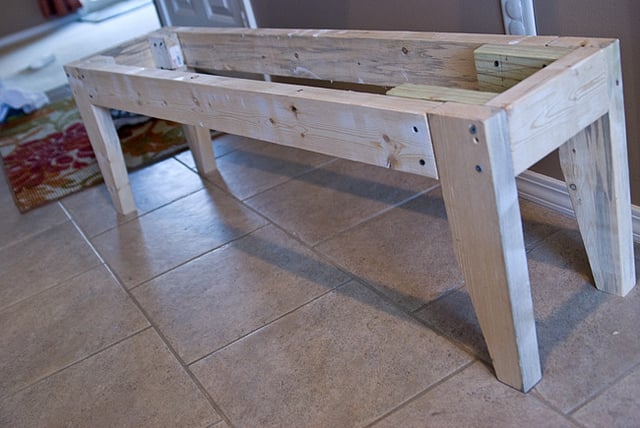
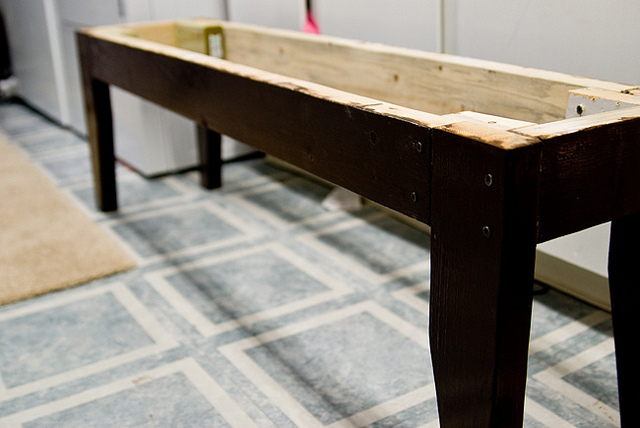
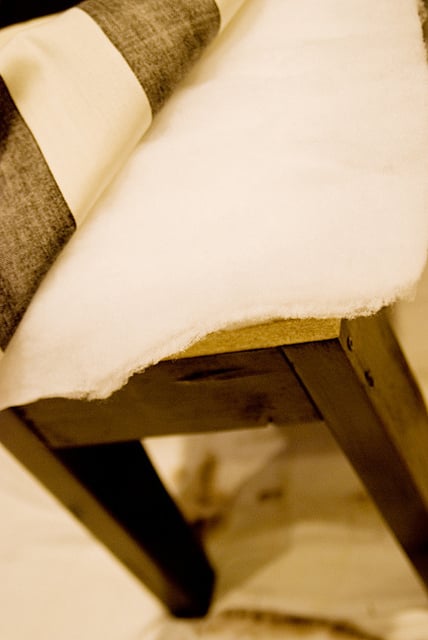
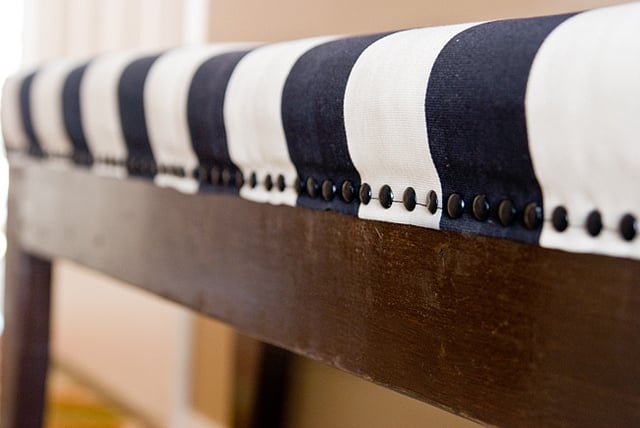
Wonderful project! Very fun. Built a bench from scrap 2x4s (left in the garage by our home's previous owner, so they were free!) and a piece of MDF shelving. Perfect for our entryway. The bench itself was incredibly easy to build. The hard part, in my opinion, was finishing it. So many pretty things to choose from! I used a piece of 2-inch foam plus a double layer of batting for the top, some striped upholstery fabric, and 160 nailheads to finish it off. Love it.
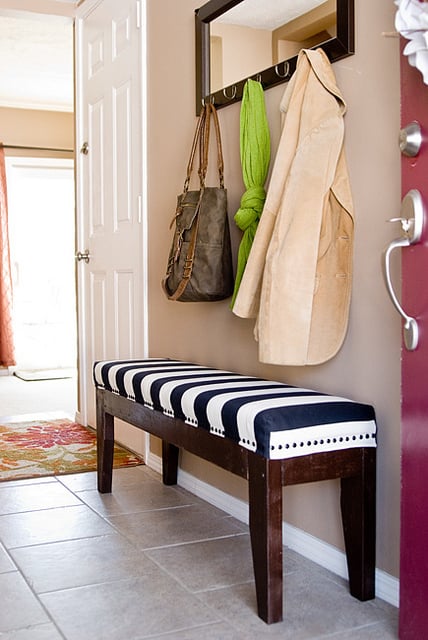
Tue, 02/14/2012 - 12:45
This really came out nice, and lovely selection of fabric.
Sun, 02/19/2012 - 12:54
Love it! Wondering if I could build it and have some type of slipcover on it. (house with three kids under 5 years old does not go well with permanent upholstery! haha)
Fri, 03/09/2012 - 09:06
If you check out Ana's original plans for the Easiest Upholstered Bench, you'll see that she DID use slipcovers! You could make different ones for each season, or for holidays like Christmas or birthdays...
Wed, 10/30/2013 - 08:36
Hi Katie, I am having a difficult time finding fabric (hard to believe)! did you get yours online? How wide are the stripes? most fabric I am finding is not wide enough to cover the top and sides. Thanks for the help! Great build!
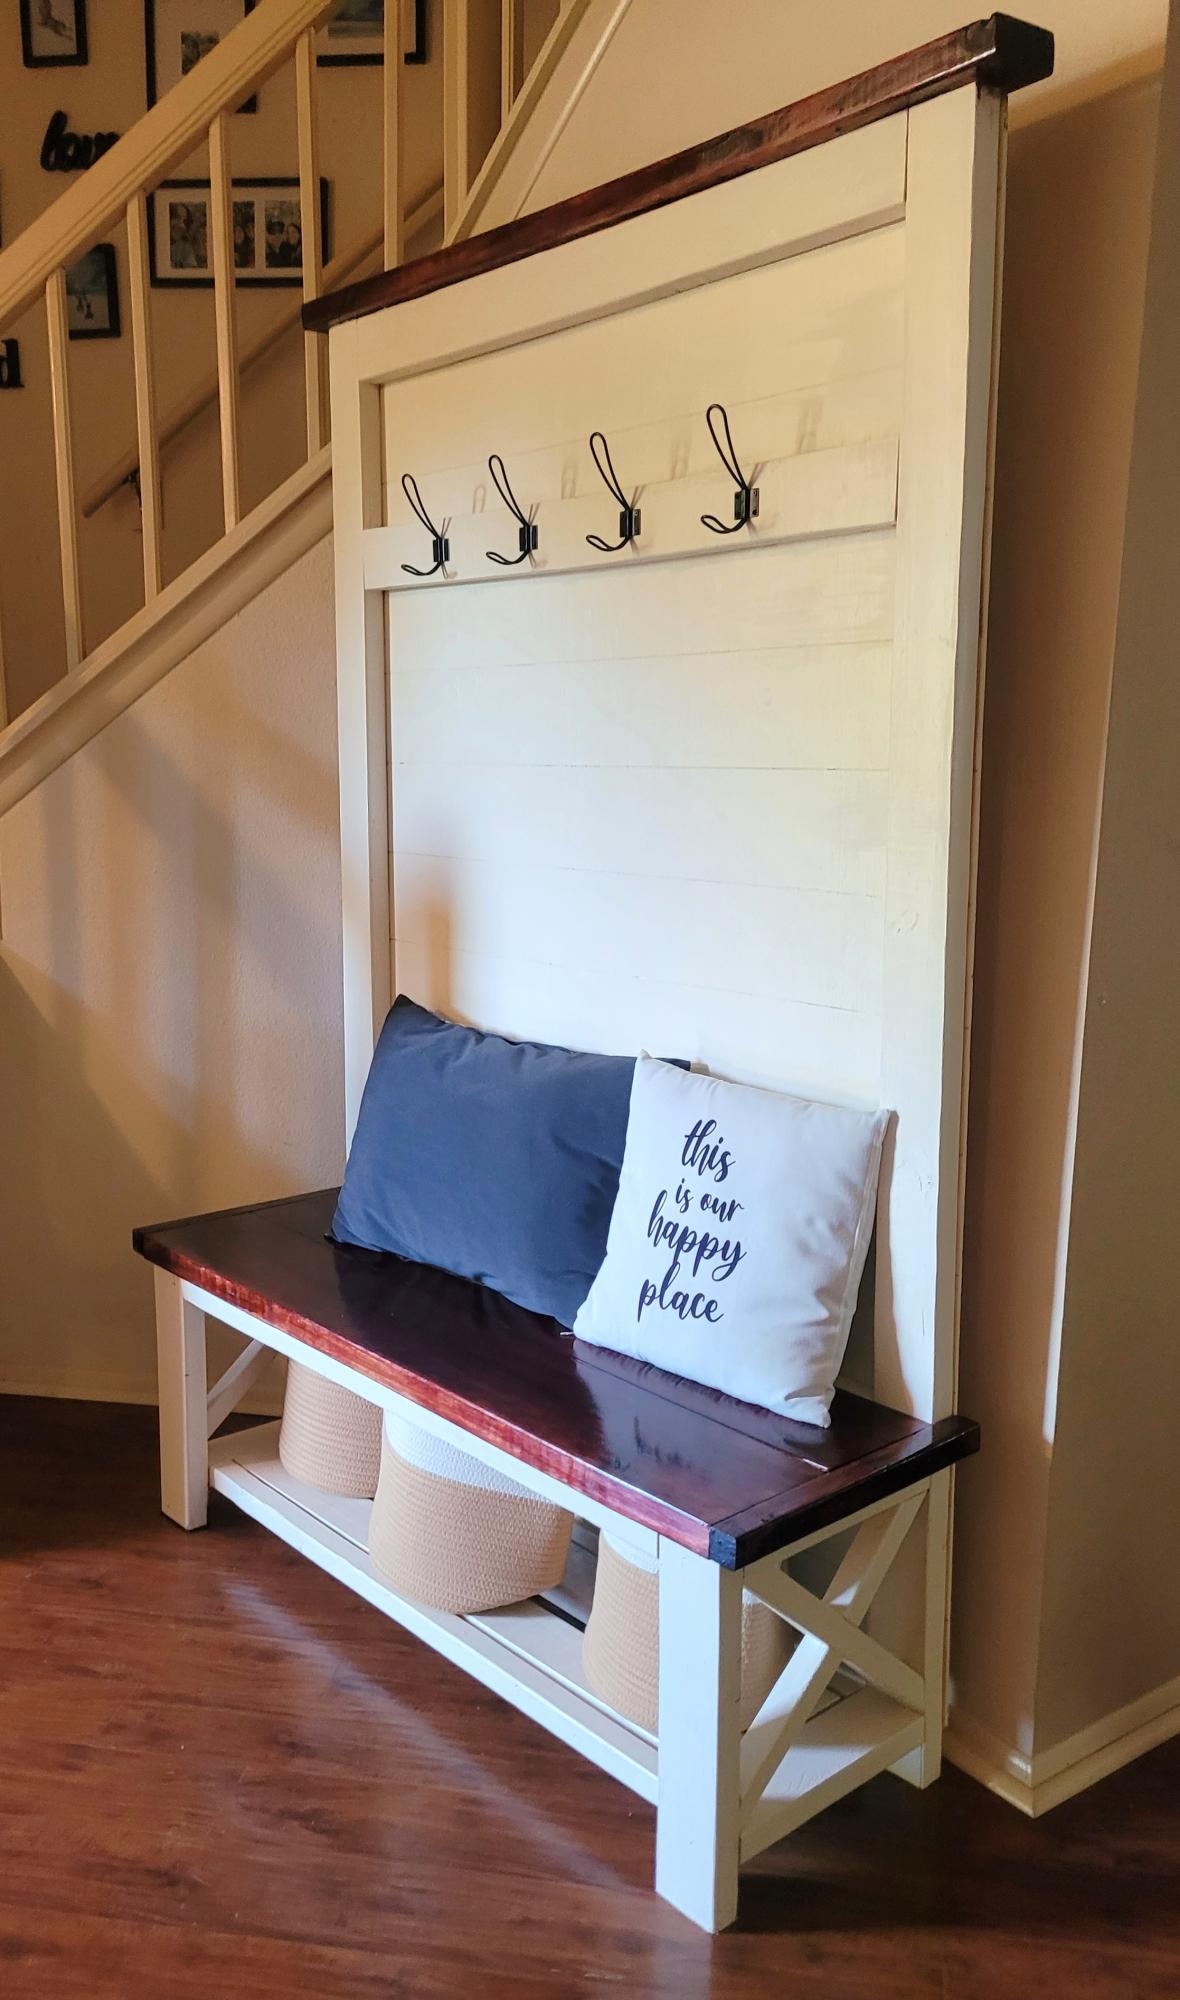
Such a fun build! Can't wait to start my new project 🤗
Jenuri
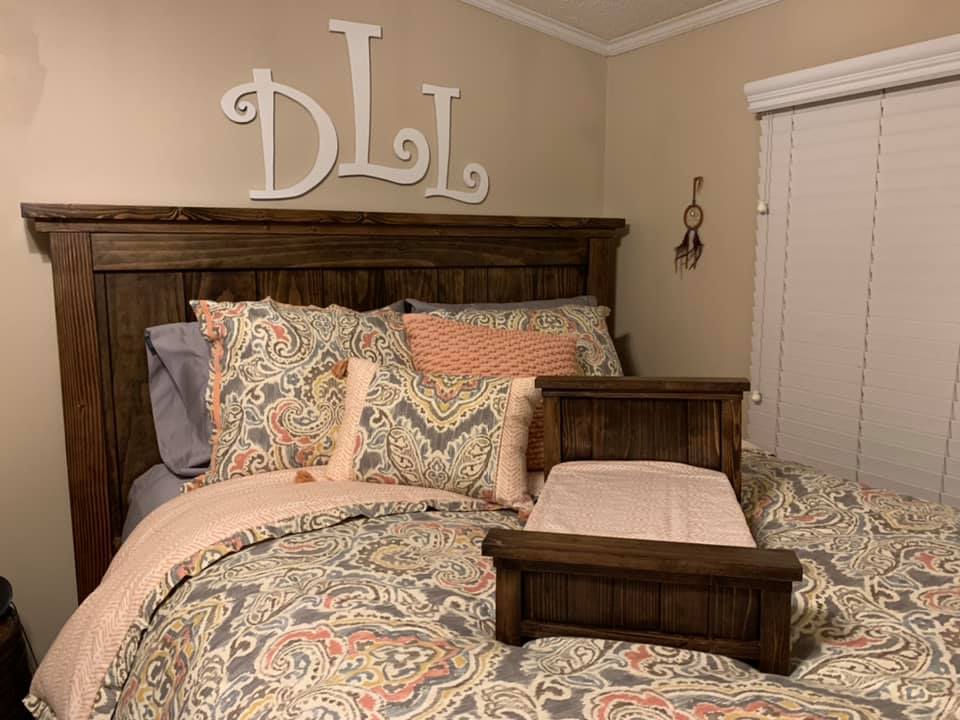
I built this queen size farmhouse bed using Ana's Plan. I wanted hidden under bed storage so I did alter that part of the plans. The box is pretty heavy so i added foot supports to carry the weight. I have access to the storage on both sides of the bed. I have built another version of this bed where i added gas springs to help lift the bed for access but i chose not to do it on this one. As an added feature, i also built a matching doll house bed. I love this bed, and it turned out beautiful.
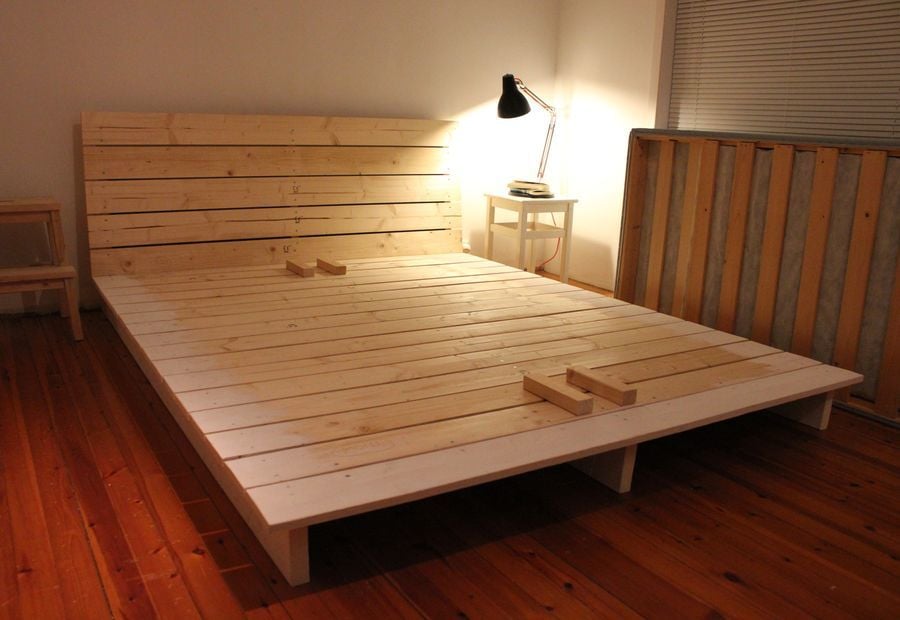
Inspired by Ana!
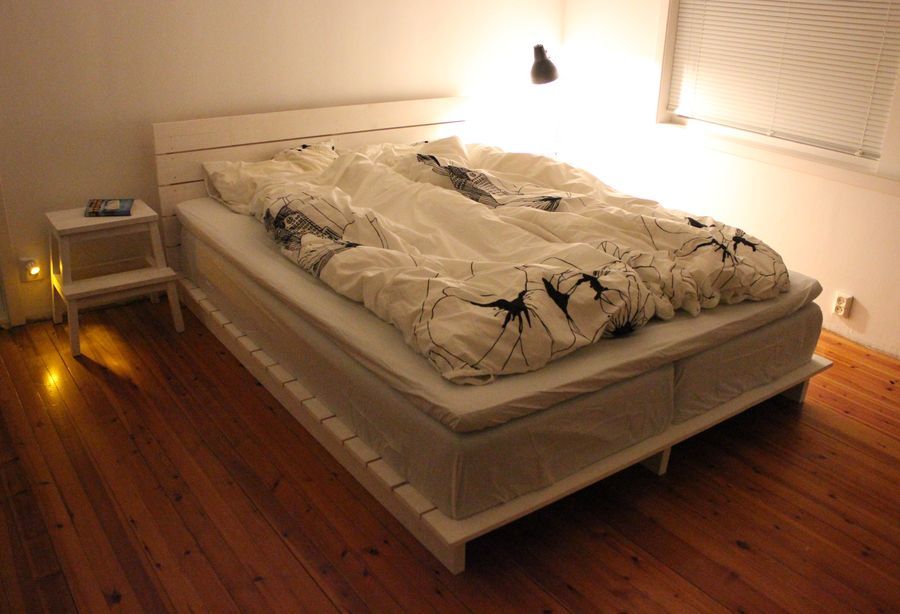
Thu, 04/05/2012 - 14:01
The bed has two matresses, the blocks are there to keep the matresses in place.
Tue, 04/17/2012 - 11:21
Now this is my kind of project! Looks easy but polished. Do you have plans for this?
Tue, 04/17/2012 - 12:03
Platform bed measures:
- Deck: 18x120 mm, width = matress width + 10 cm, length = matress length + 5 cm.
- Headboard: Height 80 cm, width = matress width + 10 cm.
- Beams bed: 36x150 mm, length = matress length - 5 cm.
- Beams headboard: 36x150 mm, height = headboard height - 5 cm.
Thu, 04/11/2013 - 23:04
I would love to make this but I would require plans in order to build it. So if there is any way I could get plans you would make me quite happy.
Fri, 01/15/2016 - 17:11
It looks simple enough, but the headboard looks like it may be tilted. Can you provide instructions on the attachment of that? Thank you
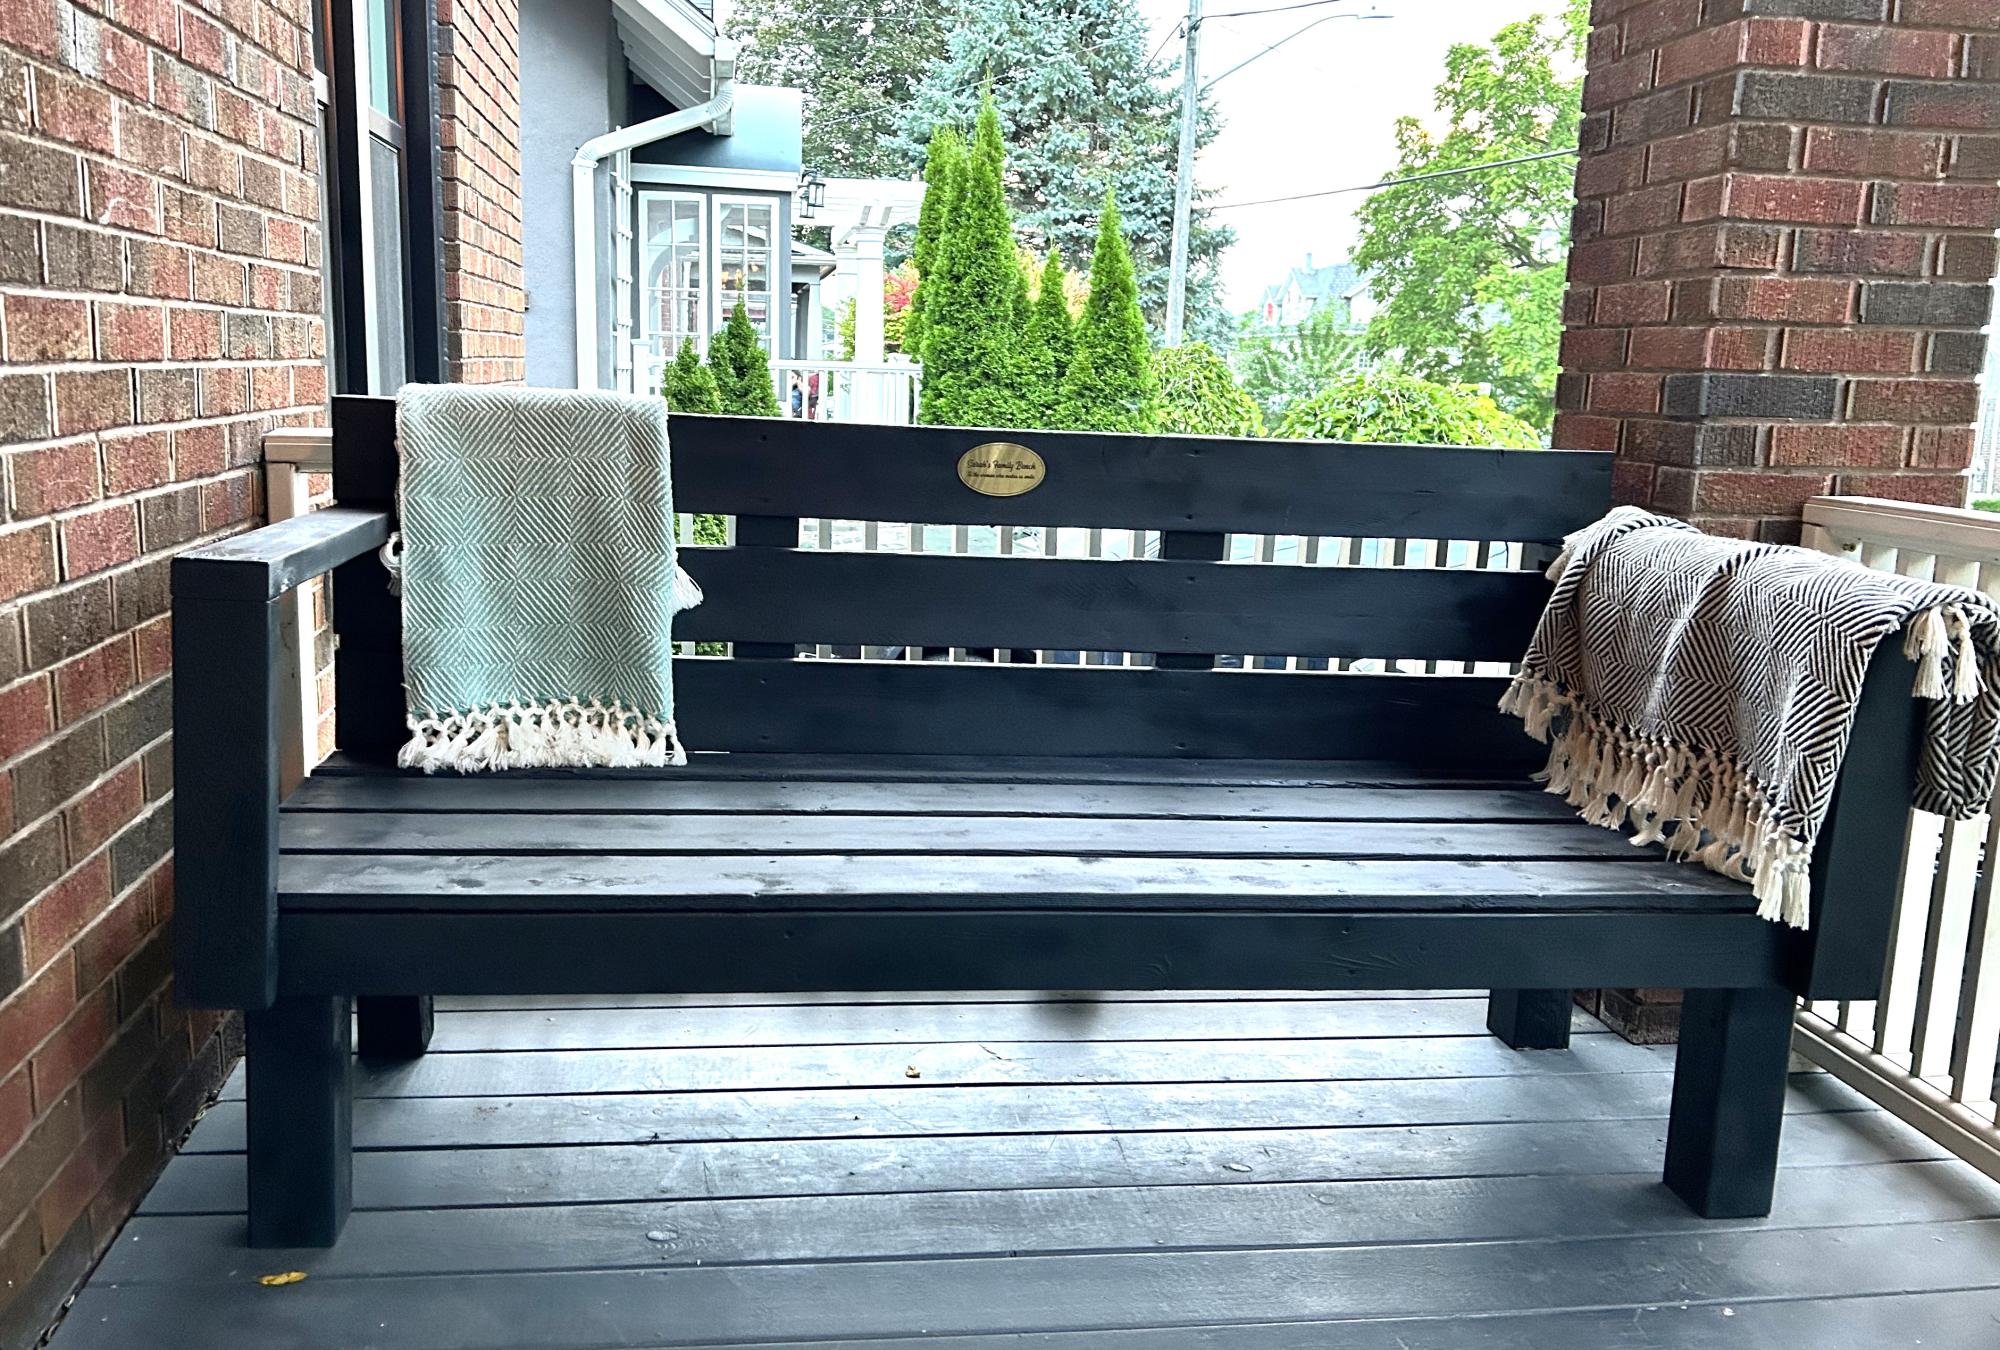
Made my wife a Ana White DIY porch bench for our 10 year wedding anniversary. Had a custom plaque made: Sarah’s Bench.
Looks beauty on our front porch.
Jesse Micak, Ontario, Canada
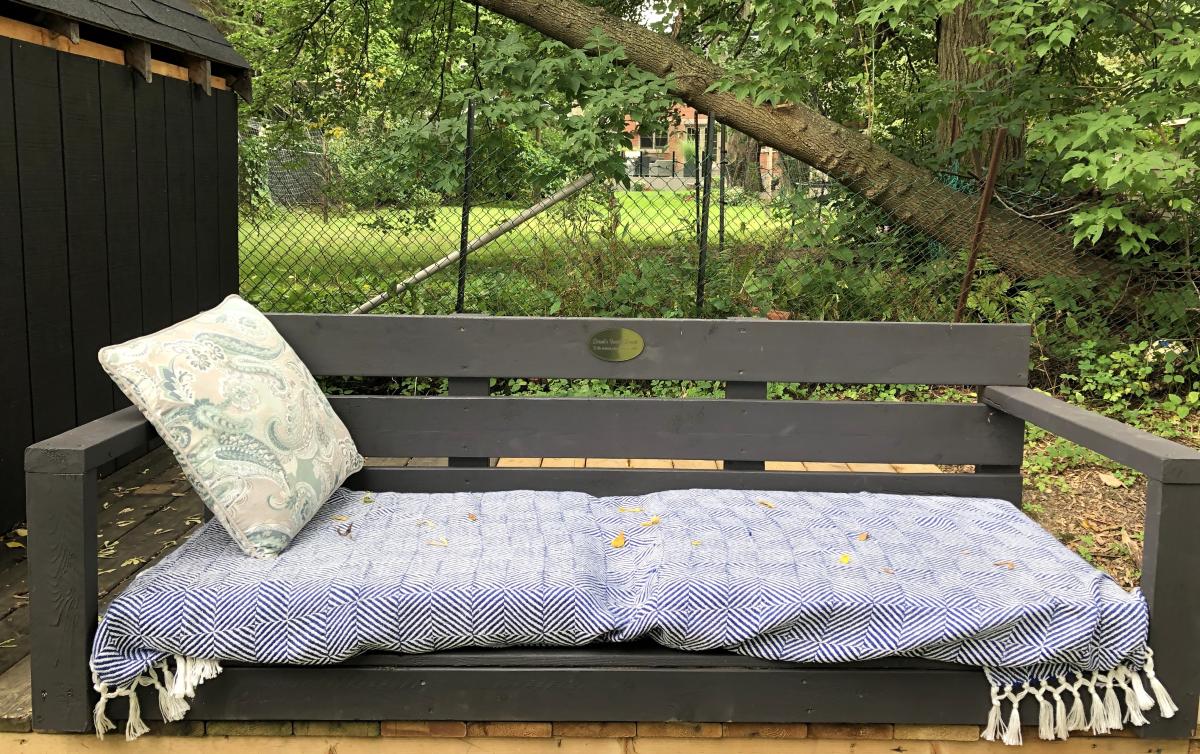
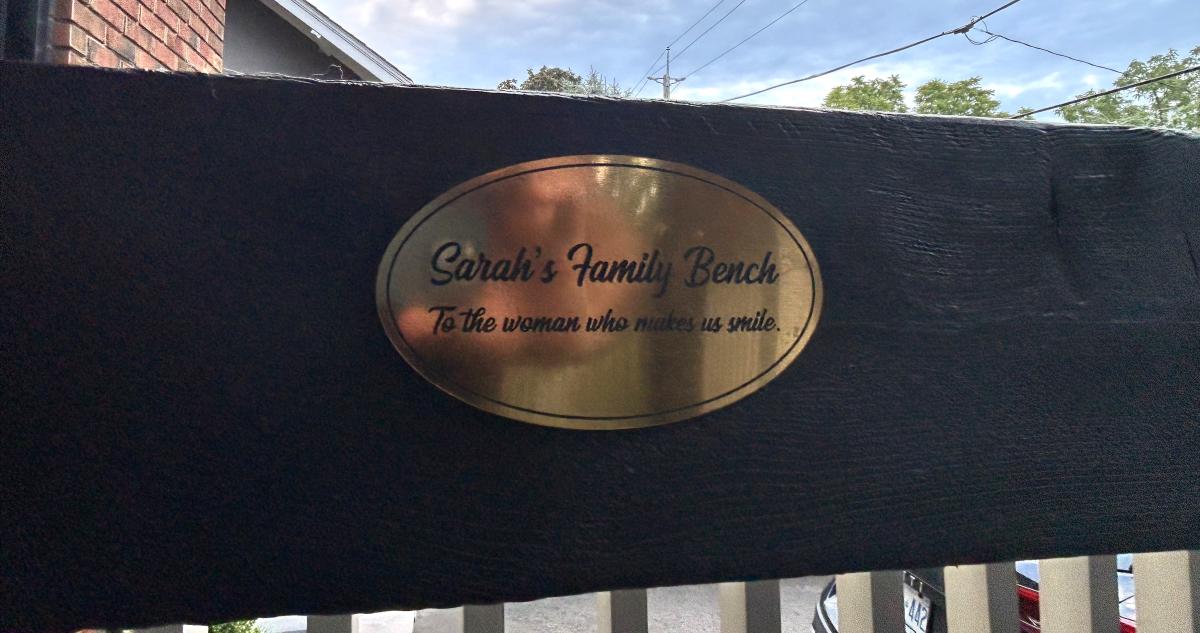
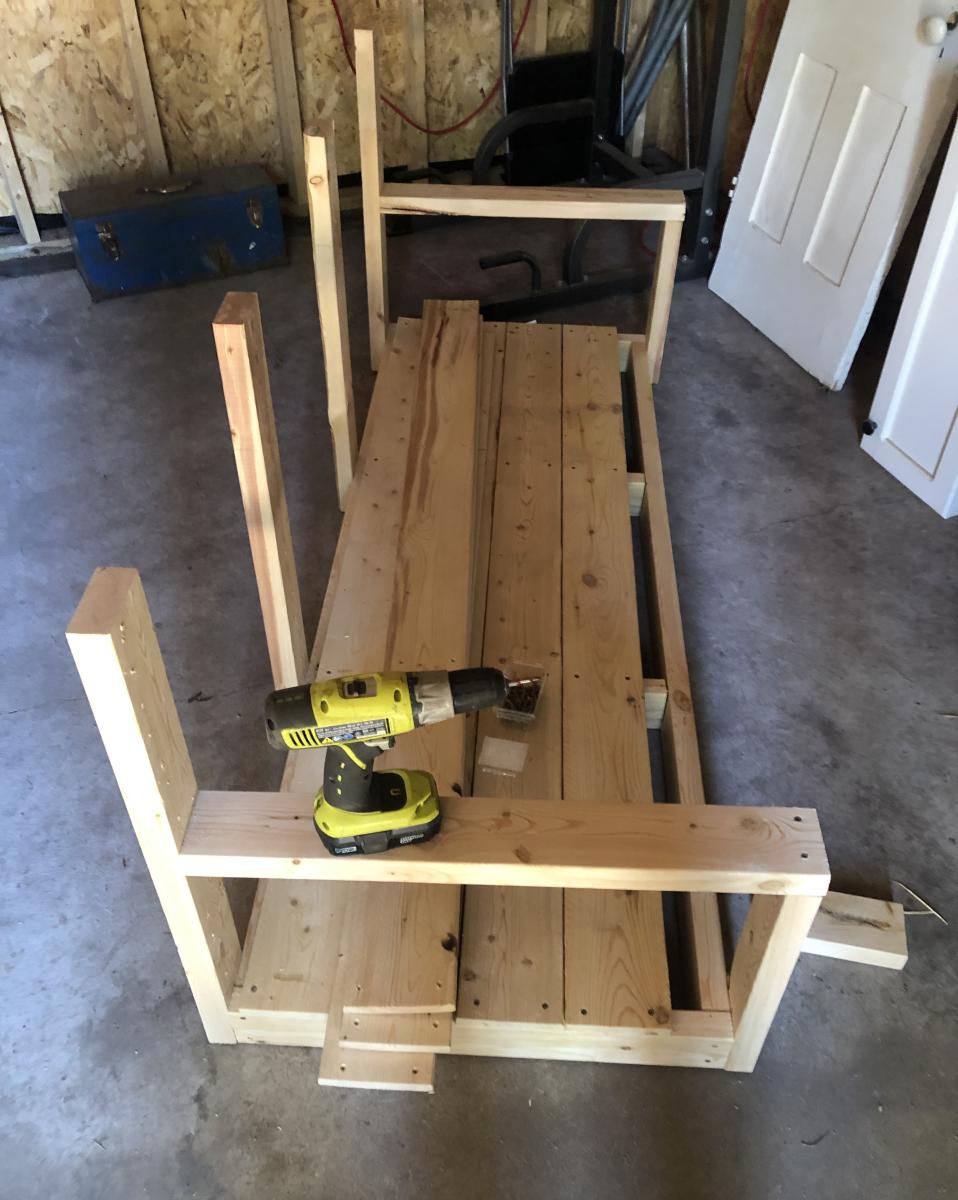
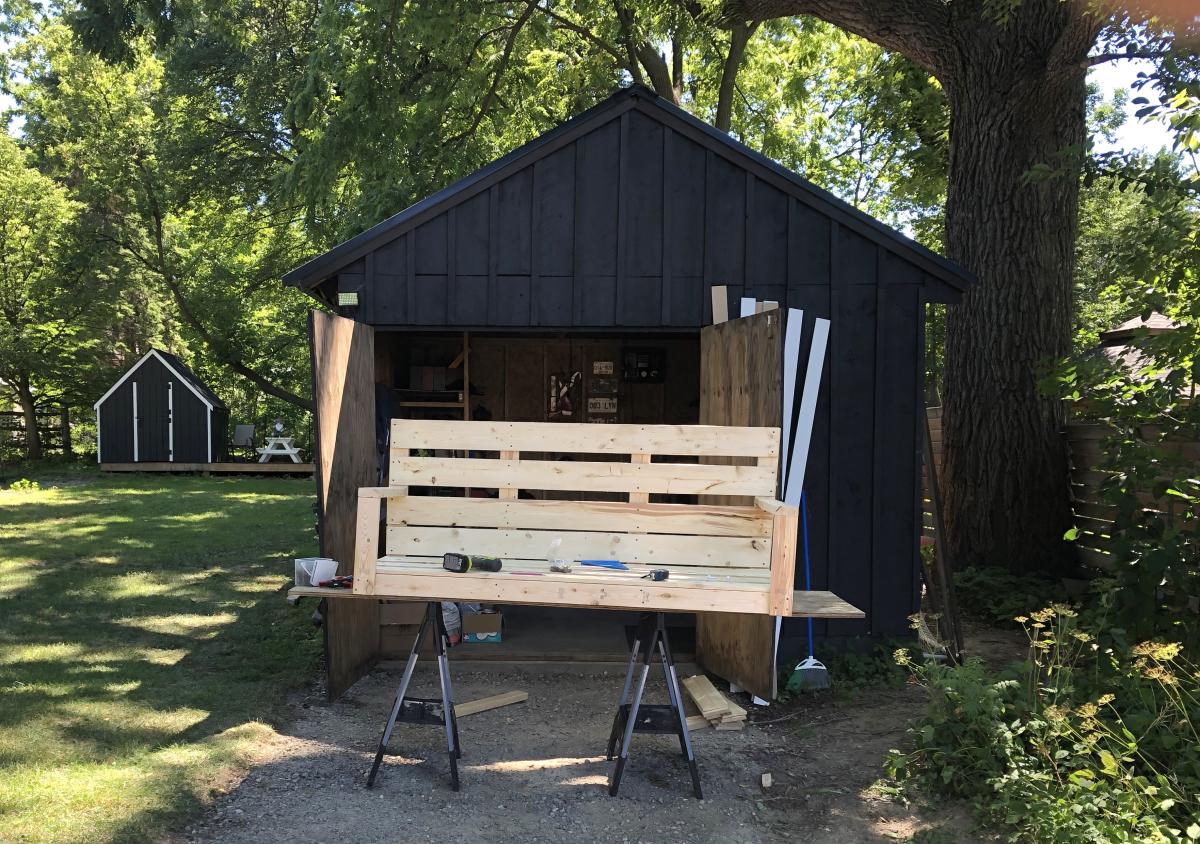
Wed, 08/30/2023 - 09:55
Beautiful bench and I'm sure your wife loves it! Thanks for sharing.
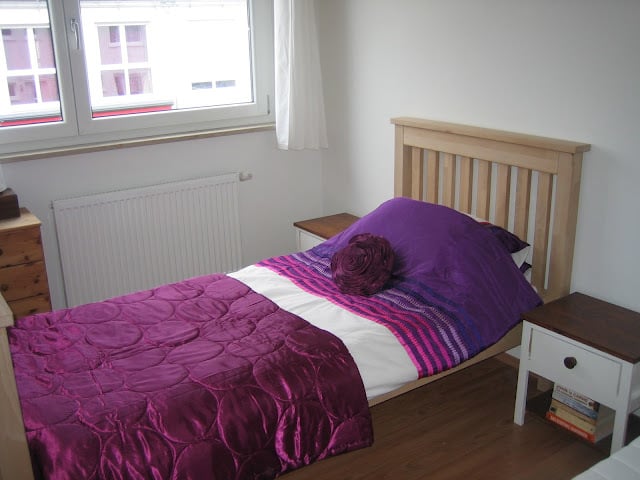
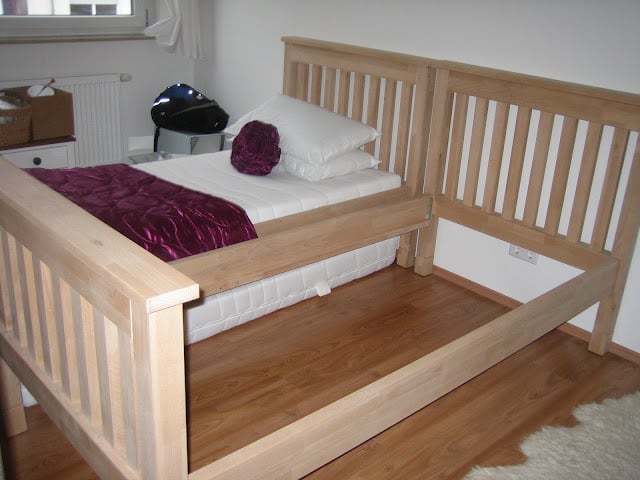
I used the basic design for this bed but altered it quite a lot to make the joins stronger, the edges smoother and the whole thing generally easier to take apart and put back together.
I used beech wood and completed the project at a woodworking club, so it's quite hard to estimate the time taken, as I only did it one evening a week and spent most of the time bringing the wood out, putting it away and clearing up each time I was there!
I am still undecided whether to give it an oil finish or to paint it white with chestnut wood stain on the headboard and footboard tops.
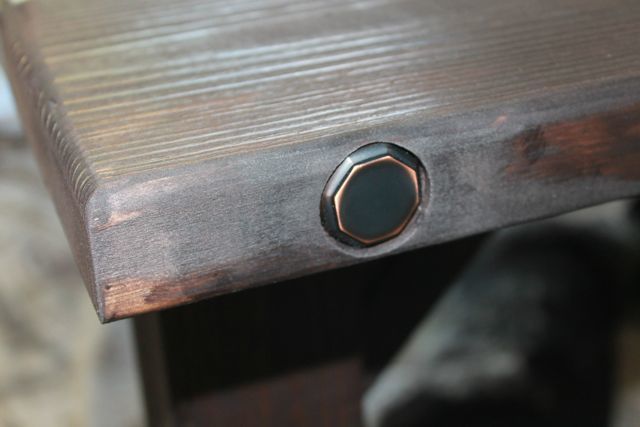
Here's a small tutorial on how to add simple metal accents to furniture. We used something as simple as door knobs at your local home improvement store to make it happen!
Check out the tutorial here http://sawgrasshome.com/?p=1443
Wed, 03/25/2015 - 11:26
Hello,
I am very interested in this tutorial, "Add Metal Accents to Furniture", but it appears that the link provided, is a dead link. Do you happen to remember anything about this tutorial? Thank you!
Wed, 03/25/2015 - 11:25
Hello, I am very interested in this tutorial, "Add Metal Accents to Furniture", but it appears that the link provided, is a dead link. Can you please assist me in finding the direct link to this tutorial? Thank you!
Wed, 03/25/2015 - 11:25
You can email me at [email protected]
Mon, 12/14/2015 - 20:36
Wed, 06/02/2021 - 05:31
By the way, how do you do the initial analysis of the alloys to determine which metal is best to take?
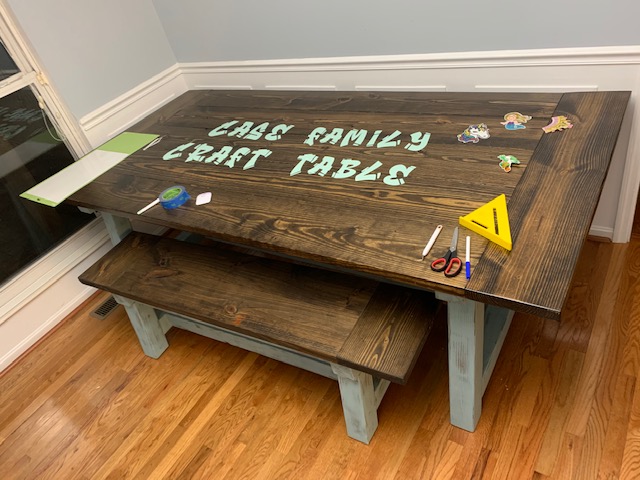
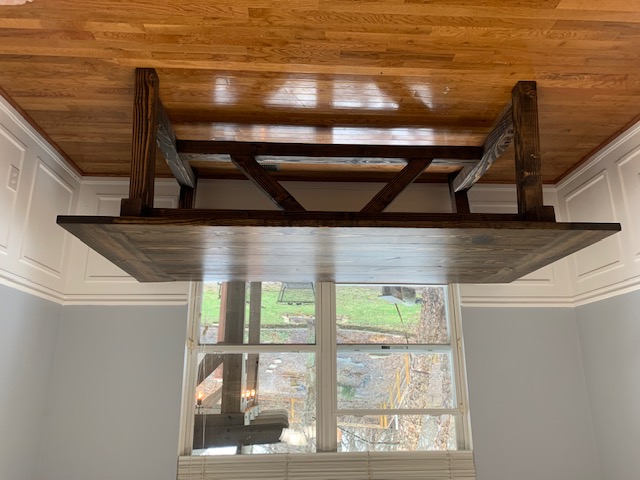
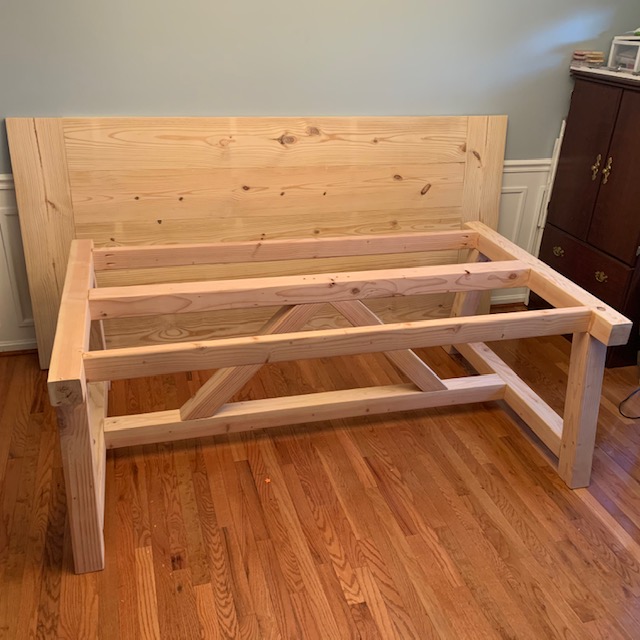
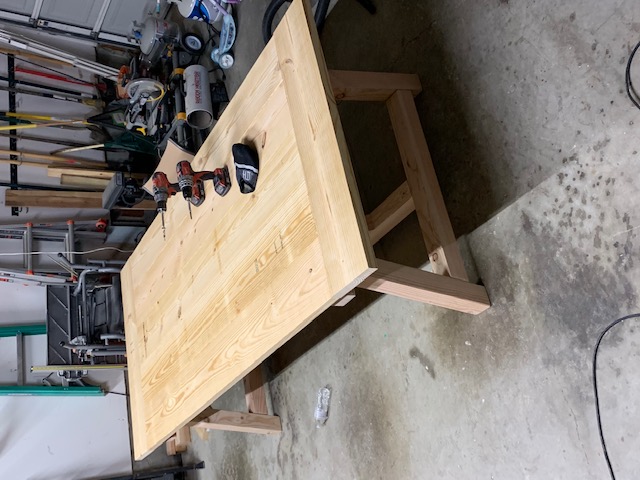
I built this as a craft table for my family. I altered the plans to make the table larger to fit a specific space in our craft room. The table was easy to build and turned out great!
Thanks for the plans

Comments
twinmom2
Fri, 07/22/2011 - 14:13
i was looking for THE PERFECT
i was looking for THE PERFECT ISLAND.. thank you so much for posting this. love it and can't wait to start building it. where did you find the shelves?
Emily Jo (not verified)
Mon, 10/31/2011 - 15:33
Shelving support
Your island is gorgeous, and I love the modification you made to the original plans on the shelving support! I would like to know what size the boards are that you used so that I can duplicate. Thank you!
Lisa Tamaye (not verified)
Sun, 02/05/2012 - 18:10
stools?
This is great! ANyone know how I could extend one side in order to put stools for an eating area?
Would love to do that!
Alice (not verified)
Tue, 02/07/2012 - 19:43
I would think it would be
I would think it would be basically the same build, just add brackets to support the extra wood.
Guest (not verified)
Mon, 03/05/2012 - 15:20
Small Kitchen Island
I want to make this Kitchen Island but if can't find the Supply List. Would you mind posting it or emailing me please! This will work perfect in my Kitchen
Katia57
Mon, 03/05/2012 - 17:46
Small Kitchen Island!
Wow! Just a wonderfully simple project! I can figure it out by looking at it. I have a piece of Rock Maple Counter Top 24"x6'that needs legs. I'll probably use 4x4' for legs, six of them. But the shelves will be just like this. Thank you!
Katia57
Mon, 03/05/2012 - 17:50
Small Kitchen Island!
Wow! Just a wonderfully simple project! I can figure it out by looking at it. I have a piece of Rock Maple Counter Top, 24in.x6ft., that needs legs. I'll probably use 4x4s for legs, six of them. But the shelves will be just like this. Thank you!
Guest (not verified)
Mon, 03/05/2012 - 18:59
I have enjoyed what I have
I have enjoyed what I have seen so far. You are an awesome designer.
Guest (not verified)
Mon, 03/19/2012 - 11:57
Do you have instructions on
Do you have instructions on how to build this? It's awesome!
Guest (not verified)
Wed, 04/04/2012 - 11:58
How To Find The Instructions
Just click on the link for the instructions. It's under the heading 'About This Project' titled as 'From Plan: Easy Kitchen Island Plans'.
Click where it says 'Easy Kitchen Island Plans'. When you hover your cursor over the words, you will see that is a hyperlink.
Lindsey Adams (not verified)
Sun, 05/20/2012 - 06:48
I love your island and I also
I love your island and I also have a small kitchen...would you happen to know the sizes of the boards you used? Thanks
??? (not verified)
Wed, 07/25/2012 - 14:31
Could you send how you made this
Yours looks so different and so much better then the one that show how to make it, how did you do it? I really would love to build it but have no idea how...
Thanks so much!
CBsMama (not verified)
Wed, 08/15/2012 - 13:08
Gorgeous and perfect!
This island is perfect. I love the shelves and the size. Any chance you could send me the dimensions of this island and details on how you did the shelves? Great job!
lizzy1299
Mon, 02/04/2013 - 15:03
Love!
I'm SO glad I stumbled acrossed your website! I LOVE that island and getting ready to get all the stuff to make it. Did you use the Kreg Jig thing the original person used...? If not, how did you cover the screw heads?
Thanks!
ameliam
Wed, 12/31/2014 - 07:37
Modifications to original plans
Hi, this is my first time building anything. I really like the modification made to the original plans. I like the legs facing the other way. I can't figure out how to modify the cuts on the sides and front and back supports for the top to adjust for turning the legs the other way. Are there modified plans. LOL I need instructions, I’m not quite there yet on doing it myself. Thank you
djbeenie
Wed, 02/04/2015 - 15:03
1 x 2s
How did you mount the 1 x2s since its on the side of the 1 x 4s. Did you tac them in. I really like the way that looks. Thanks!
MBuckson
Mon, 03/16/2015 - 08:00
Finishing
Amazing island! I am in the middle of building this and looking ahead to the finishing aspect of it and I have a question: What tool did you use to apply the oil on the counter top? A cloth or a certain type of brush?
wiri0302
Sat, 06/06/2015 - 18:33
Material
Hello, i love this island but maybe i missed it. What kind of wood is everyone using? Frosting said $47 but that could only be for pine right? Are people using pine to build this? I would like it to look just like the picture. Any help would be appreciated! thanks!
Eversolejess35
Fri, 08/14/2015 - 14:34
How Di I get these plans
I wnat to kow how much wood and what size I need ans the saws i need to build this project
Eversolejess35
Fri, 08/14/2015 - 14:35
How do I get these plans
I need to know how much wood and what size wood and also what kind of saws do I need for this job
Eversolejess35
Fri, 08/14/2015 - 14:35
How do I get these plans
I need to know how much wood and what size wood and also what kind of saws do I need for this job
Eversolejess35
Fri, 08/14/2015 - 14:36
I also want it about 3ft long
I also want it about 3ft long and 2ft wide