Family Table
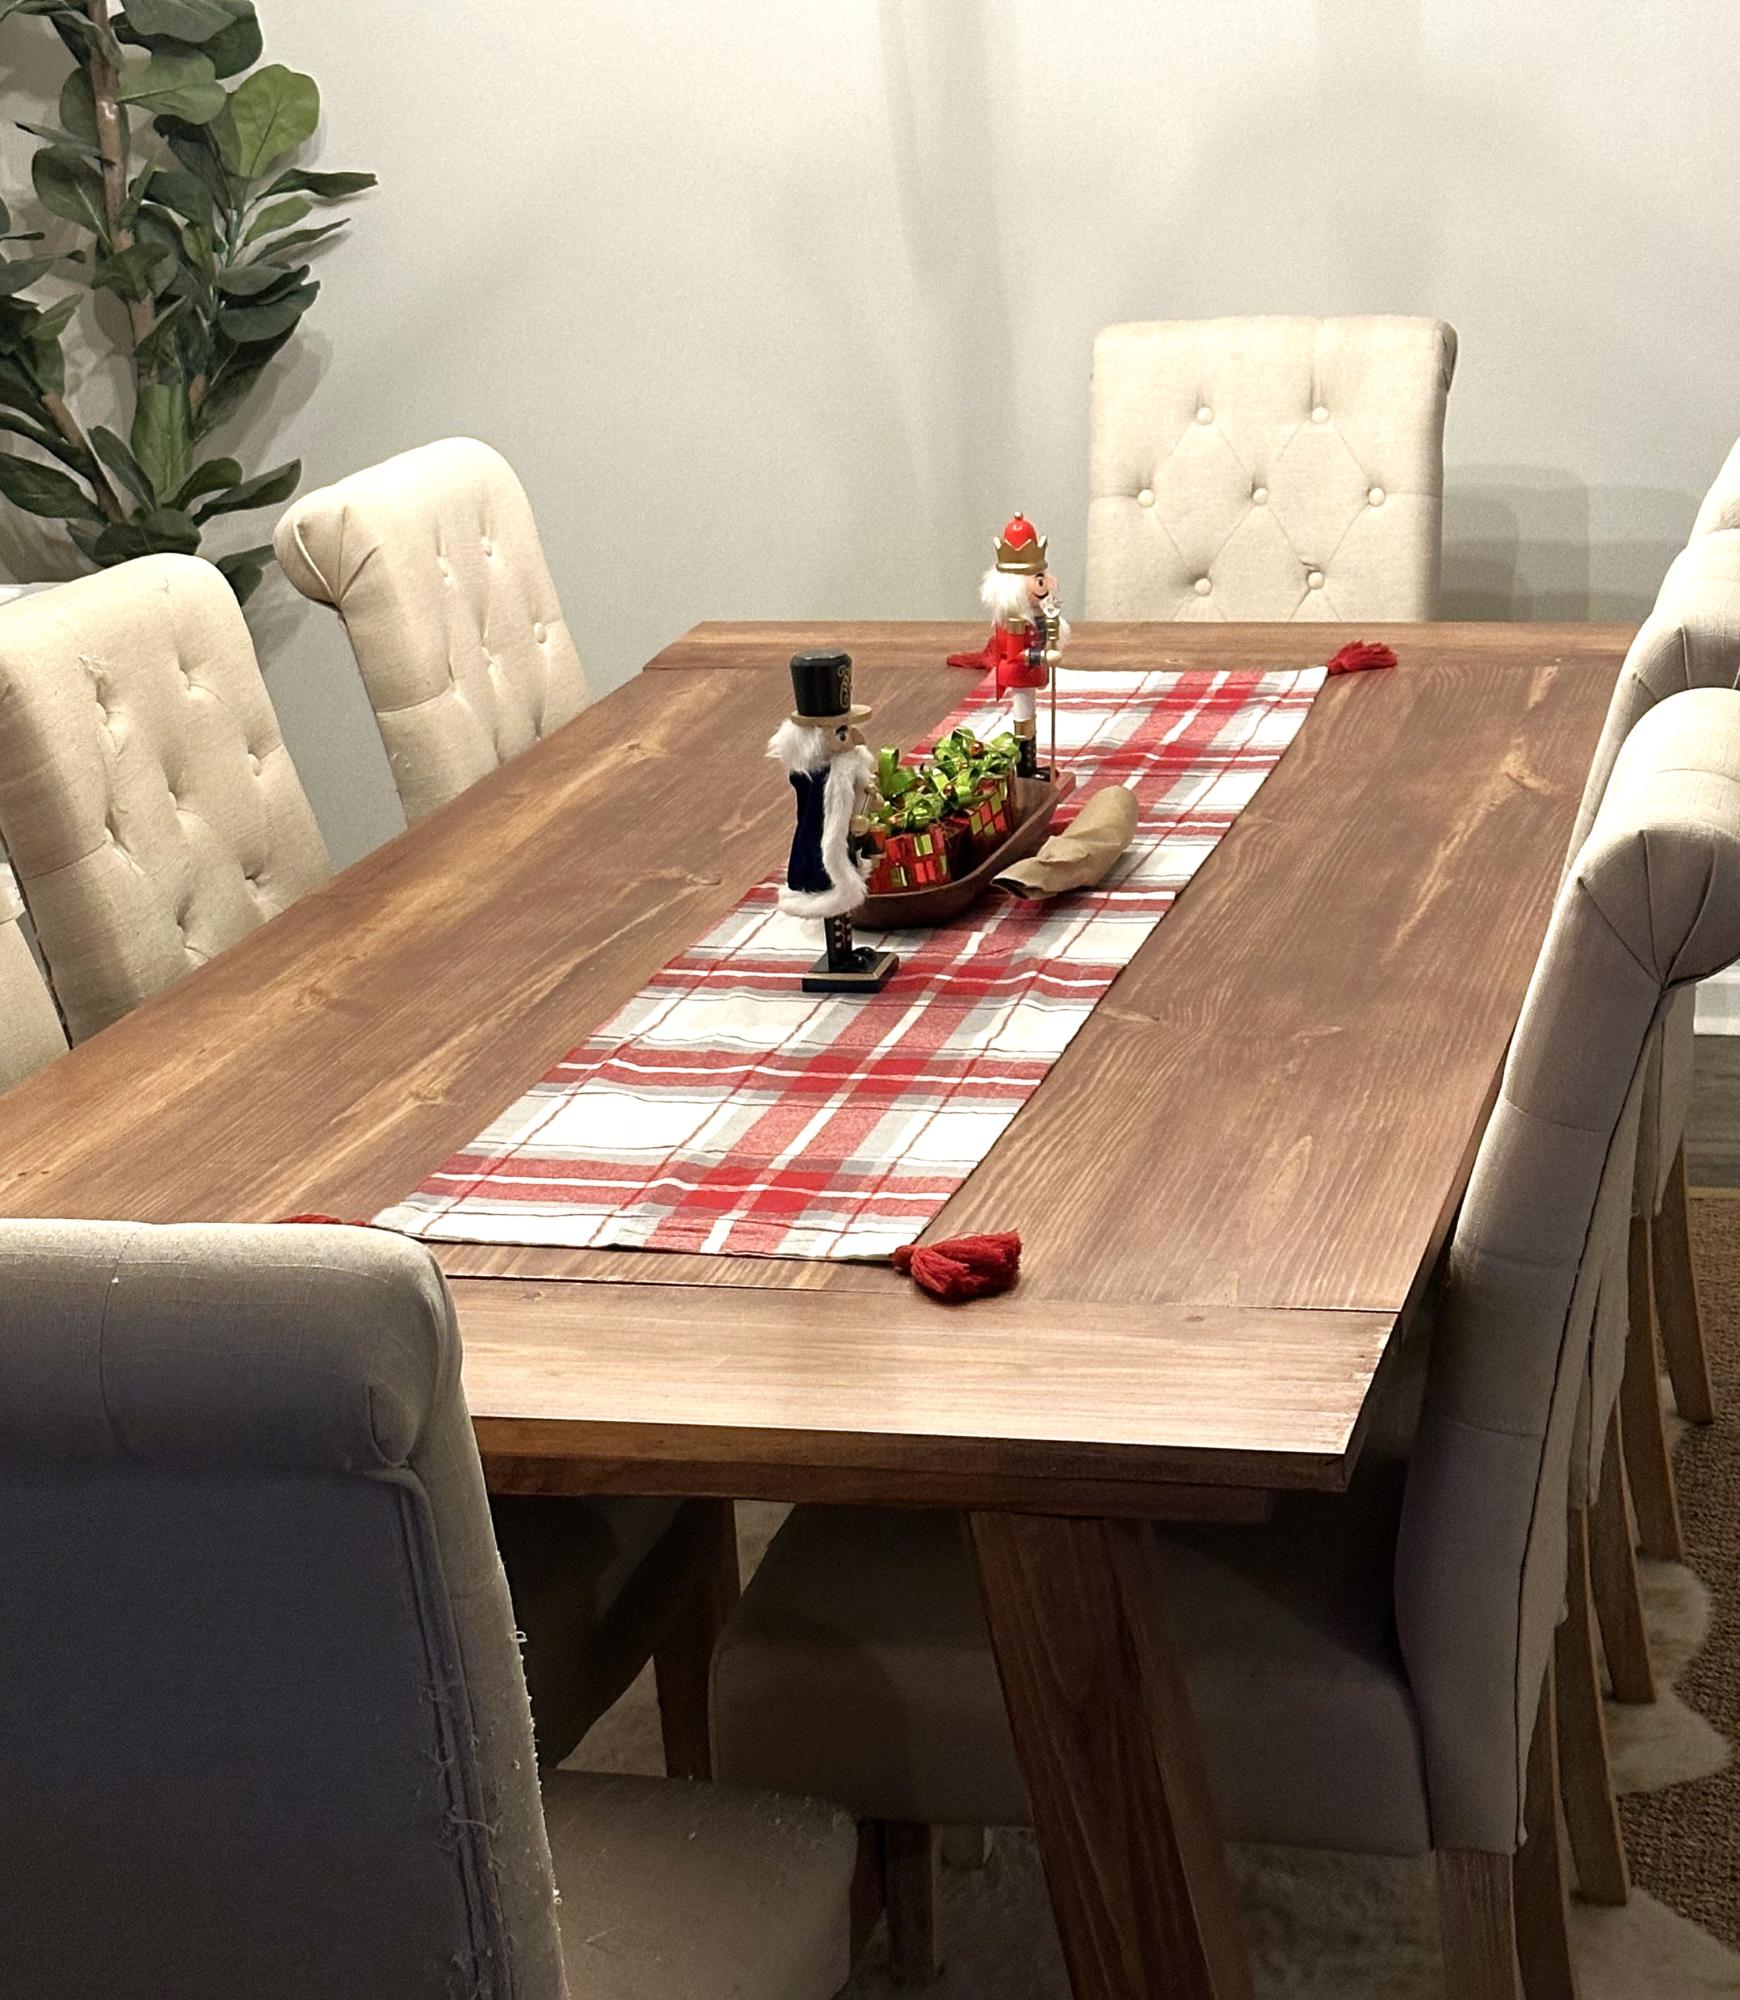
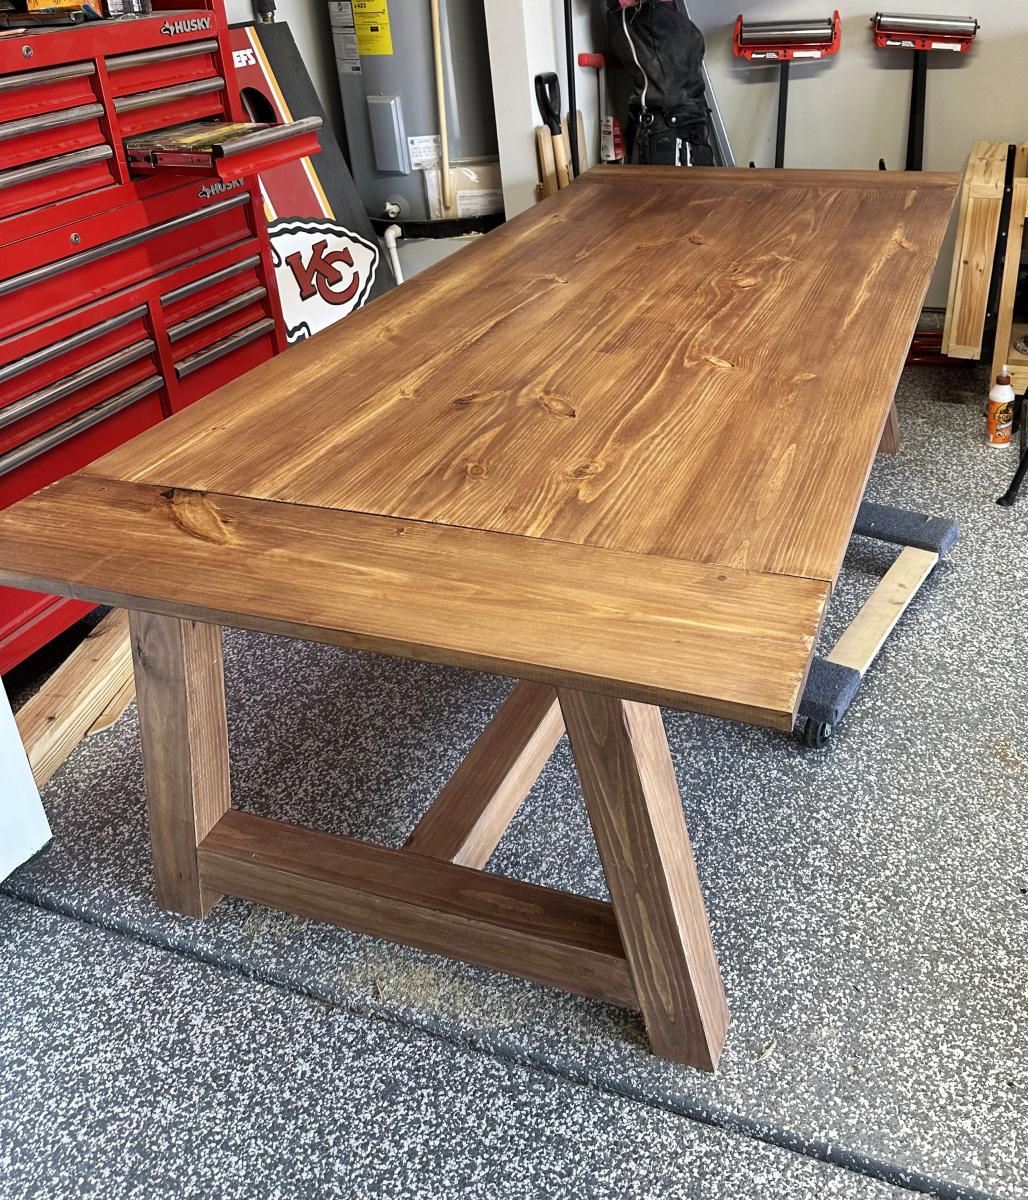
Holiday Table by Ryan B
Built from Plan(s)
Seasonal And Holiday
Holiday Table by Ryan B
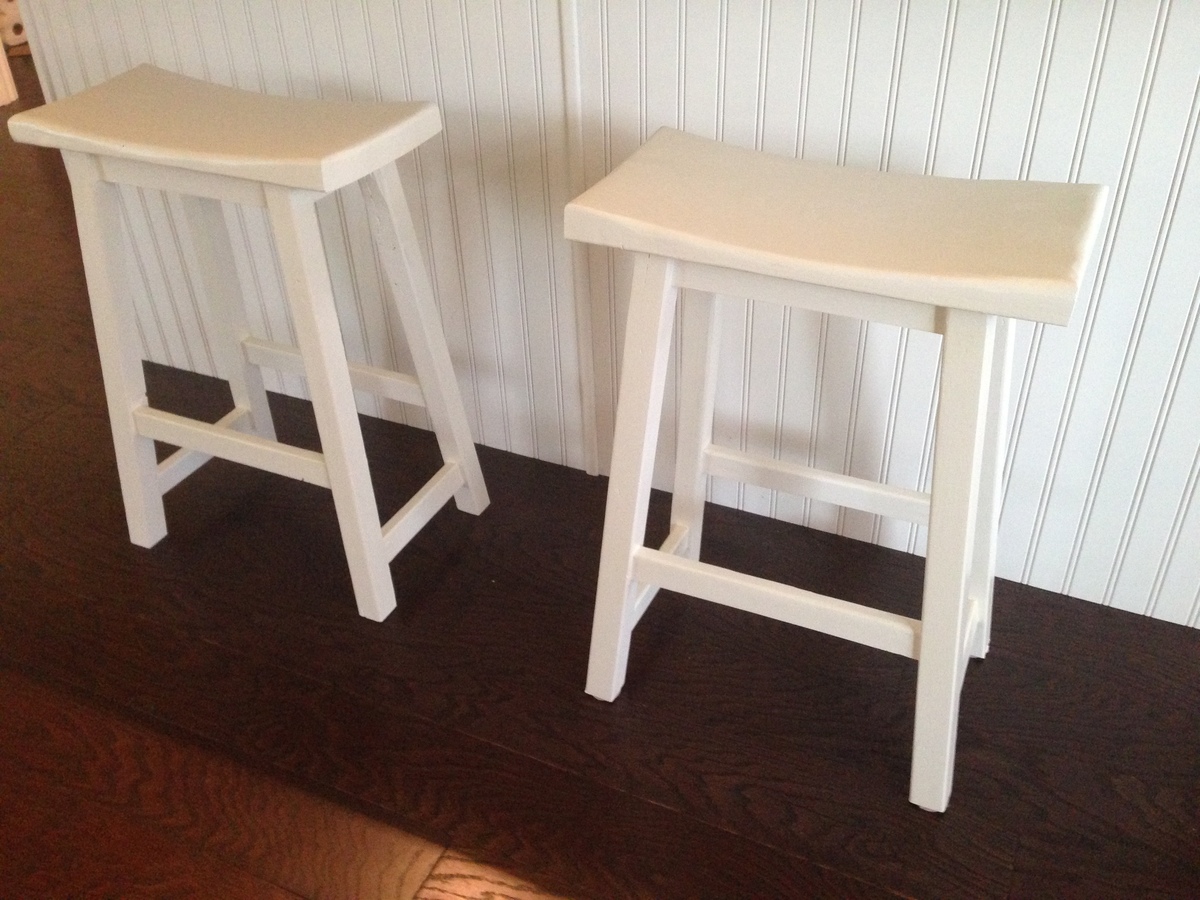
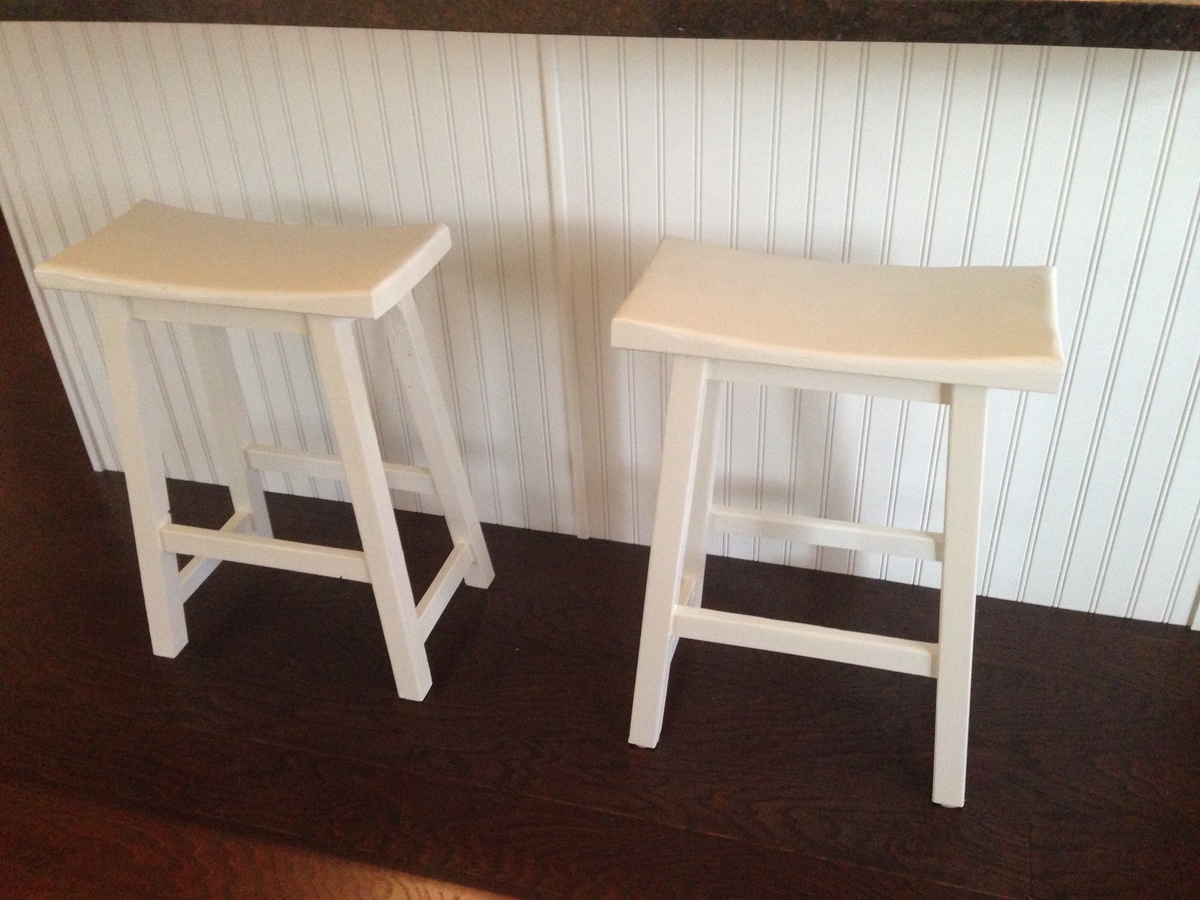
This is a farmhouse style kitchen table that I built for Mom's little kitchen. She needed more counter space and more storage space and had the perfect corner for it to fit in. These are based off my own plans which I have not published on Ana-White yet.
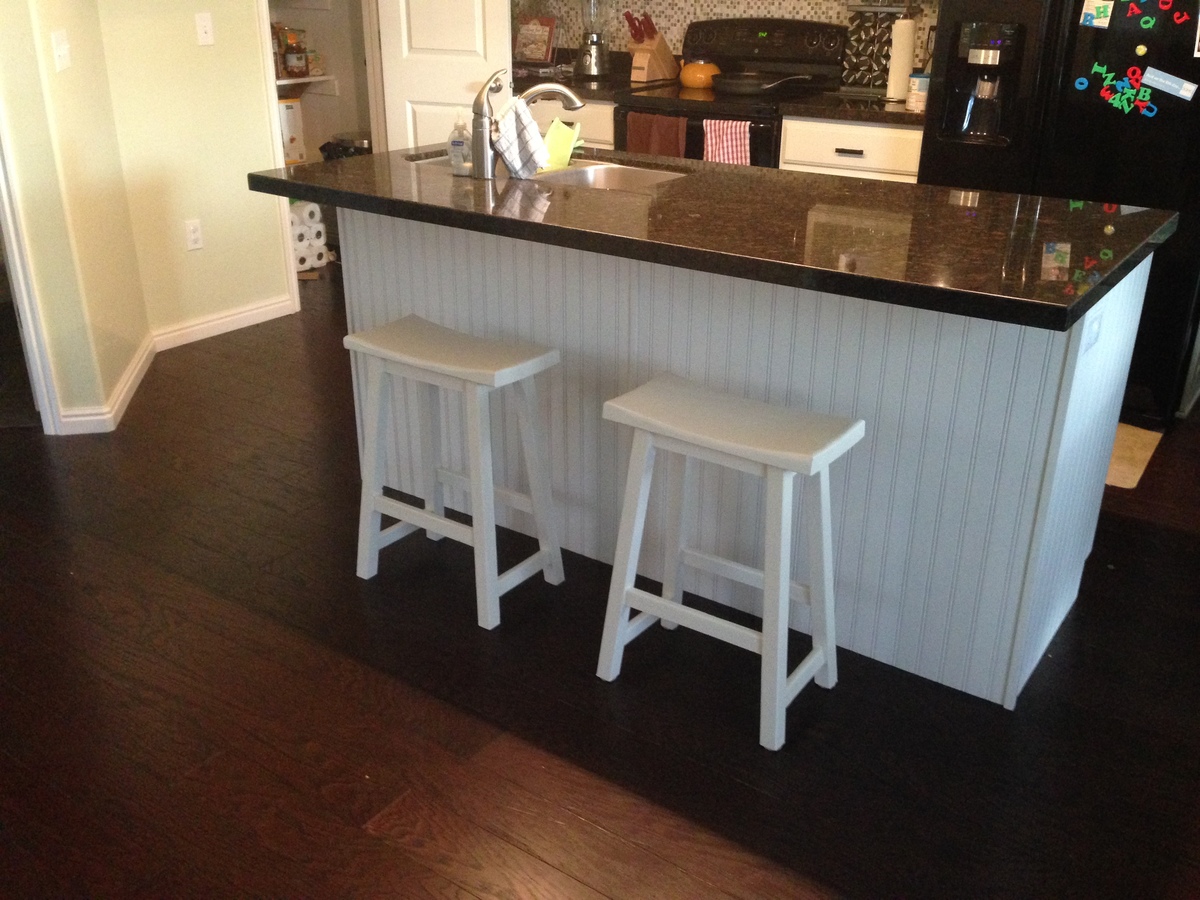
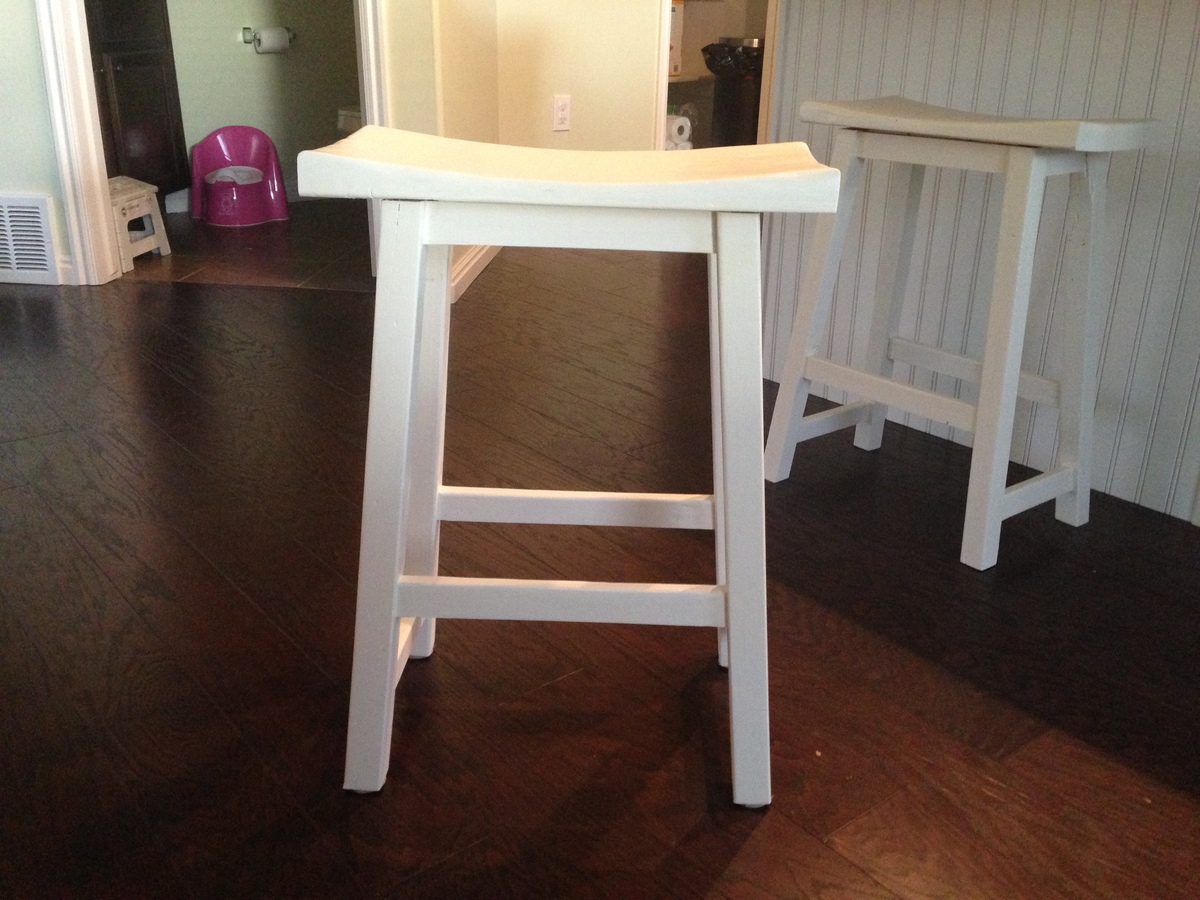
I slightly modified the plans to give them more of a "Saddleback" style. I used a 2x10 for the seat, then belt sanded for an hour to give it the concave shape.
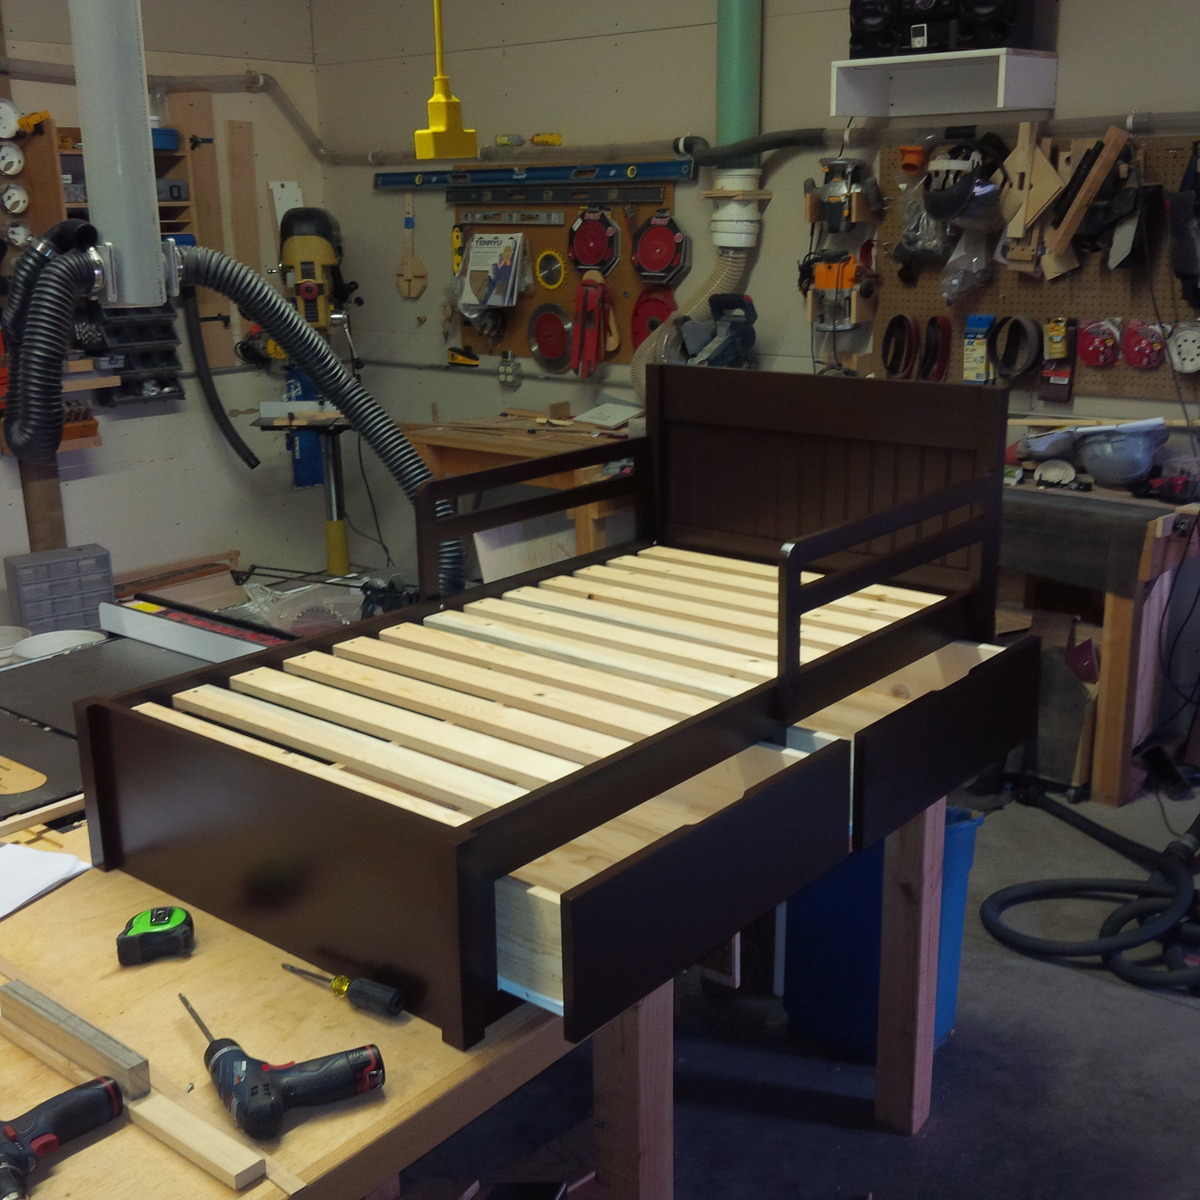
My wife wanted a dresser and a bed for our two year old foster daughter on her second birthday. Since half the dresser drawers are not useful for a toddler I considered a Captain's Bed or Mate's bed but couldn't find one. I modified the Traditional Wood Toddler Bed plan adding drawers underneath and painted it white. My little girl loves it. It turned out nice enough that my oldest daughter asked me to make another for my grandson since his convertible bed will be converted back to a crib with a new granddaughter on the way. Her only request was to color it Espresso Brown. I have included the picture. Thank You for the ideas. God Bless You and your faimily
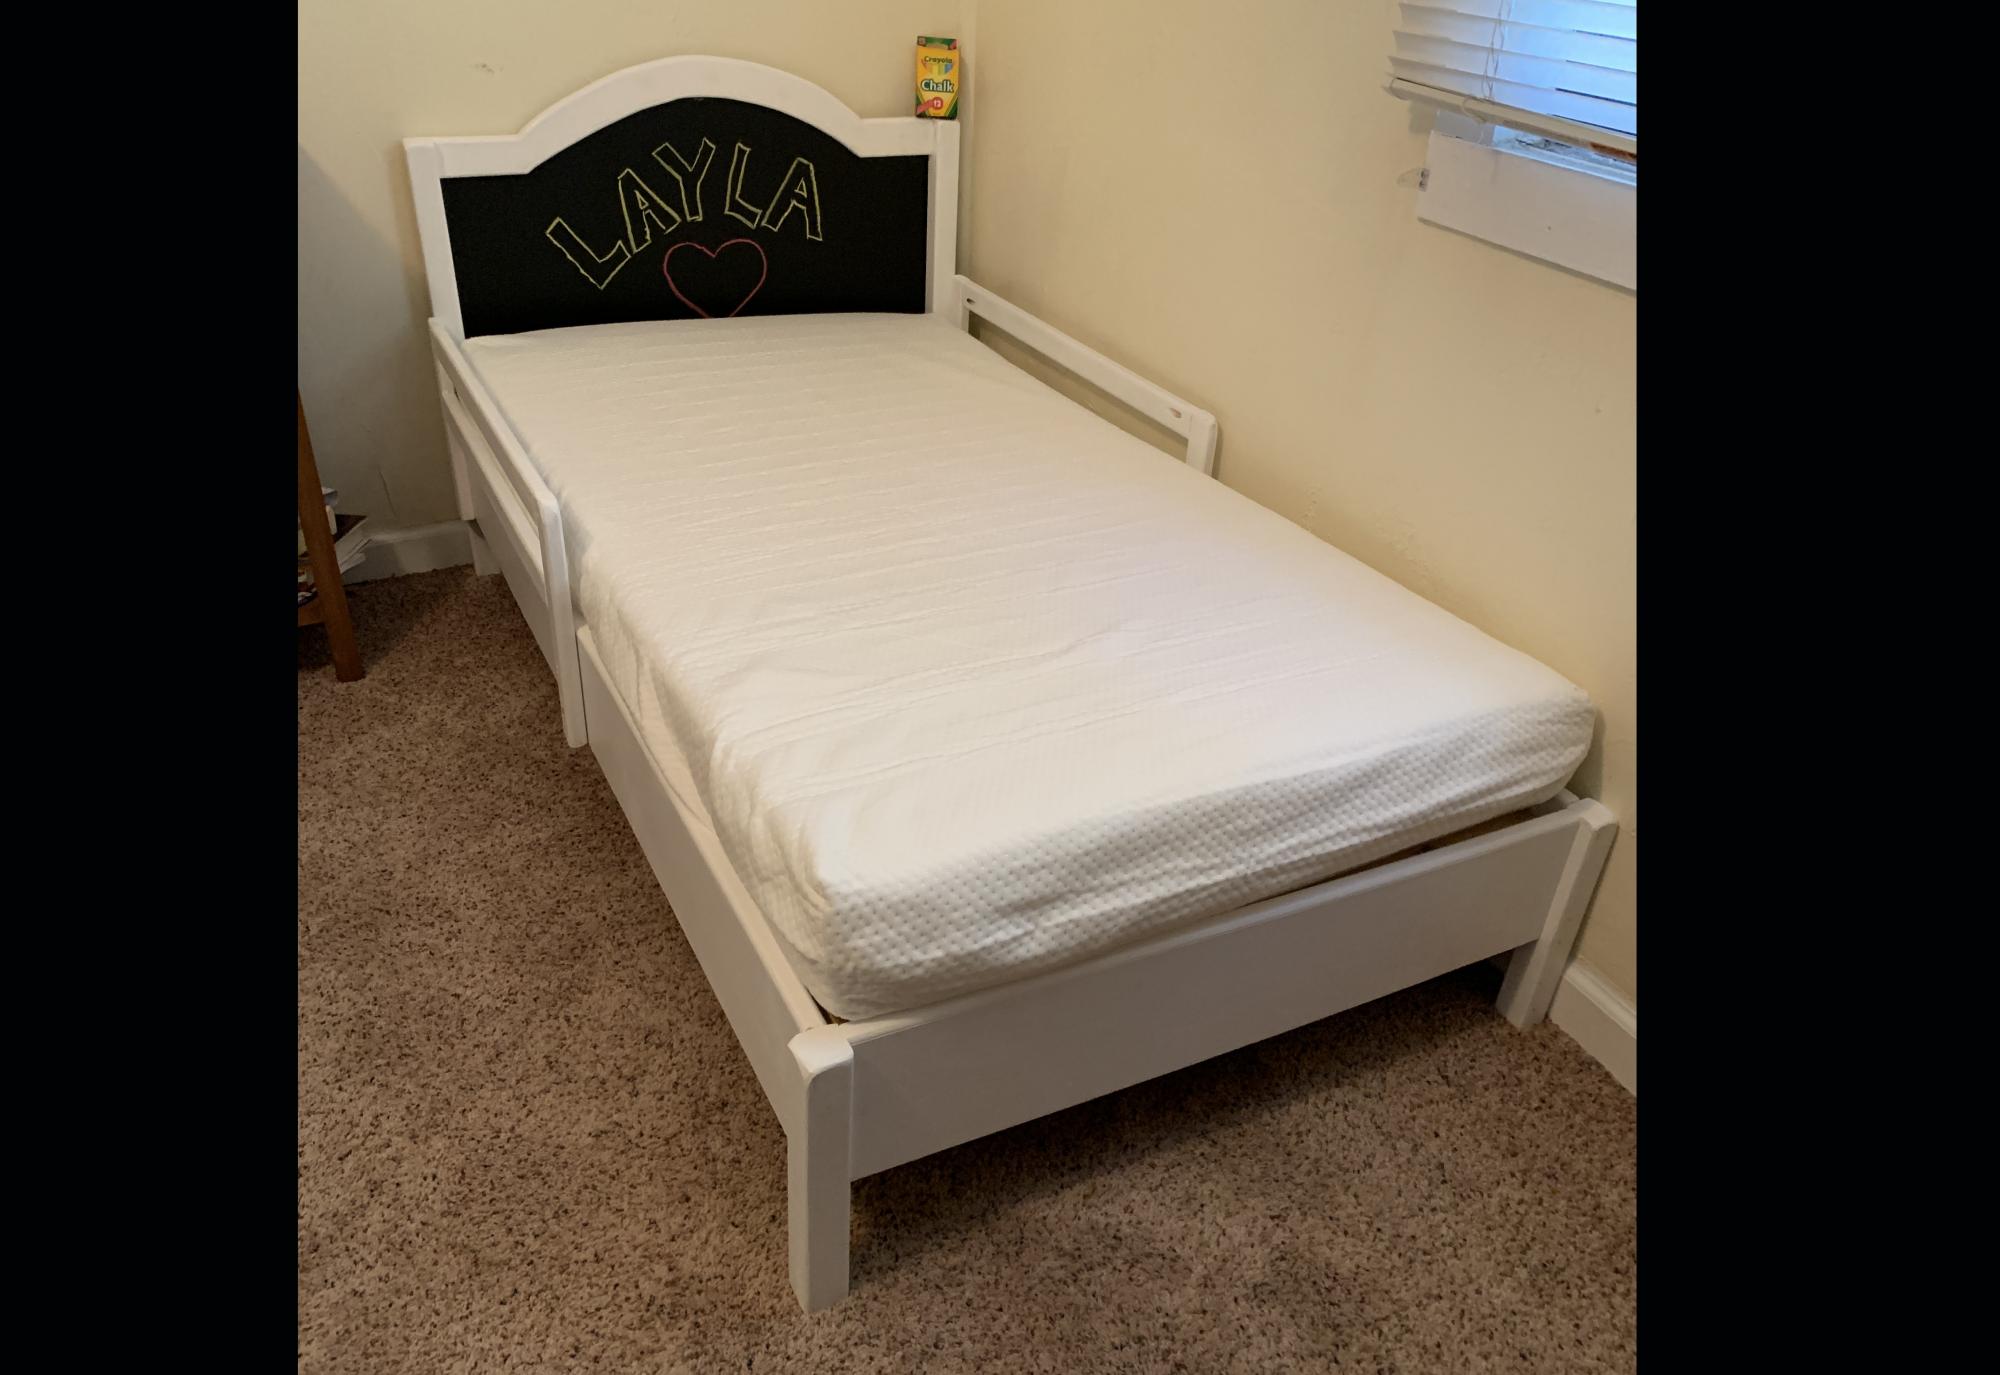
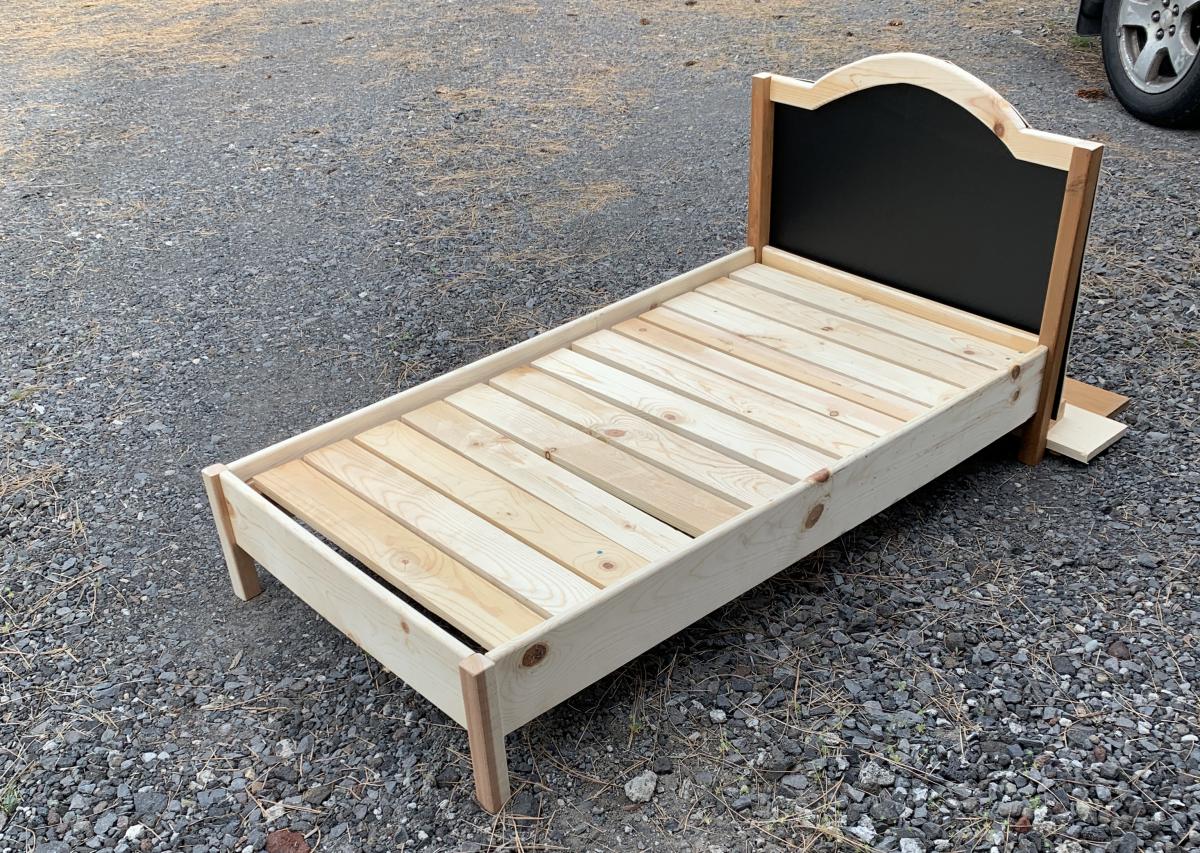
I made the Traditional Wood Toddler Bed in a weekend and it turned out great! I did add a twist though: A chalkboard replaces the wainscot!
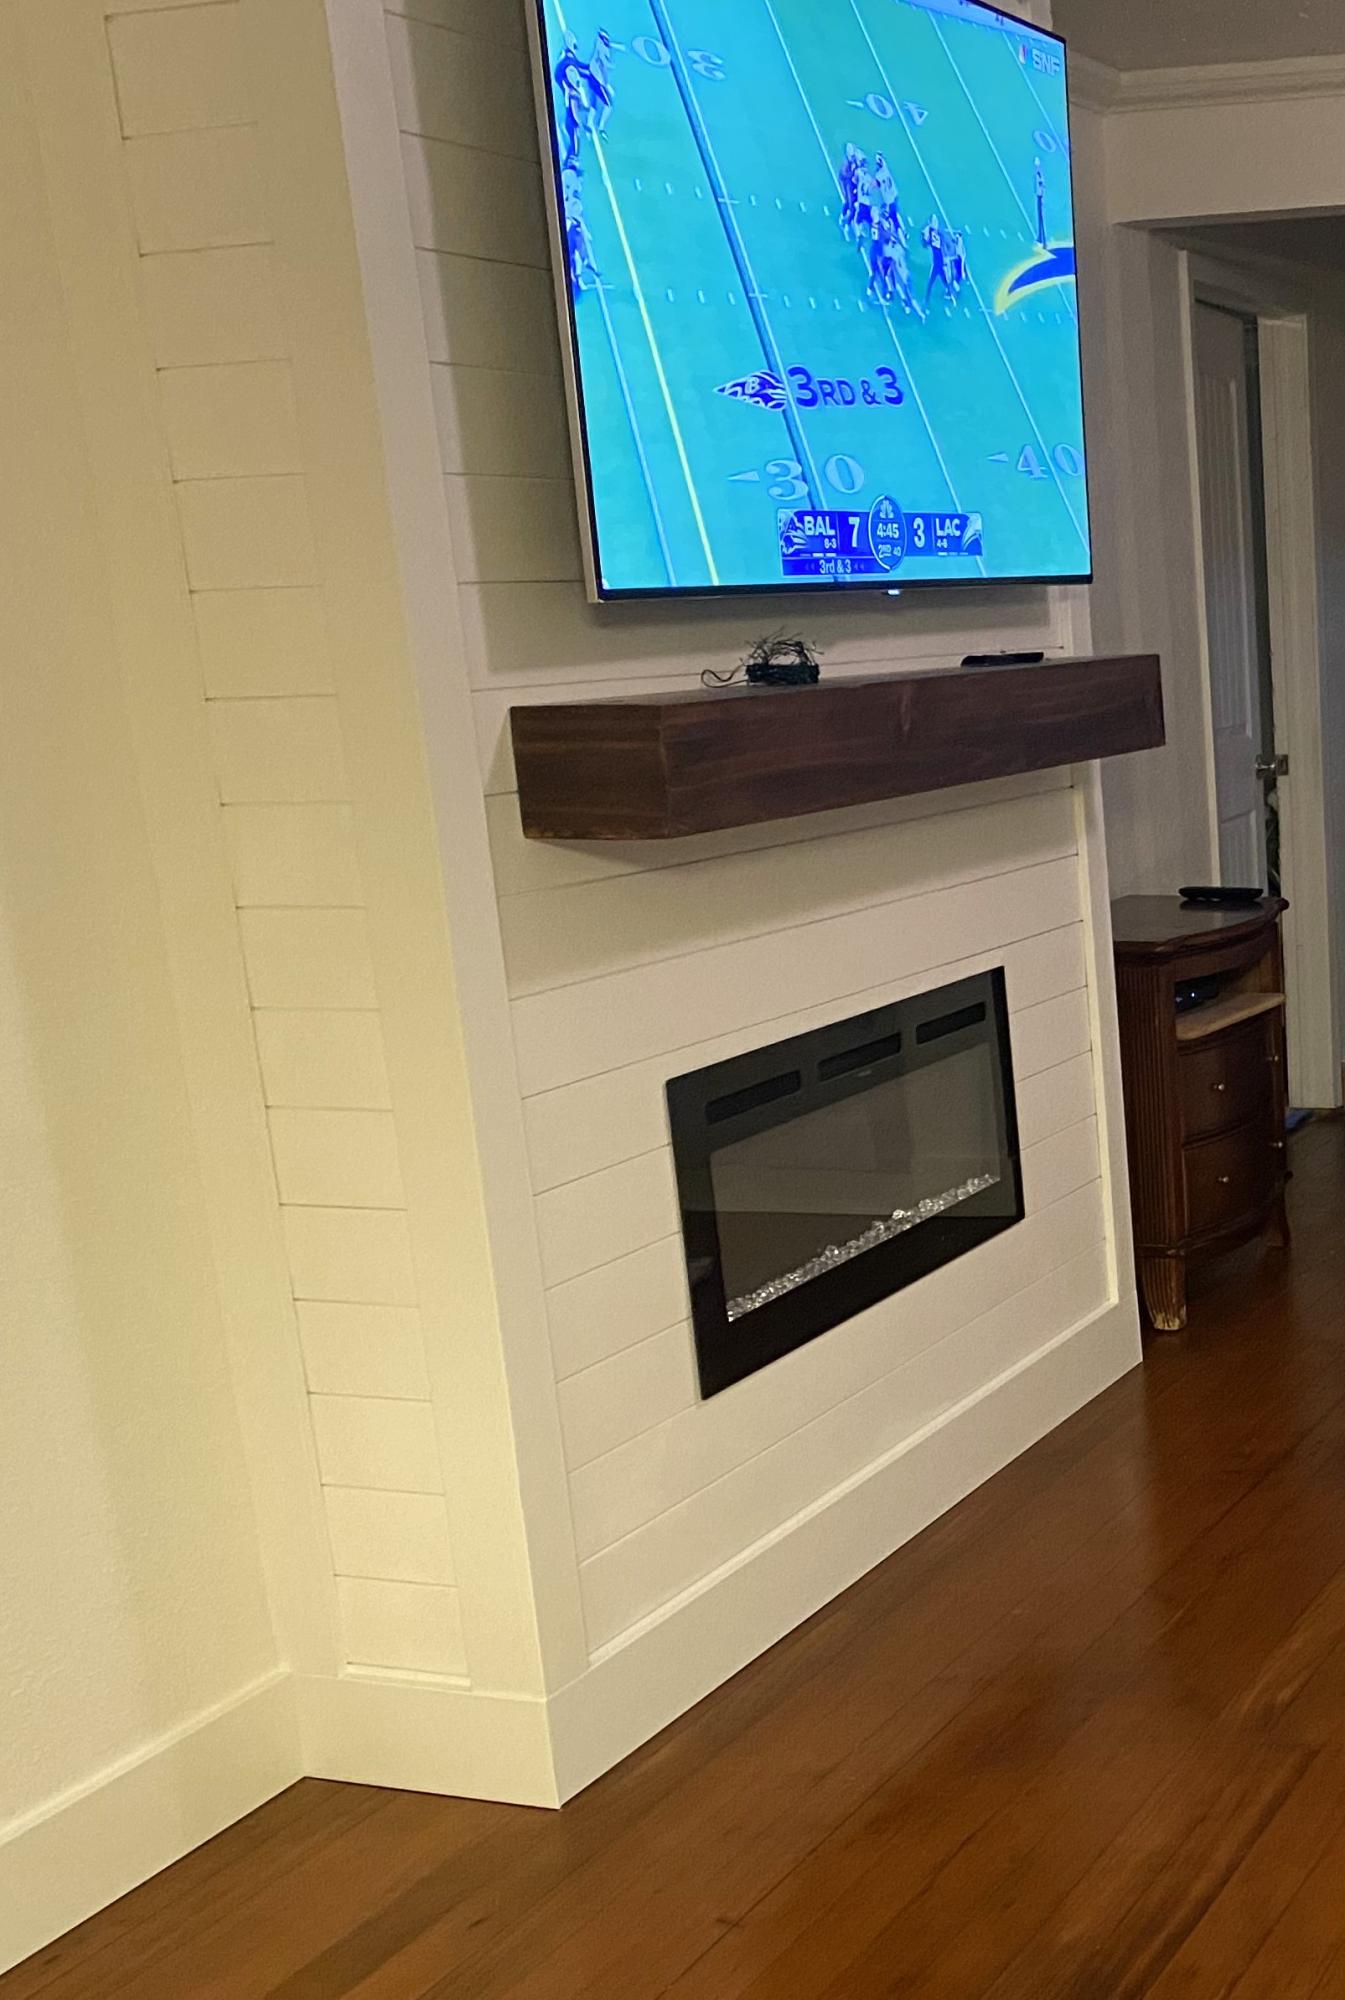
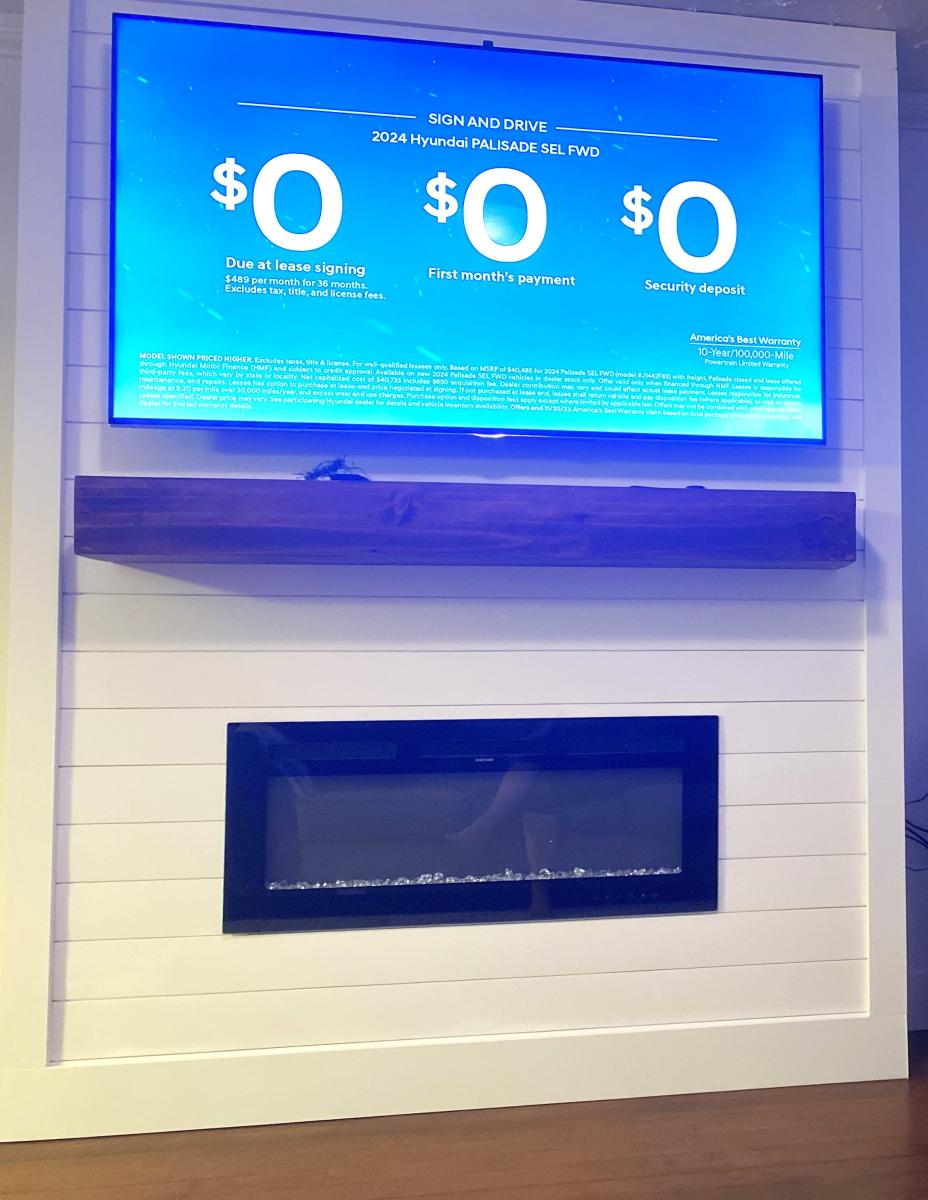
Added this easy to do built in fireplace to a plain, ugly wall. Now it’s just….WOW! Thanks Ana for the idea and inspiration. DIYers 🤘
see the full post at:
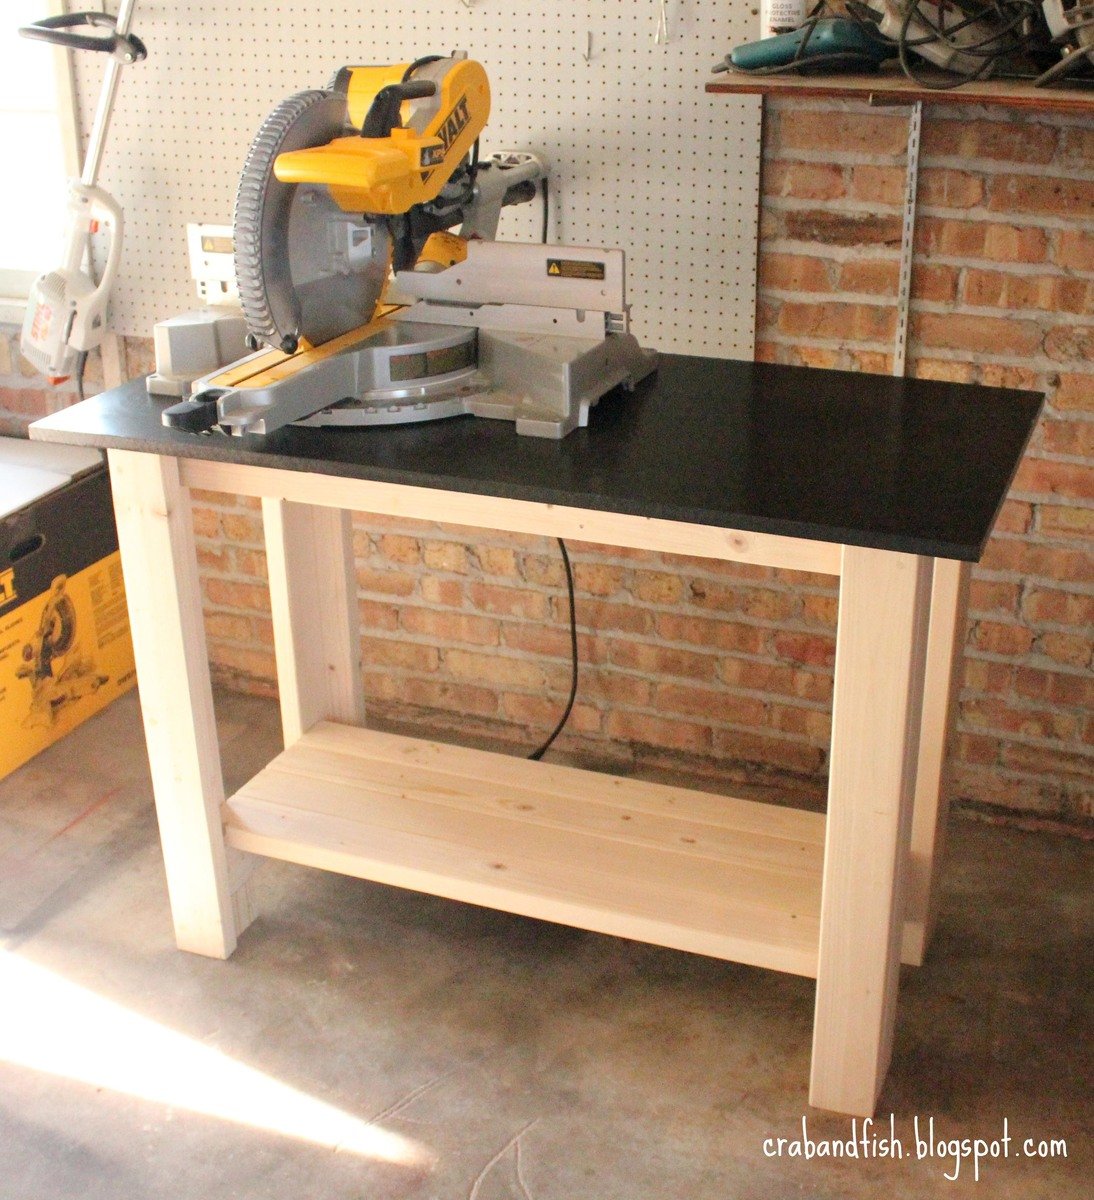
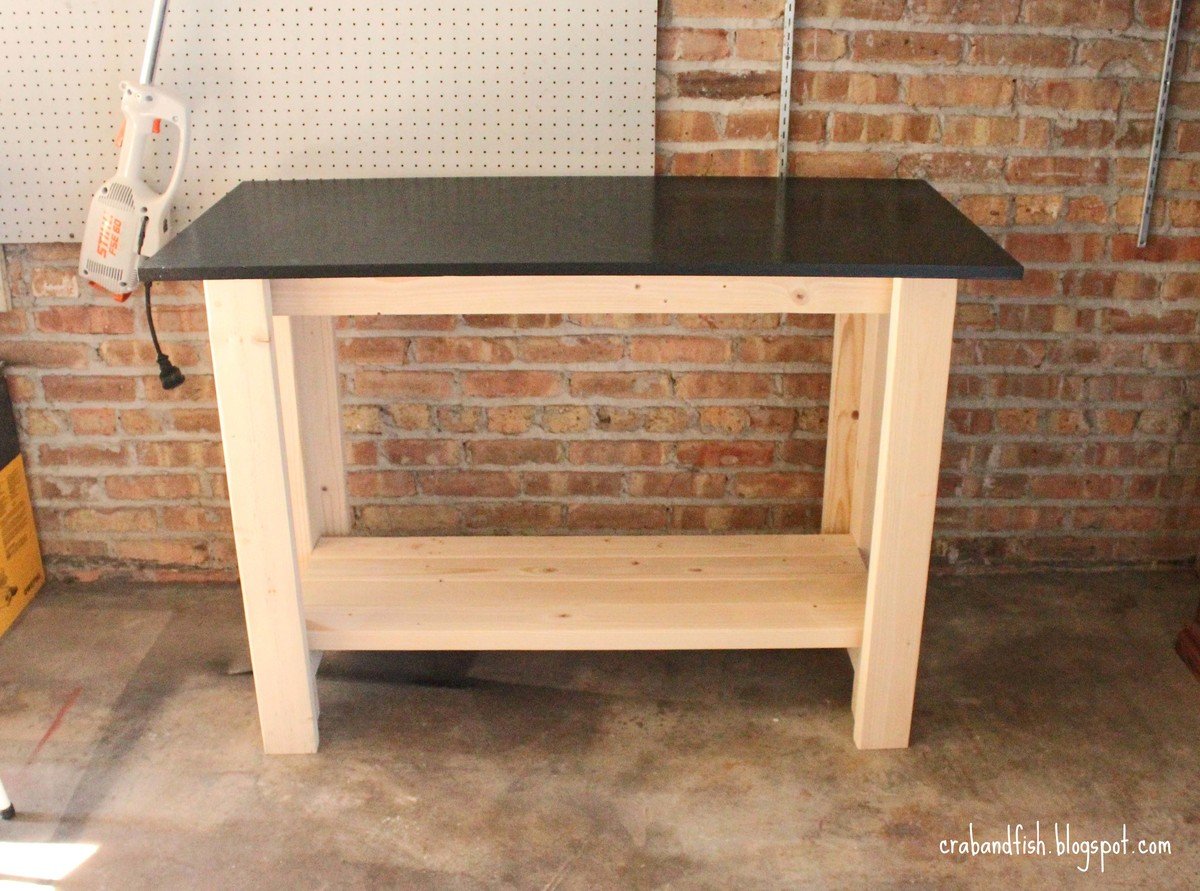
http://crabandfish.blogspot.com/2012/06/fish-made-work-bench.html
we bought our first home two months ago and have been doing a lot of small improvement projects. we decided to build your sturdy work bench in order to have a dedicated space for cobbling new projects together.

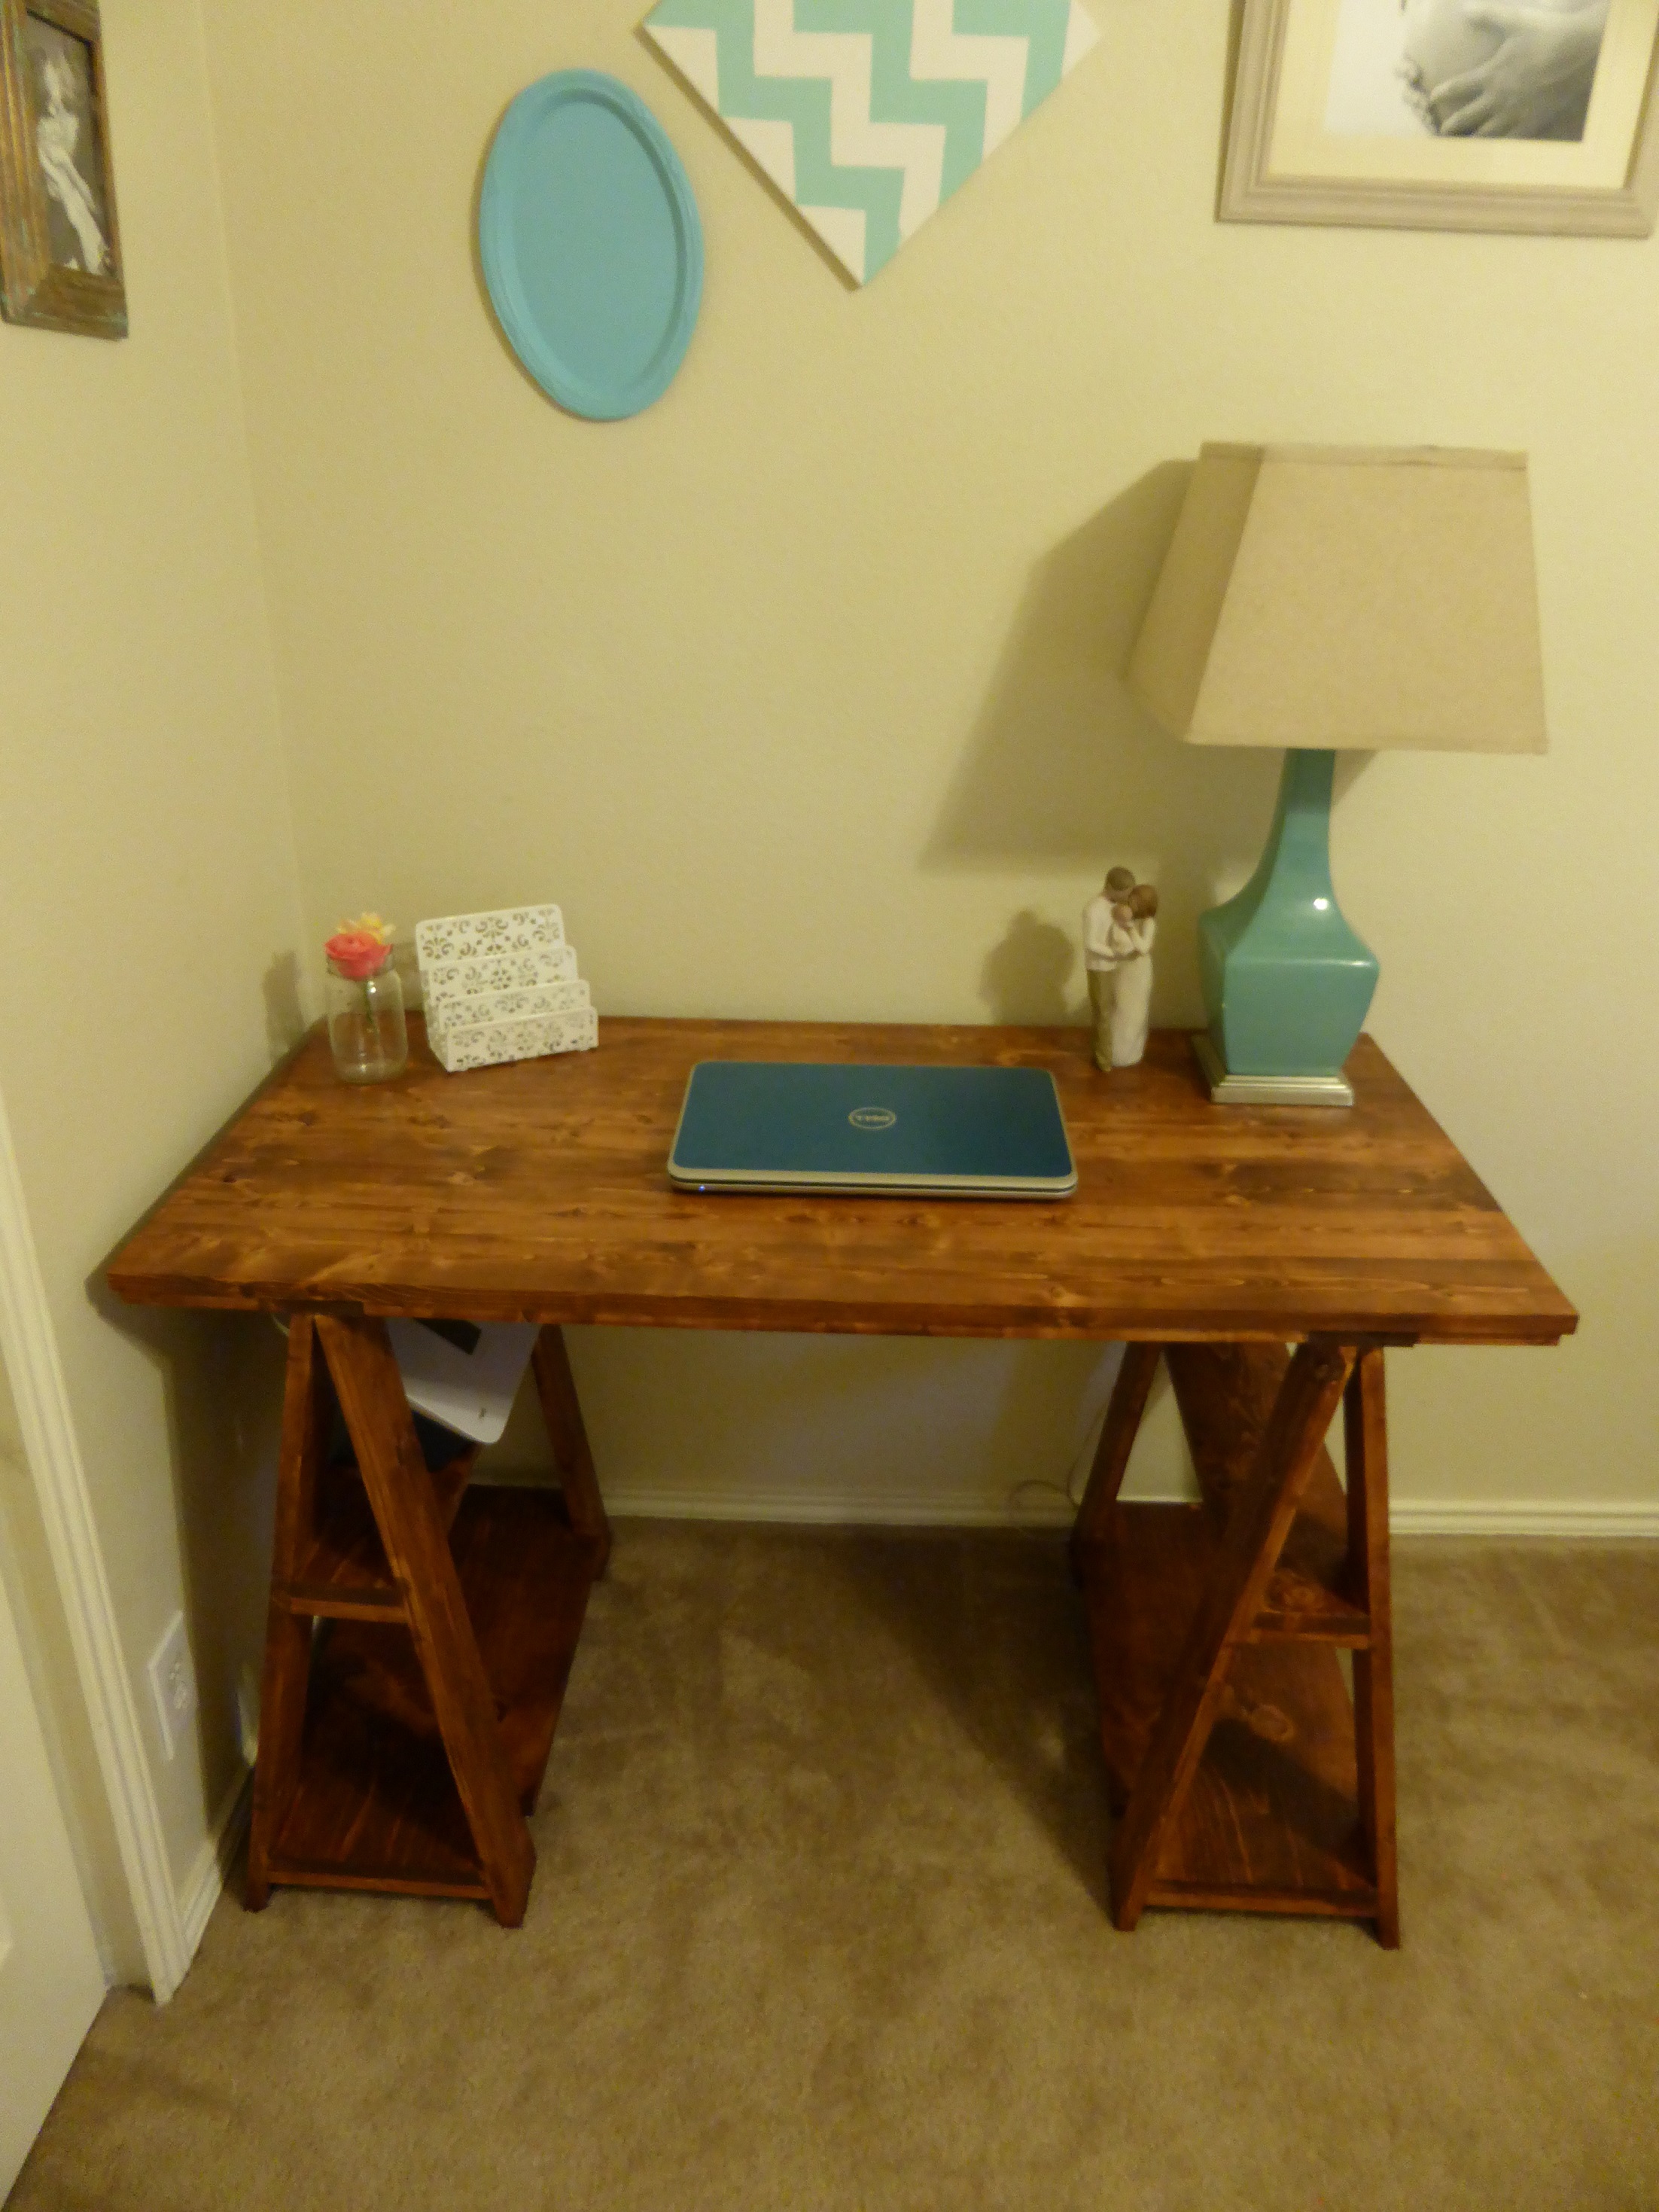
My gorgeous desk.
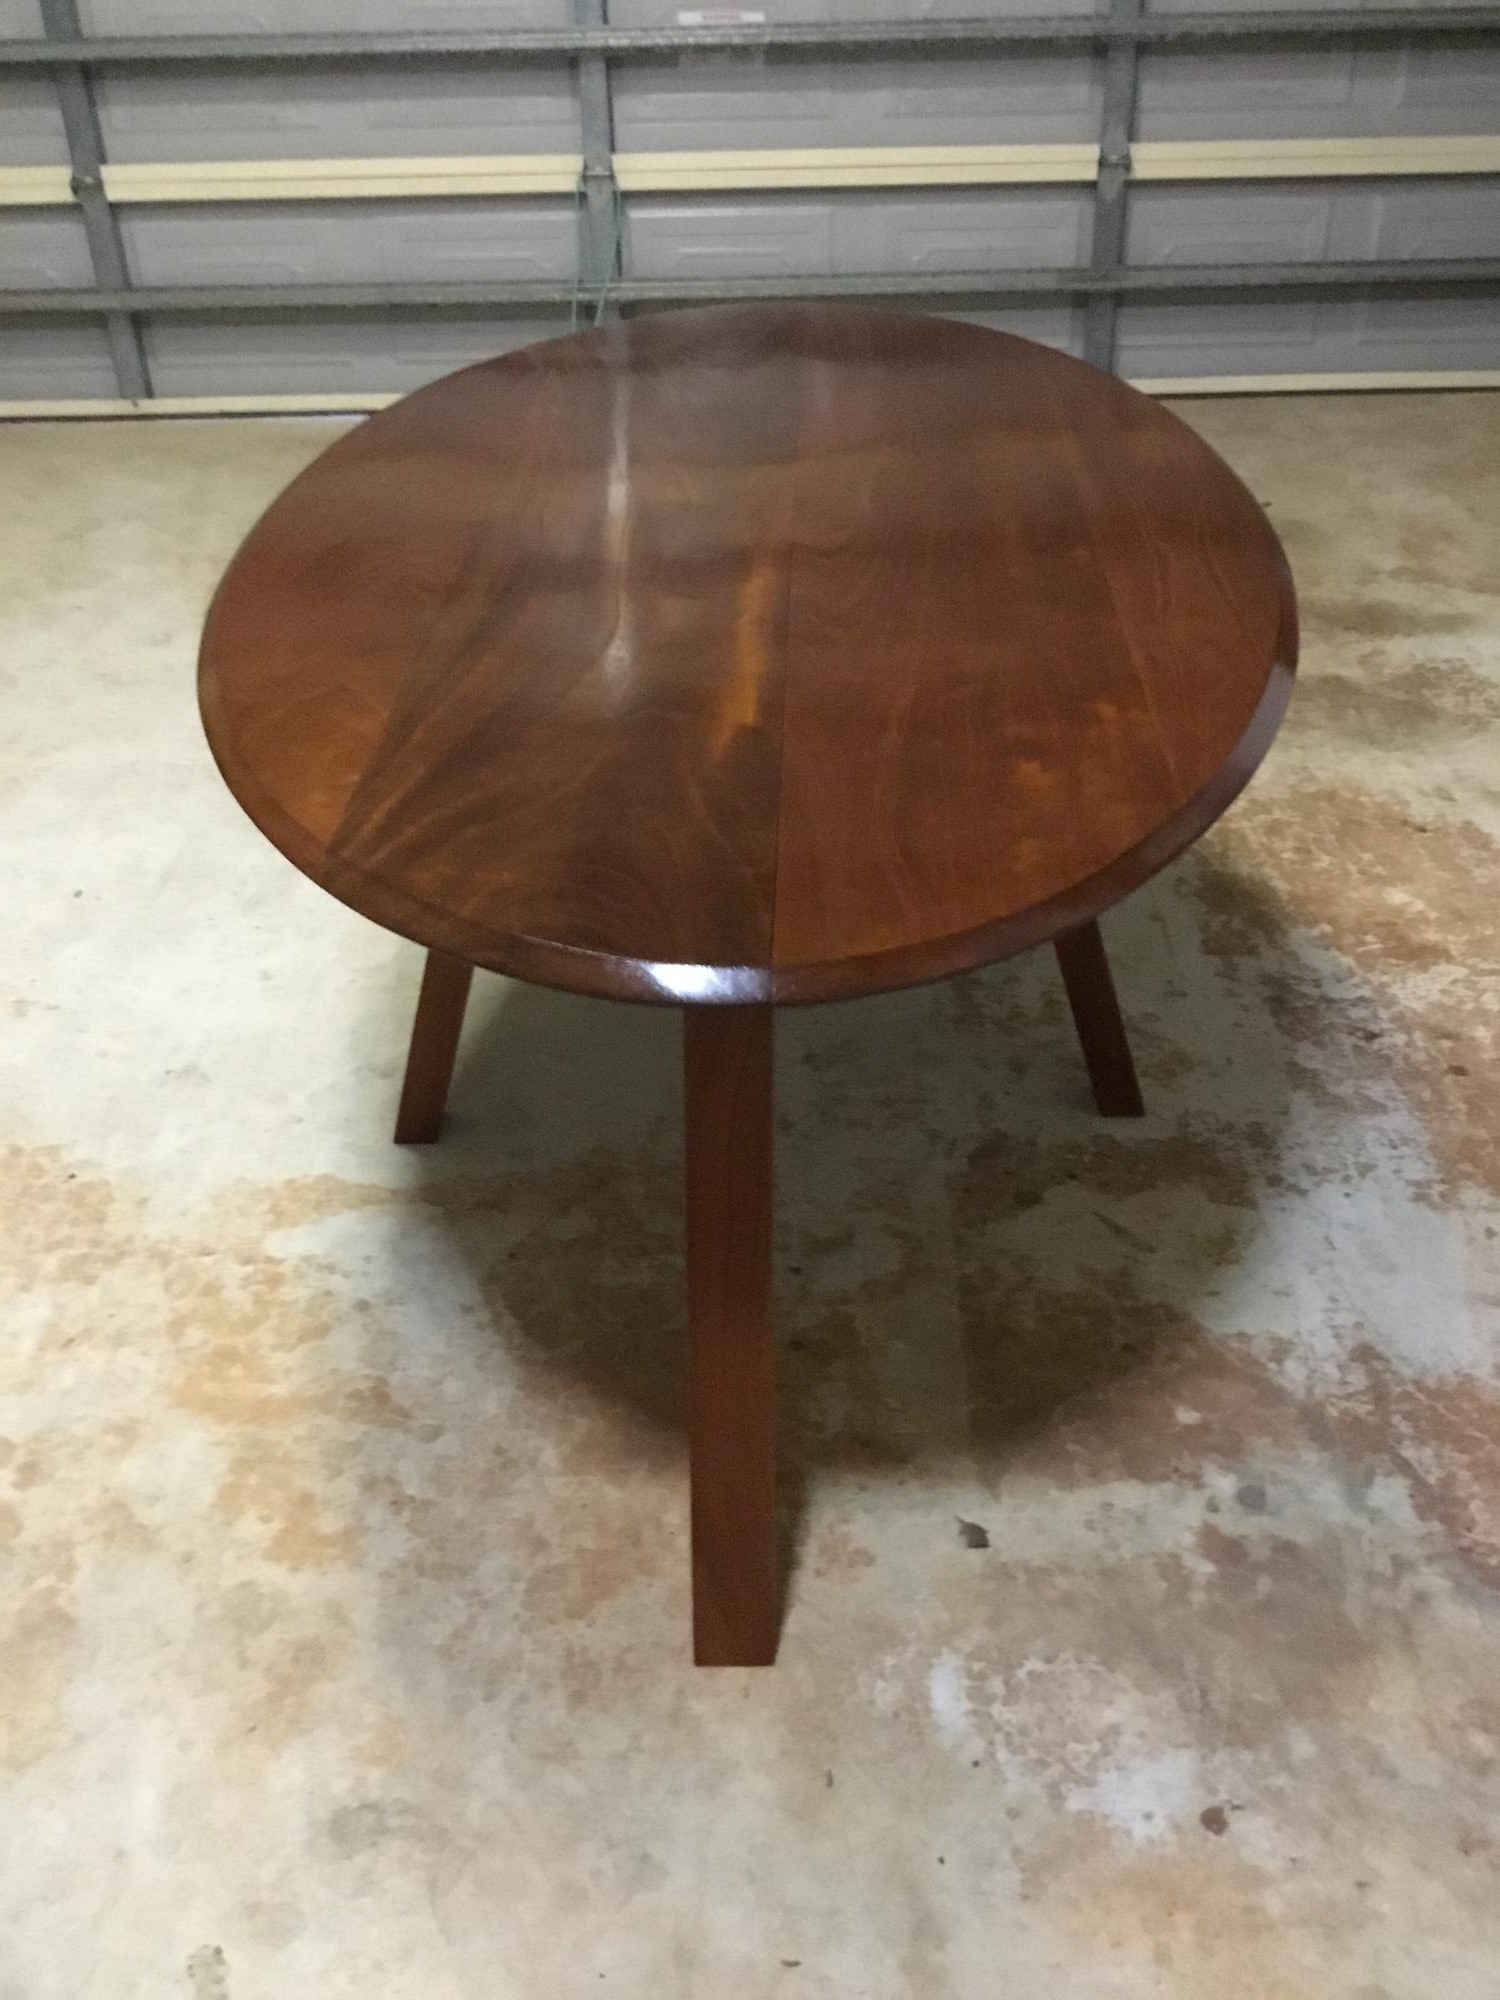
Hi Ana, this is not your design but one I just made up. The timber is Queensland red cedar and about 30 years old, I was given a tree and had it cut up. Came out great
Regards
Karl Penna, Queensland, Australia
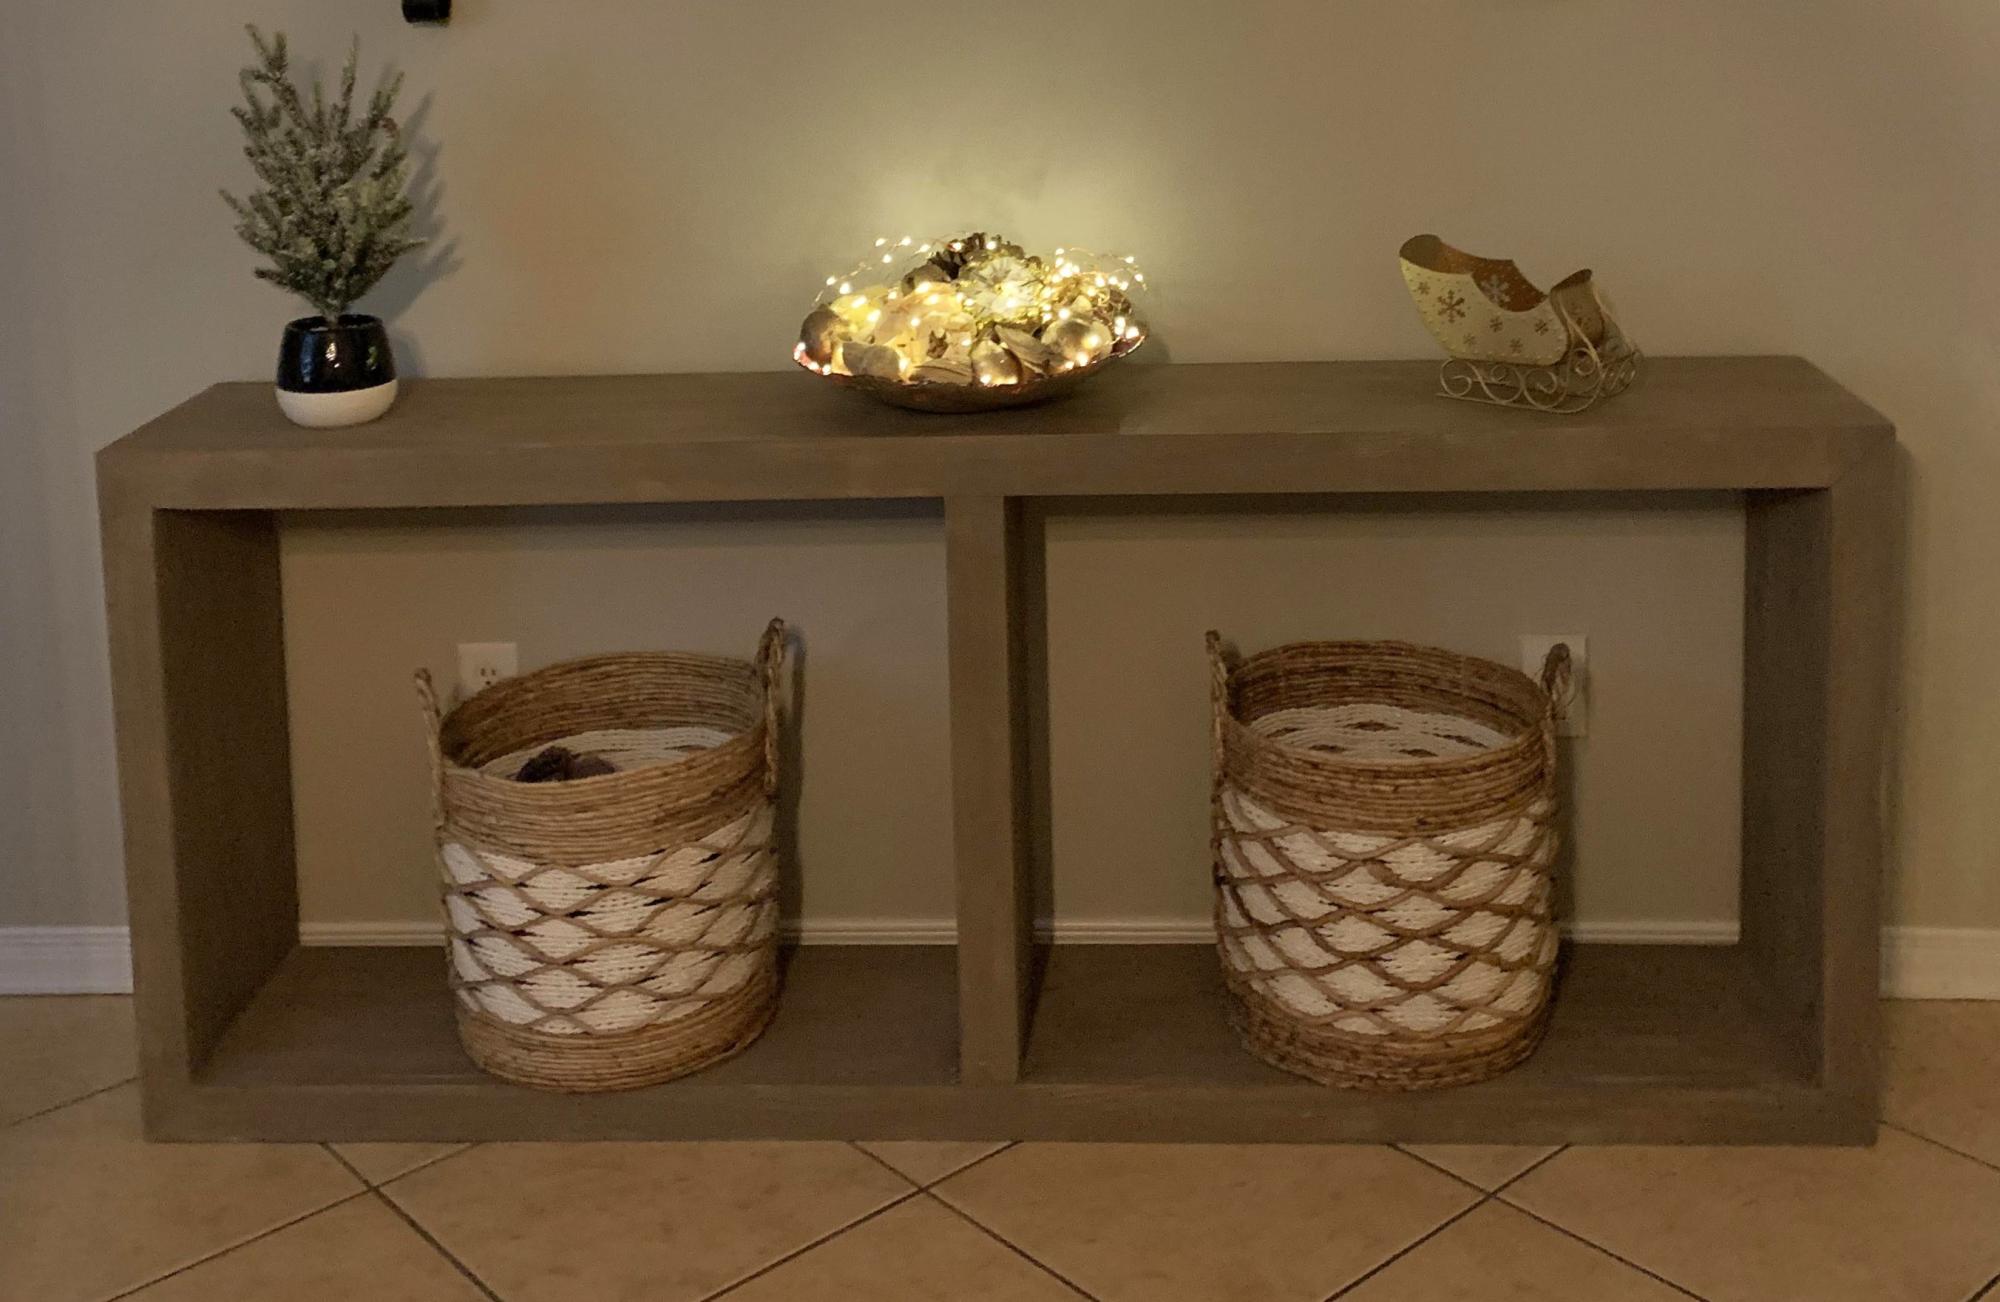
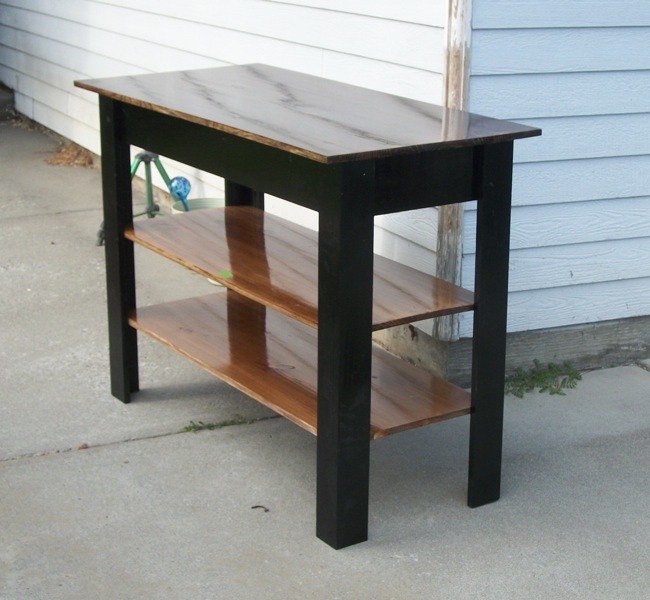
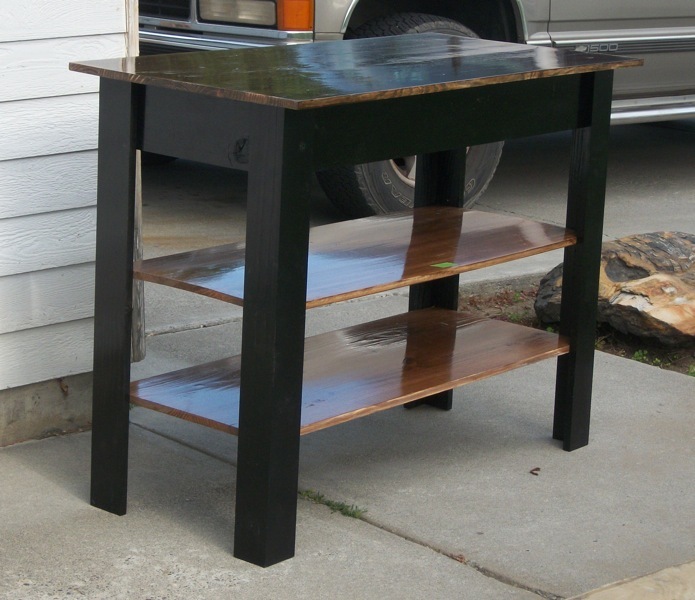
DIY Waterfall Console
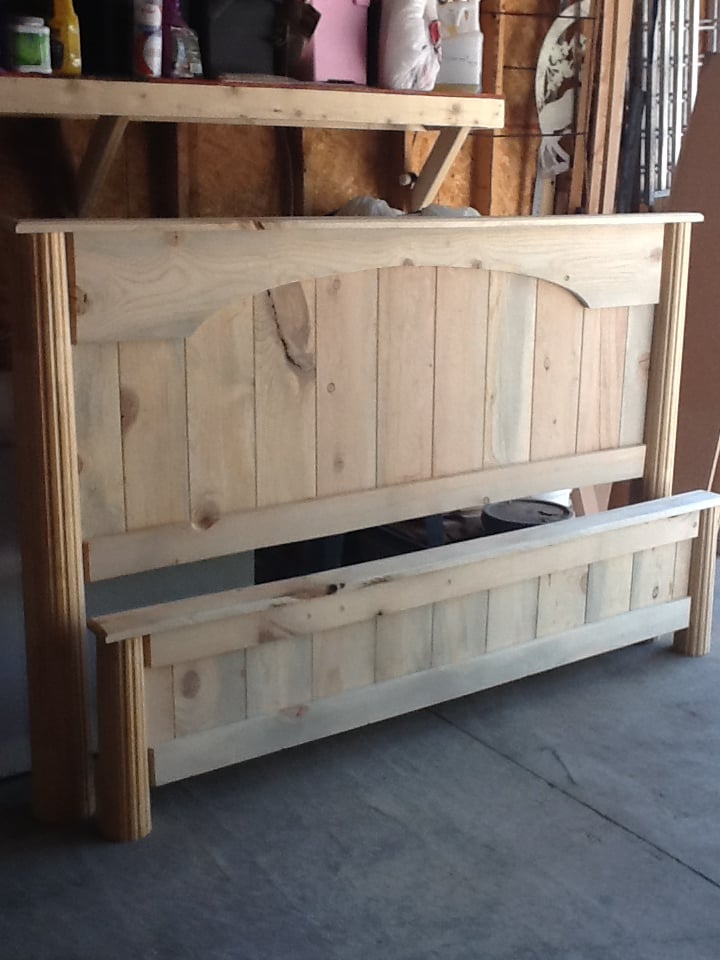
I drove to my dads house to get the wood. He has had rough cut 1X12's sitting in the back yard for several years. They are warped, dirty, cracked..... I think my husband thought I was crazy for wanting to do this. 6 months after getting the wood I finally started. I first took the boards and sanded the caked on red dirt off. Then my 8 year old helped me rip them on the table saw into an 8 inch piece and a 4 inch piece. Then sanded again. The boards turned from red or grey to a yellow color. My husband told me to do it right I needed to use a jointer and he showed me how and I needed to use biscuts to join the planks together, we borrowed one and he showed me how to use the tool. It is so cool, I want to buy one. Then I called my neighbor over to help me, he brought a power planner over and showed me how to use it. It made all the boards the same heighth and REALLY sanded them good (remember these are rough cut boards). Then we used a belt sander to make them really smooth. Then we used a router with a Vgrove bit down the planks where the 1x8's meet. He had two fluted, tapered columns in his garage he has been trying to get rid of so we cut them down and used them as the posts for the headboard and footboard. I cut the arch with a jig saw. Looks pretty darn great! I surprised people with the wood I used! Thank goodness for biscuts, jointers, planners and belt sanders! Best part......cost me a whole $15 to get to this point. I had to buy wood glue, biscuts, and sand paper.
I want to use a laquer finish and try to use a glaze in the grooves. I will try to attach a finished picture when it is done.

Tue, 06/26/2012 - 14:12
That is gorgeous! Such memories you made by building it this way! Priceless!
Built these as a birthday present for my friend, based on an image she'd pinned a year ago. Read more about it here.
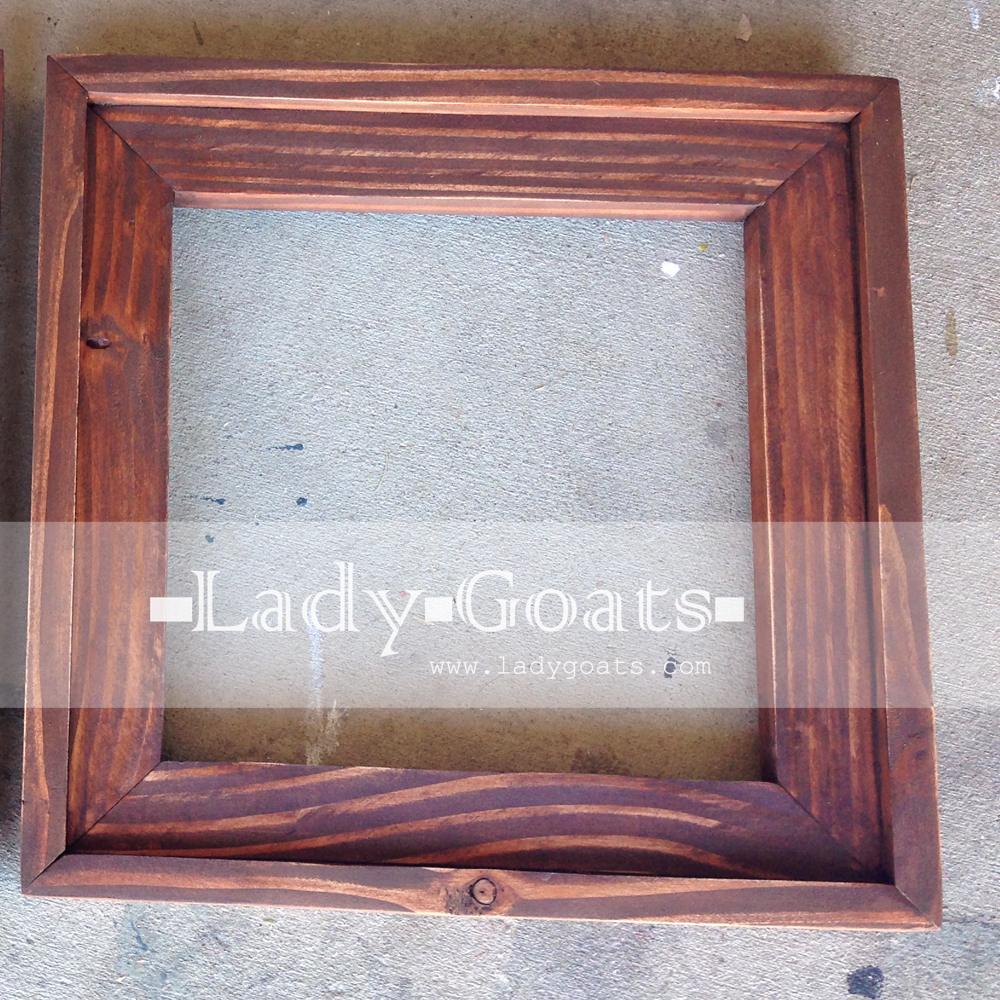
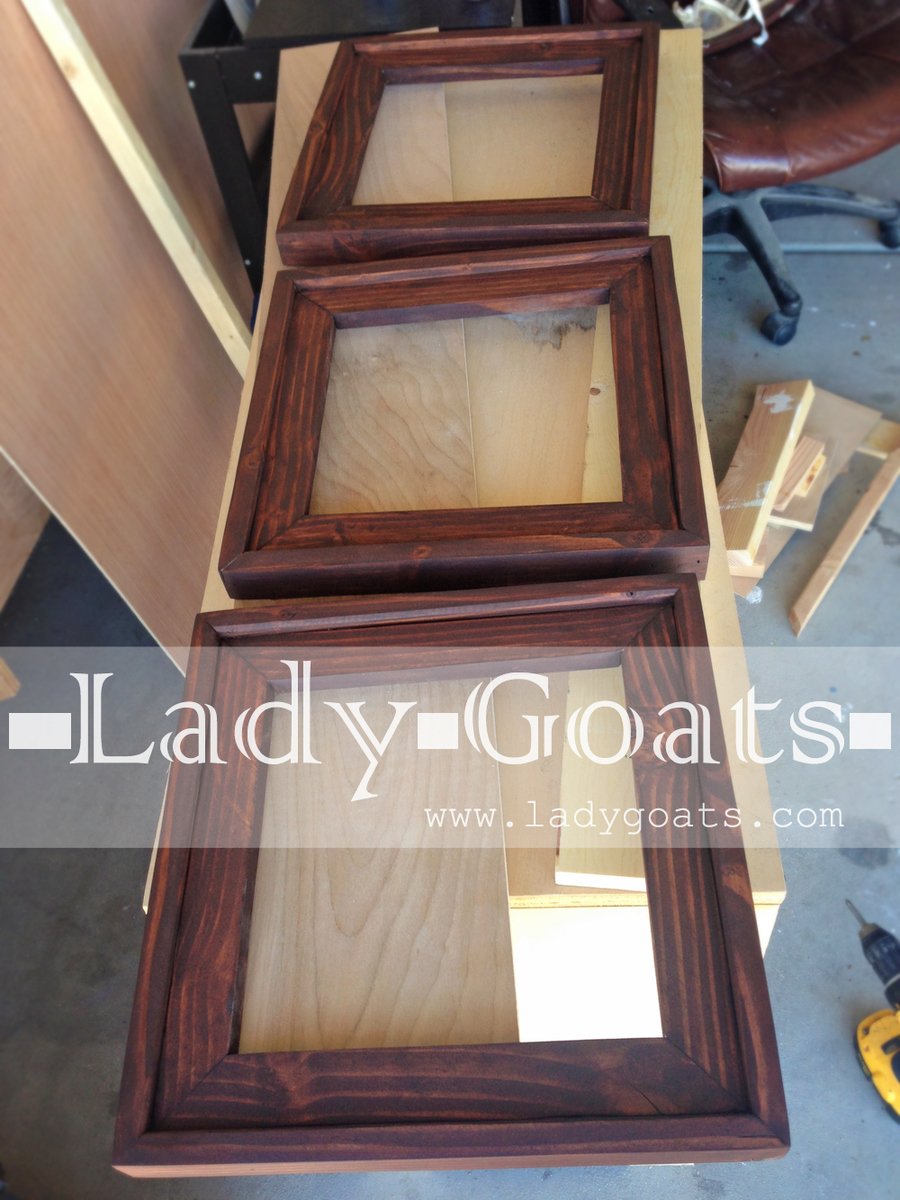
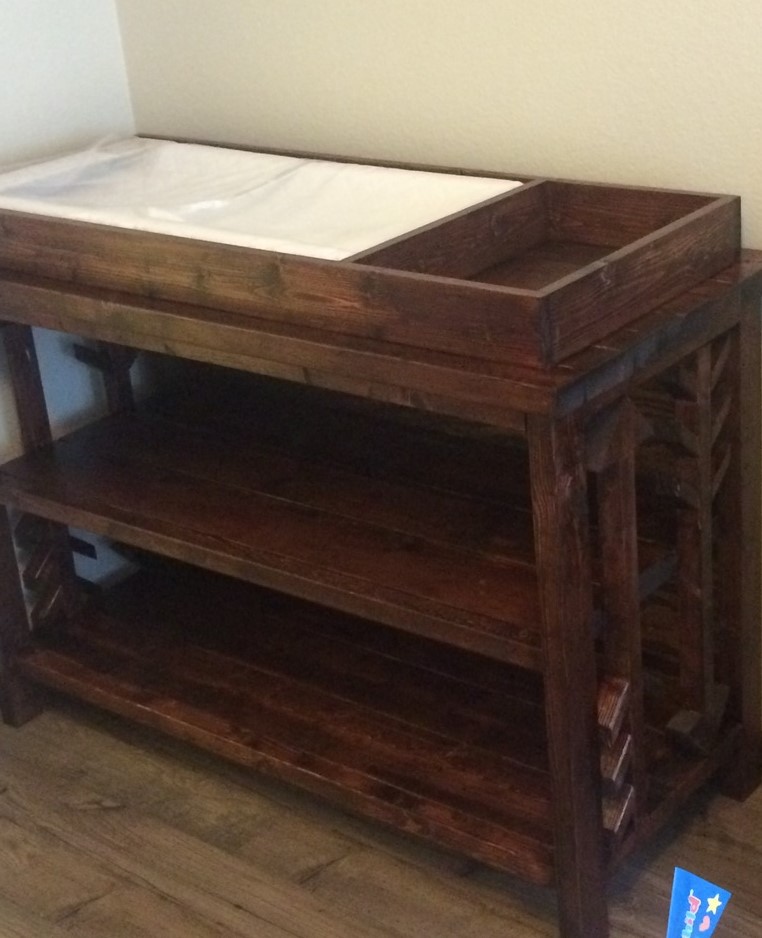
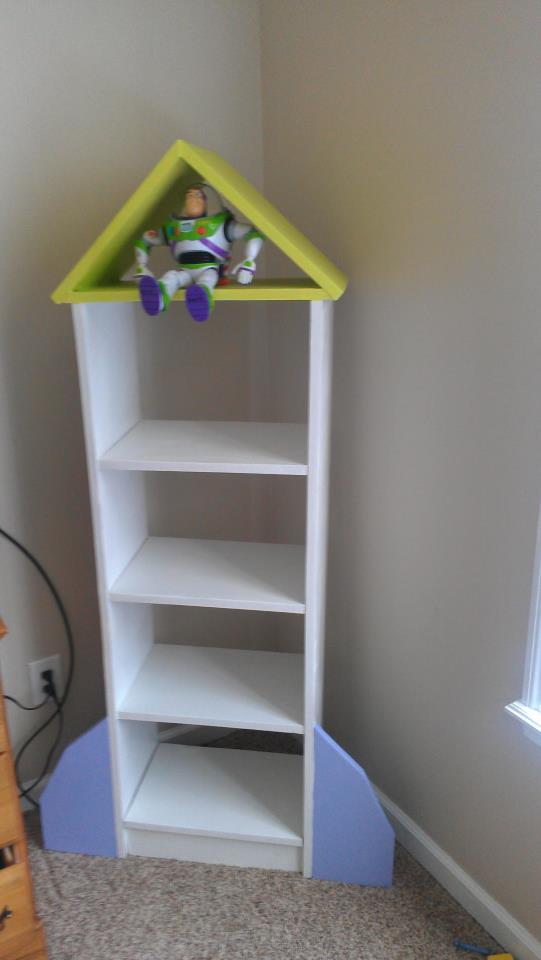
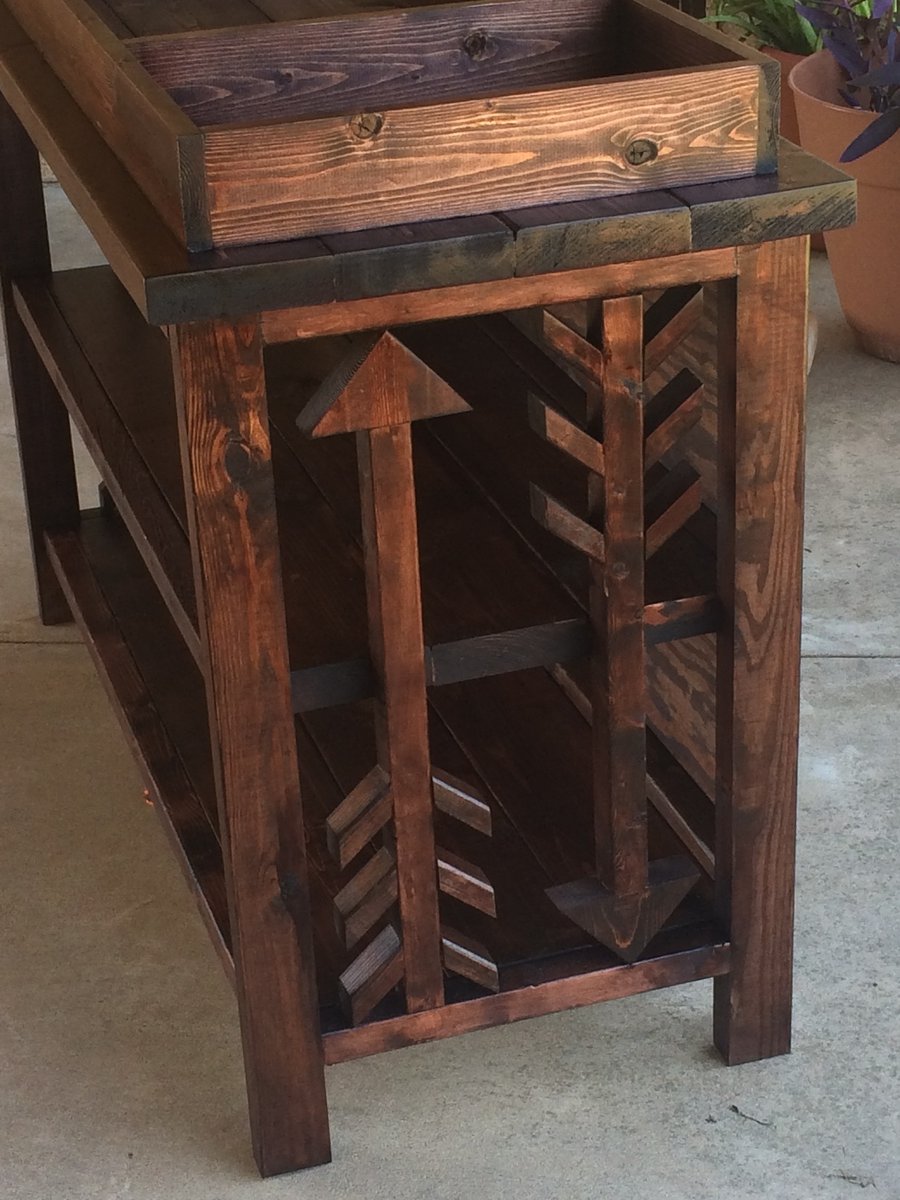
Modified with arrows to go along with theme for baby room
The plans were easy to follow and the finished result was perfect! We subbed 1x6s for the 1x10s, because we were using some reclaimed pallet wood. We cut, sanded, and stained/weatherproofed all pieces before assembly, which I would also recommend.
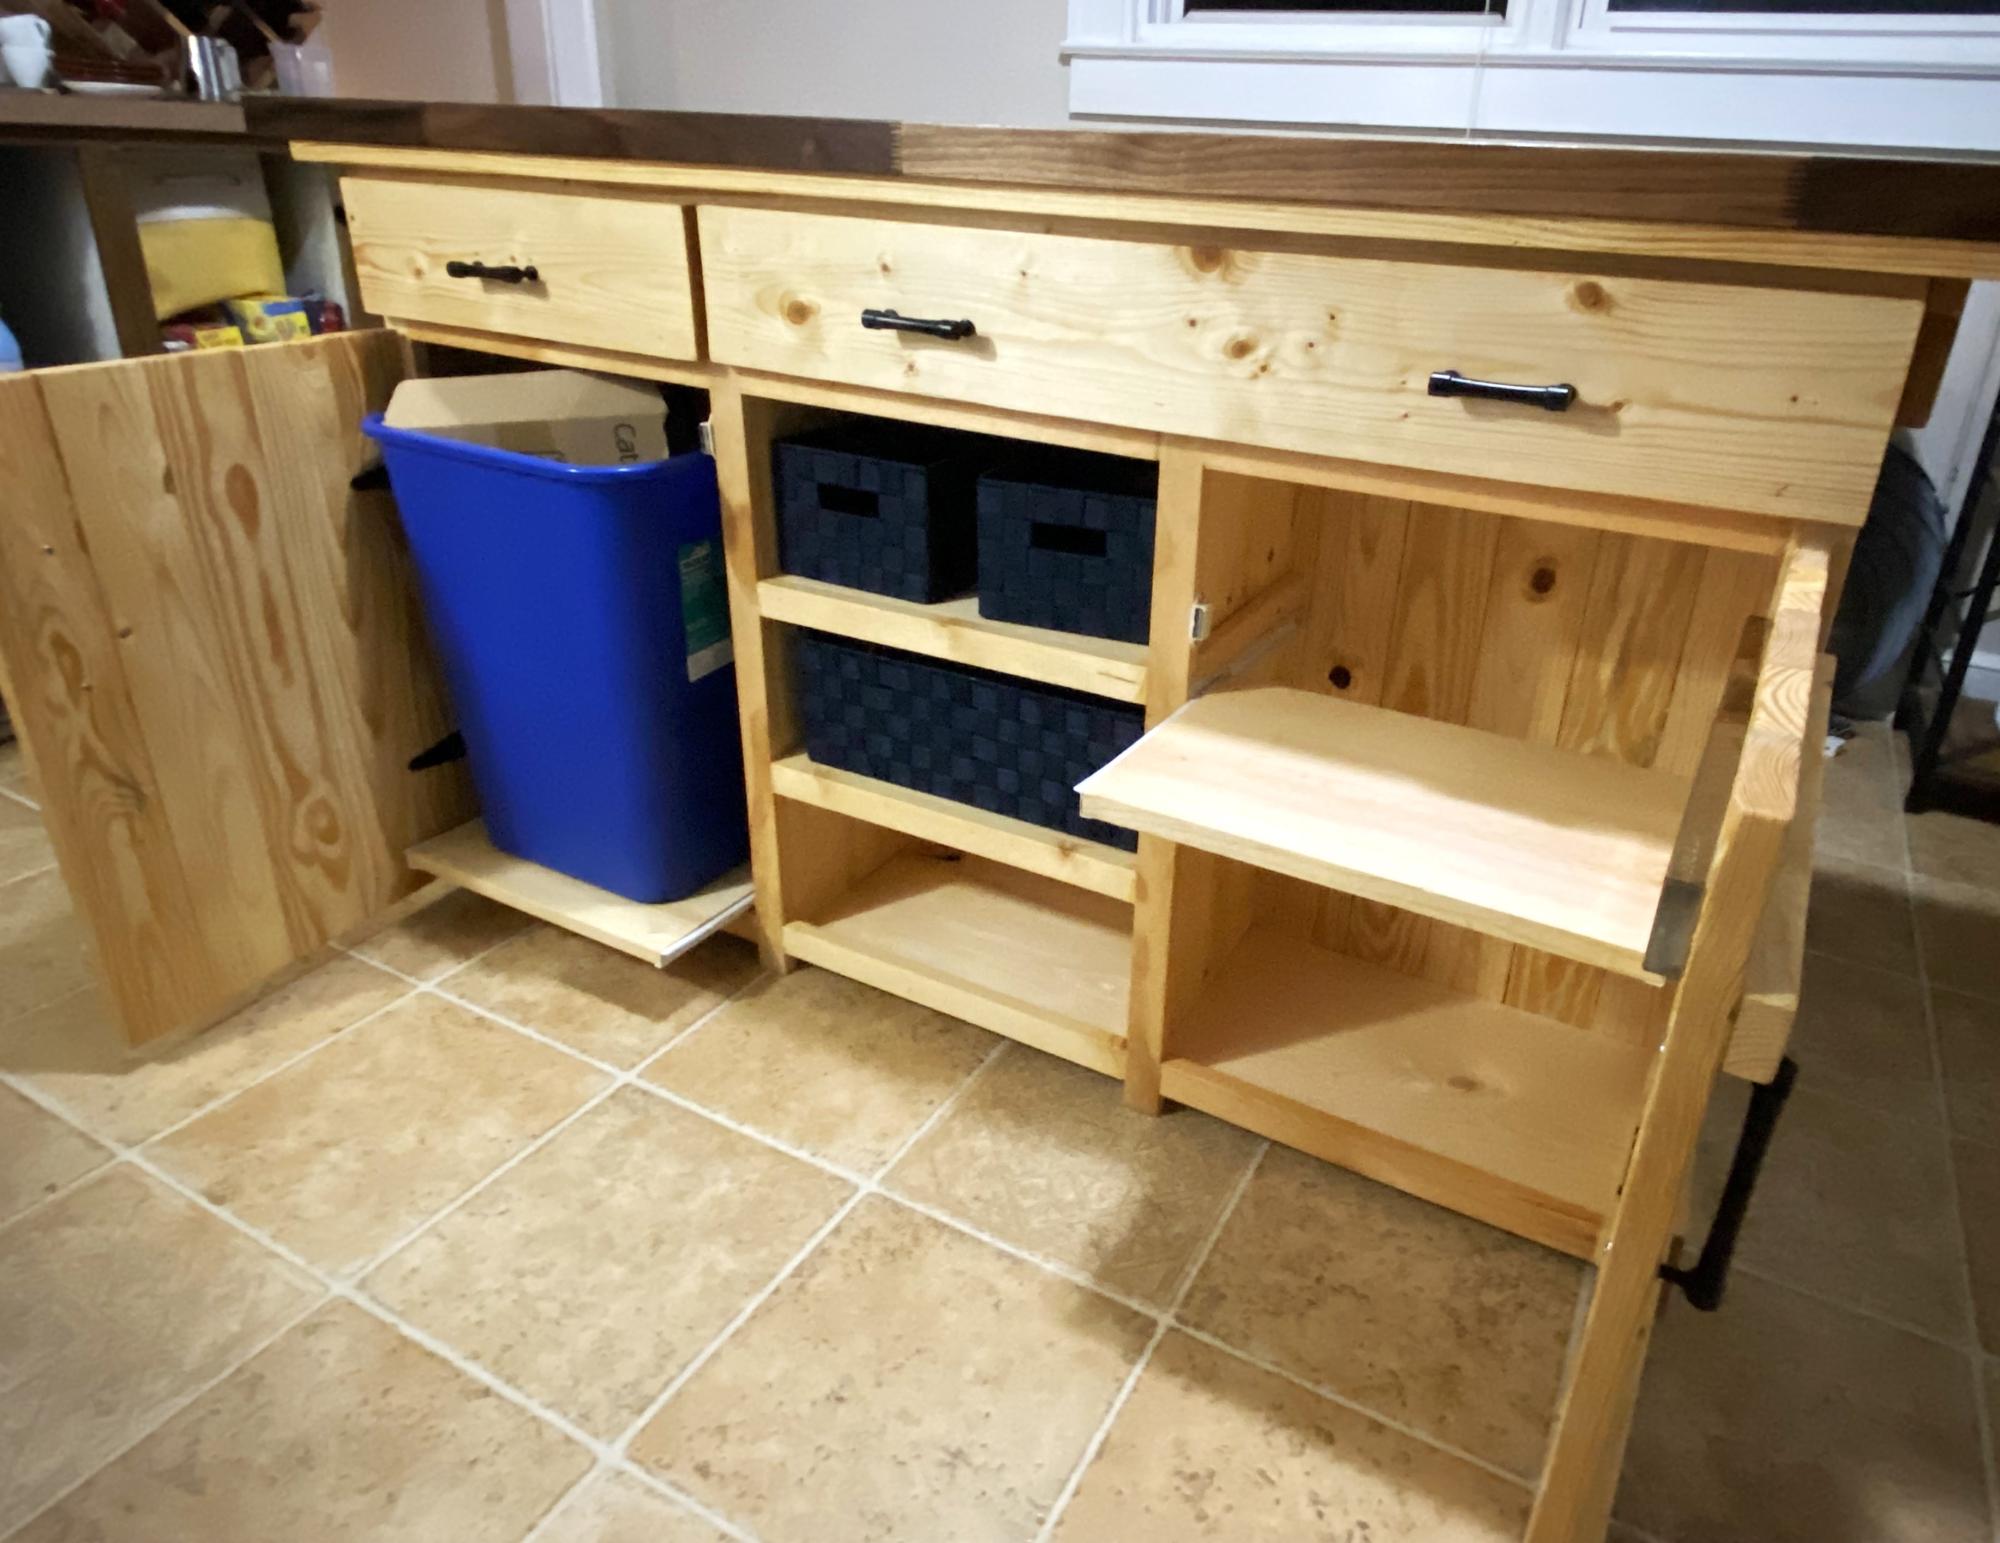
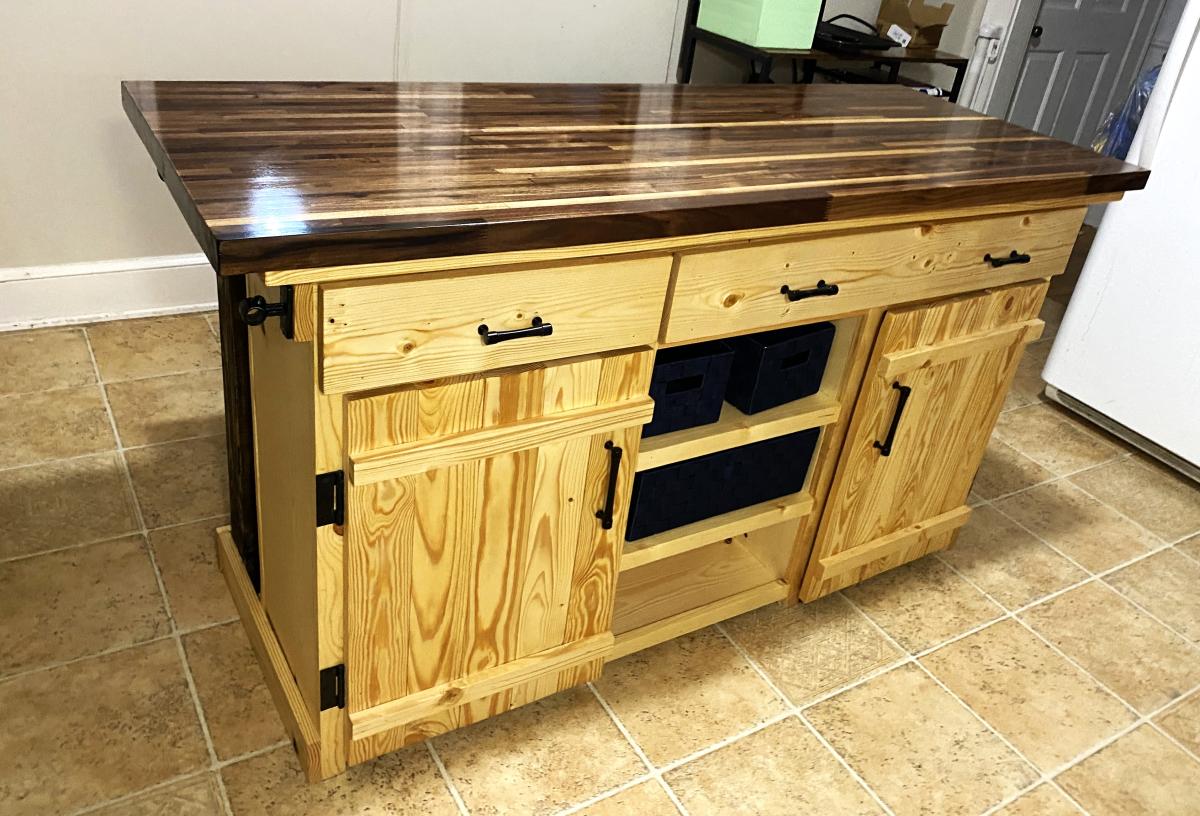
This was a labor of love for my son’s Christmas gift. He wants to be a chef and all he has wanted was an island in our kitchen. Thanks Ana for such an amazing and simple (enough) plan.
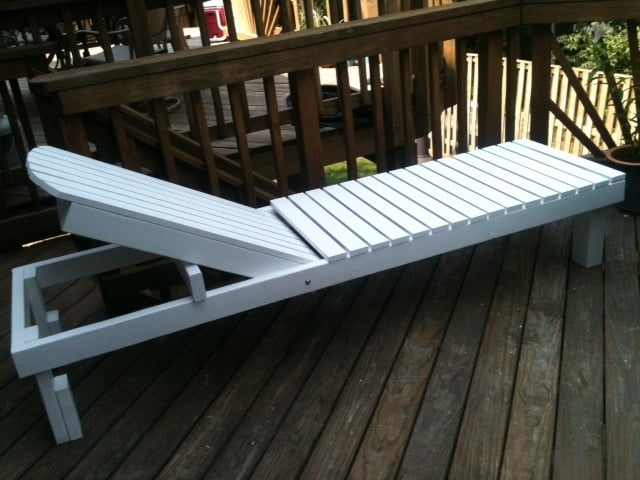
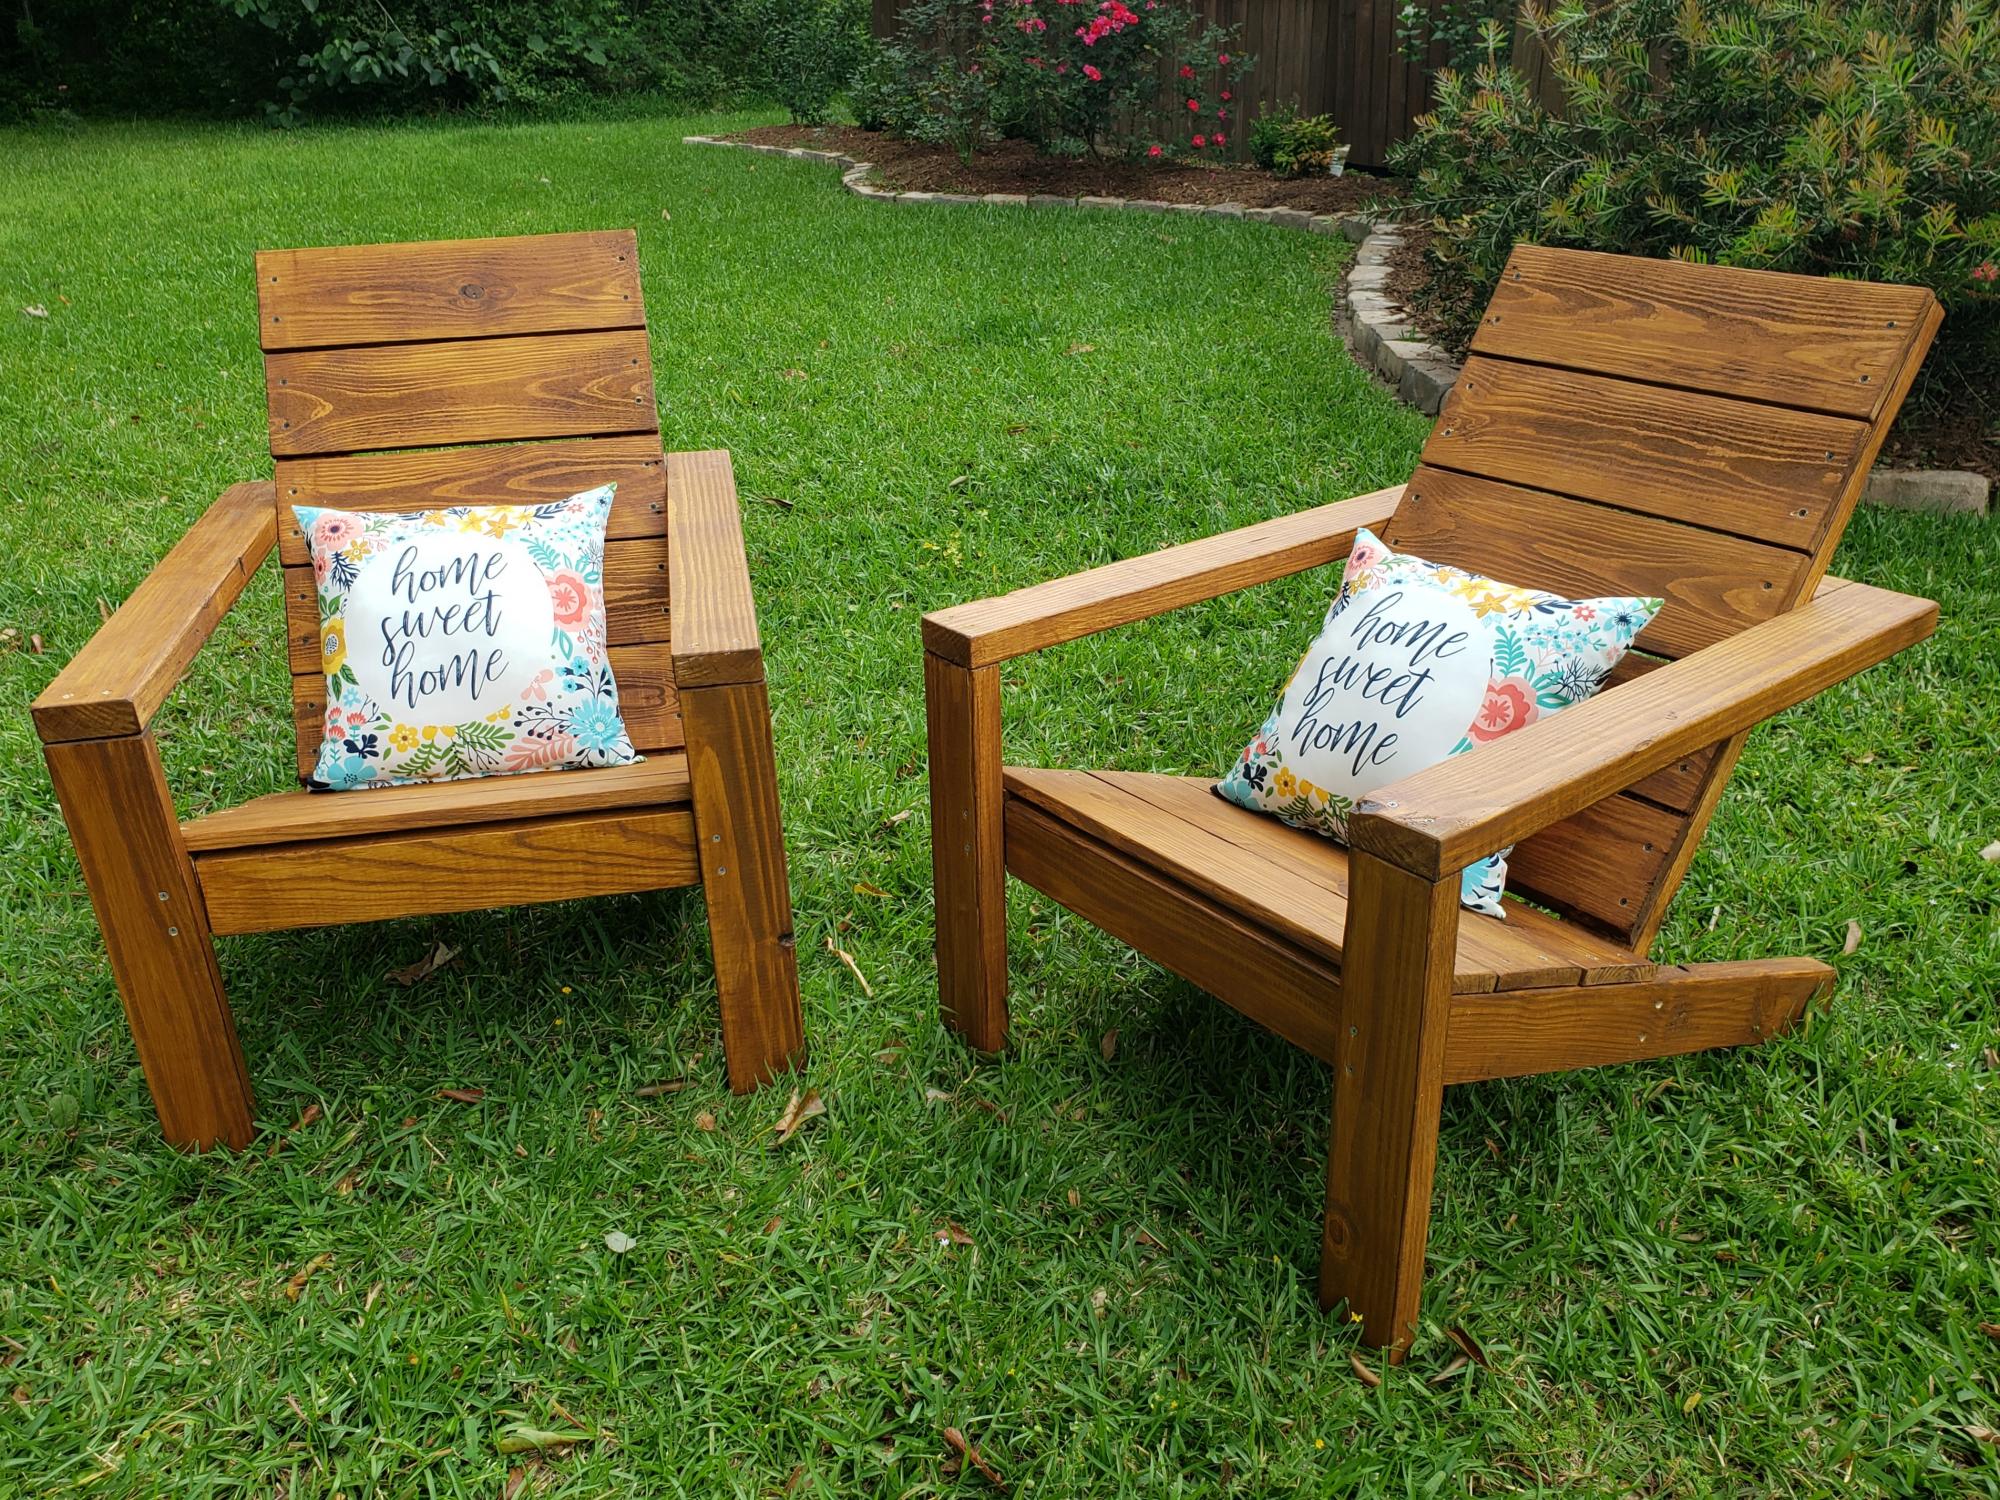
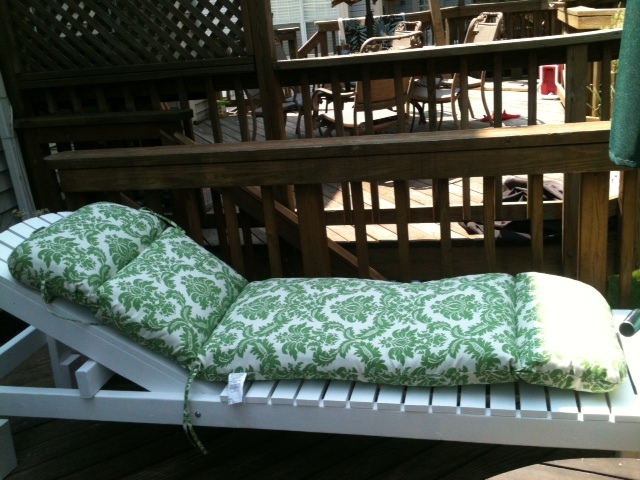
This cost me $55 for wood (pine), nails, and bolts. Additional $7 in paint. It's very sturdy and very comfy with a lounge chair cushion (Walmart had a great price--cheaper than I would have spent to make one myself). This will also serve as bench seating for my deck (I love multi-use furniture). Thanks Brook and Ana for this great plan!
Fri, 05/20/2016 - 11:32
I have my lounge completed except for the slots. It looks great and I am very happy with the results. But, in looking at your finished photos, I notice the 2 X 4 in the horizontal slot is not seated into the space completely. And, melbooker's photo shows the board sitting on top of the rail. So, I'm a bit confused about cutting in the slots. Any advice would be very helpful! Thanks
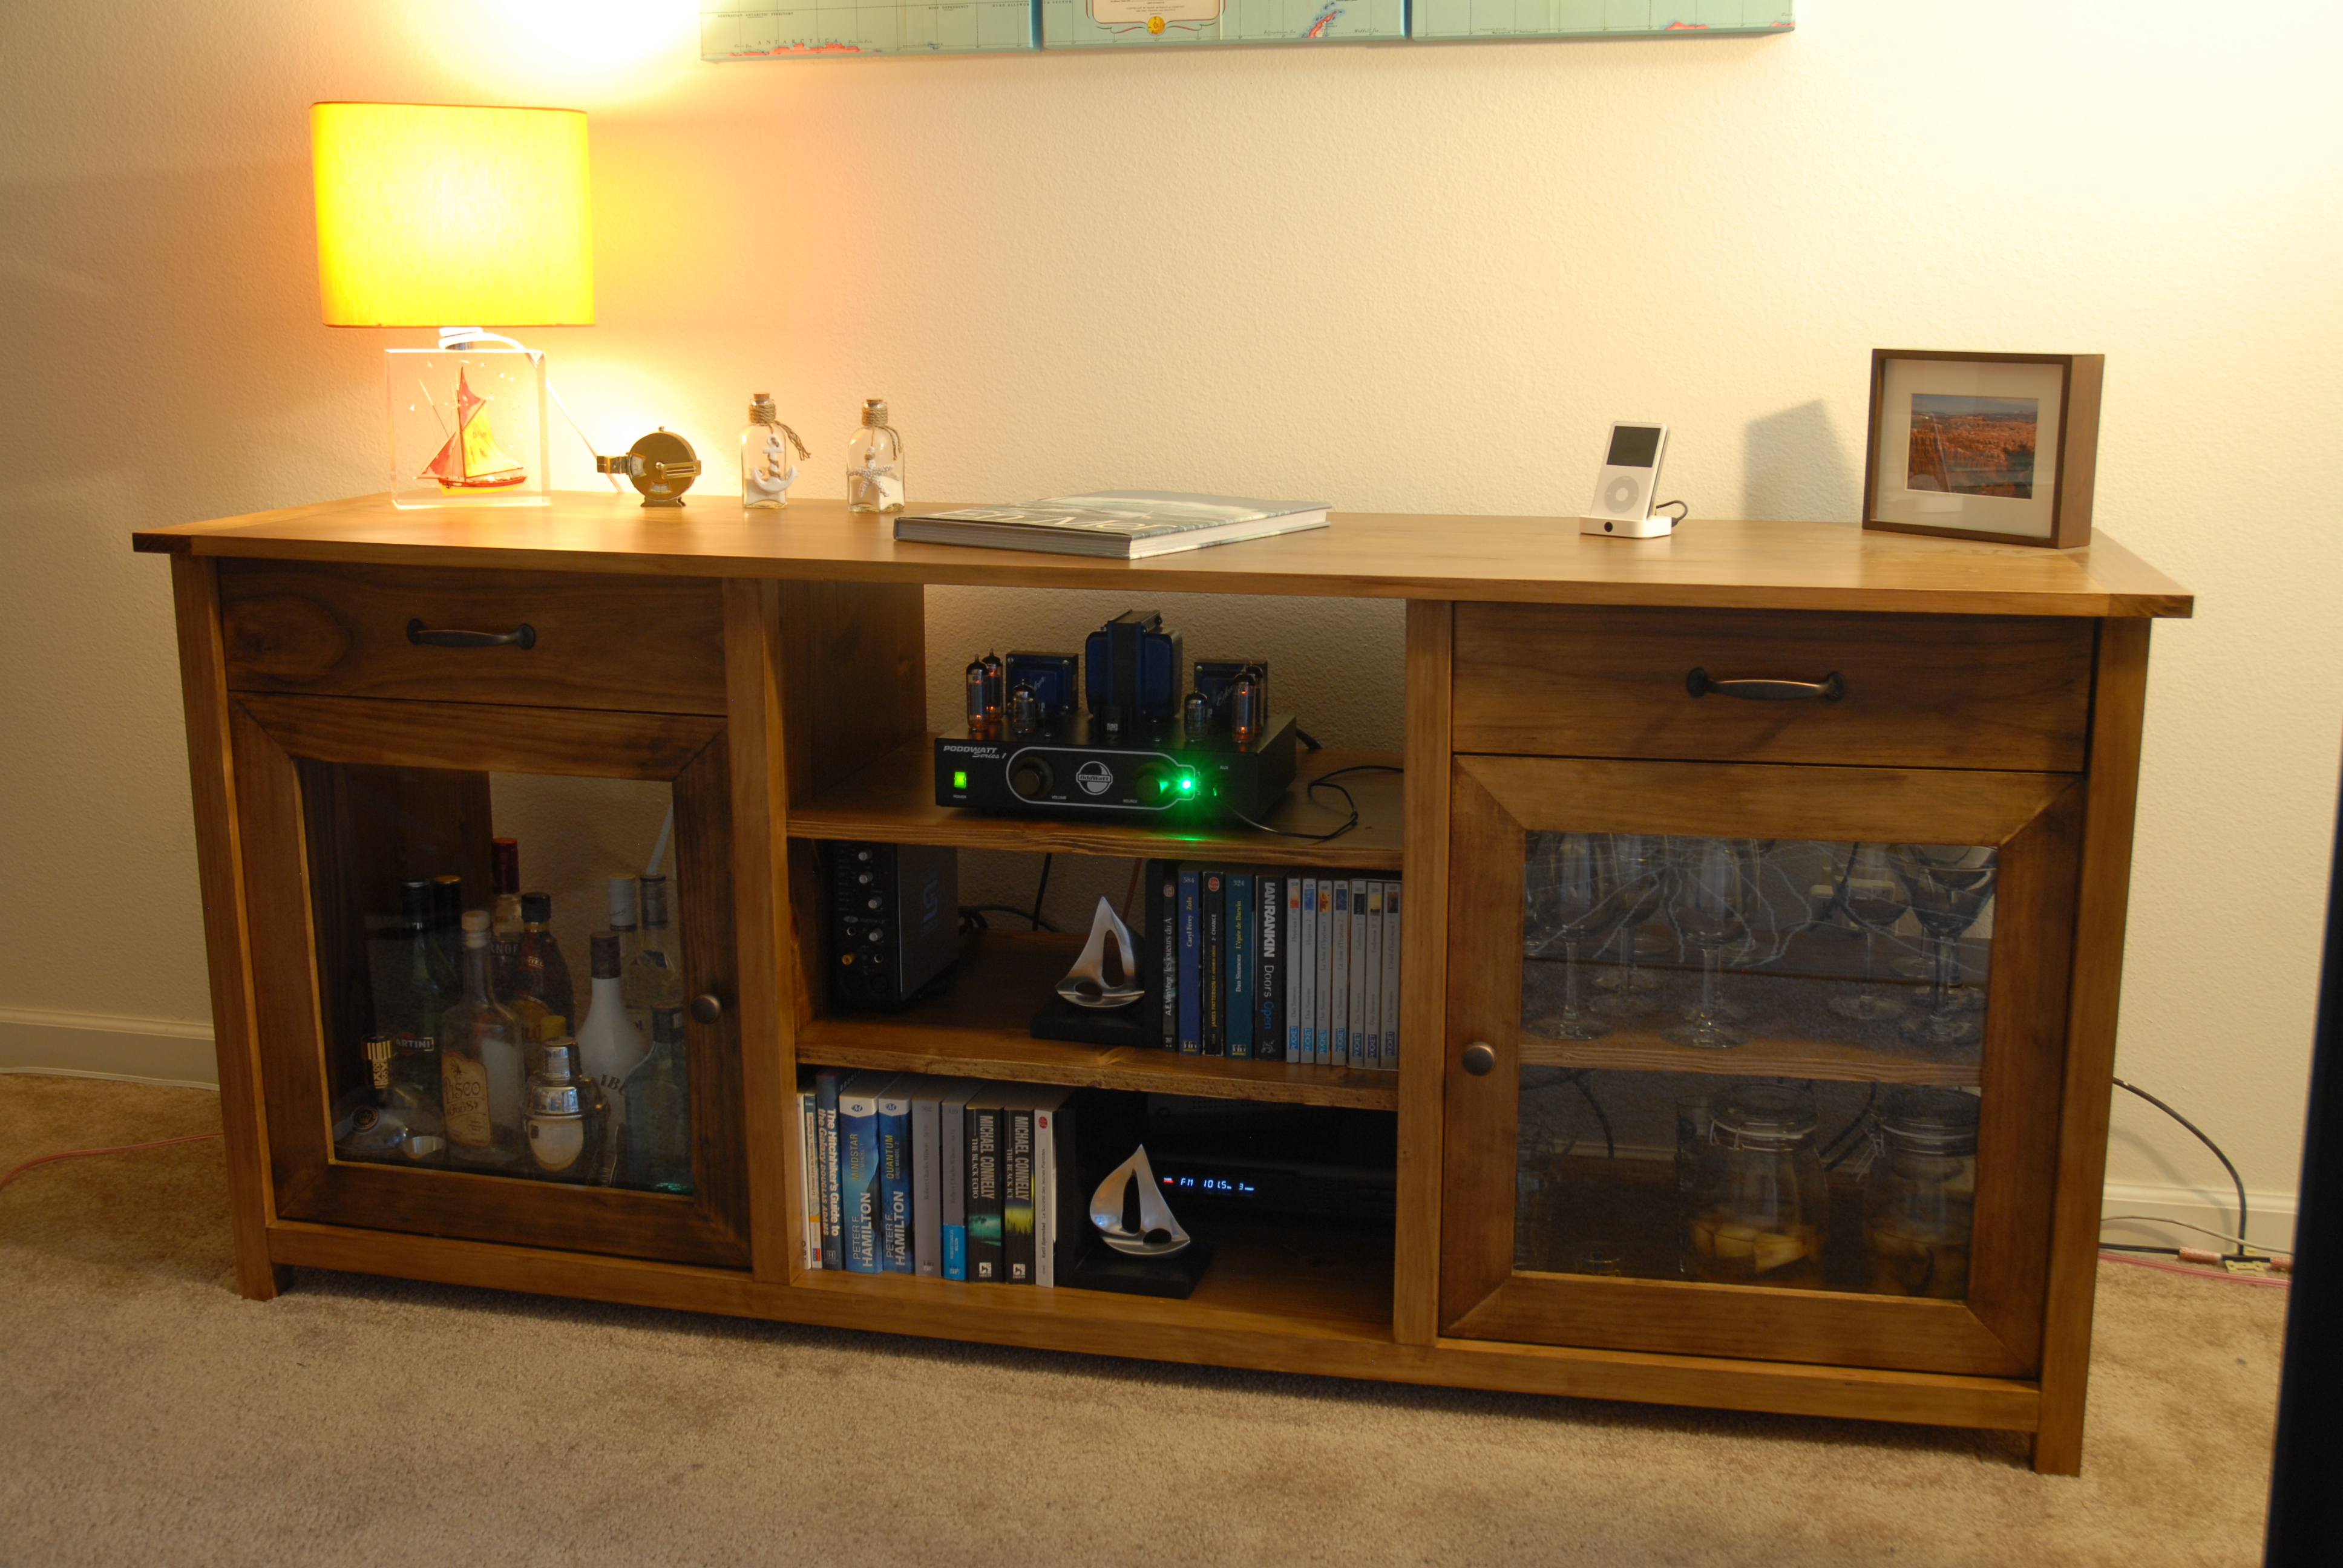
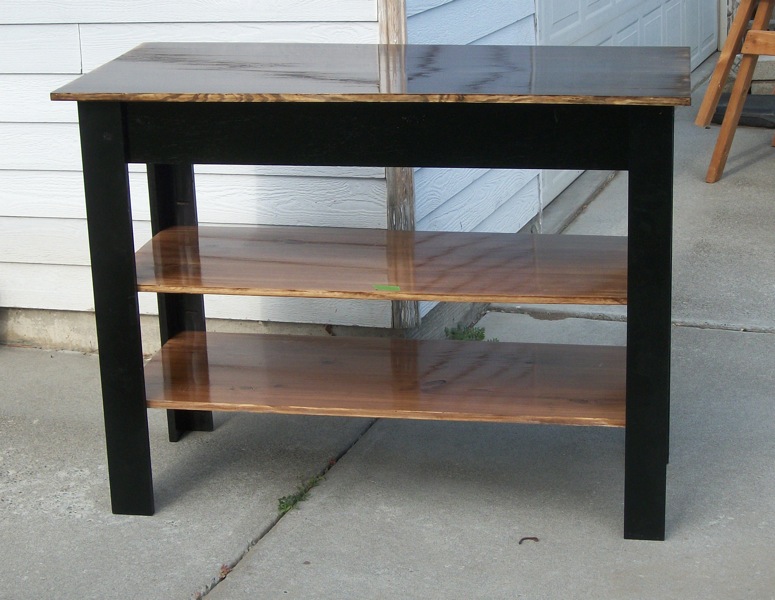
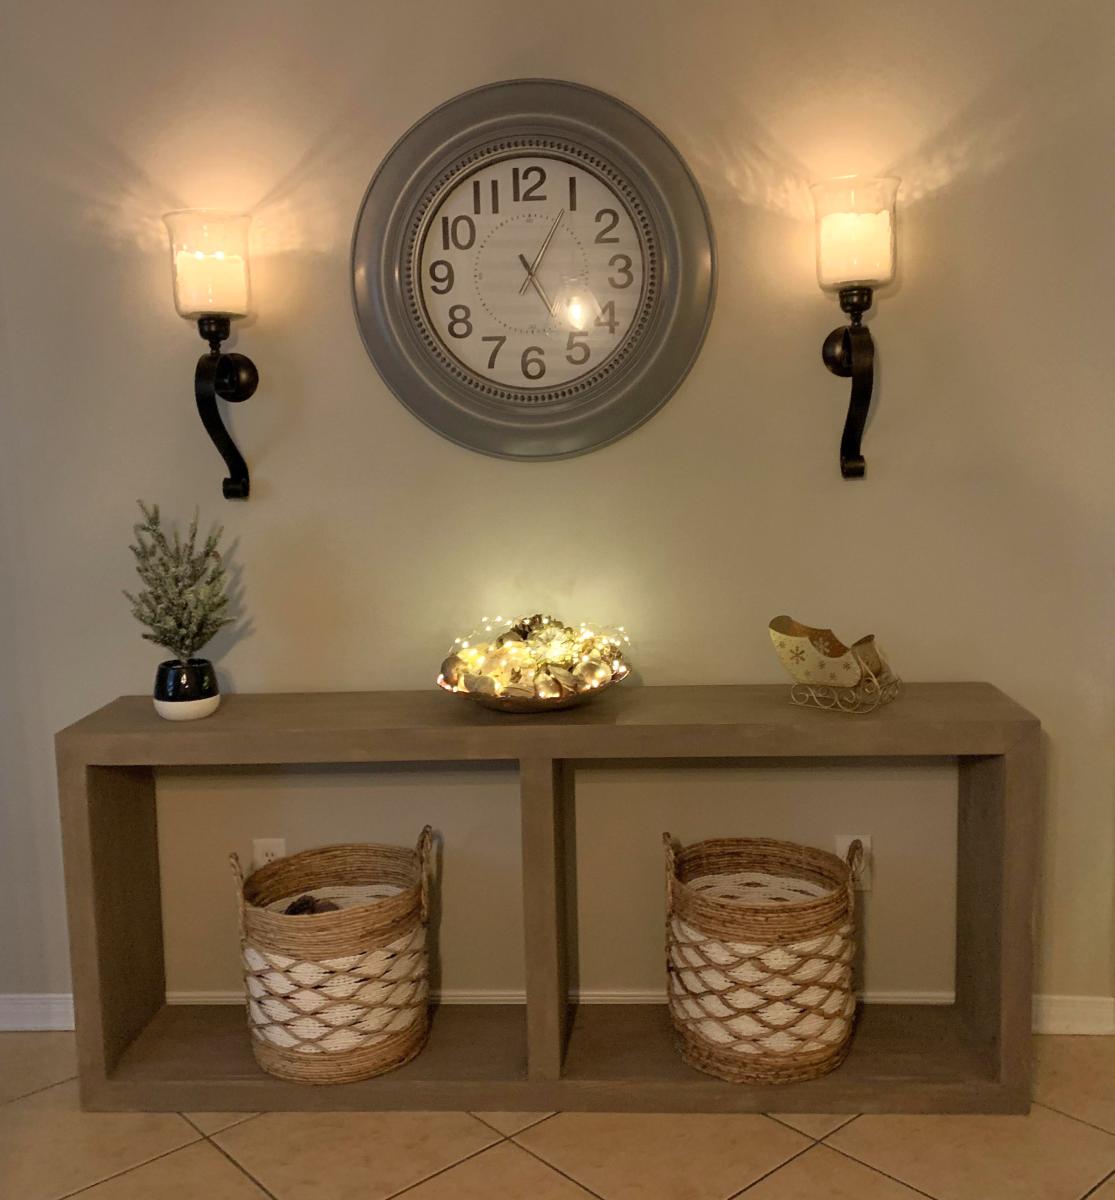
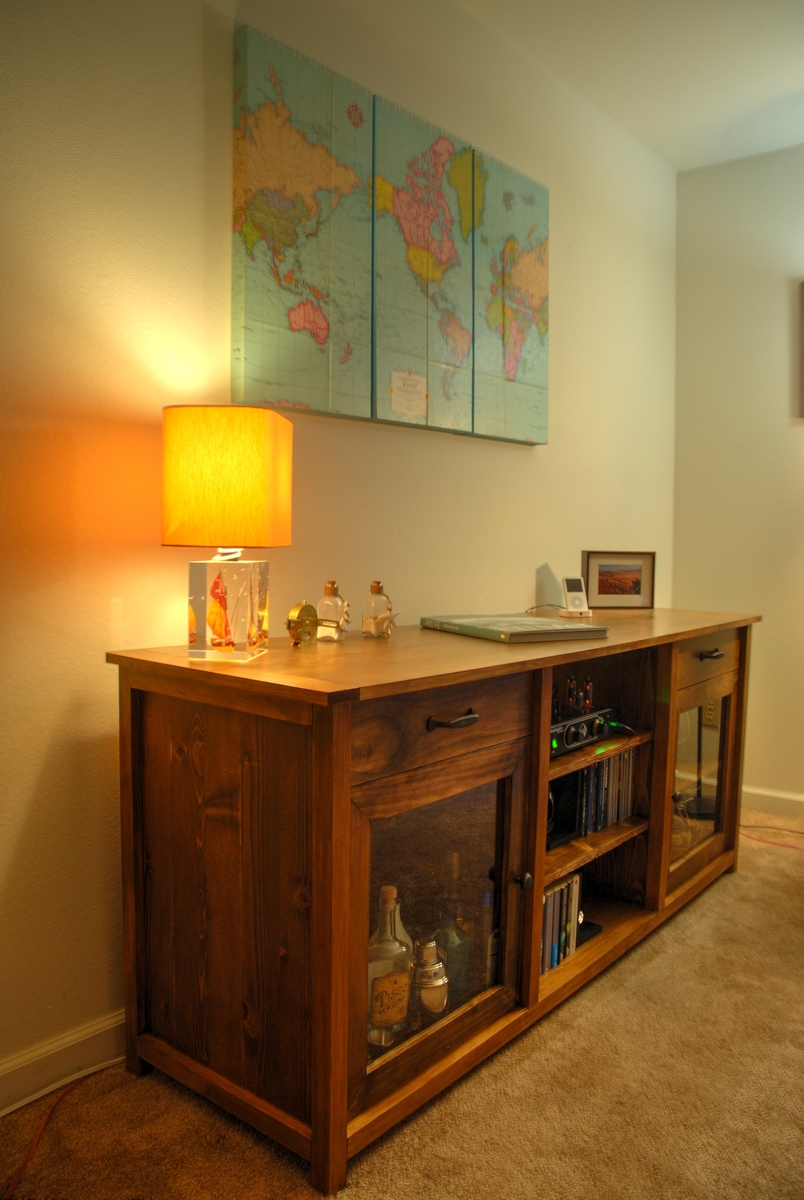
We started from the benchmark media console plan, but then adapted it to our room and needs.
It's entirely made of plain wood (no plywood, except for the drawers bottom) which probably adds to the cost a little, but gives a very nice finish! All the boards (for table top, shelves and sides) are made from 1x4, assembled with wood glue and pocket holes.
The doors are made of glass cut to fit, and glued with silicone.
Only trouble was with the door hinges.. Since we wanted them to be concealed inside but I hate Euro-Style hinges, so we ended up finding Soss "invisible hinges" that conceal in the thickness of the door, and used a dremel as a router to install them... This proved a bit more challenging than anticipated, but all in all it worked out pretty well.
Had to try to build the Patrick Rustic Sofa Table and though it was my first time trying something like this, it looked very do-able. Modified to 60" instead of the original length.
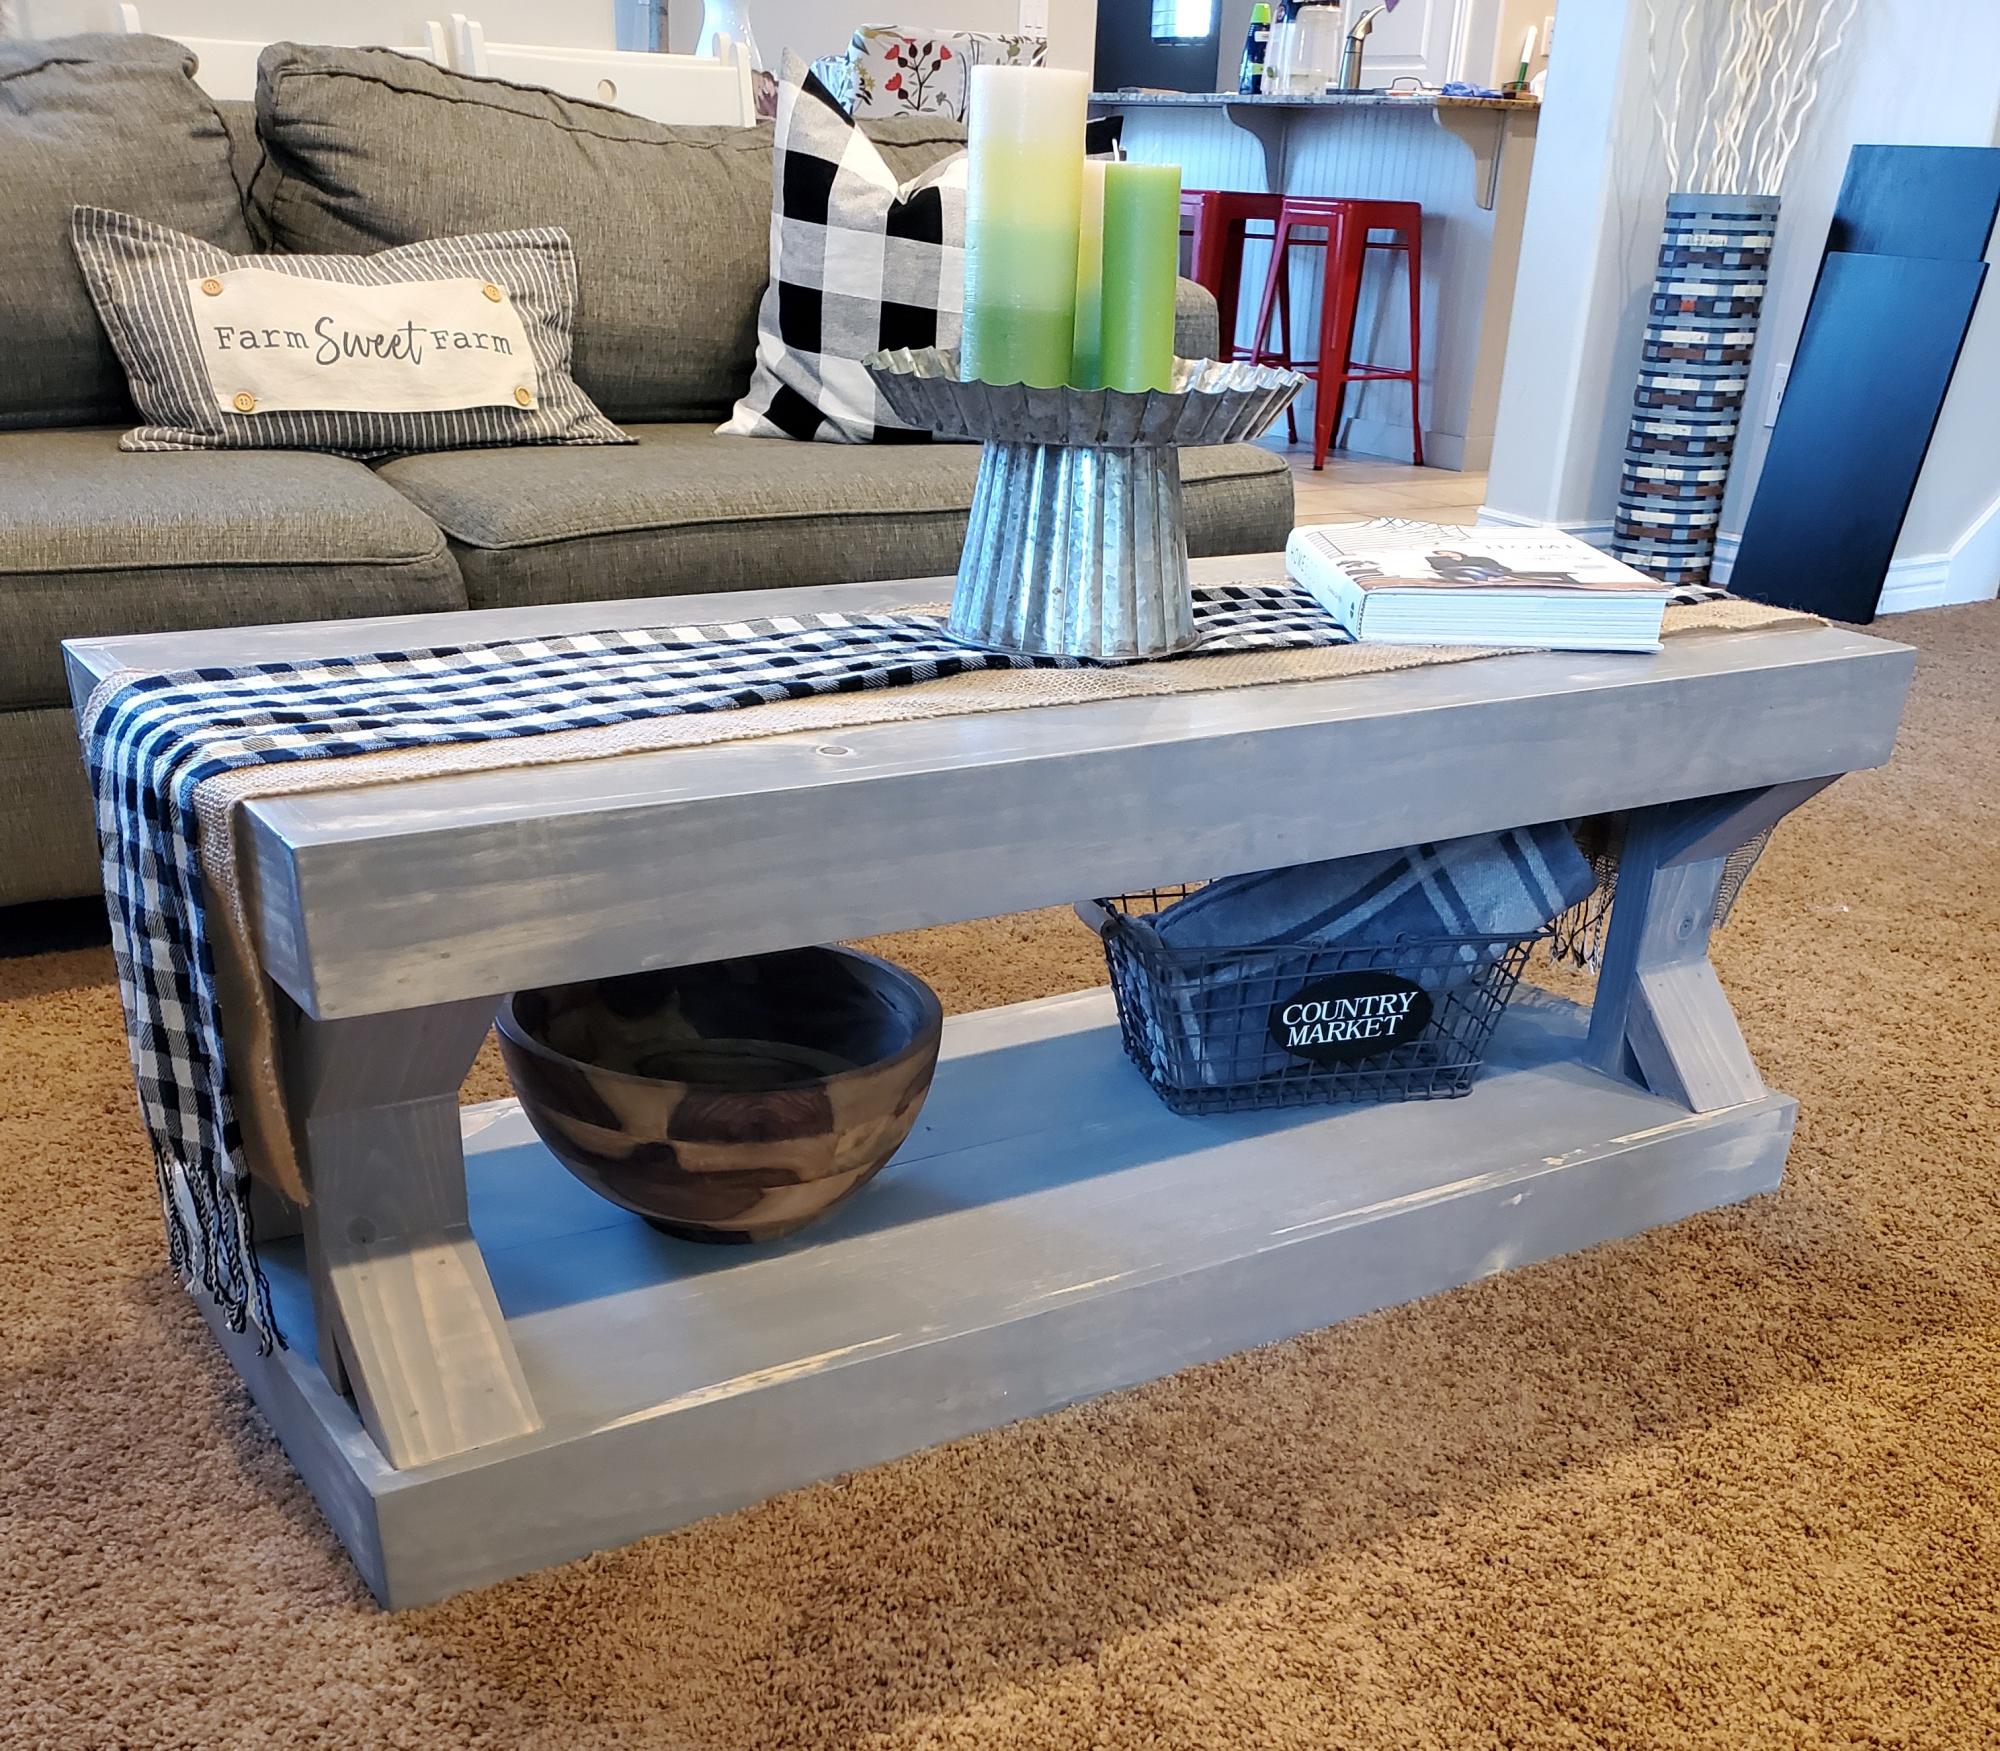
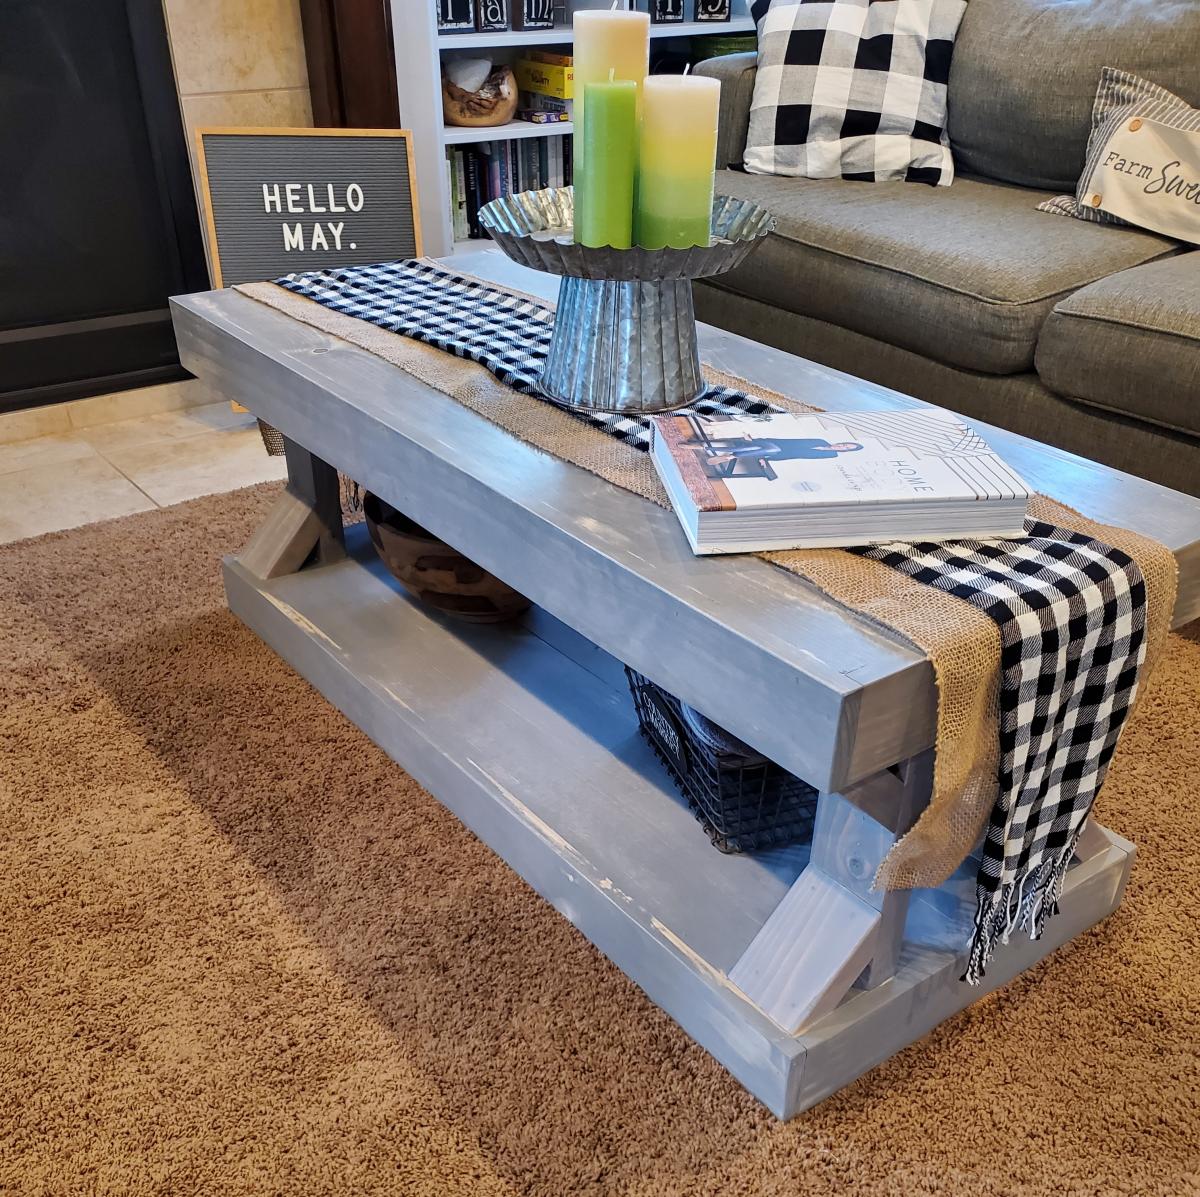
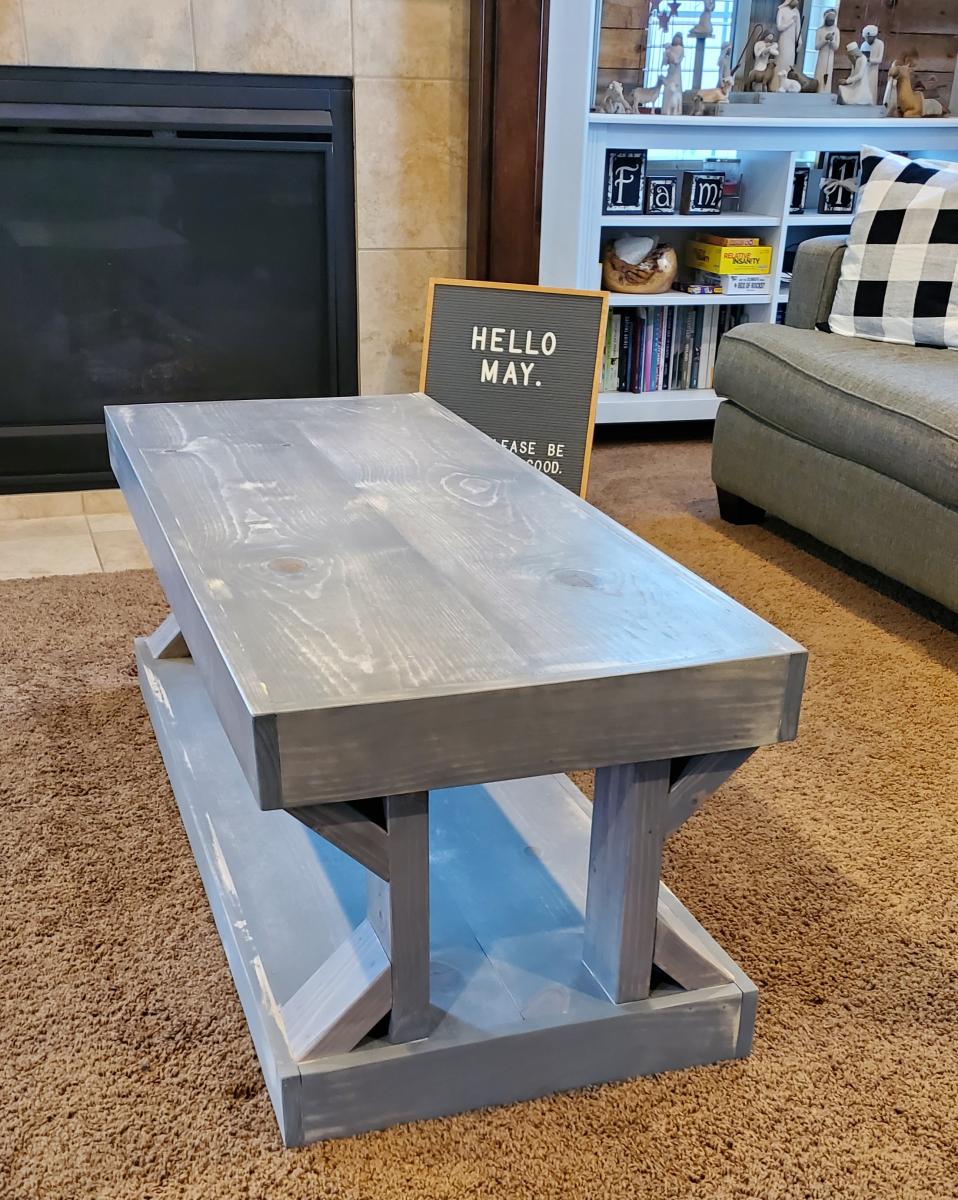
My sweet wife wanted a new coffee table so I decided to build one for her. Thanks Ana White, mission accomplished!