Community Brag Posts

Rolling Cabinet

Submitted by Ovidiu on Fri, 11/20/2015 - 01:14

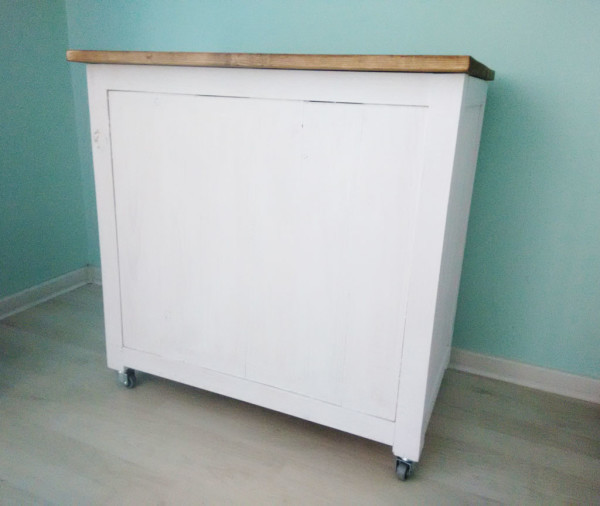
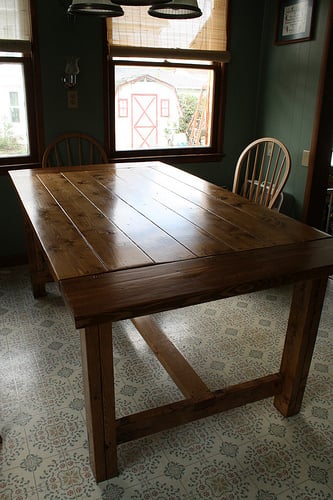
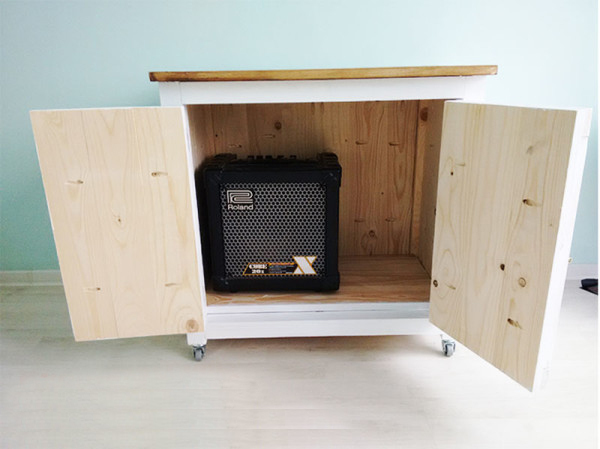
This is one of the projects I am most proud of, as it has a farmhouse look and it is also really useful around the house. I use it for my guitar amp, as well as to store other small items. The caster wheels make moving it very easily, so it can also be used as a kitchen island. 

Estimated Cost
100 $
Estimated Time Investment
Day Project (6-9 Hours)
Finish Used
Water based paint and Stain
Recommended Skill Level
Intermediate

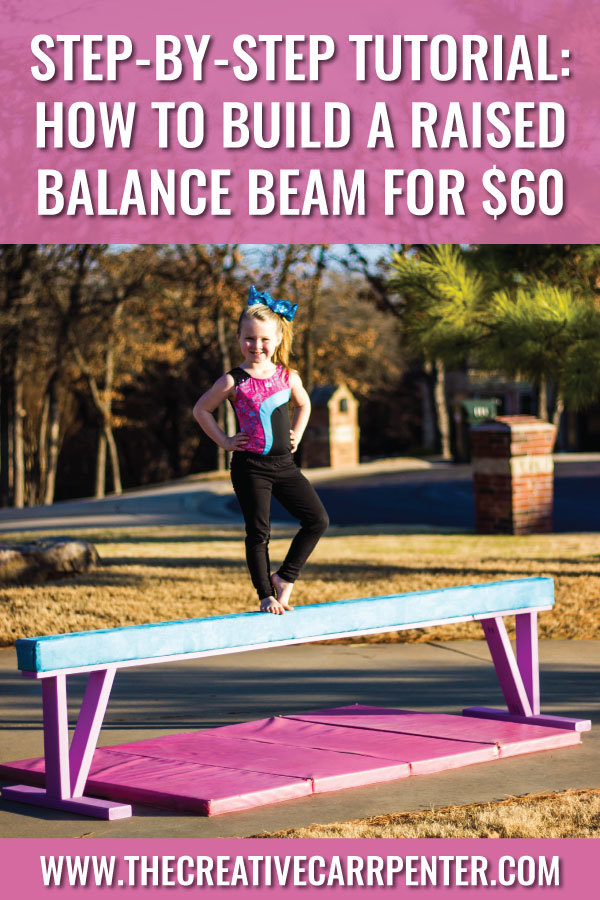
How to Build a Raised Balance Beam for $60

Submitted by Anonymous (not verified) on Thu, 01/31/2019 - 14:49

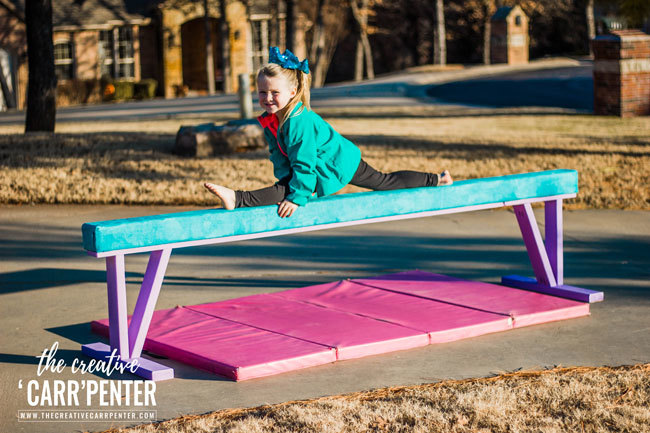
From watching Olympic gymnast Simone Biles on the television to running, flipping and twirling all around our living room — my girls LOVE everything gymnastics. Both girls began competing with a local gymnastics club. Now that my oldest has moved up and is pretty serious about practicing her beam handstands and dismounts, she begged me to build a raised balance beam with suede covering so it would have a similar feel to her beam at the gym.

If you can relate to this, or even if you have a new gymnast (like my youngest in the pic above) wanting to improve their skills at home, then this comprehensive tutorial on how to build a raised balance beam is for you.

Full plans available on my blog The Creative 'Carr'penter. You can also find and pin this tutorial on Pinterest here.

Estimated Cost
Cost of materials were about $60. Could vary depending on materials used.
Estimated Time Investment
Afternoon Project (3-6 Hours)
Finish Used
I used an outdoor flat paint to finish the exposed pieces of wood. The remainder was covered in padding and suede fabric.
Recommended Skill Level
Beginner

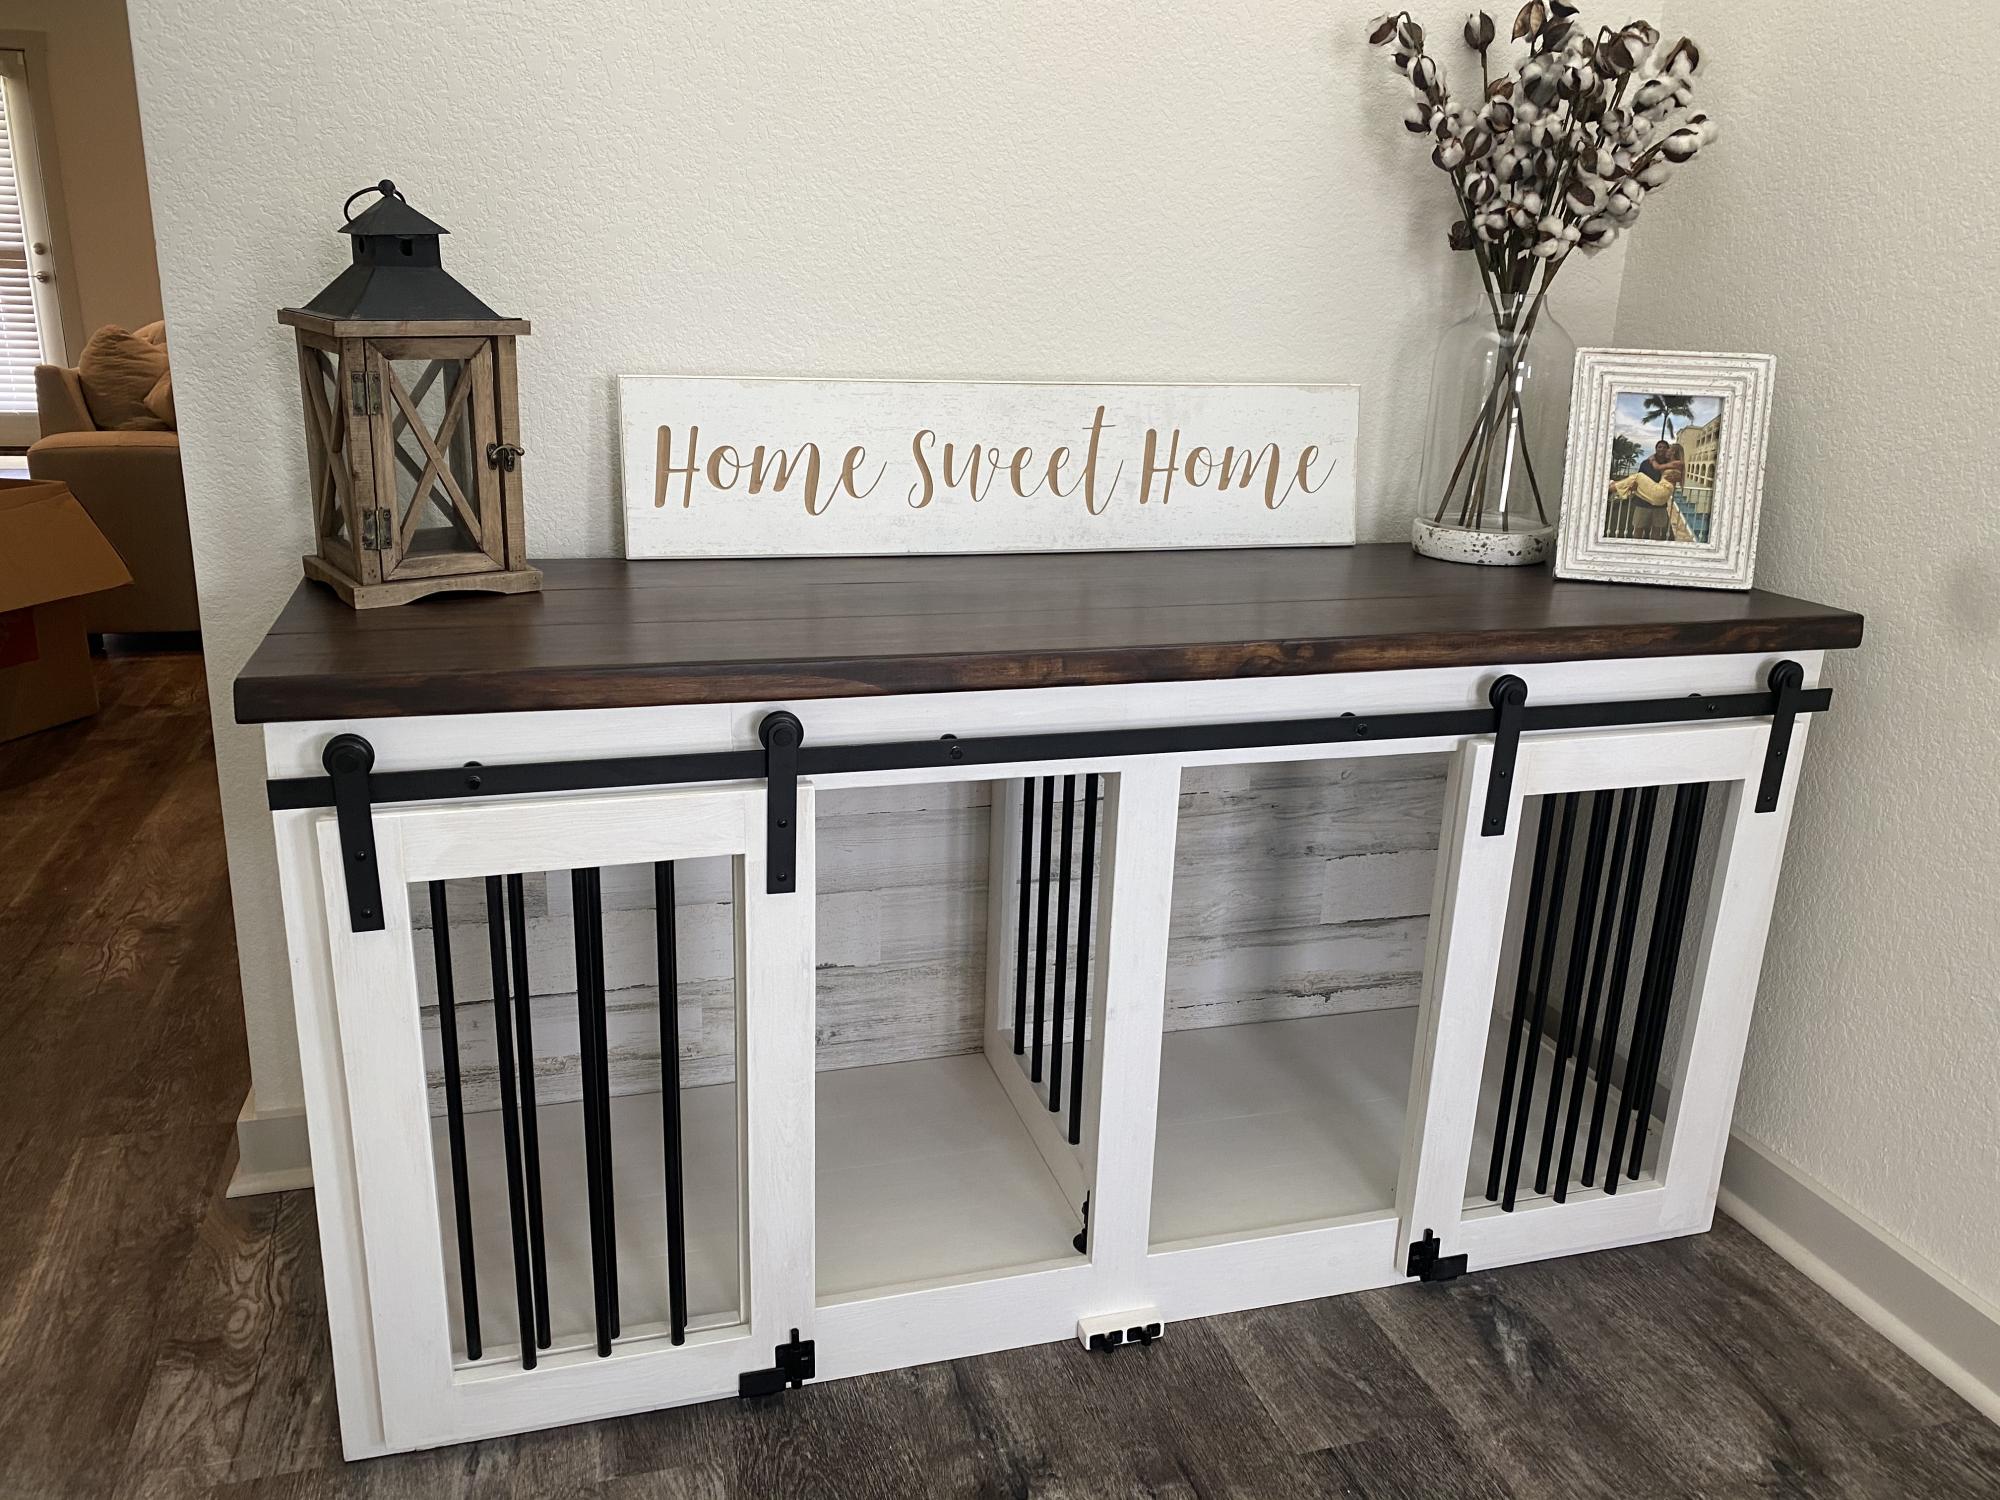
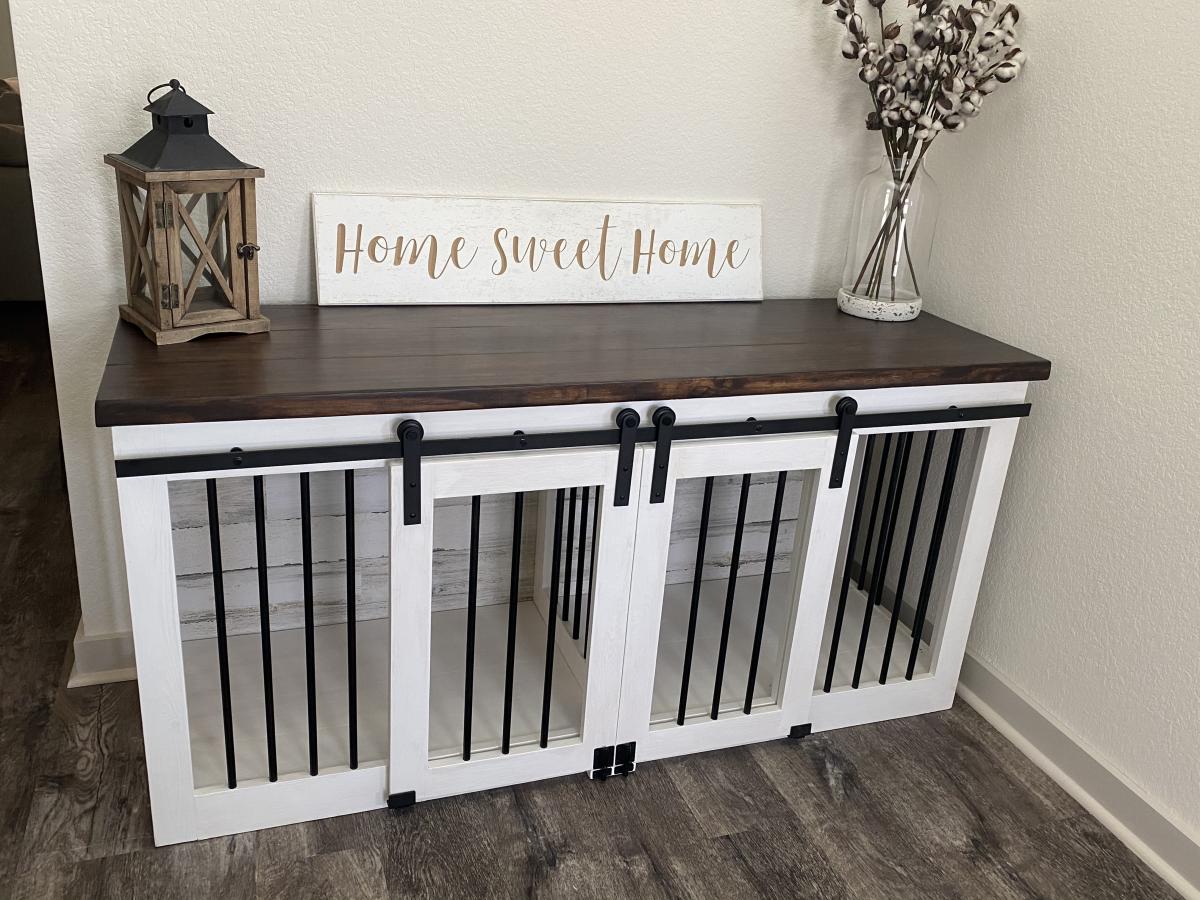
Dog Crate

Submitted by Anonymous (not verified) on Fri, 02/24/2023 - 06:28

I modified the Grandy Console to be dog crates for my Grand Pups so we didn’t have to have crates set up in the house. Middle divider can be raised to make one big crate.

Built from Plan(s)

Comments

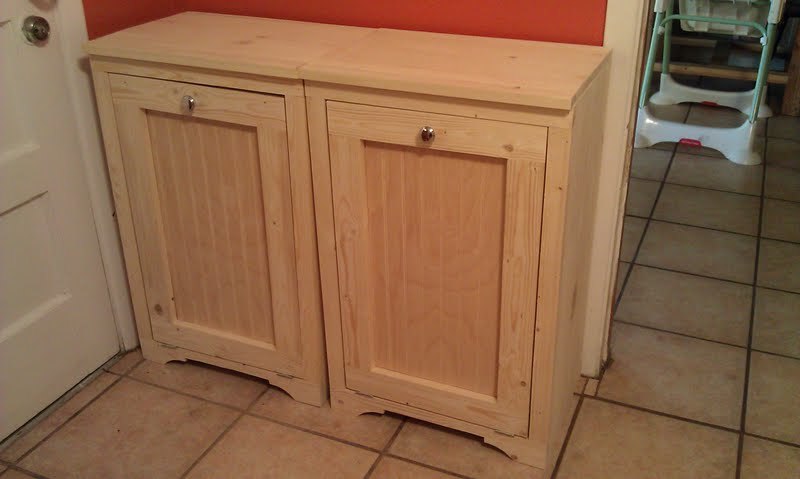
Wood Tilt-Out Trash Bins

Submitted by kendaves on Mon, 11/21/2011 - 15:38

These two trash bins were very easy and fun to make. Plans were very easy to use and made the project very easy to build.

Estimated Time Investment
Afternoon Project (3-6 Hours)
Finish Used
No finish yet.
Recommended Skill Level
Beginner

Comments

spiceylg

Tue, 11/22/2011 - 07:26

This came out really beautiful! I'm thinking of building two like this for our hampers which we keep in our bedroom. We really don't have another place to put them and this is so much nicer looking! Of course, I'd have to modify it so the clothes can breathe. Certainly worth looking into...

Melissa G (not verified)

Fri, 02/24/2012 - 08:31

Seeing these 2 sitting side by side gave me an idea for our trash & recyclables. My husband & I want to make one of these for our trash, but now I am thinking it would reduce the clutter from the recyclables. Thanks for posting. They look great!

Jeff Giuliani (not verified)

Sat, 12/15/2012 - 10:54

This was a great project. Very easy to follow...until I got to the door. There are no instructions for the door and no link to a video. Now I have to try and "wing it" which I think is going to make my trash bin, which is a christmas present for my wife, look like trash. I only have this weekend to do this but maybe someone else will be saved by adding the directions for the door. otherwise, thanks for the great step by step.

murph447

Tue, 11/11/2014 - 13:31

The bins look great!  When you installed the beadboard did you just simply fasten it to the back of your door frame or did you cut grooves in your frame (on a table saw) and insert the beadboard?

Farmhouse - King Headboard - made it longer

Submitted by Anonymous (not verified) on Sun, 03/13/2016 - 19:40

We used flooring from Homedepot for the middle boards.  My decorator suggested that I make it longer and that worked well with this flooring.  We did discover that our Lowe's has the post for only $10 - we paid too much at 84 lumber - only to discover that they were warped - we had to use corner brackets to fix it.


Homedepot - Maui Whitewashed Oak 8 mm Thick x 11-1/2 in. Wide x 46-1/2in. Length Click Lock Laminate Flooring (22.28 sq. ft. / case)

Estimated Time Investment
Day Project (6-9 Hours)
Finish Used
Lowe's grey stain - only had one
Recommended Skill Level
Intermediate

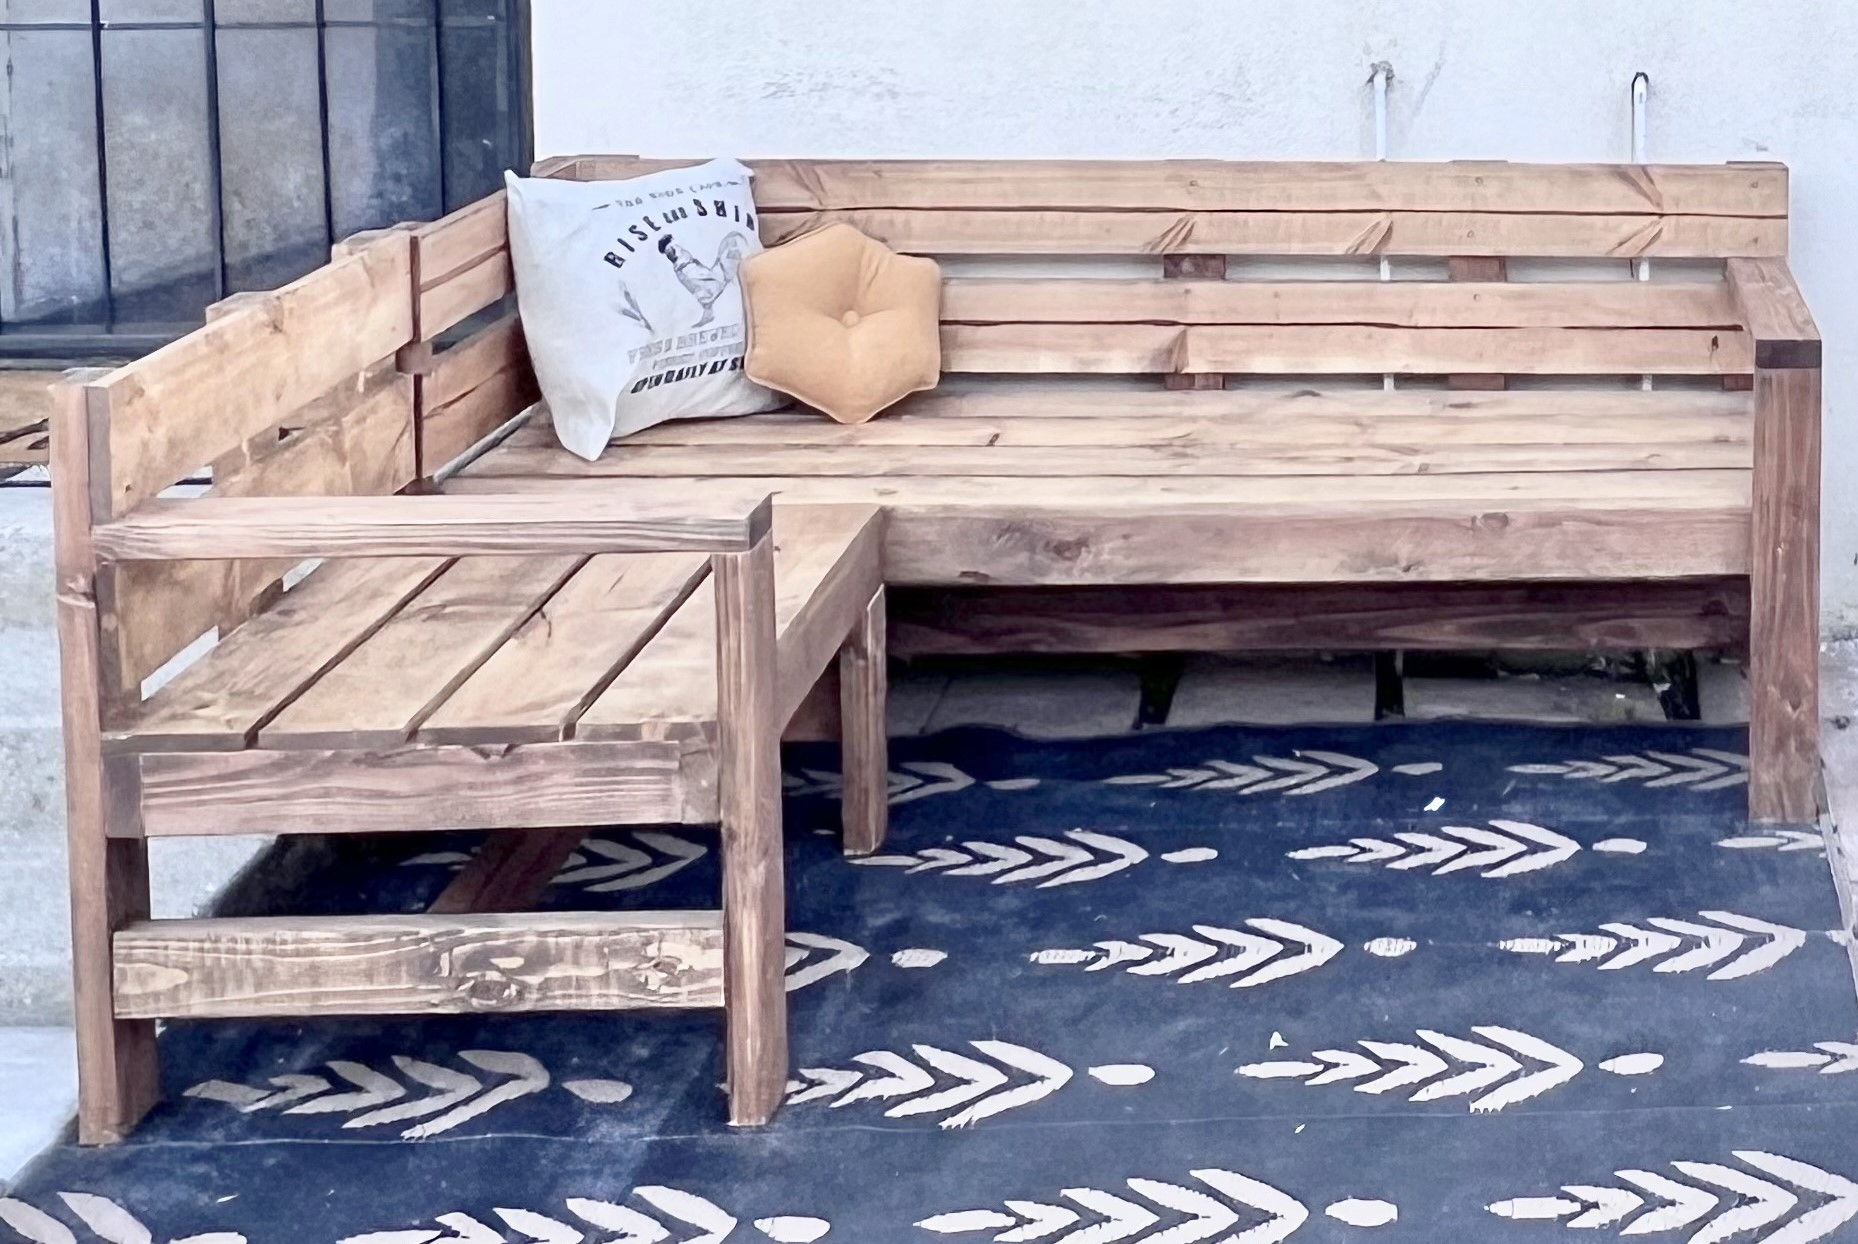
L-Shape Outdoor Bench

Submitted by ShannonG on Mon, 07/24/2023 - 13:21

Modified to make an L shaped bench . Absolutely love it! Thank you!

Built from Plan(s)

Comments

Dress Up Closet with Lights

Submitted by jimf on Tue, 01/07/2014 - 09:44

My daughter, like most other 2 & 3 year olds, love playing dress up. Over time we have collected a large selection of princess dresses and various other dress up clothes. Where do you put this stuff? My wife went to Pinterest for ideas. She came to me asking if I could make her a closet. A closet, what? She then showed me a picture. I said "that looks like a box. I can do better." the idea of repurposing a dresser sounded like a much better and time saving idea. So I set off to the second hand stores in search of a sterdy, decorative, not too expensive dresser.

Once the dresser had been procurred ($30 at Goodwill) and transported home, the project began. I first removed all but the bottom drawer and drawer supports. Next I removed the hardware from the remaining drawer and deglossed the entire dresser and drawer. Once deglossed, I put down a single coat of white primer. The next day I came back and put down two coats of paint. The outside I used a cream color to match the playroom where it would be housed. On the inside of the dresser I painted it bright Pink; Bear Paint calls this color "sexy Pink". We'll call it bright pink since its for my 3 year old.

After two coats of paint the project was pretty much complete. Then I had the bright idea to add lights. I went to the hardware store looking for under cabinet lighting. I was unimpressed with the lighting options and price points. To Amazon.com I go. I found 16 feet of LED Strip lighting for $4 and a power supply for a couple extra bucks. The lights came with a remote control. When UPS delivered the package of lights I couldnt wait to install them. This was going to put the closet over the top. I cut the strip to the size I needed and installed using the provided 3M tape. It could not have been easier to install. I was able to cut the strip into the size strips I needed (64 inches total).

The final product with the lights on can be found on my youtube page:
http://www.youtube.com/watch?v=gE1soeC2OaE

My daughter was THRILLED! She loves using the remote to turn the lights on and off as well as changing the colors of the lights.

This project was super easy!
Estimated Cost
$50
Estimated Time Investment
Day Project (6-9 Hours)
Finish Used
Sexy Pink Bear Paint
Color Matched Beige Bear Paint
Recommended Skill Level
Beginner

Comments

The Entertainment Center

Submitted by a.mcdaniel on Mon, 03/19/2012 - 00:34

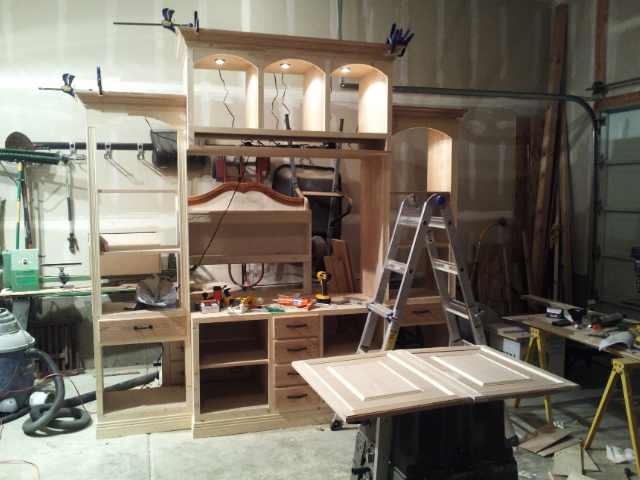
It took 2 1/2 months and a LOT of wood, but my husband created this masterpeice. Thank you to the inspiration provided by Ana White and Kristen Lotz, we have finally done our biggest project yet!
Estimated Cost
1000.00
Estimated Time Investment
Week Long Project (20 Hours or More)
Recommended Skill Level
Advanced

Comments

a.mcdaniel

Wed, 03/21/2012 - 10:22

Thank you so much, Ana! That comment means a lot to my husband and I! He is so amazing at building things now and your website has been a major inspiration for him - THANK YOU! THANK YOU! THANK YOU! Now our new home is becoming more "ours."

Christie (not verified)

Thu, 07/26/2012 - 20:44

Both yours and Ana's centers are beautiful! I am a little more drawn to yours with the lighting and architectural touches you've added. Did you have a formal plan drawn for it? I would like to make an exact replica of it if possible. It is just stunning and exactly what I am looking for. GREAT JOB!!!

kristenlotz

Wed, 12/19/2012 - 15:58

I love it. I am so glad our project inspired you to build this! You incorporated a lot of the things we considered during the build such as fluted stiles on the bookcases, downlights, and faux raised panel doors. Now, we just need to see pictures with it all decorated.

kristenlotz

Mon, 12/31/2012 - 14:42

I finally got around to making the plans for our entertainment center (well, actually my husband did it). It is very similar to yours with a few exceptions. Hopefully that helps those looking for plans for this beautiful entertainment center. I love finding brag posts of similar entertainment centers because they are absolutely beautiful at a fraction of the cost of buying one. And we love telling people that we built it!

http://www.jrlwoodworking.com/2012/12/furniture-plans-custom-entertainm…

Thanks,

Panel bed king

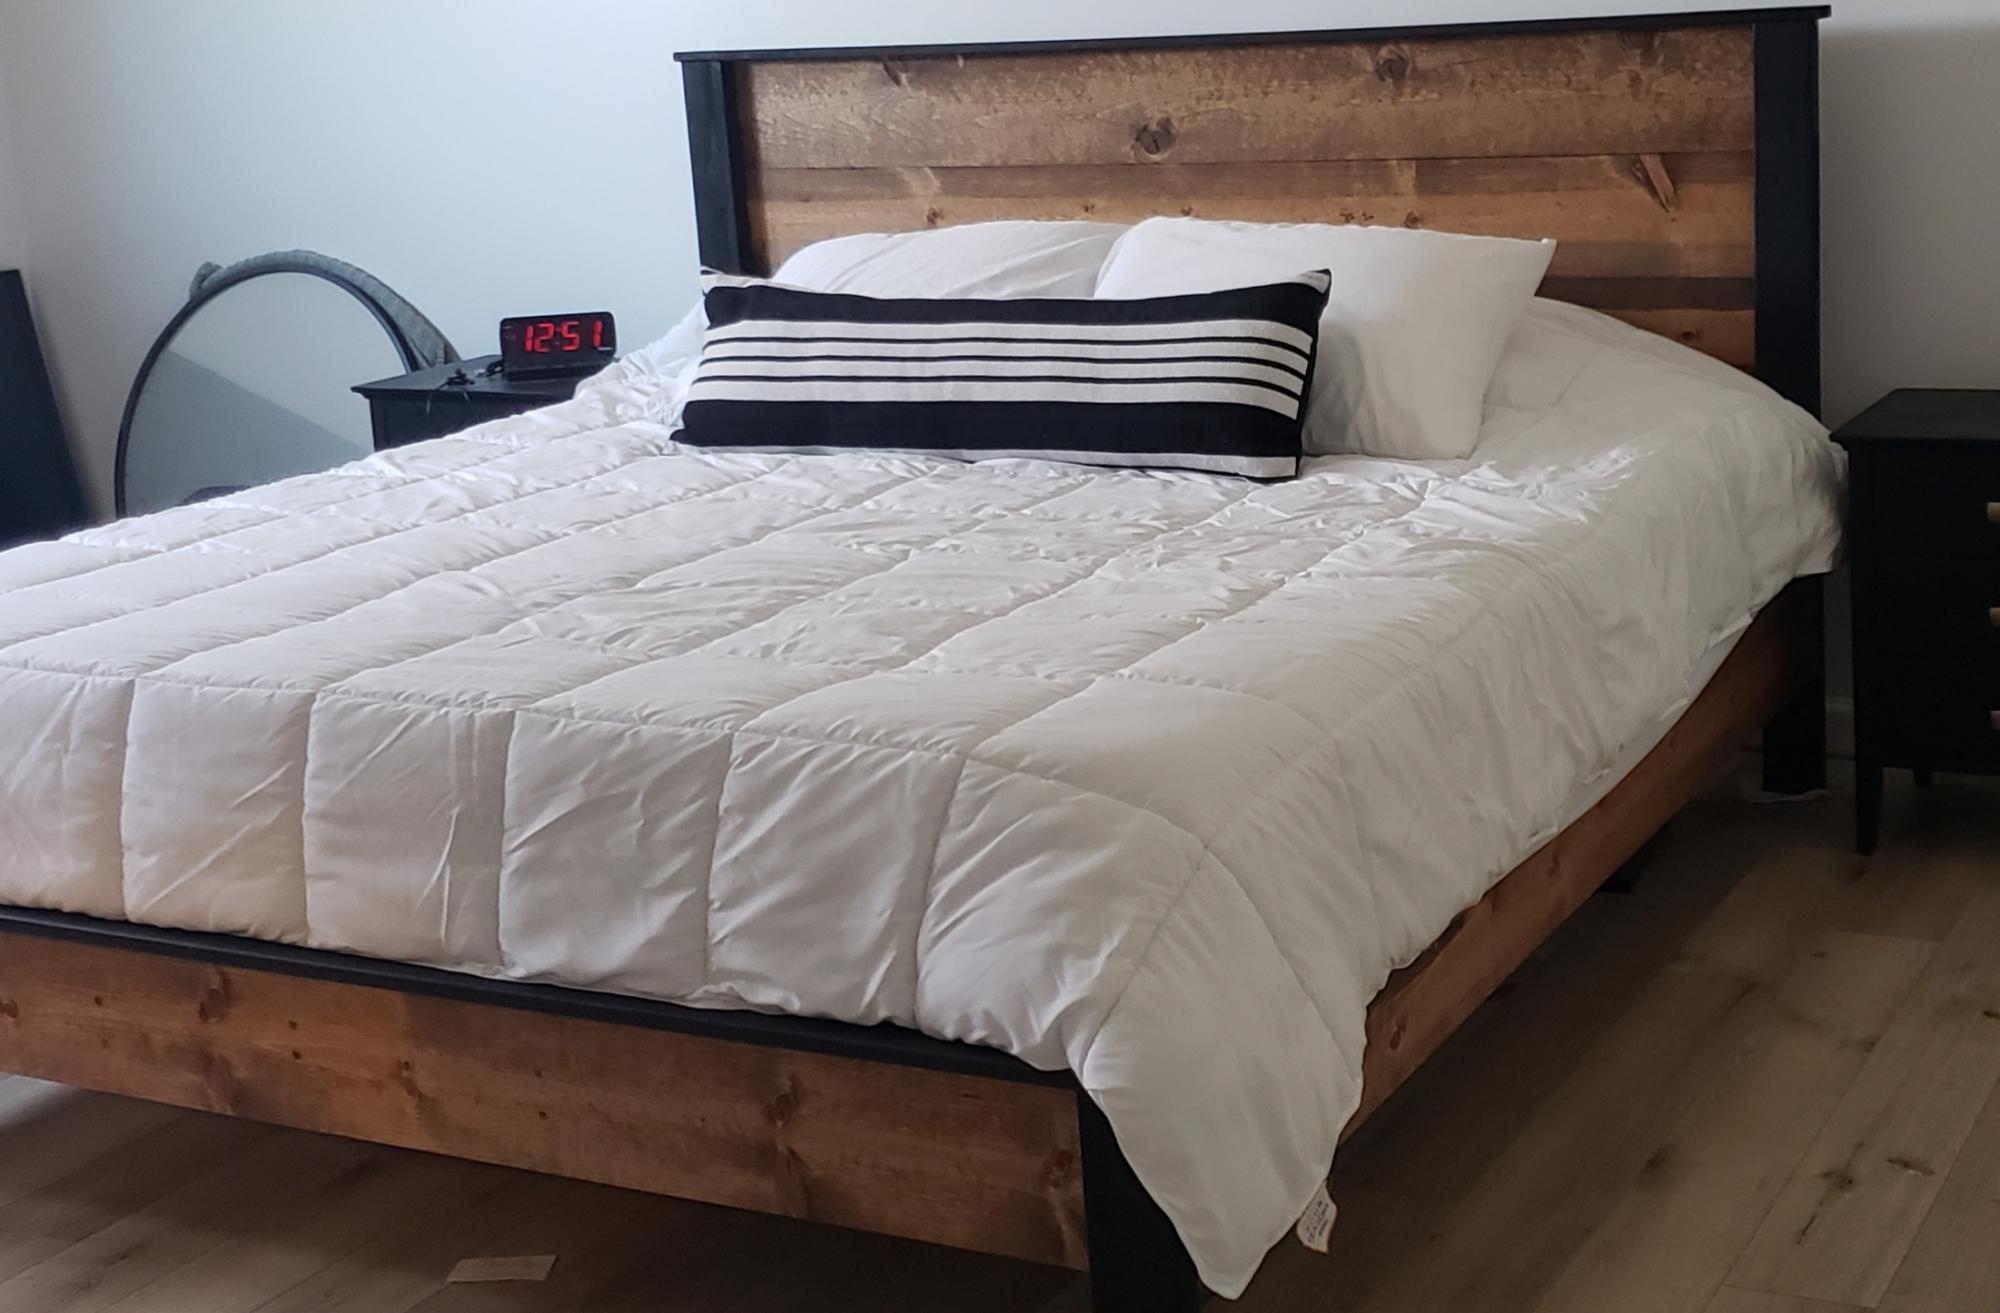
Needing a new bed frame because we upgraded our mattress to a king size. Looking for something simple and inexpensive. We came across this plan and loved the outcome!!!!!

Estimated Cost
$150
Estimated Time Investment
Weekend Project (10-20 Hours)
Finish Used
Minwax Early american
Matte black for the border
Recommended Skill Level
Beginner

Comments

Small End Table from 2X4's

Submitted by jbknakal on Sun, 04/10/2016 - 11:55

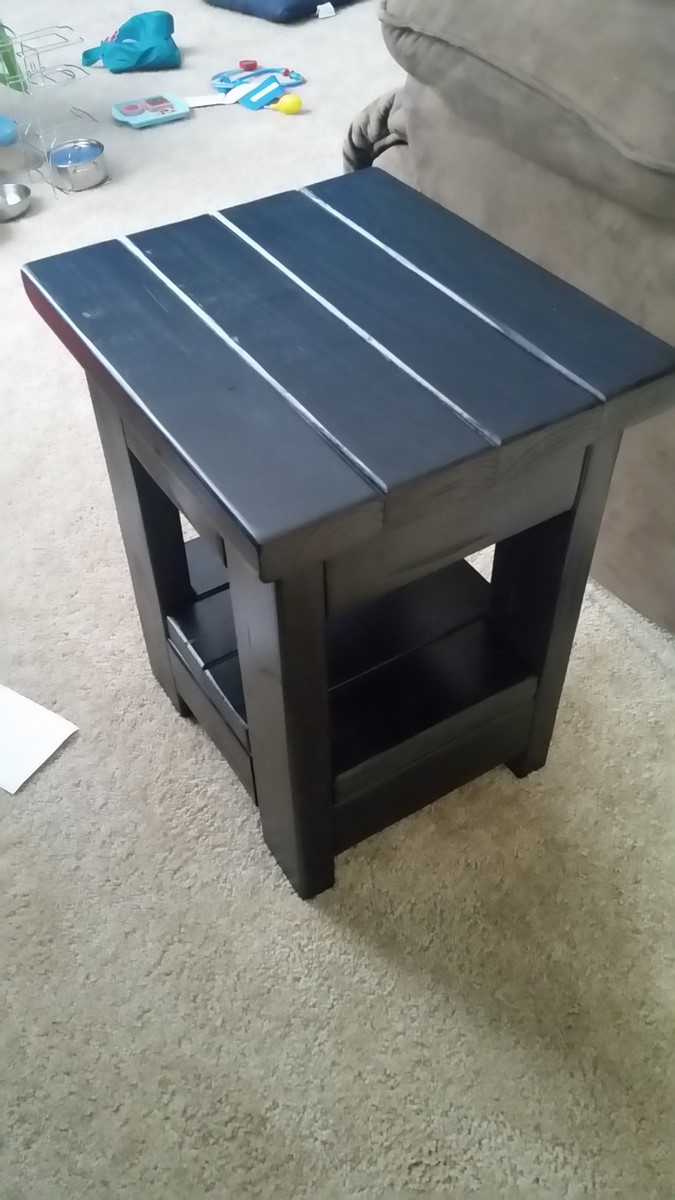
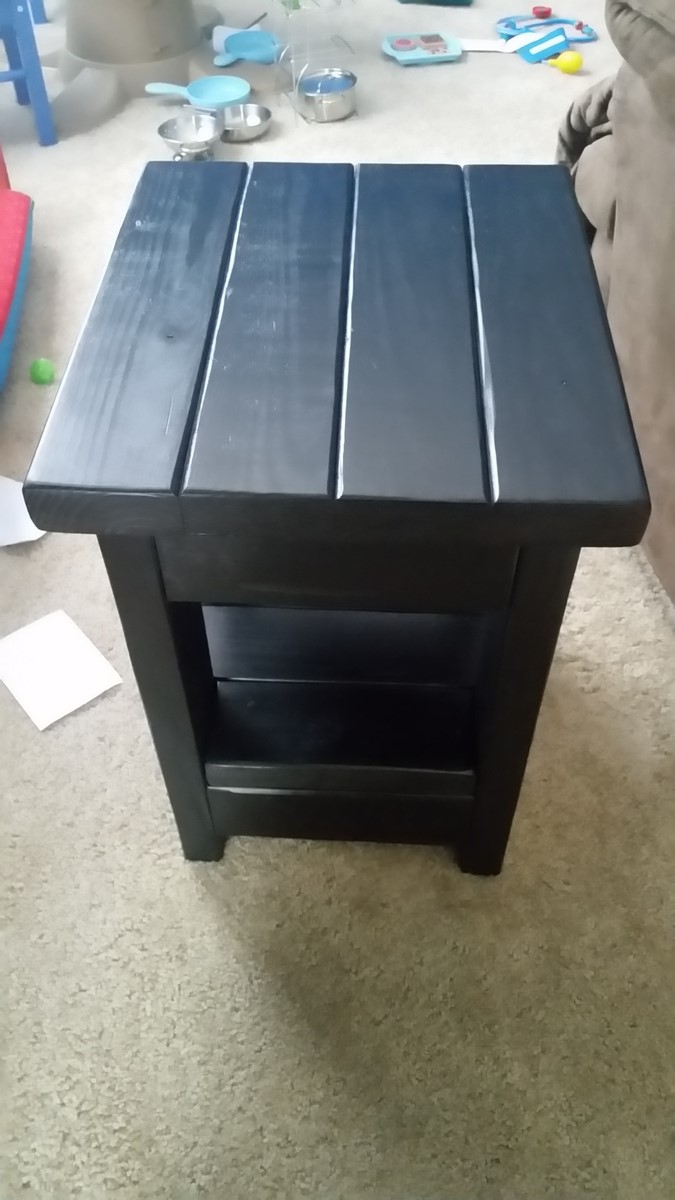
I made a smaller version of the Tryde End Table with Shelf. I made 2 of them from 6 2X4's

Estimated Cost
$30
Estimated Time Investment
Afternoon Project (3-6 Hours)
Finish Used
Black Paint
Recommended Skill Level
Beginner

Comments

BBQ caddy

Submitted by Milhouse on Sat, 04/07/2012 - 22:59

I had some pallet wood laying around and felt like taking on a small project. The boards were warped, but after fighting with them a bit, it turned out well. I was going for the reclaimed, rustic look anyhow :) I find it a little heavy to actually use as a caddy, so it's more for decoration. I think I might plant a few herbs in it, for a little portable herb garden.

Built from Plan(s)
Estimated Cost
Free - made from scraps
Estimated Time Investment
An Hour or Two (0-2 Hours)
Finish Used
I stained it with Minwax Jacobean, but it turned out super dark. So I dry brushed some white paint over it, and it turned out 'old and reclaimed' looking!
Recommended Skill Level
Beginner

Comments

handystanley

Mon, 06/18/2012 - 13:26

How many times do you go outside to eat and have to carry everything awkwardly. This is a great idea...I love the rustic look!! Great idea on how to finish it.

Workbench

Submitted by sawd1216 on Sat, 12/28/2019 - 15:18

Tried this project to inspire my woodworking. My hats off to Ana for these detailed plan. So enjoyed putting it together and creating something that will trigger other projects. Mounting the table saw was a trick but I finally figured it out. 

Estimated Cost
350
Estimated Time Investment
Weekend Project (10-20 Hours)
Recommended Skill Level
Intermediate

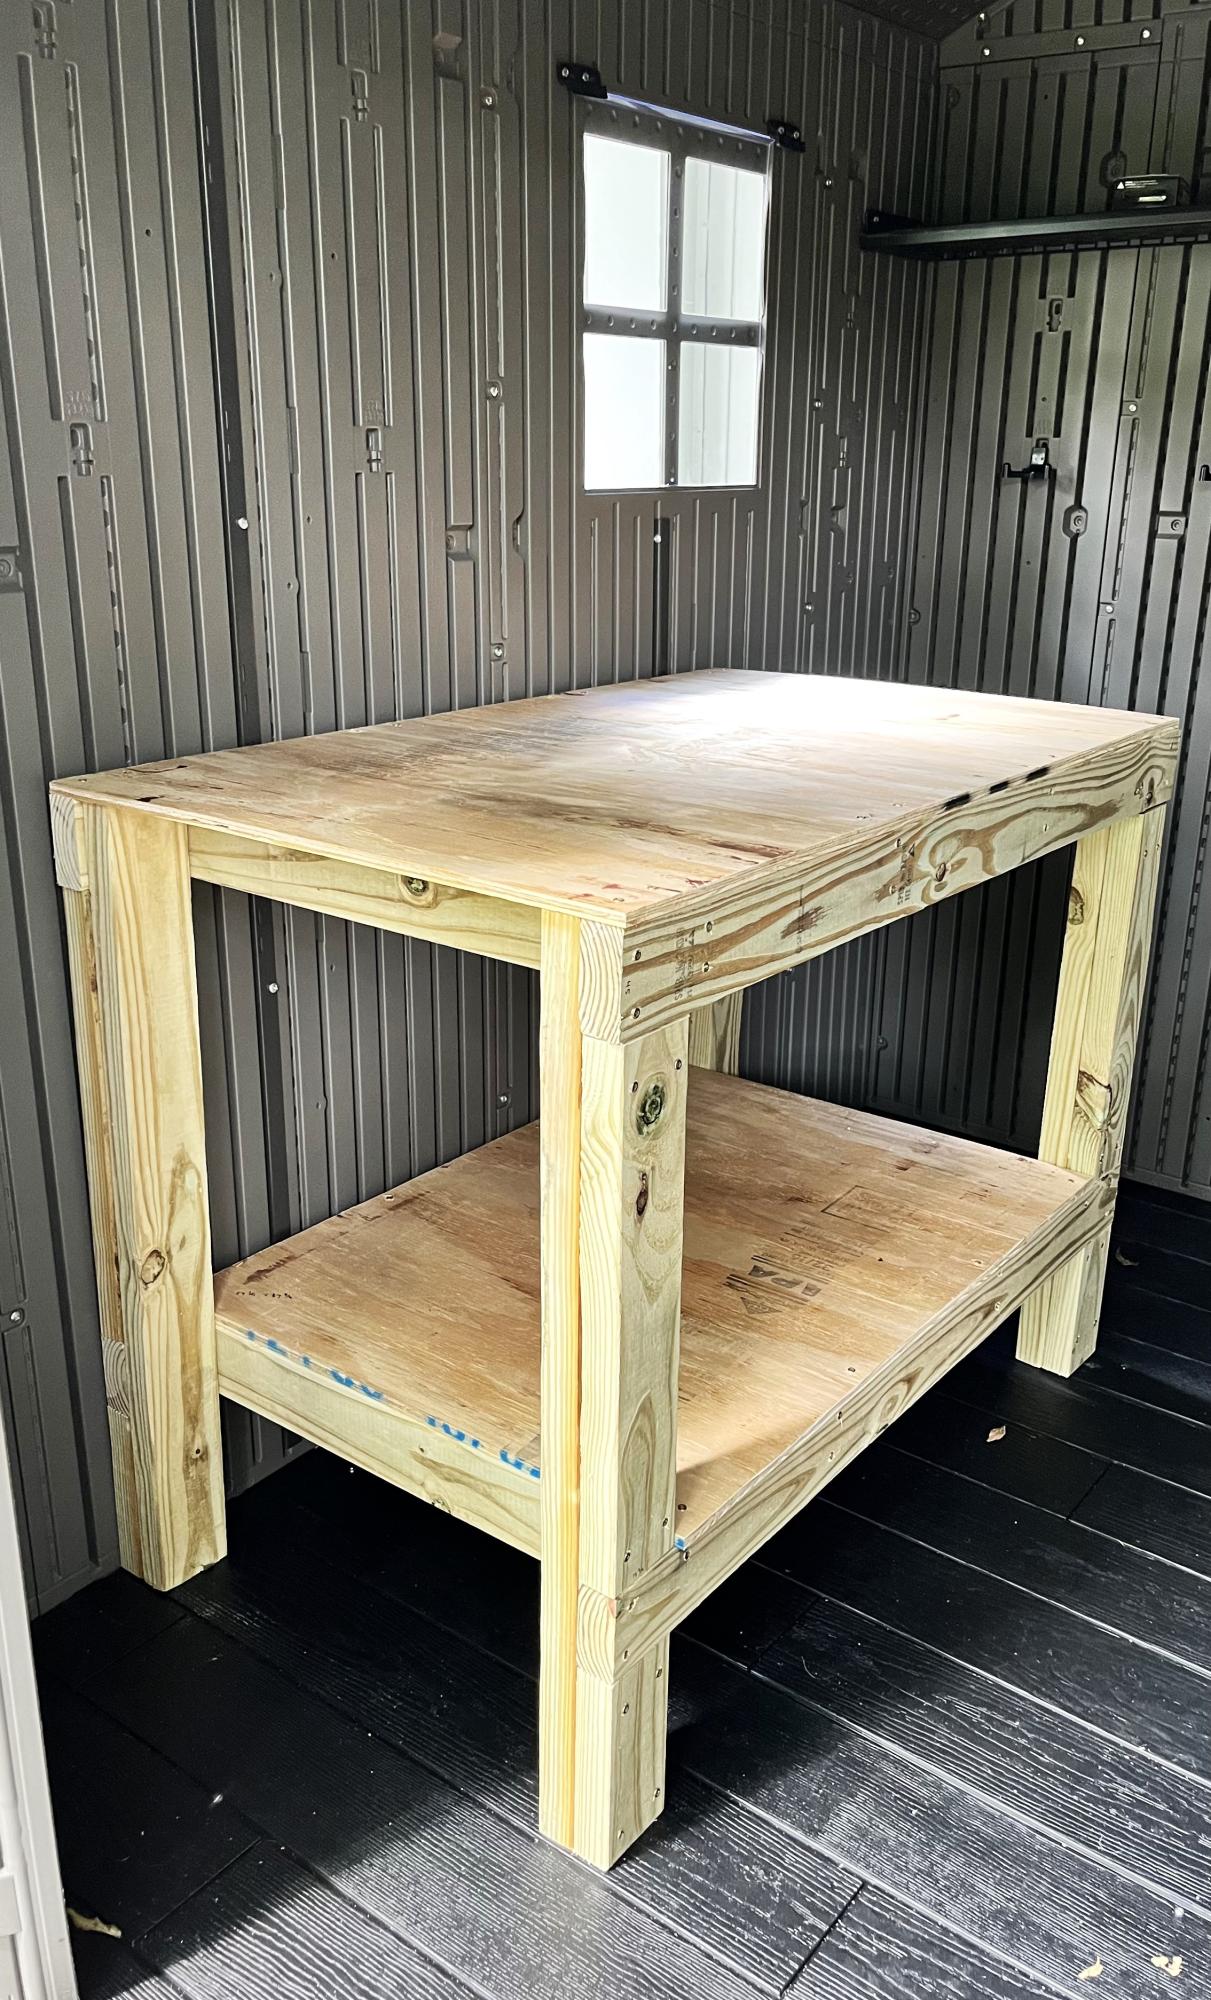
Easy to Build Workbench

Submitted by Anonymous (not verified) on Wed, 09/06/2023 - 09:09

I was wanting a work bench for my outside shed to work on occasionally and help keep organized. This is the first piece of furniture I have built totally on my own! The plan was easy. I sized it down a little with no problem. I'm a little off on a couple of the cuts but will practice more! Overall, thrilled and extremely proud of it!

Lori B

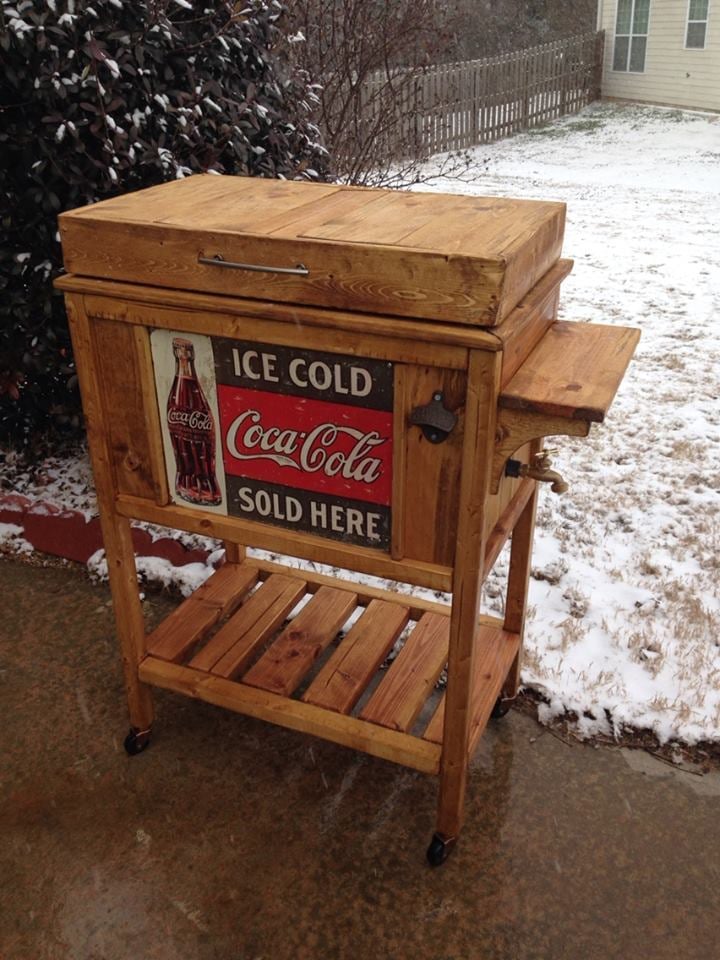
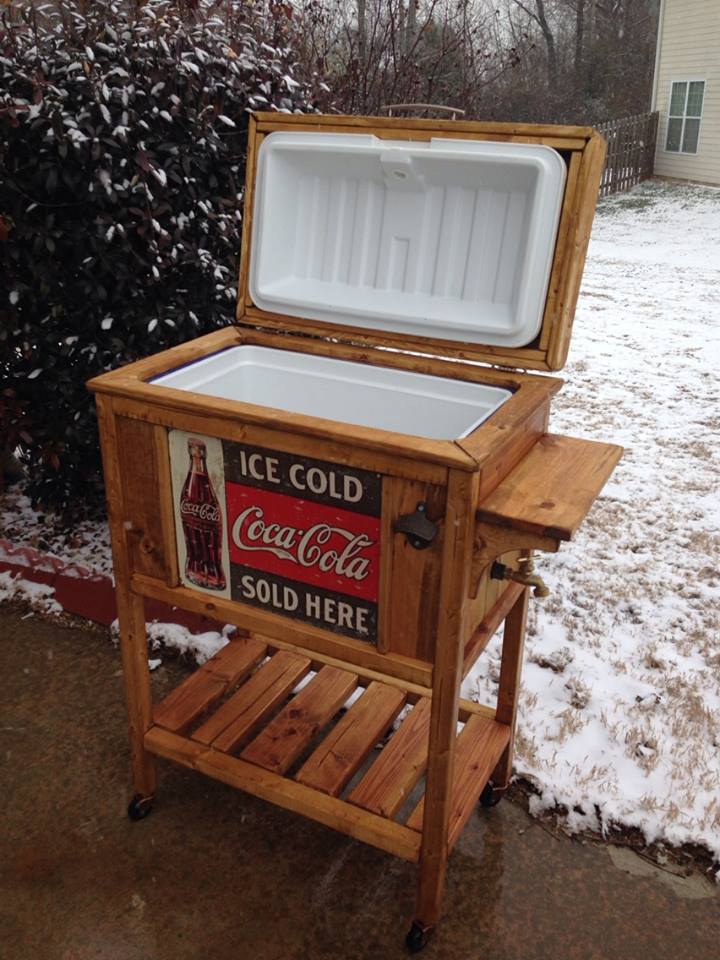
DIY Wooden Cooler Stand - Vintage Look

Got this idea from the blue cooler project - but decided to deck it out with vintage trimmings. Everyone who has seen it loves it! Very fun project.

Estimated Cost
70.00
Estimated Time Investment
Weekend Project (10-20 Hours)
Finish Used
Minwax Summer Oak - followed with polycryllc and johnson's furniture wax.
Recommended Skill Level
Intermediate

Comments

DIY everything

Tue, 02/04/2014 - 21:32

I'm in the process of building one out of this plan too except I'm trying to use pallet wood. I love how your cooler turned out so I hope you don't mind that I use the same Coke sign. Awesome job!

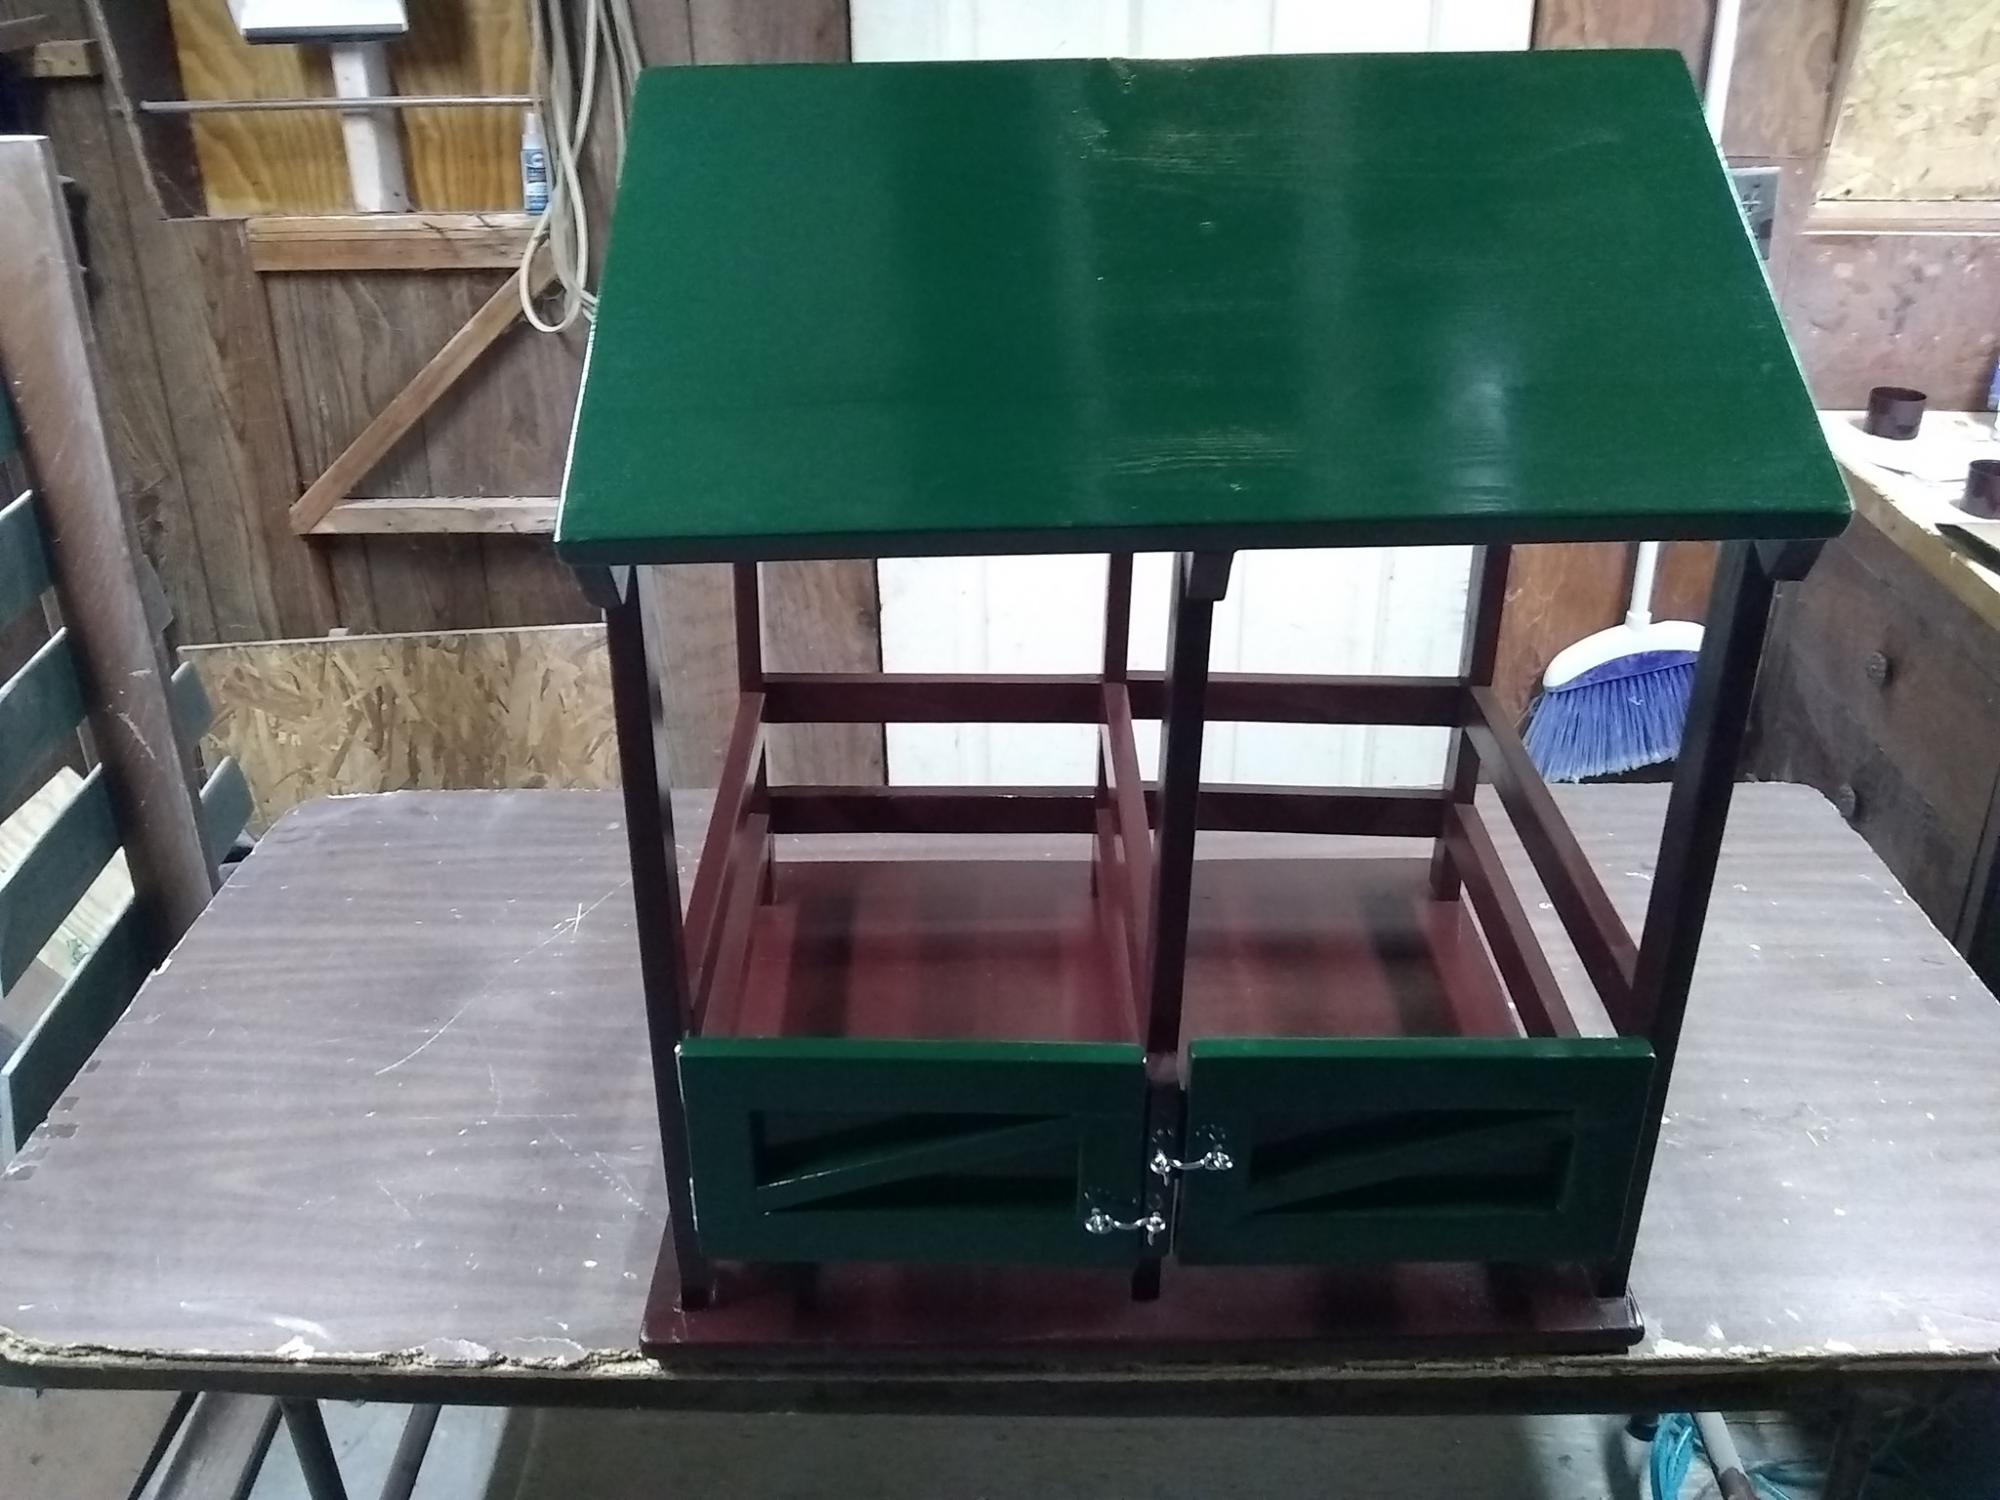
MY version 18 inch doll horse stable

This is my version of the horse stable. I used wood I had laying around in the shop. As a result I tweeked the plans slightly. I use 1x material for the roof and floor. This made is  much stronger. I put stops in for the door added hook and eye latch and toped it with gree and brown paint. My Granddaughter loved it.

Estimated Cost
45
Finish Used
spray paint
Recommended Skill Level
Intermediate

Pergola Project

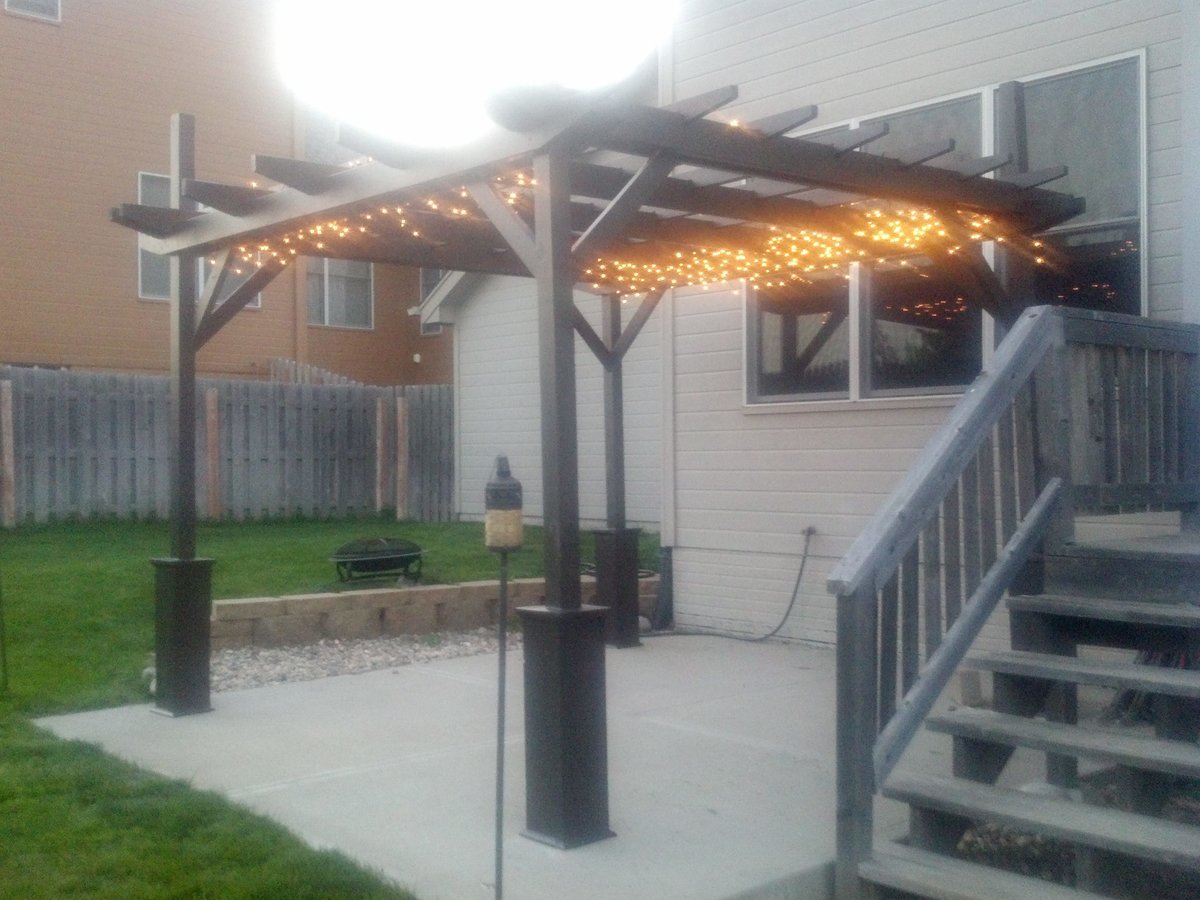
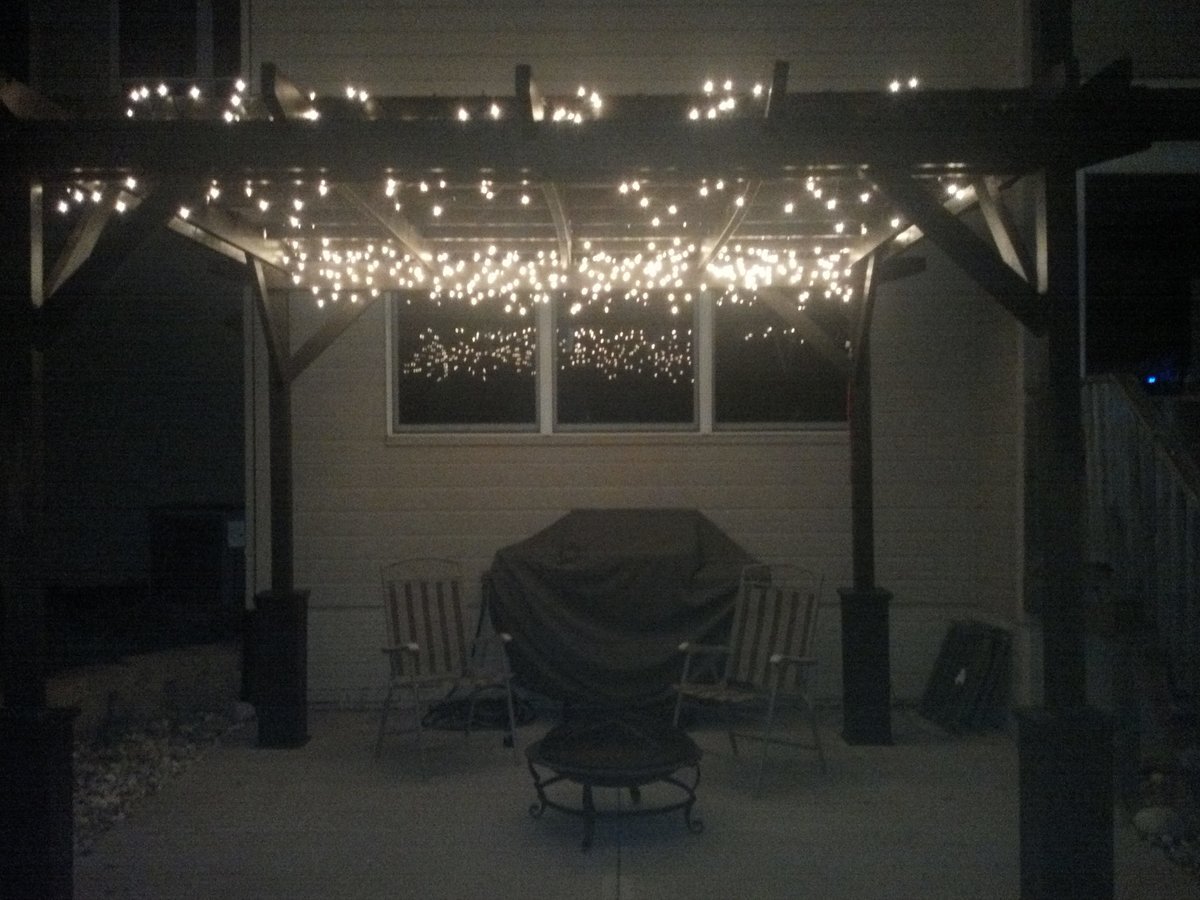
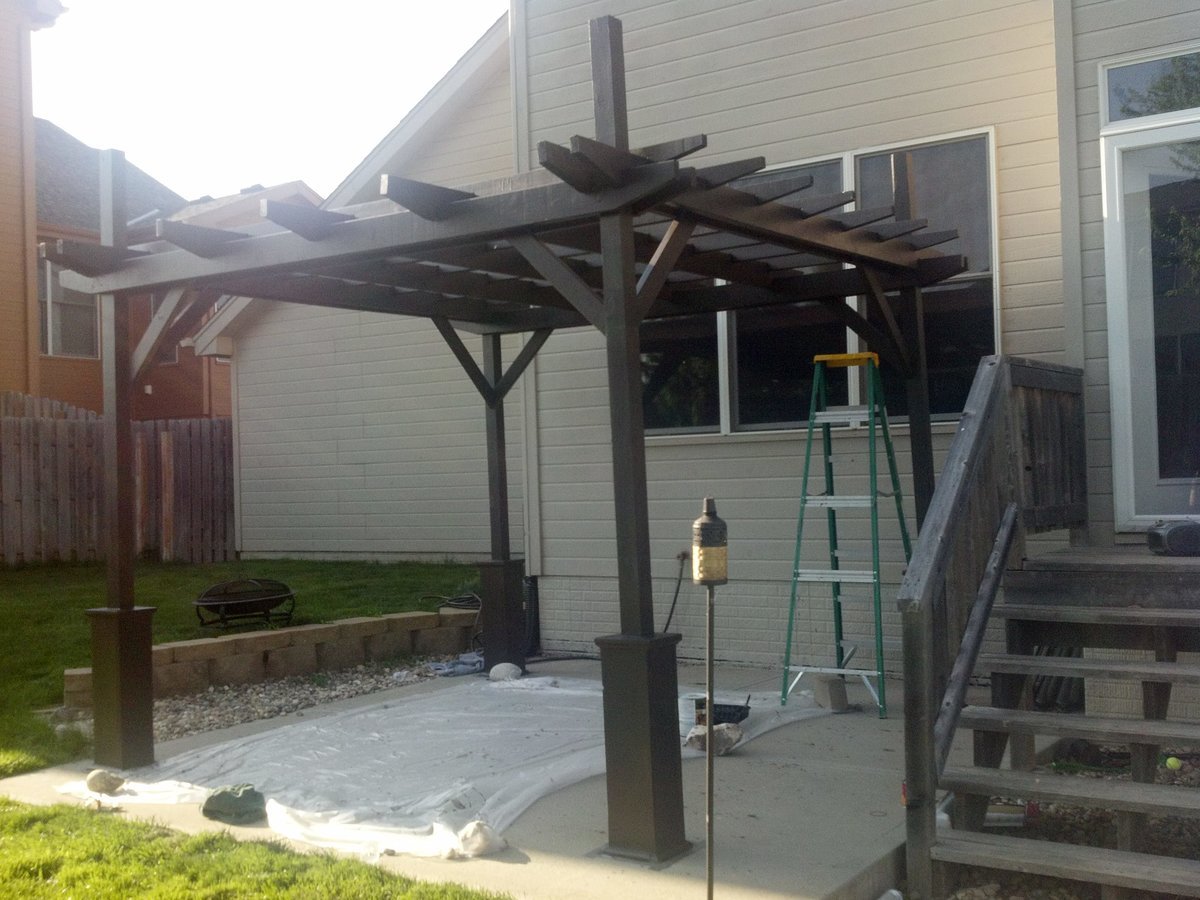
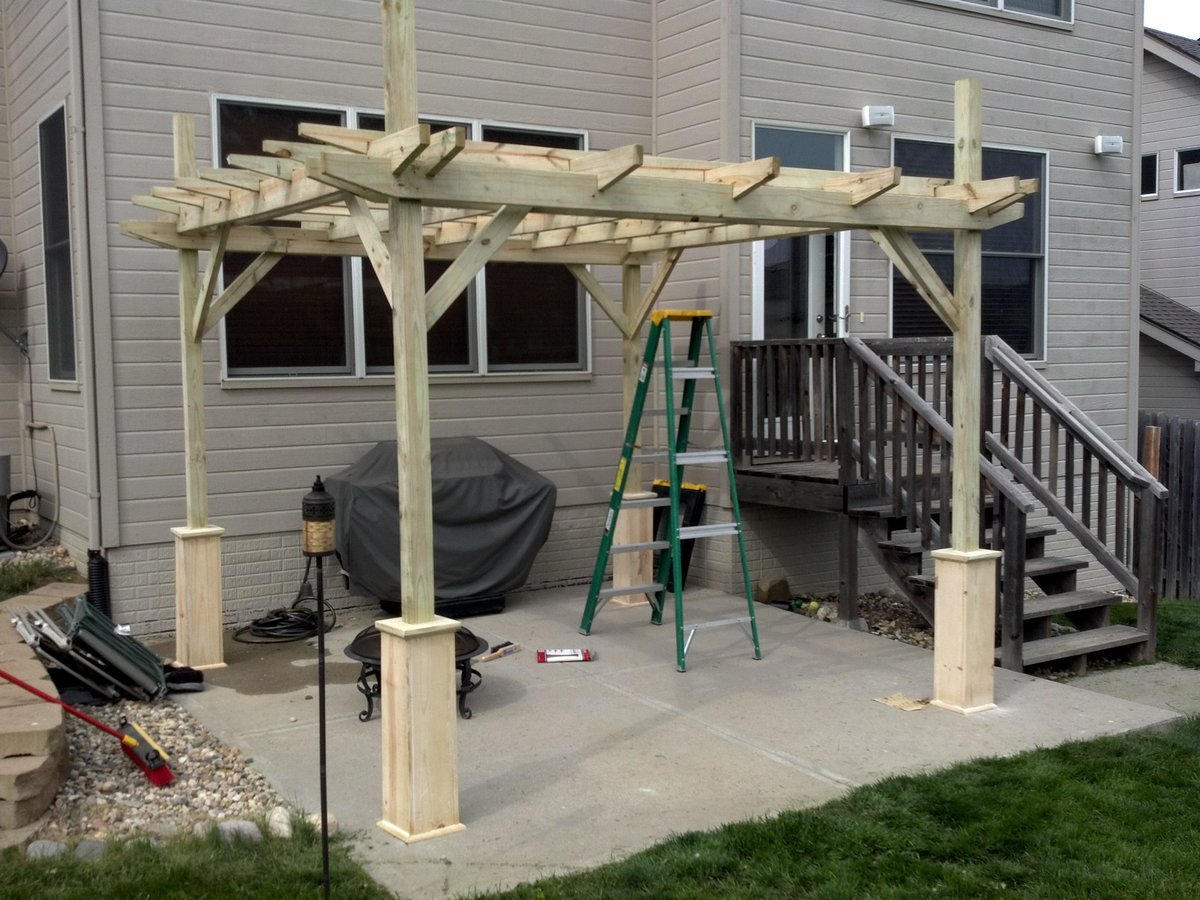
Thank you for the plans! They were easy to follow and my girlfriend and I are very happy how the pergola turned out. I used the 2x6's and 2x4's due to being in Nebraska with heavy snow and high winds often to give it more durability. I can't wait to start on the sectional. Total cost was about 350 dollars...so cheap in comparison to what they sell for.

Built from Plan(s)
Estimated Time Investment
Week Long Project (20 Hours or More)
Recommended Skill Level
Beginner

Comments

Jade (not verified)

Fri, 05/11/2012 - 14:43

love this

taylorgdaddy

Sat, 05/12/2012 - 05:22

Thank you Ana, I have had multiple people say it looks like it is on fire...hilarious :) We will be adding outdoor fabric over the top for shade and gathering outdoor curtains on the posts. Will take another pic when that is complete. This site is awesome and I will continue to support you as much as I am able.

Thanks for the comment Jade!

lipstickandsawdust

Sun, 05/13/2012 - 06:03

Very nice Pergola, the color is perfect and the construction rocks! This is on my list of to- do projects for my mom. I have not really made any "outdoor" projects yet. So, I'll keep getting my feet wet with indoor projects.

taylorgdaddy

Thu, 05/17/2012 - 08:31

Thank you lipstickandsawdust! I can send the other plans that I combined with Ana's which showed how to do the cut out notches if you like this construction better. Have a great weekend.

Forrest (not verified)

Tue, 08/28/2012 - 09:24

You mentioned that you combined another set of plans when it came to cutting the notches. That's one of the hang ups I have getting started is that I'm not sure how best to do that. What did you do? The pergola looks great!

jdlemmons

Thu, 05/17/2012 - 11:45

My husband is DYING to have a pergola. I showed him the plans and he is down to build and is really excited for it! That's our next project as soon as I finish our bed (haha!). Did you paint or stain this?

taylorgdaddy

Sat, 05/19/2012 - 05:01

I is the Behr weatherproof stain and the color was "coffee". It took two gallons which was two coats. Post pics when your husband is done I would like to see them. Good luck with the bed.

YankeeBelle

Fri, 05/25/2012 - 18:54

Great job! I want to build one too! The original plans say advanced, but on this post it says beginner.....watcha think? Can I do it? (so far I've made a picture frame and framed out some trimwork). Thanks for posting....btw, I love the twinkle lights!

slee (not verified)

Wed, 06/27/2012 - 17:00

You did an awesome job! I'll be showing my husband these pics and hopefully they will inspire him to make us one too! I'd love your modifications to the plans also since we have heavy snow etc.. up here in Quebec too. Thanks for sharing!

jeremy bales (not verified)

Thu, 09/20/2012 - 06:47

Im trying to build a 10x10 just like this but im trying to figure out exactly what wood dimensions I should order before i do. Im going to use cedar and I know i want to use 6x6 posts and I want to use 2x6 on top like yours but i cant figure out what exactgly I need to order. My wife wants me to do the decorative around the posts as well.
Please help!

sully82384

Sun, 04/28/2013 - 11:27

Hi I was hoping you would share your plans with me I live in oregon I wanna make one of these but I plan on using 12 ft 4x4 posts putting them 3 ft in the ground and I like the way you used 2x4's and 2x6's id like to know the dimensions you used if you modified anas plan what was your spacing and what degree did you cut the outside piece's on the 2x4's and 2x6's I love the design you created from anas plan

Fat Tire Bike Stand

Submitted by Anonymous (not verified) on Sun, 10/29/2023 - 19:03

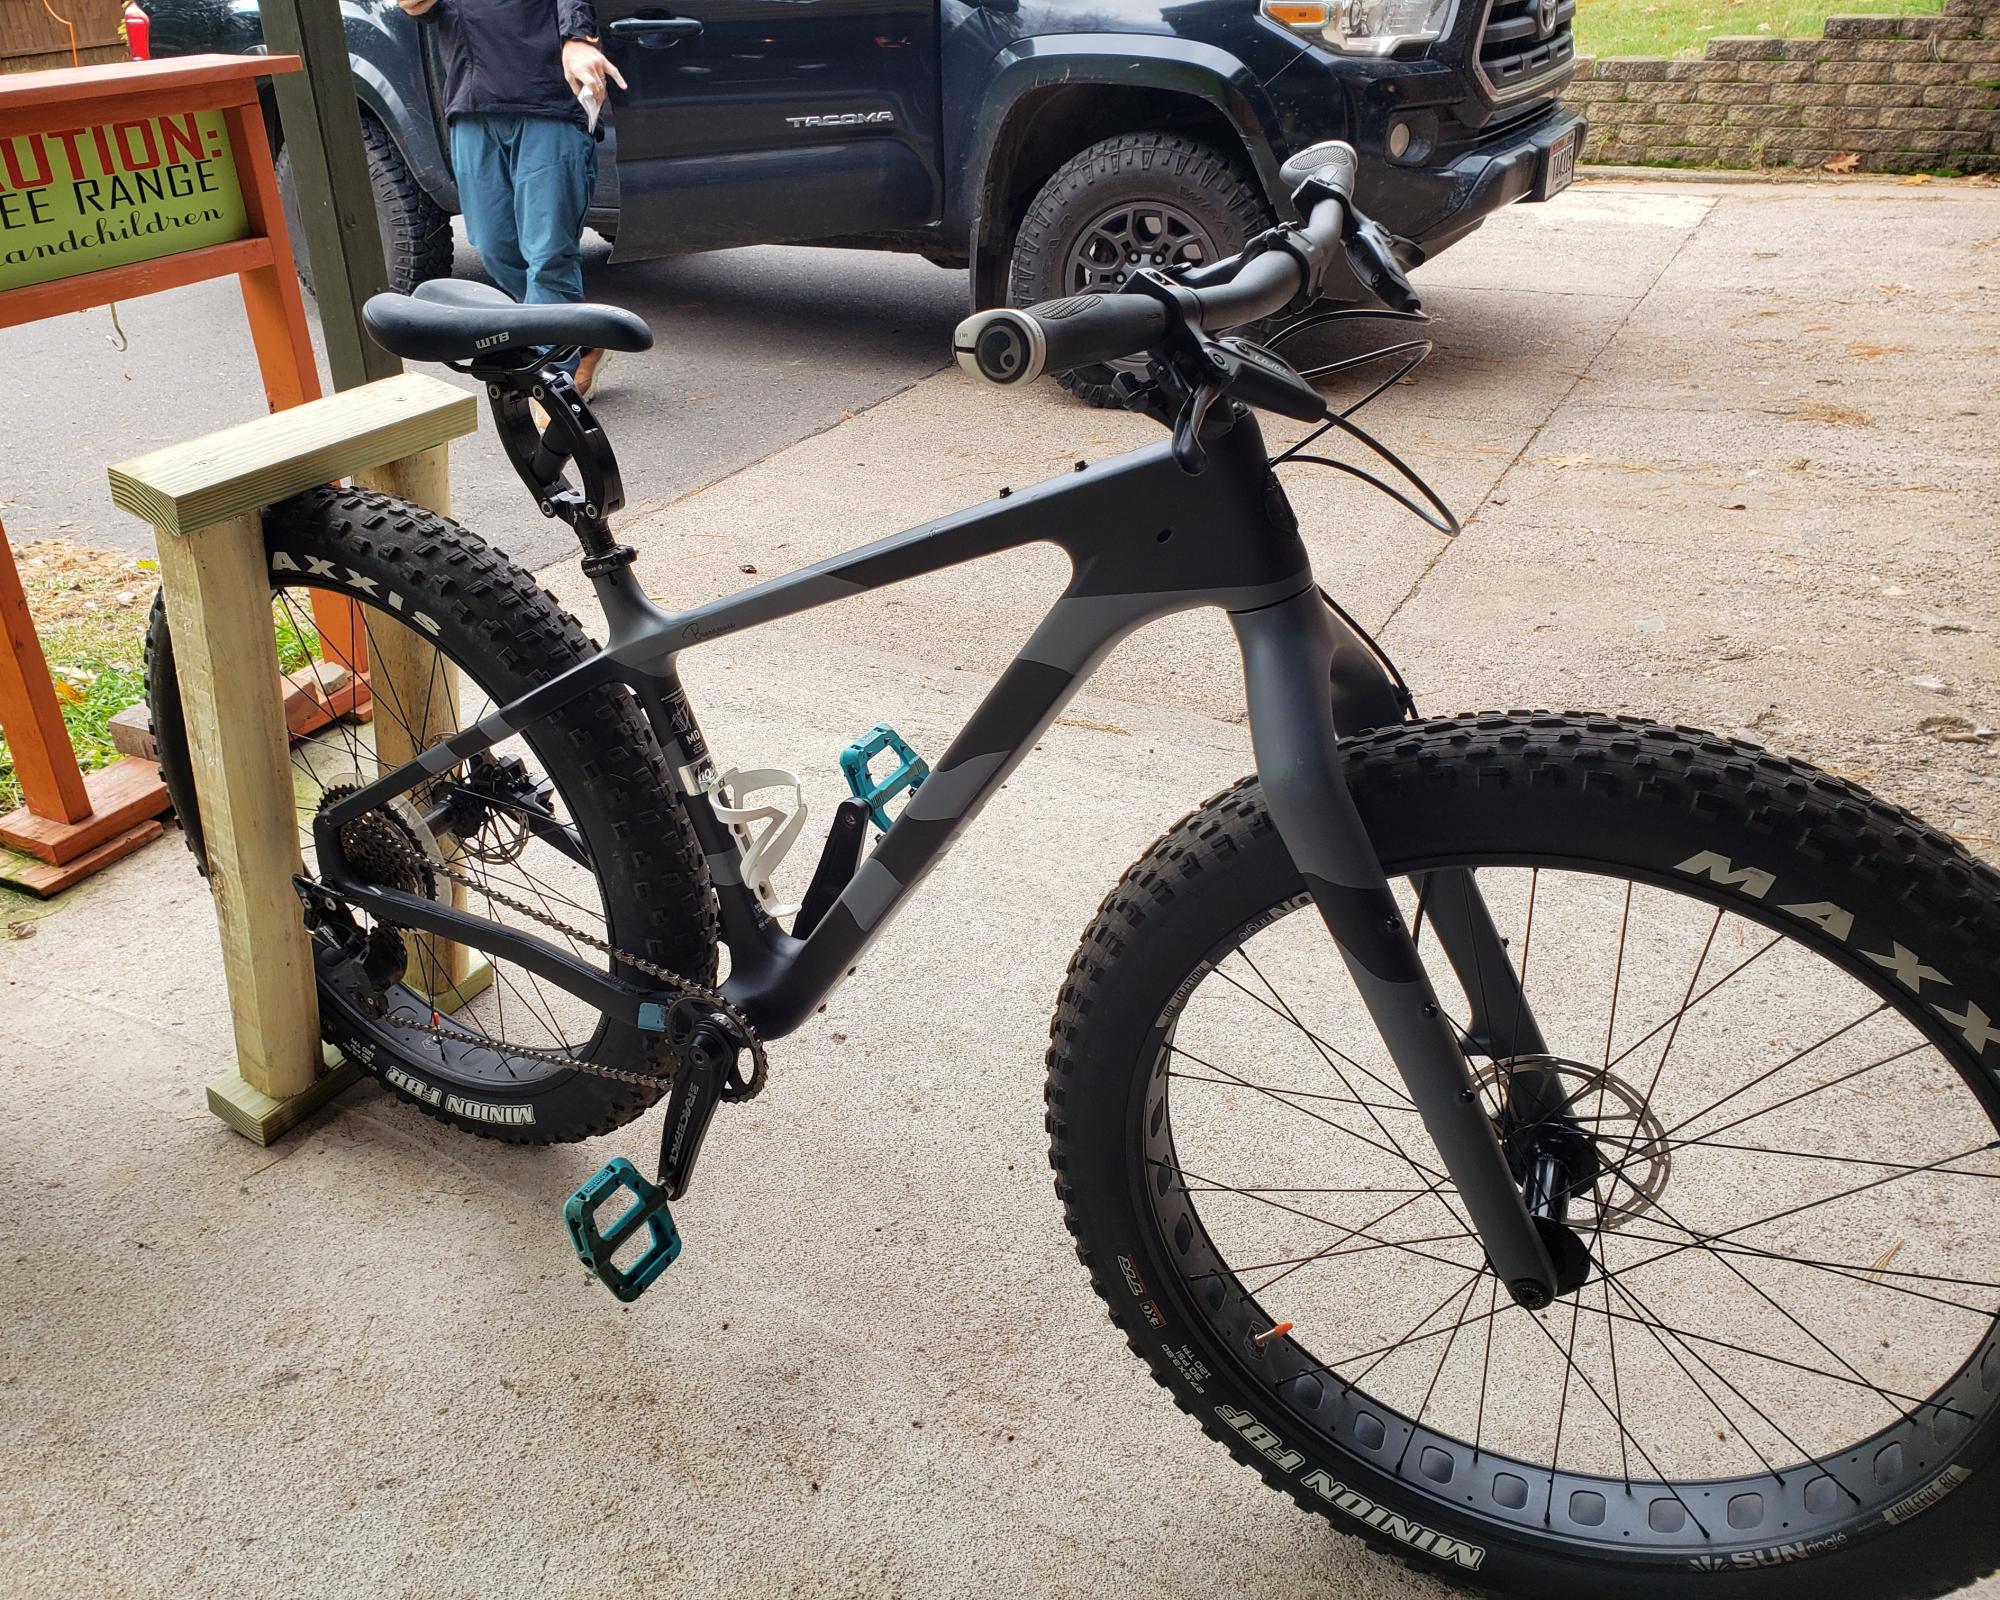
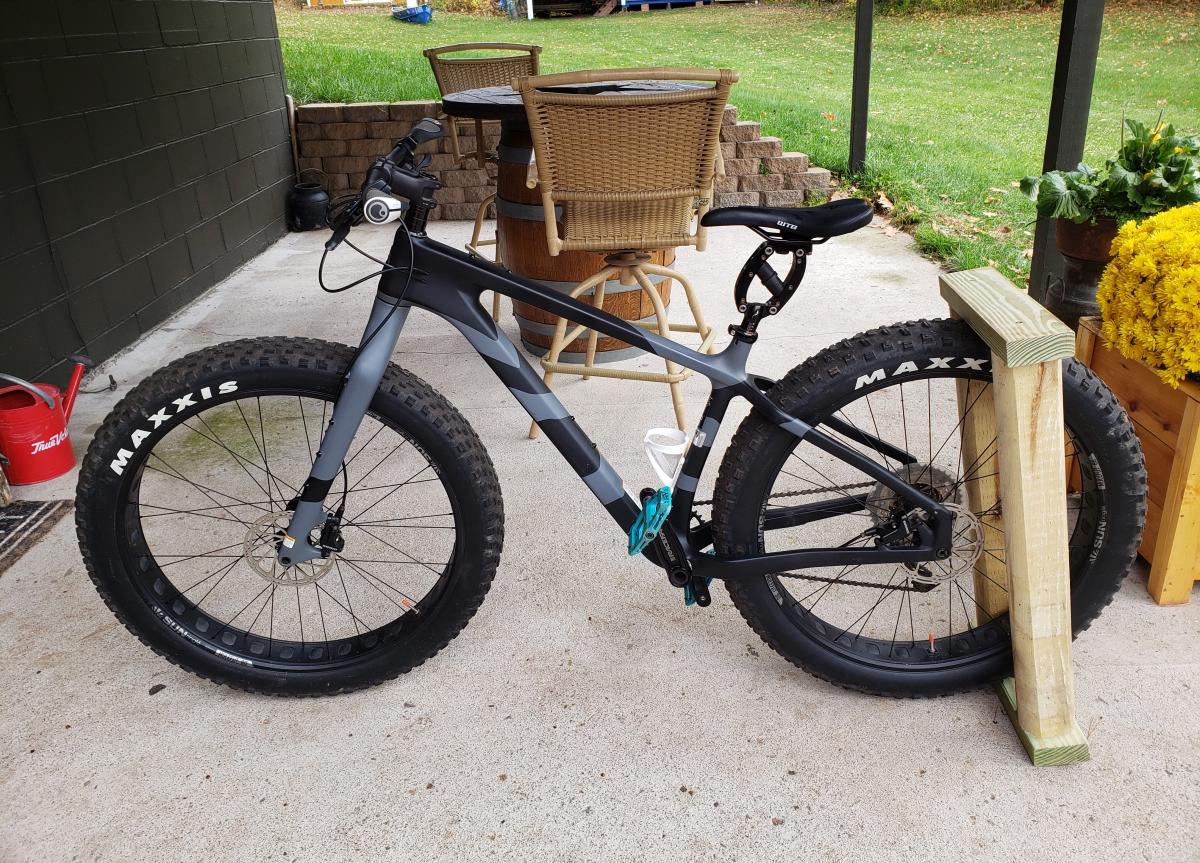
Fatbike rack! Ten minute project for the beginner. Heavy enough to keep your bike standing upright even in windy conditions. Great if you are short on space.
(2) 14" treated 2x4
(2) 28" fence posts
(8) 3 1/2" outdoor screws
6" space between the fence posts
Alter width, if needed, for your bike tire.
No part of the bike hits the wood except the tire.'

Deanna Peterson

Back