Community Brag Posts
Weekend Project: DIY Kitchen Island
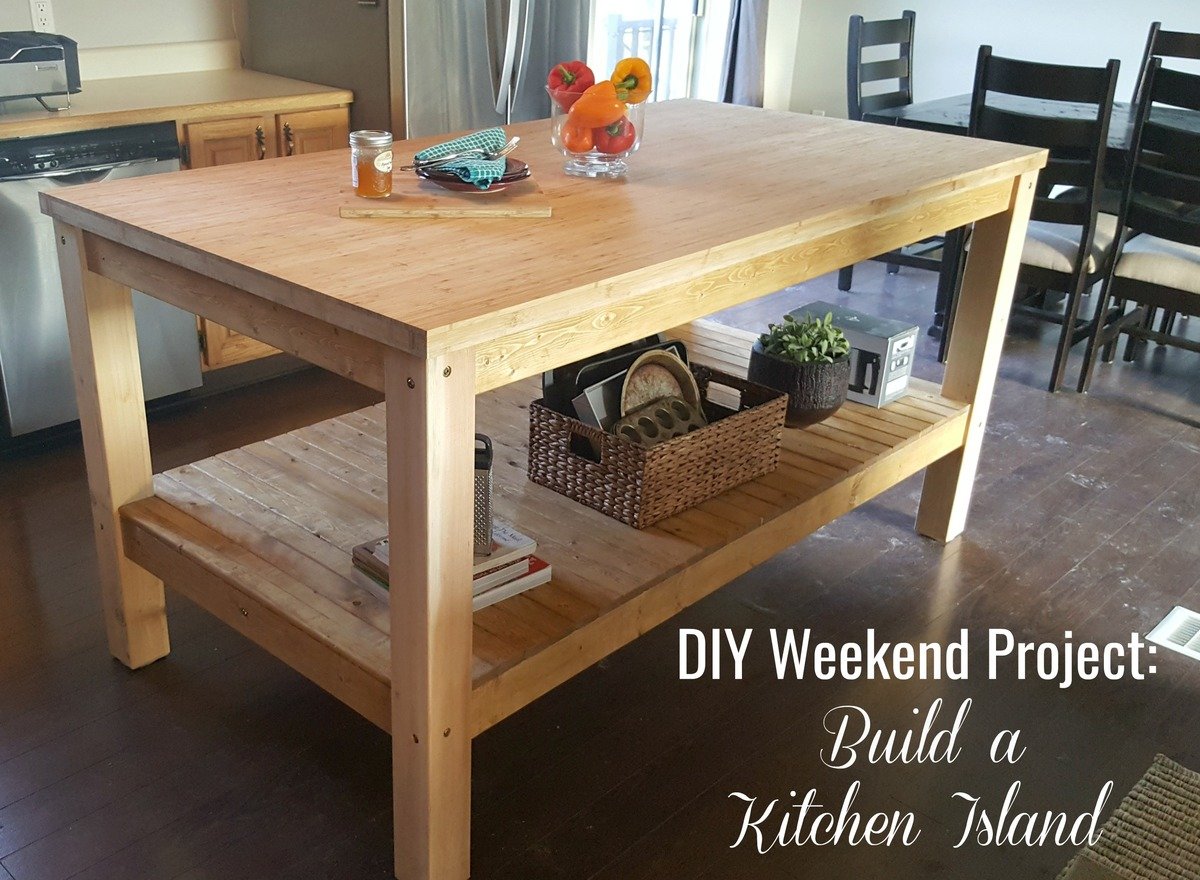
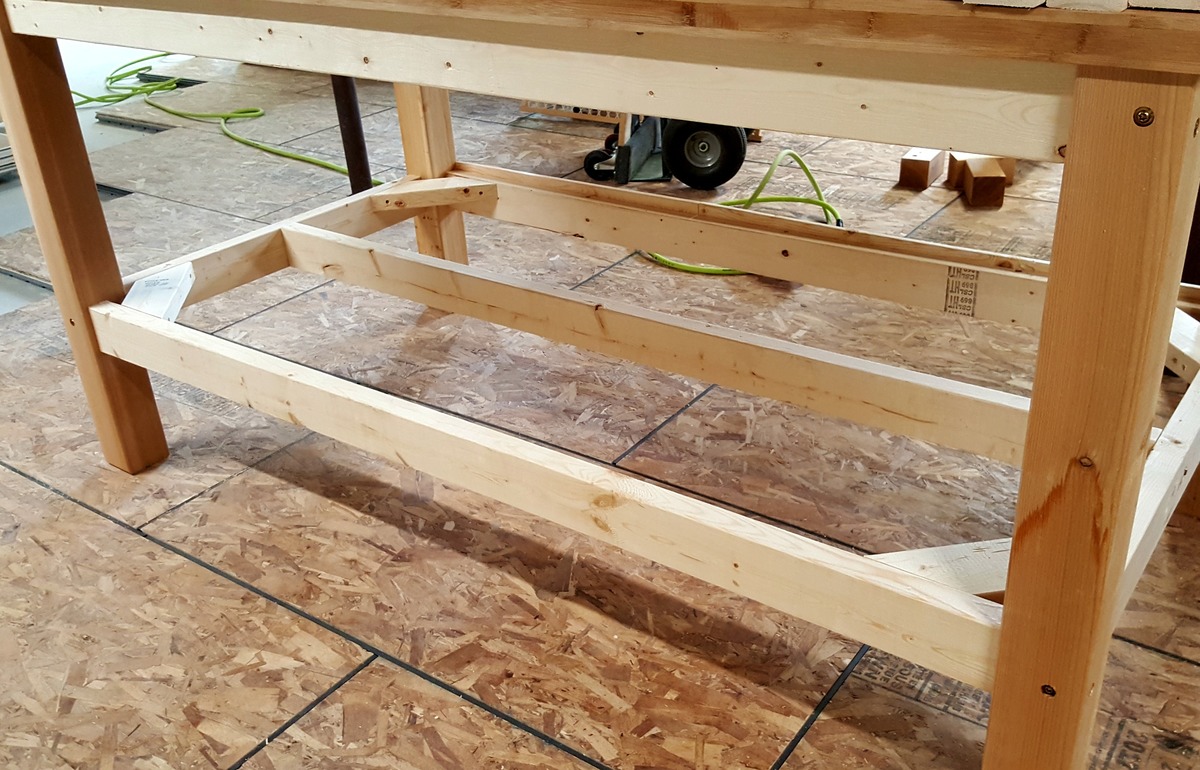
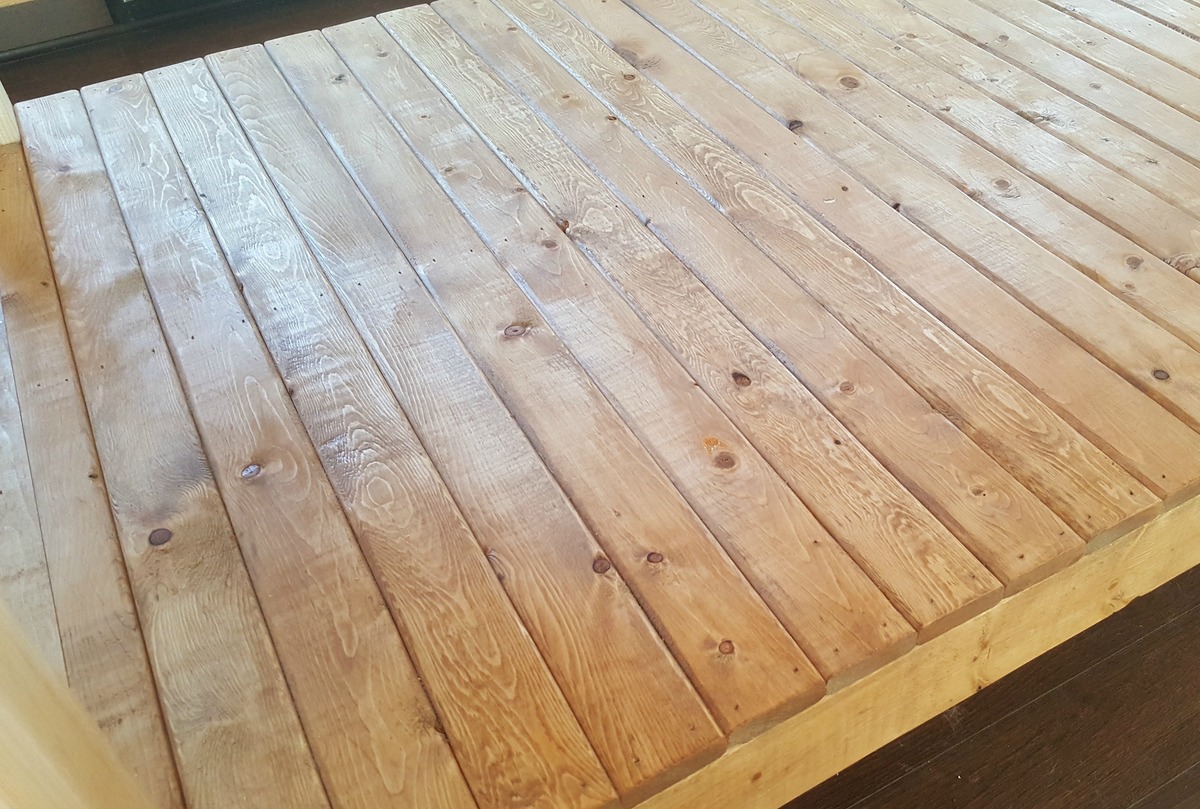
We have a limited amount of counter space in our kitchen, while also having a large open space that is unused. We've always planned on including an island once we renovate, but we didn't want to wait. We decided to build a butcher block-style island with open shelving underneath - a simple design that would give us all the counter space we needed and some additional storage space.
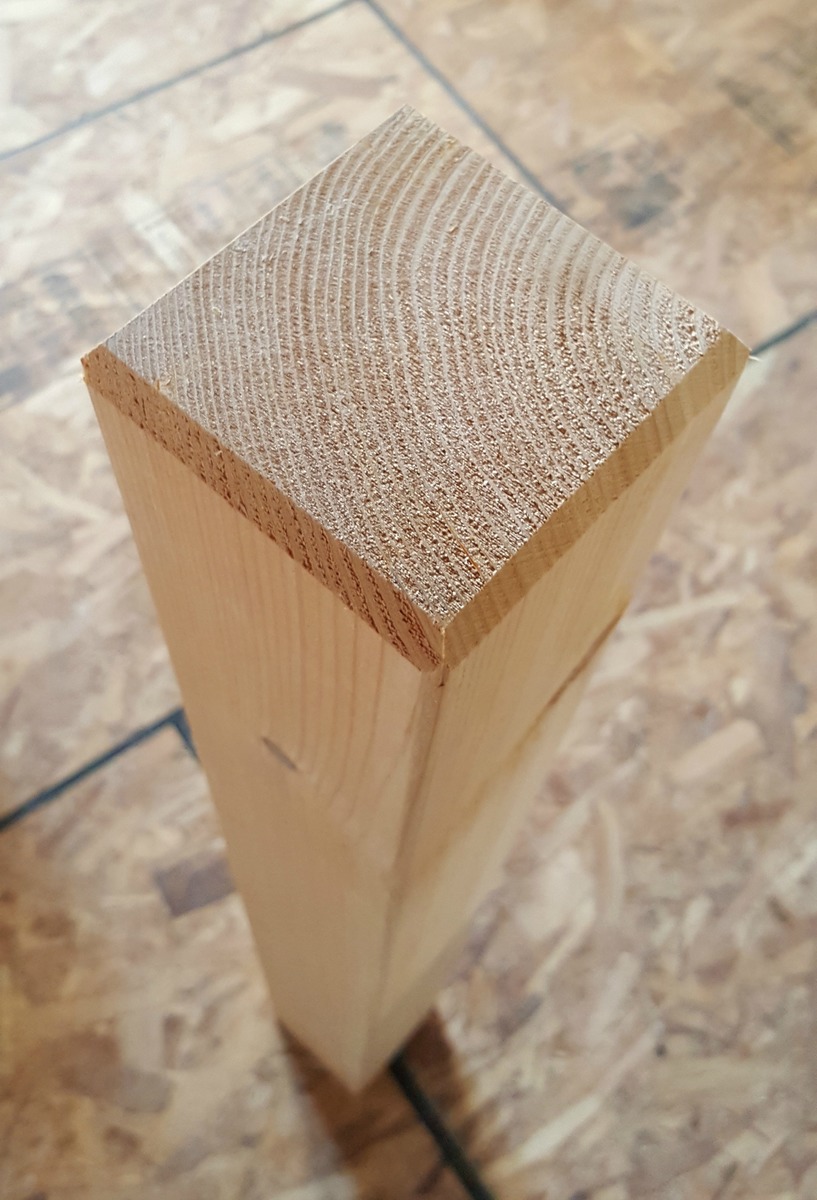
We bought a premade bamboo tabletop, as well as 4x4 cedar posts for the legs, 2x4s for the framework, and 1x2 slats for the shelf.
You can see all of the details of how we built it in the blog post, but here are a few of the features:
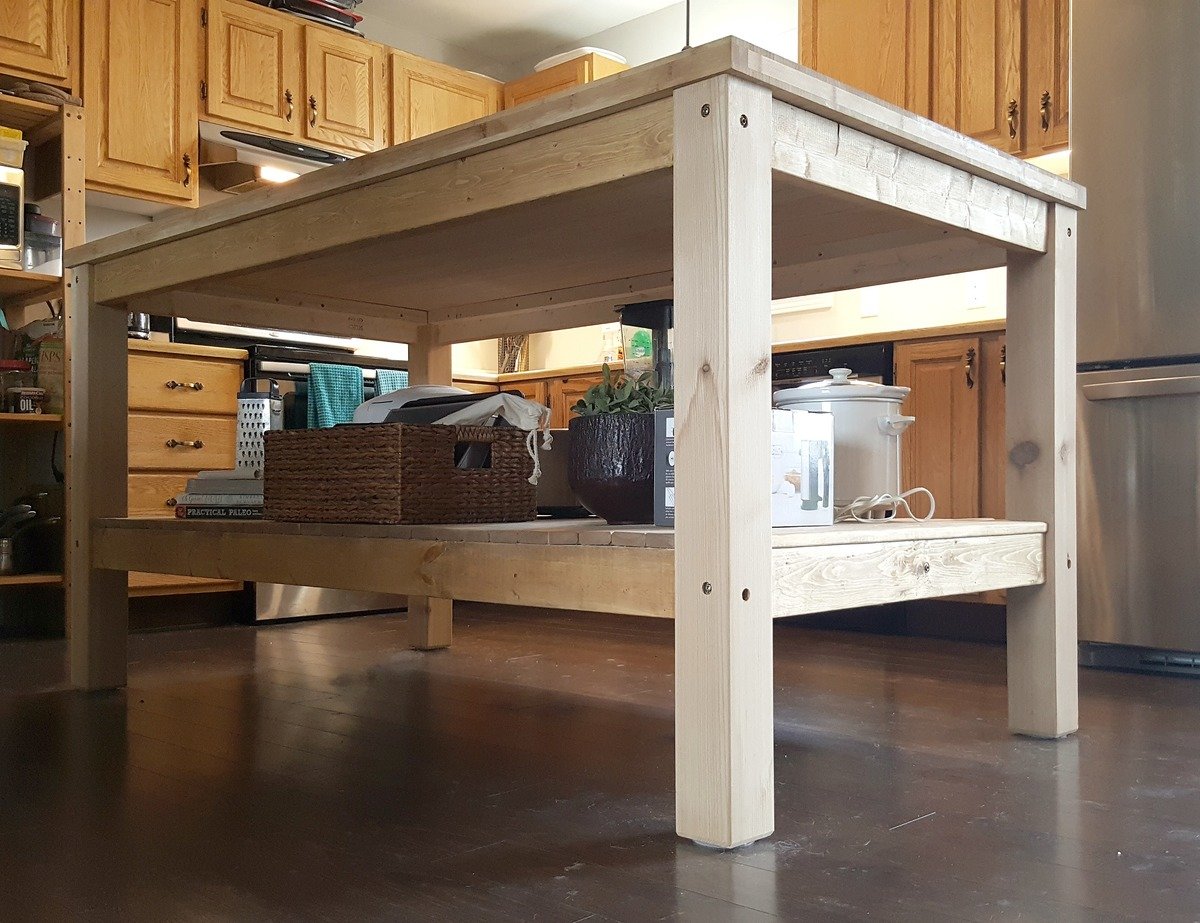
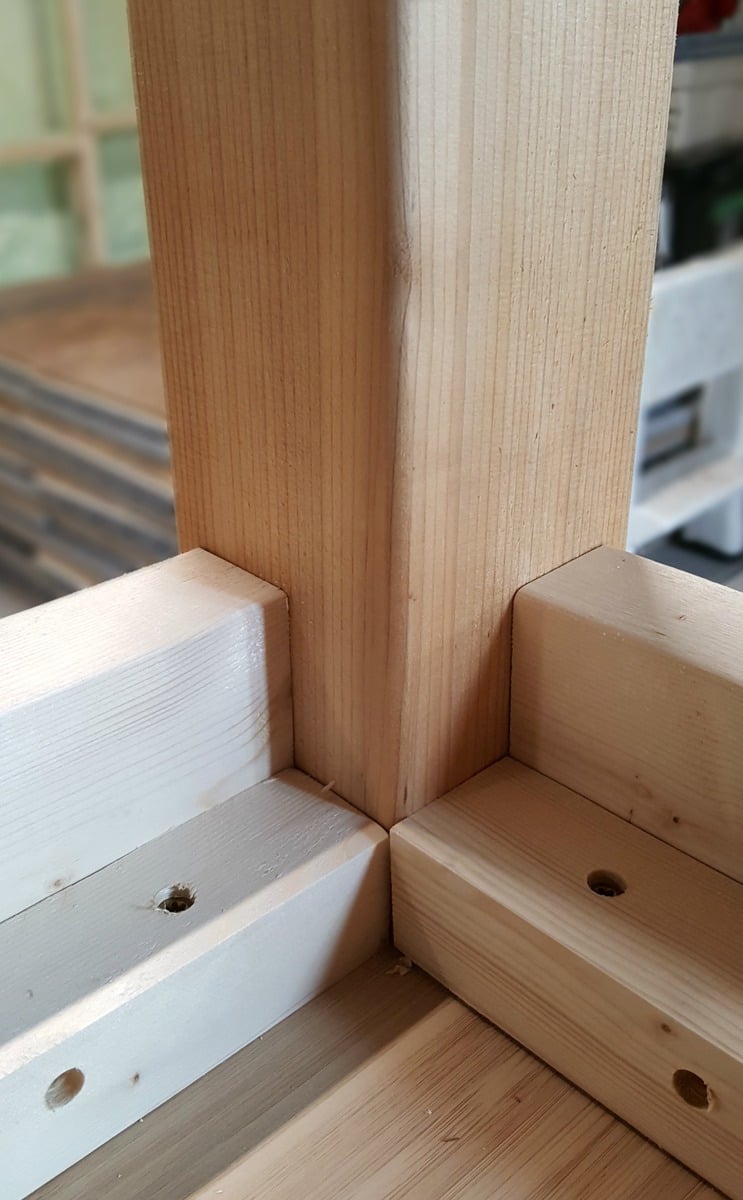
- an interior framework that connects to the tabletop and outer framework so that no screws are visible on the outside
- countersunk GRK structural screws used to attach the legs htat look like carriage bolts
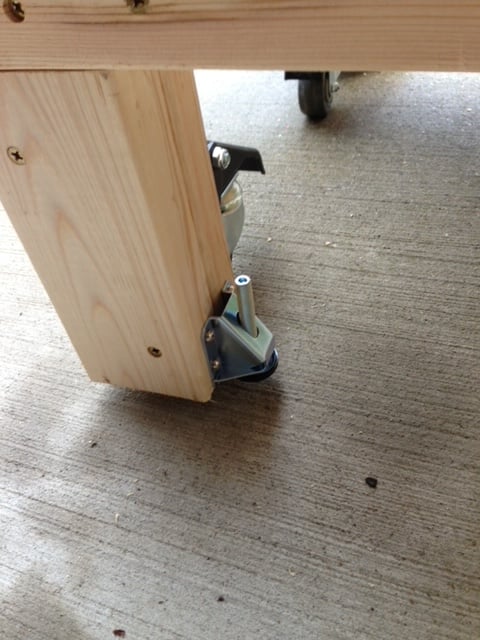
-feet are angle cut so that floor is less likely to be scratched if the island is moved
We're really proud of this build and are enjoying having so much extra counter space. It's amazing what you can get done in a weekend!
Estimated Cost
$200 - $250 - pre-made top, cedar 4x4s, pine 2x4s, pine 1x2s, assorted screws, finishing nails, stain.
Estimated Time Investment
Weekend Project (10-20 Hours)
Finish Used
Minwax Provincial stain on pine (2 coats), mineral oil on bamboo top, no finish on cedar.
Recommended Skill Level
Intermediate
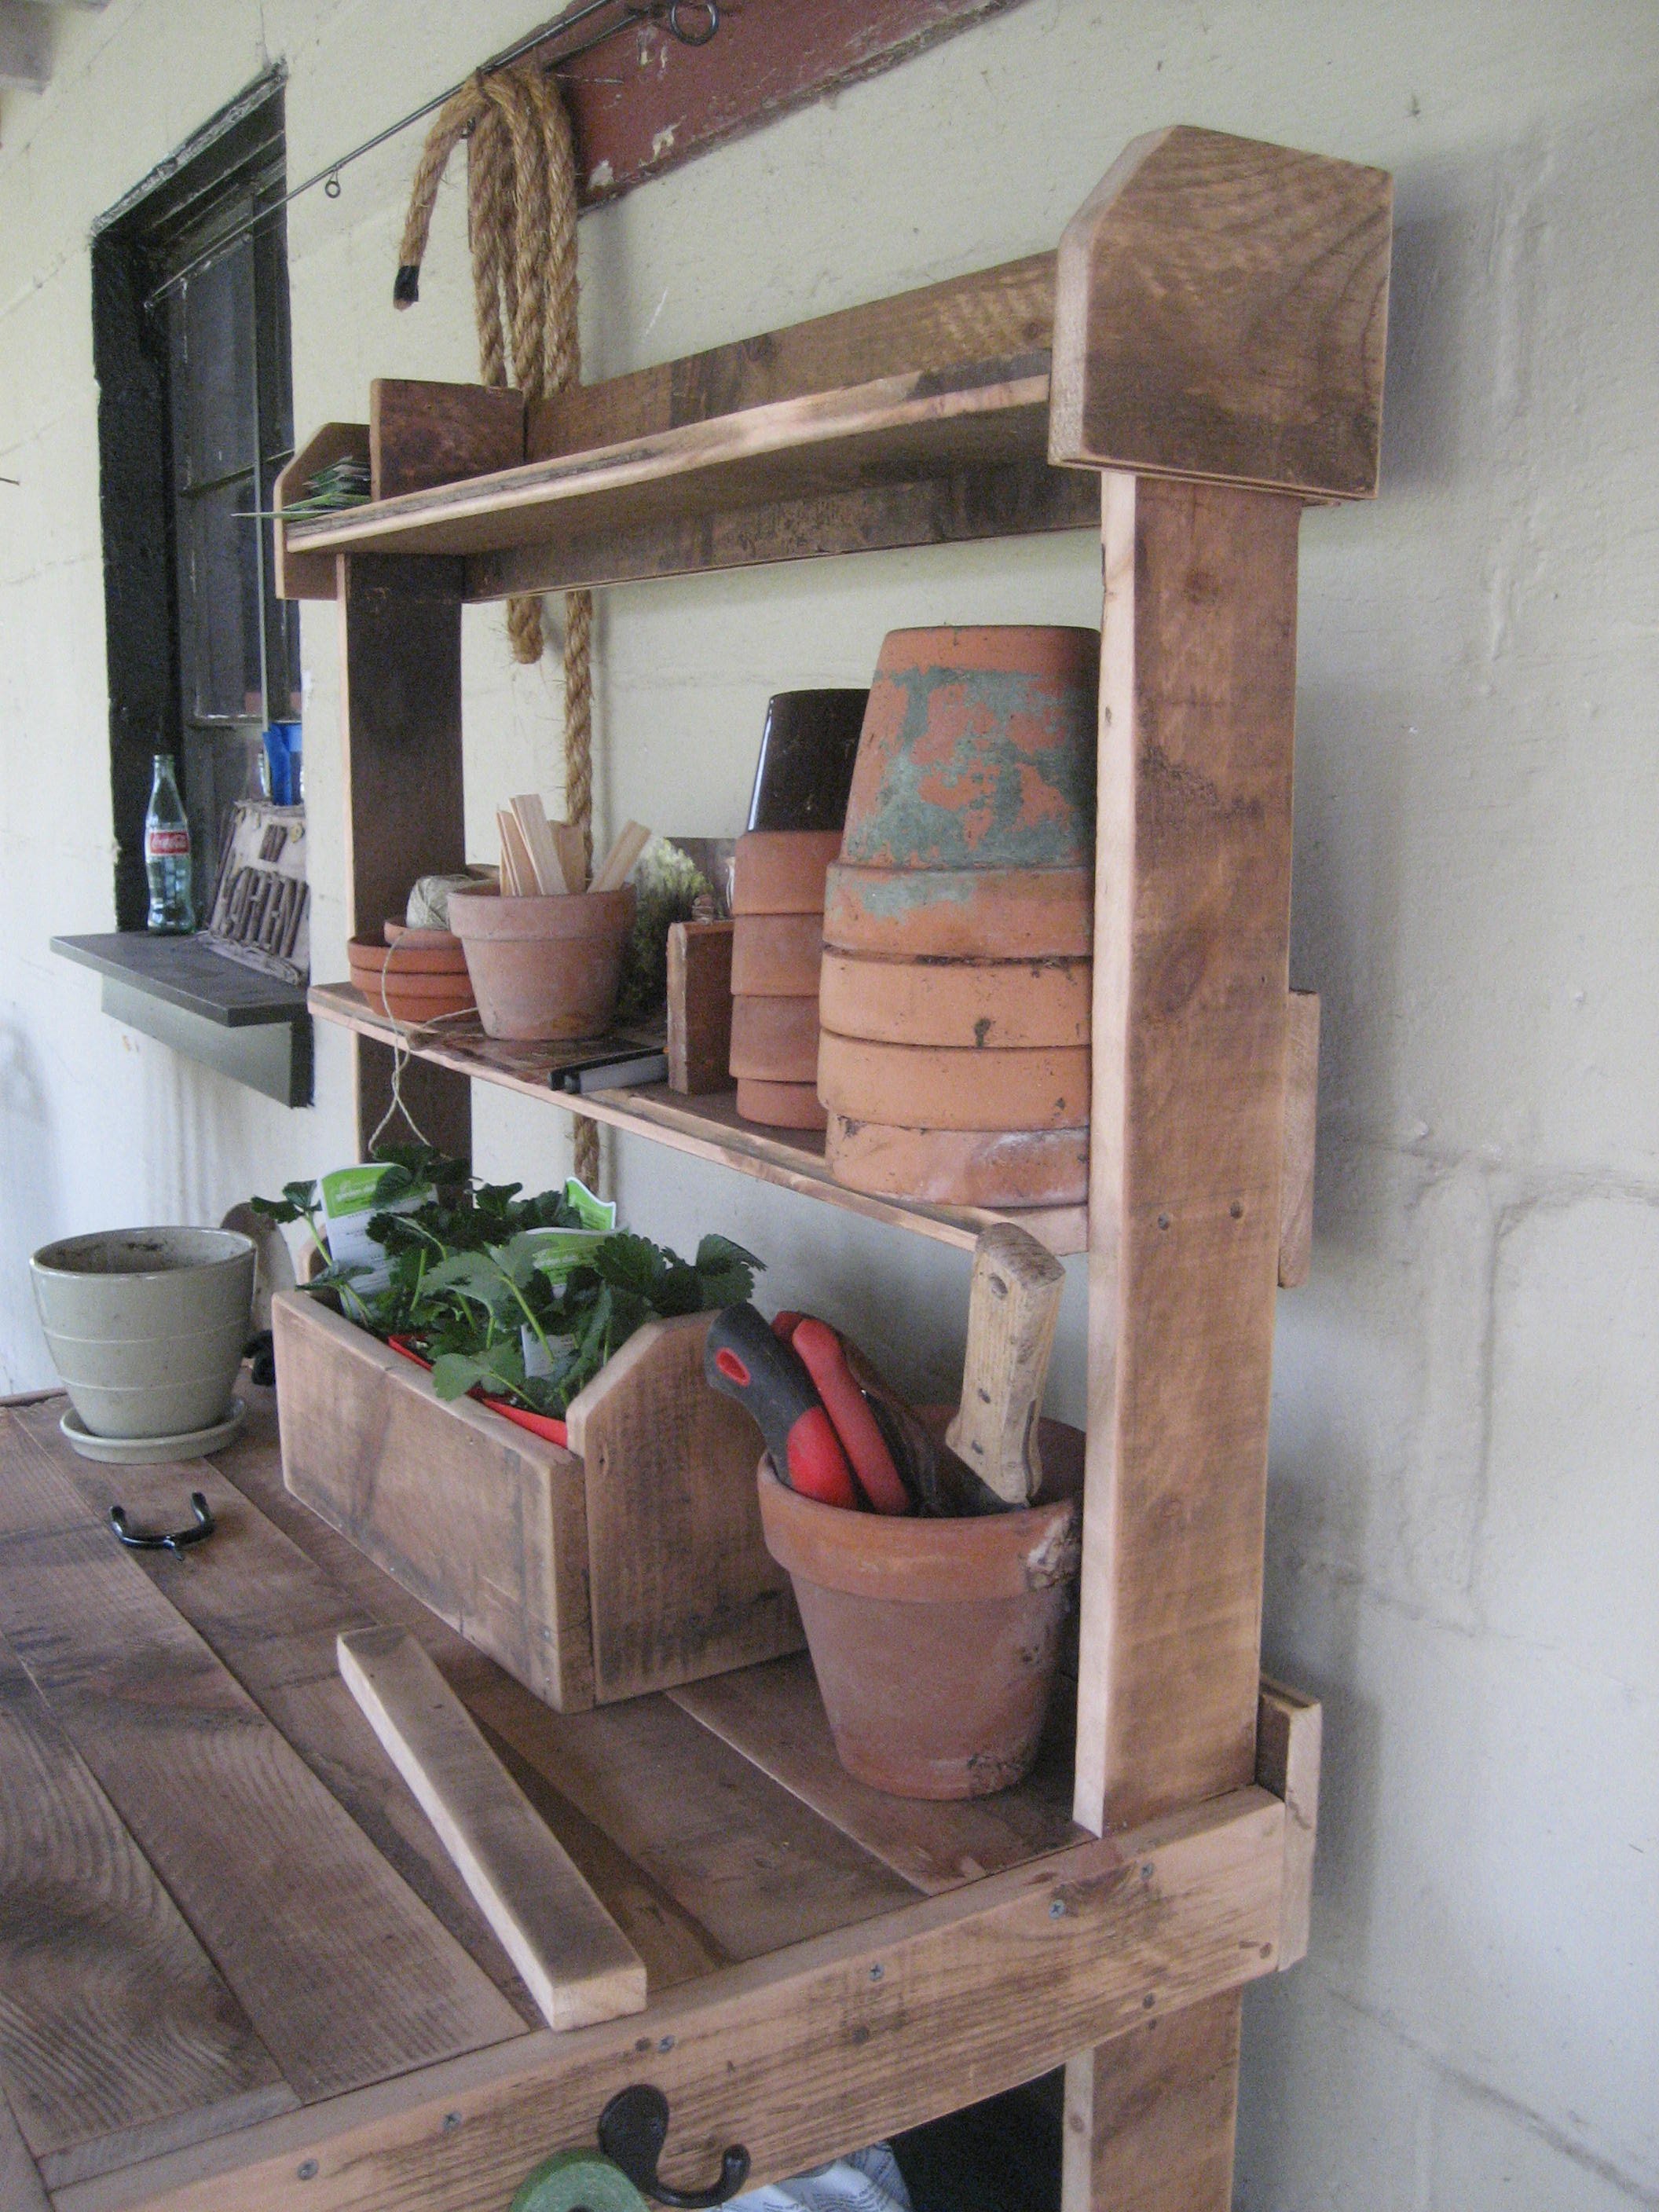
Potting bench
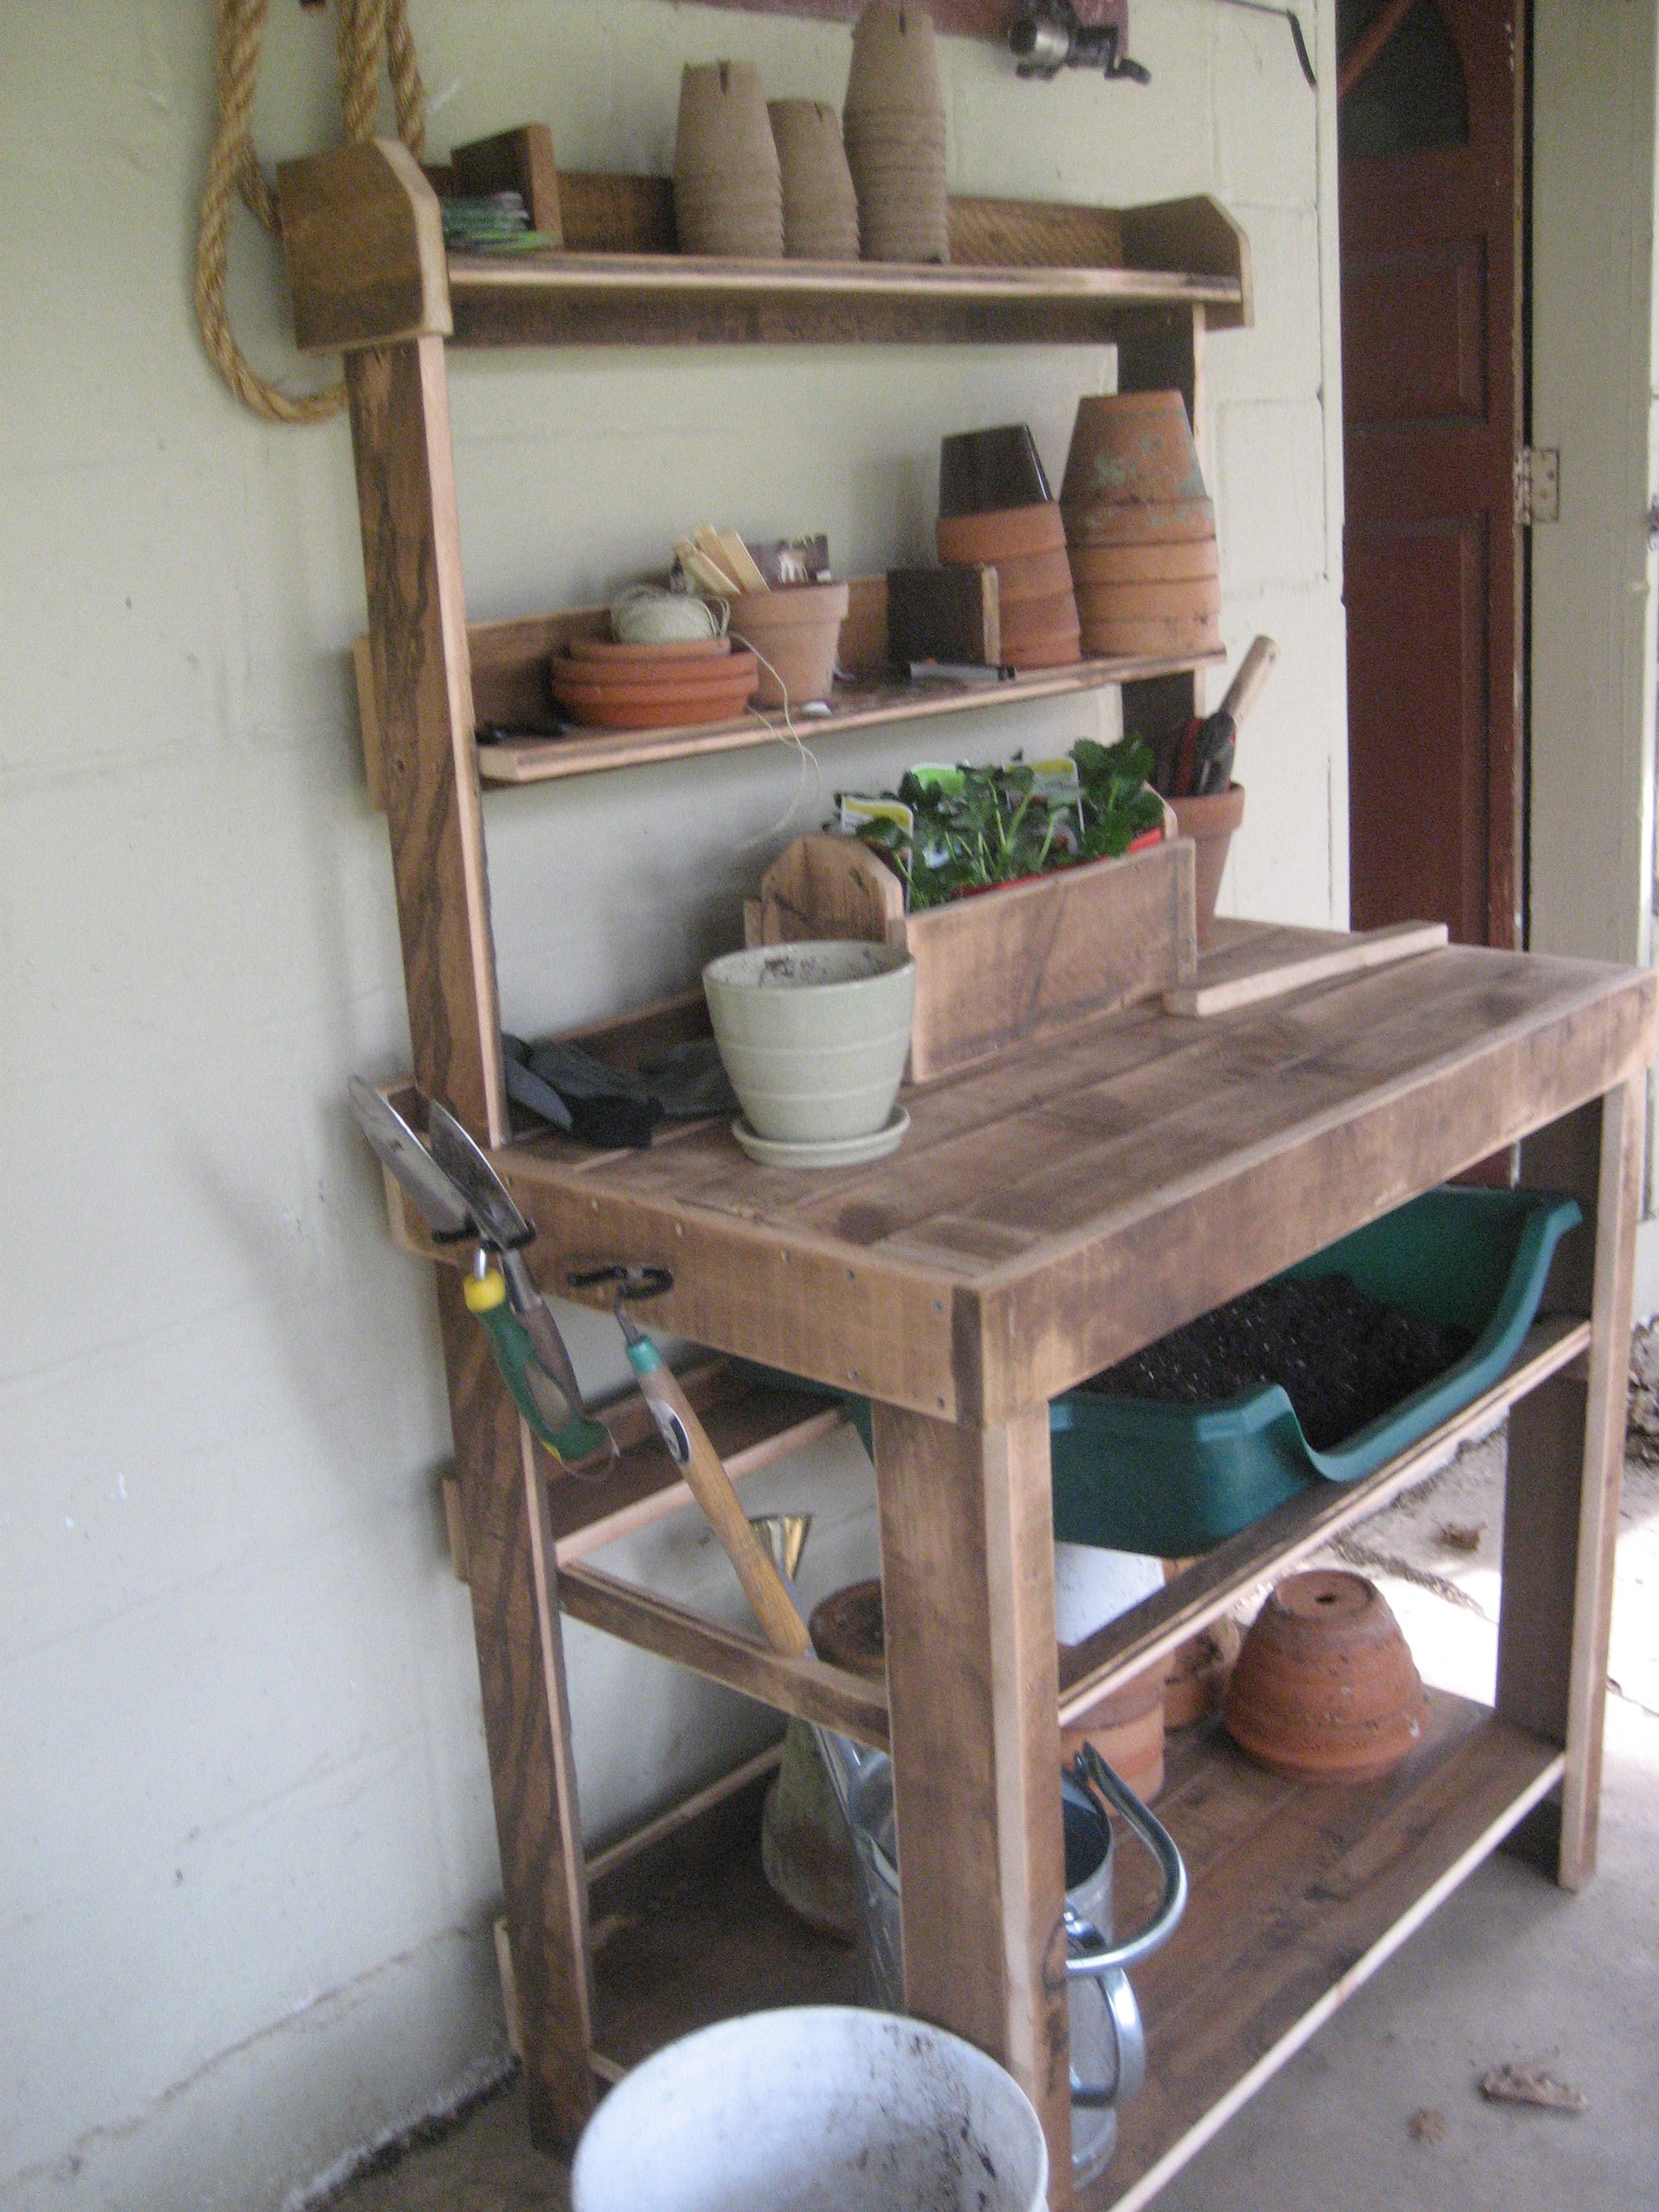
I used the plan for the simple potting bench, but because I had a lot of reclaimed wood, I used well supported 1x4's instead of 2x4's, simply because I had an abundance.

Built from Plan(s)
Estimated Cost
10.00 for screws and the potting bin
Estimated Time Investment
Day Project (6-9 Hours)
Finish Used
just sanded a lot.
Recommended Skill Level
Beginner
Comments
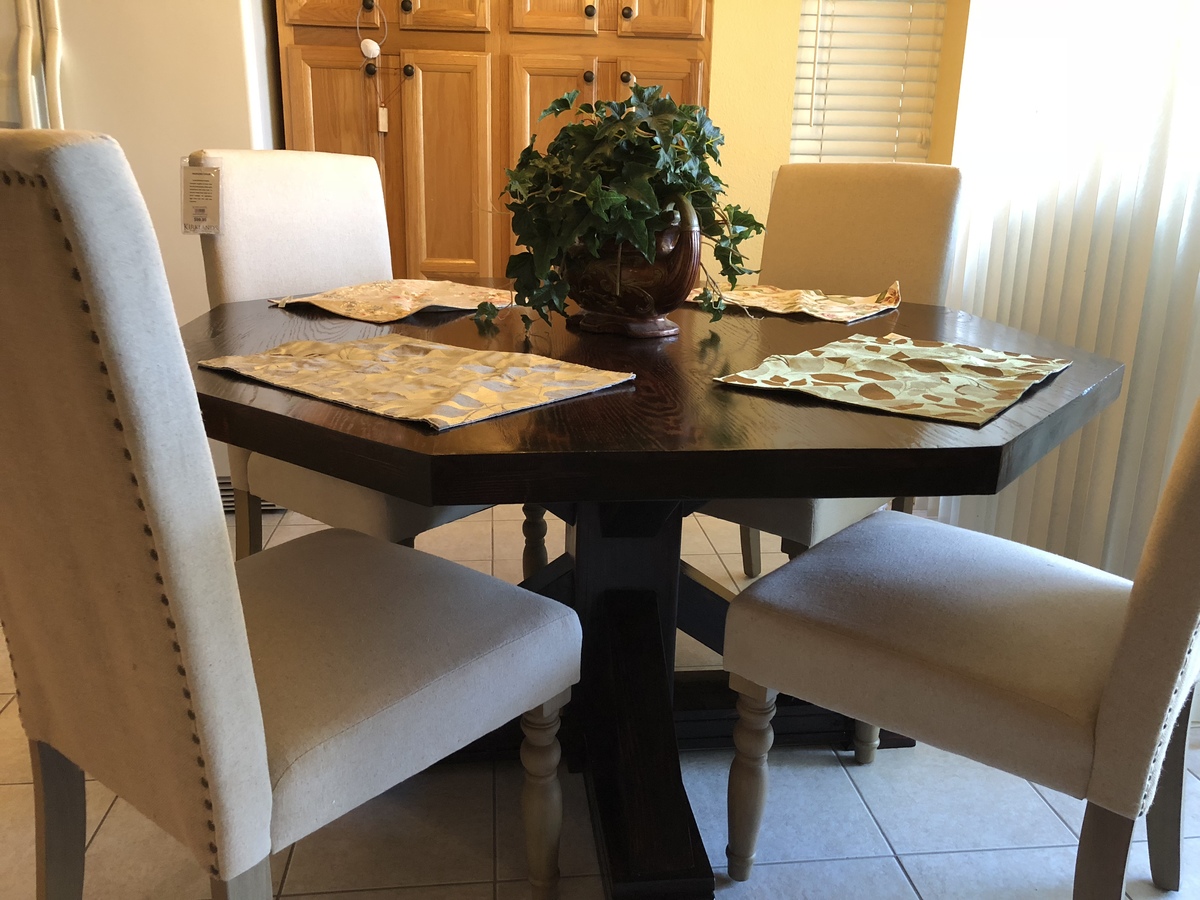
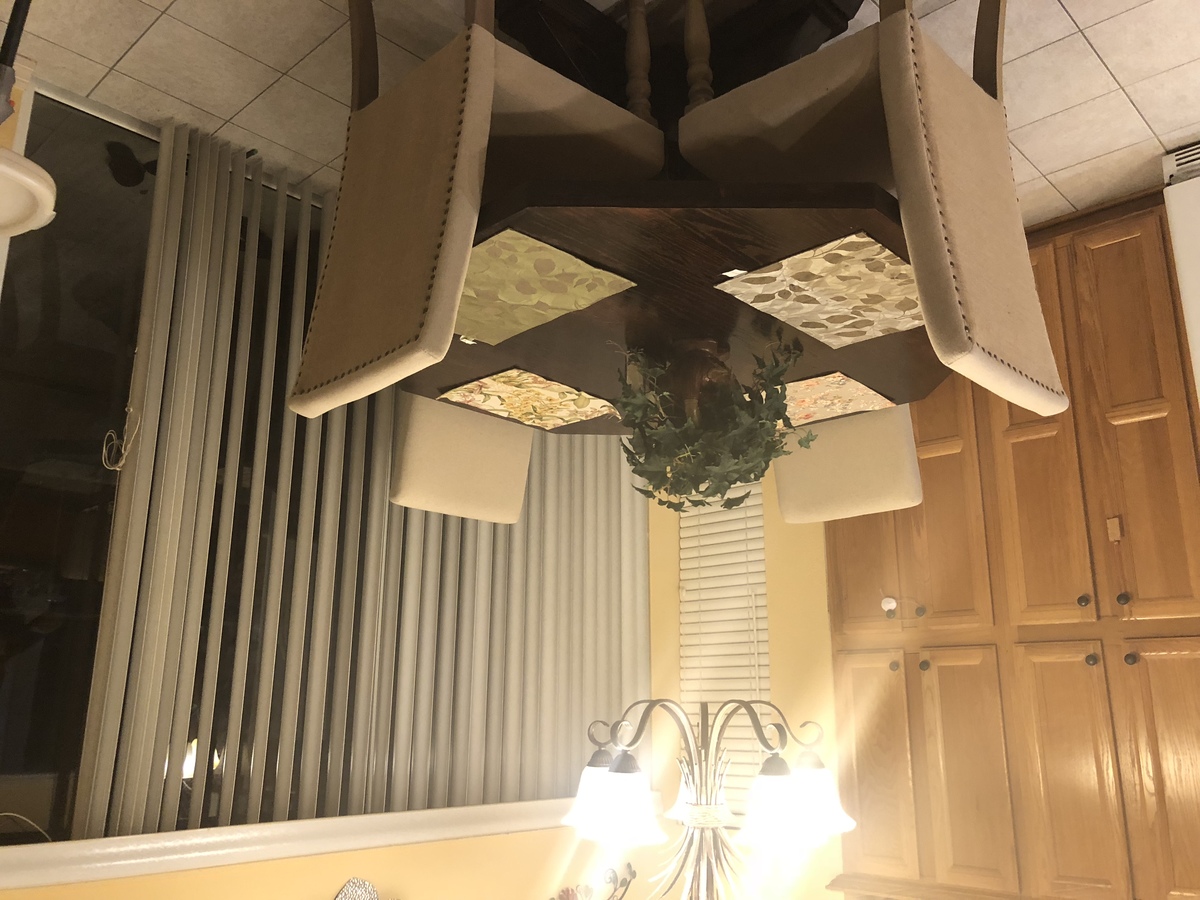
Octagon table
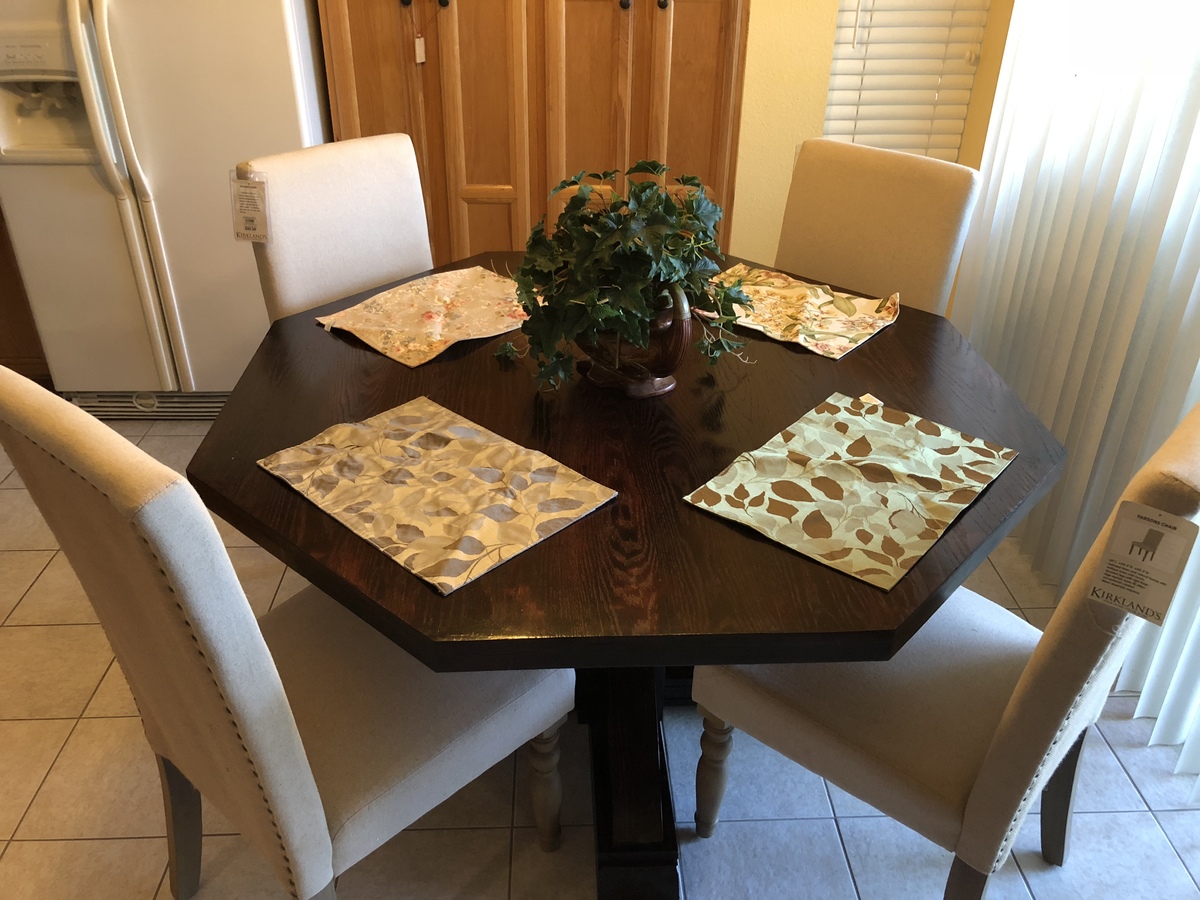
Took about 1 week to finish the project. I like the overall result.
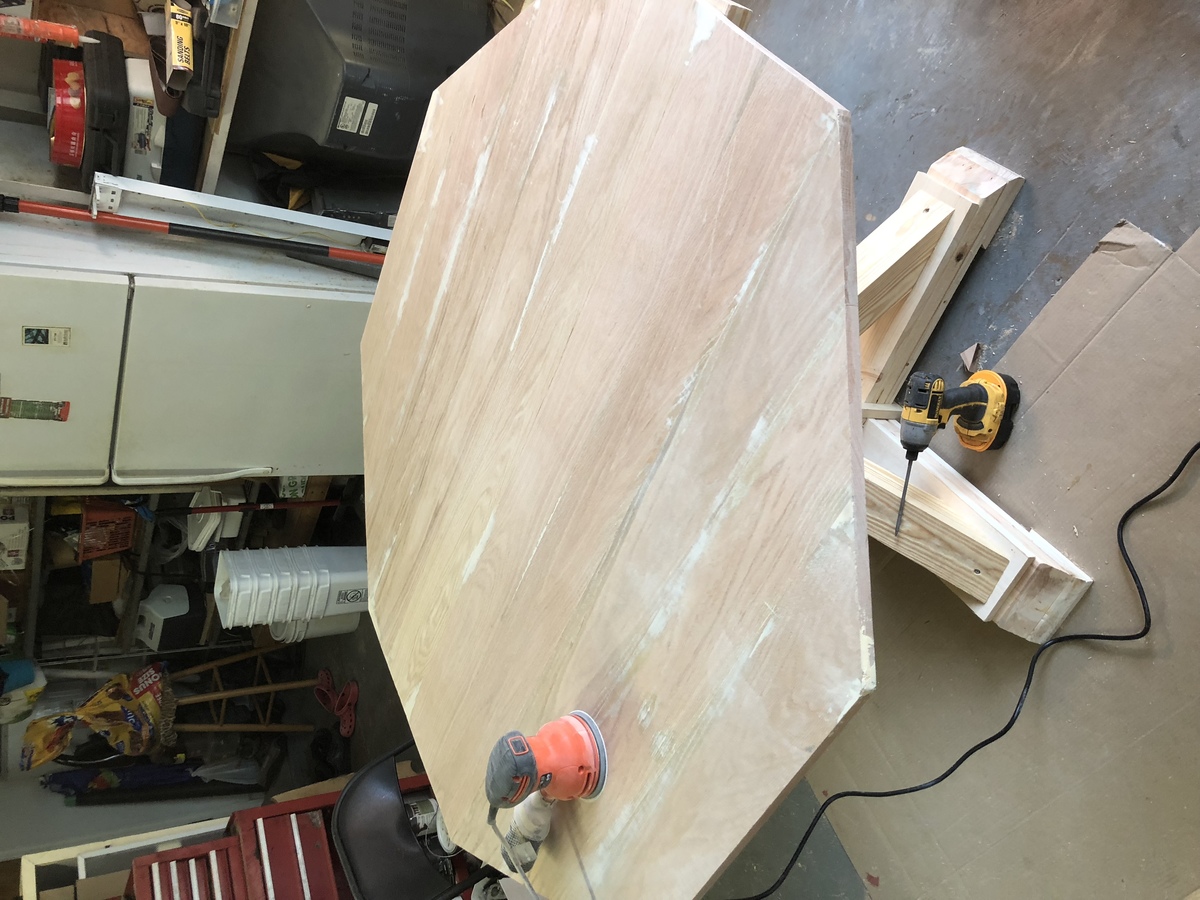
Instead of using pocket hole to join the top, I use dowel and glue to join the board together. Clamp the top in sections then combine 2 large piece together.
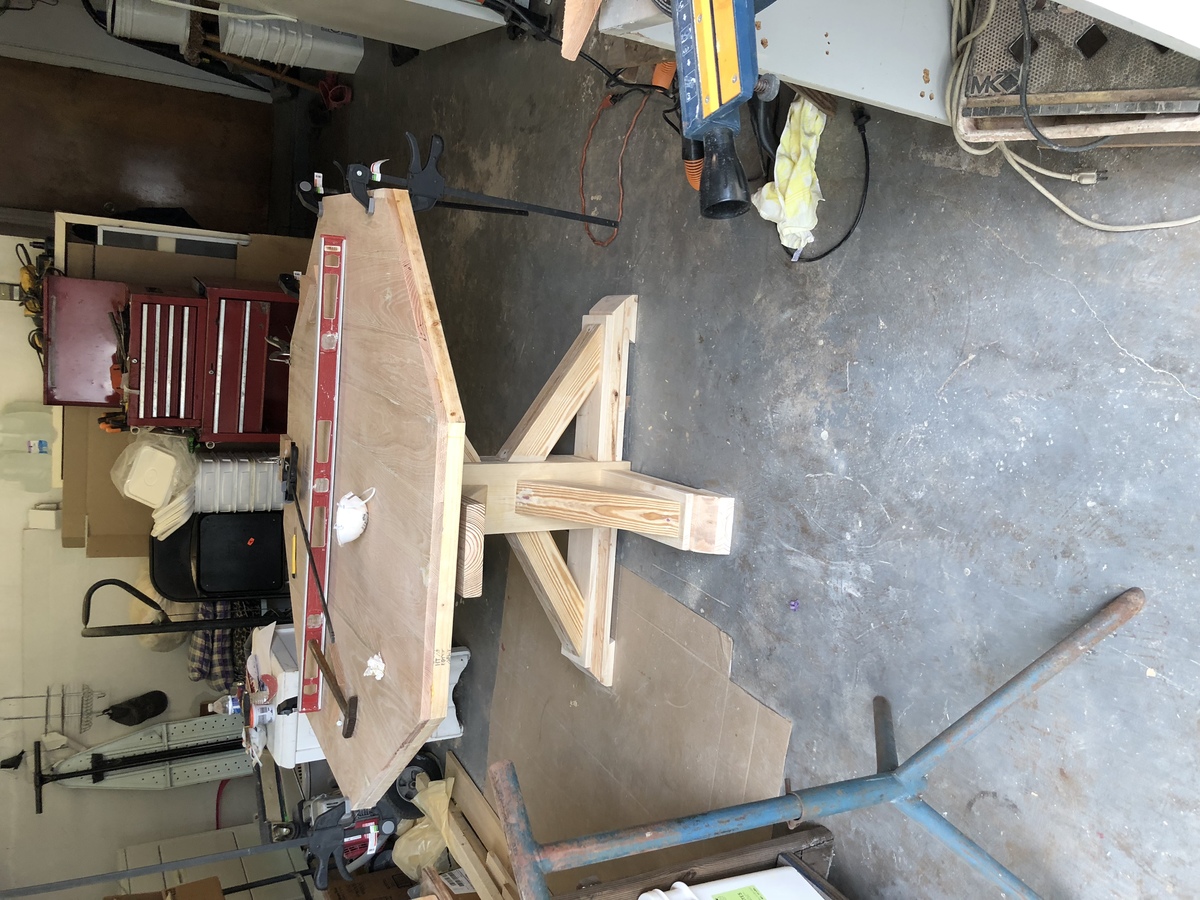
using the speed squre to create the 45 degree angle and use the circular saw to cut out the angled section.
I used the table saw to cut off the round edge on 2x2 to create smooth Table apron.
Use wood filer to fill all the crack and hole from brad nail/joint.
apply 2 layer of stain. allow it to dry overnight. Then Thin out poly with minaral Spirit to wipe on 4-5 layers.
sand finish in between with 330 grit paper

Built from Plan(s)
Estimated Cost
300
Estimated Time Investment
Weekend Project (10-20 Hours)
Finish Used
Min-wax Red Mahogany with 4 layer of Min-wax polyurethane
Recommended Skill Level
Intermediate
Laundry Basket Organizer
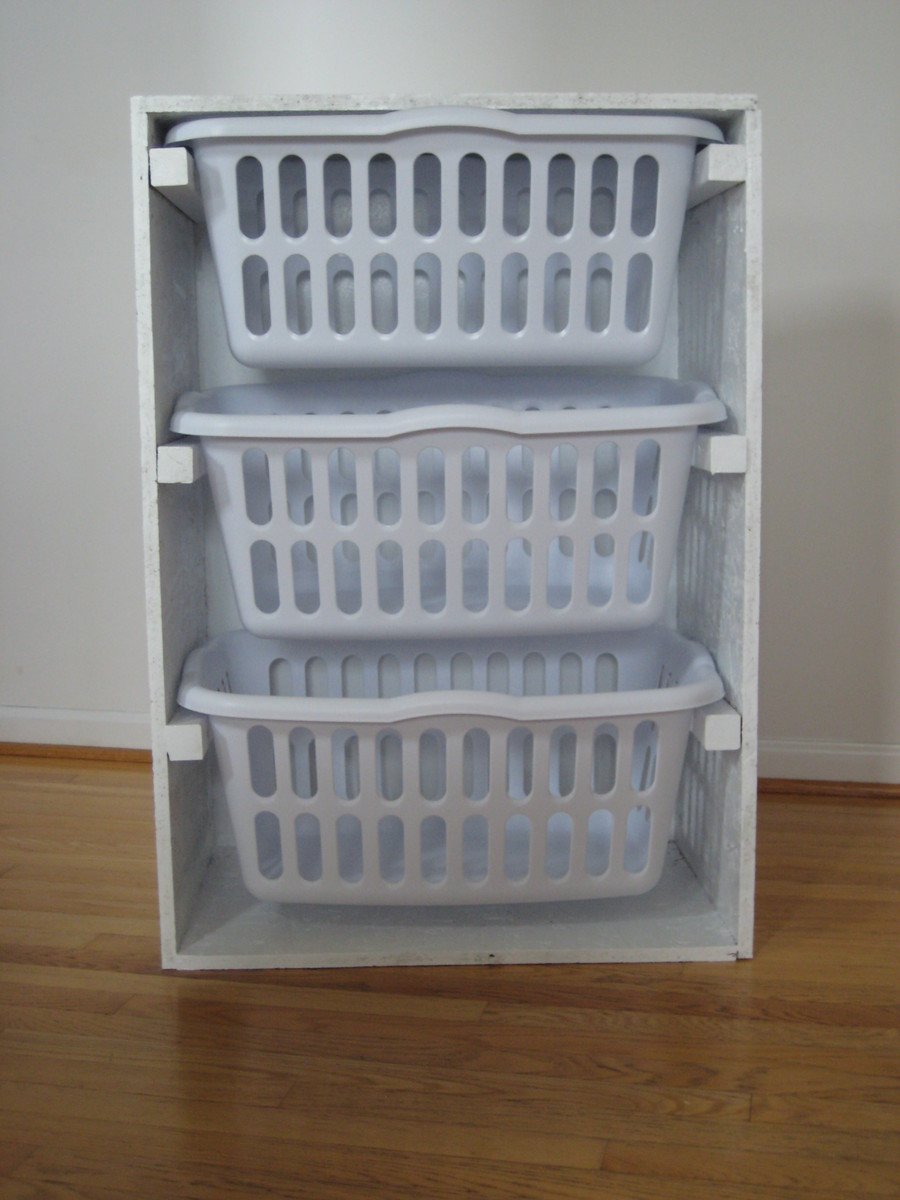
I use this dresser in my walk-in closet to separate dirty laundry...each basket holds either "whites", "lights" or "darks". The size of each basket is perfect for one wash load. I just love how much more room I have in my closet because of it!
Built from Plan(s)
Estimated Cost
$35
Estimated Time Investment
An Hour or Two (0-2 Hours)
Finish Used
I lighting sanded all sides and edges then put done two coats of Sherwin-Williams ProClassic acrylic latex paint
Recommended Skill Level
Beginner
Comments
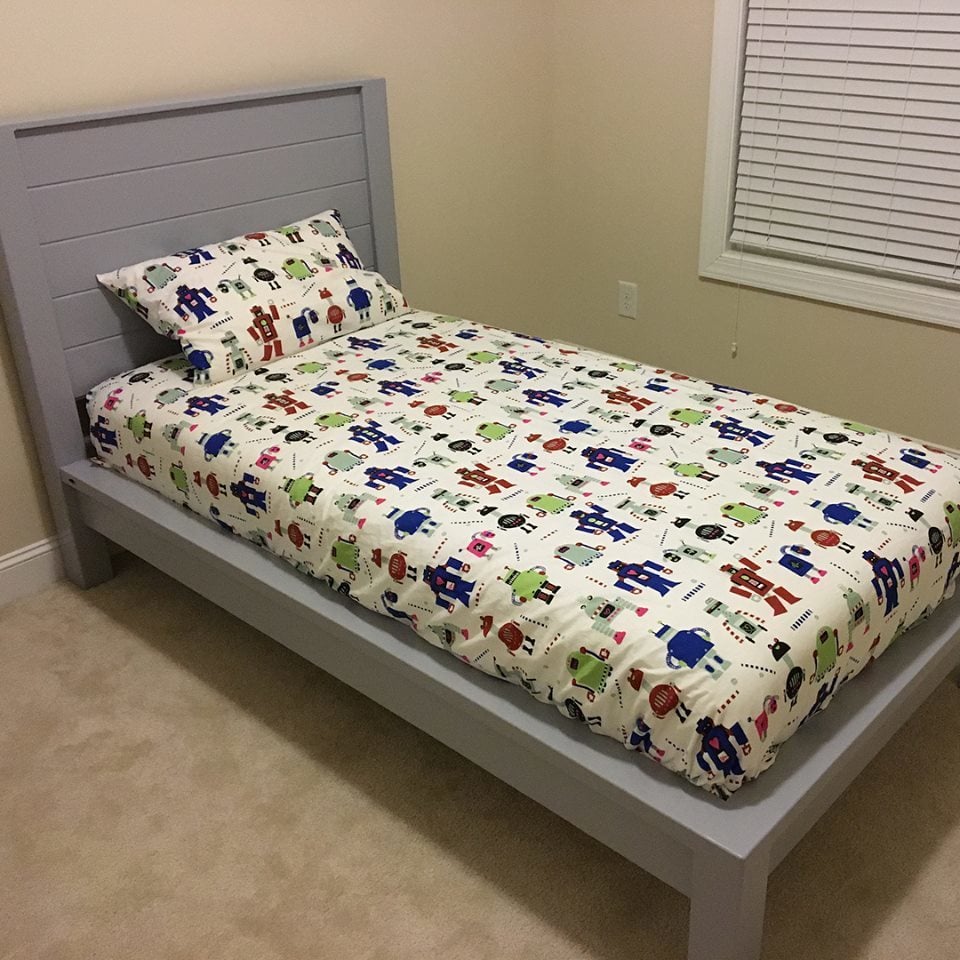
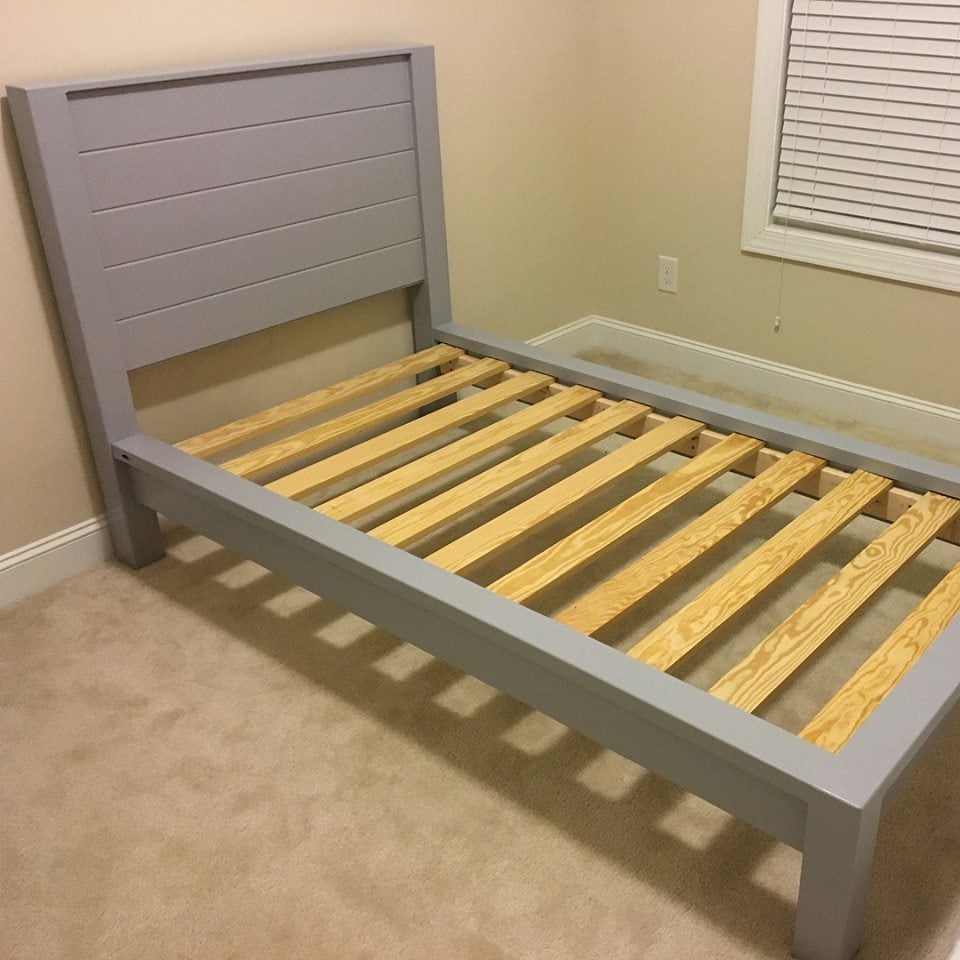
Modern Farmhouse Bed
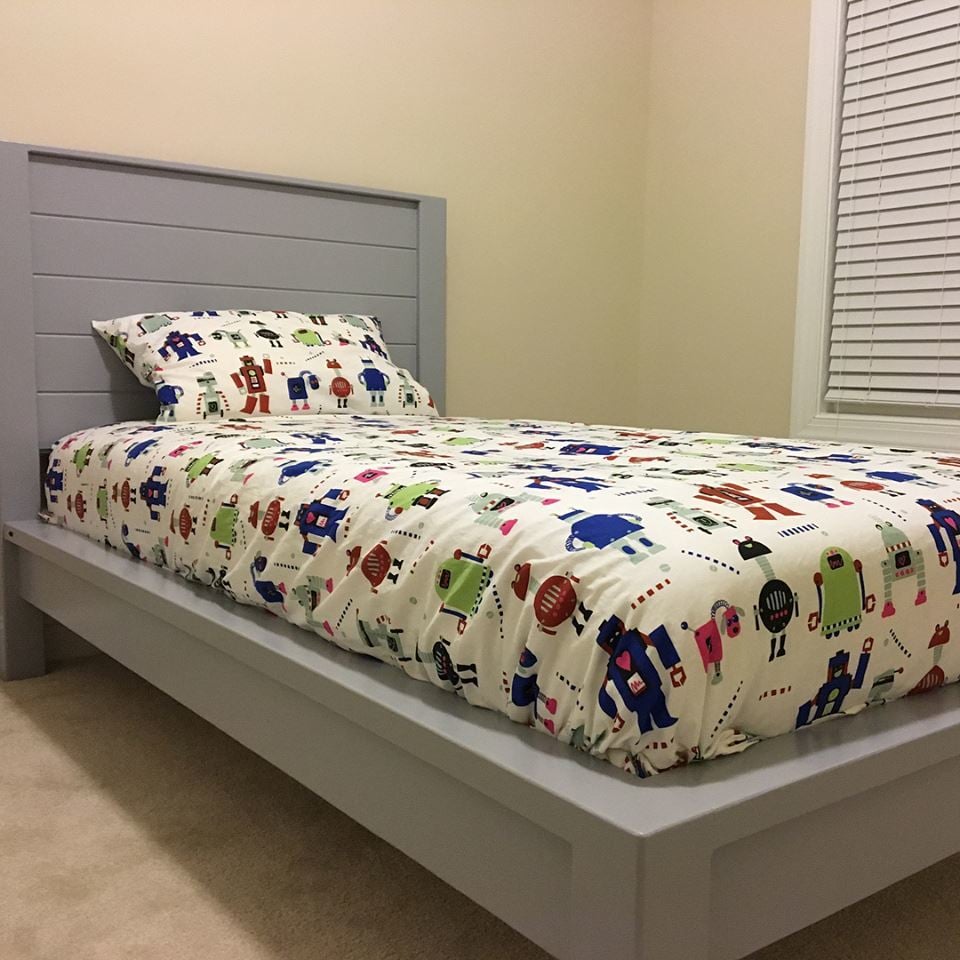
My version of Modern Farmhouse Bed. Let me know if you have any questions.
Built from Plan(s)
Estimated Cost
$150
Estimated Time Investment
Day Project (6-9 Hours)
Finish Used
Alkyd paint
Recommended Skill Level
Intermediate
Fireman's Dog Bed
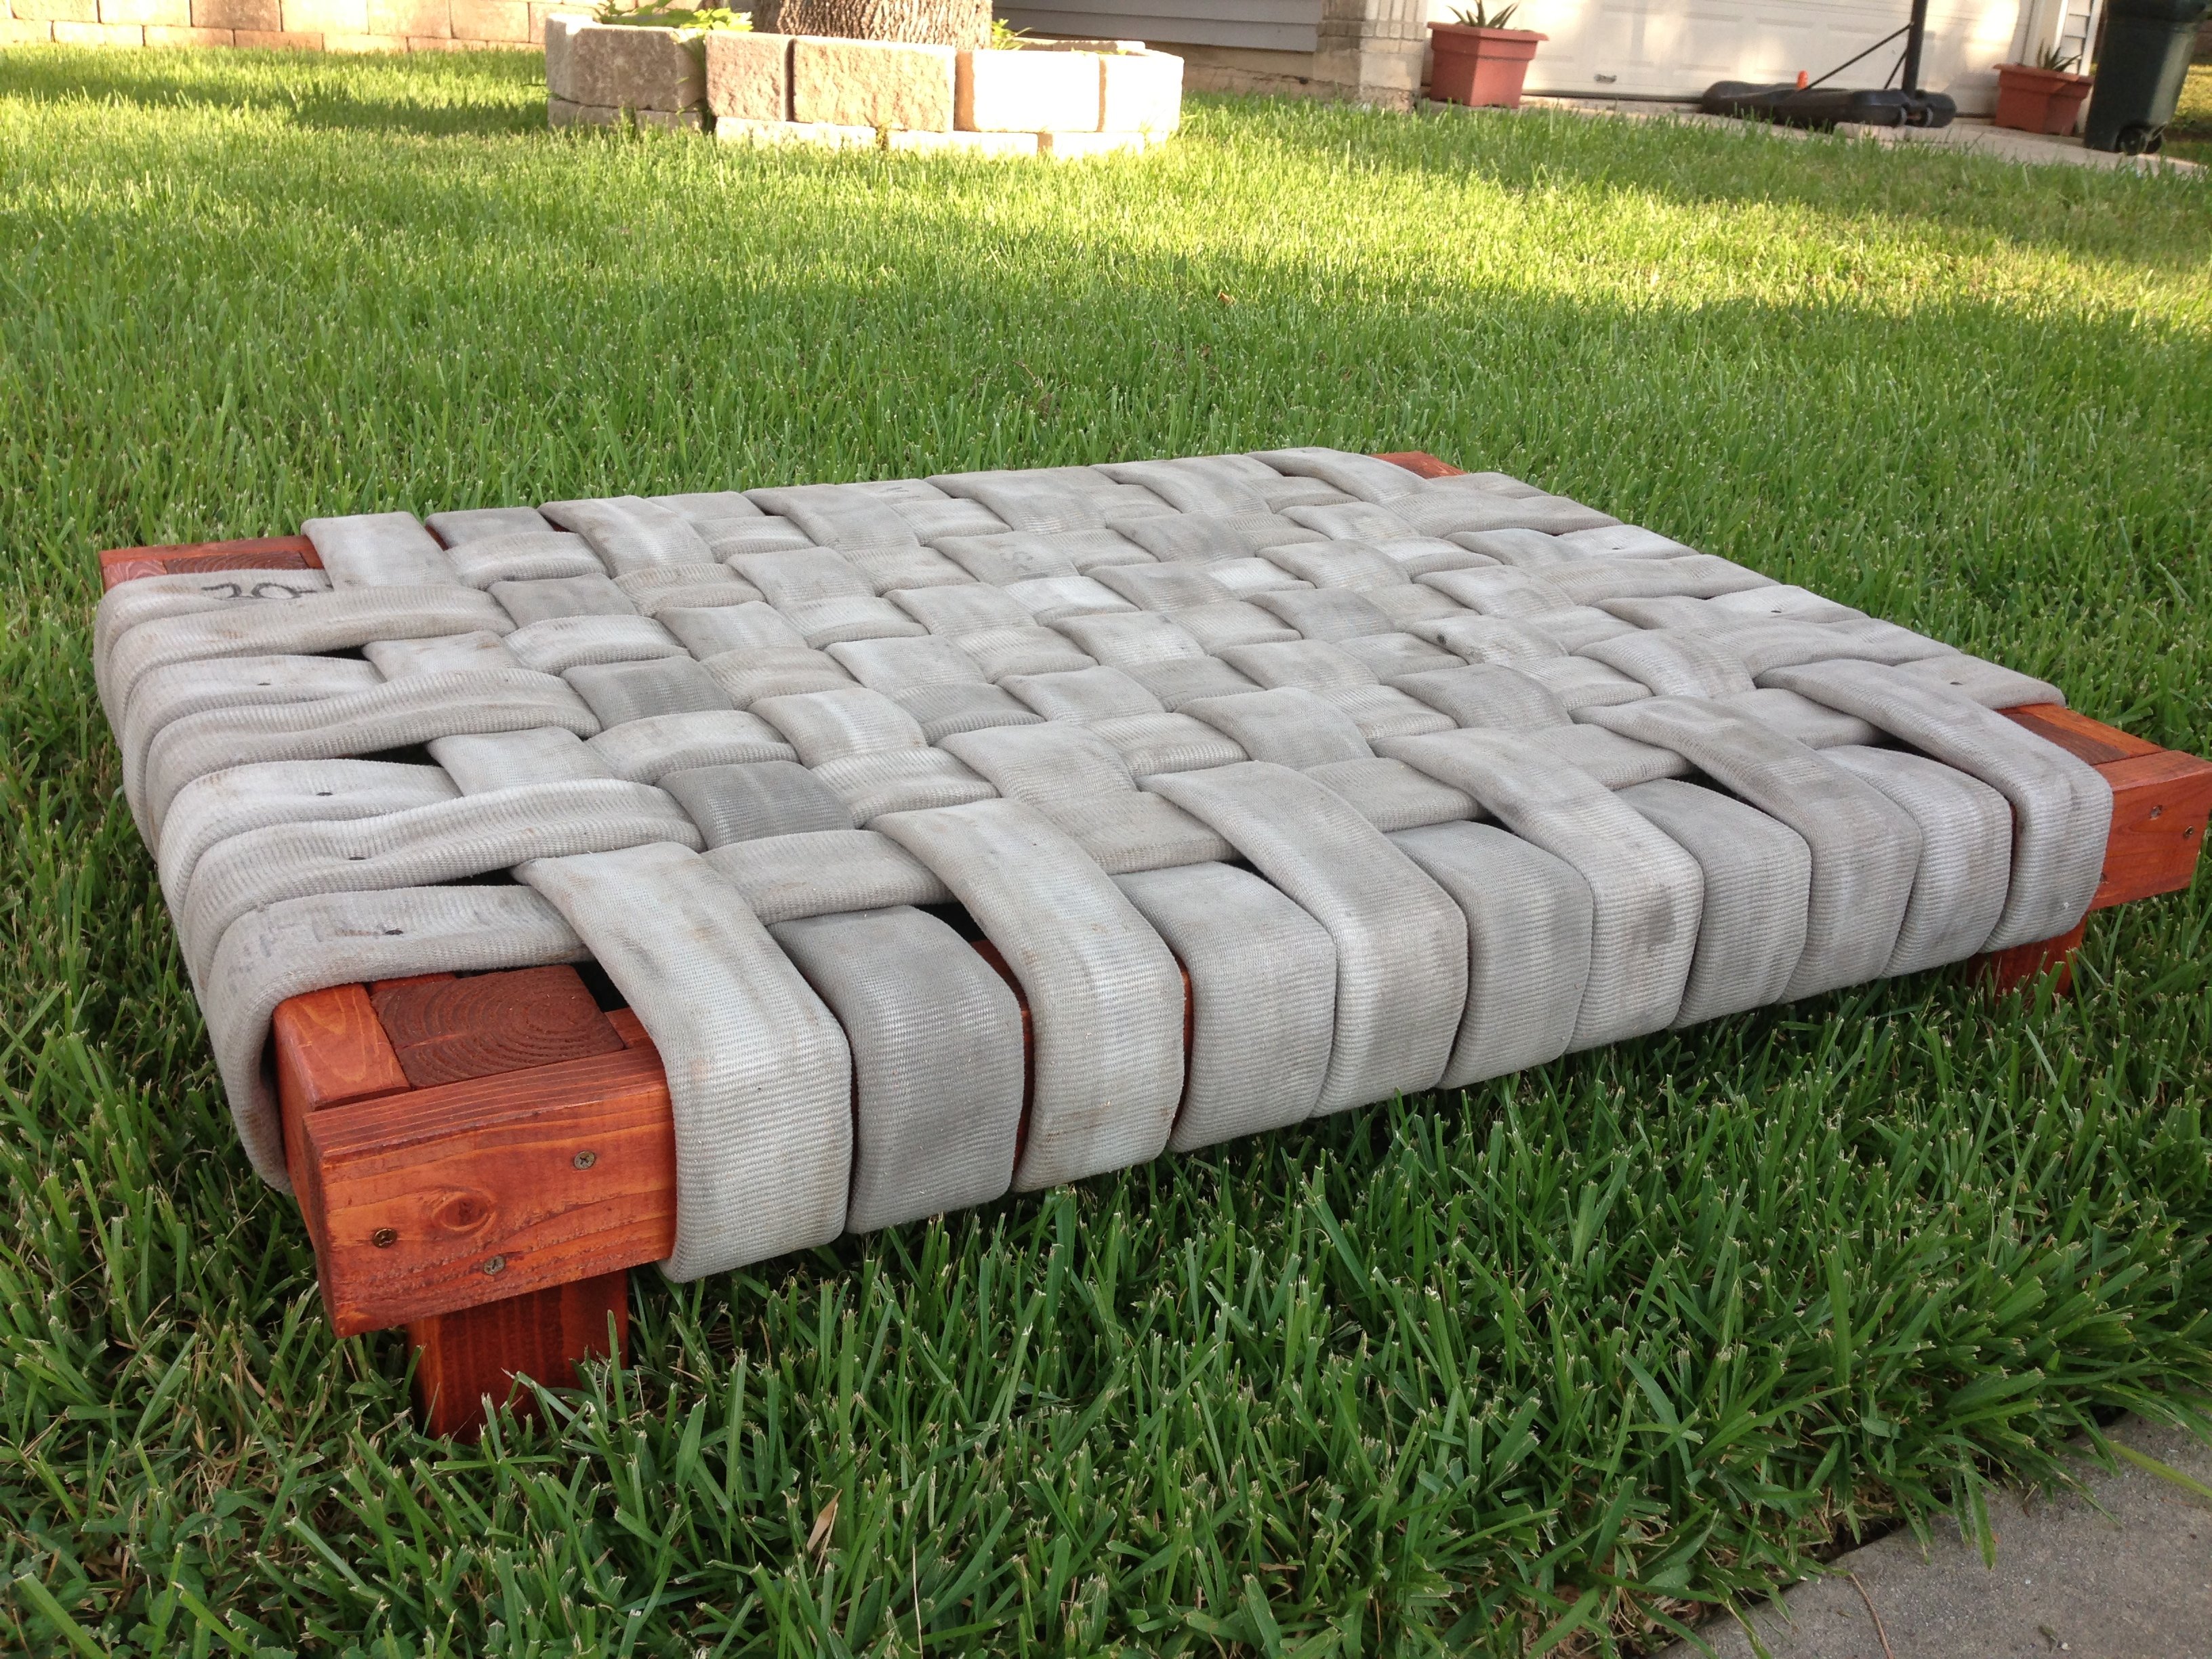
I needed a heavy duty dog bed for my puppy after he destroyed two regular dog beds. I used 4x4s, 2x4s and fire hose. He has not been able to destroy this one and he loves it.
Recommended Skill Level
Beginner
Comments
Mon, 07/08/2013 - 15:48
Cool
I have a pit bull. Shes the sweetest thing but loves to chew up her own beds. She wont chew the shihtzus bed or the cats beds just her own. I'd like to see her try this one out.
;) Now if I could figure out a way to get my dad to give up one of his fire hoses. hehe
Great job, great idea
~Melody
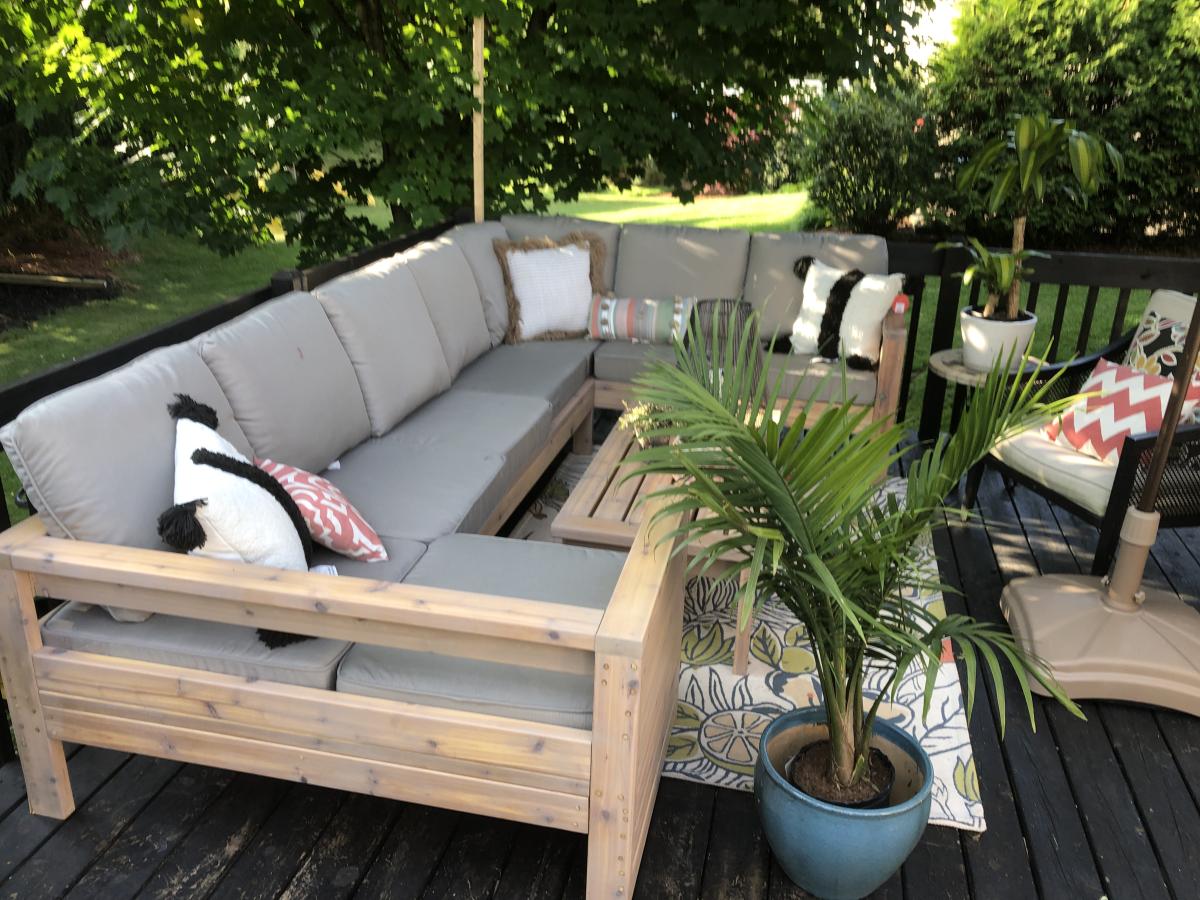
Amazing 2x4 Outdoor Sofa

We have wanted nice deck furniture since we moved into our house 22 years ago but just couldn’t justify the cost. I have made several projects from Ana’s website and I love her easy to follow and FREE plans! But this project was my favorite as you can see by the pics. I used cedar and my wife finished the furniture with stain. Thanks to Ana for providing these plans and helping a DIYer to feel proud!
Built from Plan(s)
Comments
Sat, 01/01/2022 - 12:57
AMAZING SECTIONAL!
WOW, that is stunning and so inviting, love the outcome! Thank you so much for sharing!
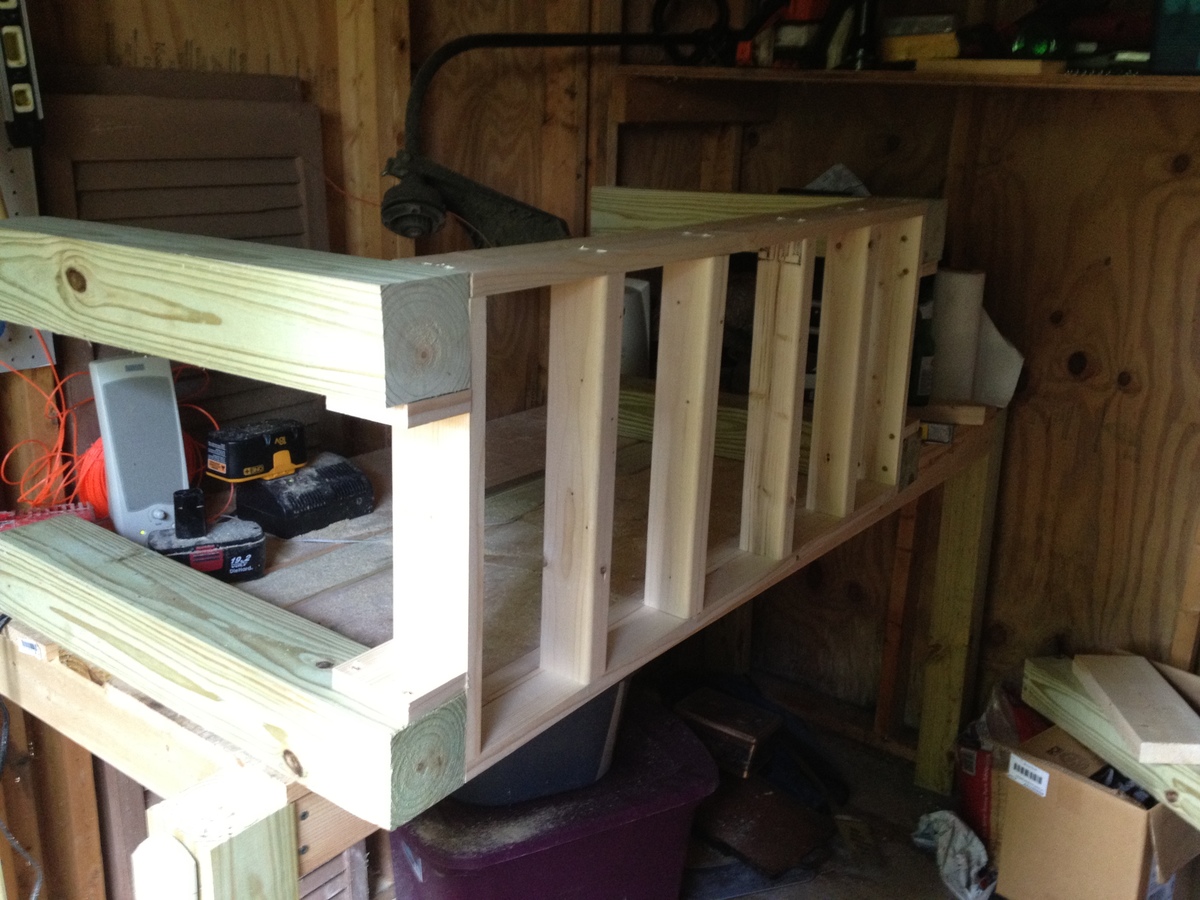
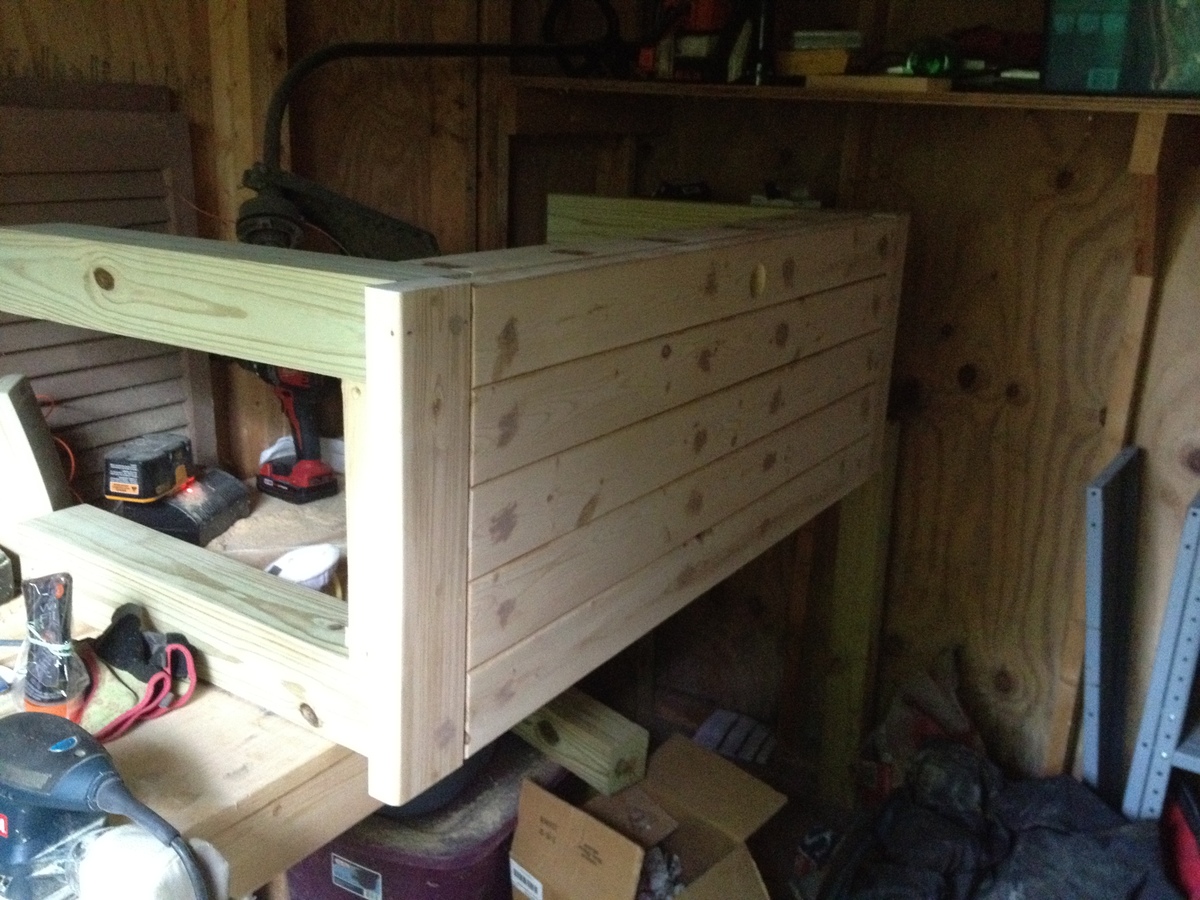
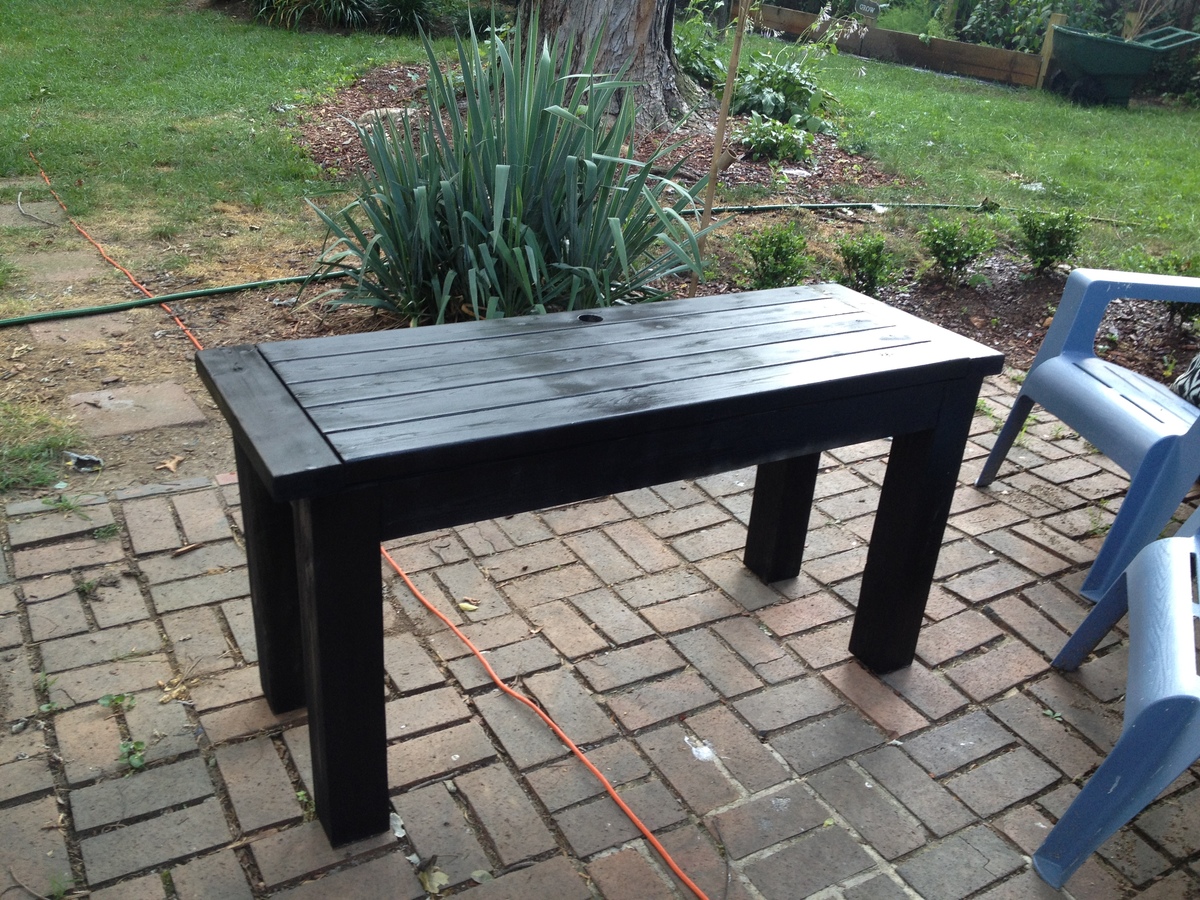
First Project - 85% success!
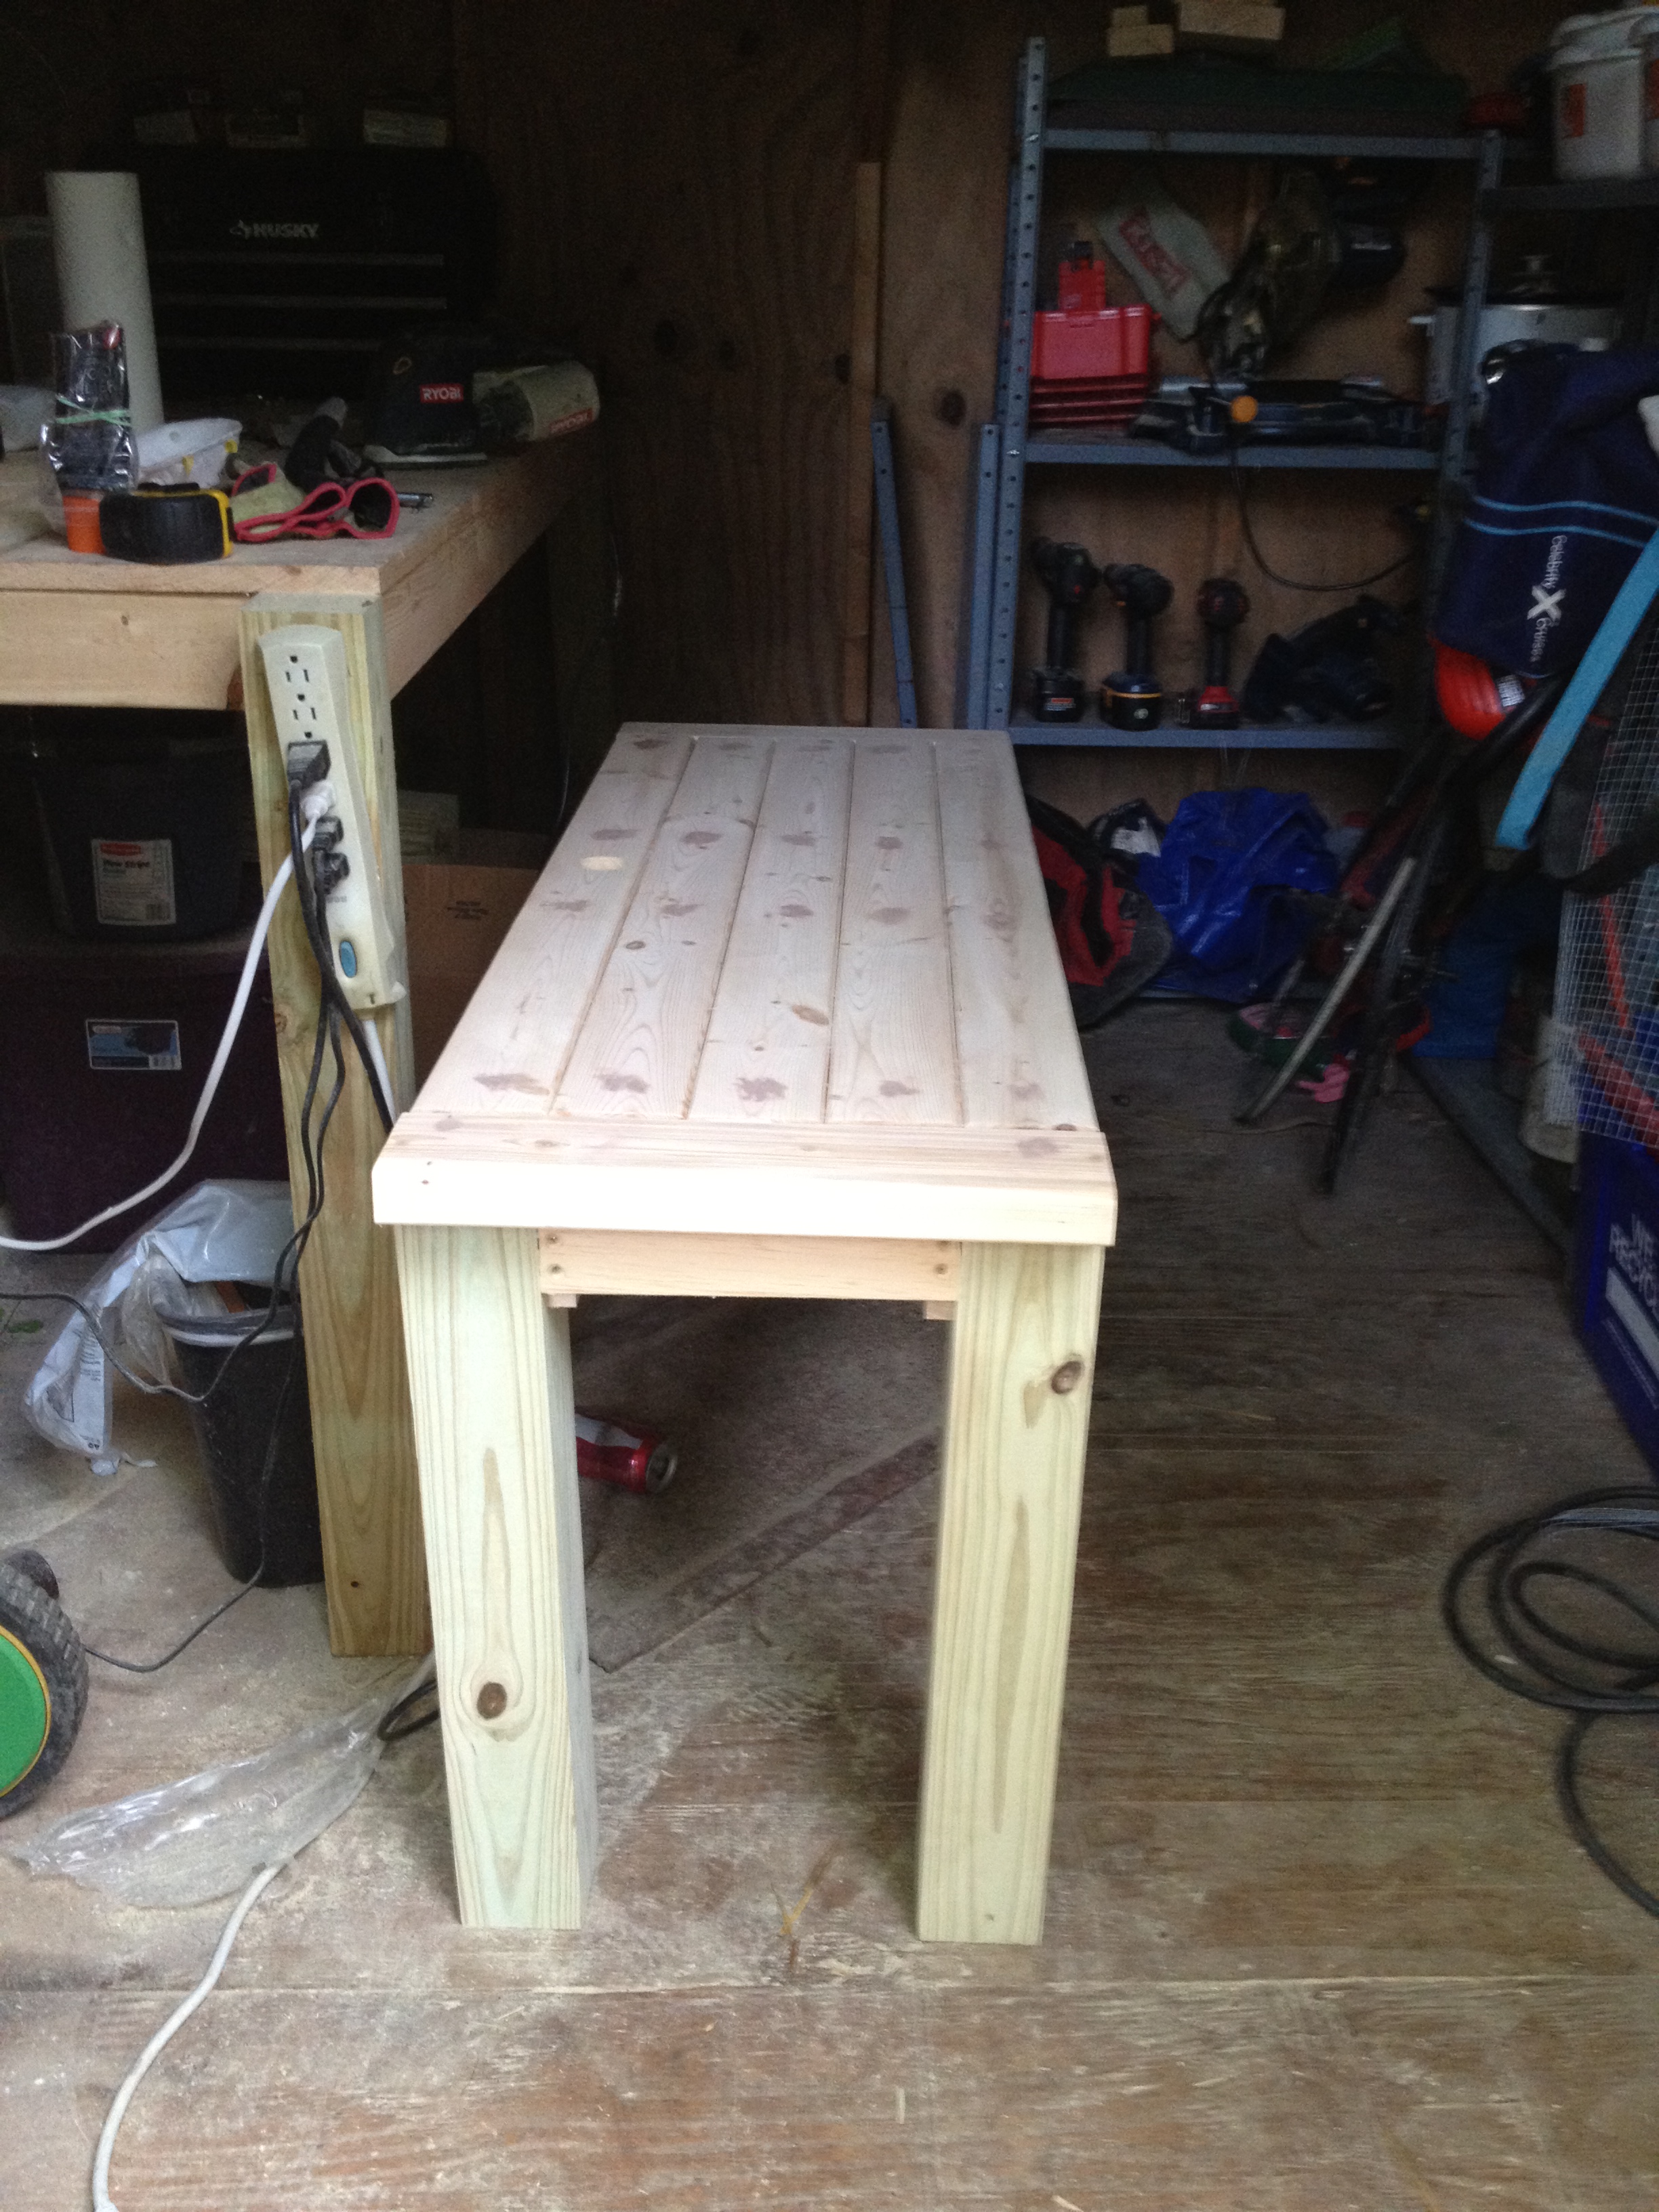
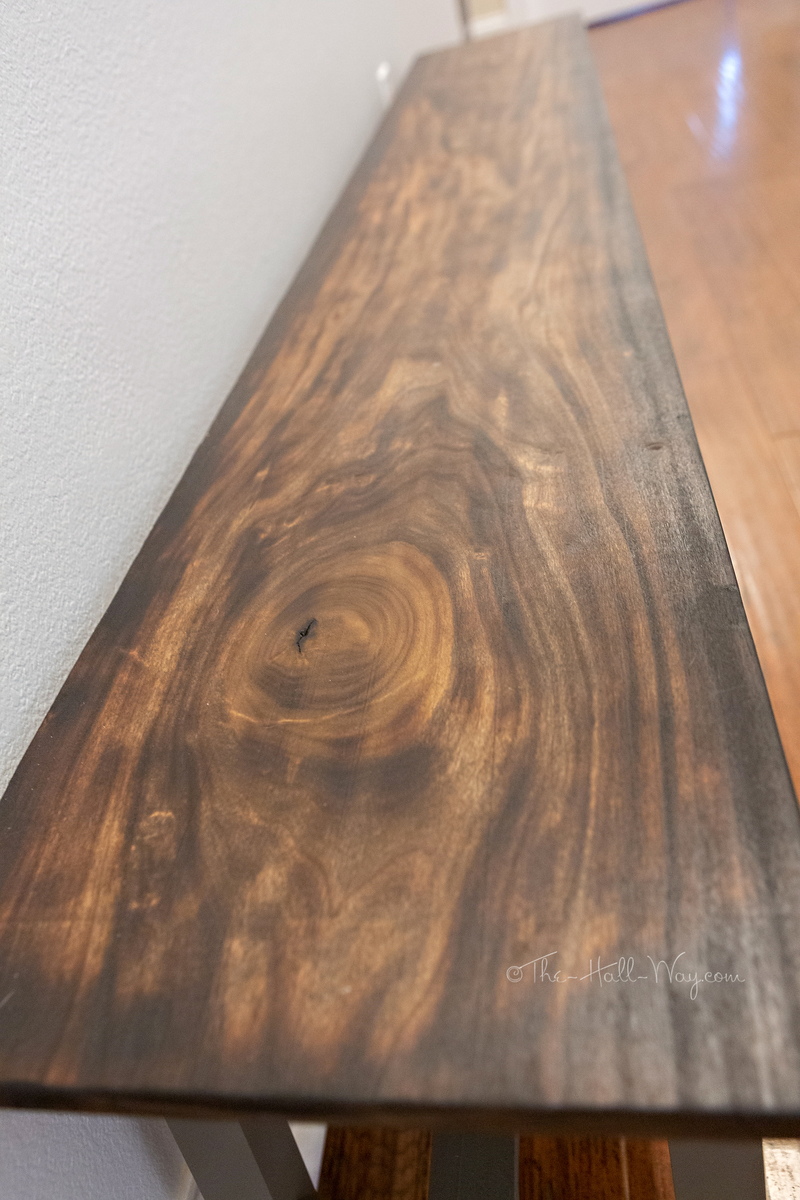
This is my first real project that I took my time on. Actually my first real project ever. I wanted to replace my Ikea console table because it has started to bow (Ikea furniture does not fend well on moves). I modified the measurements and this is now 24" wide 18" tall - same length. Solid piece of furniture. I could not find all the lumber, but I improvised. Since this was my first project, I could not get the boards to match up all too well, and I do not have a chop saw that would cut a 2x6 - when I placed the 2x6 I did not like the look so I swapped it out with 2x4's.
I used Rustoleum black lacquer spray paint. I like how the grain came out, however, it took way too much spray paint. I will consider using black latex paint next time.
I have since applied 2 coats of poly and sanded it down and steel wooled it - and finally a coat of paste wax to preserve it. If I do not like the imperfections, I just might make it an outside patio table.
Thank you so much for these plans, I spend 3 hours at work looking through all the plans on you site. I even have bought the lumber for my next project - an outdoor table (same design) so that I can use it next to the grill as a counter surface and wire baskets.
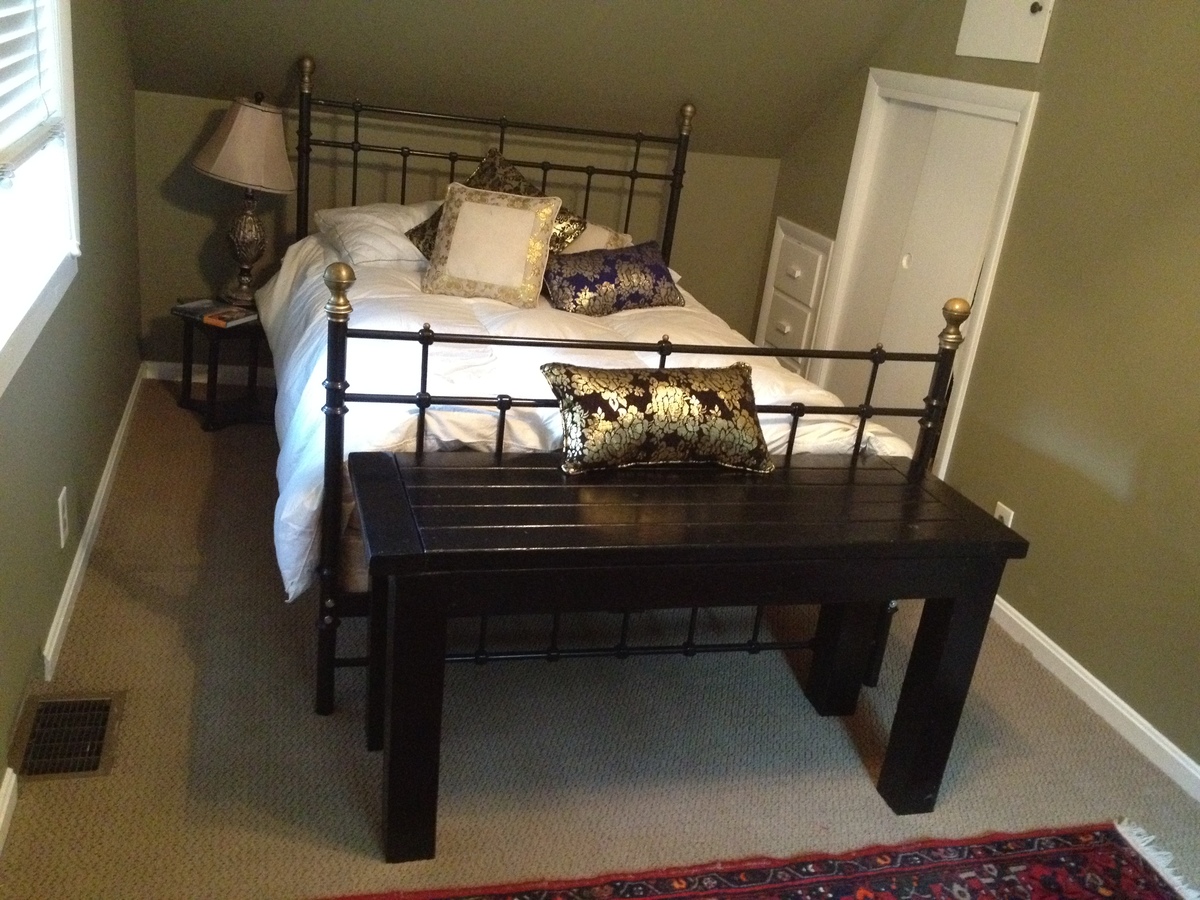
***UPDATE*** - I finished the table, however it came out 4" less wide than the old table, however I was able to re-purpose it and use it as an end table for one of the guest bedrooms. The table could have come out a little better, I guess I can only get better!
Again thank you!
Built from Plan(s)
Estimated Time Investment
Afternoon Project (3-6 Hours)
Finish Used
Rustoleum Black Lacquer spray
poly-urothene high gloss
poly-urothene high gloss
Recommended Skill Level
Starter Project
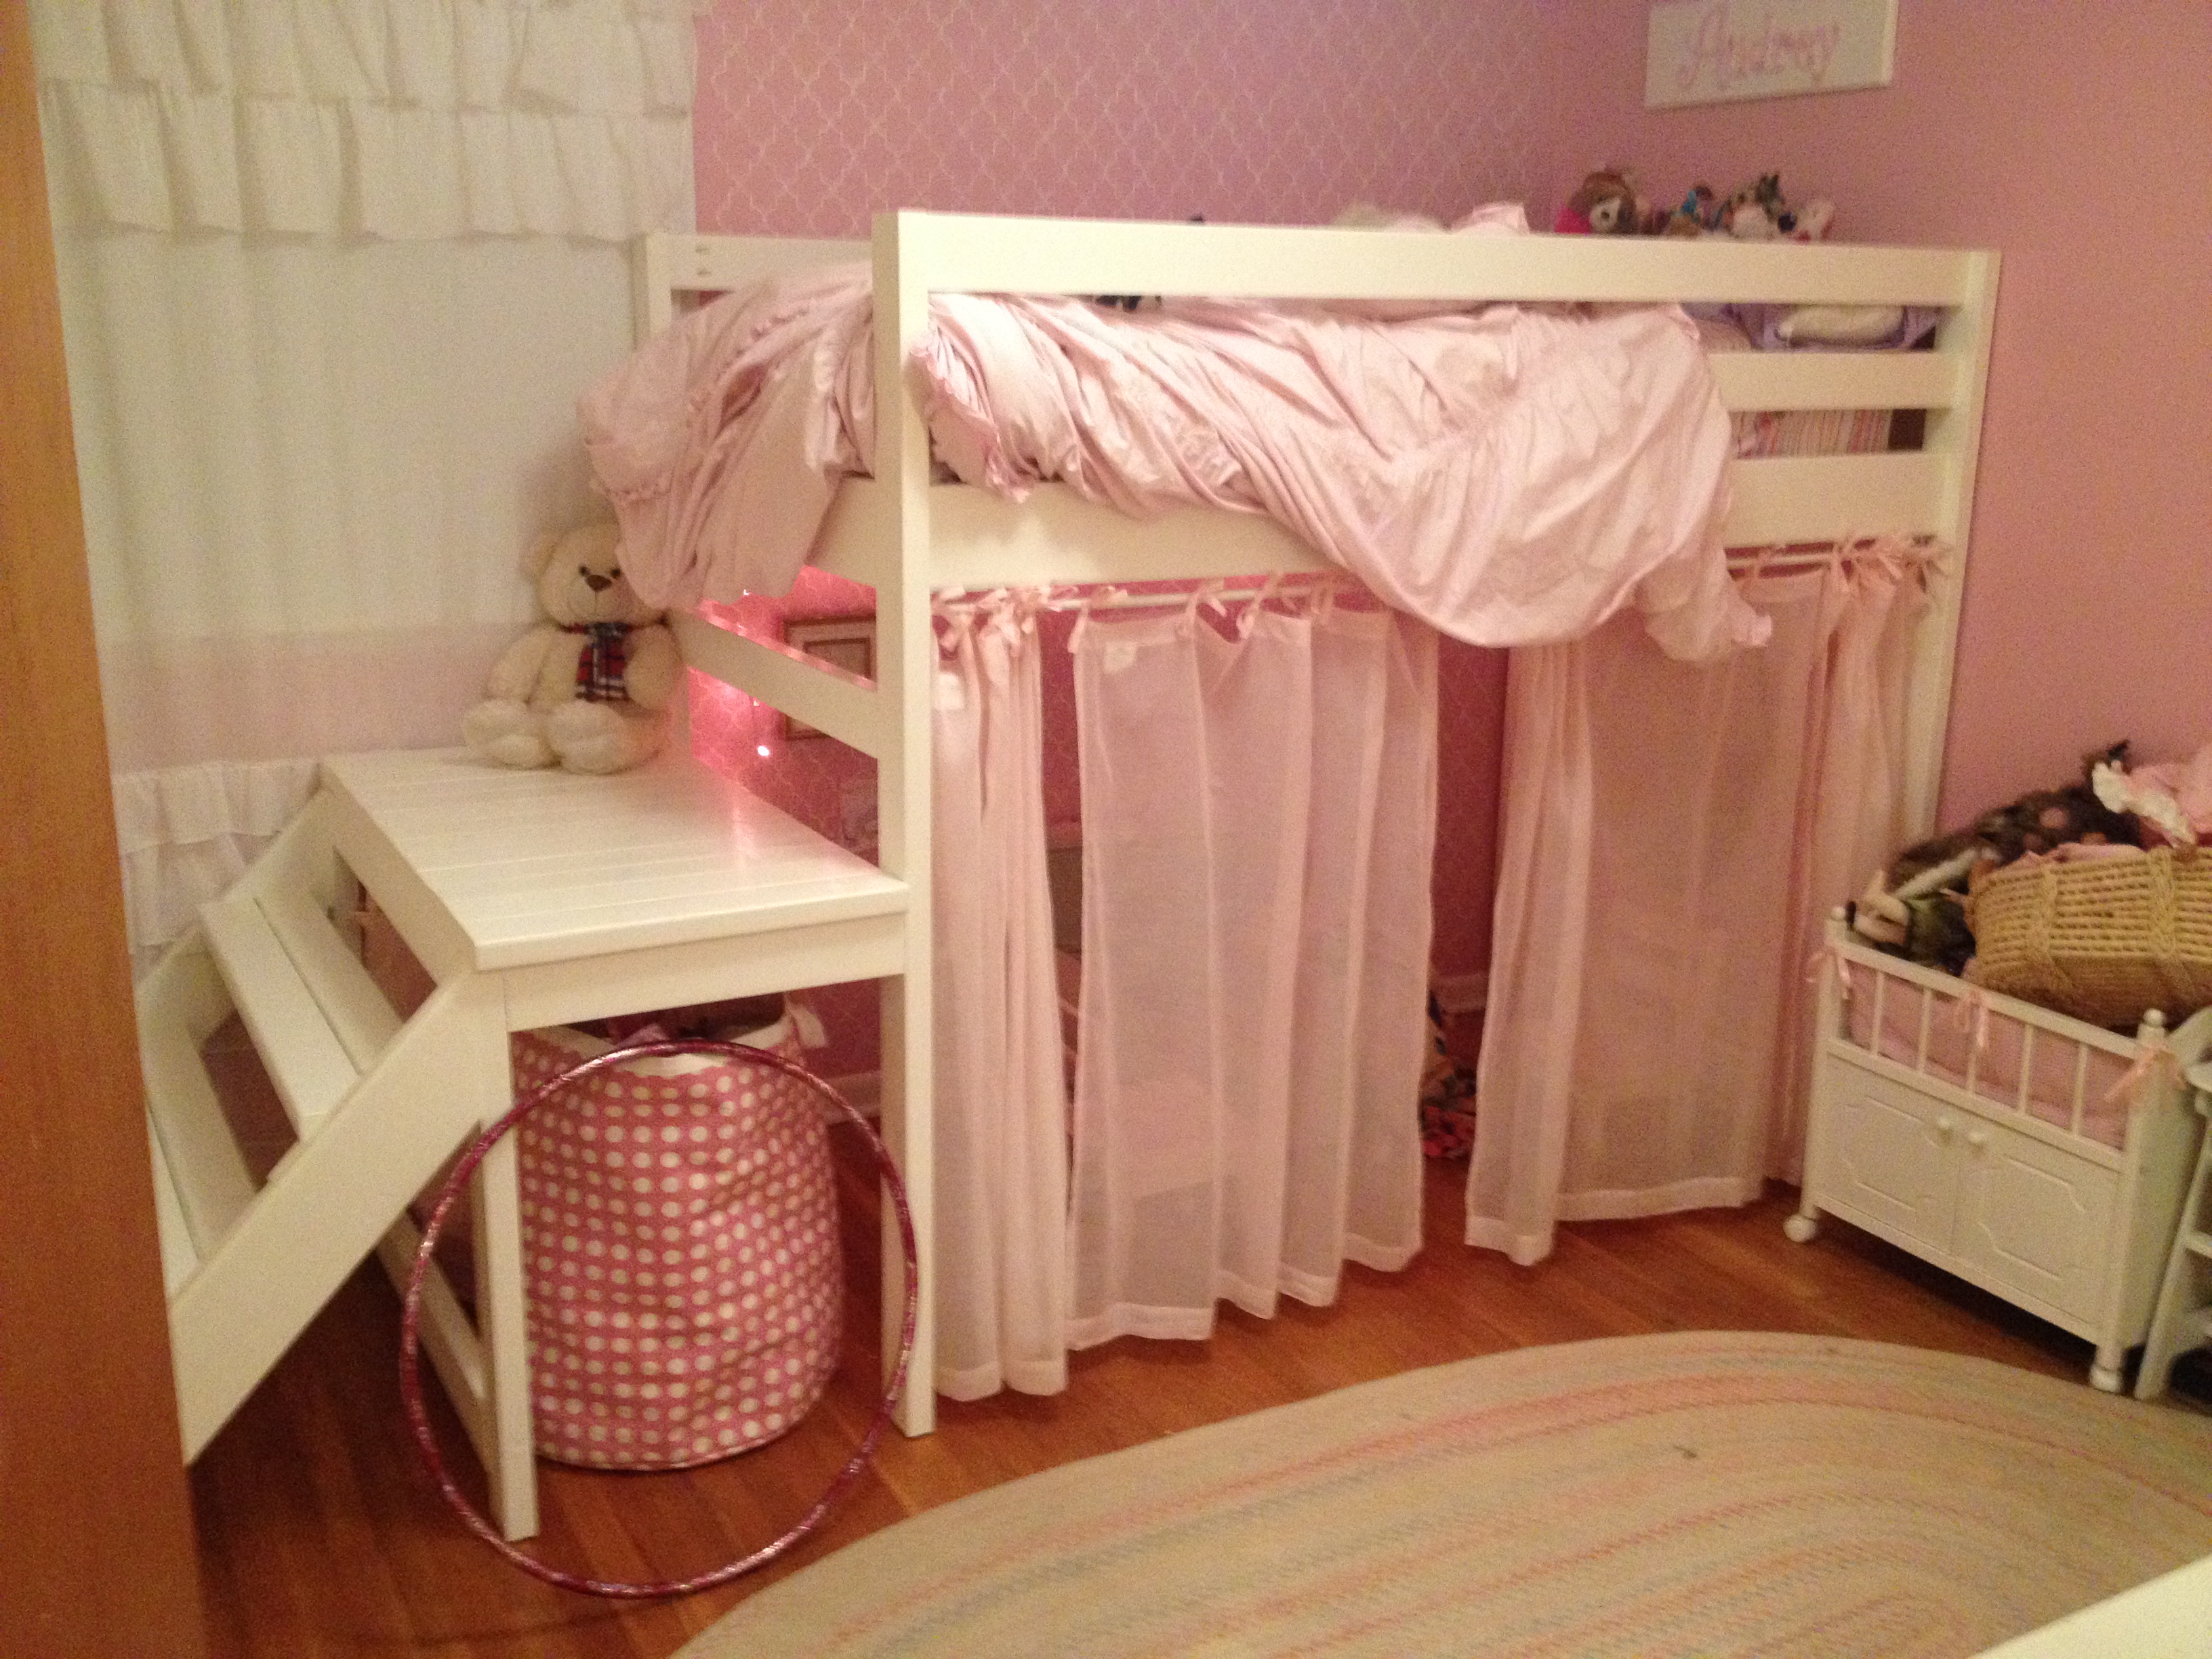
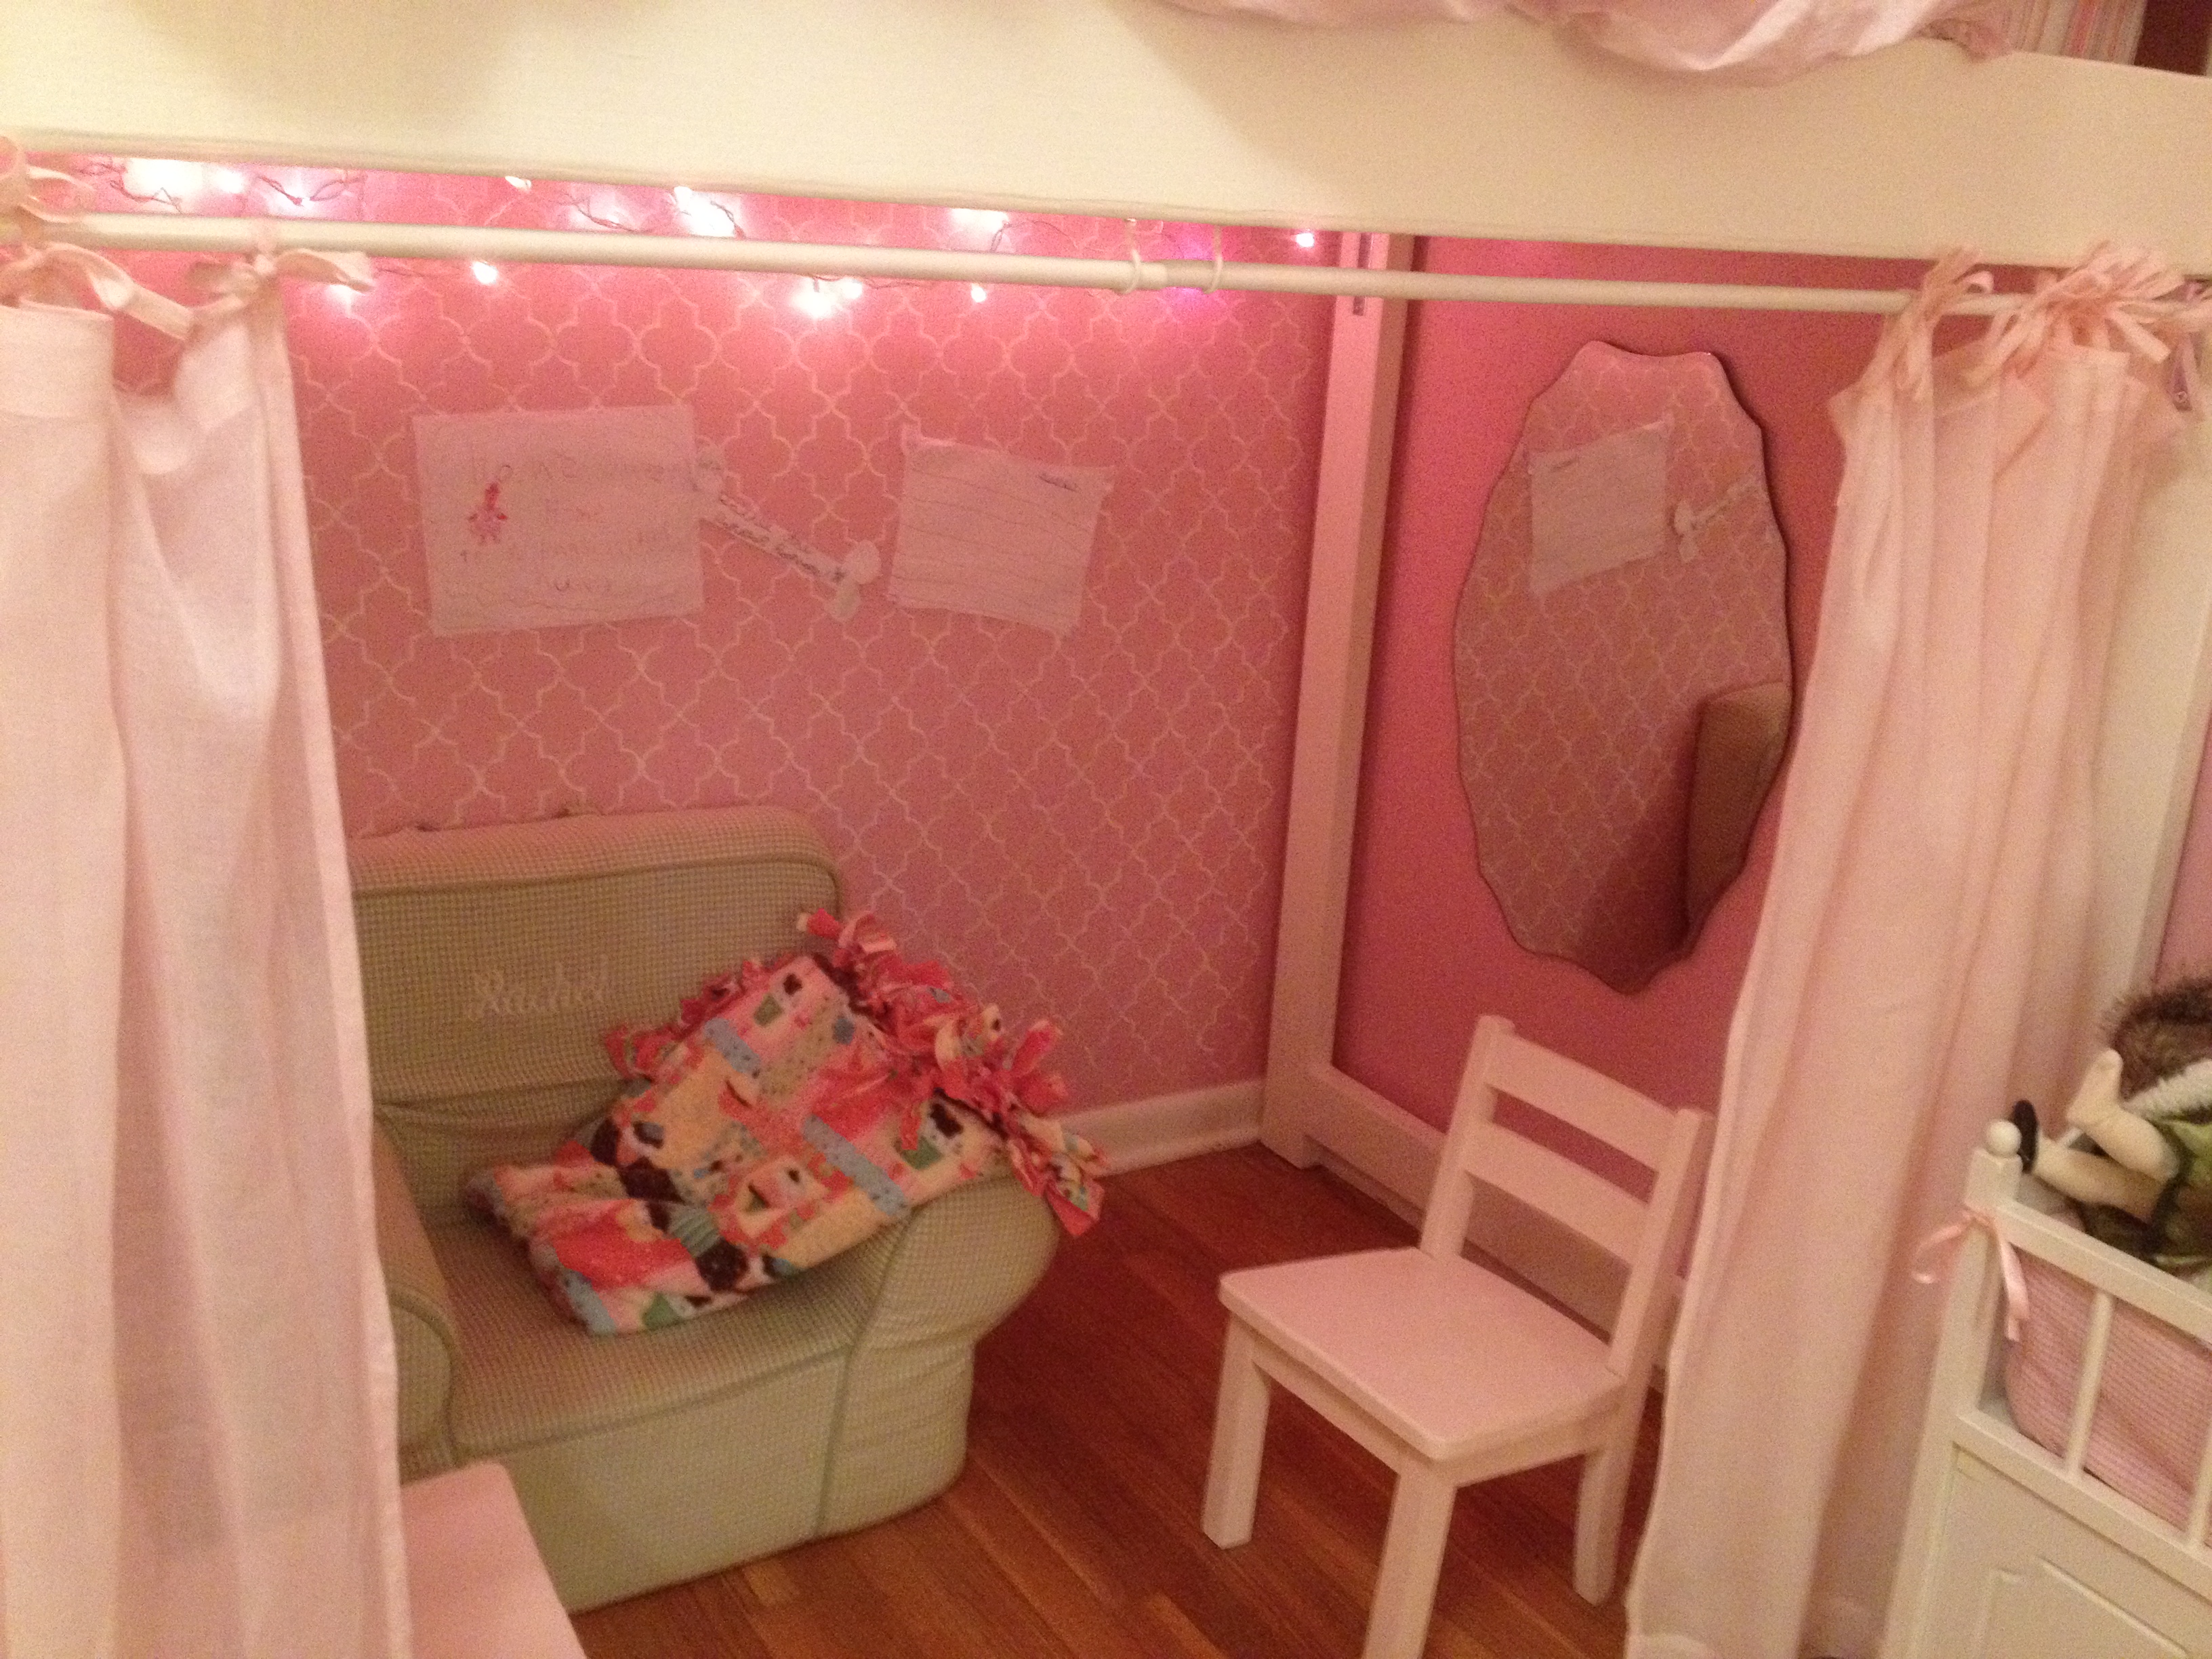
Little girls Jr. Loft Bed
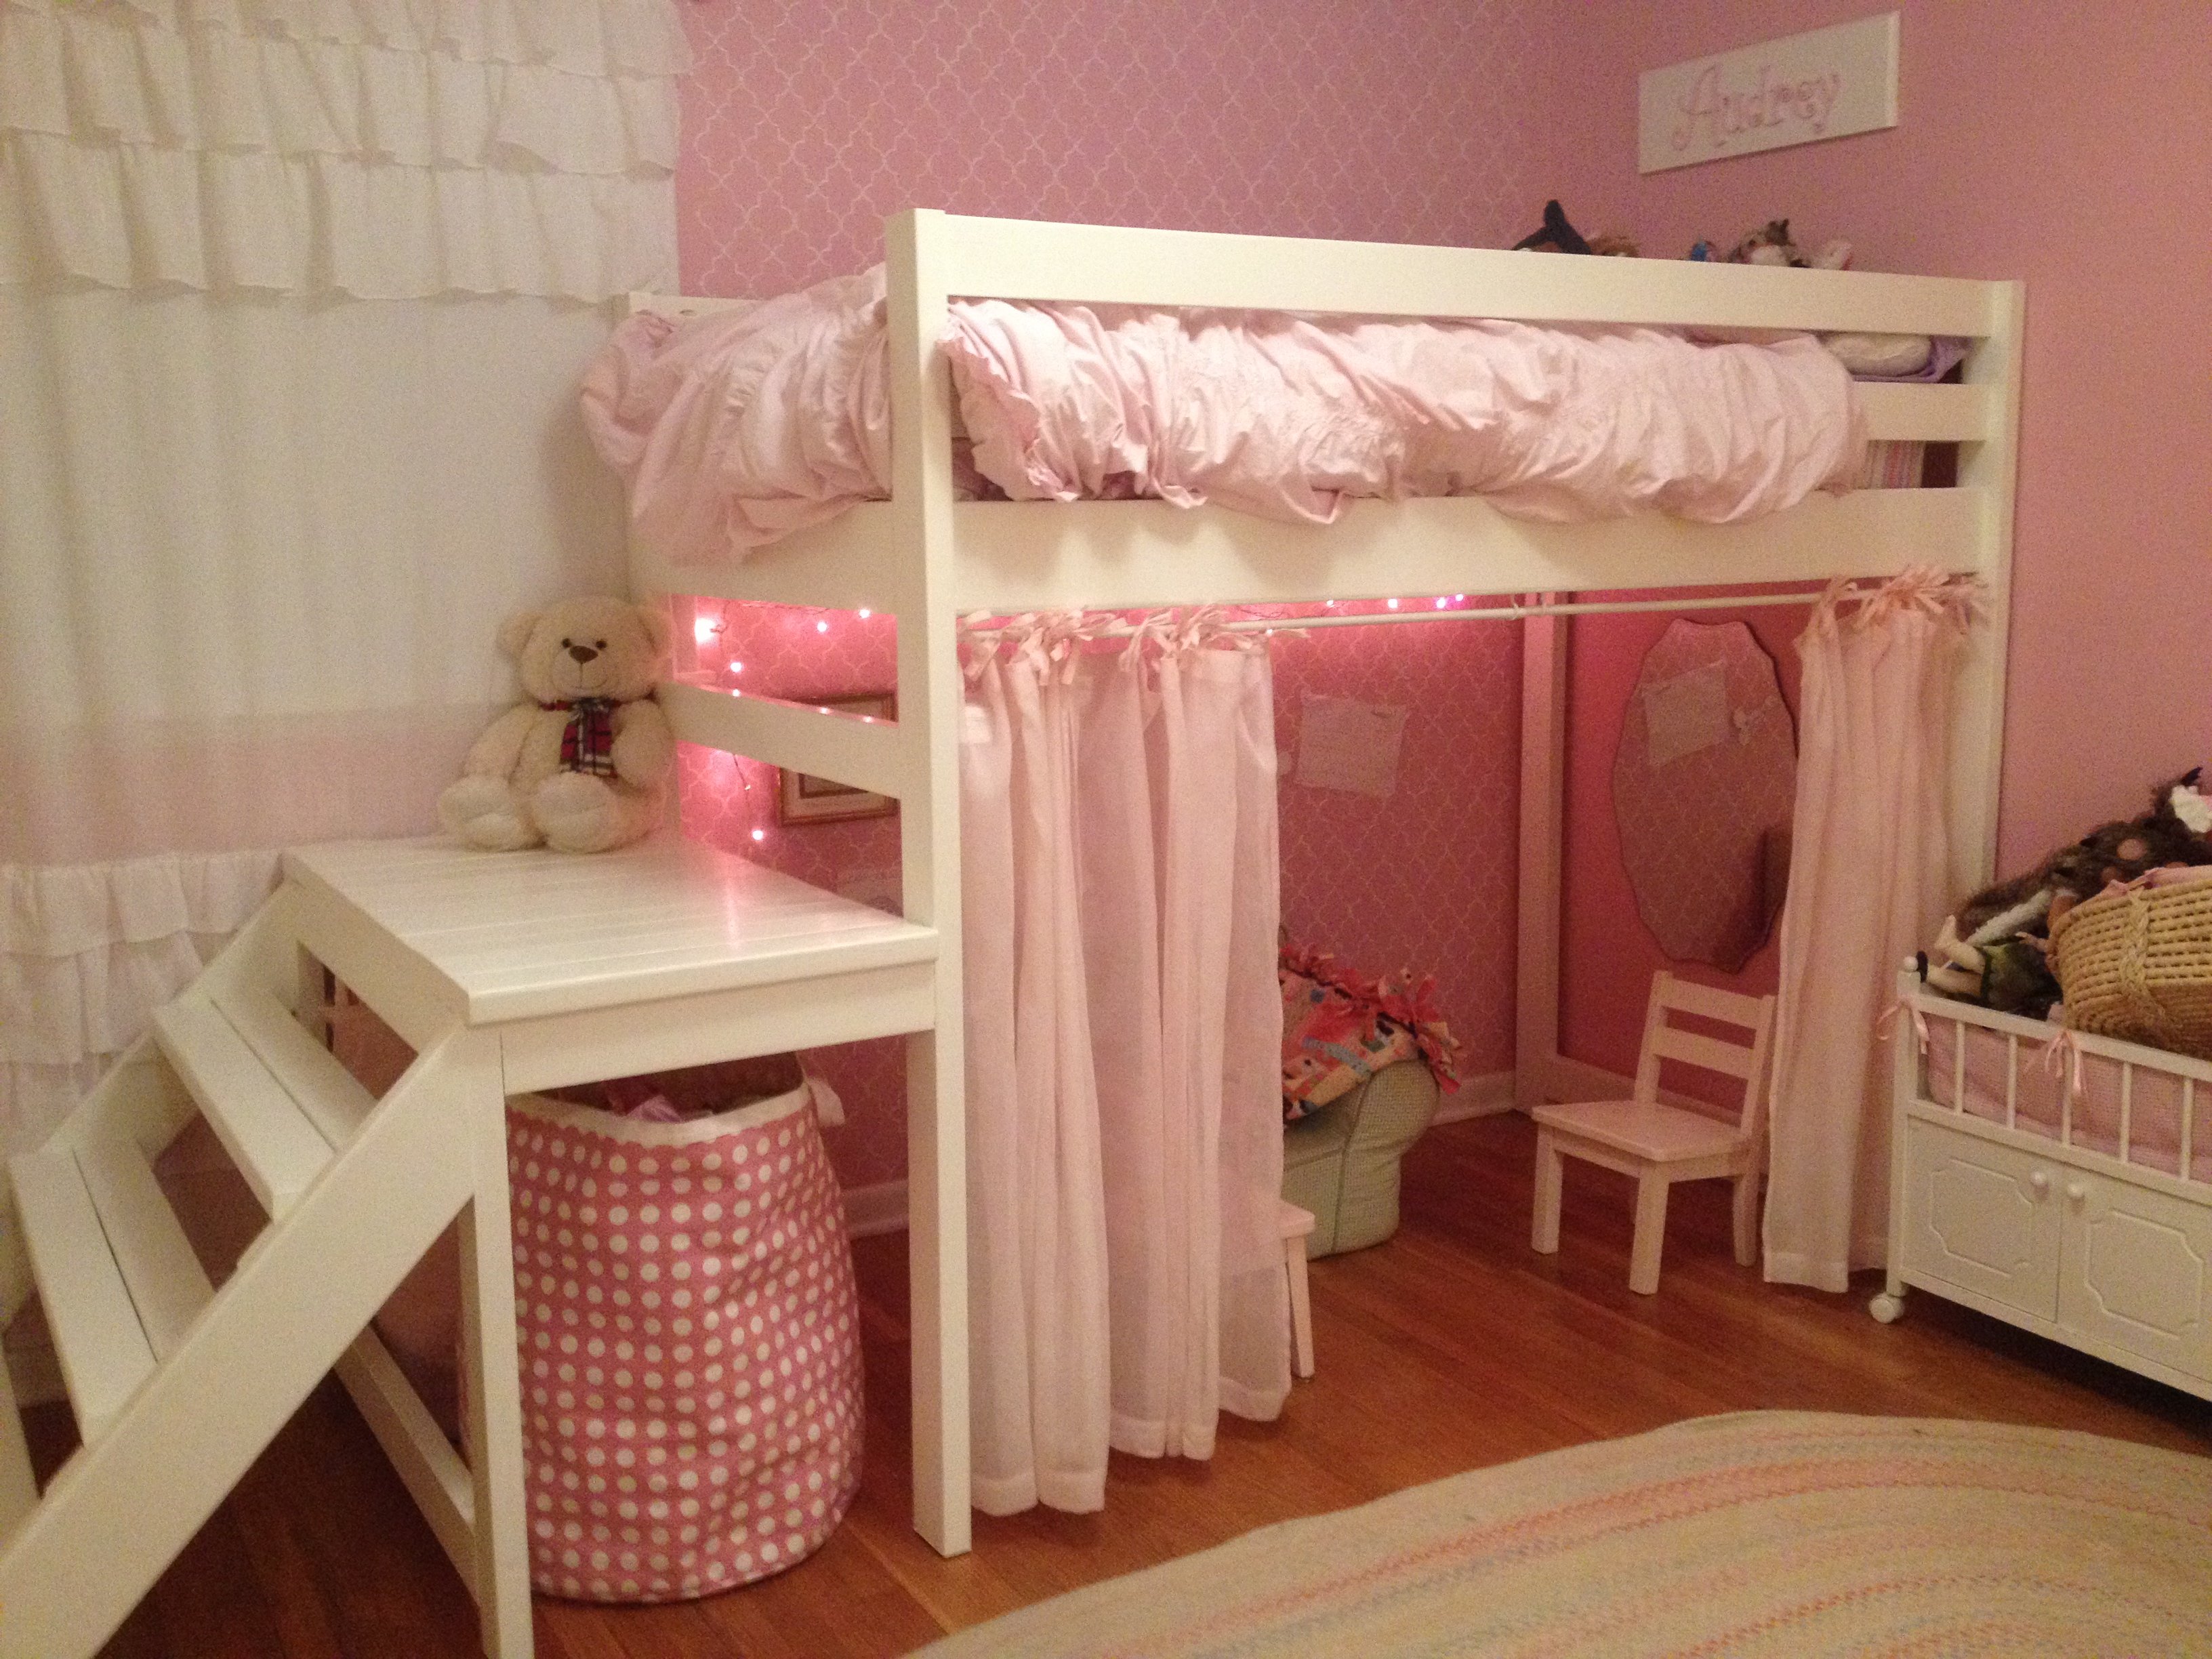
I built this for my little girl's room and she loves it! She loves the play area underneath especially. The build did not take that long, but the finishing (sanding and painting) took many hours. It is very sturdy. My girls sleep up there together all the time, and we have even had adults sleep up there. We didn't have a corner to put it in, so I built wider steps along the same wall as the bed.
Built from Plan(s)
Estimated Cost
$200
Estimated Time Investment
Week Long Project (20 Hours or More)
Finish Used
Antique white with a satin finish.
Recommended Skill Level
Beginner
Comments
Fri, 11/04/2016 - 00:39
Thank you! Sorry so late to
Thank you! Sorry so late to reply, I am just now seeing this. It is a twin mattress.
Wed, 09/16/2020 - 19:25
modifications help requested
I am interested in this design, but would like to have it with a full size mattress. How would I alter the plans? I would also like to have the stairs be storage drawers/stairs. Can you help me with this?
Thank you!
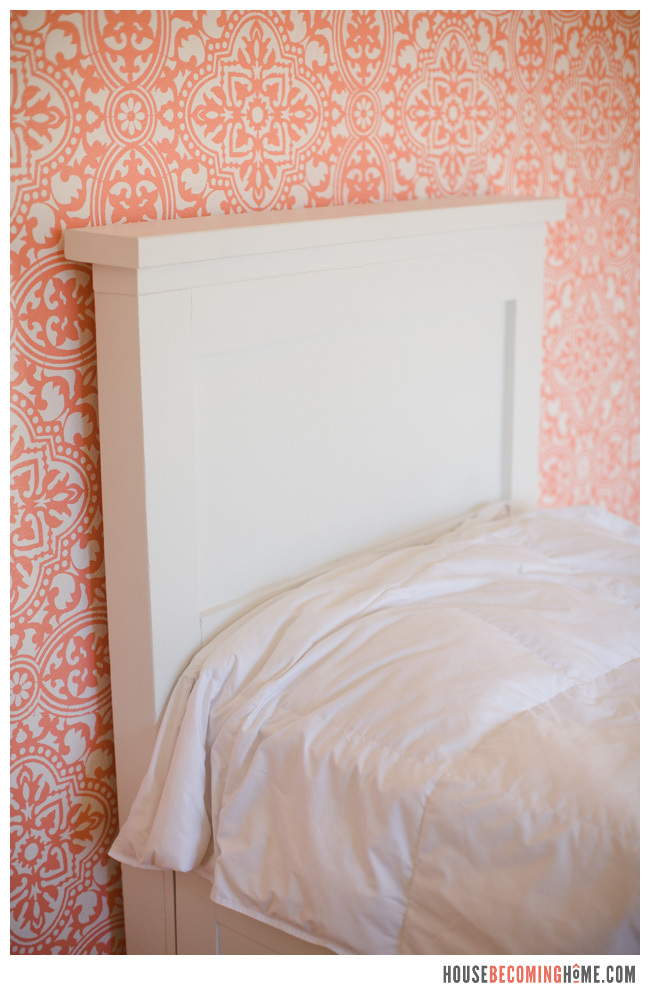
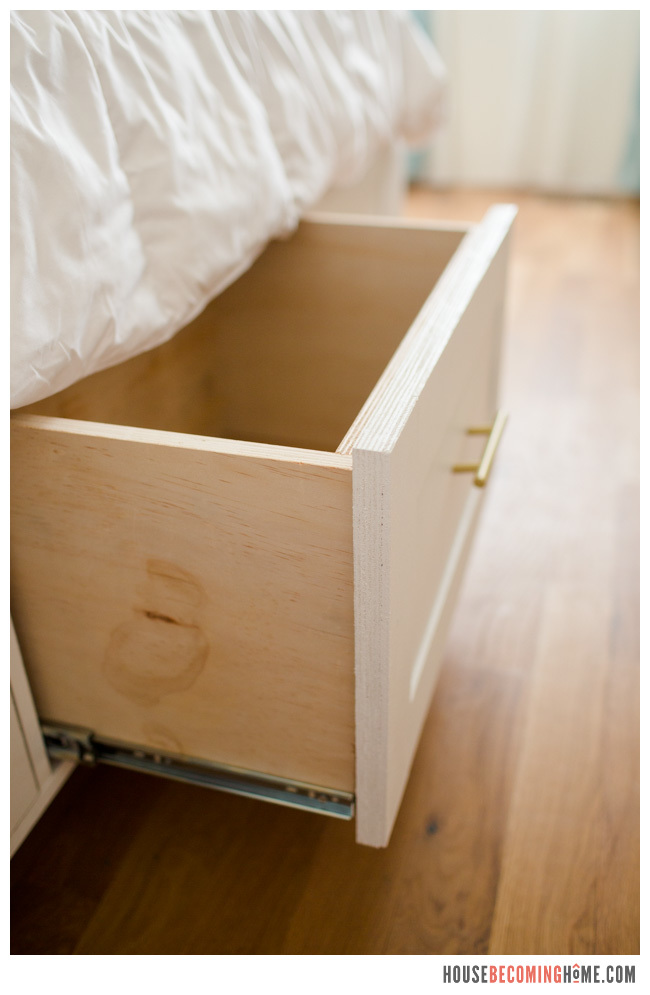
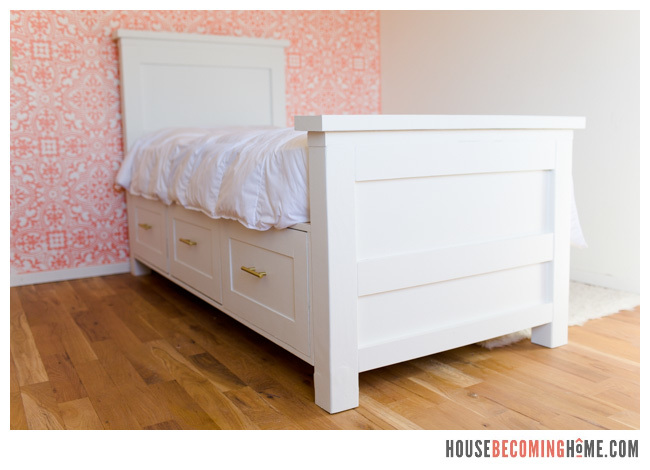
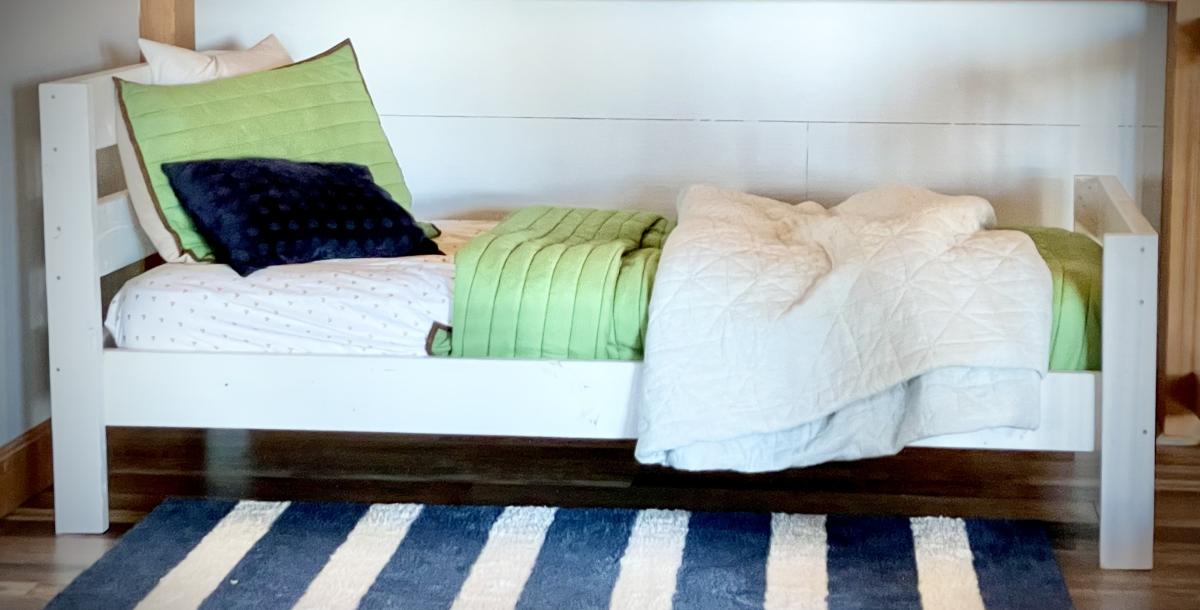
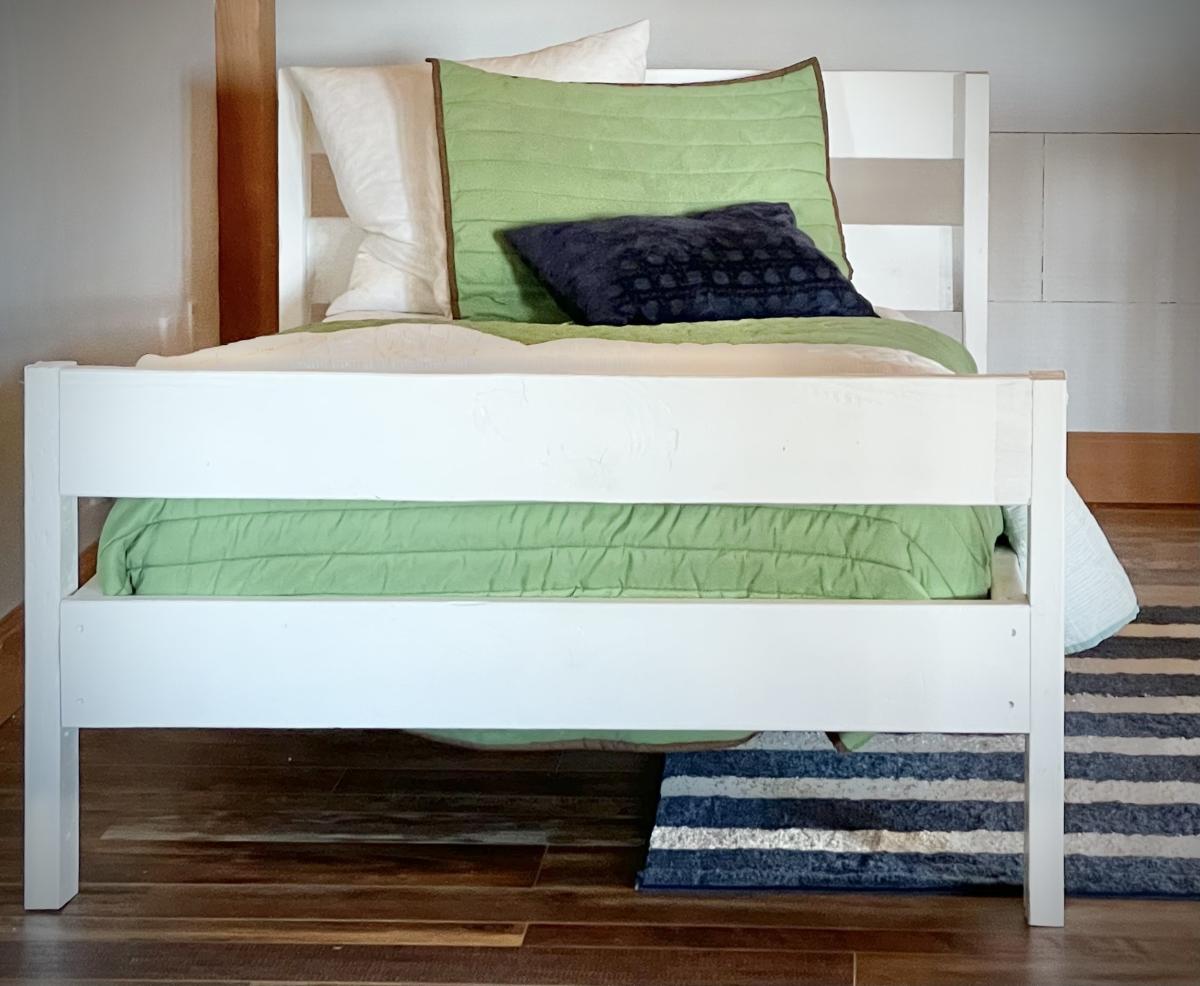
Twin Bed With Drawers
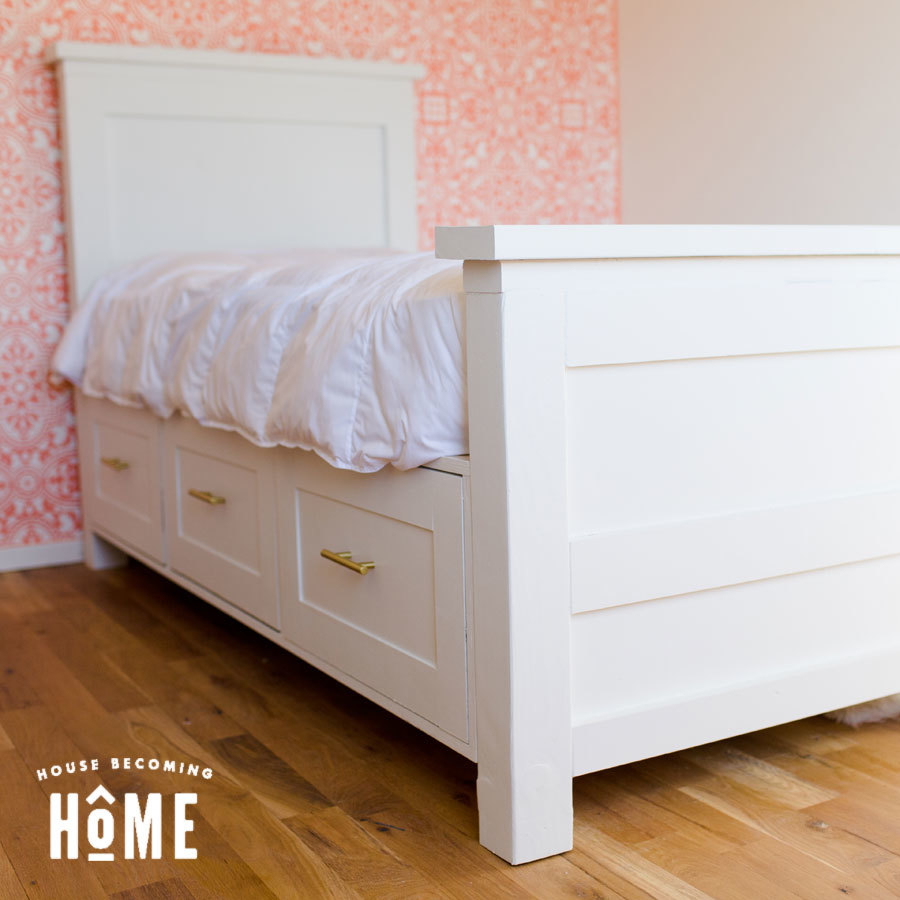
I built this twin bed with drawers for my daughter and I LOVE all the storage the drawers provide. I slightly modified the plans it was based off of--you can find more info and see details from the build on my blog House Becoming Home.
Built from Plan(s)
Finish Used
paint
Recommended Skill Level
Intermediate
Comments

Class/School Auction Projects
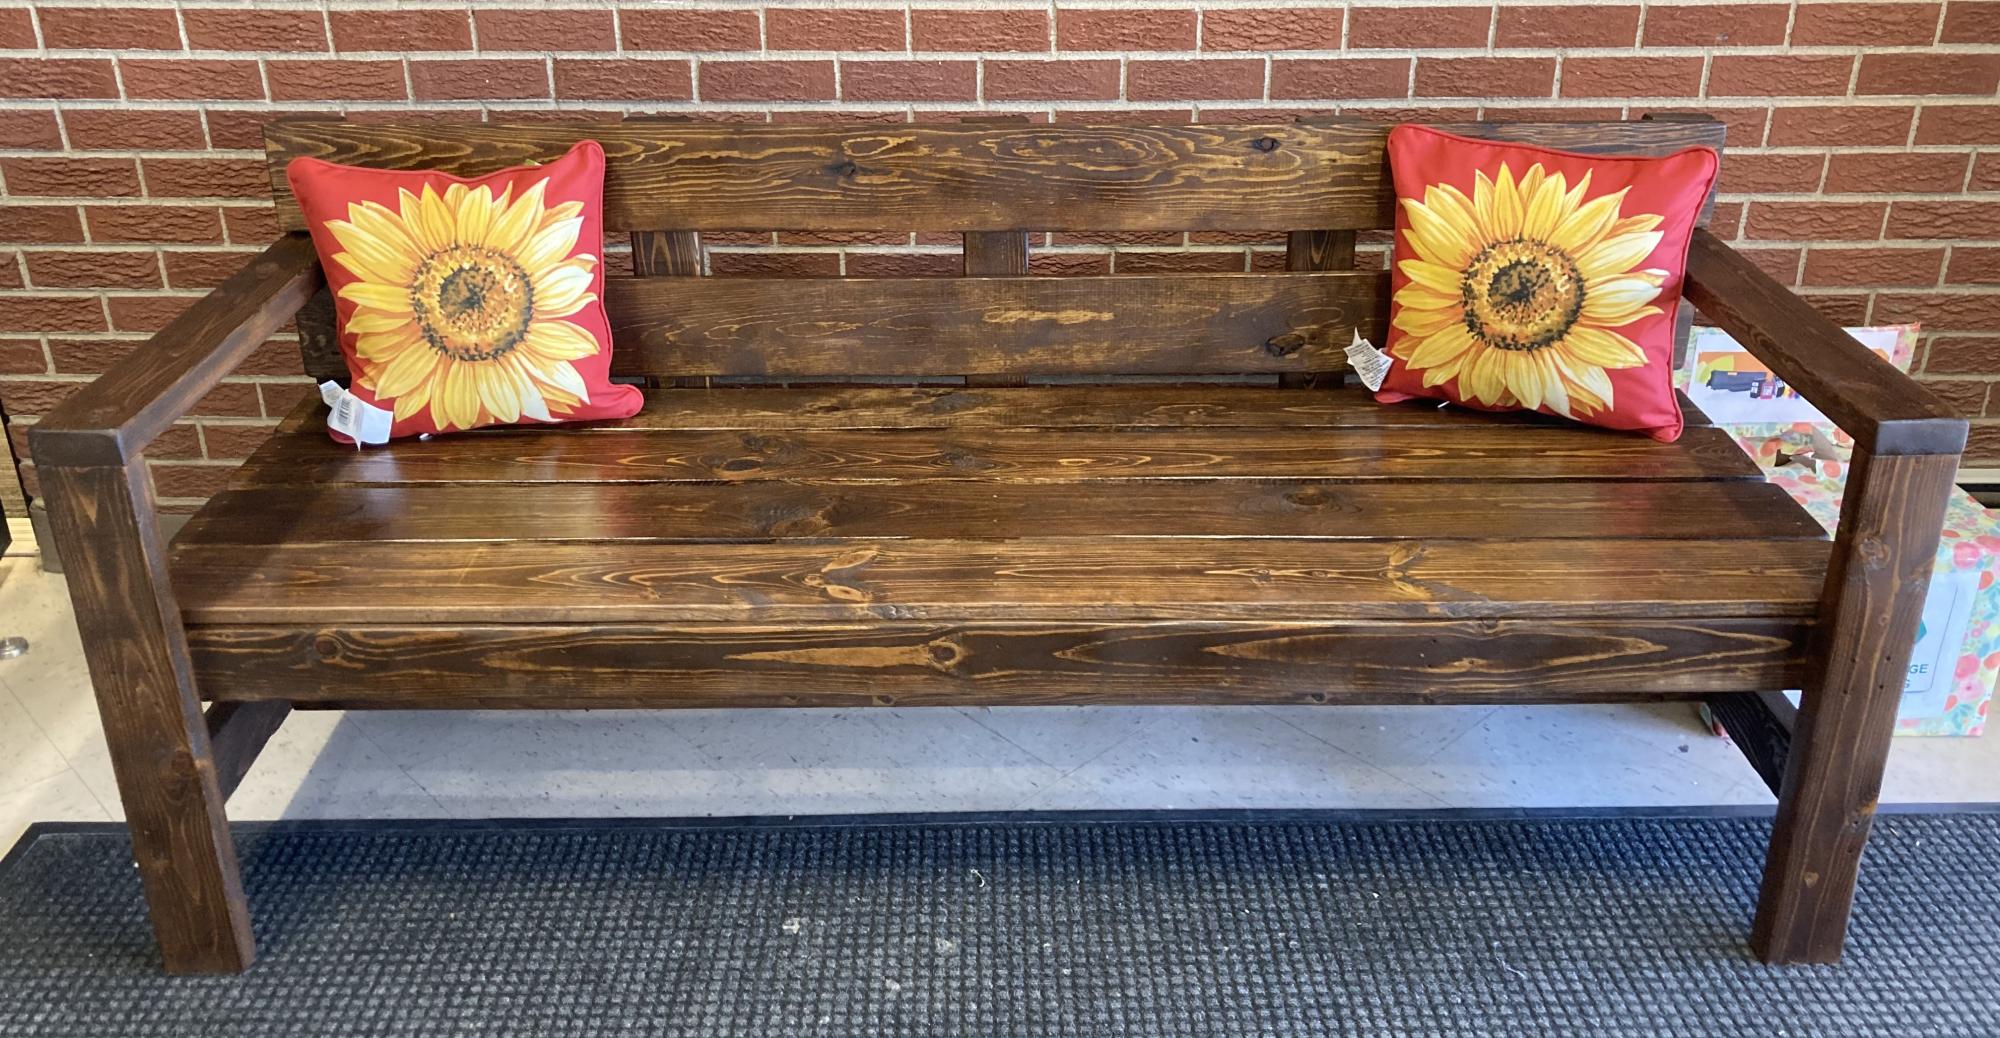
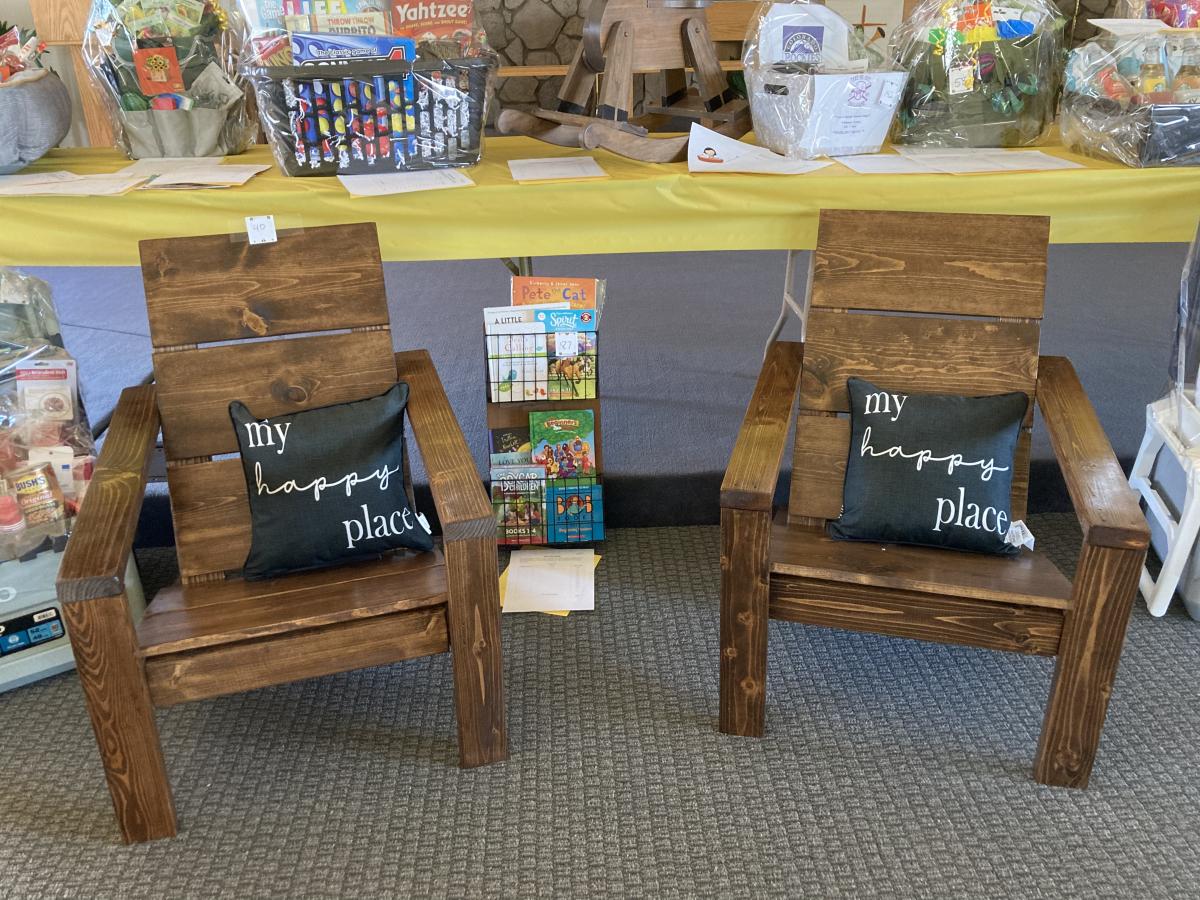
This year my 2nd-3rd class built the Modern Park bench for the school auction. They sanded, stained, and set the screw for the seat and back.
I also made two Adirondack chairs with matching stain.
Both projects had two coats of poly and really shined. They were a hit at the auction and the kids and families really appreciated the experience and final products.
Thank you Ana for making plans simple to follow and new skills learned each time.
Blessings,
Jennifer
Built from Plan(s)
Comments
Wed, 05/04/2022 - 07:50
Way to go kids!
This is amazing, I am sure their furniture pieces were a hit! Thank you for sharing:)
Mon, 05/16/2022 - 18:33
My students really enjoyed…
My students really enjoyed it and many picked up a tool for the first time. I like planting seeds in their heart and mind for the future!! Blessings, Jennifer
Mon, 05/16/2022 - 18:33
My students really enjoyed…
My students really enjoyed it and many picked up a tool for the first time. I like planting seeds in their heart and mind for the future!! Blessings, Jennifer

Sun, 03/31/2024 - 14:30
I've been helping with our…
I've been helping with our class auction project, and it's been a fun experience. But balancing schoolwork and project deadlines can be tough. That's why I found this article finance.yahoo.com/news/pay-essay-top-5-safe-105019899.html on safe essay services helpful. It saved me time and stress, allowing me to focus on both my studies and the auction project.
Sun, 03/31/2024 - 14:31
I've been helping with our…
I've been helping with our class auction project, and it's been a fun experience. But balancing schoolwork and project deadlines can be tough. That's why I found this article https://consent.yahoo.com/v2/collectConsent?sessionId=4_cc-session_0f89… on safe essay services helpful. It saved me time and stress, allowing me to focus on both my studies and the auction project.

Wed, 05/01/2024 - 12:07
I've been helping with our…
I've been helping with our class auction project, and it's been a fun experience. But balancing schoolwork and project deadlines can be tough. That's why I found this article https://consent.yahoo.com/v2/collectConsent?sessionId=1_cc-session_e9dd… on safe essay services helpful. It saved me time and stress, allowing me to focus on both my studies and the auction project.
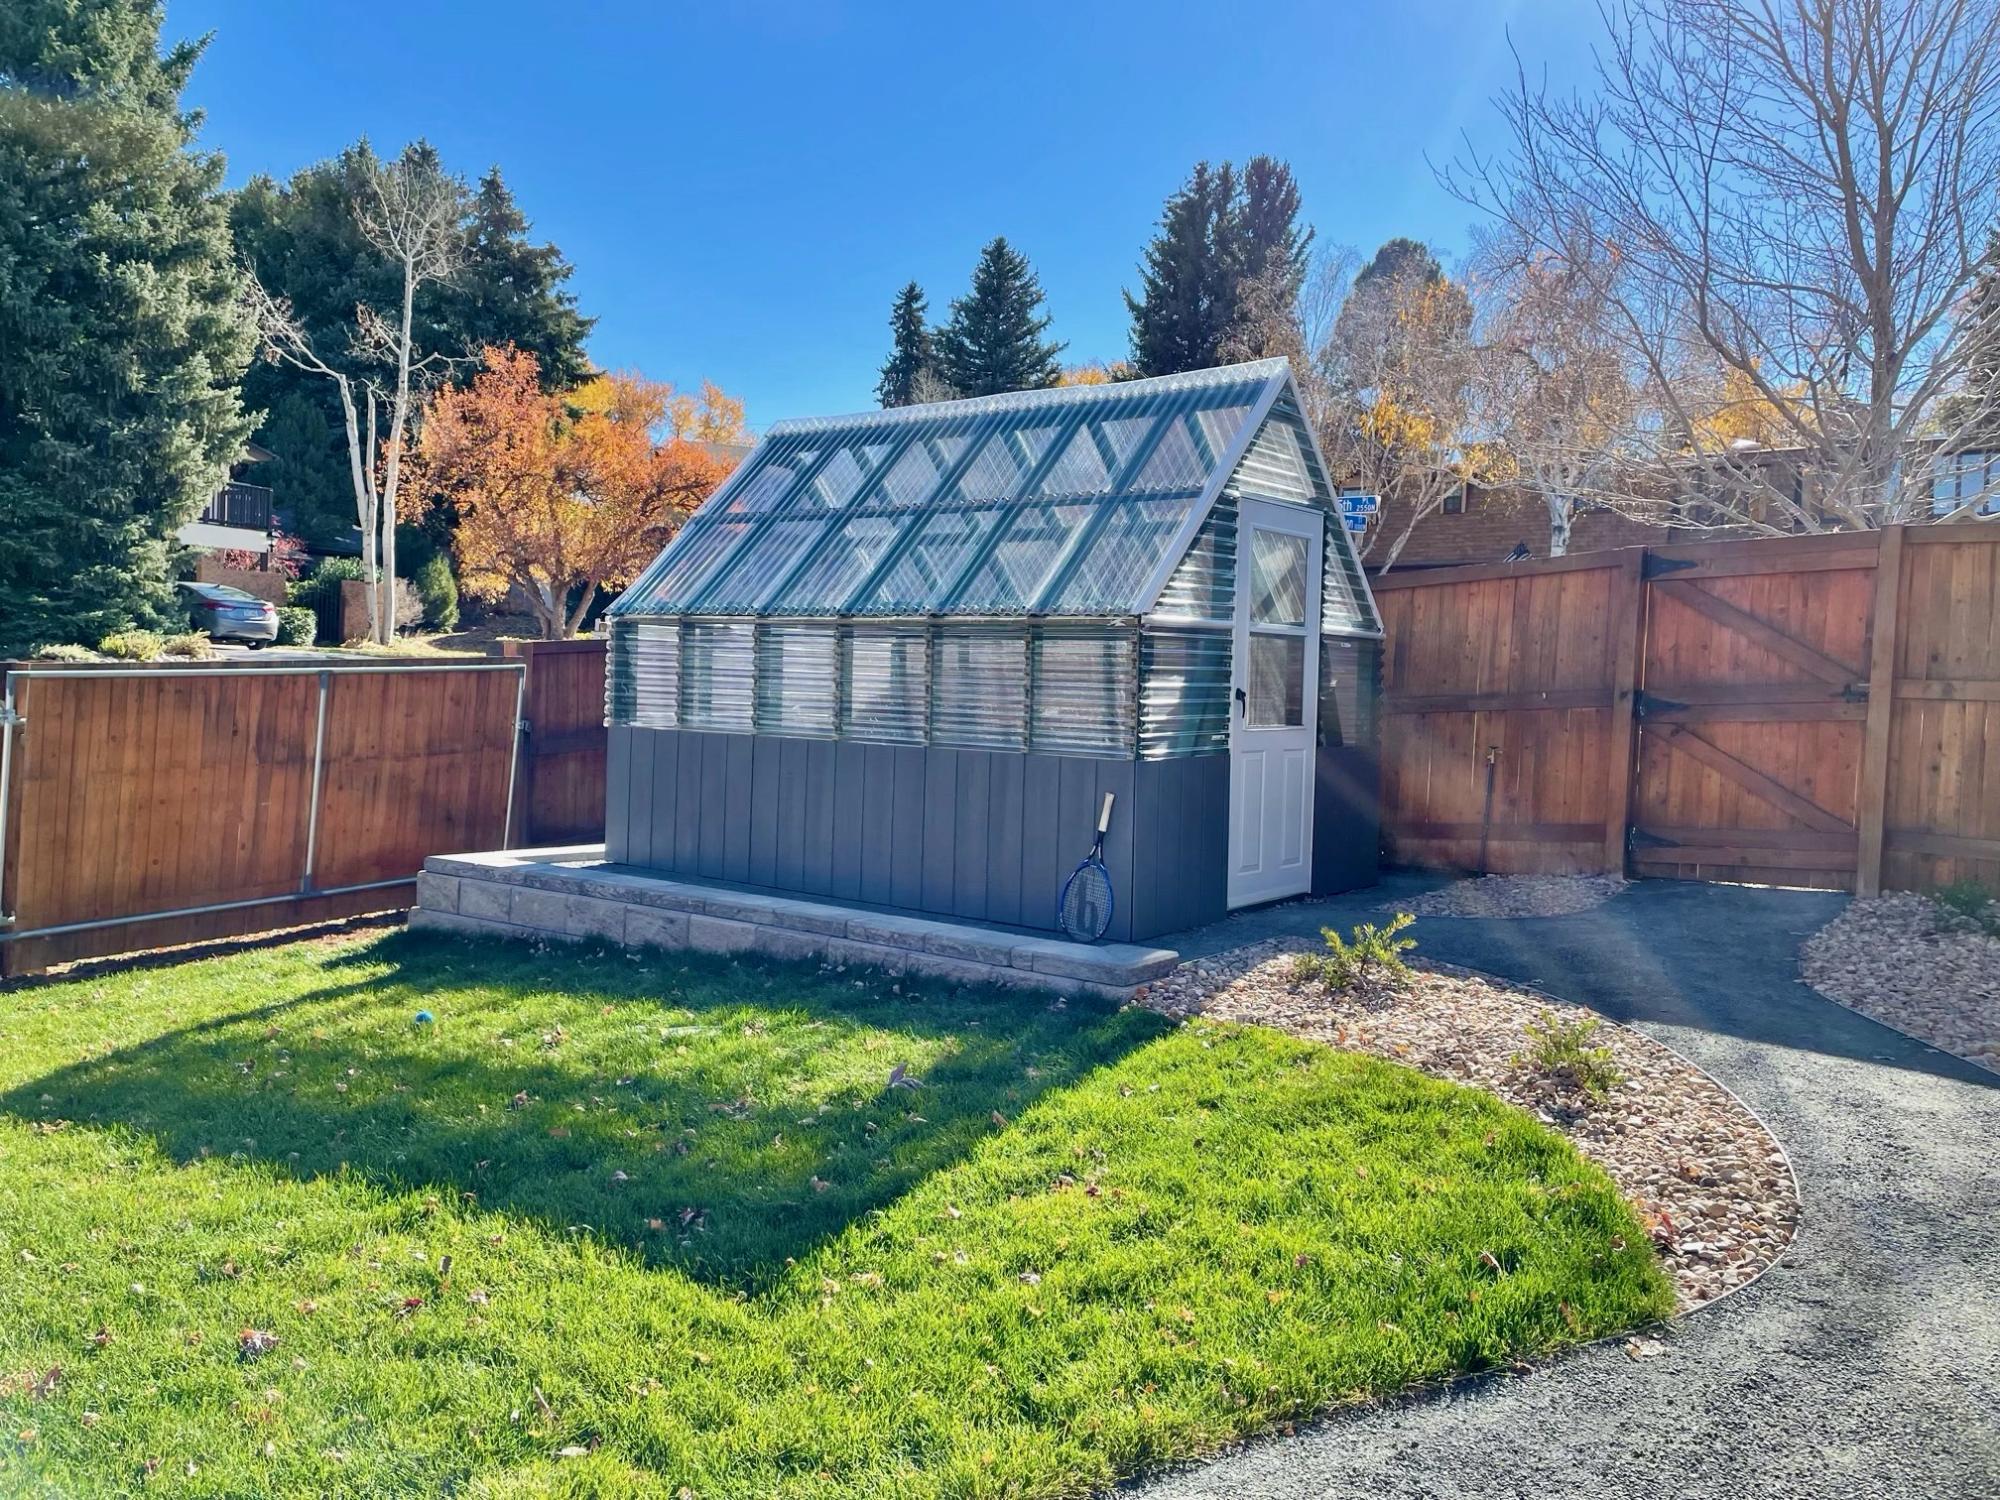
Colorado Backyard Gable Greenhouse
We started this project last fall with the goal of creating a multi use hobby greenhouse with plenty of space for the kids to get their hands dirty. We purchased the Small Gable Roof Greenhouse plans and made our first (of many) trips to the hardware store. Since becoming homeowners in 2015, we've done countless projects but nothing as big as this. We are still very much learning the nuances of greenhouse growing in Colorado, but that has become a fun experience for our entire family. Since completing the structure, I've found that I'm more interested in making the space more functional than I am in actually gardening. I added a shelf built almost entirely from old pallets, a raised cedar bed and solar powered exhaust fan/lights. Luckily, my wife loves spending time in there tending to the plants! As the summer heat sets in, we will face new challenges of how to keep the space cool. Maybe by adding a shade cloth and misters? Regardless of what the "output" looks like we are loving this new hobby and are looking forward to learning new skills!
Comments
Planked Wood Bedside tables
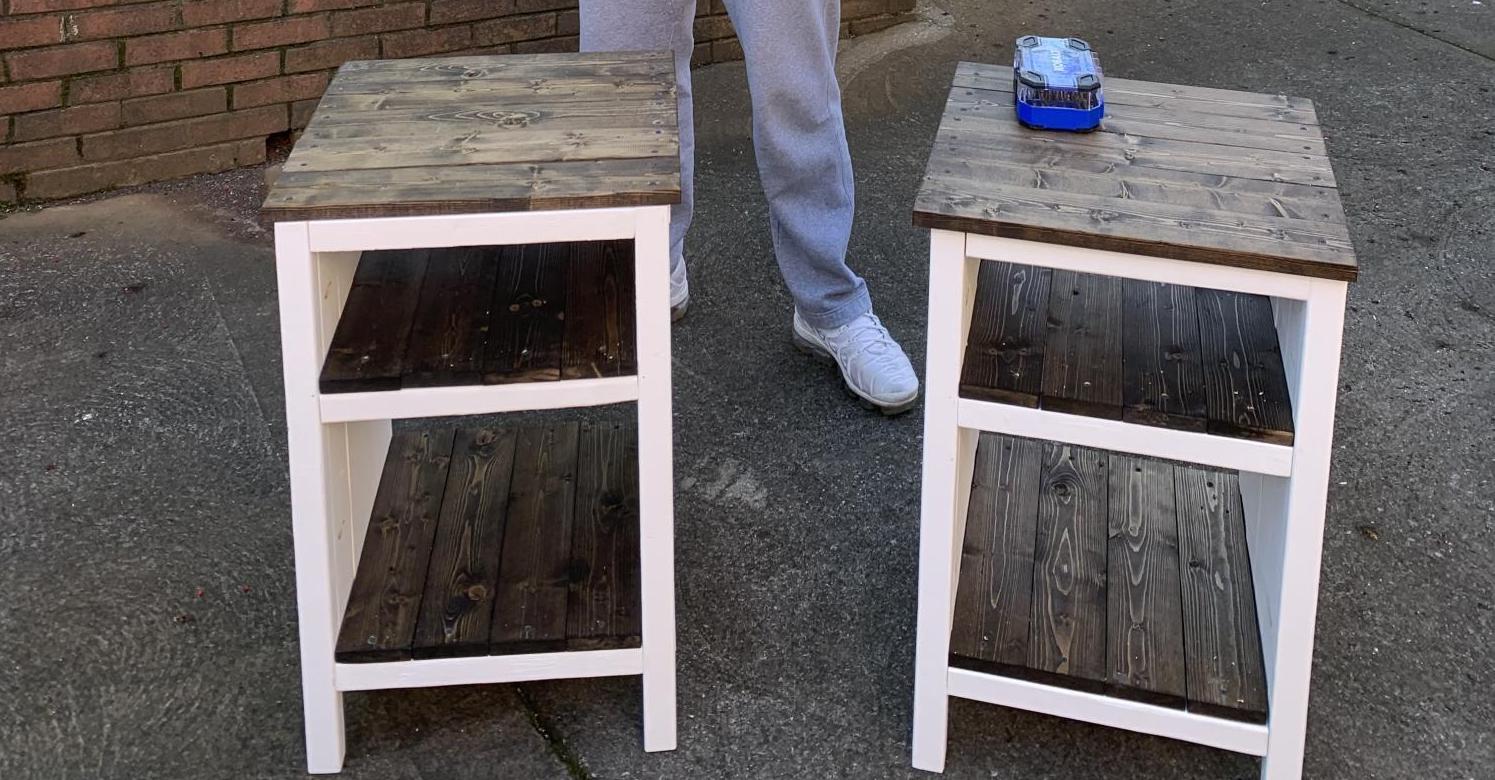
My son moved out and needed bedside tables. I have been hounding him to learn how to build and this was the first project he did! He was super proud of himself and how they turned out. Not bad for a first build! #mompride
Built from Plan(s)
Comments
Easy to Build Twin Bed Frame

Easy build
Built from Plan(s)
Farmhouse Writing Desk with Turned Legs

I modified the Small Old English Style Farmhouse Dining Table plan to build a writing desk. I used five 1x6 boards for the top for a width of 27.5 inches. I made my desk 56 inches in length. I put the drawer on the long side like a pencil drawer. I did use the legs that Ana recommended in the plan. I love how it turned out. I used dark walnut danish oil and dark wax for the finish.


Built from Plan(s)
Estimated Cost
225
Estimated Time Investment
Day Project (6-9 Hours)
Finish Used
I used Watco dark walnut danish oil and Minwax dark paste wax.
Recommended Skill Level
Intermediate
Comments
Sat, 08/31/2019 - 05:18
Beautiful! What are the…
Beautiful! What are the brands of oil and wax that you used?
Fri, 10/04/2019 - 21:46
Thank you! I used Watco…
Thank you! I used Watco Danish oil and I used Minwax dark wax. I've tried alot of different wax brands and I always come back to Minwax. It dries the hardest in my opinion.
Slightly taller version
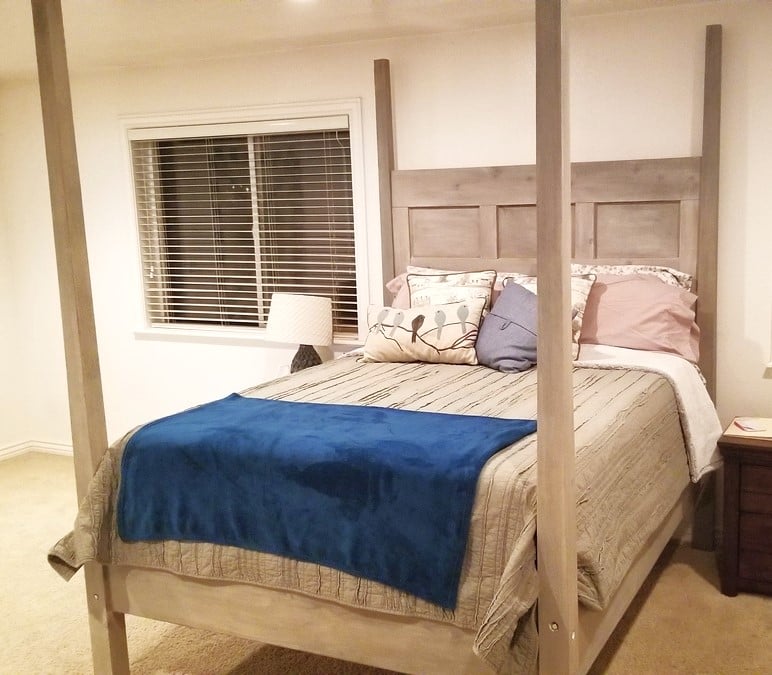
A little taller, and a different finish, but built from scratch inspired by your design. Thanks so much.
Built from Plan(s)
Estimated Cost
300
Estimated Time Investment
Weekend Project (10-20 Hours)
Finish Used
Vinegar and steel wool, then whitewash, then stain wash
Recommended Skill Level
Intermediate
Spice rack
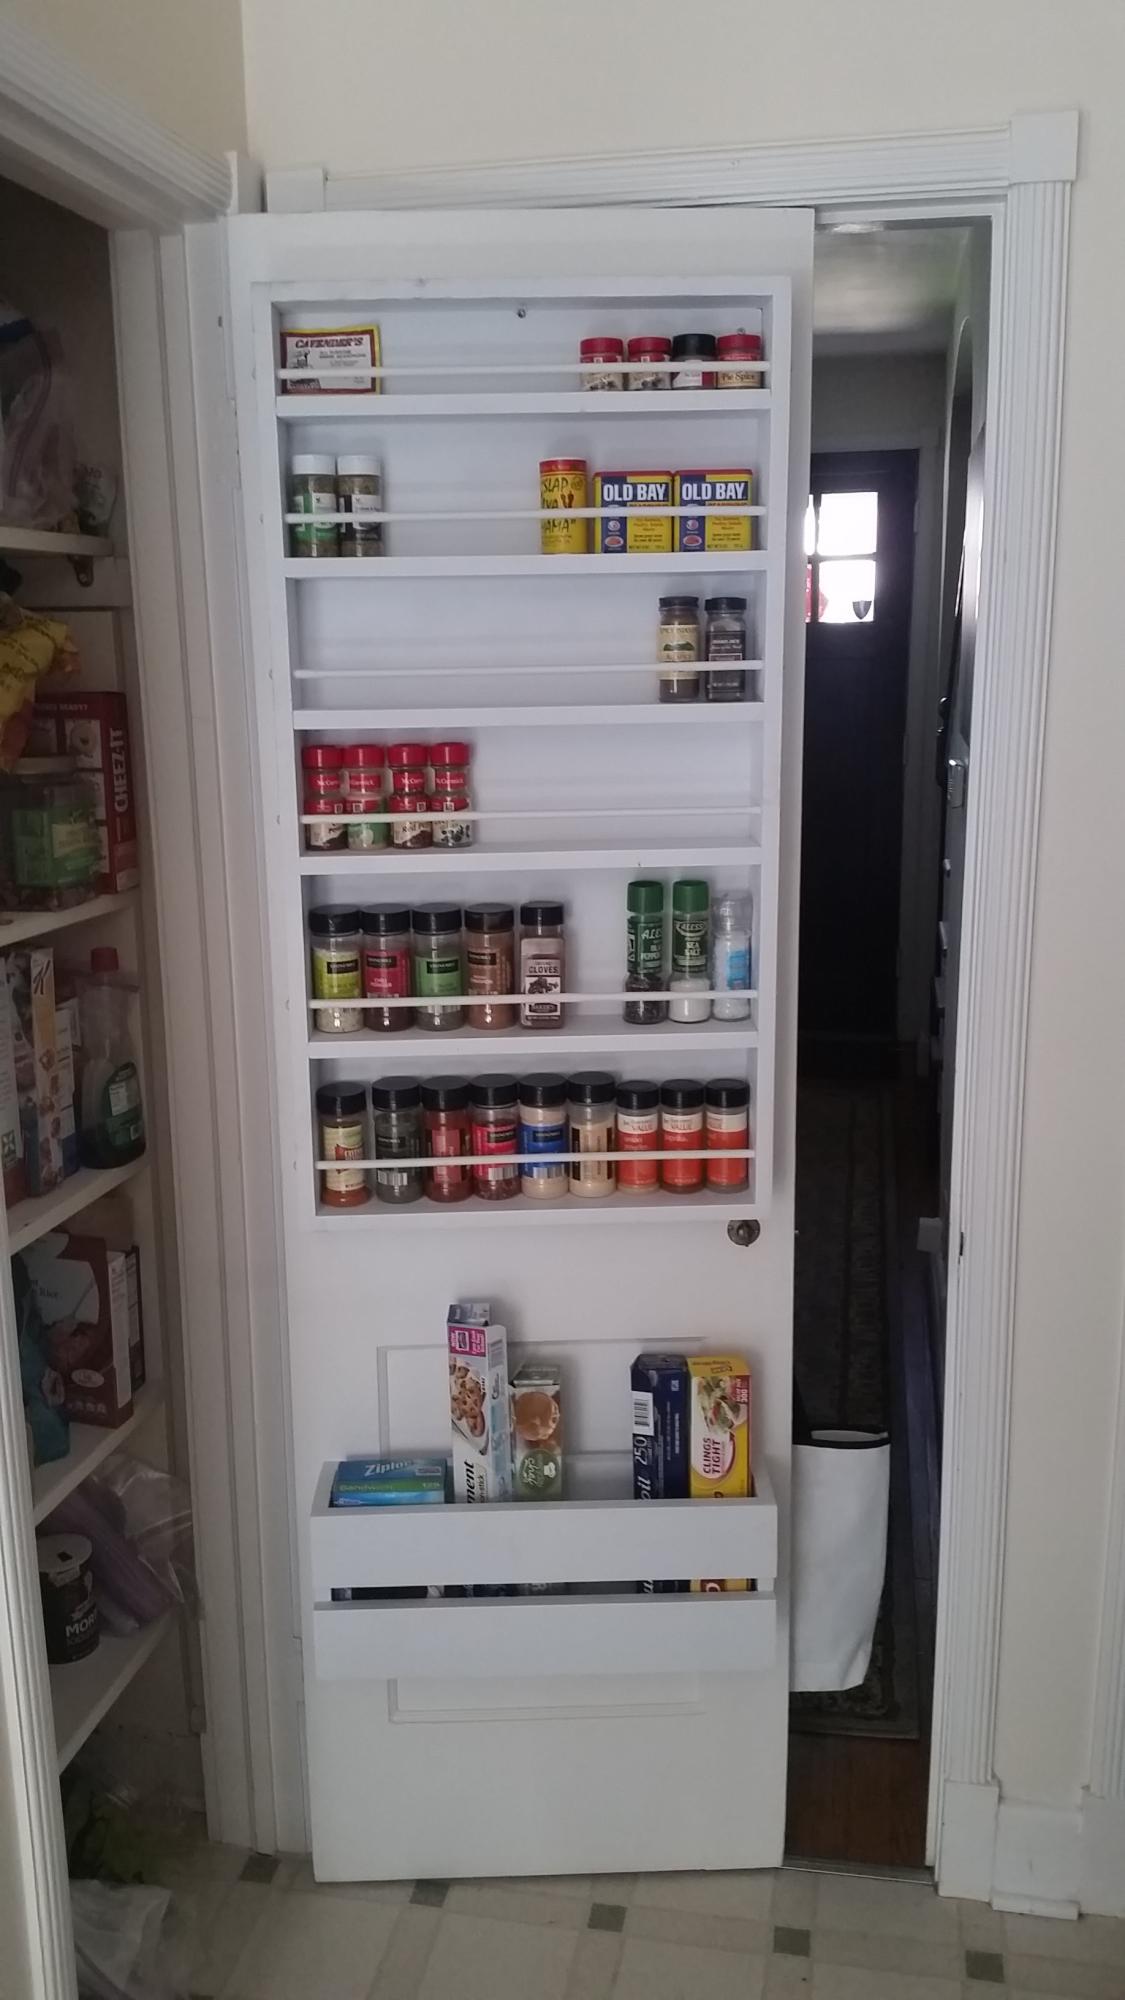
Thanks for the plans!
Built from Plan(s)
Comments
Wed, 10/19/2022 - 08:32
Great spice organization!
Looks great and perfect space saver and organizer!
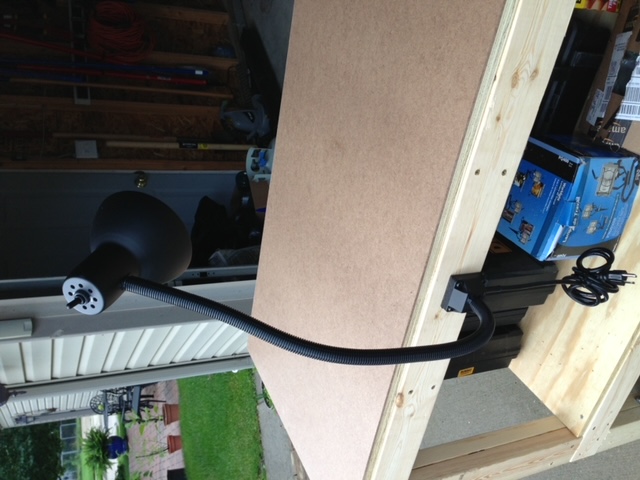
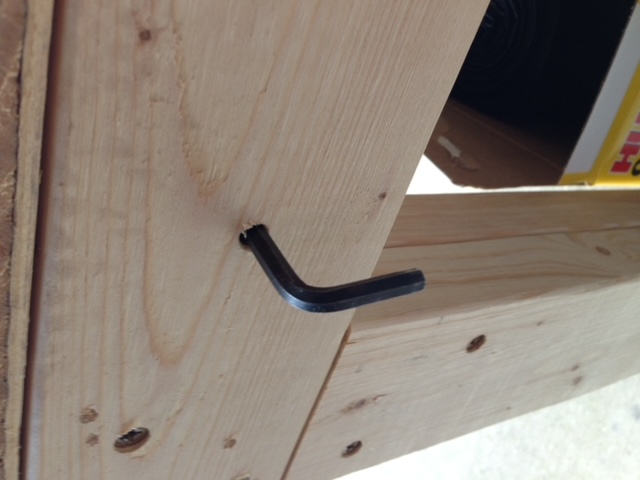
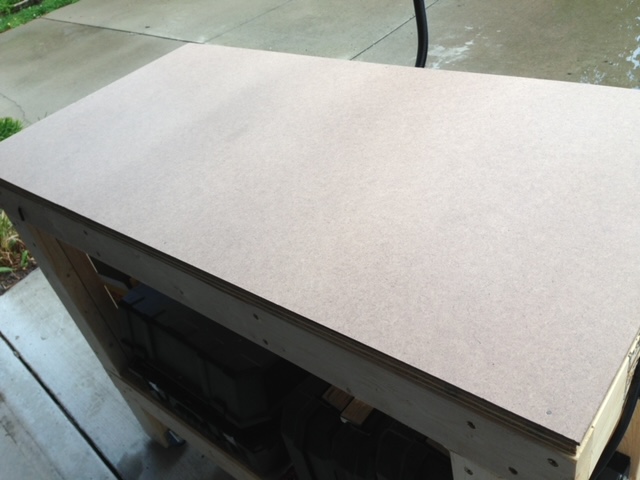
Smart Simple Workbench
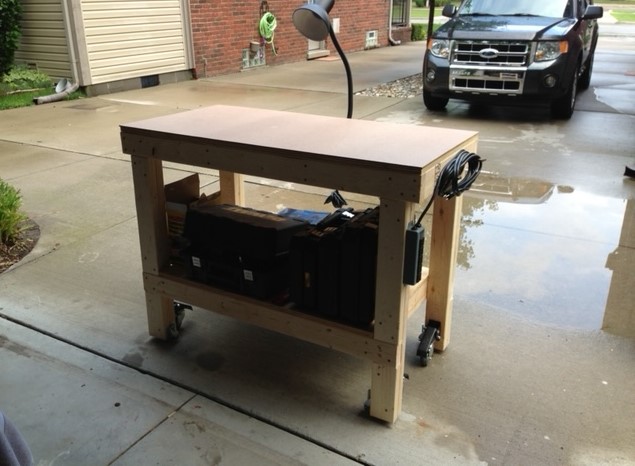
Built this workbench and added some casters from Rockler Woodworking. Also added a power strip for convenience and a handle made from black pipe parts that I had in the garage. I also added a sheet of masonite to the top that I can replace if needed.

Built from Plan(s)
Comments
Thu, 12/29/2022 - 11:16
Sweet work bench!
Love the additions, everything you need in a workbench! Thanks for sharing.
Trash Can Cabinet w/ Bead Board Insert
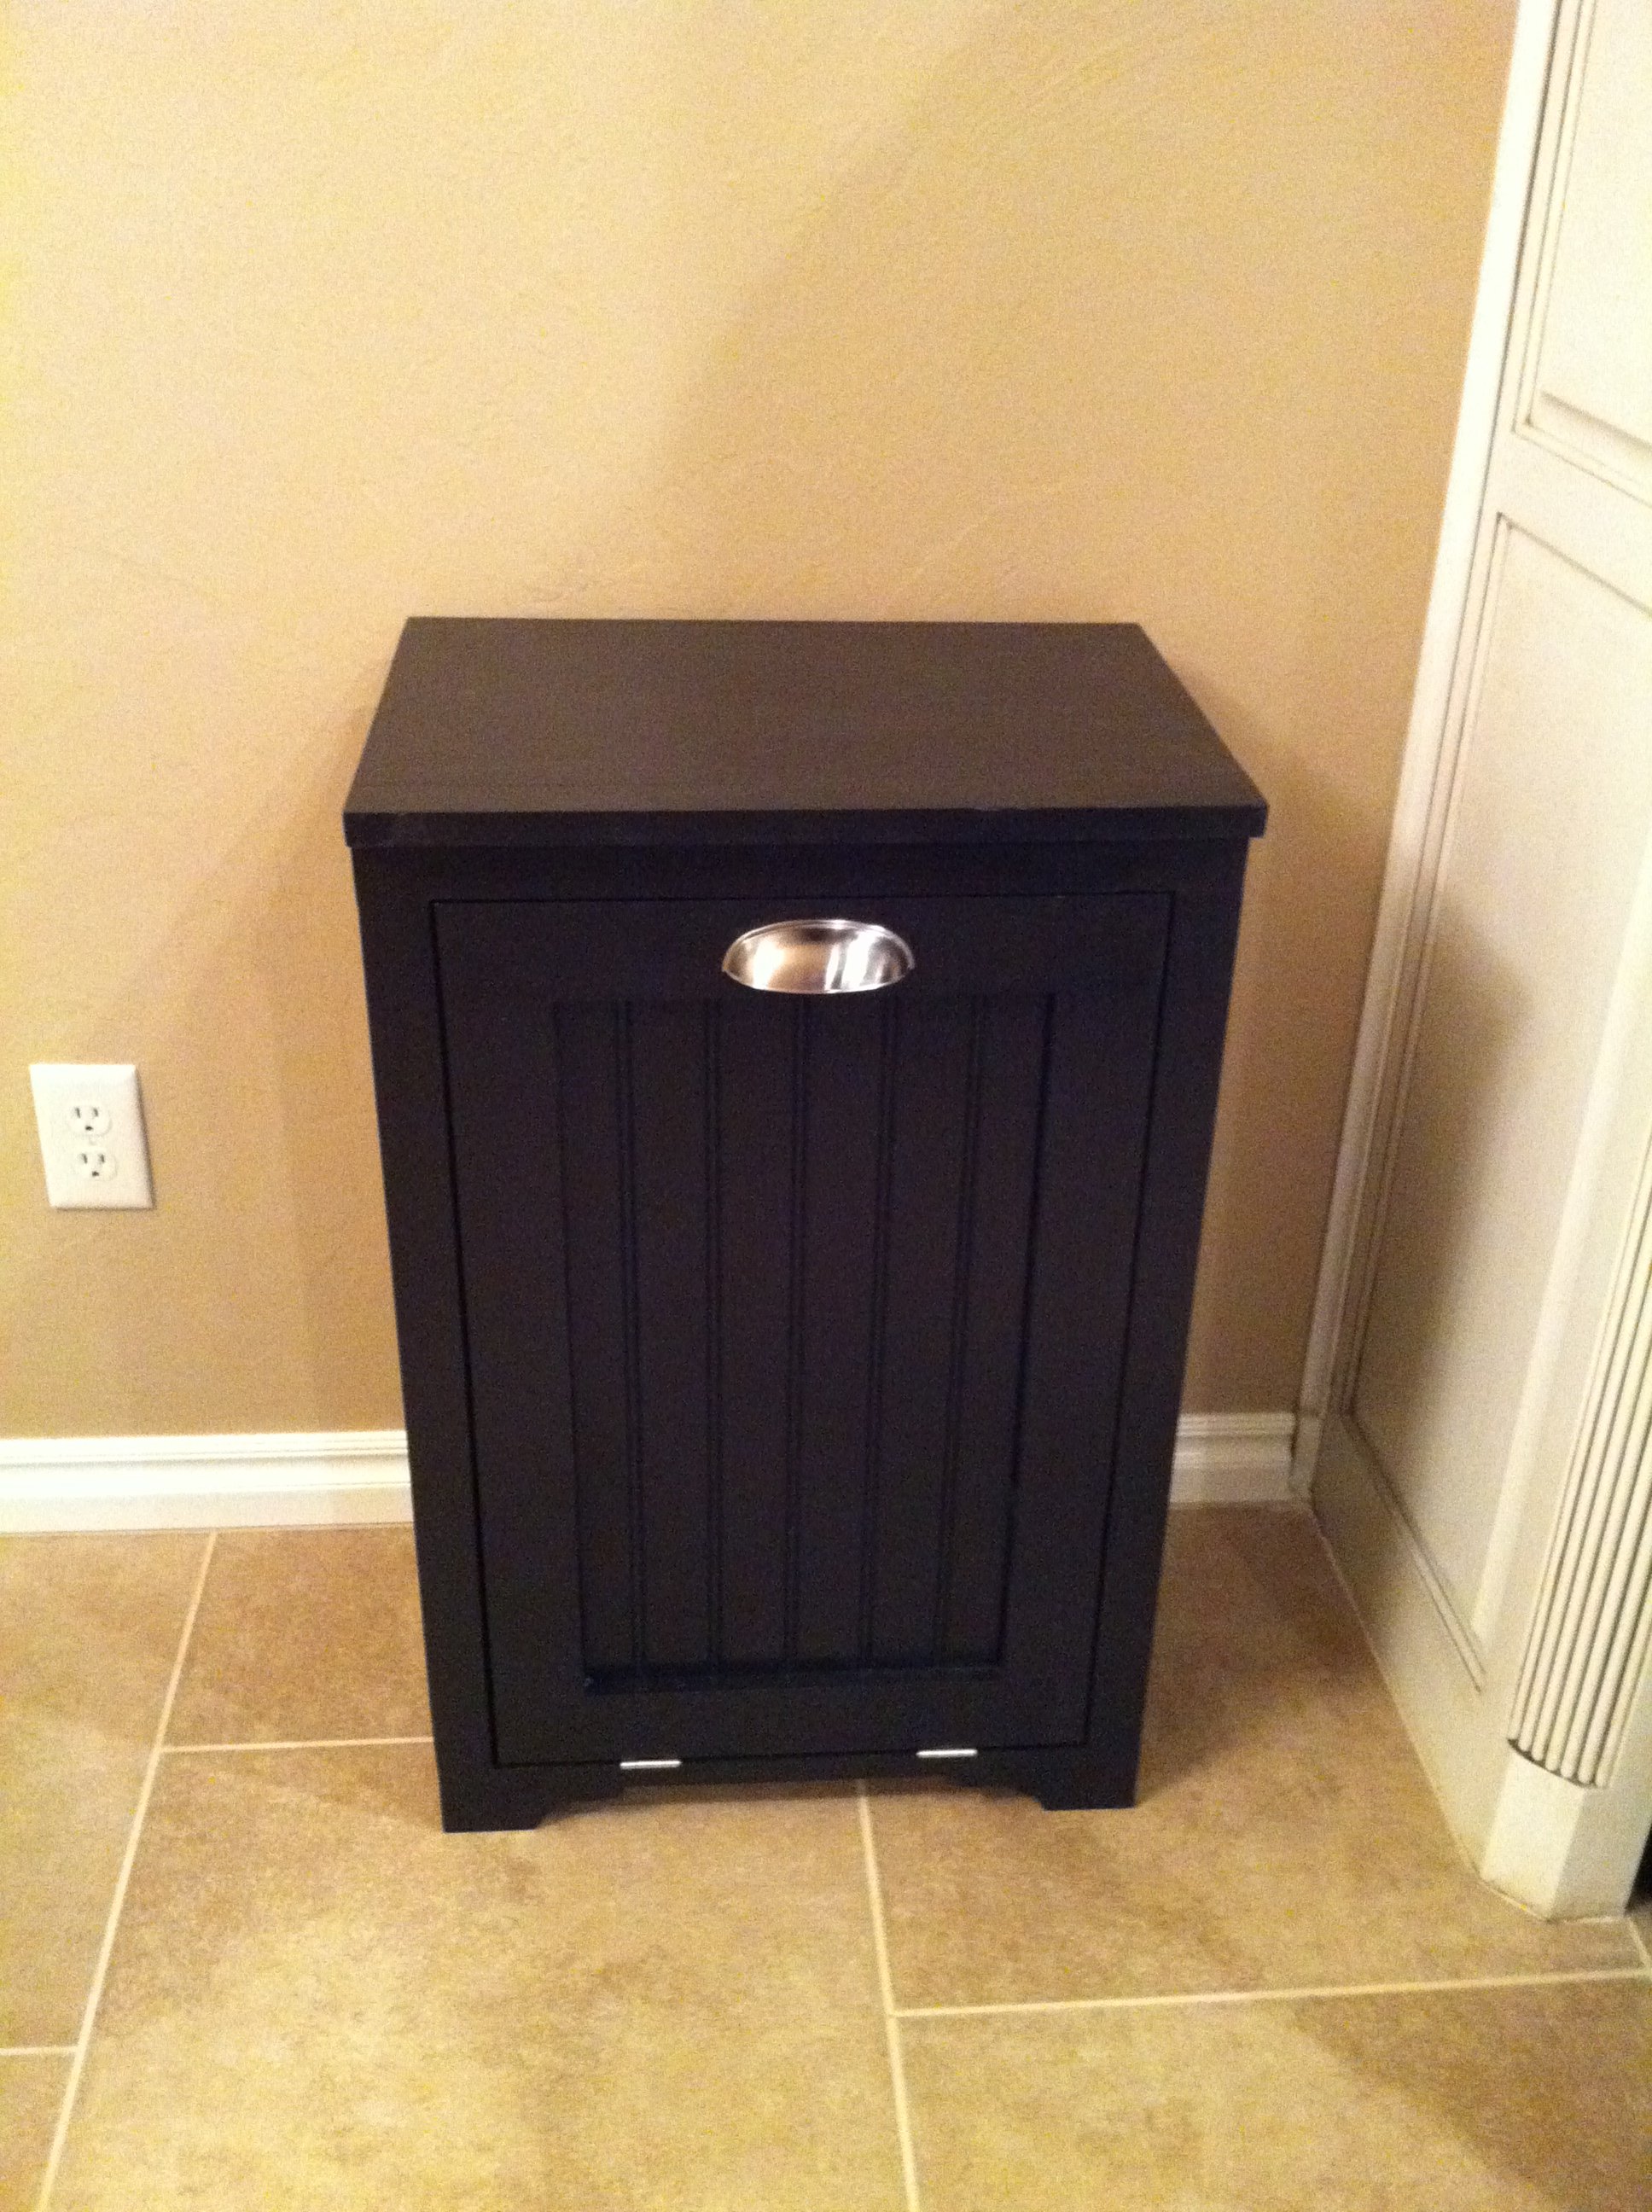
My mom bought a similar one several years ago and I've been wanting something like this ever since...so glad I came across this site so I can proudly say I built it myself whenever someone asks!
Built from Plan(s)
Estimated Cost
$50-$75
Estimated Time Investment
Day Project (6-9 Hours)
Finish Used
Olympic One
Paint and primer in one!
Paint and primer in one!
Recommended Skill Level
Intermediate
Comments
Sun, 05/19/2013 - 13:44
Tilt out trash
I would like to purchase something like this, but I cannot find it any where. I actually want to make it into a laundry hamper where it is deep enough to fit two tall thin laundry baskets. Can anyone help me on this?
Thu, 10/10/2013 - 20:59
What Color?
Absolutely adore how yours turned out. Such an elegant look. Please share the color you used. Can't really tell if it's black or a very dark brown. Thanks and congrats on the gorgeous result!

Fri, 12/27/2013 - 10:42
Please share more info
Is that beadboard trim on the front door? I'd also like to know the color you used. Very beautifully done!
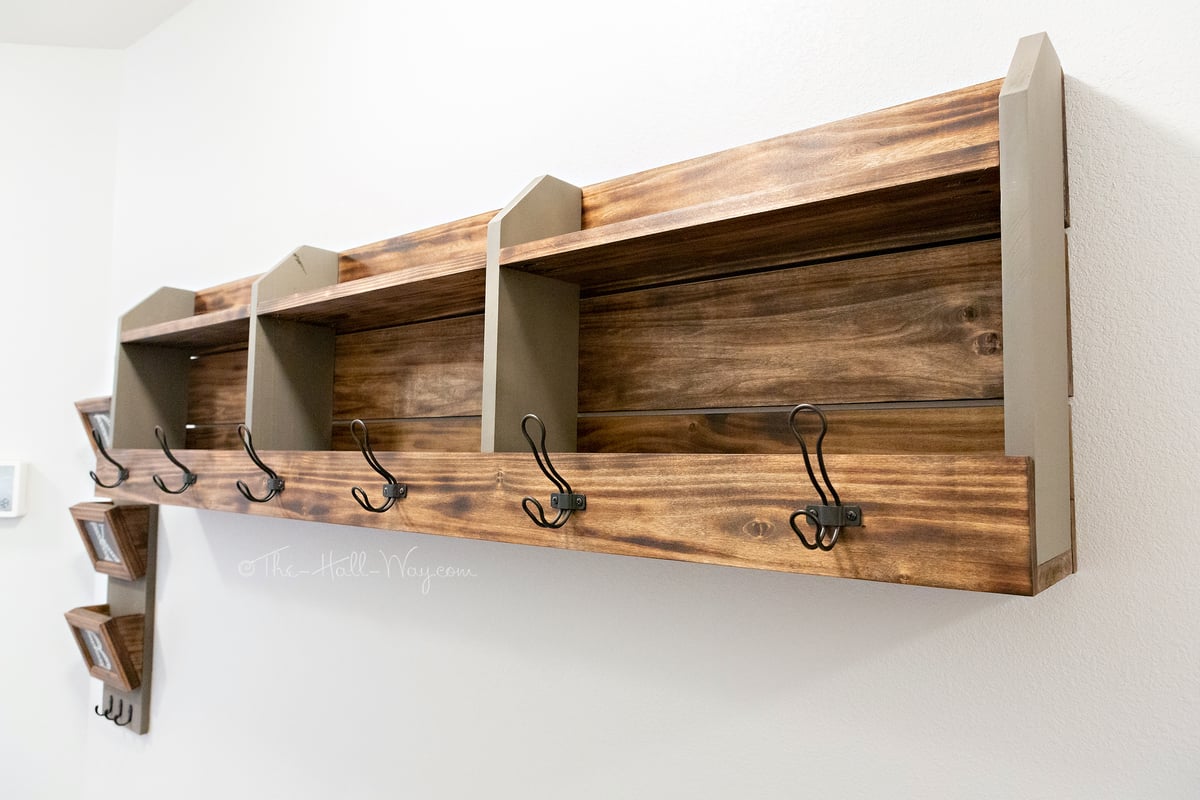
Pallet Inspired Coat Rack
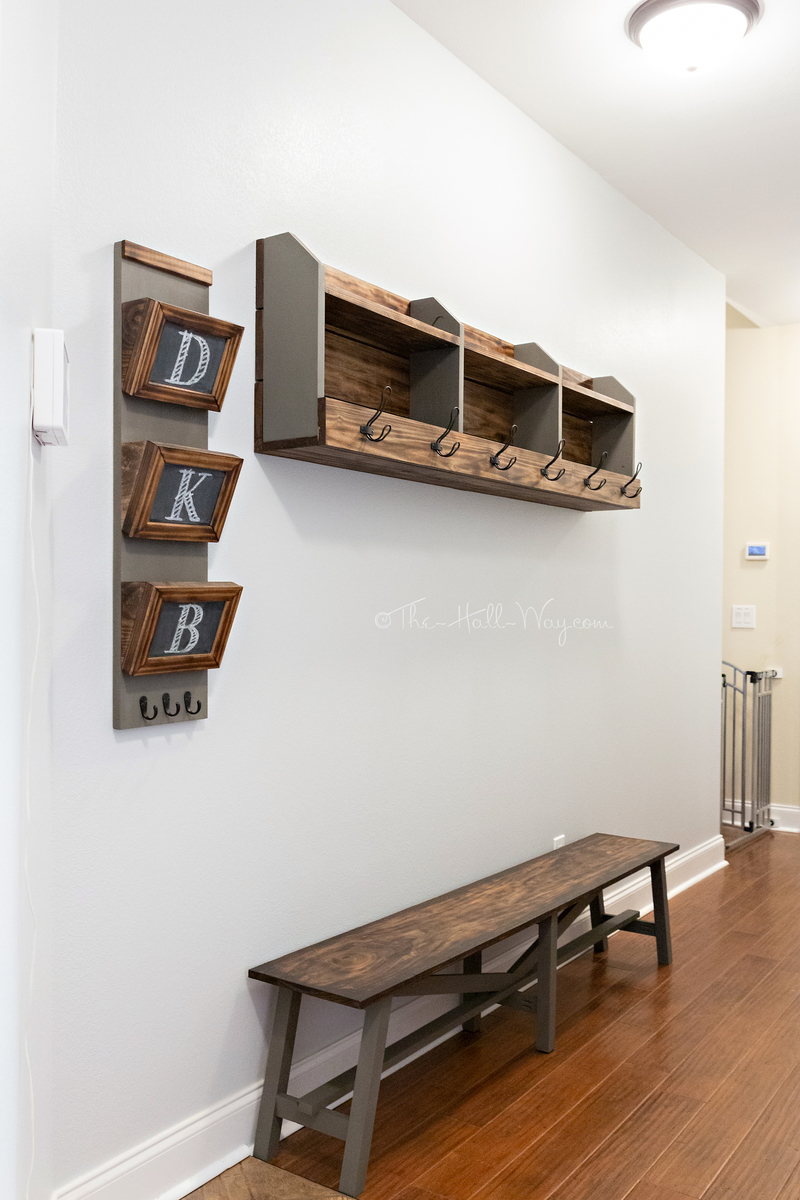
I built the coat rack along with the mail sorter and rustic bench for the long hallway to the garage since our new house doesn't have a mud room. I modified it to a length of 6'. All but a couple pieces are made from poplar. I burnt the stained pieces with a torch, then put a quick coat of Special Walnut on them. The painted pieces are Rustoleum Weathered Wood. Hooks are from Home Depot.


Built from Plan(s)
Estimated Cost
<$100 due to already have wood on hand
Estimated Time Investment
Weekend Project (10-20 Hours)
Finish Used
I burnt the stained pieces with a propane torch, then put a quick coat of Special Walnut on them. The painted pieces are Rustoleum Weathered Wood. The mail sorter has Chalkboard Paint on the front pieces.
Recommended Skill Level
Beginner
Comments
Ana White Admin
Wed, 10/27/2021 - 06:49
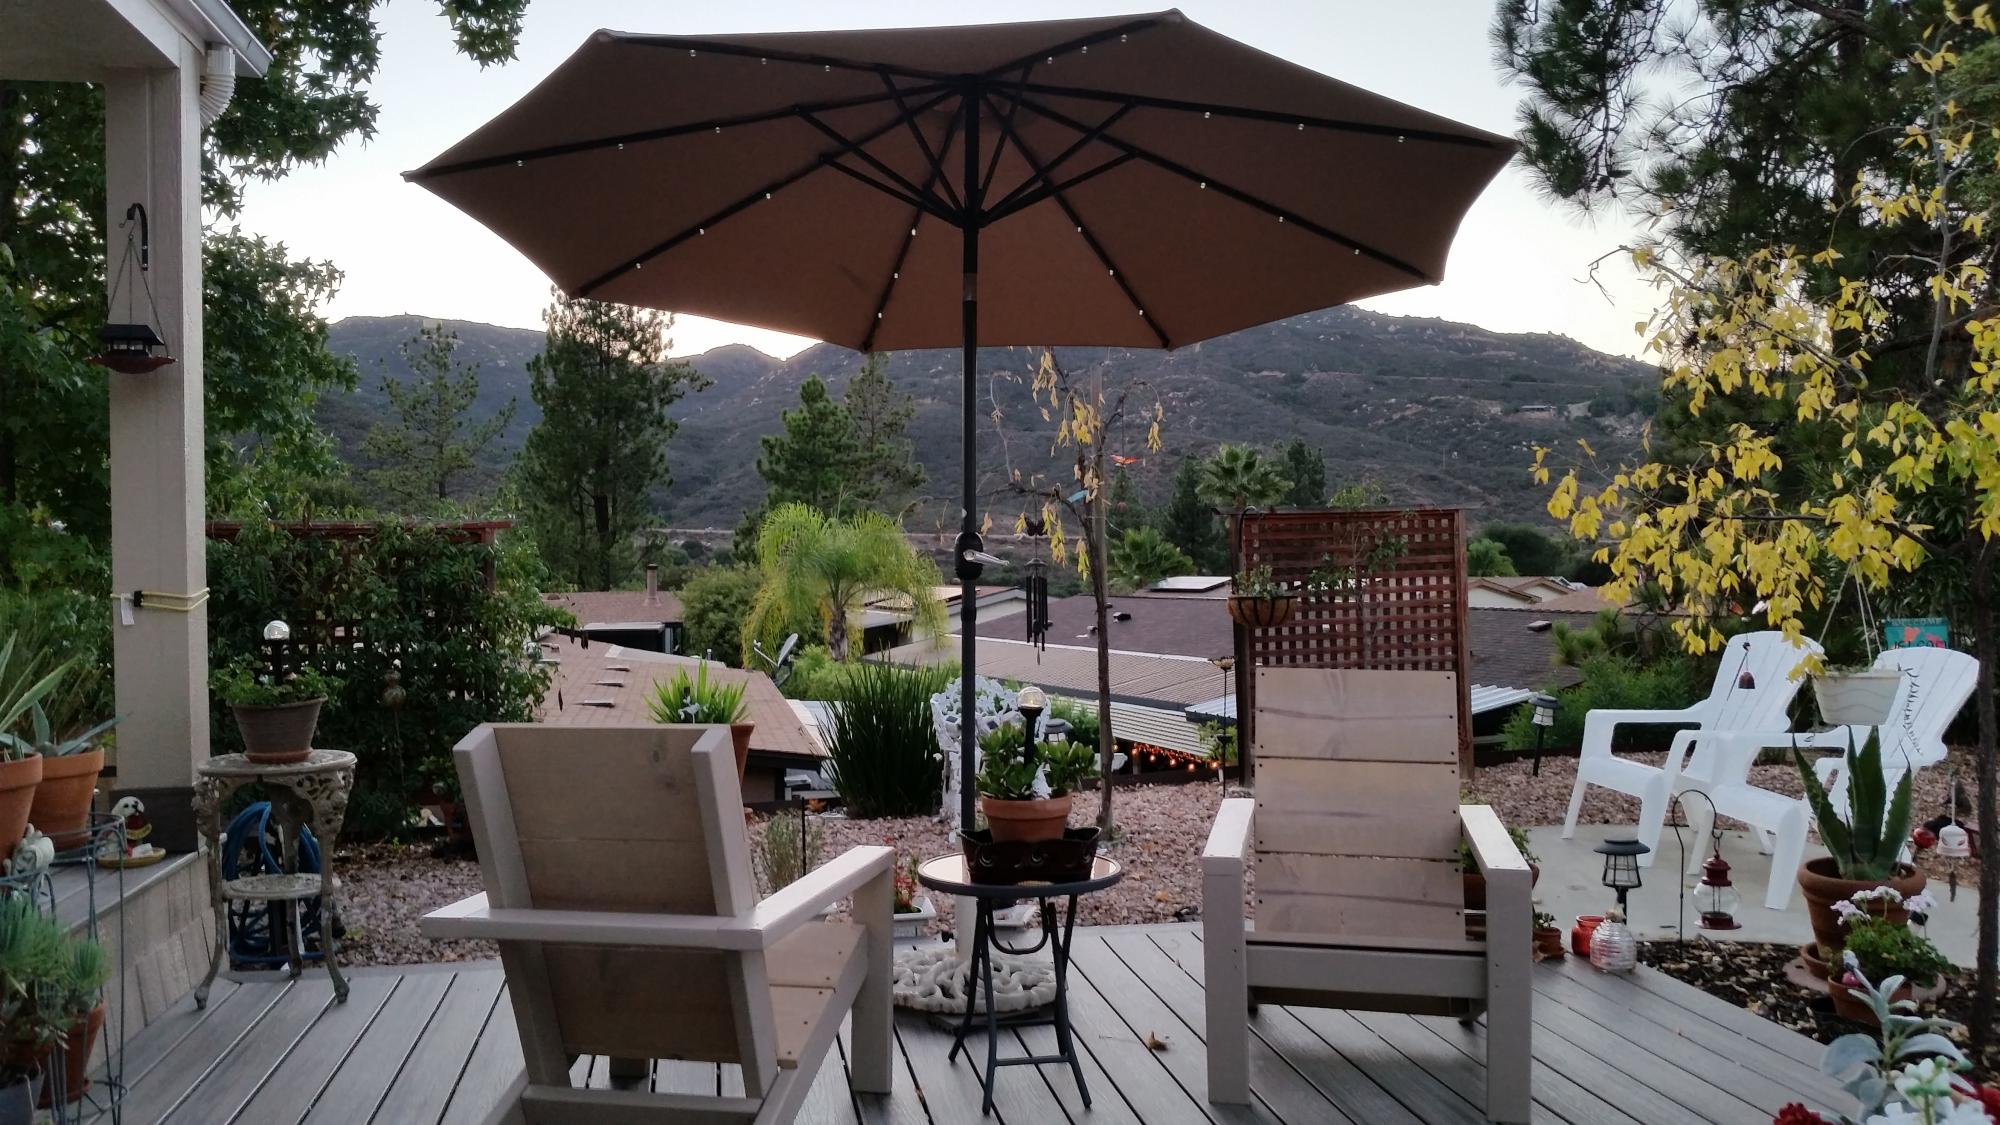
Nice view!
Looks like the perfect spot for some chairs, they look amazing! Thanks for sharing~