Corner computer cabinet
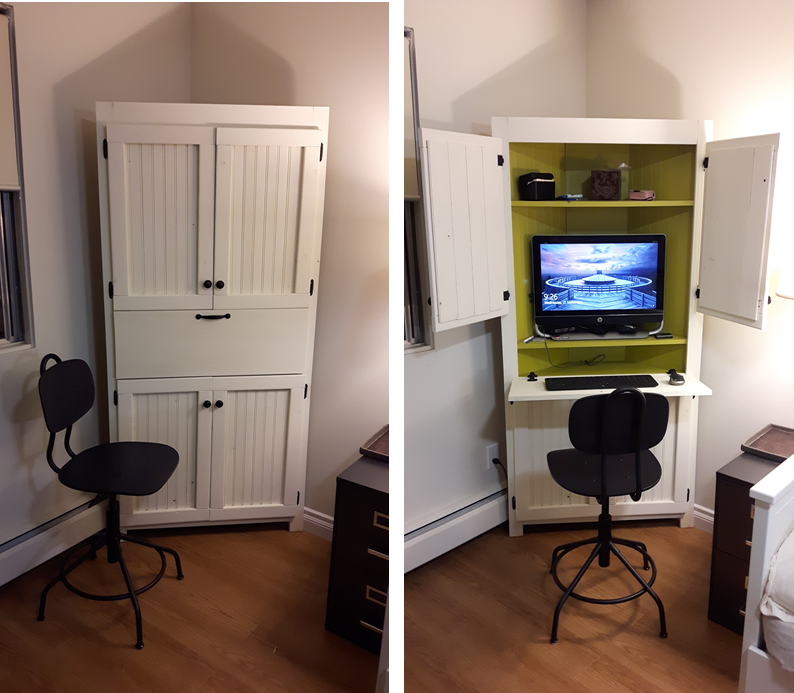
Flip down tray added for computer keyboard.
Built from Plan(s)
Recommended Skill Level
Beginner
Flip down tray added for computer keyboard.
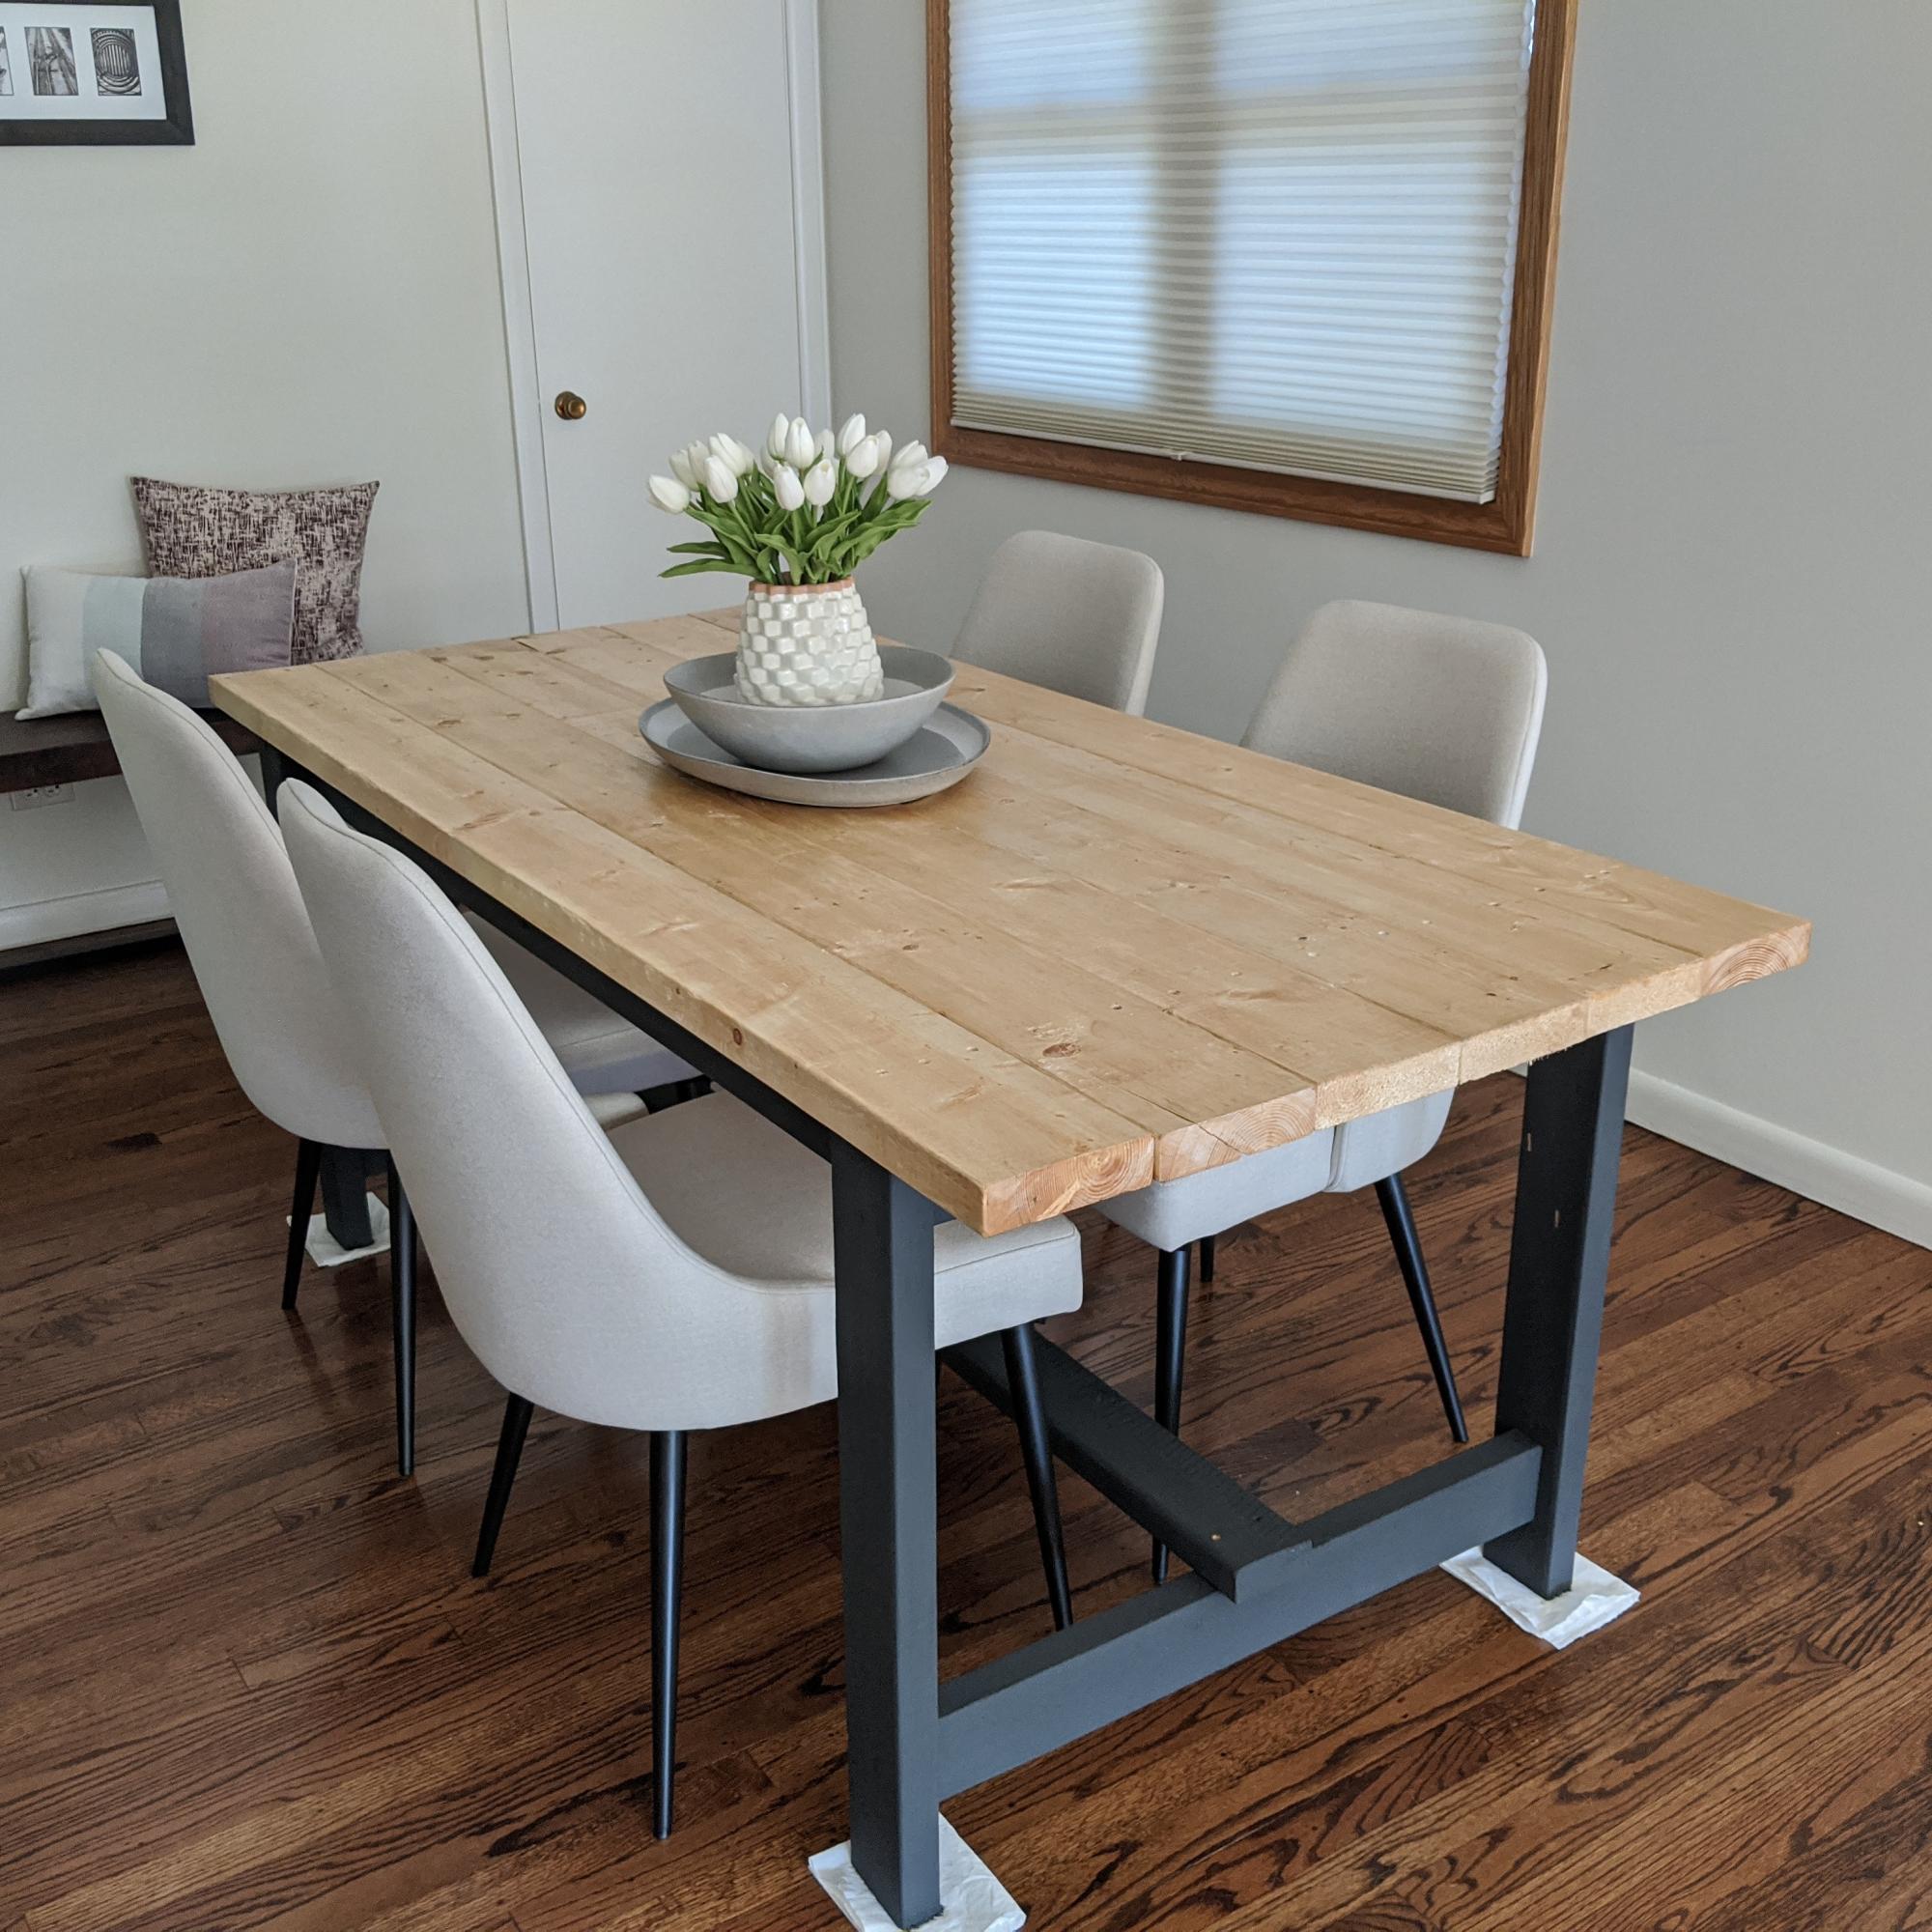
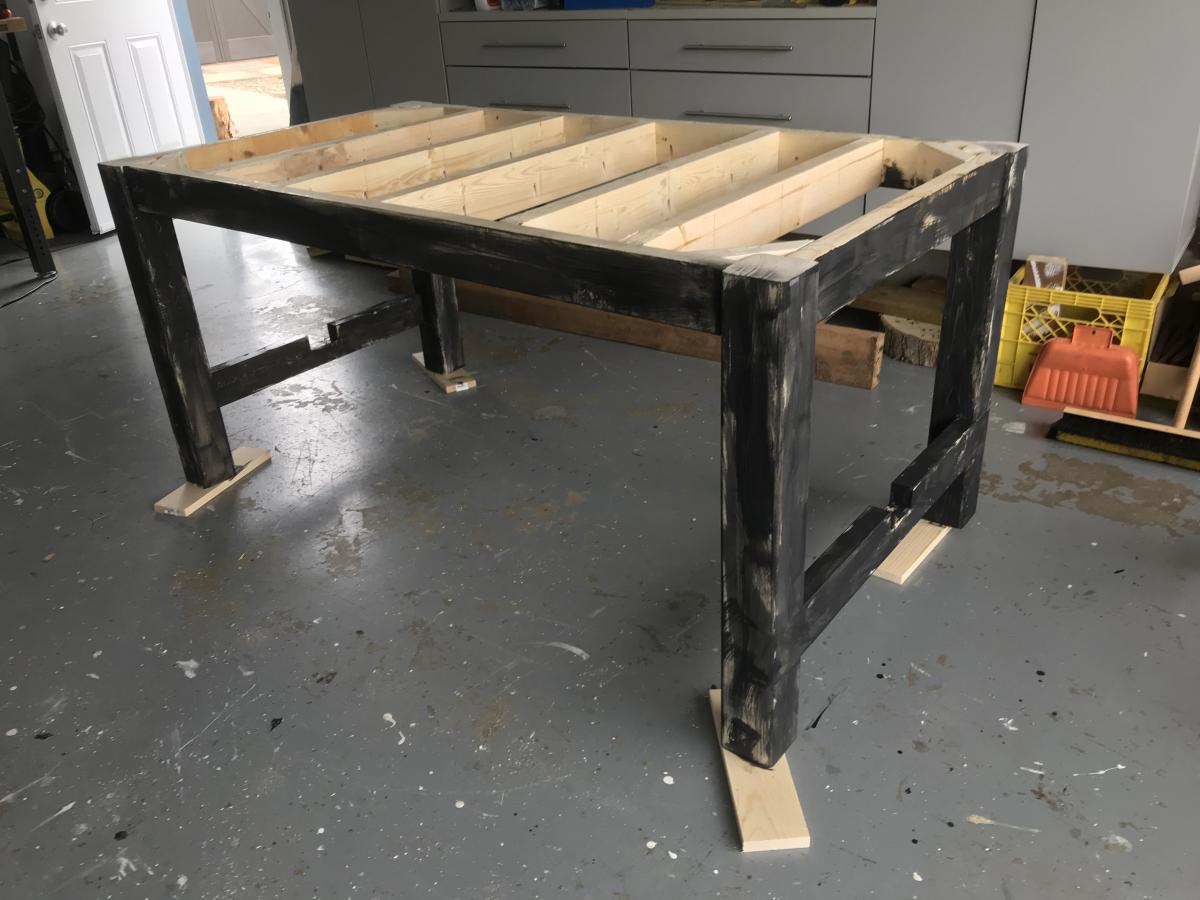
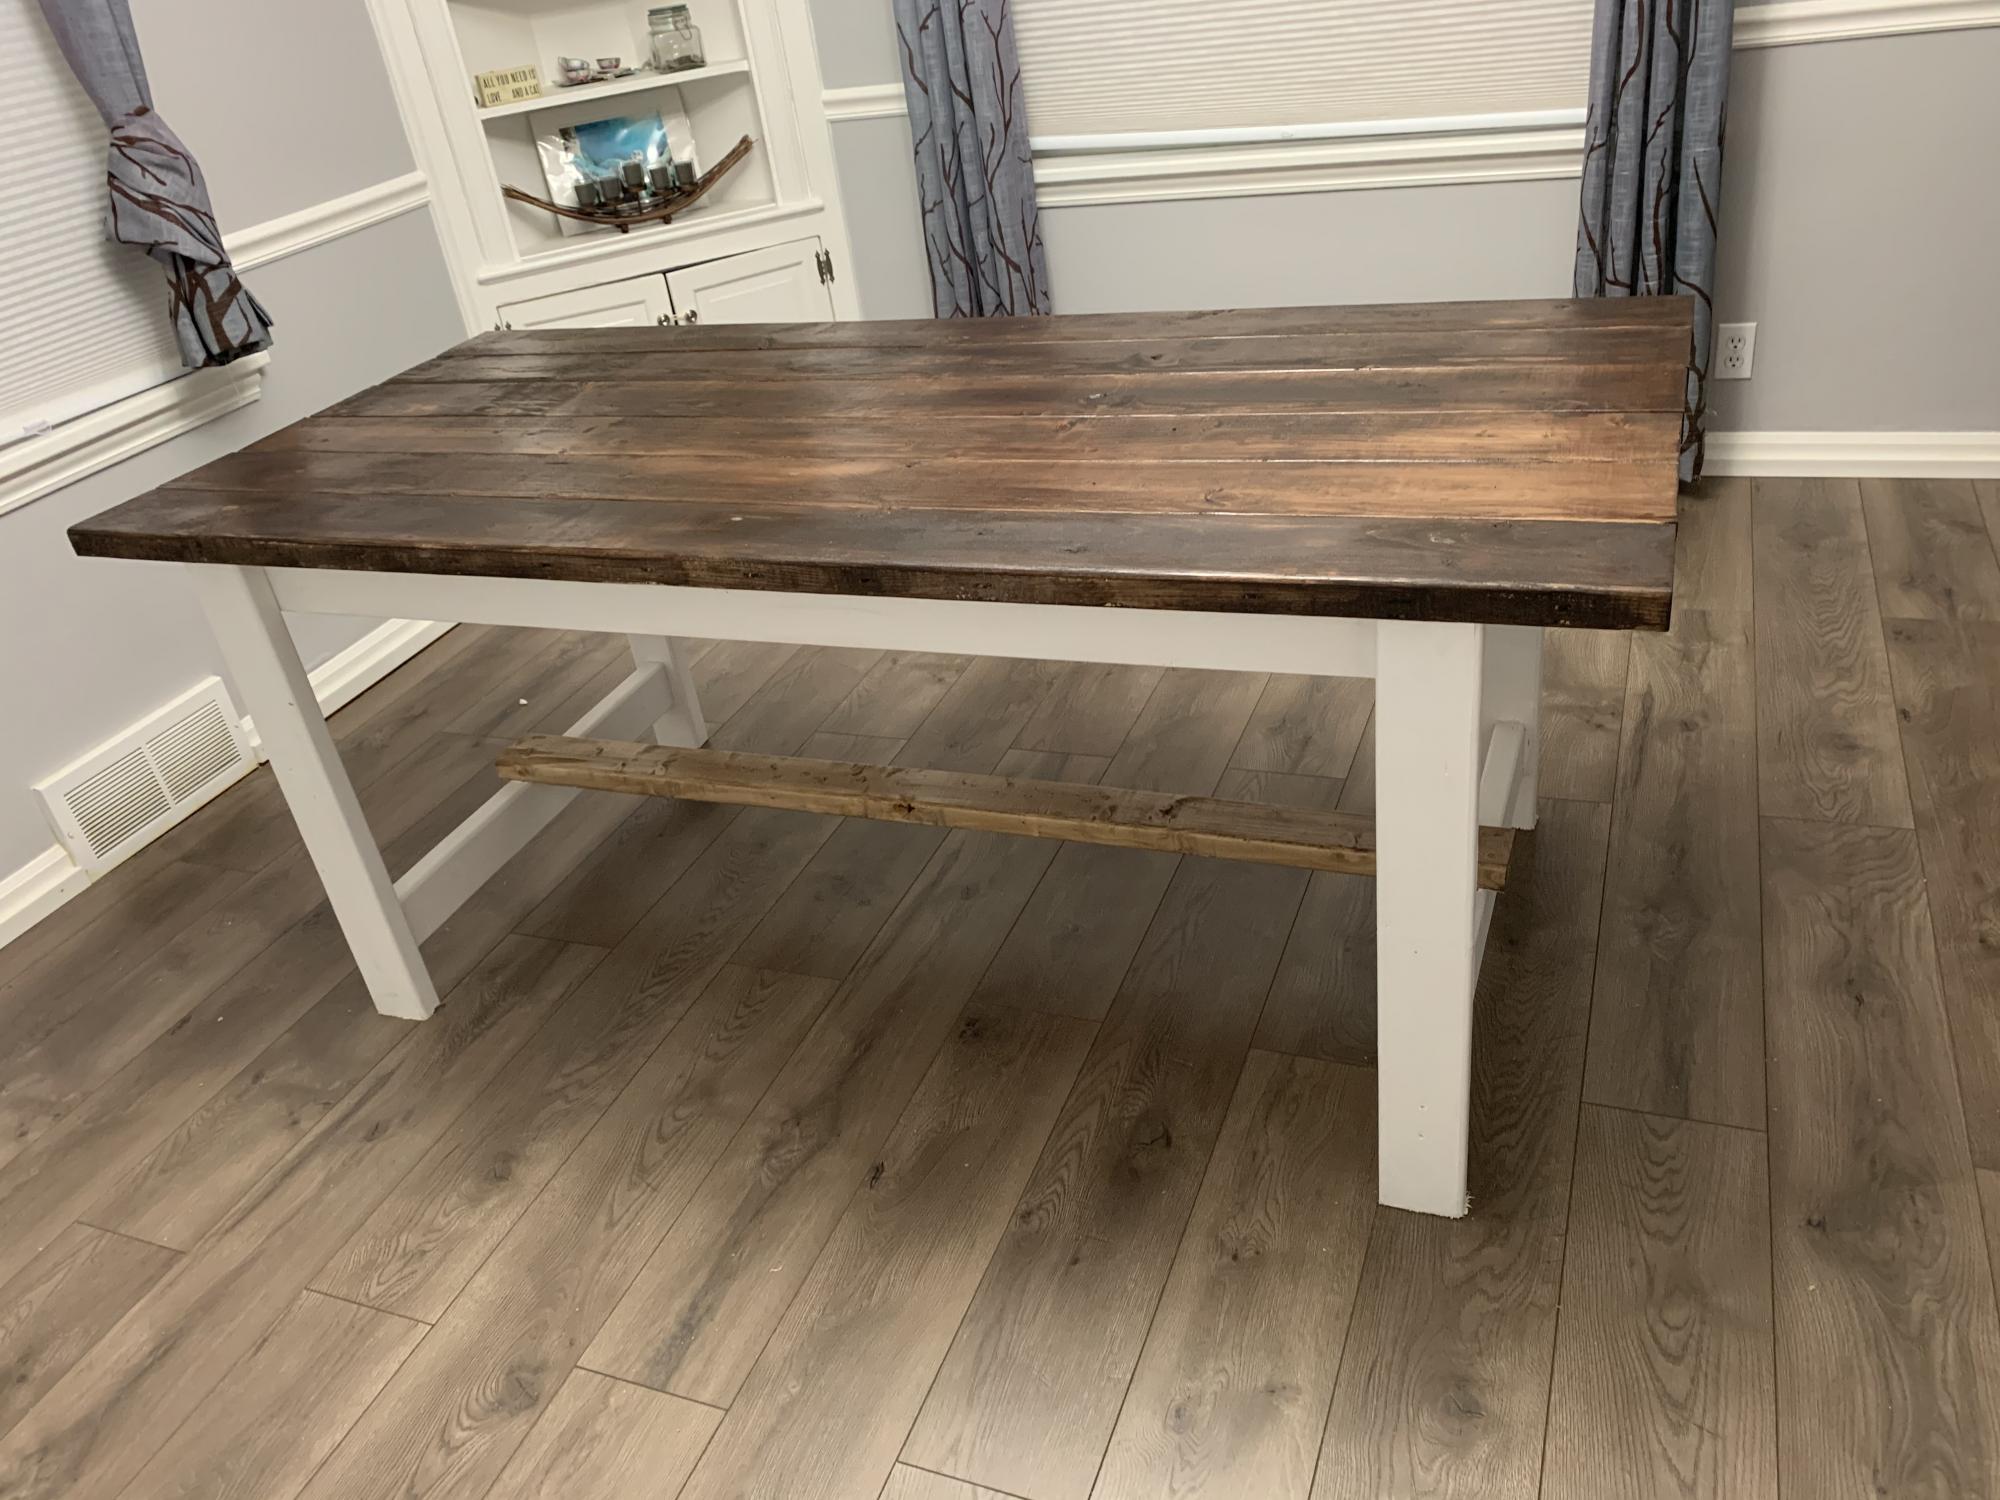
Wood - common pine Stain - Danish Watco Oil Light Walnut - 4 coats Top of table Sealed - Minwax Polyurethane Clear Satin - 2 coats Legs painted with Rust-Oleum Chalked Charcoal - 2 coats

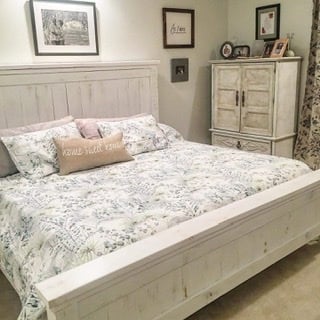
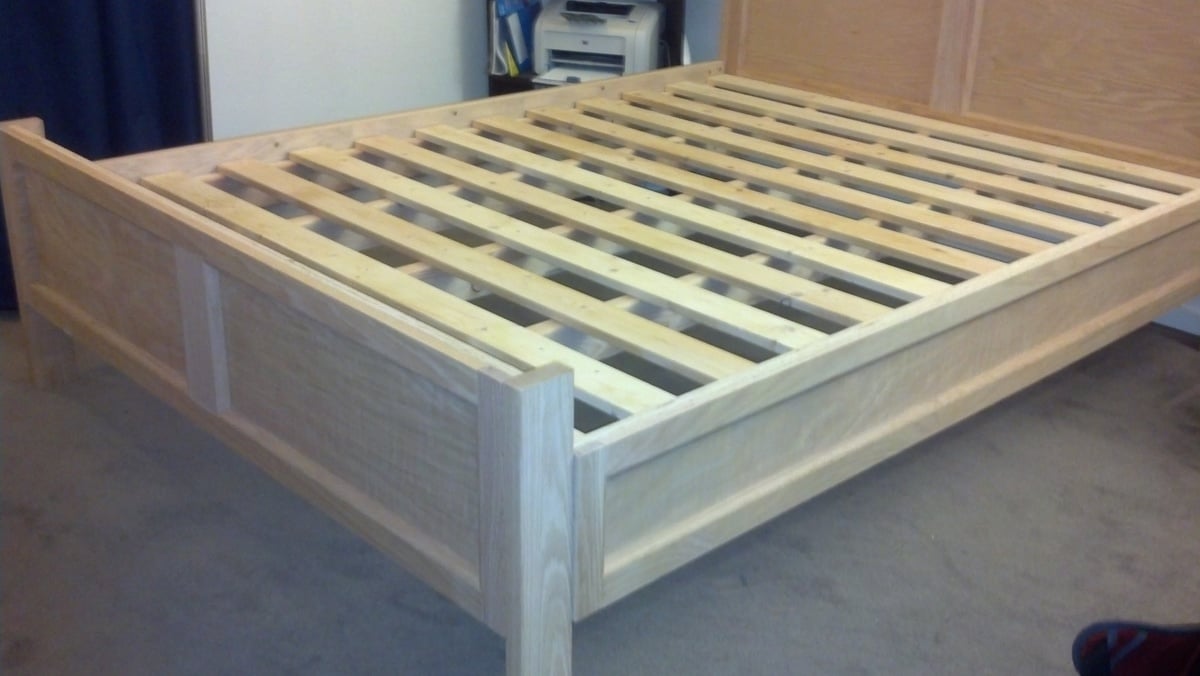
LOVED building this bed!! Been wanting a bed frame forever and came across this. I will say, the only thing I would change (if I build another) is using brackets to attach the support slats.. I wanted to cry when I had to drill through the front of the footboard 😂😂 and attaching them to the head of the bead proved challenging as well, just because the thing is so massive!! I’m fairly new at this, so, I must say... not too shabby!! Thank you Ana White!! You are my spirit animal❤️

We live in the south so we opted for treated wood. We weren’t able to locate all the connectors to combine sink sprayer and water hose so we ended up just getting another garden hose and sprayer. Works just as well. We used Smokey Mirror exterior stain to add some color. Didn’t have all the tools handy so we opted for a farm style sink that sits on top of the wood. Kids loving it so far, they have been playing non stop. Thanks for the great plan.
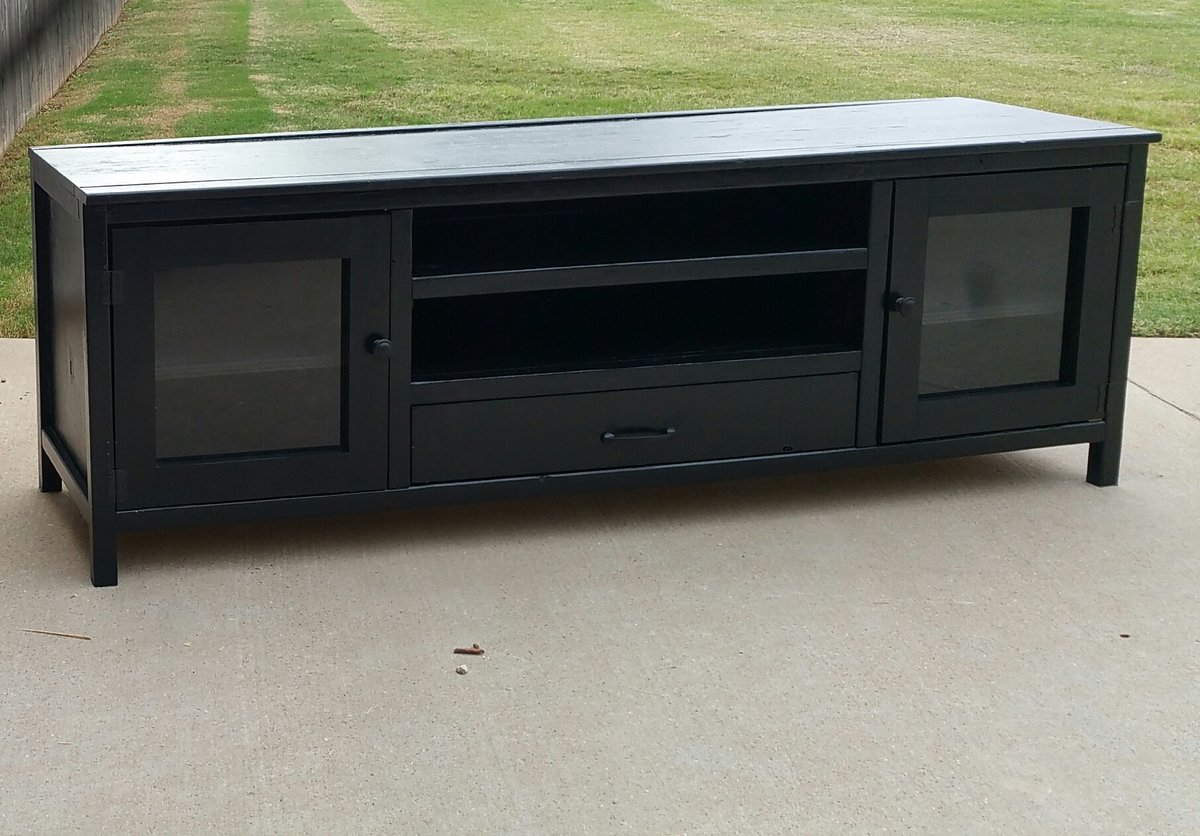
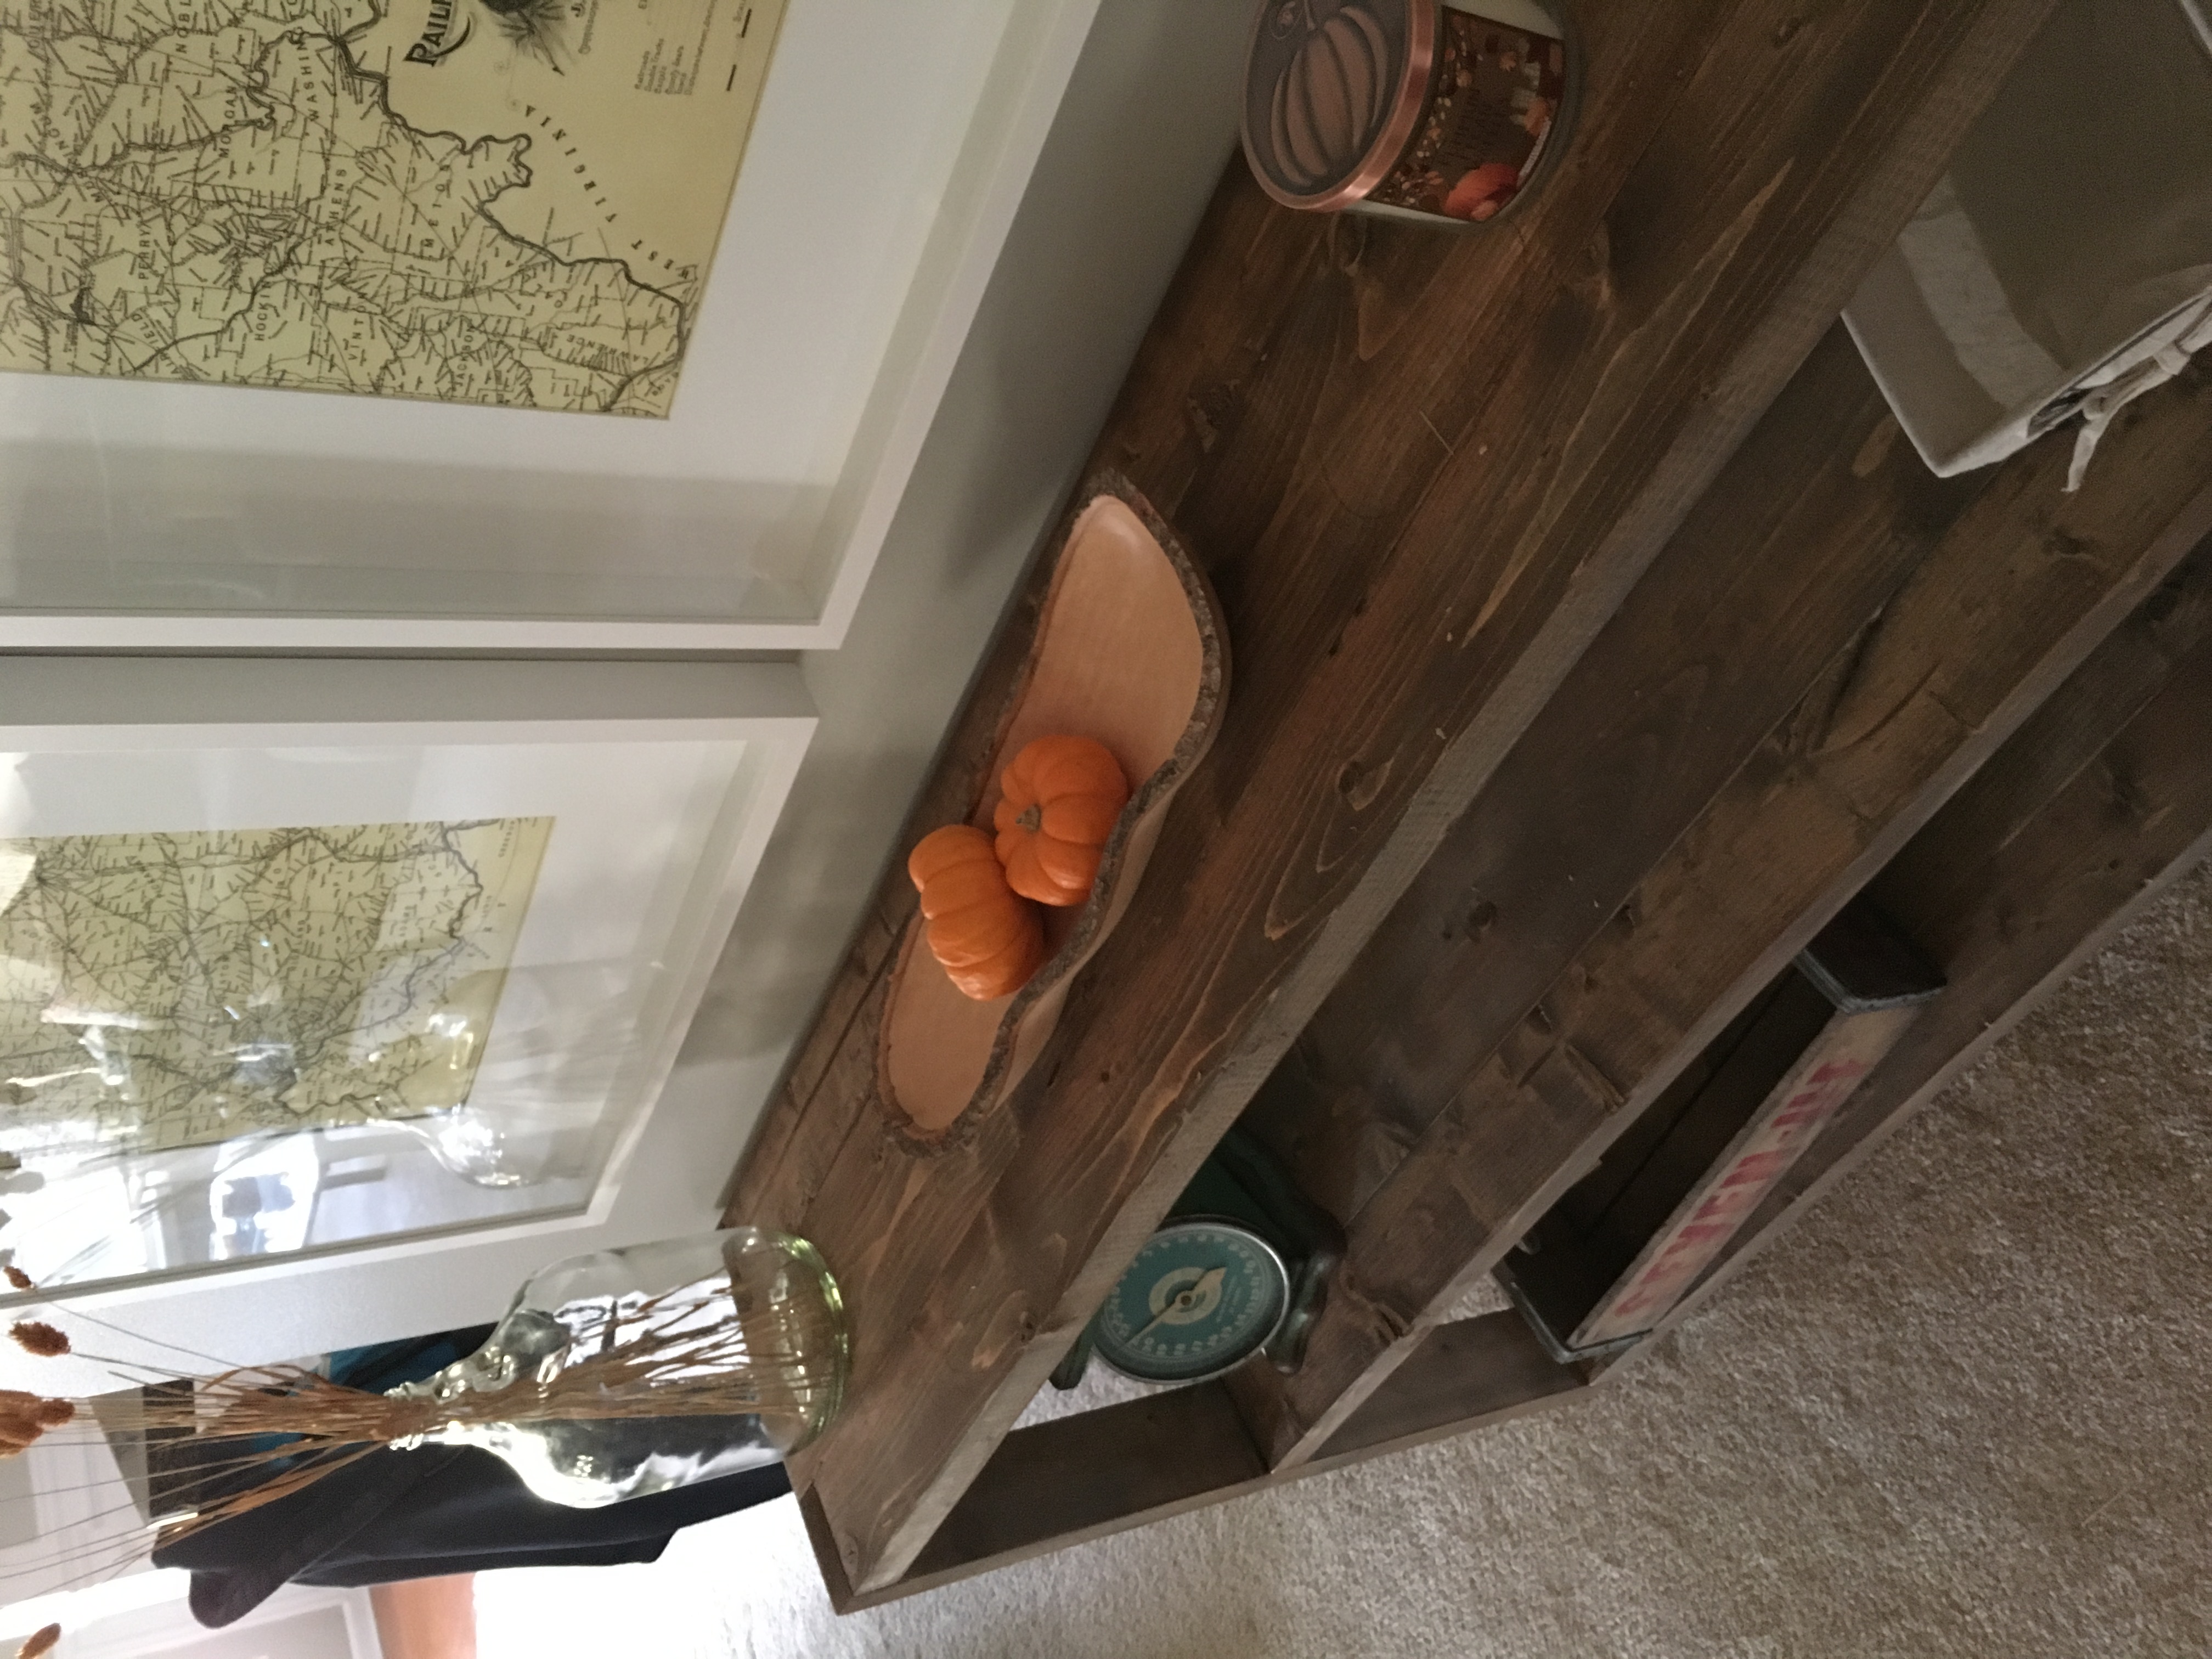
This measures 70in wide. I added a second shelf as well. I used plexiglass in the doors. I really love how this turned out!

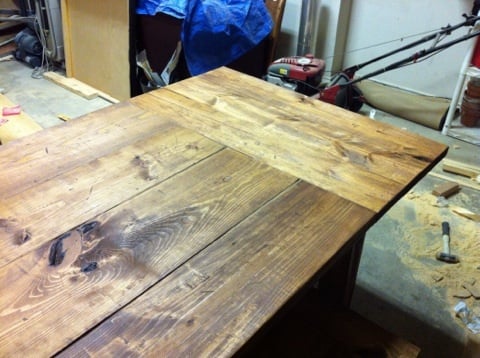
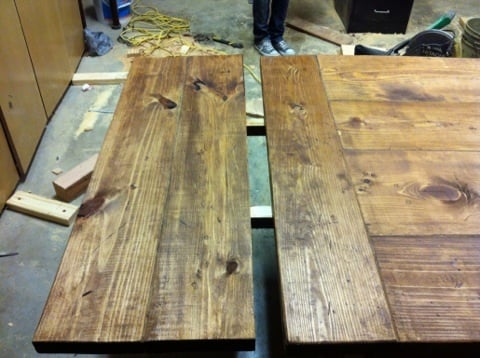
I've built tables from this plan several times. This one was a little different in terms of the colour wanted. I also beefed up the support in the table frame itself.
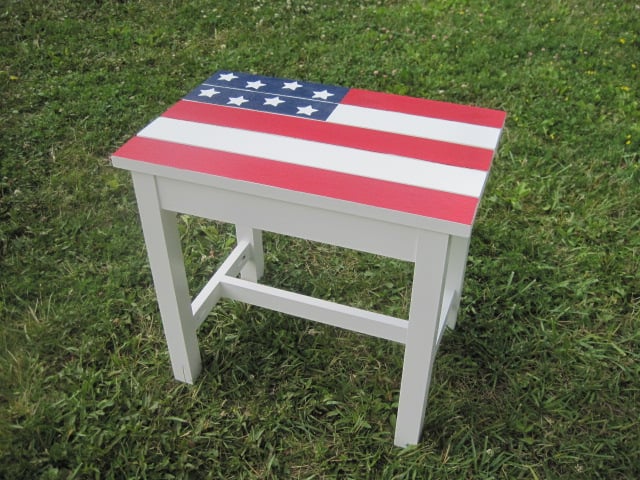
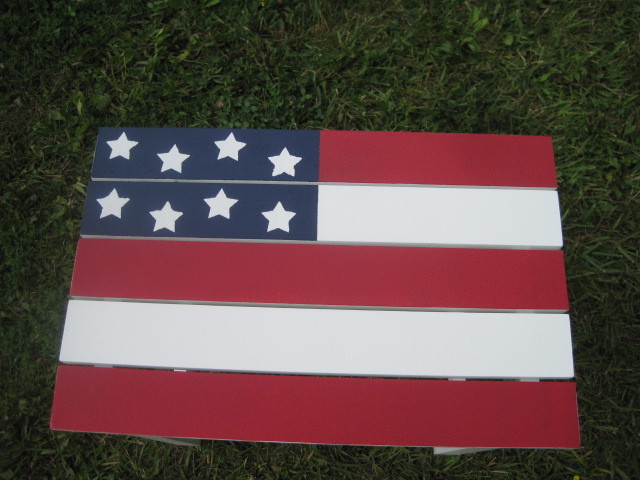
I built this in small spurts over a week. The most time consuming part was waiting for paint to dry. I painted all of my wood before I assembled since it would be too hard to get in the crevices after putting together. I painted the table top at the very end after it was assembled. I used painters tape to make sure I didn't goof and the stars are stenciled on. I extended the table to 20 inches wide so it would look more like a flag and just adjusted my other cuts to make it work. I built one for my Step-Mom and had to build another for my Mom after she saw how cute it was.
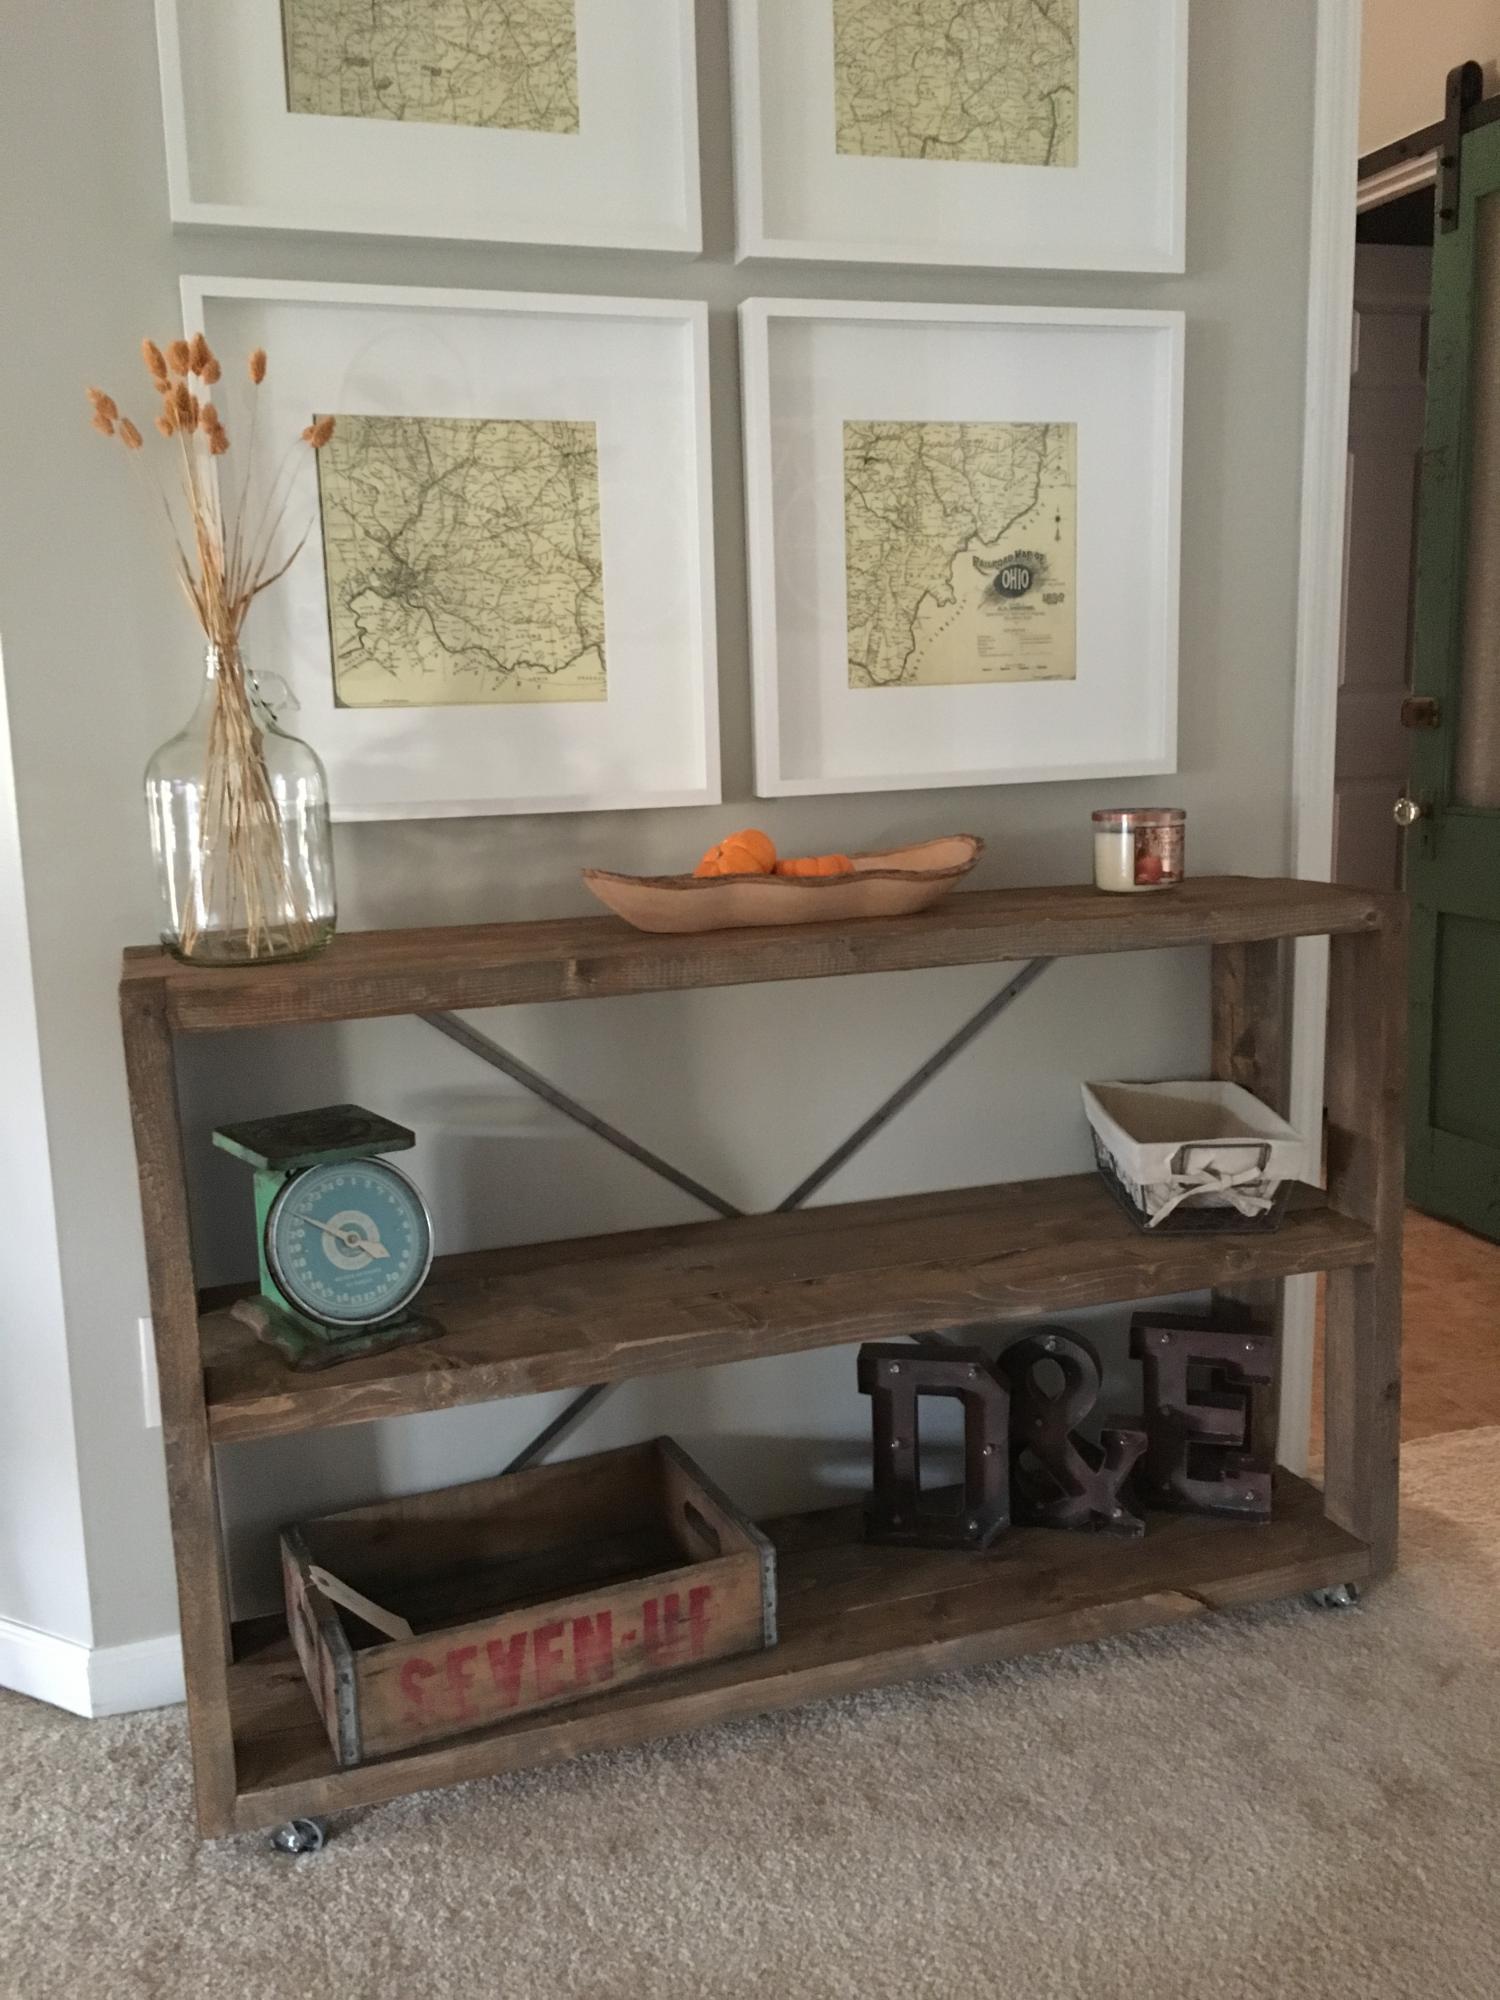
I modified the plans to fit my space. I needed a shorter wide shelf. This project was easy and fun. Turned out great
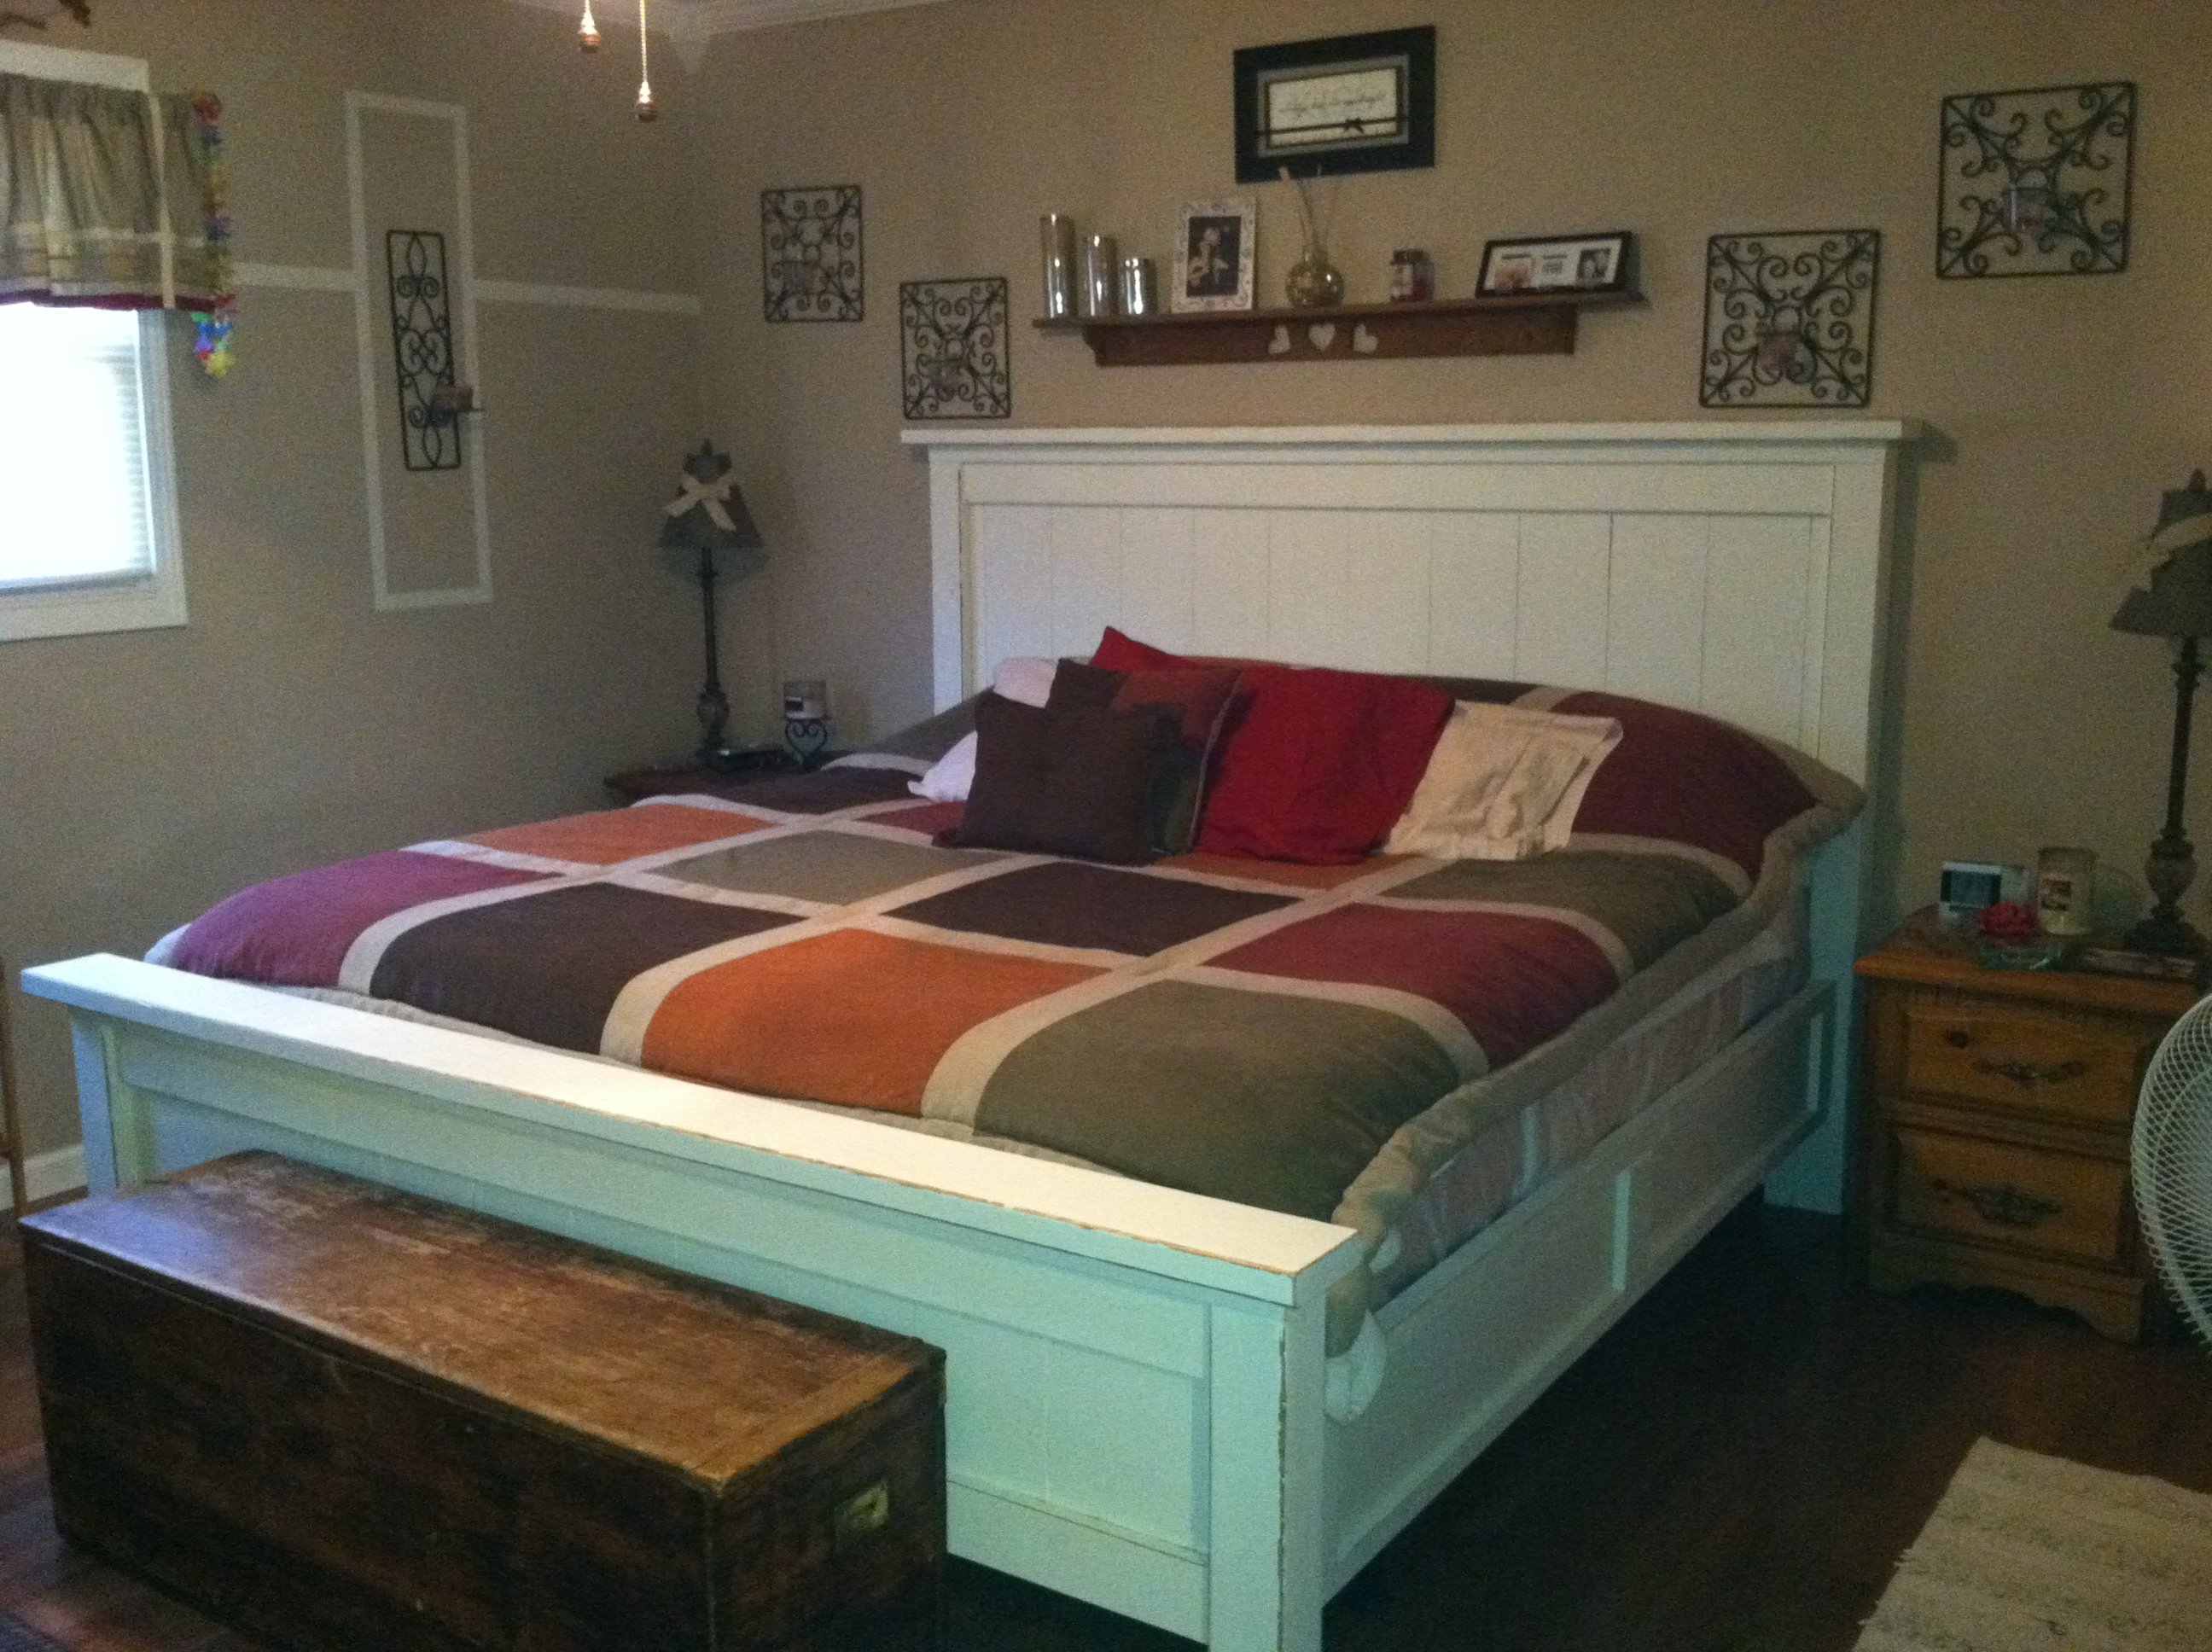
I made this bed for my wife using the plans found on this side.
I worked out great and she loves it!!!! Very east project. It took one week end to complete. I altered it slightly and added decorative side panels.
Tue, 05/21/2013 - 03:59
The project looks good and perfect for the home and we always look for decking up our home in the most beautiful way possible and for that you can check out http://blog.decorplanet.com/2012/06/exploding-toilets-prompt-recall-of.html.
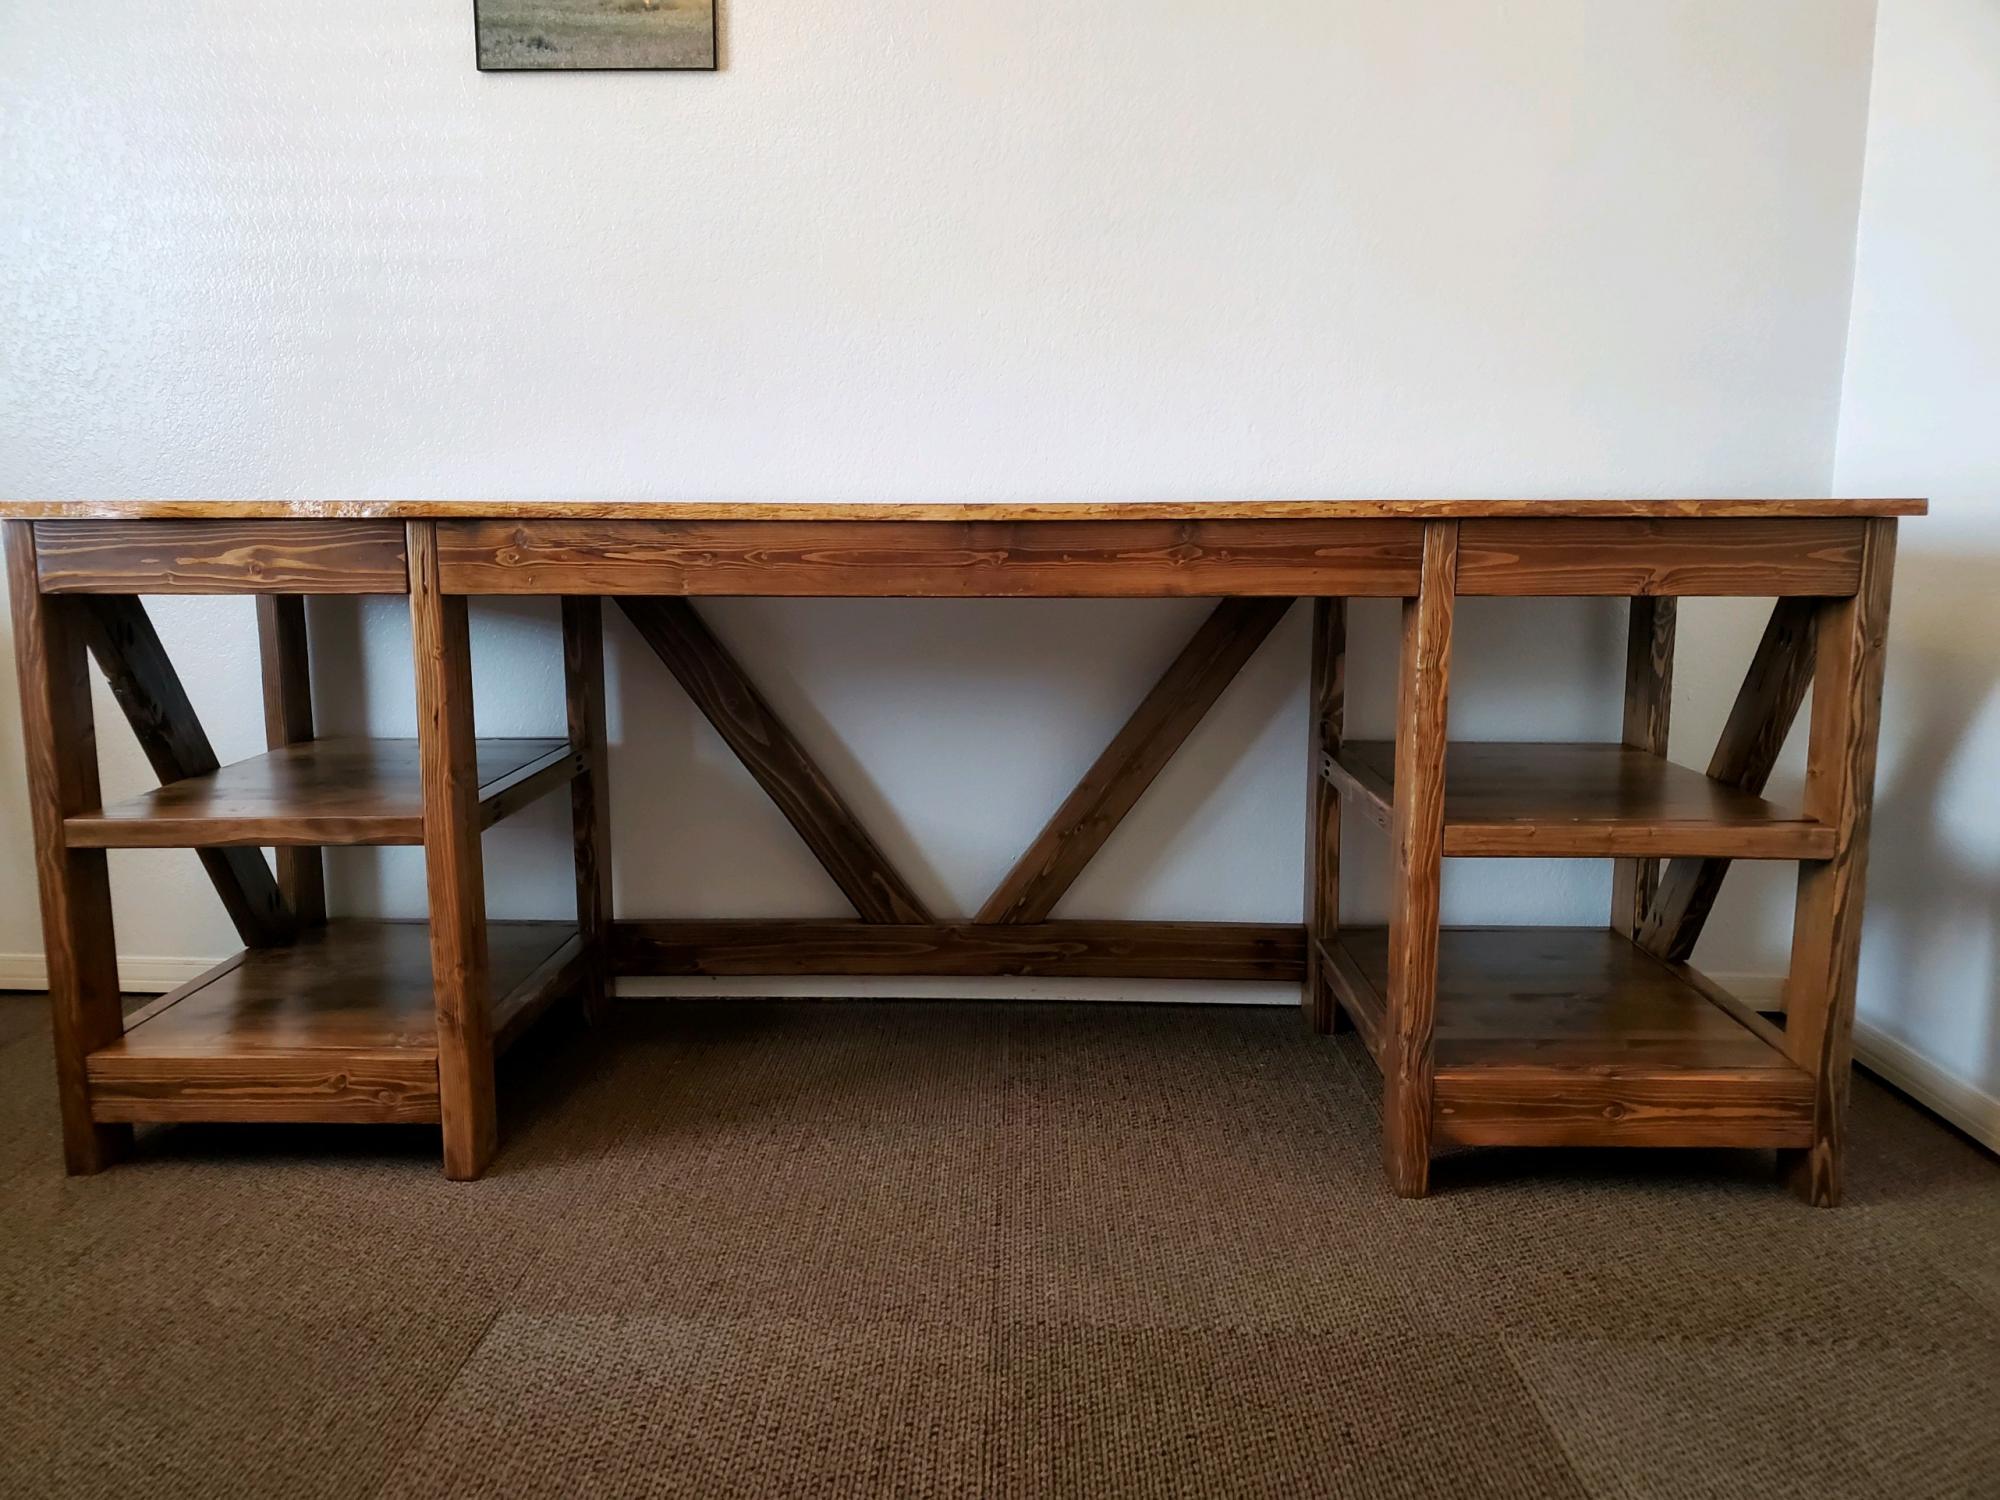
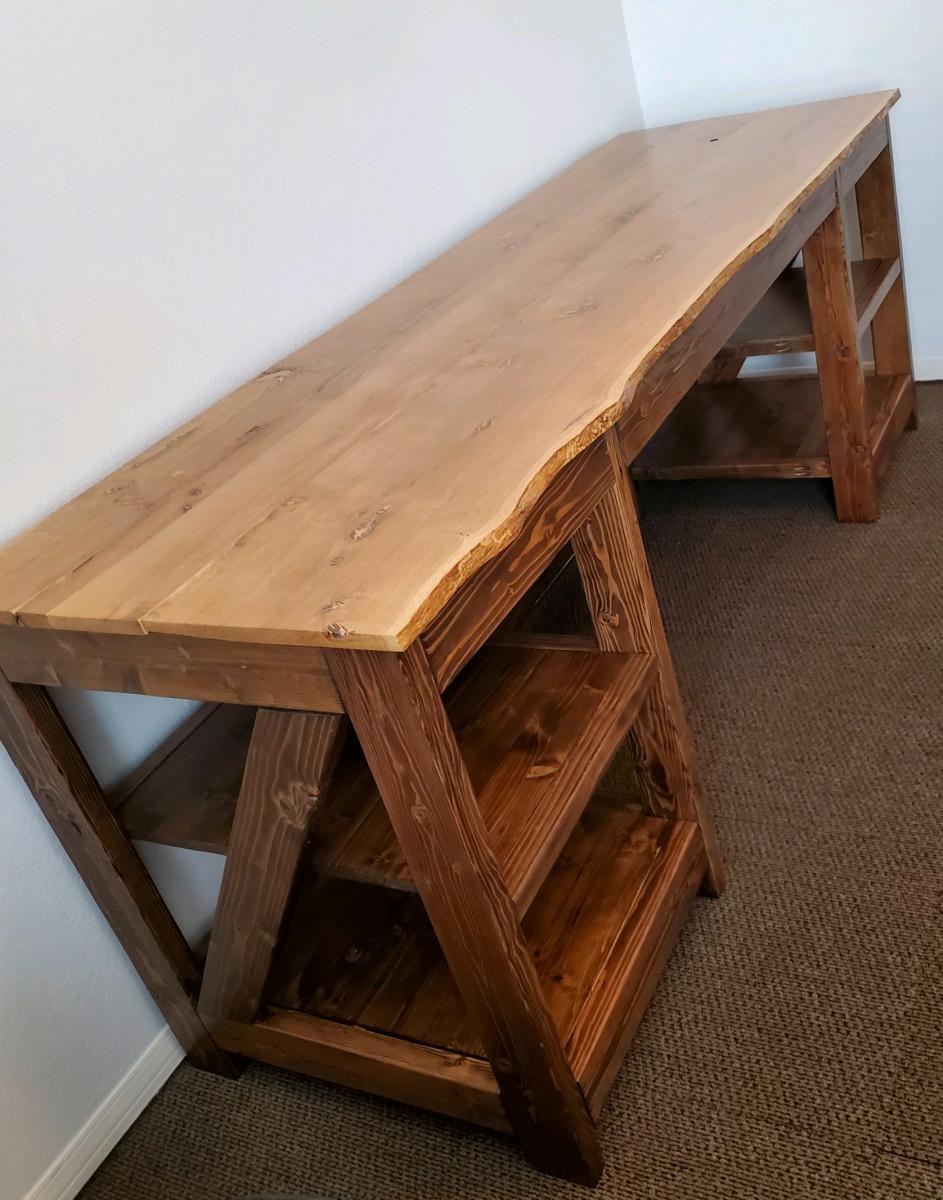
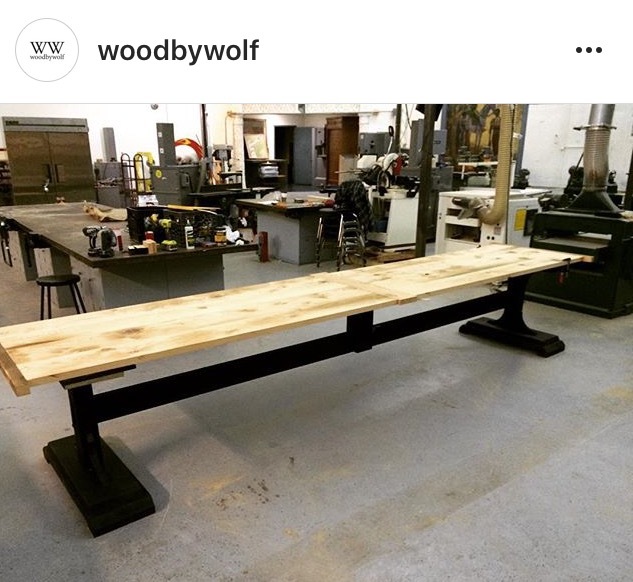
I modified the Farmhouse X Desk plan from Handmade Haven to add the shelving on both ends. I also have a Z on the end instead of the X as that was the way my husband preferred it (it is for him after all). The top is live edge wood which is tricky to work with since the thickness is different from board to board but I still like the way it turned out! The live edge top did add time to the build as well as staining and varnishing as opposed to painting the base.
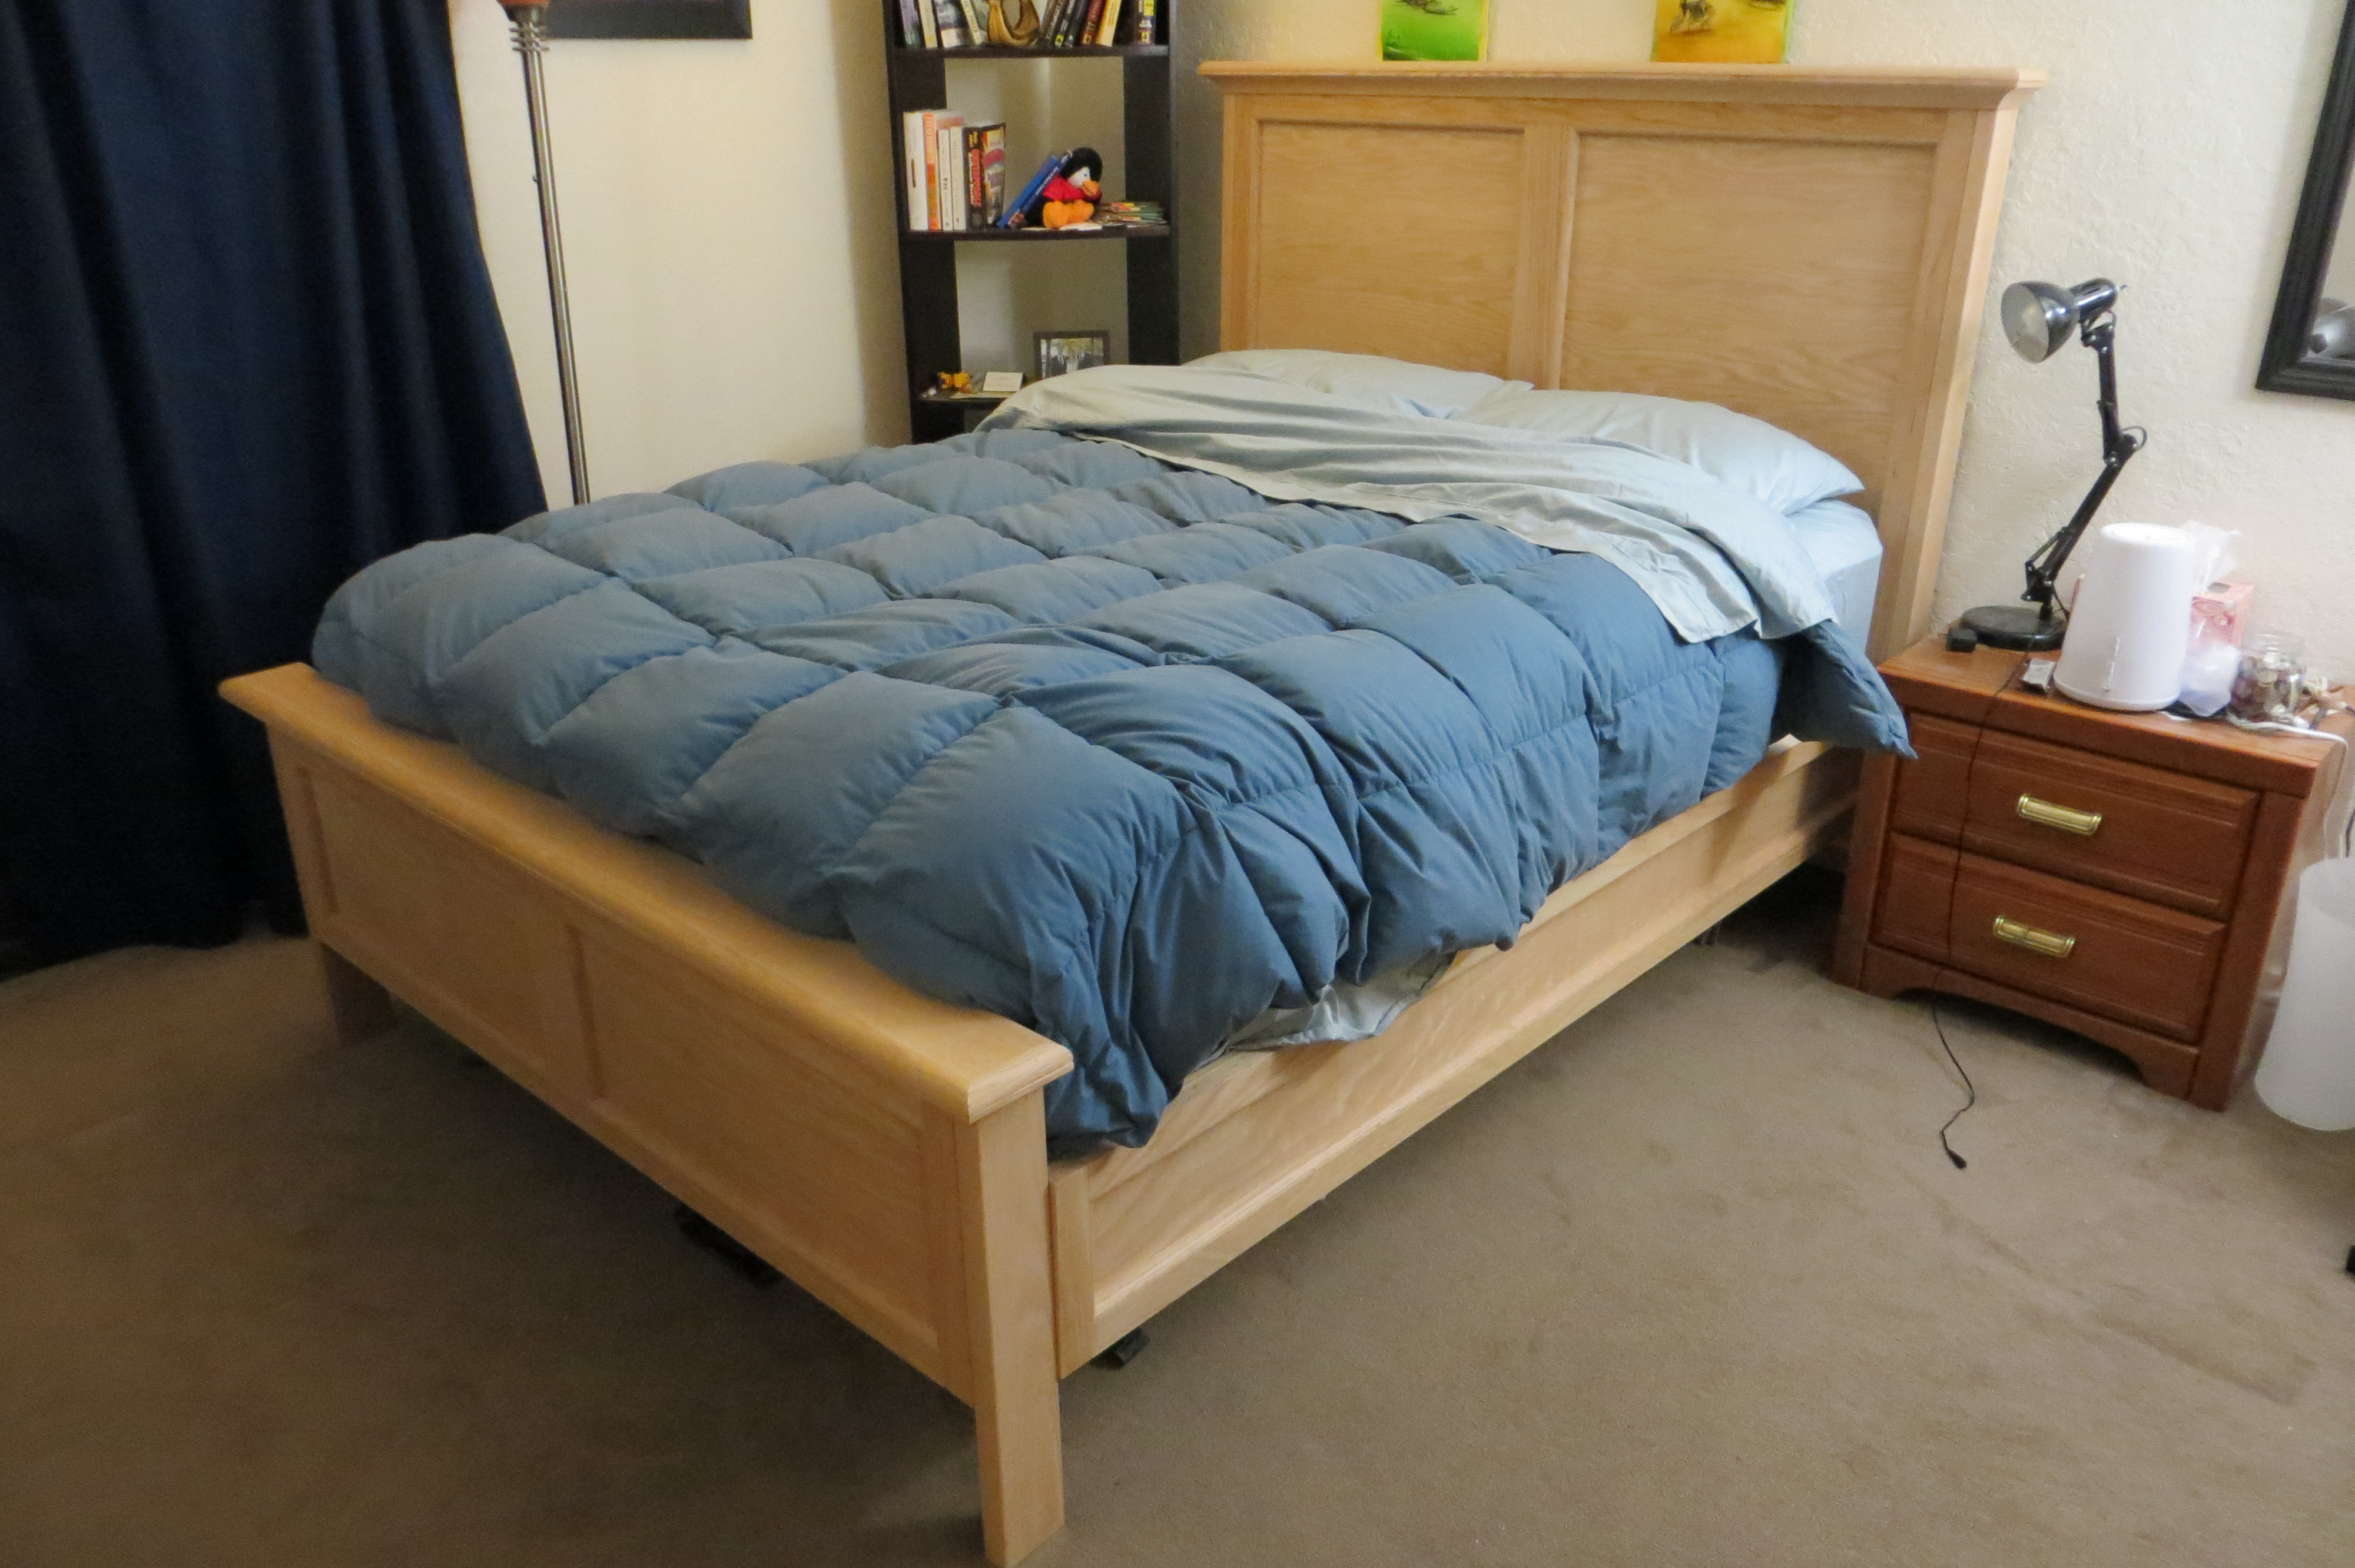
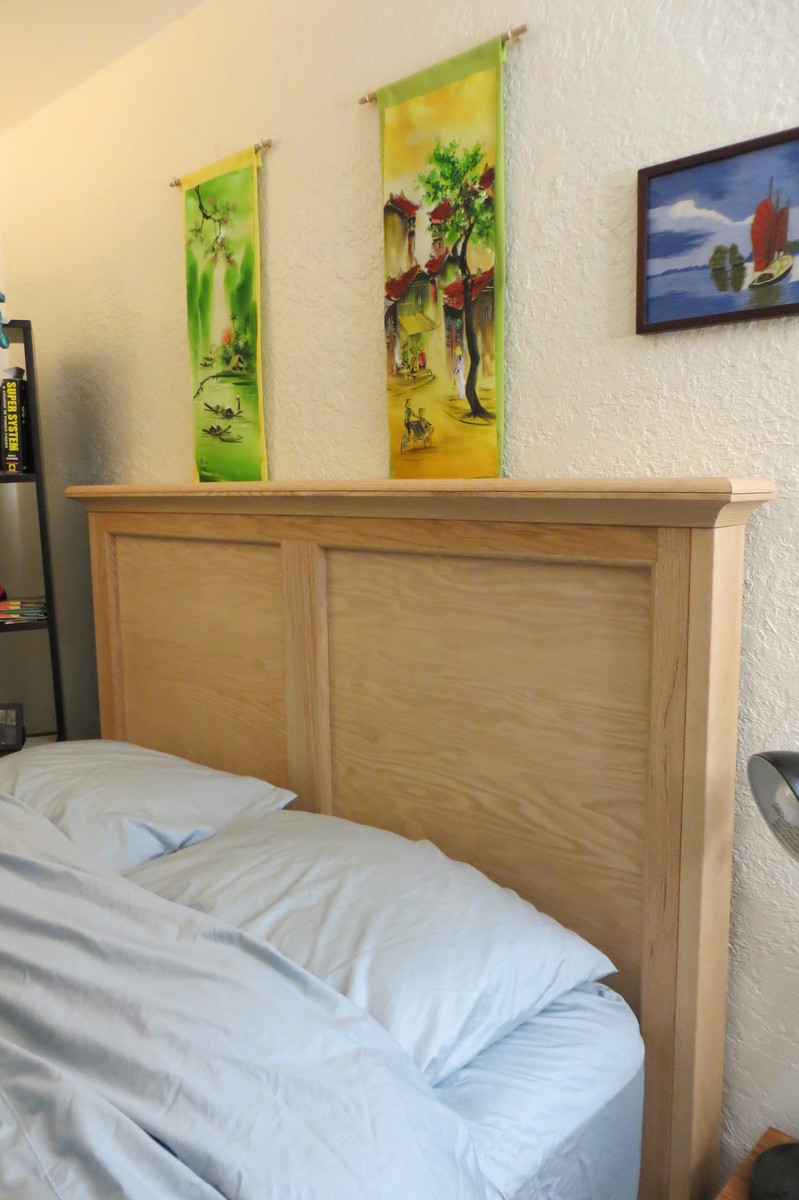
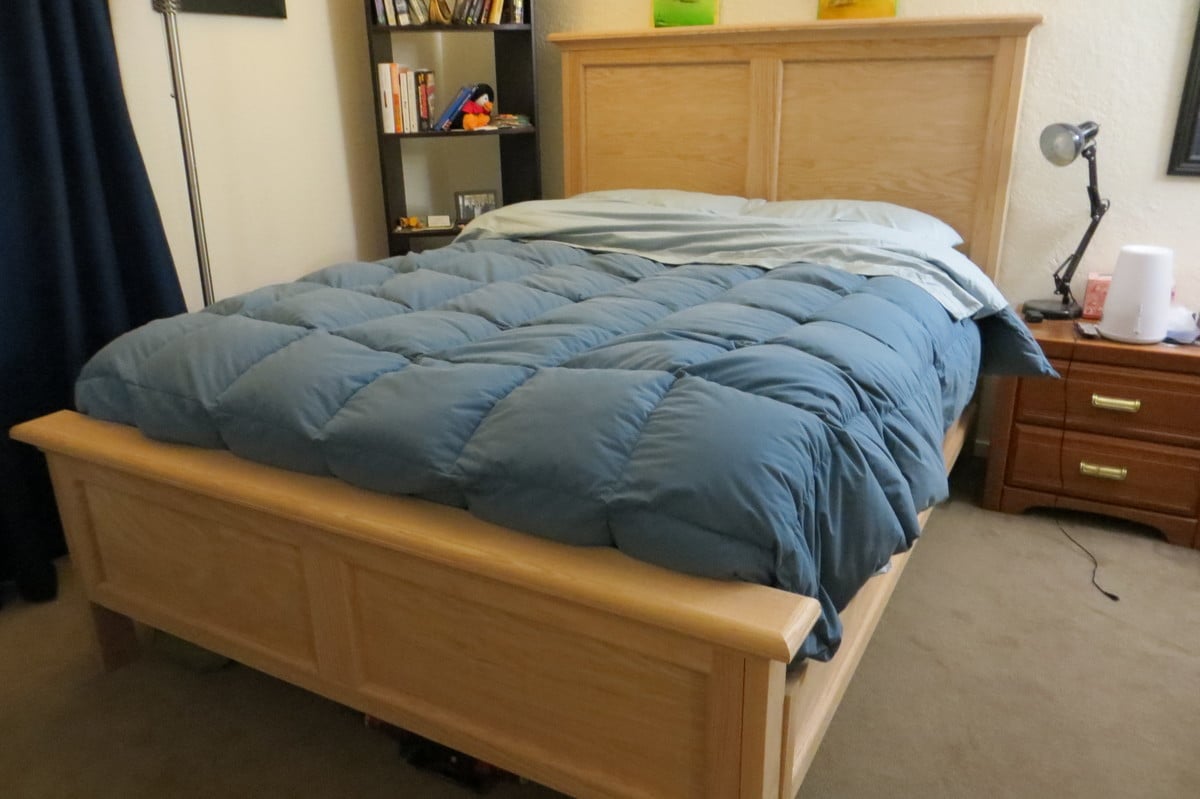
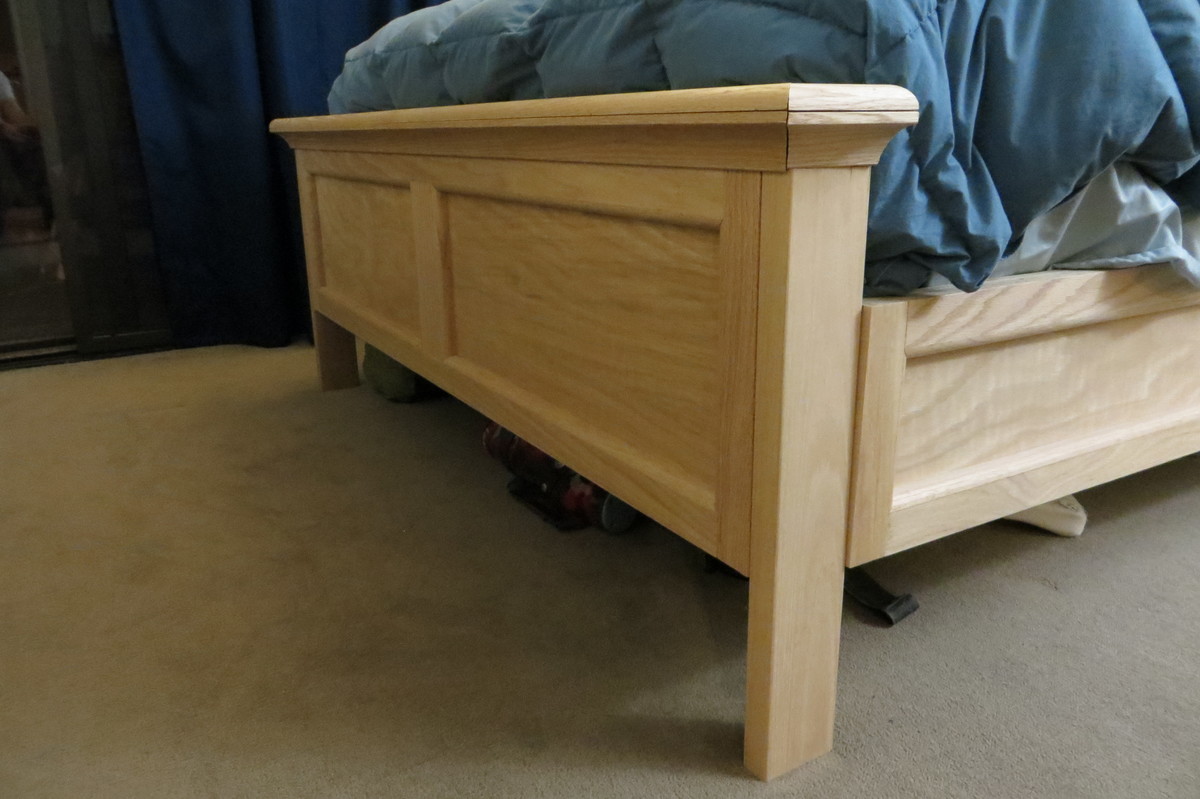
This was my second big project and I went ALL out! I was inspired by the modified farmhouse bed, but completely modified it to look like the Hudson bed from Pottery Barn. I designed it completely on my own too. All of the exterior is oak and the frame is fir and pine. This bed is super sturdy and sleeps great!
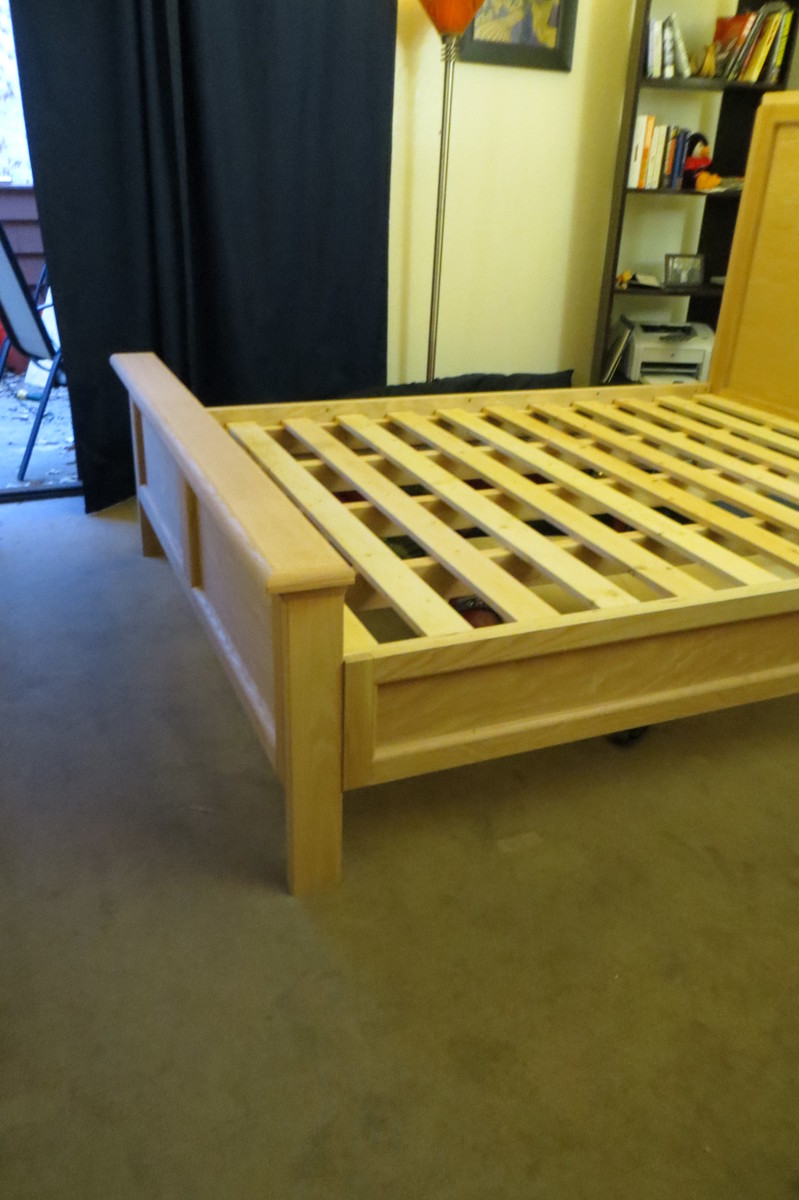
The sides, footboard, and headboard are made from oak plywood outlined by oak 1x2 and 1x3. Then added 1/2"x3/4" oak shoe molding for the indentations. The top of the footboard and headboard has 1.5" cove molding topped with quarter-round.
The total cost of all the material was $430. But I have enough leftover oak plywood to make a matching night table. I still need to stain it, but I love the raw oak smell and feel.
My only tools to create this was a circular saw, drill, screwdriver, miter box, and sander. The frame itself took only a few hours. All of the hand cutting of the molding and careful angles took most of the time (20+ hours) since it was my first time ever doing anything like this. The cove crown molding was especially difficult.
So....what color should I stain it?
Sat, 11/10/2012 - 12:30
Beautiful! I love my farmhouse bed too. Doesn't it feel so good to cozy up into something to sturdy and know you made it with your own two hands? I don't know if it goes with the rest of your furniture, but I like the blonde color it is now. Maybe just seal it with Polyacrylic or wax so it doesn't yellow?
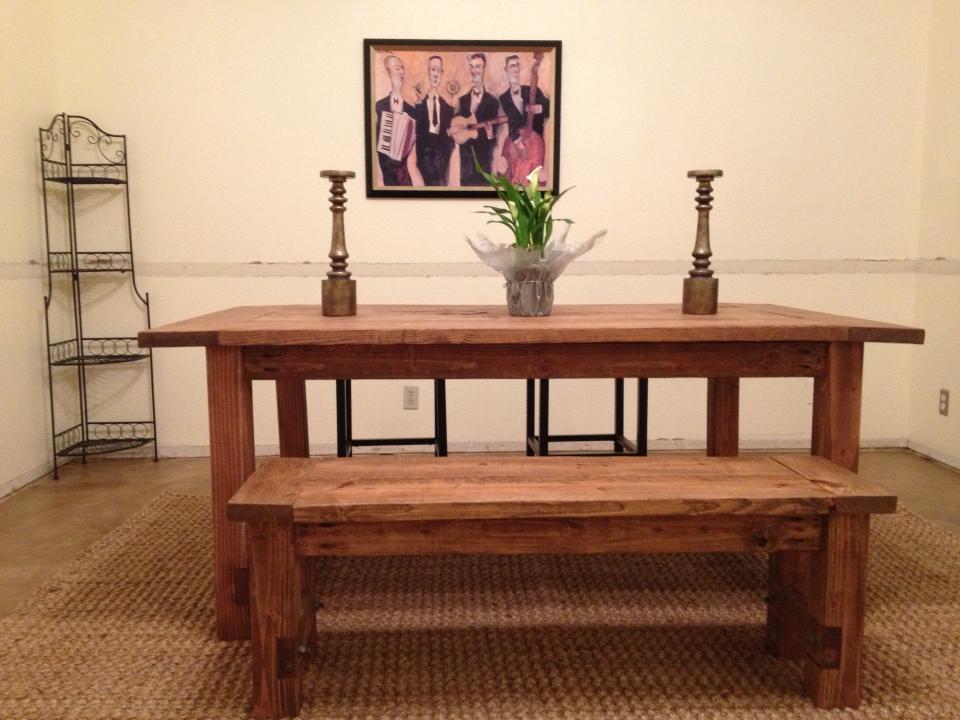
Diy farmhouse table
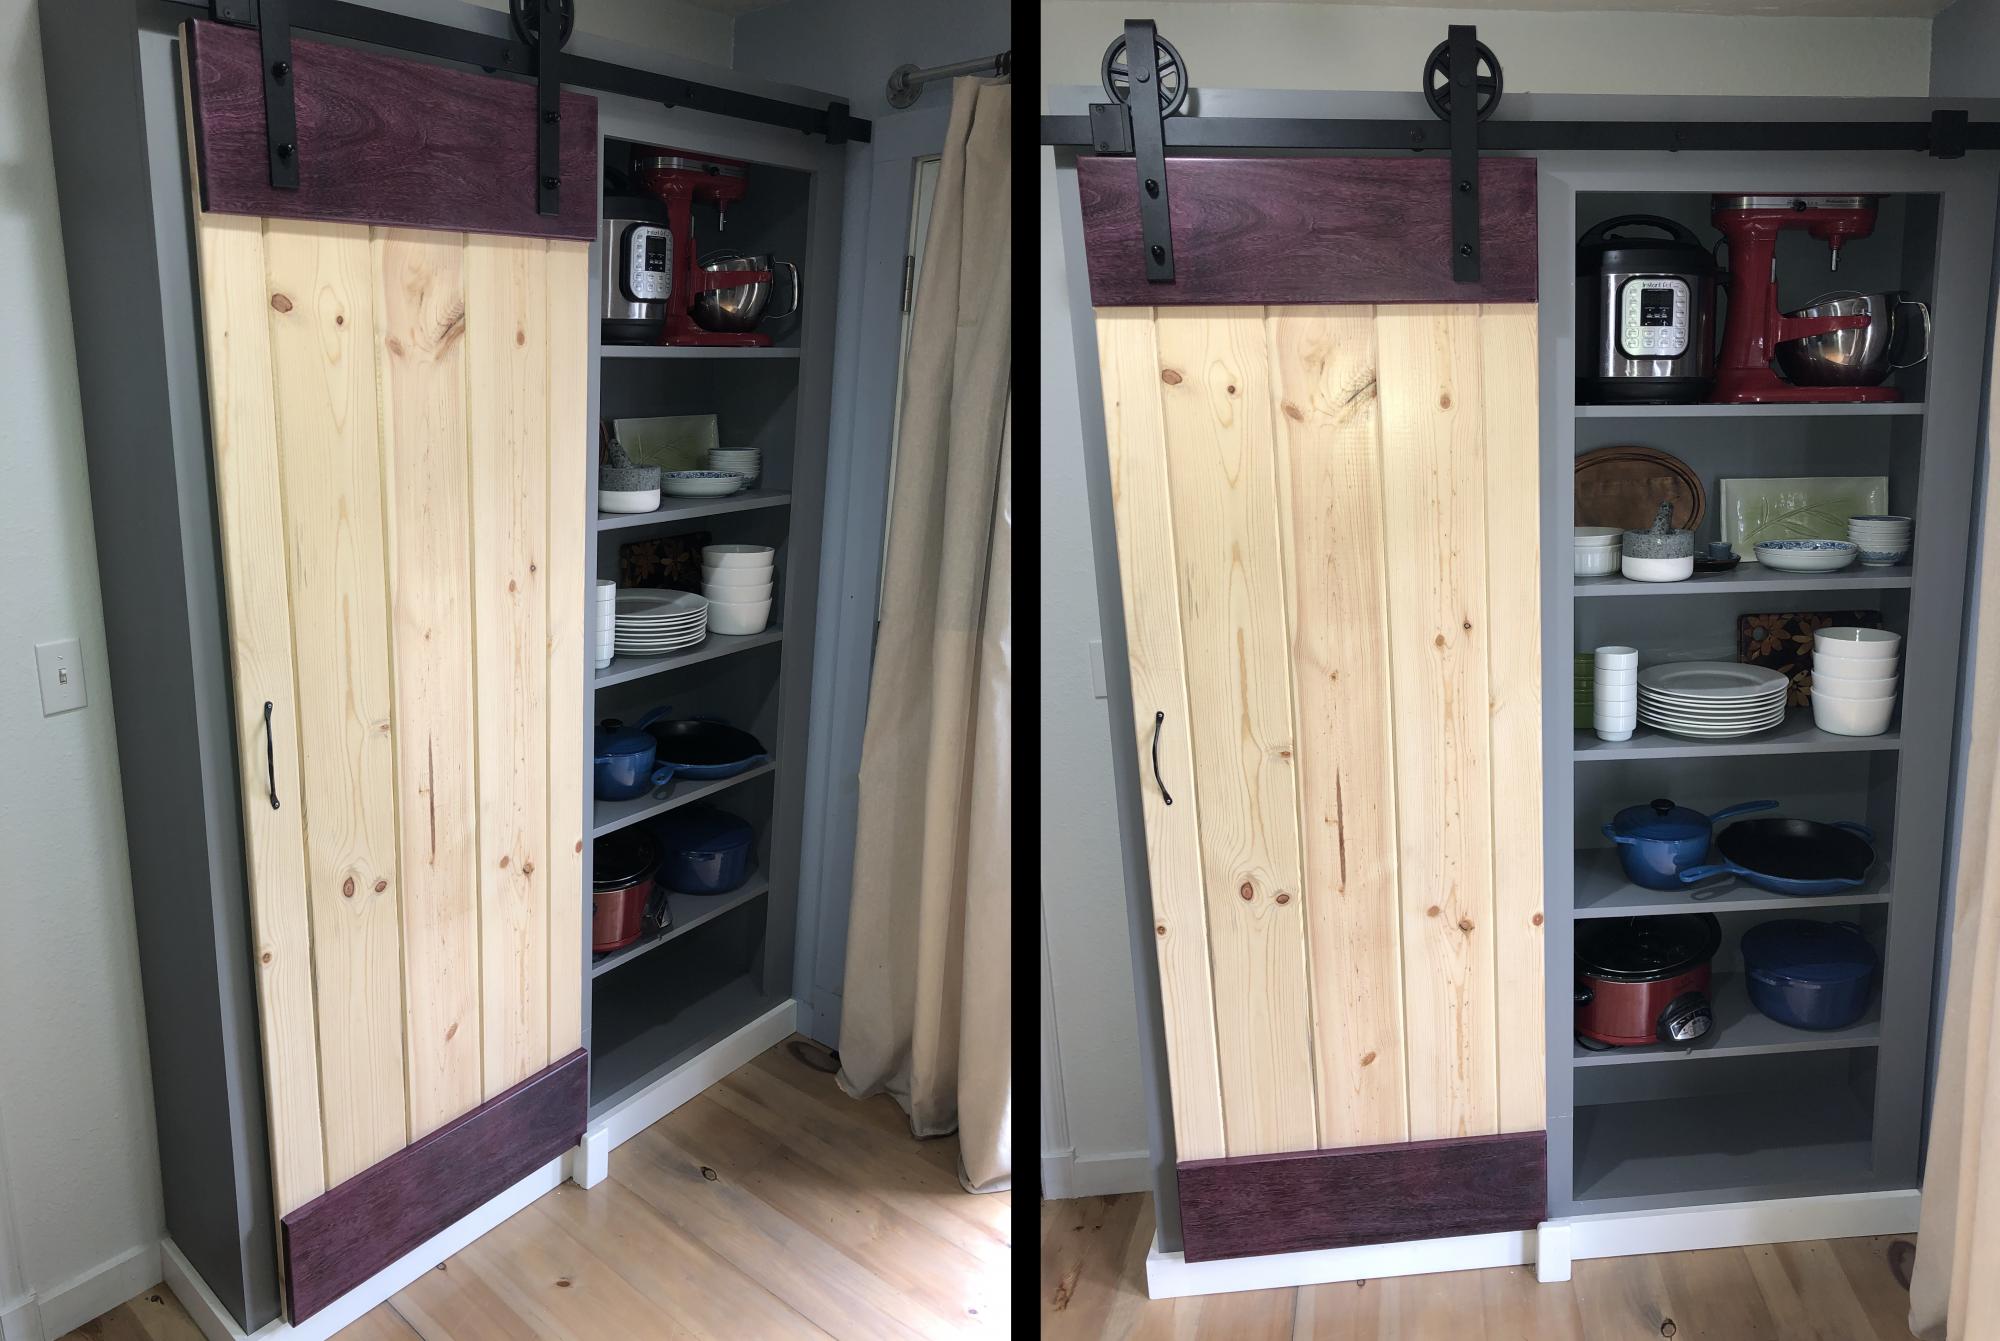
Barn door pantry scaled down to 5' x 7' with purple heart header and footer.
I had to add a guide at the bottom of the door to prevent it swinging out. Possibly my entire cabinet (or the wall) is slightly off level which is why it wanted to lean outward. I used a piece of felt inside the guide to prevent it scratching the purple heart.

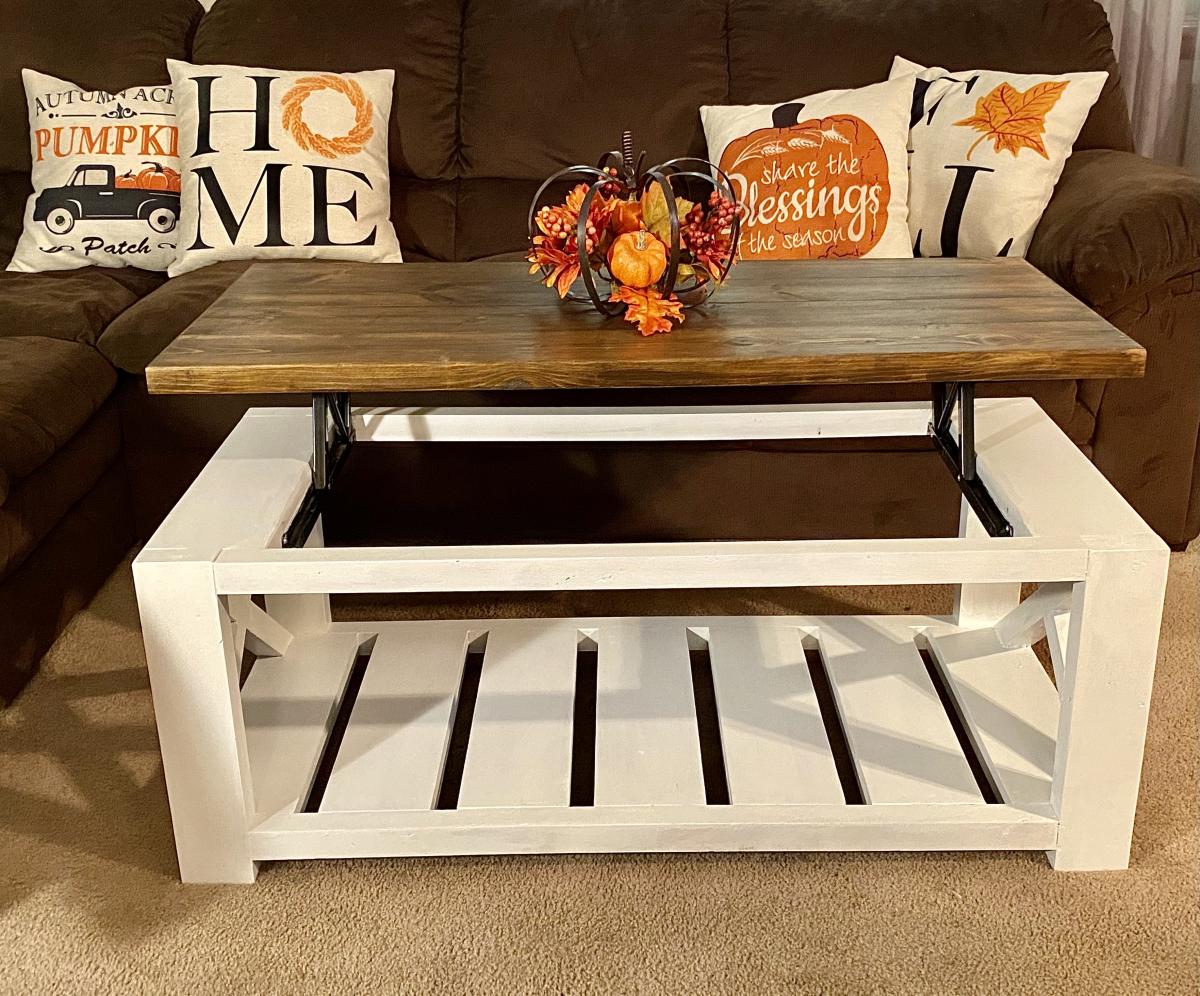
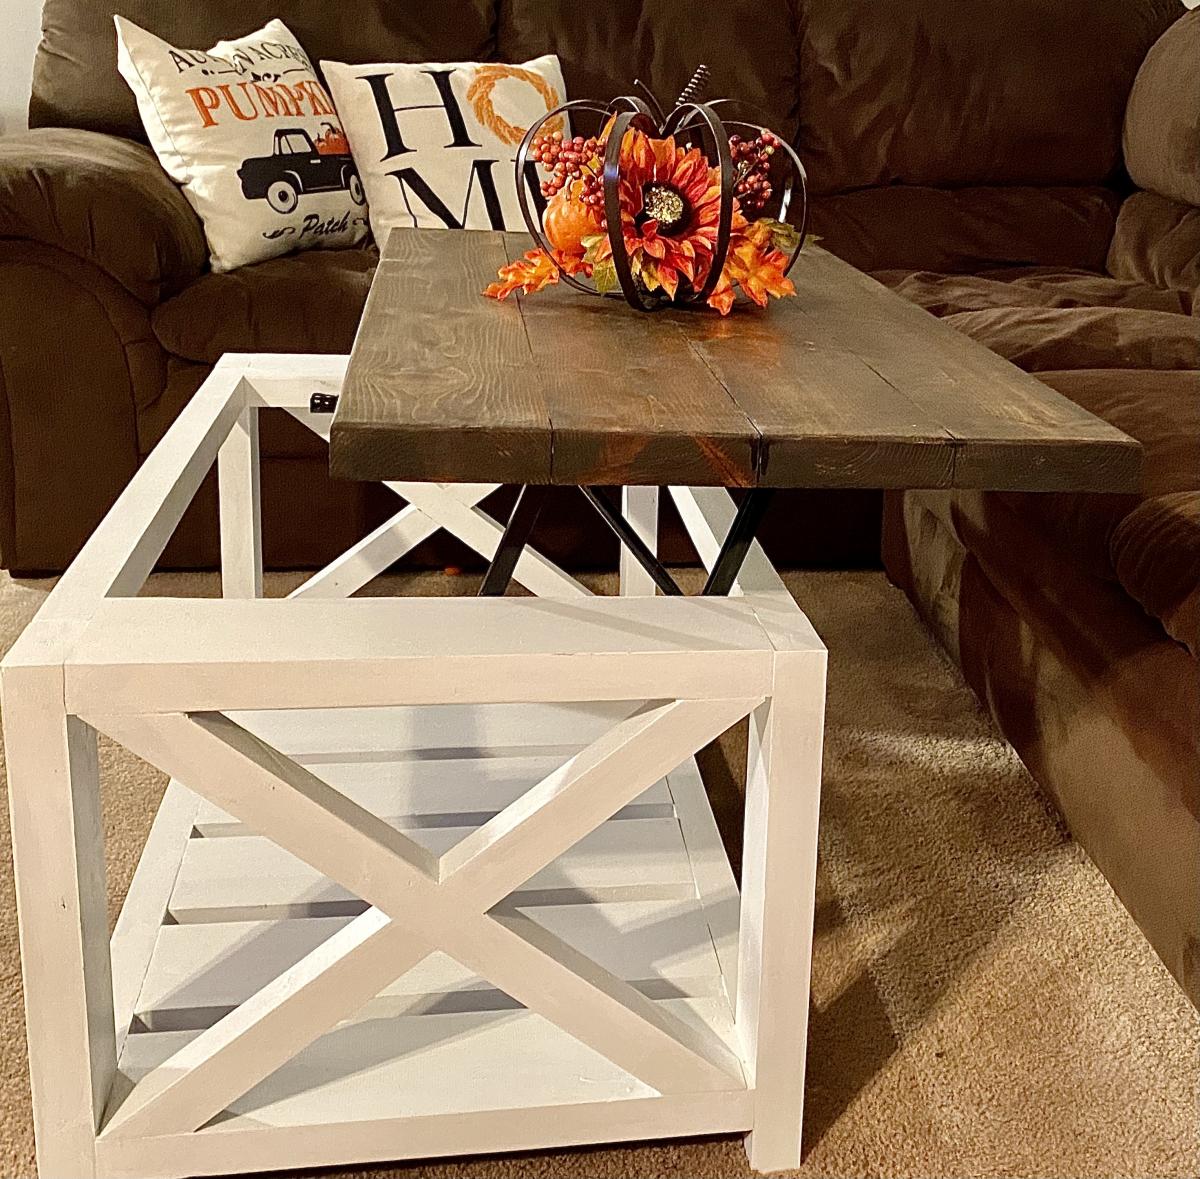
My fiancé seen the rustic x one and loved it but has always wanted a lift top one. I decided to combine the two and it turned out well.
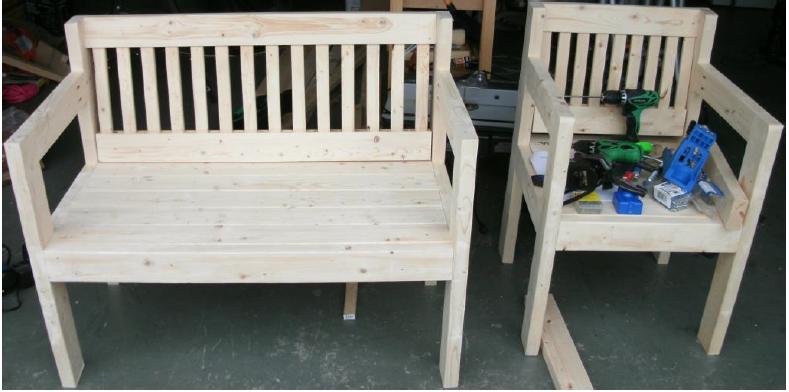
If you'd like to build a very inexpensive chair and bench for your boat dock out of just 2 x 4s and 1 x 2's that is extremely sturdy, then this project is for you. As you can see by the picture, I used the Kreg jig, 2 cordless drills. Also a chop saw to cut the materials.
Wed, 01/02/2013 - 20:23
These are great! Where are the plans for these??? I've been looking for a bench just like this.

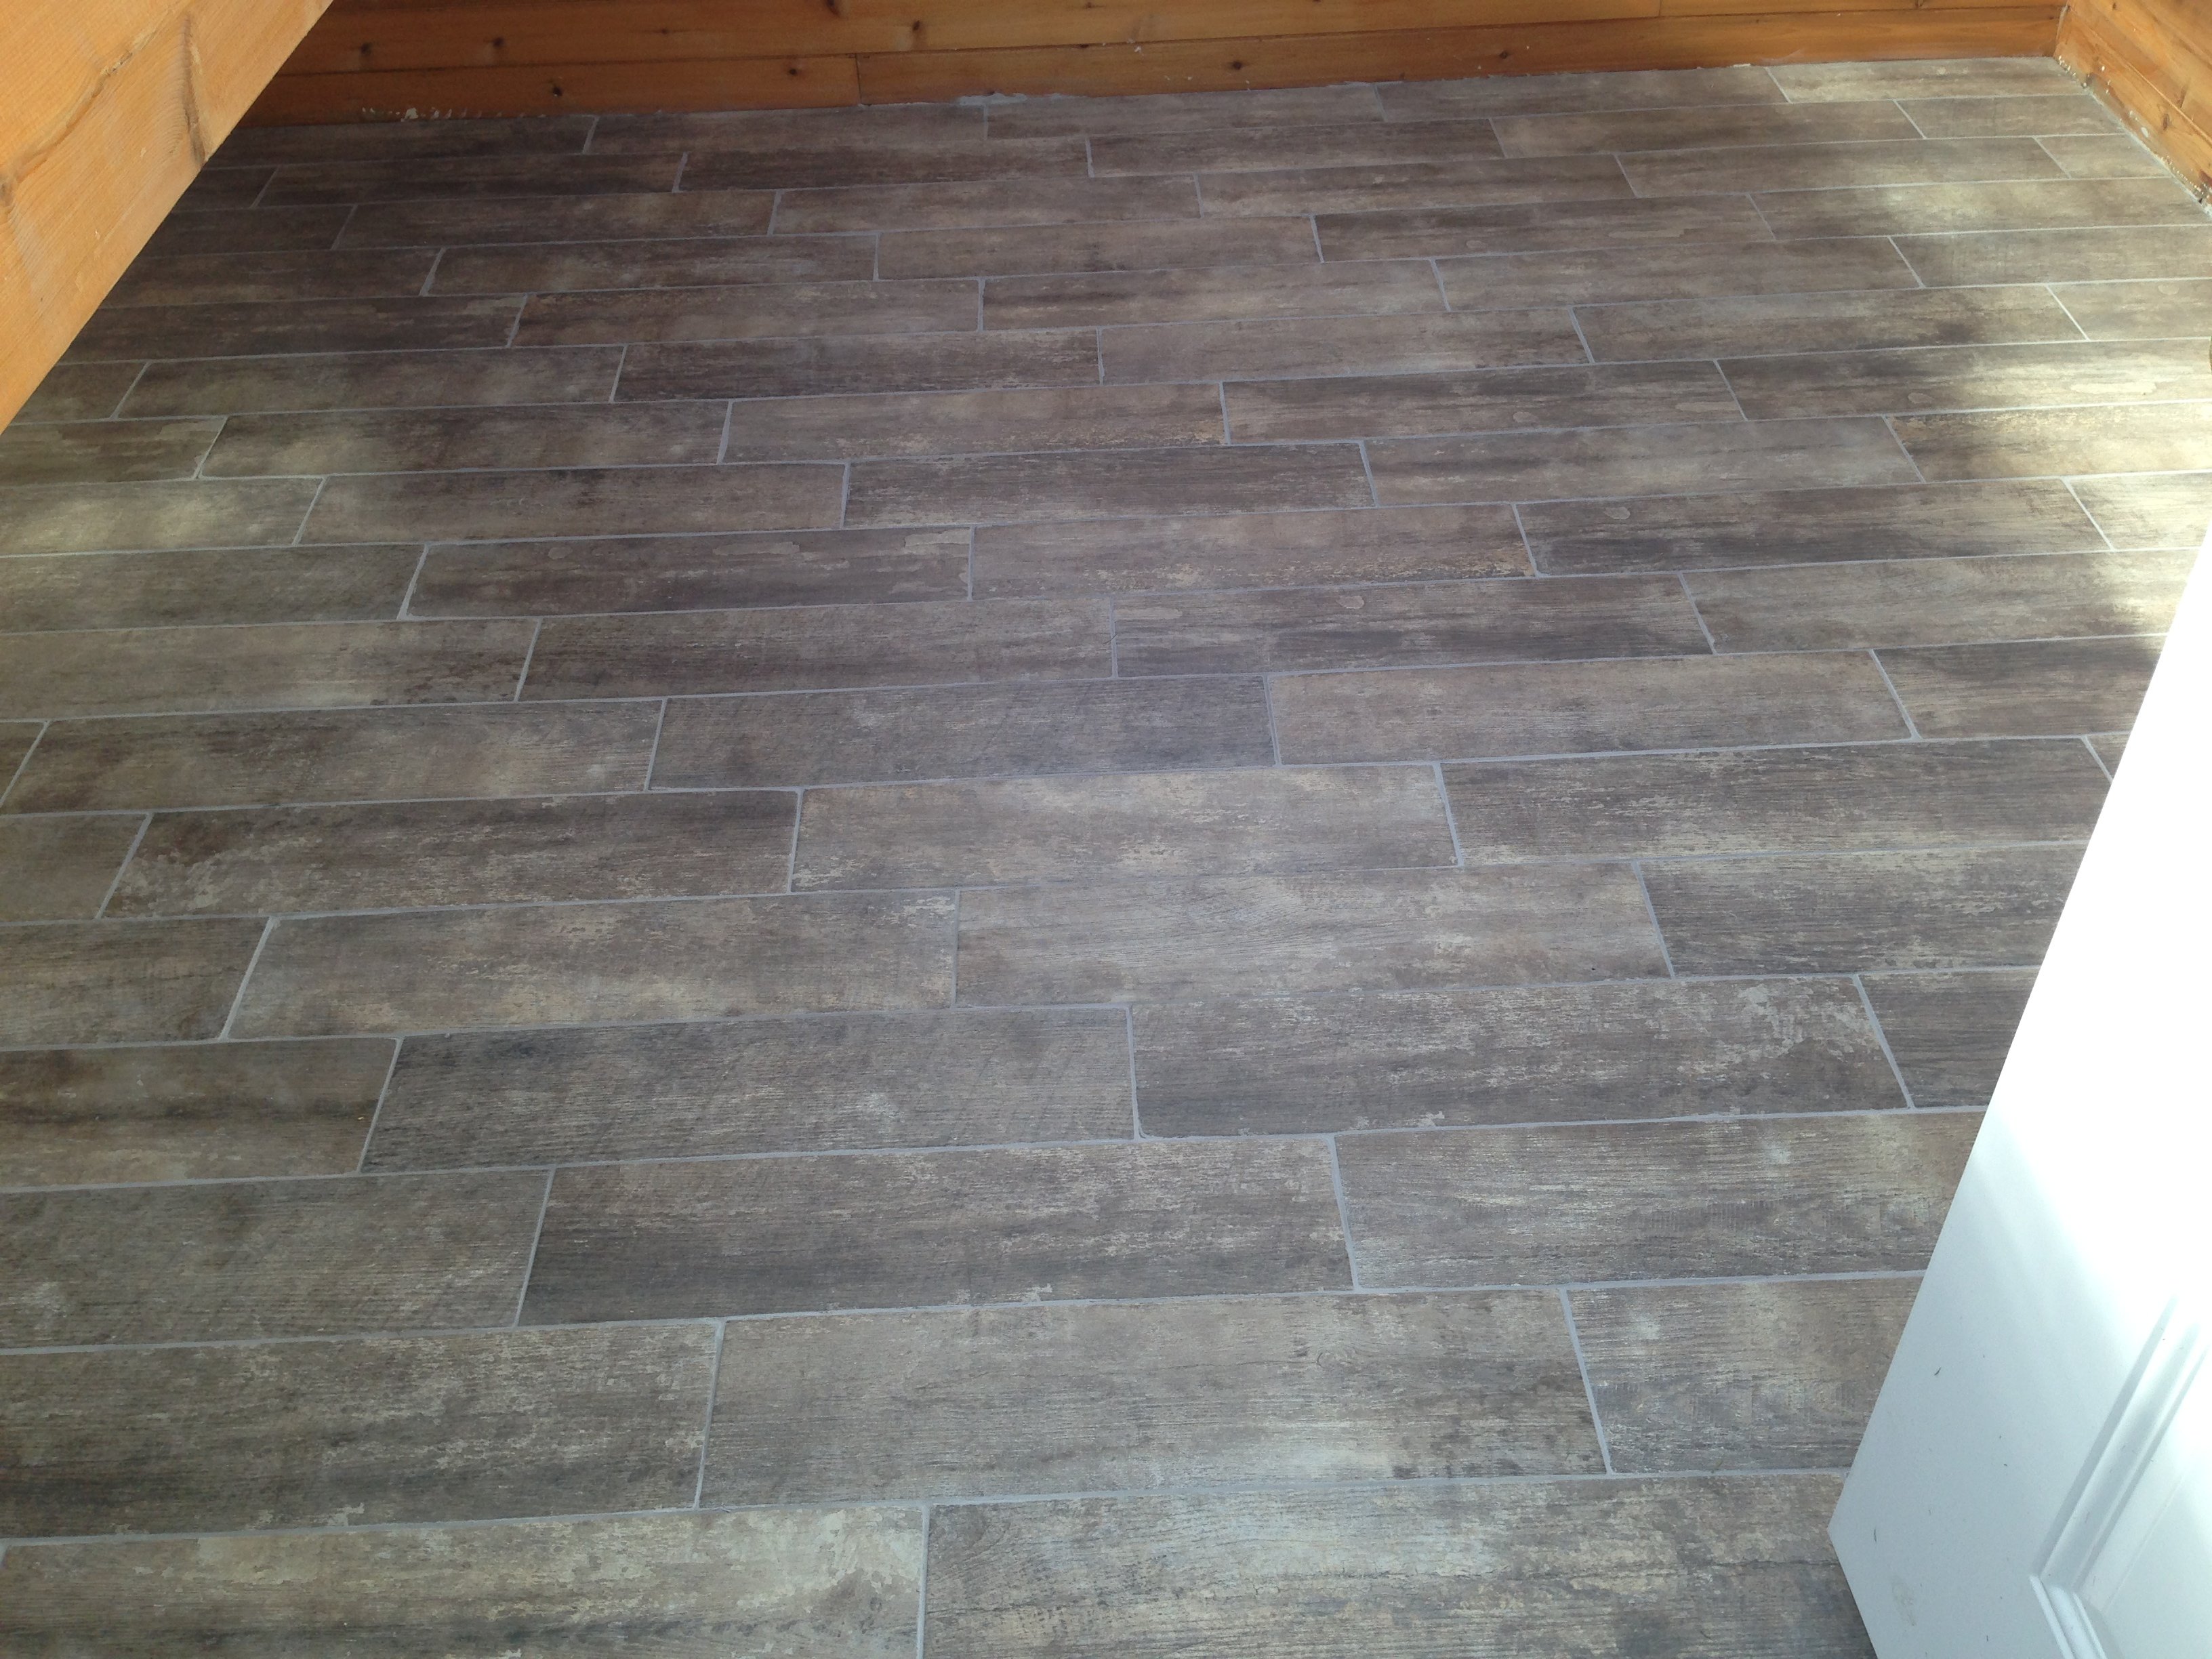
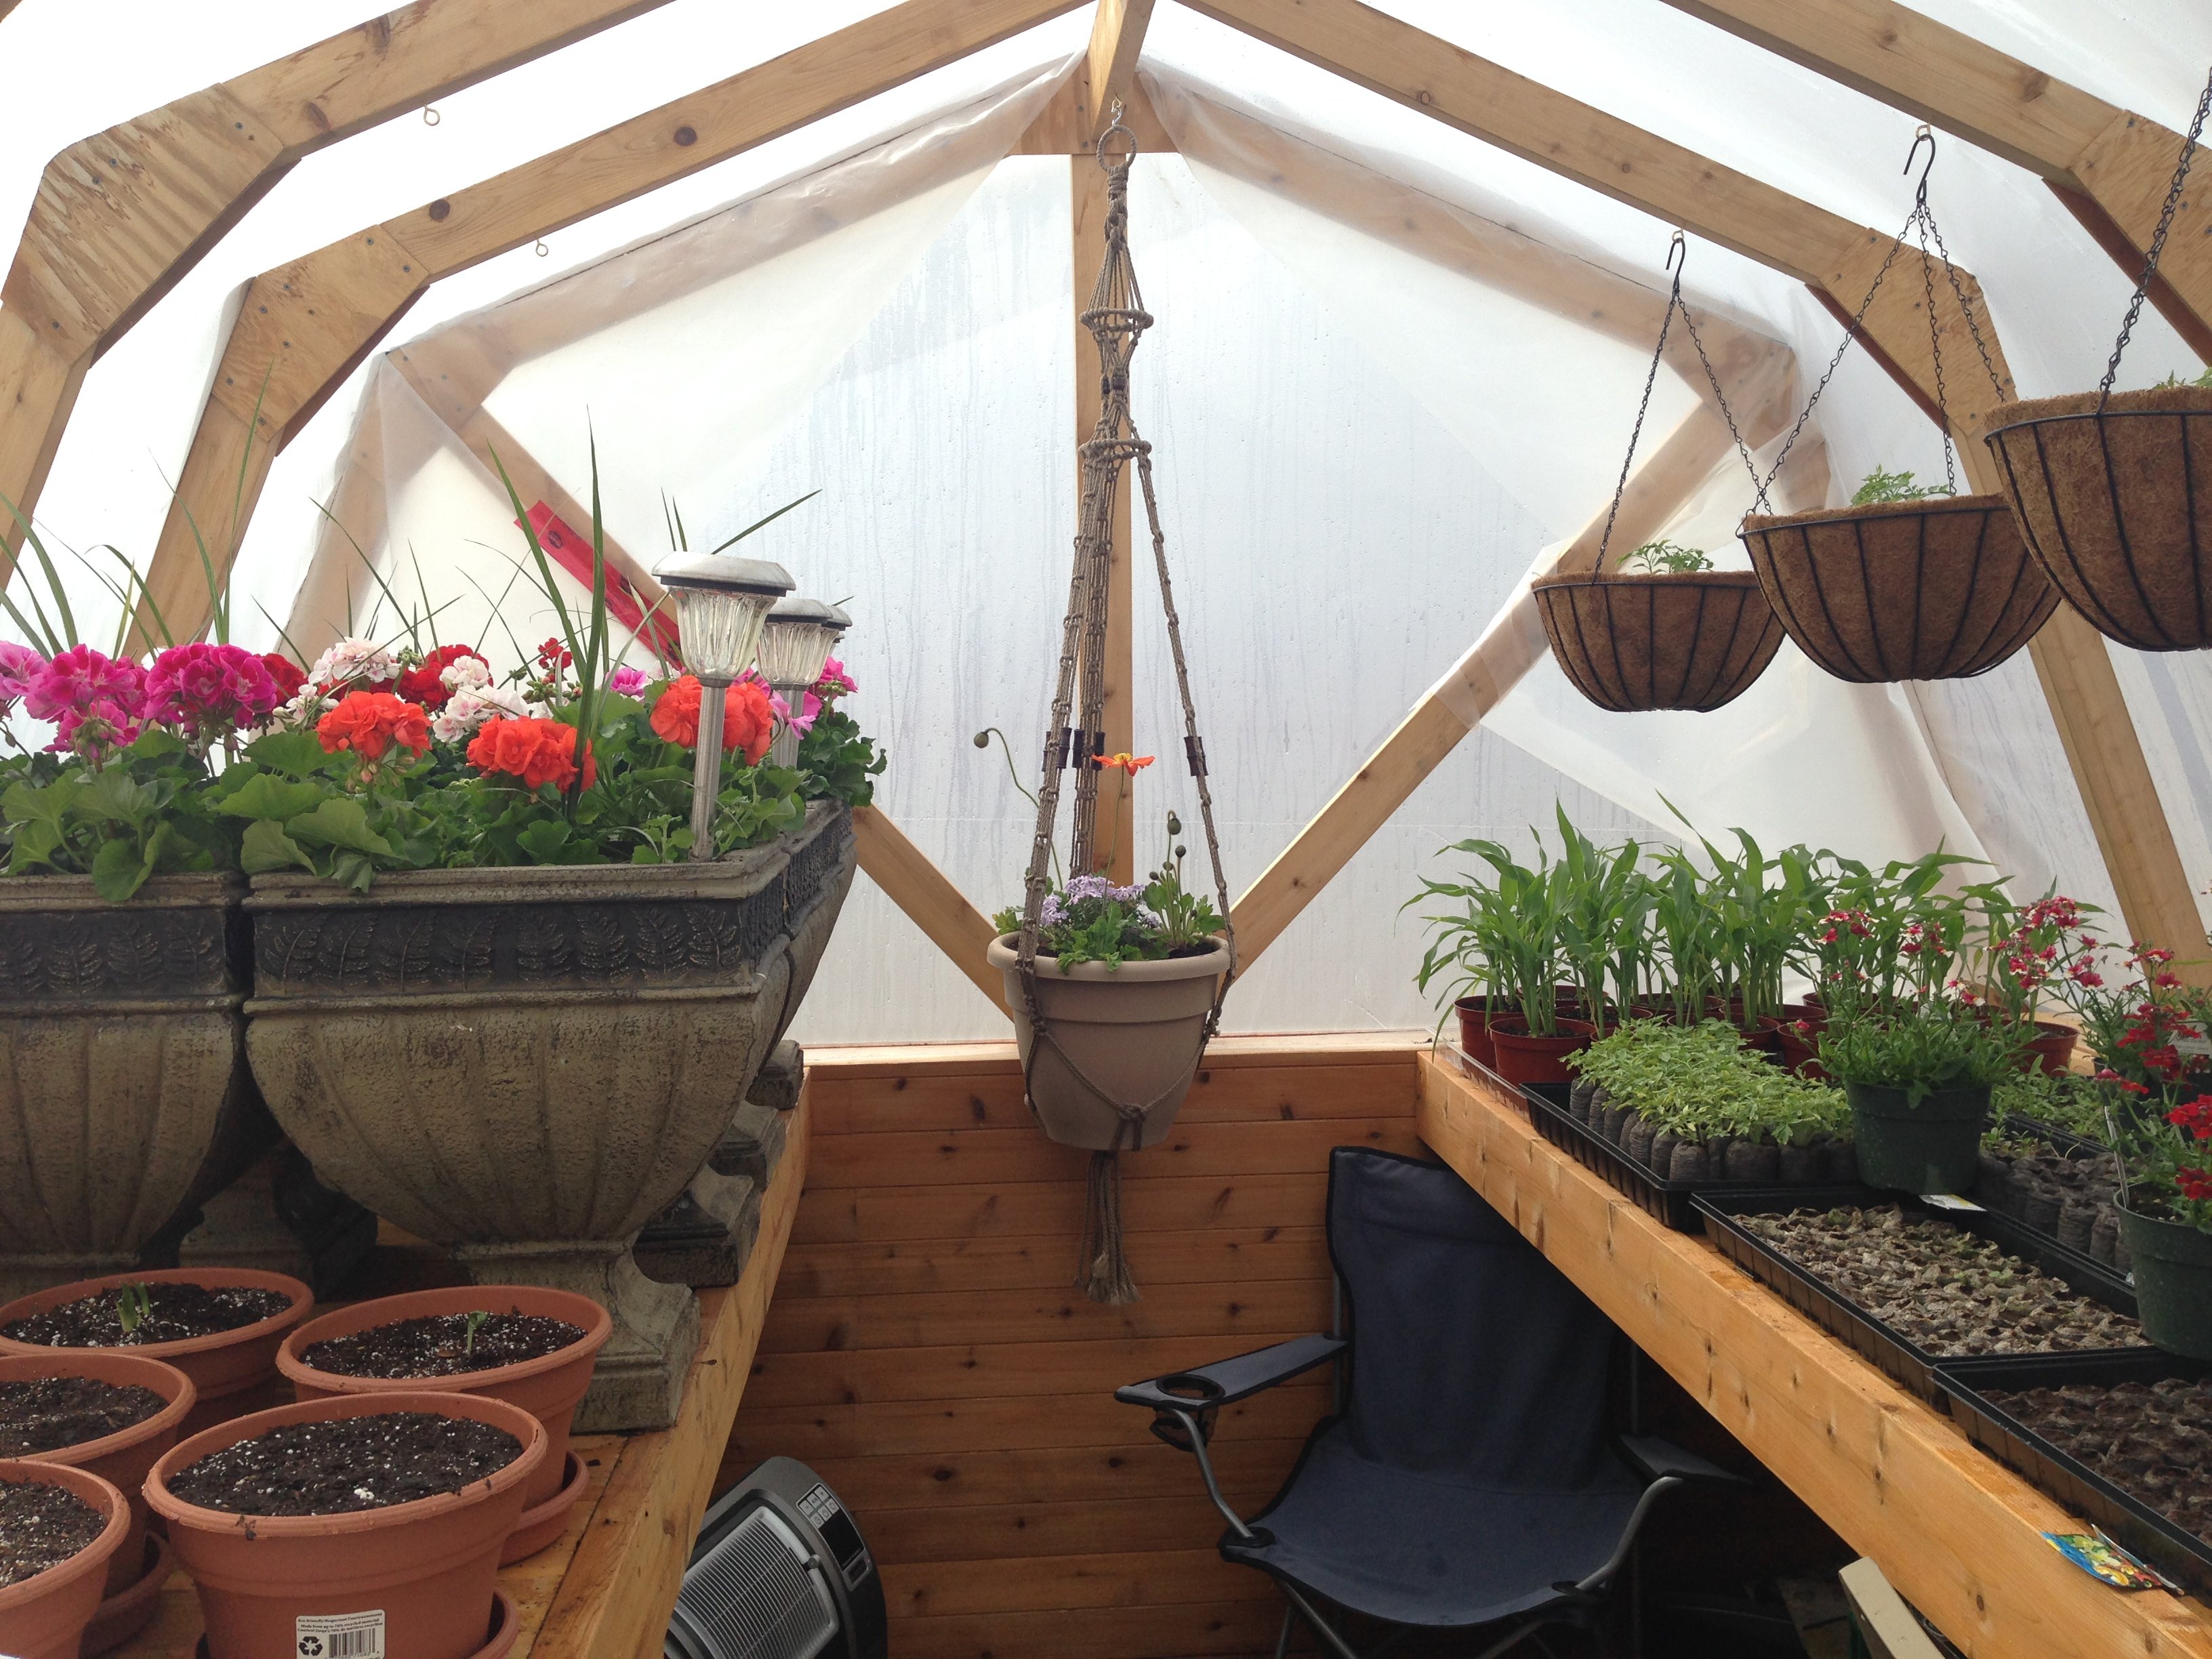
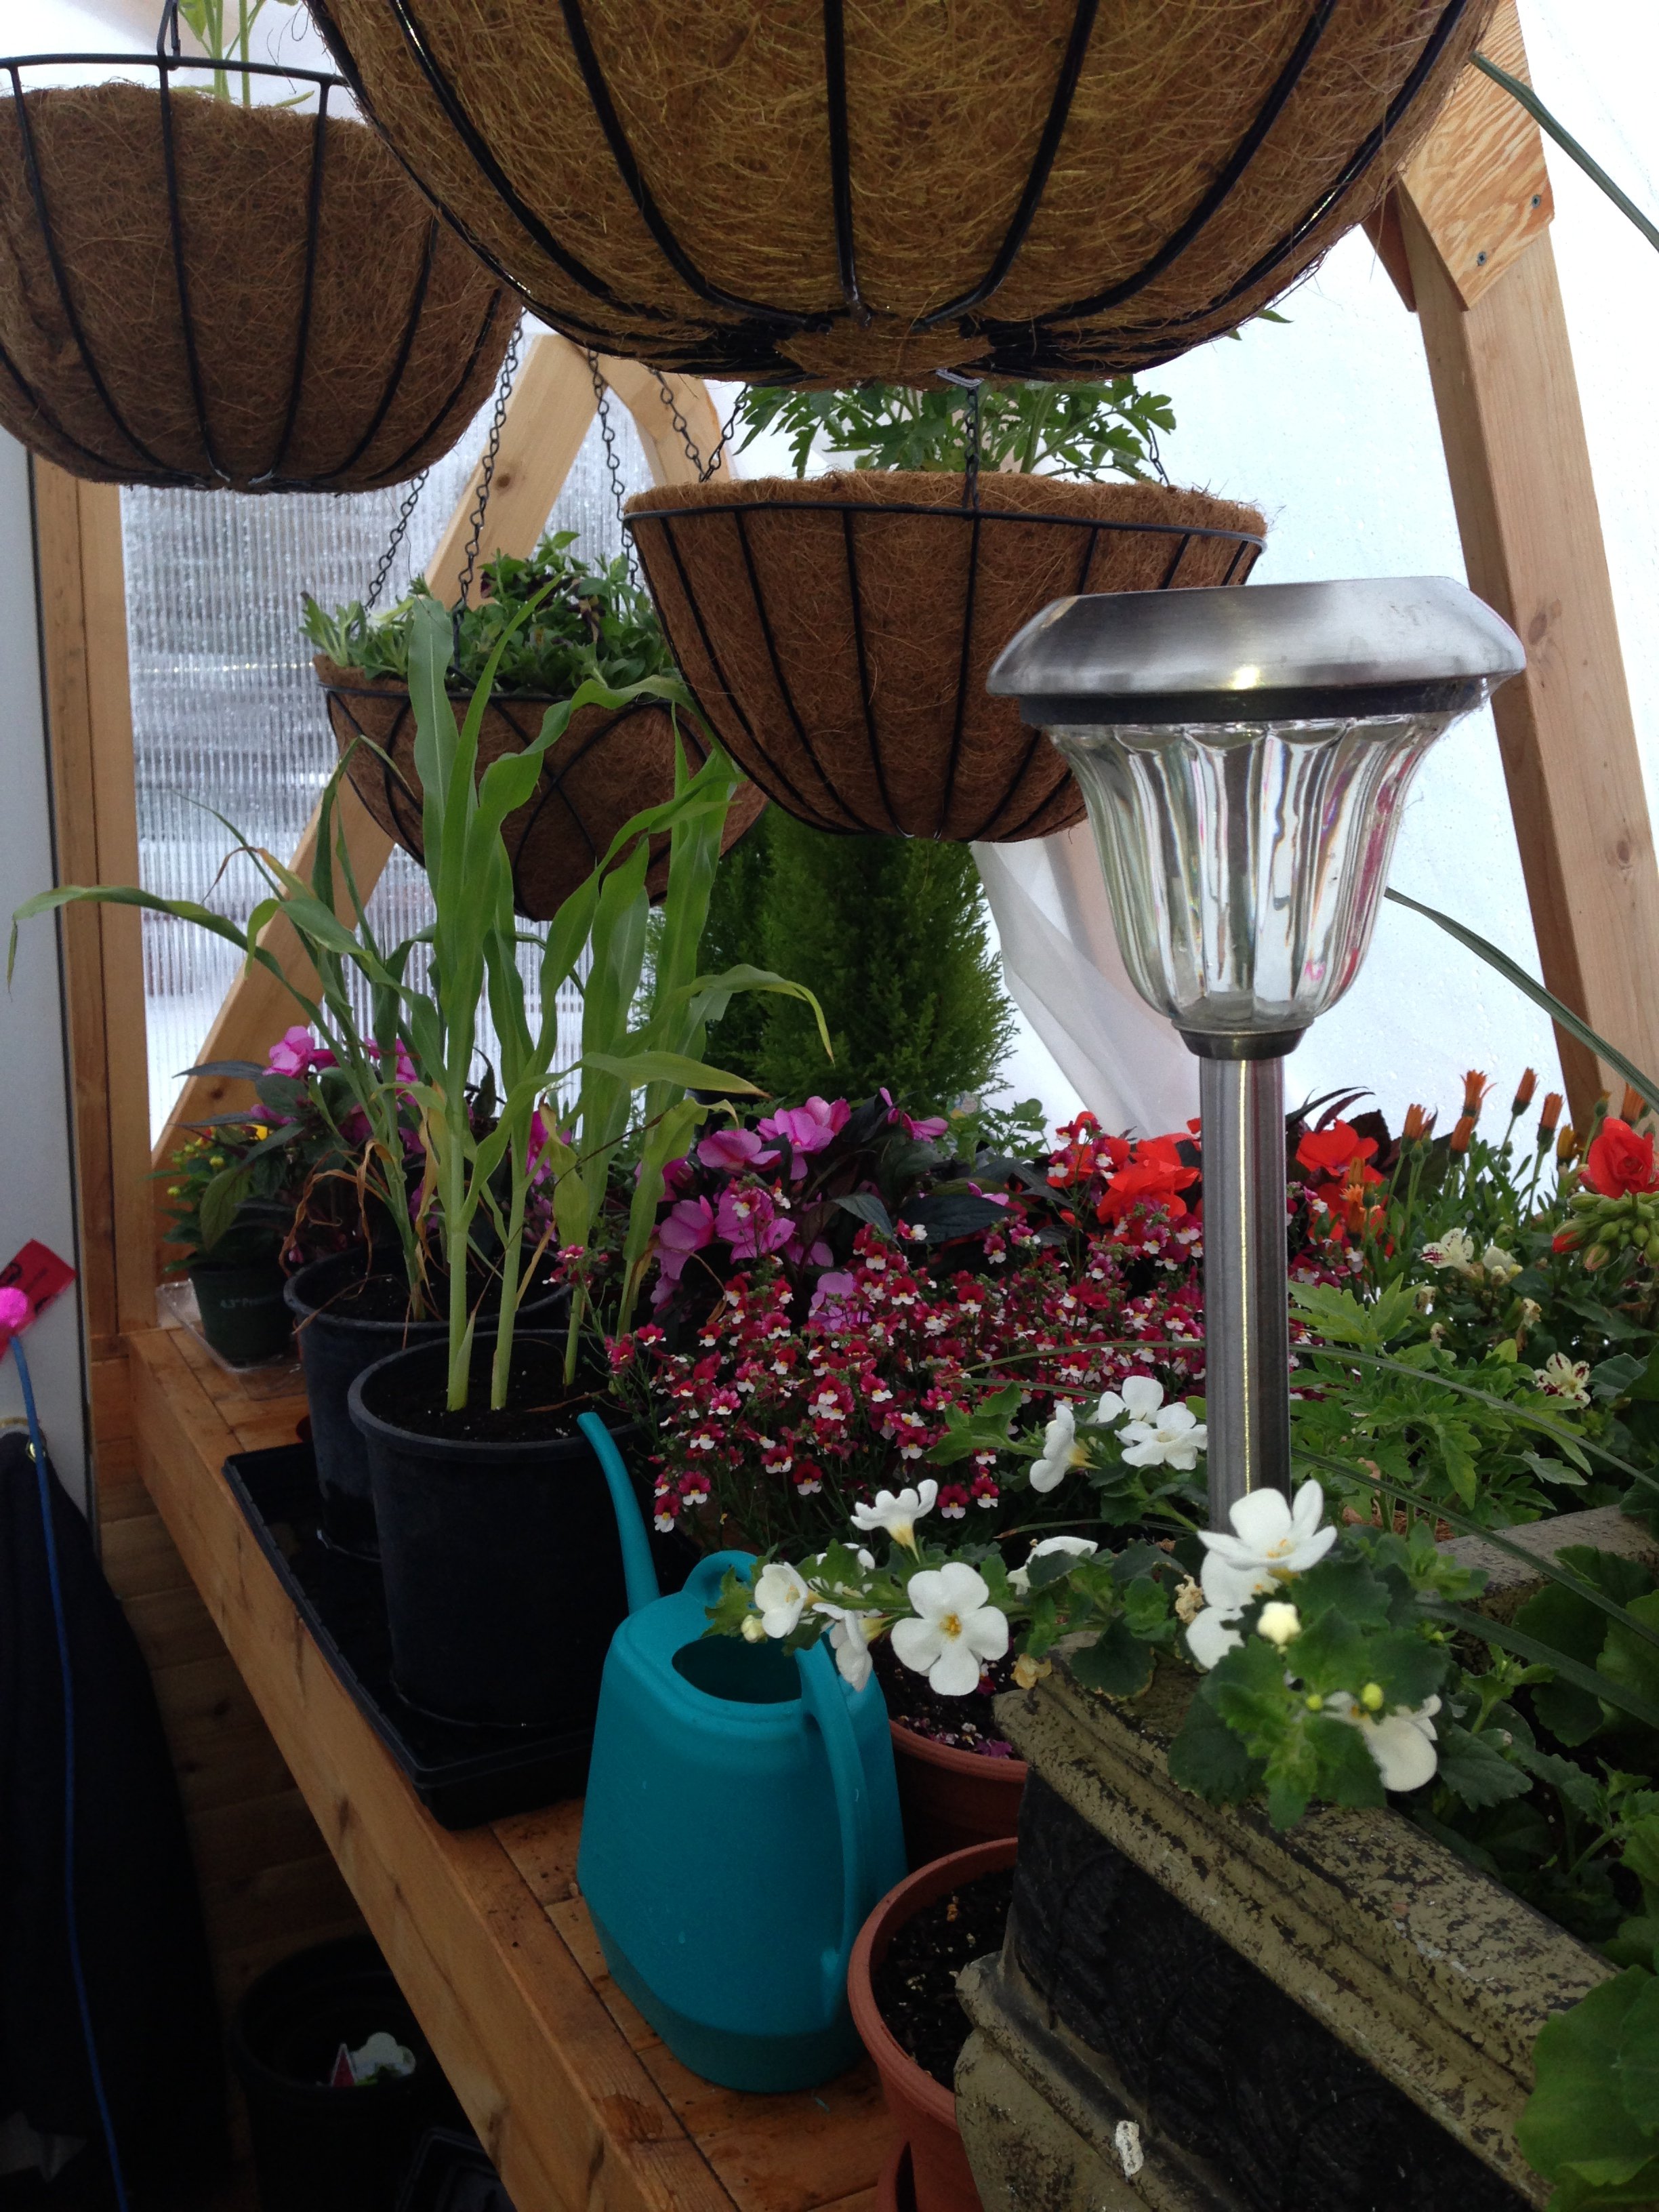
I found your plans last summer and loved the design so I decided to build one for my wife for her birthday last August. I didn't get started until the weekend of her birthday in late August so there was little expectation to have it finished before winter. It is now 14 months later and I only have a few trim pieces left to install. We live in a harsh climate and I wanted to be able to use it through the winter so I made a few changes. I built a 2 x 12 base and insulated it with R40 and the bottom walls are 2 x 6 instead of 2 x 4 and are insulated with R20. I used twin wall polycarbonate instead of the corrugated lexan because of the superior R factor. The insulated walls are of course vapor barriered and I covered them with tongue & grove cedar. I also made raised benches out of cedar for growing potted plants on. The floor has ceramic tile on it and the exterior is colored metal. I also ran underground power to the building and installed a fluorescent grow light. Surprisingly a small 110 volt heater keeps the temperature above freezing even during our awesome -40 winter temperatures. If the daytime temperature is anywhere near or above freezing we have to keep the screen open in the door or it overheats inside. I have attached links to a few pictures of the almost finished product, ready for another winter full of flowers and veggies. I initially used clear vapor barrier until the twin wall polycarbonate showed up. This worked rather well.
I have posted this in the comments section as well, but I think it belongs here.


Sat, 03/21/2020 - 09:42
Love your ideas! I have a few questions if you don't mind. Where did you buy the polycarbonate sheets, and what sizes were available? Did you end up changing the plan a bit to accommodate the vertical sheets? Did you seal top and bottom with foil tape and dust tape respectively or poly flashing?
Any help or advice would be appreciated very much.
JB
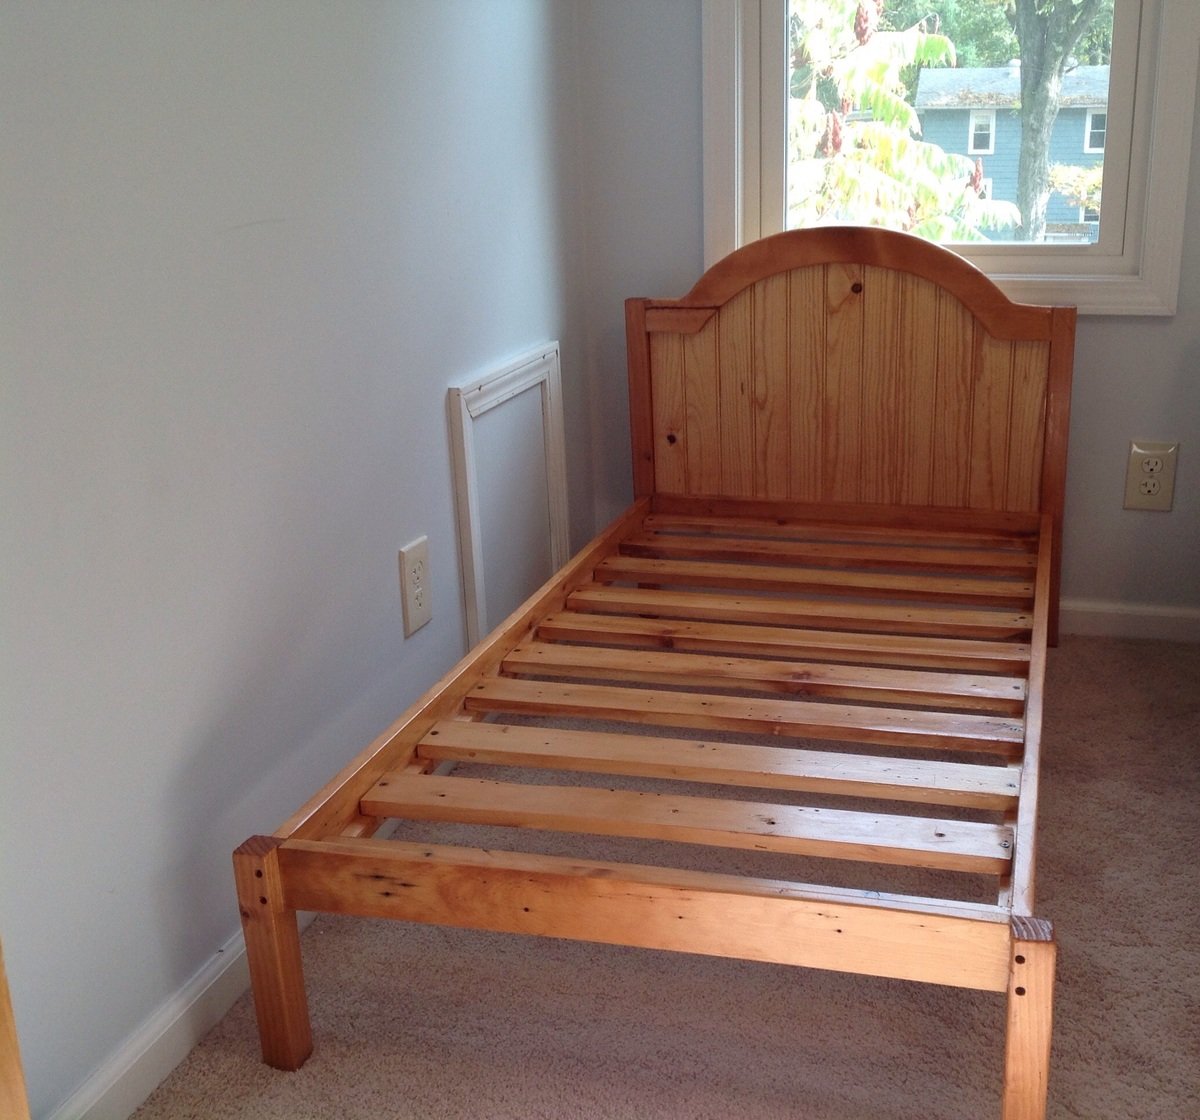
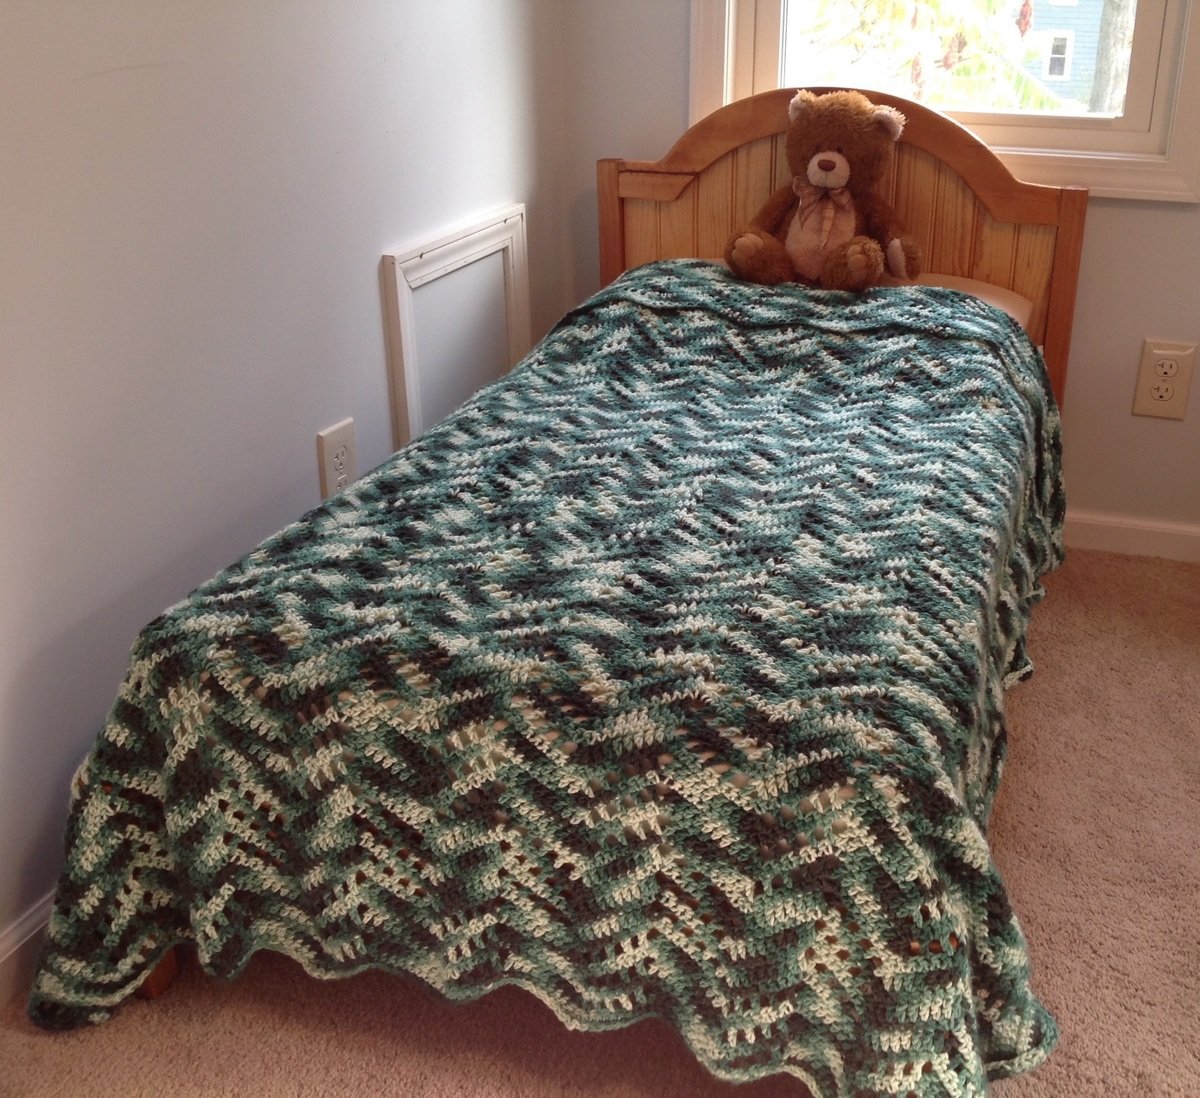
Pottery Barn inspired toddler bed, made with reclaimed lumber from our home reno. The wainscoting is real (not mdf), $2 from the HD cull lumber rack. It had a damaged piece, but the remaining part of the board sufficed for this small project. Screws are countersunk.
The curve is elliptical (drawn with loop of string and two nails for foci, transferred to board and cut with jigsaw)
The construction is lighter than the original plan, using what was at hand and for a young toddler.
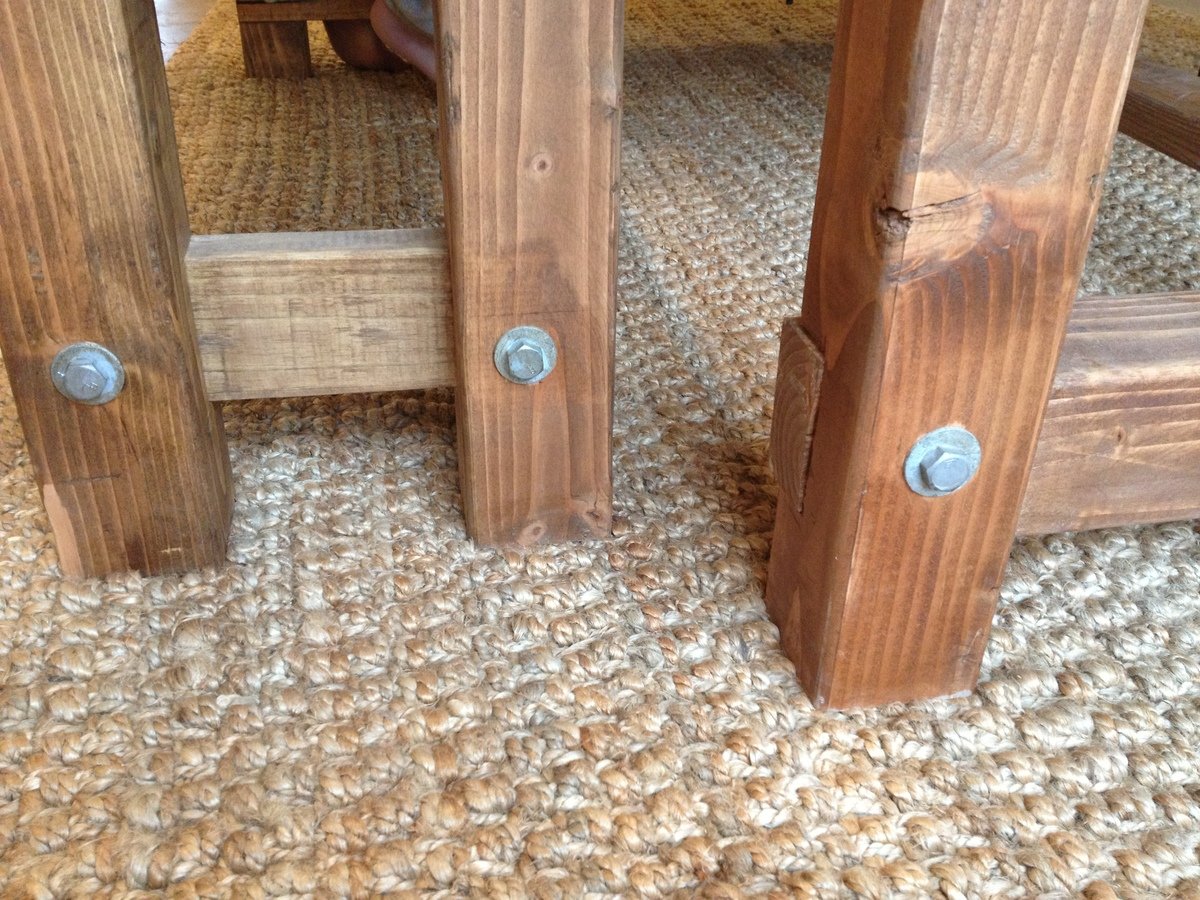
it was a great project i made a few mistakes here an there but i really like the table. and i love the lag bolts makes the table a little more interesting to me.


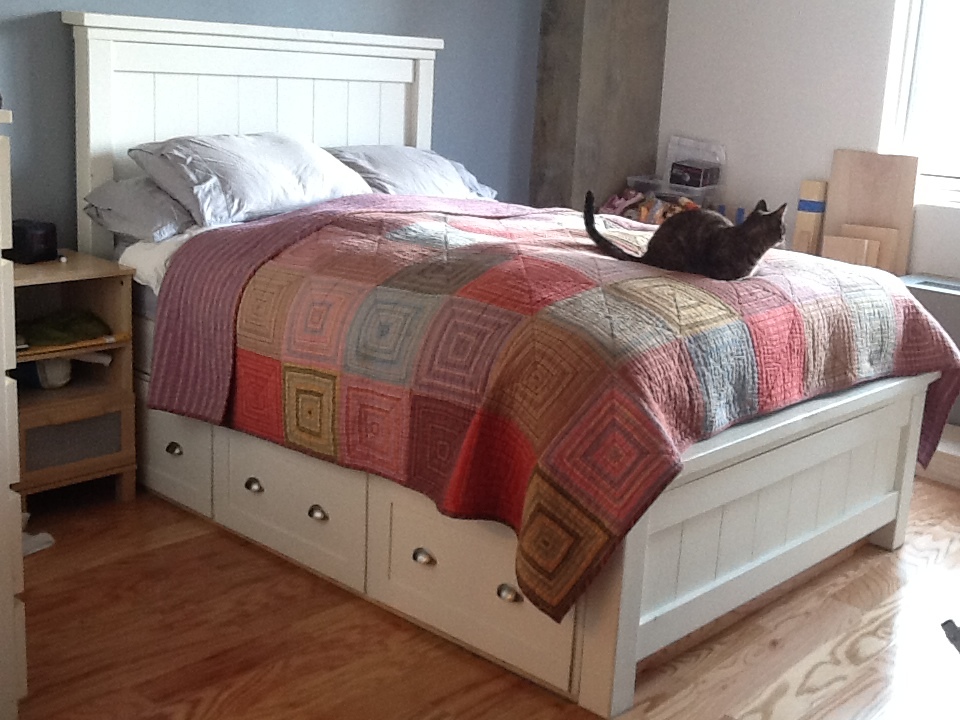
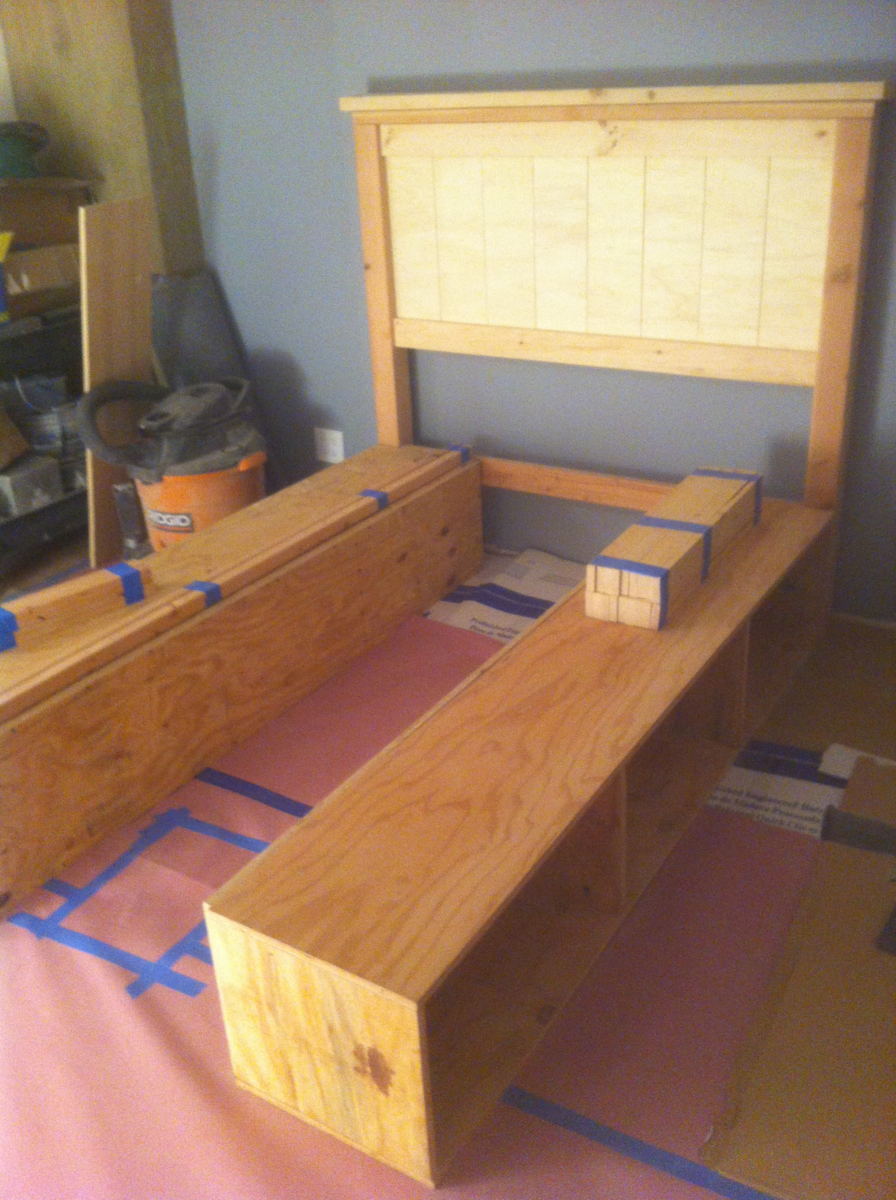
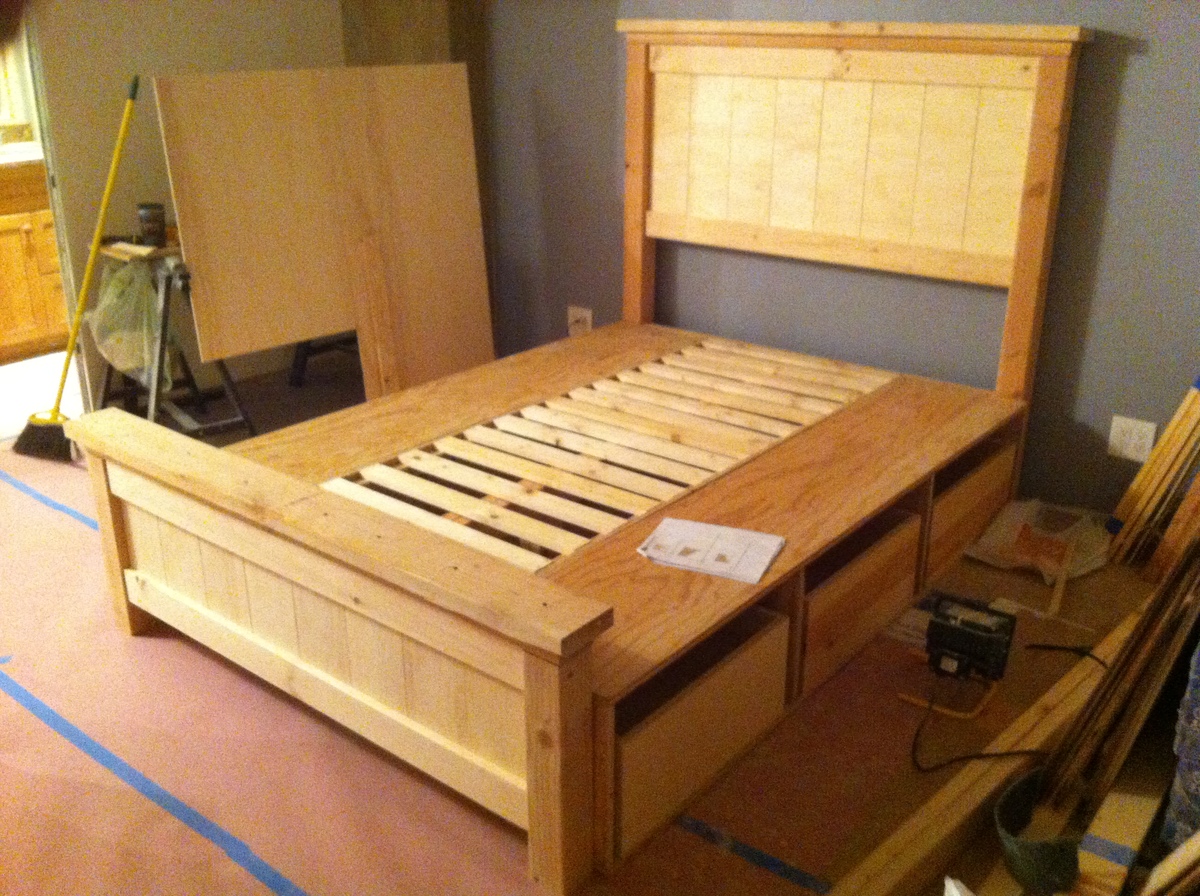
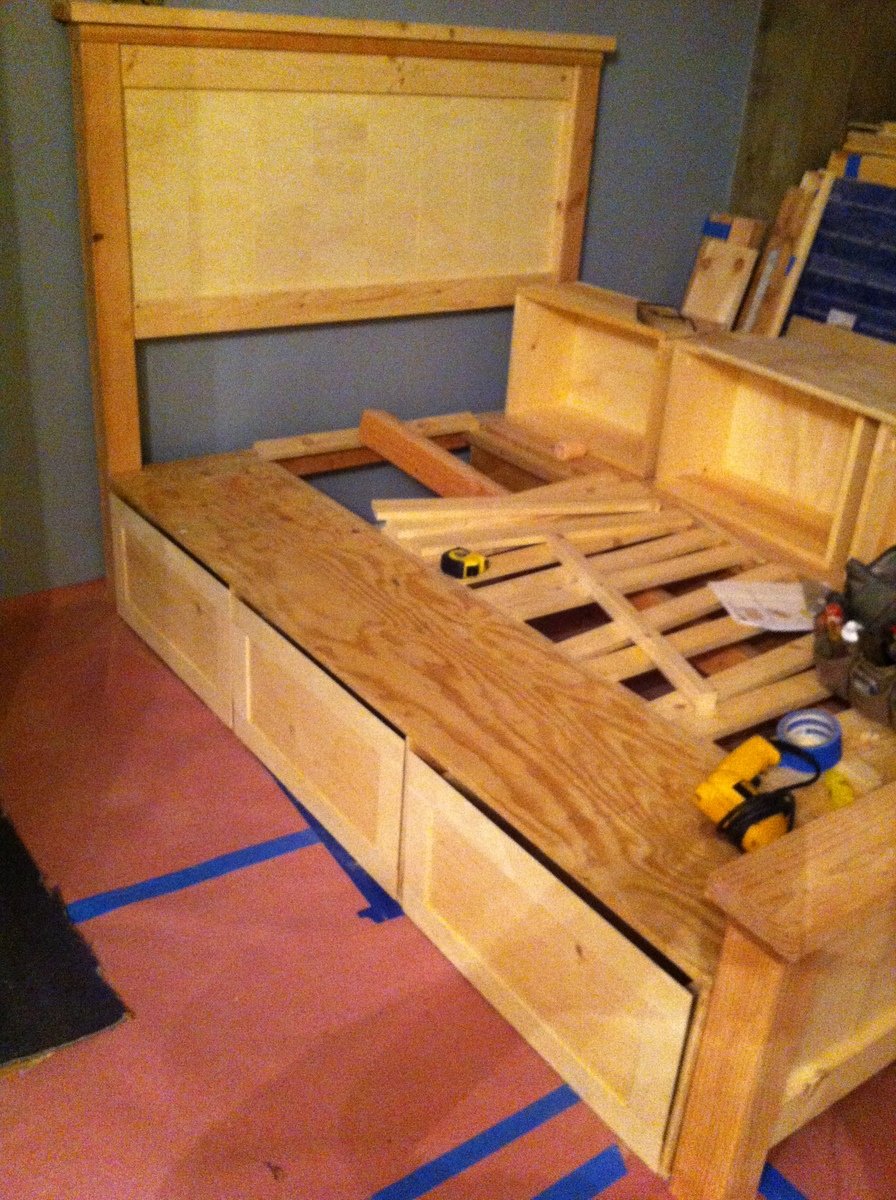
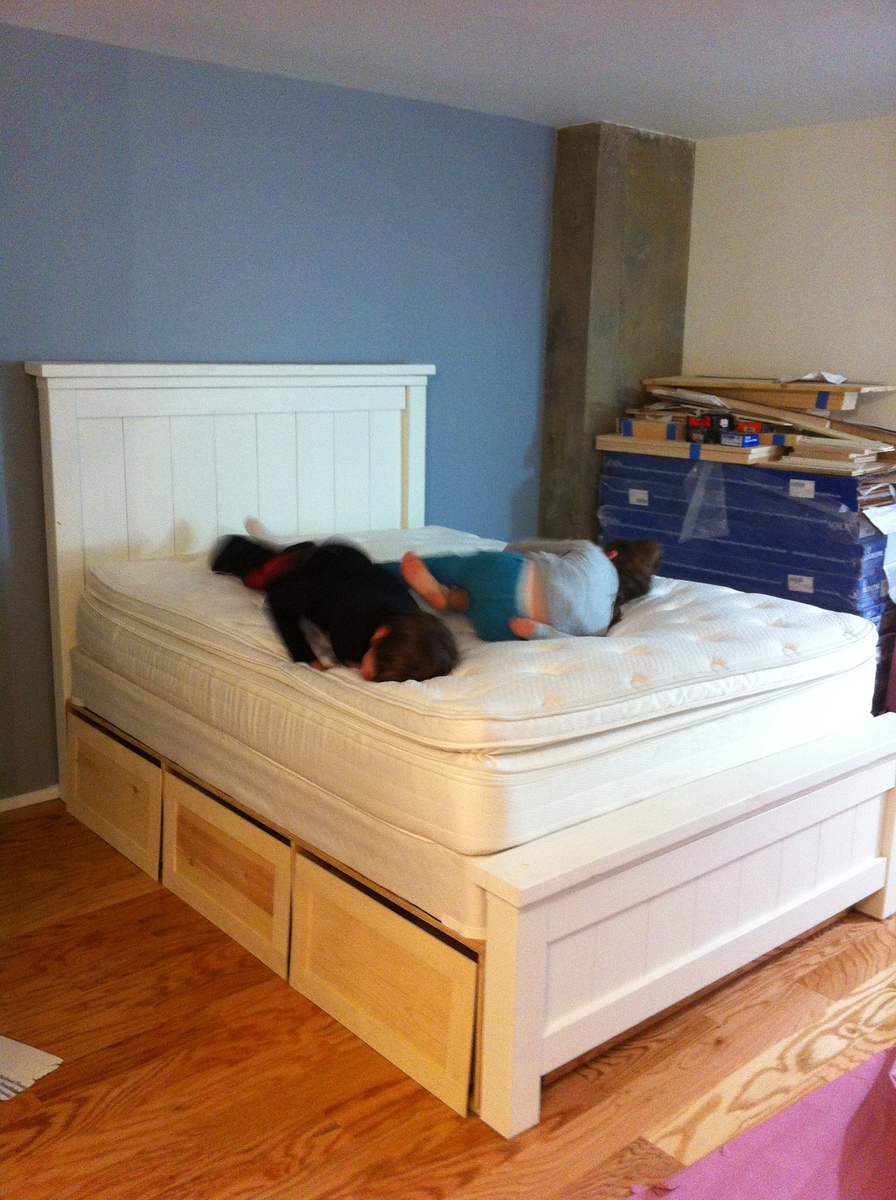
I followed the bed design posted for the Farmhouse Storage Bed, with some modifications to the base support. I have a queen waterbed and needed to reinforce the structure substantially. So I added more center support by building a simple 2X4 Header frame down the middle with 4 legs and beefing up the rails along the drawer boxes. I also included additional slat supports. I also placed the drawer boxes directly on the floor so that I would not have to buildup any additional legs. For the headboard and footboard, I did not have any beadboard so I ripped some 1/4" Birch-Ply into 6 1/4" strips, beveled the edges and nailed them with brads onto the 3/4" ply. I placed 1/16" spacers to create gaps between each and then just painted it. This gave me the look I wanted. It was a little more work, but well worth it in the end. I live in Manhattan so I actually had to construct this in my living room. Luckily I was undergoing a renovation at the time so the additional mess and dust was not too much of an obstruction. But now I'm hooked and want to build a lot more.

Thu, 02/14/2013 - 13:21
We just came upon the site and have been marveling at the people who "tweak" things a little. Great job!

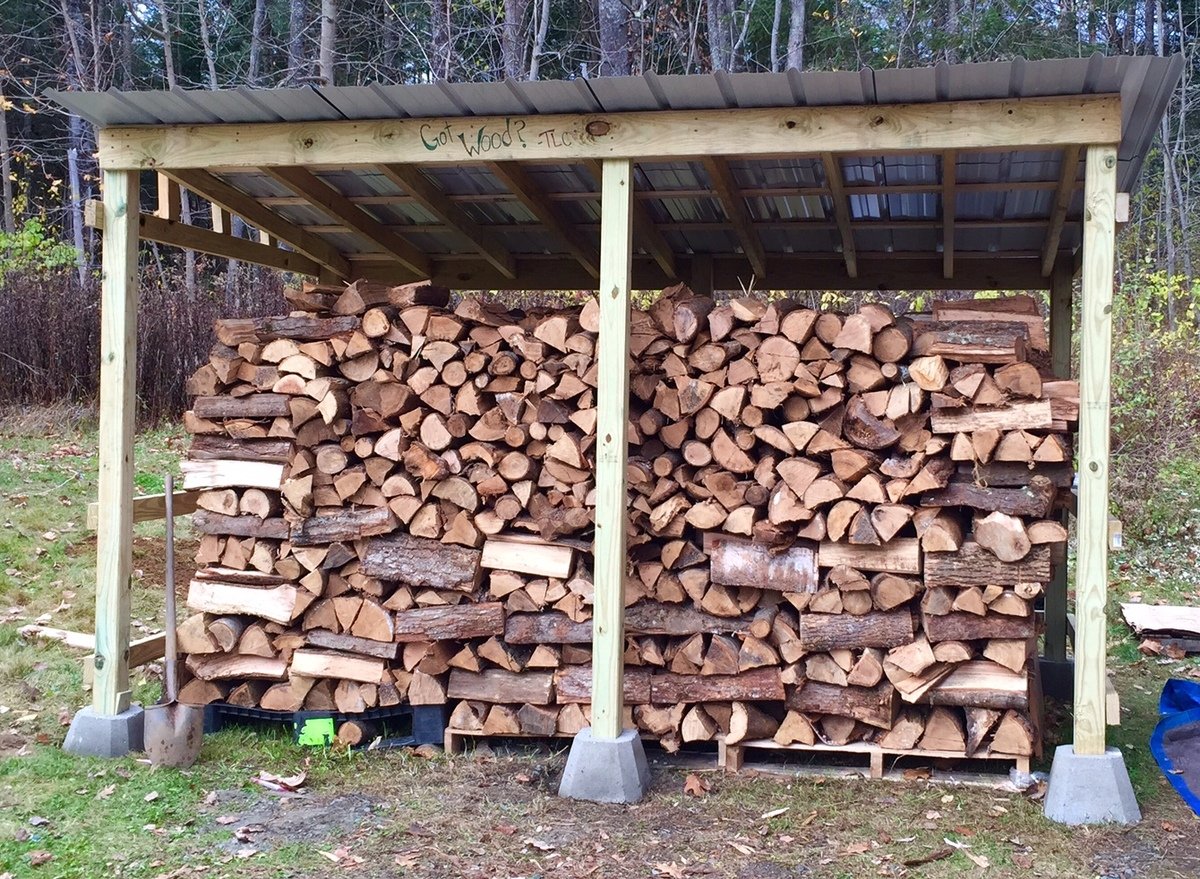
When I decided to build a woodshed I was freaked out because I've never done anything even remotely like this. I struggle with precision and patience, which made this project seem overwhelming as I knew I had to do a lot of prep work to properly level the ground, measure the wood, learn how to operate a saw, calculate angles to cut, etc... I did a lot of research online and found this simple blueprint a great starting point. I made some adjustments since i needed a much bigger shed, it's 11.5' x 7' x 7'. Also, I already had the wood resting on pallets so I just build this shed around the wood with no built in floor. Overall, I'm thrilled with how it turned out!
Began with supplied DIY plans from the www.ana-white.com and slightly modified them based on the length and width of the table. Table now resides in Haddon Twp, NJ as a community farm table for a small local business. The plans provide the foundation and cut list and depending on your experience, comfort level, and tools it is fairly simply to elaborate, expand, and modify.

Comments
Ana White
Wed, 01/11/2017 - 12:03
This is amazing! Very
This is amazing! Very creative and useful!
shirleycanoe
Wed, 12/27/2017 - 20:15
Support for flip down tray for keyboard ?
I love this, it is exactly what I am looking for! Is some type of extra support needed for the flip down tray for the keyboard ? If so, what would it be, or is there a special hinge I should look for?