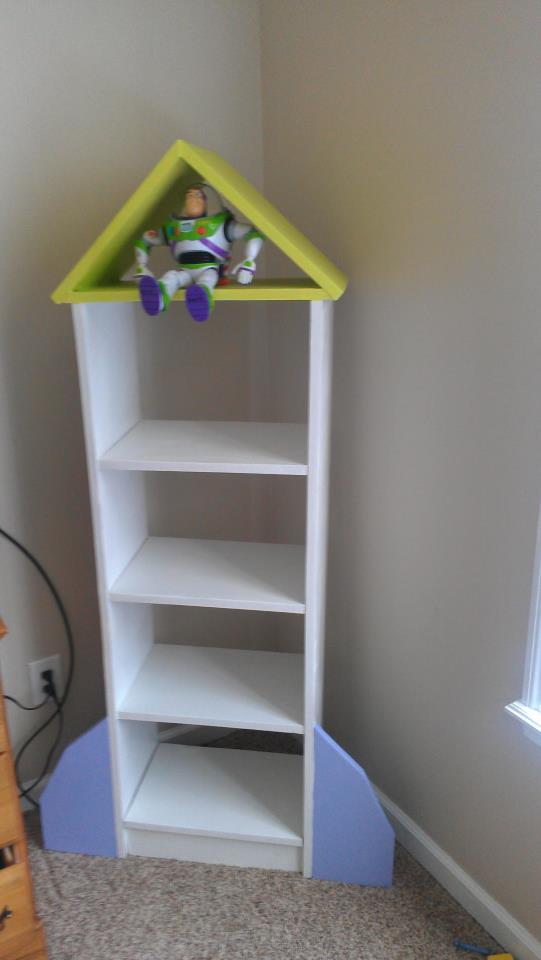
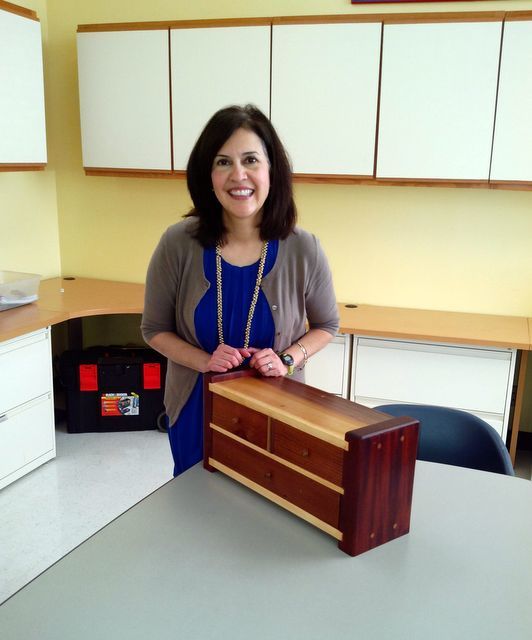
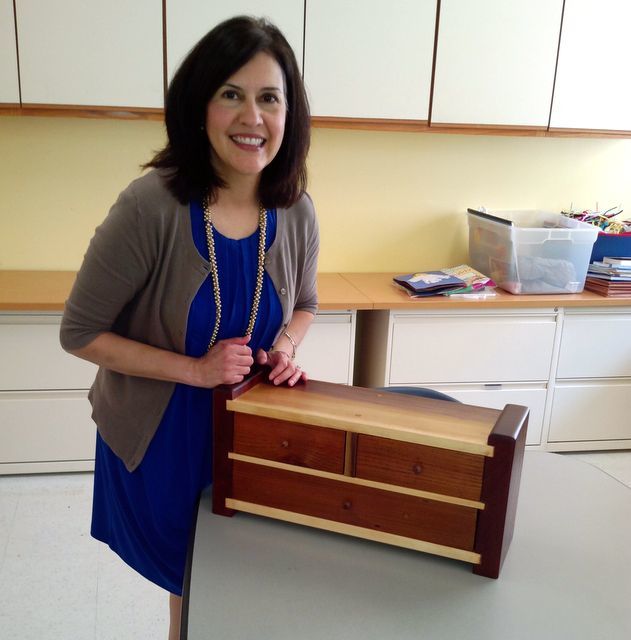
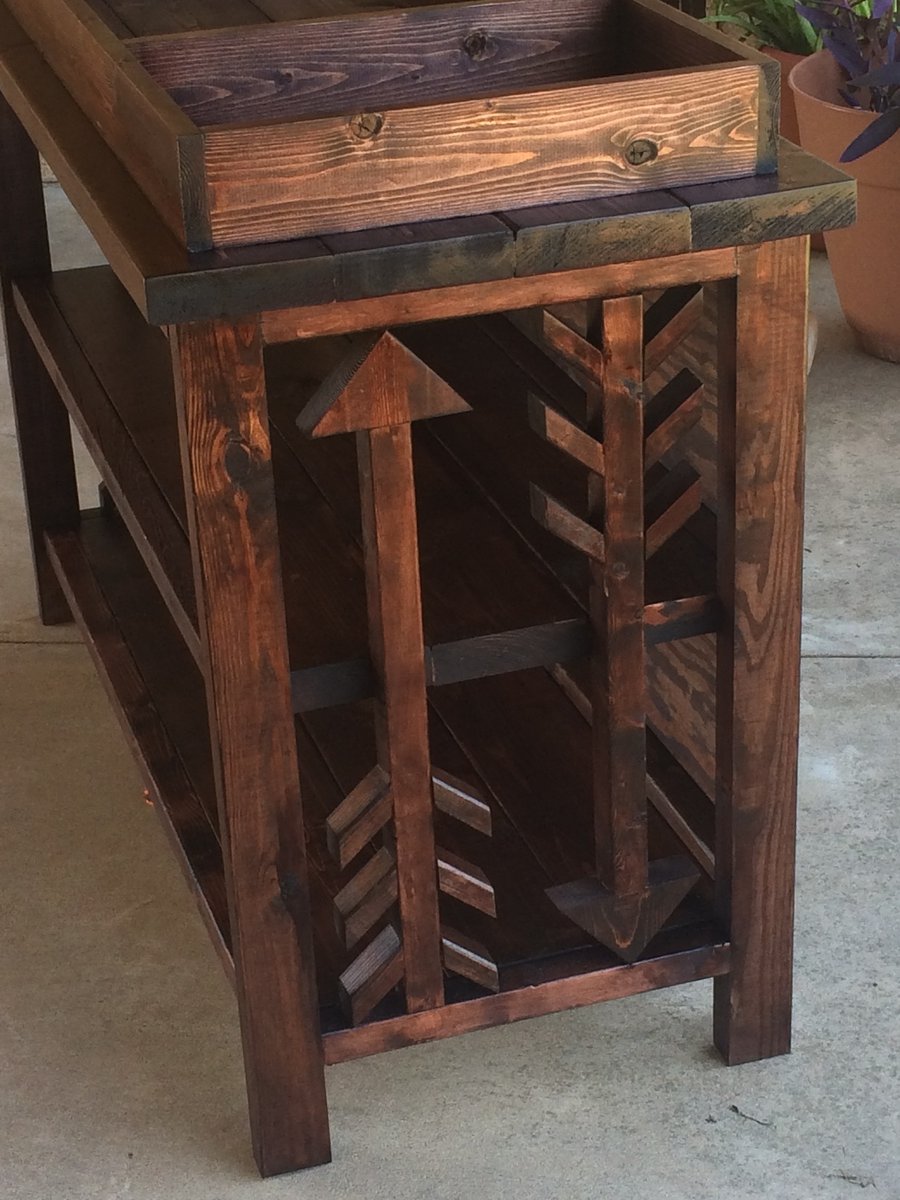
Changing table
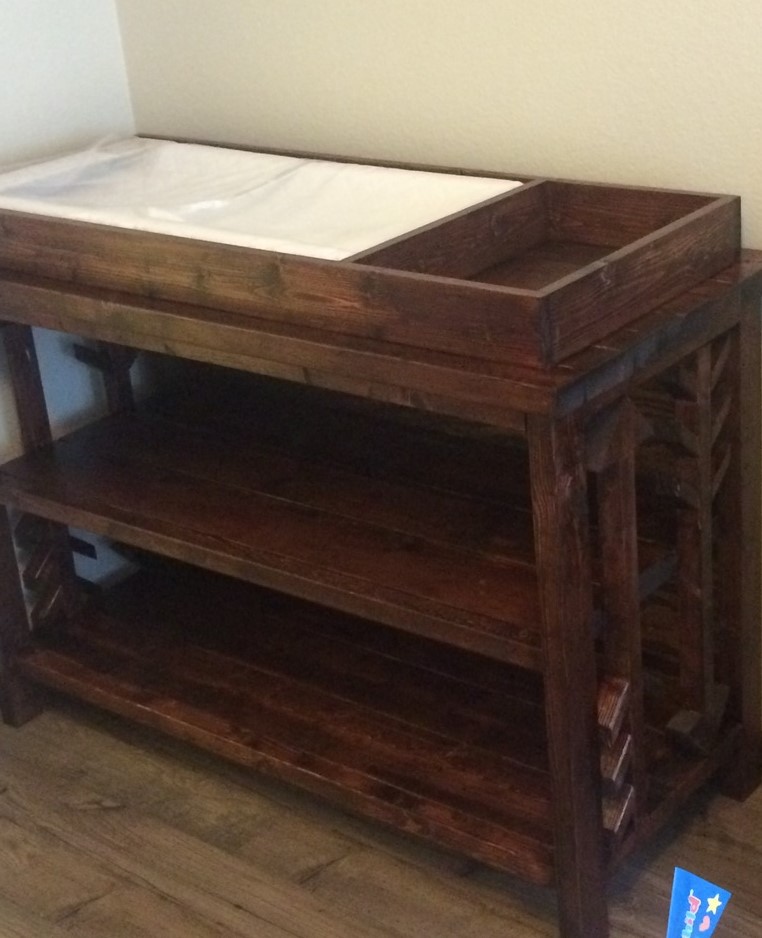
Modified with arrows to go along with theme for baby room
The plans were easy to follow and the finished result was perfect! We subbed 1x6s for the 1x10s, because we were using some reclaimed pallet wood. We cut, sanded, and stained/weatherproofed all pieces before assembly, which I would also recommend.
This was a labor of love for my son’s Christmas gift. He wants to be a chef and all he has wanted was an island in our kitchen. Thanks Ana for such an amazing and simple (enough) plan.
This cost me $55 for wood (pine), nails, and bolts. Additional $7 in paint. It's very sturdy and very comfy with a lounge chair cushion (Walmart had a great price--cheaper than I would have spent to make one myself). This will also serve as bench seating for my deck (I love multi-use furniture). Thanks Brook and Ana for this great plan!
Fri, 05/20/2016 - 11:32
I have my lounge completed except for the slots. It looks great and I am very happy with the results. But, in looking at your finished photos, I notice the 2 X 4 in the horizontal slot is not seated into the space completely. And, melbooker's photo shows the board sitting on top of the rail. So, I'm a bit confused about cutting in the slots. Any advice would be very helpful! Thanks
We started from the benchmark media console plan, but then adapted it to our room and needs.
It's entirely made of plain wood (no plywood, except for the drawers bottom) which probably adds to the cost a little, but gives a very nice finish! All the boards (for table top, shelves and sides) are made from 1x4, assembled with wood glue and pocket holes.
The doors are made of glass cut to fit, and glued with silicone.
Only trouble was with the door hinges.. Since we wanted them to be concealed inside but I hate Euro-Style hinges, so we ended up finding Soss "invisible hinges" that conceal in the thickness of the door, and used a dremel as a router to install them... This proved a bit more challenging than anticipated, but all in all it worked out pretty well.
Had to try to build the Patrick Rustic Sofa Table and though it was my first time trying something like this, it looked very do-able. Modified to 60" instead of the original length.
My sweet wife wanted a new coffee table so I decided to build one for her. Thanks Ana White, mission accomplished!
We have some large open spaces at our office and are converting them into workspace areas. We needed some large tables that would accommodate four people but we did not want to spend thousands of dollars on furniture. We needed something that would be useful and inexpensive to build. I started poking around on the web and found the iCoffee Table from the “A Touch of Arkansas” blog. I loved the design and I thought with a little bit of tweaking I could make it work for us…and it did!
Only slightly modified version of the Farmhouse console table.
My wife and I wanted to do something with our surface mounted . Then came up with this design.
Bob Cousineau
Mon, 01/08/2024 - 09:48
Gorgeous fireplace accent wall, love the design for a surface mount option!
My wife and I needed bar stools for the kitchen and could not find ones we liked. Also, finding ones that were the height we wanted was a challenge. So, after seeing the plans for the Simplest Stool we decided to make them. It was really quite simple with the plans given. Even the angle cuts were not that bad. Thanks for the plans for this awesome stool.
Wed, 01/02/2013 - 10:37
Hi there
My wife loves your design so guess I'll be donning the old tool belt soon .......!
Are there any plans of these to get me going?
We revised the design a bit to make it fit in our space. We also made room for our dog food bin at the bottom
Mon, 04/21/2014 - 12:01
Sorry it's sideways! I couldn't figure out how to rotate the pic.
I combined my favorite elements from three of Ana's dollhouse plans to make this dollhouse for my kids. My favorite part is the stairs, which I cut from a 2x4 with a miter saw. I made this project from start to finish in one day while the grandparents took the kids, and it was ready for Christmas morning! I made simple furniture for it, too, which you can see in the second picture.
Wed, 02/11/2015 - 06:35
Is there any way you could email me the plans you used for the furniture? or just individual pictures of the furniture? [email protected] (you may wanna copy and paste that people always get it wrong, haha).
I LOVE THIS
A friend wanted a small box for her cosmetics. She gave me the dimensions of her present container but my mind and my saws envisioned a different end. My only promise was that she would get three drawers. To keep cost low I used only scrap lumber I found around the garage. I added oak dowels for strength and decoration.
Tue, 08/12/2014 - 11:51
I happened across your profile this morning, and I've spent a good part of the afternoon looking through your projects, as you've posted more brag posts than most people I've seen on Ana's website. I loved seeing all your projects and experimentation! Your sense of humor doesn't hurt, either. :) Keep it up, and I look forward to seeing more of your work in the future.
In reply to I happened across your by booksnotbombs
Tue, 08/12/2014 - 14:32
Over the past four years I have learned a lot. The most important lessons are experiment and don't let the frequent screw ups get you down. Lately I have been concentrating on learning to weave seats (reed and rush), build small boxes, and turning wood. Today was terrible. Nice bowl blank I cut from a Hackberry log turned out to have cracks and a really nice scoop built up of poplar and walnut broke into two flying pieces when my gouge caught at 1200 RPM. Only thing to do is start over and hope you learned something.
If you are new to woodworking check for square at every opportunity and be safe. Accidents happen in milliseconds.
I was so excited to participate in the #IGBuildersChallenge! My modifications included reducing the width a few inches so I could cut two boards from a single 8' length for both the top as well as the bottom shelf. I added two additional legs to the front so I could divide the table into three drawer sections. I also decided to make it two thinner drawers as well. I added the x's on the sides to match the x coffee table I built for our home last month! I used tongue and groove to attach the breadboard ends which is something I'd never attempted before and is something I will try again. The top is stained in Minwax Jacobean and topped with a satin wipe-on poly. The base is painted Ashwood which is a Benjamin Moore colour I had colour matched at Home Depot in their Behr Premium Plus line and then topped in a satin polycrylic. I'm thrilled with how my table turned out and have already received a request from a friend to build her one for their home.
In reply to I love your version of the by handmadewithash
Sun, 07/24/2016 - 19:19
Thank you so much Ashley!!! :) It was such a fun challenge!
This is a great design! I made a few changes to suit our needs: 1. Raised the shoe shelf so shoes can also be kept on the floor 2. Added a few spacer blocks on the shoe shelf to prevent the 1x1 from spinning since there's only enough room for one pocket screw per side. 3. Cut a rabbet in the back of the tall 2x4s to accept the tongue and groove shiplap 4. Used tongue and groove shiplap (pre-painted white from Lowes) 5. Topped with crown molding 6. 6 hooks so everyone has their own hook (although I can see this getting very crowded in the winter) The wife loves it and got me a lot of brownie points right around Mother's Day!