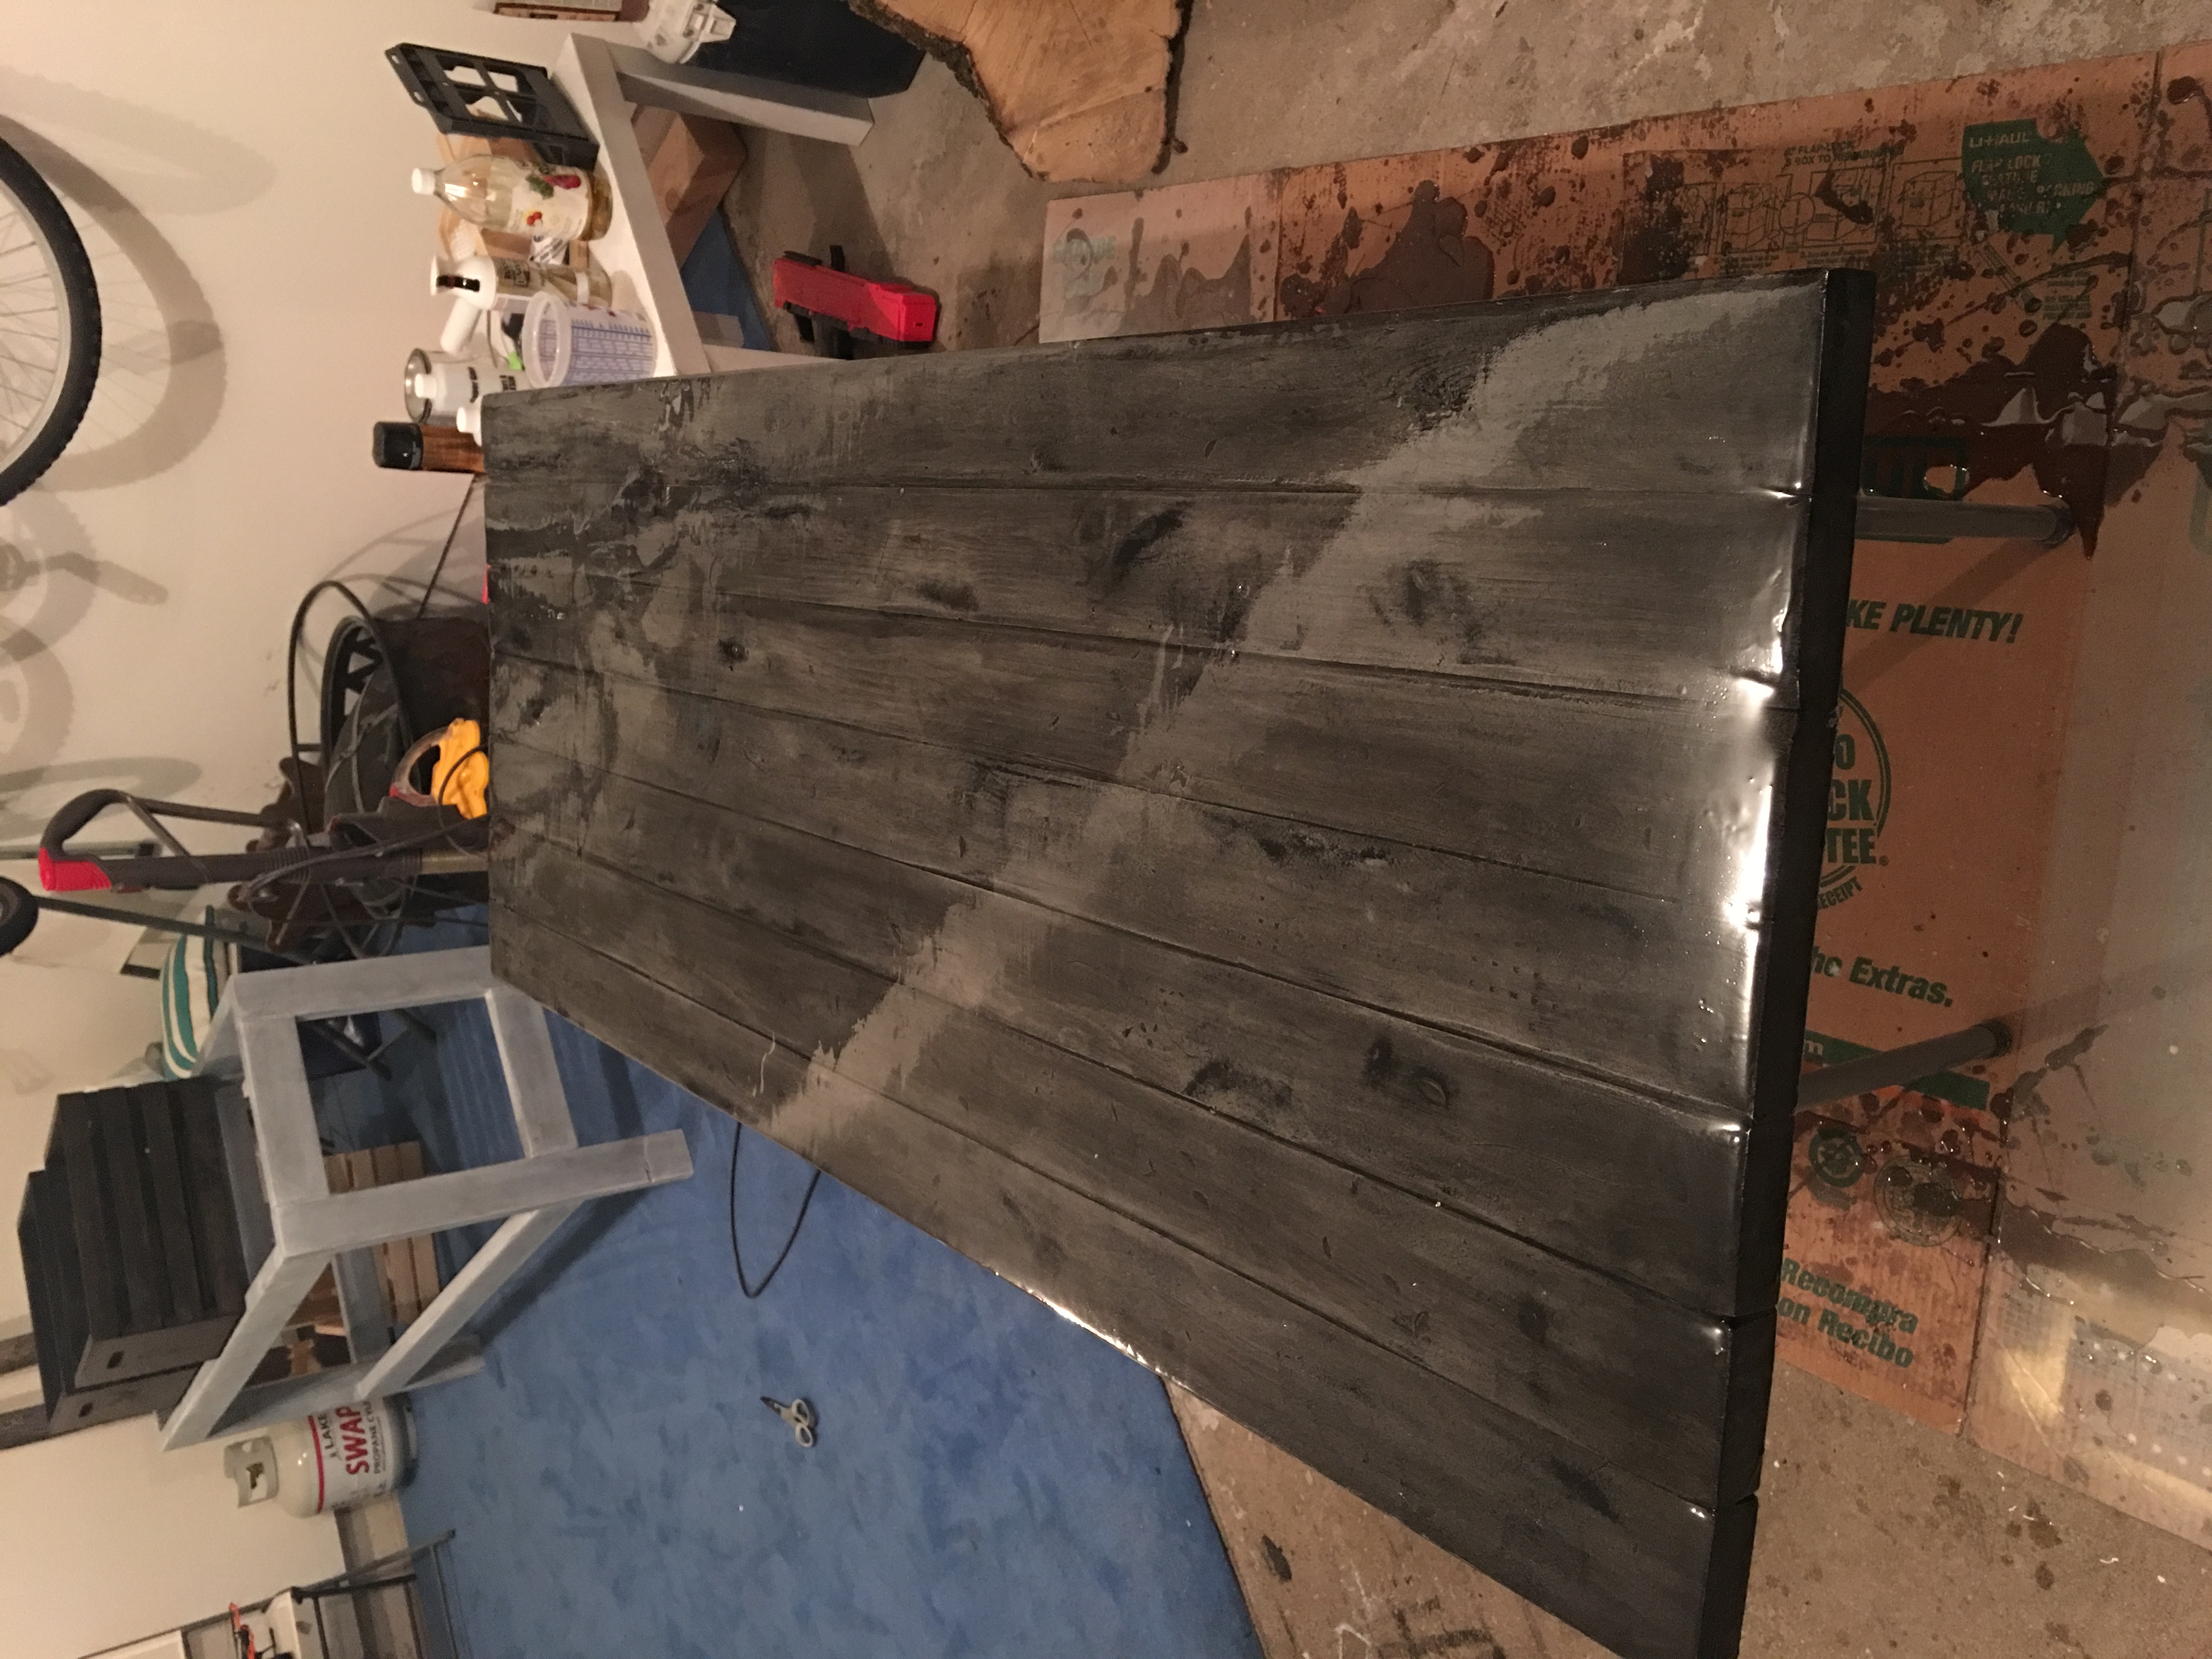
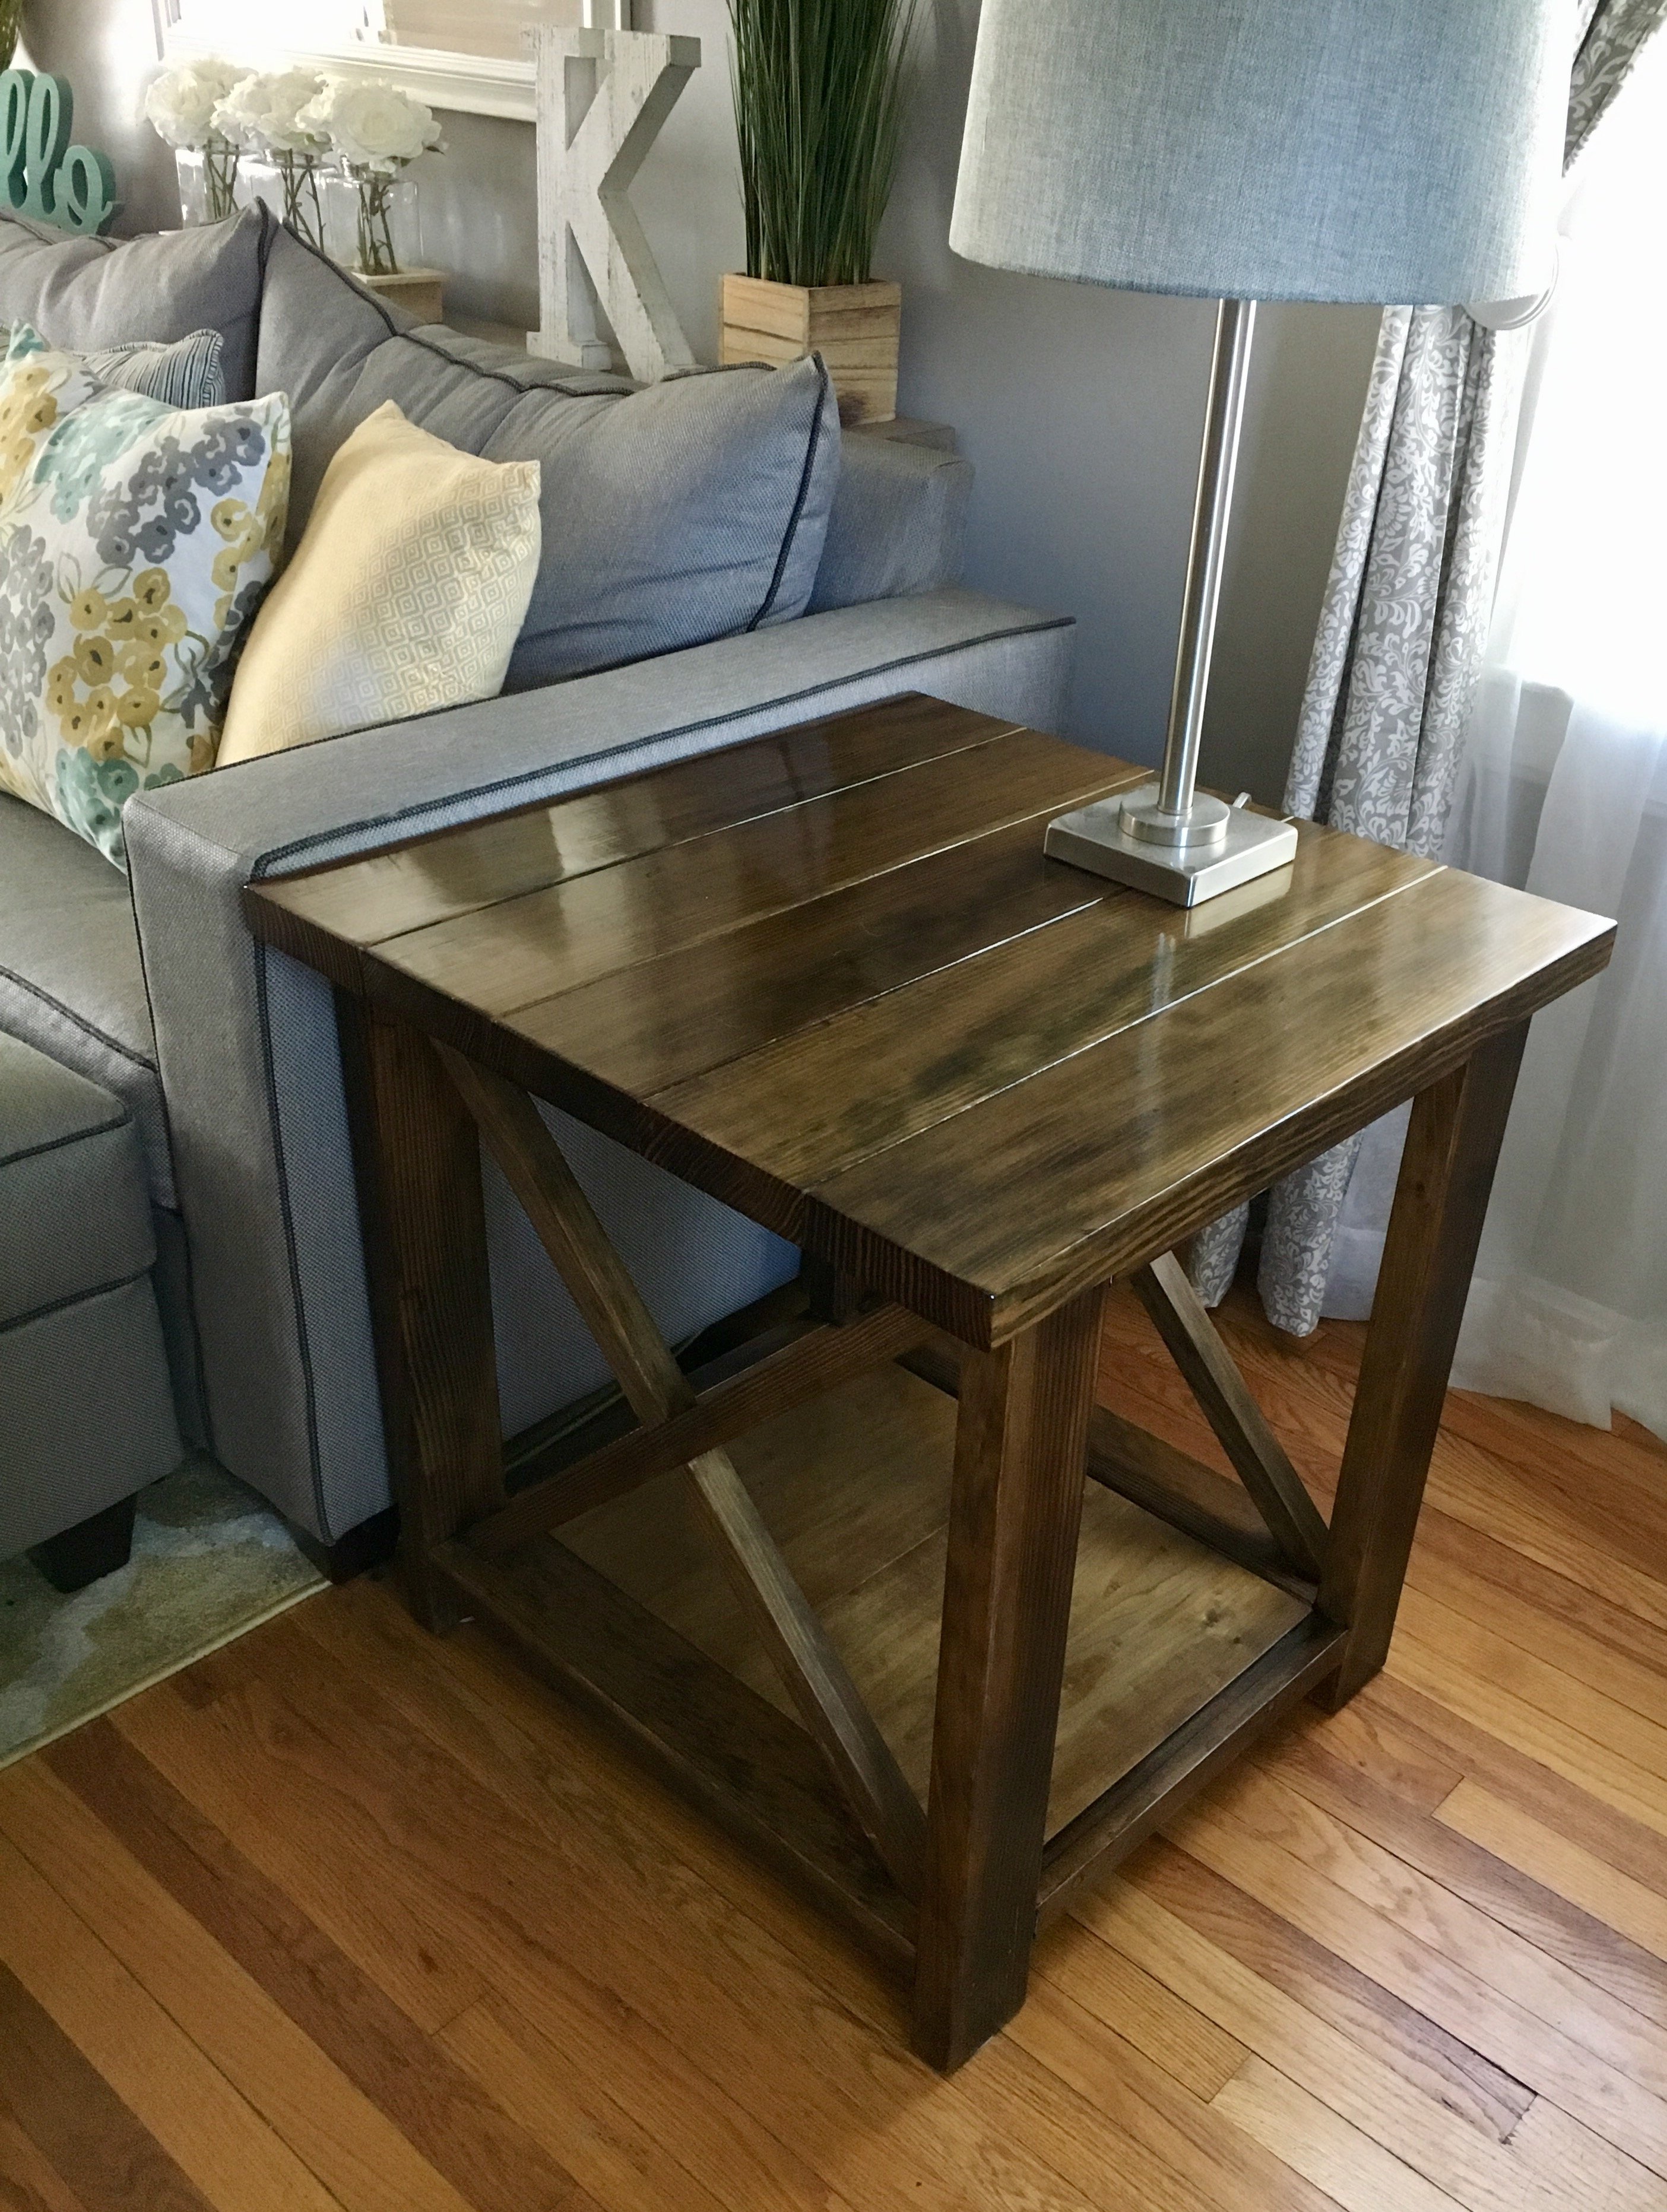
American flag rustic coffee table
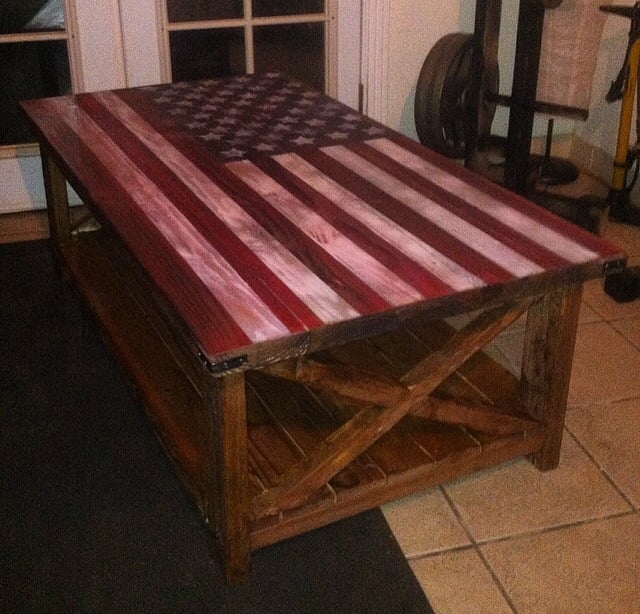
Thanks so much for the plan!
Built from Plan(s)
Estimated Time Investment
Weekend Project (10-20 Hours)
Recommended Skill Level
Beginner
Thanks so much for the plan!
Welcome to our labor of love. This is our first build and while my bf did most of the work, it was a great project for us as a couple. It was definitely work, but well worth it. We love the way it fits perfectly in our courtyard and people keep commenting on how high-end it looks. Thanks for the plan, Ana! The project took a little longer than it probably should, since it was the first project for us. You should account fort he time it will take to cut, sand and stain your pieces before assembly. There are times you will need to allow for the lumber to dry etc.
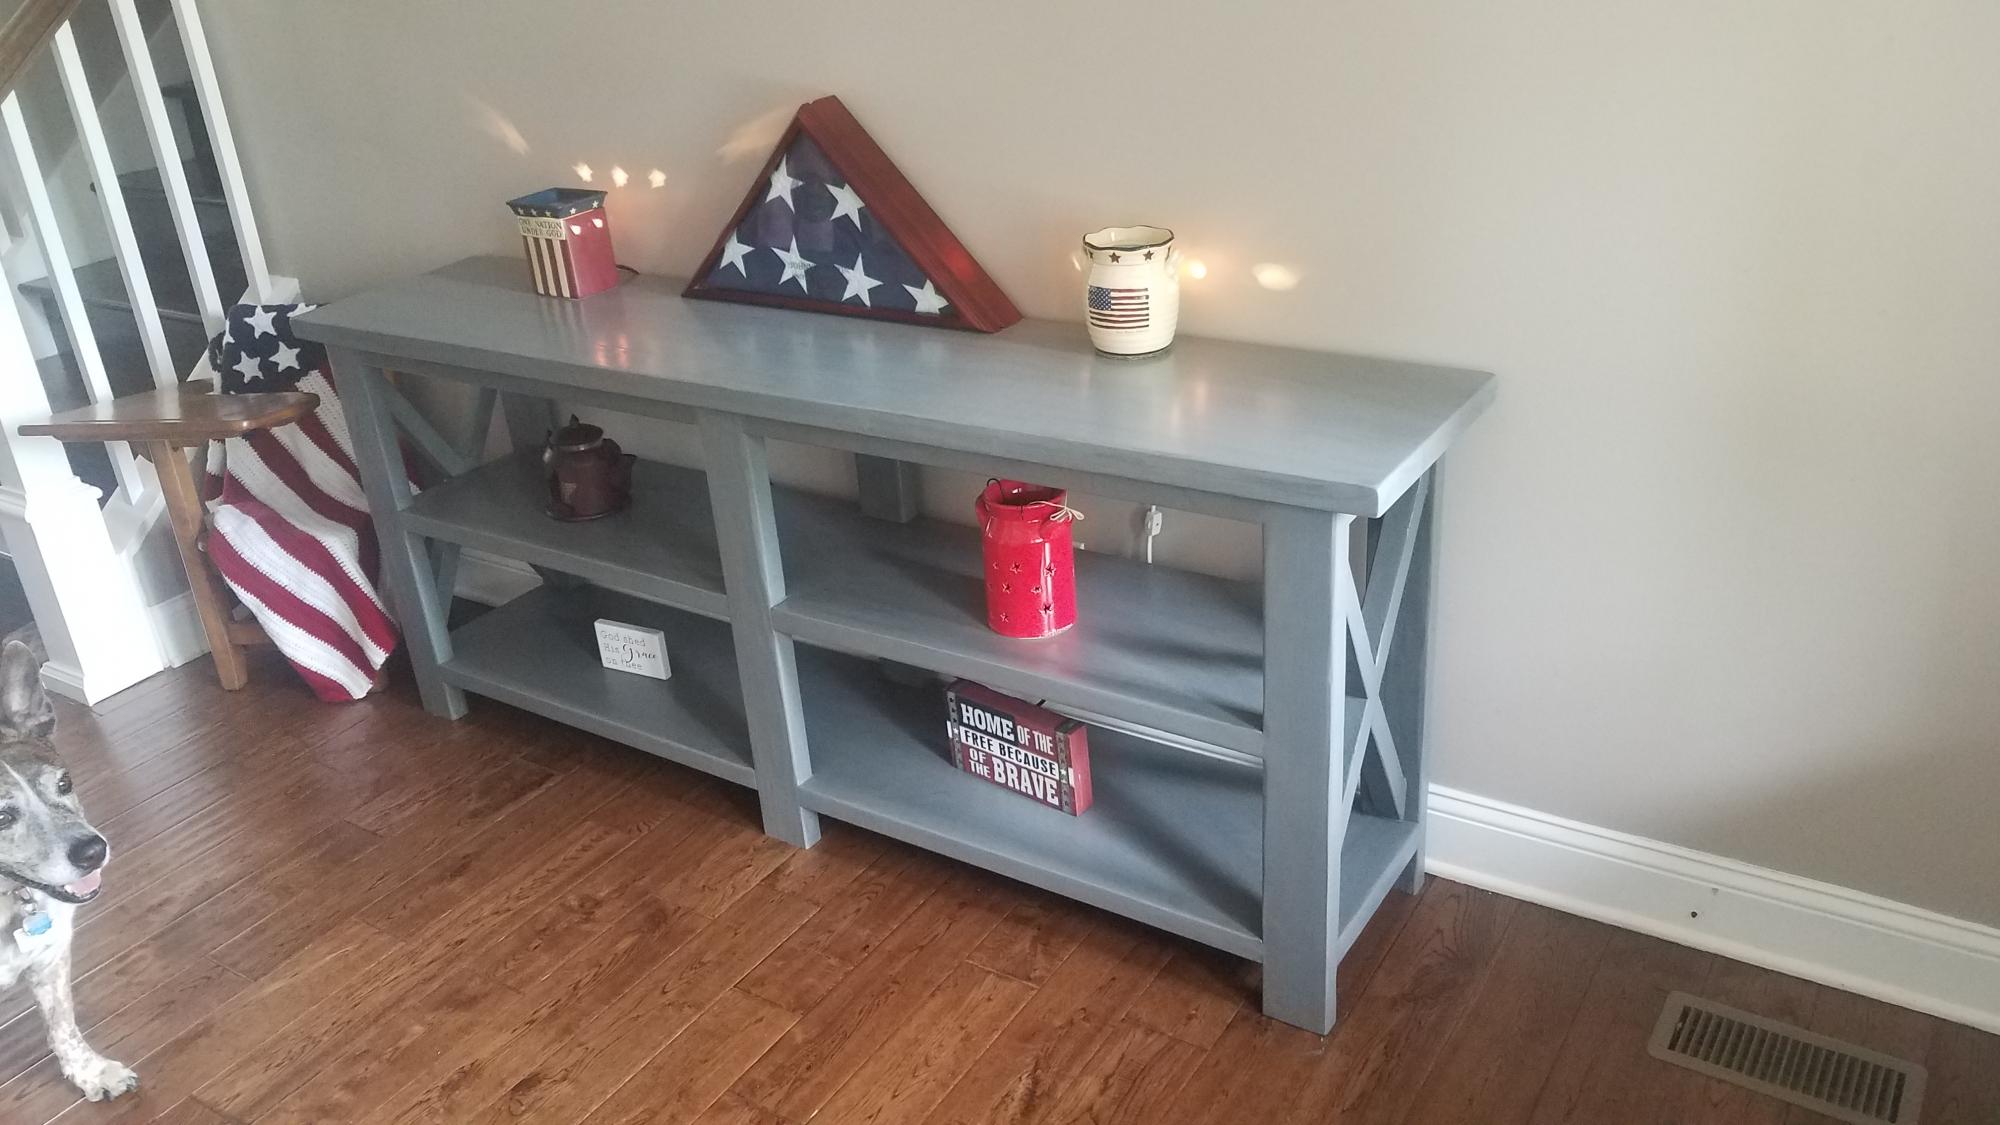
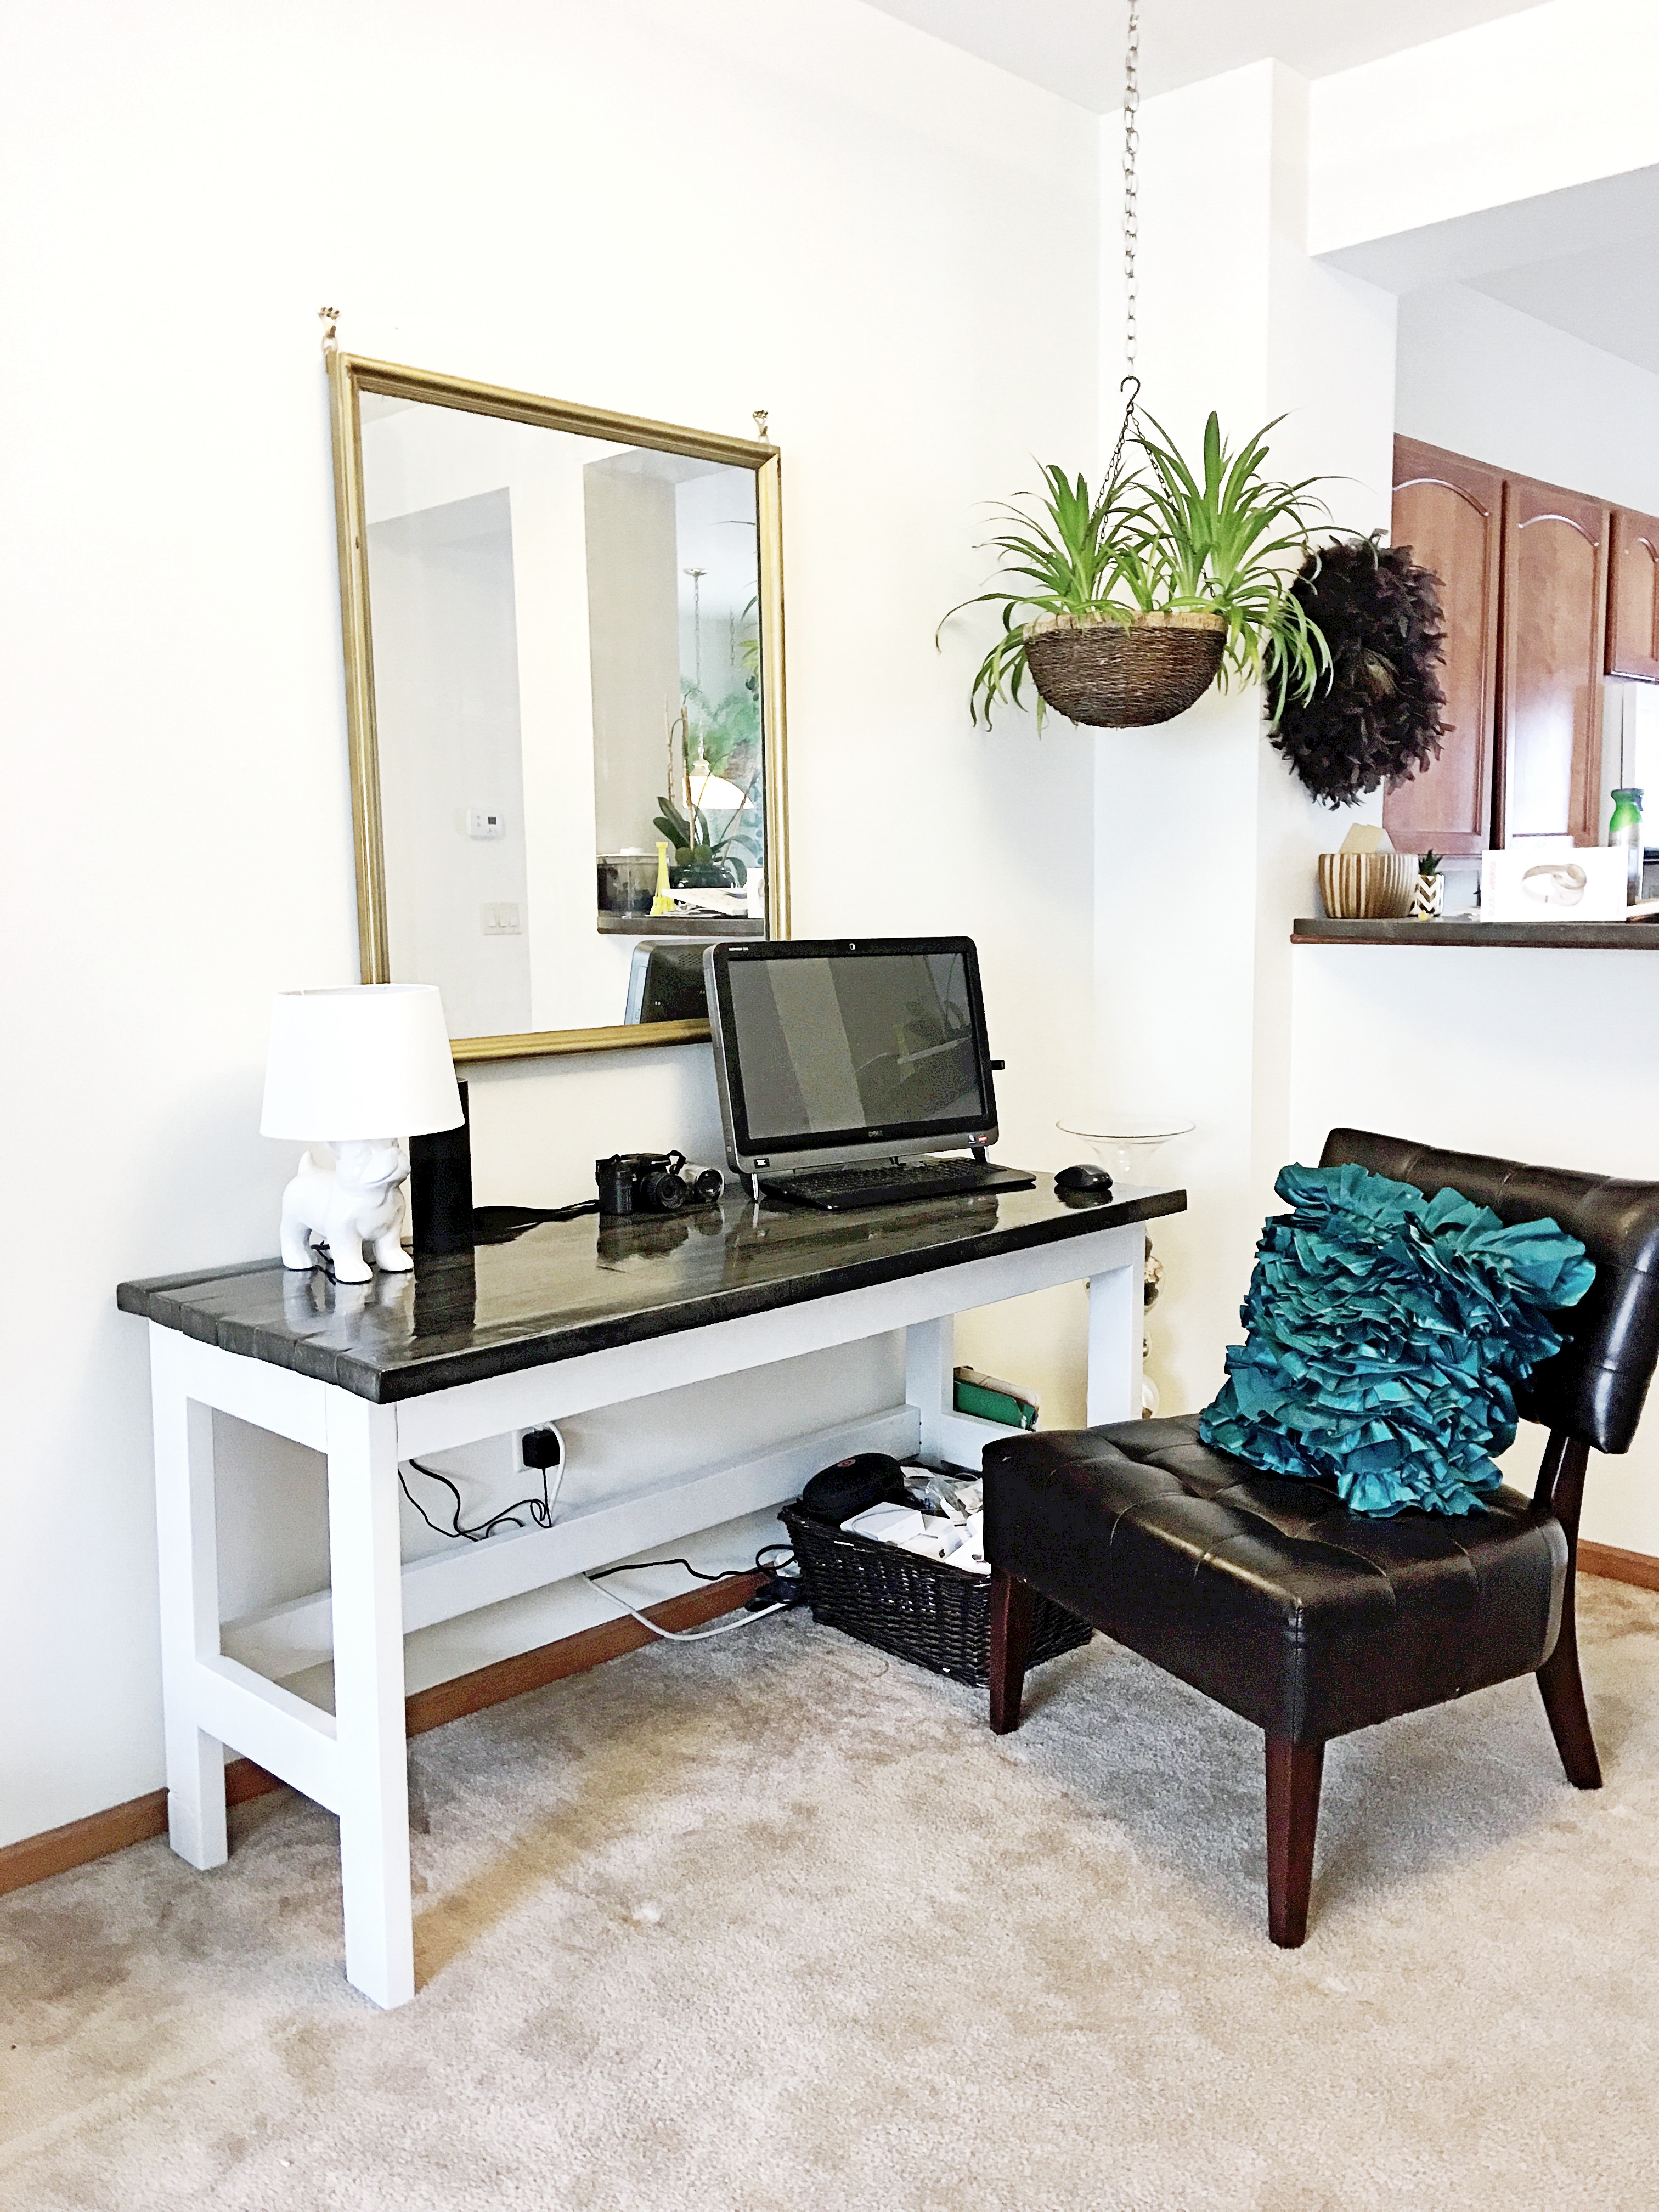
Built this using Ana's Rustic X console table plan.

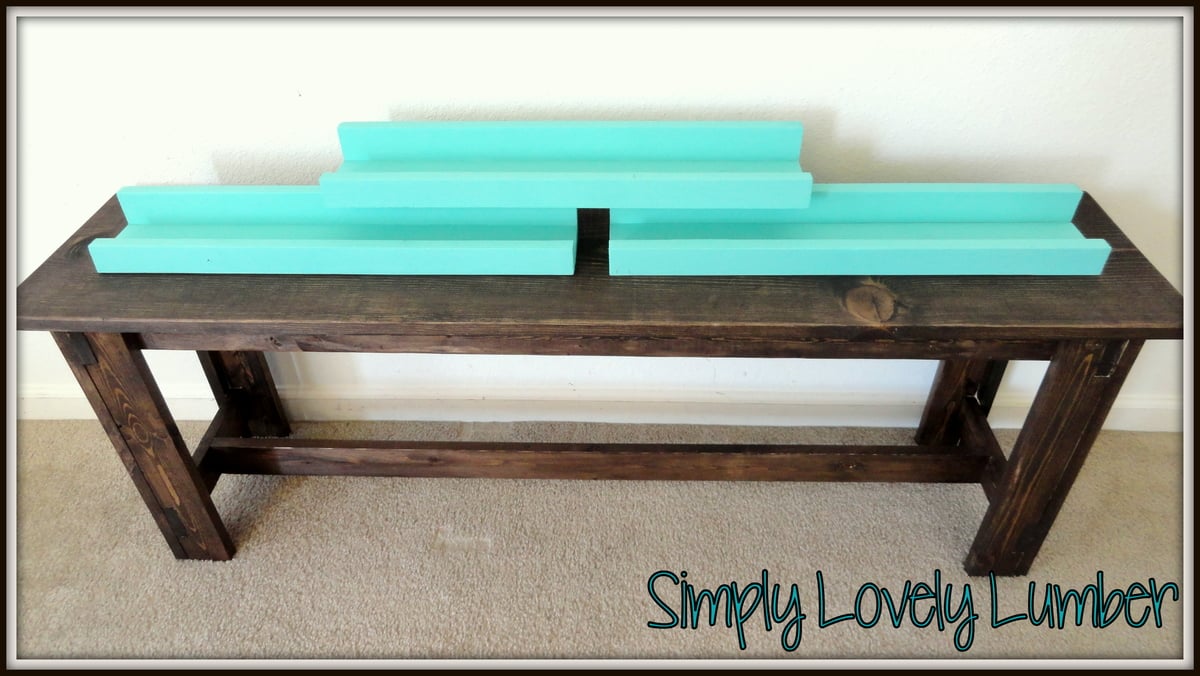
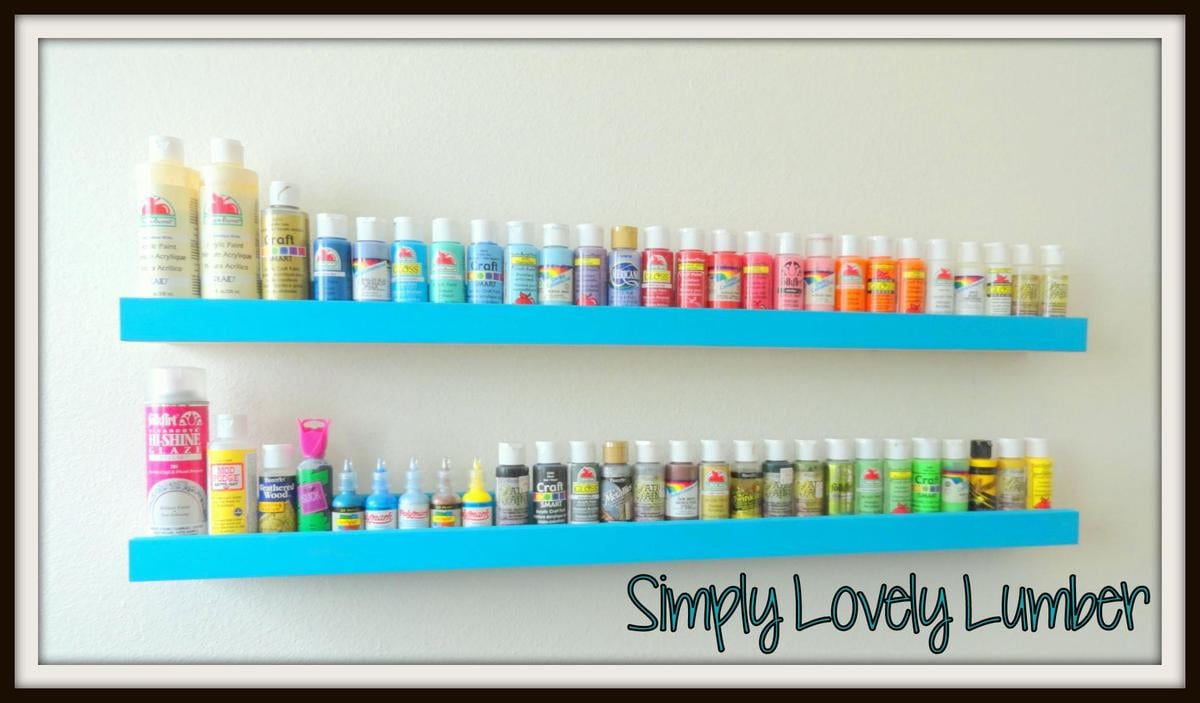
I have made many of these ledges and I just love them so much! I love that I can build them to any length or depth I want. I like to use them for more then just pictures. I feel like there will be many more of these in my future!
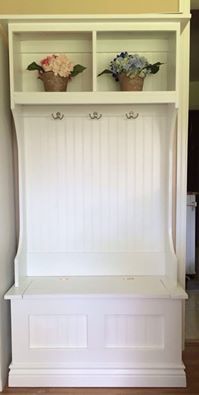
Papa Dana's version of Mimi's Coat Bench!
This was my first project! I learned a lot while doing it, and I look forward to building more projects in the future!


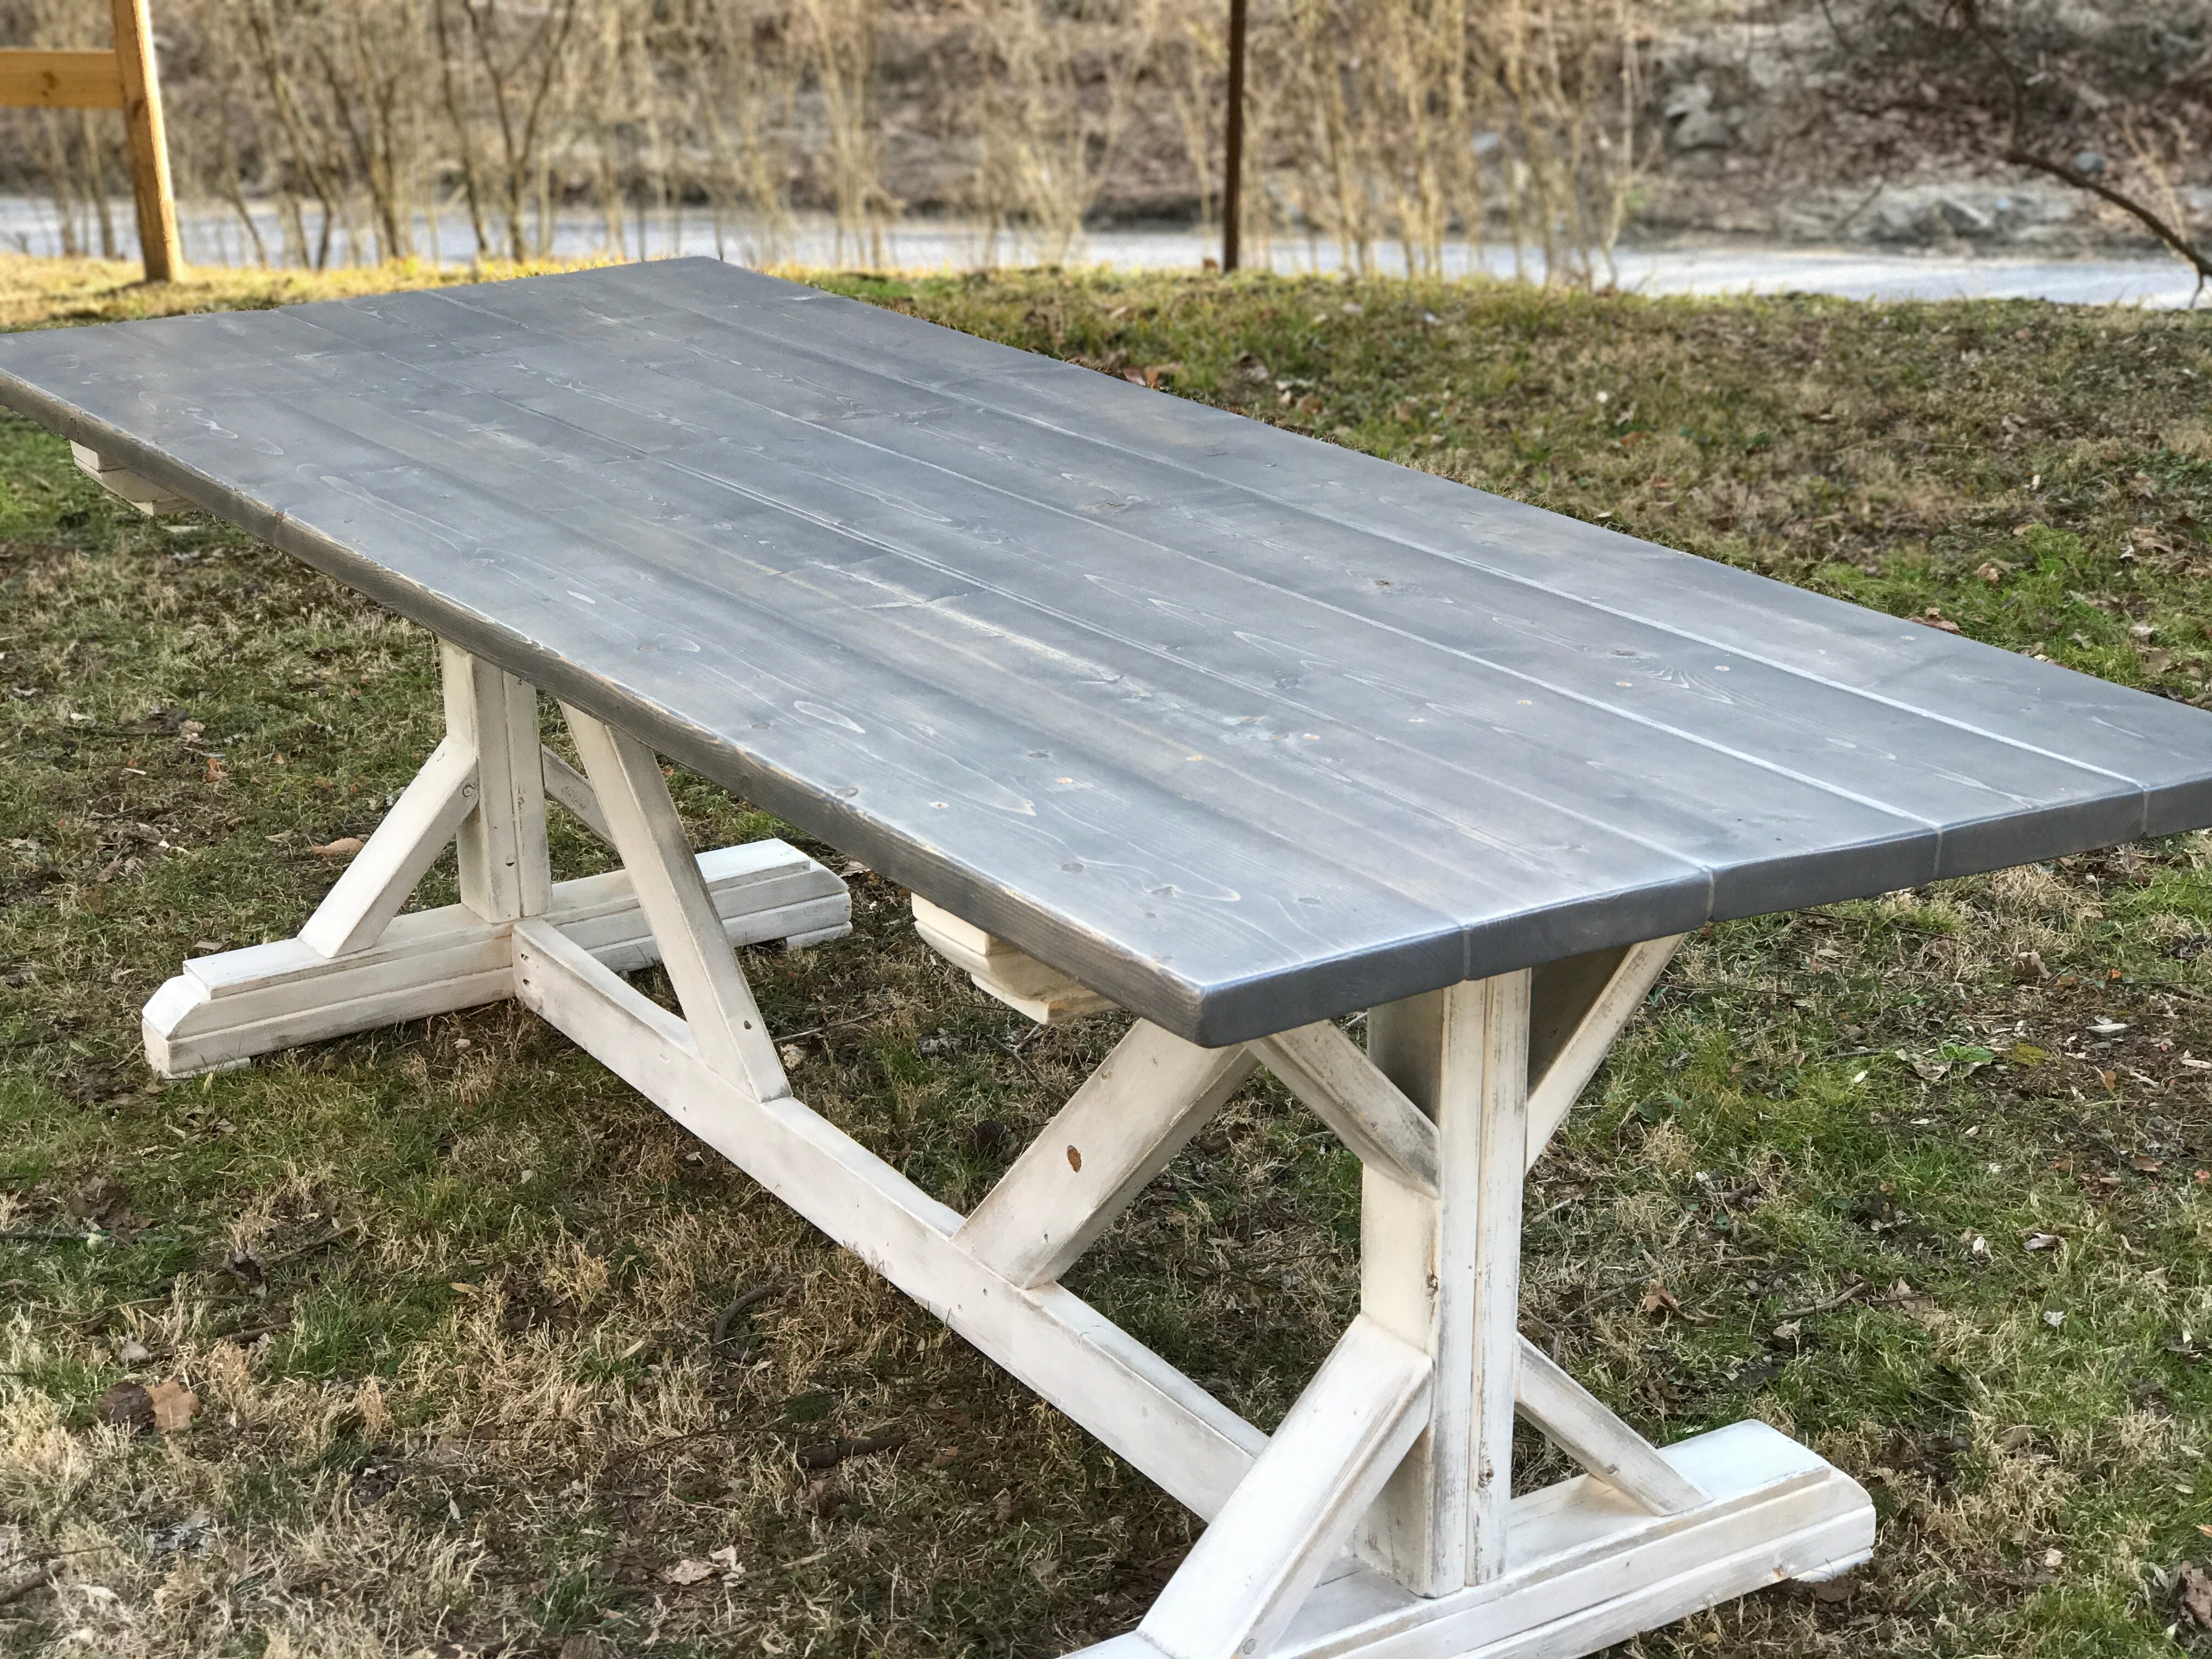
Built this table for a friend from the Ana White- Fancy X plans. It turned out amazing!
Fri, 01/10/2020 - 07:23
Love the table. Colors are great. I noticed you modified the table to to have five 2x10s instead of the plan 4. I was planning on doing the same thing. Did you have to modify the base to account for that? Specifically I'm wondering how, if at all, I need to adjust the angle of the X pieces. Thanks for your time!
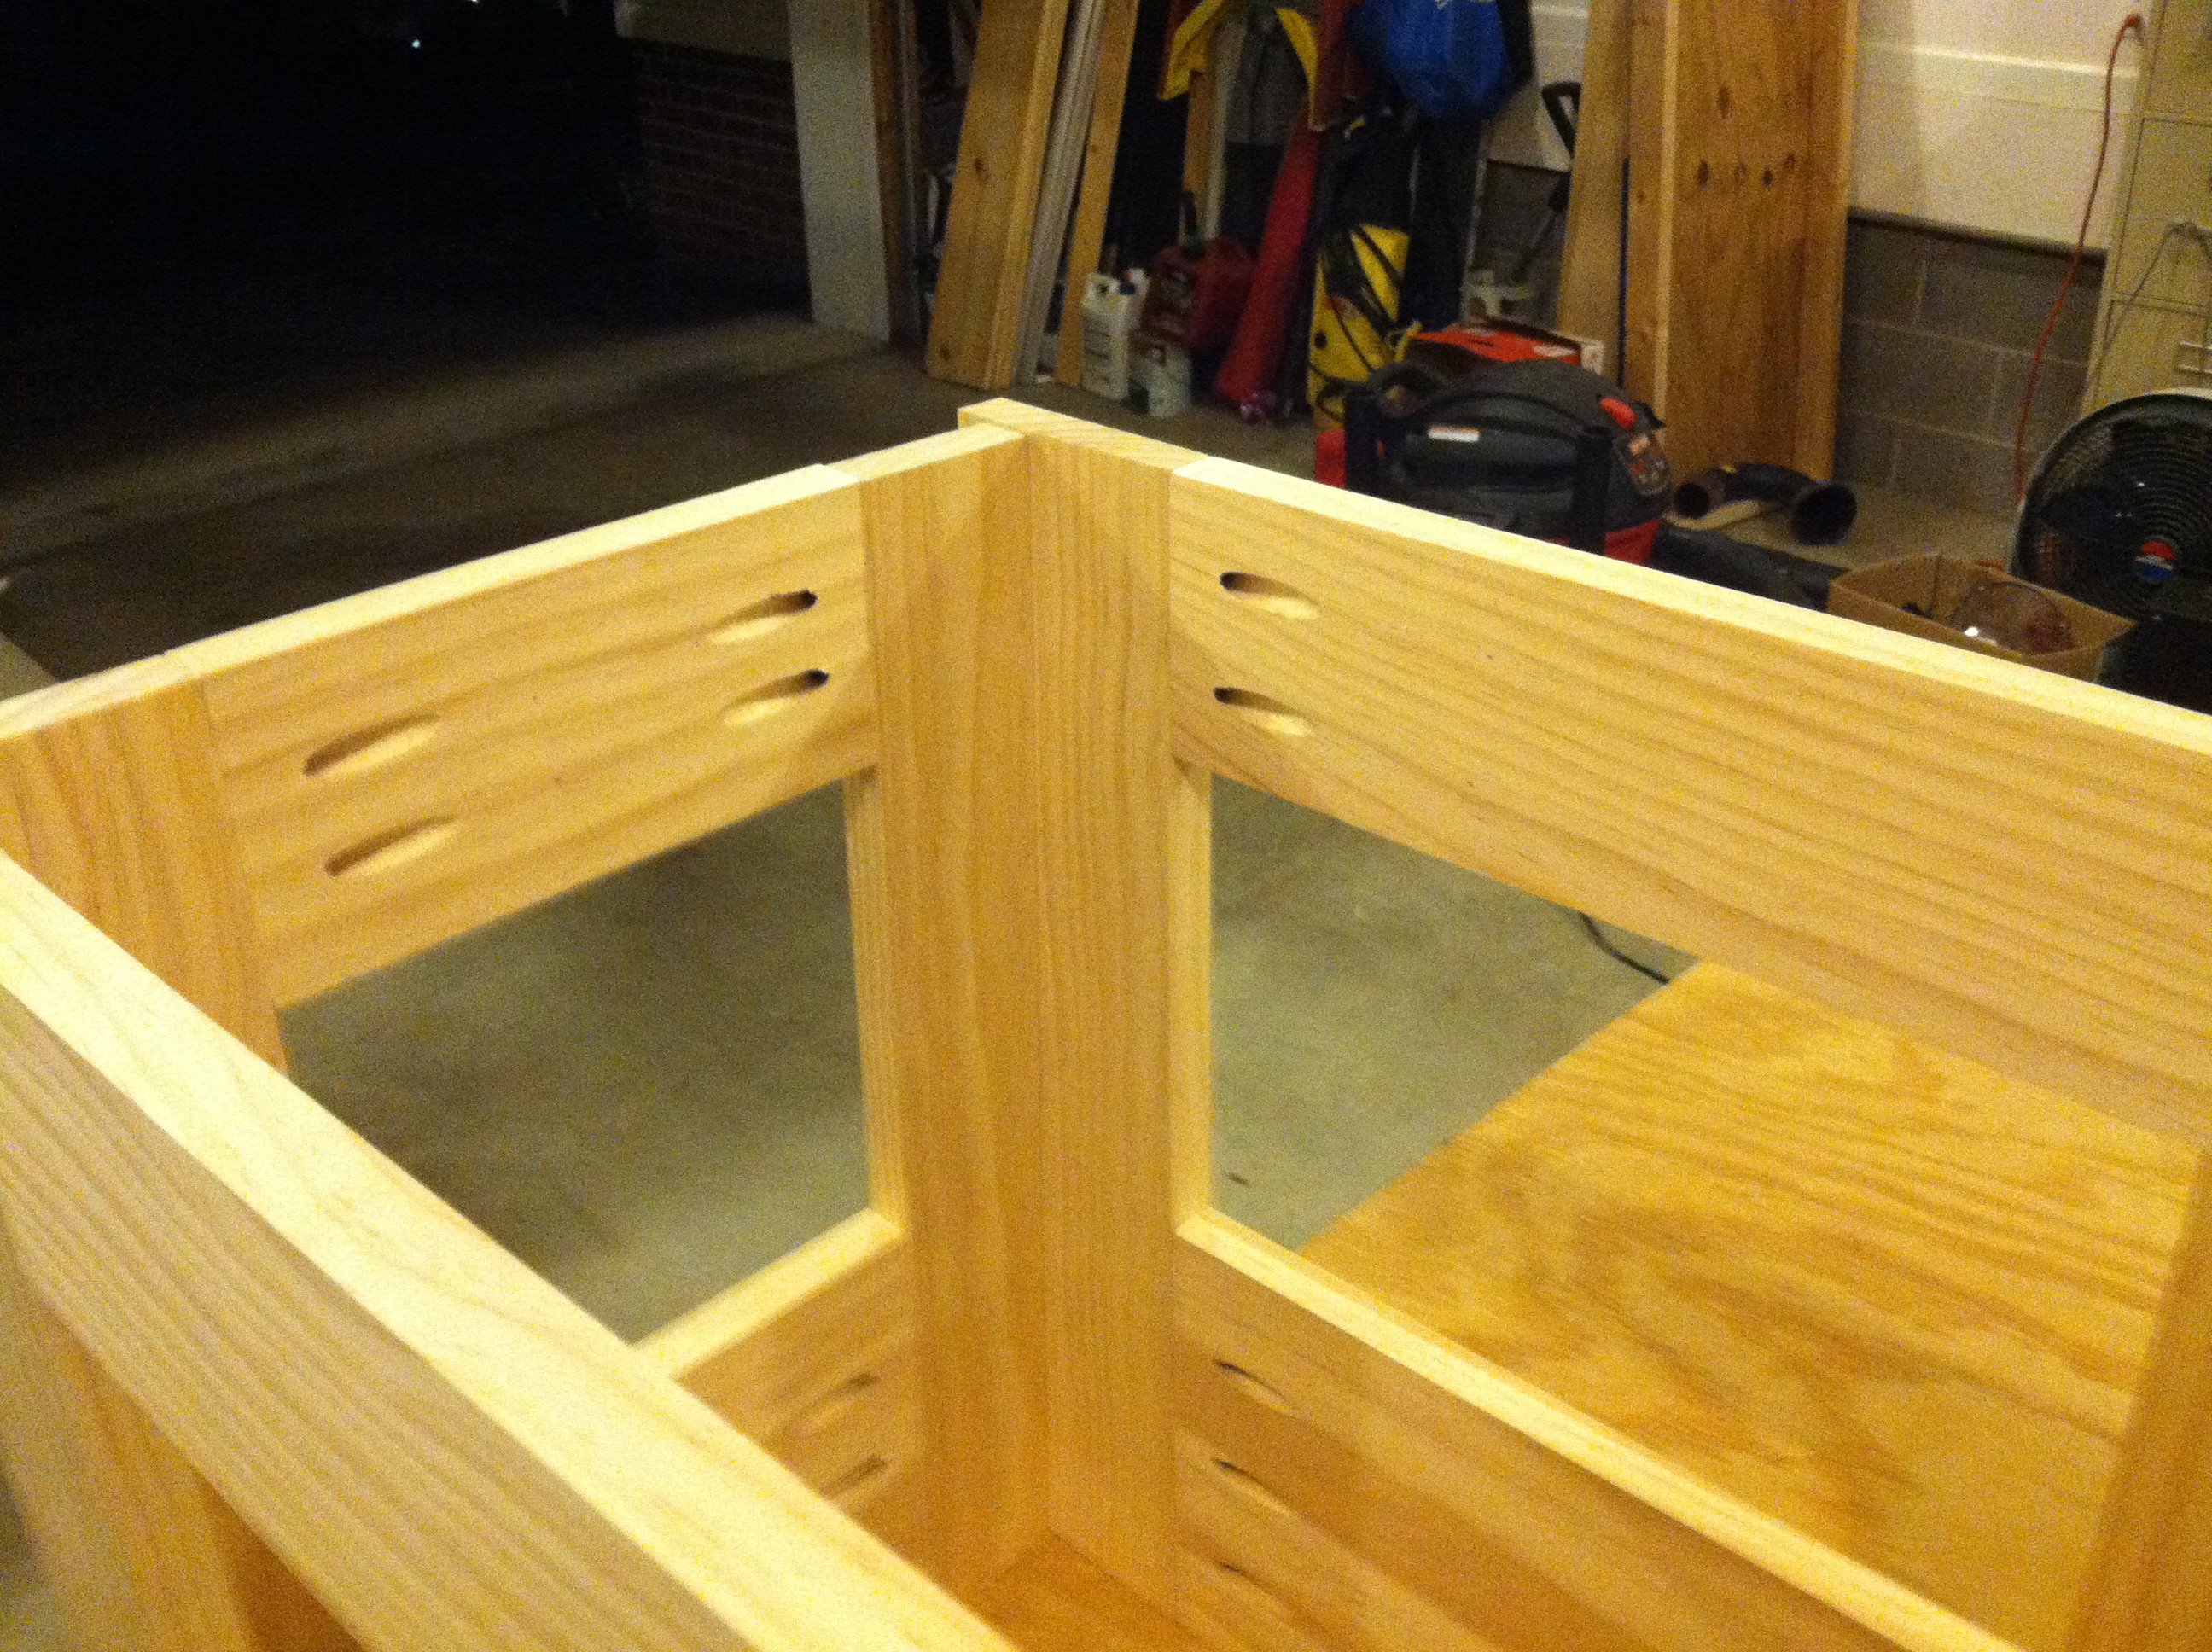
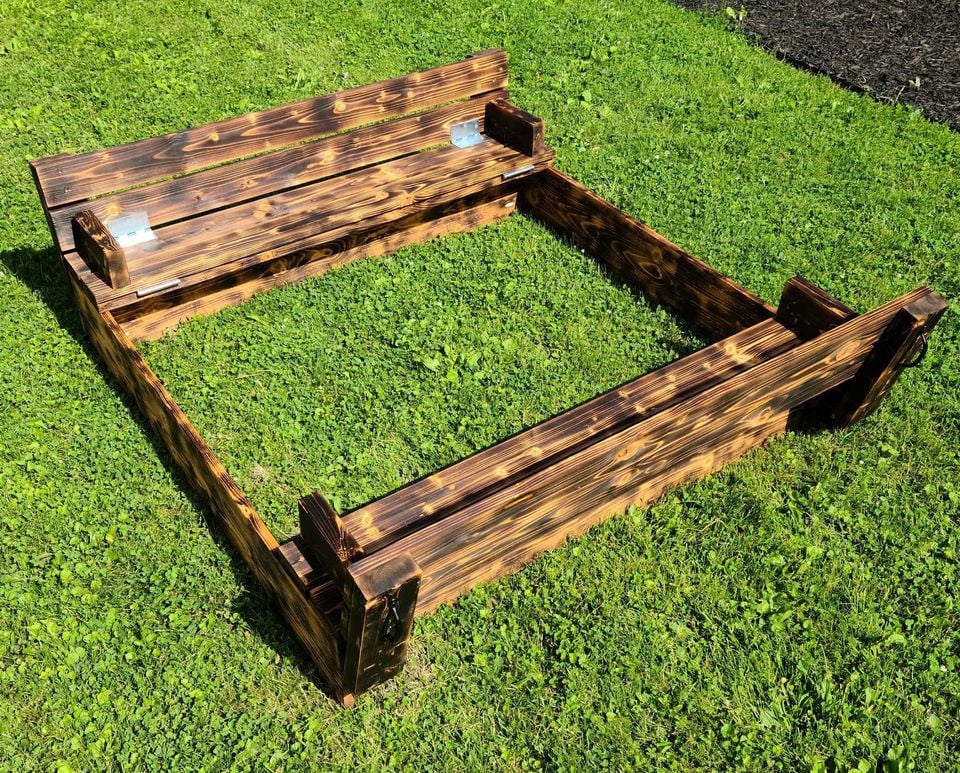
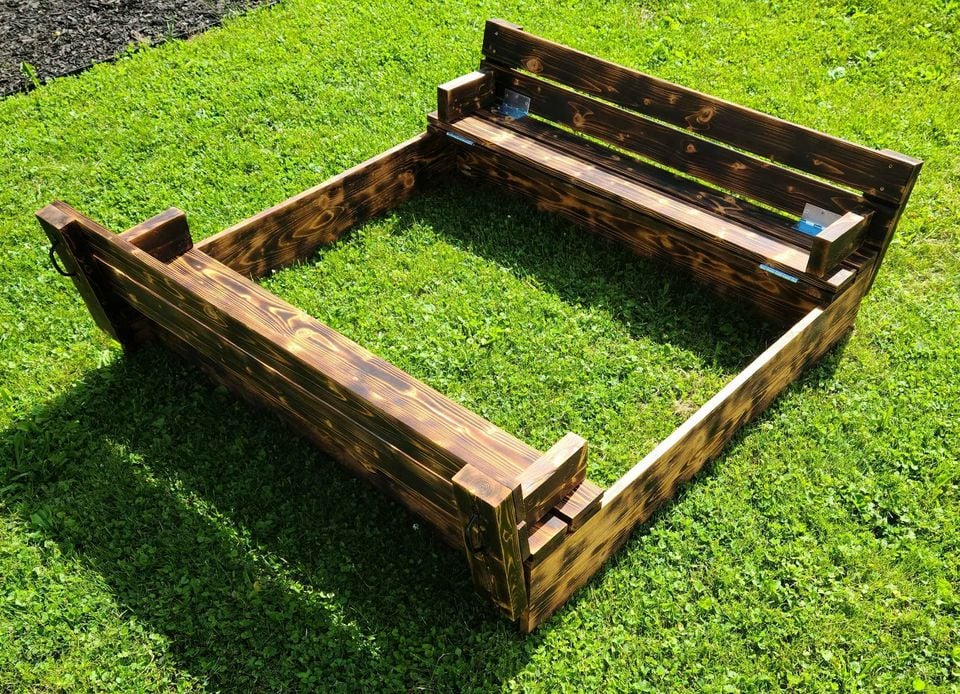
Easily made from scrap.
Used pocket screws where possible.
Strong enough for a 2 year old to jump in :)
Mon, 04/08/2013 - 15:58
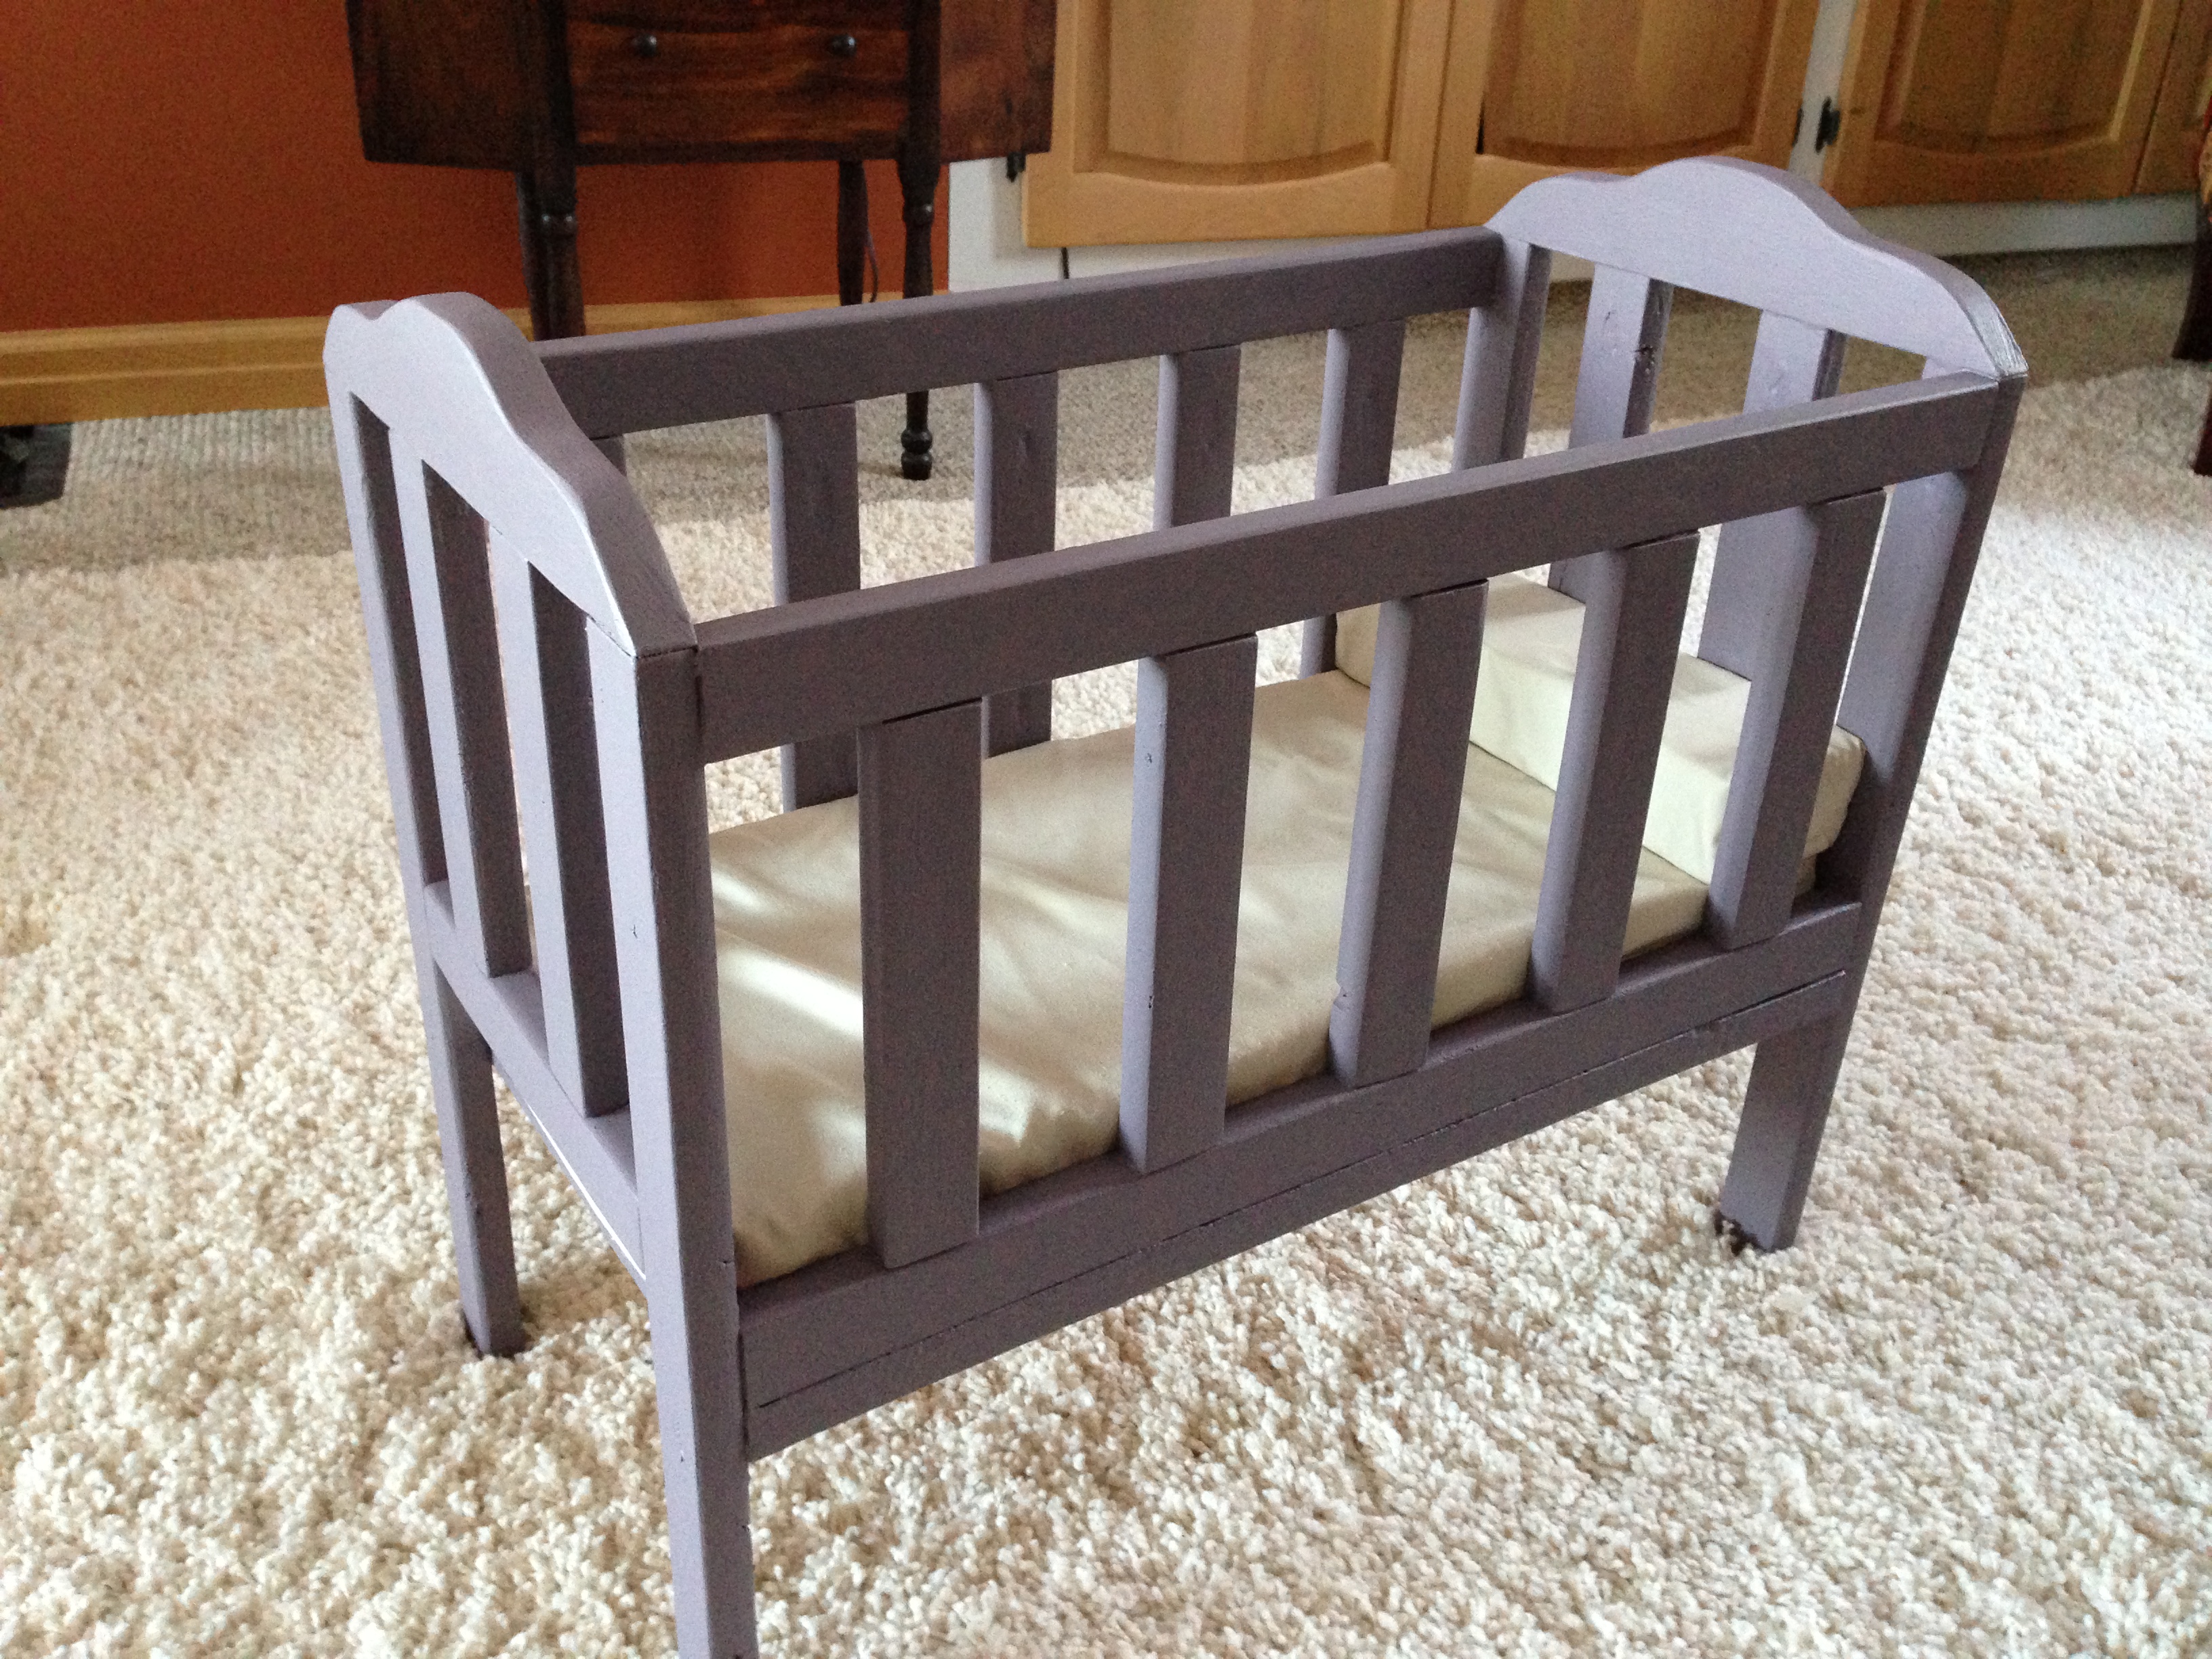
This is a very cute doll crib--love the curved ends above the slats. I have made six of these, each one a little different, and this design is perfect for the next one--hee hee. Would you mind sharing the dimensions; are they the same as the Olivia doll crib? Thanks!
Thu, 04/11/2013 - 13:04
Oops!! the plan i used was http://ana-white.com/2010/11/olivias-doll-crib.html …
I used those direction .. just modified the end to be slats like the sides then made a curved line that appealed to me … sorry for the mistake!
I did make the farmhouse bed too for another grand-girl!
I was just thinking I would be making more of these .. glad to hear i'm not the only one!
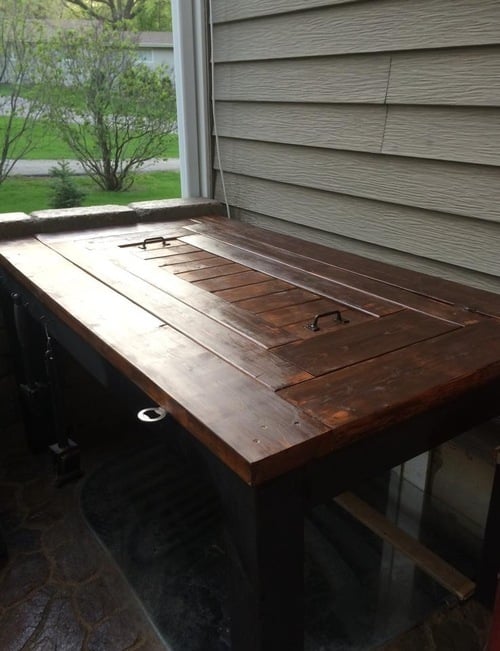
My husband wanted a table next to the grill and he wasn't going to build one after working on our deck for 2 weeks. I thought to myself maybe I could build one that had a built-in cooler. Of course, my source of inspiration came from Ana White. I had to detour a little from her exact plan to accommodate our need. We had a basement egress window coming right at that corner near the grill so we would need a table that cover that area perfectly to make a good use of space, hence the measurements and plan had to be altered a bit. Ana White’s plan has 2 built-ins, ours has only 1. It turned out great and we enjoyed it ever since. Now if only the weather just got warmer!
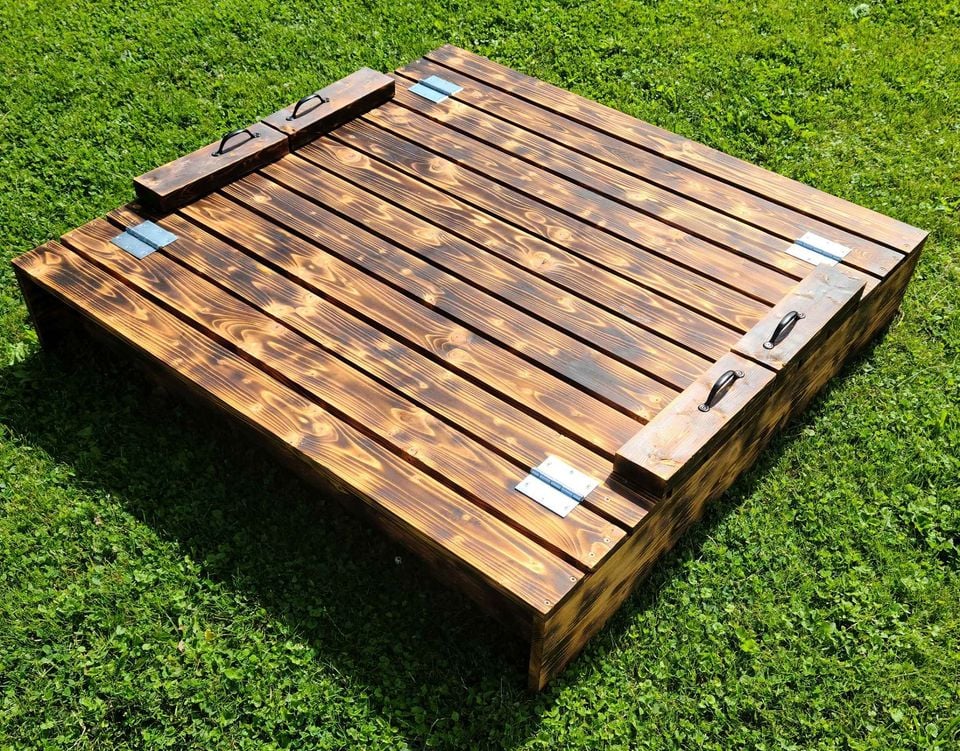
Burnt and stained with a semi transparent mahogany water sealer
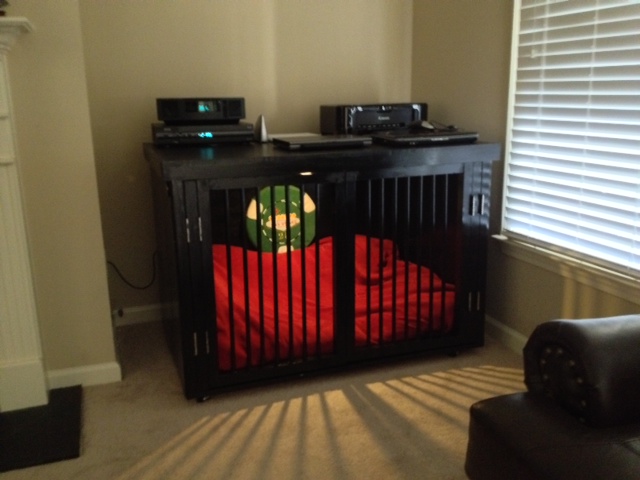
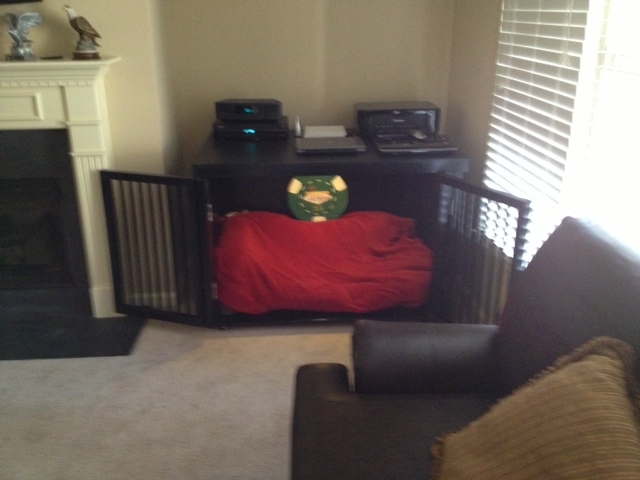
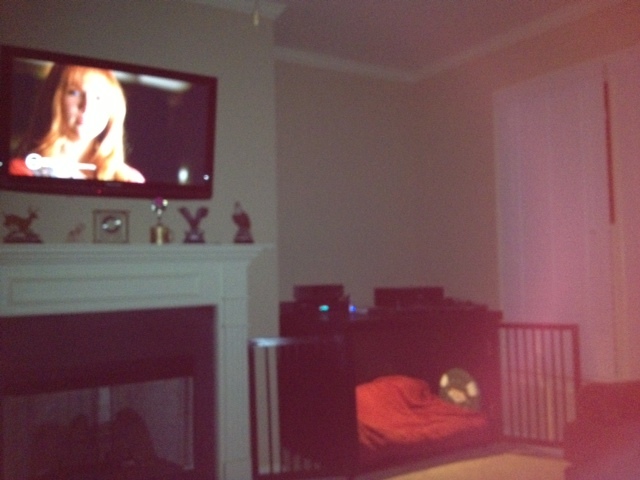
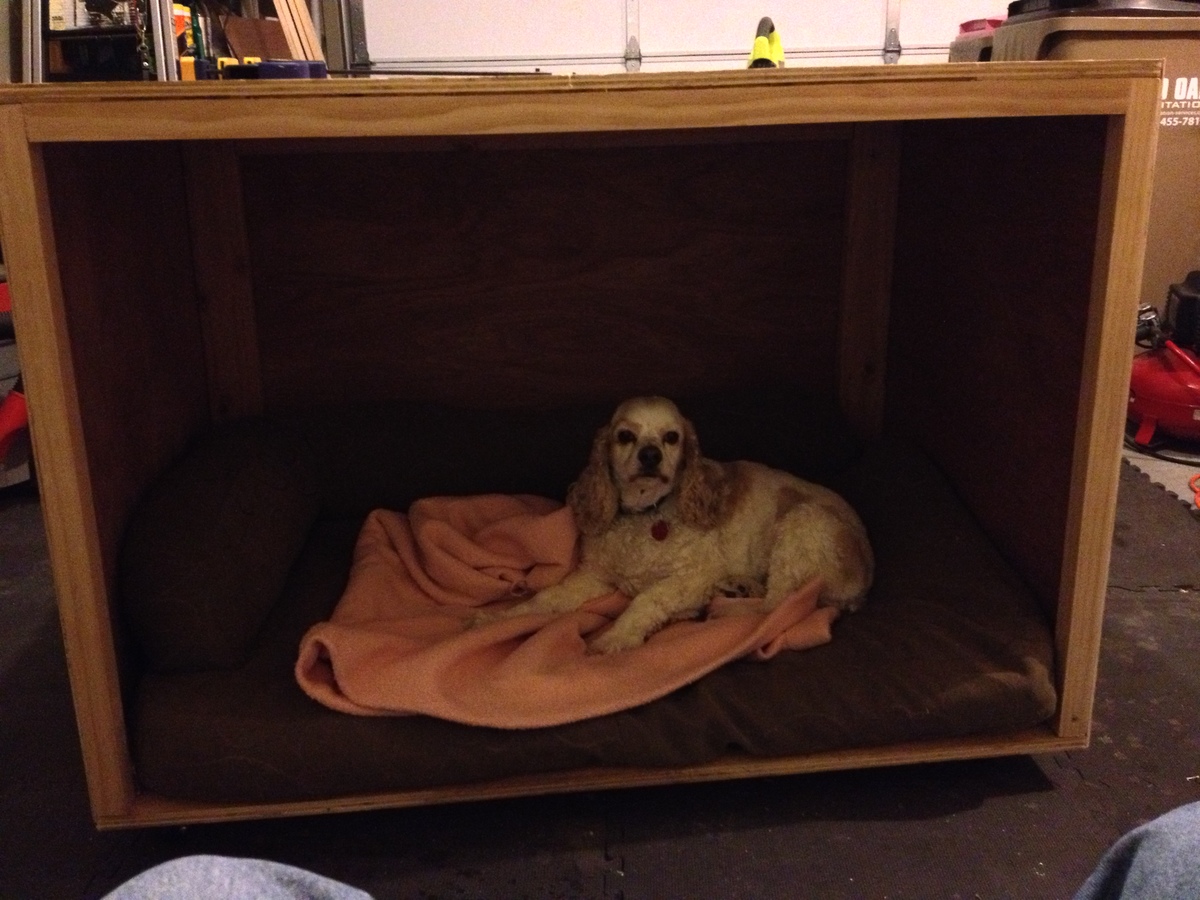
I had peformed internet searches on Pet Crates and decided to build my own. This one has a touch sensor small 1 watt light inside so I dont have to keep other house lights on when I am at work. The light has no heat and purchased at Rockler hardware. Shiloh's crib is on wheels and the only thing I screwed up is the width. I could not get it thru the garage door from the house. Had to take it thru the front door and had to take the door off the hinges. Either way I should not ever have to build another one. It has a kitchen cabinet black laminate on top purchase from a damaged piece at home Depot. Half the cost. Should be durable enough for my kids Printer, radio and Cable box. Doors have two hinges per door so they can fold back out of the way.
First I'd like to say THANK-YOU Ana for this incrediable site and for all the work that you do. You are an inspiration to us all!
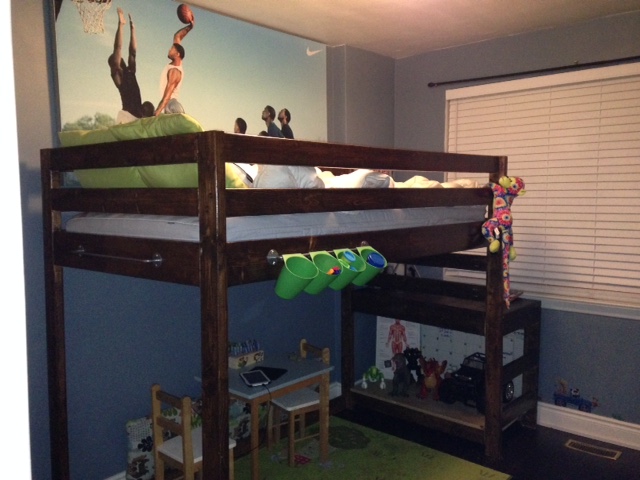
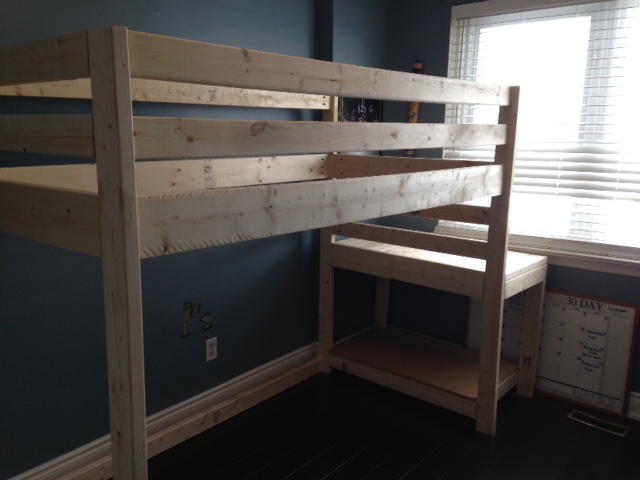
This was my very first project. I have been stalking this website for about a year working up enough courage to build something - anything for that matter! Finally my husband bought me a great Drill / Driver for Christmas and VOILA! I am putting it to great use.
My son's room is rather small so I opted to eliminate the stair leading up to the landing area and just added a couple of 2 x 4 for him to climb up to the landing area
I love it - He loves it. Before I could never get him to play in his room or sleep throught the night without coming into our bed at 4am. Well let me tell you...Since I built this bed last week he sleeps like a charm and actually wont leave his room! Hhahaha
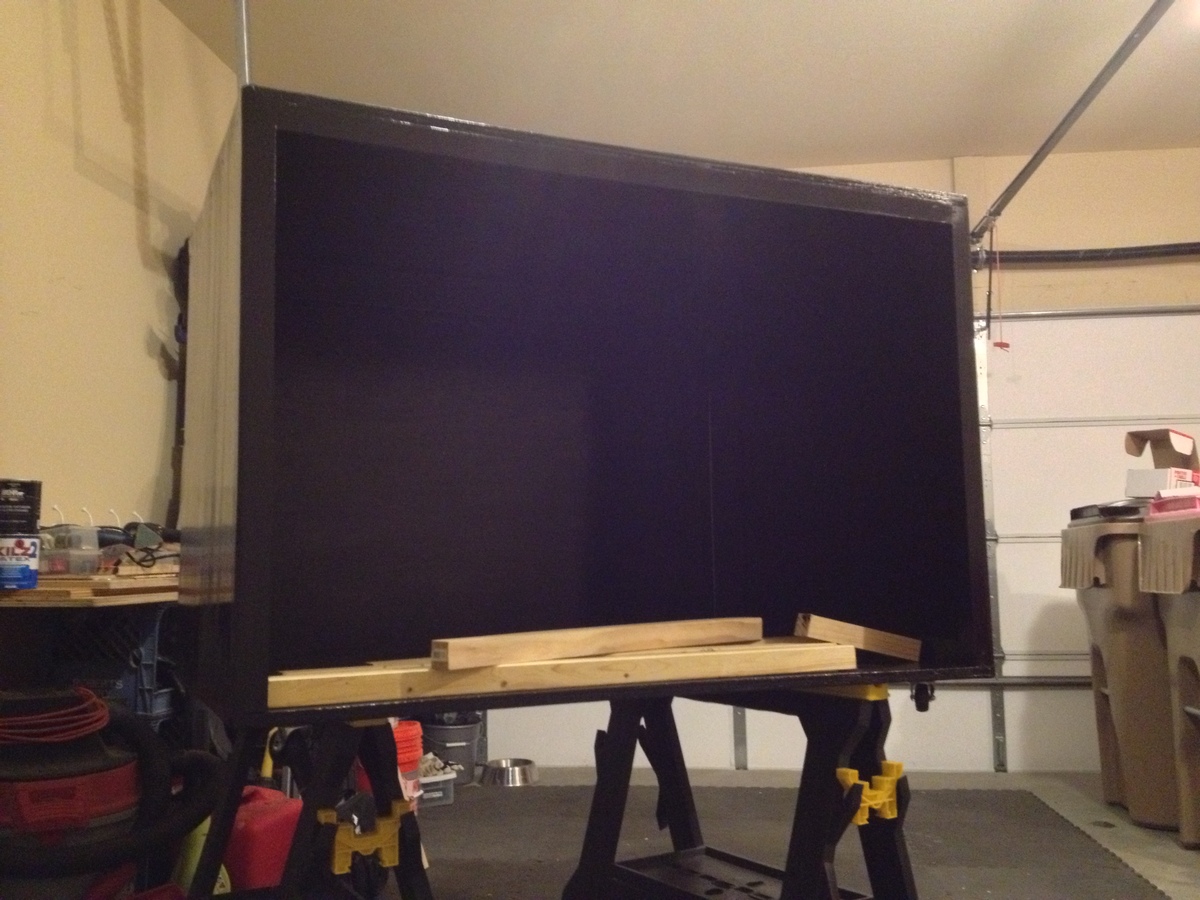
I did an epoxy coating which took a few coats as I learned the hard way how to use it but I love the look!! Did a custom gray and brown stain mix after sanding, weathering and conditioning the boards.
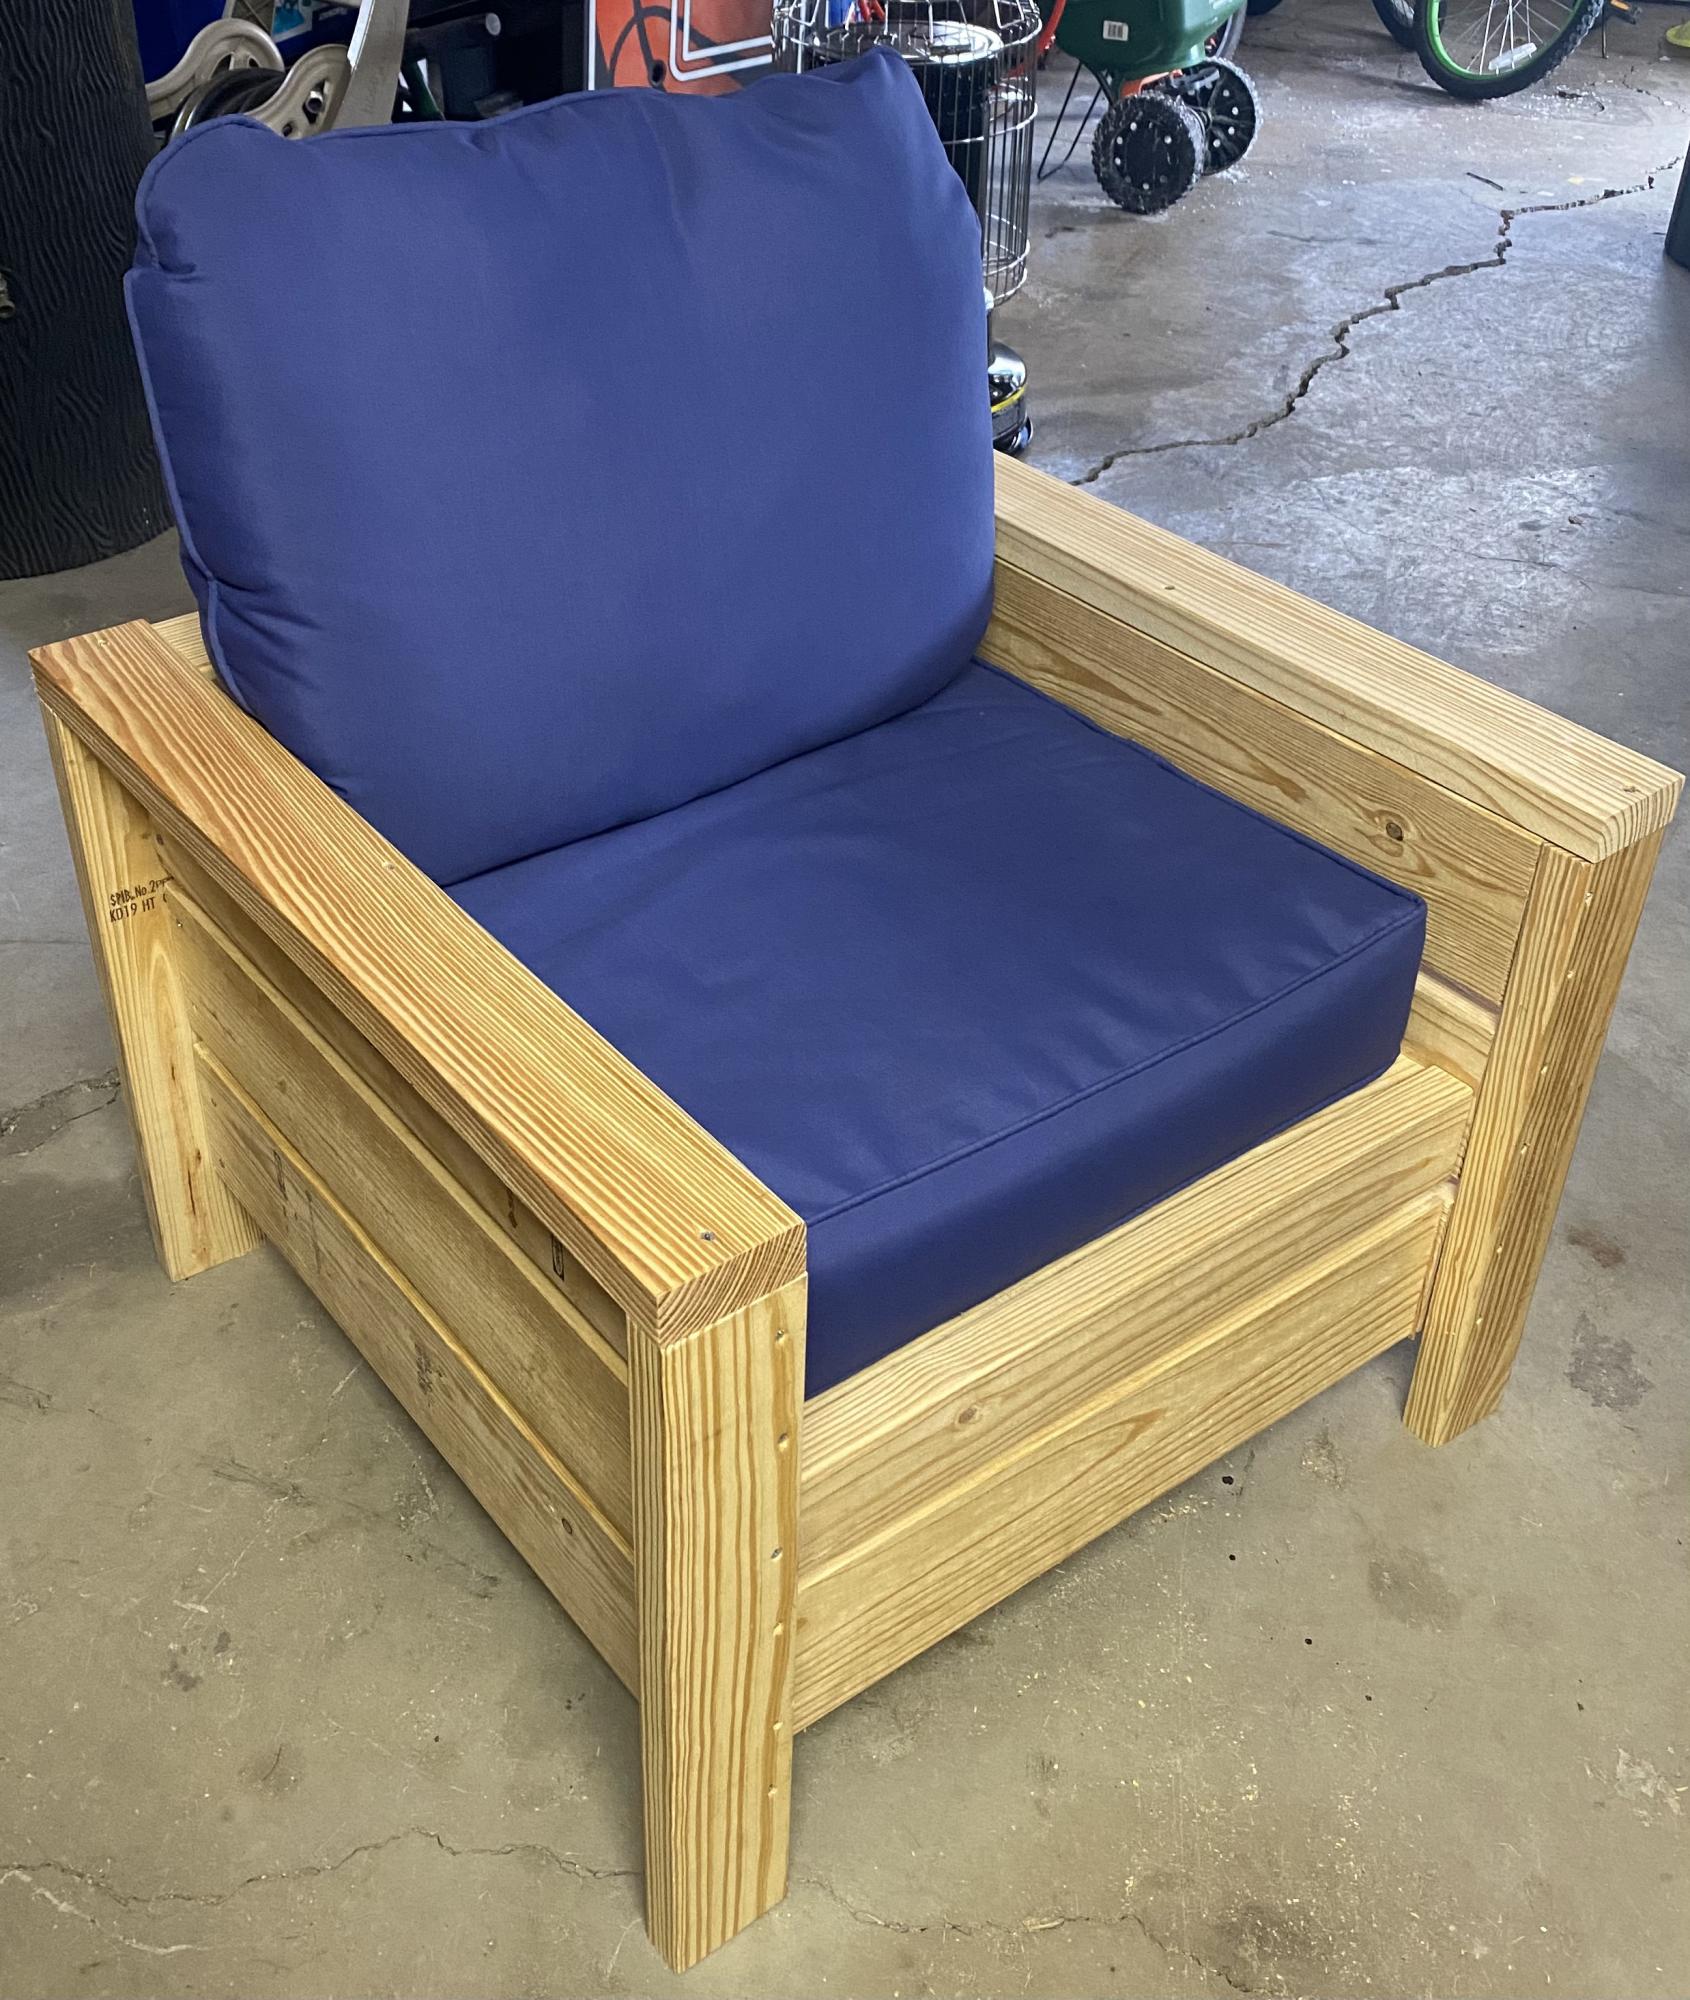
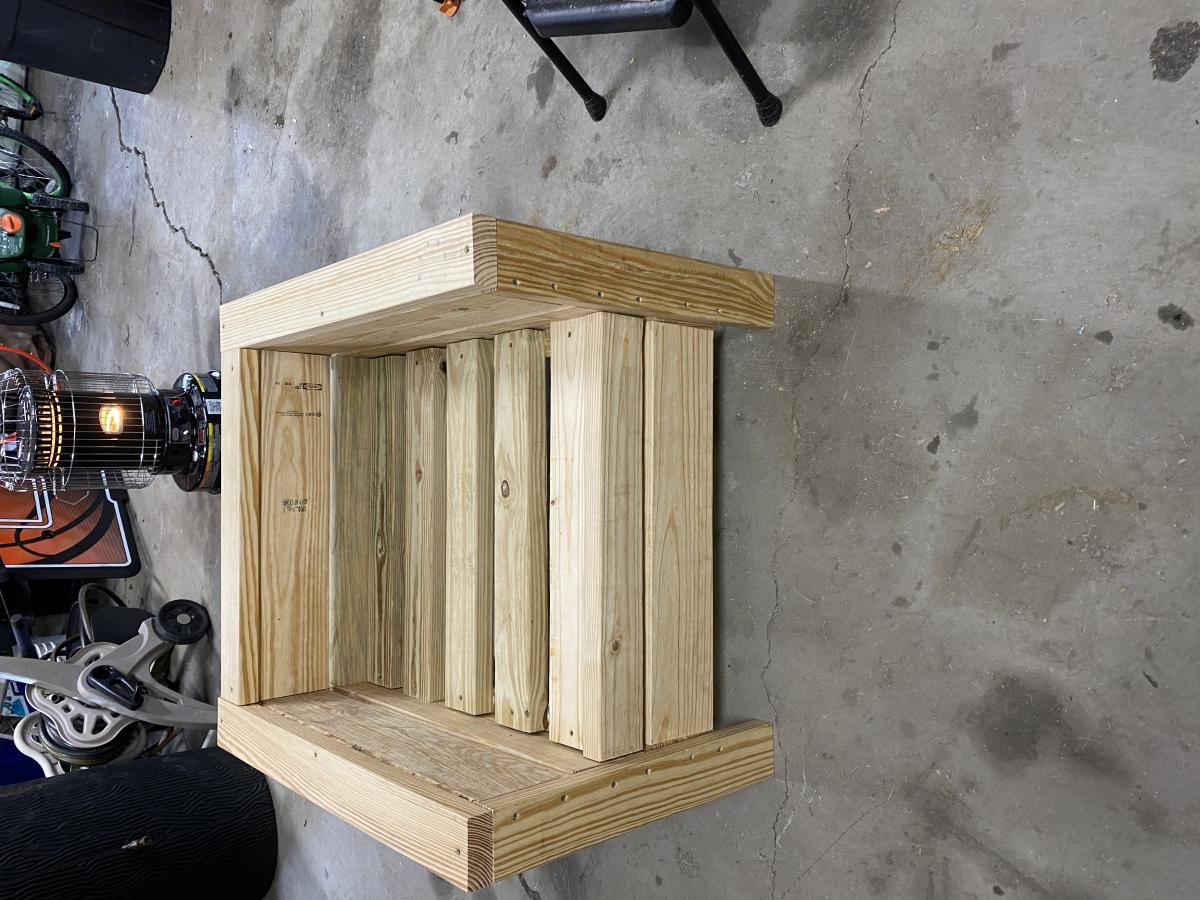
Decided to start doing woodworking as a pandemic hobby. Given what happened with wood prices, I could have picked a. better time to start making sawdust. Quite happy with the outcome.
My boys are young, so I wanted to do this without a foot board (I'm always nervous while they play that they'll hit their heads or something). I modified plans from the Hailey bed for the frame, by making it deeper.
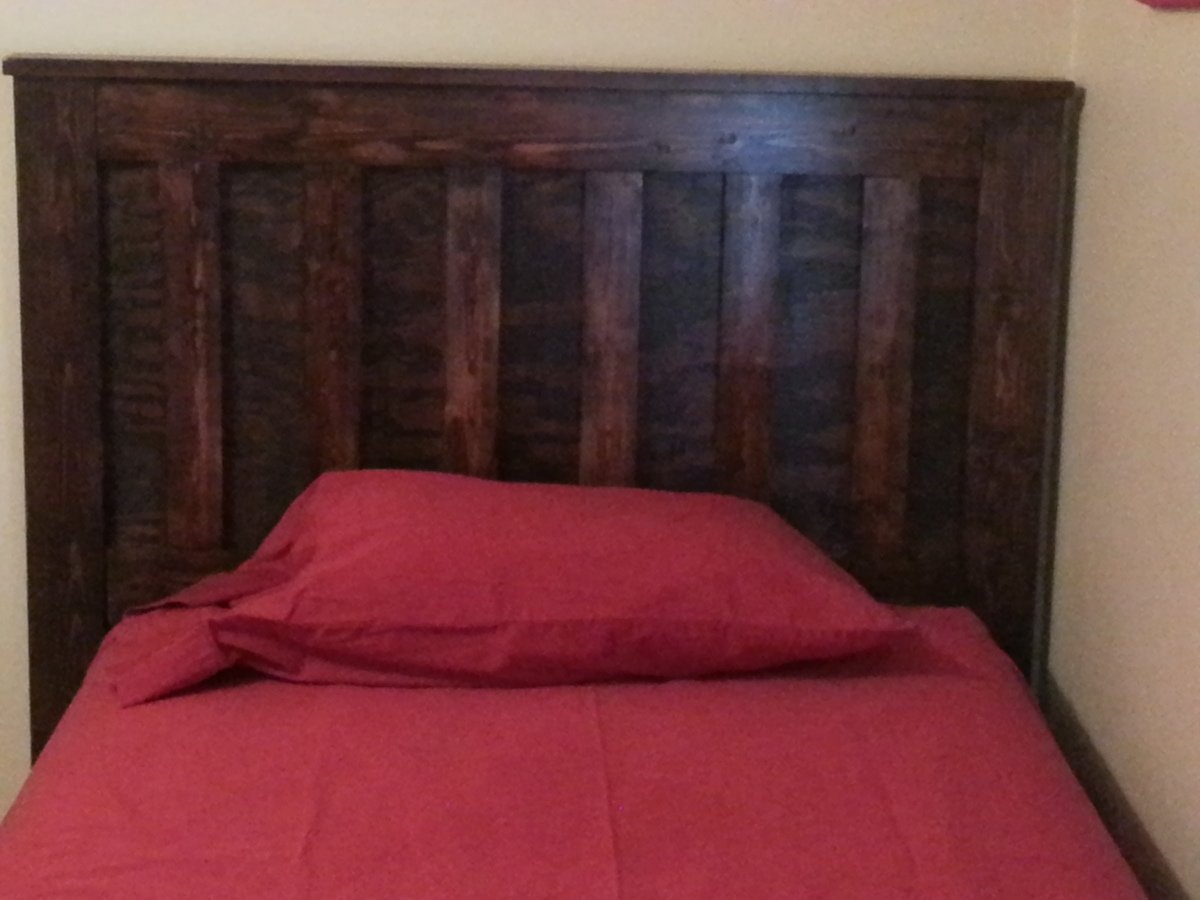
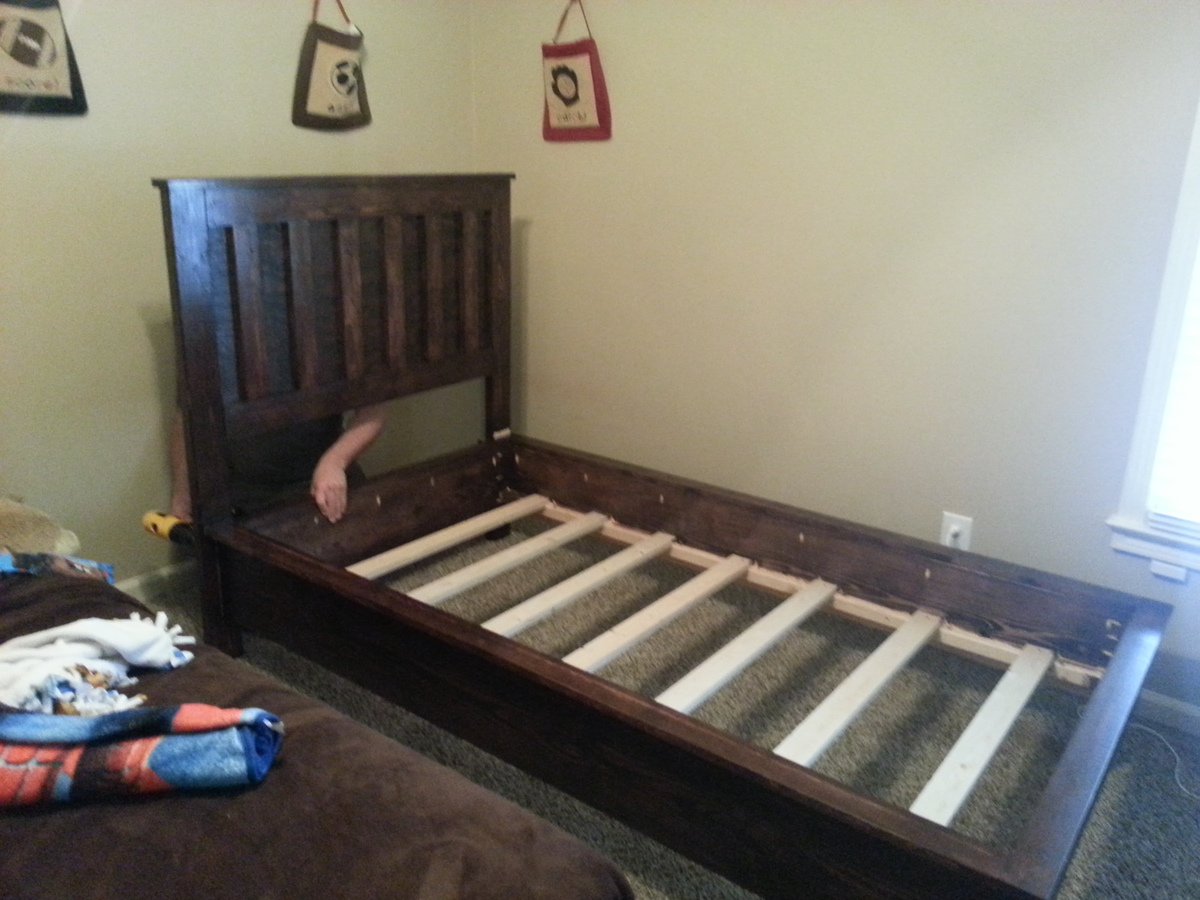
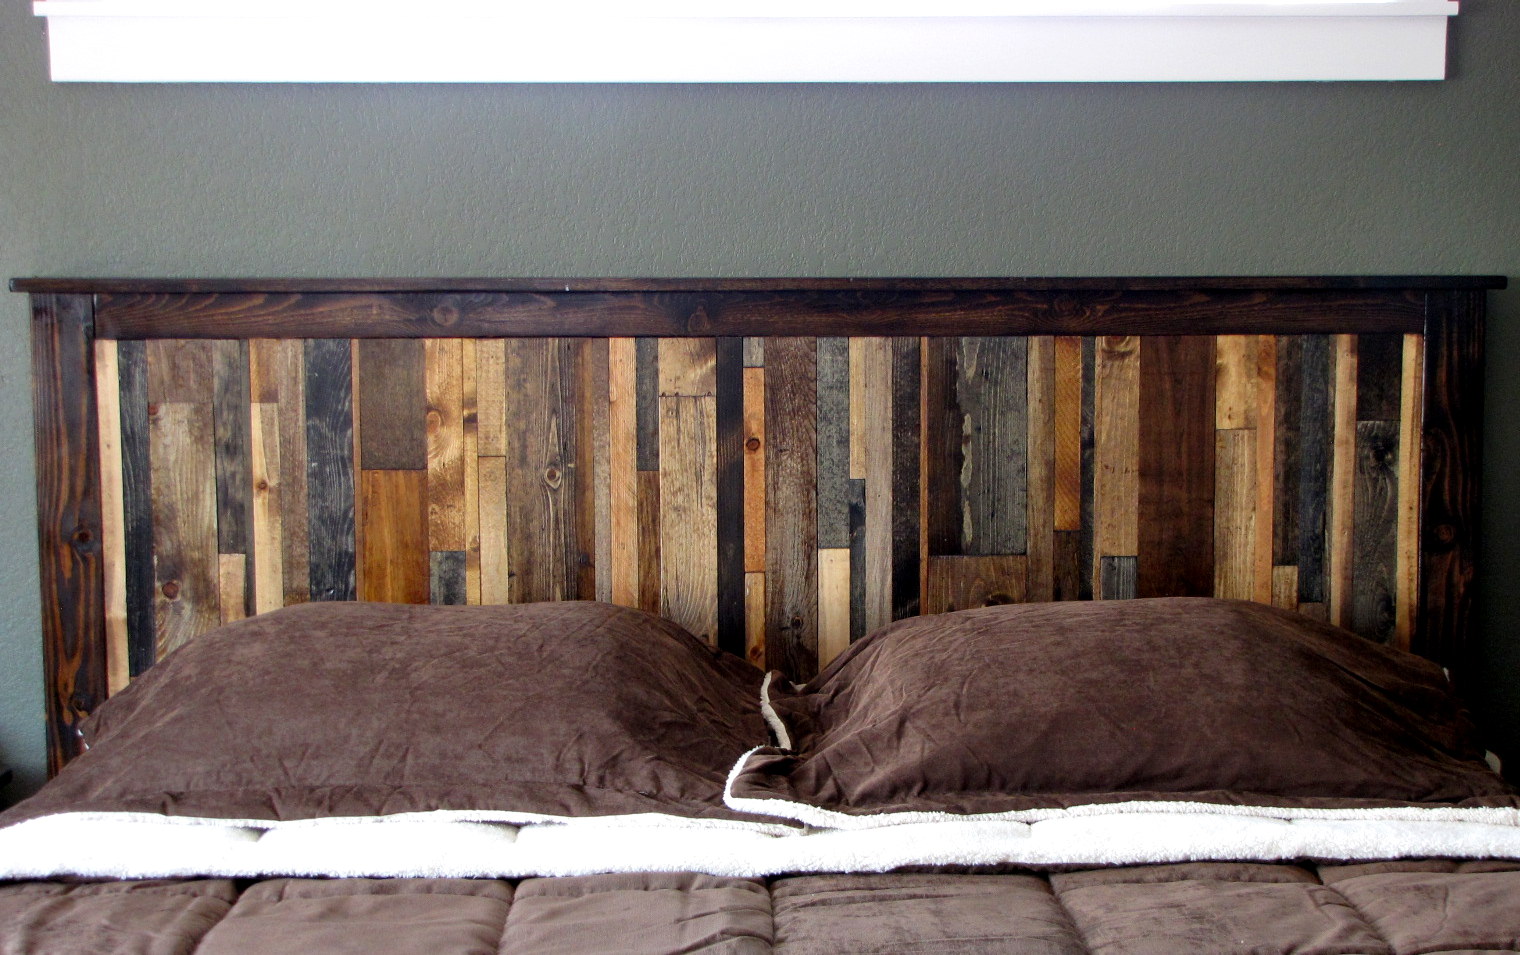
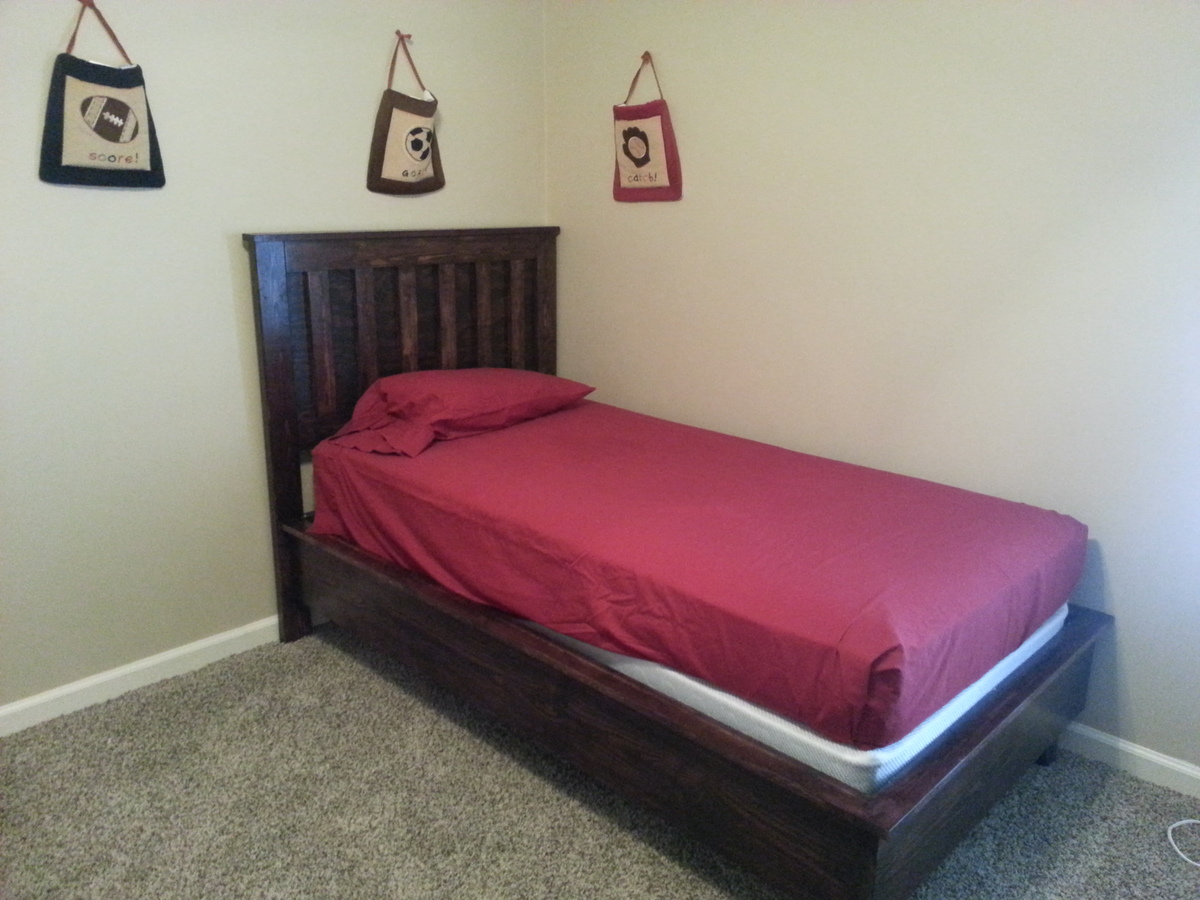
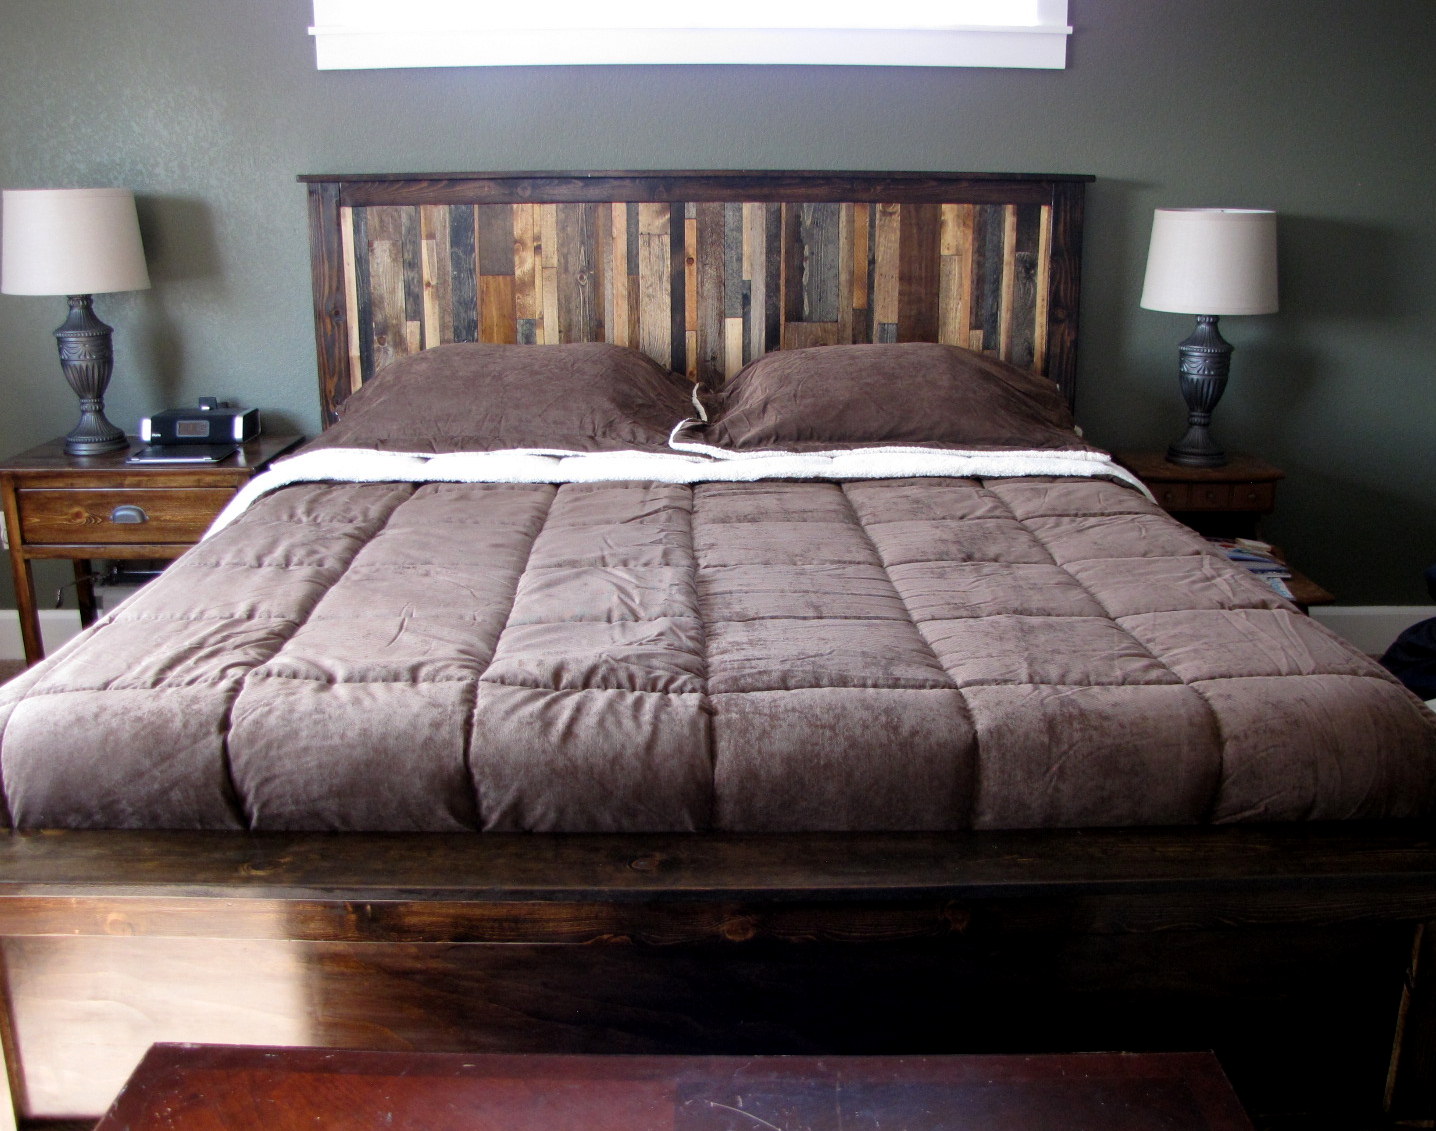
Love this bed. I found the Cassidy plan and immediately fell in love with the decorative detail of the headboard. It wasn't until I was in the process of buying the wood that I decided to go in a different direction and use wood from my giant scrap piles to create the headboard instead of the wood shims. I followed the plan with a few minor modifications to work with our existing metal frame as opposed to building the one in the plan.
The basic headboard and footboard went together in one day, but creating the design with the scrap wood for the headboard took an entire Saturday. It was time consuming cutting pieces to fit and then staining each individual piece.
I marked this as a week long project because it does take several days to stain everything and then poly it. Most of that is wait time not actual building time.
Tue, 03/03/2015 - 12:22
It was a long, cold Saturday in the garage assembling that headboard, but so worth it!
Mon, 05/04/2015 - 15:40
So can I ask more details on how you added it to the existing bed frame?

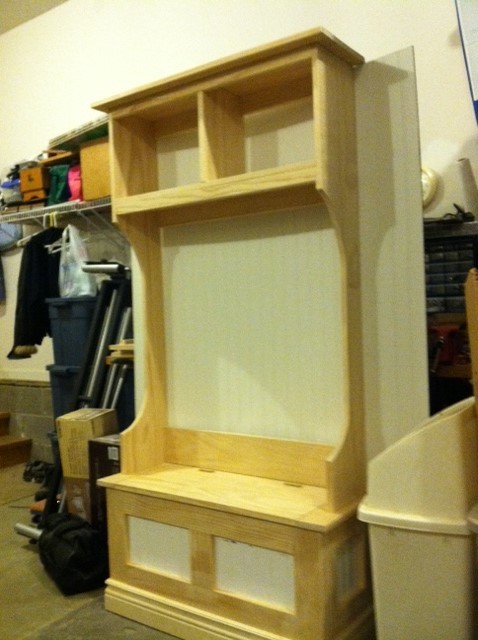
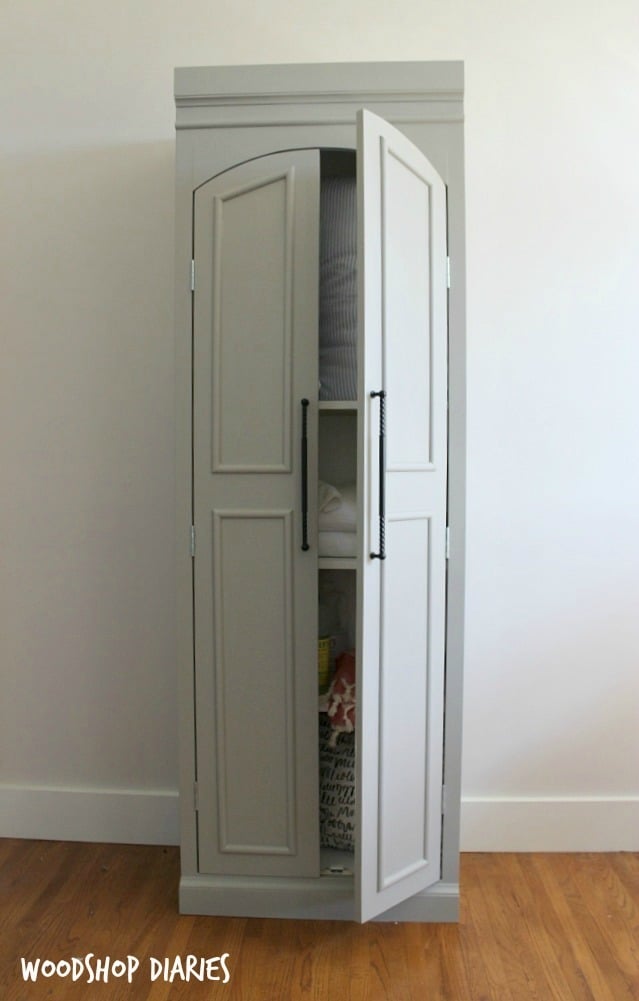
This pantry cabinet was inspired by a design from Ballard Designs. I needed something a little less deep for my space and couldn't afford the $1900 price tag. I was able to build this one for just around $100 and was able to customize it to fit my own space requirements. The arched doors and half round moulding add a nice touch. This versatile cabinet could be used for linens, kitchen storage, crafts, or just about anything else you can think of!
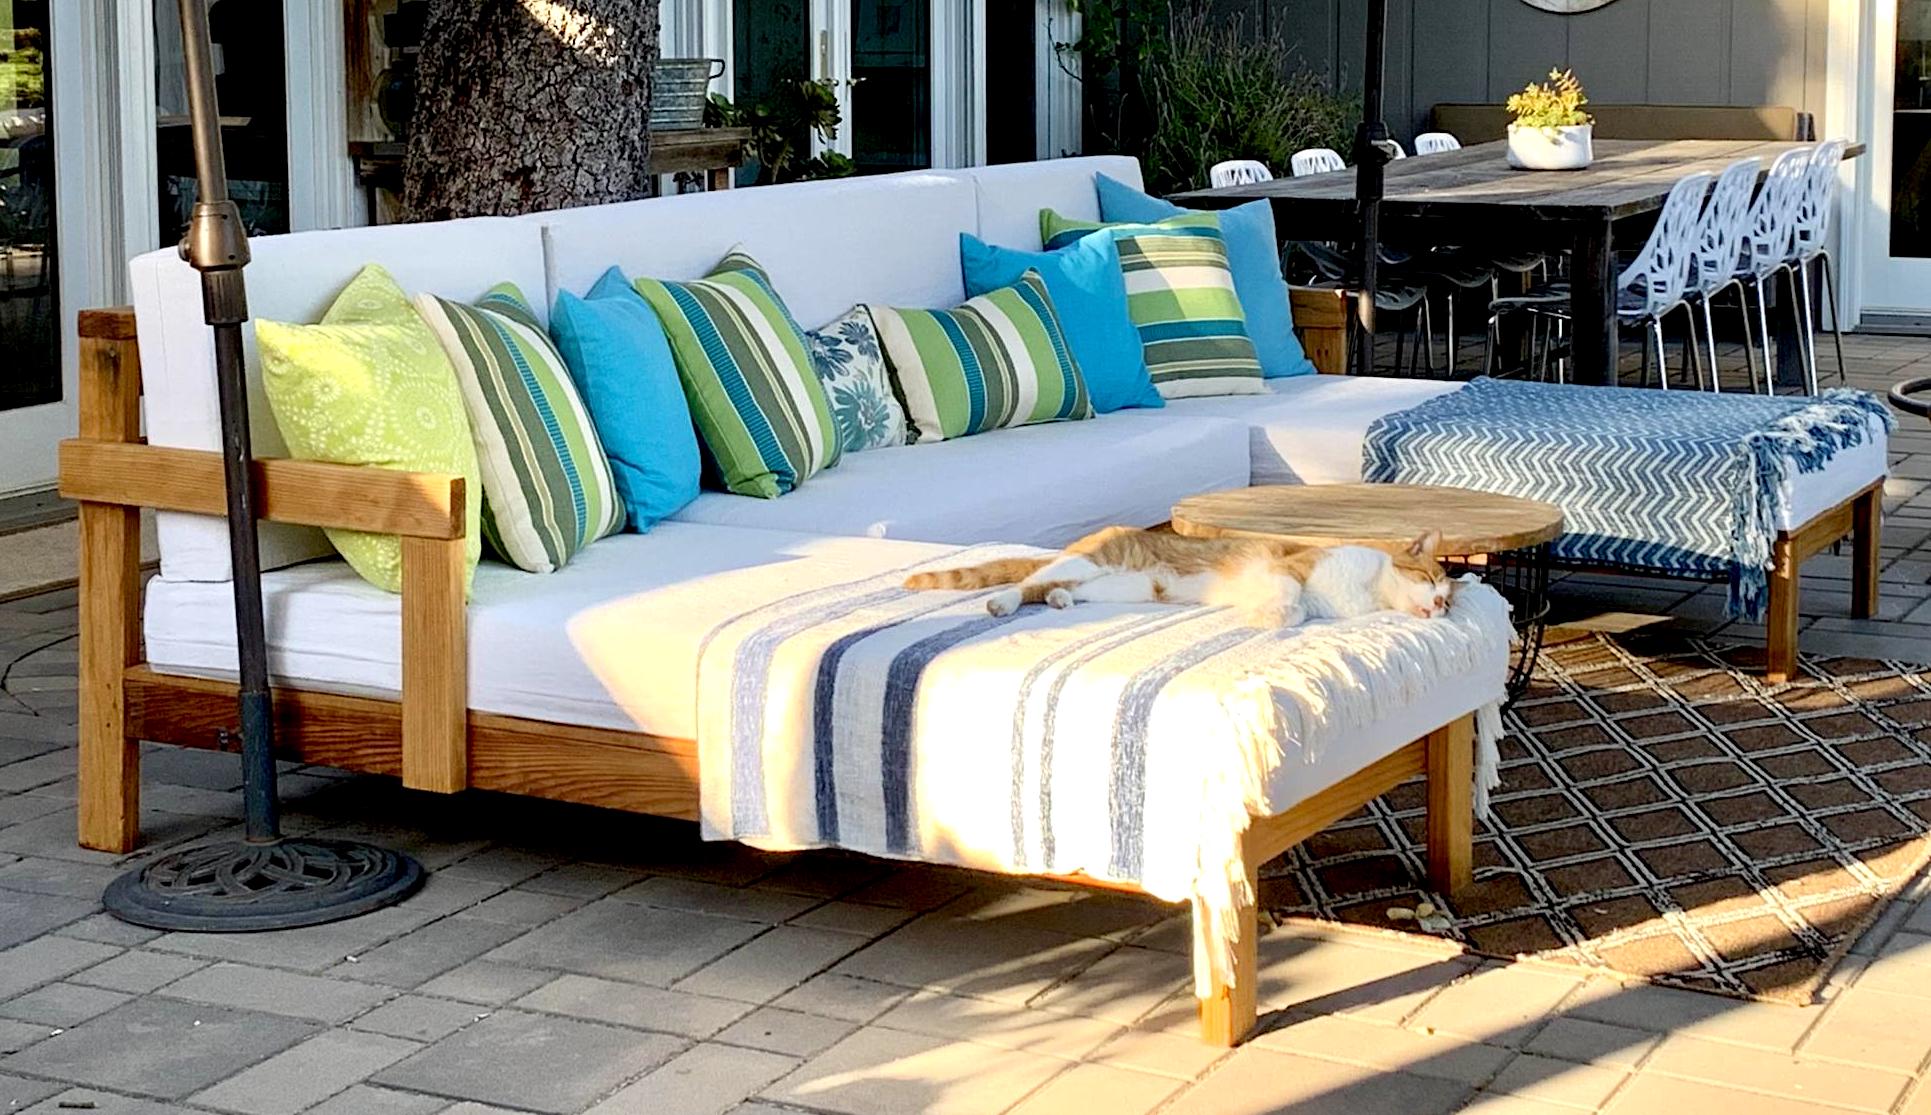
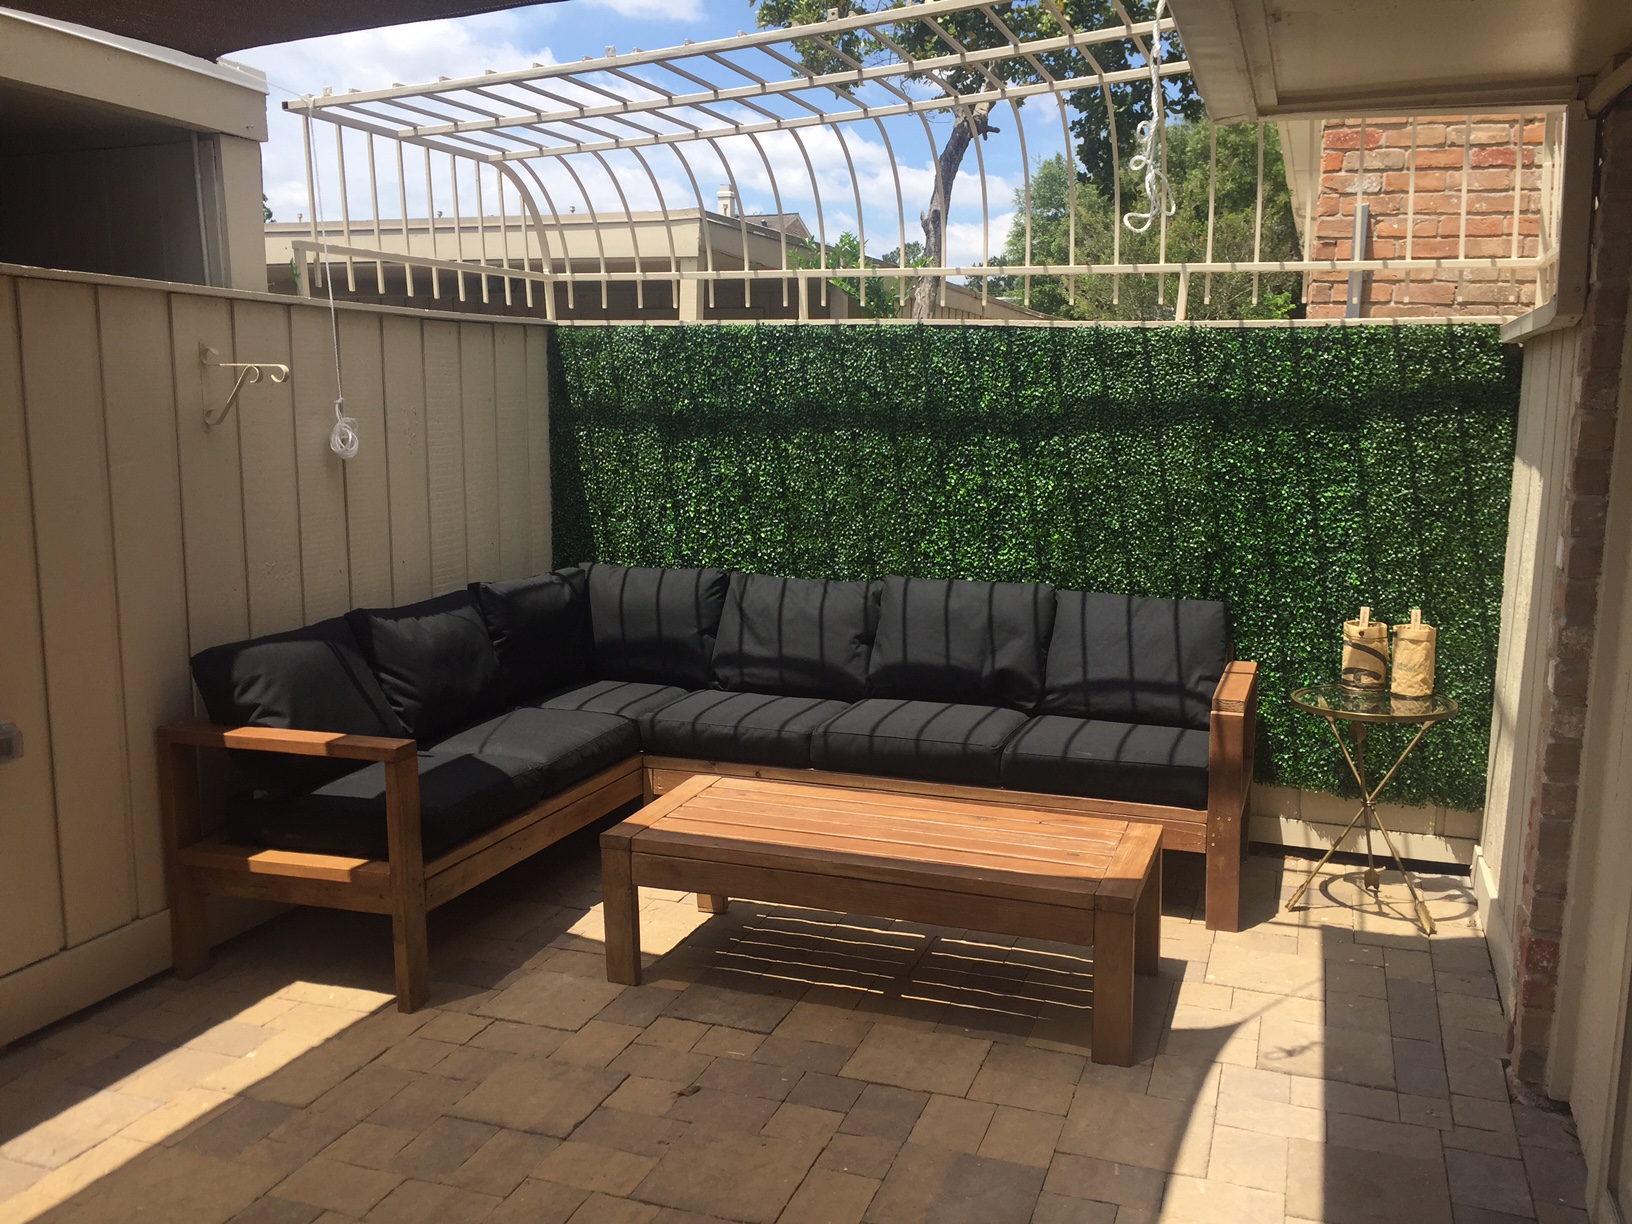
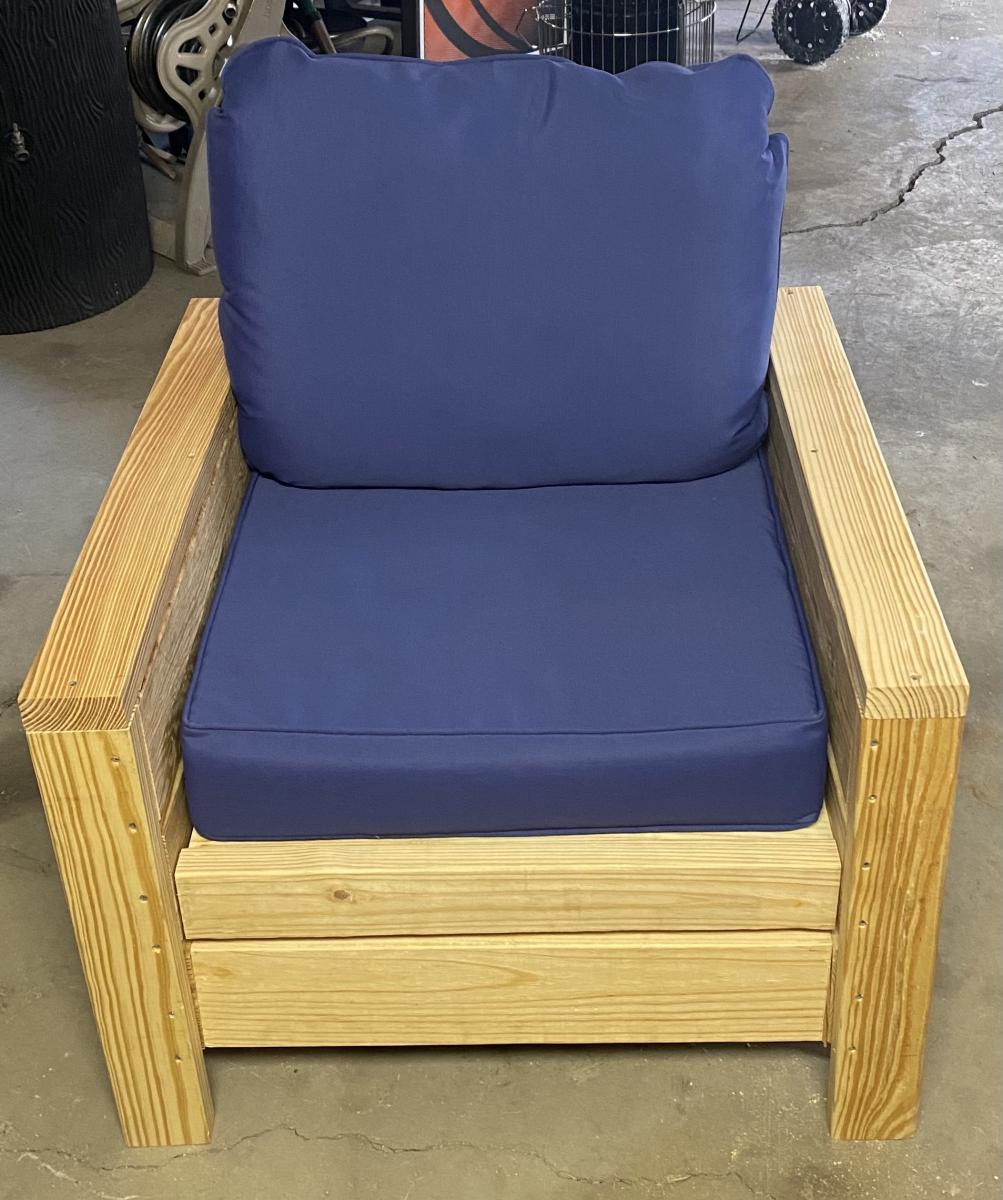
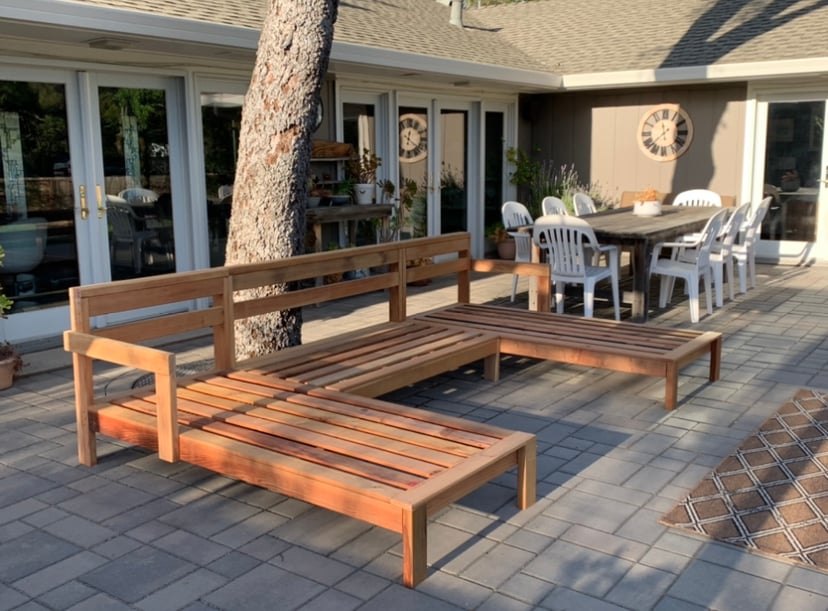
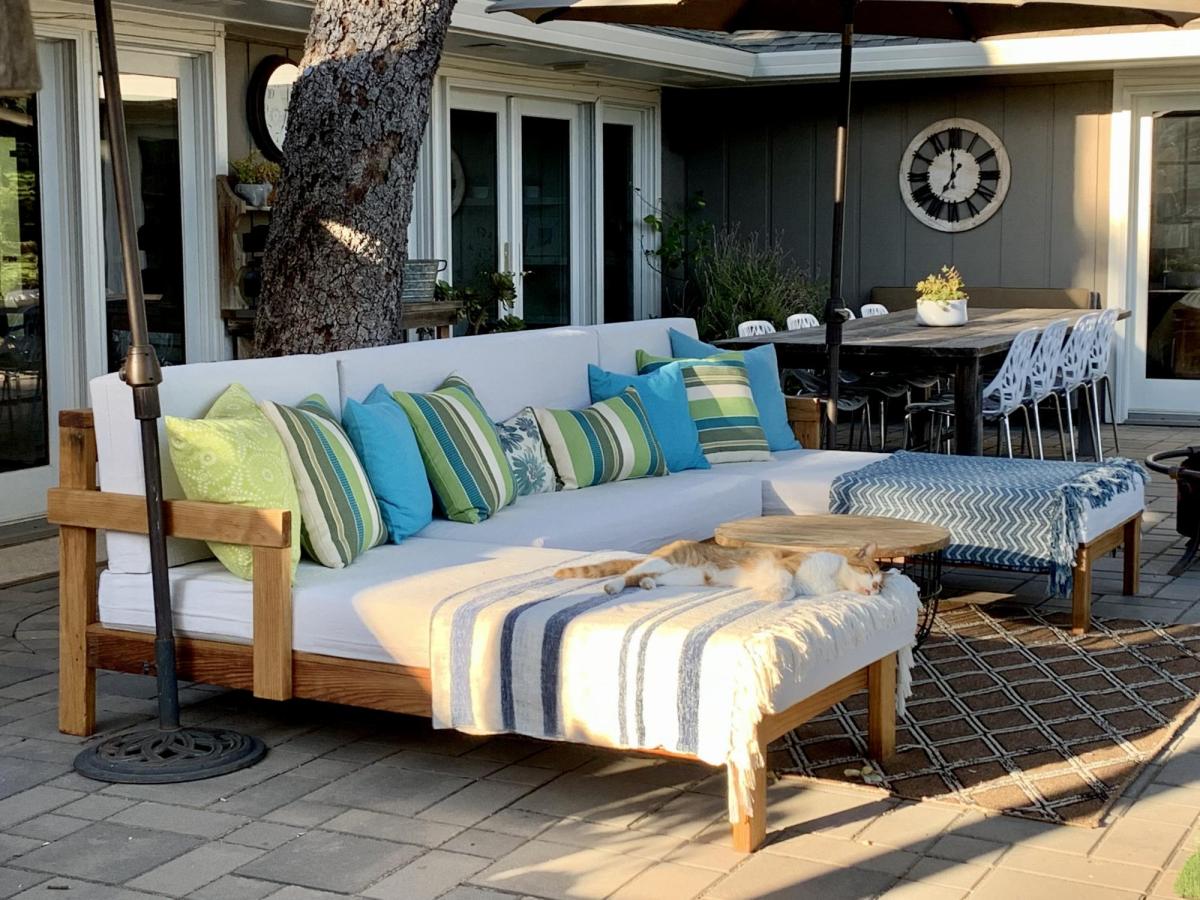
First wood project, thanks for the great plans Ana! I made the bottom cushions using 3" thick firm foam, 2" thick memory foam, and 1" thick batting (purchased in bulk and then cut to size), and covered them with outdoor fabric. The back cushions are 4" thick soft foam. I added easily removable/washable drop cloth covers on top of all the cushions. I don't have a finish on the clear redwood, but might add a clear coat to protect it. The memory foam makes this sofa very luxerious!
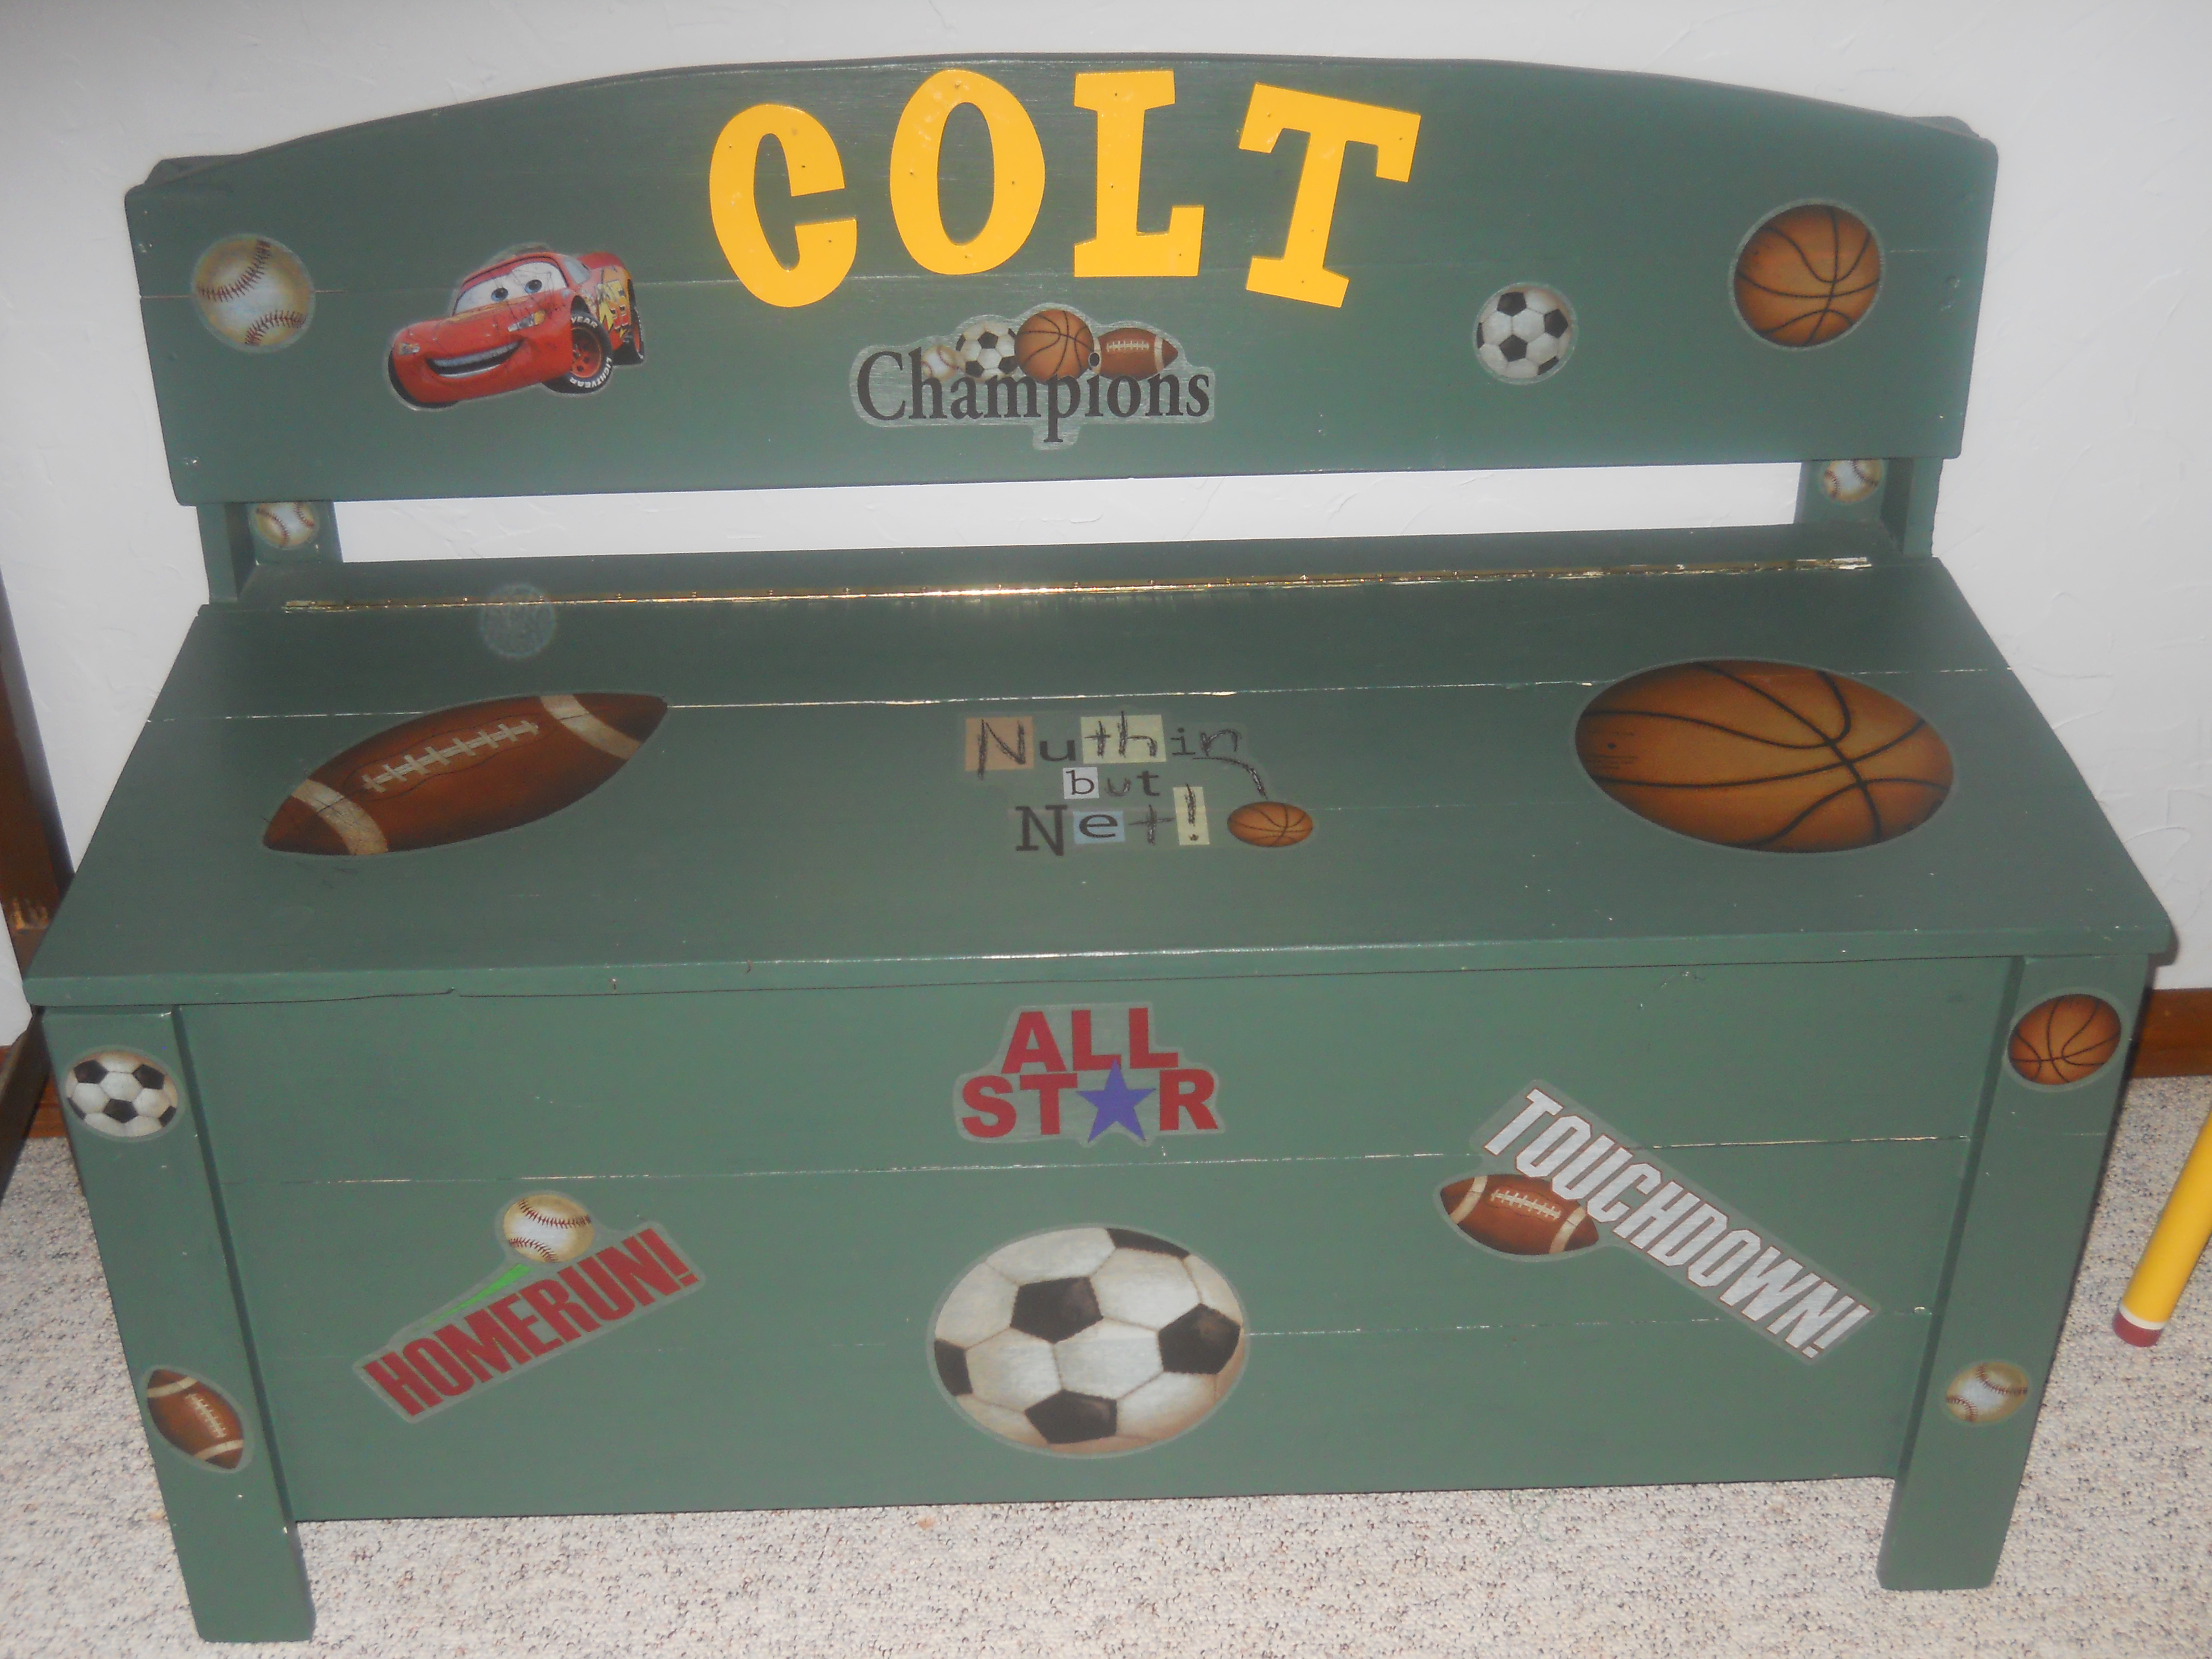
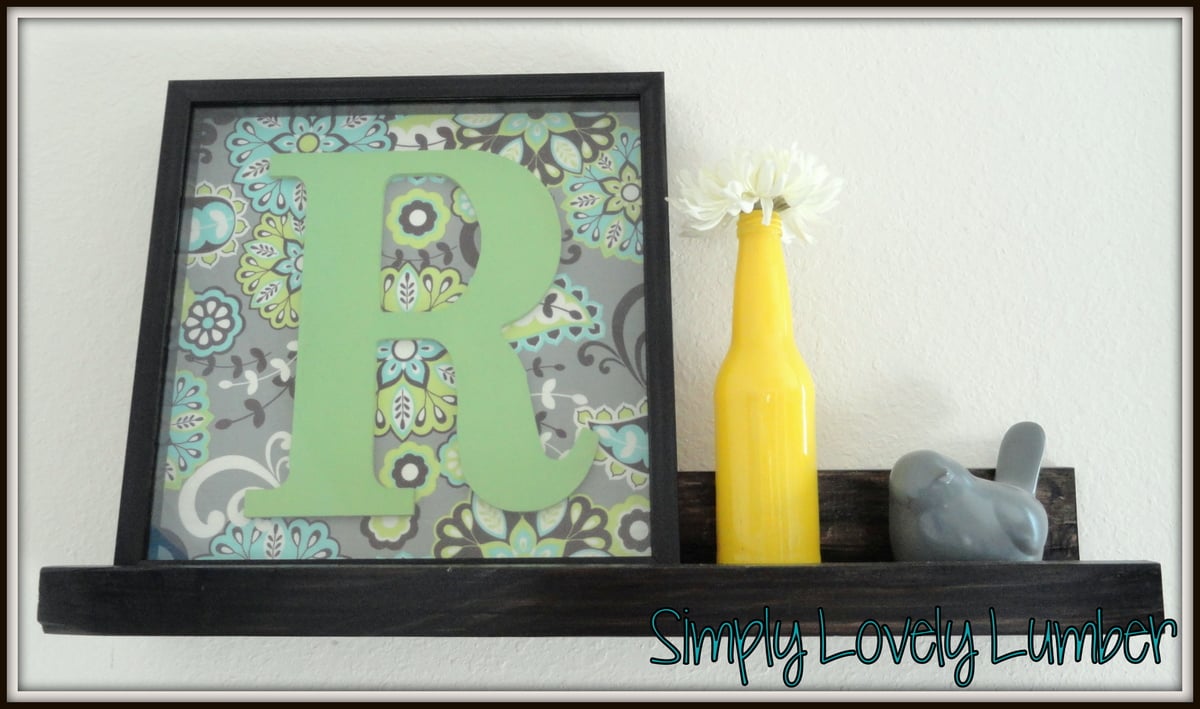
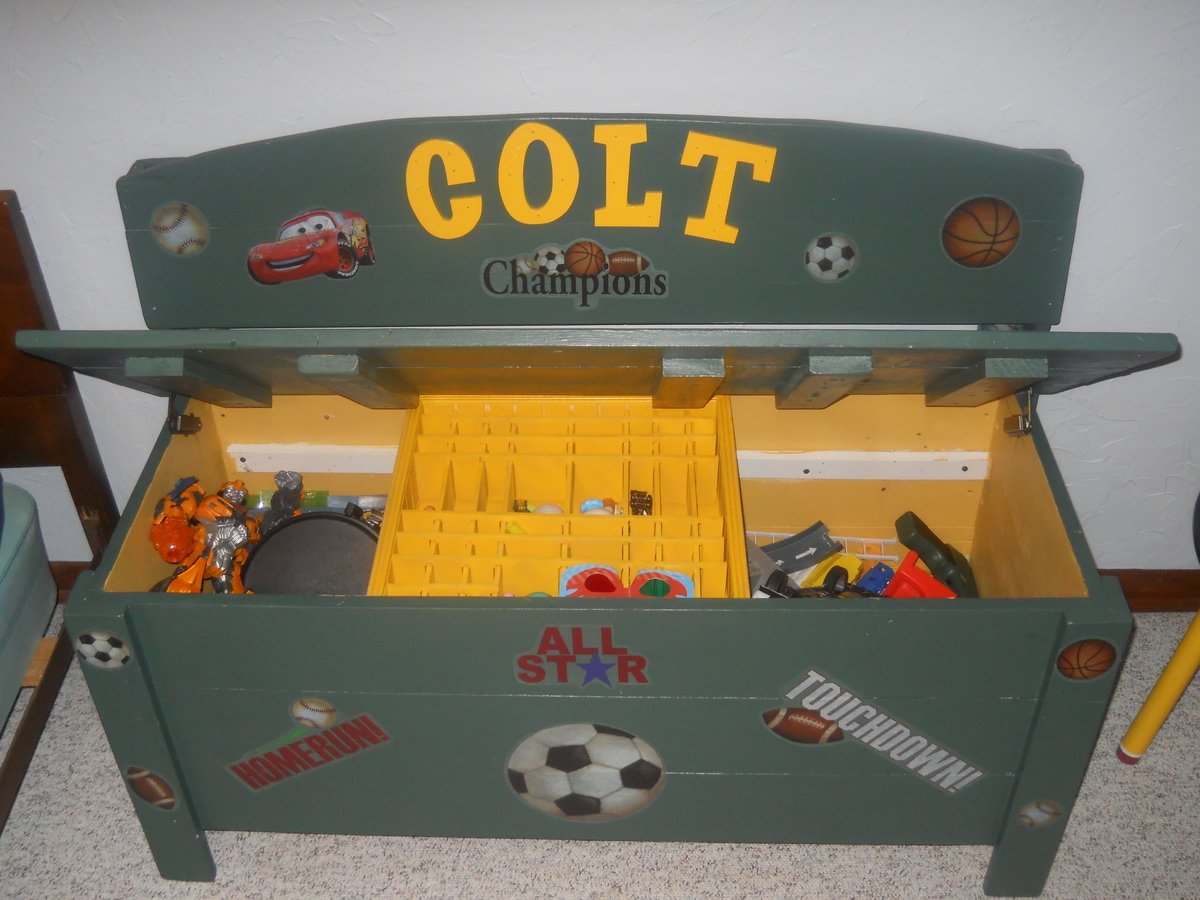
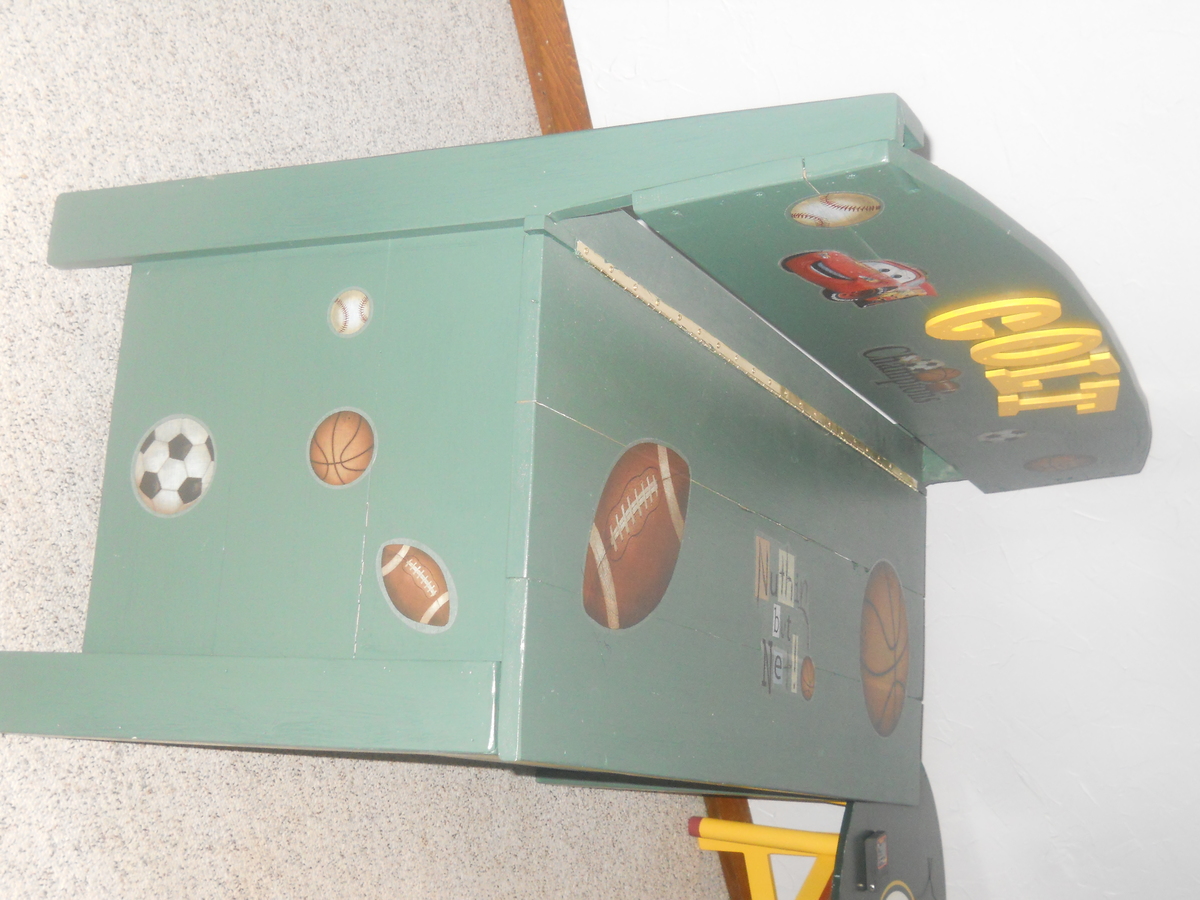
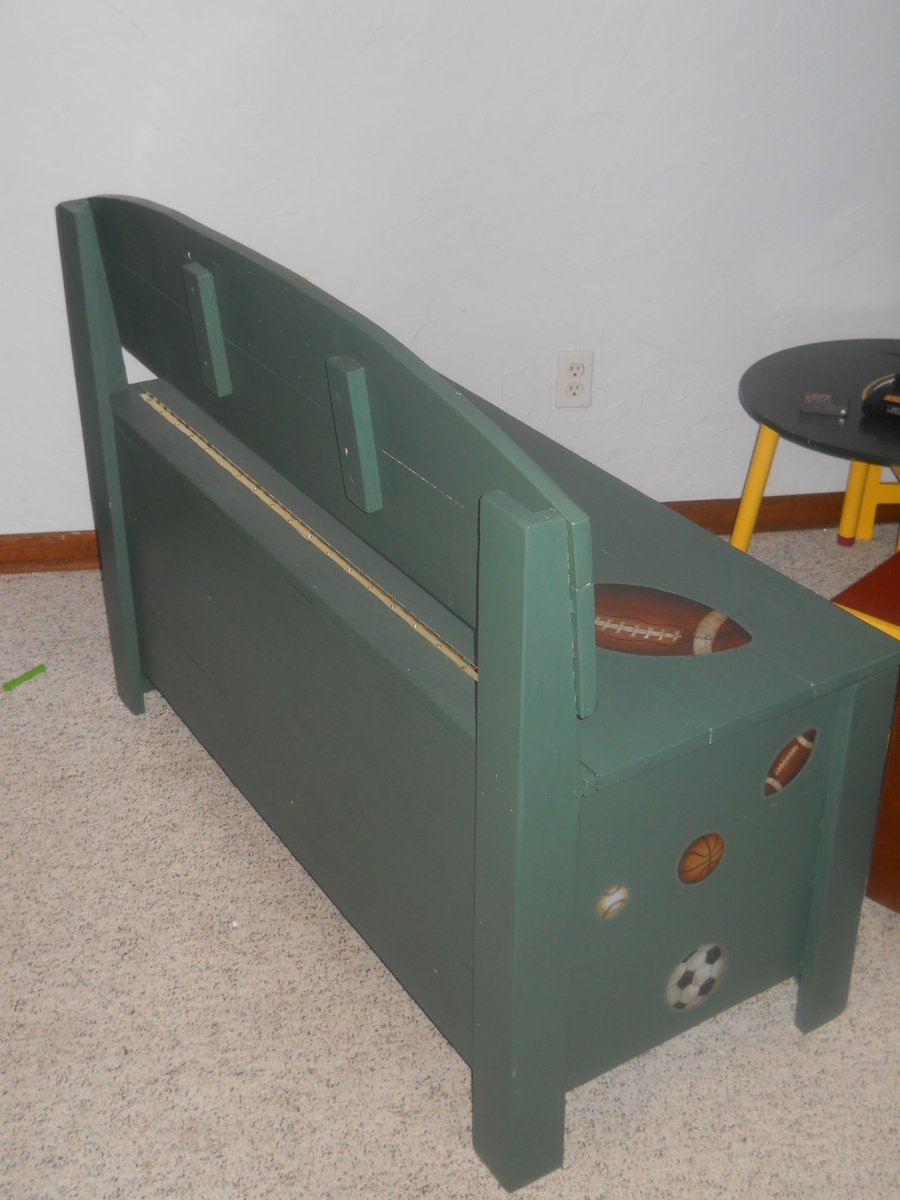
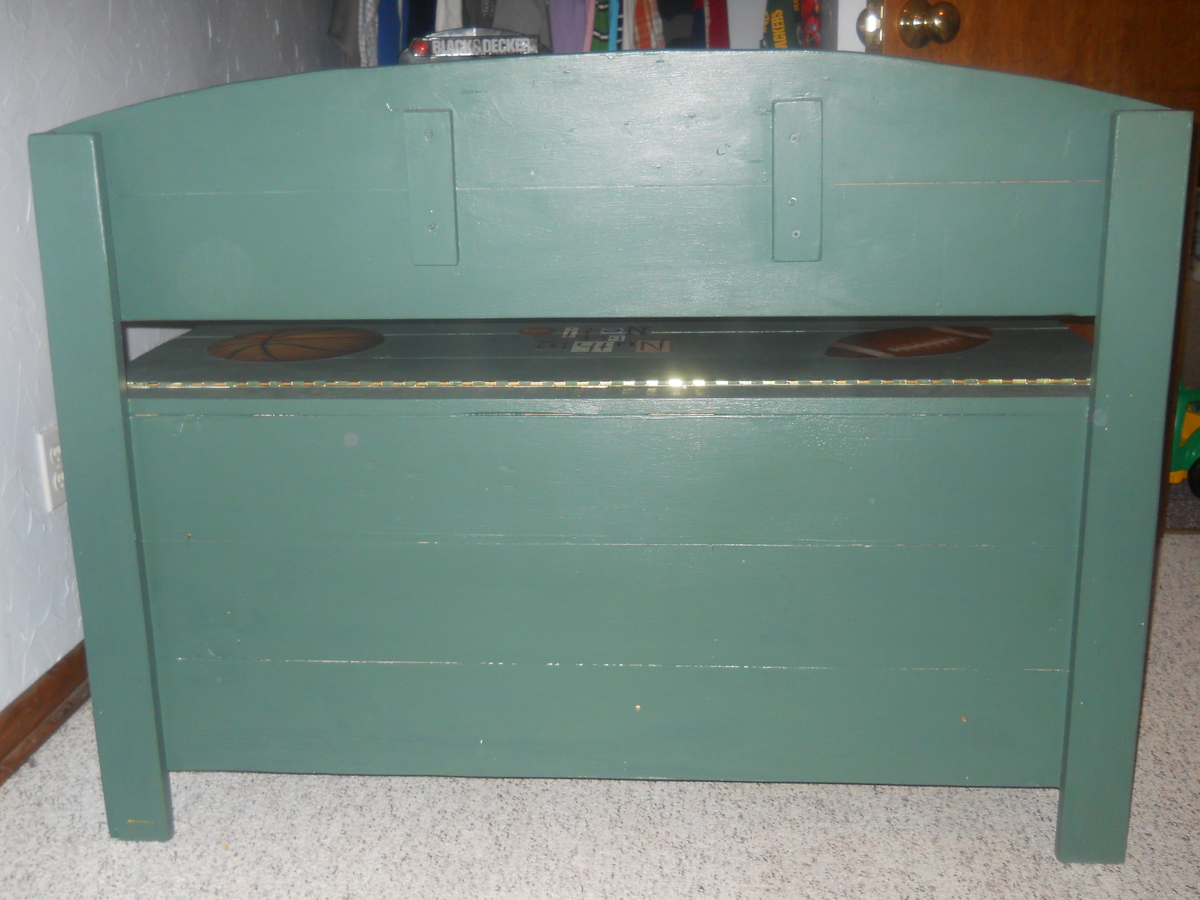
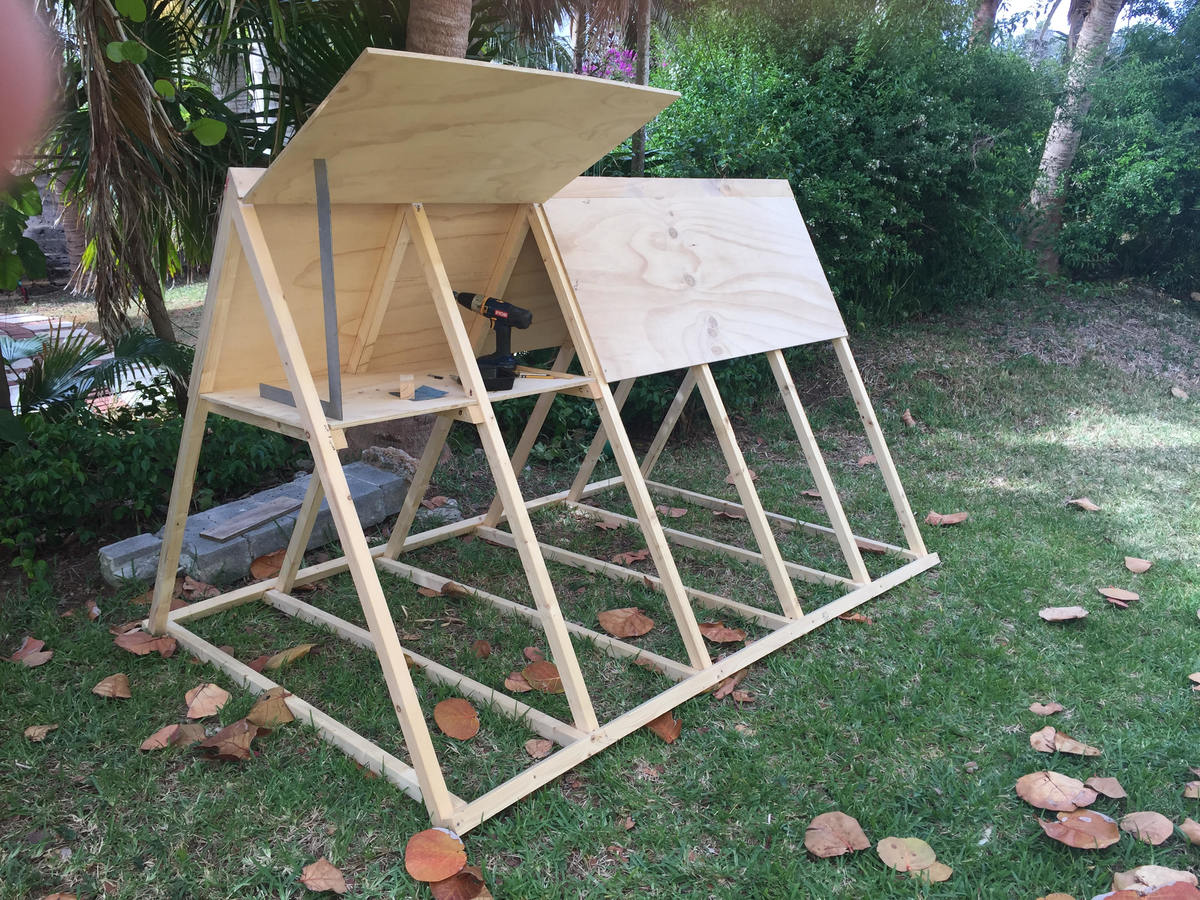
This was modified from a hose bench plan from Sunset Magazine website. I lengthened the front legs to 20 in and the back support legs to 36 in to accomodate a deeper box. It was made from 1x 6 scrap, a 36 in piano hinge, mdf pre-cut letters and two hinge supports. I painted the letters with yellow spray paint and the bench with two coats of exterior satin green paint. I also added a tray made from 1/8 in luan plywood timmed with 1x3 sides and screen molding sliding on a pvc 1x2. The seat was strengthened with additional cleats for sitting. Peel-n-stick decals
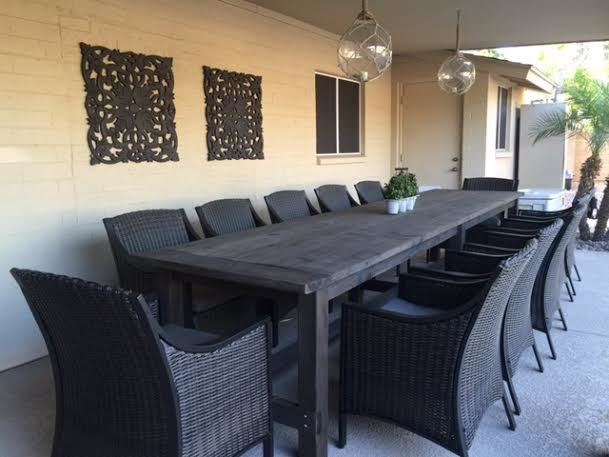
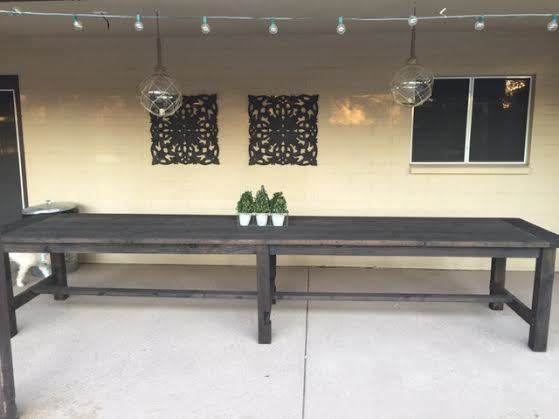
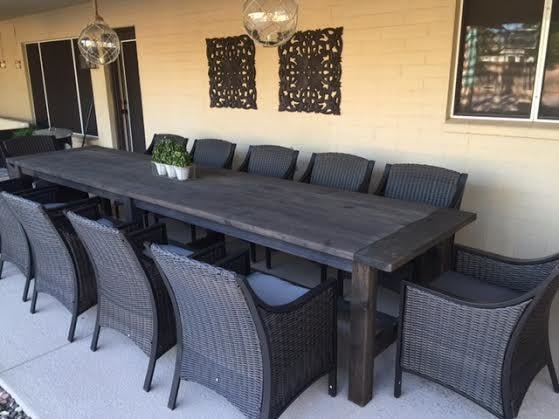
I used the Farmhouse Table plans and just extended the measurements to build an extra-long outdoor table that seats 12.


Comments
Stonewall711
Fri, 02/20/2015 - 09:35
American Flag paint
This looks INCREDIBLE!!!!! I was hoping you could possibly share how you painted on the American Flag, and gave it the rustic look to match the coffee table? I'm new to this site, so I'm not sure if you can reply directly to this comment or not. If you can't, would you mind emailing me at [email protected]?
Thank you so much!
Ana White
Fri, 02/27/2015 - 14:52
That's awesome! I love the
That's awesome! I love the flag!
cristy118
Wed, 10/07/2015 - 13:59
Painting the flag
Hi. I love this coffee table. I have read through all the directions. I have one quick question. After I have built the coffee table and then oxidize the wood, do I then paint the flag with regular red white and blue paint and then seal it with the wax? Thank you