storage chest
Started as a tool chest for garage and after reading a article on ana white about finishings thought I would give it a tfy
I modified the block dimensions so the smallest blocks are cubic. I also only made four levels of blocks so that the blocks could be stacked into two levels with just eight cubes' worth of empty space. This simplifies storage, and works with the lid I made out of 1x4s to complement the tray that's in Ana's plans. The tray and the lid fasten together with window sash hardware.
I spent forever on this project because it was my first and I was trying to make it perfect. Watching my little one play with it, I now appreciate how soft pine is and how fast kids distress it!
Loved this plan from Ana. Easy to follow and looks great. 100% reclaimed cedar.
Thu, 05/11/2023 - 19:39
Awesome build, thanks so much for sharing!
This is a Chippendale Chest of Drawers in Cherry. I did it a couple of years ago and it is still holding up very well. It was my first experience with ogee bracket feet and I was very happy with the way the feet turned out. It is a lot easier than it looks. There is no secondary wood, it is wholly out of American Black Cherry (prunus seritina). It took about four months to build and it has exposed dovetails on the top as the carcass is dovetailed together. Brasses are from bail pull type brasses.
This was my first build! I combined 2 of Ana White's plans, the King size Farmhouse bed with the Queen size storage bed, I didn't do drawers as the cubbies worked better. So this was a nice merge of two of the plans! LOVE LOVE LOVE our bed, and the 2 tone stain/paint combo.
Mon, 11/25/2013 - 07:53
My wife asked me to find a bed idea for our little girls room. She said she wanted her to have a bed with storage. Well I think I found the bed I am going to build her. Now the fun part making it into a twin size! I like it so much I am going to build one for us in our bedroom. Again I love it great job!!!
In reply to Fantastic!!! by joshuaaslocum15
Mon, 11/25/2013 - 10:31
Let me know if you have any questions modifying the plans :) I think if you start from the queen storage one and modify that, you'll get it right for twin size :) such a sense of accomplishment when it's done!
In reply to Fantastic!!! by joshuaaslocum15
Mon, 11/25/2013 - 10:31
Let me know if you have any questions modifying the plans :) I think if you start from the queen storage one and modify that, you'll get it right for twin size :) such a sense of accomplishment when it's done!
This is a craft table following the Modern Craft Table Plans. There were some adjustments to increase the size of the table to fit the entire width of the window. The final dimensions of the top turned out at 72" x 36" and fits my wifes cutting sheet perfectly on top with no overhang. The project did turn out a little taller than anticipated (built it as if it was a standing workbench or elevated) so that posed an issue with the foot pedal but overall, the wife approves. Future additions may be to add a drawer and attach a couple of adjustable lights, but on to other projects to improve her craft room.
Sun, 11/21/2021 - 13:10
Looks great…. Where are the plans ? Is there a link I’m not seeing?
I started with the Triple Cubby Storage Base plan, built two 2x4 walls, and a floating shelf. The walls are 4x7 and were attached inside the house with hex bolts. The walls are attached to the cubby shelf with L brackets. The floating shelf is attached to the wall with 3.5 inch screws and a couple L brackets at the end. Barn wood covers the wall and is attached with brad nails and black sheet rock nails. There are six total 2" wheels under the cubby shelf. We put felt under the bottom part of the wall that touches the floor.
I made this tall planter for my Mom for Mothers Day. She loves it!
Thu, 05/18/2023 - 07:33
I bet she loves it, fantastic job! Thank you for sharing.
I just Built two of these for my wife and I. the plan was great and easy to follow for the most part i would really suggest spending as much time on the drawers as possible it makes such a big difference getting them to slide easily. now hopefully with anyluck ana will find time in her busy life to post a farmhouse tallboy dresser plan or something close to it!
We built this media console because our old TV stand was pretty much a safety hazard for our soon-to-be mobile baby. We found a good plan in The Handbuilt Home and modified it to our dimensions with the help of Sketch Up. We couldn't be happier with the final product!
I made this for my 2 year old daughter. She absolutely loves it! I'm glad I only made two levels, because she uses the top to play with her toys. The open bins make it easy for her to find what she wants to play with and she even likes to put things away. I had extra shiplap boards, so I used them for the back. The back is a bit higher than the top, which helps keep toys from falling behind the bins. I secured it to the wall with furniture straps screwed into wall studs. The only tricky part of building this was figuring out the angle cuts. I built this about 6 months ago and it has held up very well. It is a very sturdy design!
it was an old swing on the family farm. I saved it from the burn pile and remade it. Have made five so far. All hav even 5ft wide, but one was 7ft. Amazingly comfortable swing!
I've wanted chickens for a long time and loved this chicken coop plan. I used lots of salvaged materials so made minor changes in dimensions to use what I had and I absolutely love this! Probably took me longer to build than it should have but the Houston weather was not in my favor....
This is another one if your popular loft bed houses. Thanks very much for the plans! I changed a few things, but not as dramatic as others have done. Was a fun project and my daughter actually helped. One spur of the moment idea was to allow her to paint a mural on the backside so that in few years when she out grows it we'll be able to look back and remember how we built it together.
Thu, 01/12/2012 - 19:36
Love the awning! And the painting on the back with the date. Nice touches!
Fri, 01/13/2012 - 18:02
Super cute! What a great project for you and your daughter!
Sat, 01/14/2012 - 10:34
You guys did a great job - very cute! I also love the idea of a hidden mural that you get to revisit in the future. So cool!
Easy bench to build with my son! added double legs for more stability, just glued two together and followed all directions.
First off, I appreciate you for taking the time to click on my project. Rest assured, this project didn't make me quit woodworking, I know the title was a little "click-batey". I don't want to discourage you from replicating this table because of the title of this post, as this has been my favorite project I've done to-date. The struggles that made me want to quit were laughably self inflicted and by my own doing, they weren't due to the instructions online. That being said, it did make me second guess whether I bit off more than I could chew. I promise not to disappoint with the story behind this build, so lets get into it.
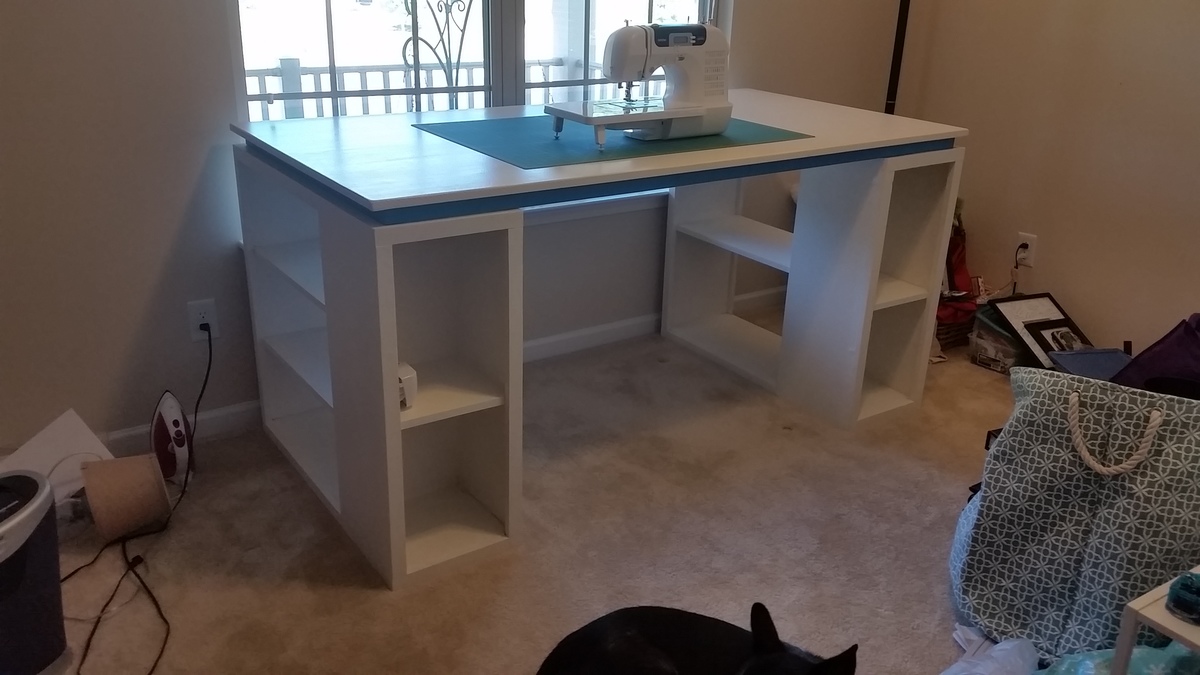
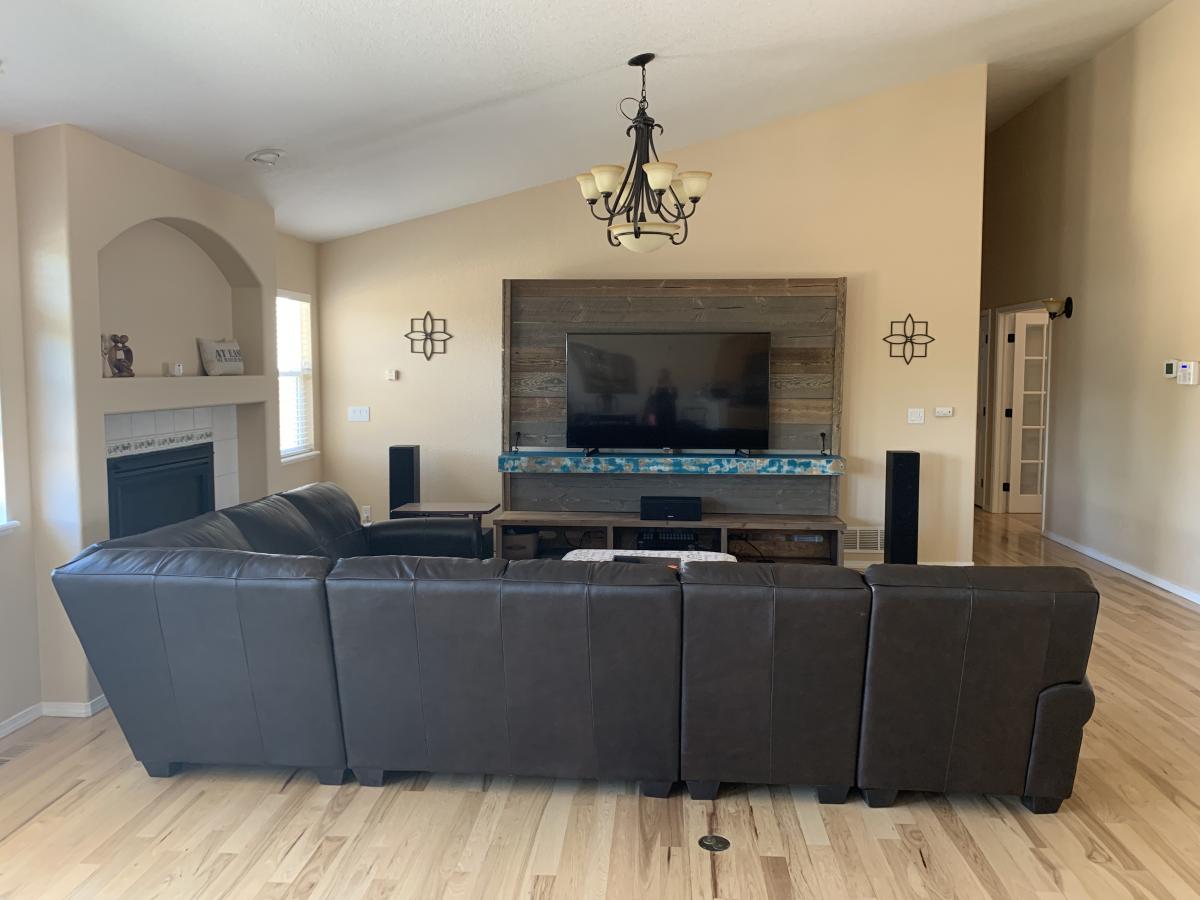
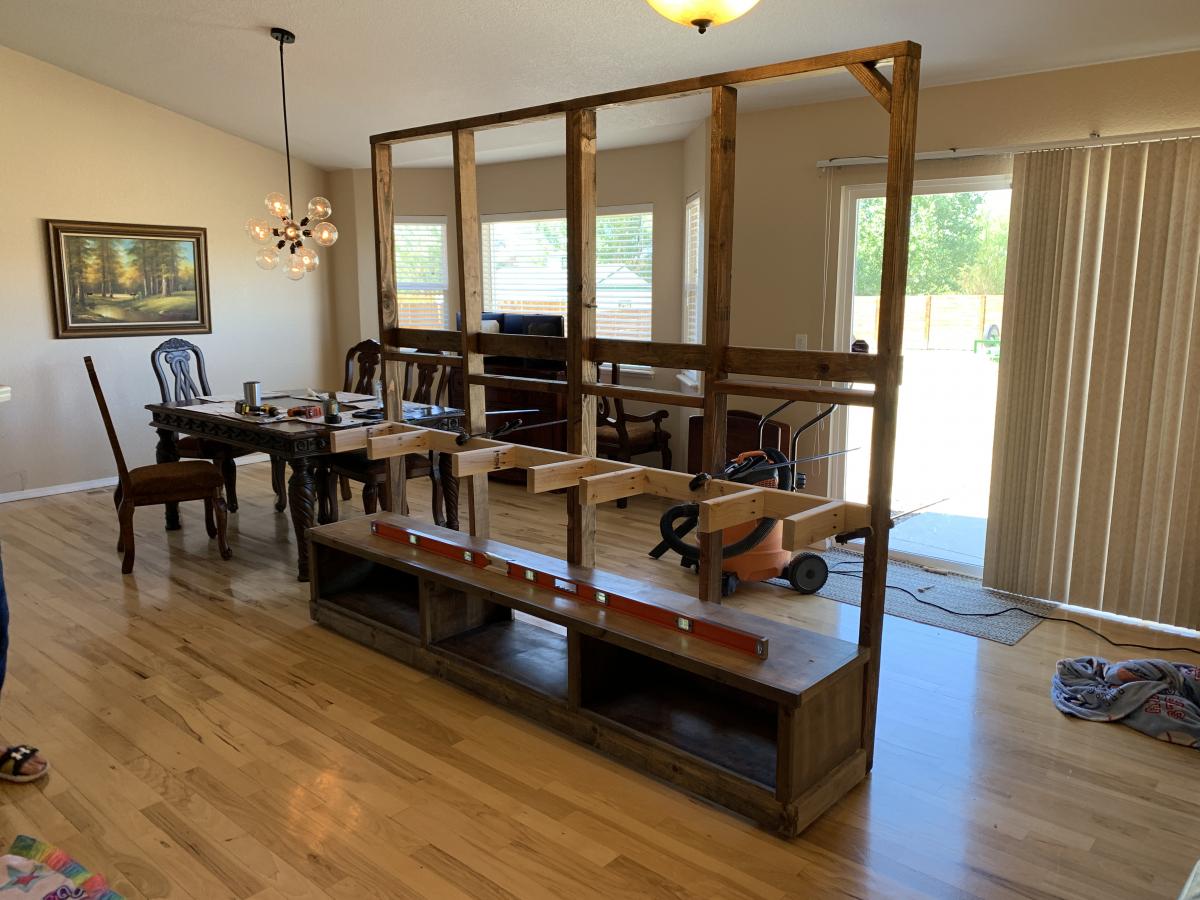
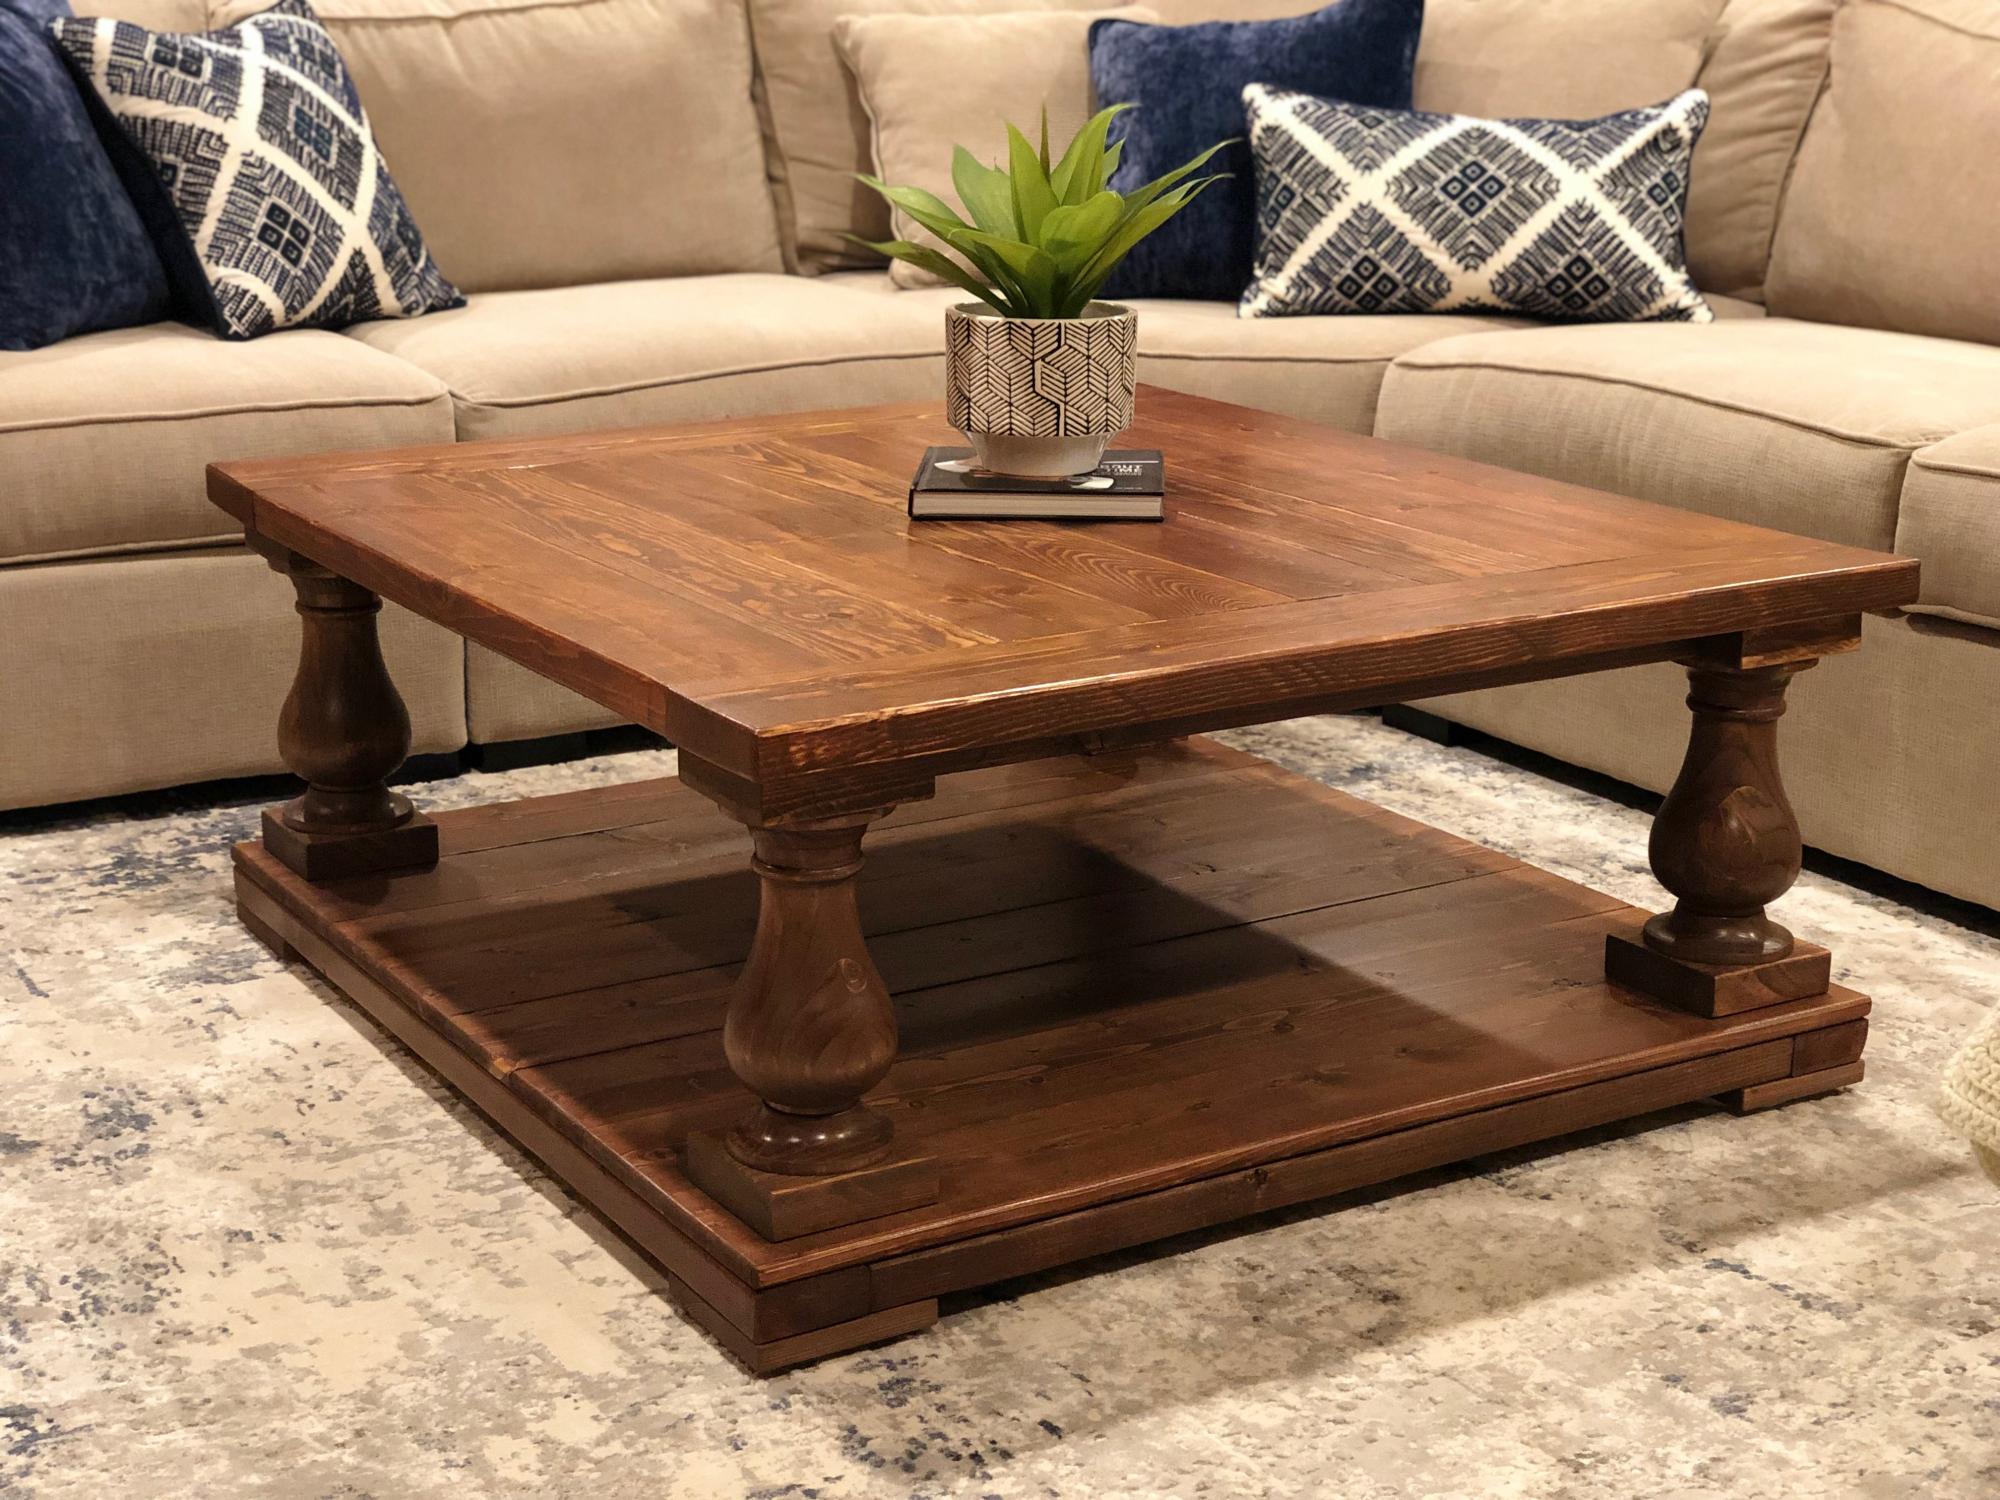
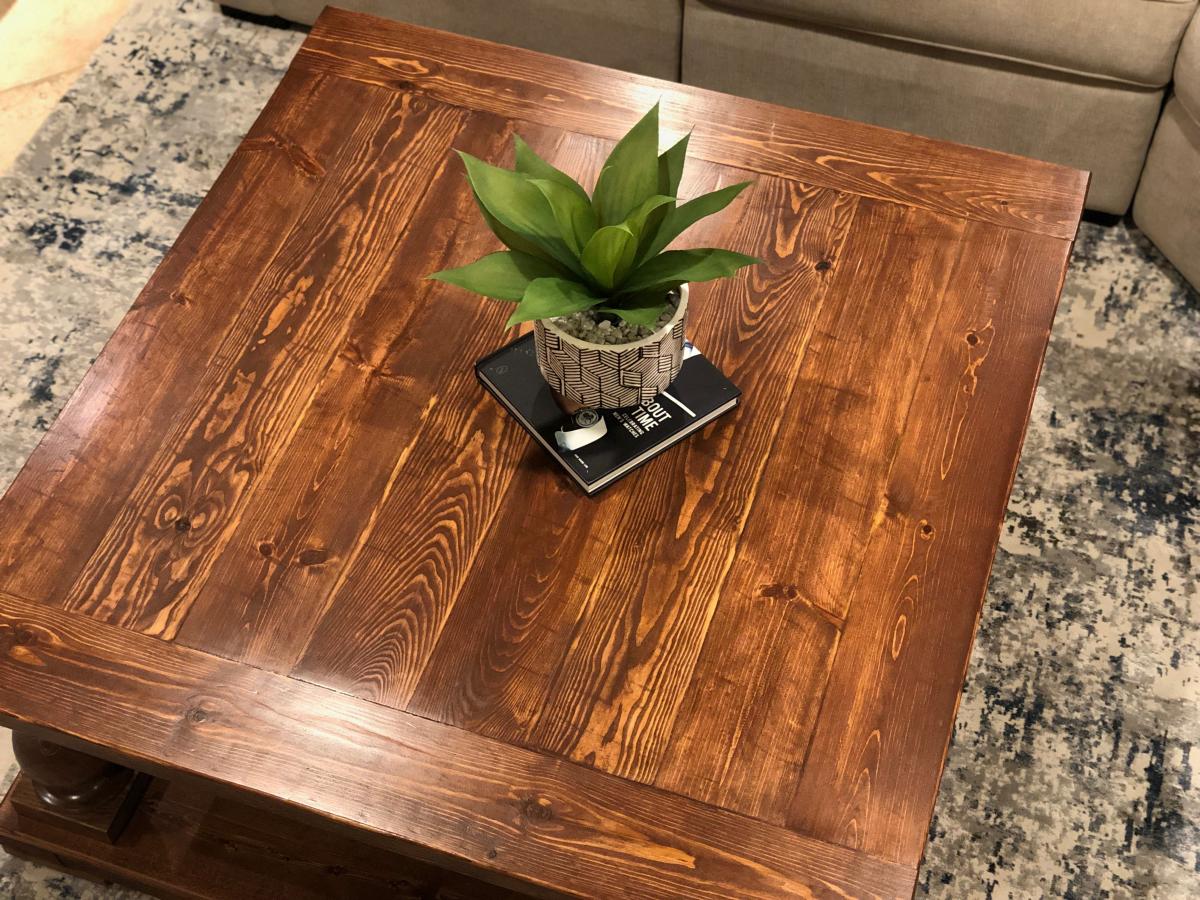
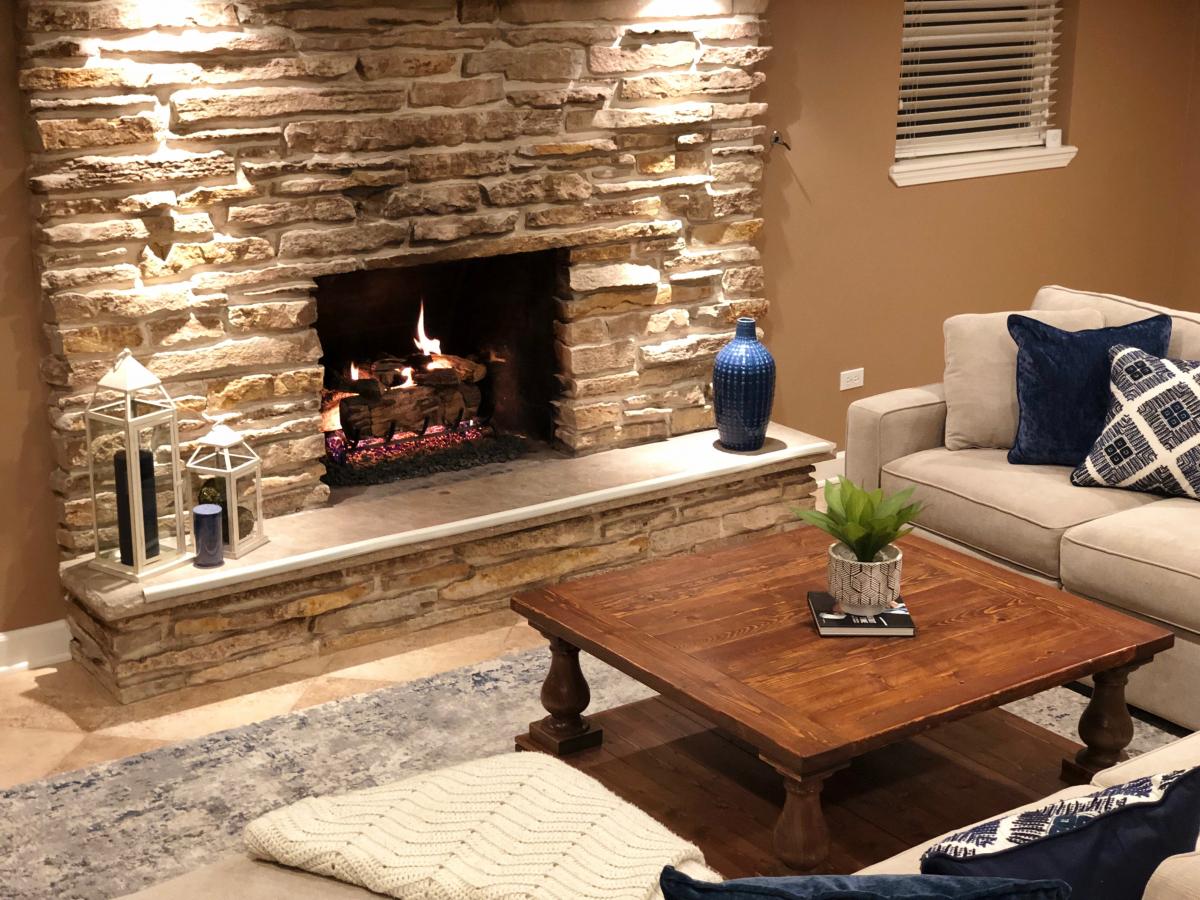
My wife and I moved into a new home in the suburbs of Chicago and like many first time homeowners thought to ourselves, "We'll have no problem filling the house with all of our stuff." Then after settling in we had the realization of, "Wow...we really don't own that much furniture, this is going to get expensive FAST!" So after a decent amount of DIY and woodworking "research", I decided to give furniture building a shot. It all started with a desk...or so I thought it would. I fell into the hobby first by thinking that I needed to build an L-Shaped desk for my office. After having a few meals in our new home, I realized a new dining table would have to take precedent. After building the dining table, I was ready to tackle the desk, but then quickly realized that we didn't have anywhere to sit and eat. So I ended up doing more "research" and found a beautiful design based upon a Williams Sonoma box-joint bench. Following the bench build, I was ready to build the desk for my office...WRONG again! I was getting quite good at building furniture now, so the new couch we just purchased required a new coffee table that wasn't 30 years old and purchased 11 years ago at a garage sale for $5.
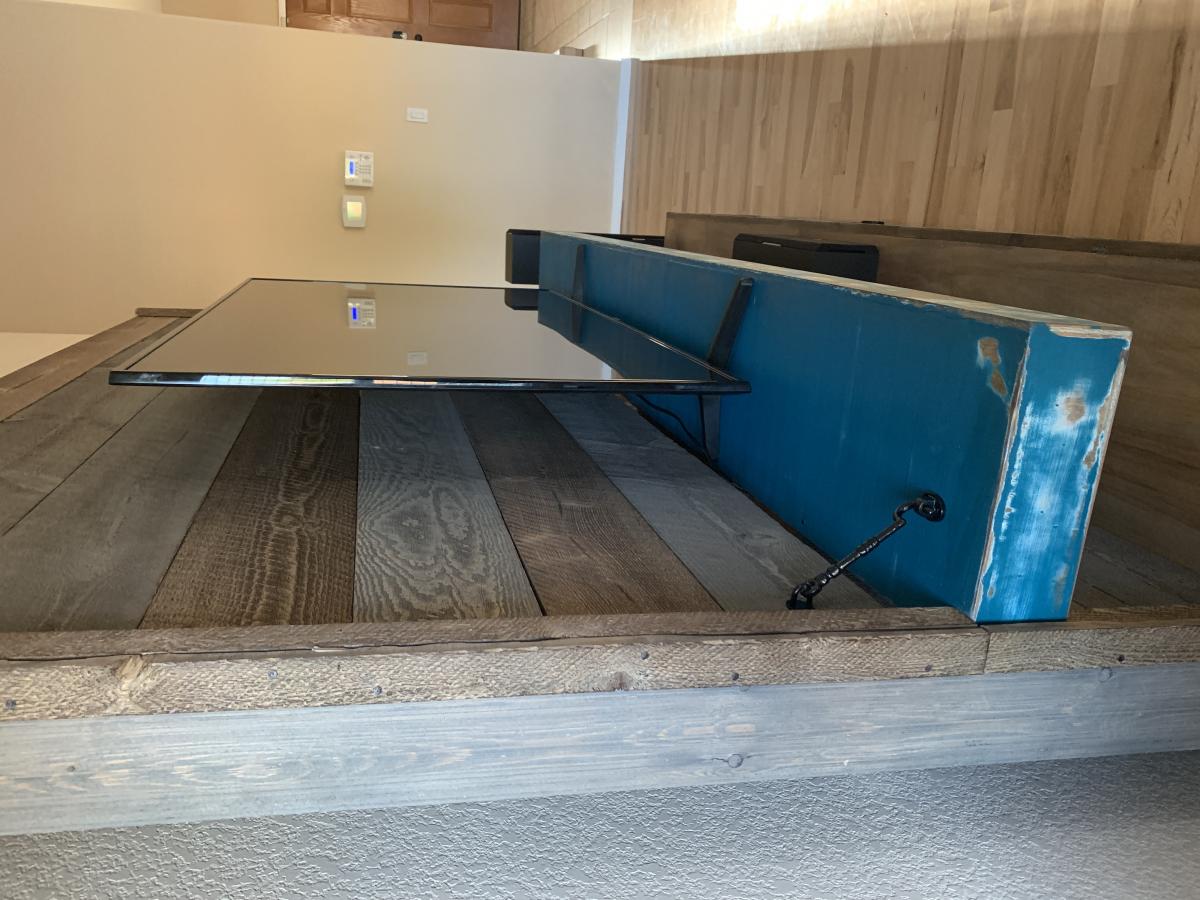
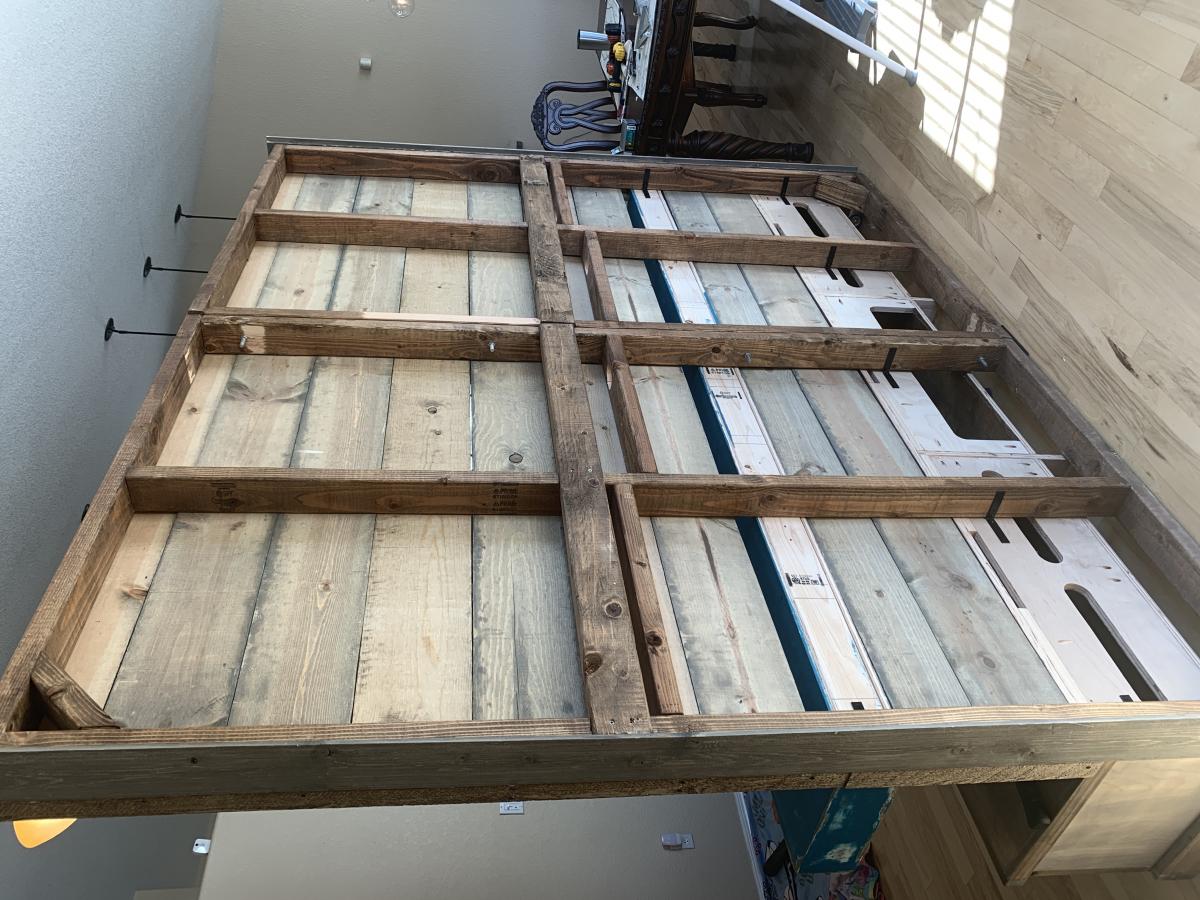
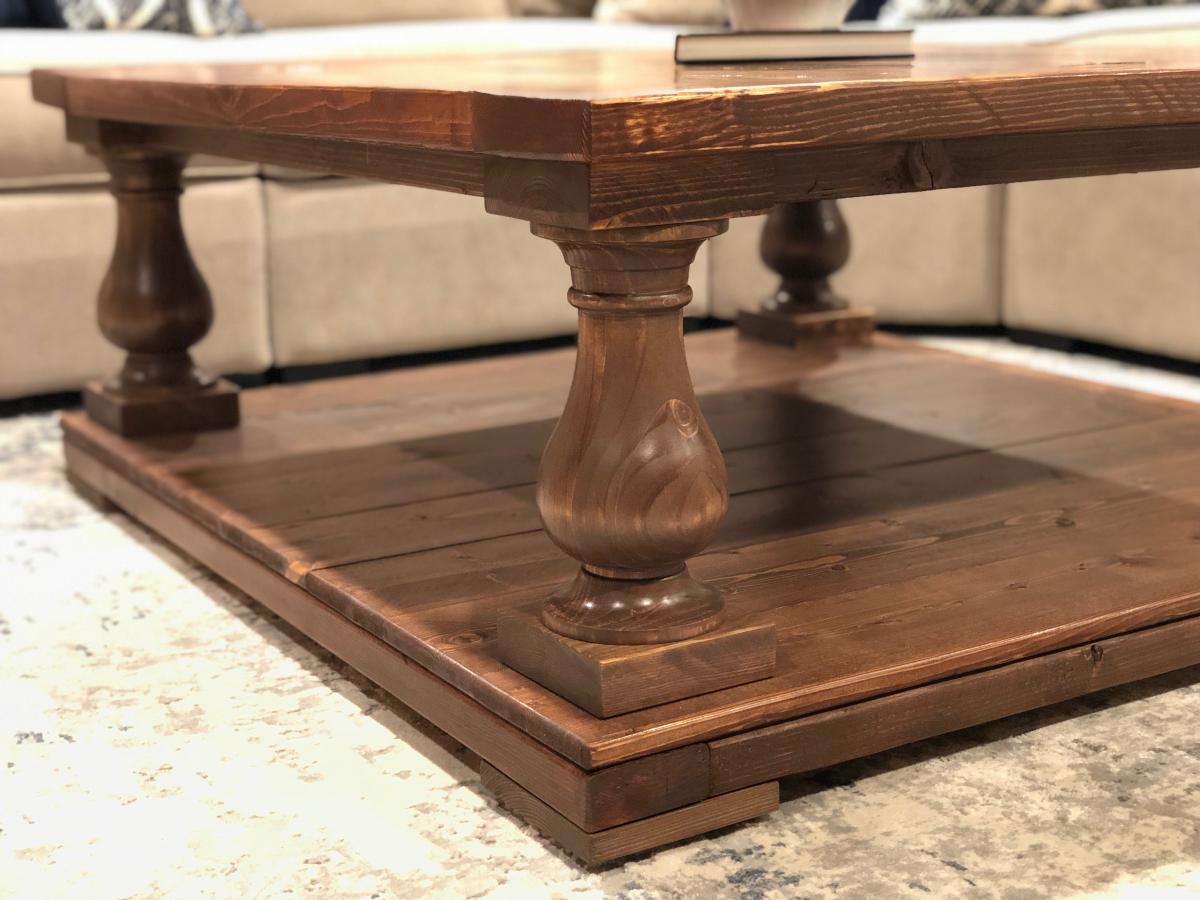
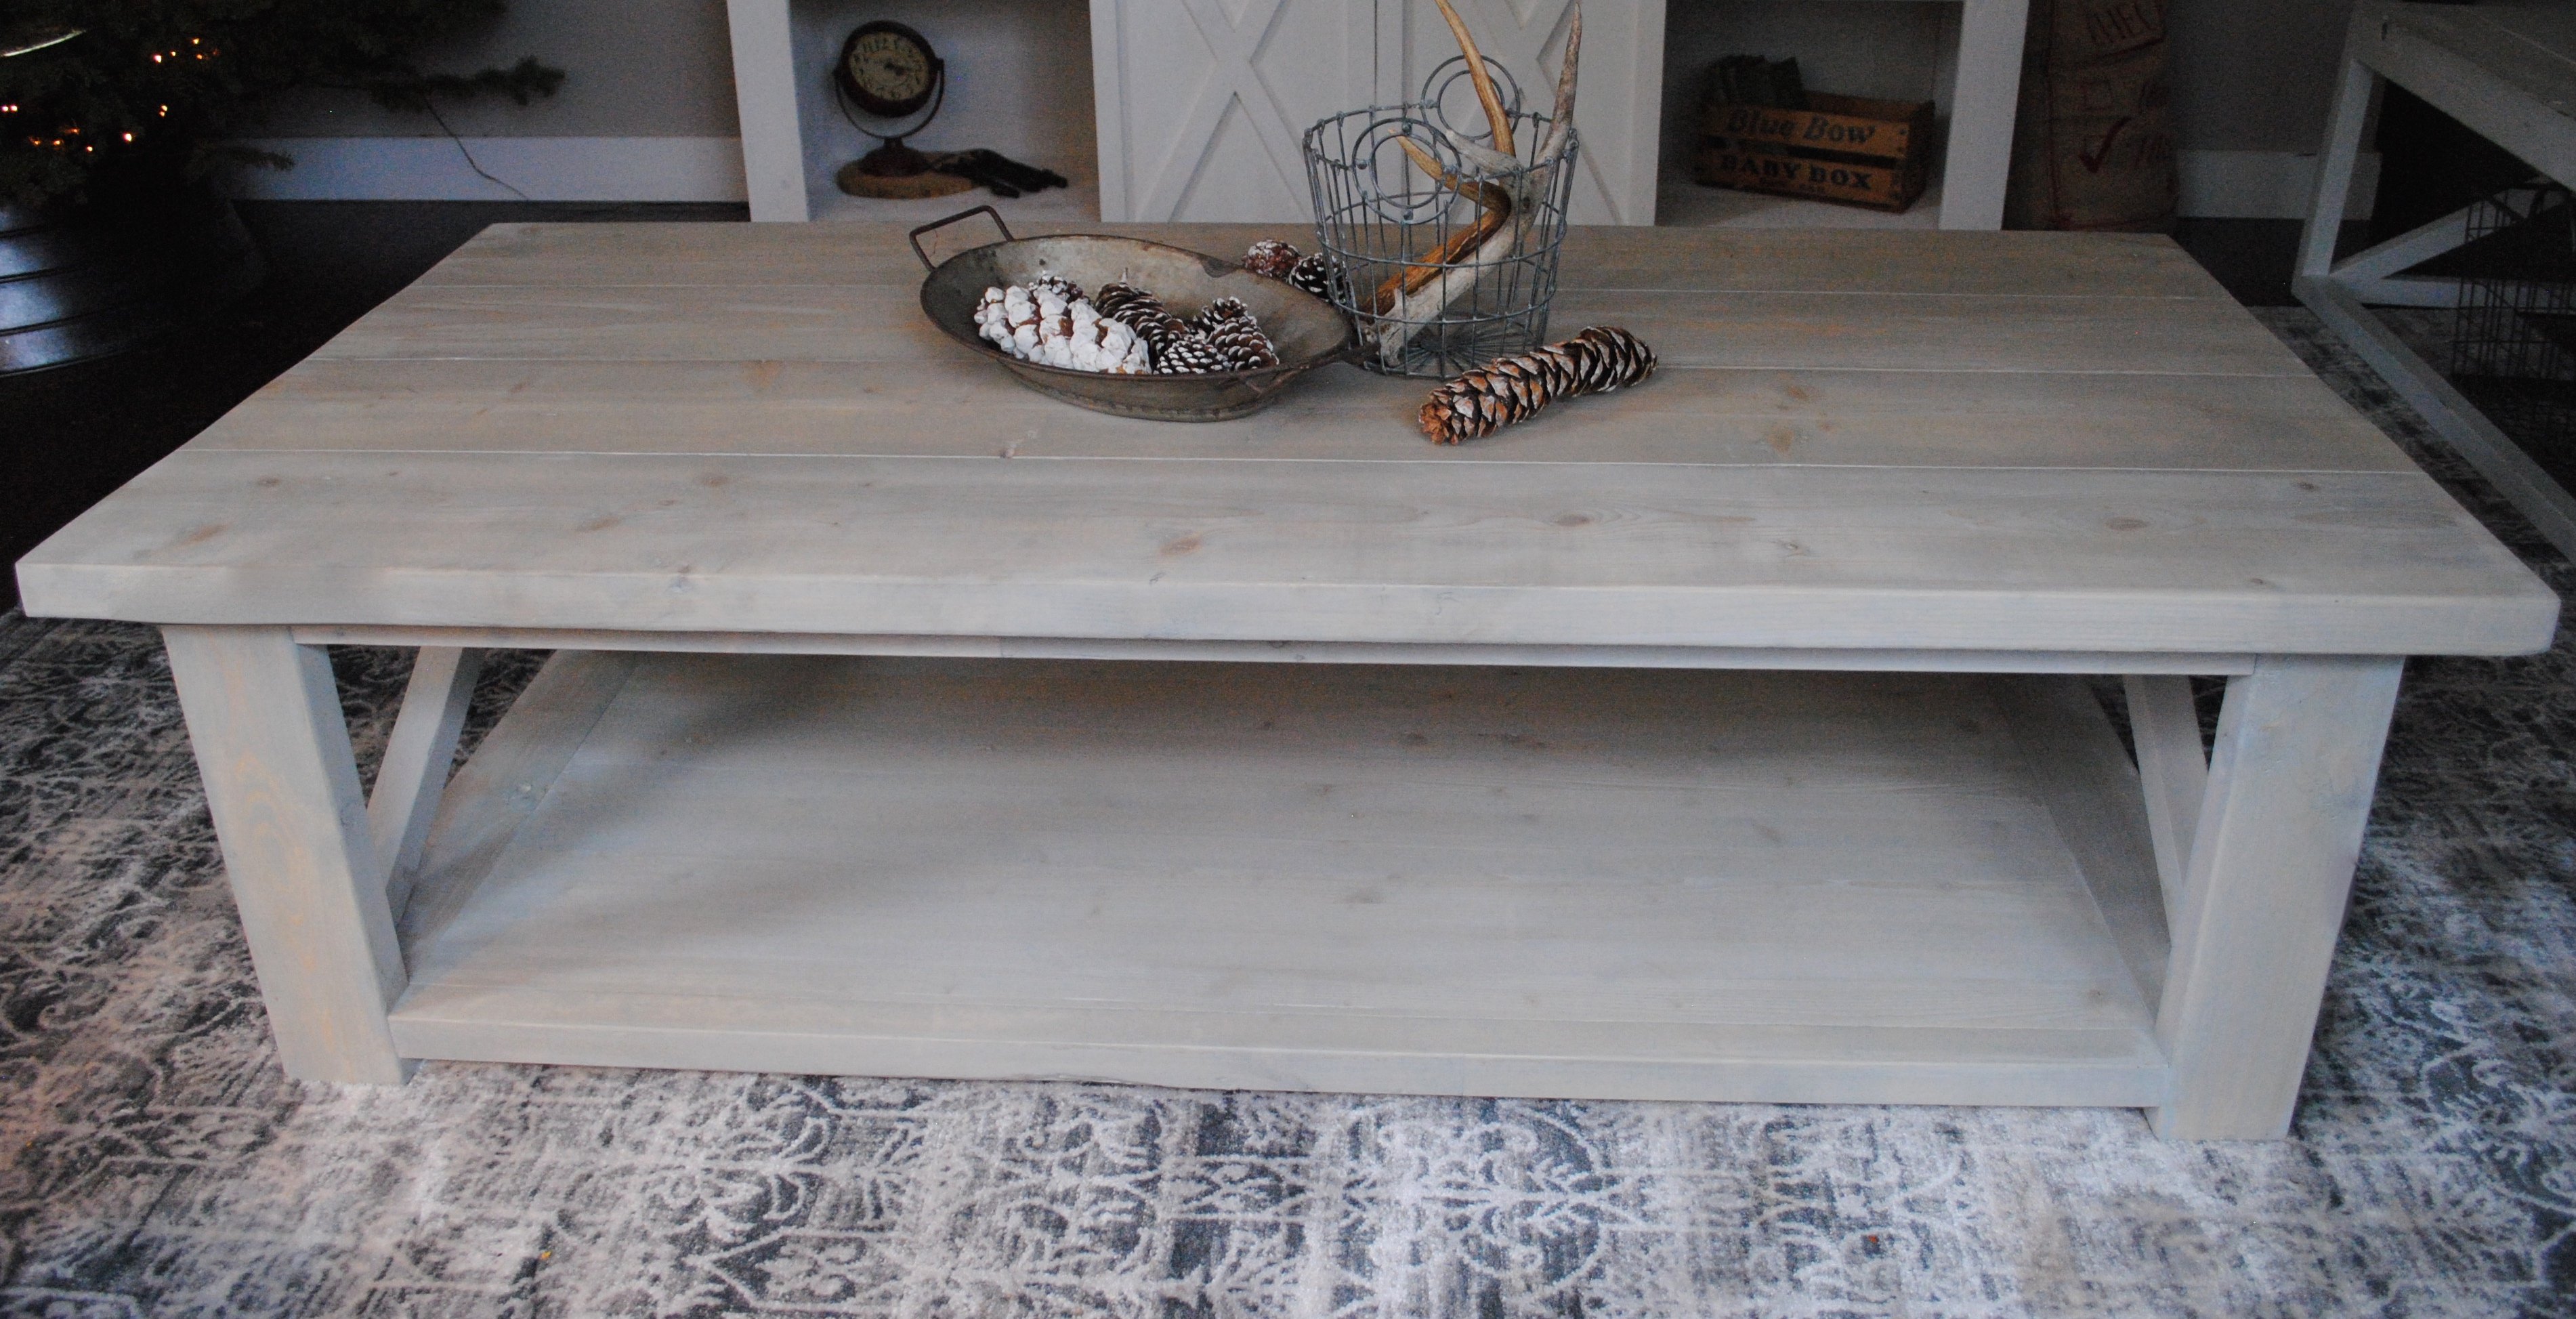
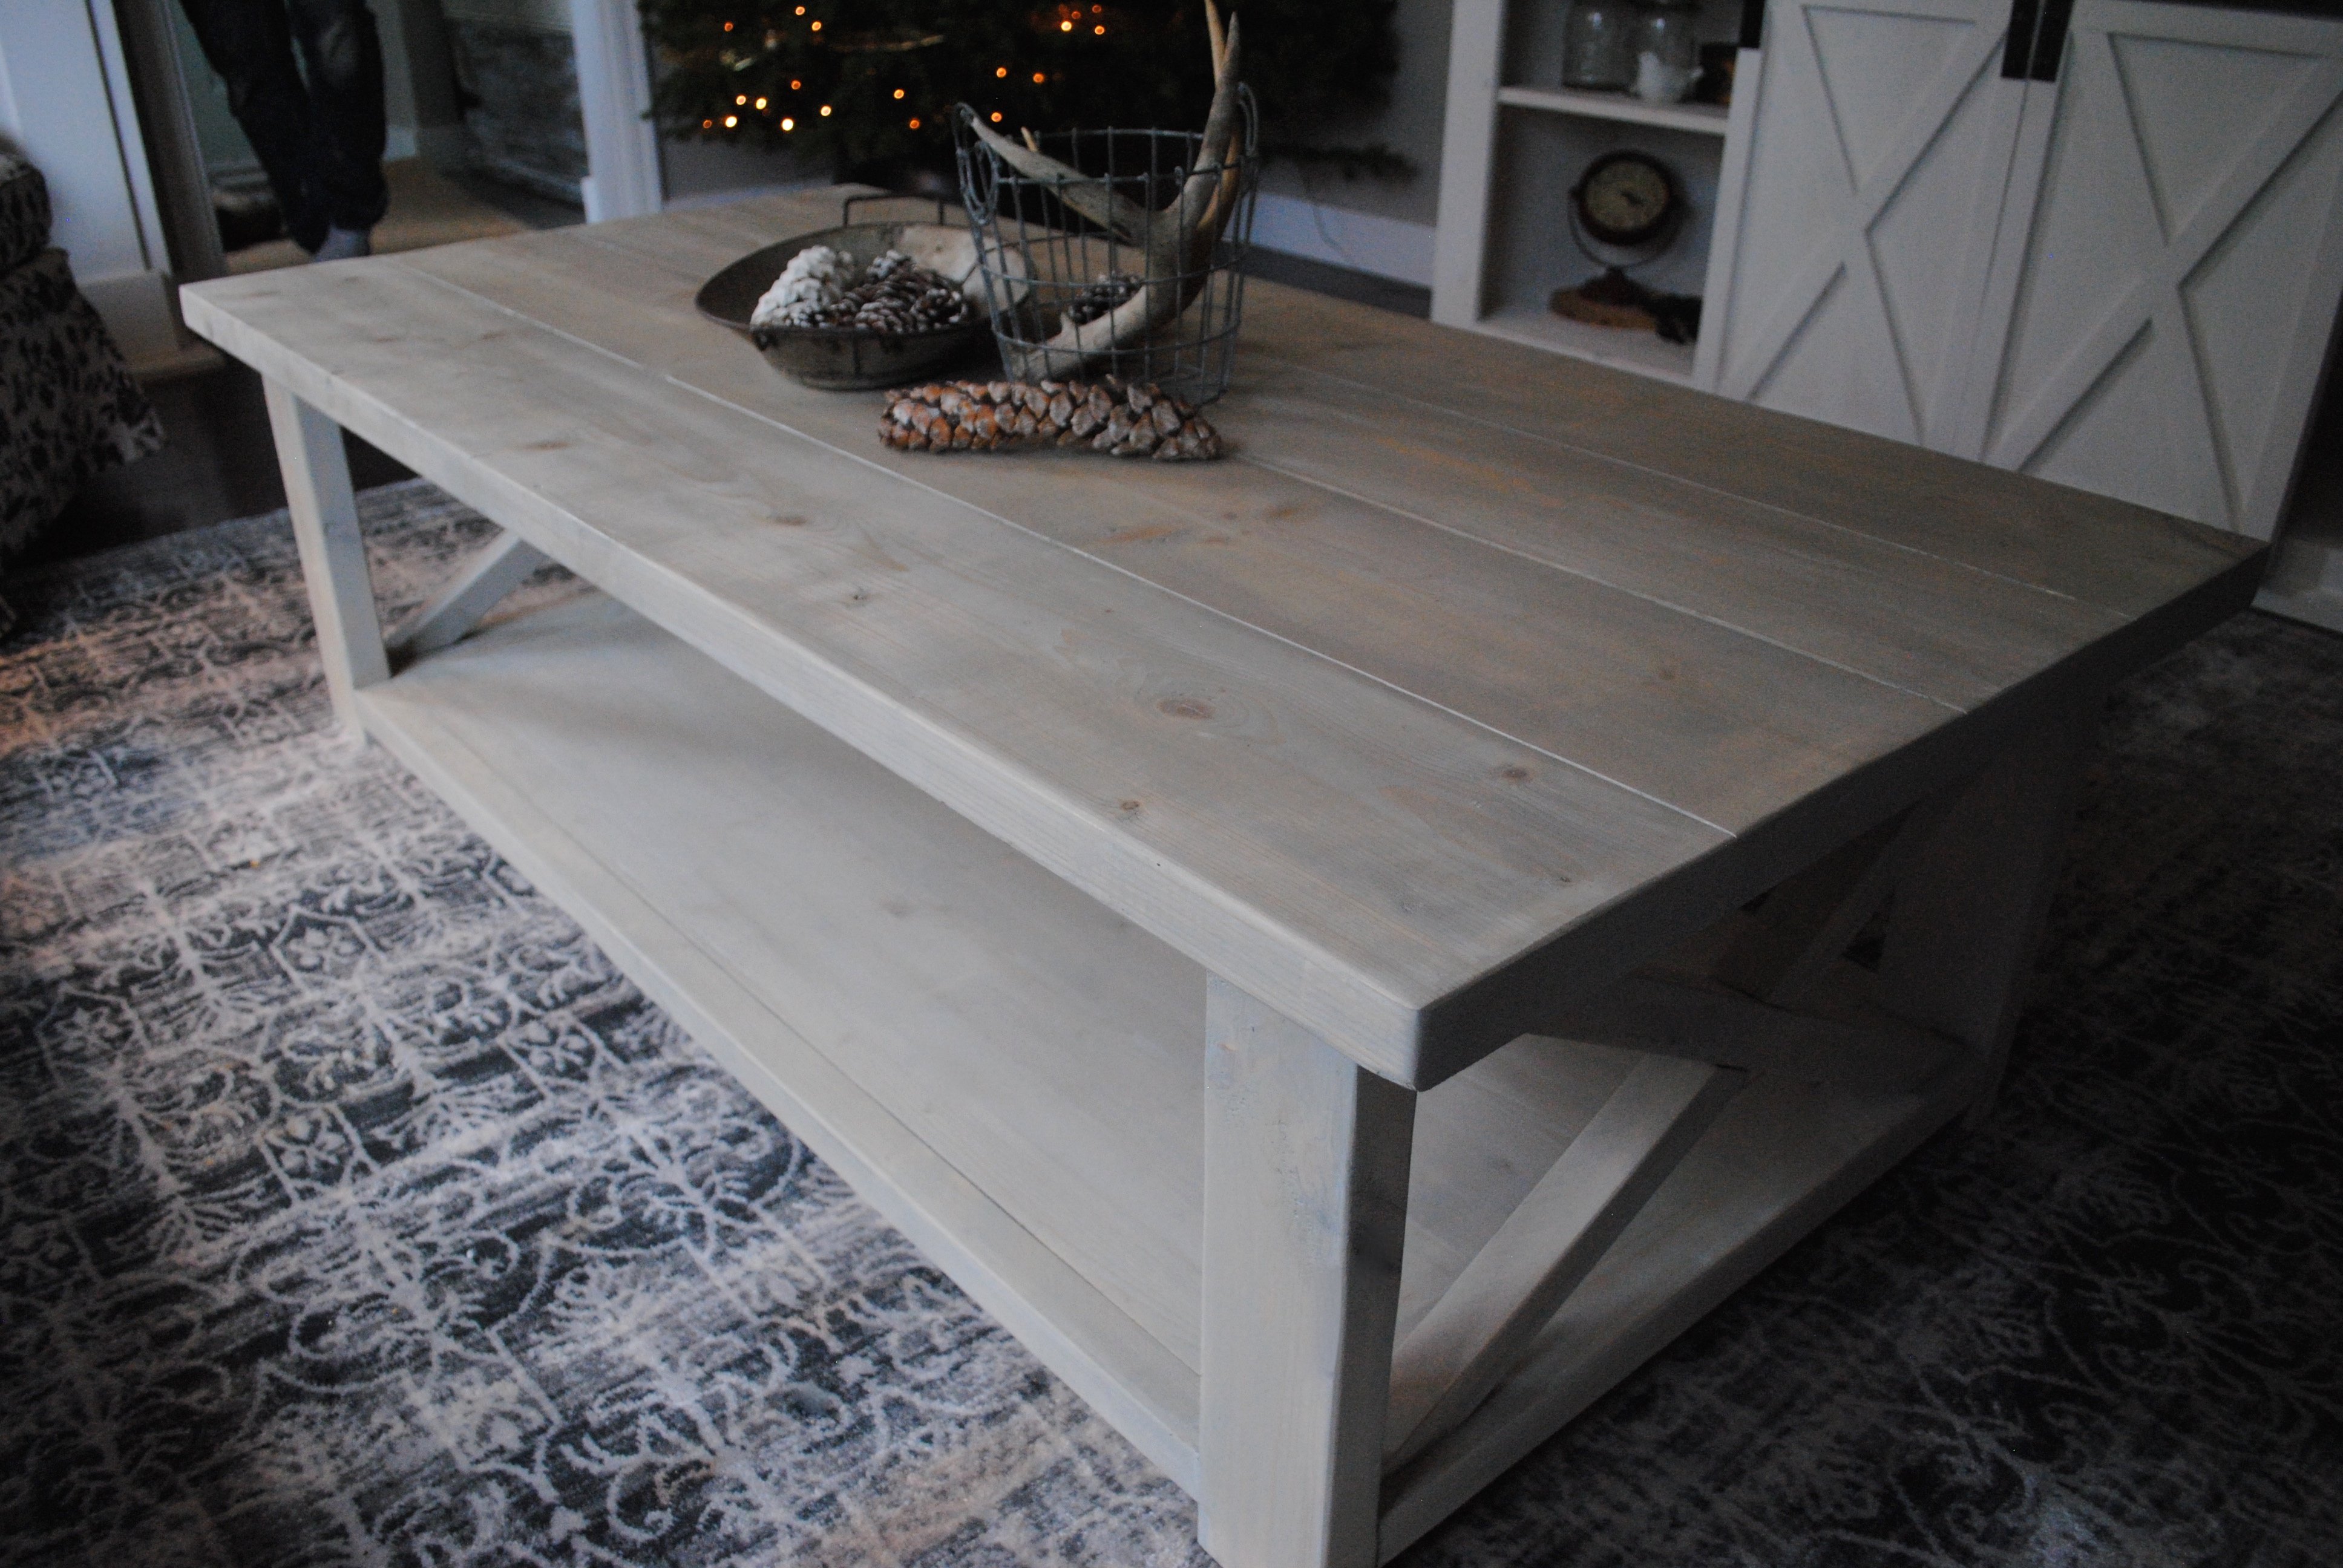
After finding the coffee table design on Ana White's site, I knew the build would not only be a challenge, but rewarding in the long run. About a day into the build I thought to myself, I really need to get the office desk done. So *Enter* a really terrible idea, "I'll do both the coffee table and the desk at the same time, it'll be no problem!" Hind sight is 20/20, because I was a moron for thinking that. We're fortunate enough that space wasn't an issue, I have about a 20' x 12' workshop that was able to accommodate both projects simultaneously. Unfortunately, I gave myself a deadline and the 3-4 days a week of traveling for work wasn't helping. I don't suggest doing that. I had all the pieces joined after the first week, but wanted to stain and finish each piece before putting the table together. This was due to the fact that I didn't want to be crawling on the ground and under the table trying to stain and finish. Finishing each individual component was painstaking to say the least, but glad I built the table the way I did. Luckily, the coffee table along with the L-Shaped desk took about 2 weeks total, and I could't be happier with both project.
Thank you again for taking the time to view my post, the story was a bit long winded but hopefully entertaining and insightful. I would appreciate you adding this as a pin or engaging the post socially and sharing. Please feel free to reach out if you have any questions, I'll do my best to respond in a timely manner.
Sincerely,
Jeff G.
In reply to Wow it’s so beautiful!!! by Ana White
Tue, 10/01/2019 - 21:11
Thank you Ana, much appreciated!
I had built two outdoor chairs with love seat (modified from the sofa plans) with 2x4s. The cushion seats were 24" x 24". Where to store them? I modified the Modern Cedar Outdoor Storage Bench plans to make the box wider, higher, longer to accommodate the cushions. With five boards comprising the top, it's a bit wider than the box so I didn't need to carve in an opening.
Thanks for a great plan! I've been procrastinating in posting, since I have plans to start blogging and wanted to link. Unfortunately, my blog remains a pipe dream as I still can't come up with a name.
The two long ledges were the ones I made (smaller ones are ancient.) These have helped me a great deal in my efforts to pull together/put my own stamp on the most awkwardly laid out and chopped up house imaginable! The 'in your face effect' created by my piling nearly every photo I own on them should be temporary - wall space will open up as other rooms get done. I do think they soften up the gigantic television (Ok, stop laughing. It was worse before.).
While the Ten Dollar Ledges were the inspiration for these, I didn't follow the instructions, since I have lots of leftover plywood and buying lumber when you live in the country and drive a VW Bug is not much fun. I'm very pleased with both the shelves and the garage space their creation opened up. There was a tradeoff, though, as it took me far longer than the hour or two each would have took had I used dimensional lumber. Four inch rip cuts are a pain! (especially since I was a bit too perfectionistic.) But I'm very happy with the results. Thanks again!
Sat, 01/21/2012 - 16:20
Hi - I am SO EXCITED - just made a $10 ledge! I have been wanting a photo/art ledge for a long time and actually purchased one from Pottery Barn which I returned. I hated the finish on it an found it very difficult to hang, not to mention that it was expensive! I had some idea how I might make one but wasn't sure, so went on line looking for instructions. So glad I found yours - it was really easy and looks great. The best part is that you can make it whatever size and finish that you want. Now i have to get busy making art to fill it! Thank you so much for your great ideas - i see quite alot of others on your site that I just might try.
I made it a little different, with a small door on the bottom as a little storage.
I loved making this for my kid, and as my first project ever I feel very proud of it.
I don't remember the exact amount of hours it took because I had little time to work on it (maybe 3 hours/week) so it took quite a bit of weeks to complete but it was really easy and fun! :D
I like how it's tall enough for my 2 year old to play standing, before we had a plastic one that was very very short, also it's sturdy enough for climb on it. xD
By the side I made a super easy, varnished, cupboard, following the same main steps from the stove, I only didn't put a front door and added on one side a towel holder and on the other side a small shelf/bar table
We've built so many of these coffee tables, but this one has got to be my favorite. Isn't the stain so dreamy?
I think the biggest thing about this coffee table is to finish it properly. We like to plane our boards down so it gives it a bit more of a seamless look - but real rustic lovers don't need to do this.
We sanded the coffee table down with 120 grit paper & then stained this table in Sunbleached Oak by Varathane. It's literally the most stunning color. Blends with almost any decor.
Once that was dry, we applied two coats of polyurathane
Elevated loft bed for my two boys! Easy build with the plans from Ana White! I modified this version and elevated it so I could fit my youngest underneath. It was my first time using a Kreg Jig and I’m obsessed now. I would recommend buying top quality wood and increasing all numbers by 2-3 inches to make getting the mattress in easier. I would also recommend a lower profile mattress than I used. Happy Building!