DIY Wood Bed
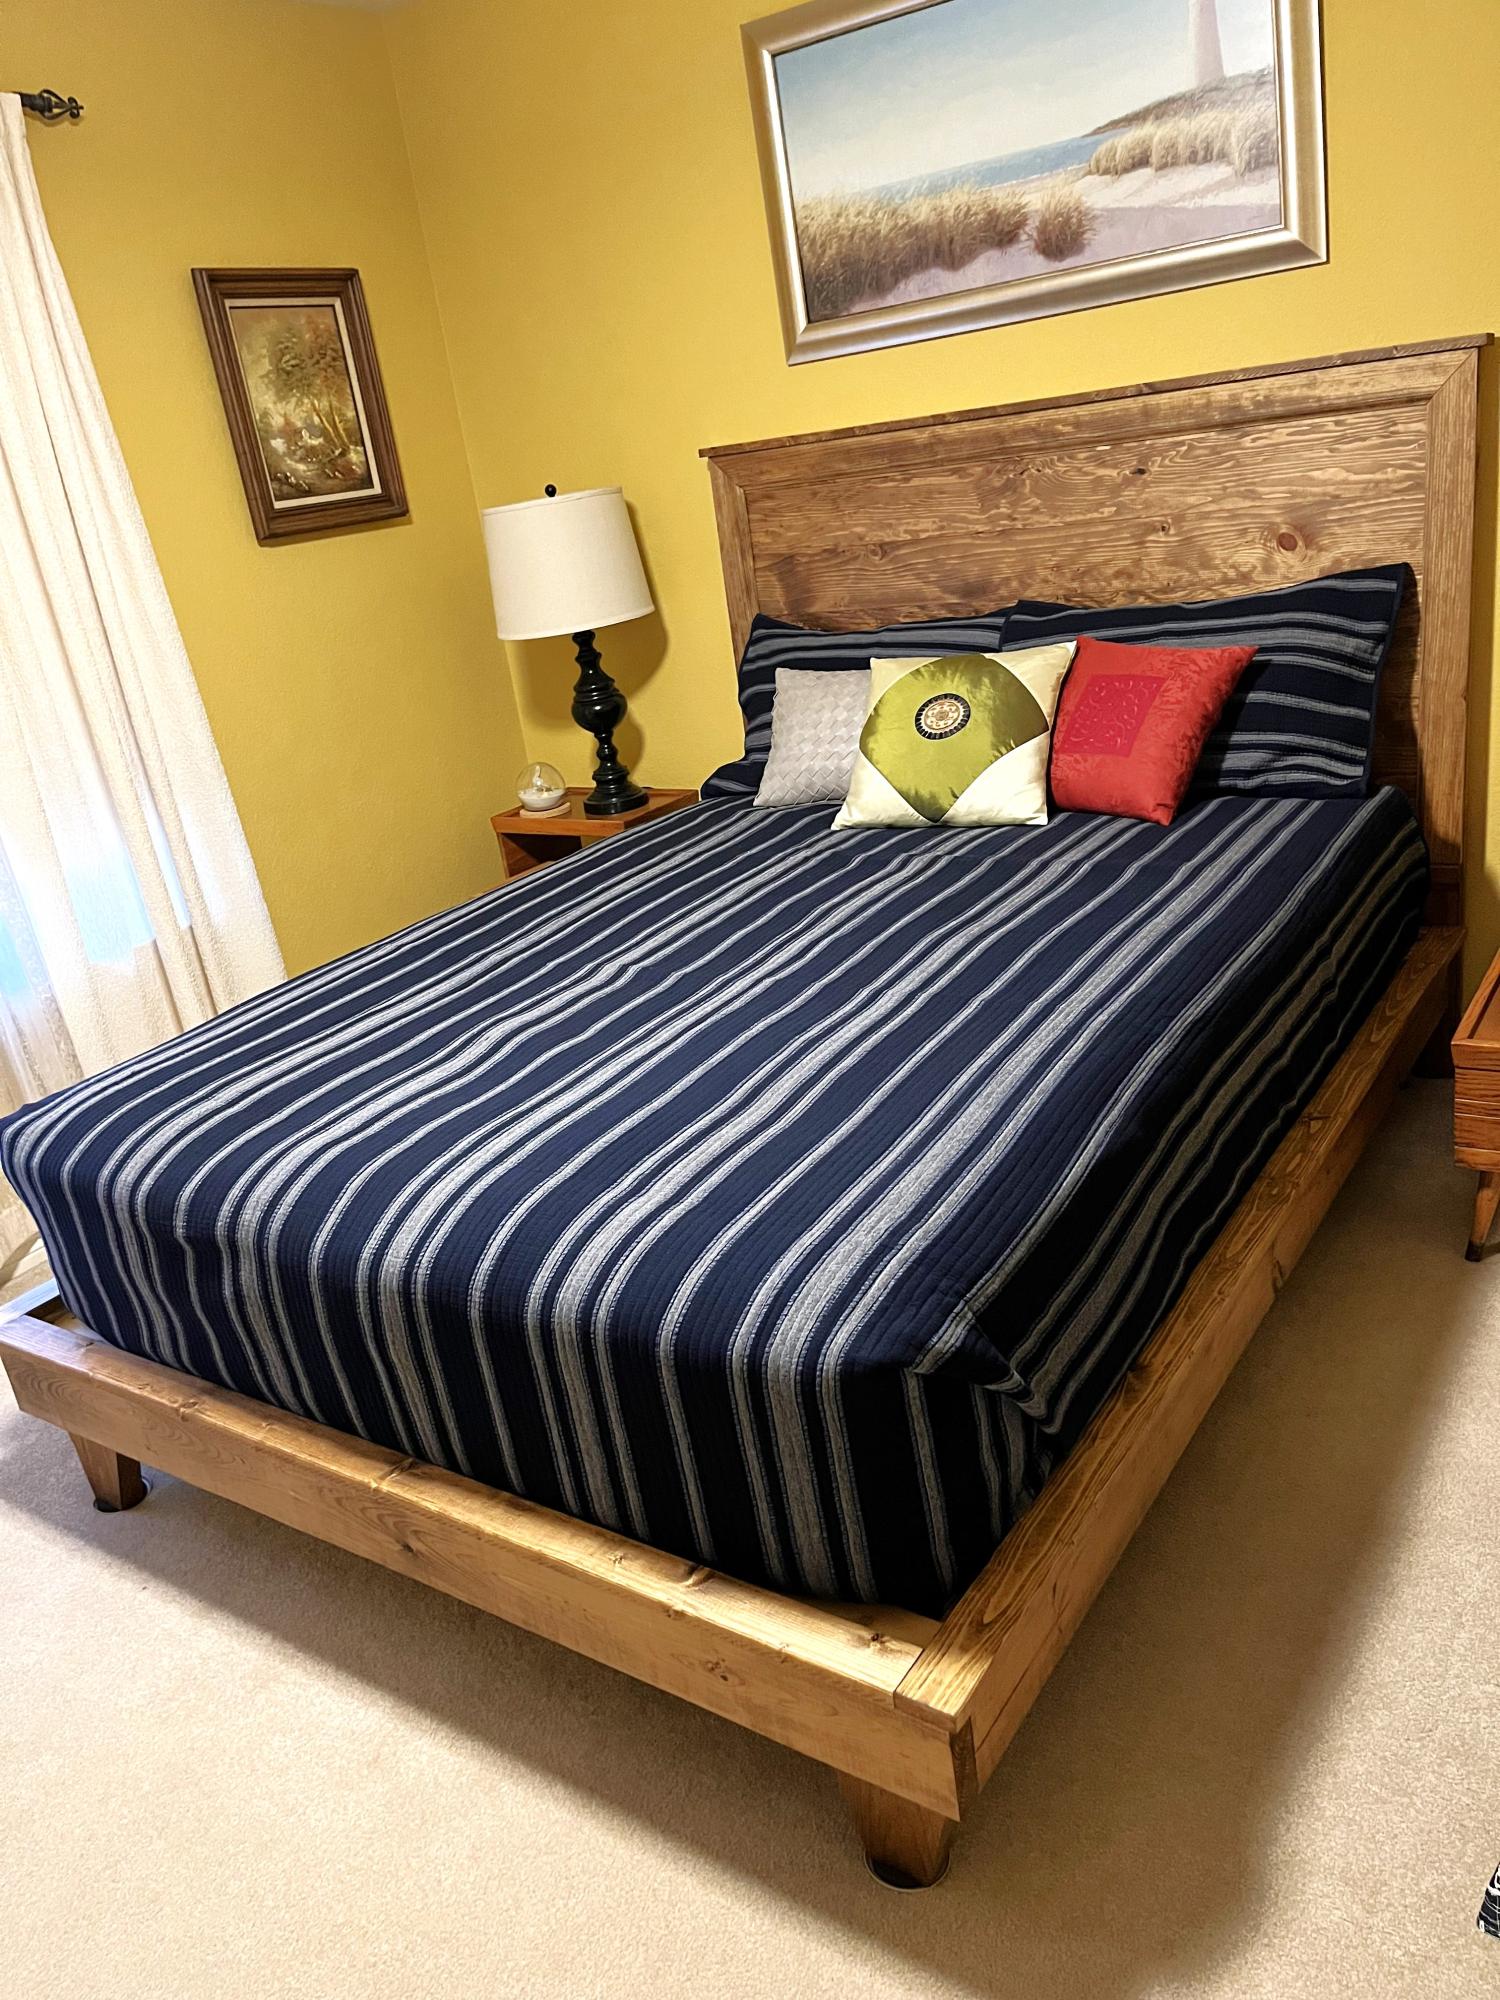
Spruced up guest room by replacing full size bed with Ana's design for a queen size headboard and frame. Love the result! Thanks Anna
Built from Plan(s)
Spruced up guest room by replacing full size bed with Ana's design for a queen size headboard and frame. Love the result! Thanks Anna
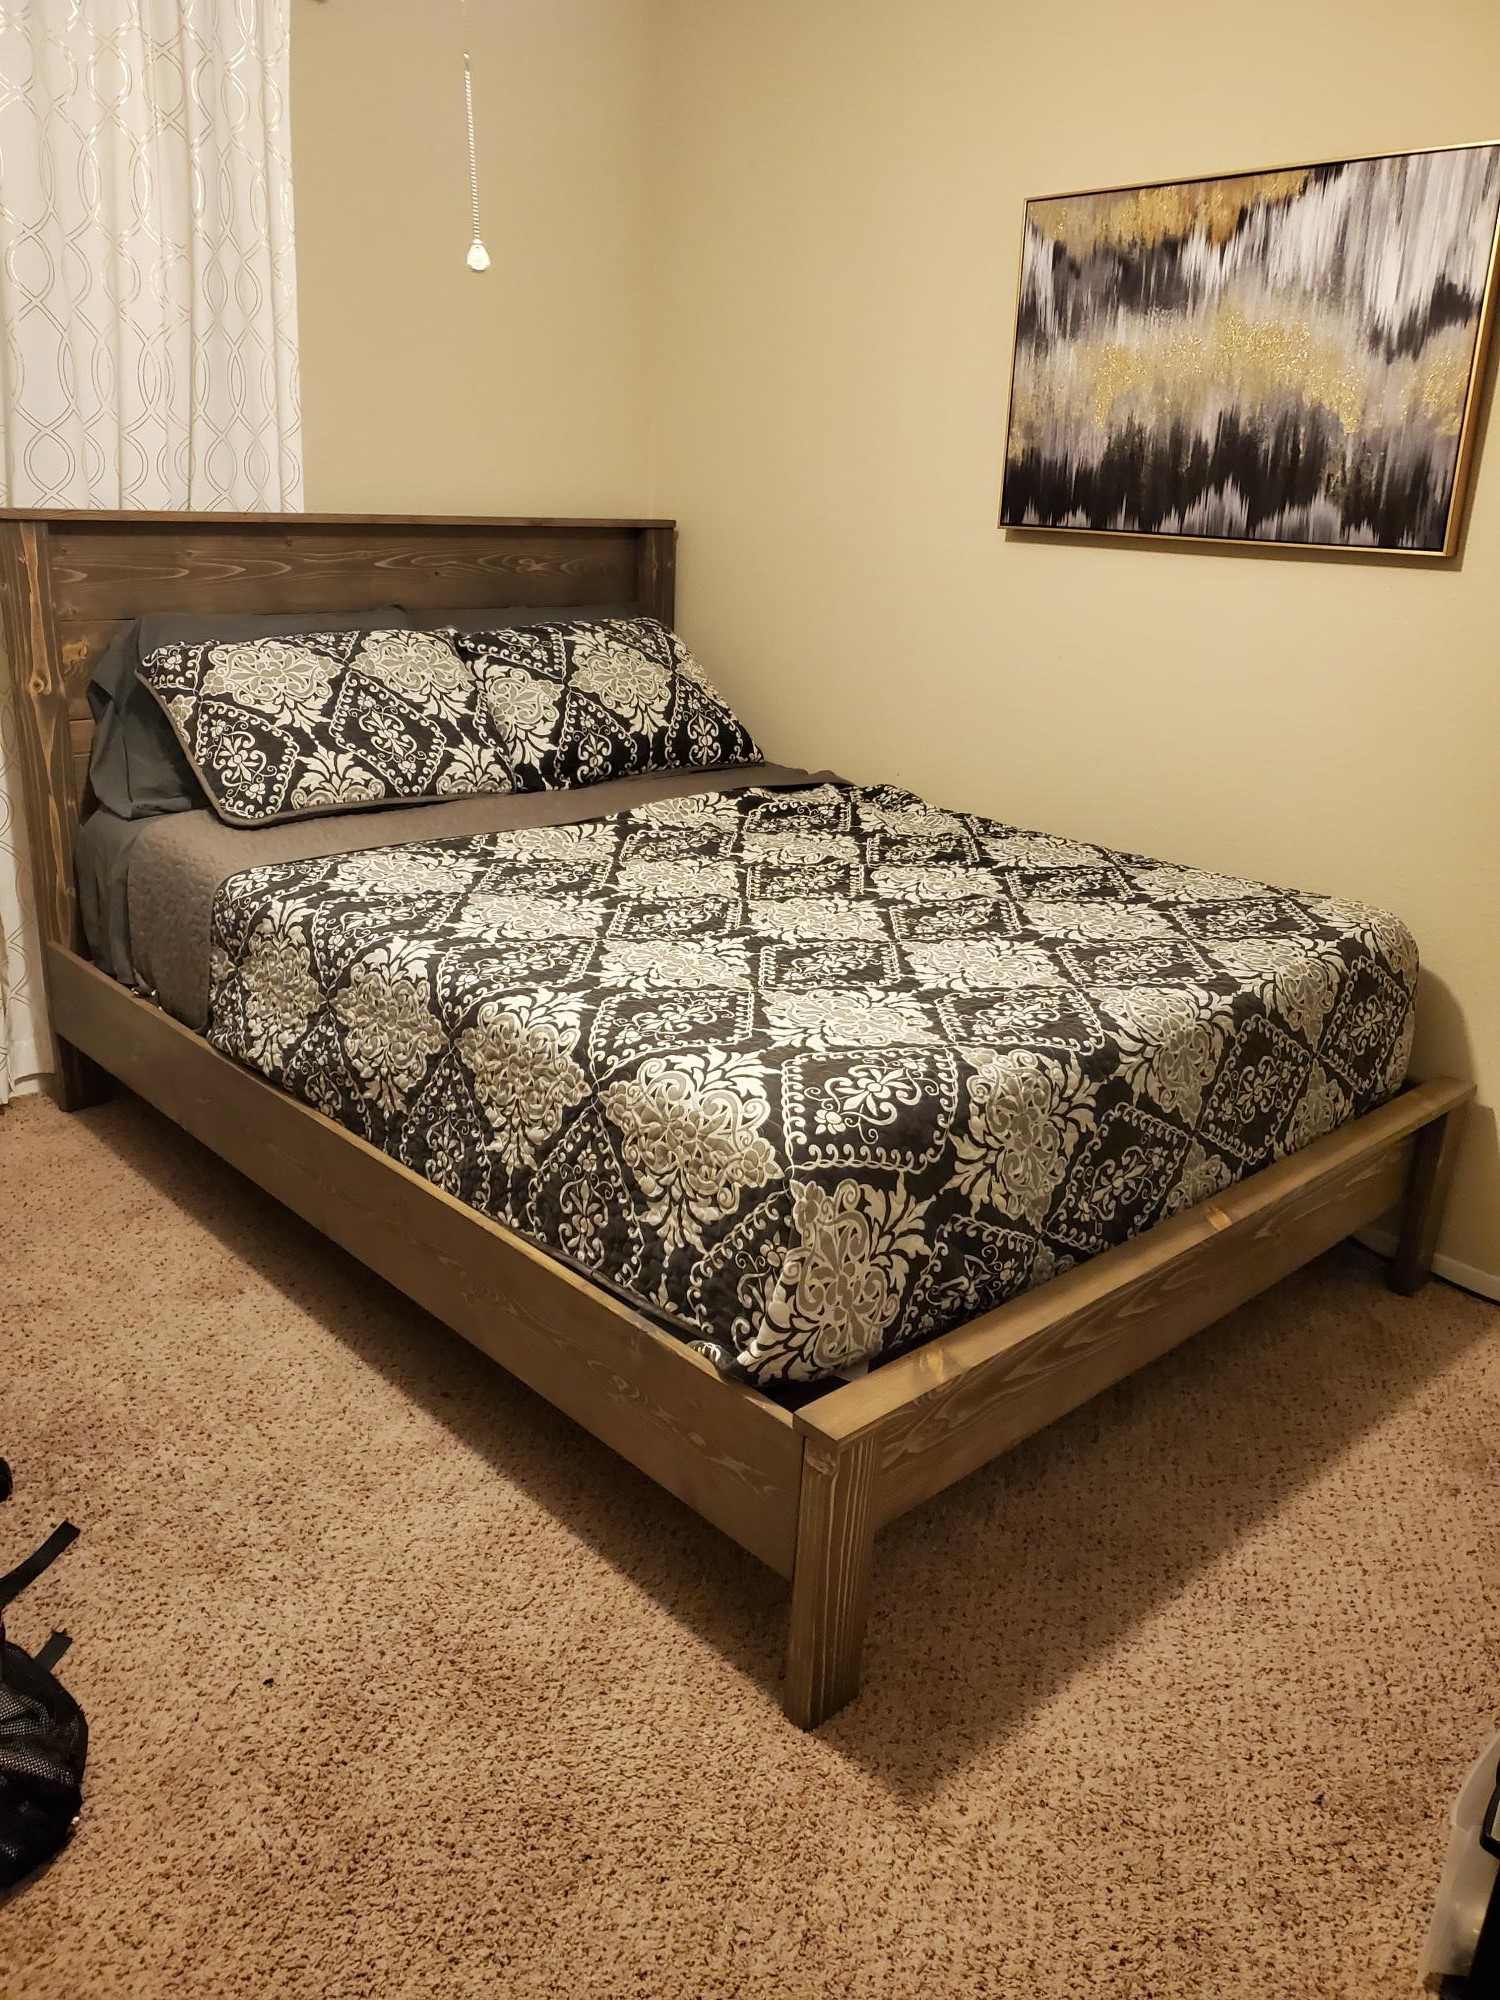
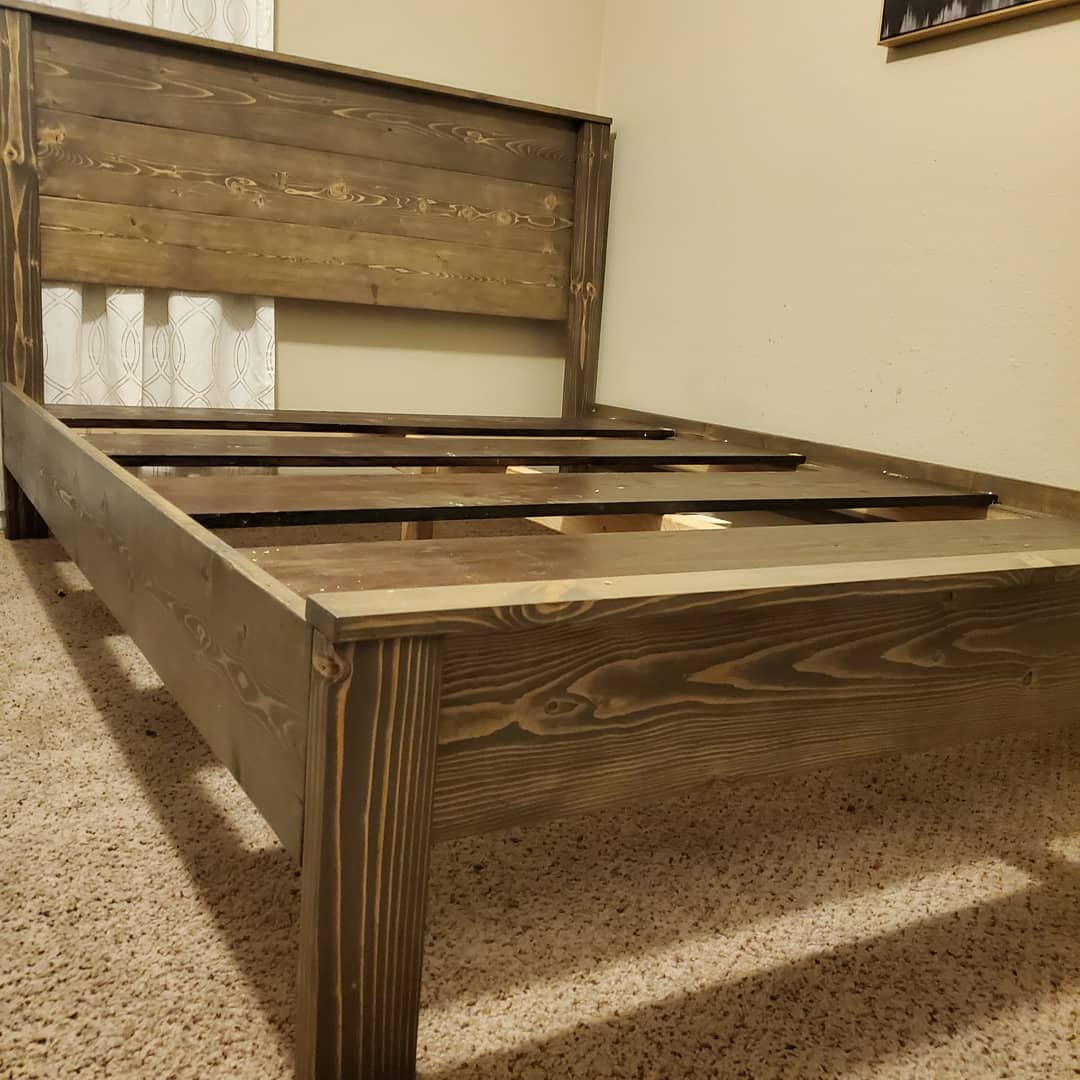
Queen size built according to plans. Stained in Briarsmoke by Miniwax.
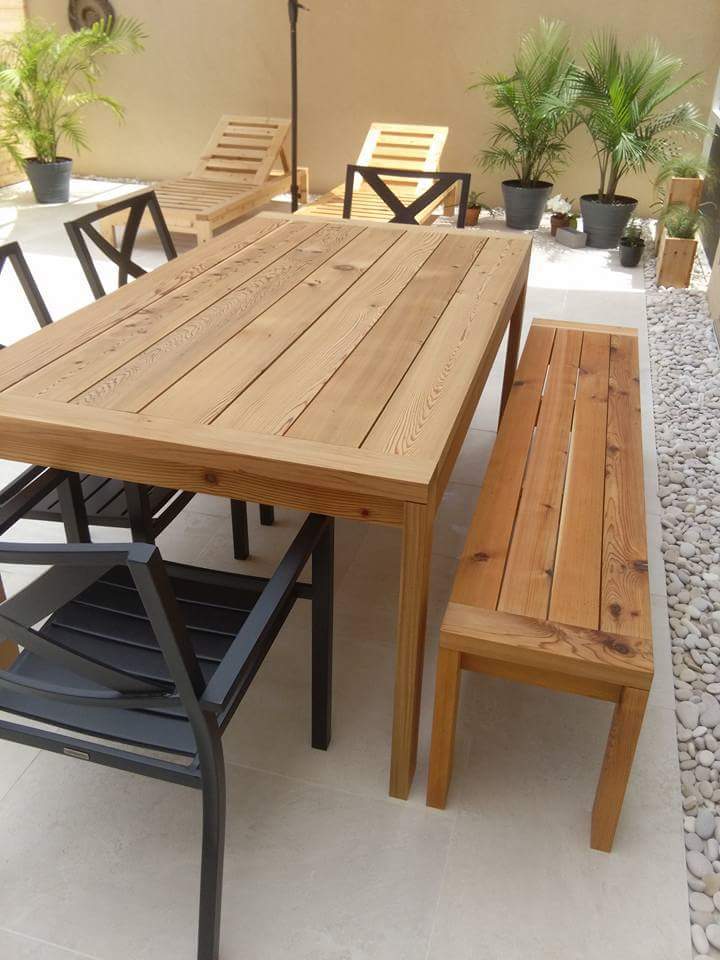
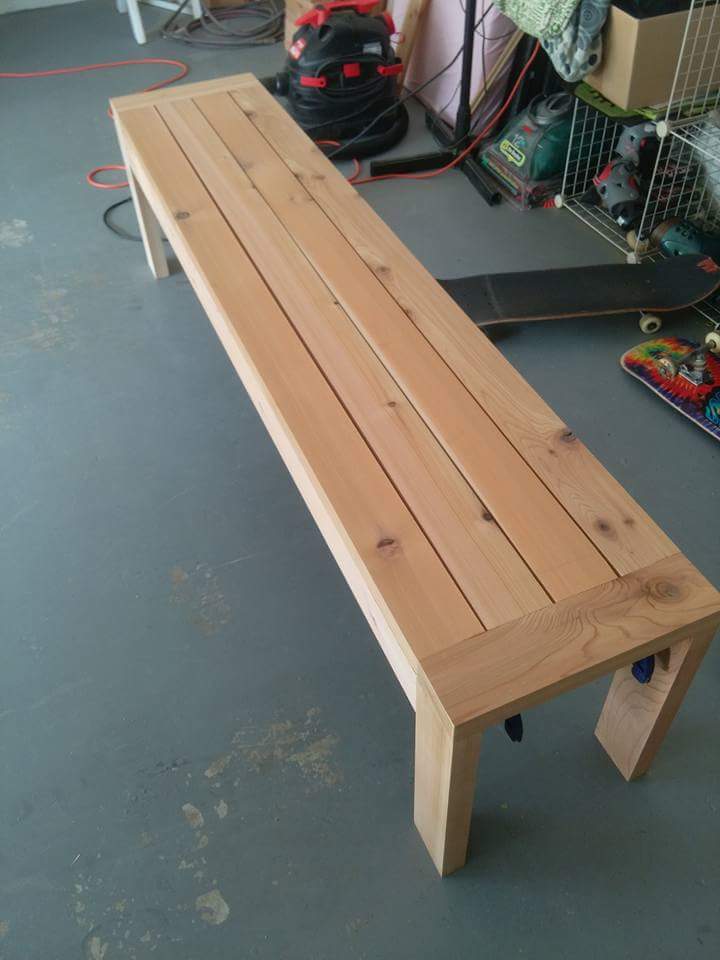
My last piece of my collection
Tue, 03/09/2021 - 12:17
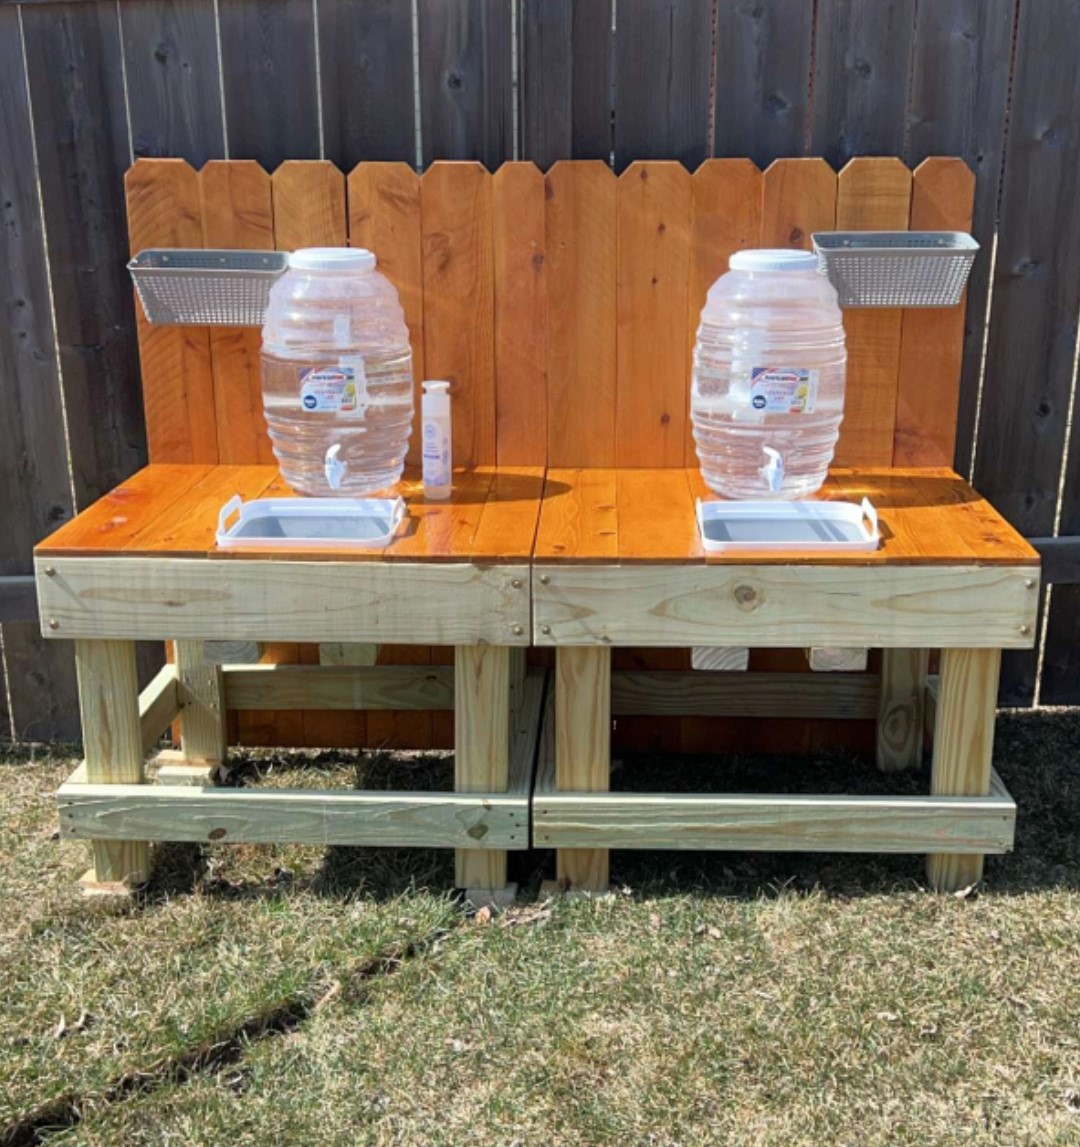
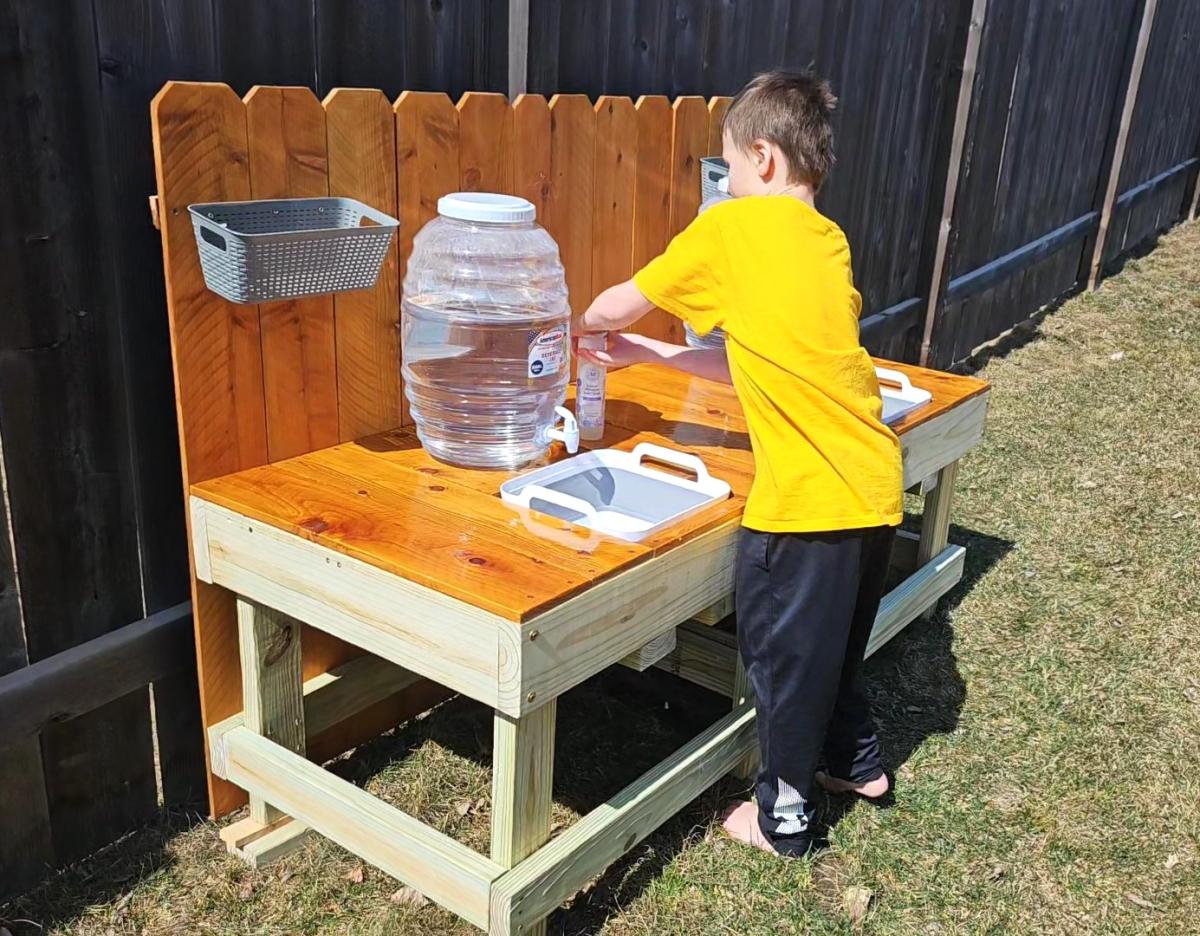
Hi Lila - I love this table and bench and have been searching everywhere for the plans. The link you connected to: "2x4 truss benches for Alaska lake cabin" doesn't look like your set at all :(
Maybe it's the wrong link?
Do you have the link for the plans you followed for this table and bench?
Thanks in advance!
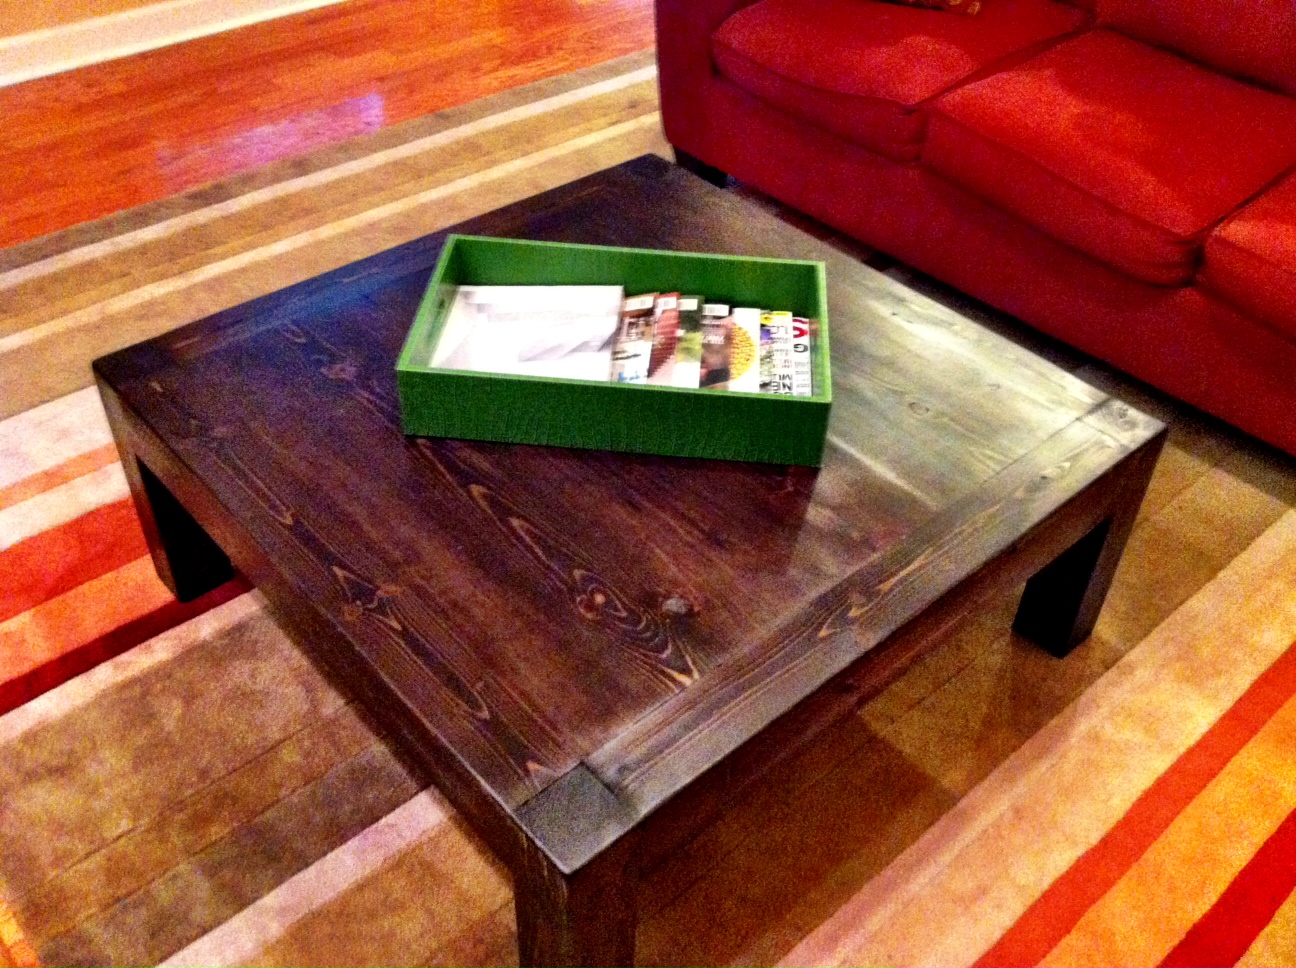
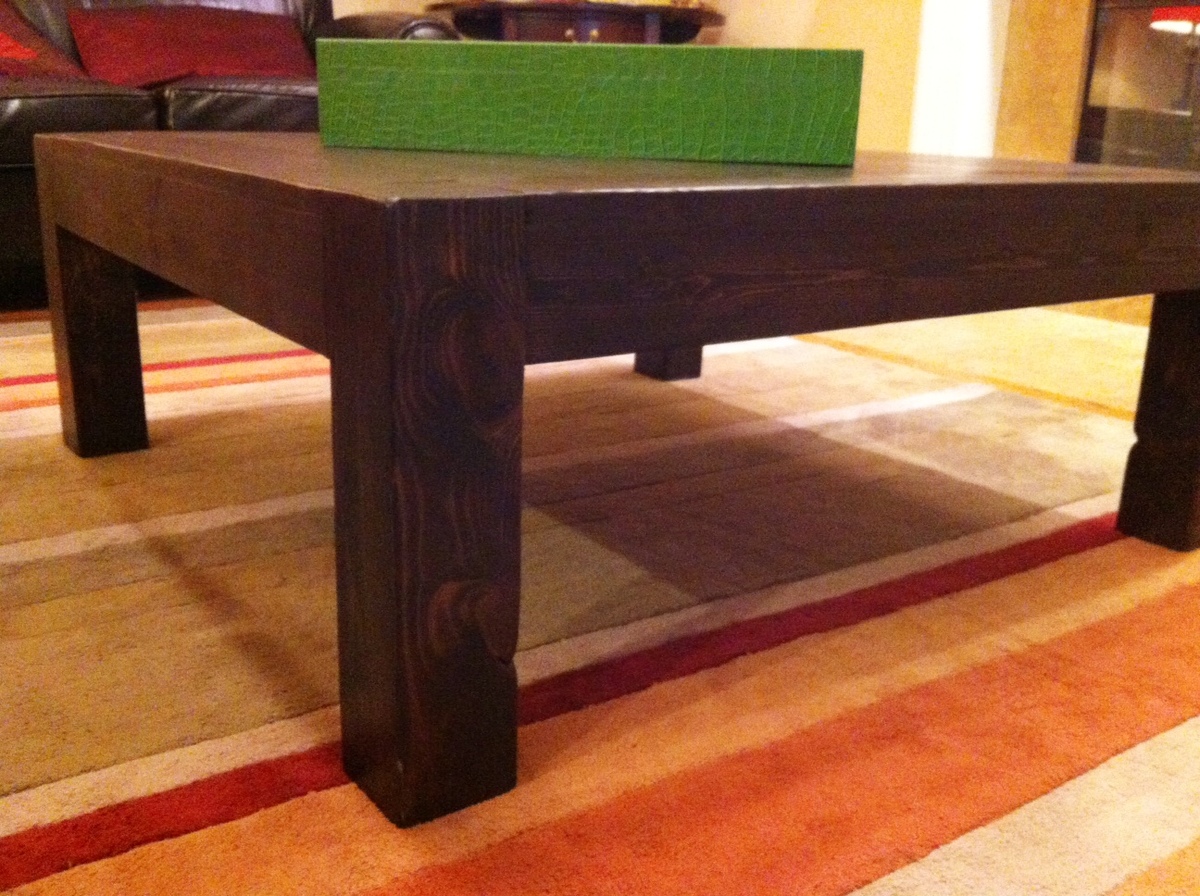
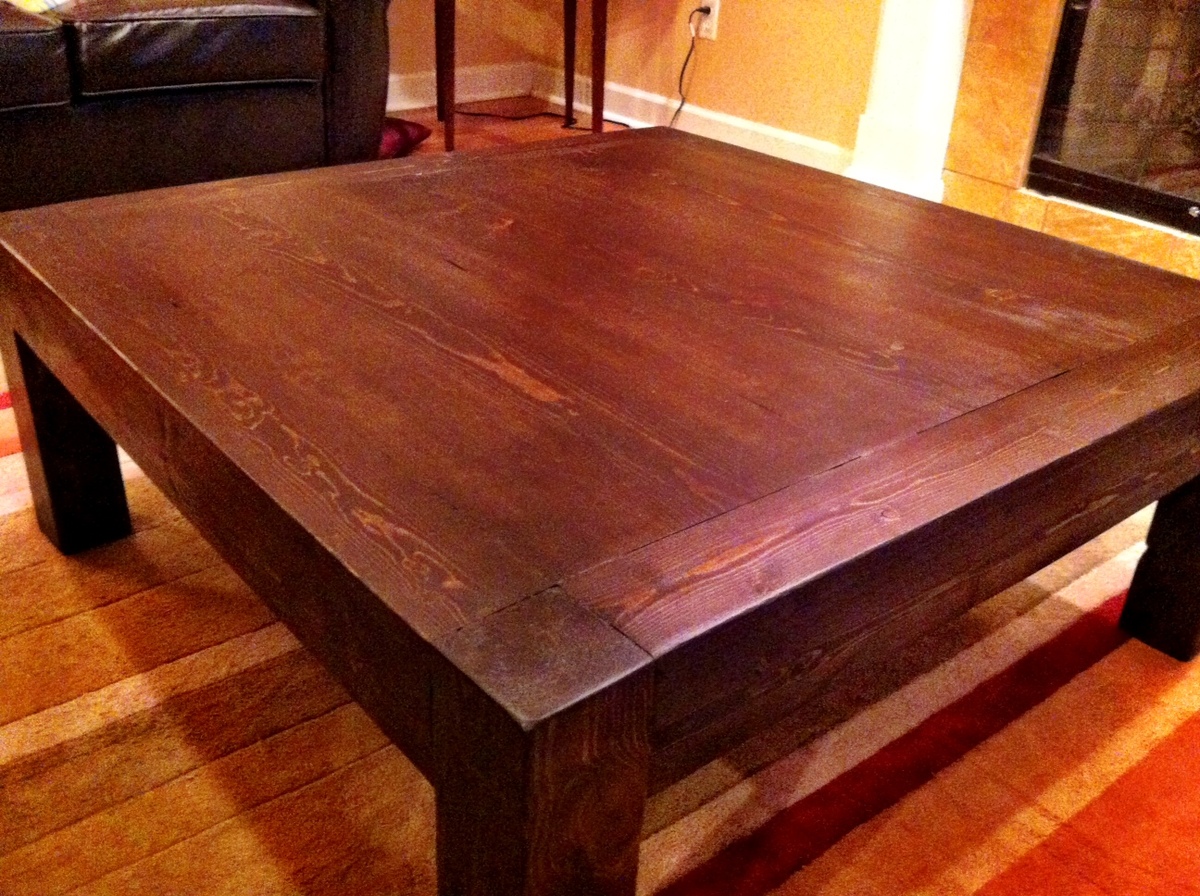
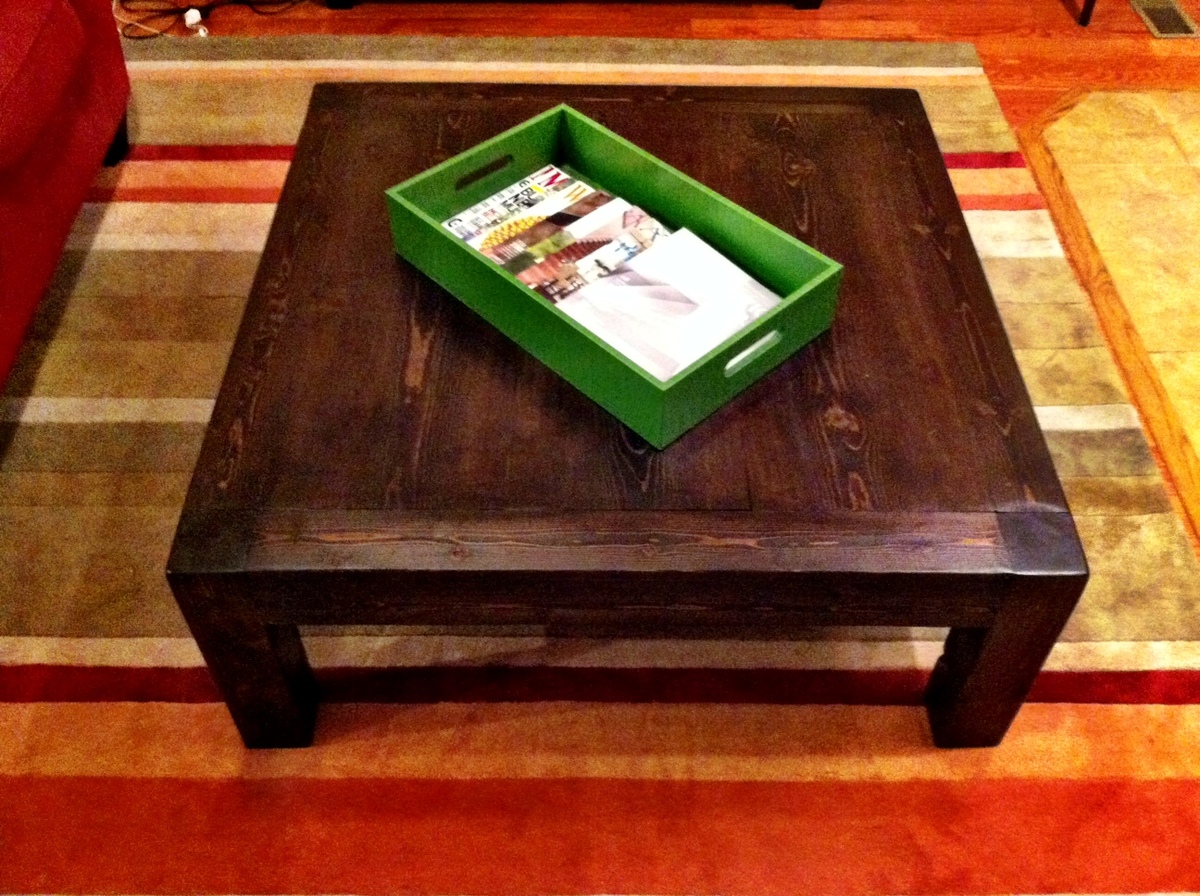
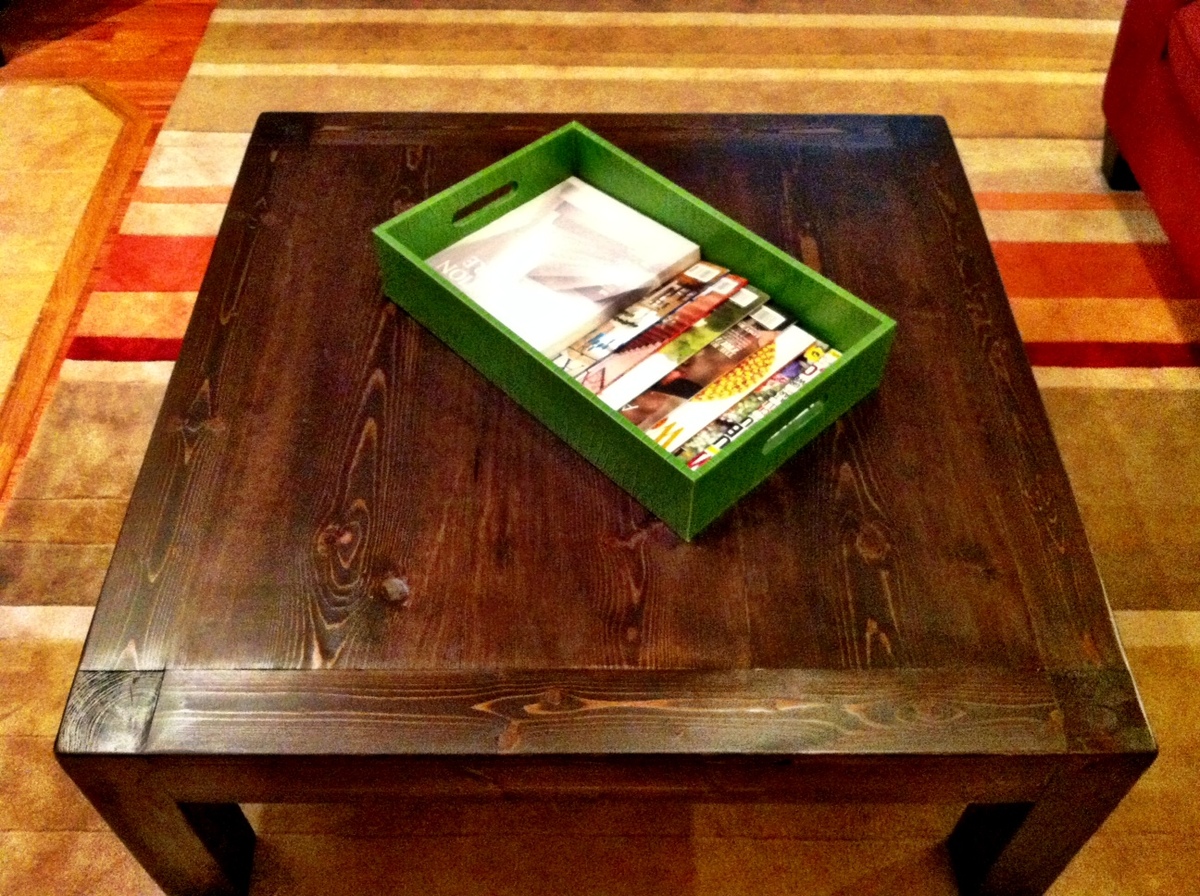
See post on blog: http://www.atouchofarkansas.com/2012/05/icoffee-table.html

I made this bed for my 6 year old daughter. I loved Anna's Loft Bed plans, but she wanted a bigger play area underneath. So I modified the twin loft bed plans to fit a queen mattress. I also added extra supports for the mattress, and I used PureBond plywood on top of the supports for the mattress to sit on.
That's the Farmhouse Toddler Bed underneath. My younger daughter inherited her big sister's twin bed, so the toddler bed was put to use in the new "playhouse."

Wed, 02/09/2022 - 15:31
We’ve been looking for exactly this!! Can you share your modified plans and the list of lumber and supplies needed?
Sun, 09/02/2012 - 12:45
I think it's great that you modified it to a queen! I live a studio and NEED something like this. Could you share the modifications? It looks beautiful = )
Sun, 09/02/2012 - 20:58
The changes I made were:
End planks cut to 63"
Top back guard and front and back rails cut to 87"
The top guard rails on ends cut to 66"
I measured for the mattress supports and the front guard rail after the rest was completed.
You should also measure for the bookcases after the rest is completed, but each of mine wound up being about 31" wide.
Everything else was pretty much the same.
Hope that helps.
Thu, 11/01/2012 - 08:24
This is wonderful - I've been looking to make something like this for an urban efficiency (adult) apartment! Thanks so much for sharing your modifications!
Mon, 07/29/2013 - 14:08
Will the height of the bed allow for adults to stand under it? If not what modifications should be made to make the height fit a standing adult? (the highest being 6'1" male) Thanks! =D
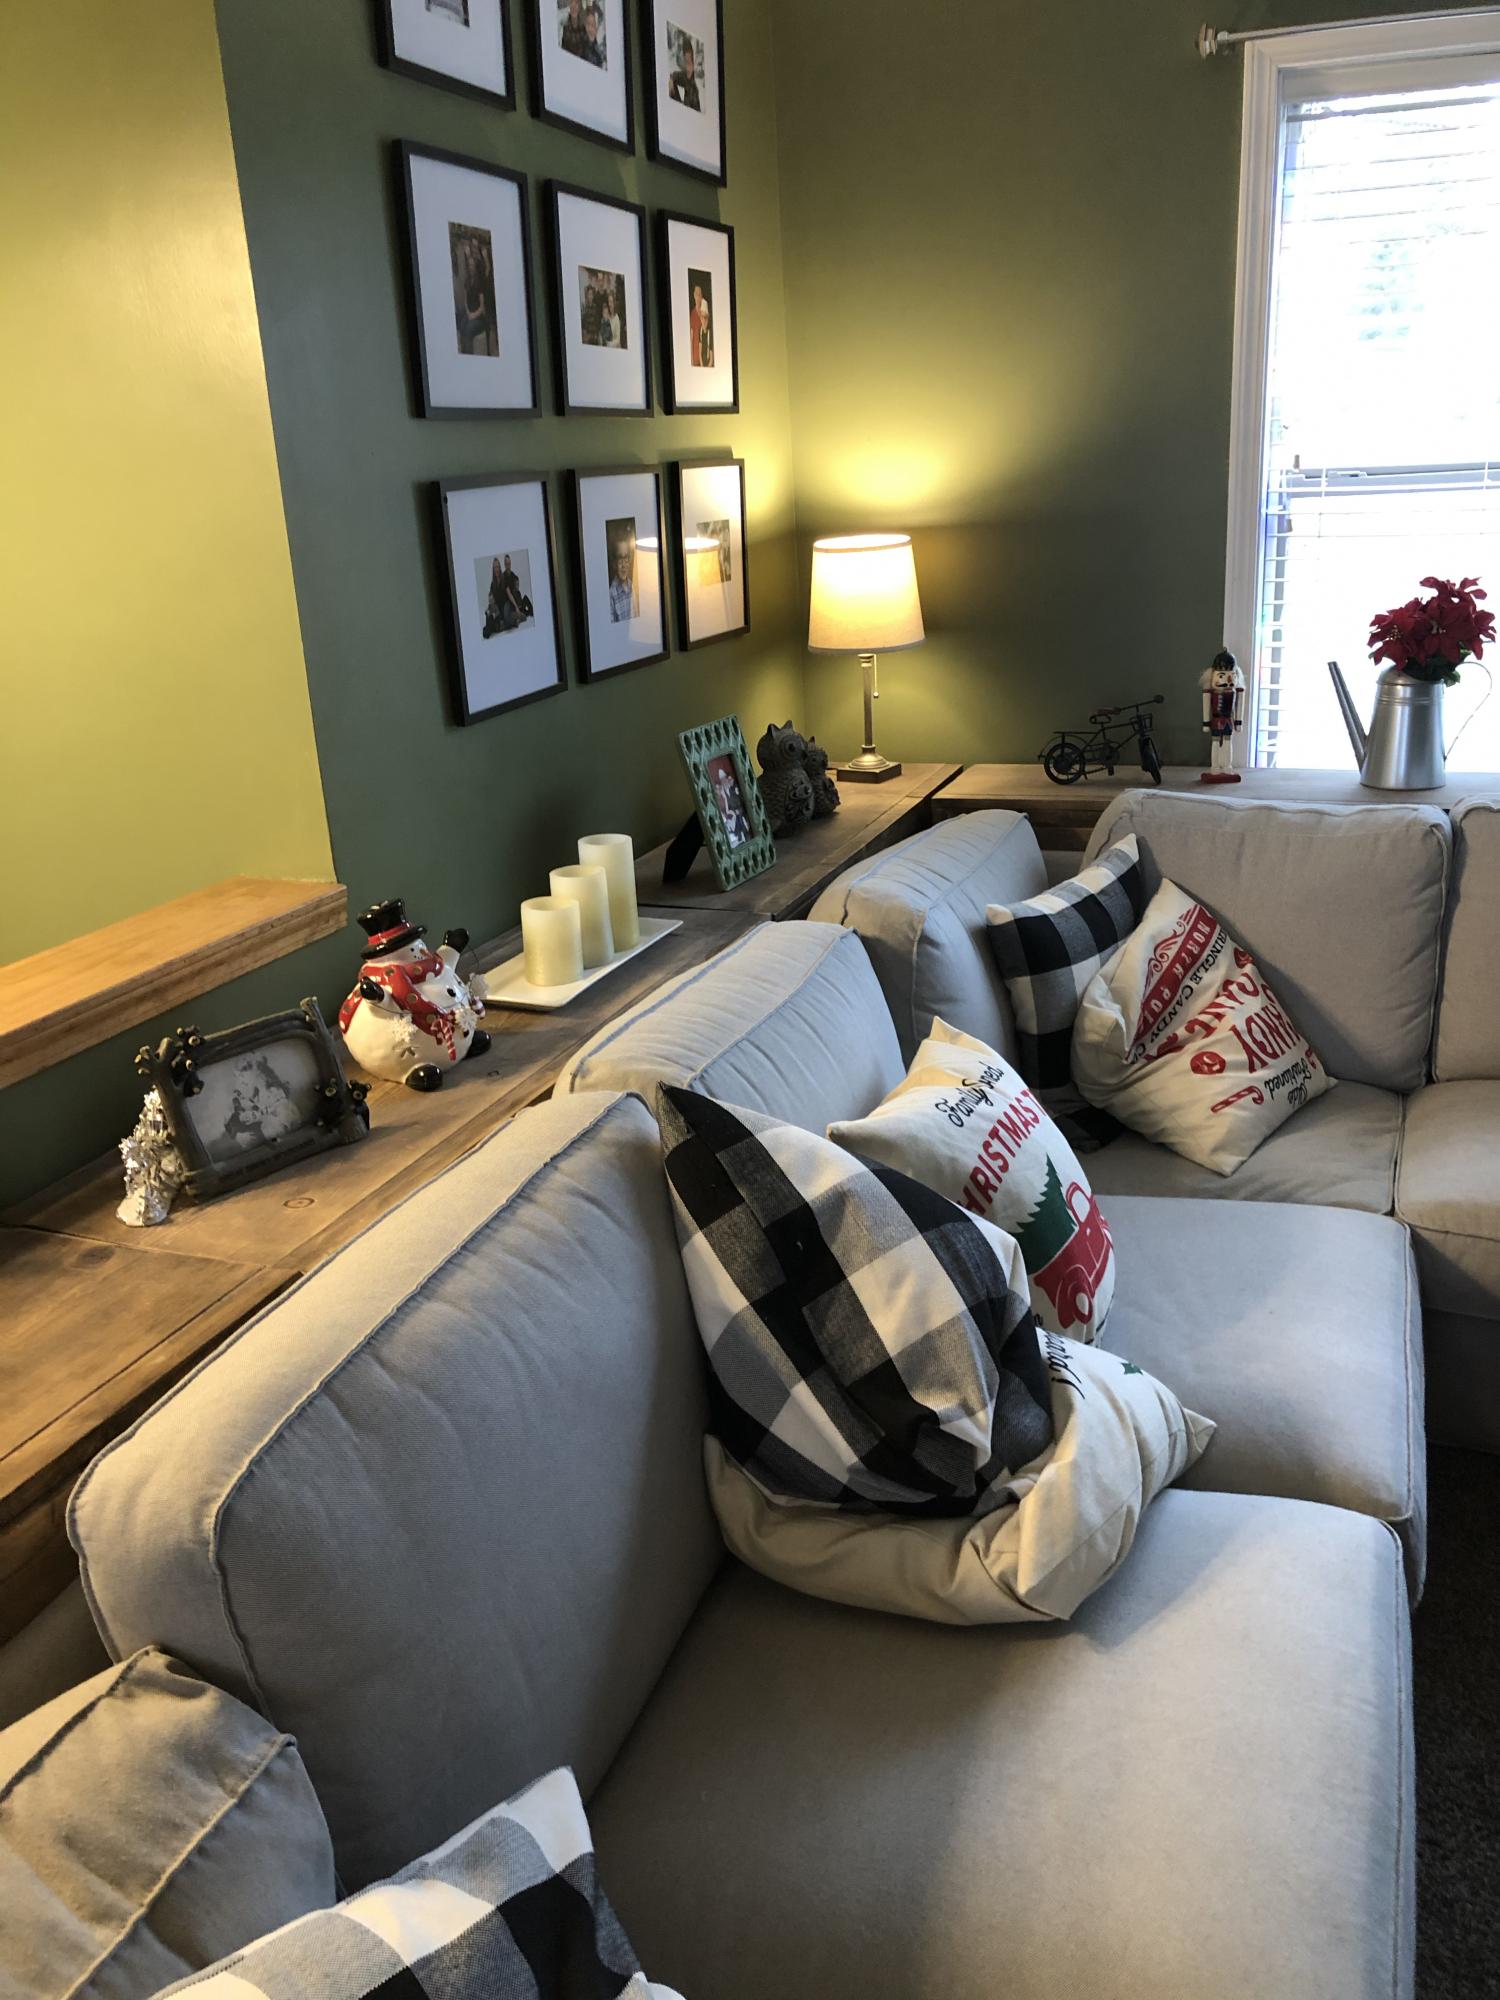
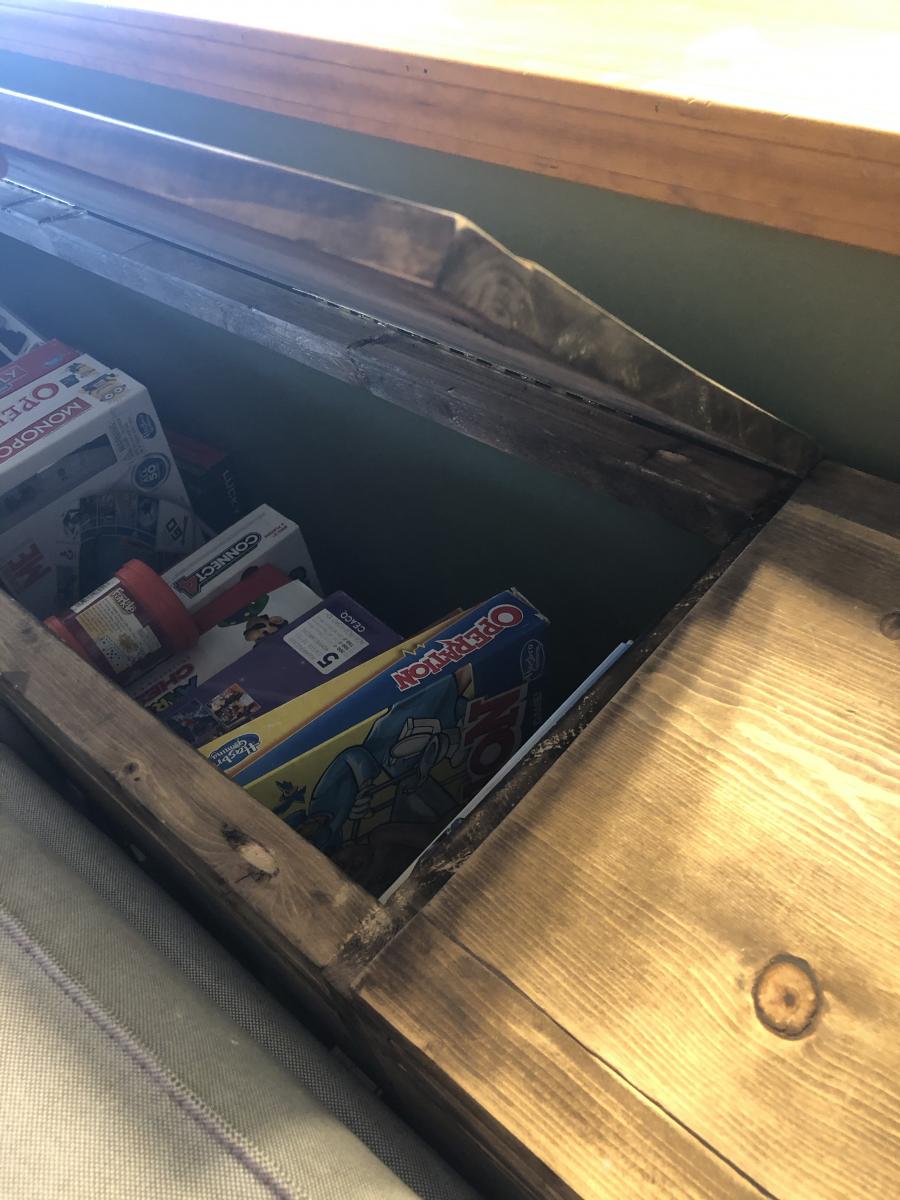
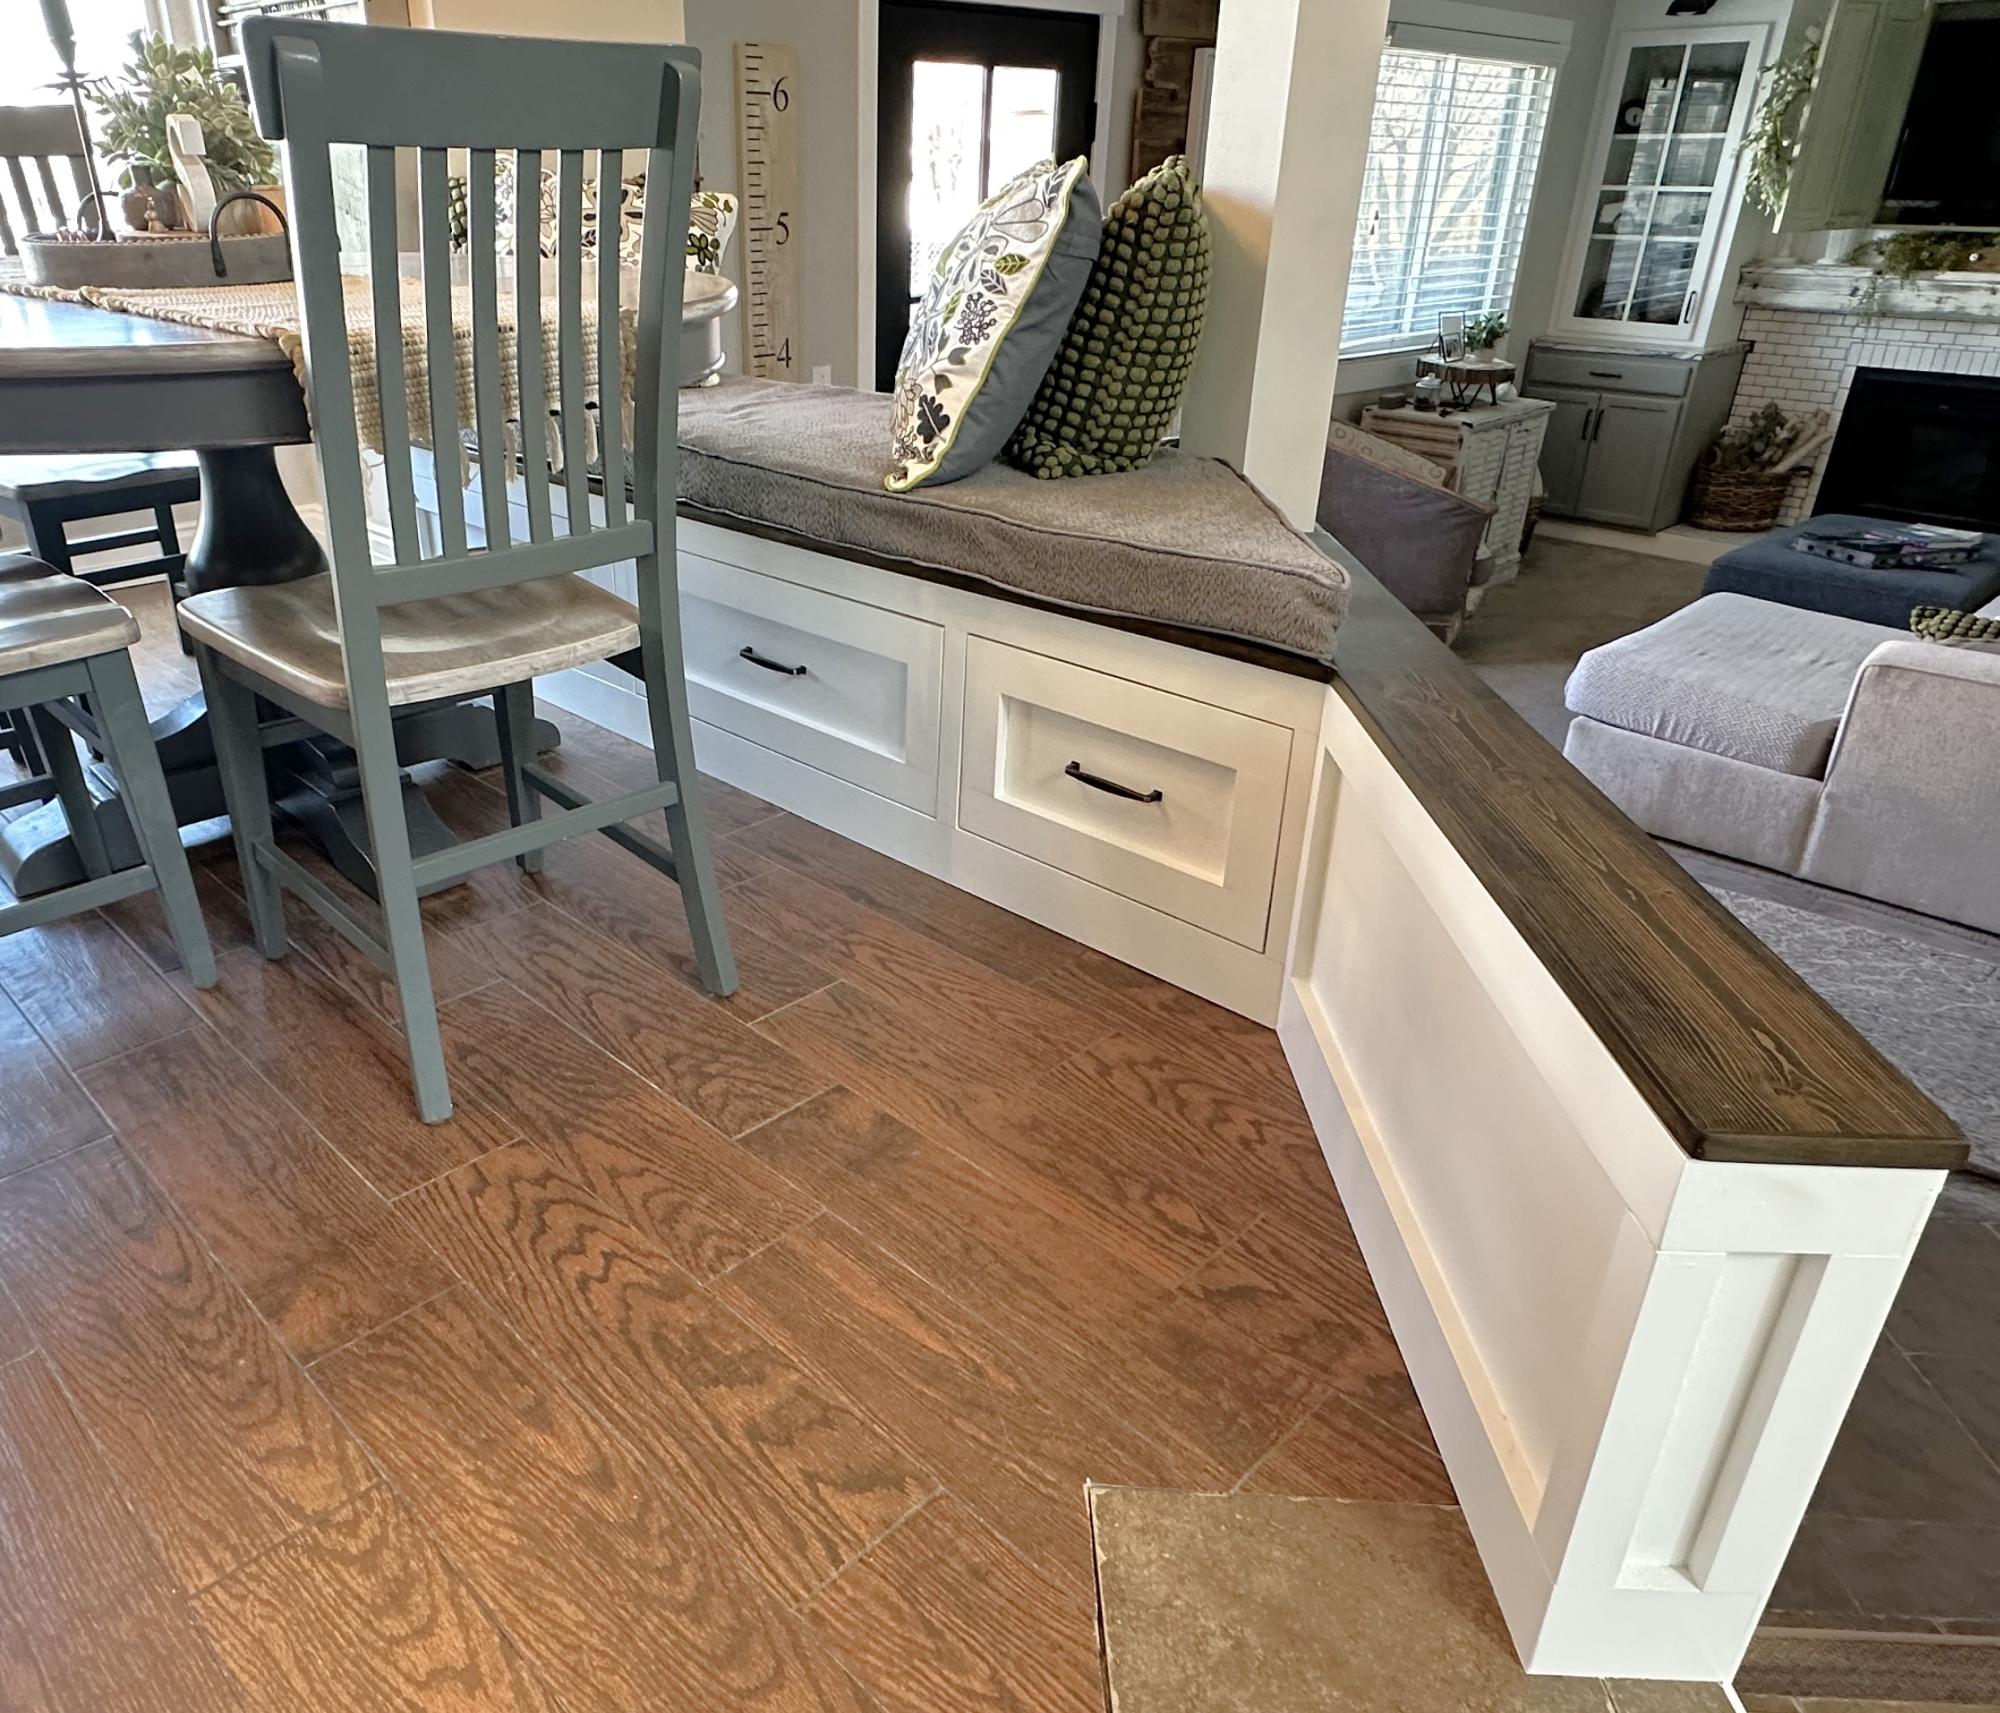
Our living room has no closets or storage. As a family we love to play board games and we love to cuddle on the couch with blankets. So, I was trying to come up with a sofa table for our large couch that also had a ton of storage. I looked all over the internet and could not come up with a solution. So, I decided to try here on Ana White and I found plans for a bookshelf. I adjusted the height to be just below the back cushions and went for it. I am not going to lie, it was not easy for me to adjust these plans and I DID make several small mistakes, but I am so glad I made this. We use it daily and it makes life so much easier. The only add I will do in the future is to add stoppers so when you raise the lid, it doesn't fall on your head. It makes life interesting though at the Van Lente household lol

Tue, 02/09/2021 - 22:53
I love this idea! Just curious - did you keep the bottom shelf of the bookshelves, or did you leave that off since it's not accessible behind your sectional?
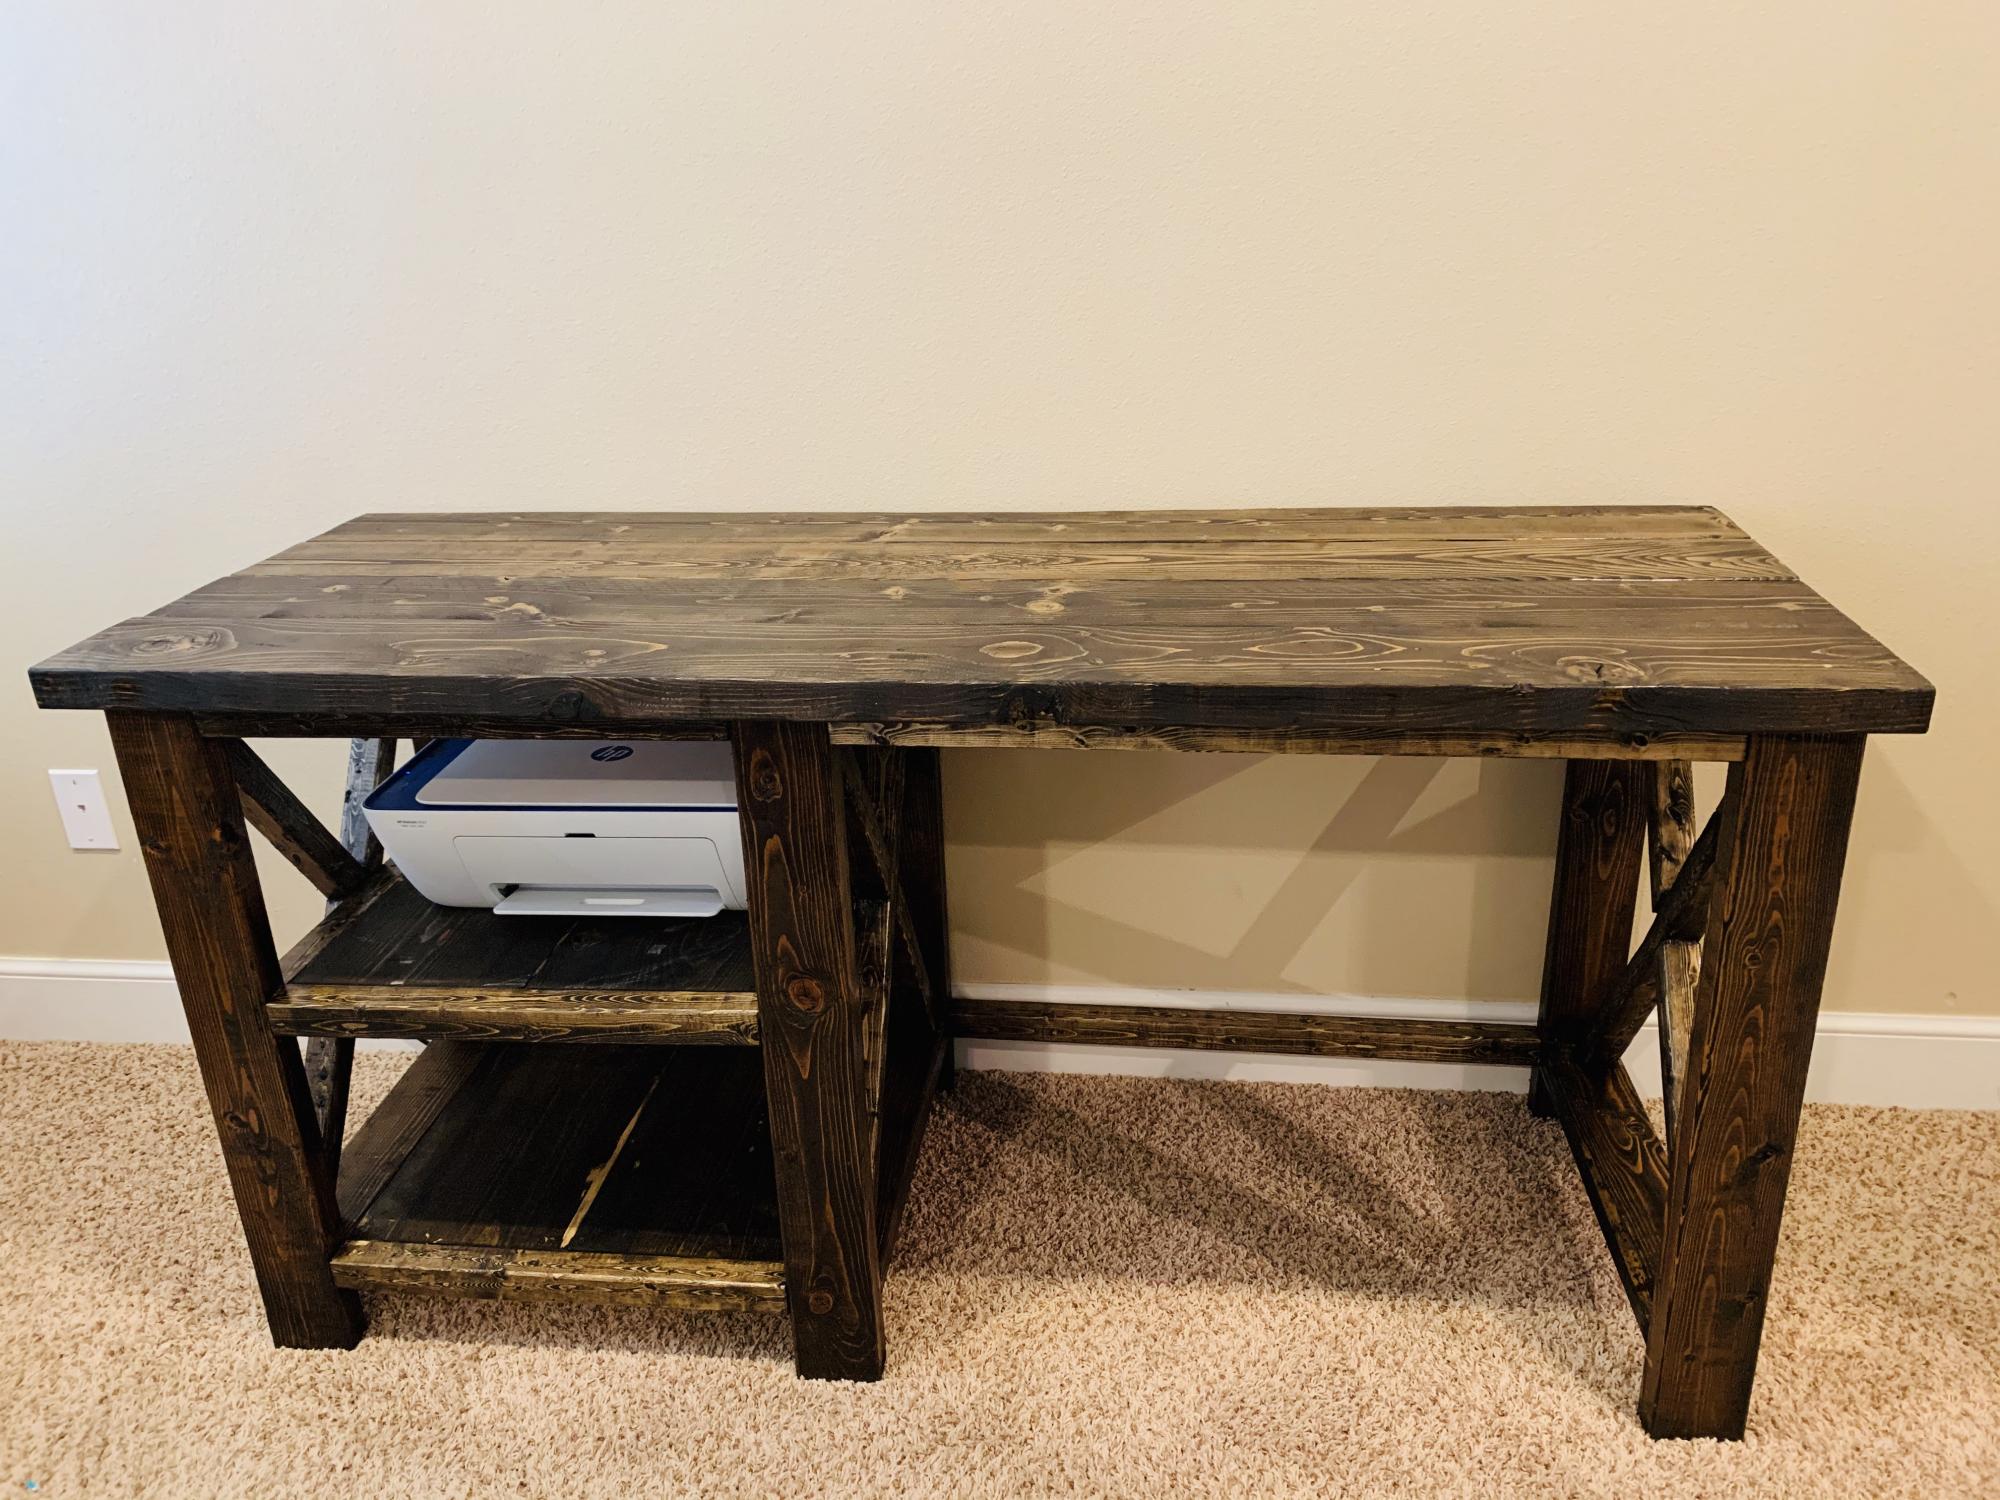
This was my first project. I followed the plans exactly! I LOVE it! It is a perfect desk that I will be using to work through this remote teaching I'm having to do. Thank you for the plans. Next up-Rustic X Console!
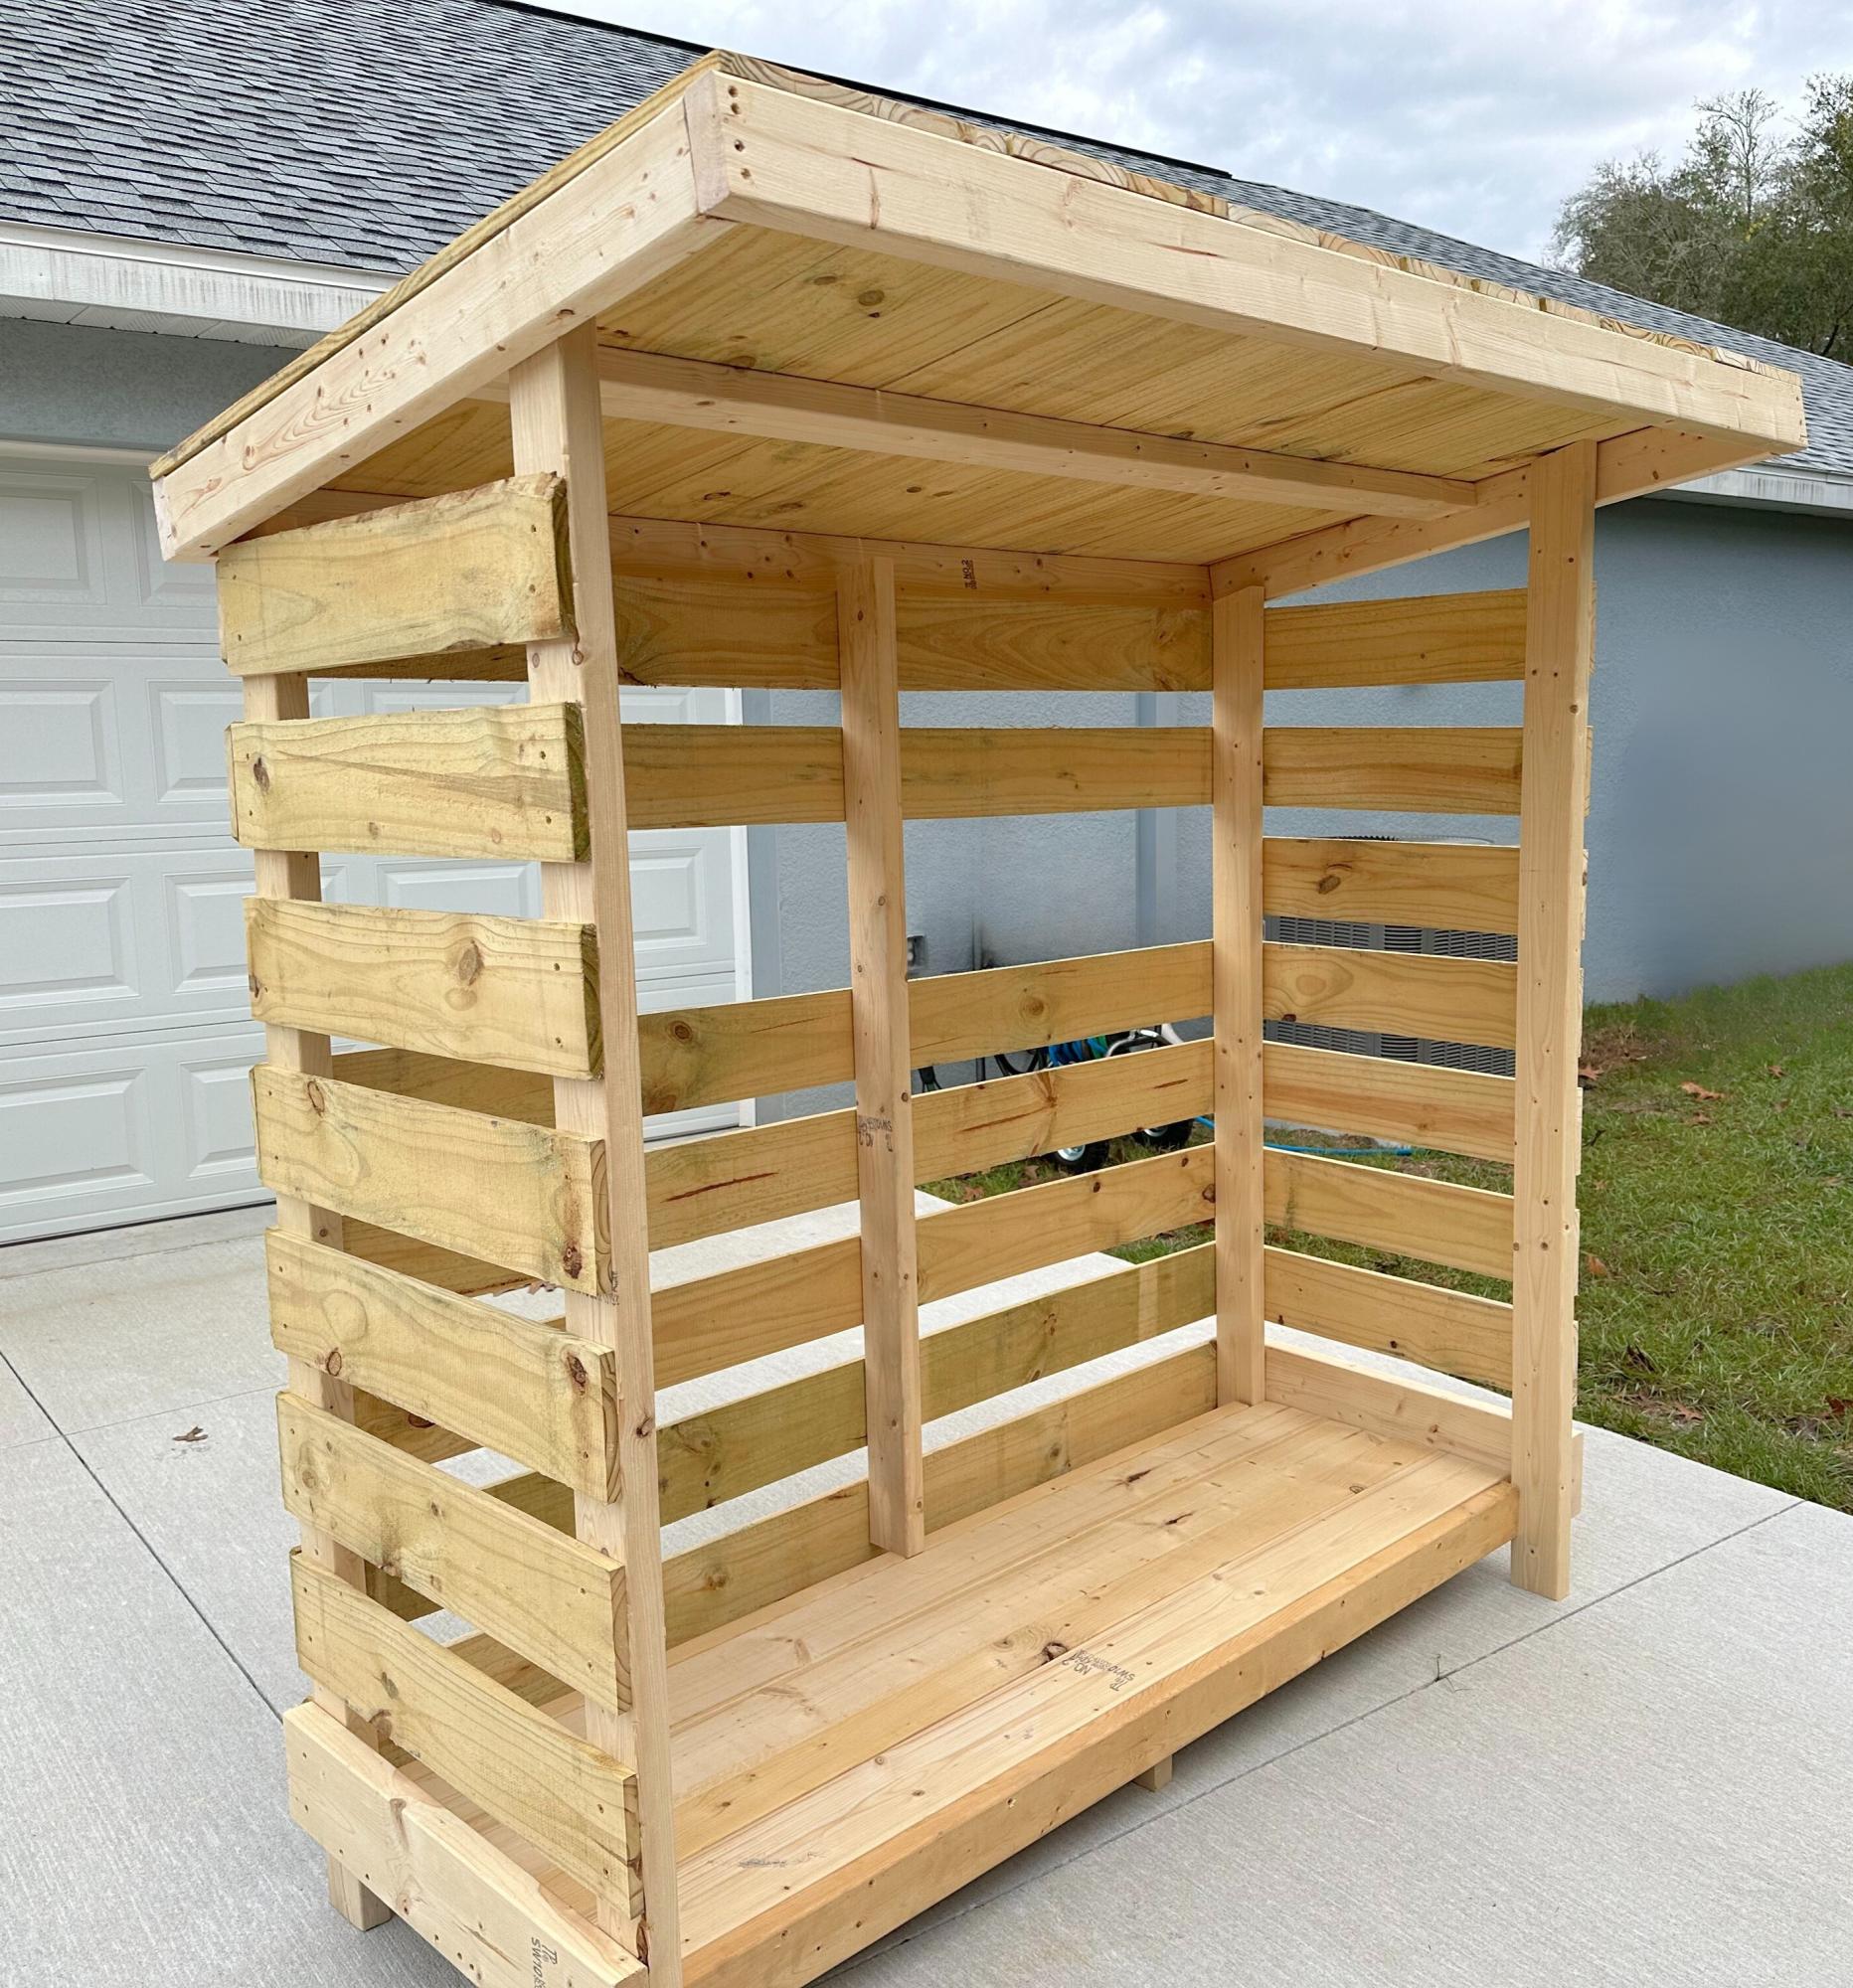
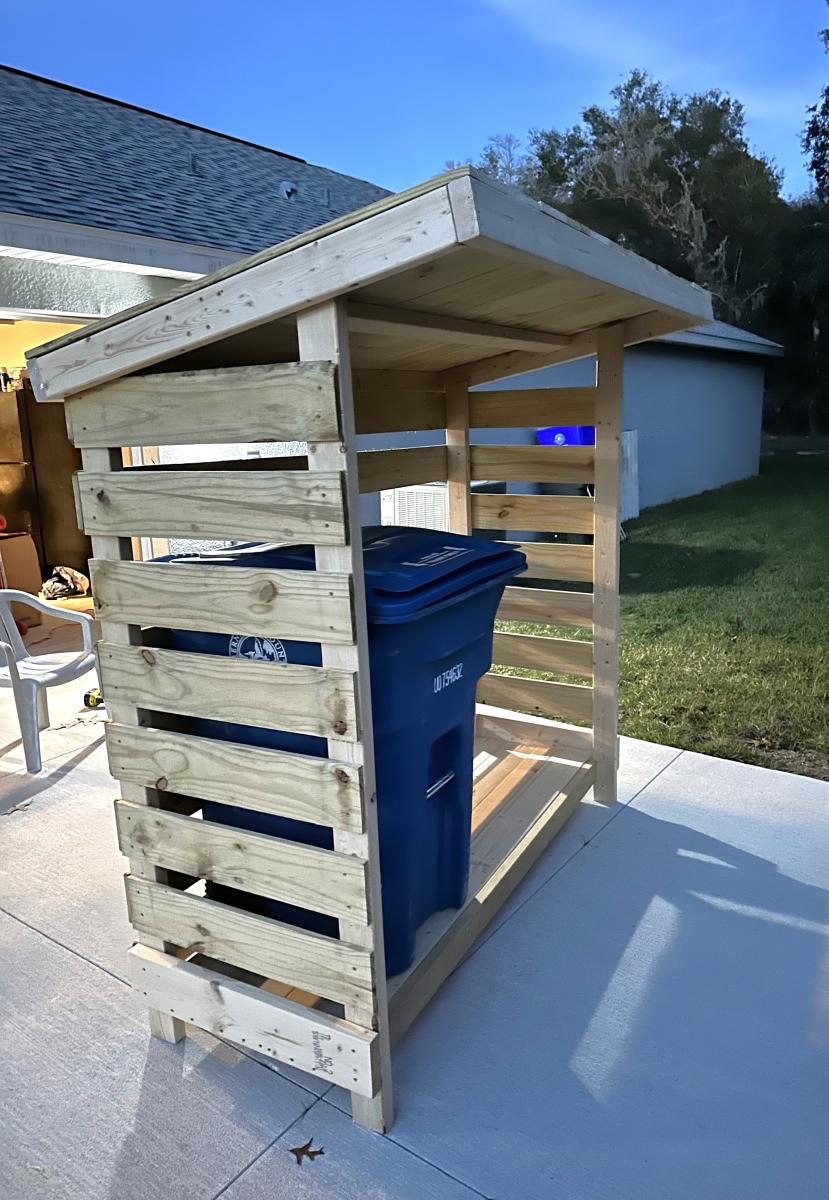
Chose the small firewood shed project as a "template" if you will .. built this to house our garbage cans and eventually put a gate on it to "help deter" the Florida black bears (we do multiple things to keep them at bay) but this will also just be a nicer looking way to keep the cans outside.
I modified the floor since the firewood shed had a floor that was suitable for, well, firewood but not so much for rolling garbage cans. Had to leave the one slat off the back for the depth of the can which I didn't completely account for in the beginning. Overall, still need to paint it and water seal it but happy with how it turned out.

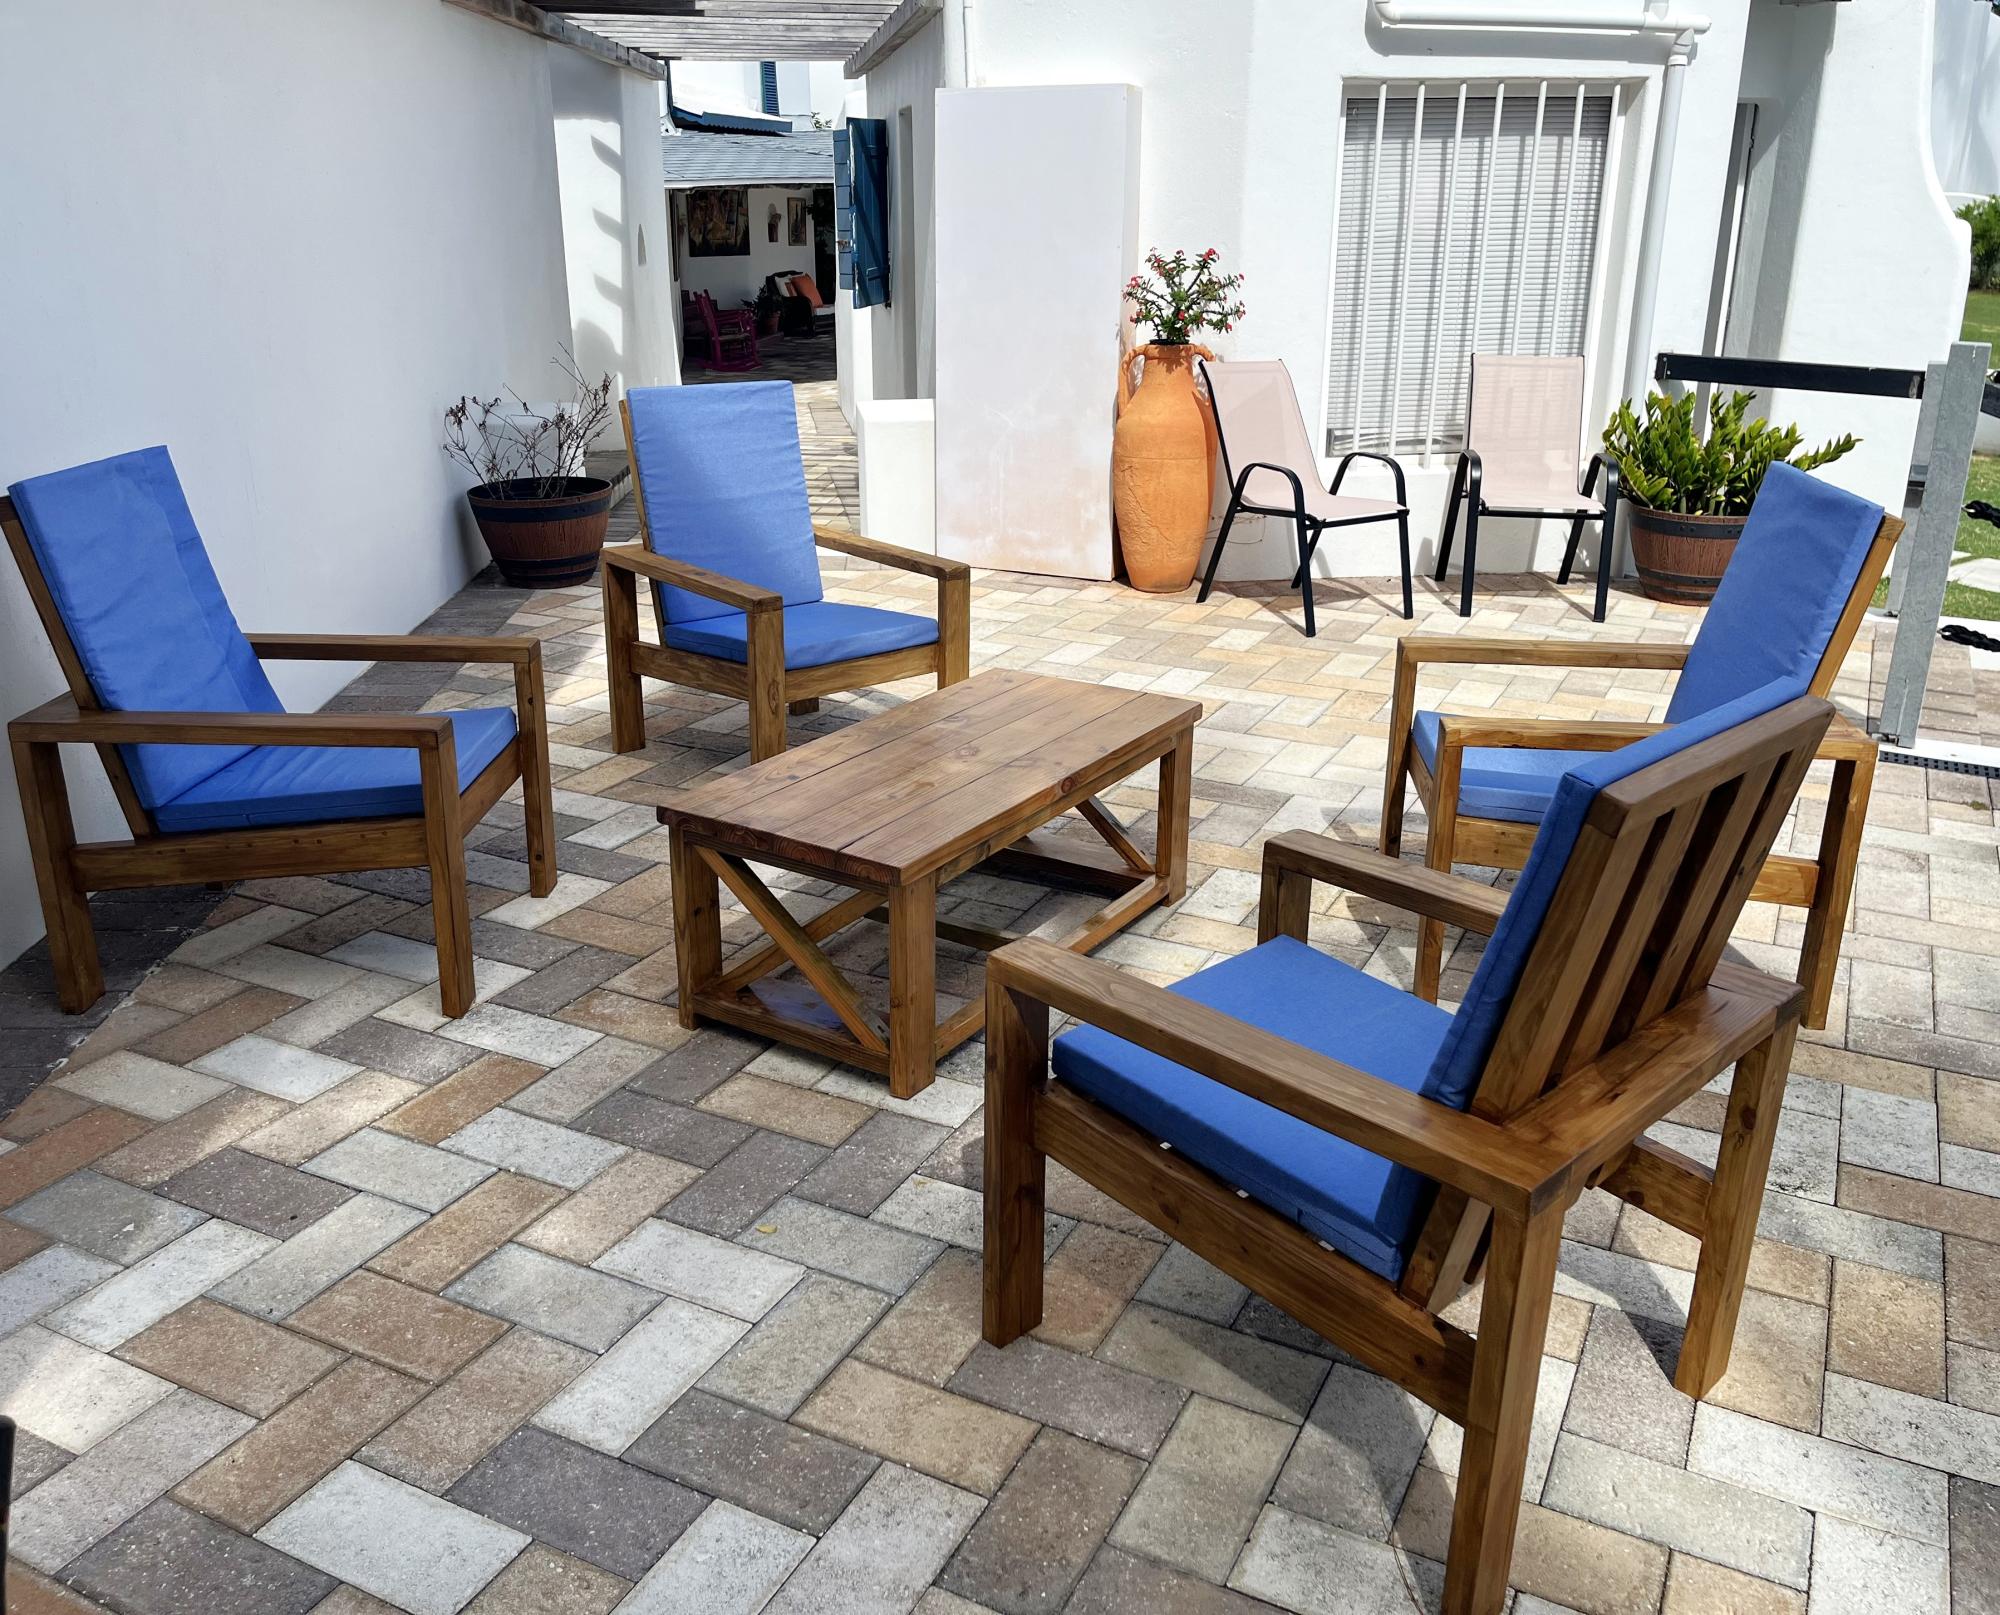
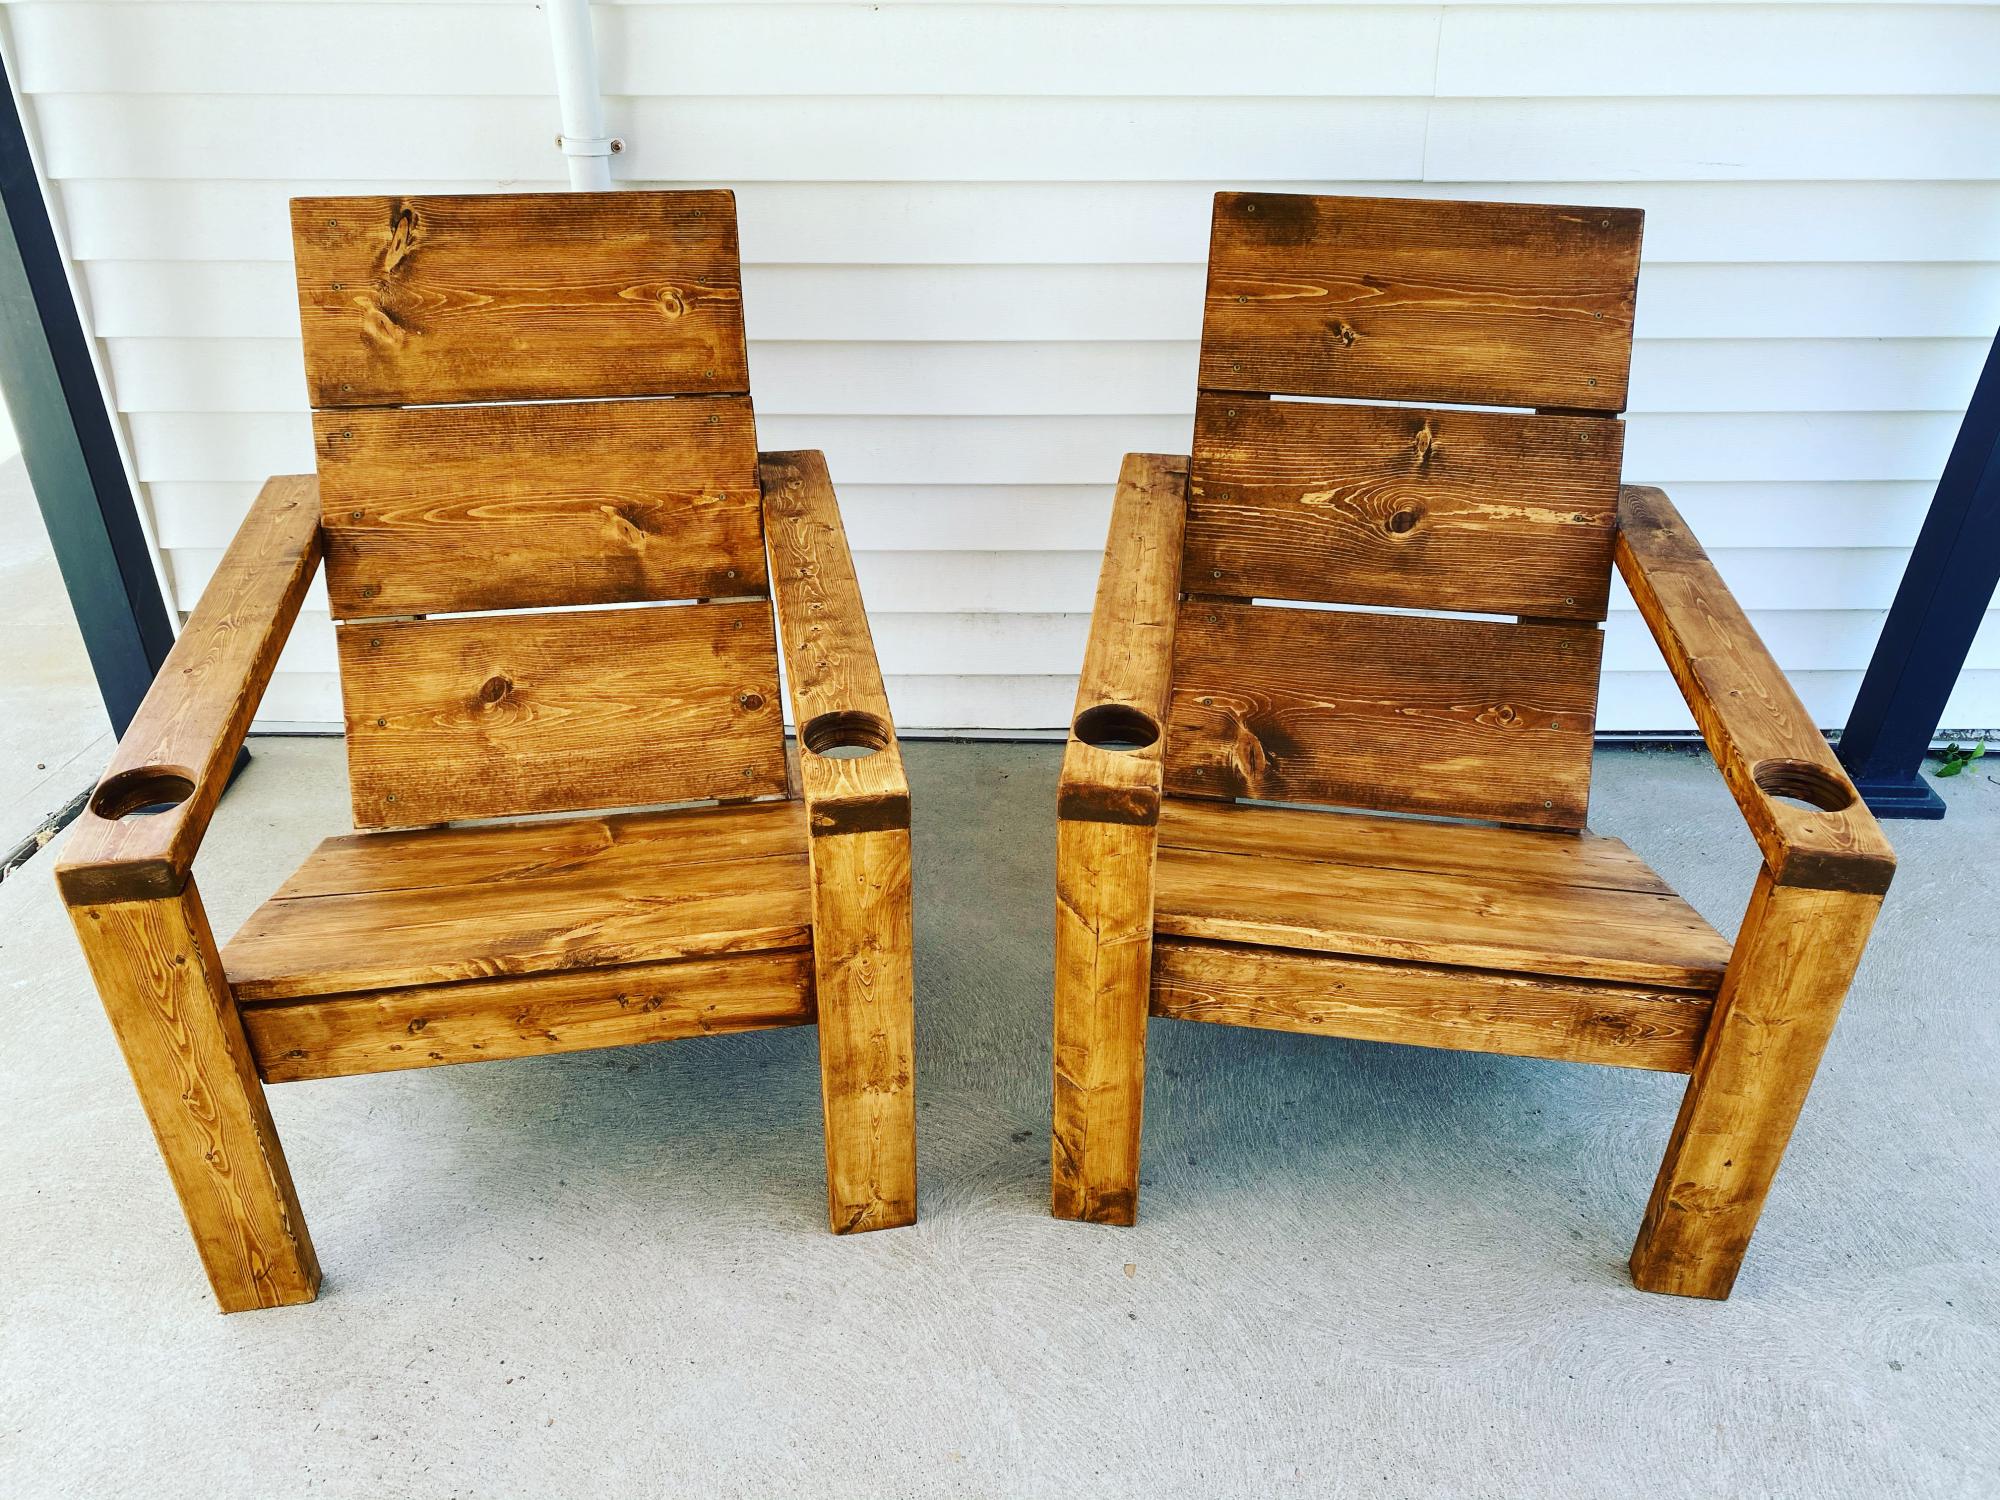
Modified with a high back and modern adirondack arms.
The base of the chair is built exactly to the plan except that the arms are done in a modern adirondack style.
The back was made independently to fit inside the base and then attached to the plan base.
Very comfortable but very heavy chair even without the modified back.
Not stained yet obviously.
Cushions are hard to find I think I would make it slightly smaller next time and maybe even find the cushions first and alter the plan to fit.


Tue, 06/09/2020 - 09:11
Stained with Saman: Urban Grey mixed with some left over brown 4:1 and now has a companion side table
Wed, 06/24/2020 - 07:33
Do you have the plans for the table you built? Im a brand ne beginner. I am trying the modern outdoor chairs and live this table with them.
Great outdoor builds!
by Dennis
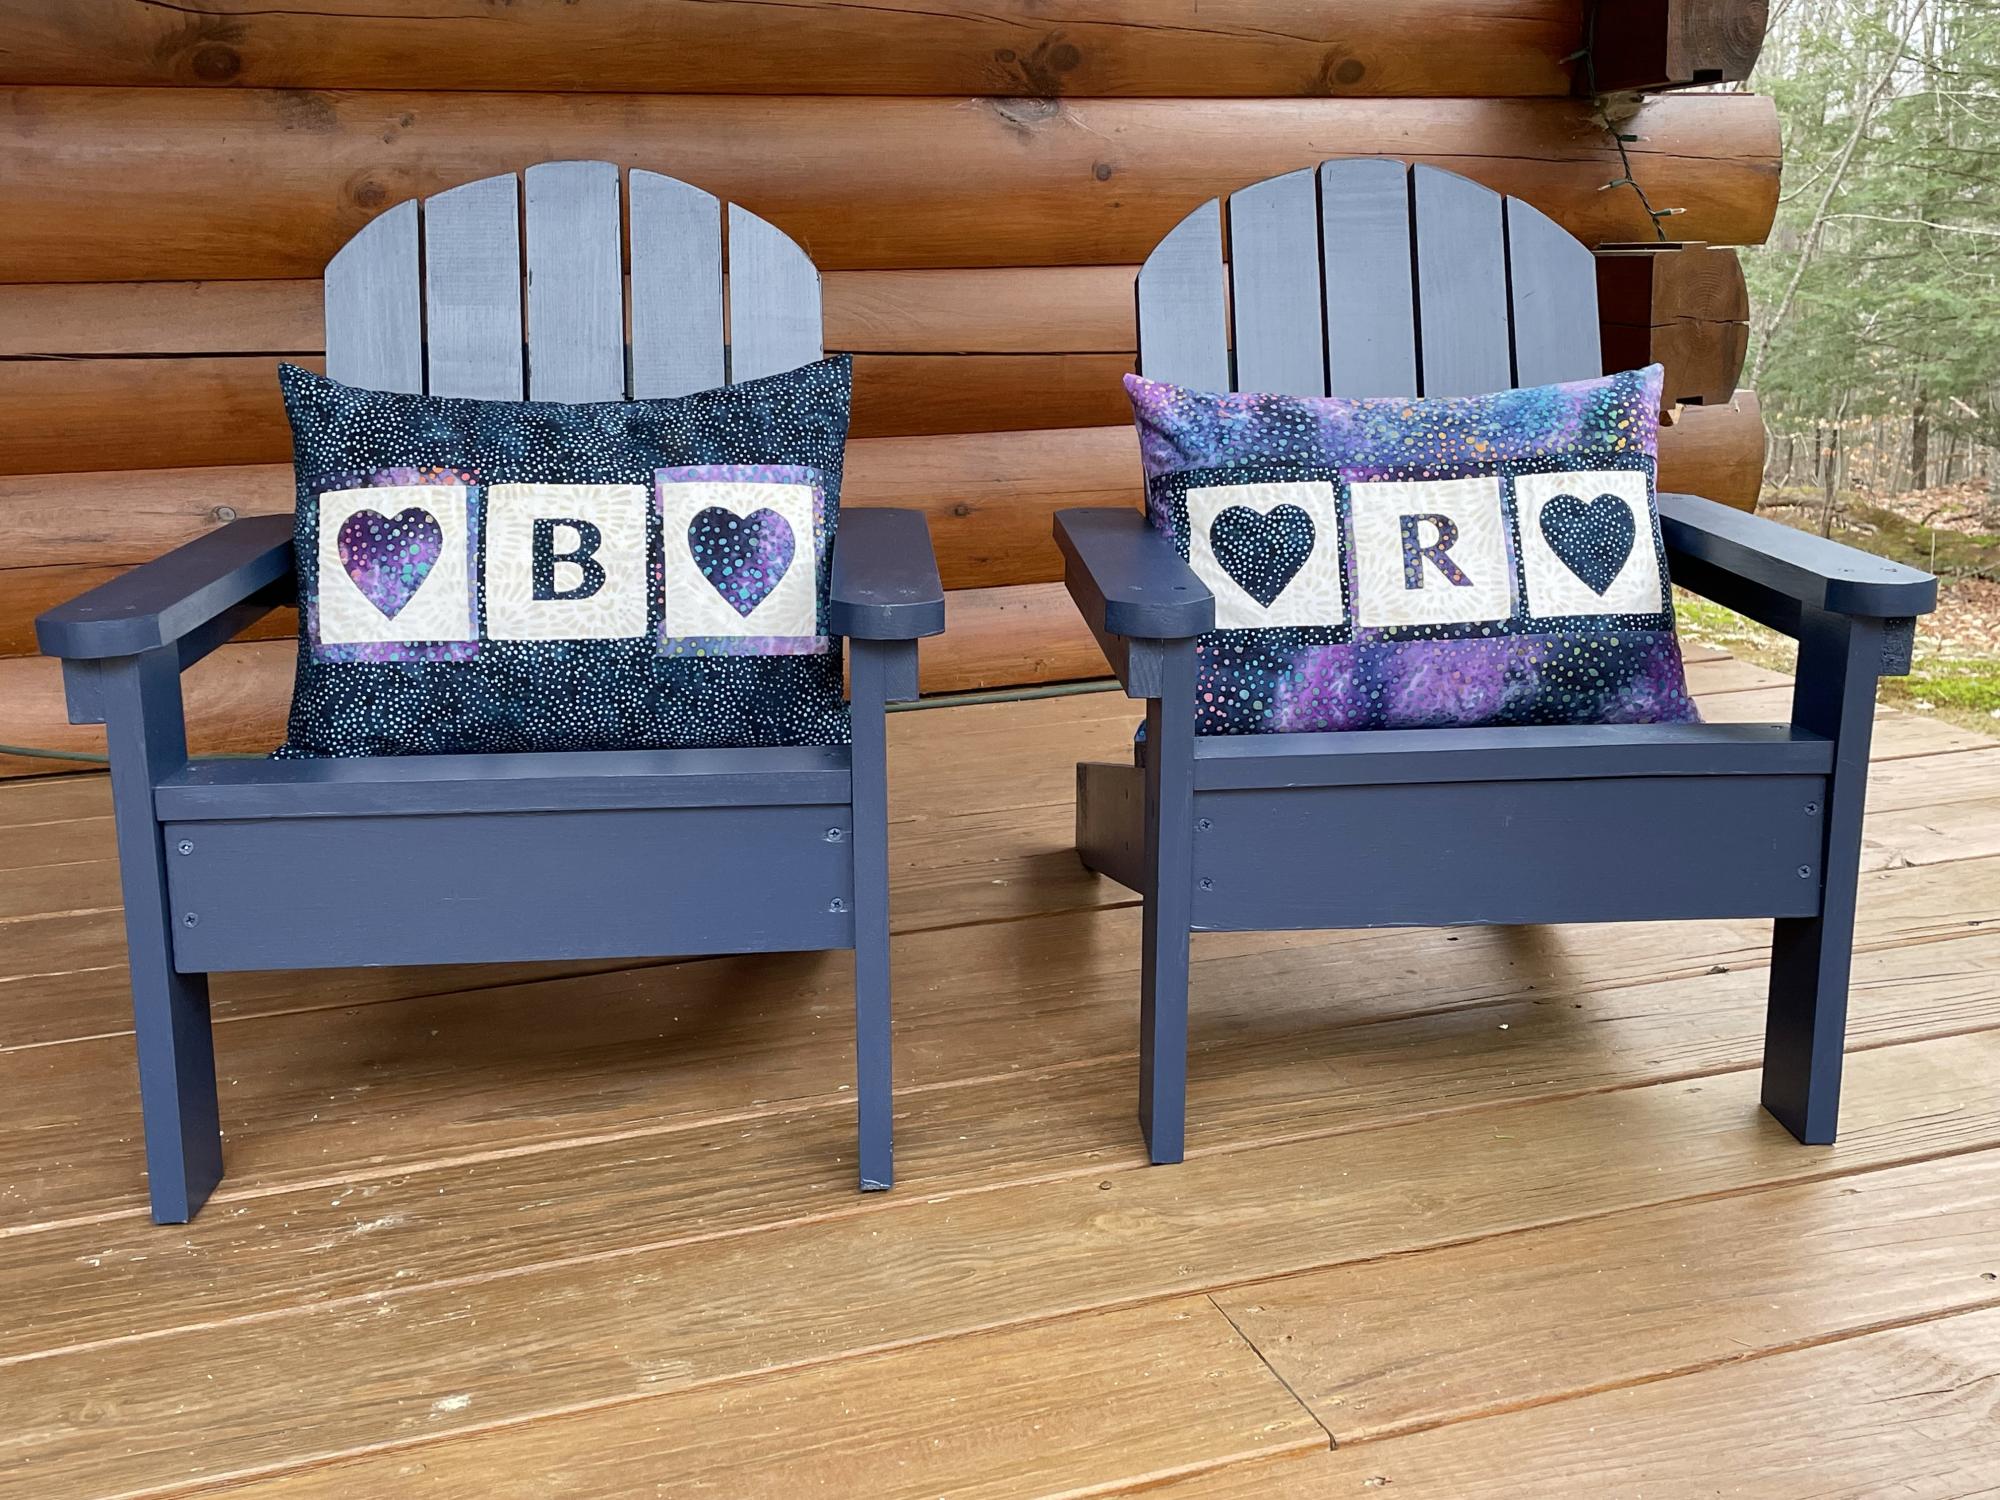
I used your plans to create this pair of grandchild Christmas gifts. They were a huge hit!
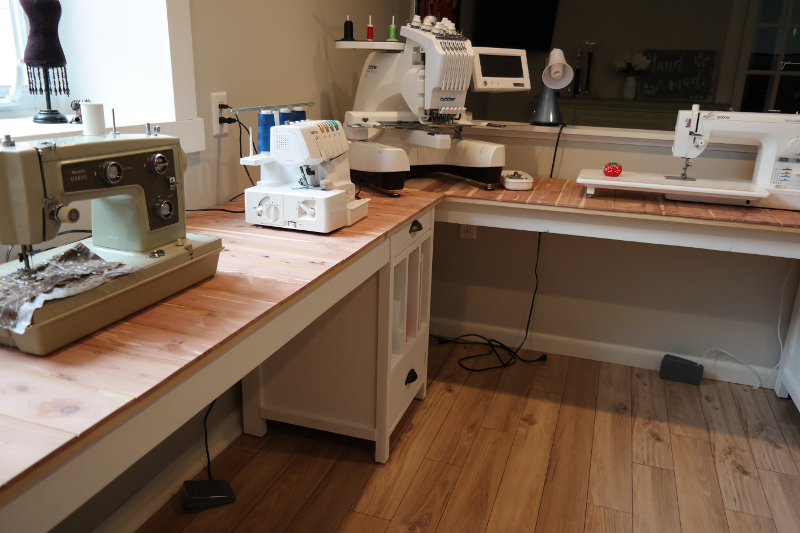
I have a friend who makes beautiful quilts. She's been doing this by sitting on the floor to cut her fabric and plopping her sewing machine on a wobbly folding table. When she decided to turn her guest room into a dual purpose sewing/guest room she asked me to build her something that would fit into a niche under her dormer window.
The built in table has two large drawers for sewing notions and is supported at the back by a shelving unit with adjustable shelves. She plans to store items that she seldom uses here. They will be accessible, but out of the way and barely visible when she has guests using her room.
I suggested that I also build Anna's sewing table for small spaces so that she use that as a night stand when not in use as a cutting table.
I usually don't finish projects I build for others - I'm just not good at it! But, my friend asked me to put a finish on it. She picked out the Minwax polyshades product, and I have to tell you that it was a nightmare! (You can read about that here: http://thewidowsworkshop.blogspot.com/2012/06/lessons-learned-again.html)
I ended up using a stripping product to remove that finish. The final finish, just a stain and rub on poly, turned out beautifully!
Installation was also a challenge, but using brute force - and a hammer! - I was able to fit it between those very out-of-square walls!
She's happy, I'm happy to be done!
Not pretty, but not bad for a start while working with an 11,7 and 5 yr old.
Modern Adirondack chairs with added cup holder holes. Will be adding cup holder inserts as well.
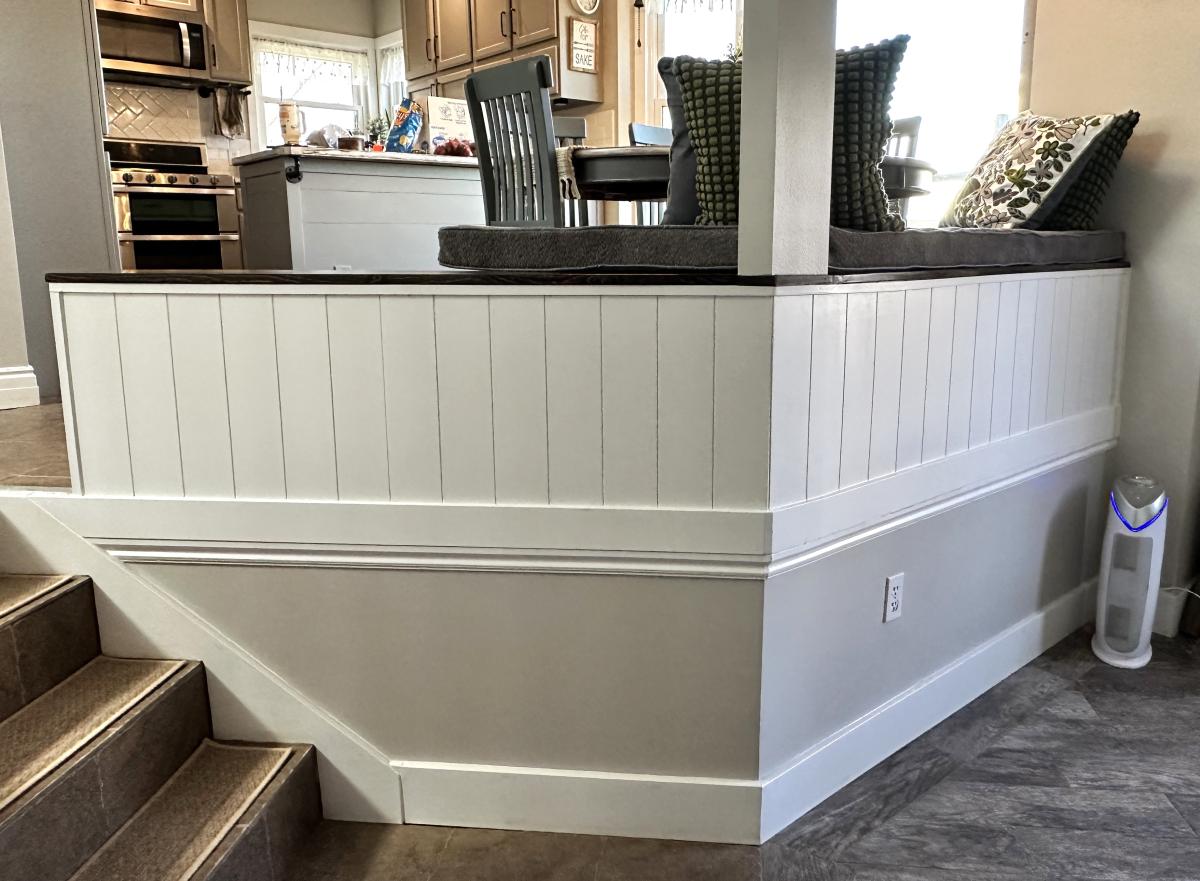
My bench build is a replacement for our old banister. We will be adding pipe rails for a backrest to bring it up to code.


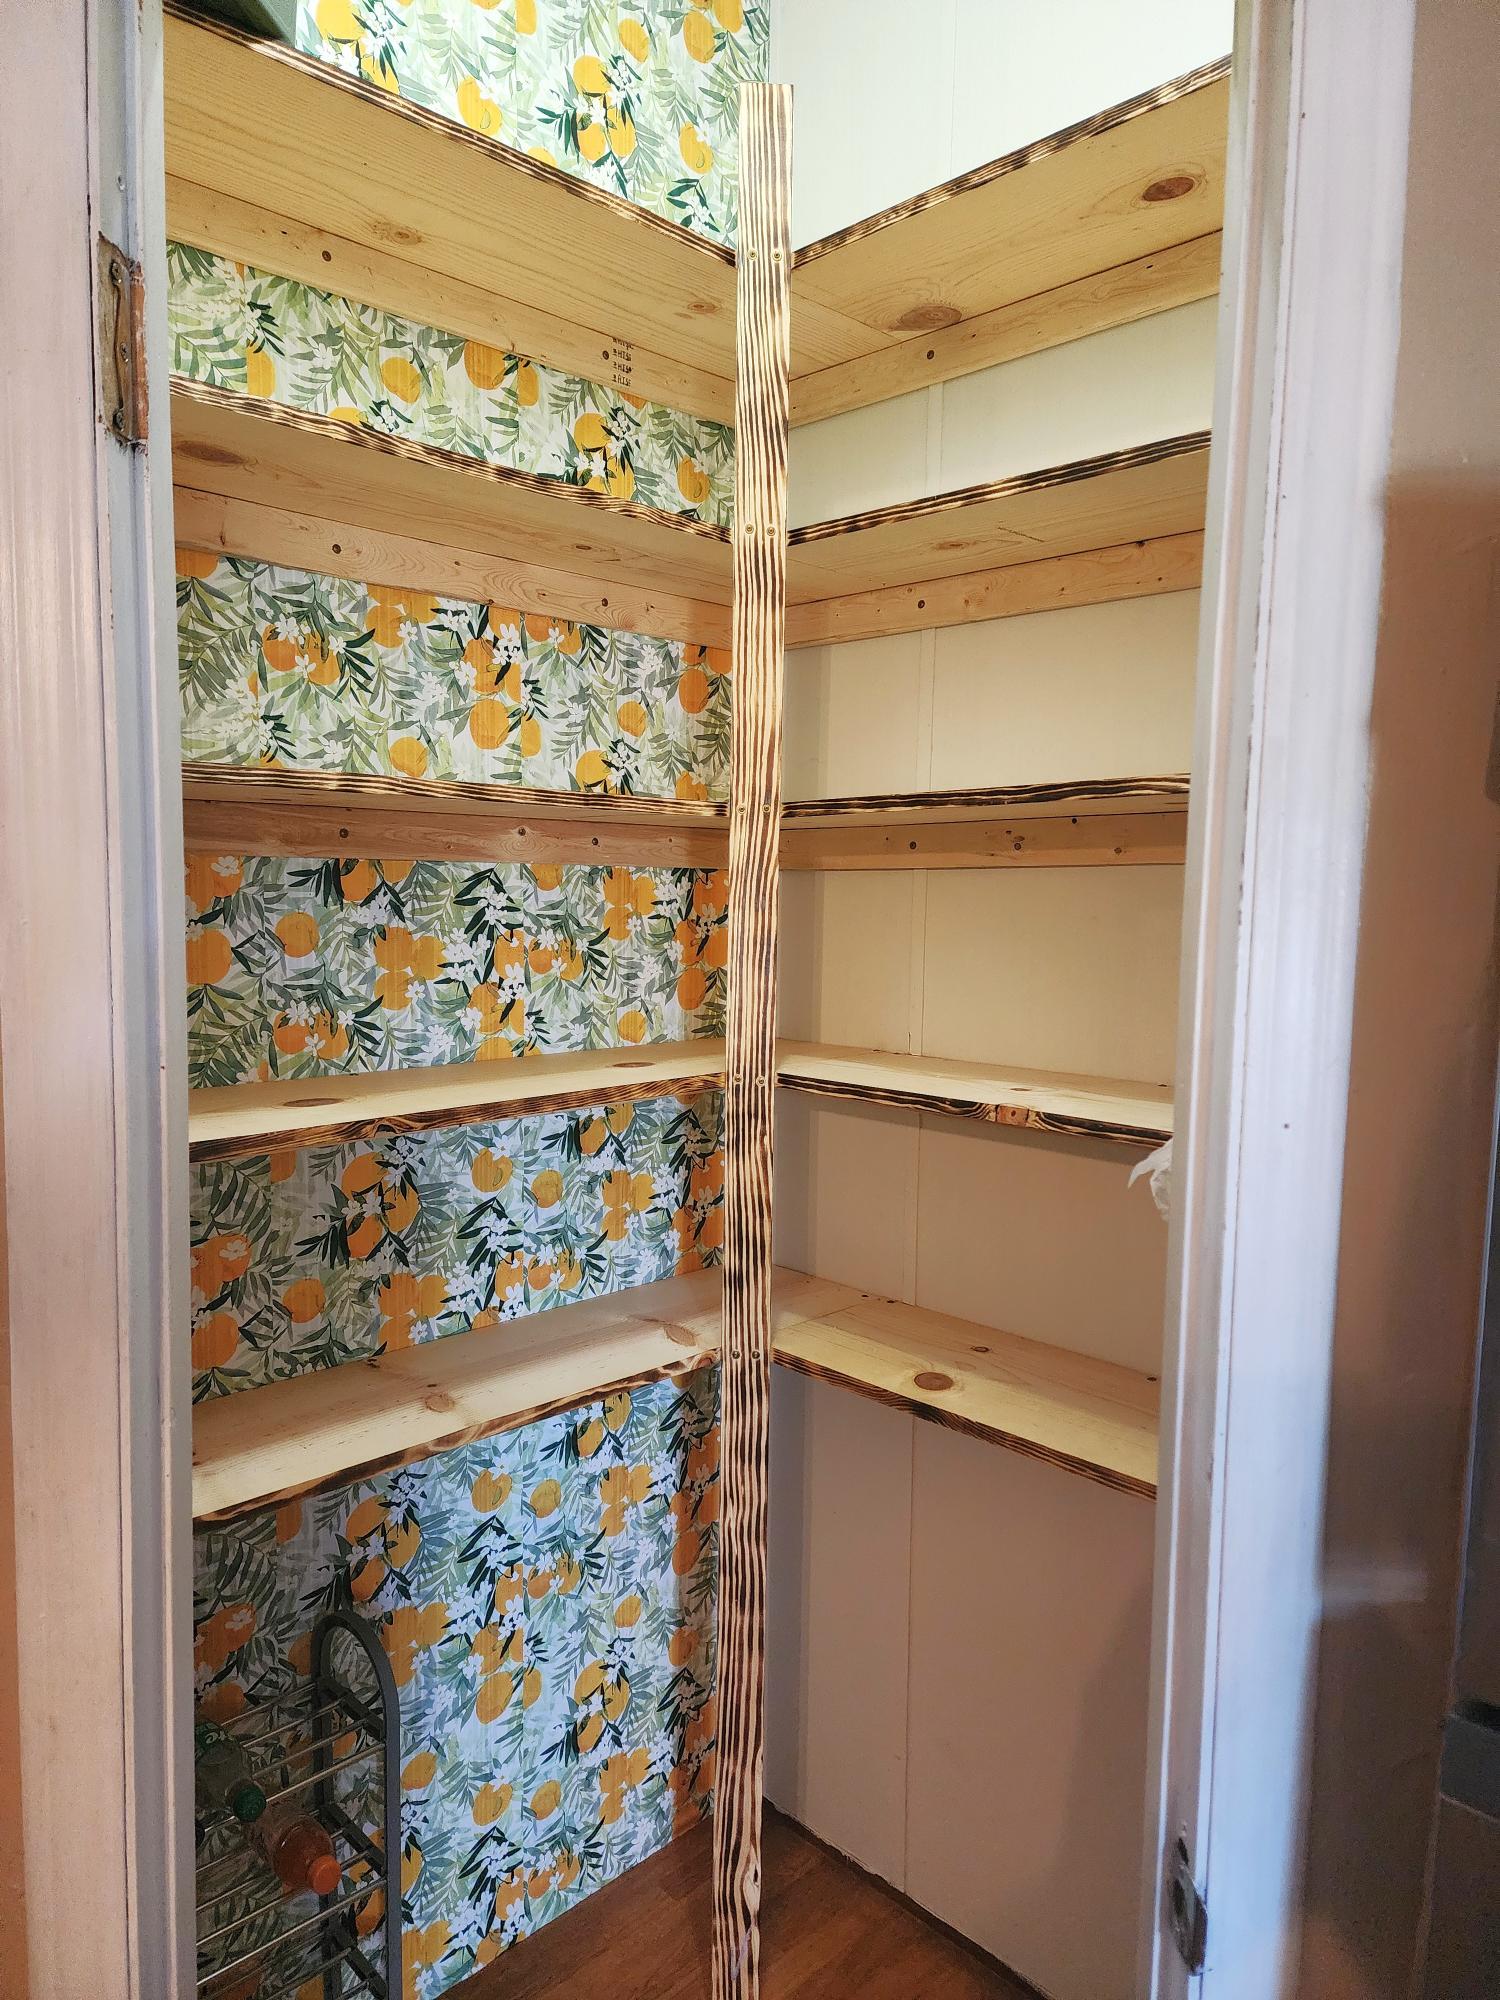
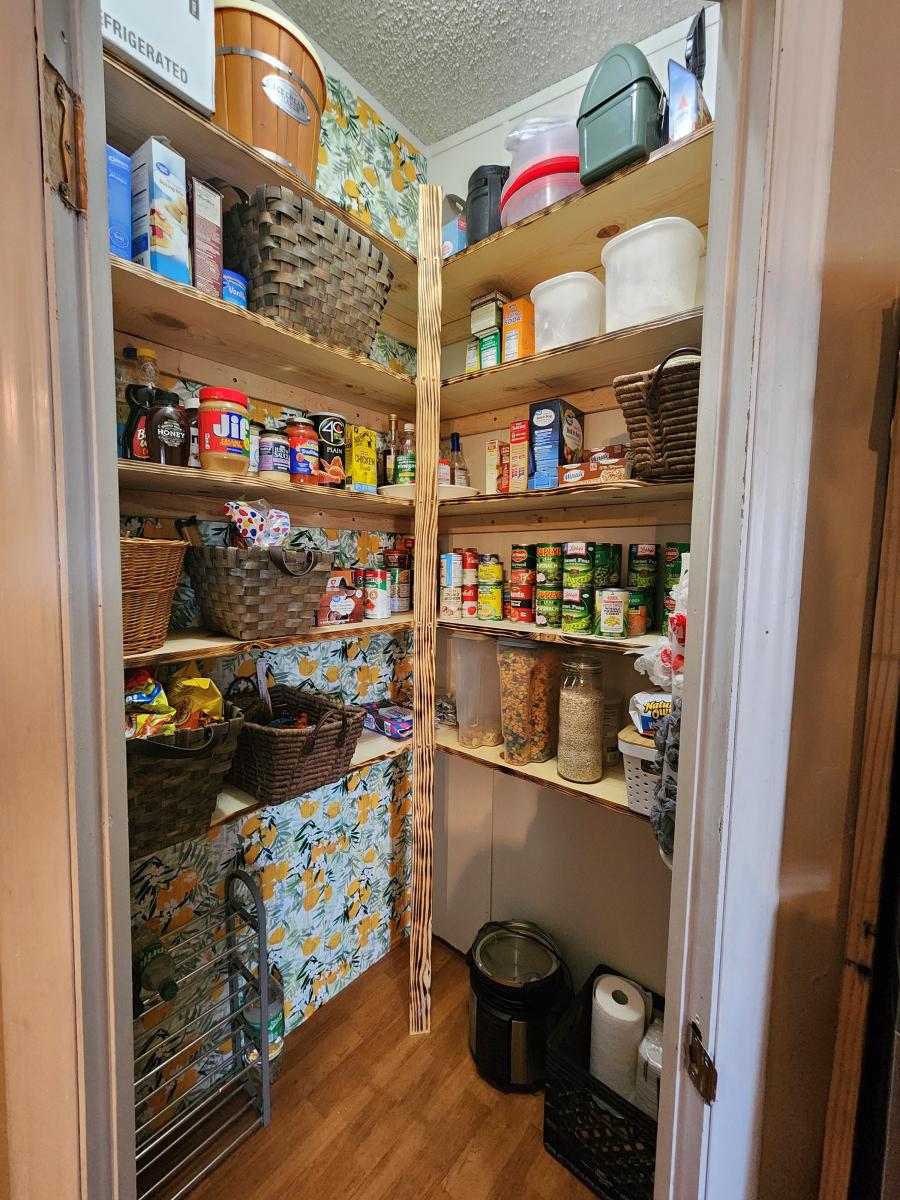
Replaced our wire metal shelving with this easy to follow plan. My first time doing a project like this and it turned out amazing!
Lindsey

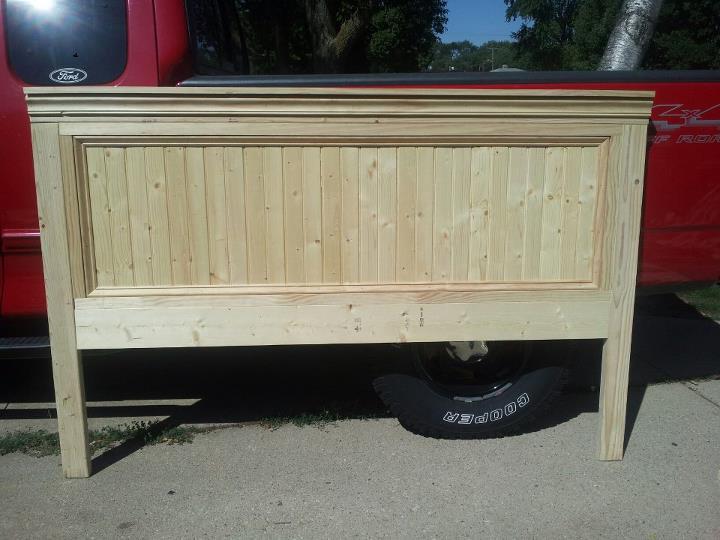
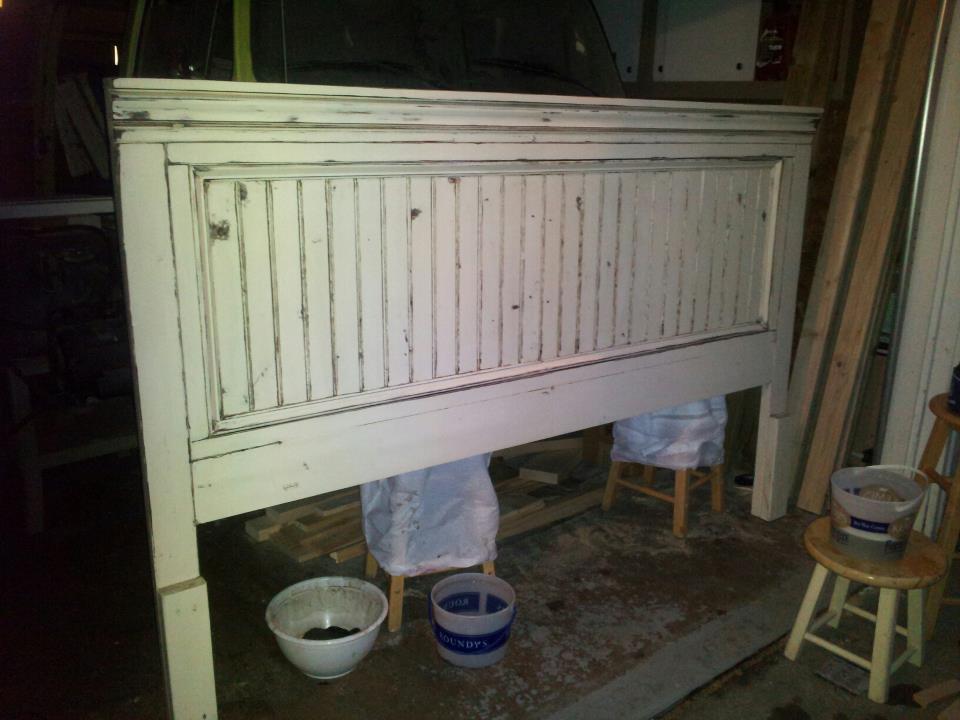
Mom's Fancy Farmhouse in California King, Glazed.
I used the headboard measurements from the original plan, and the width/length measurements from the California King plan. My first plan was to distress (above picture) and I loved it, but when I brought it downstairs it didnt really match... So I repainted and Glazed :) Not to bad for buying my first "power tool" less than a month ago!!

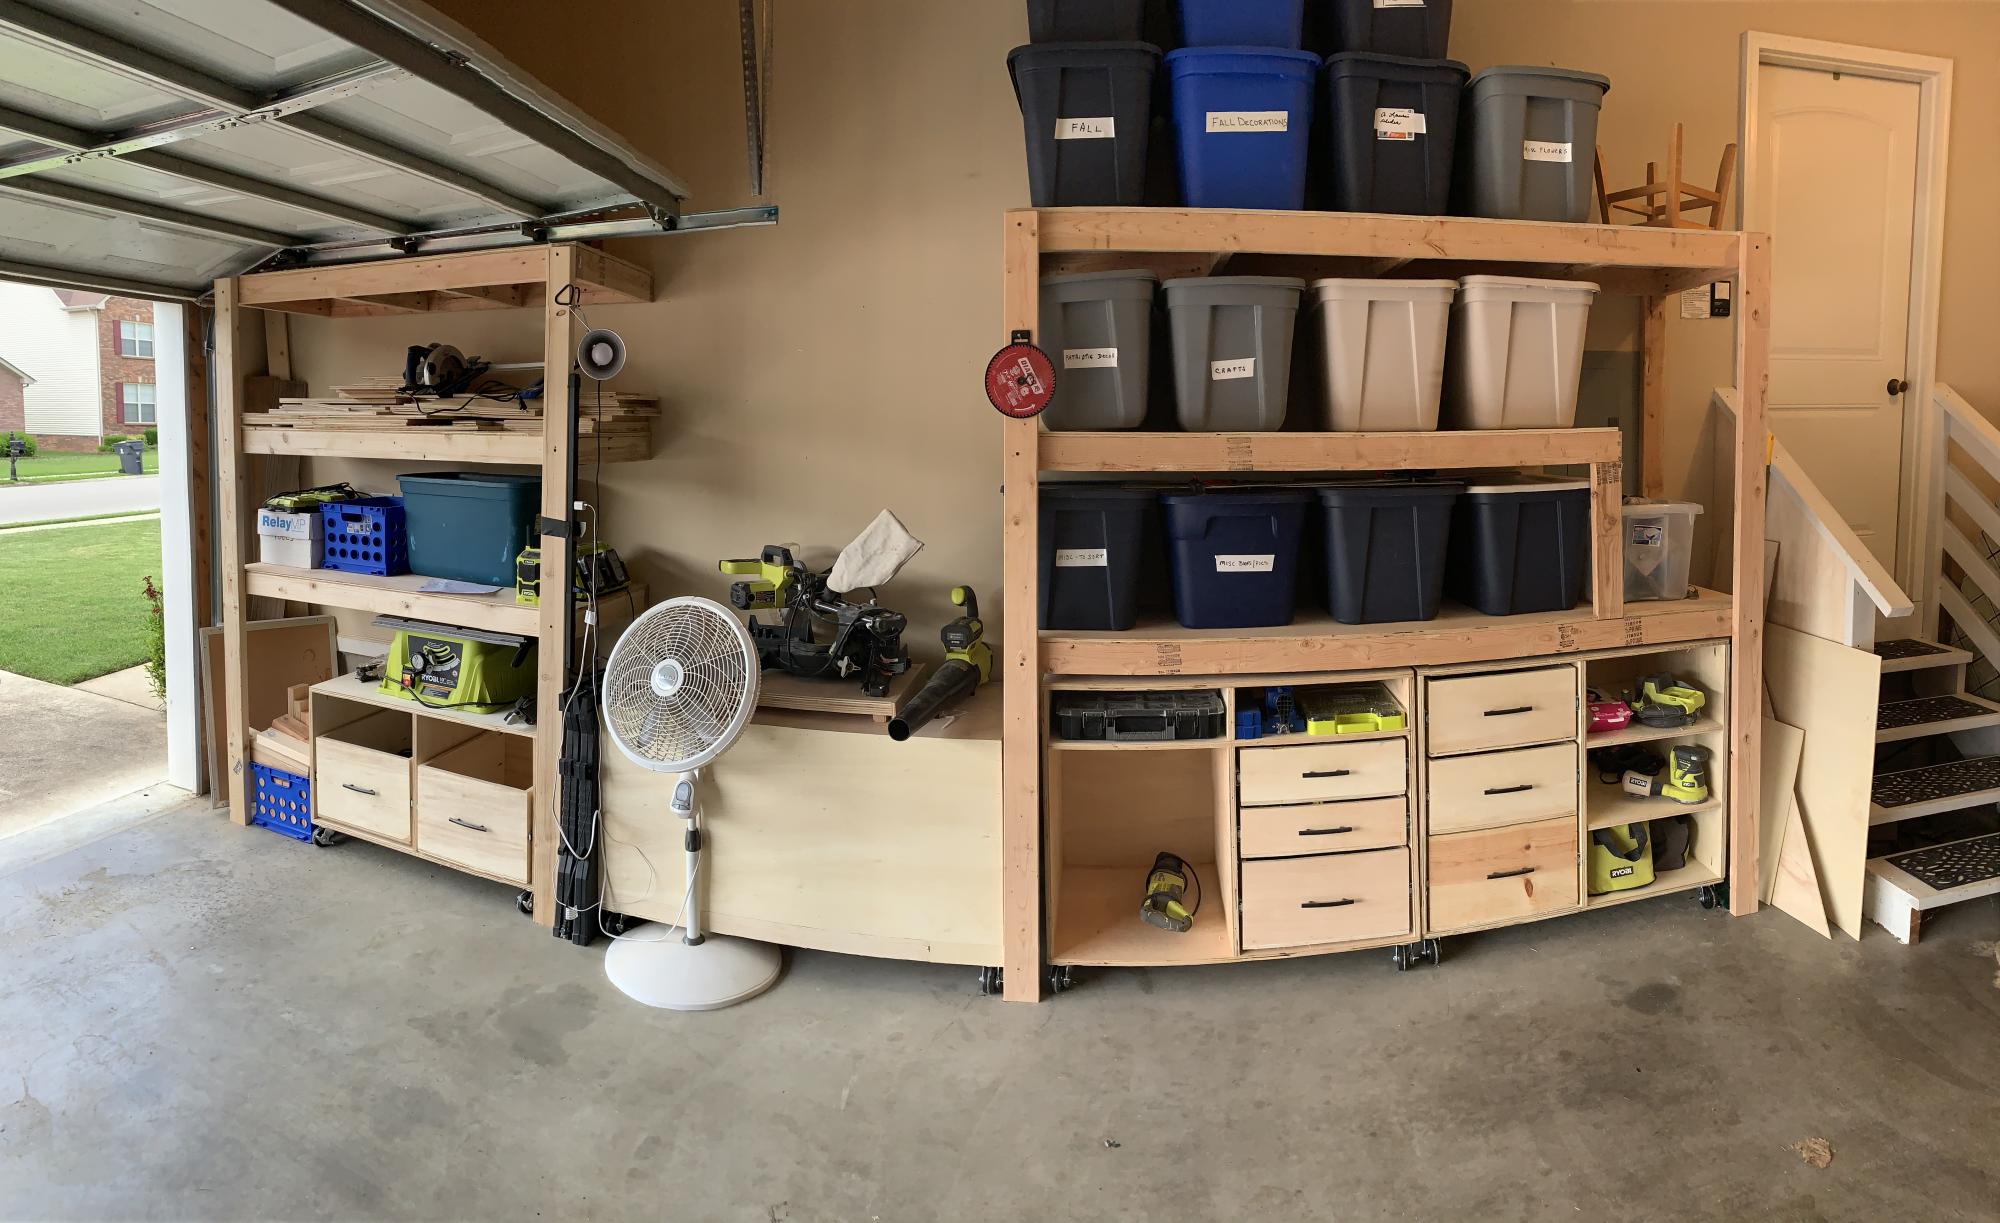
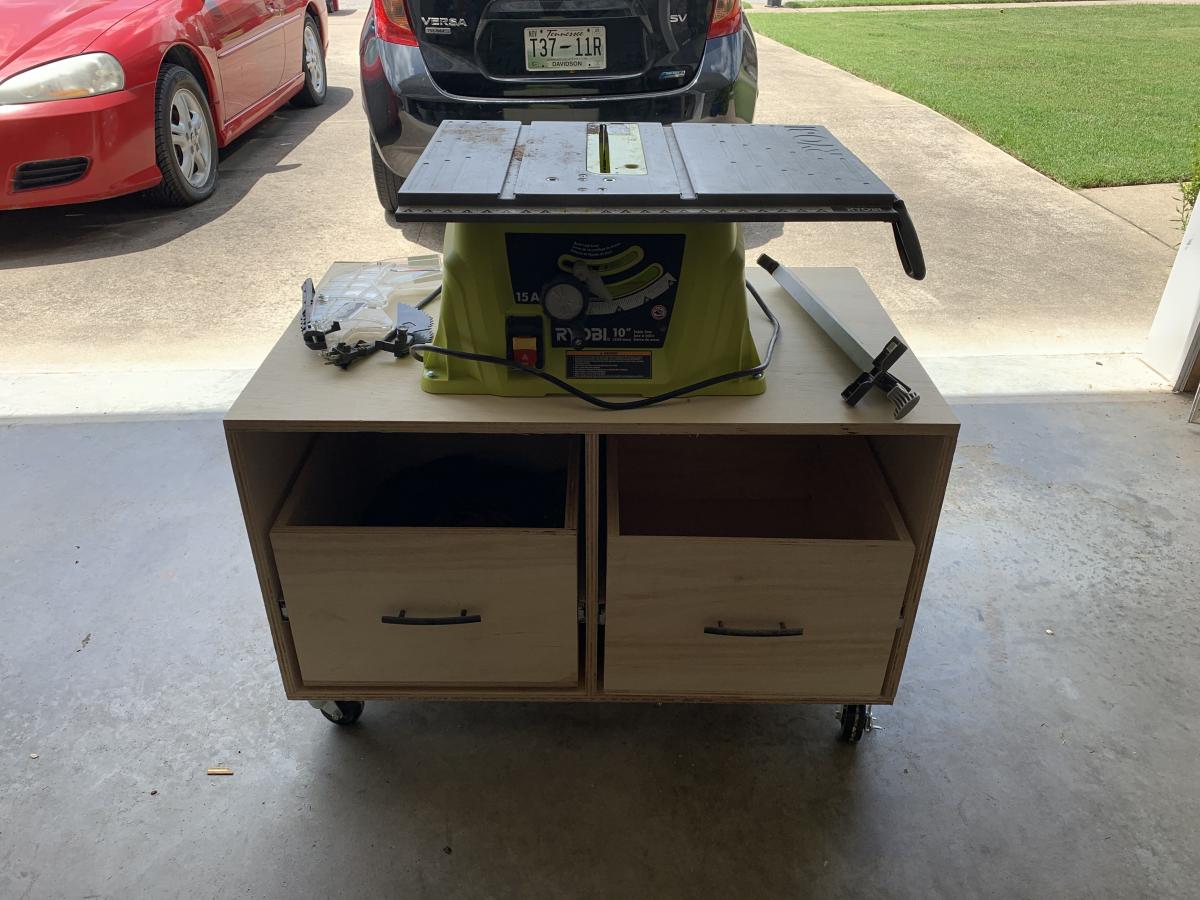
I bought a whole workshop full of Ryobi tools second hand from my brother over a year ago. I started researching workshop plans and came across Anna White’s Ryobi Nation Dream Workshop. I downloaded the plans and spent about 2-3 months working on it in my spare time. I made a lot of mistakes along the way but I’m pretty happy with it overall!

Sun, 07/05/2020 - 08:42
Lovely desks/space! And the sewing machines look like they're going to bring hours of fun! What kind of wood did you use for the tops? Did you route it to make it tongue and groove?
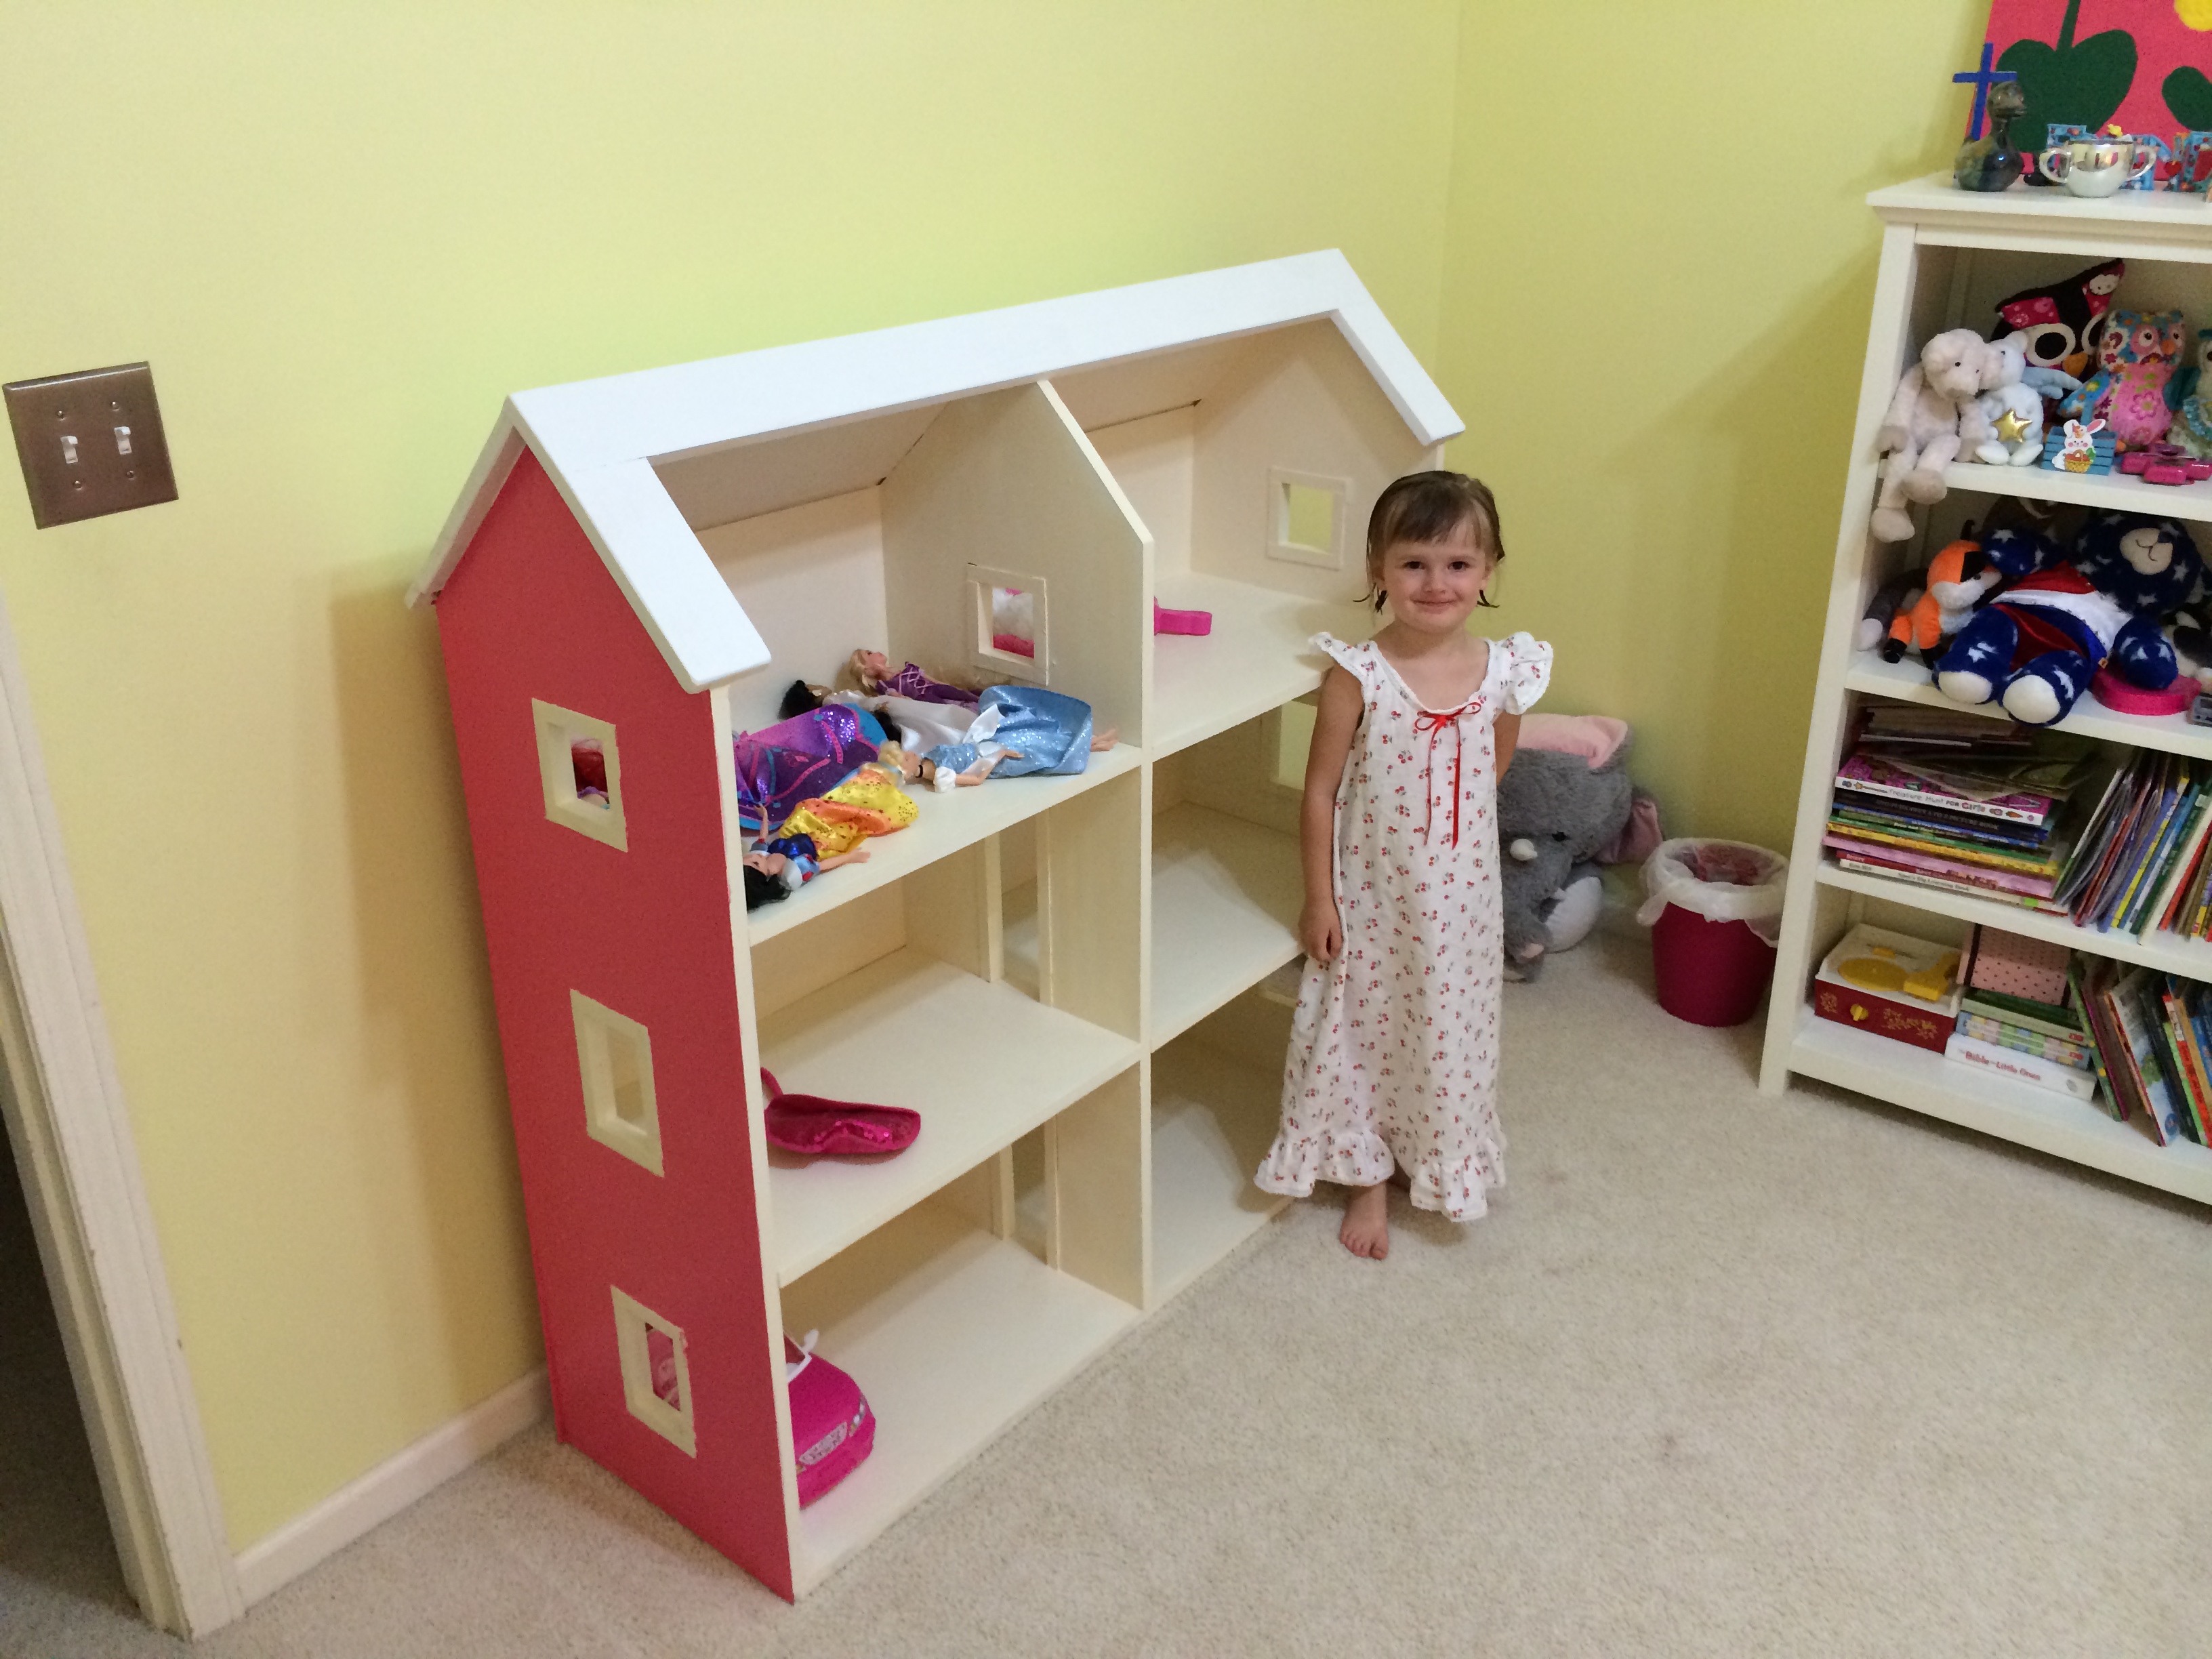
I built a slightly smaller version of the full sized dollhouse. I used MDF for the house with the roof and pine for the and windows.
Tue, 08/13/2019 - 18:45
Love this! How did you come up with the dimensions?

Comments
Ana White Admin
Fri, 09/29/2023 - 09:32
Great build!
Thanks for sharing, it looks great!