Community Brag Posts

Yard Swing Pergola

Submitted by Anonymous (not verified) on Sat, 07/08/2023 - 09:31

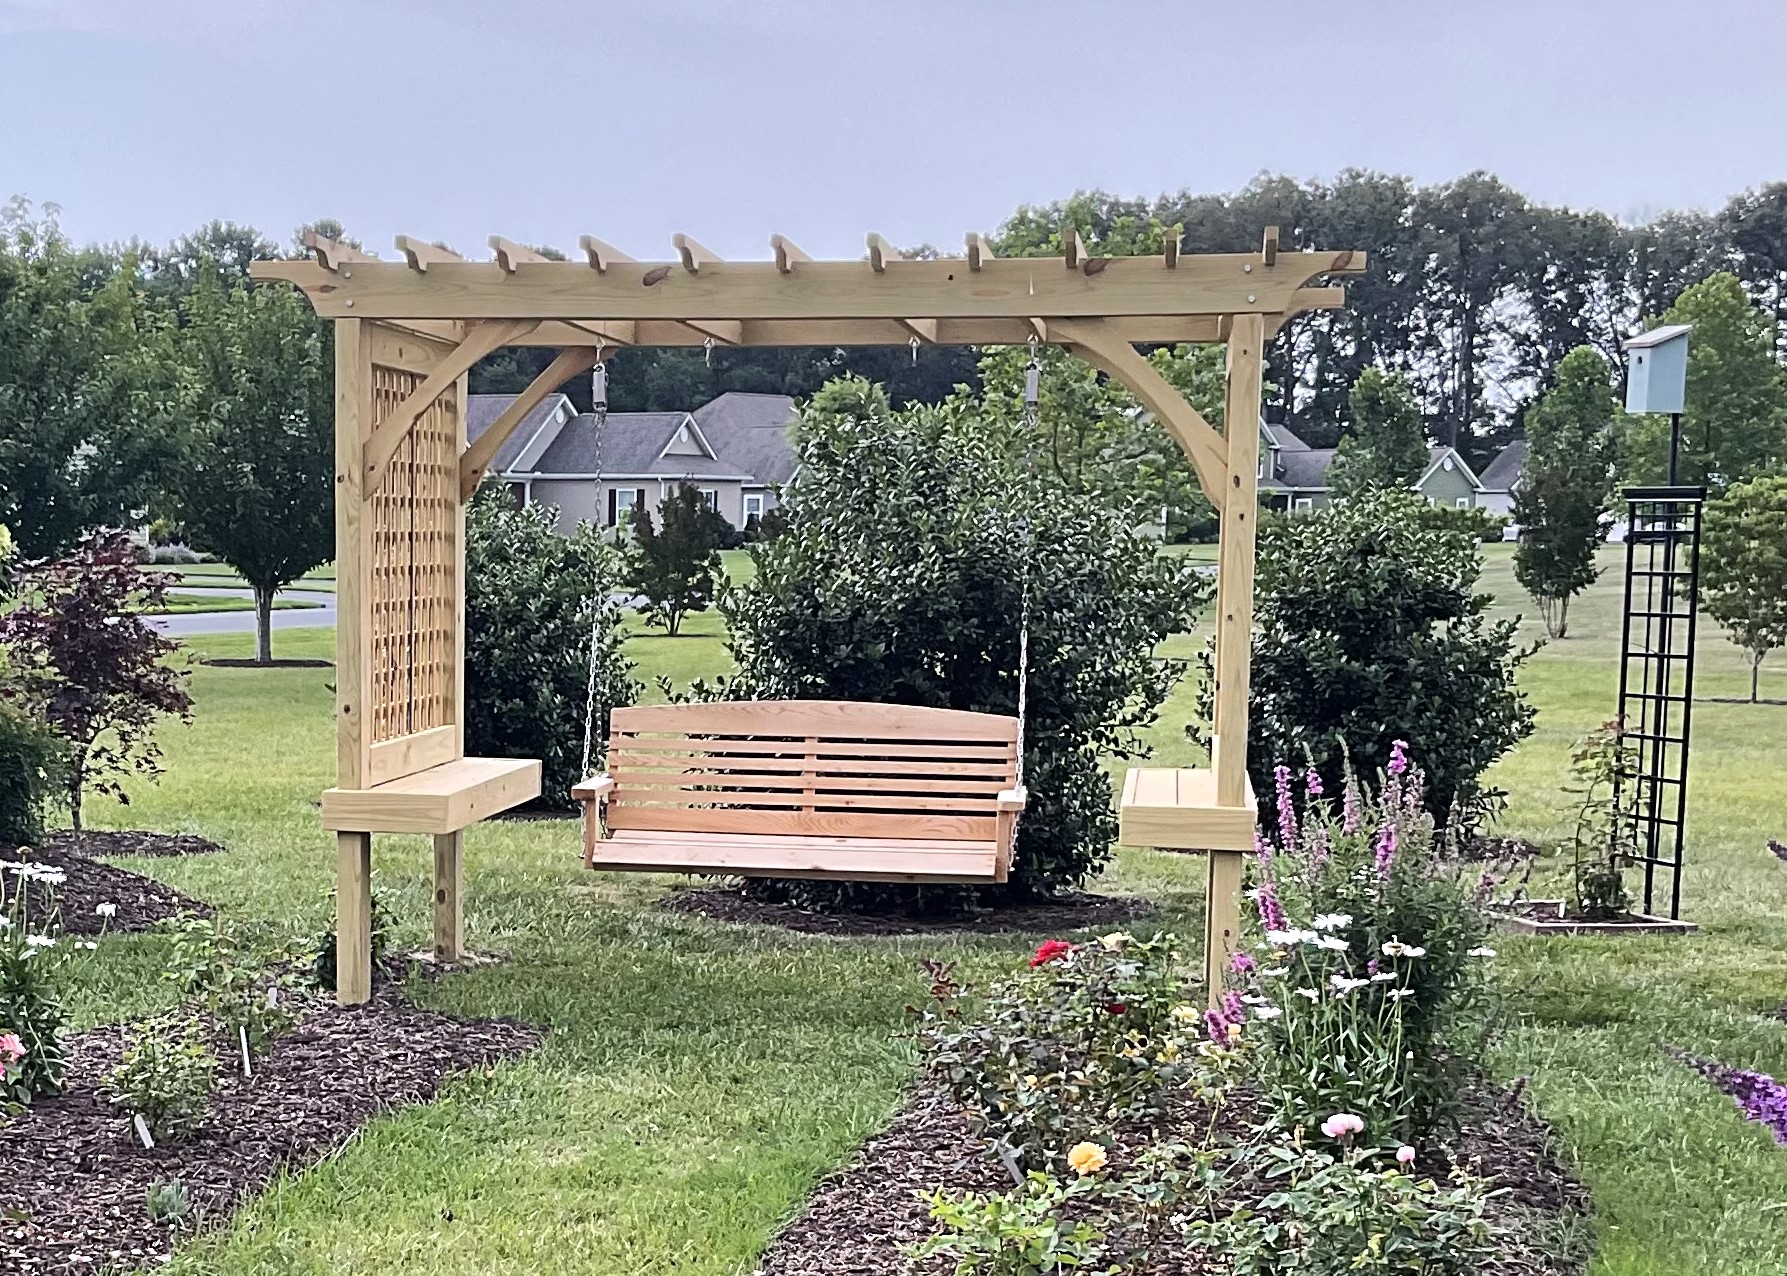
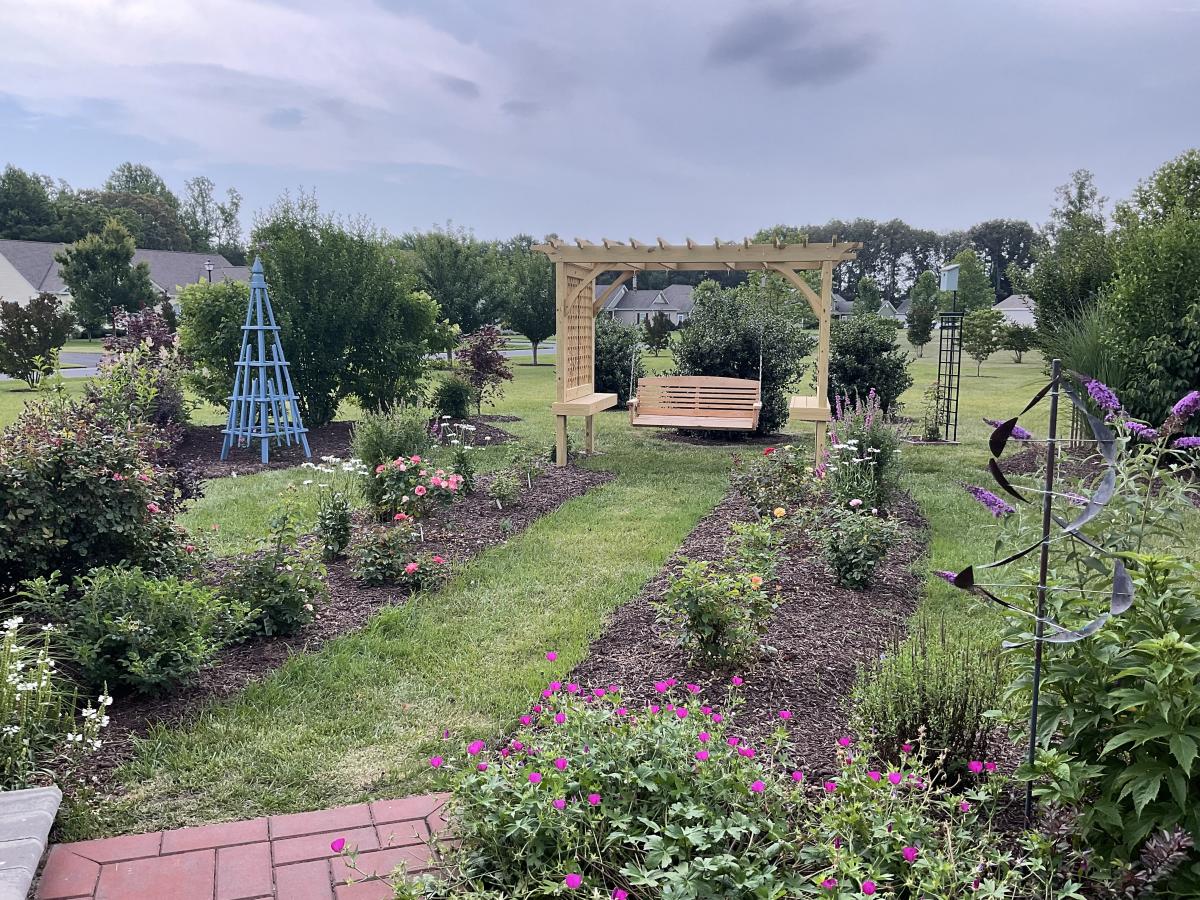
Just saw on instagram that no one bragged about this plan yet. We did order the swing online, but built the outdoor room from your plan. We did put our support posts in concrete, very windy here. Just waiting for the roses to grow up the sides. Thank you for making it easy with your plan.

Bill and Maryann Tate

Built from Plan(s)

Comments

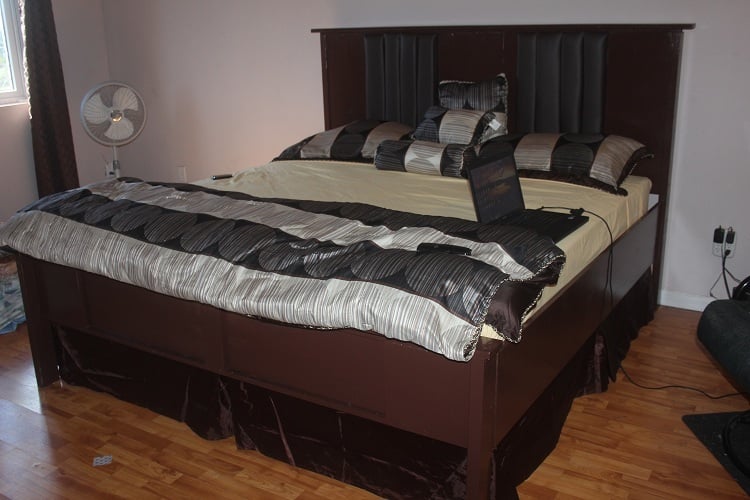
My Leather Accent King Size Bed

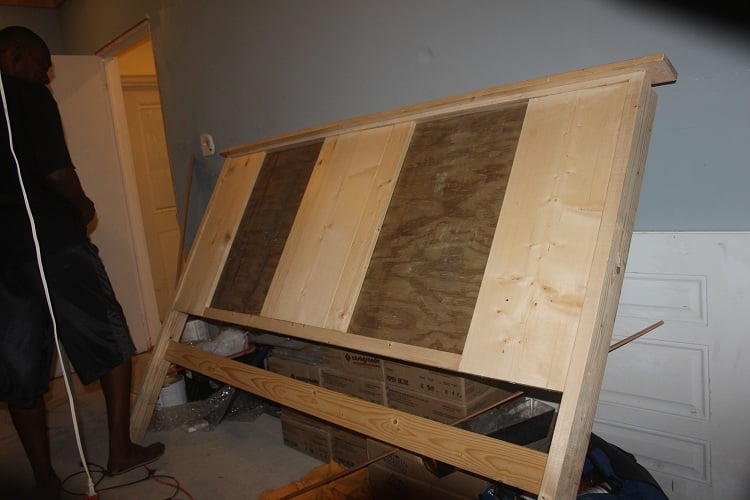
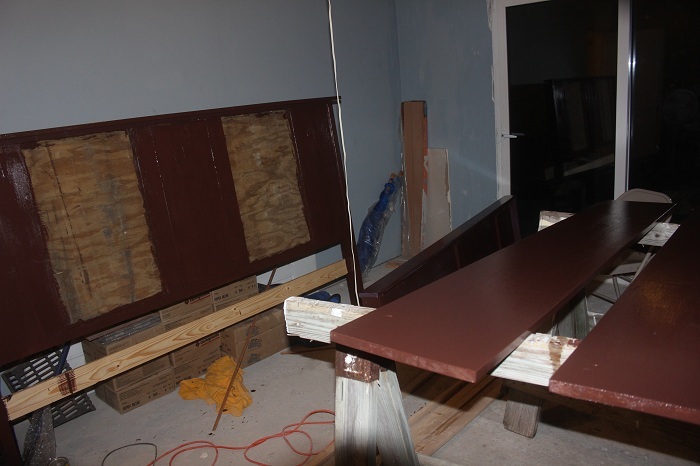
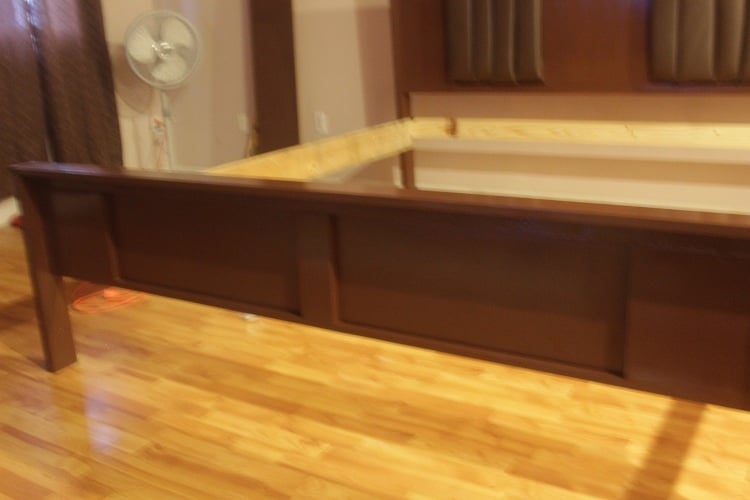
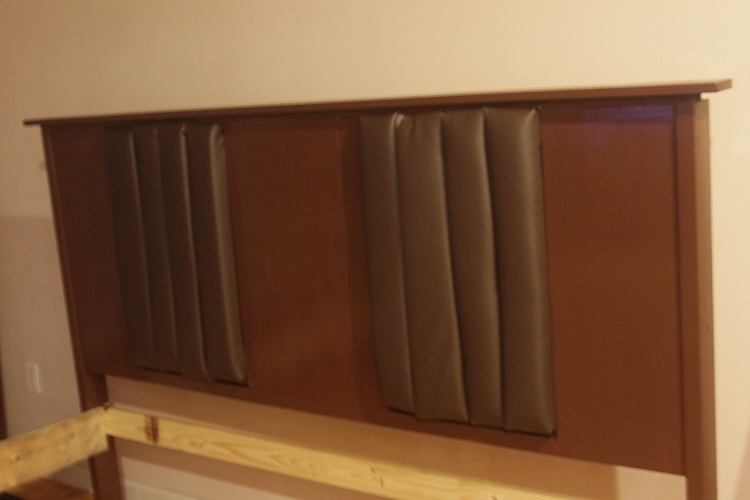
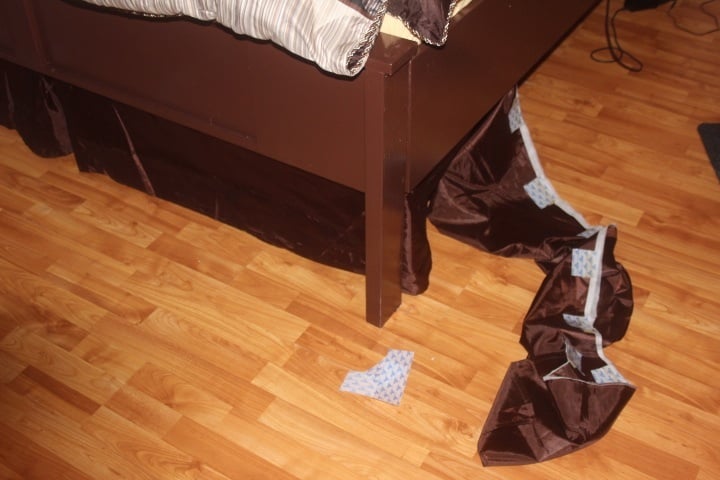
We modified the plans because I had a specific idea of what I wanted and we needed a king size bed. We are so proud. We used left over foam from a previous project and covered it with the faux leather for the back rests. Because I love the look of dust ruffles but couldnt use it because of the slats to support the bed I cut out the material from which the dust ruffle is sewn and attached velcro to it and then to the bed and I got the look I wanted. Ana is awesome!

Estimated Cost
196.00
Estimated Time Investment
Weekend Project (10-20 Hours)
Finish Used
Expresso Paint and waterbased poly urethane to protect it
Recommended Skill Level
Beginner

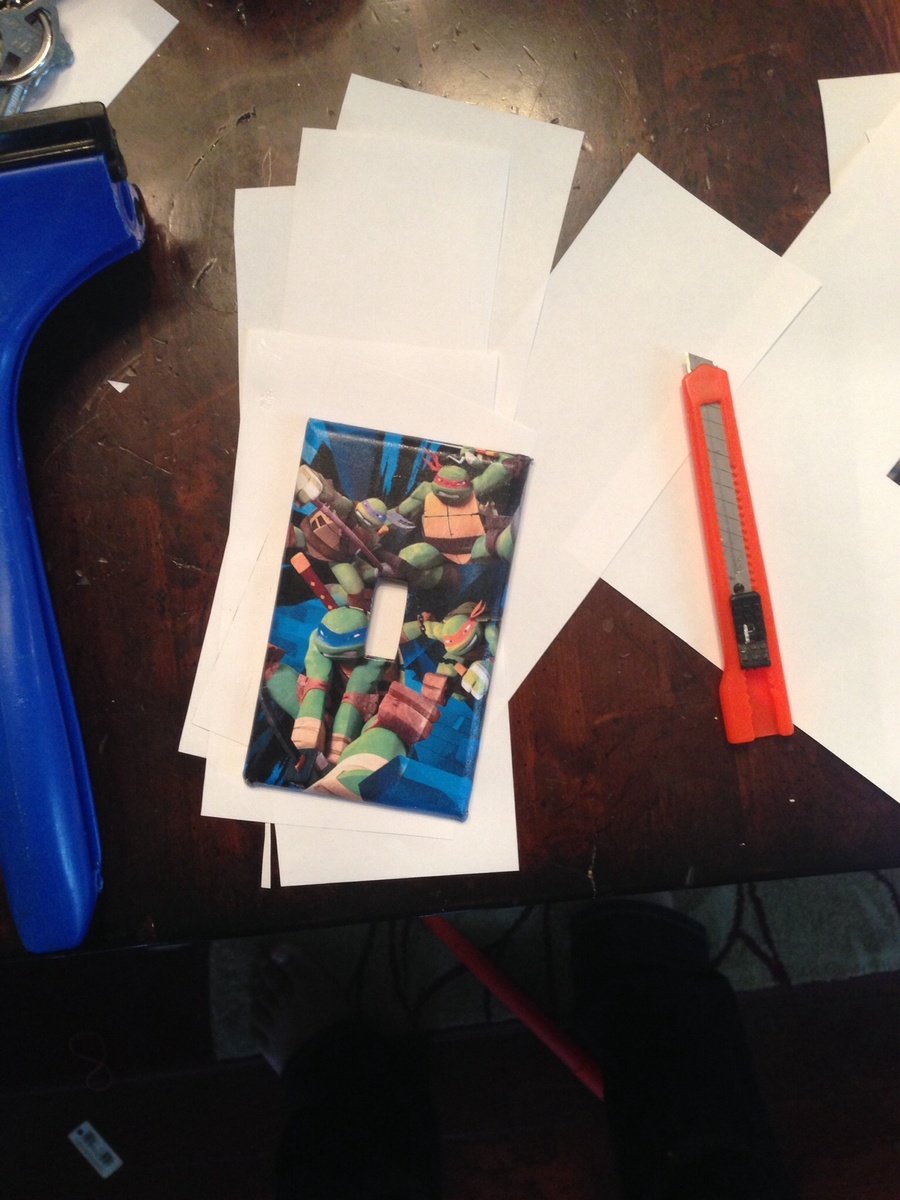
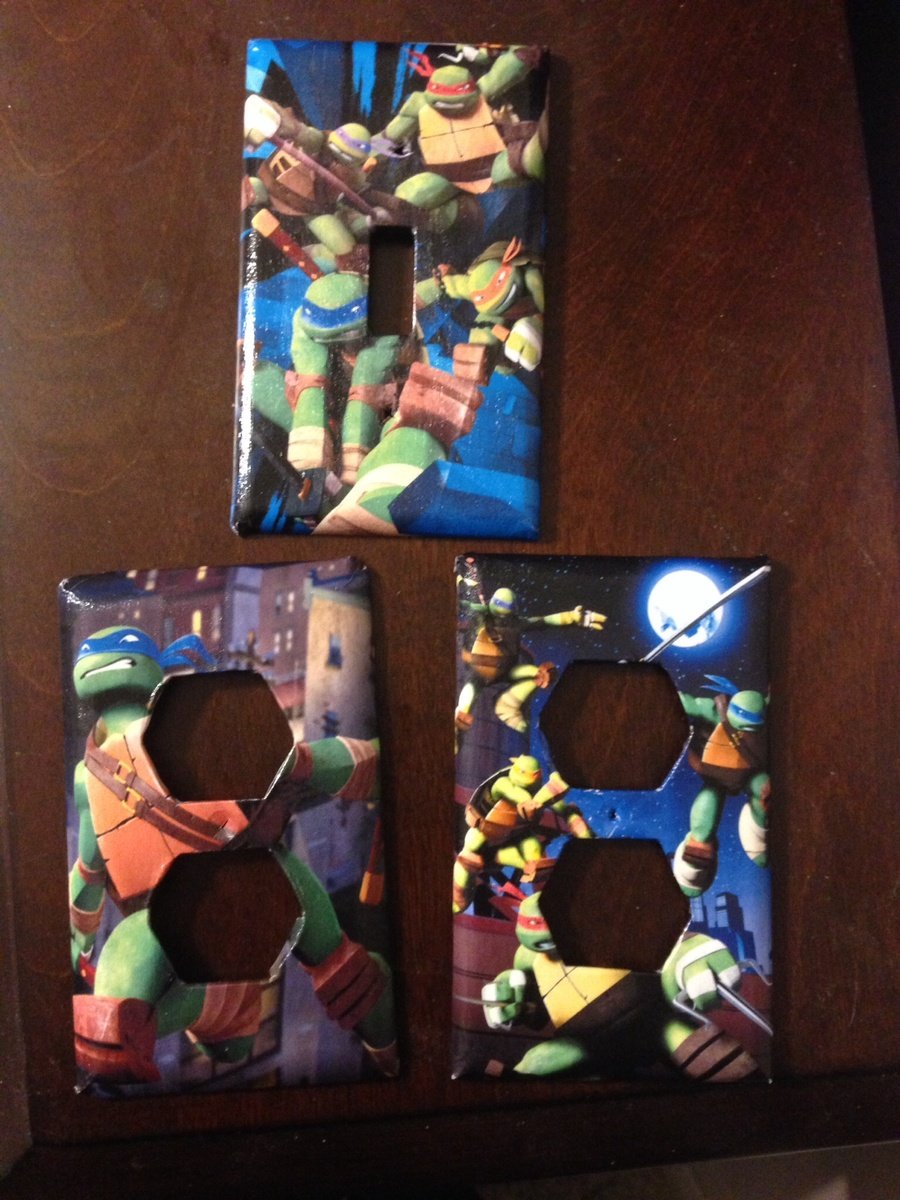
Teenage Mutant Ninja Turtle Bedroom

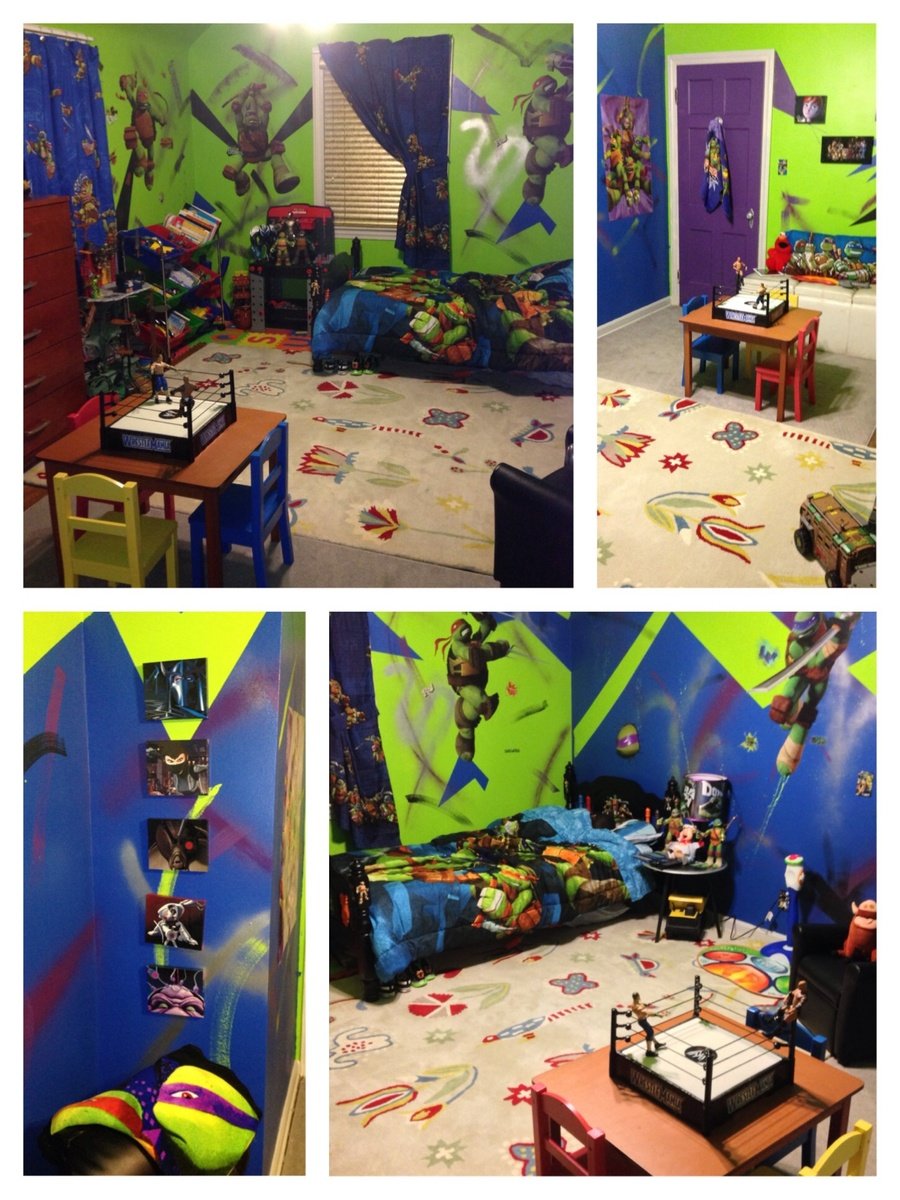
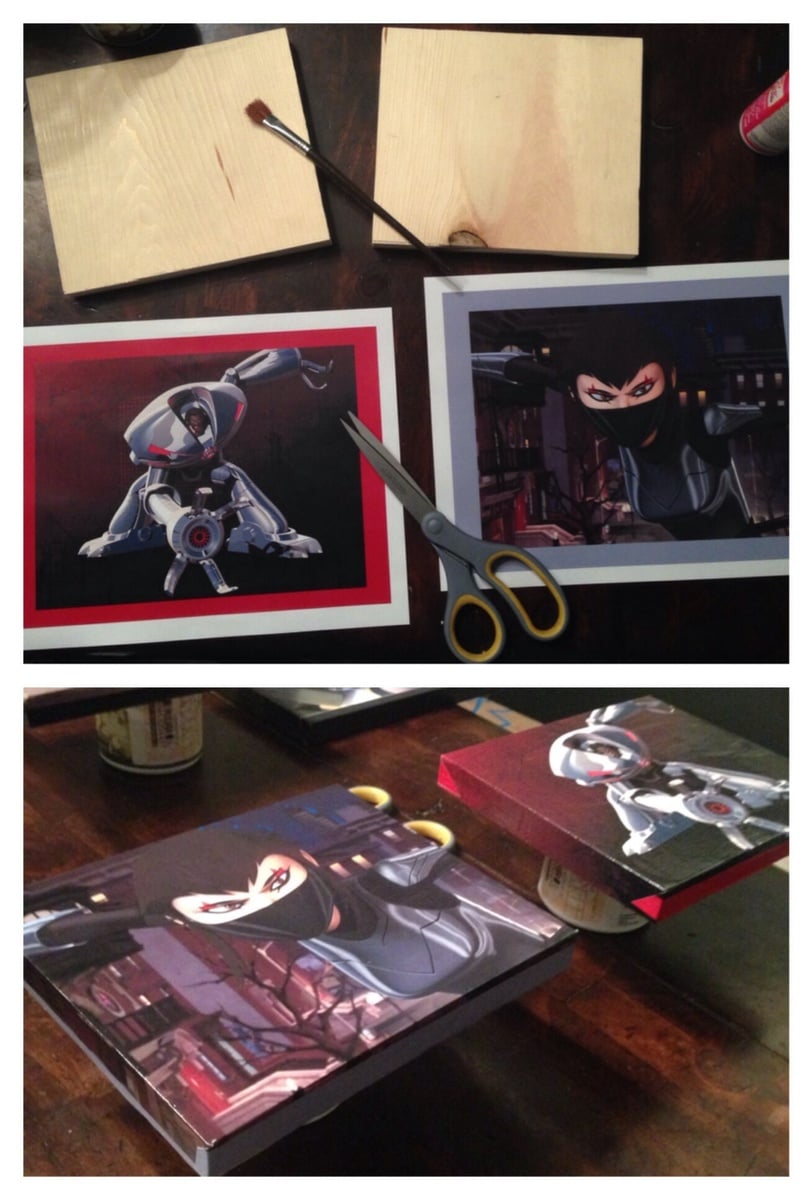
I turned my son's room into the TMNT Secret Sewer Lair. I created artwork using a 1x8 piece of lumber and printed images on laser paper I found online. Cost $6.99
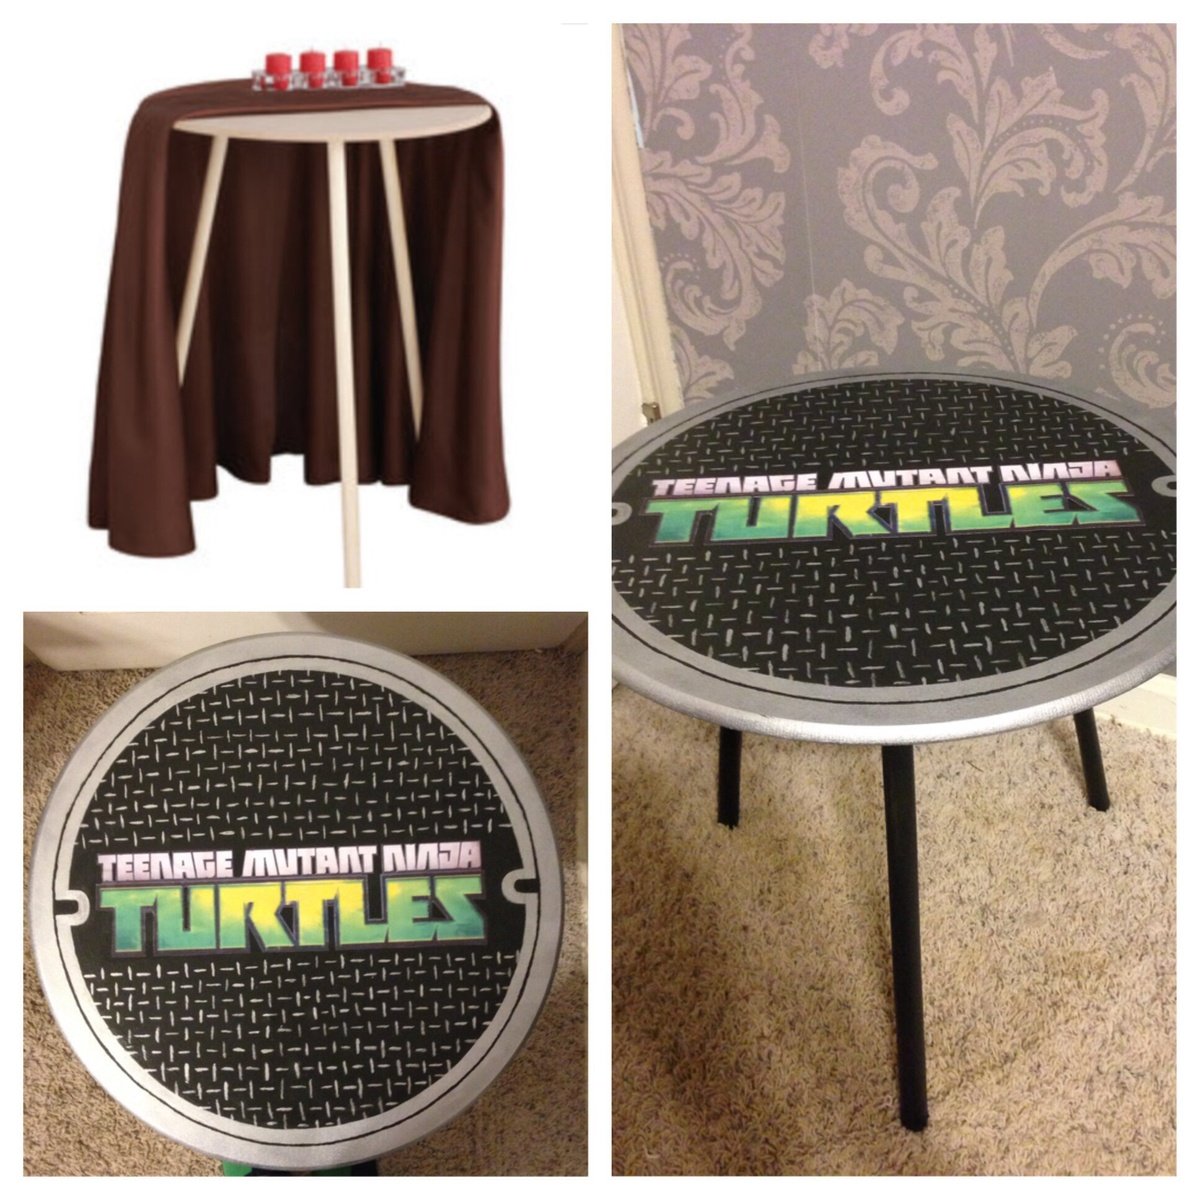
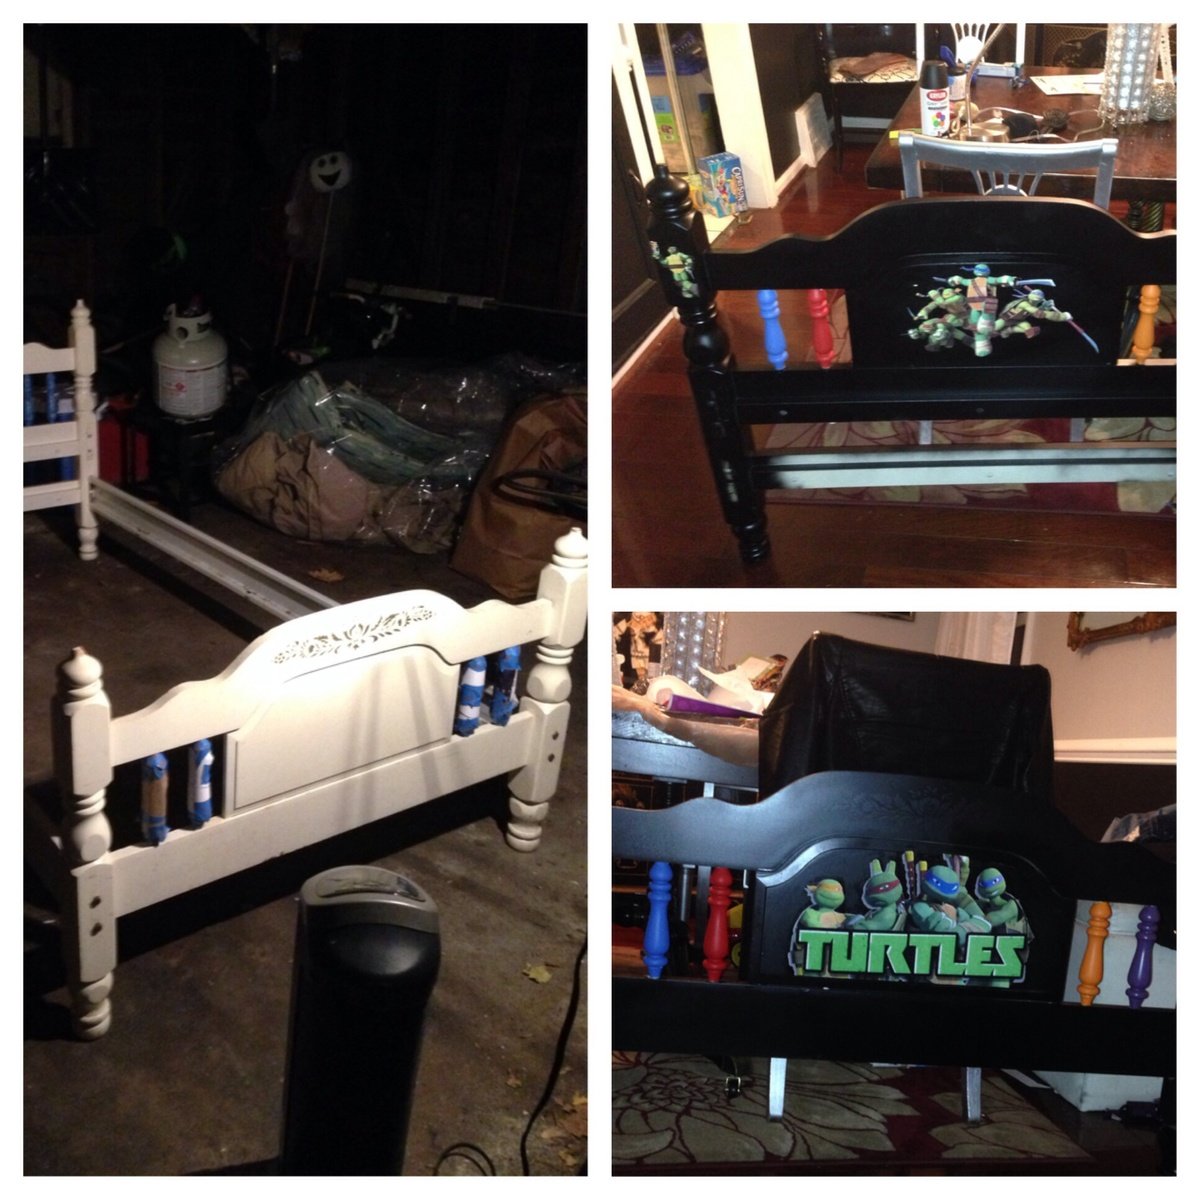
I created the outlets by printing on laser paper and decoupaging them onto the coverings. The cost for decoupage glue at Wal-Mart was $3.00 for 4oz, called Mod Podge. Which was more than enough since I used the same technique on my 20yr old bunk bed and nightstand and had some to spare. However you must use a x-acto knife to cut away white space so that print looks apart of the furniture. The individual Turtle characters I purchased from eBay because it was free shipping they were $17.99 each. The round table I turned into nightstand was $9.00 at Wal-mart and I hand painted it along with decoupaging the logo on to it. Any questions feel free to email! I hope this helps with ideas. I was lost do to lack of ideas online.

Estimated Time Investment
Weekend Project (10-20 Hours)
Recommended Skill Level
Beginner

Simple Outdoor Conversation Set

Submitted by cspires64 on Sun, 03/18/2012 - 13:13

Spring is around the corner and I had no outdoor furniture. My boyfriend had just talked me into a new weber grill, which did not leave much budget for new outdoor furniture. That's when I came across this web site and thought 'I can do that'. So I talked me boyfriend into helping build this Simple Outdoor Conversation Set. We used plans for the Simple Outdoor Lounge Chair and Simple Outdoor Ottoman and then followed the alterations by post for 'My Modern Outdoor Patio Collection' to make the loveseat.

The whole project came together over 5 days.
Day 1: Cut all boards (5 hrs)
Day 2: Sand all boards (5 hrs)
Day 3: Stain all boards (6 hrs)
Day 4 & 5: Assemble furniture (9 - 10 hrs)

The total project took about 25 hrs and cost about $350. Here's the breakdown wood and supplies $204 from Lowe's for pretreated wood. $145 on cushions (NOT ON SALE); $60 for the seat cushions from Home Depot and $80 for the back cushions from Wal-Mart. We were originally planning on only having the seat cushions, but the seats were long when you set in them with your back against the bear wood (I was setting so far back, my feet couldn't reach the floor) so we opted for thick back cushions to make it more comfortable. The project finished up just in time for our first BBQ party! (March 2012)
Estimated Cost
$204
Estimated Time Investment
Week Long Project (20 Hours or More)
Finish Used
Redwood toner and sealant
Recommended Skill Level
Starter Project

Comments

Rustic X Kitchen Island - Double

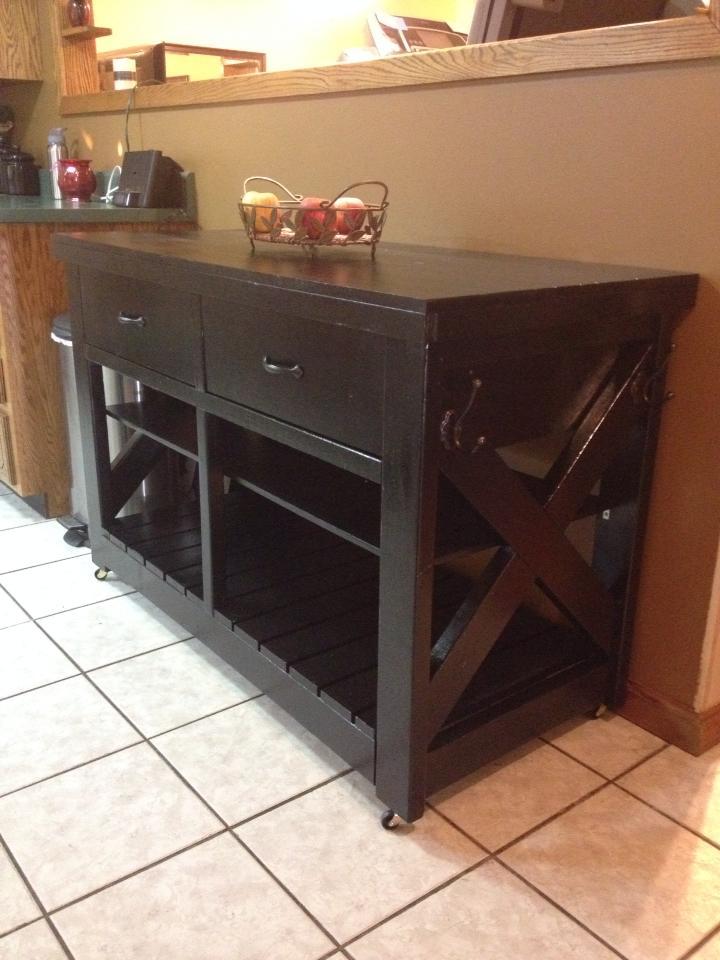
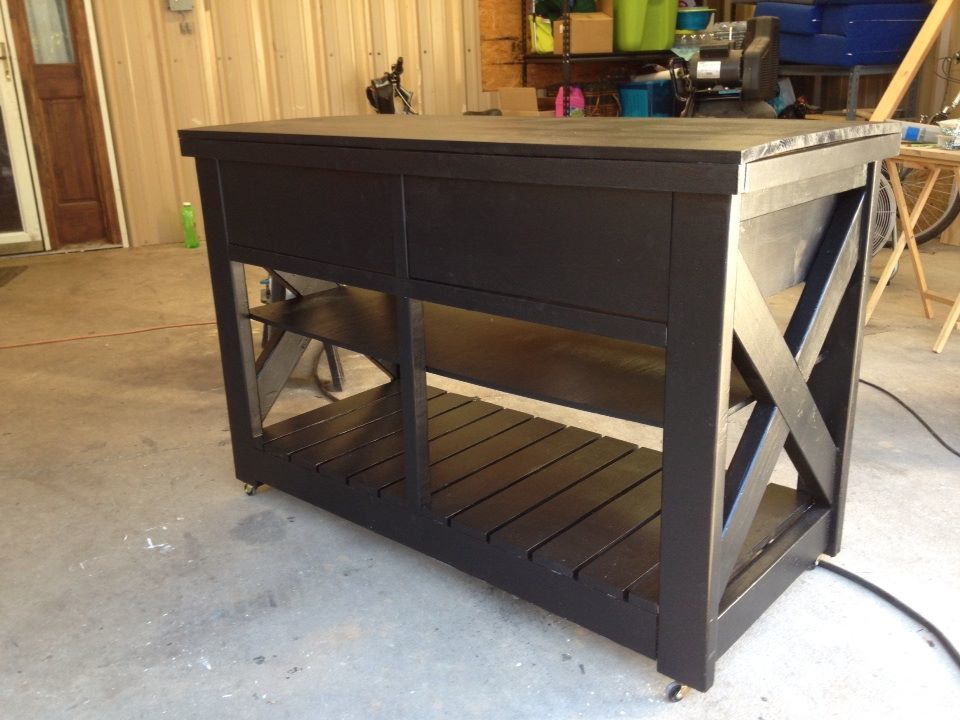
I was in love with the plans, but I knew it needed to be wider to fit my space and be usable. Plus, I didn't want to have the space in the back for stools. I wanted something that had a good amount of storage so I extended the box that was the shelf area and did away with the back board and side boards. I also extended the drawers to the back of the piece.

Built from Plan(s)
Estimated Cost
$175
Estimated Time Investment
Weekend Project (10-20 Hours)
Finish Used
Painted with Valspar Satin Black Paint
Recommended Skill Level
Intermediate

Comments

Bar Height Outdoor Table

Submitted by Anonymous (not verified) on Sun, 08/27/2023 - 12:42

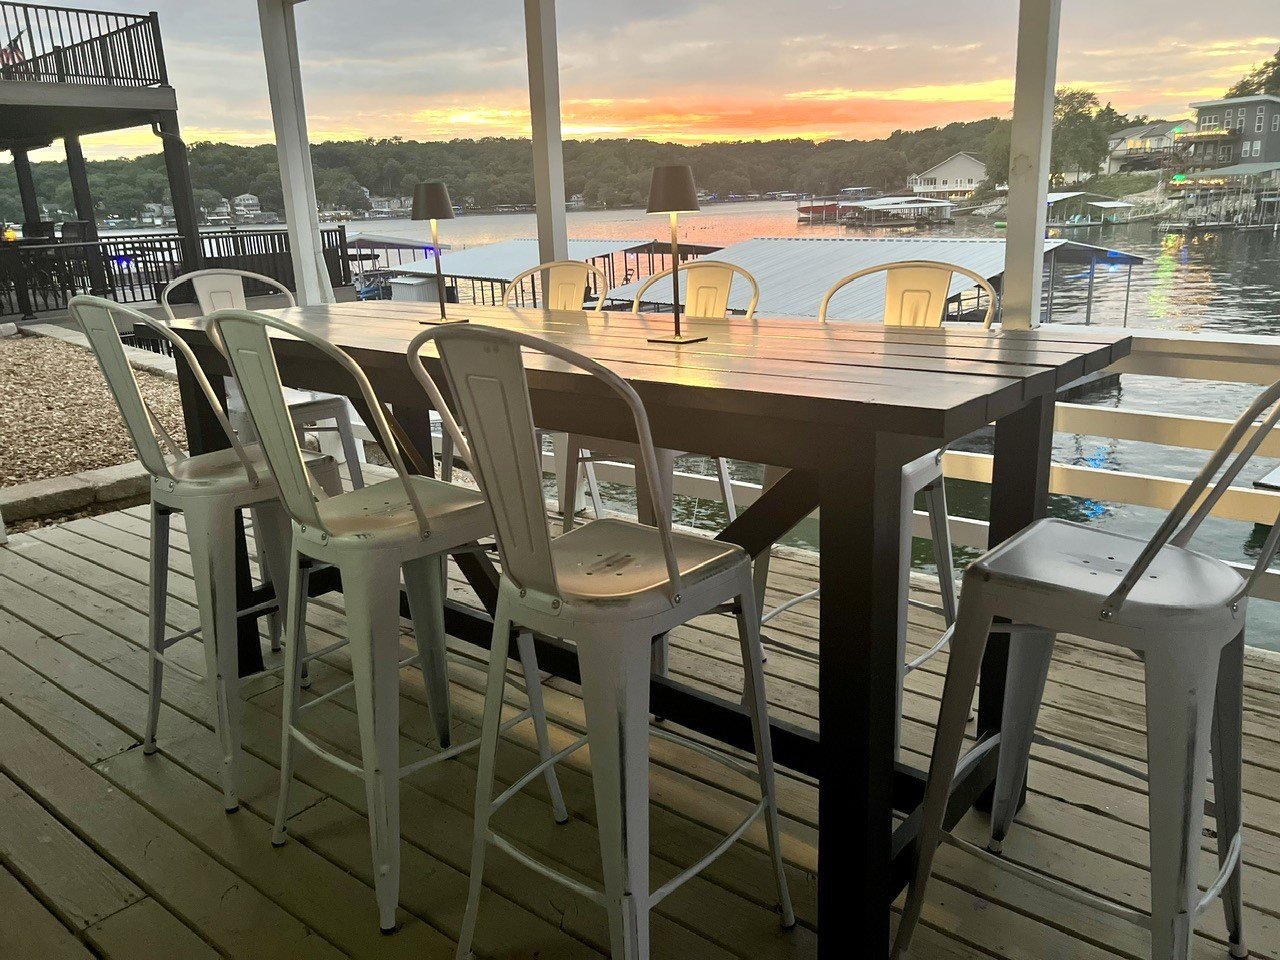
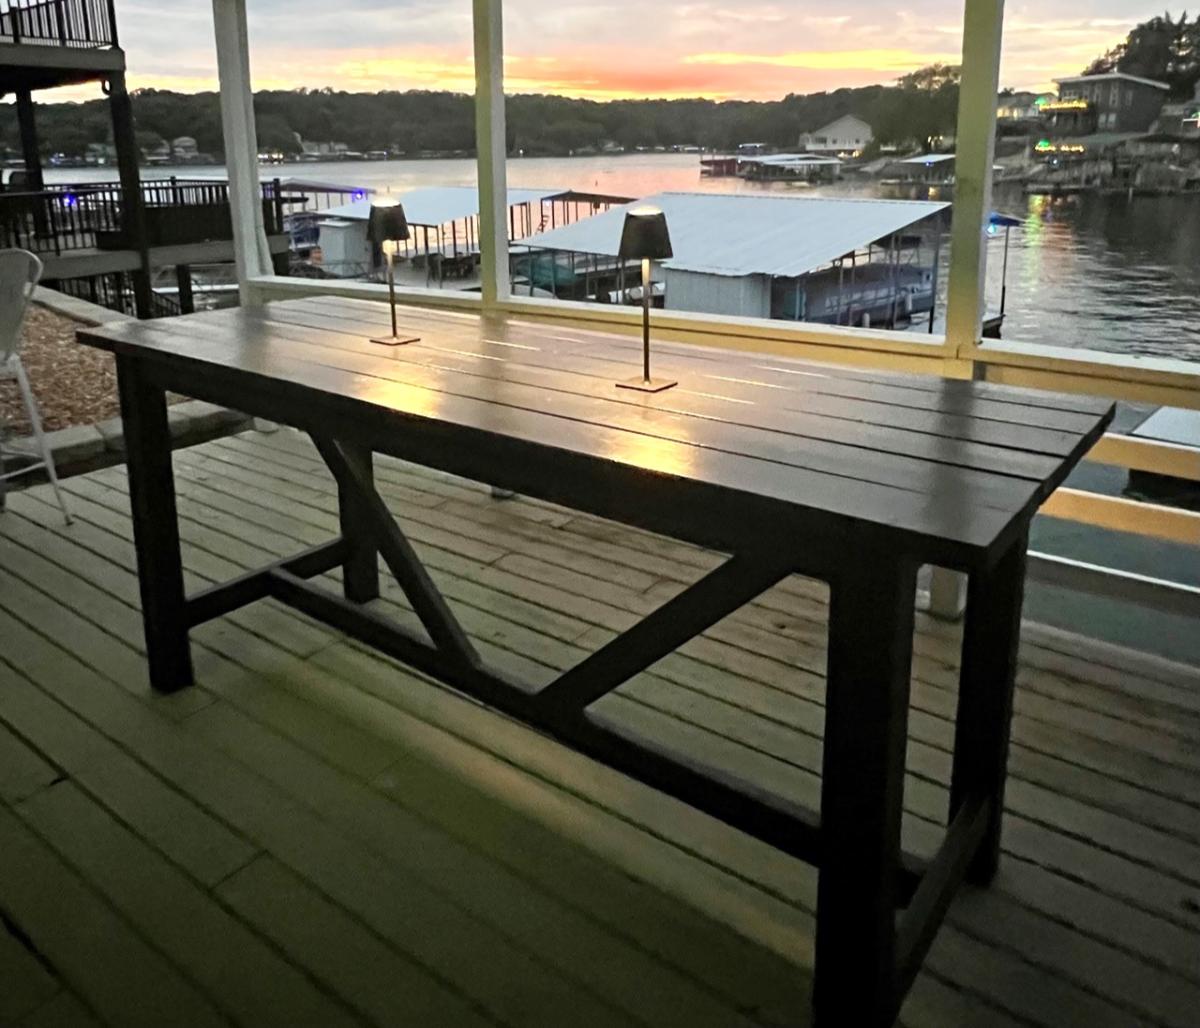
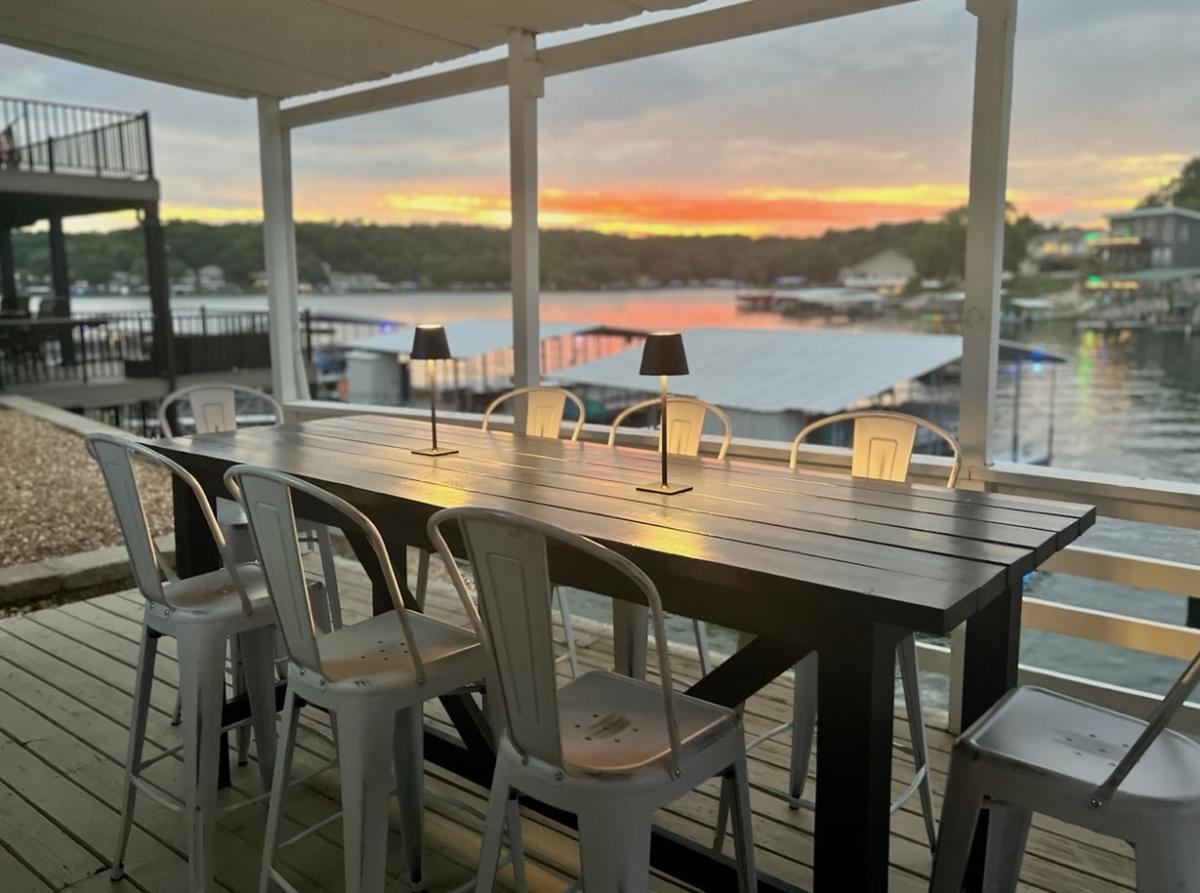
We had this unused lower deck and this bar height table was the perfect addition. We have place now to hang when too hot or it’s raining. My husband and I built it in one weekend and your plans where great.

Julie Moran

Built from Plan(s)

Comments

Seasonal And Holiday

Linen Storage Tower

Submitted by JoanneS on Sat, 04/14/2012 - 12:23

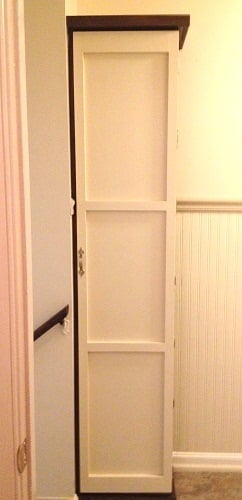
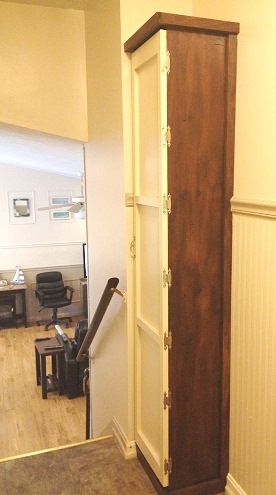
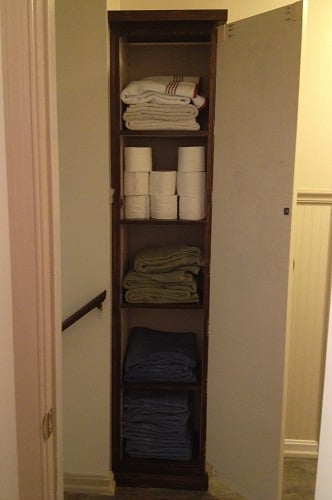
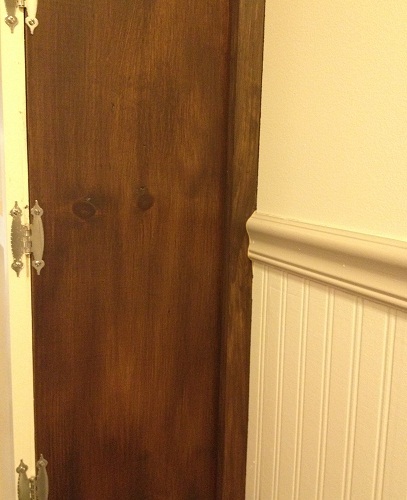
This tower plan was perfect for re-using some already stained 1x12’s I had from another project. It fills up that little square of unused space at the top of the stairs, and gives us extra storage for towels and TP for the 3 bathrooms in our house. I substituted 1x2 and ¼” plywood for the door and used some 1x2 and 1x3 to attach and build it in. This project has been up for a couple of months now, and has come in handy. This was my first attempt at doing something as a ‘built-in,’ and it gave me confidence that we could do our next big project (the pantry) as a built-in. Since the side and shelf boards were already stained, once it was assembled the finishing was easy- all I had to do was stain the trim boards to match, and paint the door and the inside.
Thanks for this great plan, Ana! I’m planning to build several more of these, for my sewing room.

Built from Plan(s)
Estimated Cost
$50
Estimated Time Investment
Day Project (6-9 Hours)
Finish Used
Cabot water based stain w/poly (walnut) on the sides and shelves and minwax express color in walnut on the trims. Door is painted with Ace Royal semi gloss in Crushed Peanut, and the inside color is Wishbone.
Recommended Skill Level
Beginner

{shortened} Farm House Bench from The Handbuilt Home

Submitted by Shorty on Sun, 10/02/2022 - 11:03

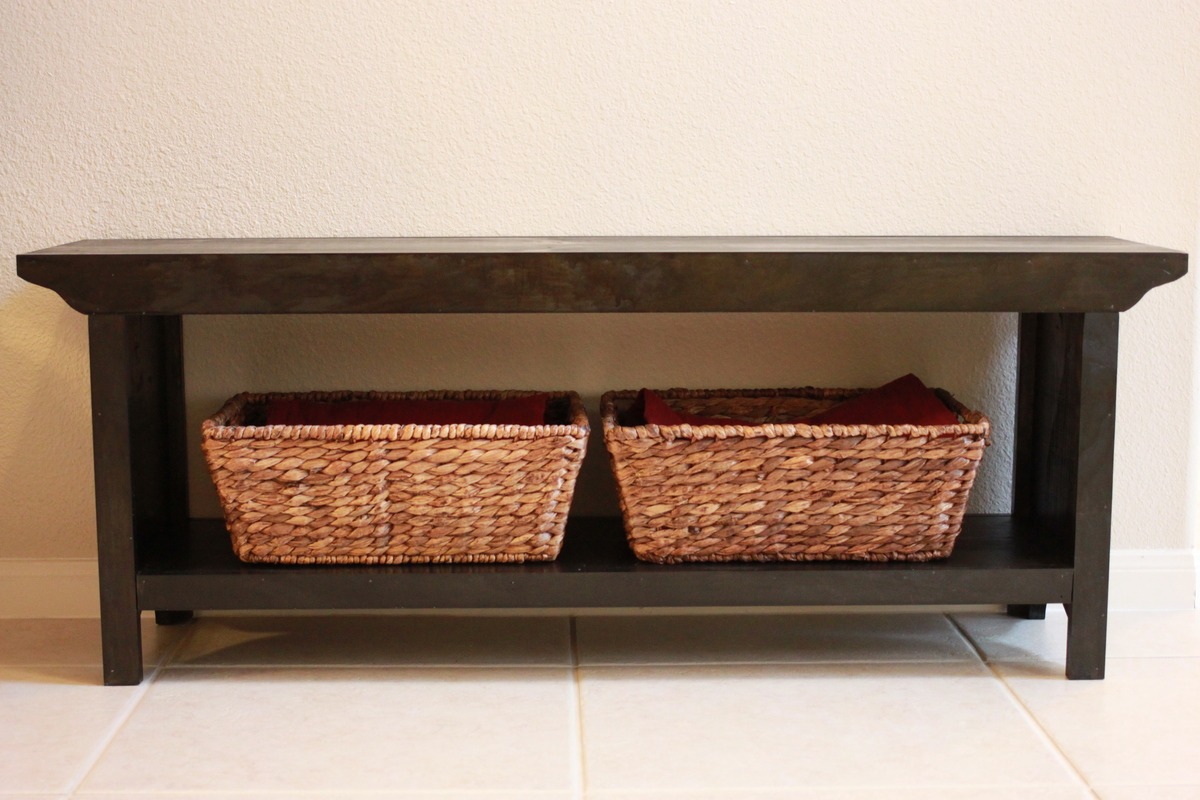
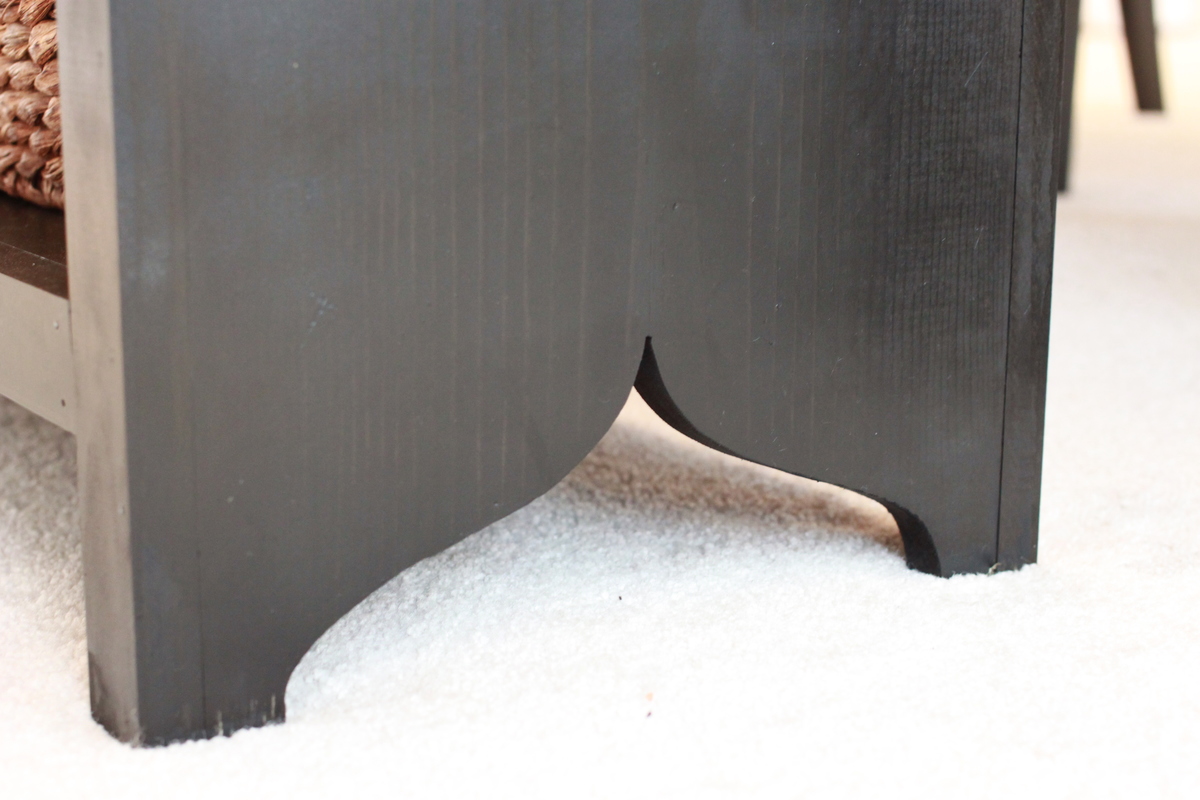
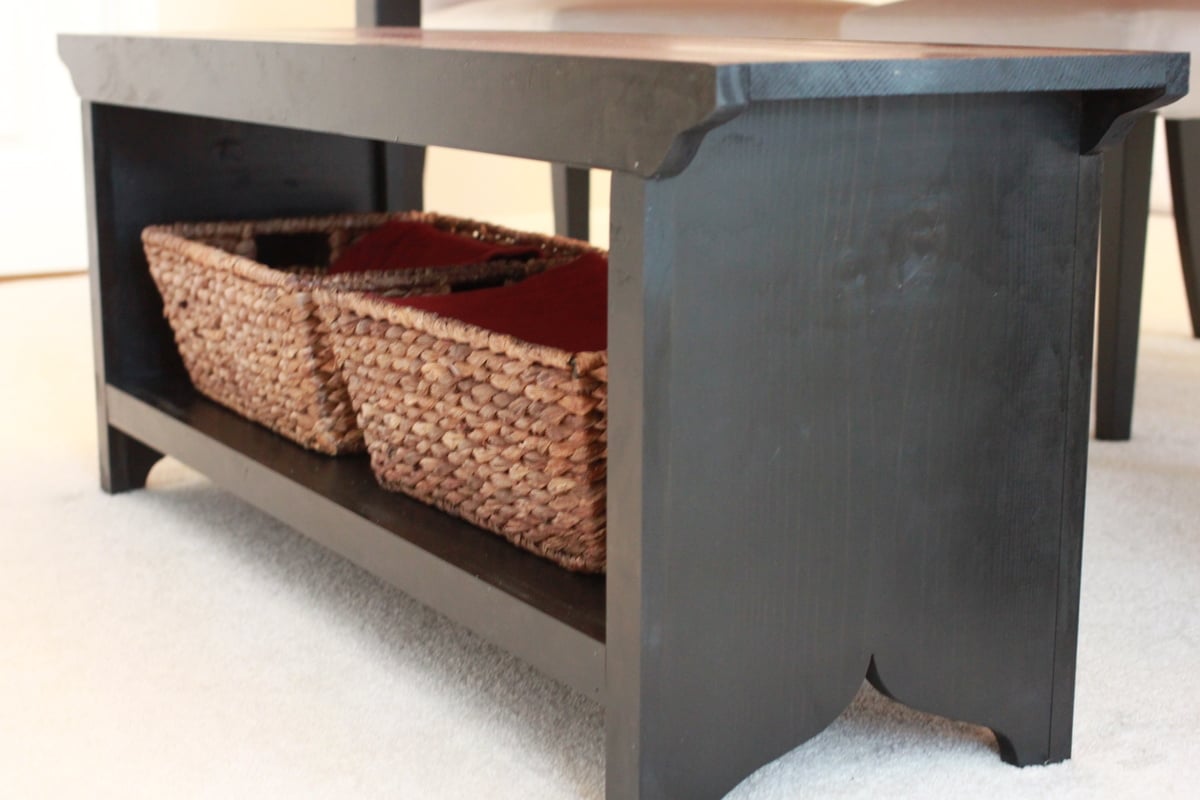
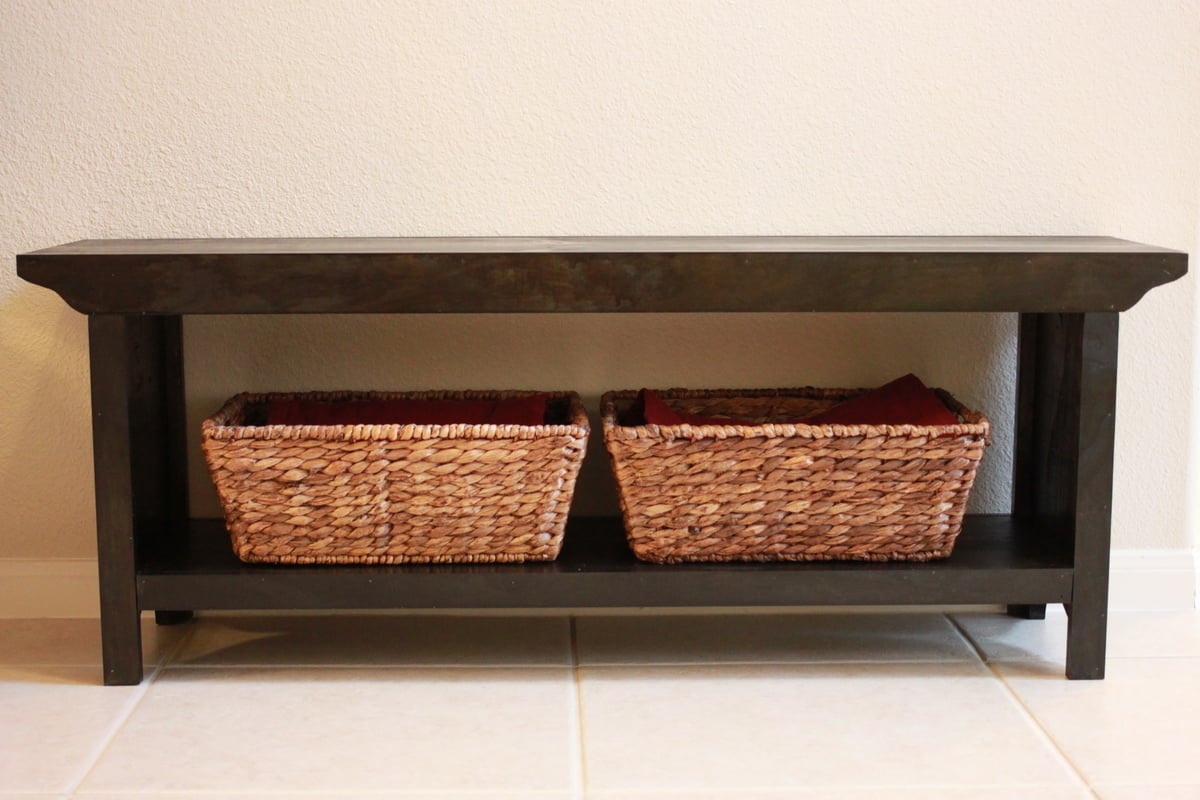
We needed more chairs for our dining room table but didn't want to invest in more chairs; this plan from The Handbuilt Home proved to be the perfect solution! We shortened up the dimensions for the bench so in the end it didn't require much wood and was a very simple build (especially with the aid of a pocket hole jig!). Because we have a baby, my husband and I tag teamed this effort. I re-dimensioned the plan & marked off the cuts, then he went in cut. I sanded down the jig saw cuts and assembled the box (it was such a fast build with pocket holes!). We worked together to put the frame on with some finish nails & a hammer. After making the box I was nervous the bench would be a little flimsy, but after adding the frame the bench was -very- solid. Espresso stain made it match our existing dining room furniture perfectly. This was a very satisfying build.

Estimated Cost
$40 not inculding hardware or tools
Estimated Time Investment
Afternoon Project (3-6 Hours)
Finish Used
Minwax Stain in Espresso.

We prepped with wood conditioner and applied two coats of stain. Finished it with Minwax Fast-Drying Polyurethane in Satin.
Recommended Skill Level
Beginner

Farmhouse Media Cabinet (wall unit)

Submitted by bwblack2 on Wed, 01/15/2020 - 14:34

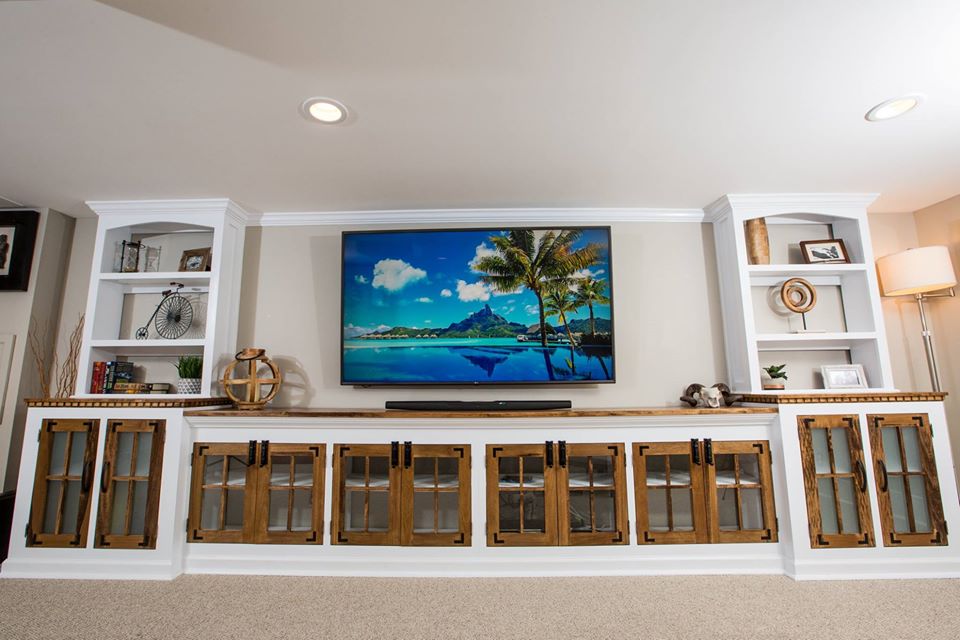
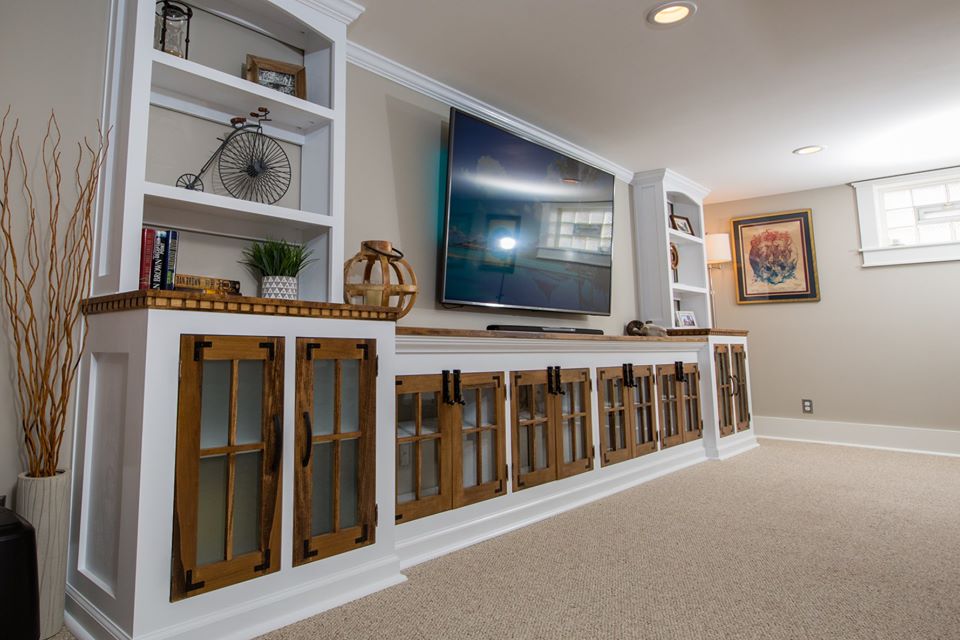
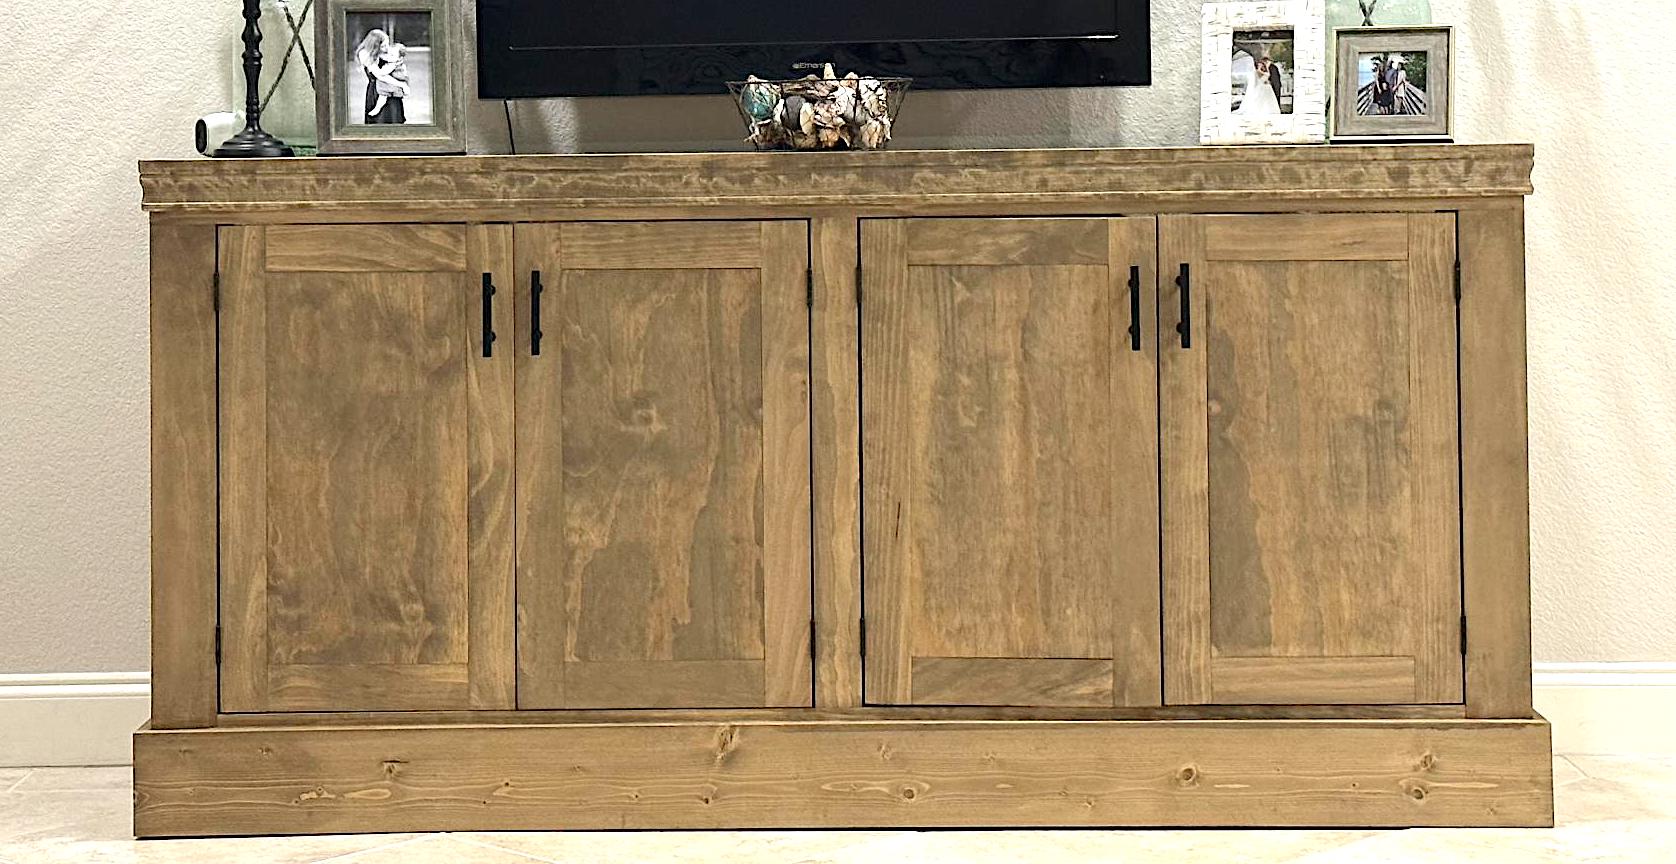
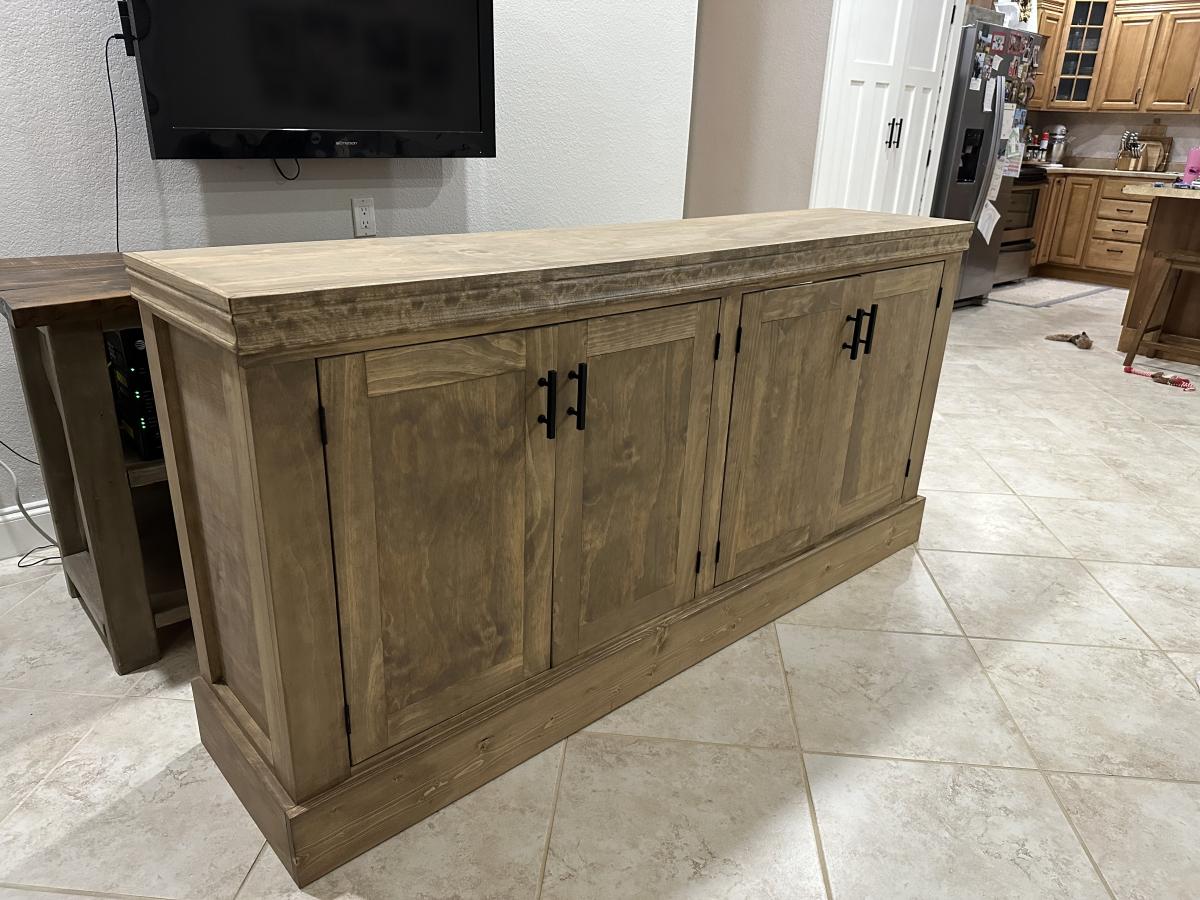
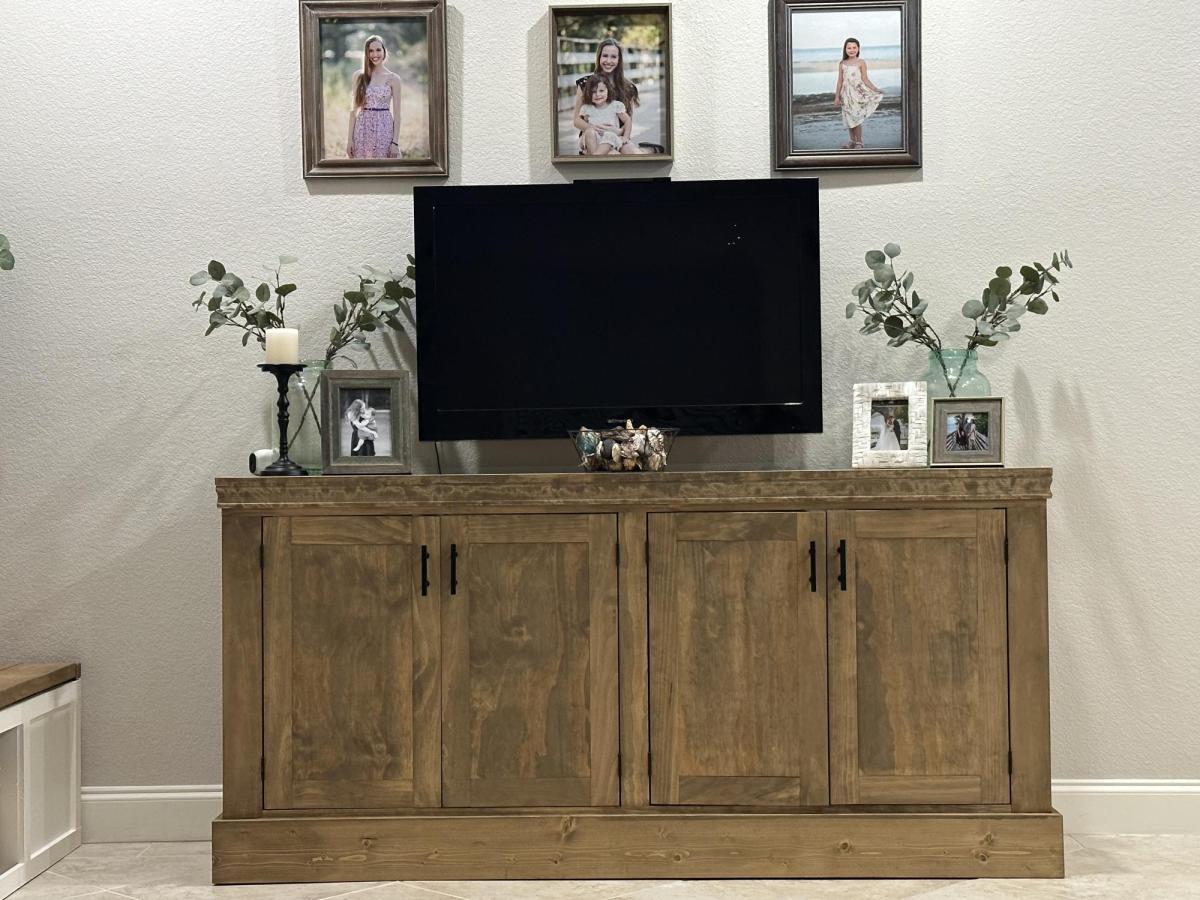
This project started as an idea to build a single Farmhouse Media Cabinet with a "42 tv mounted above it. I quickly realized that this space deserved so much more. Fast forward through weeks of debate and scouring the internet for inspiration, before finally settling on what you see pictured above. The first decision we made was to buy a monstrous 75", then everything else fell in to place from there. The tight stairwell leading to the basement forced me to build this unit in 6 sections (2 farmhouse media cabinets, 2 flanking cabinets, and 2 bookshelves.) It ended up sprawling 17' long when it was all said and done, but it fills the space so beautifully. It was by far the largest project I've ever tackled, but it was totally worth the hard work. Big shout out to Ana White for the inspiration!! 

Estimated Cost
$1200-$1500
Estimated Time Investment
Week Long Project (20 Hours or More)
Finish Used
Minwax(Early American), and Behr Premium Plus Ultra (Maui Mist)
Recommended Skill Level
Intermediate

Comments

Shanty Sideboard

My wife and I are very happy with this piece. It was challenging but not too difficult. The plans were very easy to follow.

Built from Plan(s)

Comments

Storage Sofa

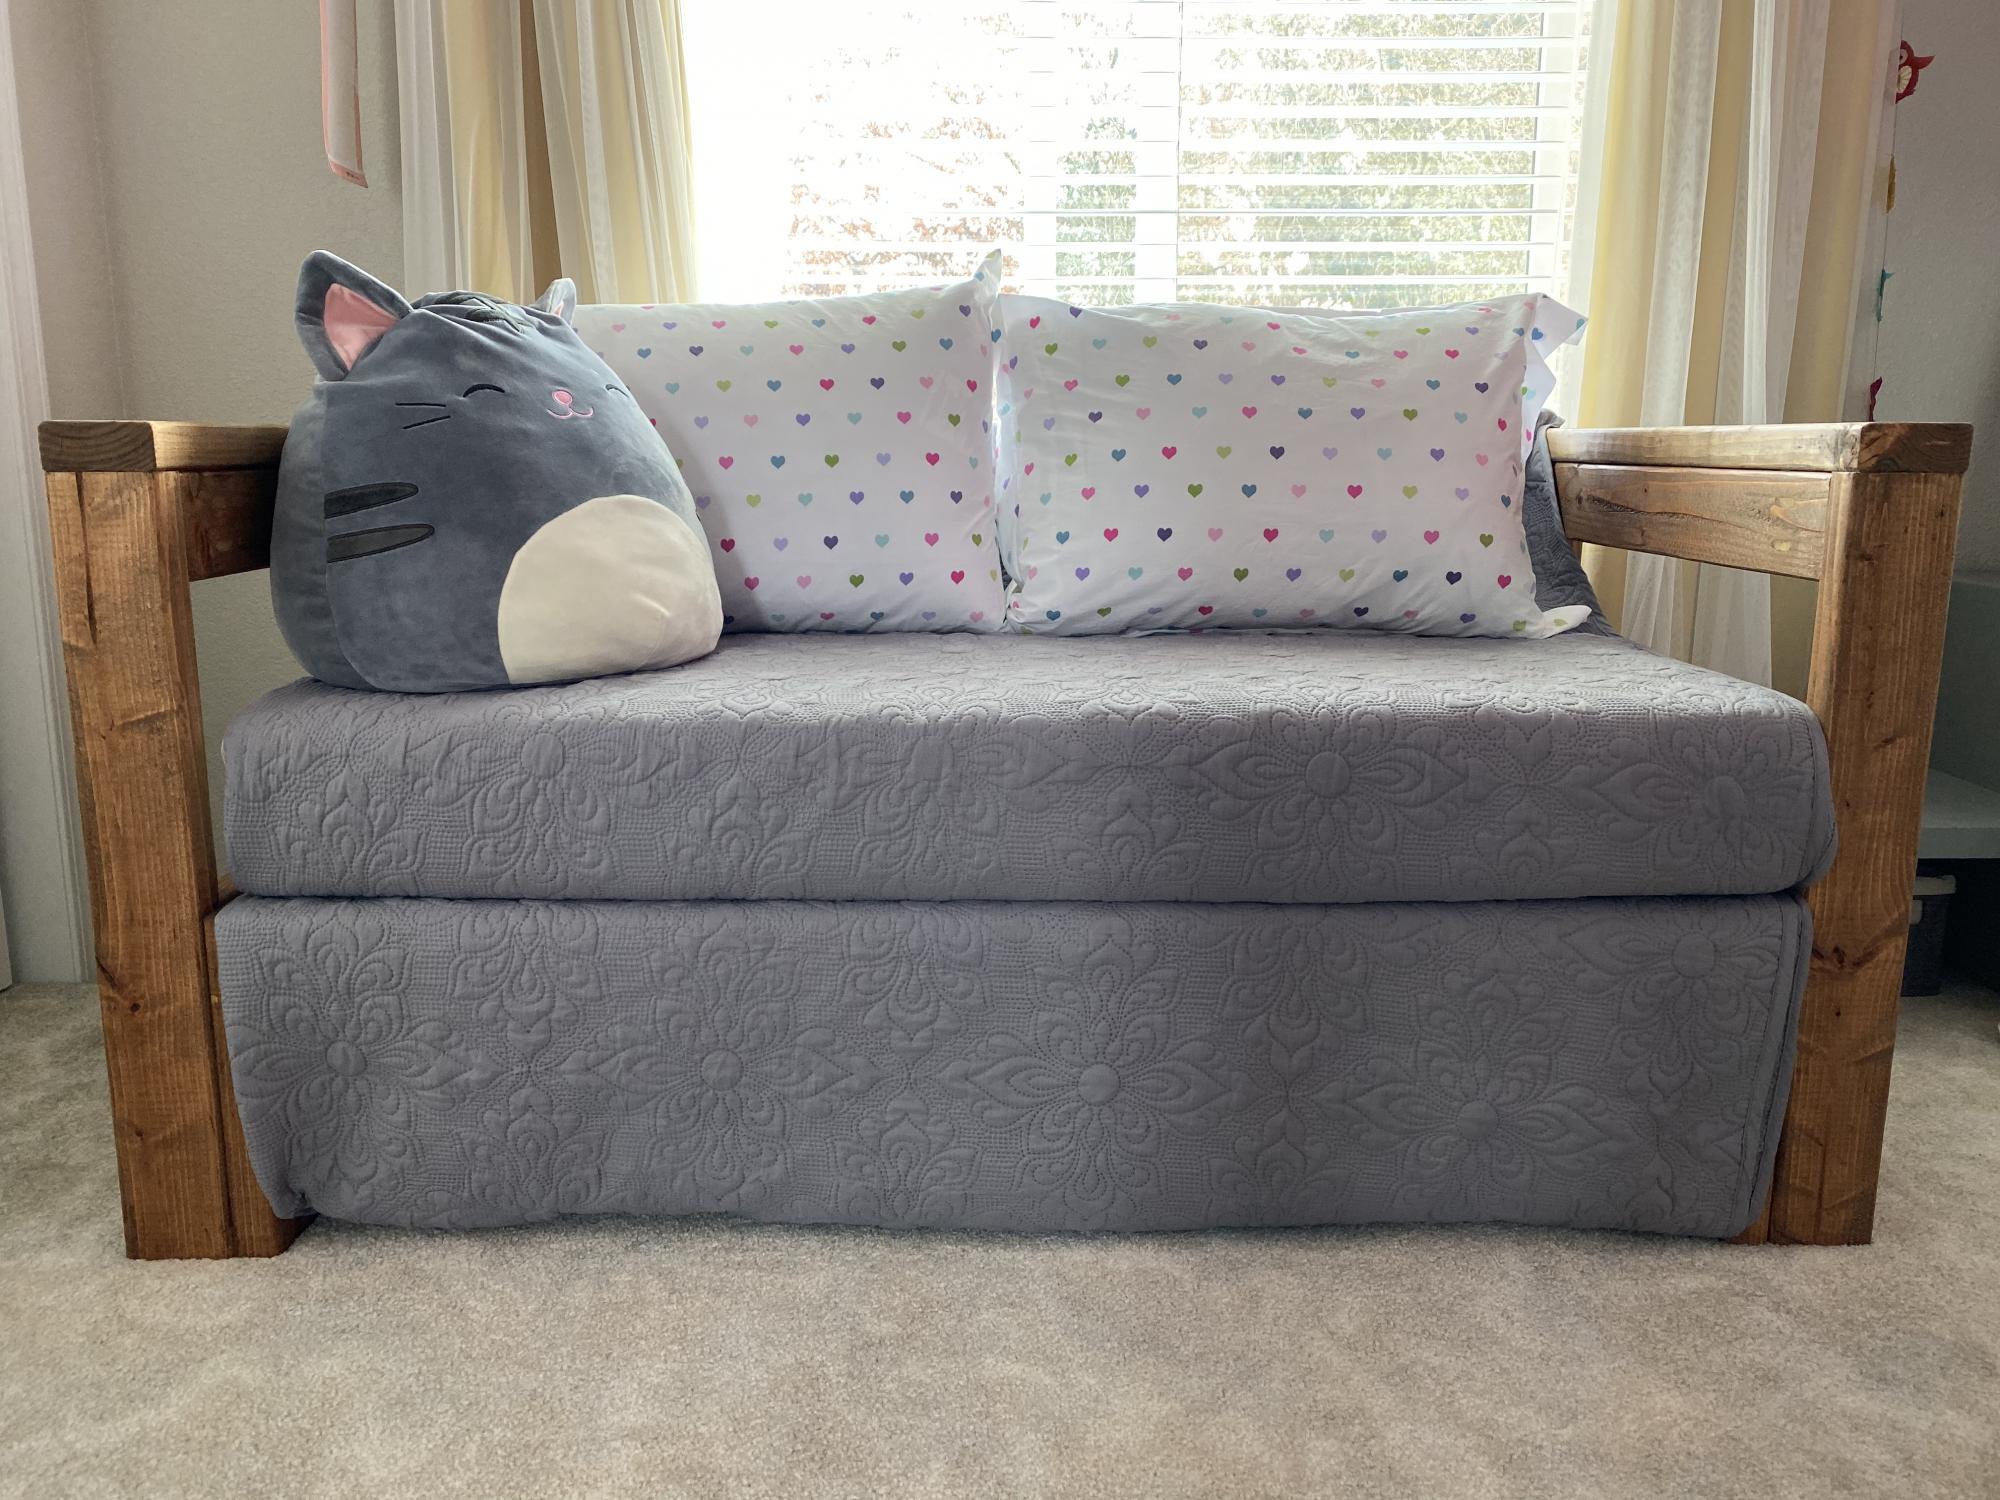
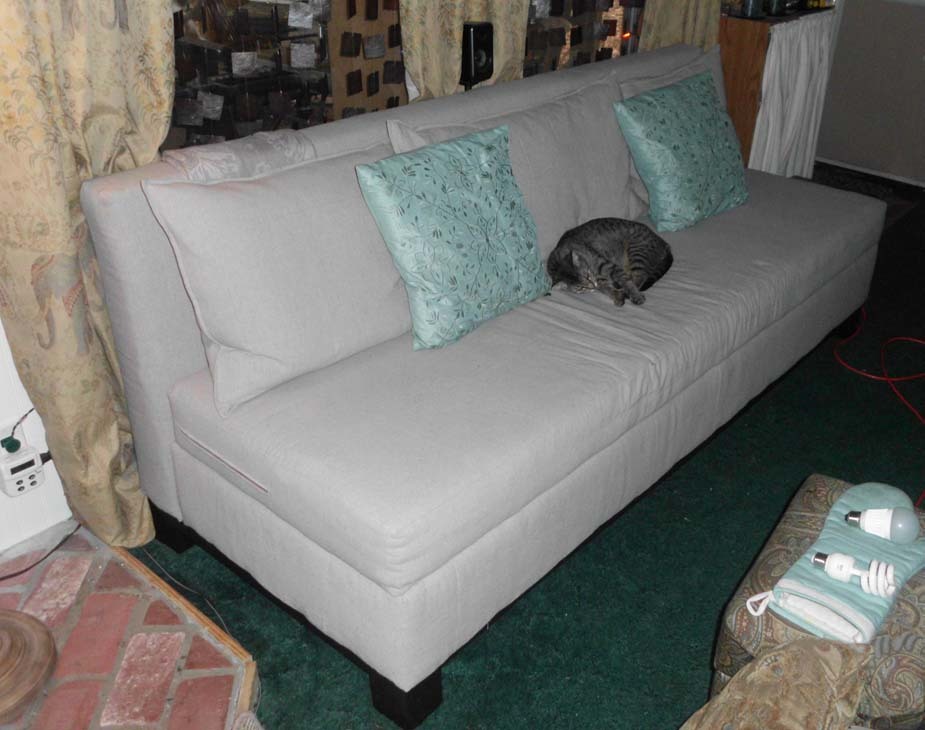
I loved the idea of the storage sofa! Such an easy build and I tweaked the plans to fit my needs... I used 5" high density foam, I lengthened the sofa to 84" (so I wouldn't have any wasted foam and also so my extremely tall son could stretch out on it without his feet hanging off the edge), I used a 2x8 for the box, and used 1/2" plywood for the seat because 1/4" ply was too flexible. I also made the seat with a zippered cover to encase the foam, batting, and plywood. This way, I can easily remove it to wash it. It's my favorite place to sit while I'm working!

Built from Plan(s)
Estimated Cost
Less than $100
Estimated Time Investment
Weekend Project (10-20 Hours)
Finish Used
I used General Finishes Stain in Espresso for the base and legs.
Recommended Skill Level
Beginner

Comments

Rae25 (not verified)

Tue, 05/22/2012 - 13:00

Gorgeous job! Hope mine turns out this well. How much fabric did you end up needing? I plan on making the seat cover removable as well.

Rae25 (not verified)

Tue, 05/22/2012 - 13:04

Gorgeous job, I hope mine turns out as well!
Question, how much fabric did you end up using? I plan on doing the removable cushion cover as well.

Freddy

Fri, 09/06/2013 - 13:21

It is really a fantastic idea to use storage sofa, as it can be used for dual purposes of storage plus sofa. Moreover, it will not occupy much space in the room. Anyway, please click here to see my site.

krystistaheli

Mon, 12/30/2013 - 17:43

Where did you purchase the foam? Was the $100 for just lumber costs or for the entire purchase? Thanks.

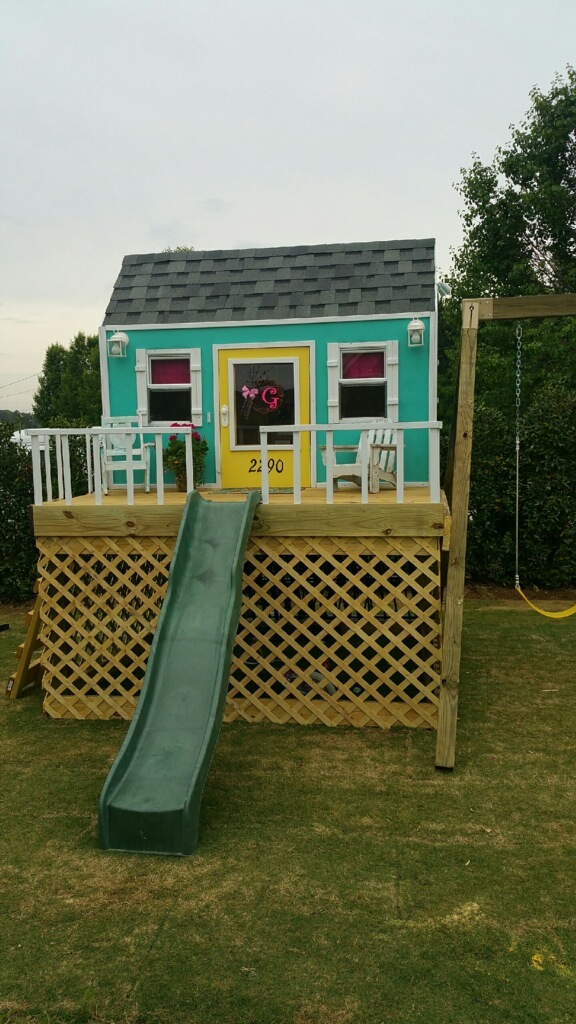
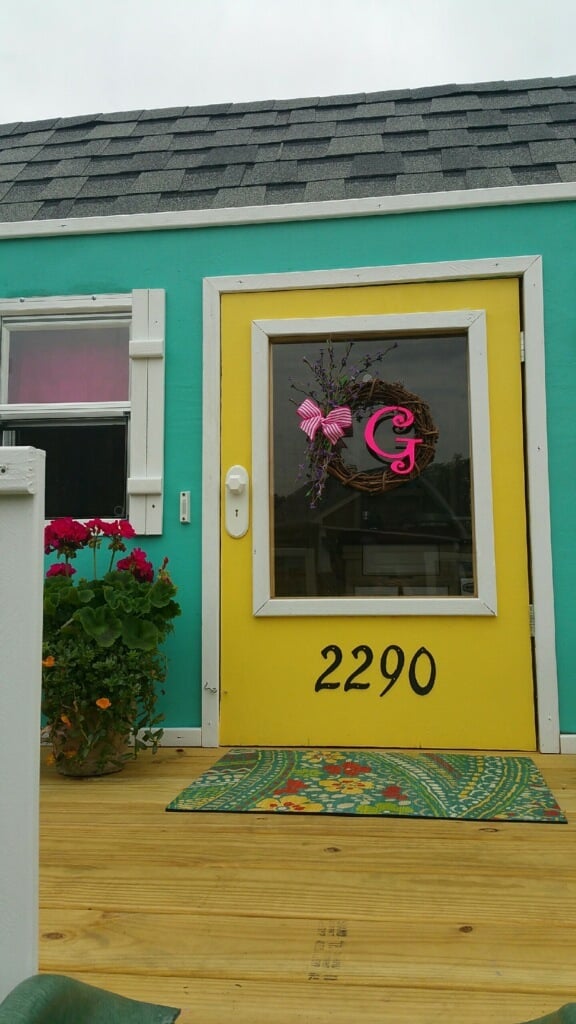
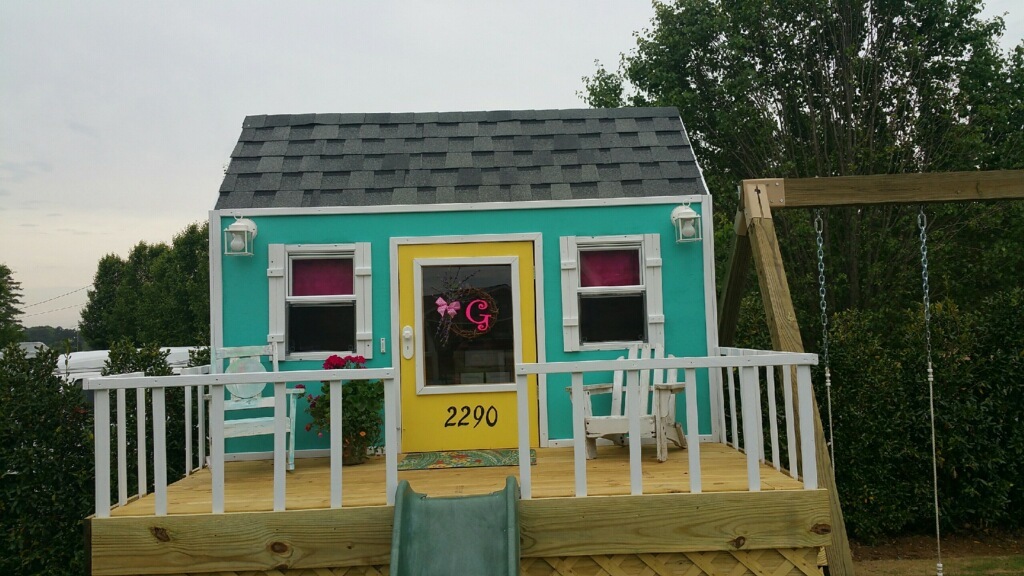
Perfect playhouse

Submitted by Anonymous (not verified) on Mon, 05/02/2016 - 06:37

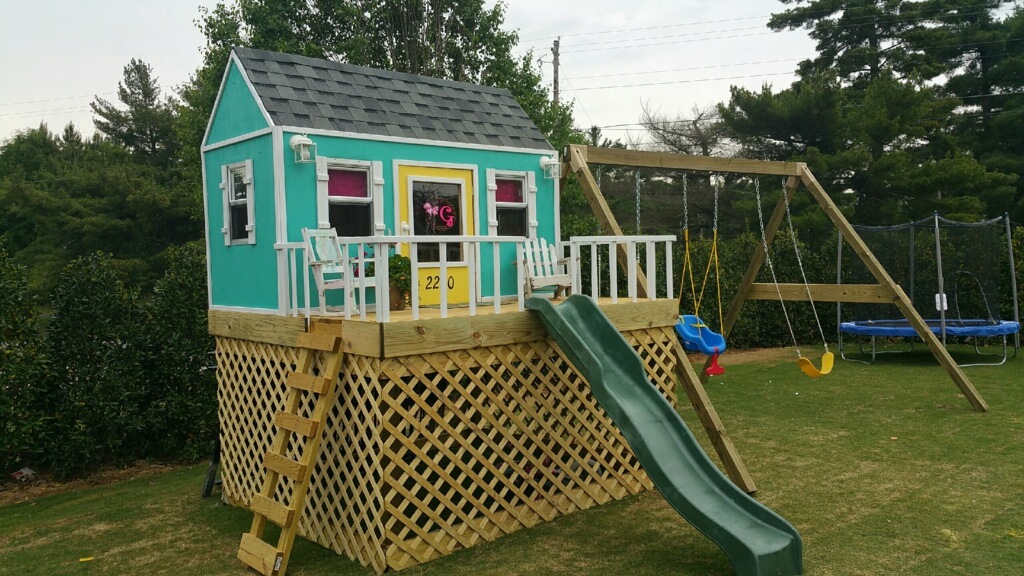
Perfect little playhouse my husband built for our girls.   It took about a week to build by himself, but worth every minute.   He did a wonderful job.   Such a good daddy!

Estimated Cost
1400
Estimated Time Investment
Week Long Project (20 Hours or More)
Recommended Skill Level
Intermediate

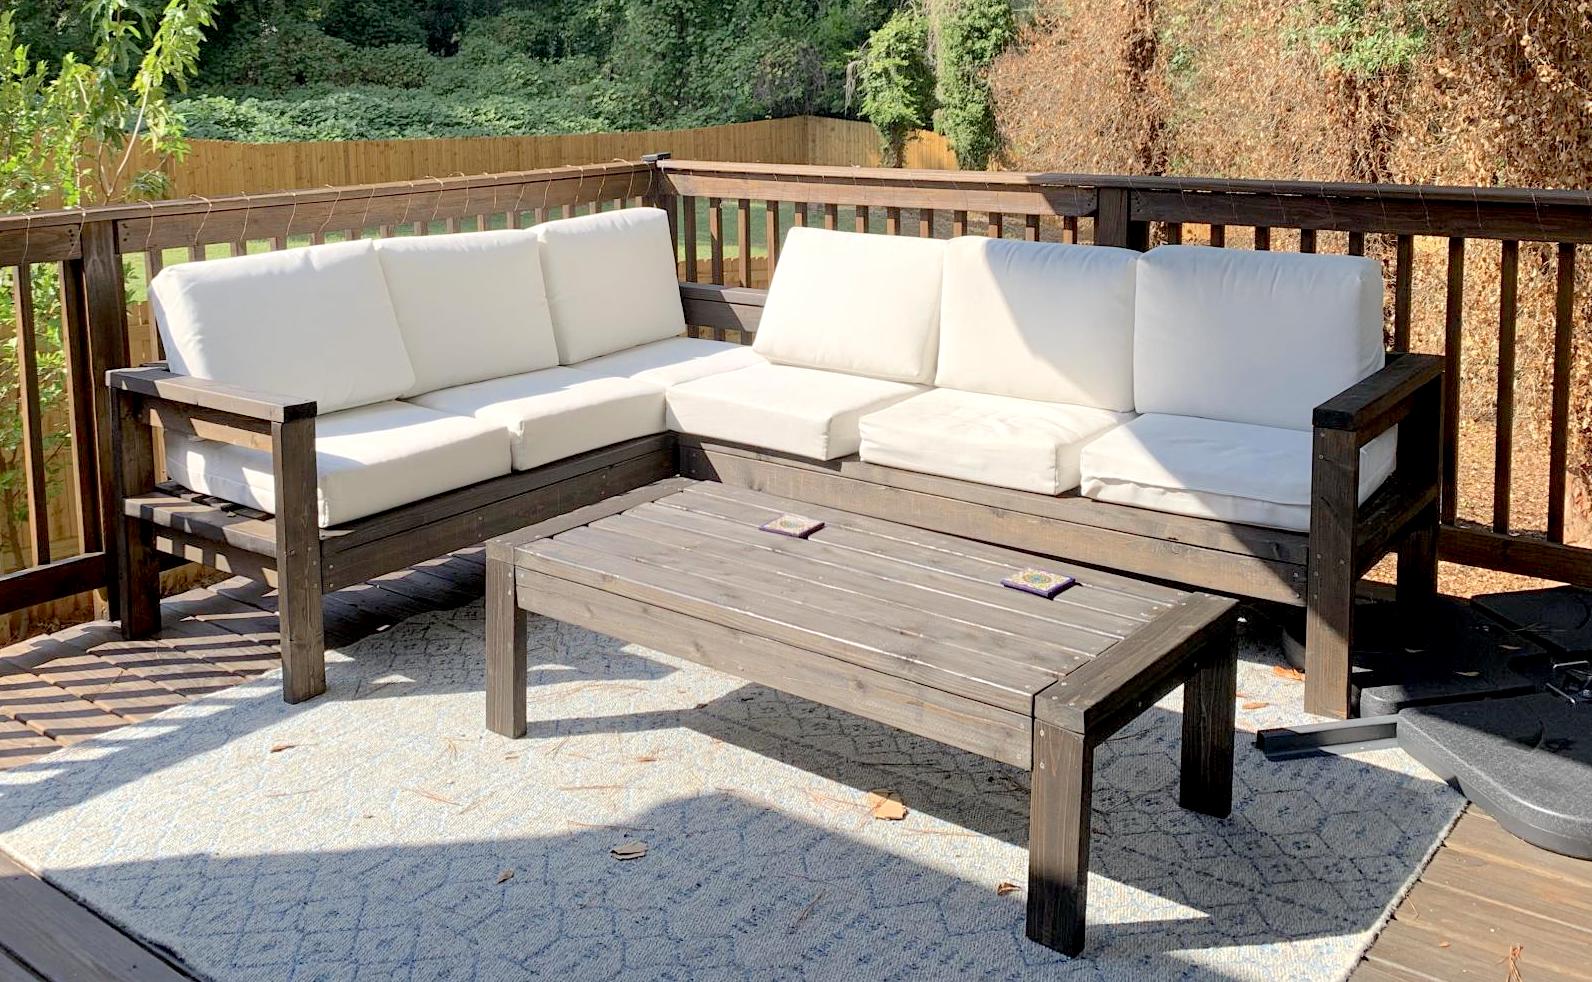
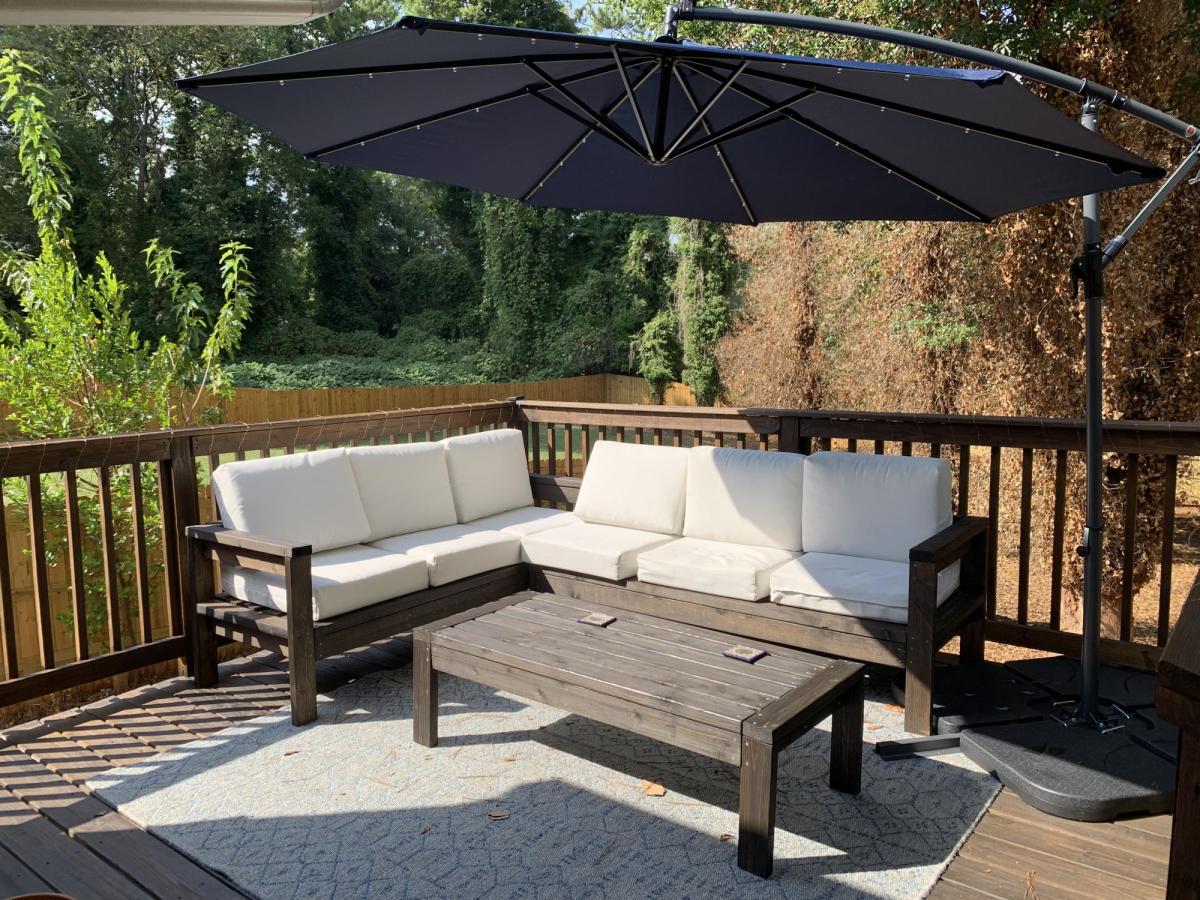
Outdoor Sectional

Submitted by rachelmlee on Sun, 01/26/2020 - 20:23

This was my first real woodworking project and was so much fun! I use my deck much more now and am excited to build more!

Estimated Cost
$500 (with cushions)
Estimated Time Investment
Week Long Project (20 Hours or More)
Finish Used
Varathane Jacobean stain
Recommended Skill Level
Beginner

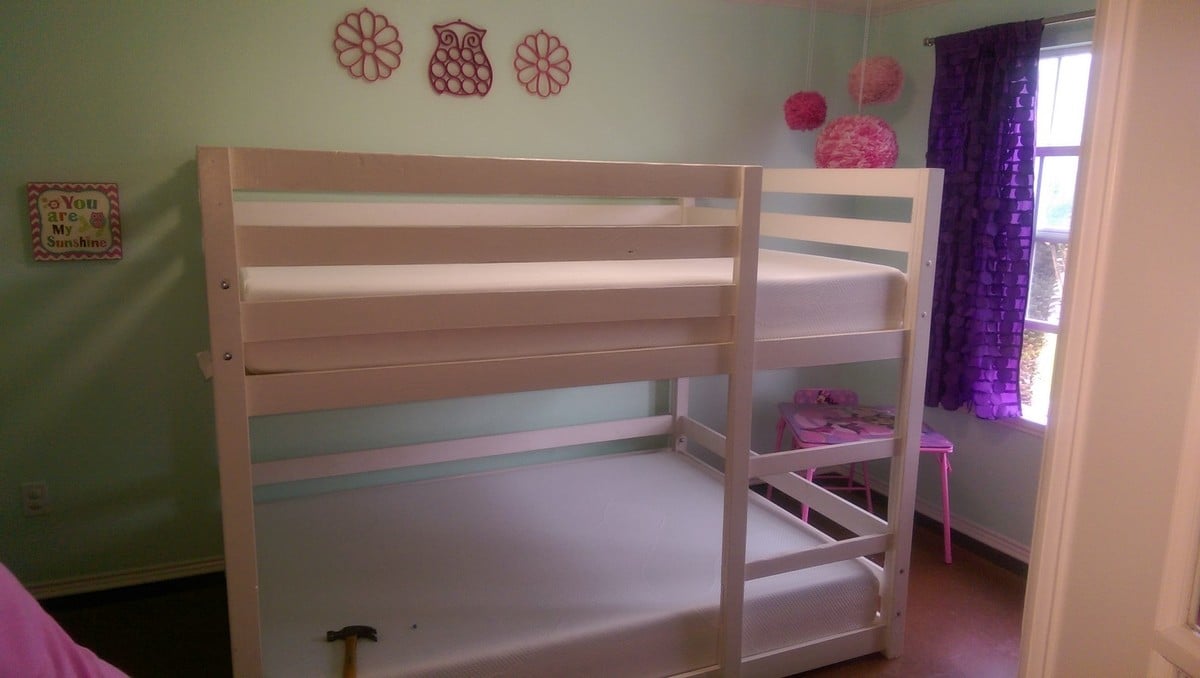
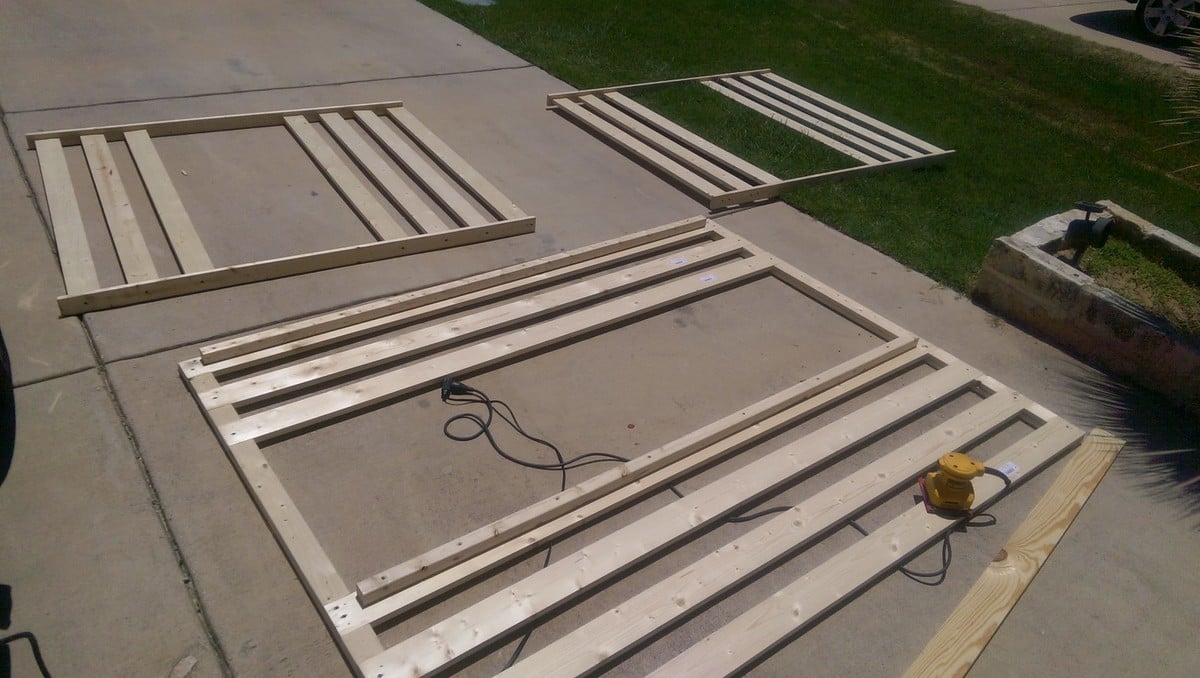
Full over Full Bunk Bed

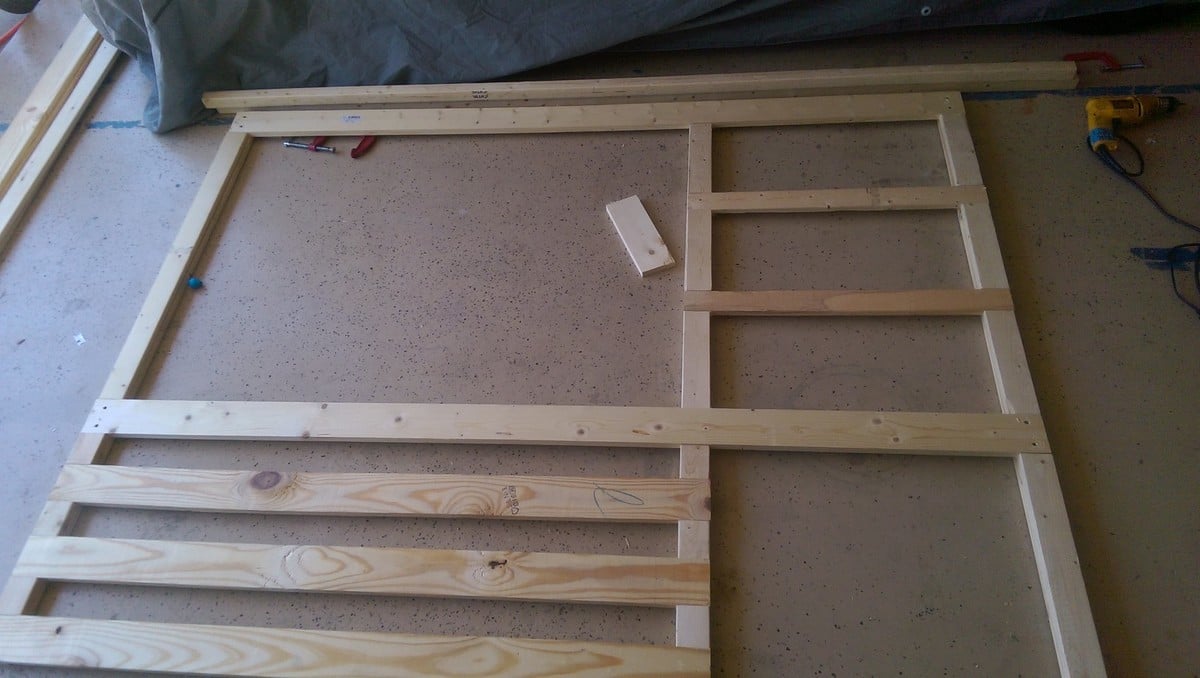
Full over Full bunk beds. Adjusted for Full from a twin measurement. only 1" off floor for more head room.extra rail bar coverage upstairs for my daughter who rolls out of bed regularly.

Built from Plan(s)
Estimated Cost
used common board mix and a few premium cuts. Pine was more costly. @$250
Estimated Time Investment
Weekend Project (10-20 Hours)
Finish Used
White primer/paint
Recommended Skill Level
Beginner

Comments

bjerfr

Sat, 07/11/2020 - 10:12

What measurements did you use to adjust to a full size?

Door Top Workbench

Submitted by Ji on Sun, 04/29/2012 - 18:57

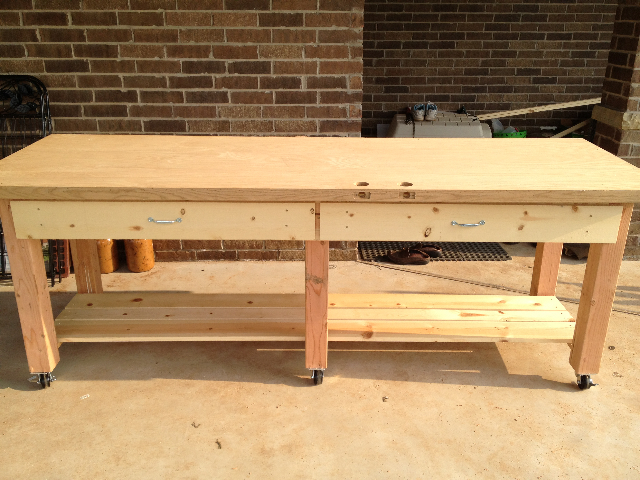
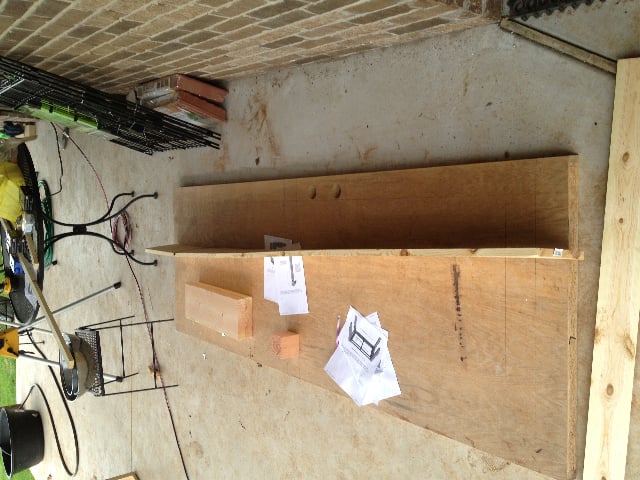
We had an extra door after building our house. We were not able to get store credit, so we found a some good use for it. After searching the plans here we saw the rolling workbench and decided what to do.

The door was so heavy and long so we modified the original plan and put a middle support. Our plan is based on the "Rolling Workbench with "Drill Holders"".

Estimated Cost
$150
Estimated Time Investment
Weekend Project (10-20 Hours)
Finish Used
None yet. May put a couple of coats of semi-gloss poly, but it is a workbench so not too concerned.
Recommended Skill Level
Intermediate

Comments

Patrick Hosey (not verified)

Sat, 05/05/2012 - 07:07

this is great. i love the 2 drawers and that it is on wheels. great job

Cement top modification

Submitted by Anonymous (not verified) on Tue, 06/07/2016 - 00:31

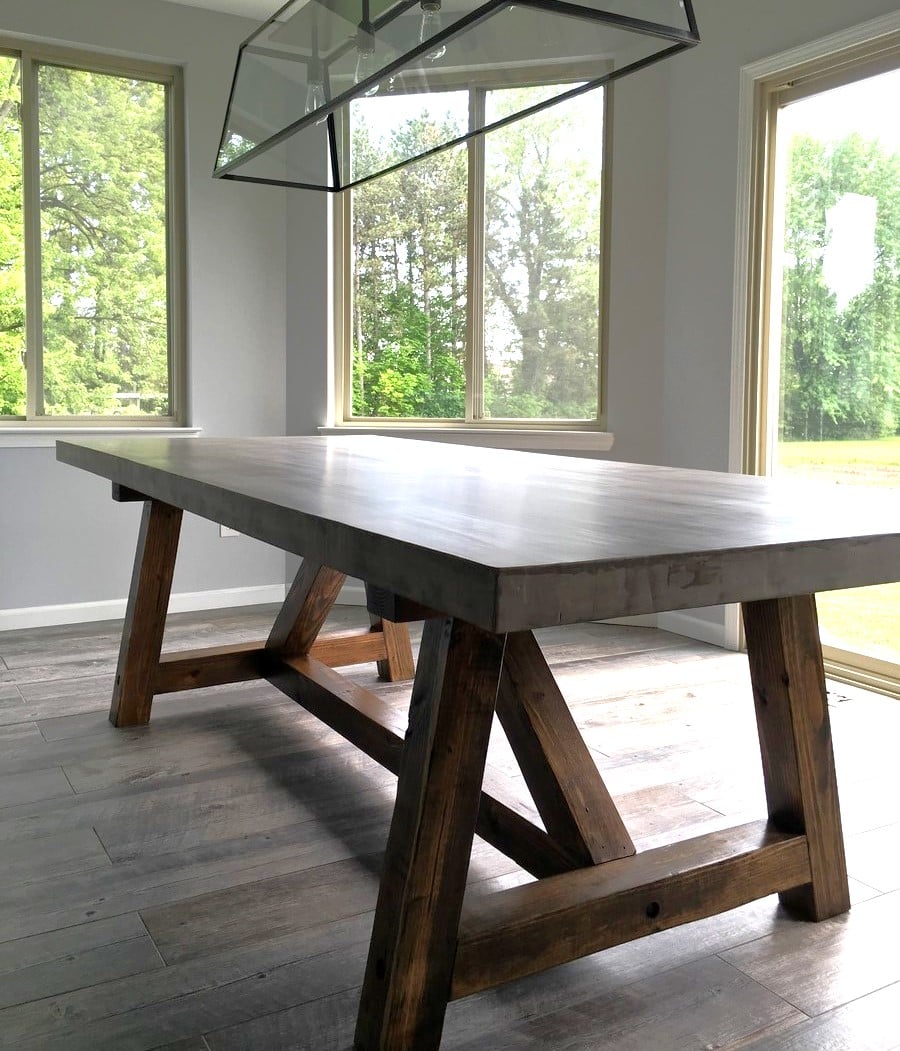
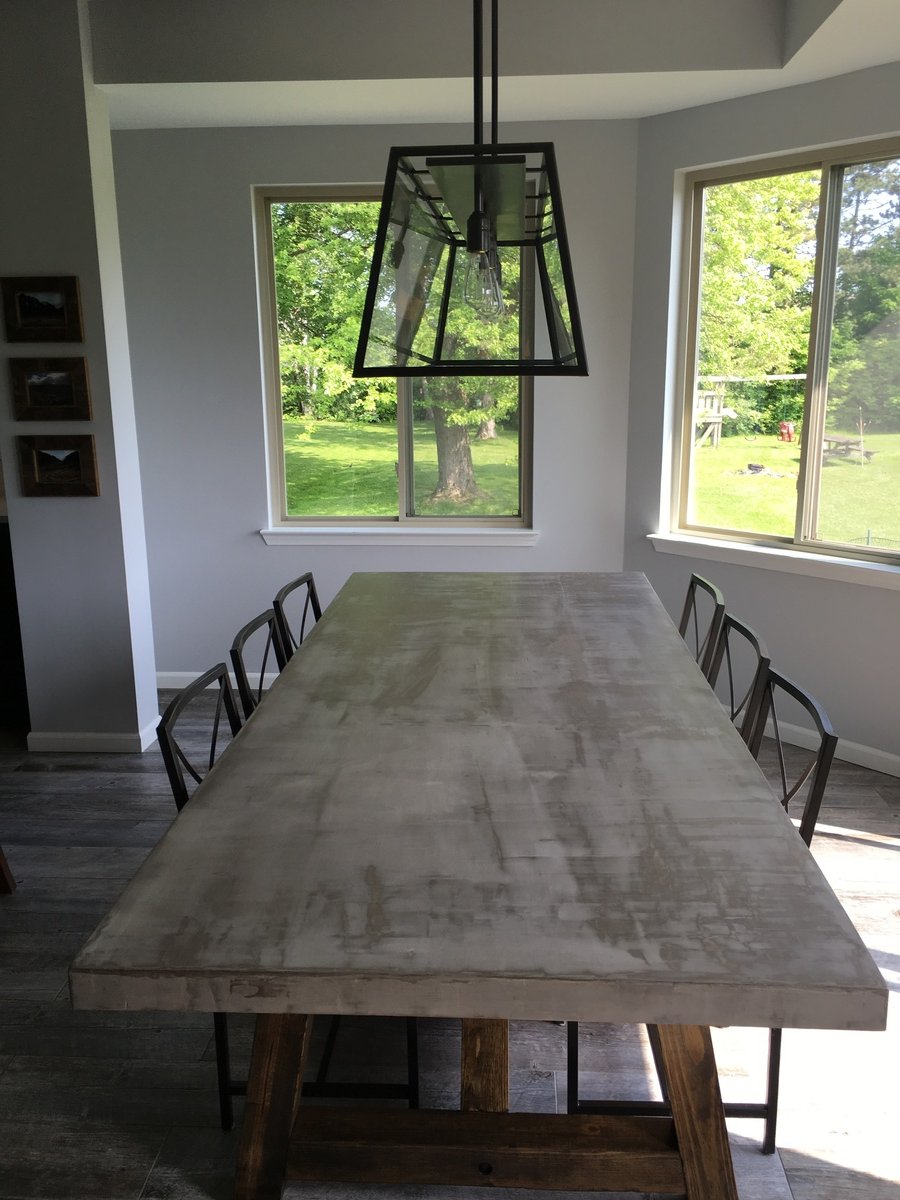
Instead of a wood top I used 2x 3/4" sheets of plywood plus 1/2" backer board to create a thicker top and used Ardex feather finish cement in 4 coats sanded and finished with Mexeseal sealant, recommended 4 coats of semi-gloss plus 2 coats of satin to get a matte finish (recommended by manufacturer) I followed the concrete countertop blog from "Young House Love" but used a different sealant when I contacted the safe coat manufacturer and they recommended their Mexeseal product. 

Built from Plan(s)
Estimated Time Investment
Week Long Project (20 Hours or More)
Finish Used
Ardex Feather Finish Cement
Safe coat Mexeseal Sealant (4 coats semi-gloss plus 2 coats satin for a matte finish)
Stain on base: Minwax weathered oak and dark walnut
Poly on base: 2 coats of Minwax satin poly
Recommended Skill Level
Beginner

Beginner Farm Table & Benches

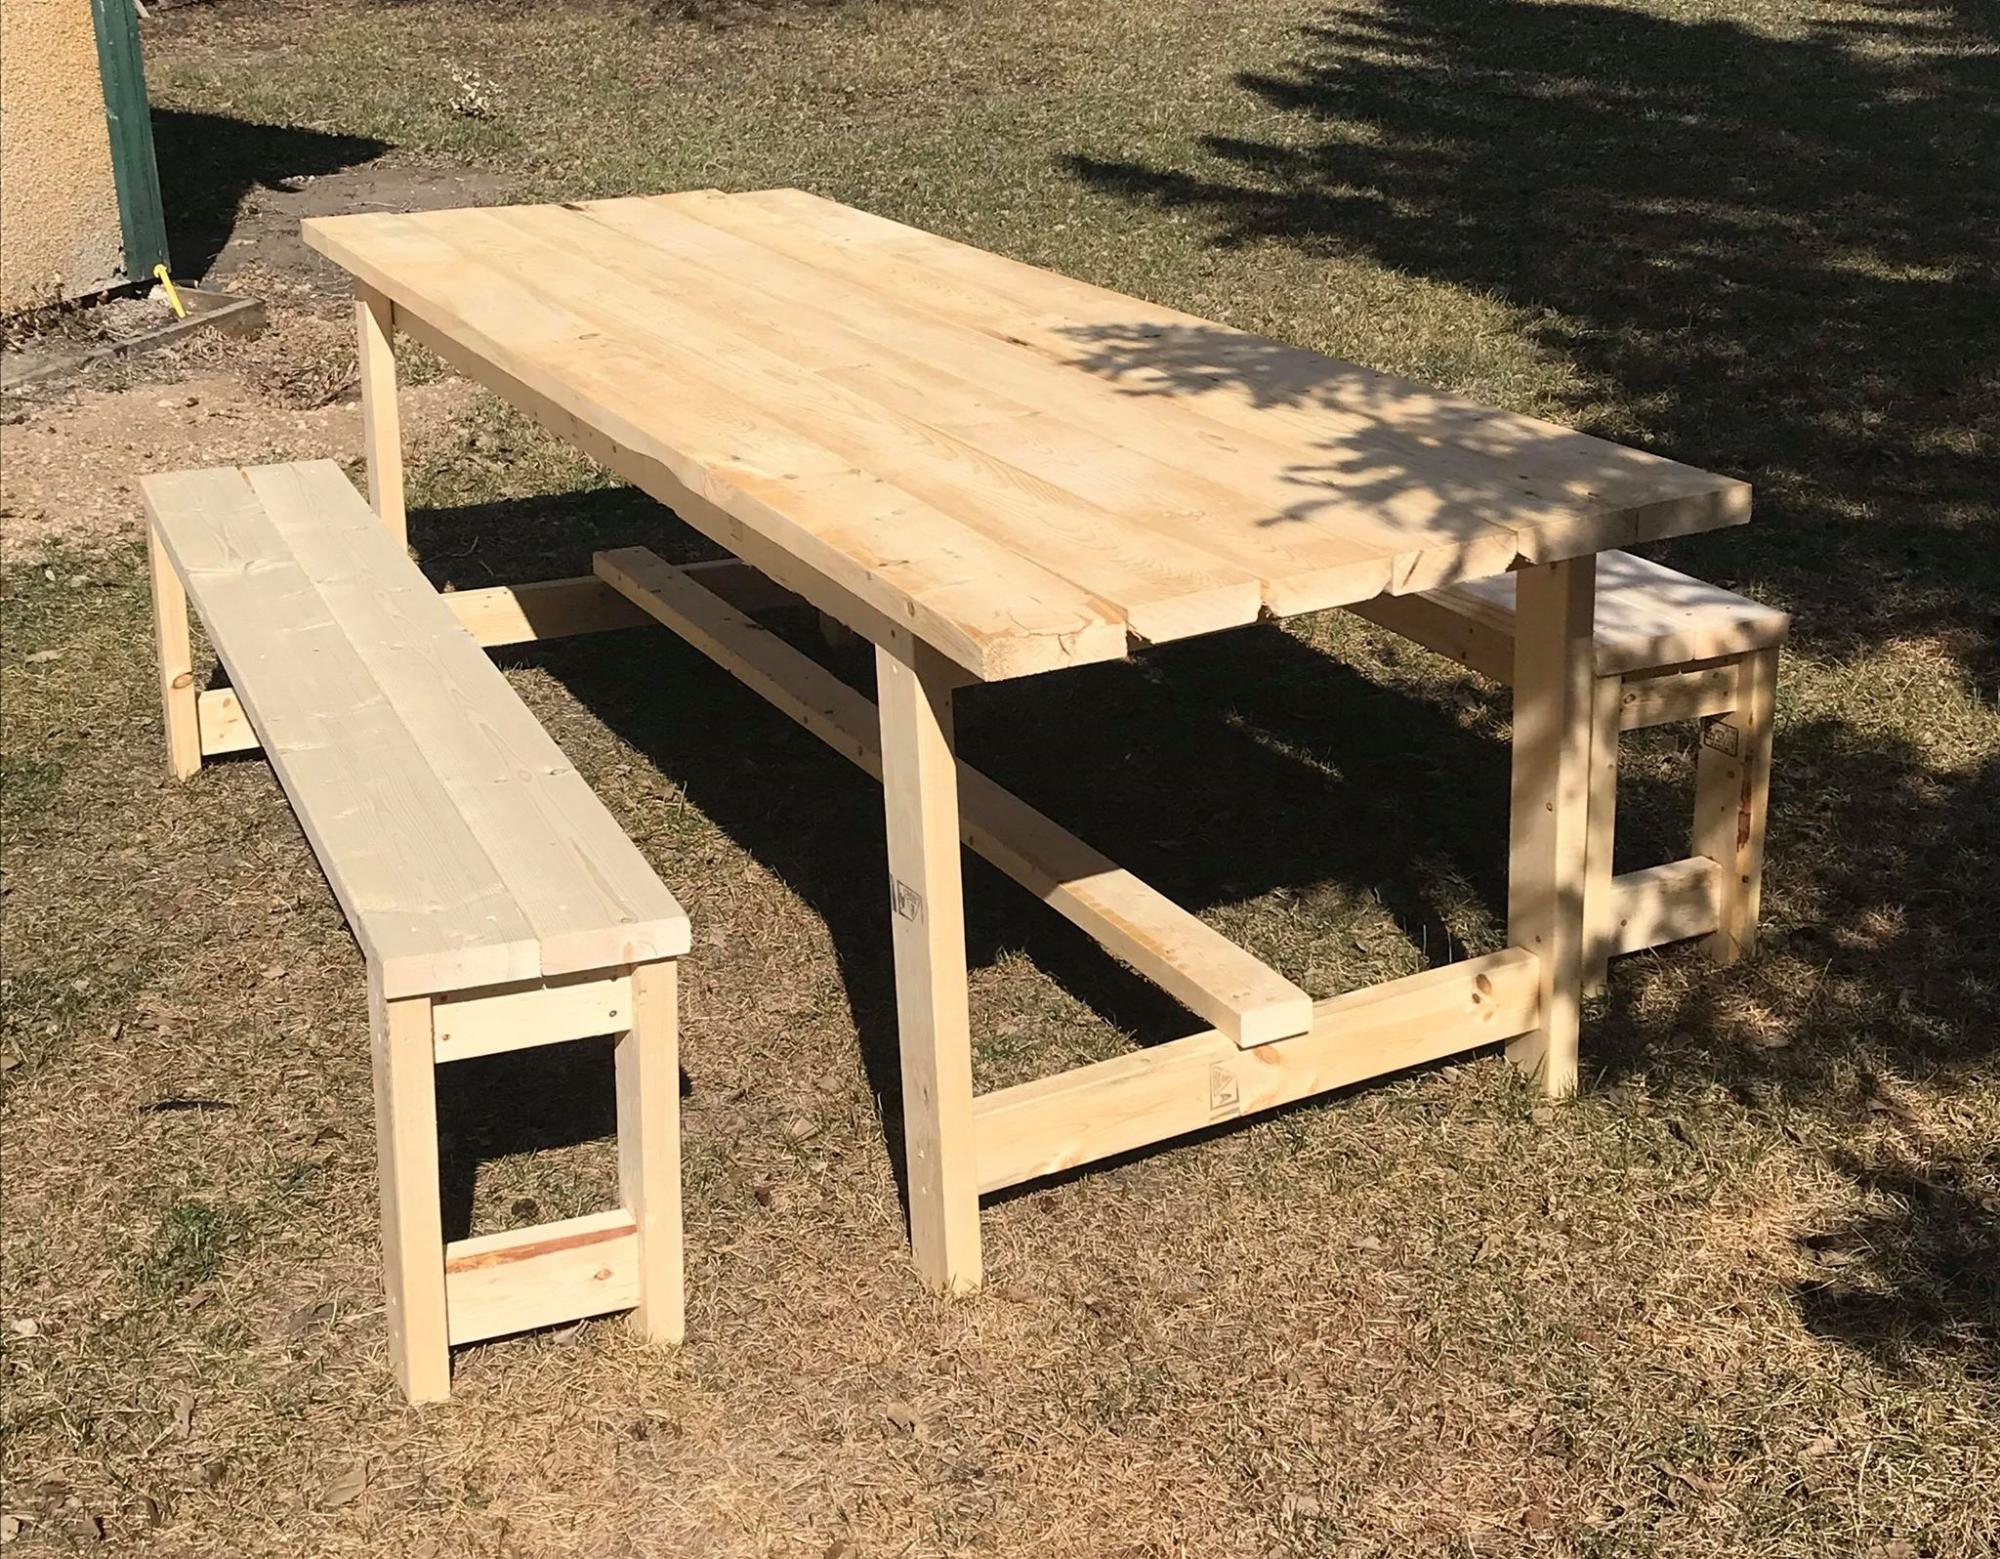
This was my first time building anything! The plans were so easy to follow along! Once I master some things like this, I can work on fine tuning things a bit more so I can build some more intricate plans. Thanks so much for your website! My kids are loving the BBQ's outside at the table!

Estimated Time Investment
Afternoon Project (3-6 Hours)
Finish Used
I haven't added a finish yet but will be soon.
Recommended Skill Level
Starter Project

Comments

Beryl

Tue, 06/02/2020 - 15:09

re the farm table. your cut list calls for 8 2 x 4 at 28 1/2 inches but the plan actually only needs 4 of them. The pics do not show you doubling the 2 x 4s for legs. Am I missing something.

Garage Shelving

Submitted by Anonymous (not verified) on Sat, 07/16/2016 - 17:17

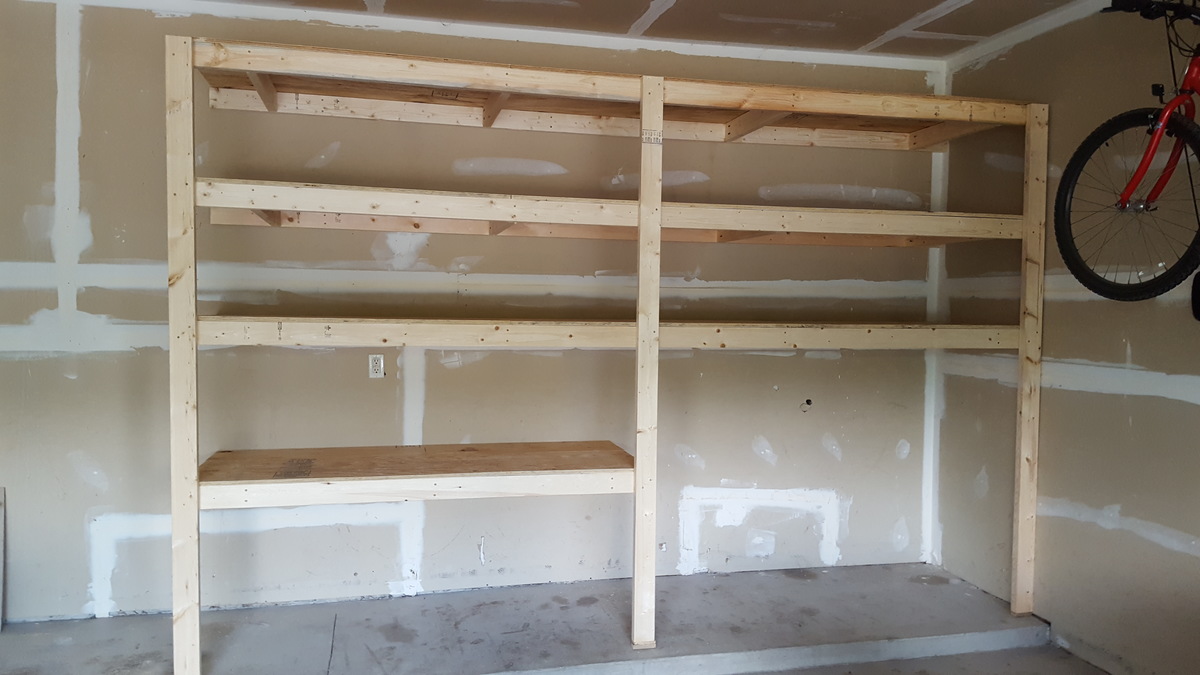
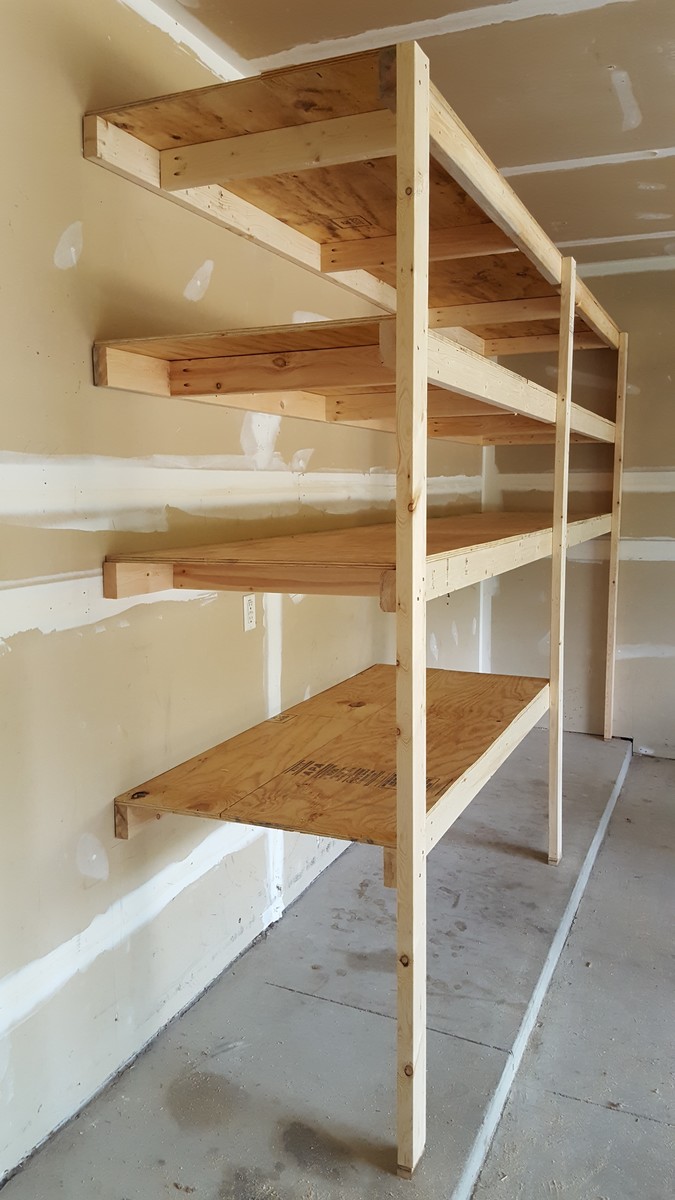
I am a beginner diy'er and this was one of my first projects.  Also it was my first time using the Kreg jig and I loved it!  My shelving system was around 8 feet tall, 12 feet wide and 30 inches deep.  I added some extra cleats to support my deeper shelves (30") and also used thicker (5/8") plywood.  This was a fun and easy project to do!  Thanks so much!

Estimated Cost
$150
Estimated Time Investment
Day Project (6-9 Hours)
Finish Used
none
Recommended Skill Level
Beginner
Back