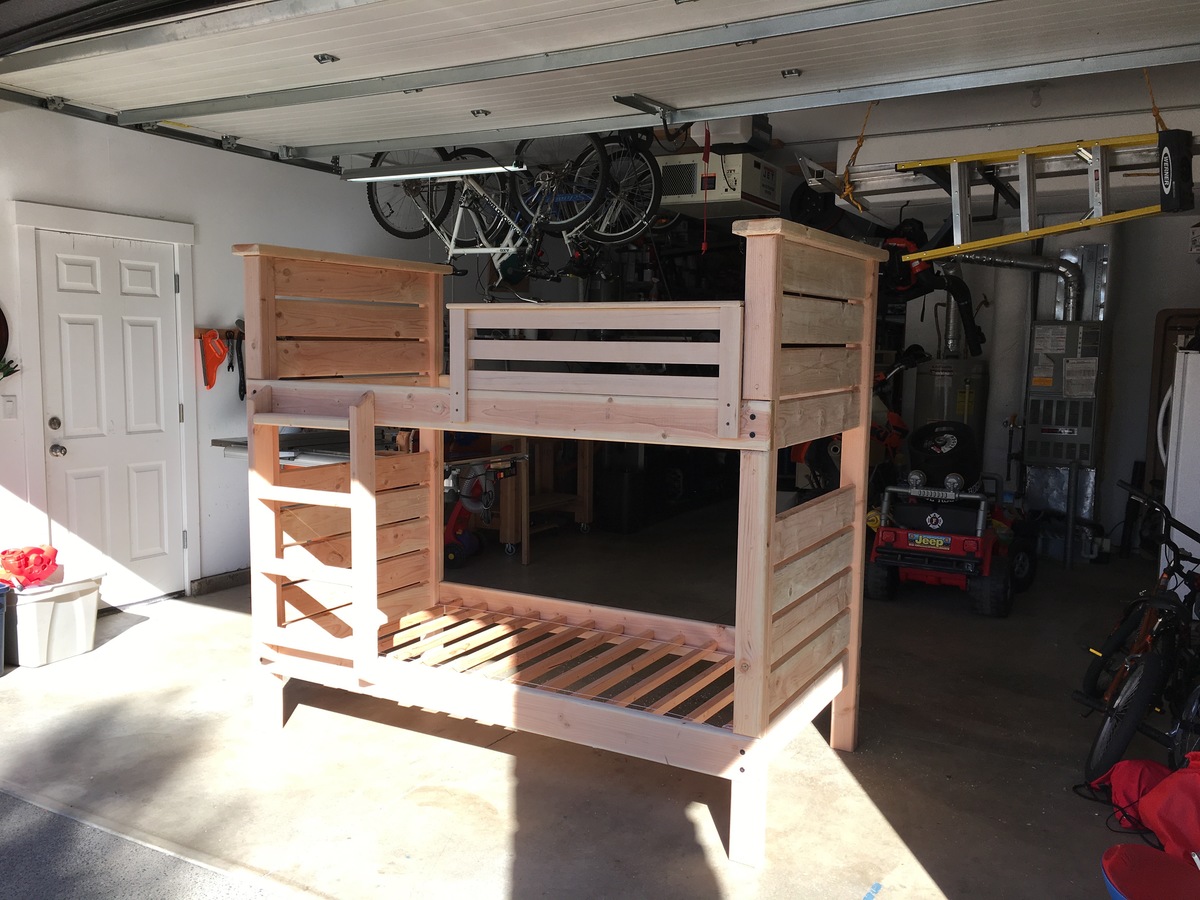
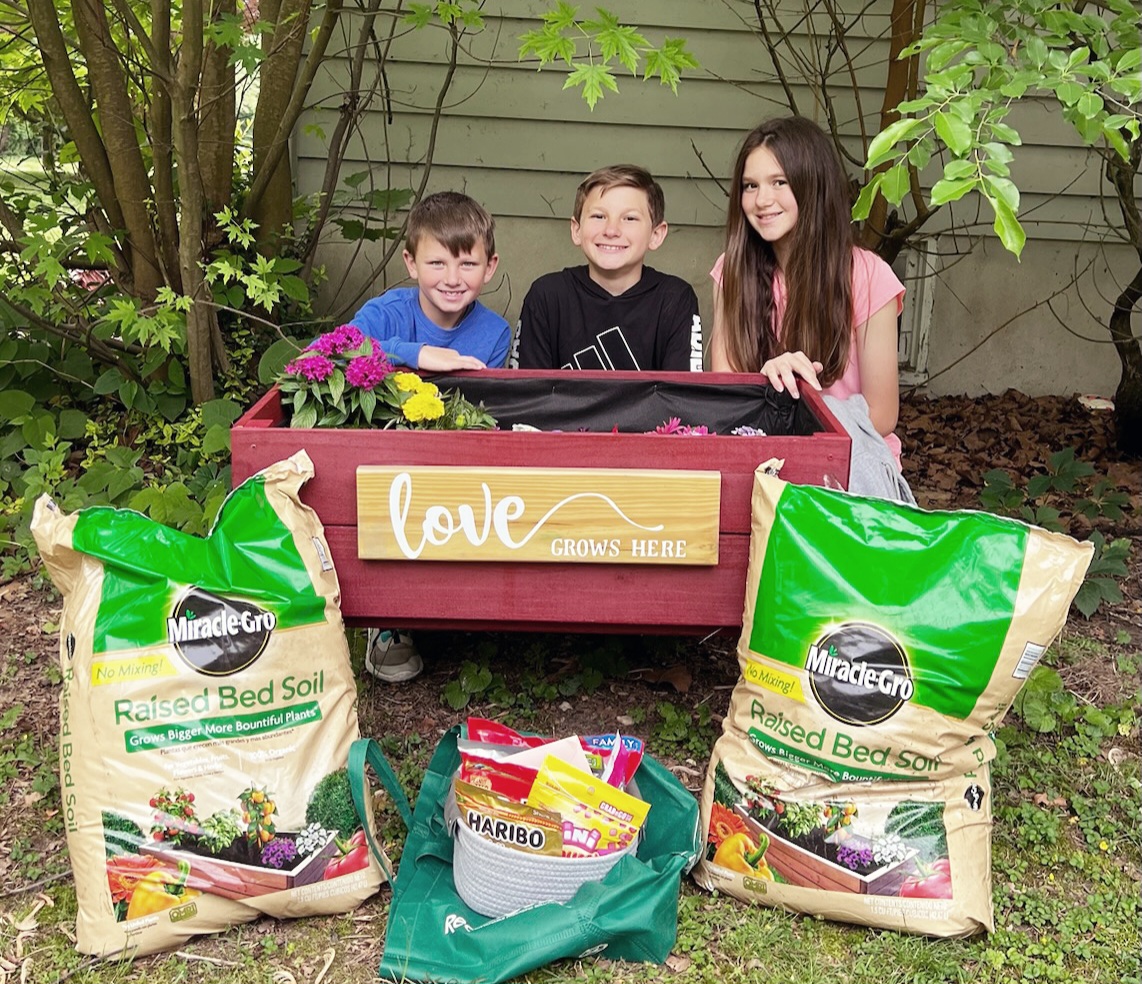
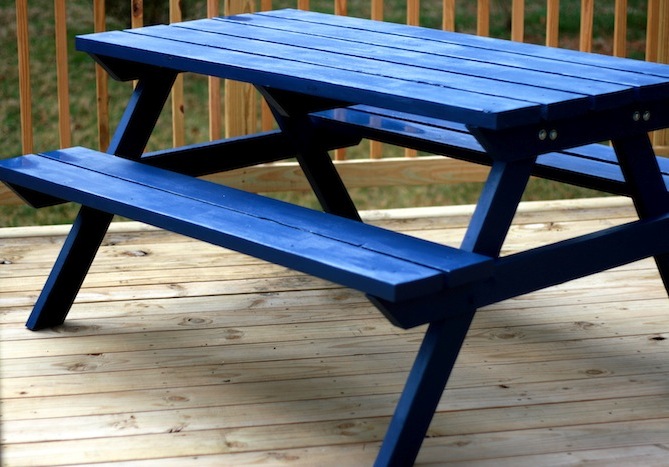
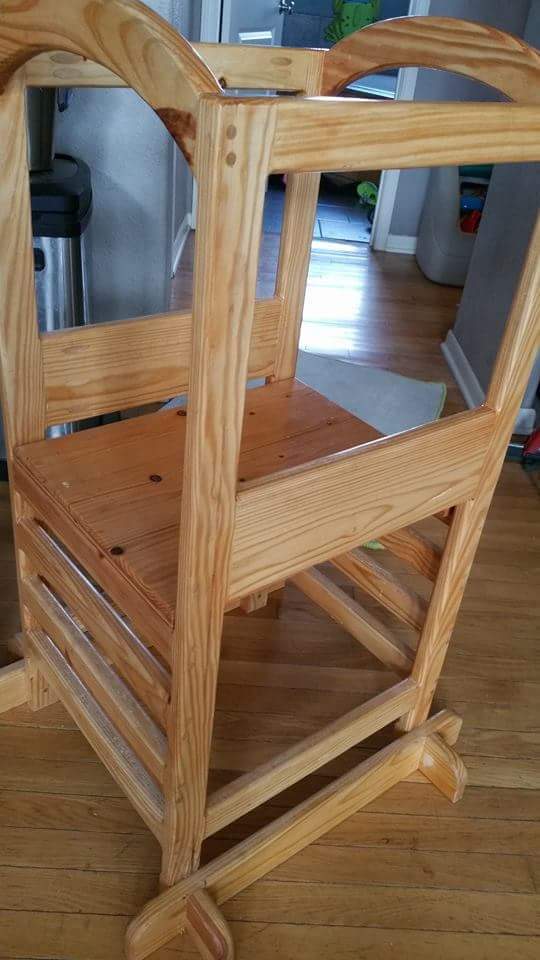
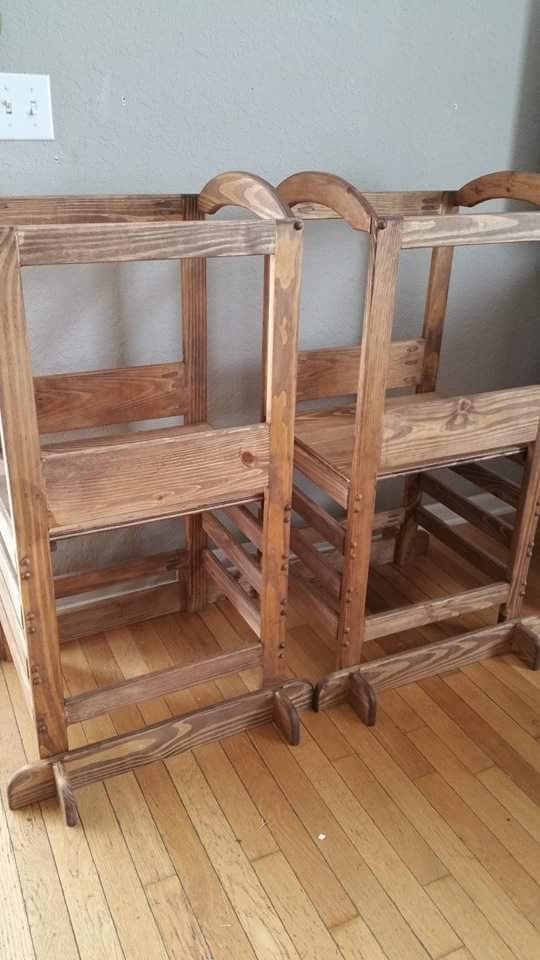
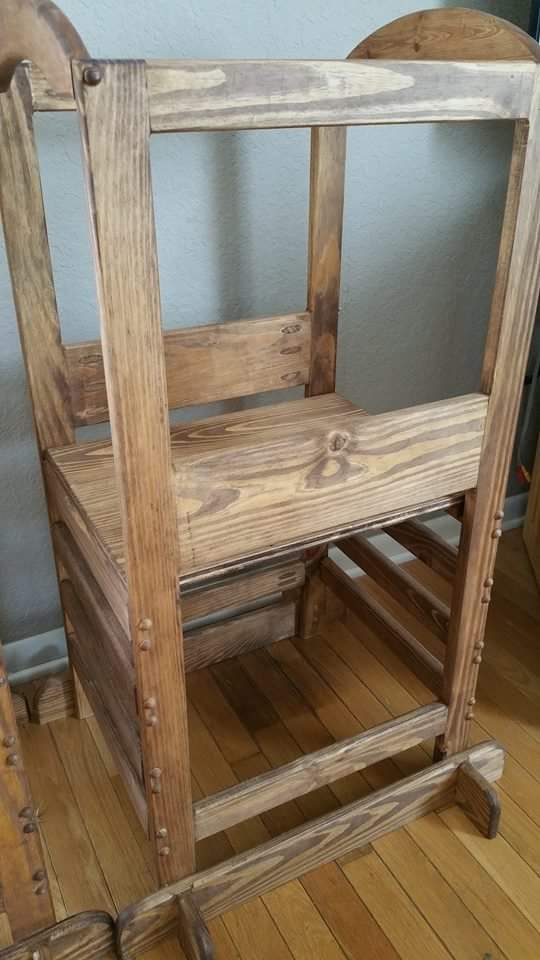
Donated bed
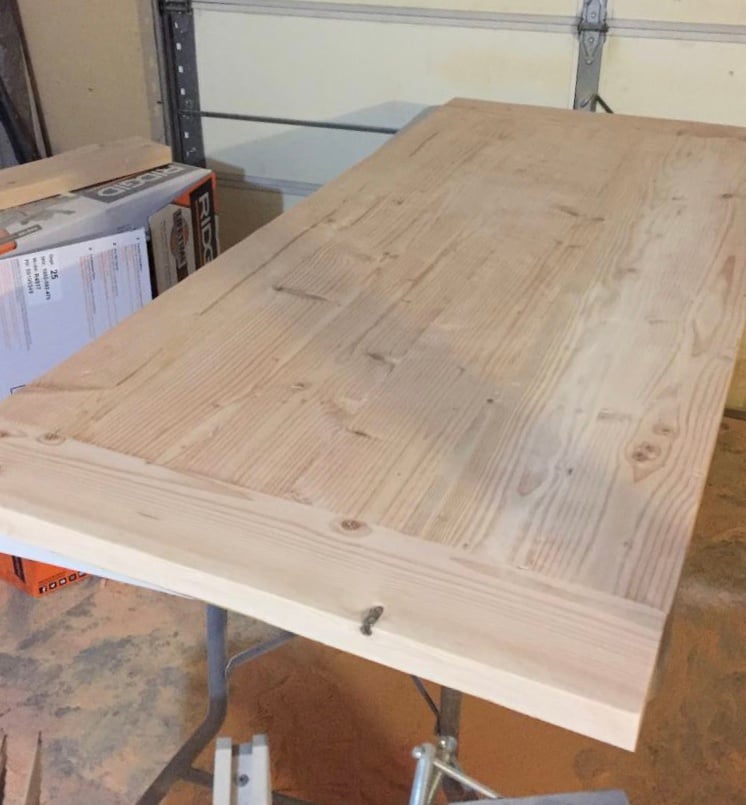
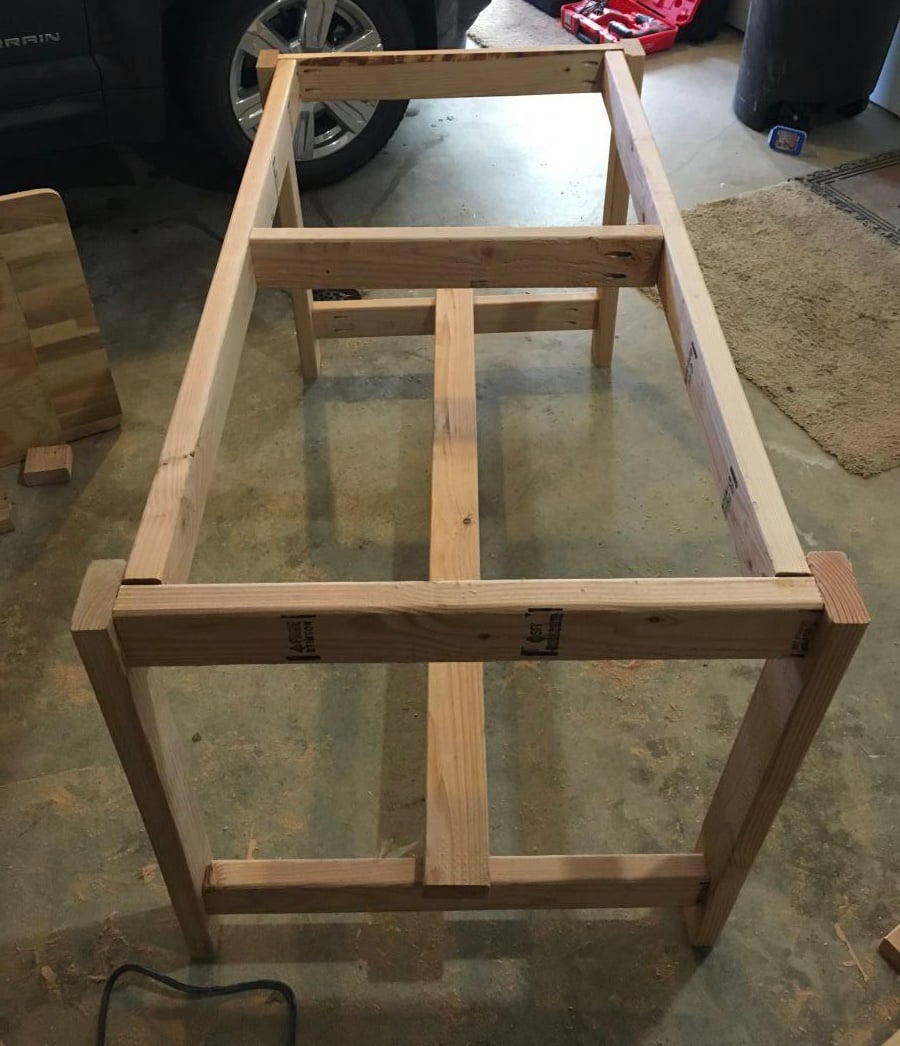
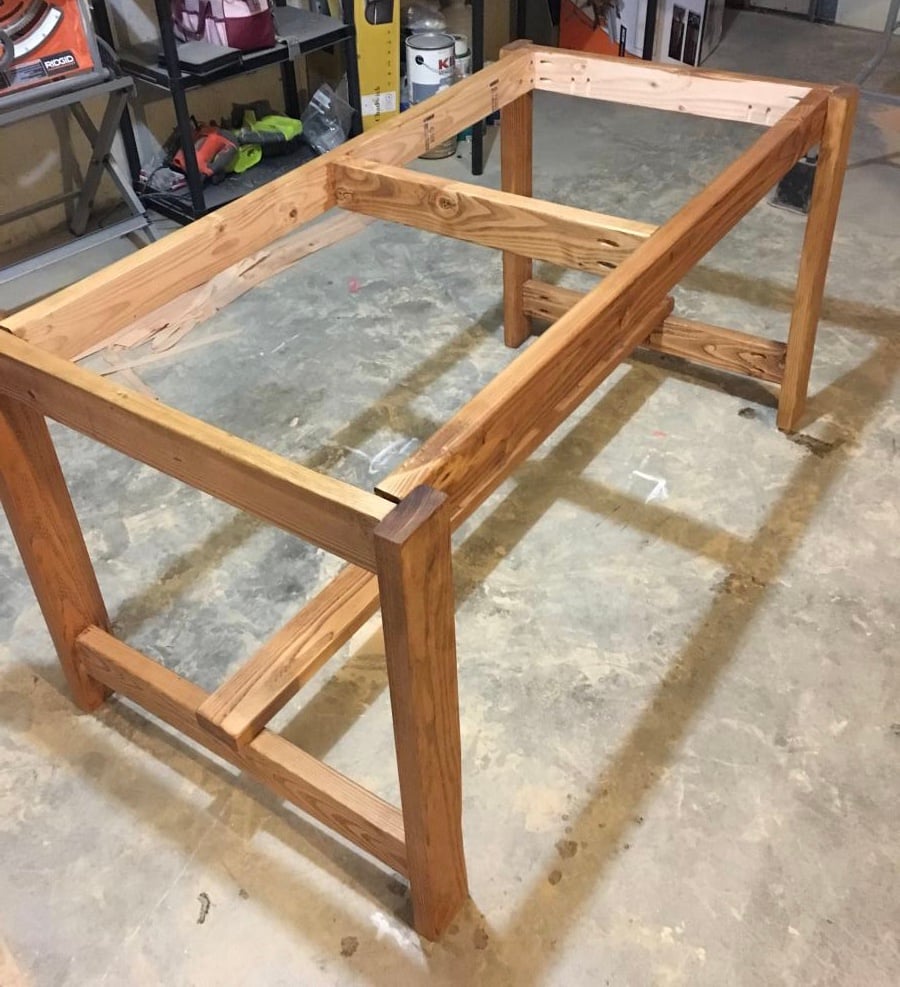
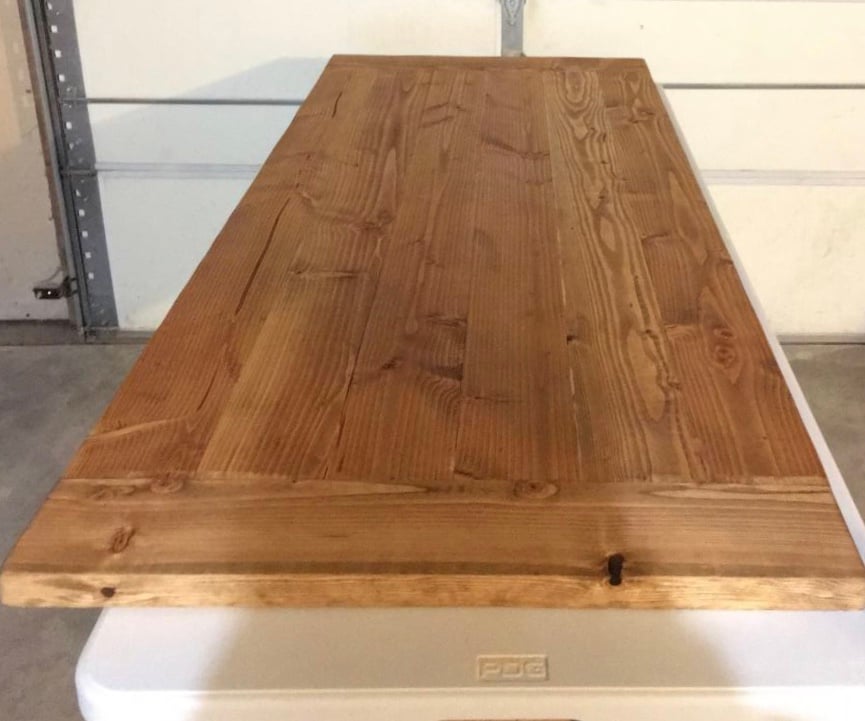
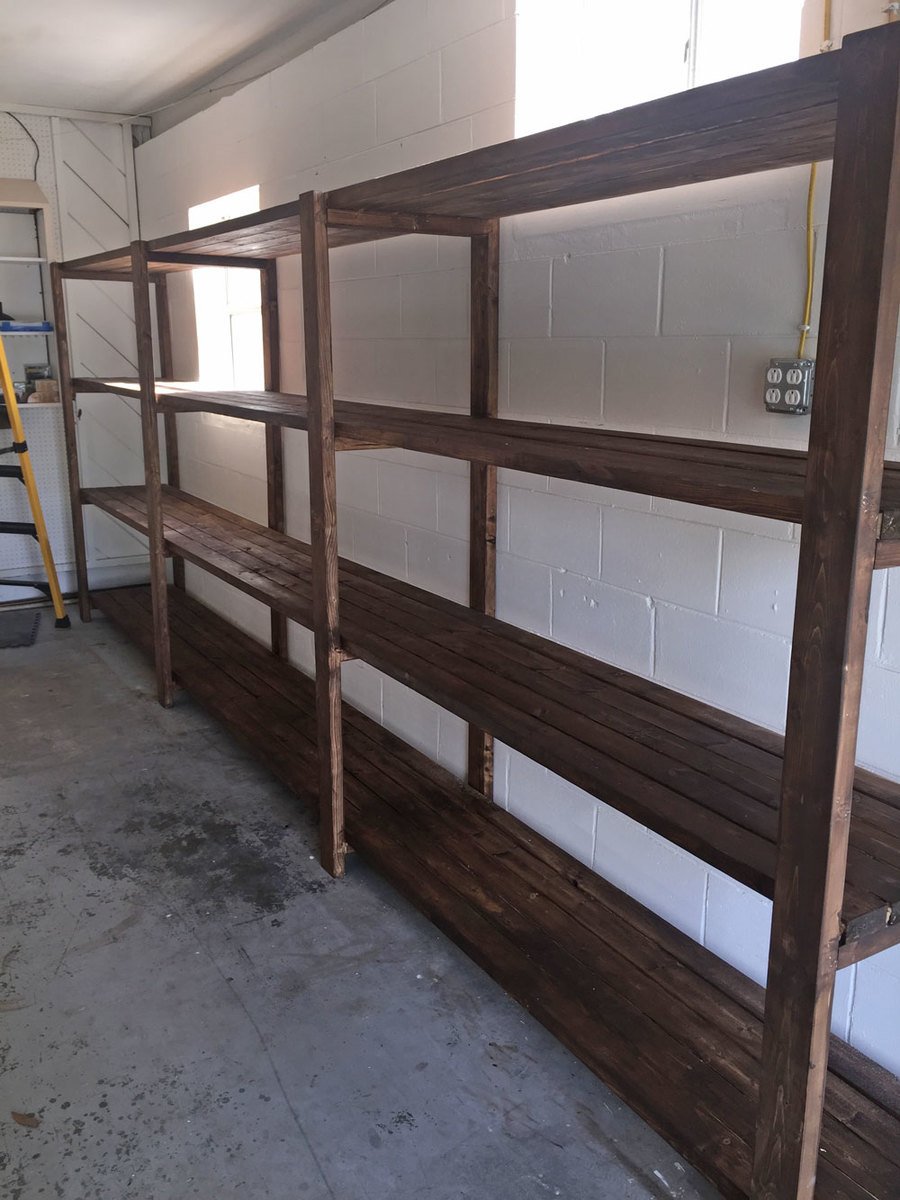
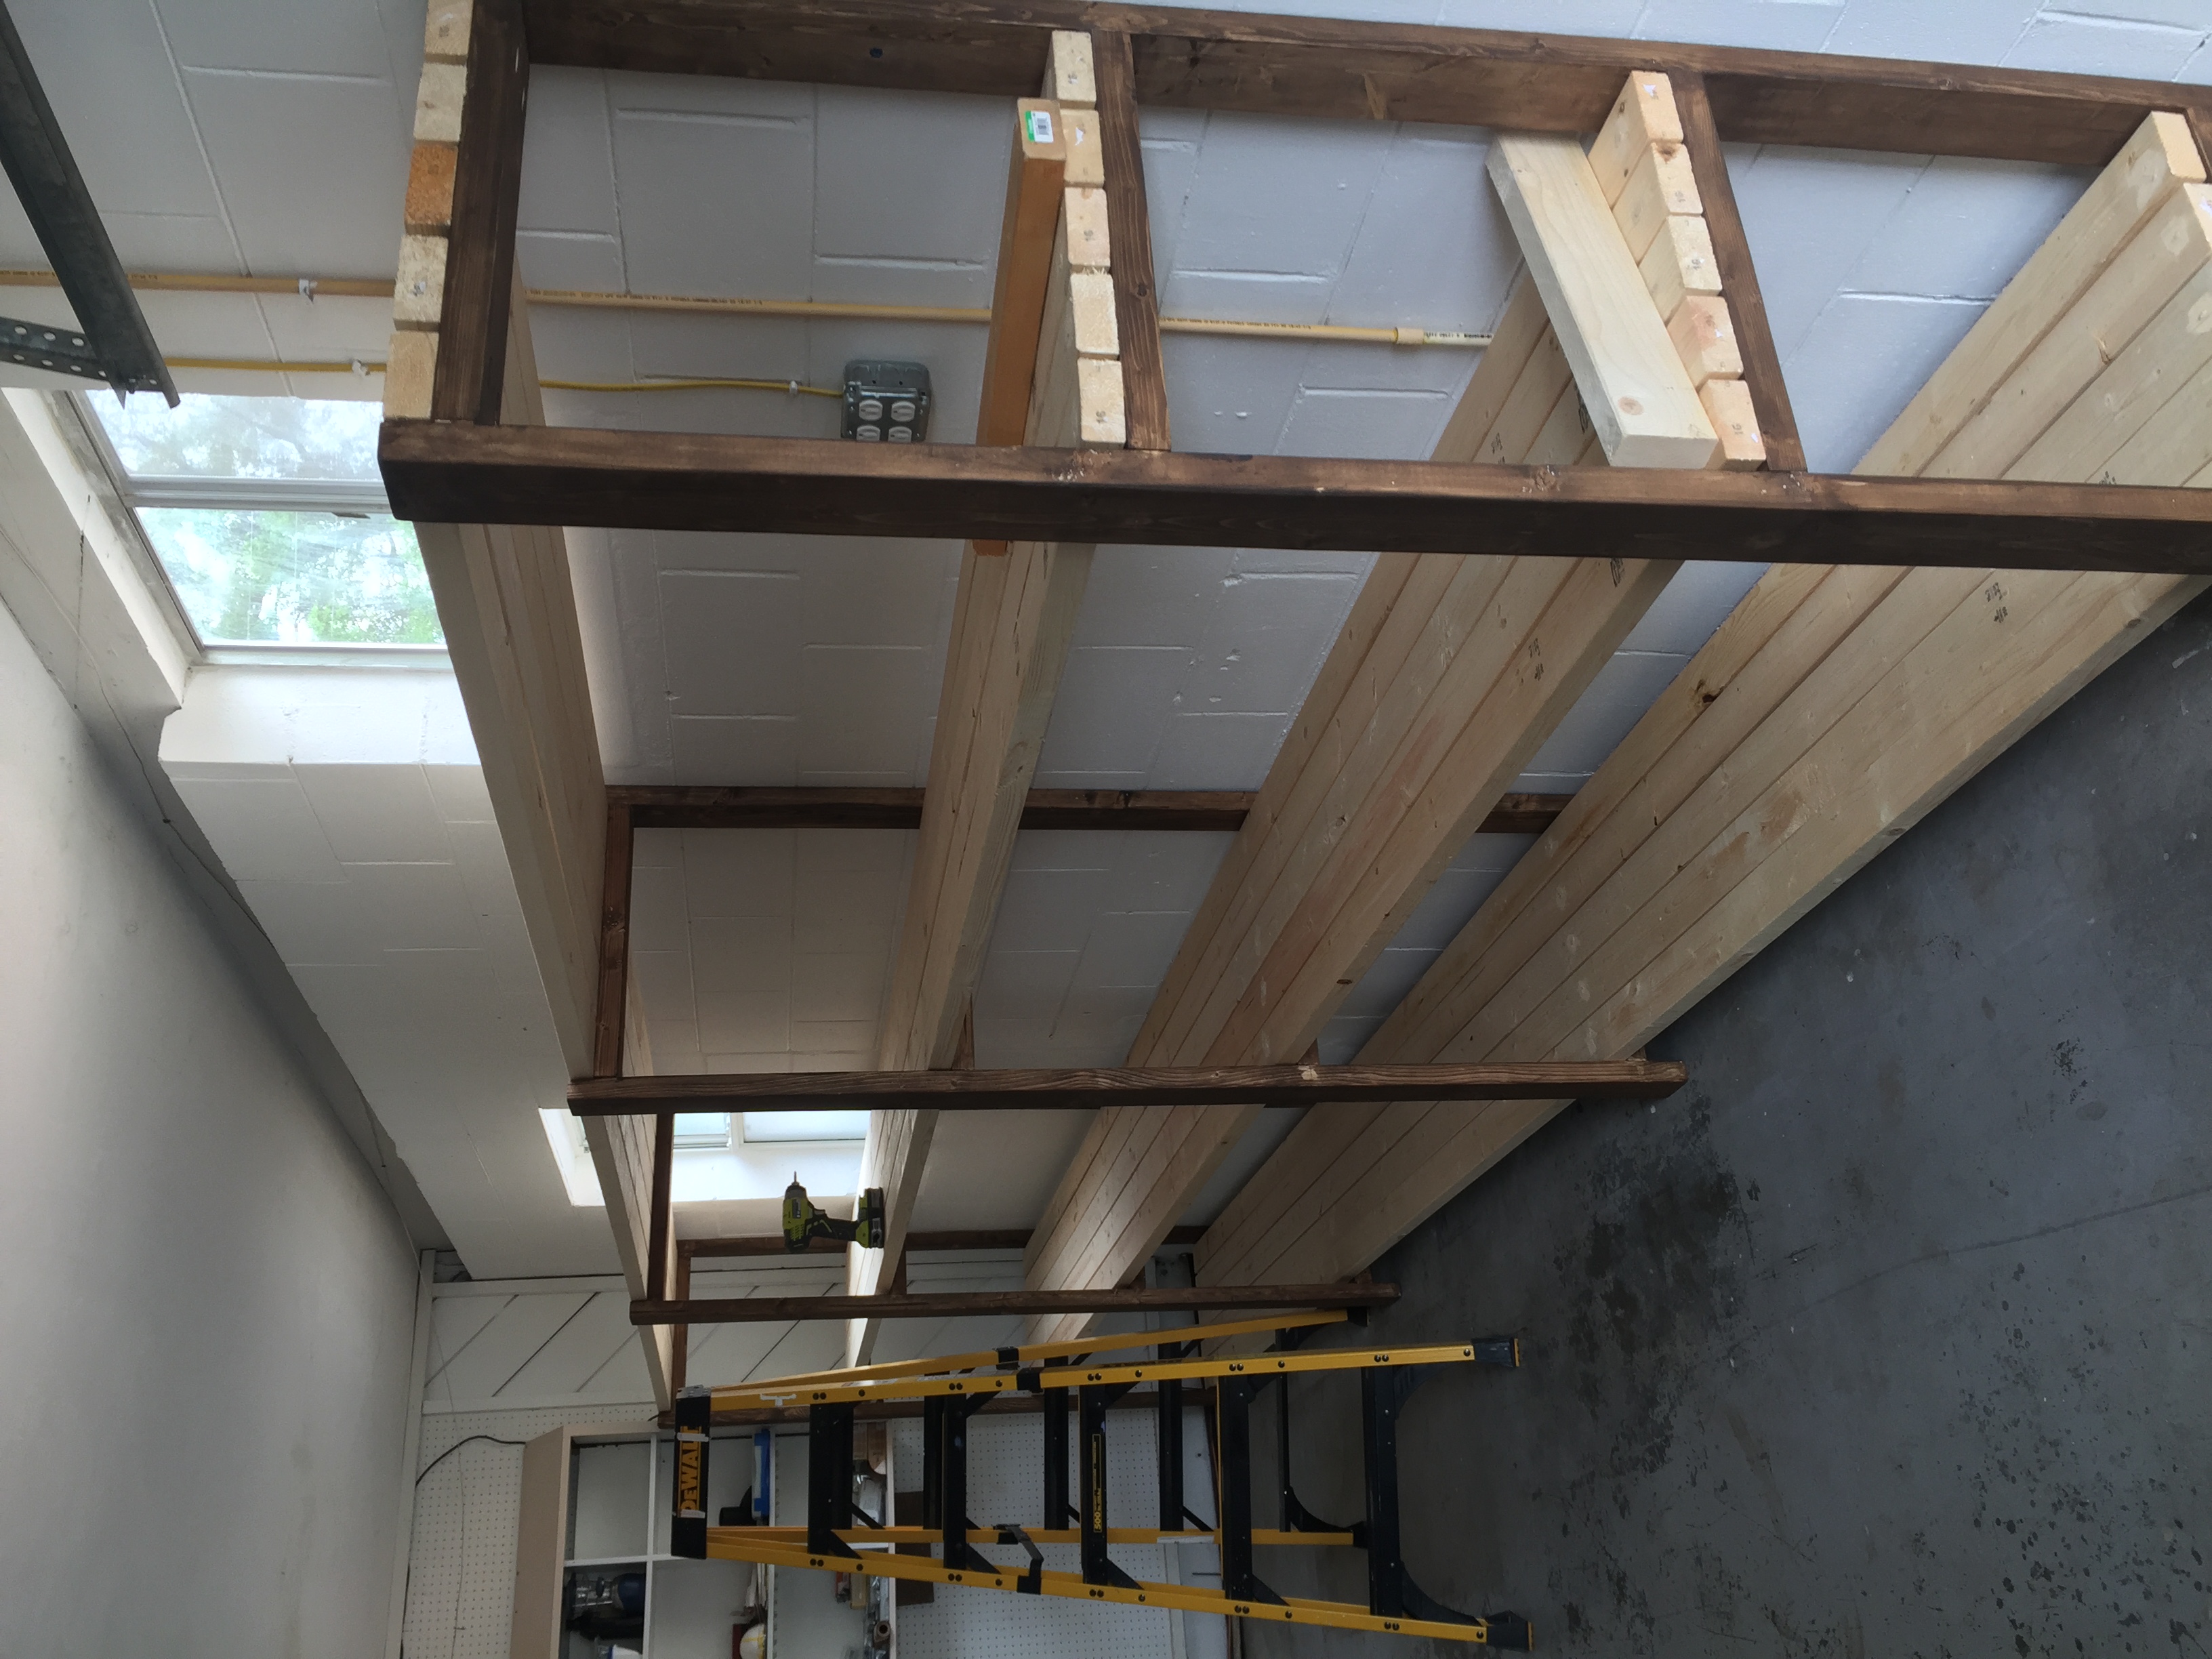
I made another one of these bunk beds for a family near my community. This time I made all cuts from longer boards 16' + The boards had less nknots, which required less sanding and came out better!
I used the plans from Michaela's kitchen island, but modified the top. Instead of 2x4s pine studs, I used black walnut boards a friend of mine had lying around. They were ~1x8" boards so I ripped them to ~4" width and ~60" length. They were a little warped so I glued and screwed them togther using a Kreg jig (best tool ever). This made a huge difference and there was only minimal gaps (1/16") between the boards. I ended up borrowing a belt sander from another friend to take out the 1/16"-1/8" lips in the boards. First time using a belt sander and it took a few minutes with 80 grit across the grain to get a level surface. Used 120 grit paper with the grain to smooth out the scratch marks from the 80 grit. Attached the top to the base with screws, finish sanded with 220 and 320 grit, cleaned up the dust with a tack cloth and then applied a few coats of polyurethane. For the drawers, I couldn't find 21" slides so I ended up modifying the drawers for 20" slides. Another fun and satisfying project!
Thu, 11/05/2015 - 15:31
I don't seem to have friends with stashes of black walnut lying around : D
Since we don't have a garage or any really good place to keep our tools, they end up all over the house while we're working on a project. So, we decided to build a cabinet that would look nice in our house, and also house our tools. We chose the armoire plan because it has plenty of space.
This project took us forever, so it's hard to really estimate the actual working time. We began working on it back in June, then we were evacuated because of a forest fire.... By the time we got back into our house and we were organized again it was the end of July.... and now finally the end of August it's finished. It took us a while, but it's a great addition to our house!
We modified this cabinet by using 1/4 inch beadboard backed with 1/4 plywood for the doors. We also modified the size of the armoire to make it deeper.
I am kind of a visual organizational neat freak and I have been annoyed by all the little things taking up good shelf space in my pantry for a long time now. This just kept getting pushed down the list ya know, not a major project. Anyway, grabbed an extra board at the store the other day and knocked this one out. I LOVE it. I made it short because I want to build a trash bag holder for the bottom half of the door. We'll see how long it takes me. I did use a 1x4 instead of Ana's plan which uses a 1x6. I only needed small things to put in here.
Tue, 09/20/2011 - 09:41
Ah, well dang it, now I have no excuses! LOL. This is on my list of things to do as well--yours looks great!
Wed, 09/21/2011 - 09:31
I love it! Great price,too!
I especially love how the design corals all those pesky little things that always seem to get pushed all the way to the back of my cabinets and drawers.
I'm definitely putting this on my list of things to build!
Cindy from Indiana
Thu, 09/22/2011 - 08:19
I just got an anchor that looked like it had a little more 'umph' to it. It is called a Cobra Tripple Grip. It looked like it had a section that popped open a little more once the screw went in. I thought that might hold it a little more securely. I feel no movement when I jiggle it at all.
Sun, 01/15/2012 - 08:29
Very nice project.
Just came along looking for a storage shelf and I saw your door shelf. Going to build one of these for sure, sick of the little wire ones we have falling down every other day.
Sun, 01/22/2012 - 19:28
Thanks for the idea. I had to purchase one instead of make one because I live in an apartment.
Farmhouse hall tree modified for the space!
Made a 48x18x27h version of the Little House table to use in a small office . The Wood is Spalted Alder resourced from our WA State property finished with a clear satin urethane top coat. Fasten with pocket holes and glue for the frame.
We made a beverage station for the corner of the kitchen!
Mon, 07/08/2019 - 10:46
We didn't use a plan for this but, if someone wants to build it, check out the linked YouTube video.
Tue, 07/09/2019 - 11:11
Amazing! Thanks so much for adding a brag post and linking to your video!
Fri, 07/31/2020 - 09:43
Hello! Was looking to see if this is something you would be interested in building for us? We are in love with this project but don't have the tools or means to do it ourself..
Can talk about pricing / size etc.
Thanks!
Hi all,
I made the wooden egg holder for our brand new kitchen. I altered the size because there's just the two of us here since our son moved out. It was a very easy beginner project and lots of fun to build by myself. If you're a beginner like me it can be overwhelming to start, but if I can do it you can do it too! Just go for it. I'm looking forward to build a next project with one of Ana's plans.
Wed, 04/12/2023 - 15:56
Way to go and love the color choice! Happy building.
This bench is a perfect addition to our front porch.
This is one of the first projects that I tackled, and its holding up beautifully!
Here's the Mud Kitchen I made for my son's kindergarten. All made from palettes. Unfortunately your plans came out just too late
Fri, 05/05/2023 - 11:40
Thanks for sharing your version, it looks like a lot of fun!
I helped my 3 grands make this for their mom for Mother's Day. They loved it and she was over the moon!
I wanted a china hutch in my dining room, but did not have the space. Instead, I built a wall-mounted hutch, which provided room for the dining room chairs to slide back from the table. I altered the plans to make the hutch less deep and added a trim piece along the bottom. My favorite part about this hutch is decorating it for every holiday and season. Thank you Ana White!
Wed, 10/02/2019 - 09:37
wow, this hutch is beautiful! I love how you built it without the base, makes sense in your space!
Mon, 11/04/2019 - 12:23
Thanks so much for submitting this brag post! It was selected randomly for a $100 gift card - look out for that in your inbox shortly! Ana
This toy box was actually something that was passed down through my wife's family. I saw this plan and gave it a face lift using this plan.
This project was actually my first build (besides a small blanket ladder). I used the Ana White plans every step of the way! Since this build I have created coffee tables, side tables, console tables, head boards and a bed frame. This table gave me the confidence to try an original project of my own. Although this table was fairly simple, it was the project that started it all. That is why I chose for this piece to be my brag post.
Our first project of many to come!!! Thanks Ana for your website!
Thu, 04/18/2013 - 04:25
Your table looks great! Love the color (University of Kentucky Wildcats fan here!) Just wondering about how much it costed to build? Would love to make one!
With a little project oversight, my son built and painted this chair which went on to win 1st place in his division at the local 4-H show!
This is my first project ever built. I can't thank you enough for this site. I already have several other projects I want to build around the house because of this site. Thank you so much!
I took the original plan design for a Murphy bed - it was inspired by a Dr. Who themed bed that used a Murphy Bed Kit - I've used Ana White's plans before and thought why spend $$$ on a kit when you don't have to. I few trips to the store and a weekend later I have my very own Tardis Murphy Bed. It cost about $140 to build not including the mattress and accessories cost (light kit/upholstery panel/police box sign etc) I raised it up about 4" to attach legs and added some puck lights for a lighting effect. I think it came together rather nicely. I just have to add handles and the magnetic closures and it will be all done.
It took me all weekend to build by myself - had my brother help me with mounting the mattress box in the cabinet. I would suggest having wood cut at the lumbar yard as it is difficult to cut the 8 and 12" boards unless you have a bigger table saw that I do.
Perfect plan Ana , very easy to make. Swing hung on the A frame bulid with 4X4
This is a slightly modified version of the little helper tower, very sturdy design, i weigh 184lbs and use it to climb up to high places as if it were scaffolding. The modifications include making the sides the ladder and the ladder the sides, this allows for smaller hands to grip easier when climbing. It helps to mimic more a ladder design than climbing up the side. It also made for easier install of rungs for ladder. Screws go through the wood face into tge end of the rungs, then pocket homes were used for side supports which were larger woods pieces than the rungs and pocket screws went from face of supports to the edge of the legs therefore no split out when doing pocket screws! All made from recycled wood from crates, dried and seasoned of course, if you use recycled wood it must be fully cured or it will warp and split over time.
Comments
Ana White Admin
Fri, 10/16/2015 - 11:44
Very nice!
That is wonderful, thanks for sharing!