modified kids Adirondack
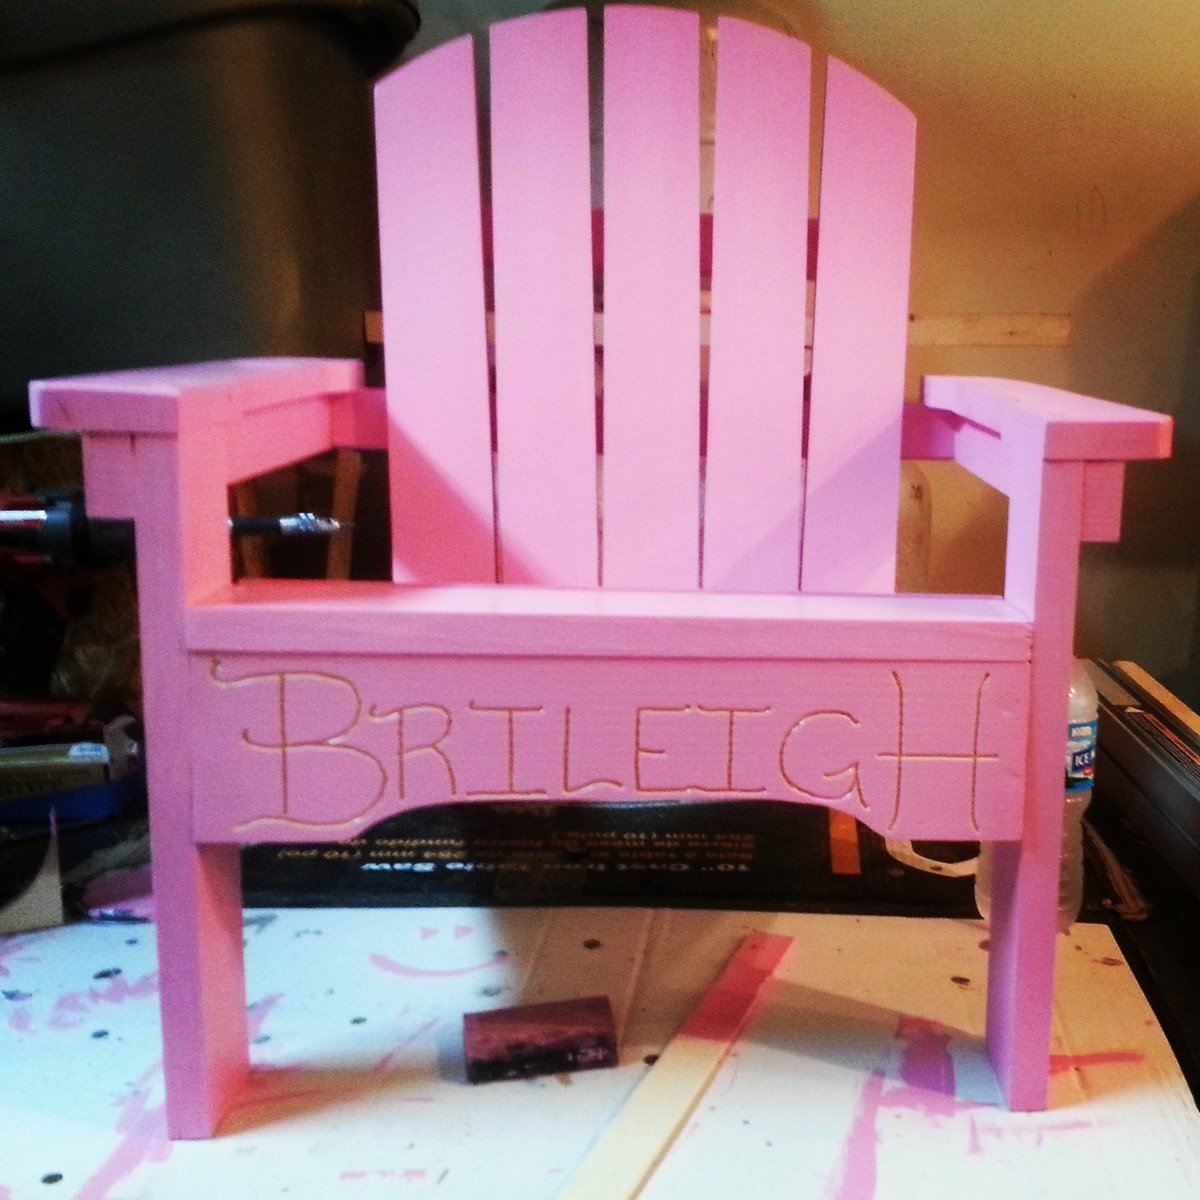
Modified back to match my adult chairs. Armrests are also cut out like adult chairs you just cant tell in picture. Also put an arc on faceplate. Then i couldn't resist routing her name into it. Enjoy!

Modified back to match my adult chairs. Armrests are also cut out like adult chairs you just cant tell in picture. Also put an arc on faceplate. Then i couldn't resist routing her name into it. Enjoy!
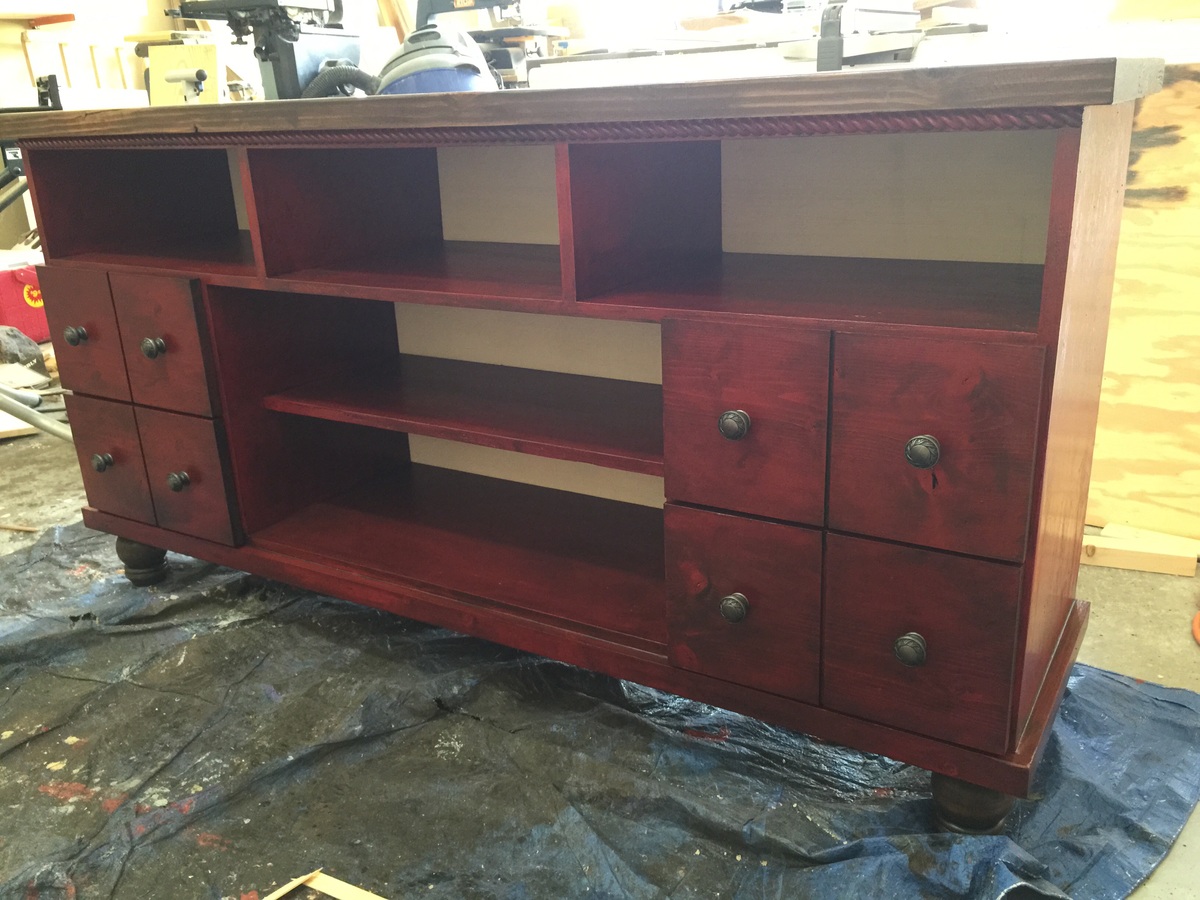
This console is perfect as is or it can be customized to your needs. Very sturdy.
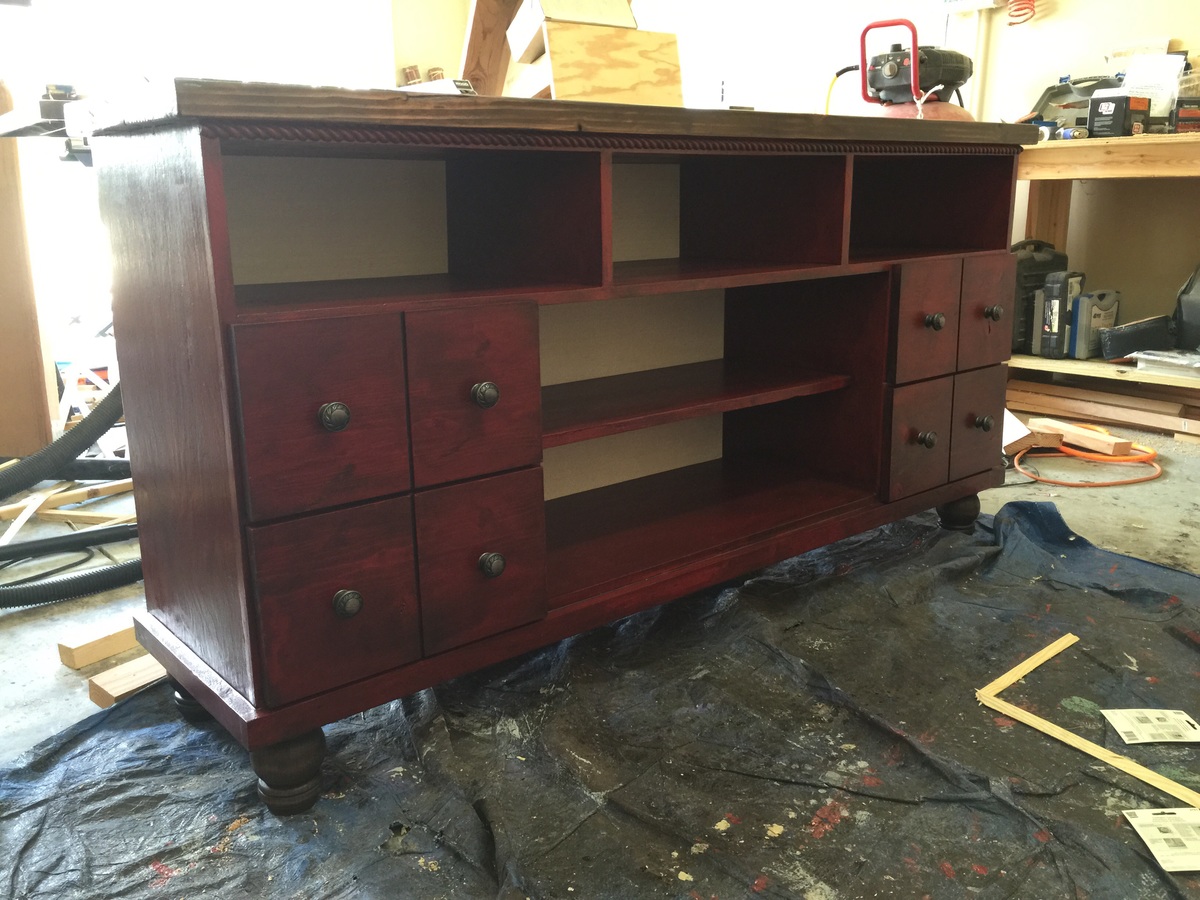
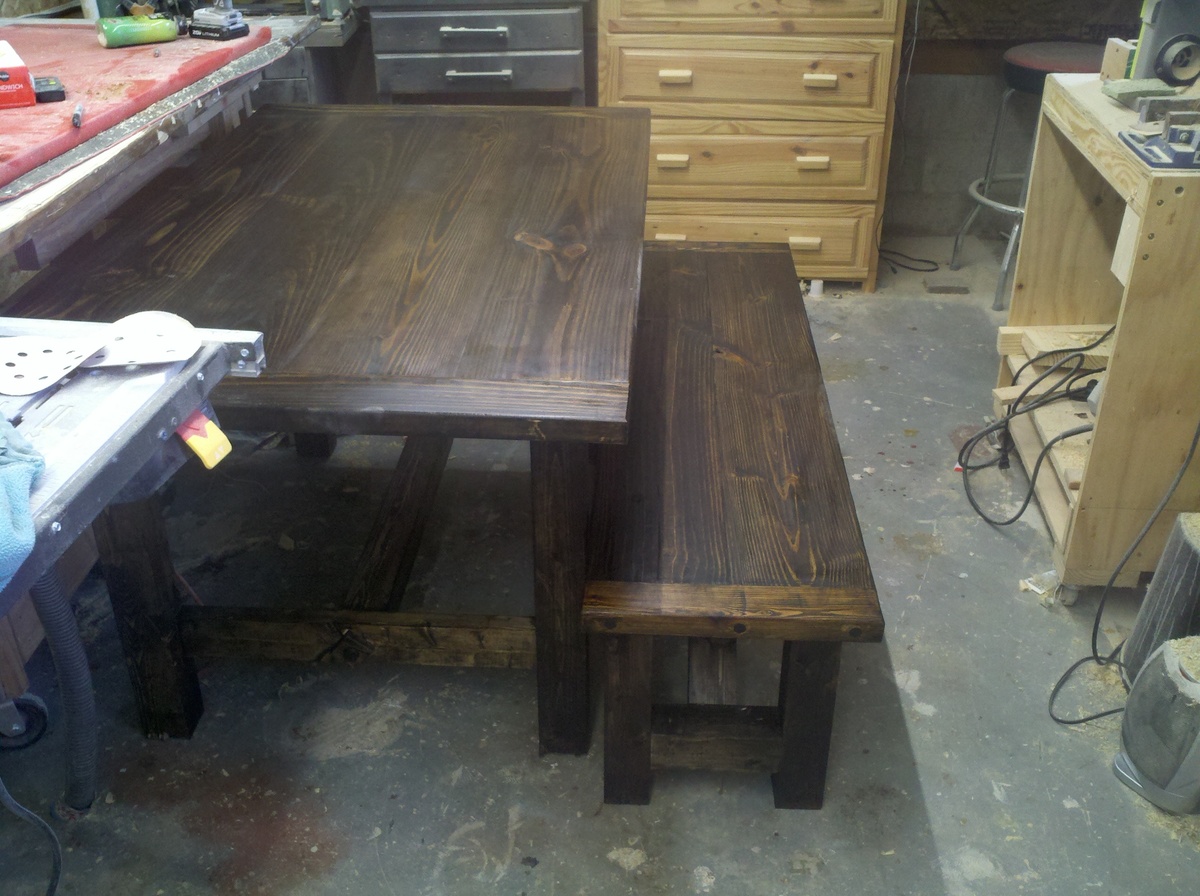
This table was inspired by the pocket screw table. only I did not use pocket screws. it is constructed using loose tenon construction and dowels. Notice the middle stretcher and the wooden nut and bolt that holds it together
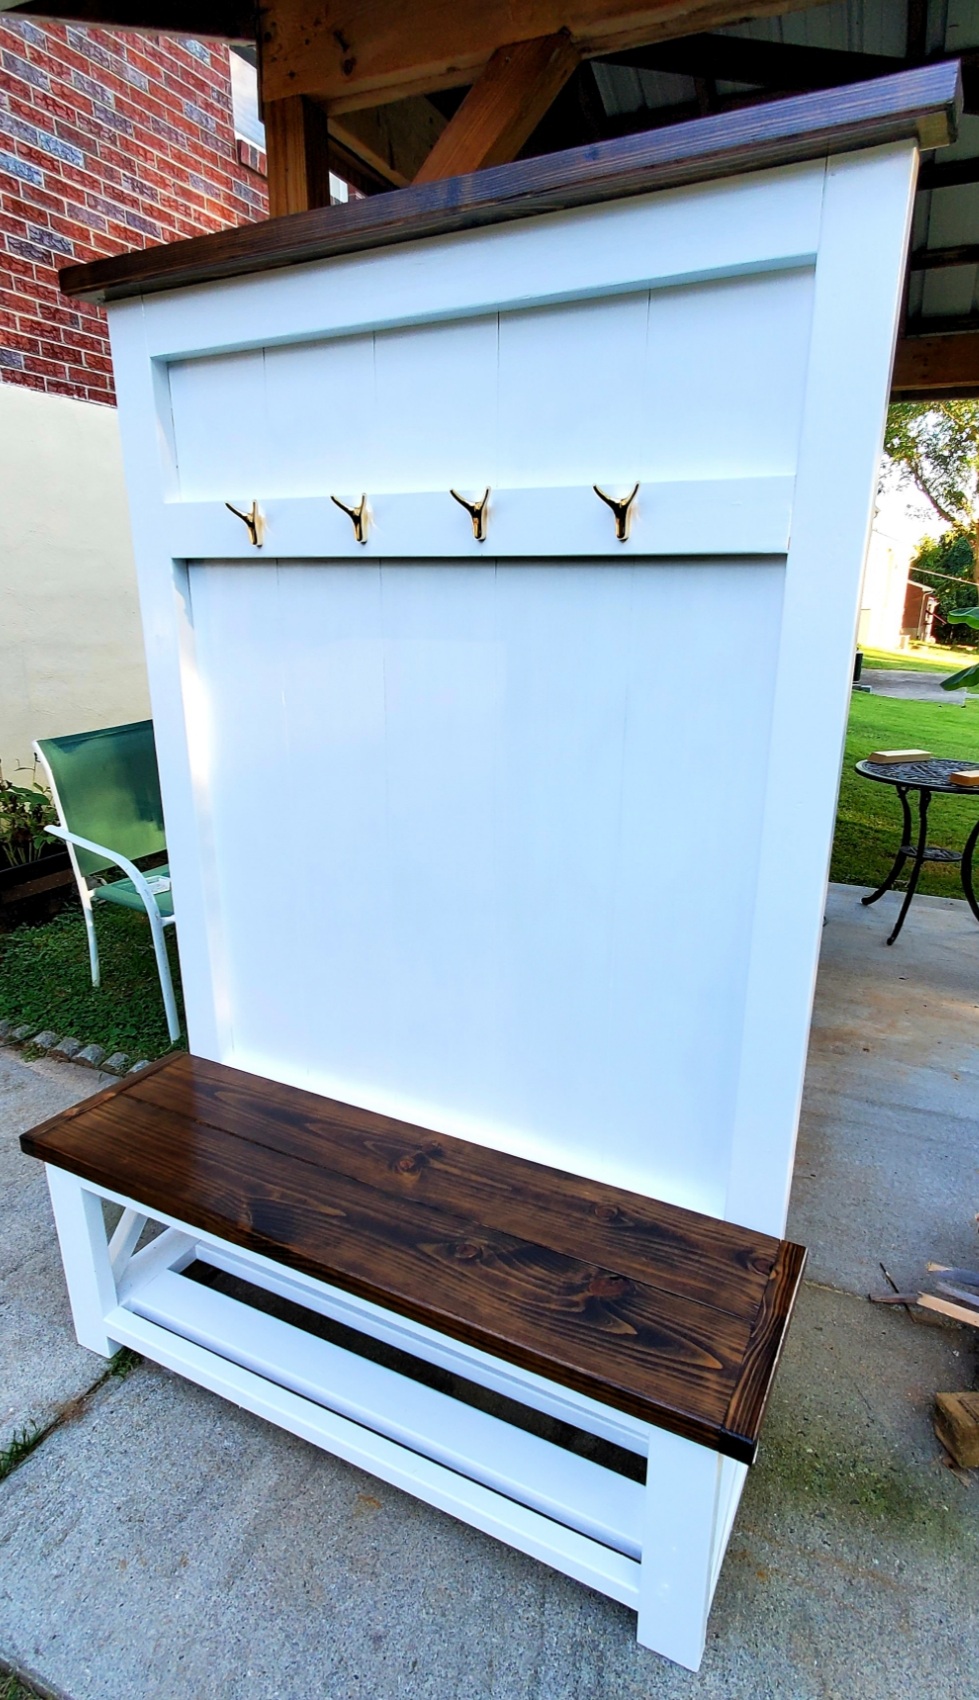
Hi, I'm Kevin, (Kevin's Woodkraft) I've made 4 of these so far and really enjoy building them. I decided to cut vertical grooves to make the back panel more like paneling but also going vertical instead of horizontal it allowed me to space the grooves perfectly symmetrical.
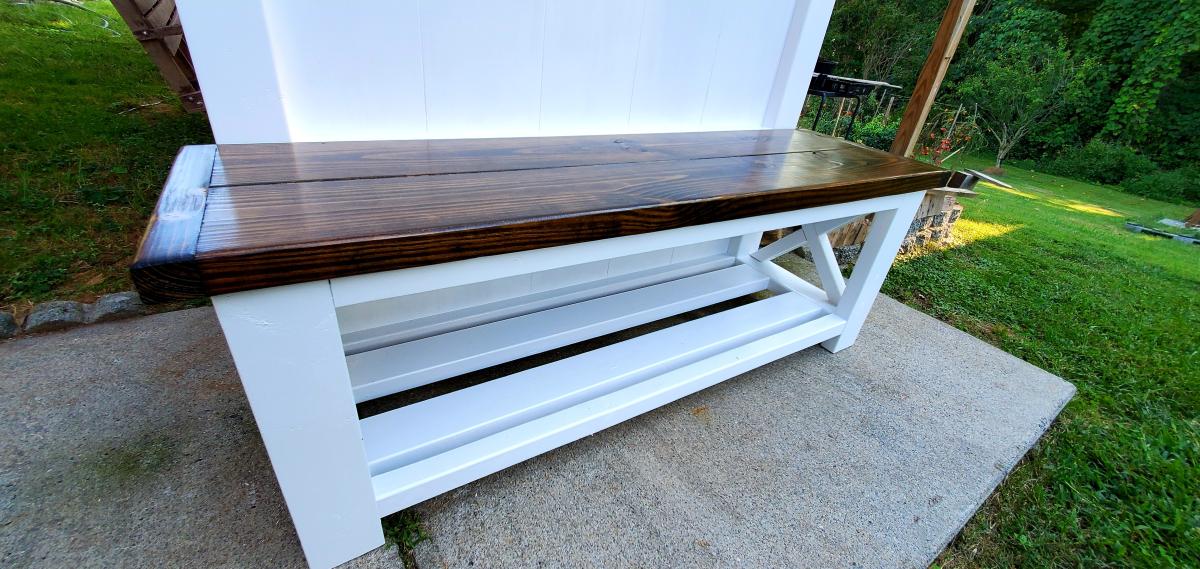
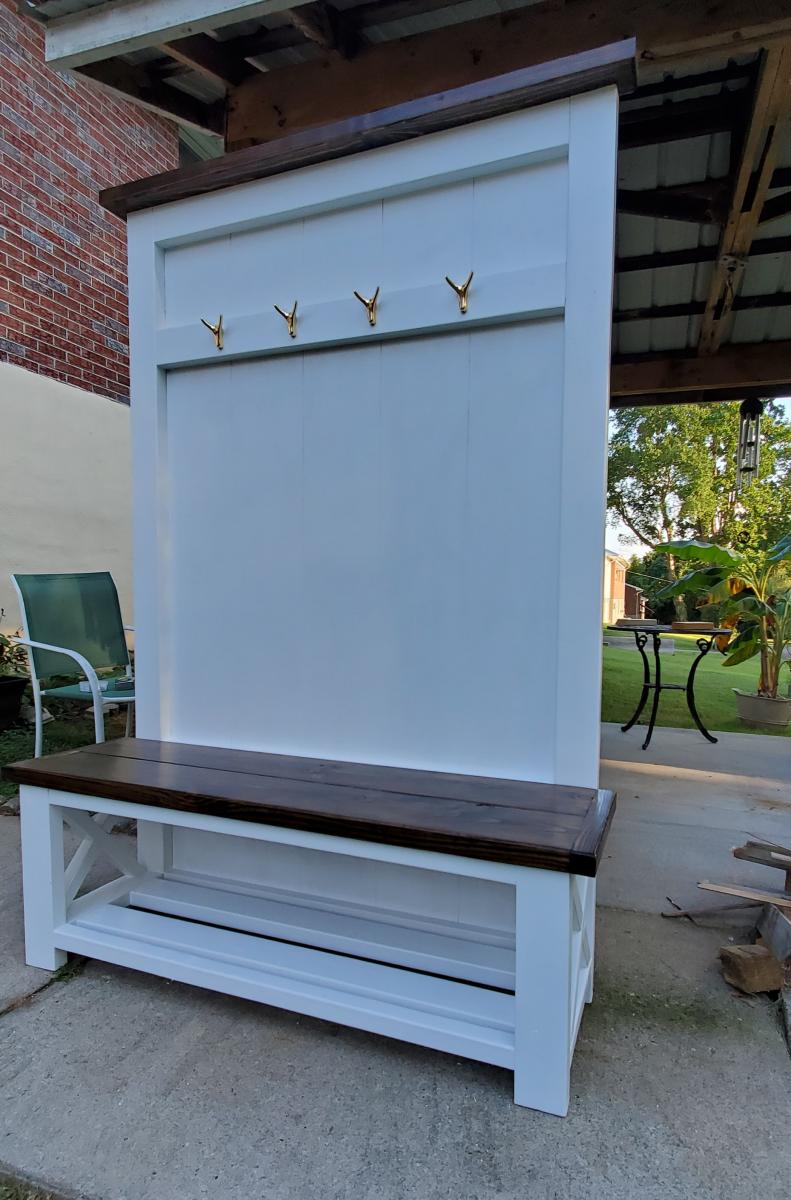
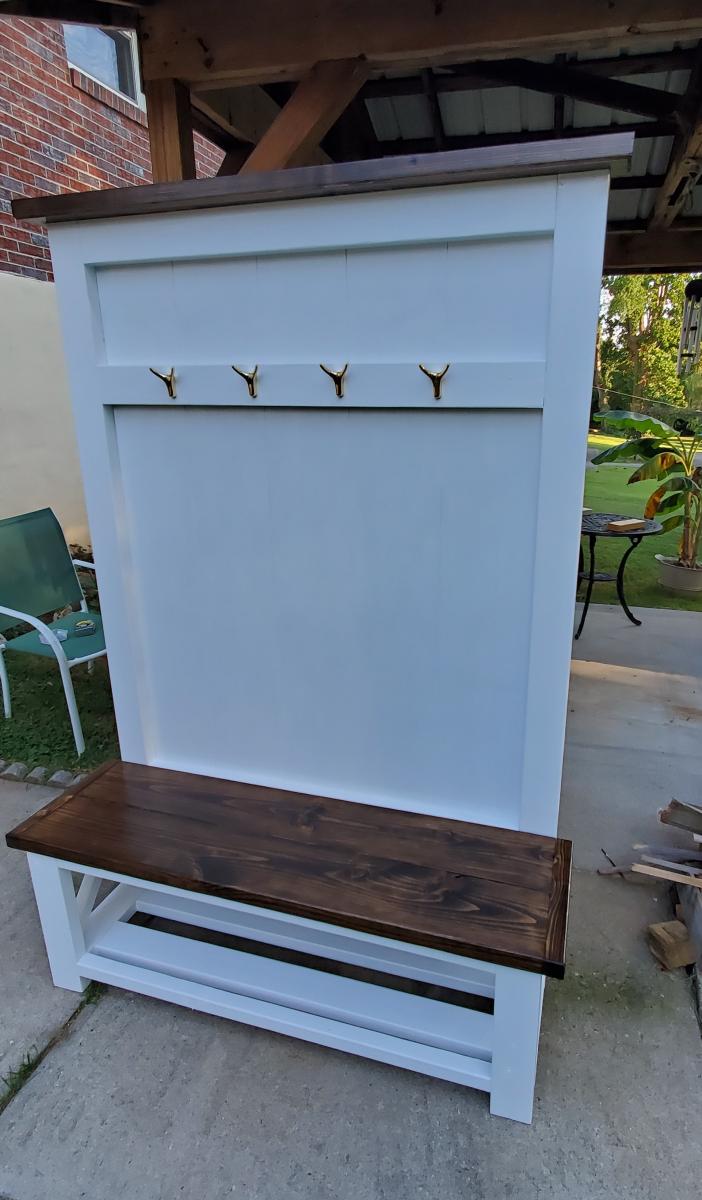
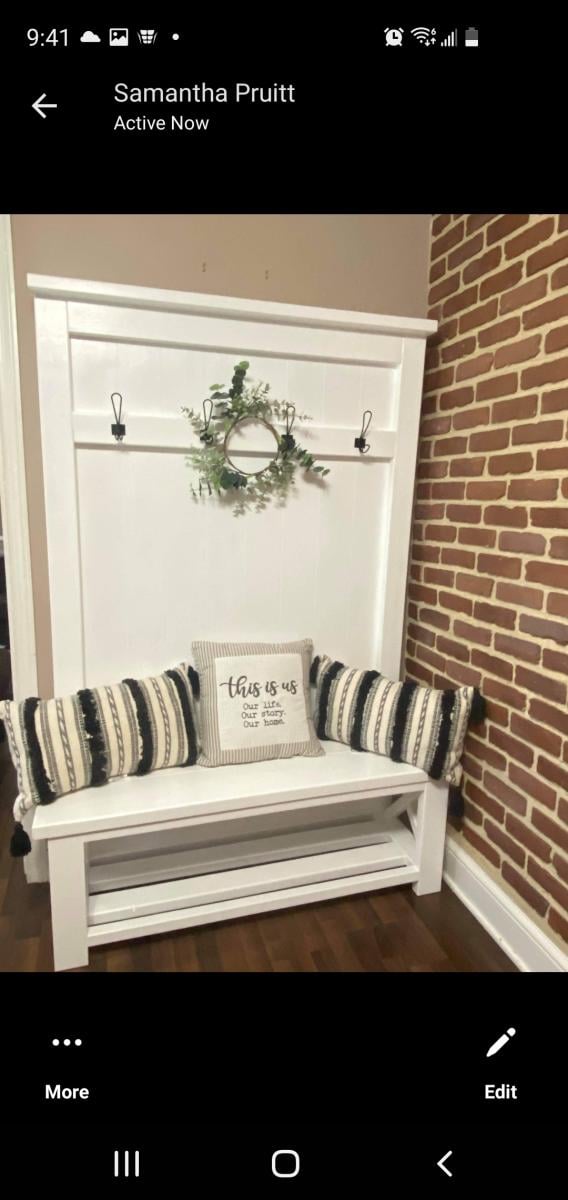
We modified this project to fit our space. We also made the shelves sturdier by cutting a groove for the bottom of the shelves to slide into. This project is much easier when completed by two people.
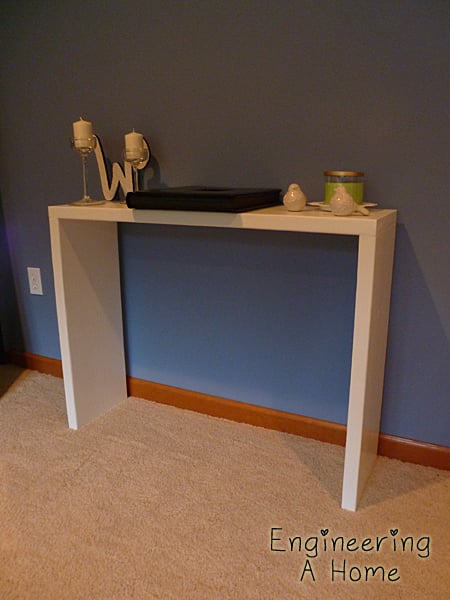
This is one of the easiest woodworking projects ever. It only took 2 cuts and 8 pocket holes.
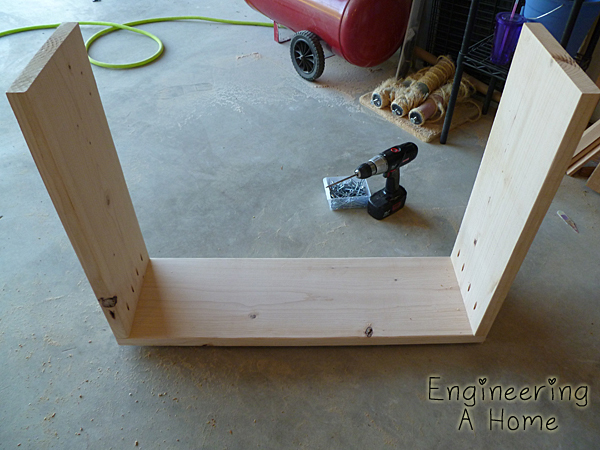
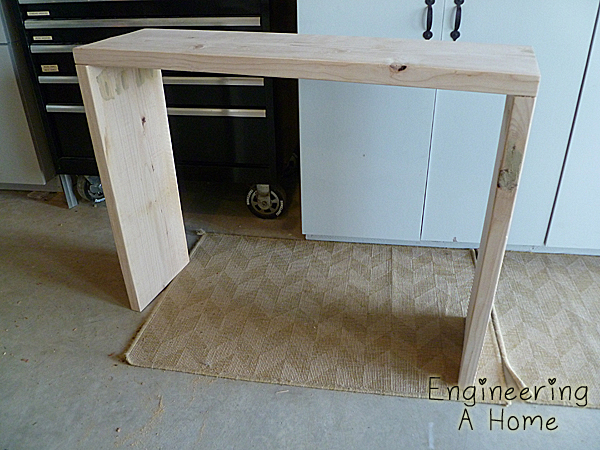
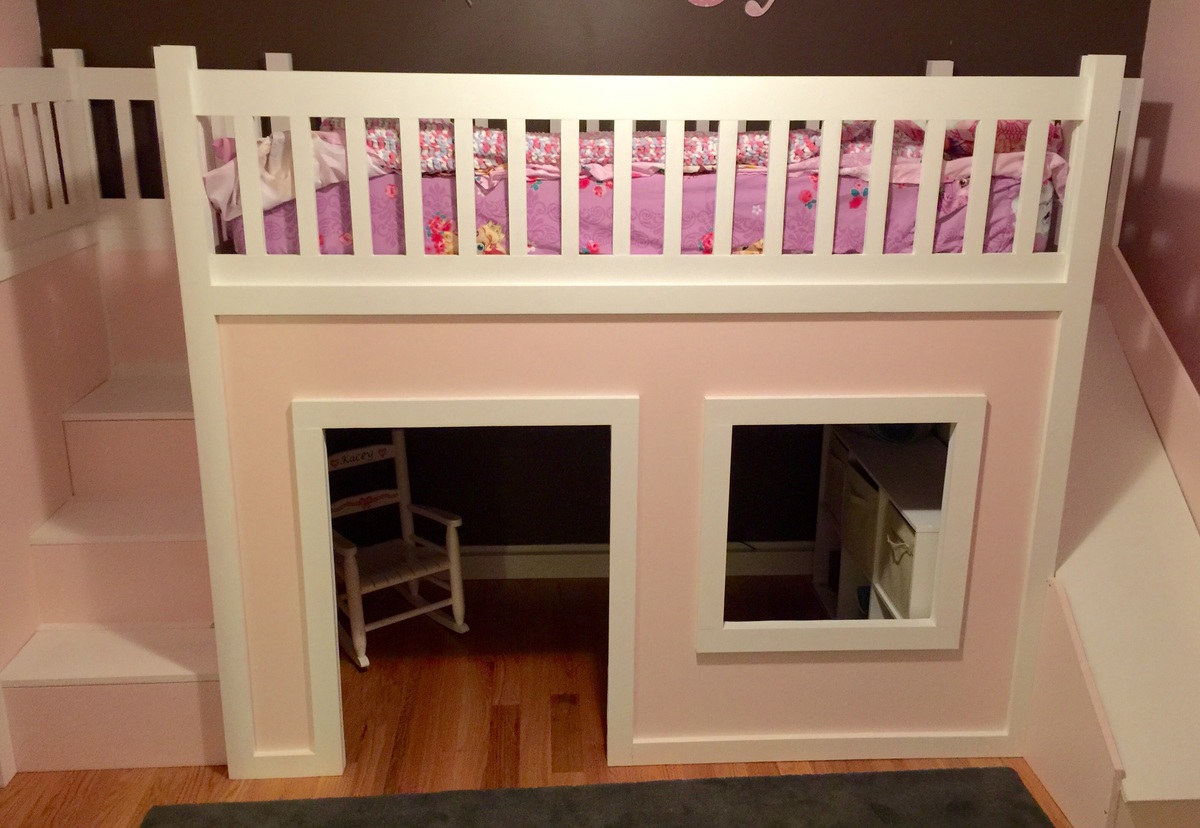
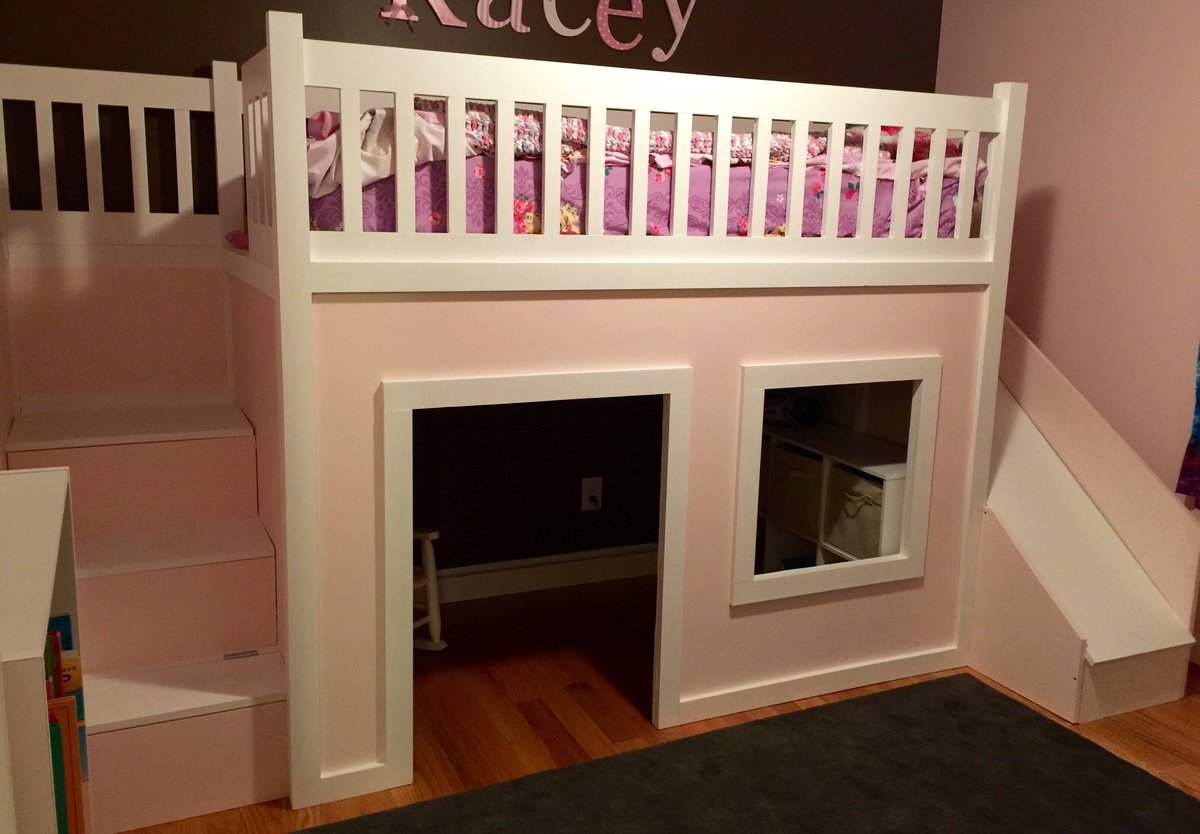
This is by far the biggest project I've completed yet. It actually surprised me how easy it was to complete. It did take me about 4 days to build the project and an additional week to sand and paint the project.
I followed the playhouse loft plans and the storage stairs plans, adjusting only the back to allow for the additional length of the slide. I didn't add the windows to the sides (I didn't see any point in having them there). I also used the castle loft plans for the slide. When I first started this project I was planning on making the slide completely separate. I changed my mind mid project after I had the side wall cut to length at Lowe's, so I just added that small piece to the left of the slide to make up for the gap. I also made this project in 4 separate pieces (stairs, slide, front wall, back) so I could put it together in her room in one evening and not have to kick her out. Once we moved it to her room all I had to do was screw the four corners in and attach the back wall and bed slats.
I definitely recommend not using particle board. I had no idea what the difference was between particle board, mdf and plywood when I started this project. Particle board was less then half the cost of plywood, but looking back I would pay the extra for the plywood. I don't feel like the screws hold well in the particle board and it also chipped on the bottom some. I actually had a chunk come off in the corner where I must of screwed to closely to the edge. I'm sure this is basic knowledge for most, but for those newbies (like me) just a little tip.
I had a lot of fun building this bed (not so much sanding and painting) and learned a lot. Now off to browse for my next project :)
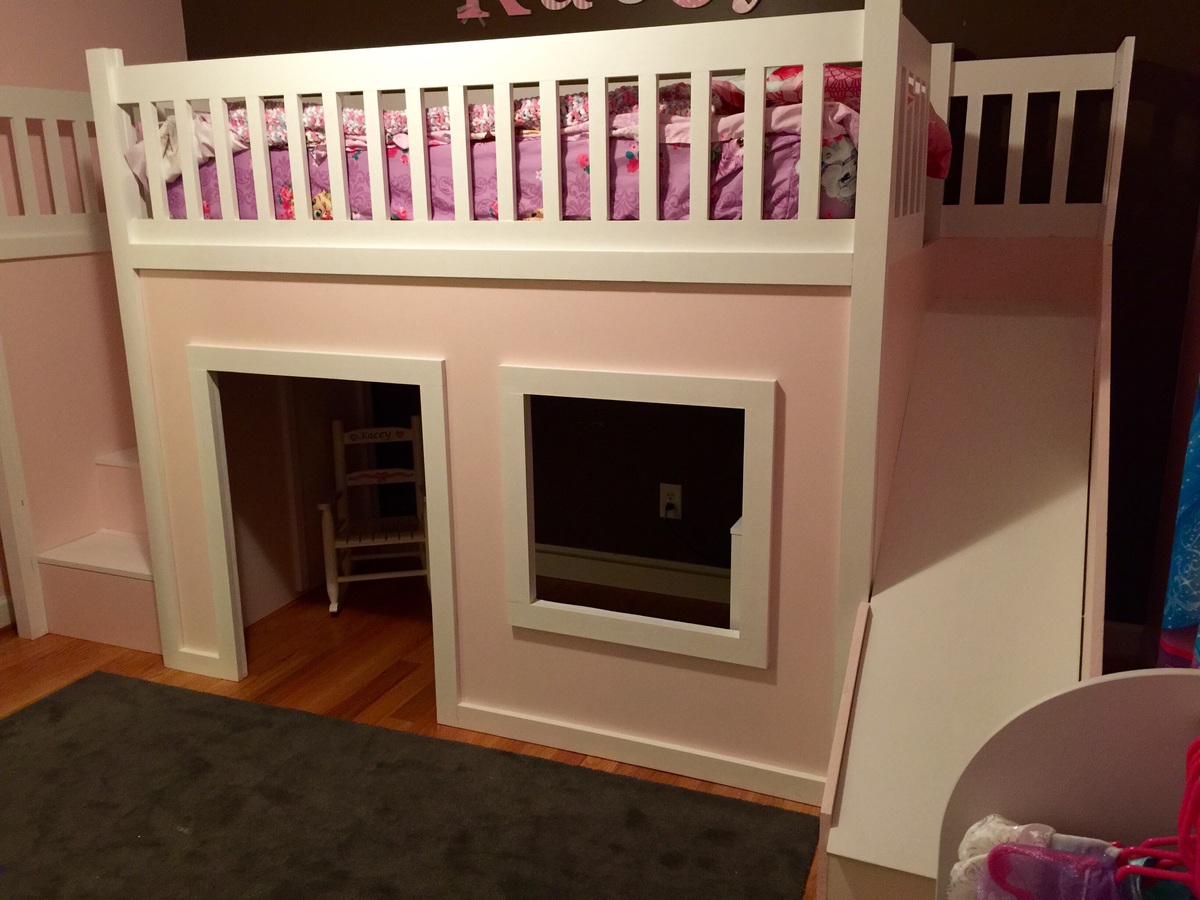
Thu, 07/09/2015 - 07:30
Awesome job! Looks clean and not even close to DIY. Keep it up!
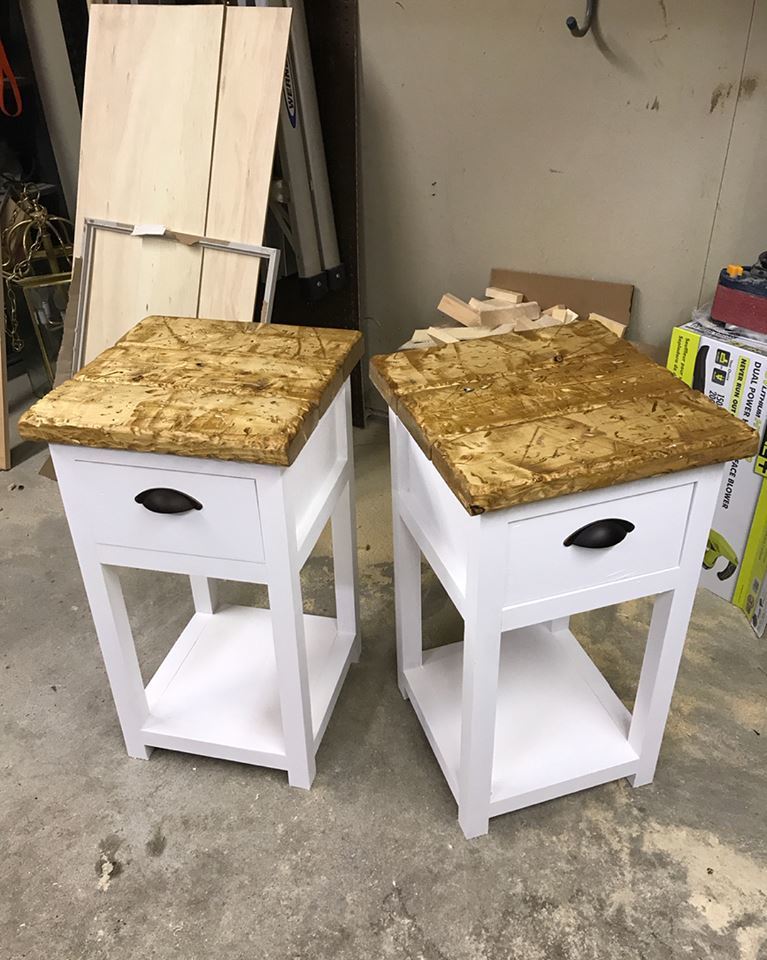
This was a really fun project. I altered the dimensions slighly to fit my space. I also used a piece of 1/4" ply for the bottom shelf instead of thicker common board. You can keep the cost way down if you rip 2x6's into 2x2's. A single 2x2 is about $10 whereas a 2x6 is $6. You get three 2x2's out of the 2x6, so you're basically getting triple for half the cost. Pick REALLY straight 2x6's though!
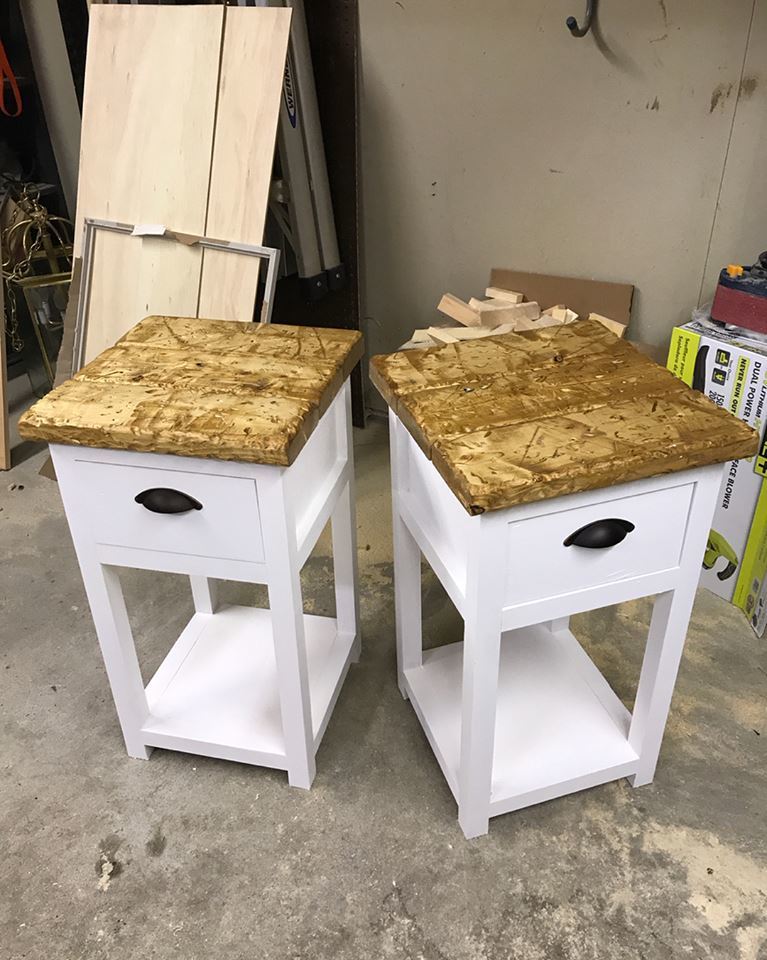
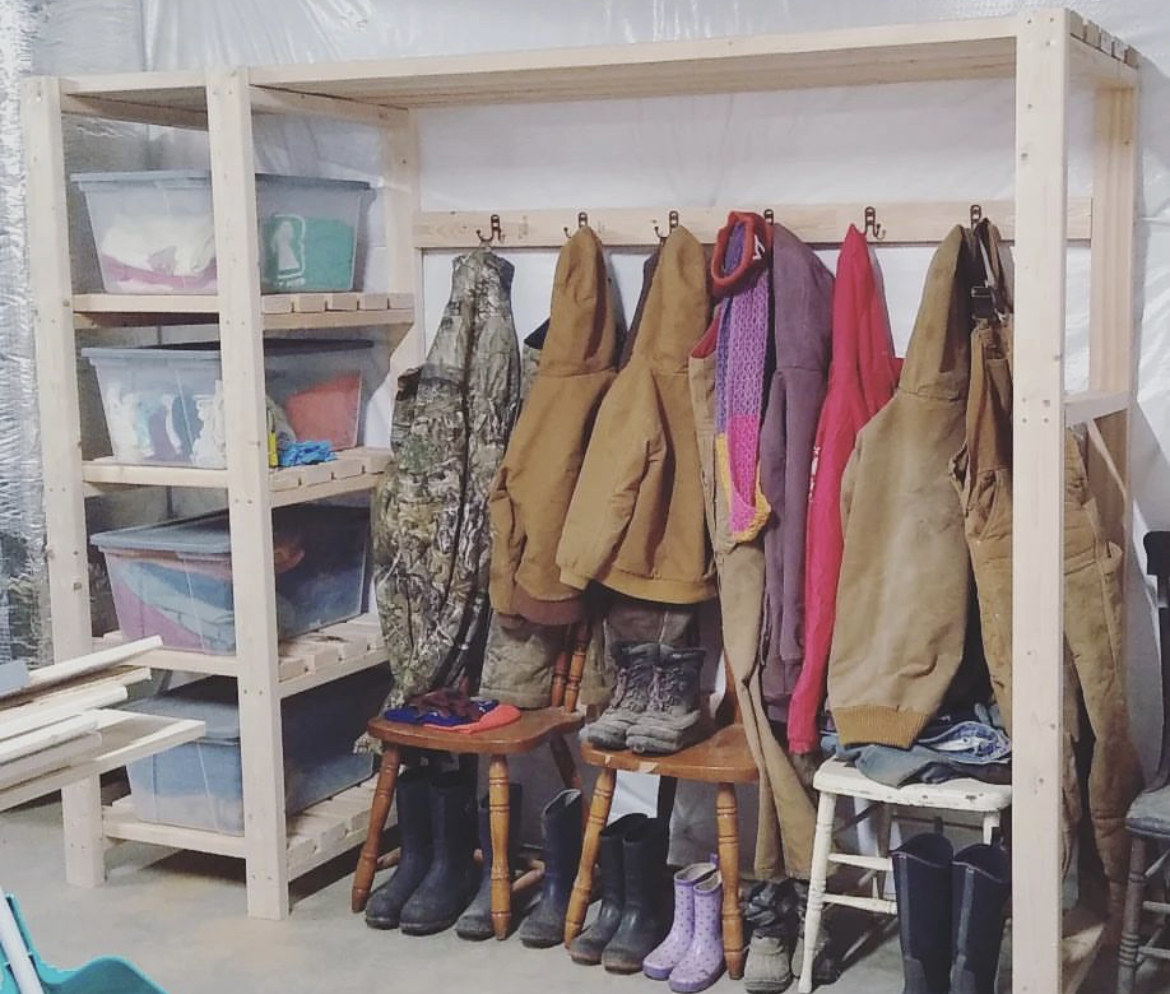
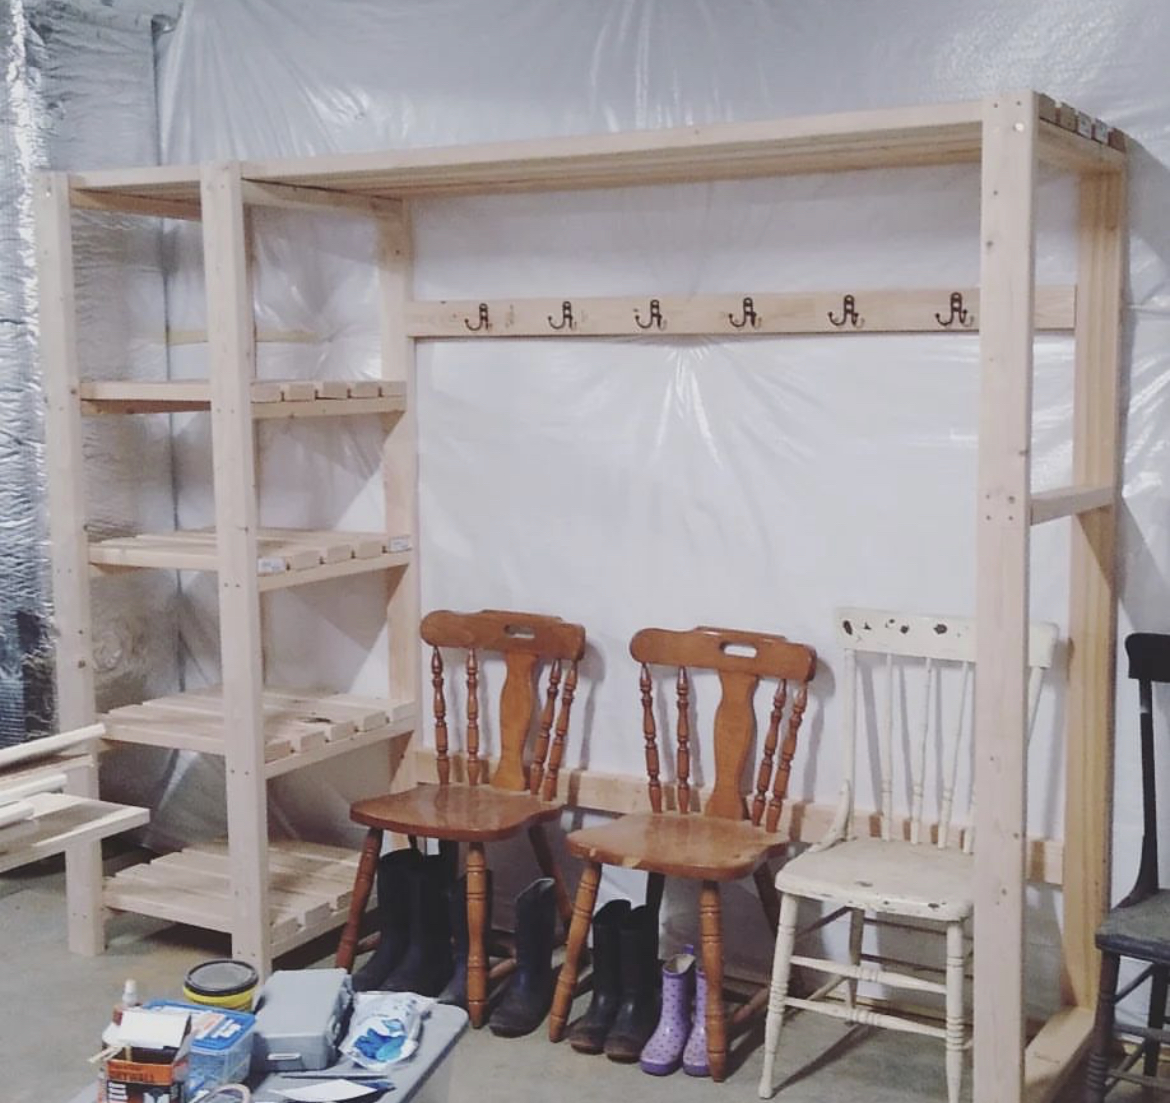
Freestanding closet shelving modified to make a mudroom!! More details in link below.
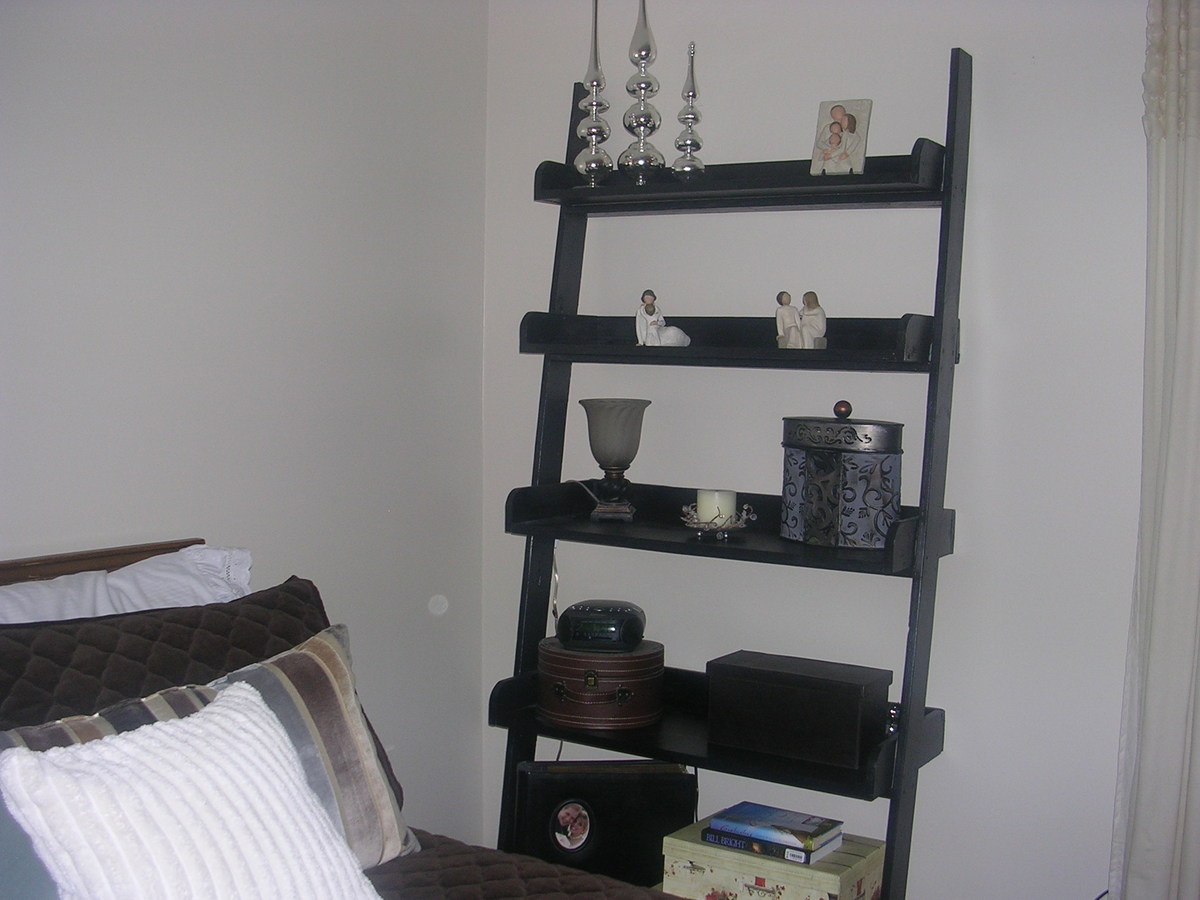
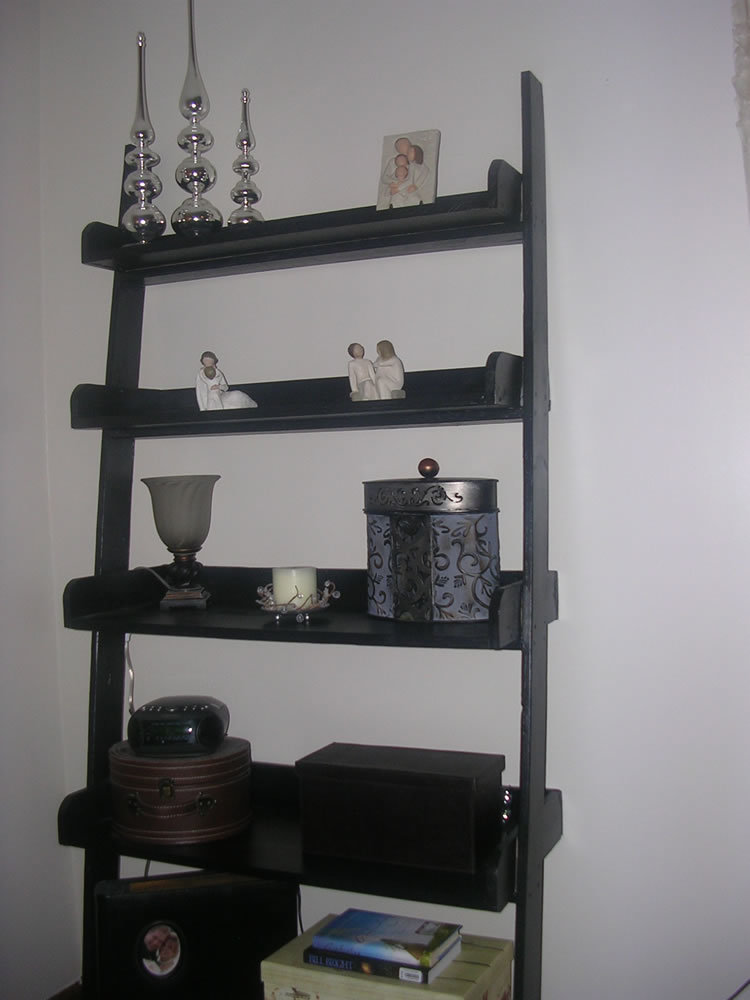
Finally I drummed up enough courage to try a project ... the leaning wall shelf. My husband and I had a great time working on it together.
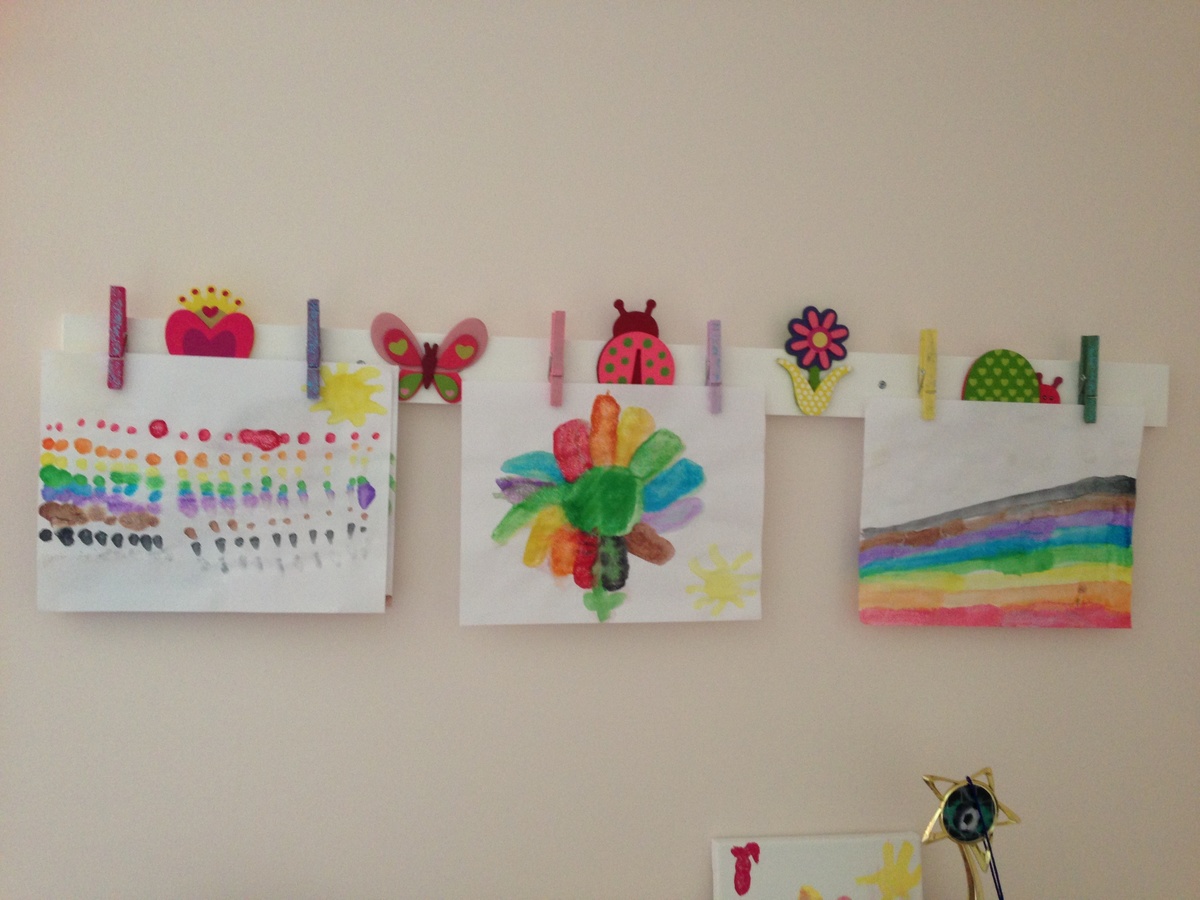
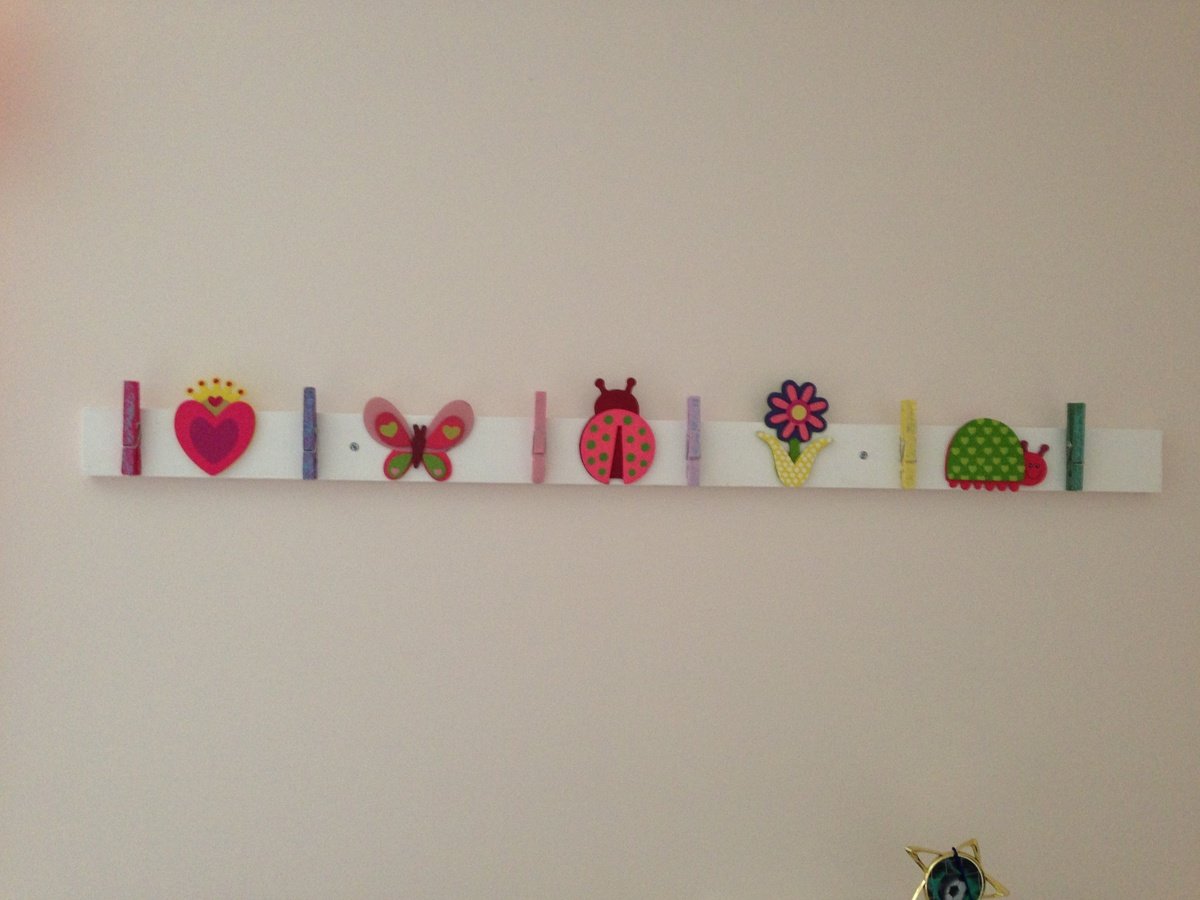
This was a great way to keep my five year old daughter busy on a rainy afternoon. I had a scrap piece of 1x4 and bought some clothes pins and 10 cents clearance wooden figures at Joann. We also used some left over acrylic paint and some glitter nail polish. Thanks for a other great idea Ana!
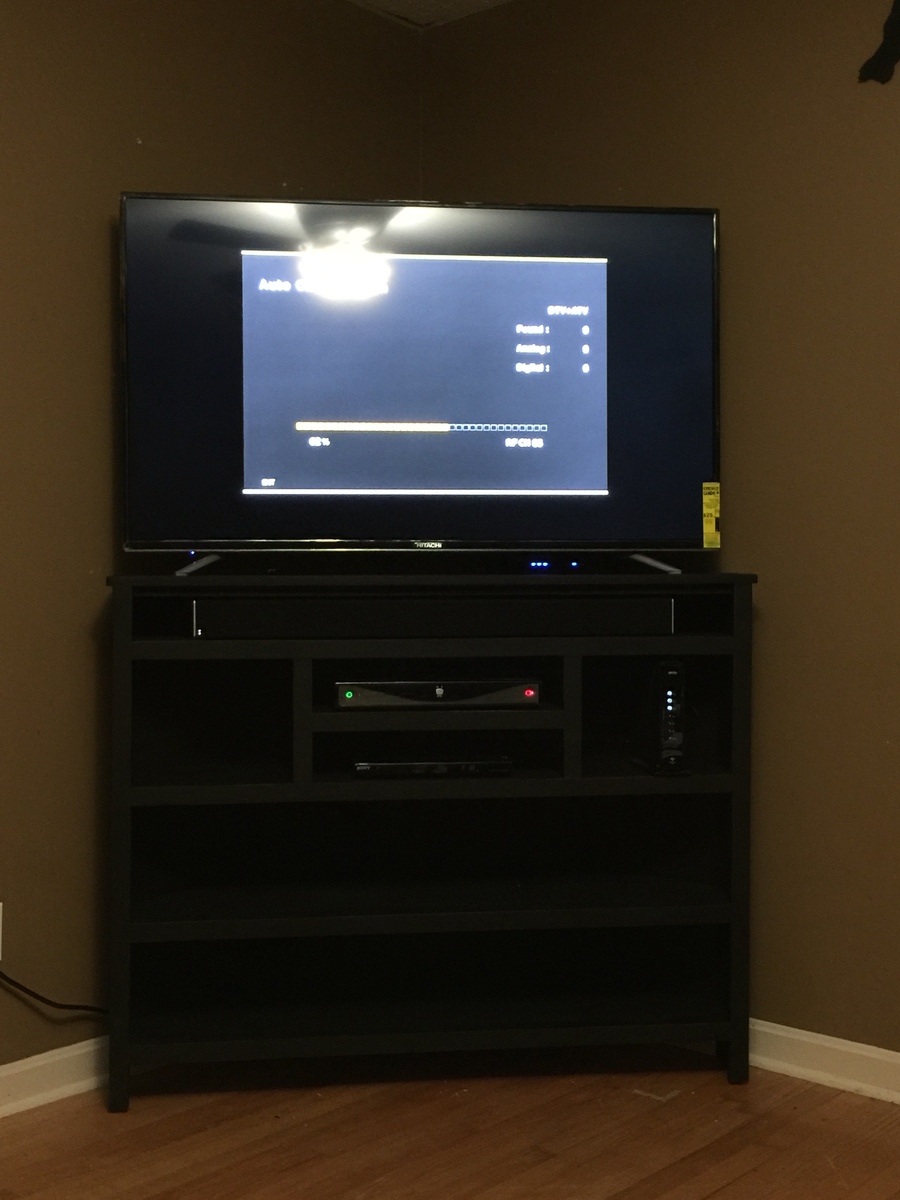
Easy excellent project for That odd room you may have that needs a corner tv stand.
I use pre made 16" wide 3/4" MDF shelving from Home Depot for the Shelves, Used 1" x 3" for the top, and sprayed it all with Rustoleum Industrial flat black which dries in 15min, was the large size cans for $5.40 and and only useds 3.25 cans to paint the whole thing.
TV is a 55" Class so it actually works perfect, because the tv stand is two legs and not the typical center mounted ones. so put the tv toward the front of the console and the console is as far as you can go into the corner.
I have two power strips screwed to the back of the console, along with a cable amplifier, my wireless router for the house sits right behind the TV and you can see the blue status lights under the bottom of the TV.
Have my speaker bar in the added shelf #1 below the tv, comcast cable modem in the right side square, TIVO in the center top, DVD Player in the center bottom, and loads of extra shelf space for whatever else I can think of....
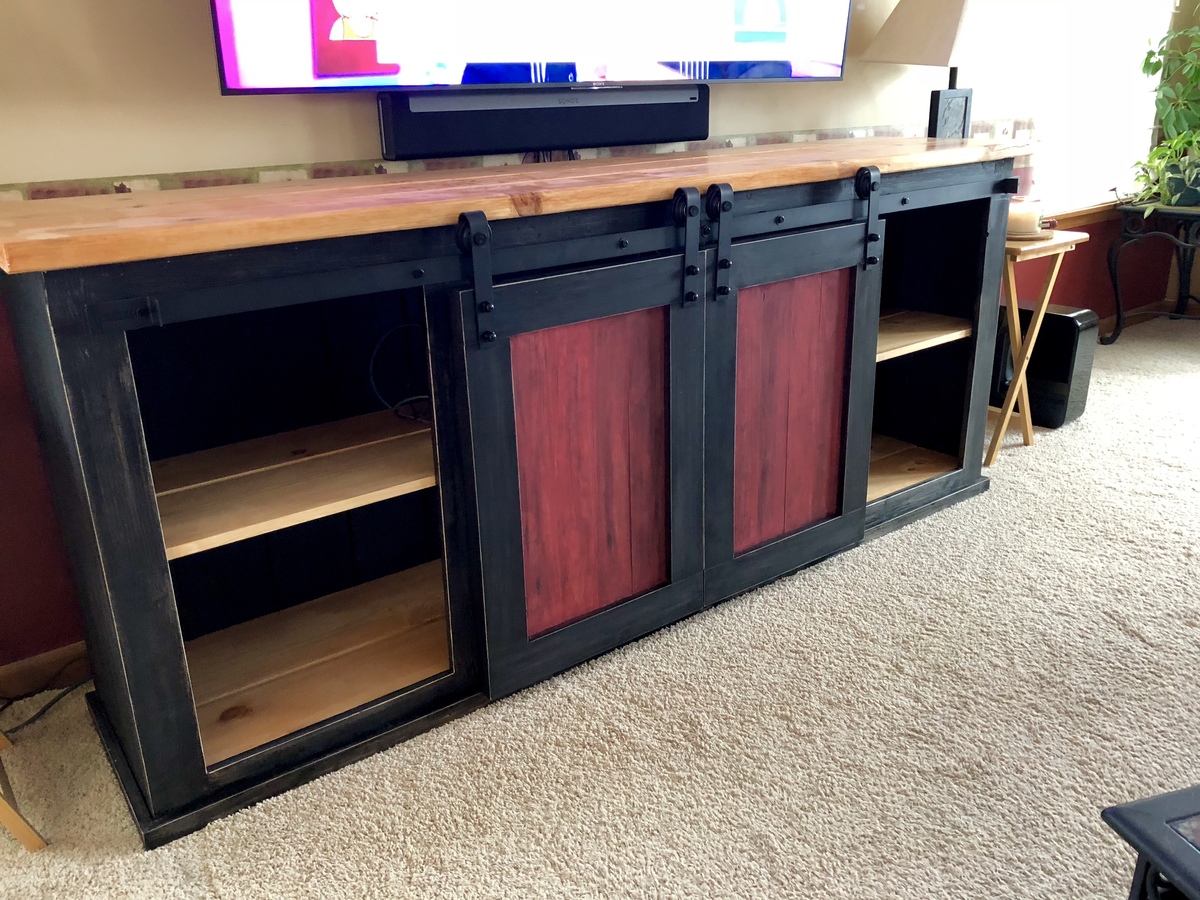
7.5' long cabinet, made with pine boards. Hardware purchased on Amazon.
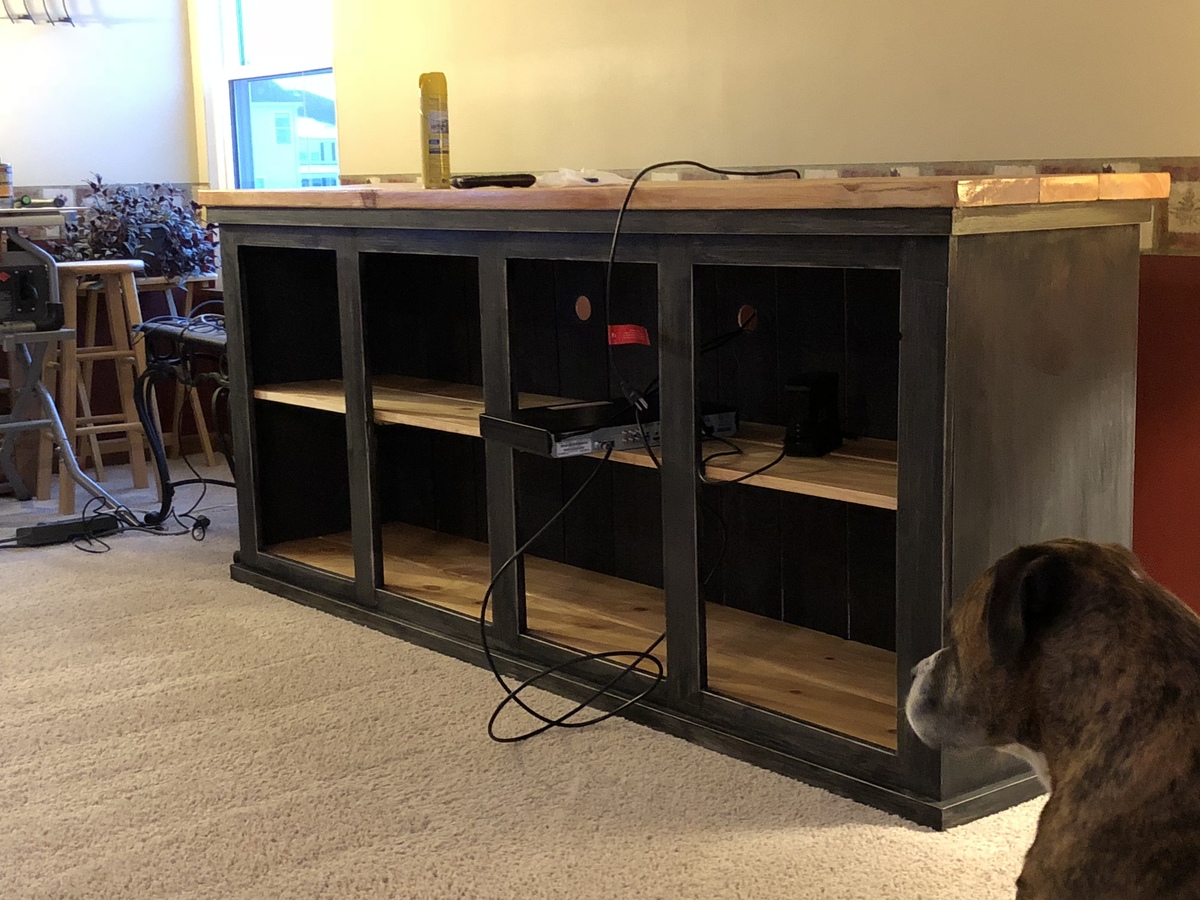
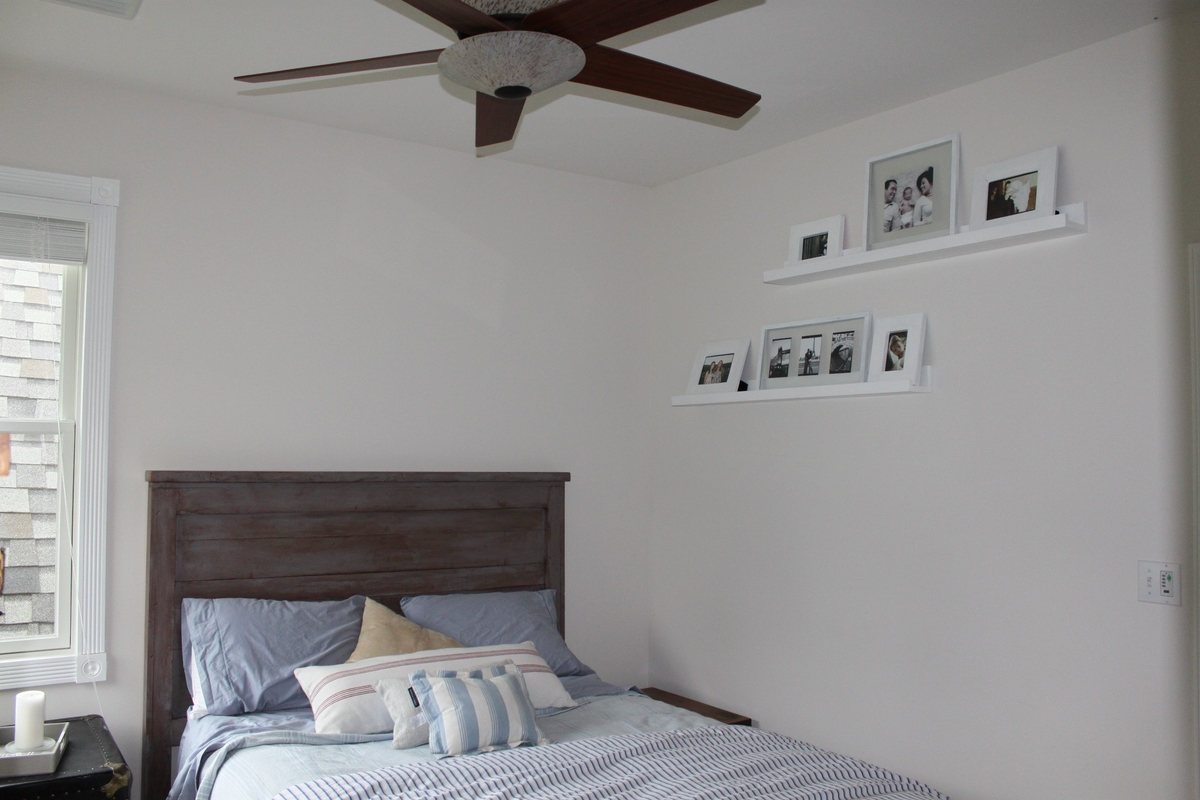
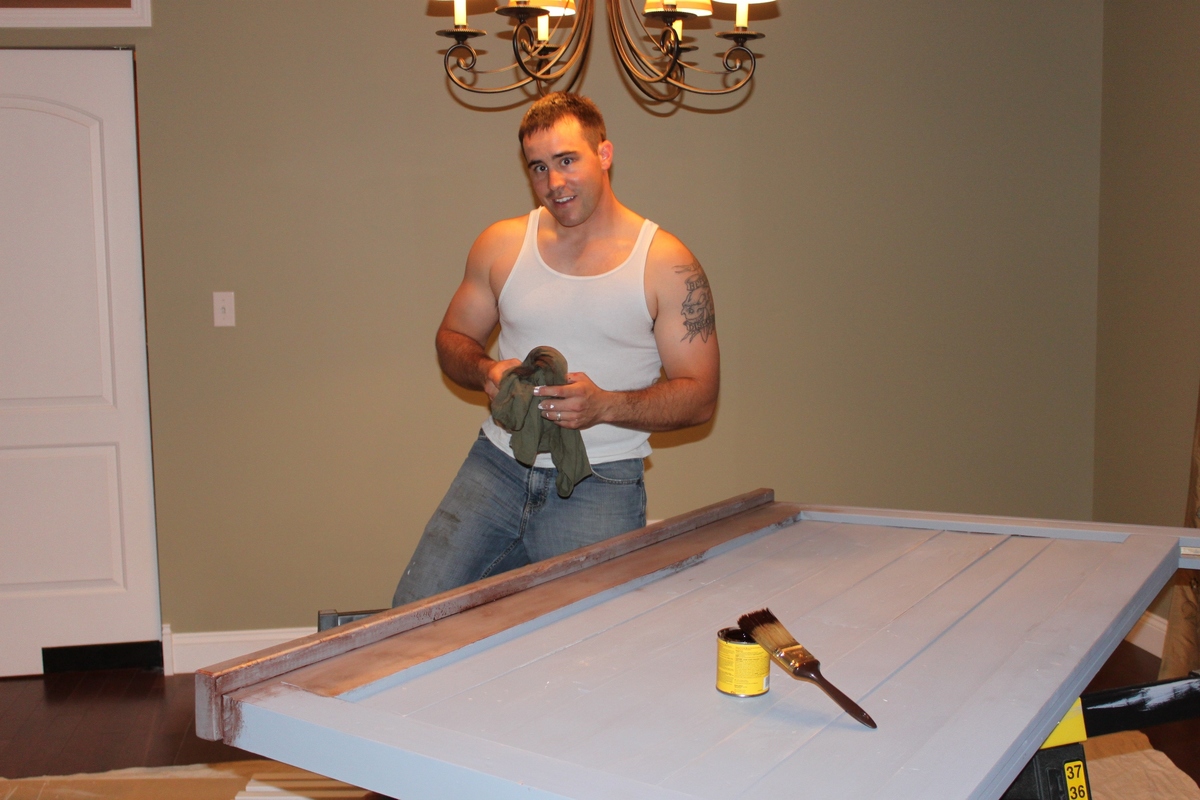
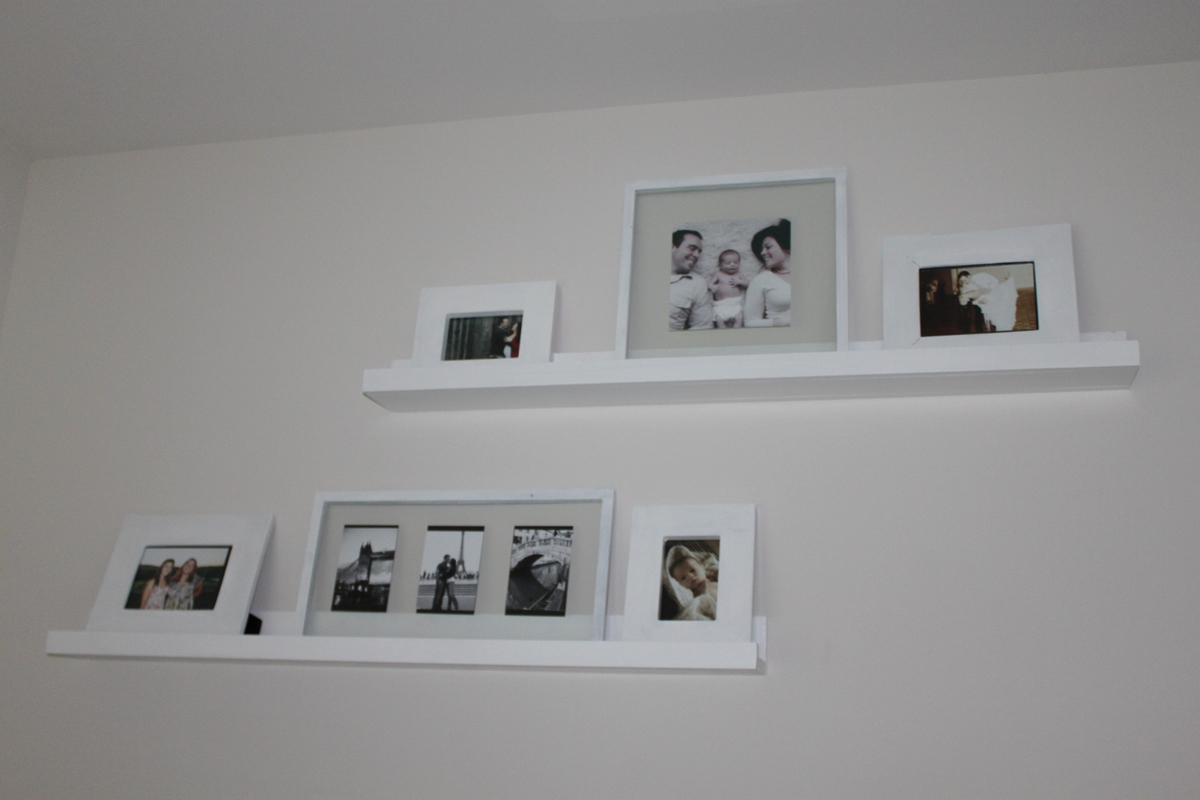
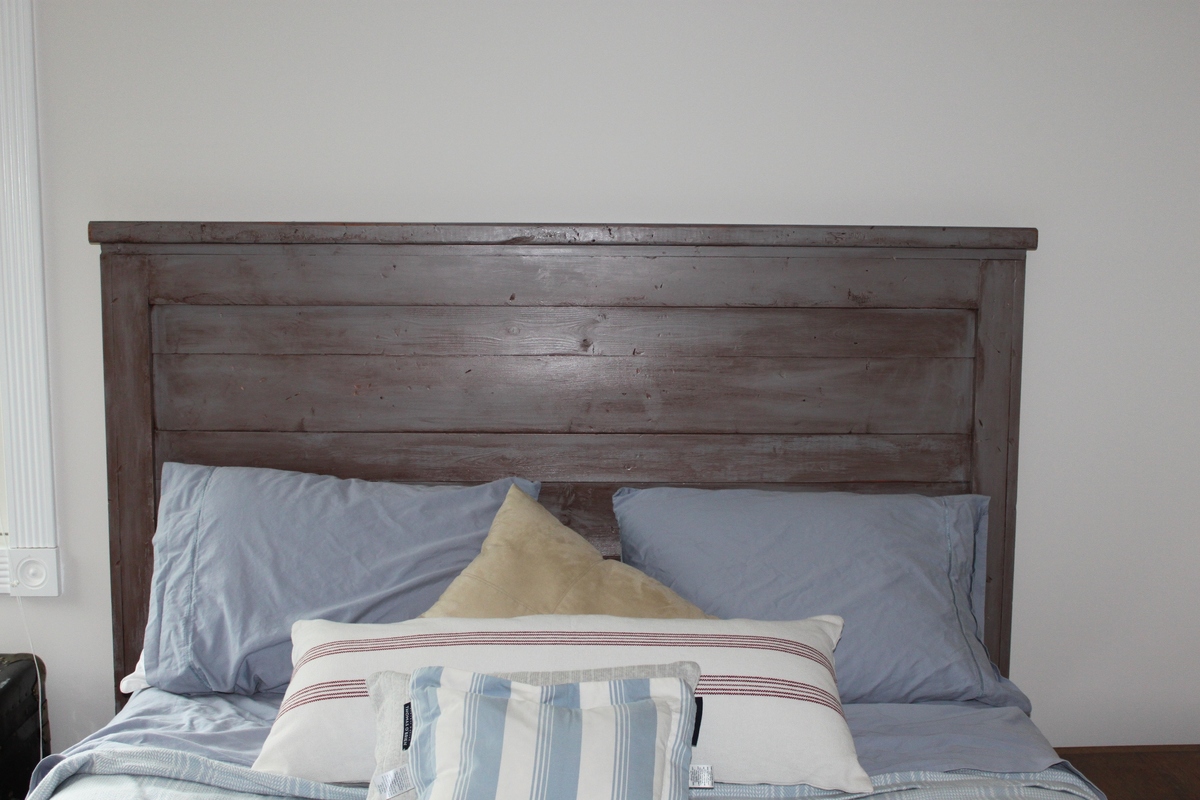
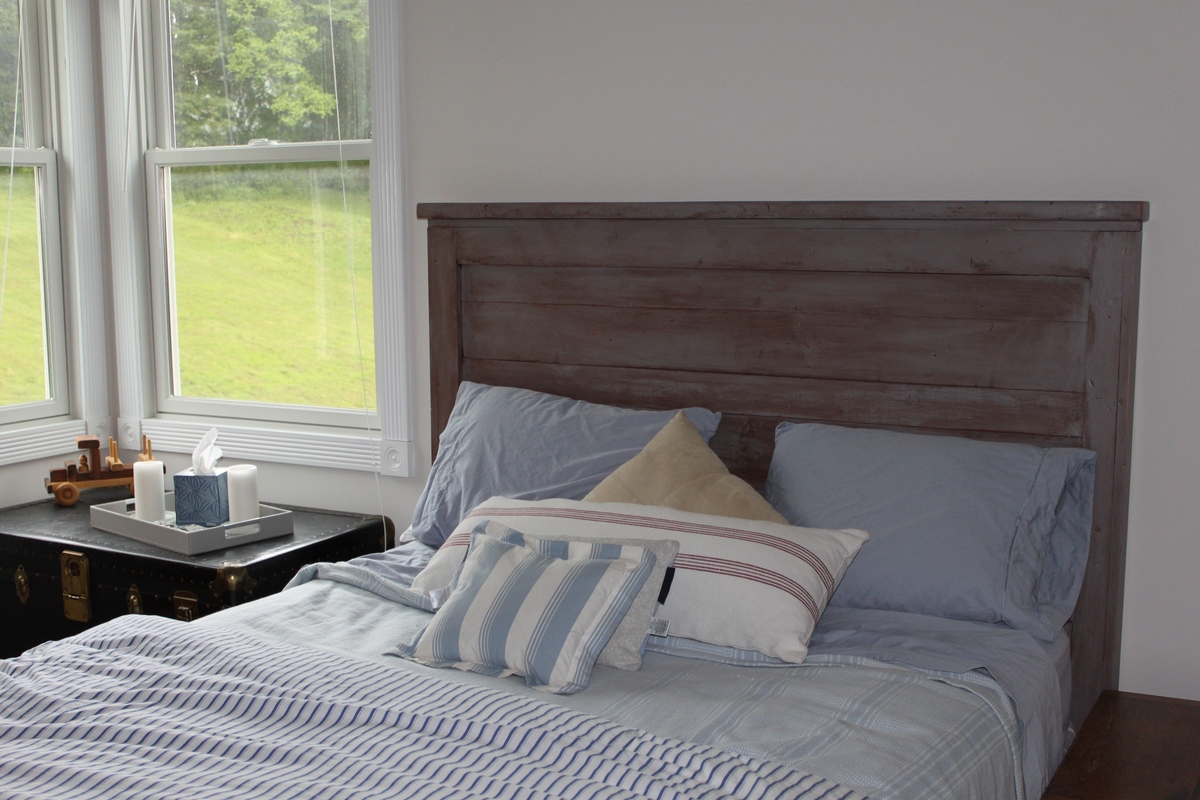
Our guest room had to be ready for some friends coming in town for the week. Before this room had no shelves and worse yet; no head board. Turned this boring room into...well a less boring room. In the picture are my first two projects; the Ten Dollar Ledges and the Reclaimed-wood headboard.
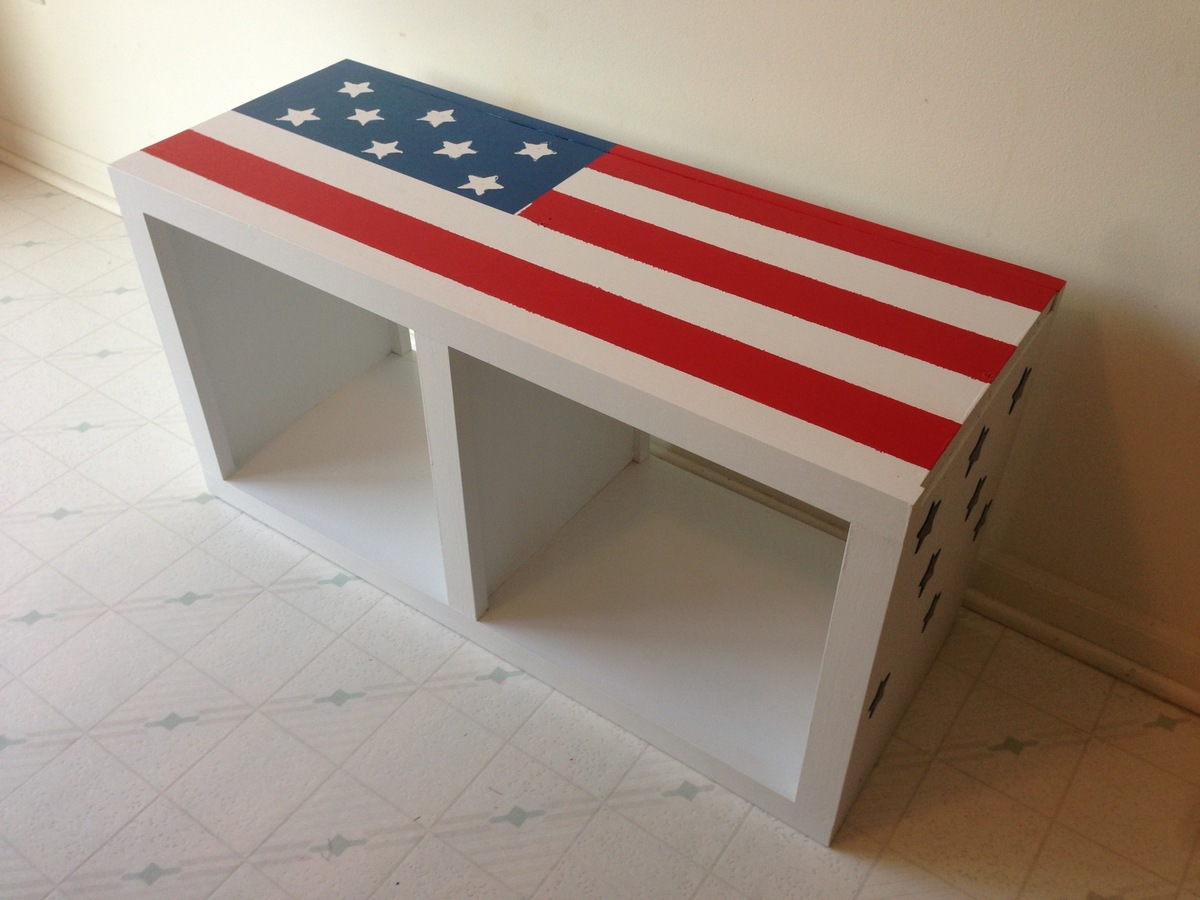
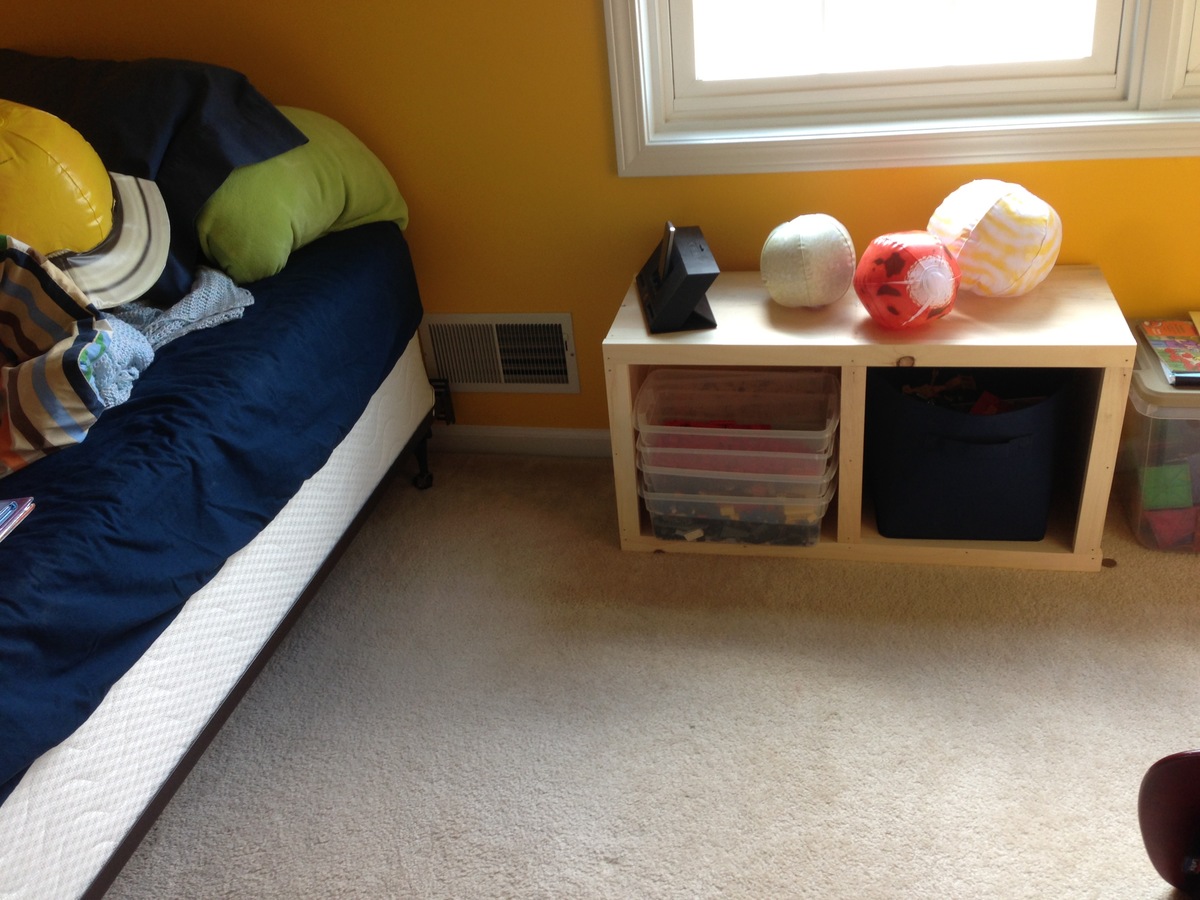
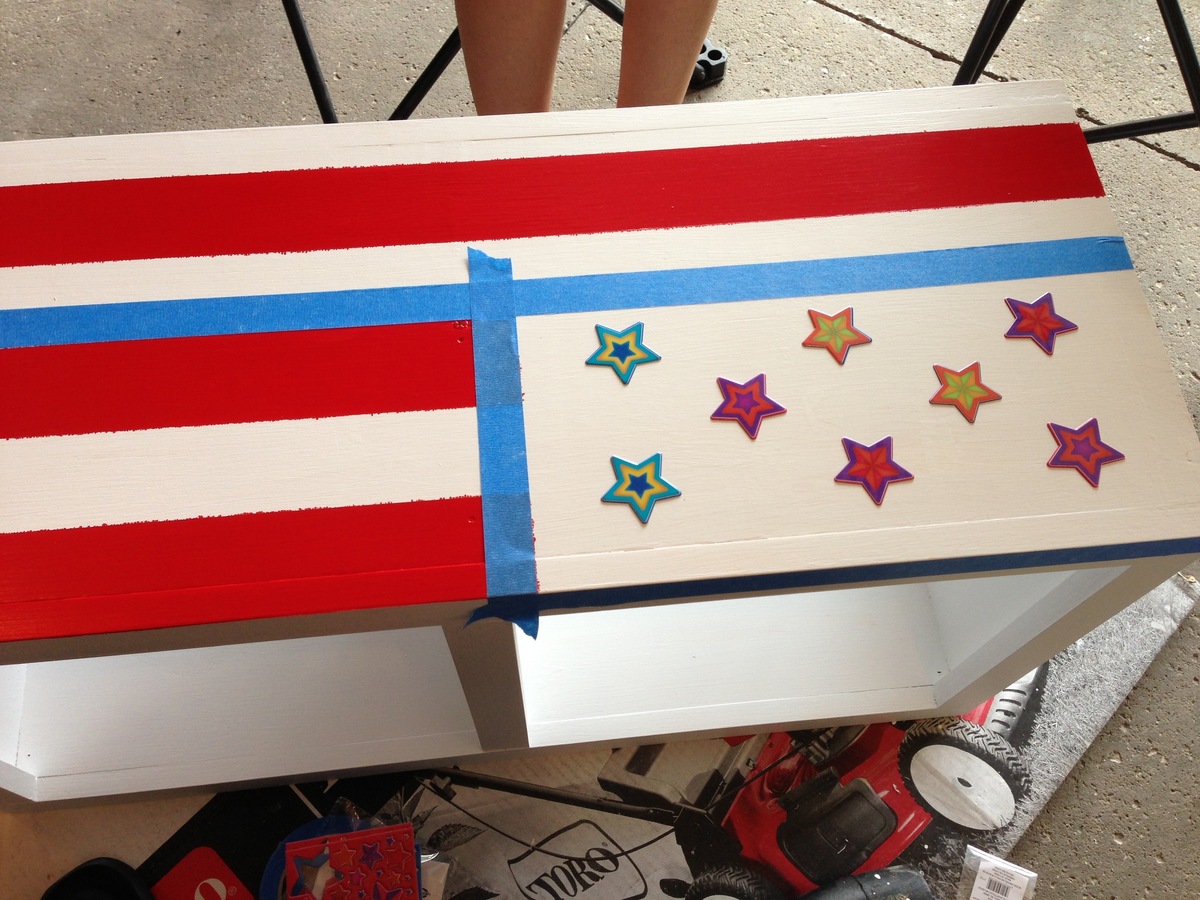
My 8-year-old and I built a shelf for his room, based on the Rolling Cubby Bench plans. (The paint job is all him. He originally suggested trying to paint a picture of an eagle on it, we ultimately settled on a partial flag.)
I'm fairly new to woodworking, and this was my second of four projects I've built using plans from this site so far. Cutting and assembly was just a couple of hours, but finishing stretched this out into a several-night project.
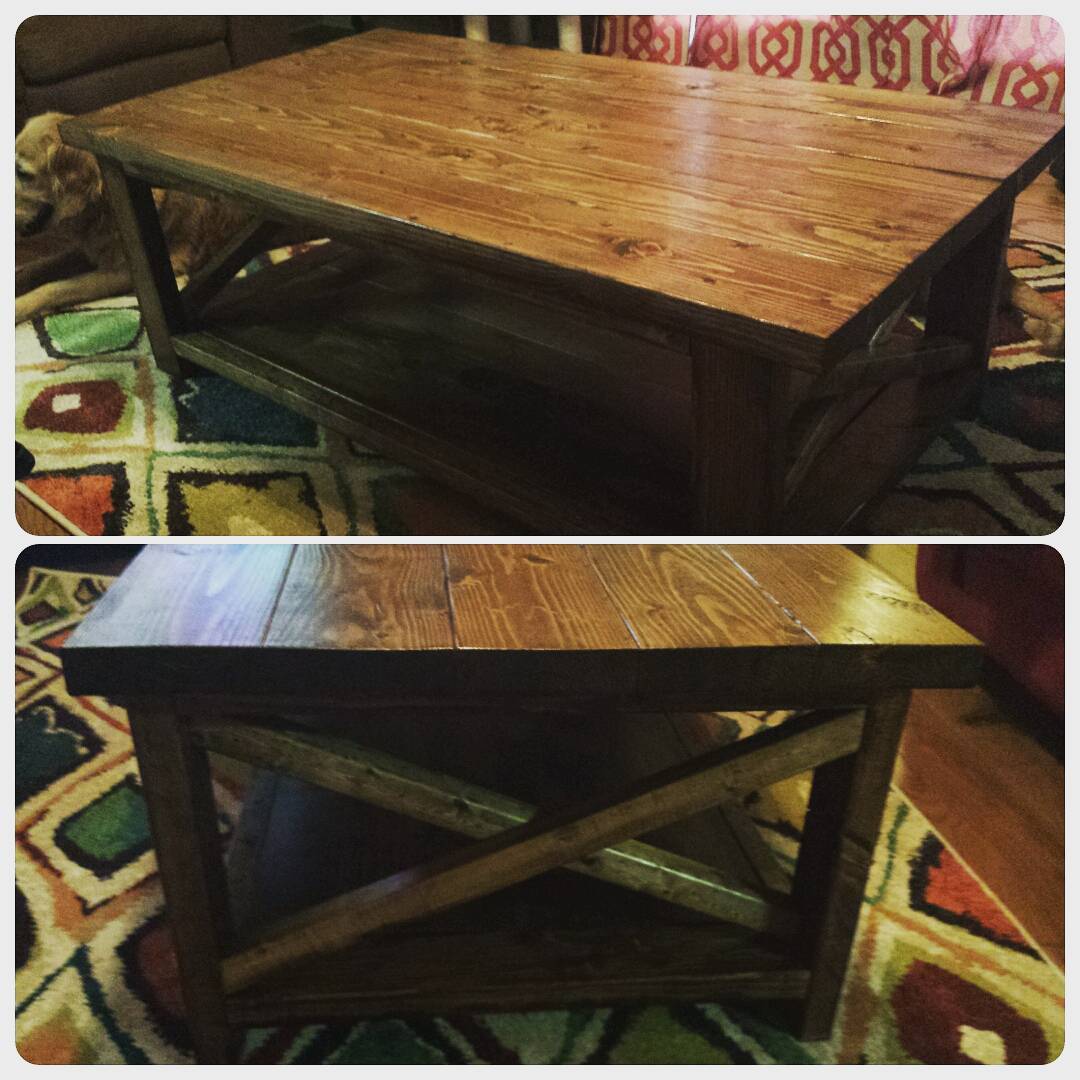
My dad and I built this table for my wife's birthday present.
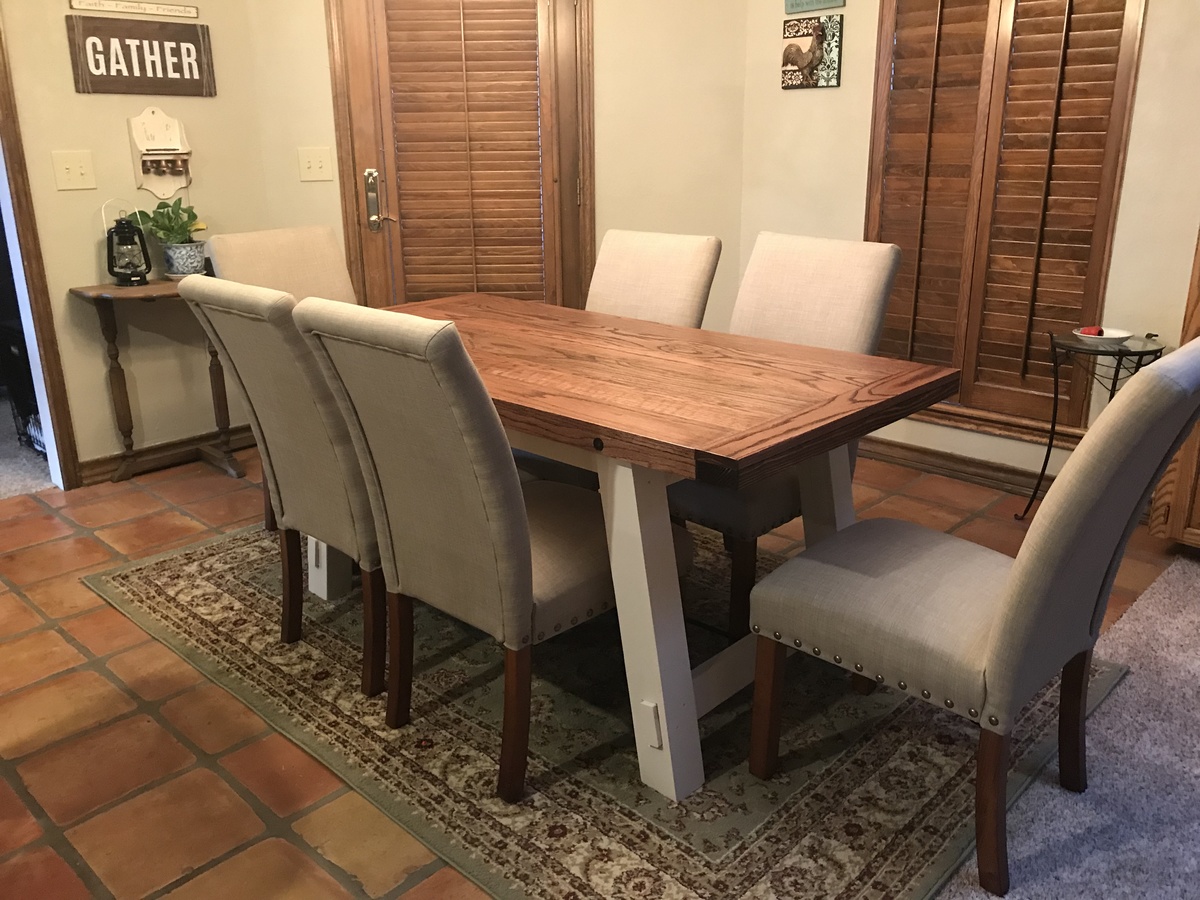
I built this table for my wife as a surprise 50th birthday present. She had been wanting me to build her a farmhouse table and I loved this design. I allowed her to pick out the colors of stain/paint that she wanted for the finish after she unwrapped it. I actually went into sketchup and designed my own table, based on these plans, to fit into our smaller dining space. By designing it, I was also able to modify it to fit our chairs. The top is Oak with a red mohagany stain. The legs and aprons are pine and chalk painted in drop cloth...her favorite paint and color.
Great table. I already have people asking me to build them one.
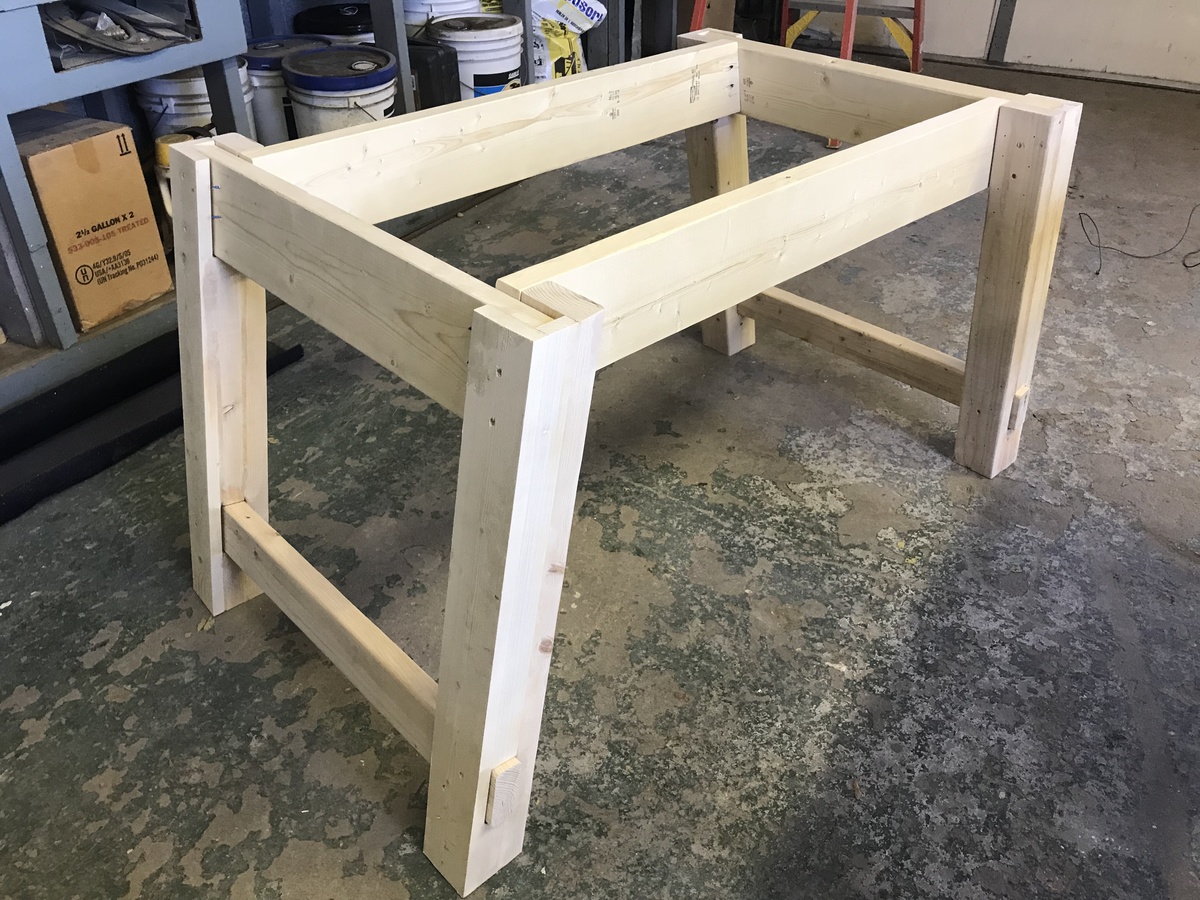
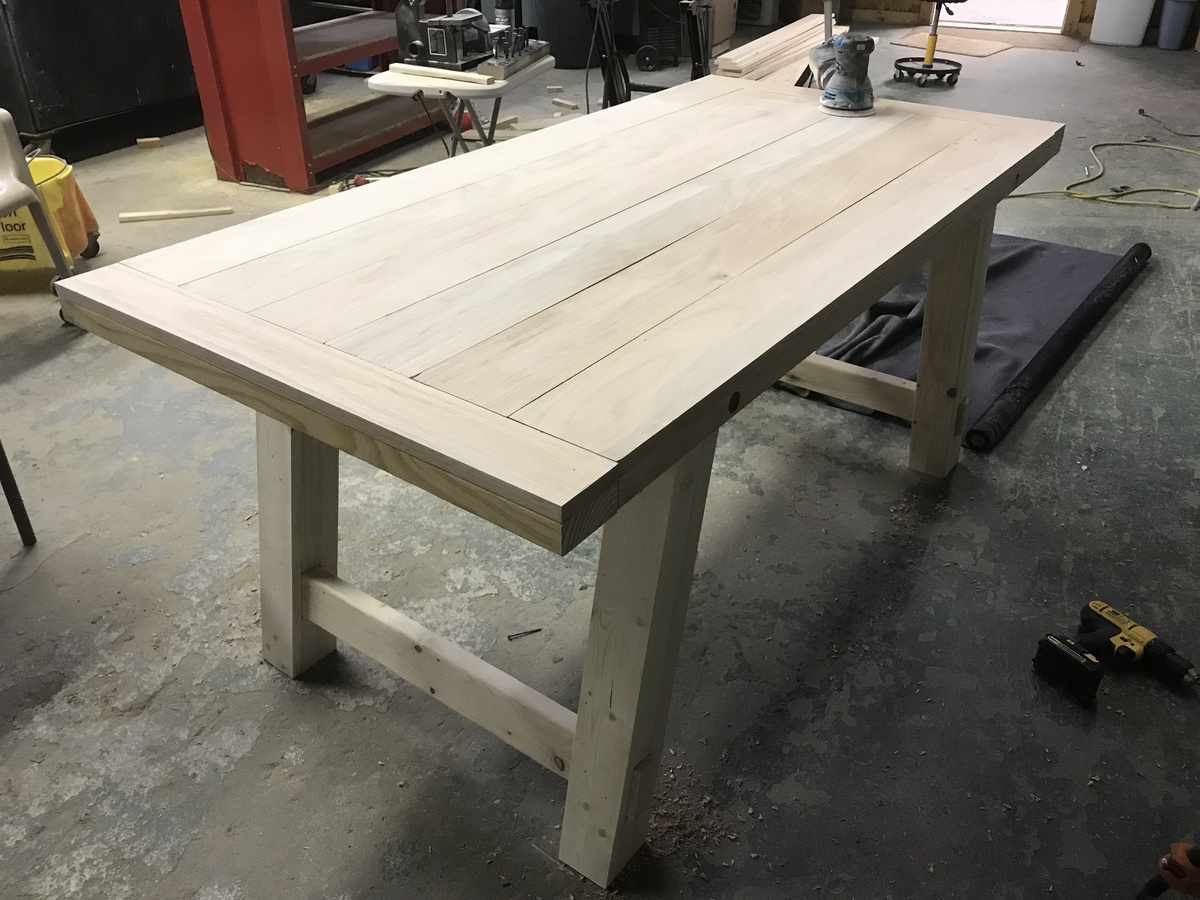
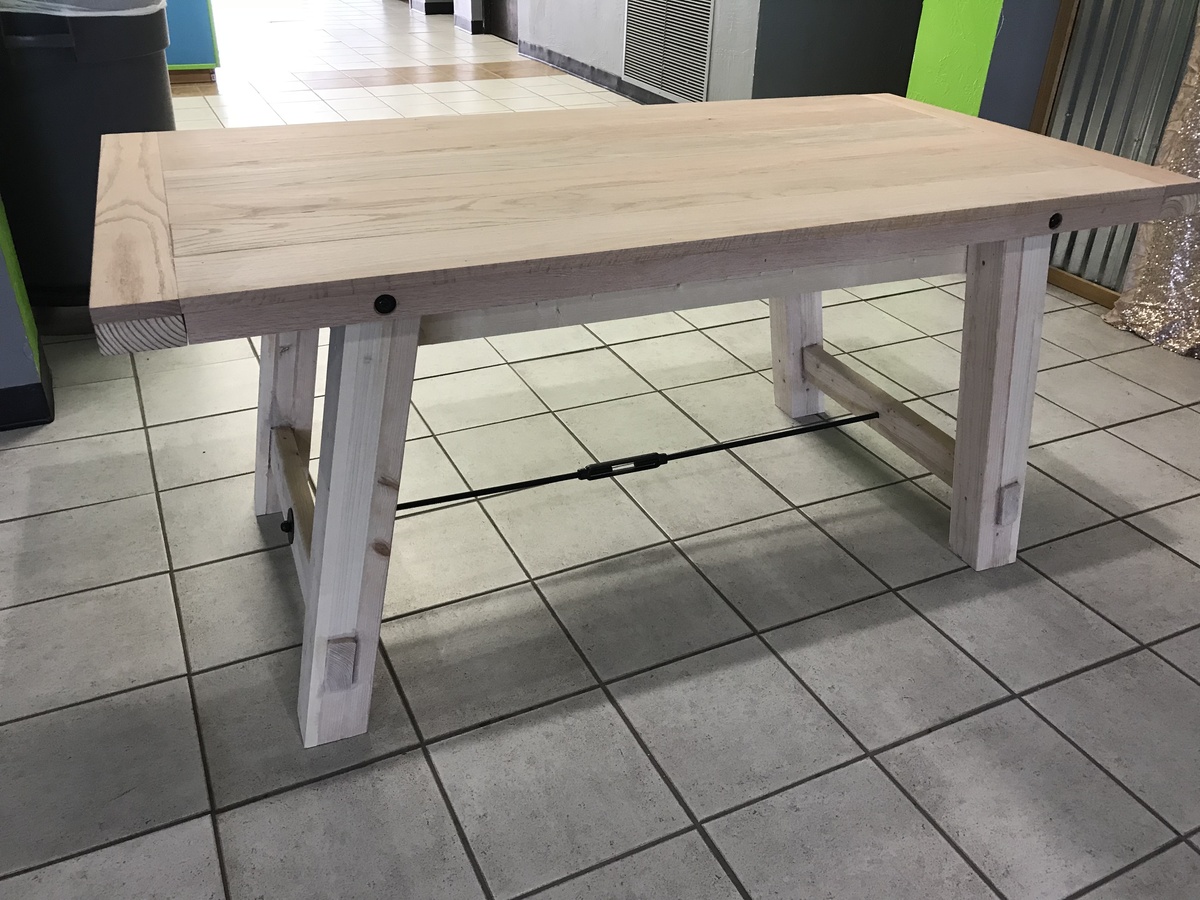
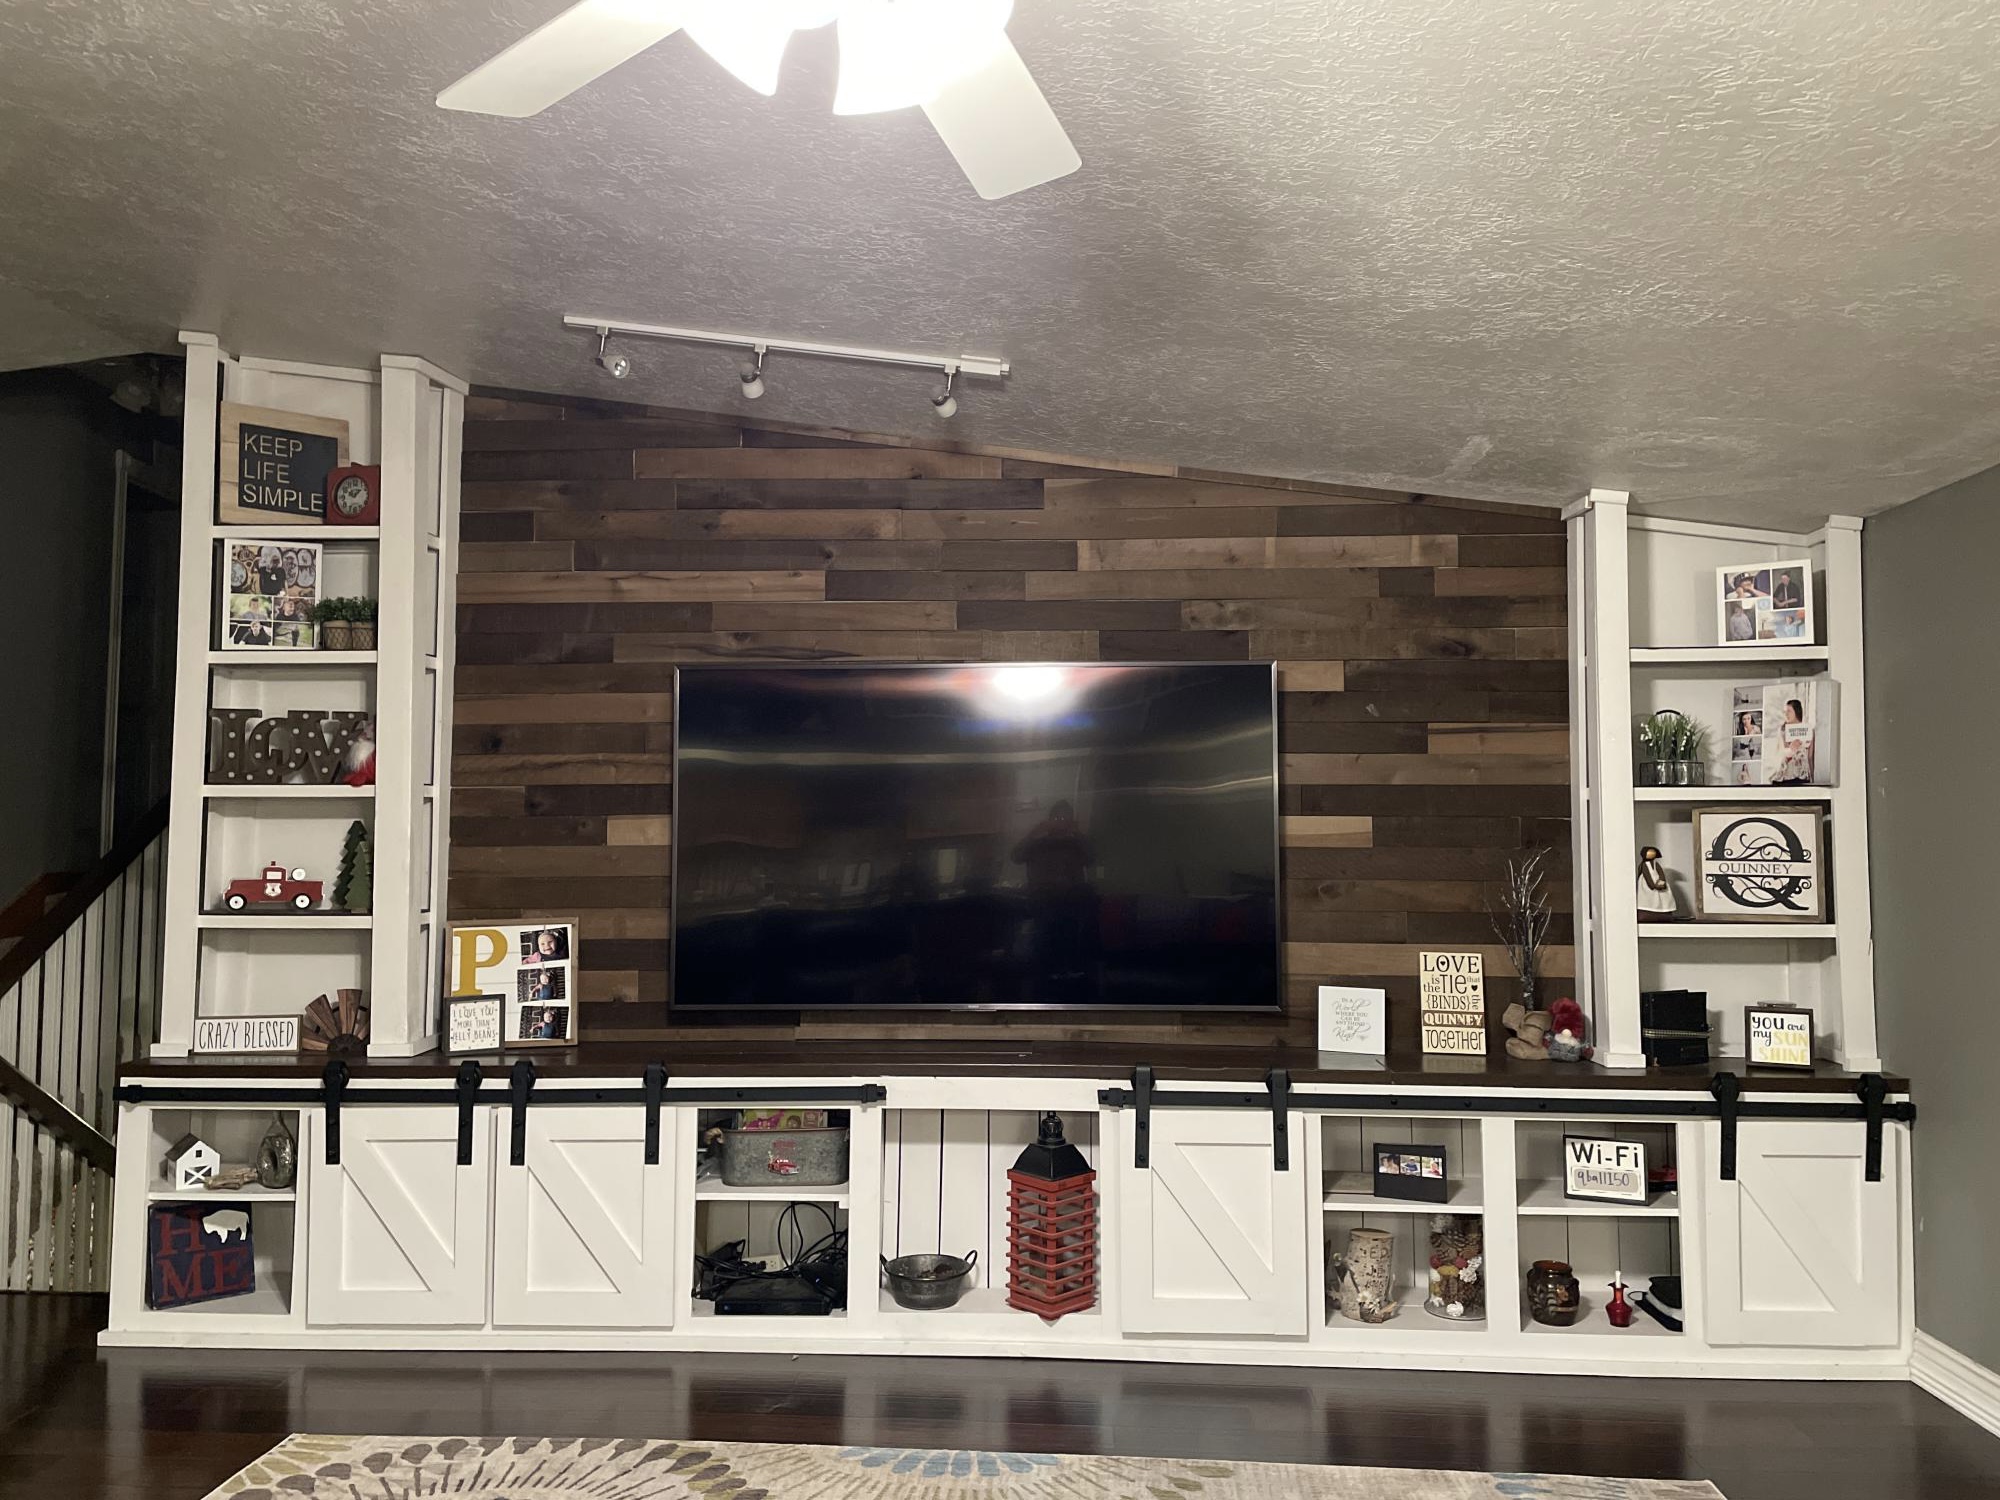
Using your simplified 8’ barn door console plans I was able to make my dream wall come true. I made 2 of the consoles, added a center piece and shelves in either side. Your plans were so easy to follow, even a beginner like myself pulled it off. Thank you for sharing your talent!!!!
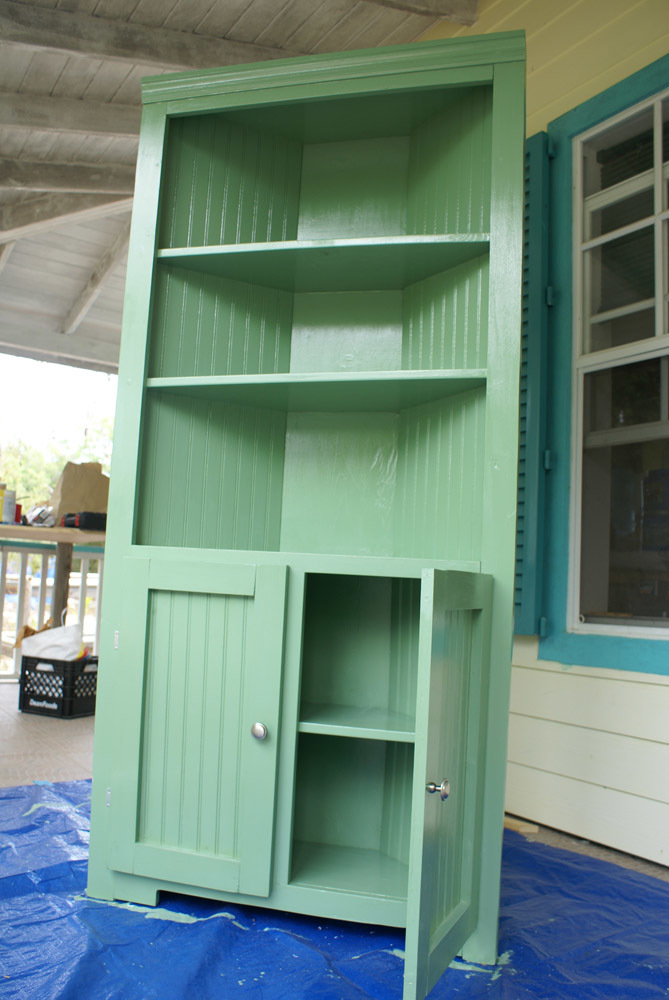
This was my second project. I wanted to get practice working with corners so I could do a media cabinet eventually and this was a great starting point. This cabinet is a great addition to our dining area too! My little helpers were never far away :)
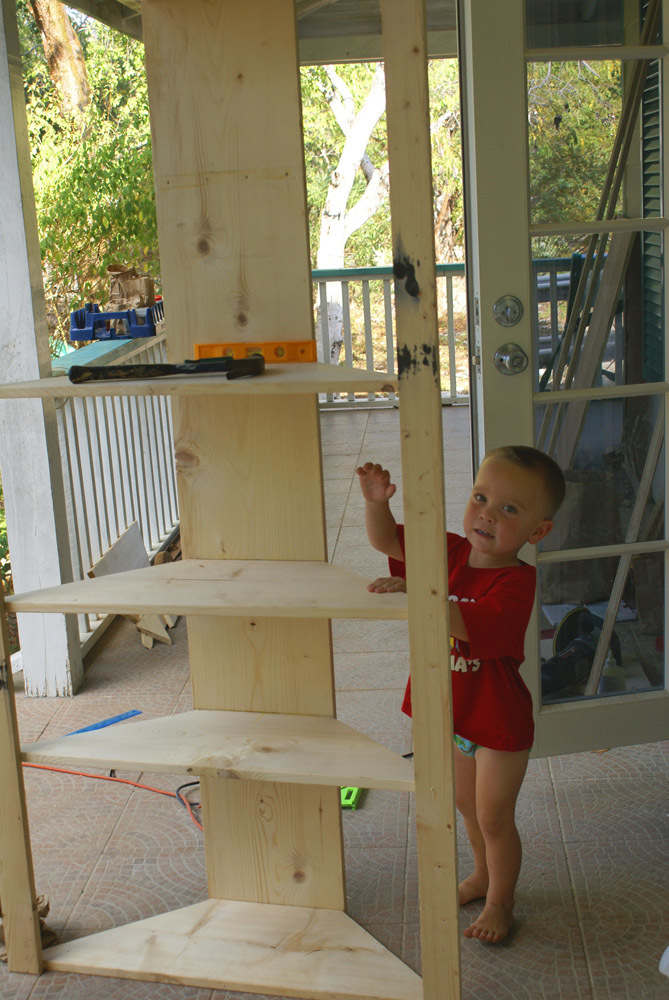

I am in the process of remodeling/redecorating my tiny house. I started with the kitchen and am now moving into the living room. The two rooms are connected so I needed something that would match the "beachy feel without being obvious" style I am trying to accomplish. I also needed a place for my files, printer, etc since I don't have an office. My house is very small so I have to consider function in every piece of furniture I own. This table was the PERFECT solution! It hides my seldom used but definitely necessary office supplies while looking super cute and brightening up the room.
As you can see I made a few slight changes to the look of the trundle. I made it look like three "drawers" instead of the two in the plans, and used manila rope instead of handles or cutting out the shape in Ana's design. I also lined the inside of the trundle with felt to protect my computer, etc. from the hard surface of the wood. I couldn't help pick my favorite color, since you can't see it while the trundle is closed. Though not pictured here, I added a bracket for files as well (they didn't photograph well). I picked it up from a woodworking specialty store for $15.
All in all it was an easy second project for me, I had it built and nearly finished in a weekend.


Thu, 07/18/2013 - 12:49
I really like your mods. I have been eying the 20 Sec Tidy Up Coffee Table for a while to store my kid bombs, but it just wasn't quite right. Now I know what I would like to do. Thanks for posting! You did a great job.
Wed, 08/13/2014 - 07:29
for our house at the beach. Thank you so much for sharing your design and your experience. We are just finishing up a 7 piece outdoor set for the deck. Your table is next, going right to the top of our "To Build List".
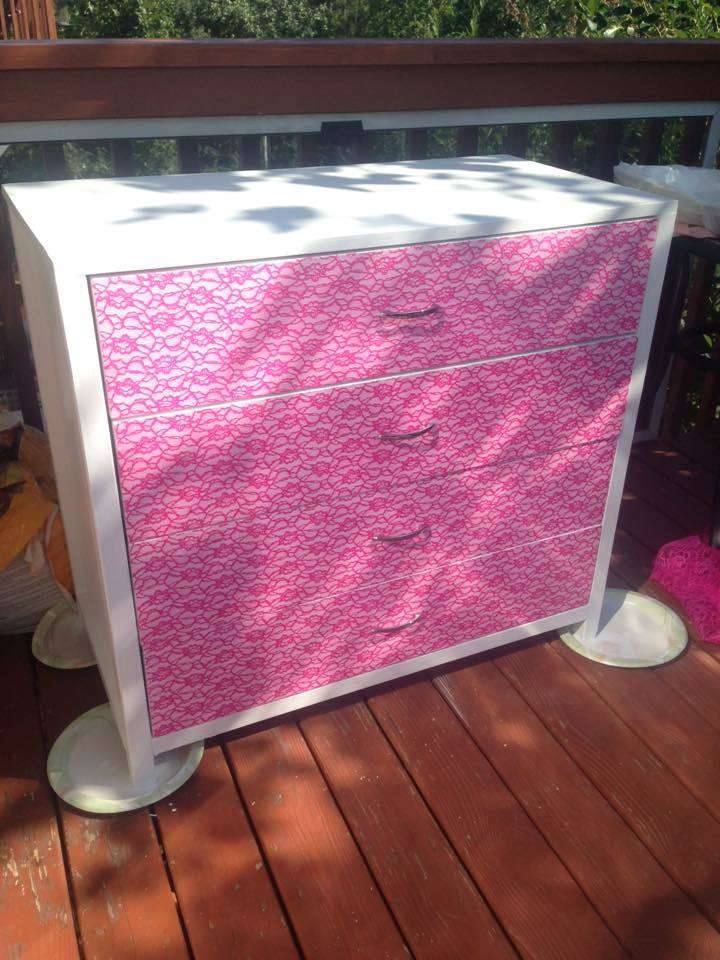
I needed to adjust the width of the dresser to fit - and it was may first build by myself... Already have a second one ready to paint!