Fish Adirondack Chairs and Stools
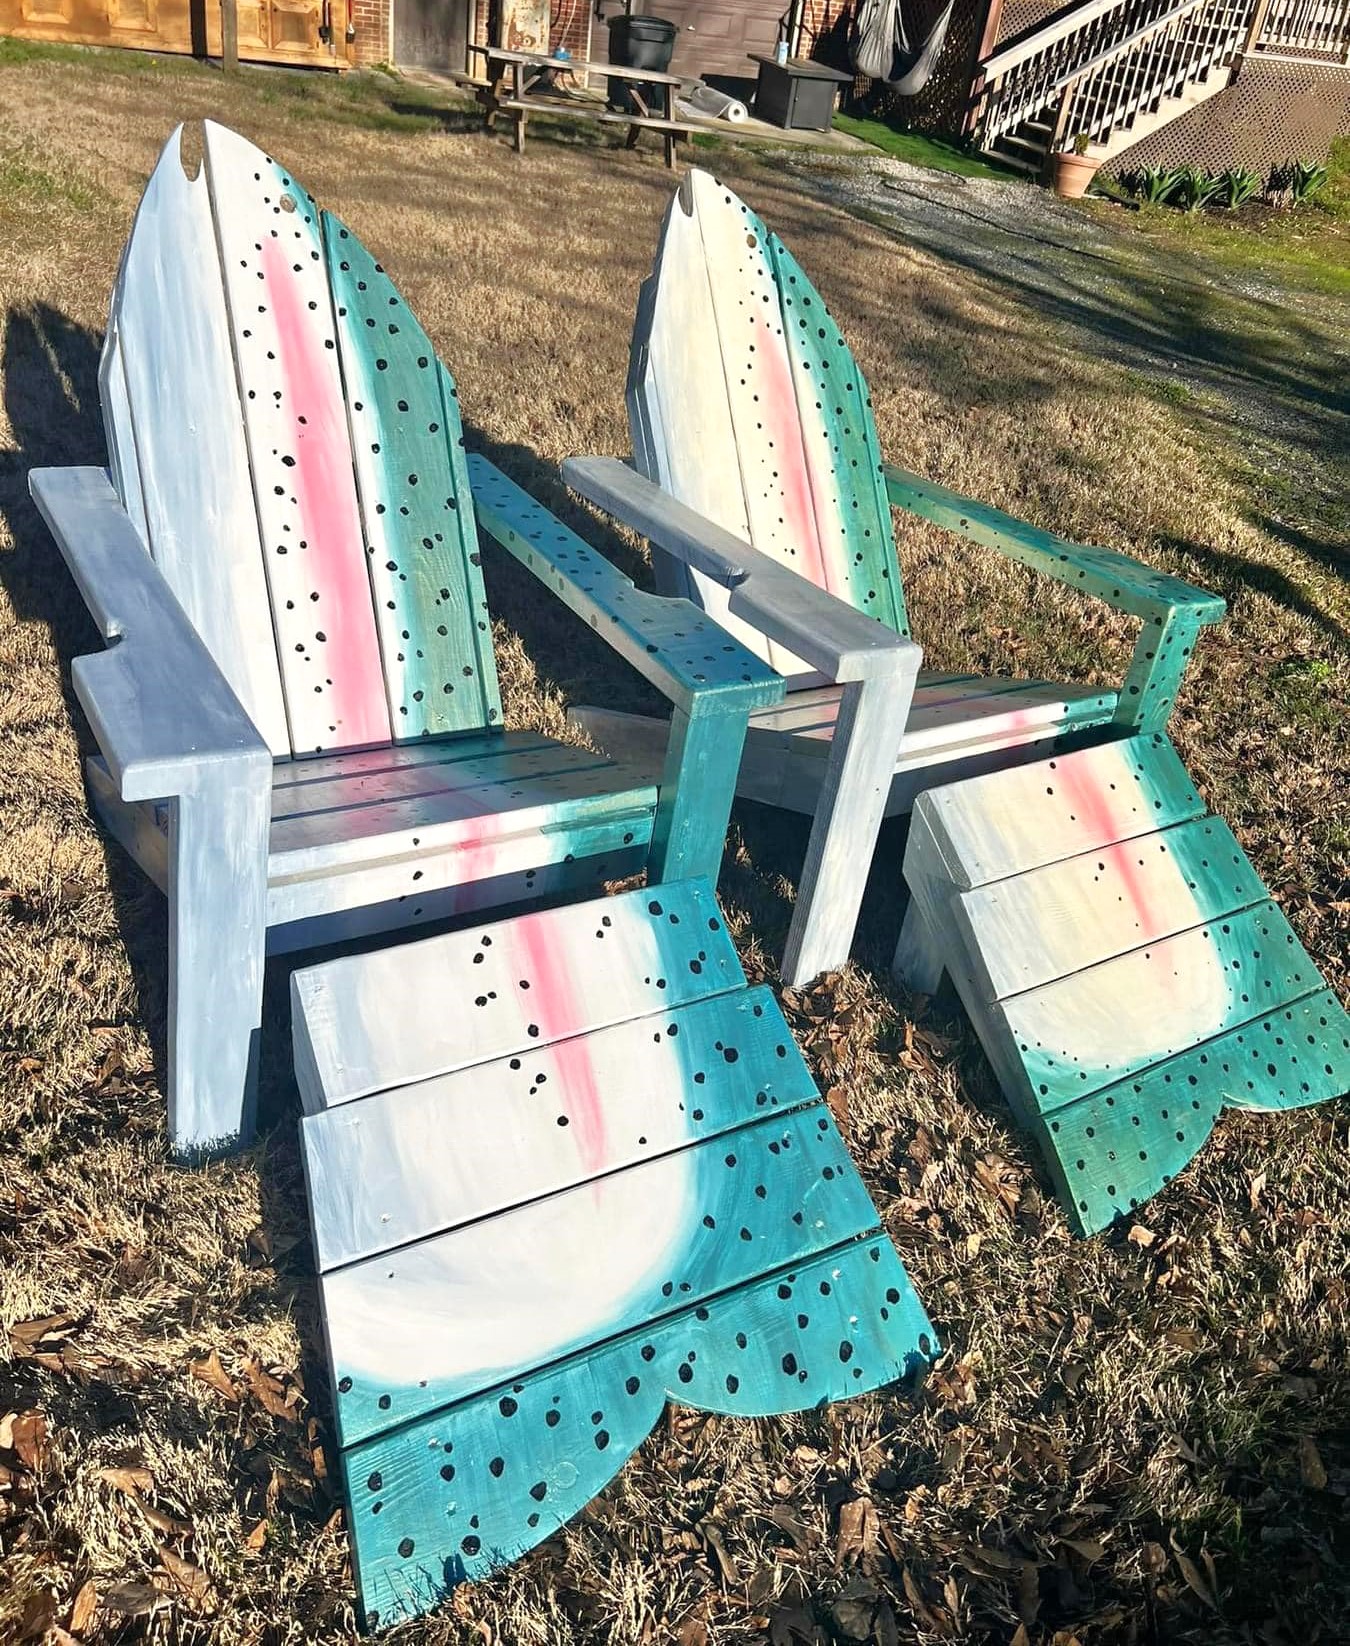
I have used your plan, to build several of the 2x4 Adirondack chairs, made a few modifications here and there but basically the same frame.
Built from Plan(s)
I have used your plan, to build several of the 2x4 Adirondack chairs, made a few modifications here and there but basically the same frame.
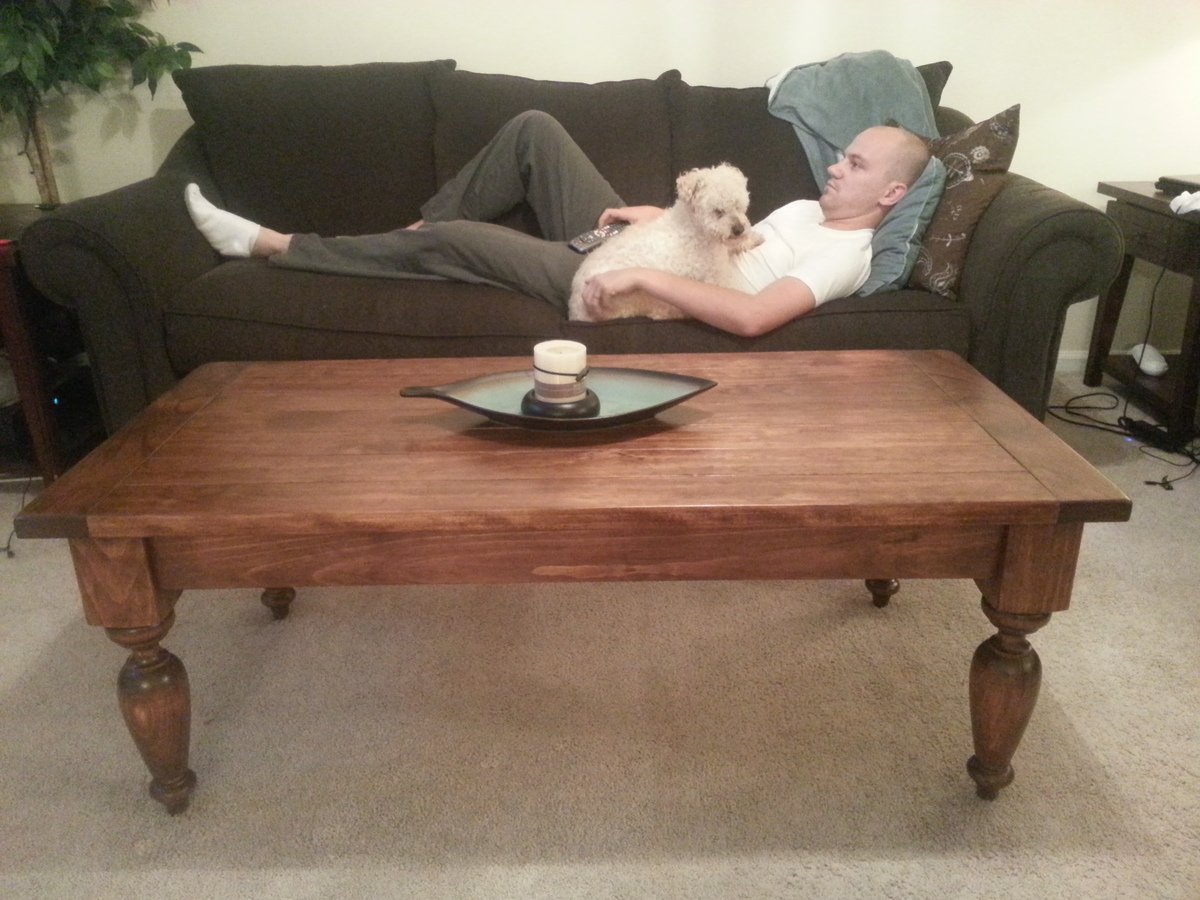
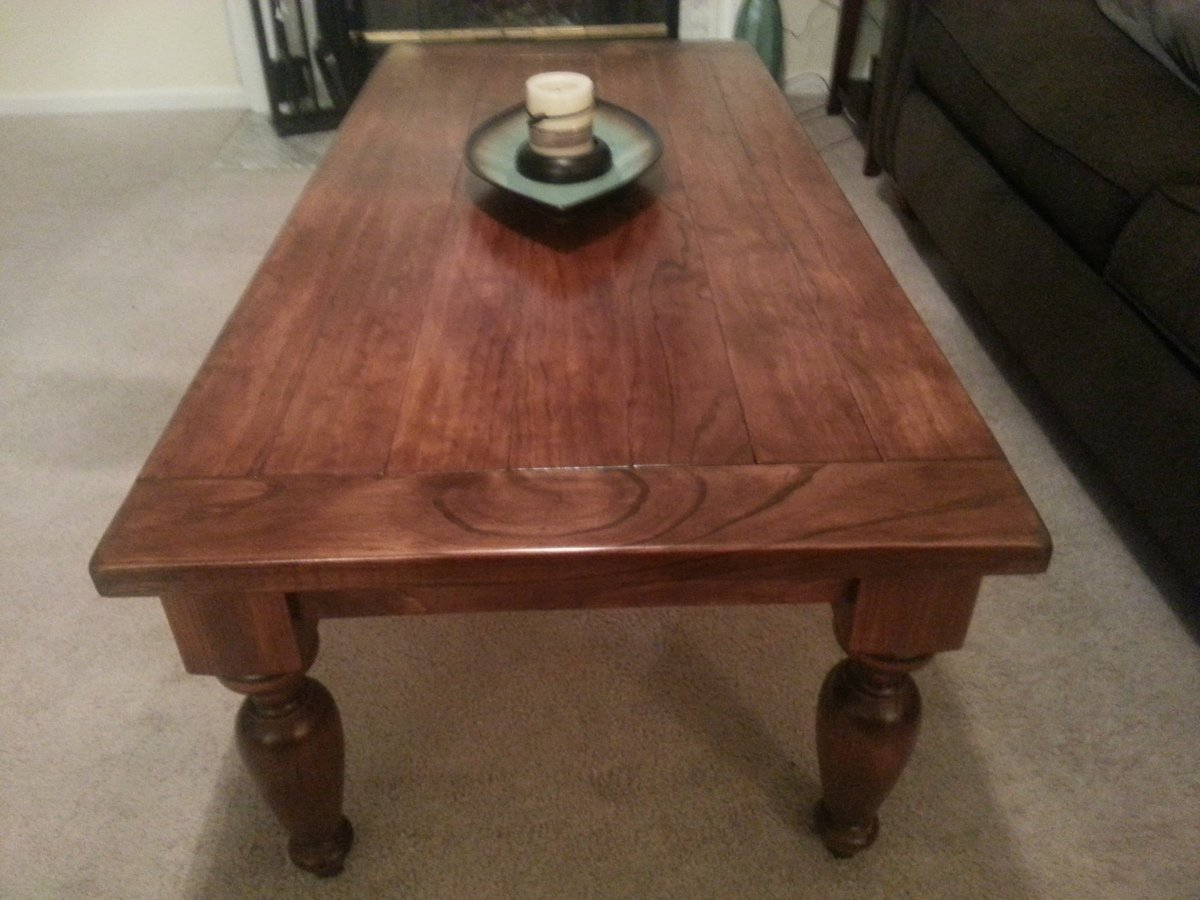
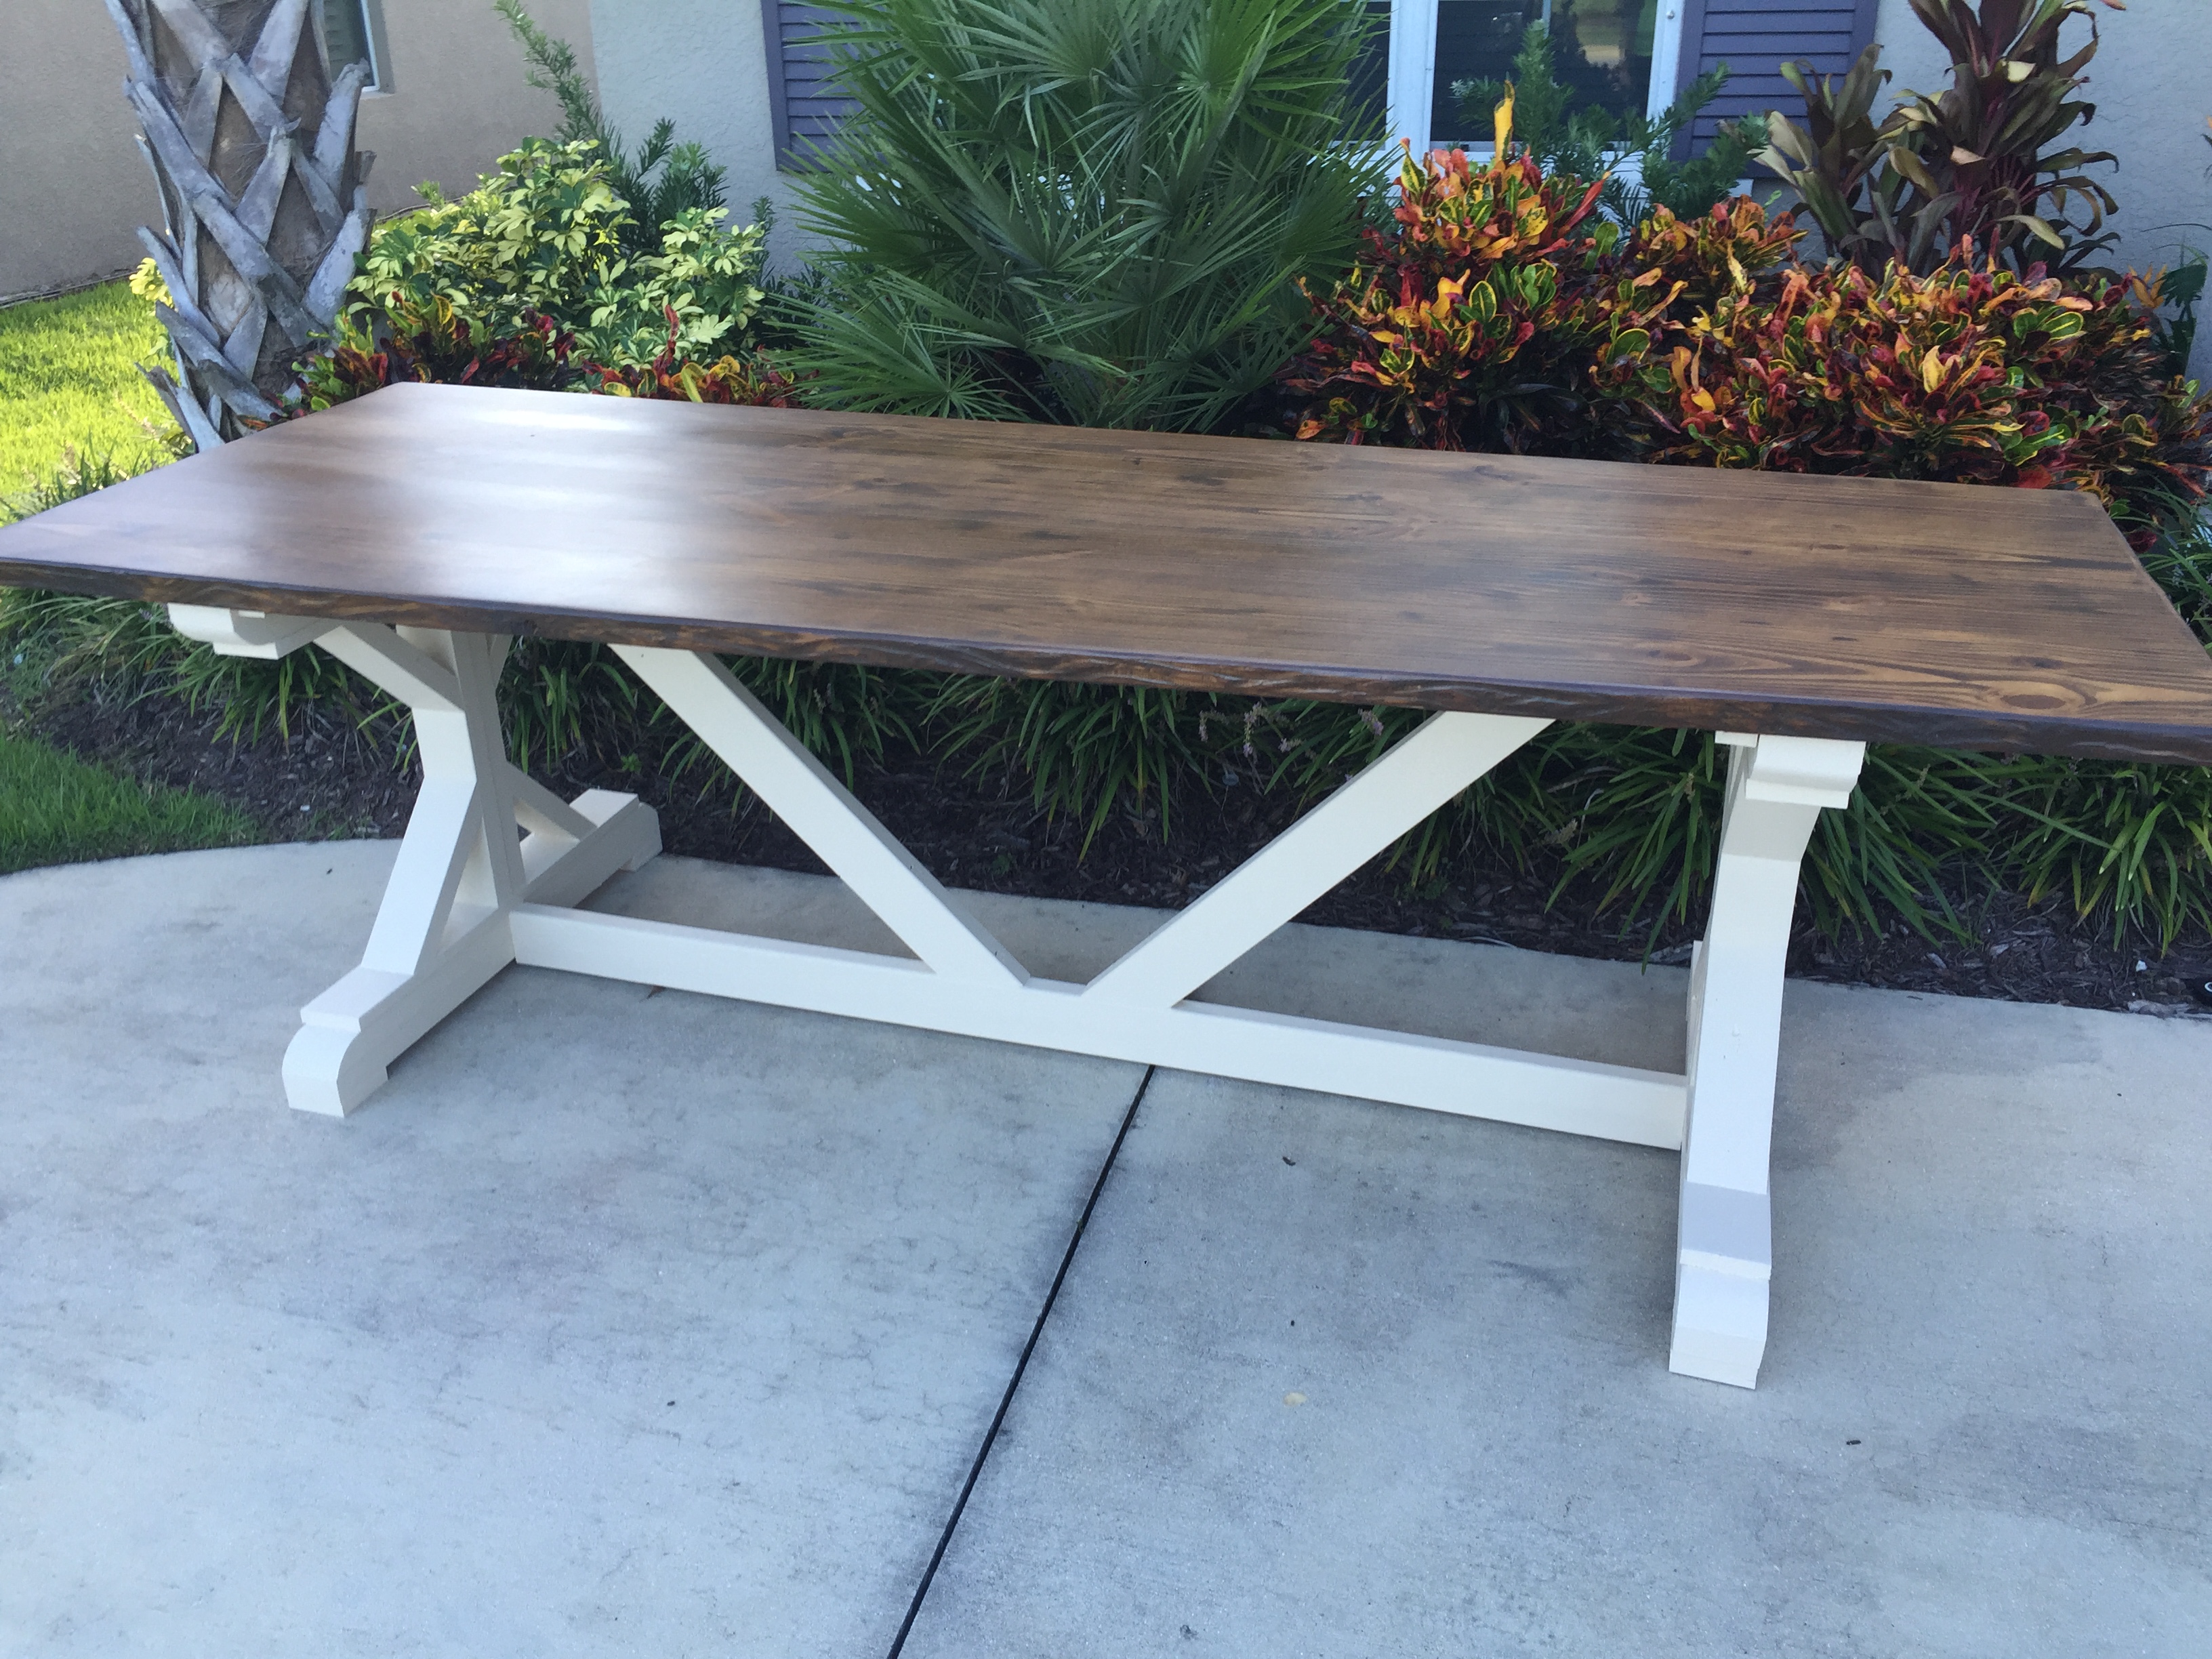
Okay, don't mind the husband and the pooch in the background there! I fell in love with the Pottery Barn version of this table (actually, I've fallen in love with everything from Pottery Barn, if we're being honest here), so I've been wanting to make this coffee table for quite awhile. I found the legs on ebay for a really low price, so I splurged and bought premium 5/4" thick pine planks for the table top to make it look more substantial. This table was so easy to assemble using pocket holes. My husband and I both love how it turned out!
This was my first project and we think it turned out great..Thank you for sharing your plans and showing that anyone can do this.
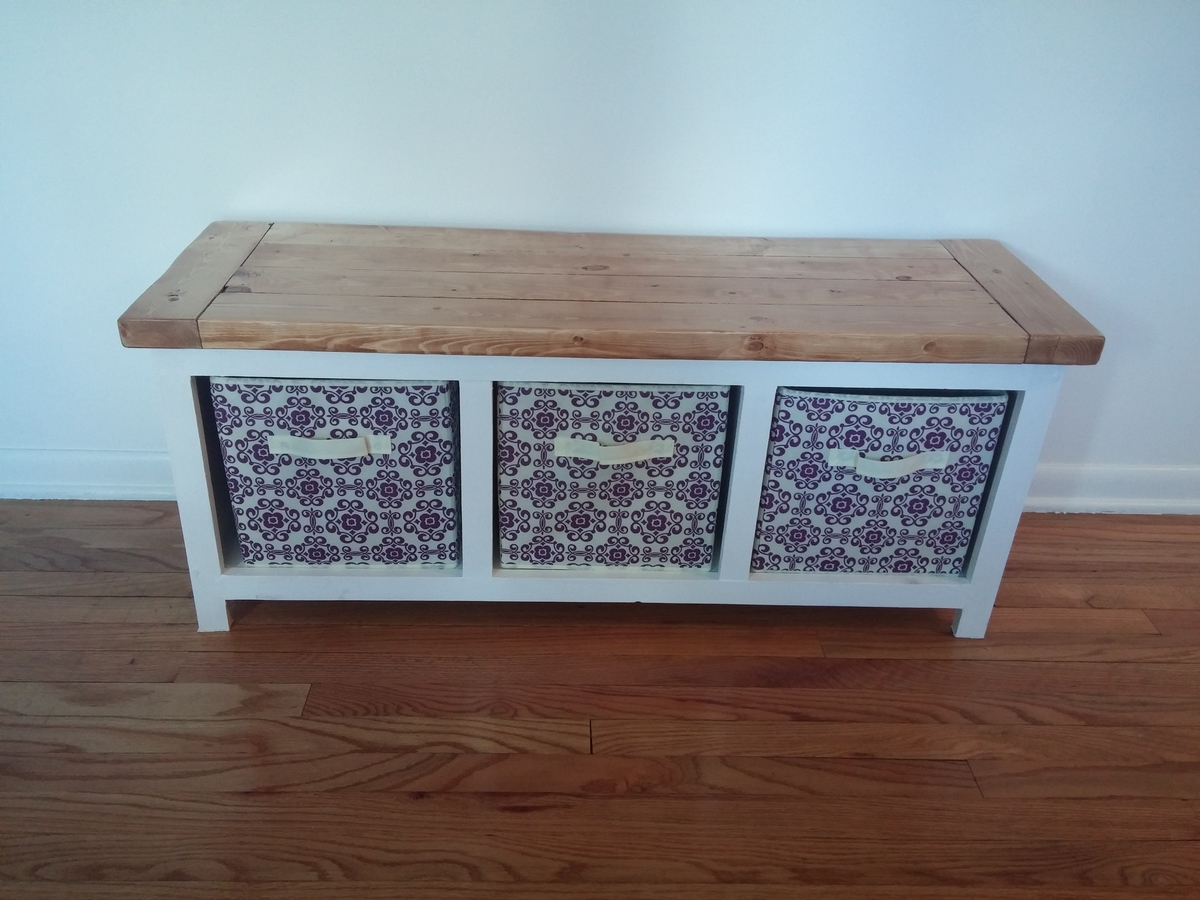
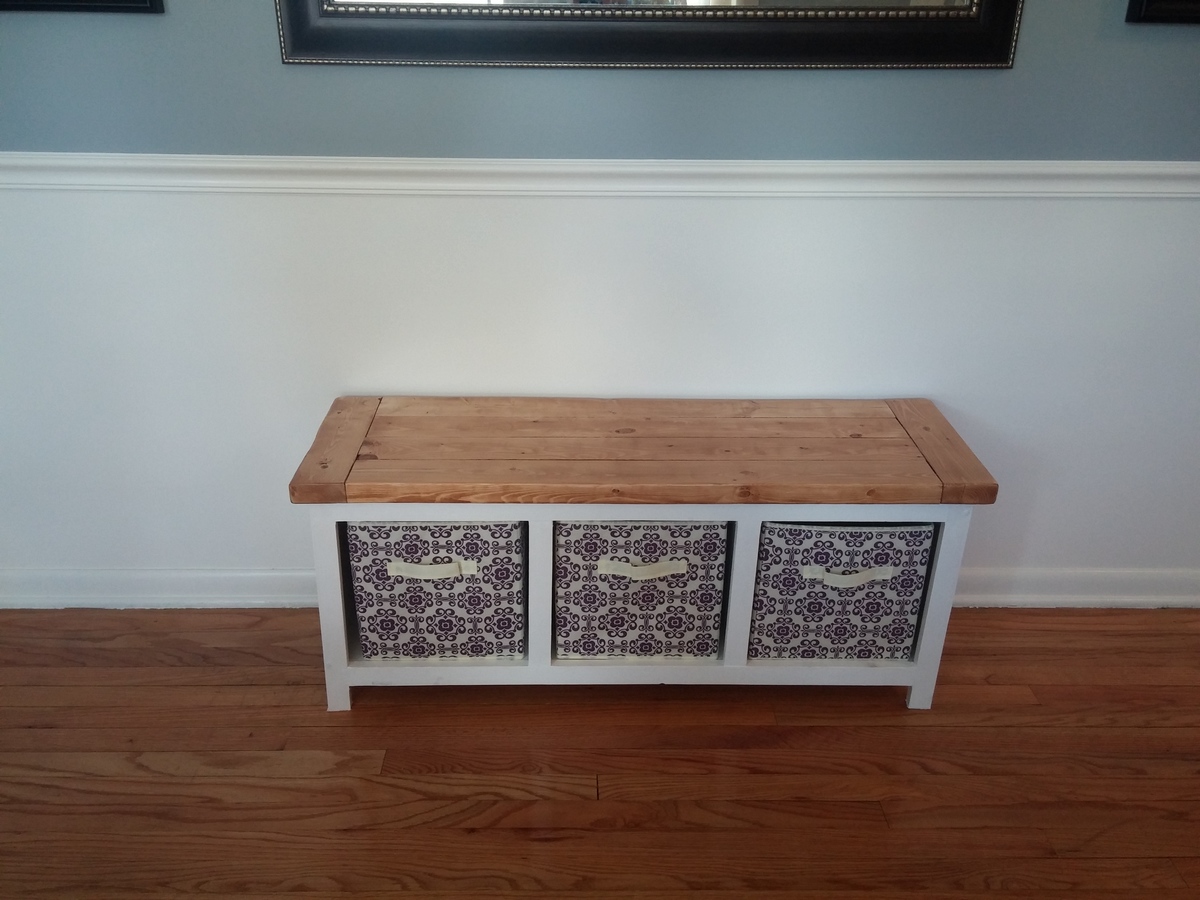
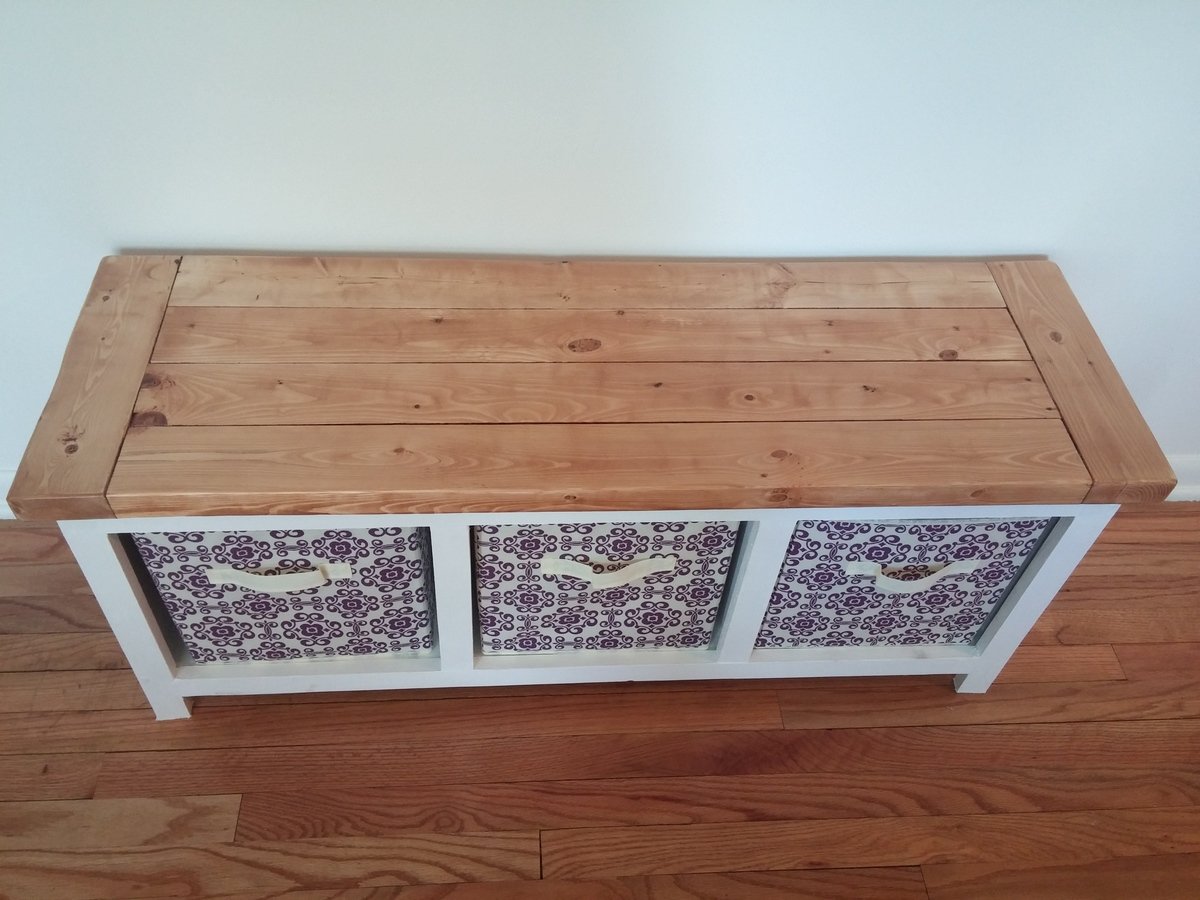
I used the bench top from Ana's Farmhouse Table and took 1.5in off the legs to compensate. Got the baskets on Amazon.
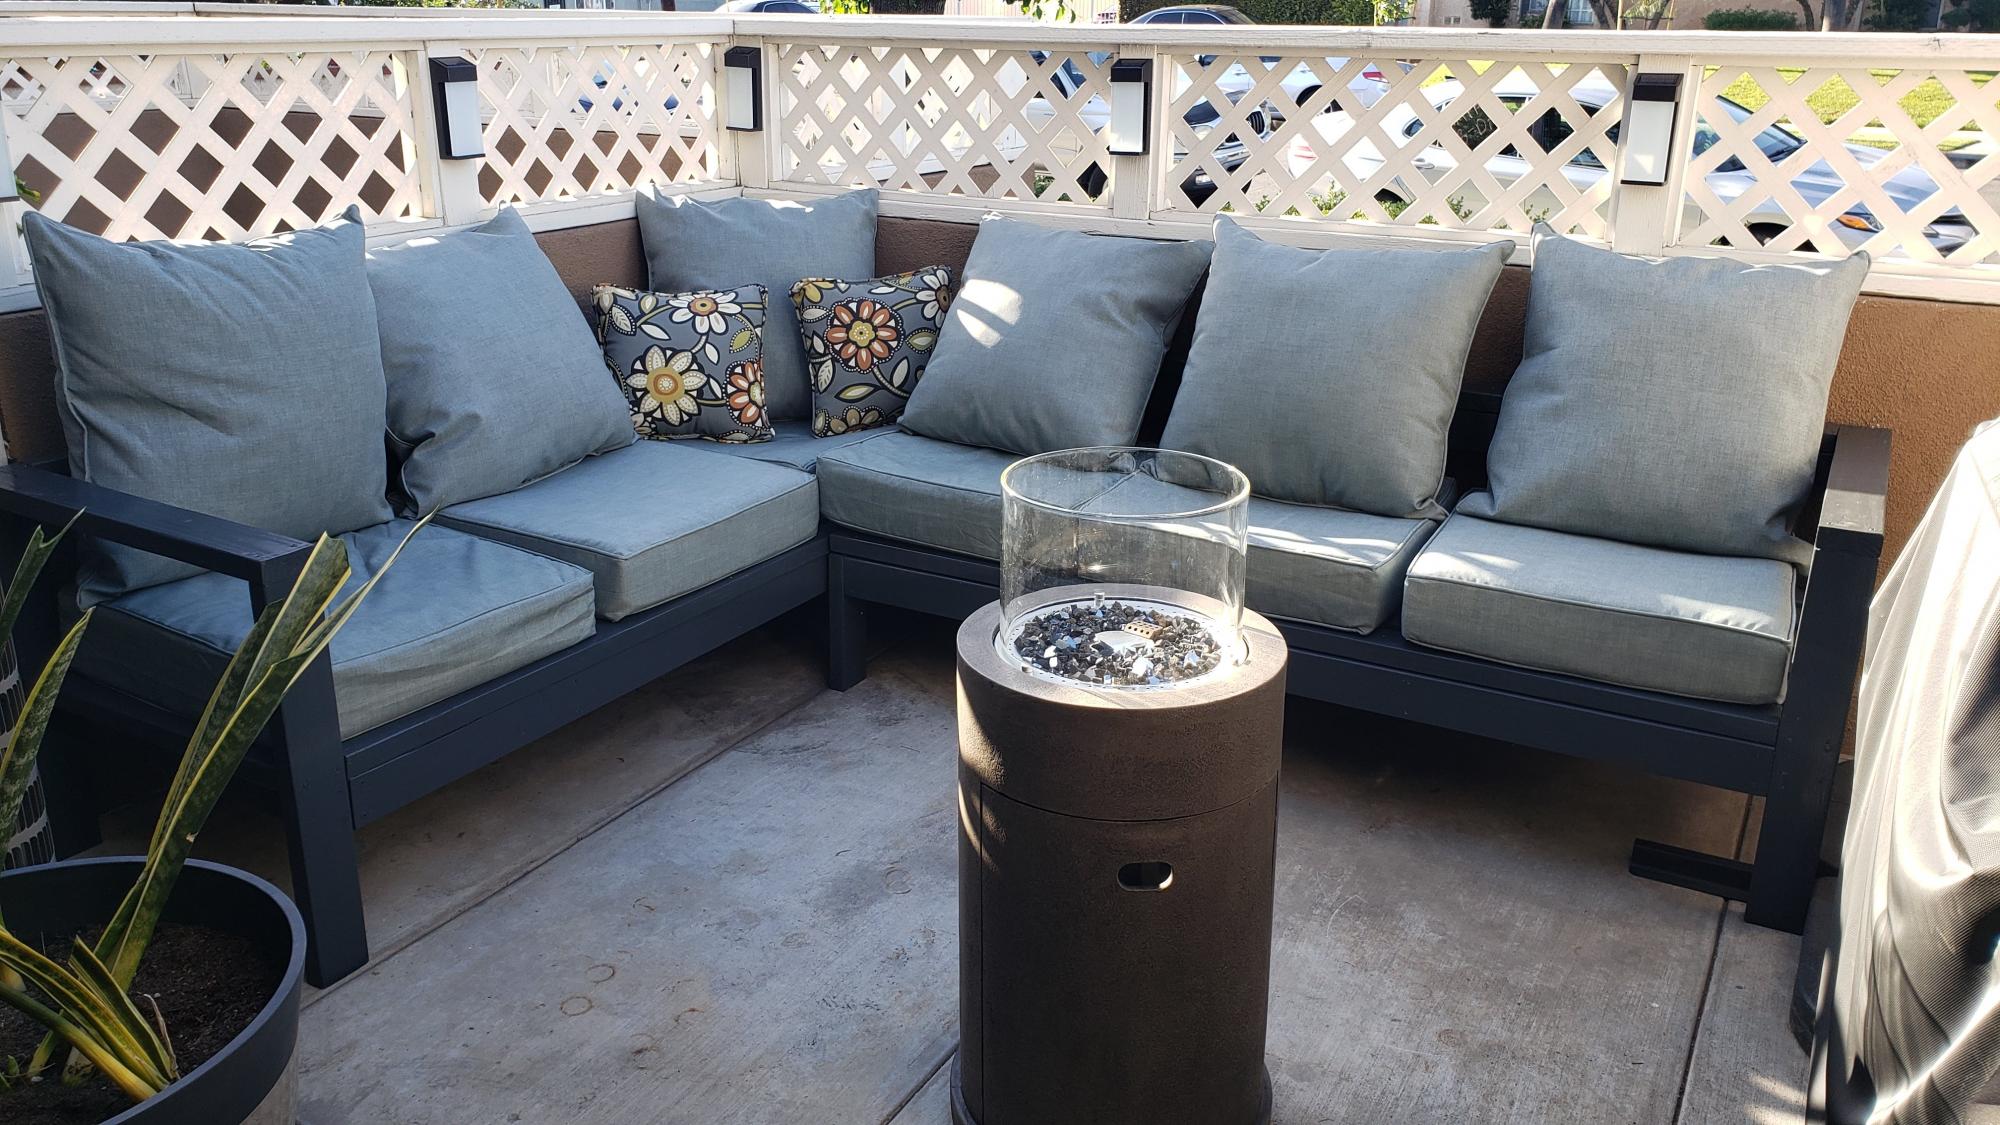
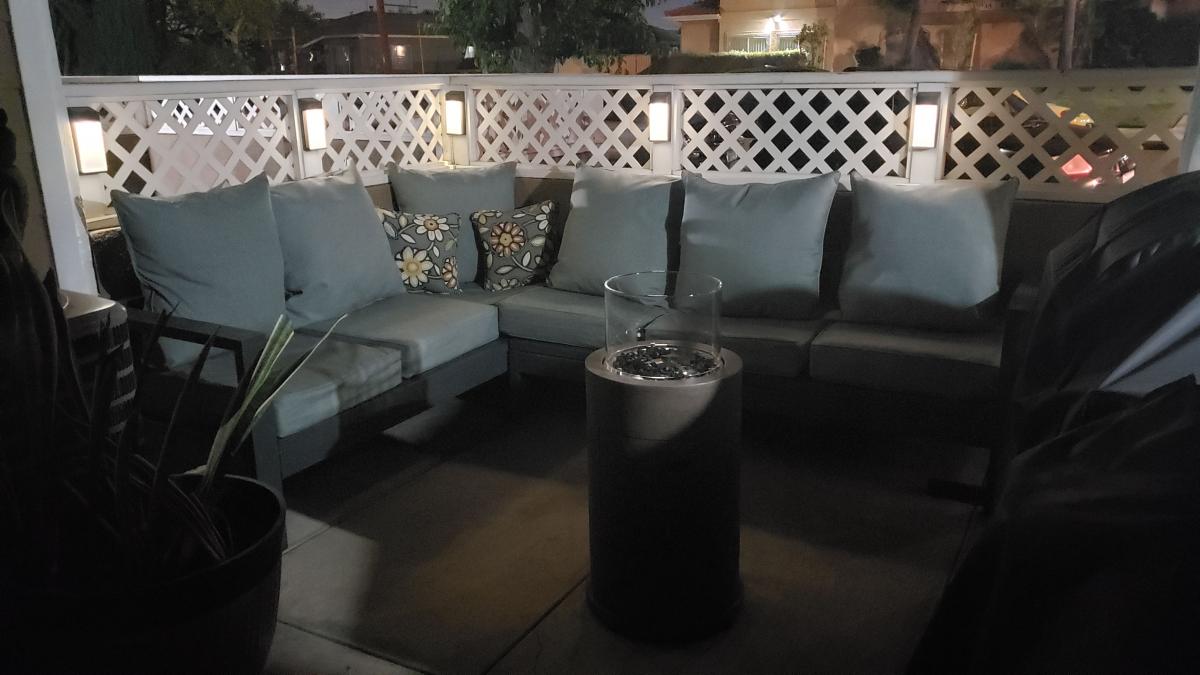
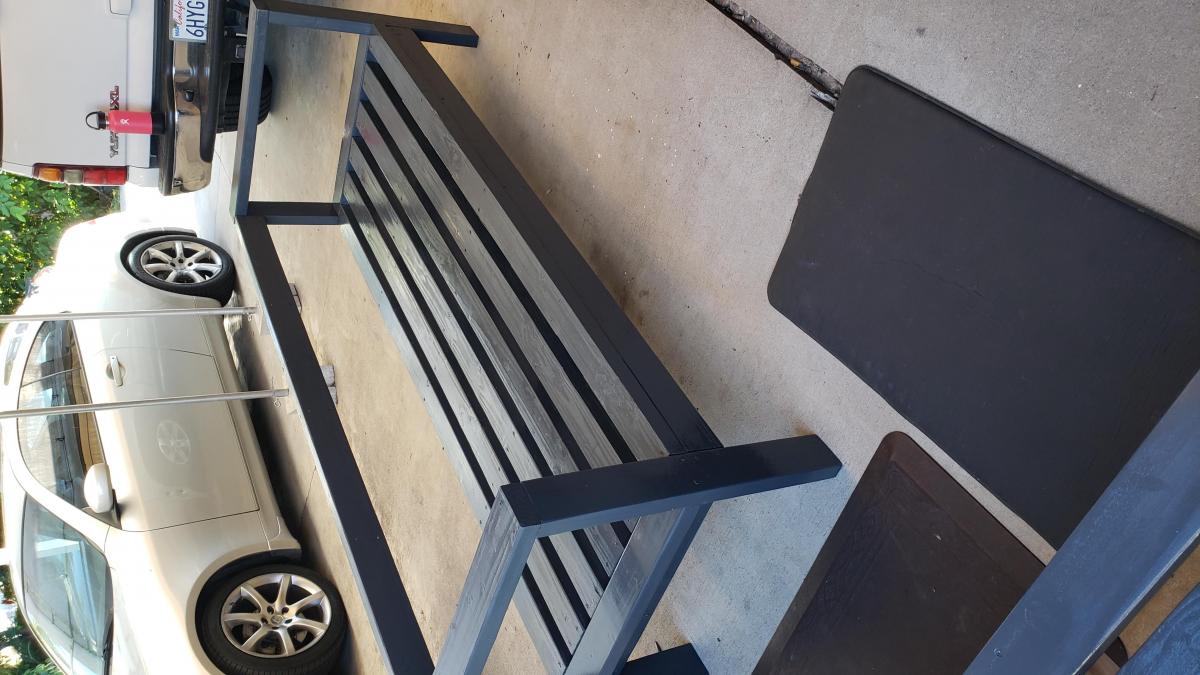
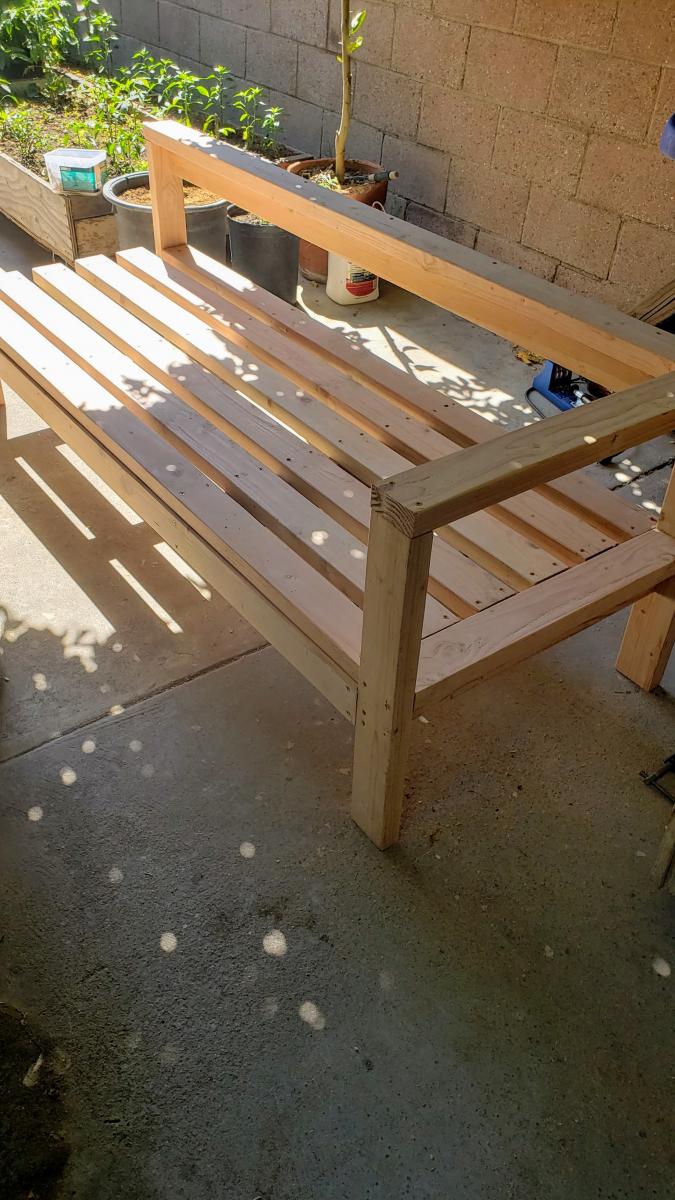
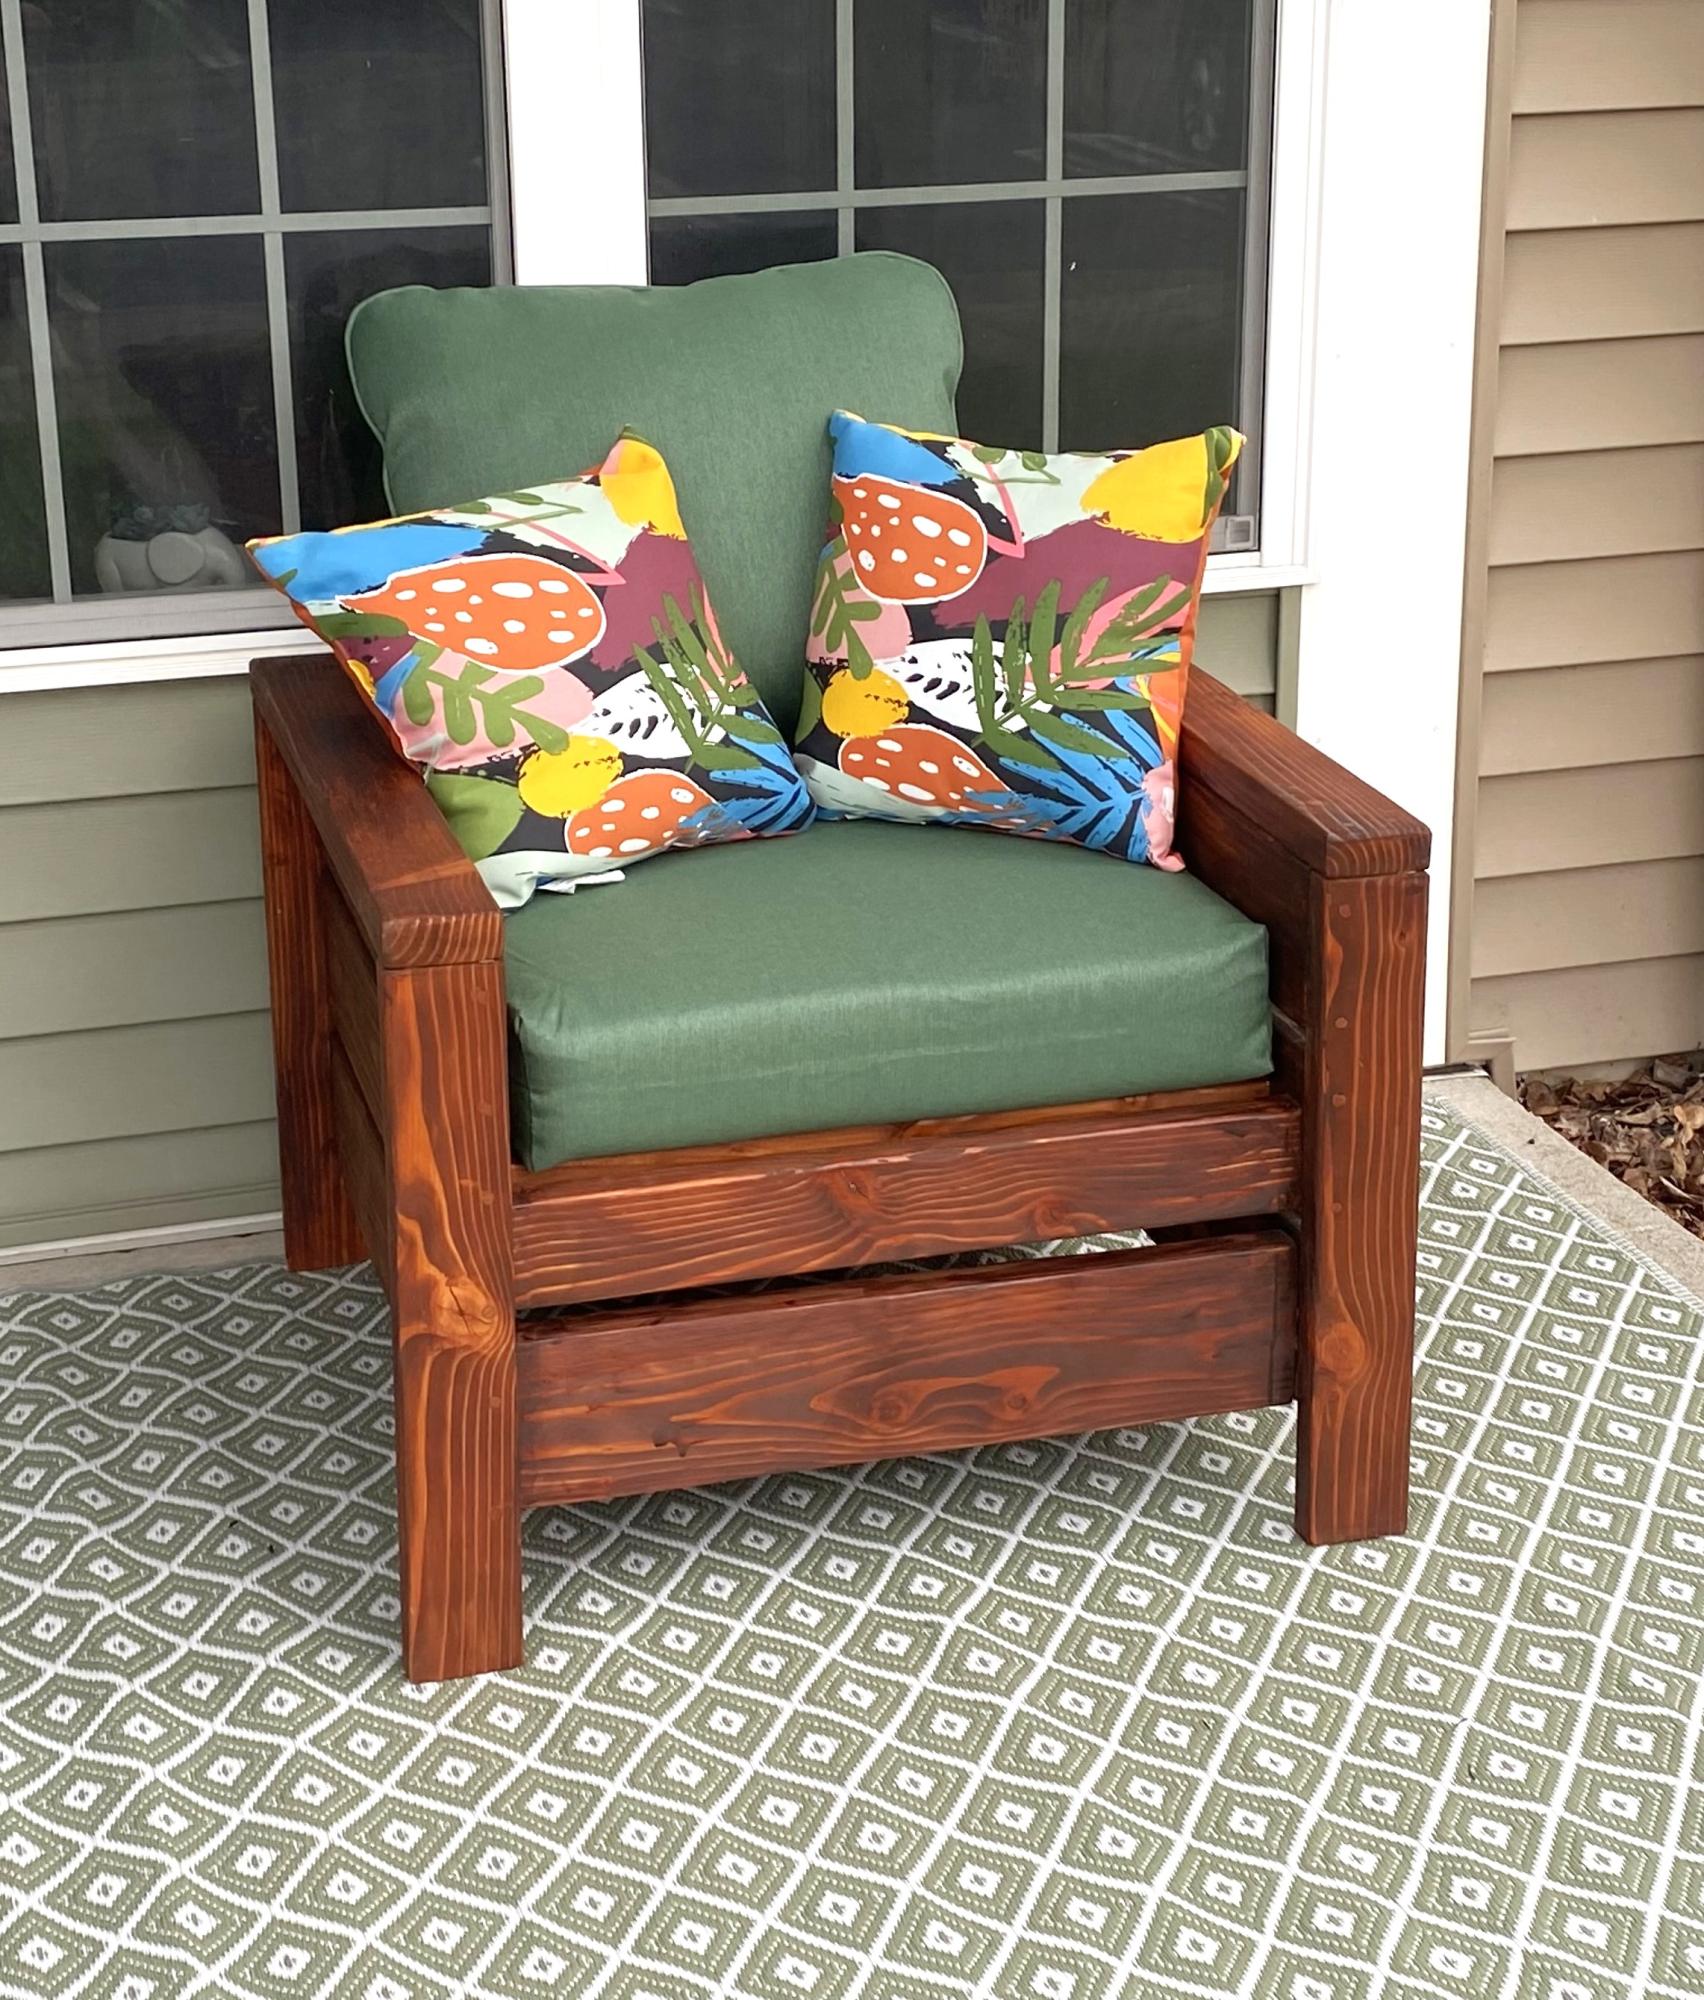
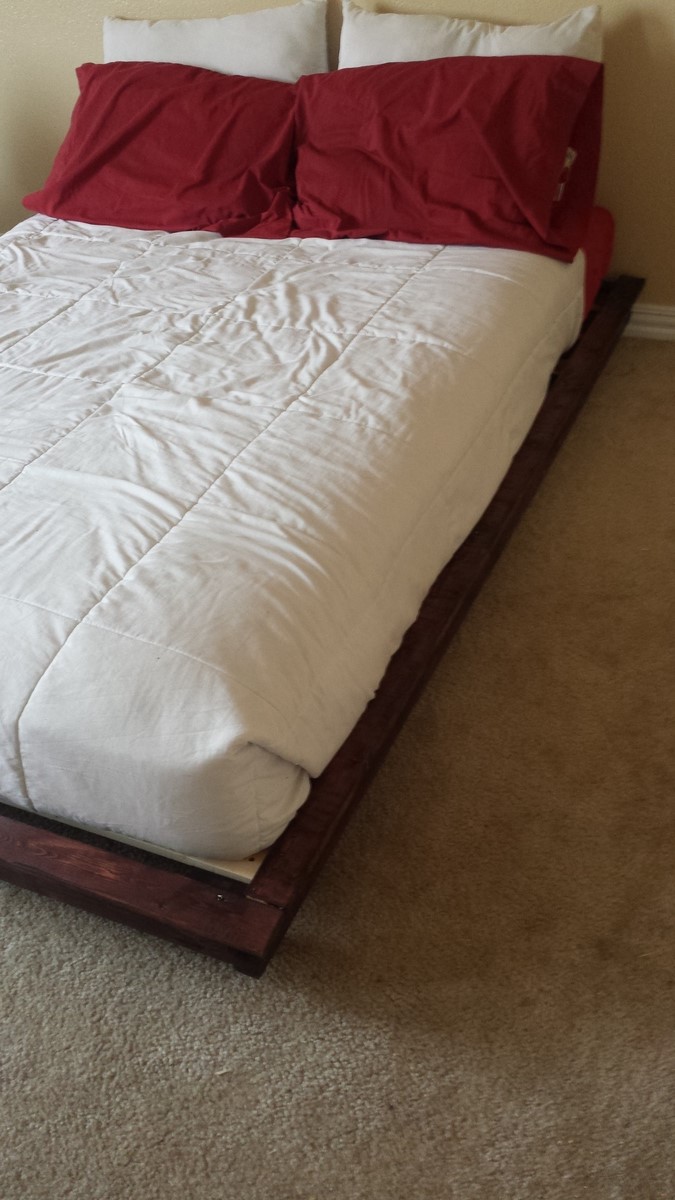
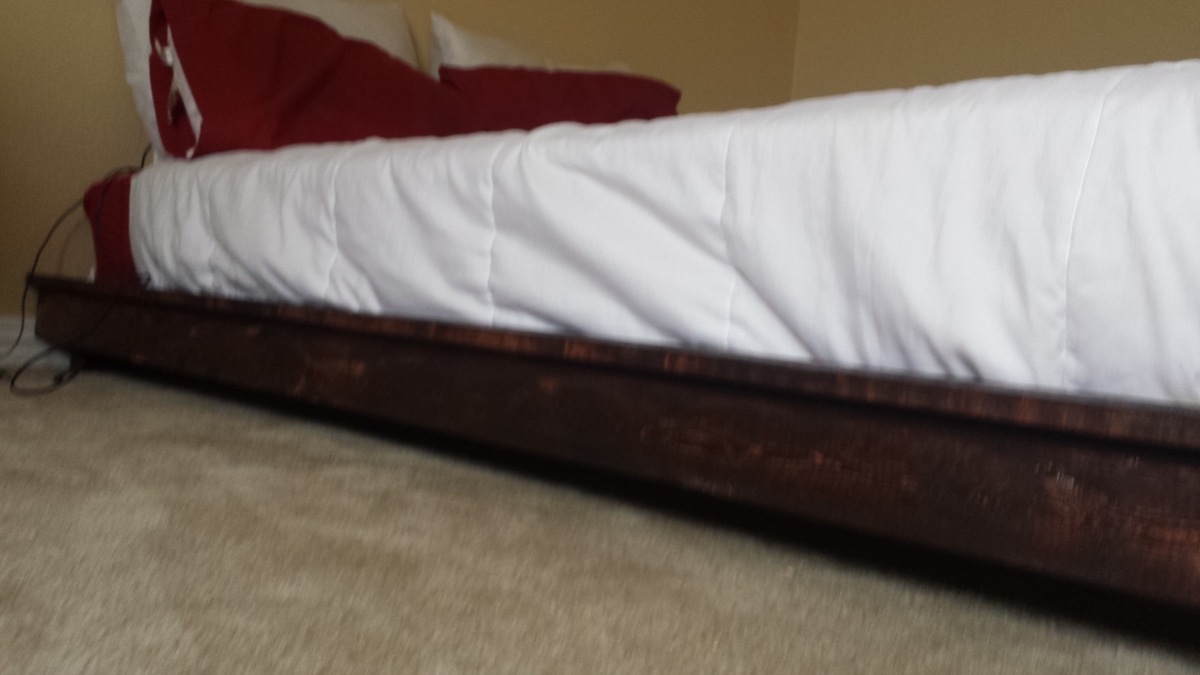
Have been wanting to spruce up my little outdoor patio with an outdoor sectional, but couldn't bear to purchase one due to the high cost. Made the decision to build the outdoor sectional, but purchased the cushions first in order to commit myself to the project. While I worked on the outdoor sectional, my younger sister built herself a bed frame from Ana's plans. I purchased the pre-drill screws, but my dad suggested I pre-drill the wood with his horizontal table drill (made the screws go straight in). Extremely happy and proud of the final product. Super affordable and it was a great project to work alongside my parents.
You do need to add an additional 28.5" 2x4 Outdoor Sofa /One Arm 2x4 Outdoor Sofa (missing from the plans). I can't remember which one was missing the piece.
~$350 ("grey" cushions were a little less than ~$200 from Big Lots (used 15% discount during Memorial Day Sale). Wood, stain, screws, wood putty, and glue ~$150.
Originally used Valspar Tintable Neutral Base Semi-Transparent Exterior Stain and Sealer (1 quart) in the color "Dutch Licorice". The color was more of a blue-grey, which was not what I was going for. Had some leftover Varathane Carbon Gray Interior Wood Stain (less than 1 quart) from a ladder blanket project and painted over the Valspar Stain/Sealer.

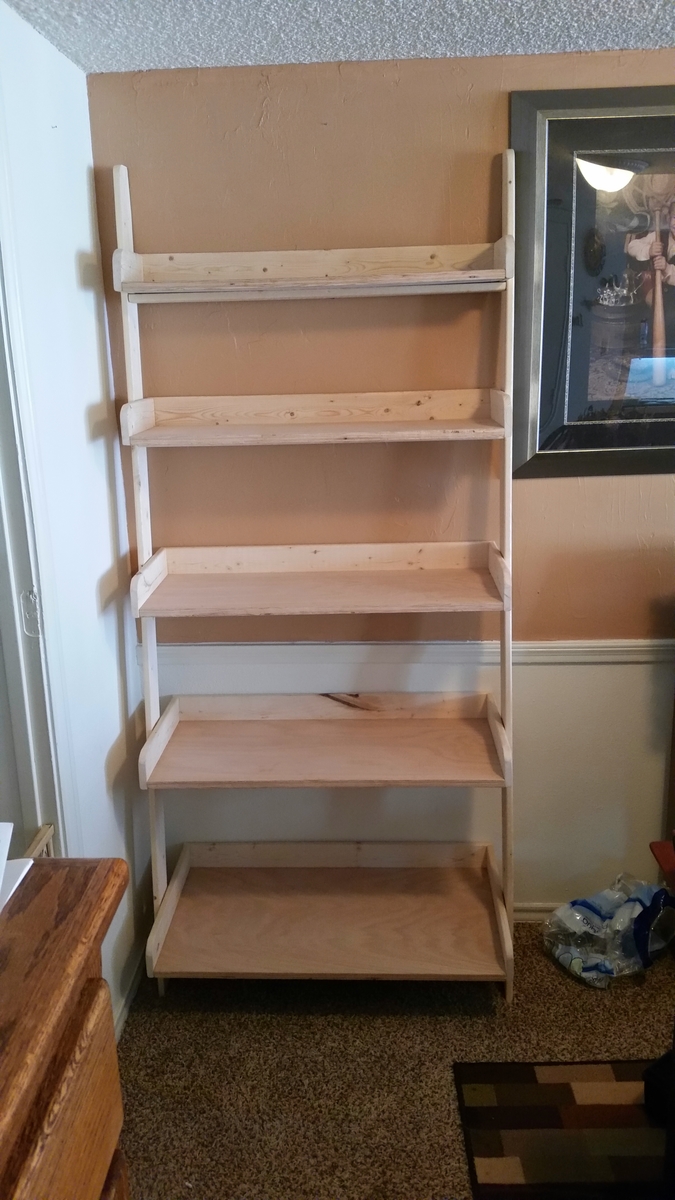
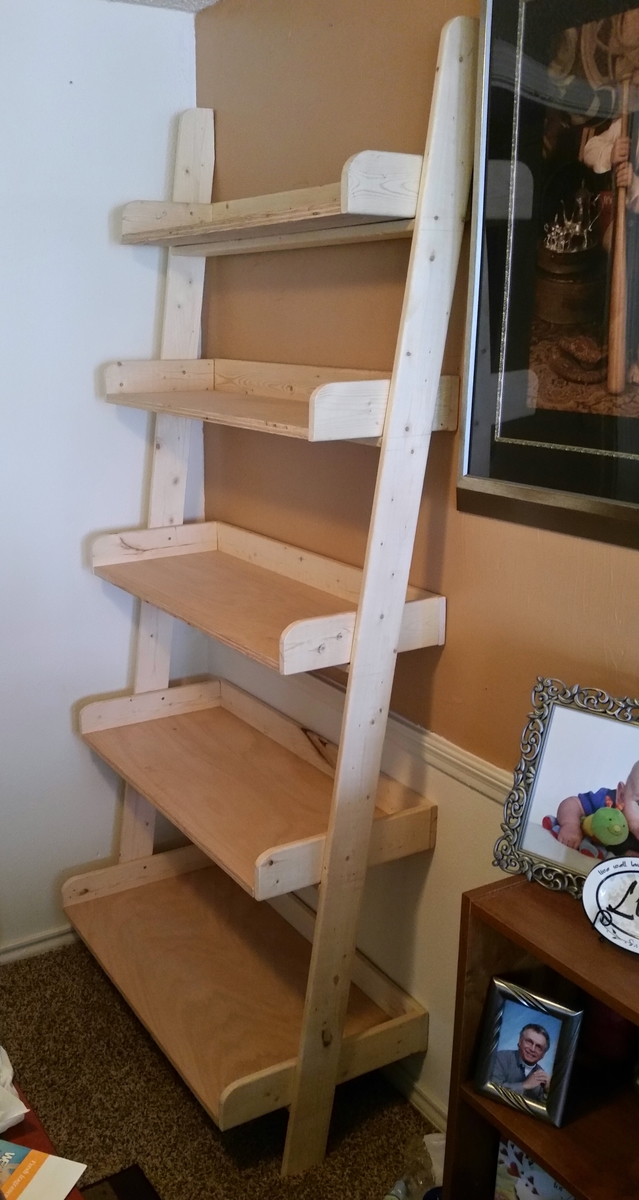
Made this out of free wood I got from my workplace.
A. Clark
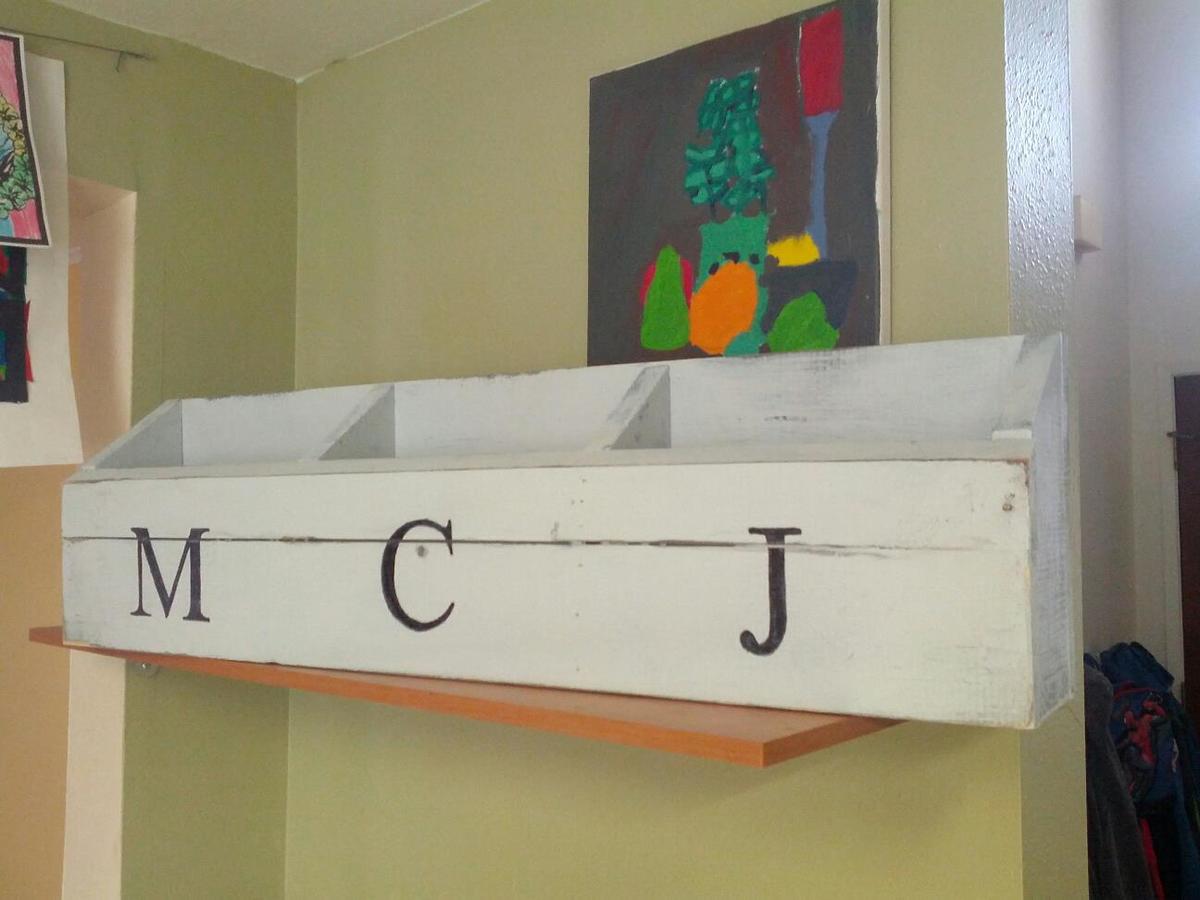
I'm trying to revamp our family "launch pad" in time for the start of school and was hoping to have a box for each kid to drop off their school forms and stuff. The "numbered cubbies on the wall" plan is just not practical for us -- I don't need a lot of little cubbies, just a few big ones! So I modified it to work for us. The letters are each of my boys' initials.
Also, I used scrap wood and leftover paint. So basically the cost was almost nothing, just a few nails and some wood glue.
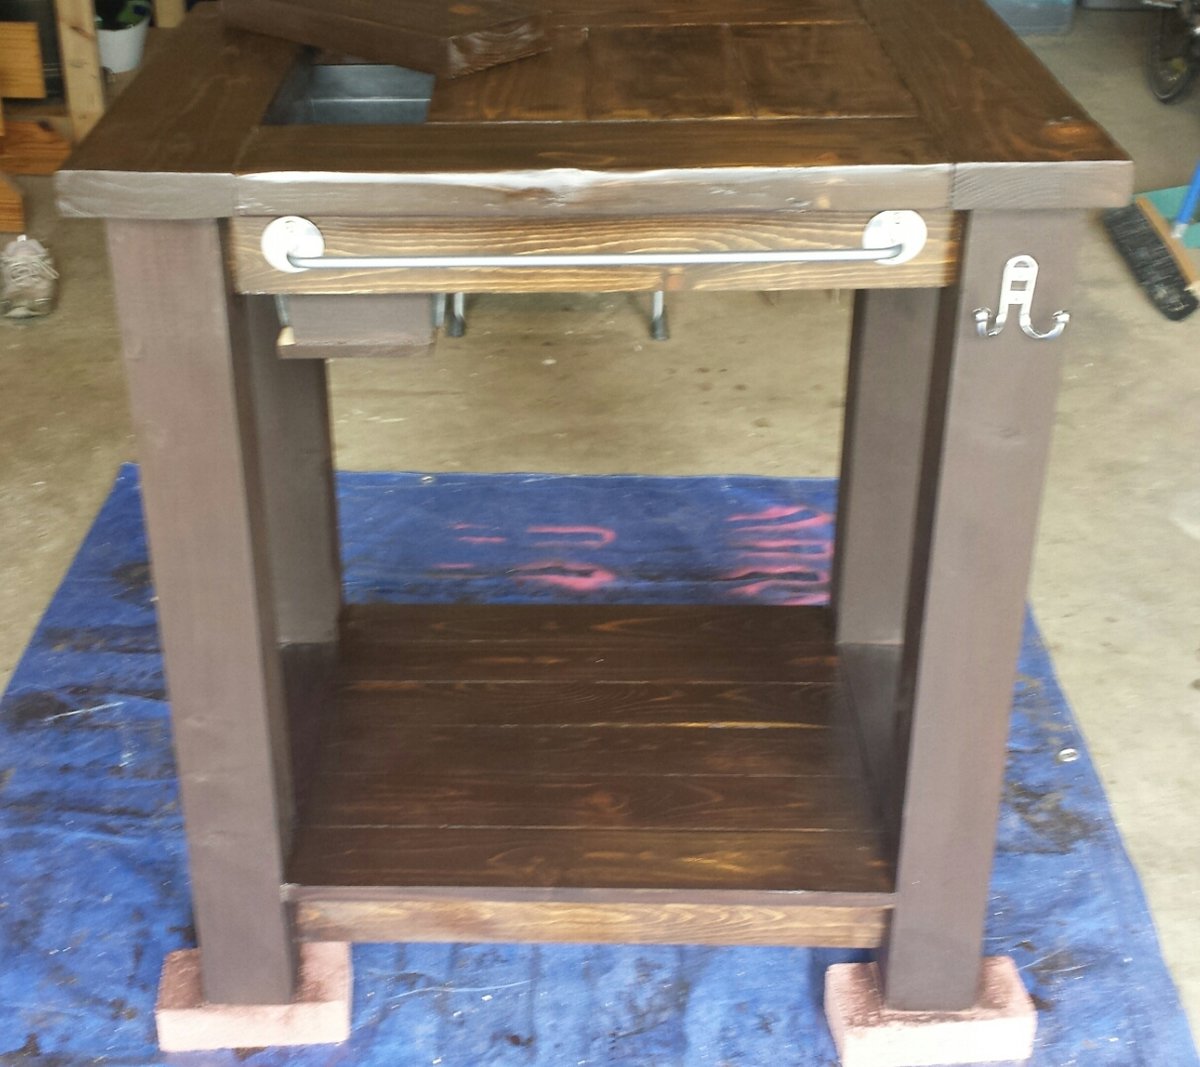
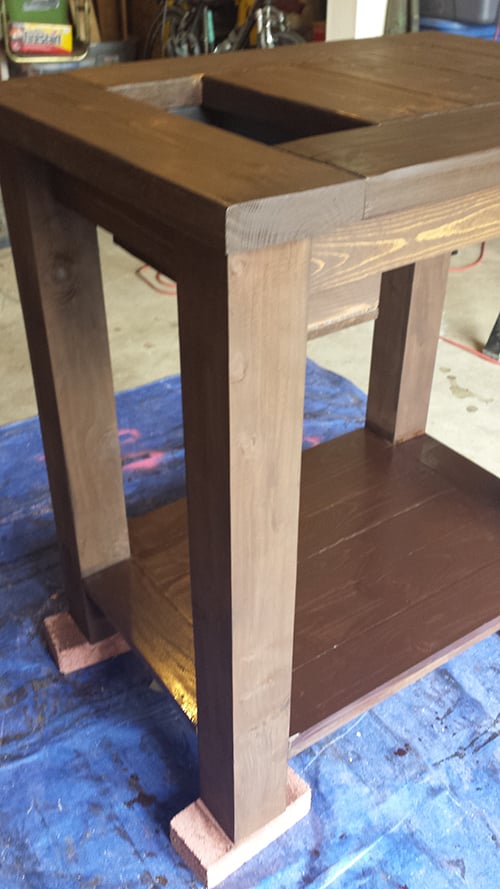
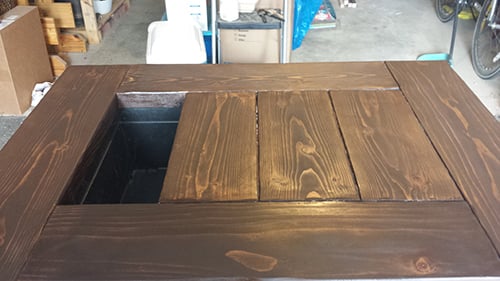
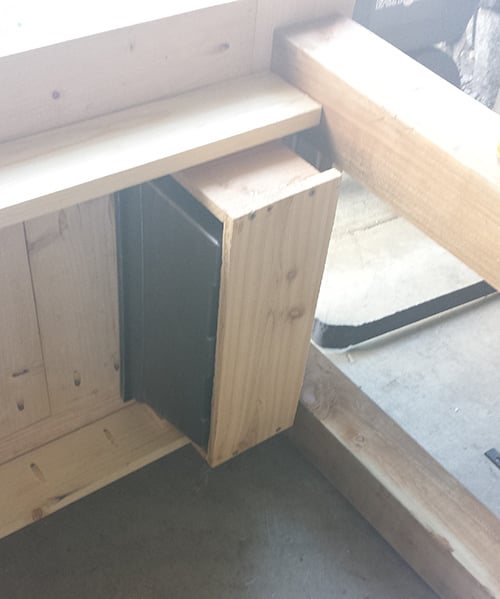
I made this for my father for Father's Day. I wanted to do a grilling prep table with a built in cooler. The cooler part is not really just for drinks but also a place to store barbeque utensils while in use.
Height is 36 inches. Made out of 2x6s, 1x4s, and 4x4s. Because the table is so short, the planter slides in and out from the side underneath the table top. I had cut the top before buying the planter which lead me to do a few changes to my initial design on the fly.
Thu, 03/12/2015 - 10:50
I love to grill and would love to build one of these. Do you have any other details on your design? Cut lengths or anything? I'm too new to building to deviate to far from plans right now haha.
Thanks!
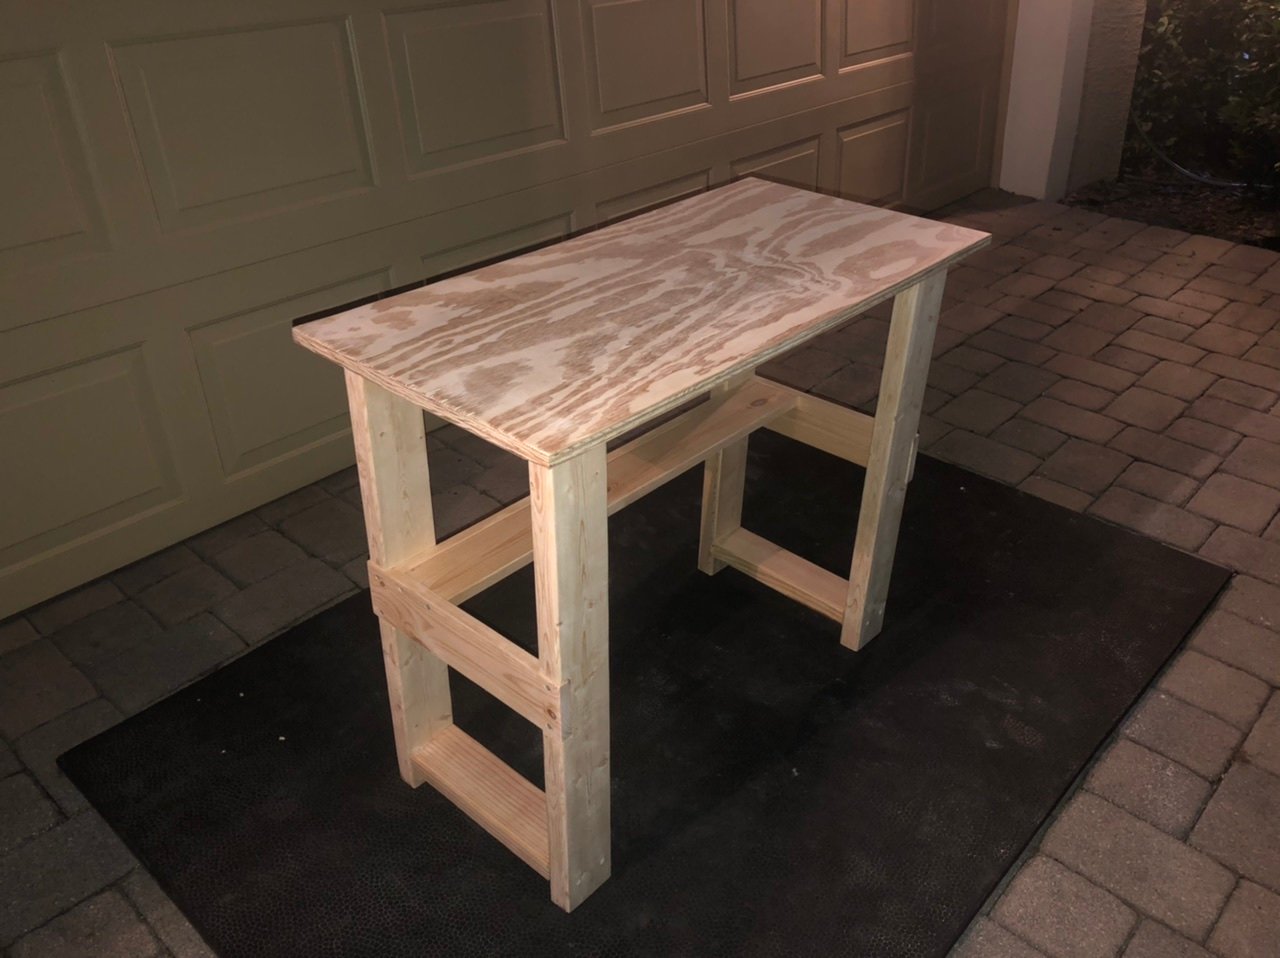
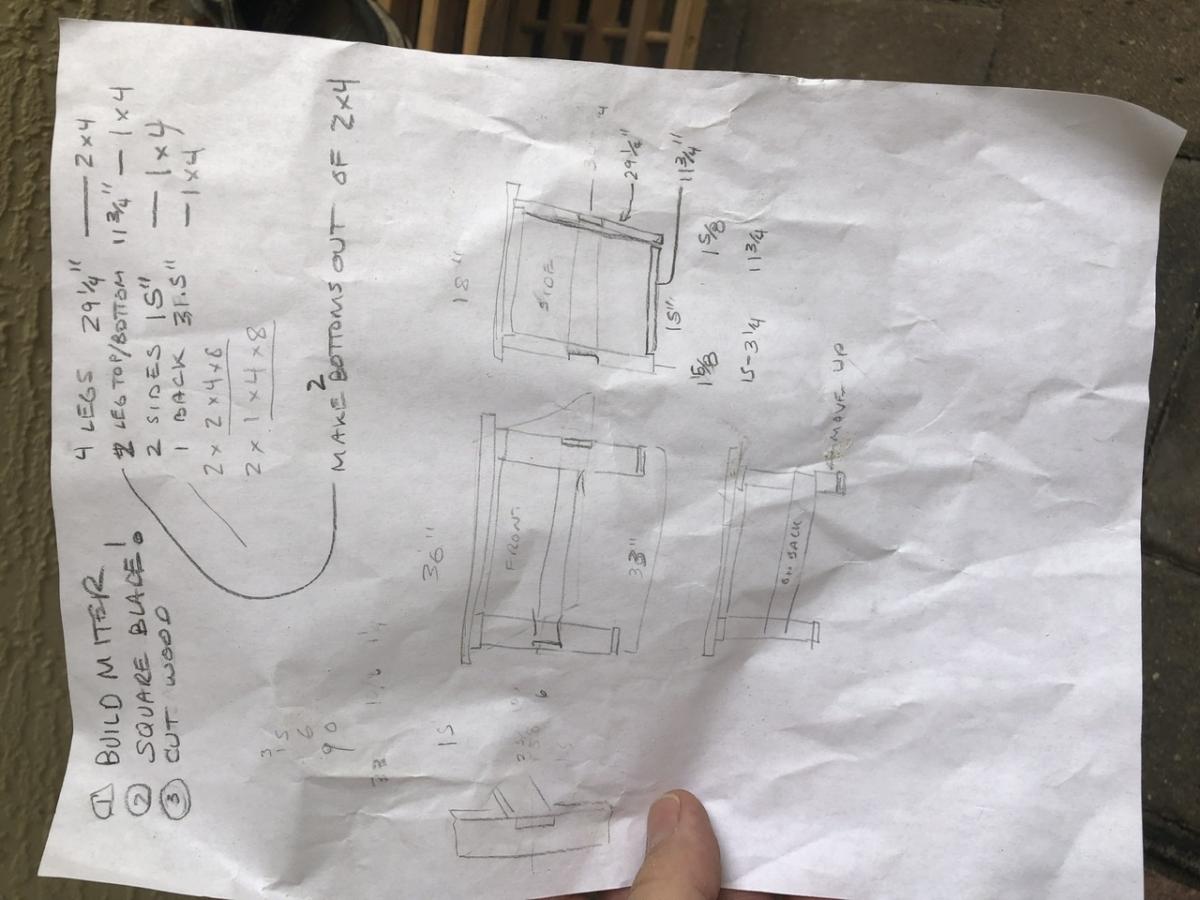
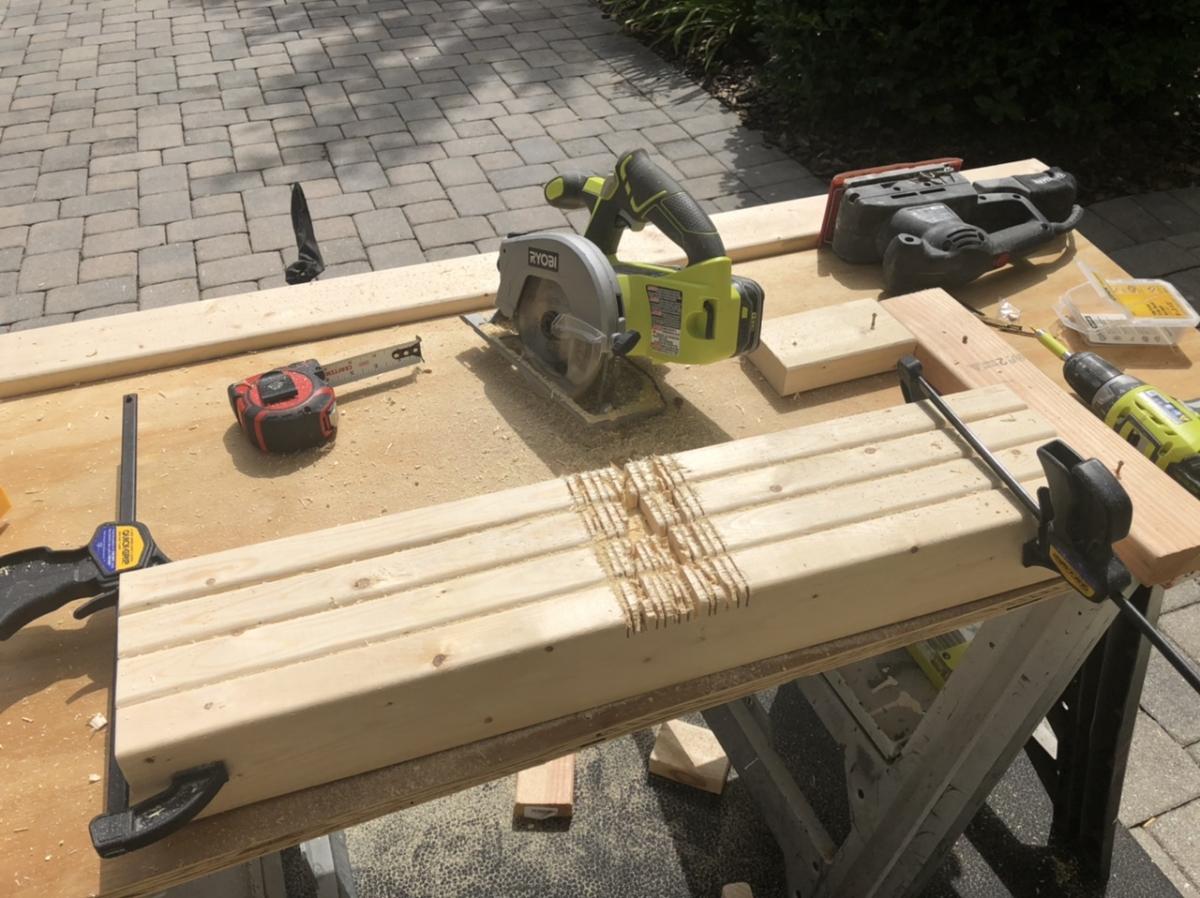
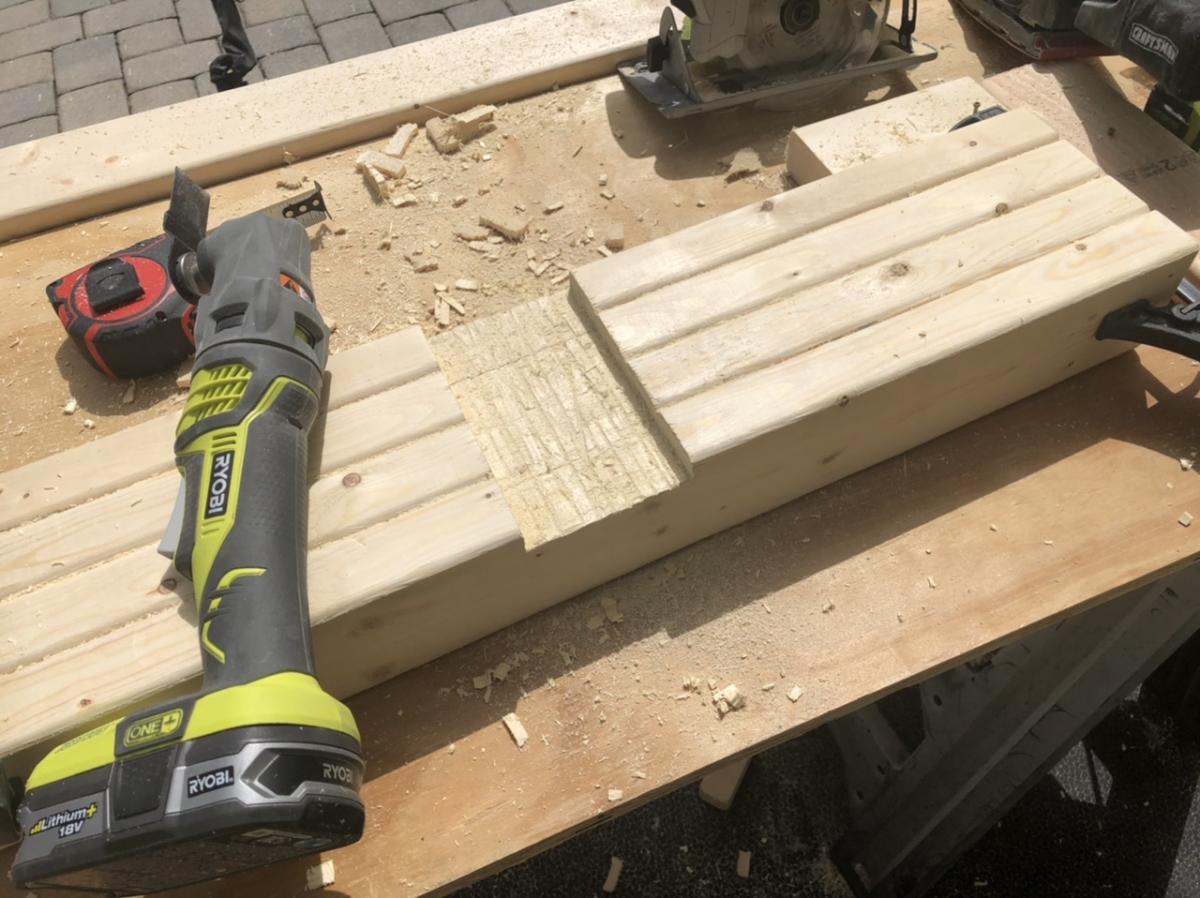
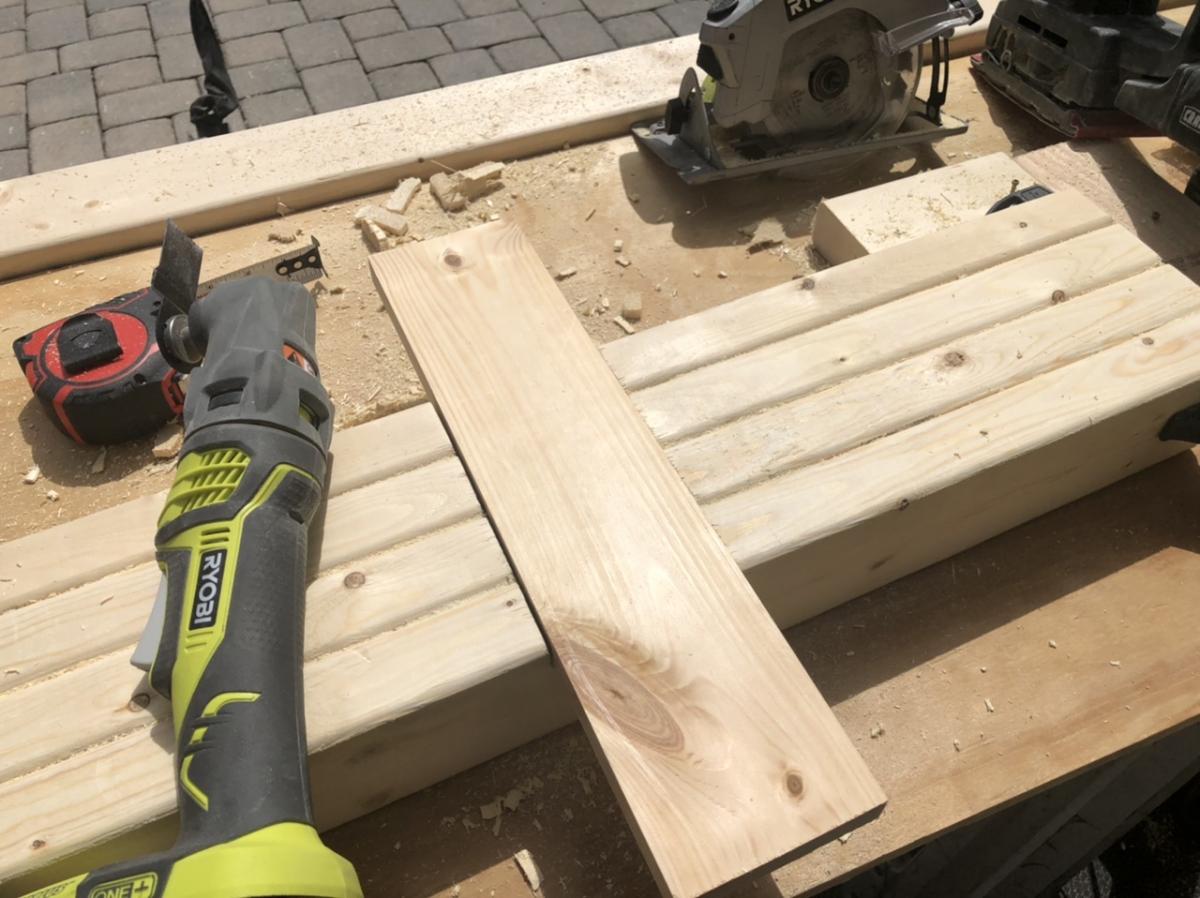
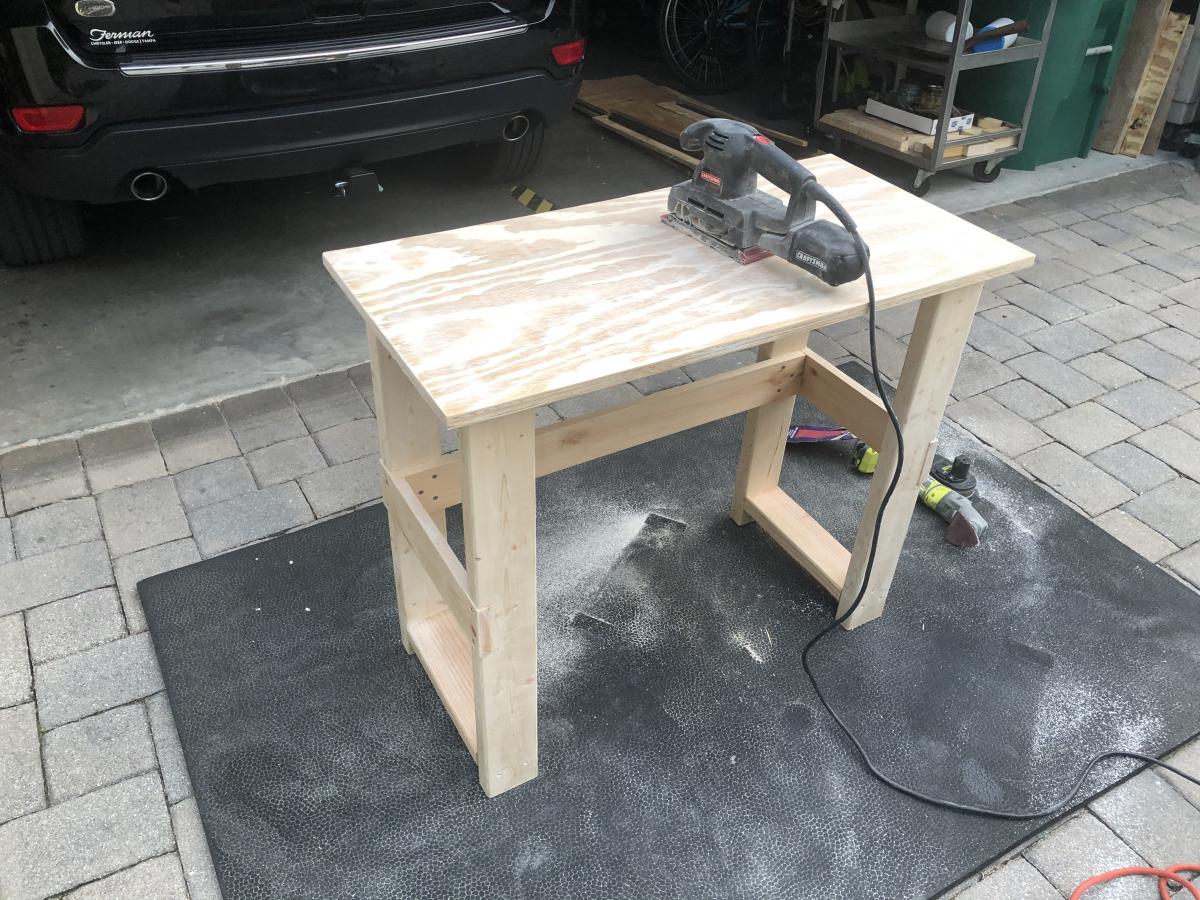
With all my recent prowess in woodworking my 9-yo daughter asked me to build a desk for her room. She drew something up, something simple with a shelf for her “phone and tablet”.
I complied and built a 18”x36”x30”desk, just the right size to fit at the end of her bed. I formed the legs using 2x4s and used my circular saw and my multi-tool to create an embedded 3/4x4 “design feature” to hold the shelf up. The top is 3/4” plywood that I had sitting around with wood filler and a lot of sanding (60 grit and 220 grit). Would have preferred a hardwood top but was shooting for $30 total materials cost. My wife and daughter have chosen a color and they will paint the desk tomorrow.
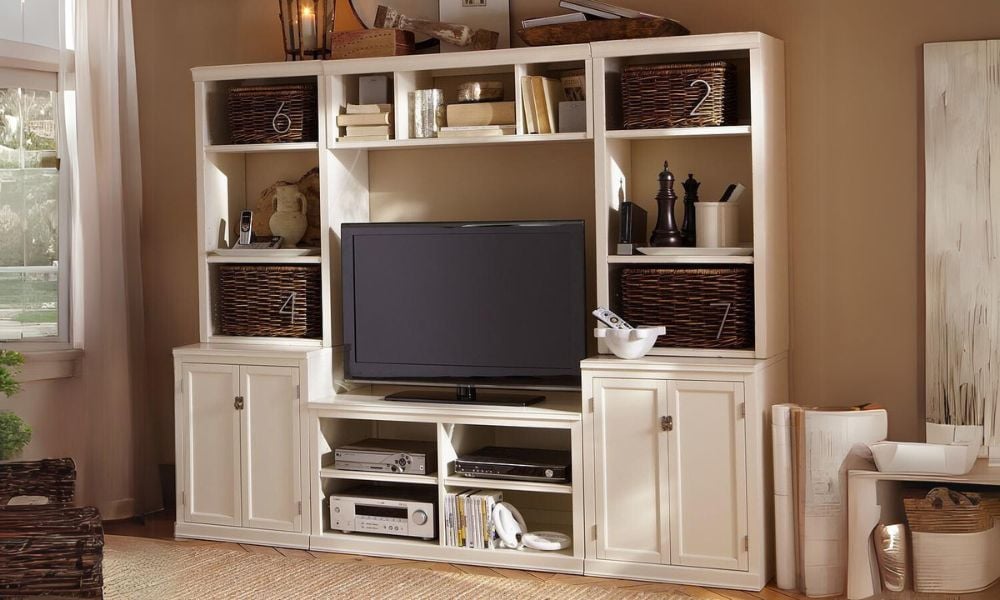
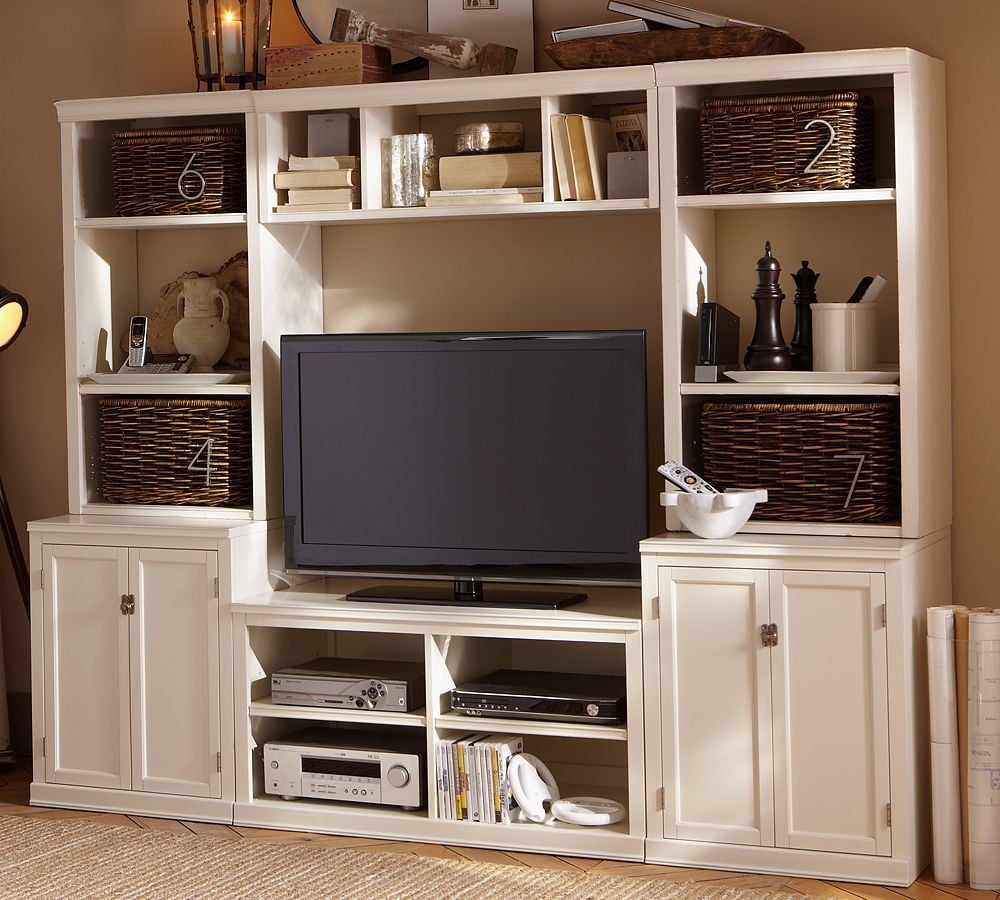
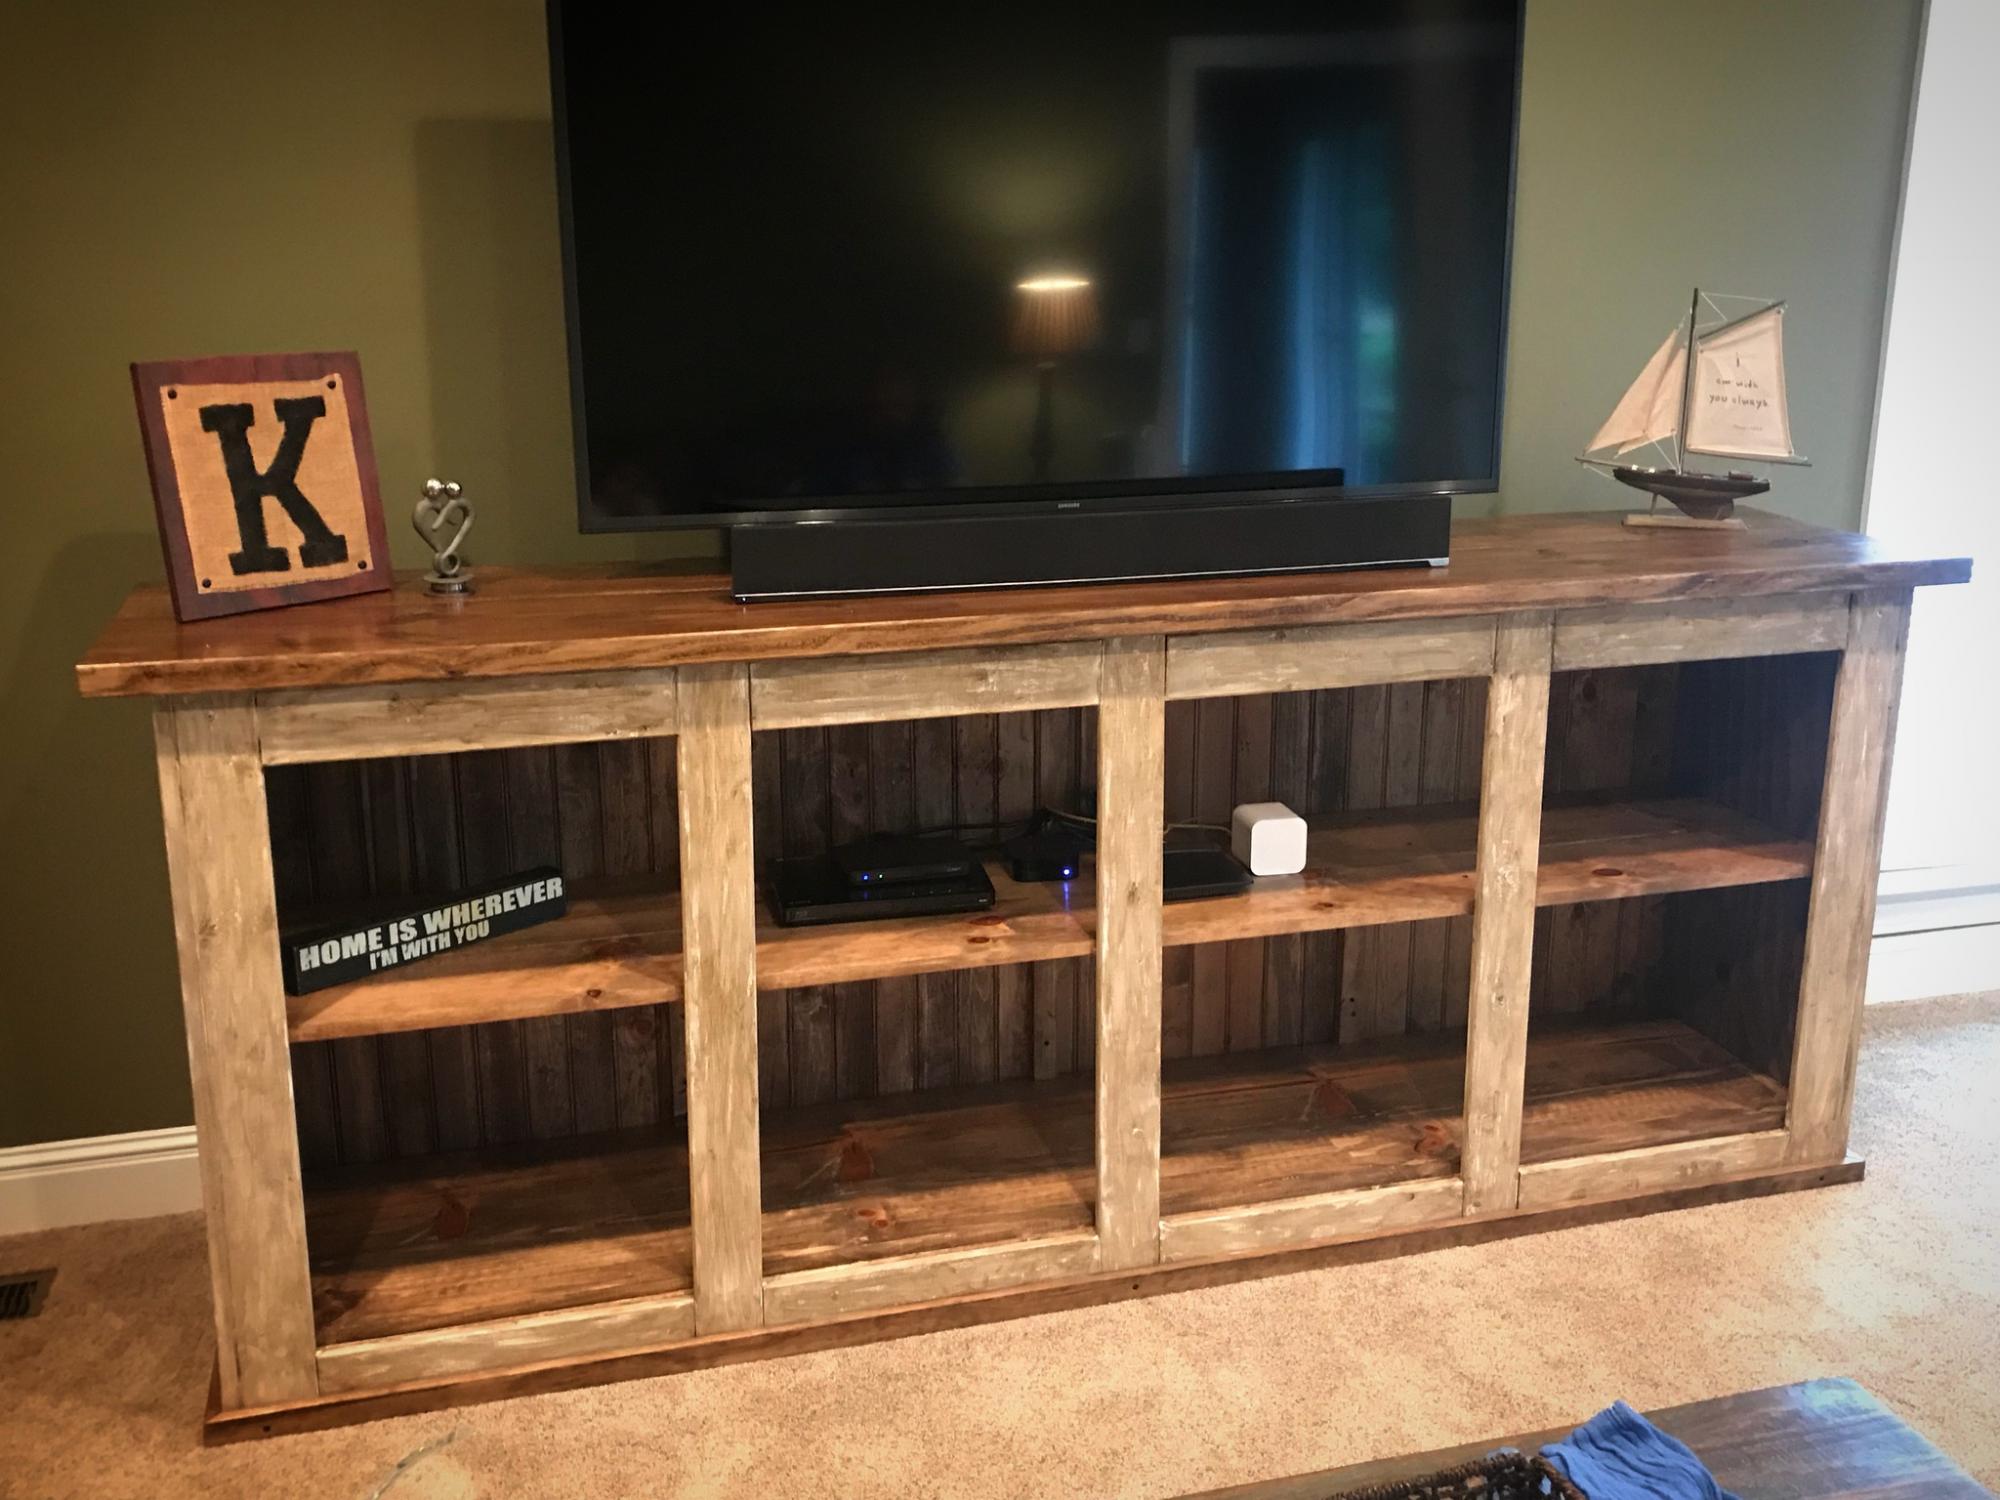
My husband and I have started our first DIY project! I was on PB website and found the Logan Media suite and fell in love their was just one problem I can't afford to pay 2,000 or more for an entertainment center. So I drew out the plans for it and went to my husband with the idea and he was all for it!! He really likes to build outside of work he enjoys it and we have a lot of fun together as couple. Were not completely finished yet and I will update this blog once were done but for now this is what we got.
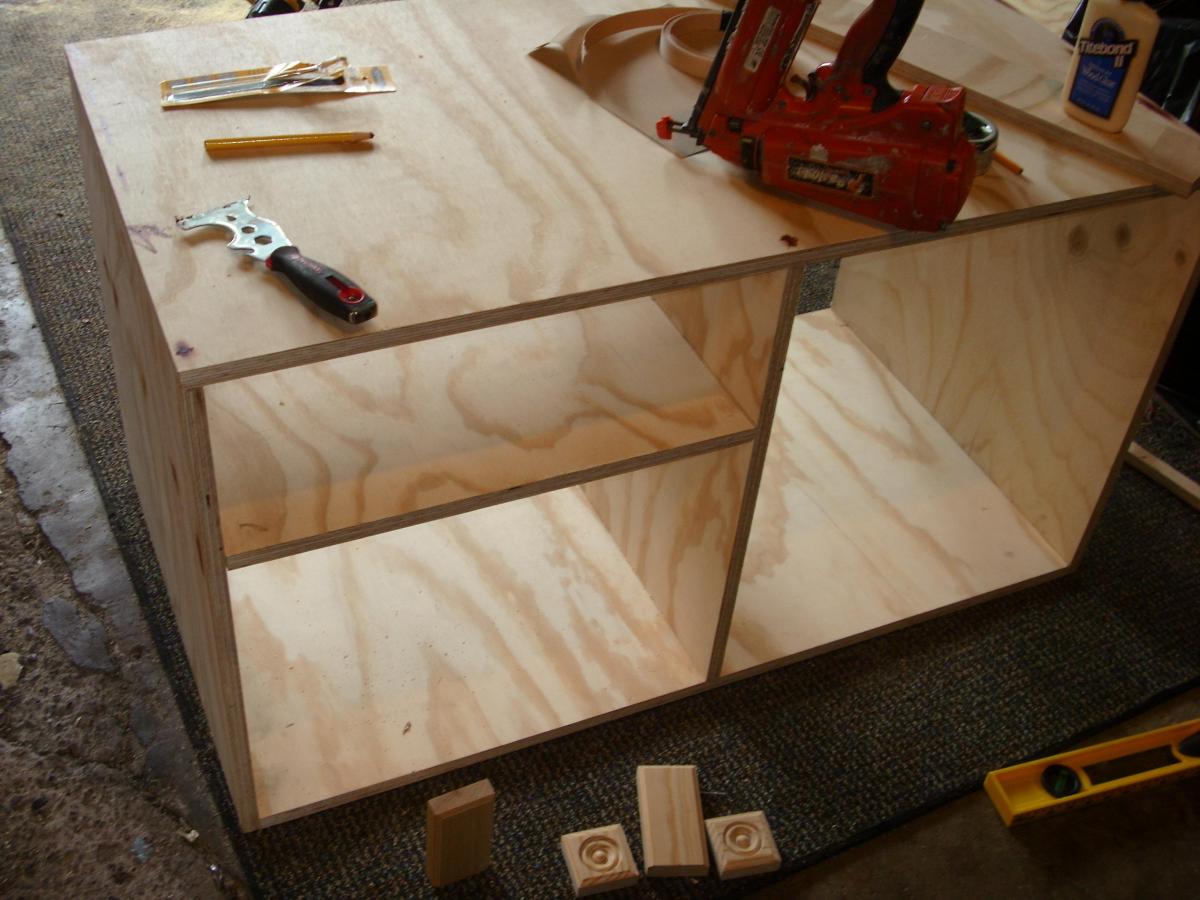
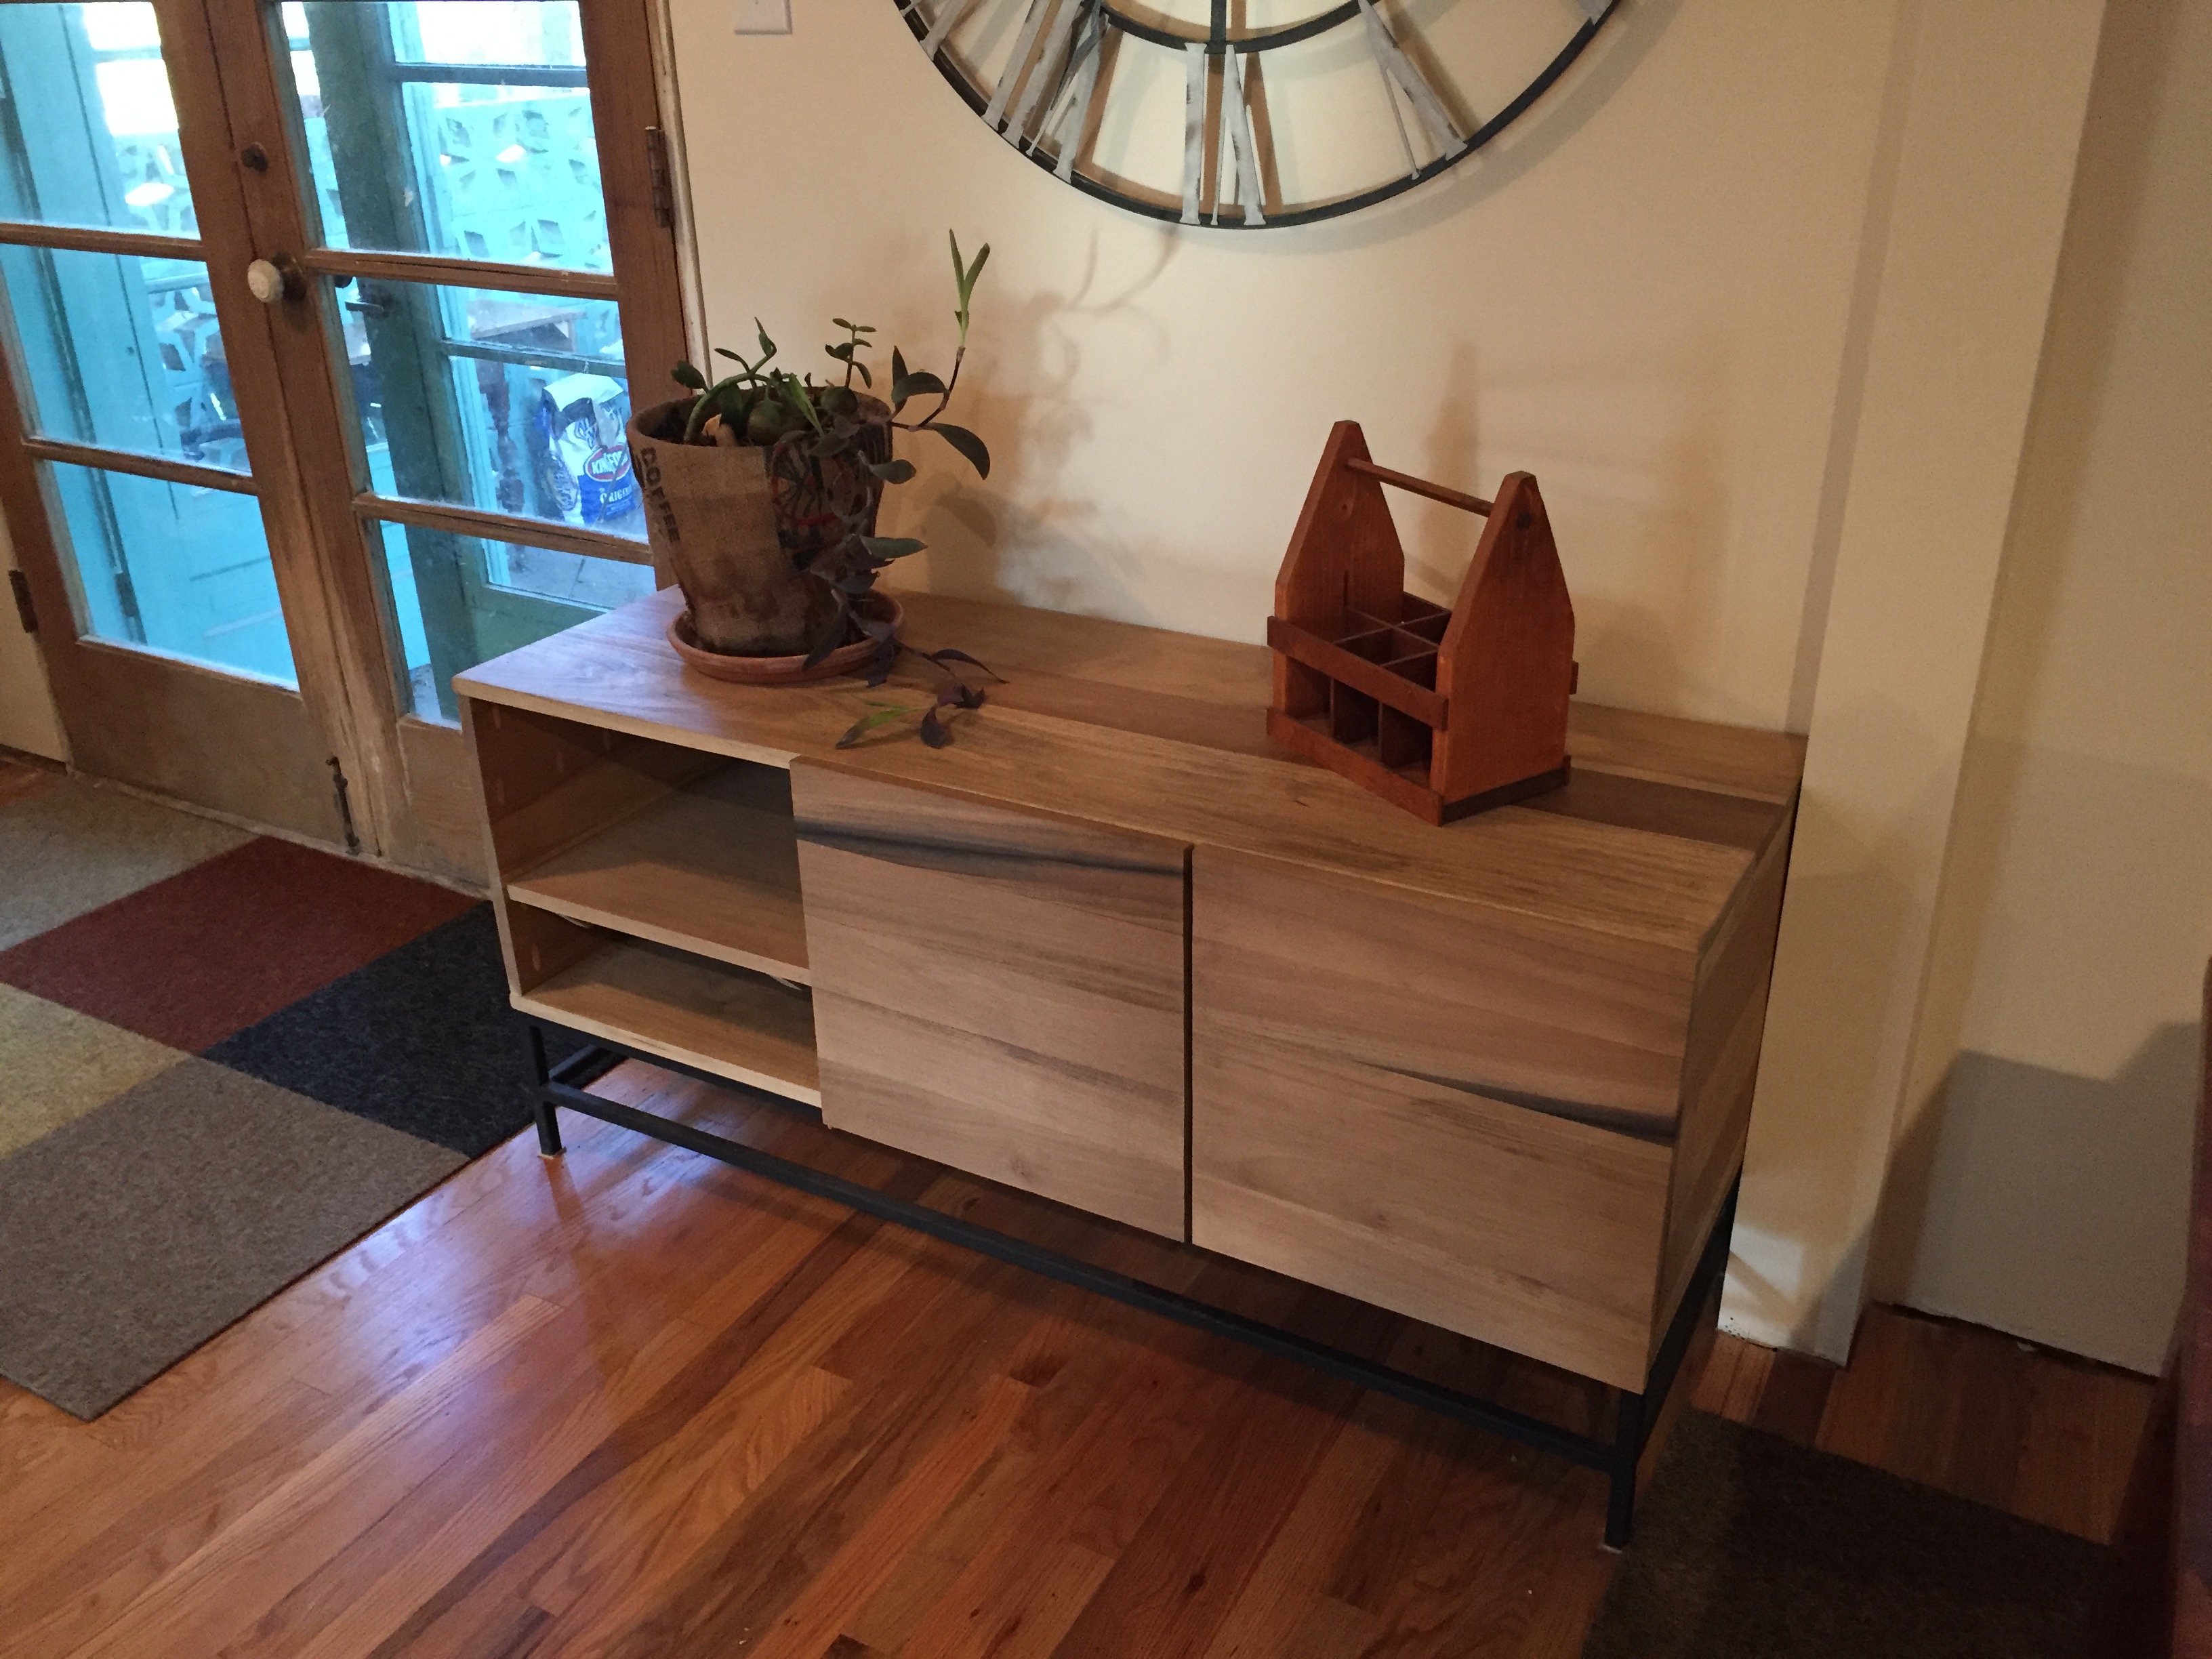
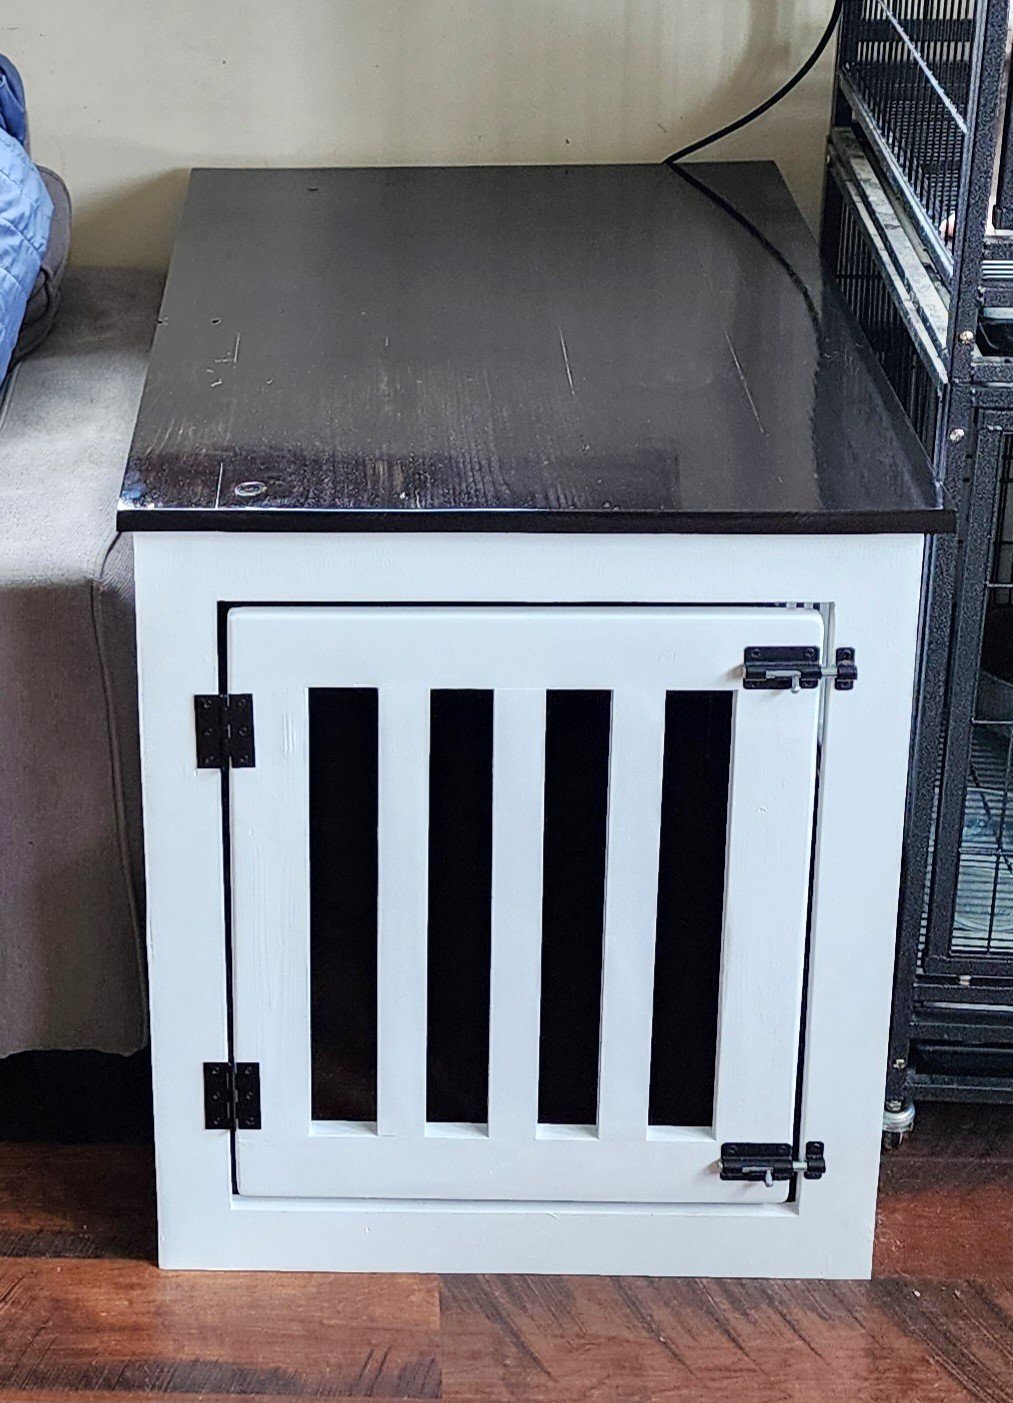
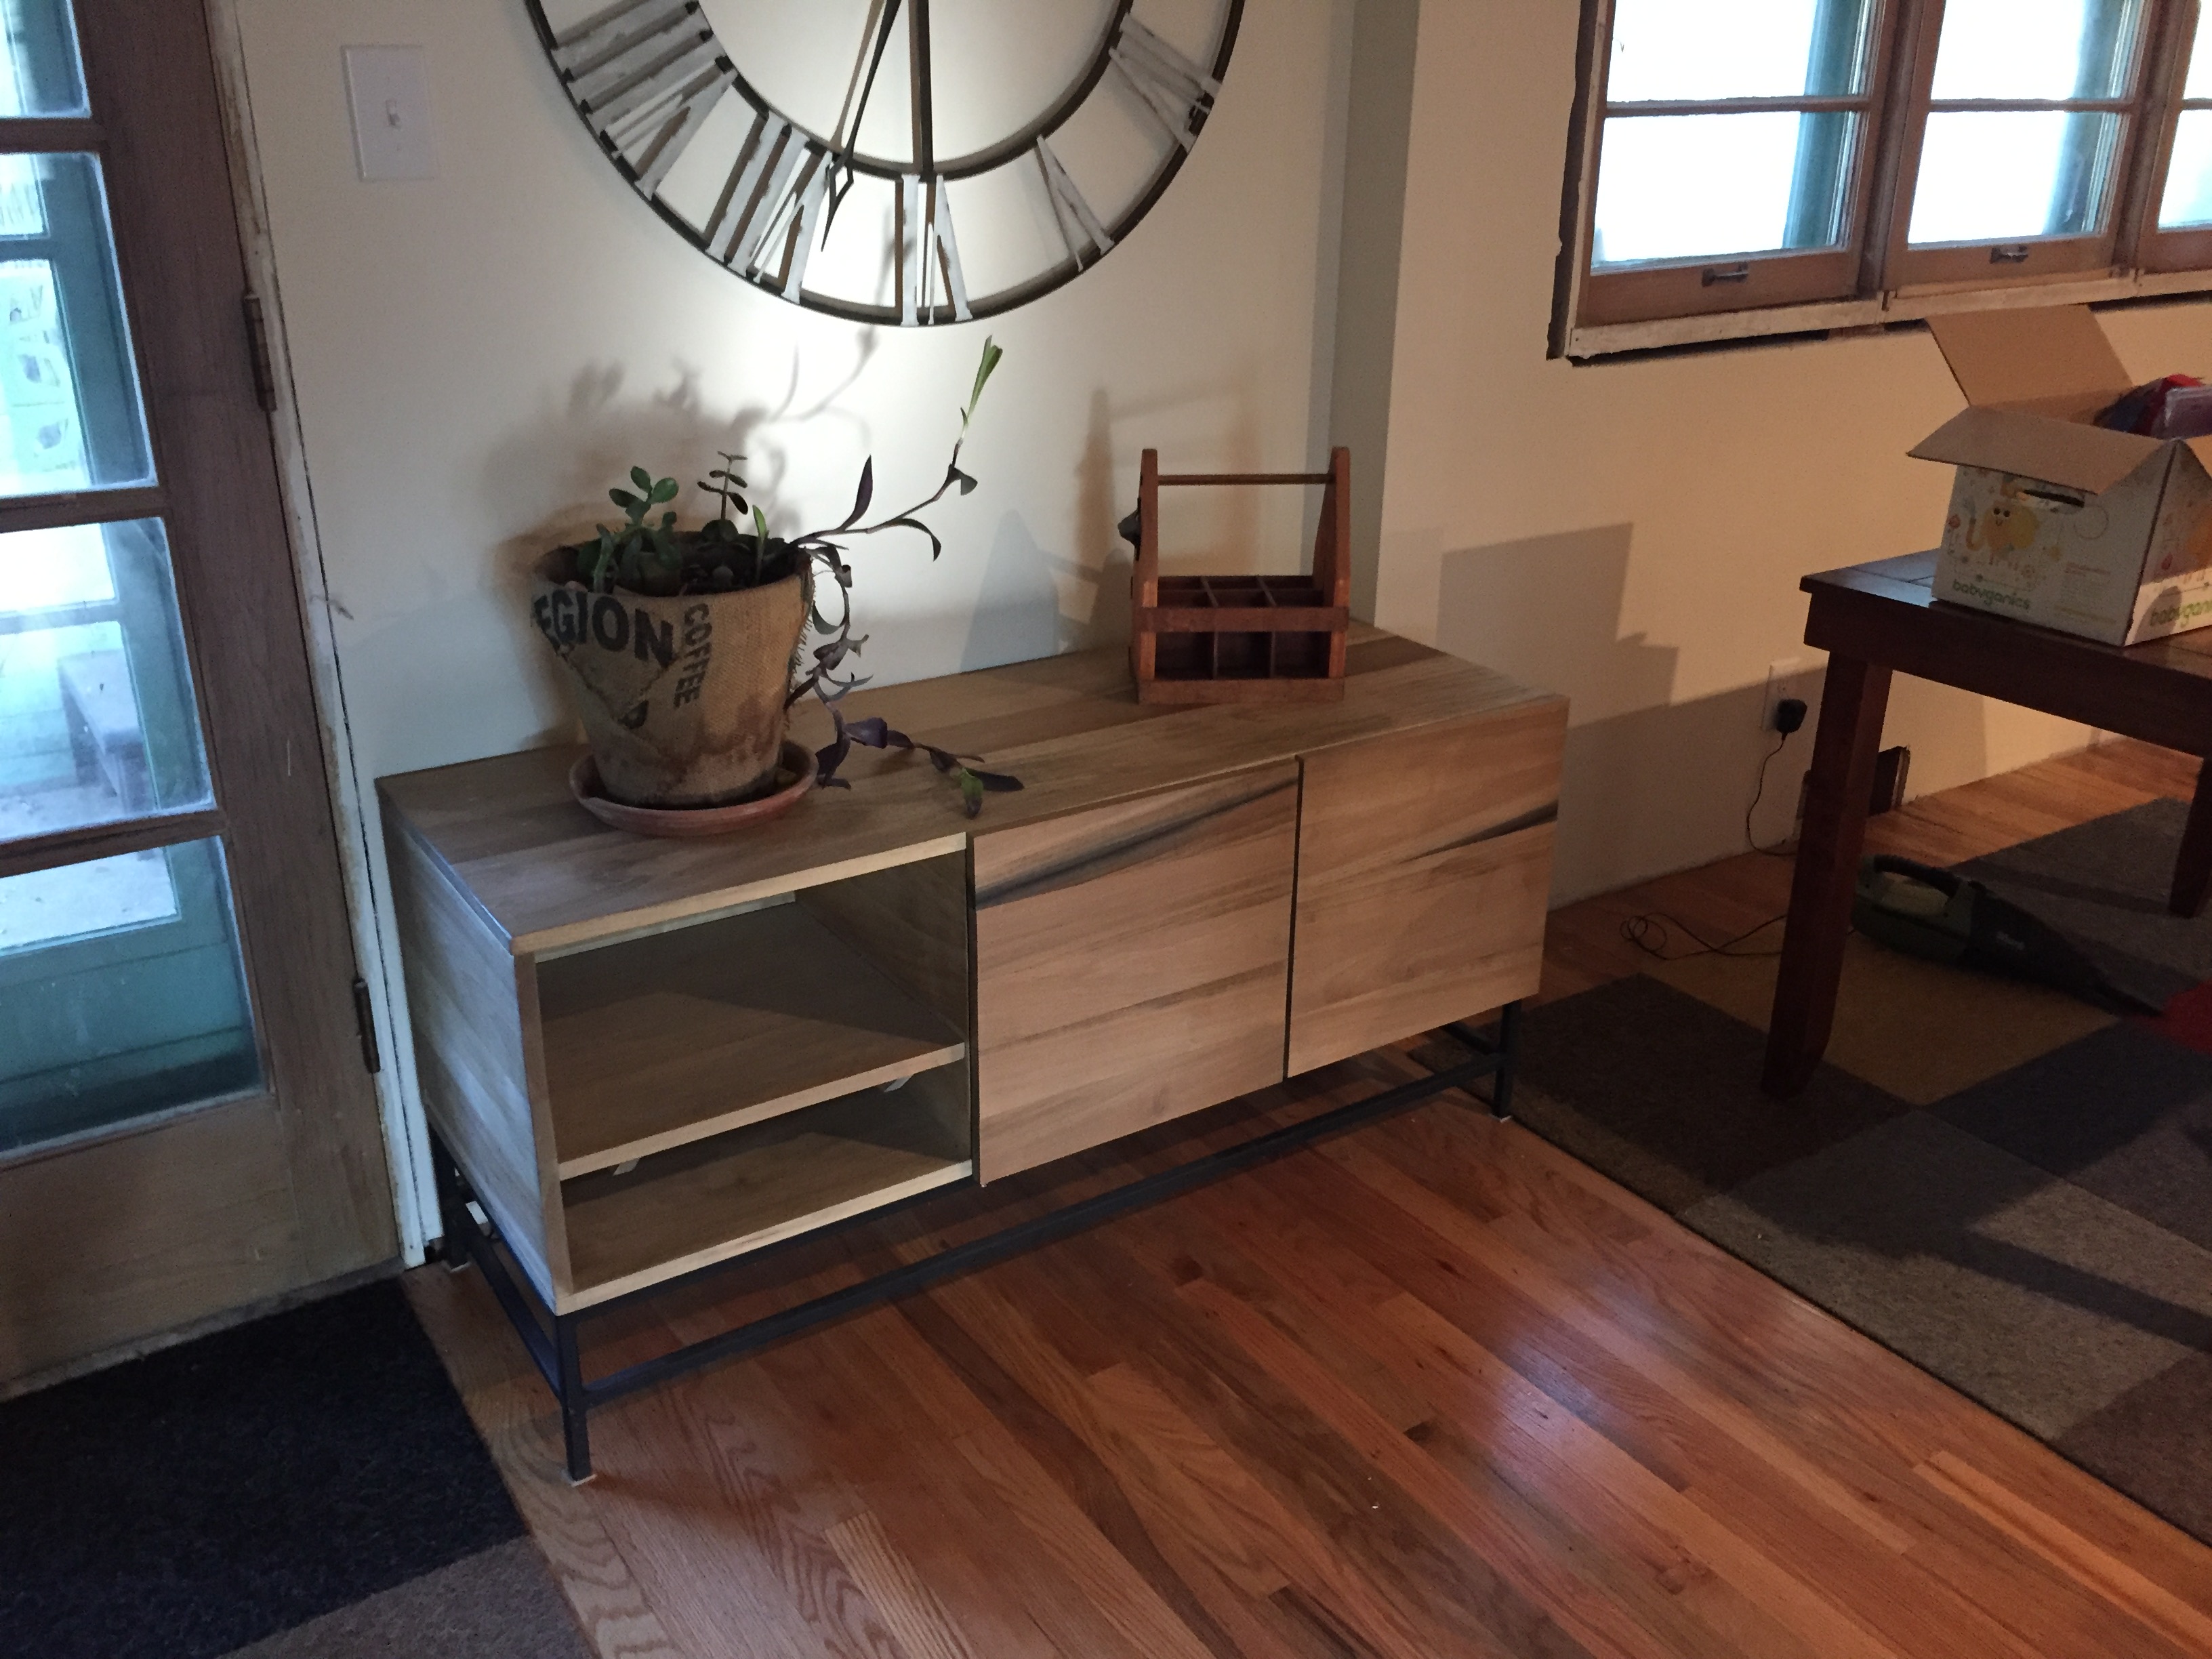
I did not have any plans for this. I had the dimensions from the West Elm Website so I did my best to match that. My sister asked me if I could build this for her and I saw it as an awesome challange. I used euro style hinges for the doors and the left side shelf is sitting on wood strips nailed in the sides. There is also a shelf inside the cabinet. I built the stand and she stained it.
This was my second time welding. I used a Mig Welder that my buddy had. It was a little intimidating at the very beginning but Mig welding is super easy. You can grind the welds down fairly easy too. I sray painted it all with a flat black spray paint. I think it turned out really well. I had a steel shop her in town cut all the steel to the sizes I needed. All I had to do was weld and paint.

This was a fun family project! Thank you!!
I used dowels in the screw holes.
Mike Kimble
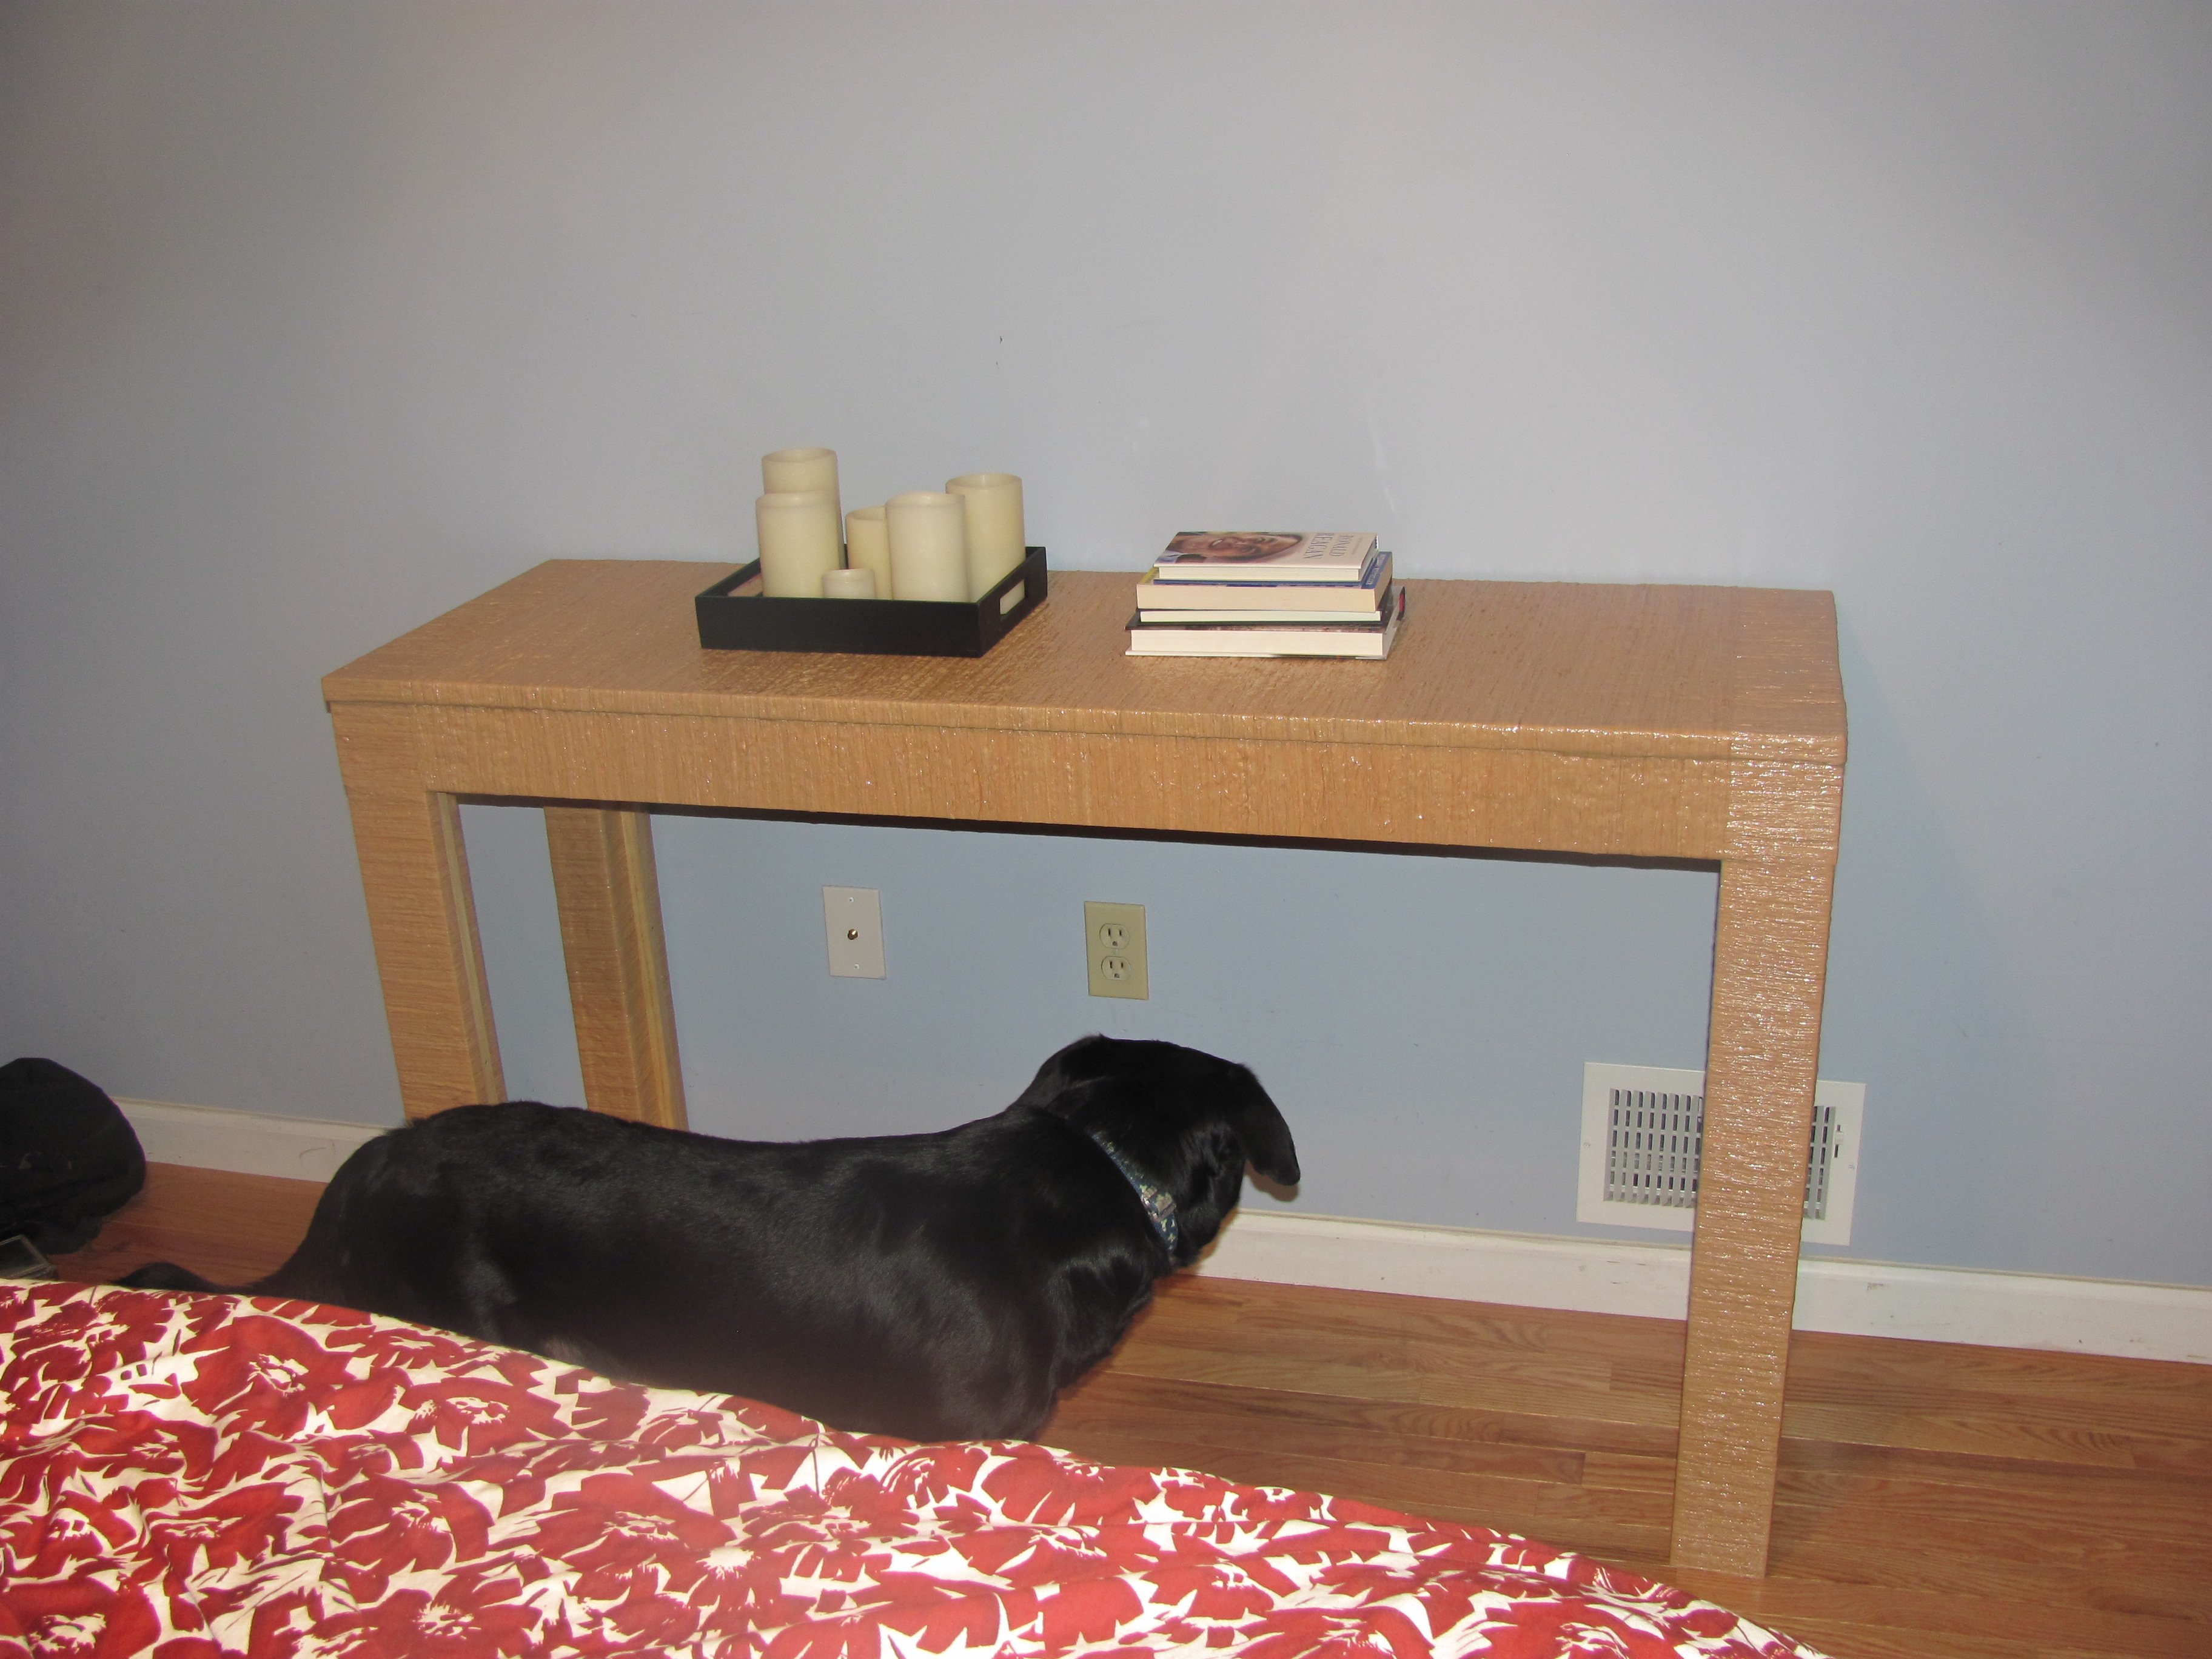
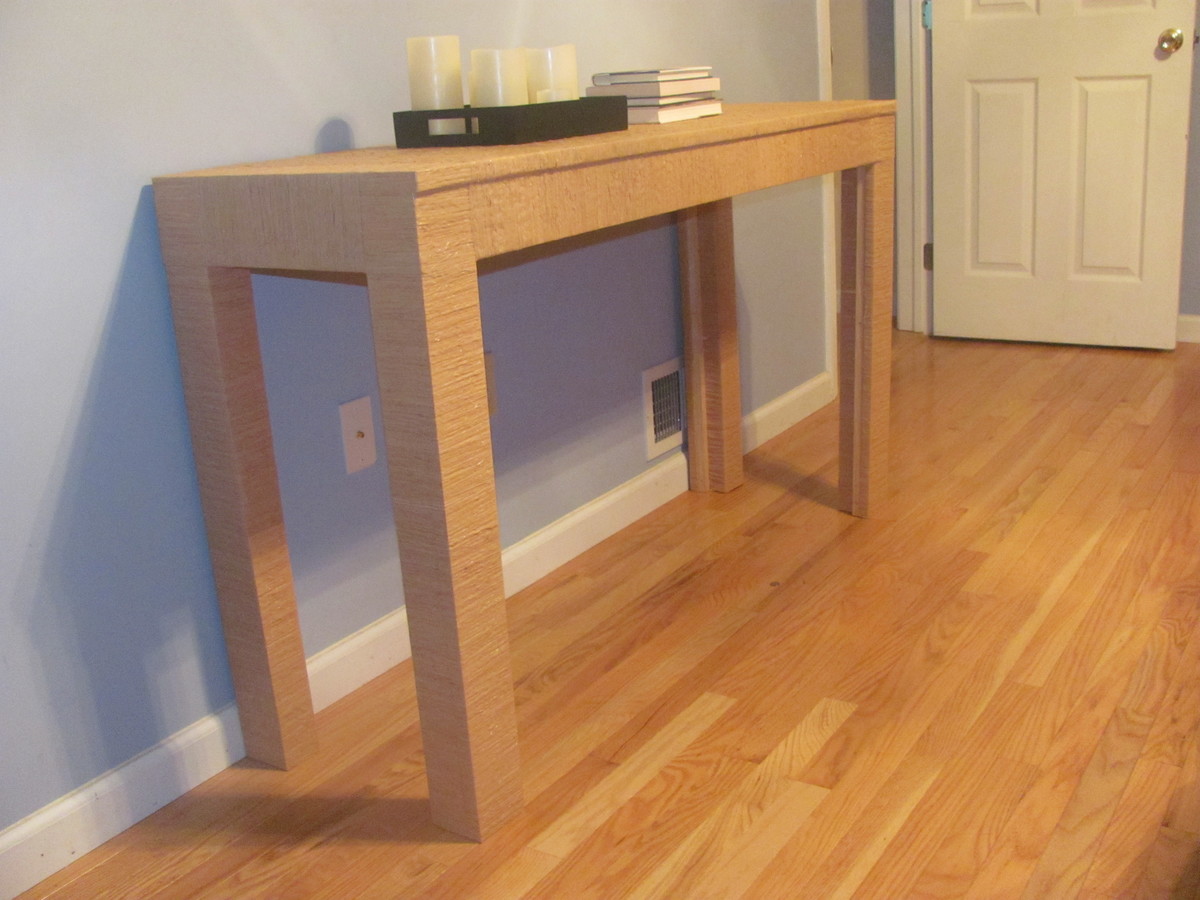
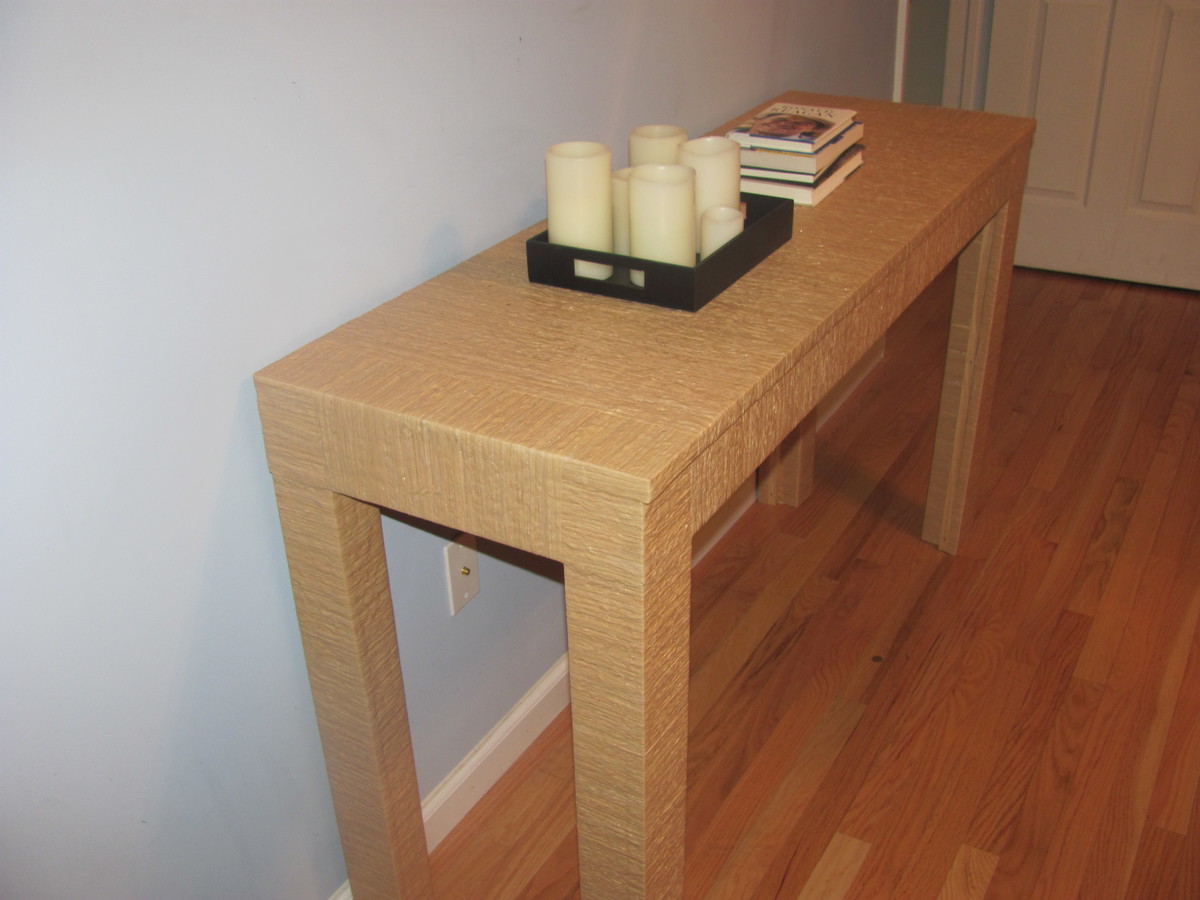
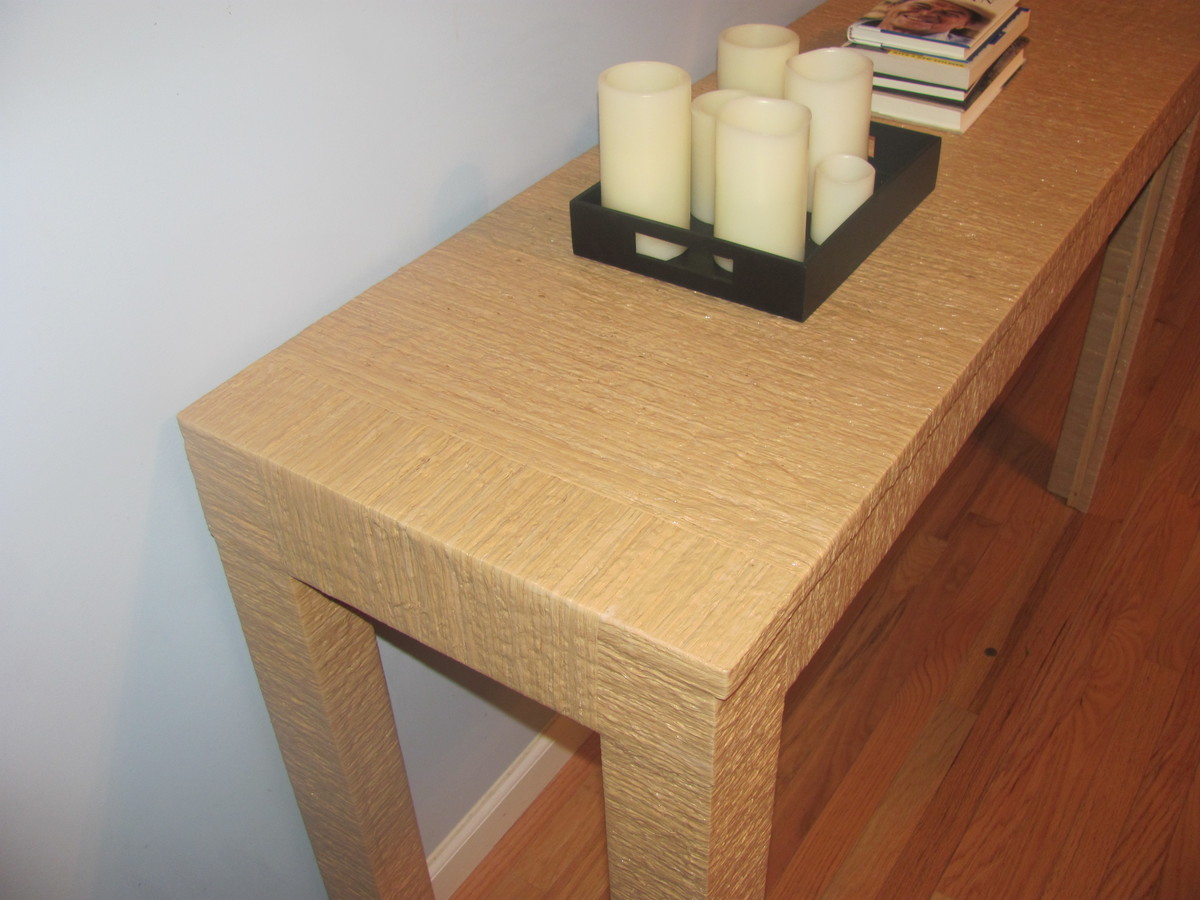
Thank you so much for the plan. I created a console table by adjusting the dimensions (finished table is 54 x 18 x 30) and omitted drawers. Used Modge Podge to adhere raffia to table (this was the most time consuming part of the project). Finished with a clear coat of polyurethane. Based this project on a table I originally saw in the HGTV Green Home 2010 master bedroom. http://hgtv.sndimg.com/HGTV/2010/03/03/GH2010-105_03-master-bedroom-wid…

Sat, 06/22/2013 - 13:45
I'd been wondering on how to attack the covering of my desk with fabric. I'd toyed with the idea of Modge Podge but was not quite sure on its adhering capabilities. Around here, it gets so humid that the adhesive on my 3D Command strips melts and things fall off the walls. How has it held up thus far? I'm attempting to cover mine in upholstery fabric.
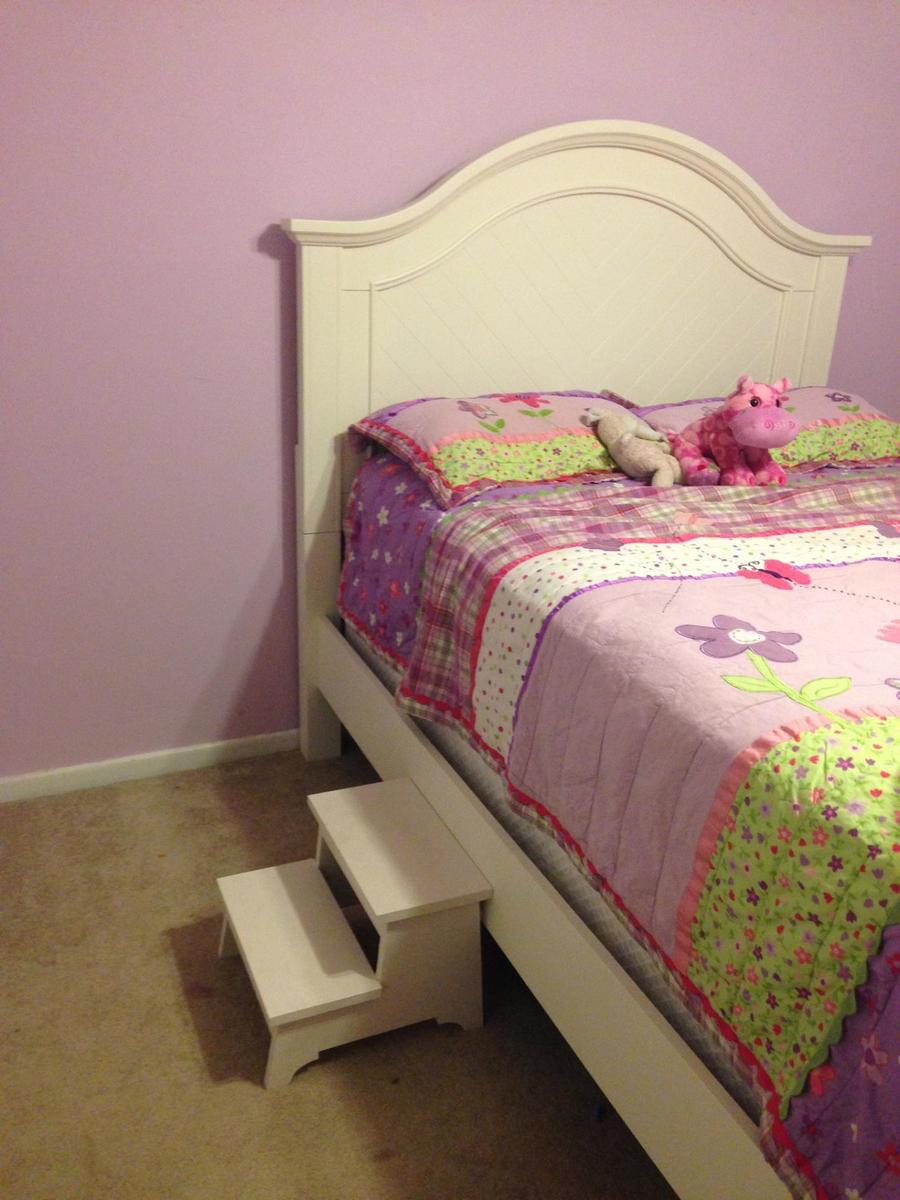
I can't take credit for the bed, just the steps. After my friend purchased a new bed for their daughter, she needed some helping getting into it. The plans for these steps were great and easy to build. Very sturdy and lightweight for kids to move around.
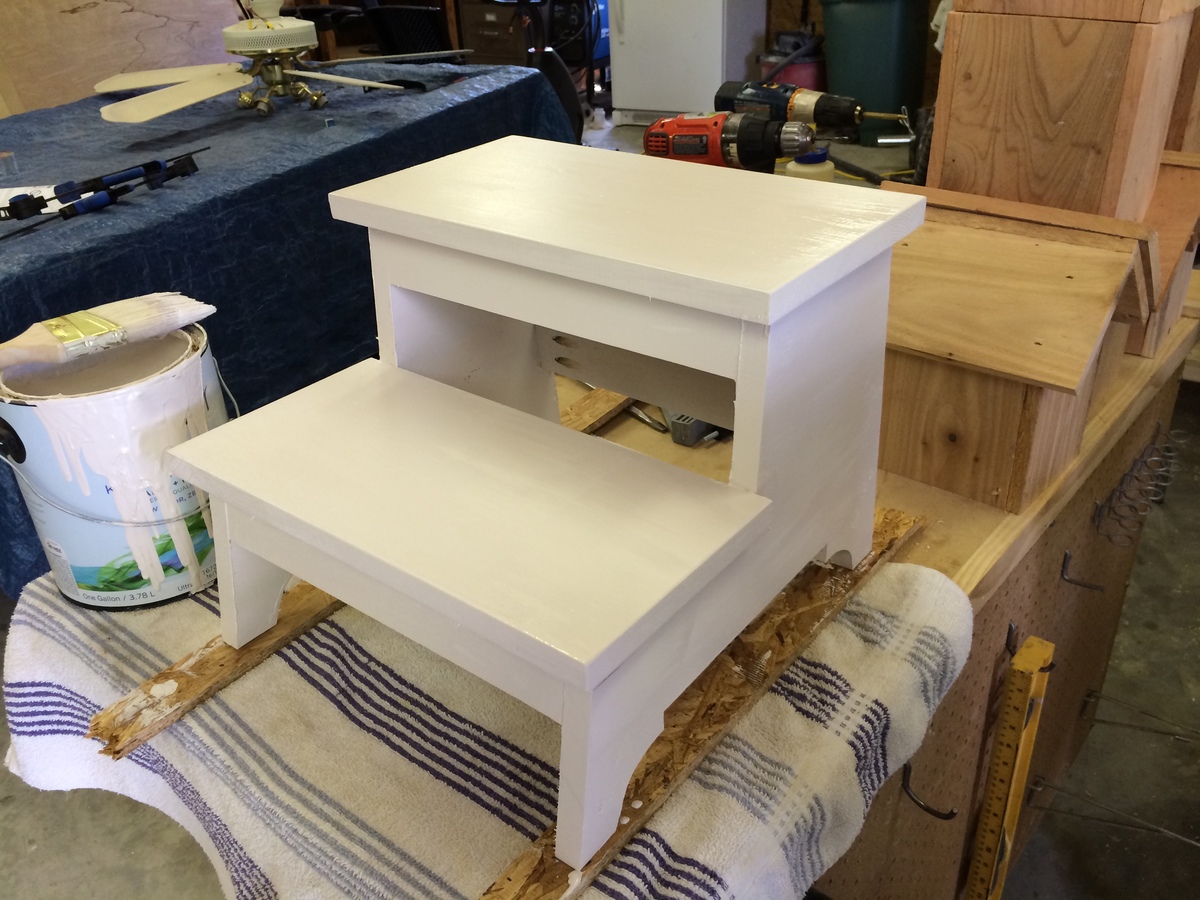
First ever project. Just testing my skills and all materials were low grade. Next project will be better grade wood

Thu, 09/22/2016 - 09:04
You are smart to start small! Great job, can't wait to see what's next!!!!
This was my first major diy project and I made a lot of mistakes! The plans were very easy to follow even for a beginner. This took me awhile but I was very happy with the outcome!
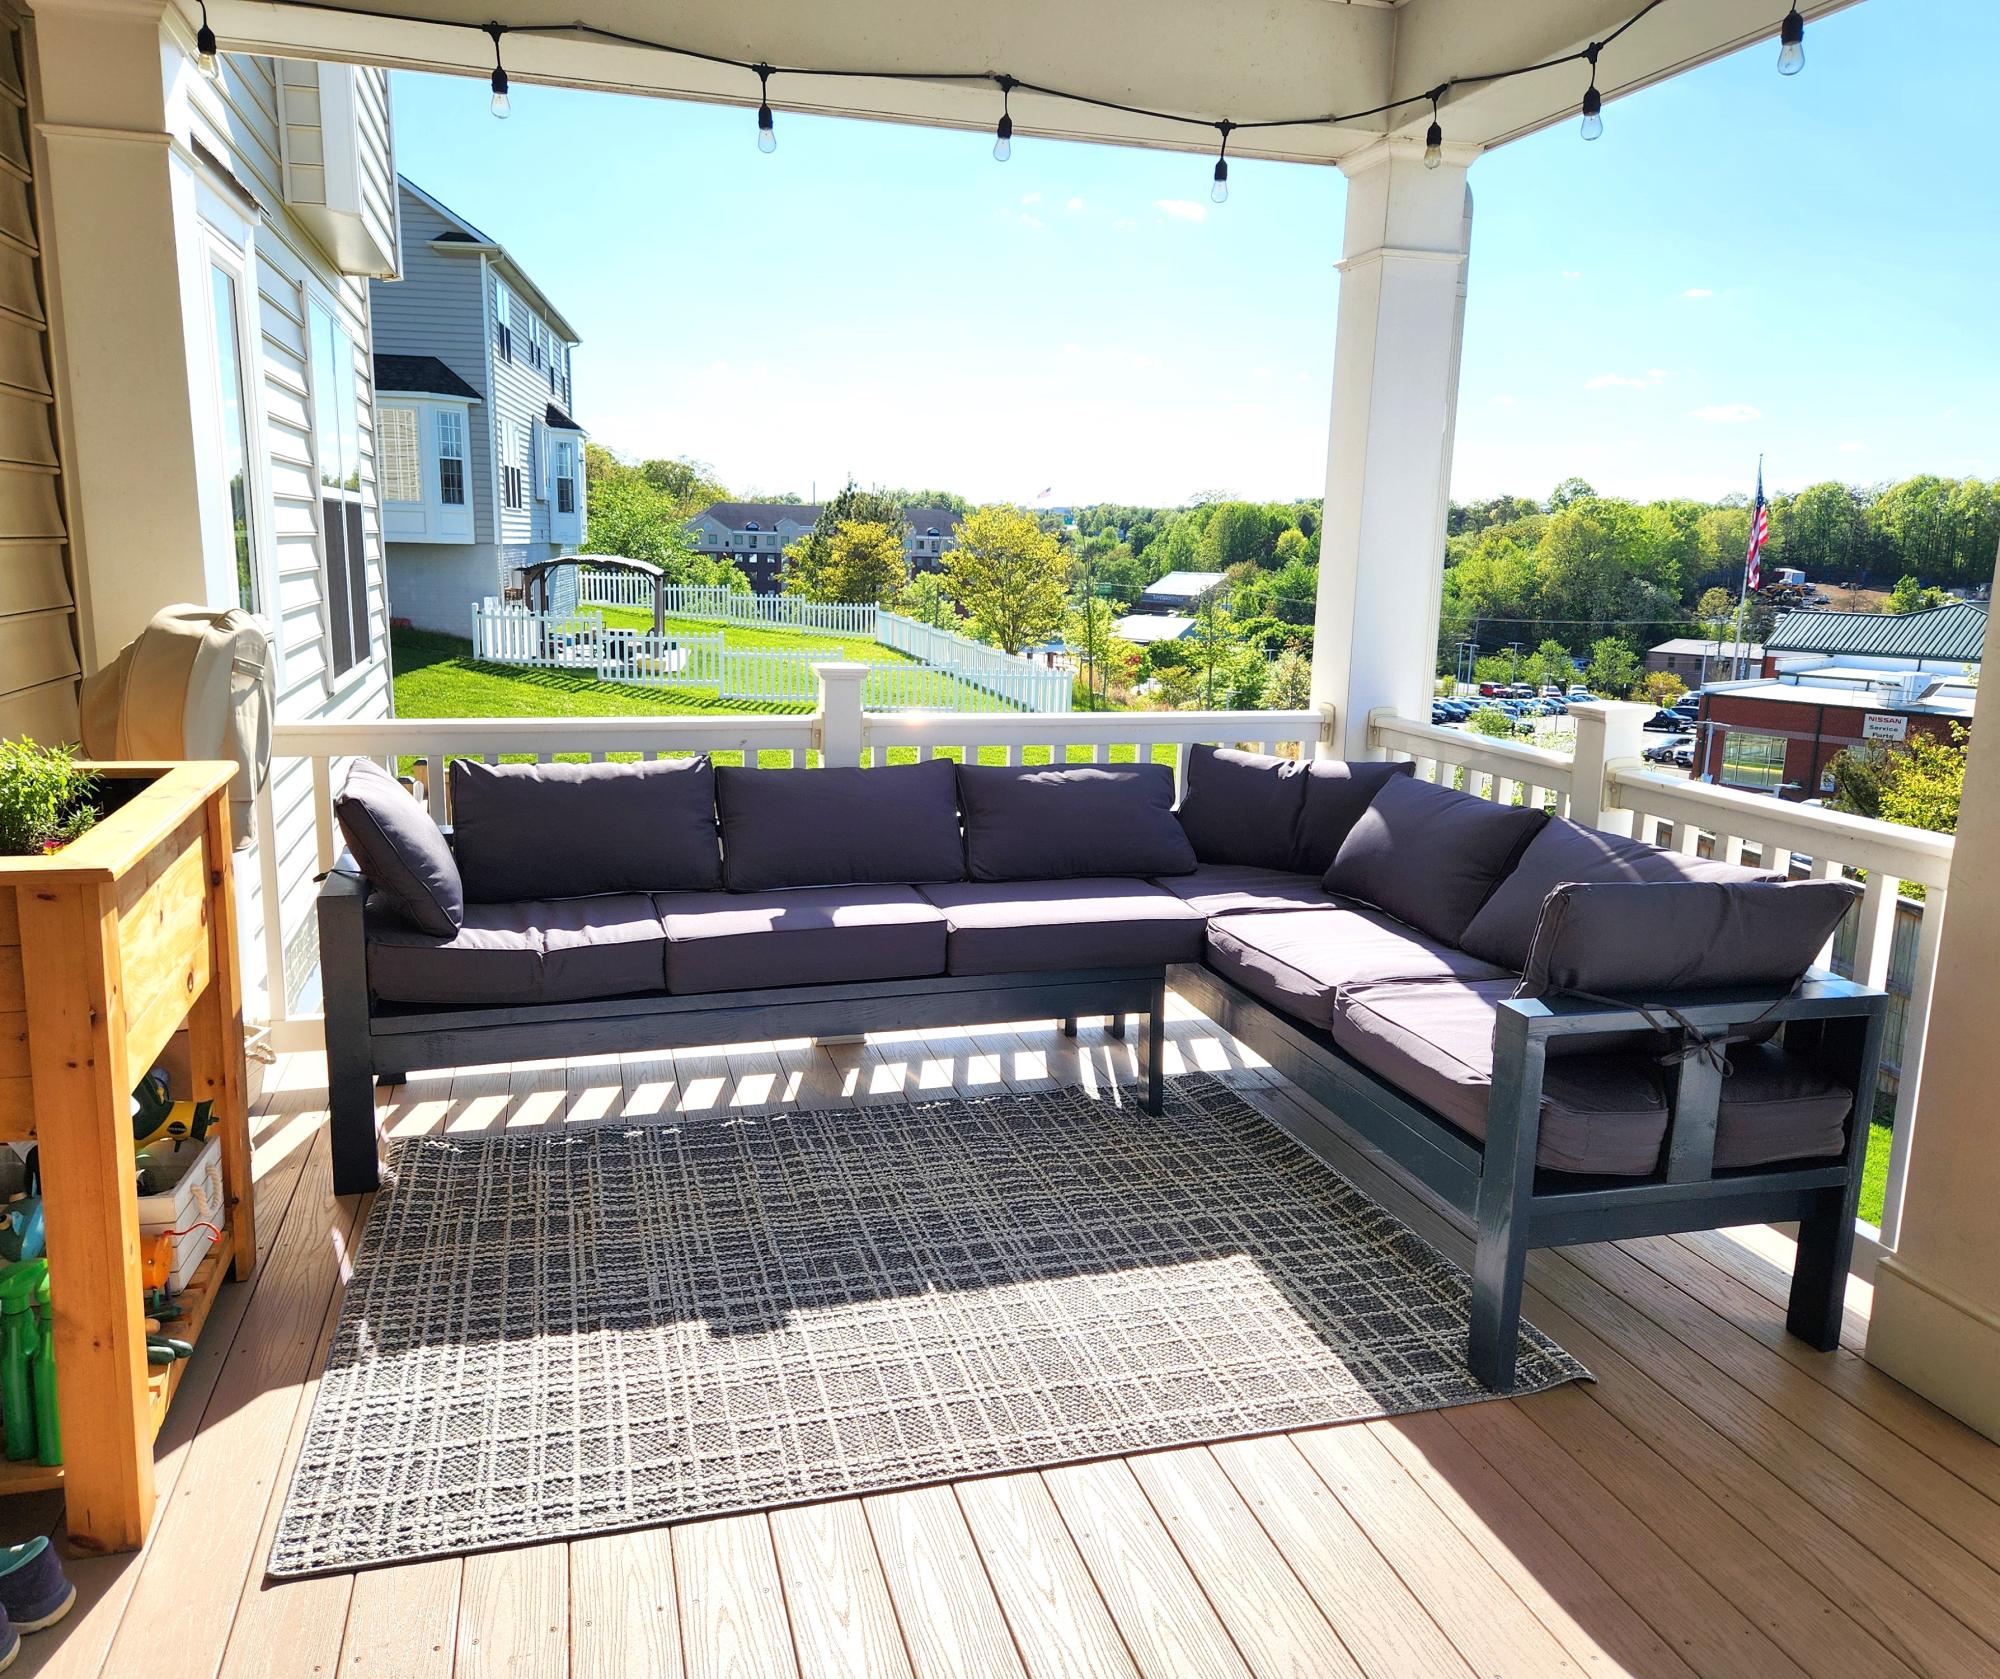
Porch sectional all done. Just need the fire pit.
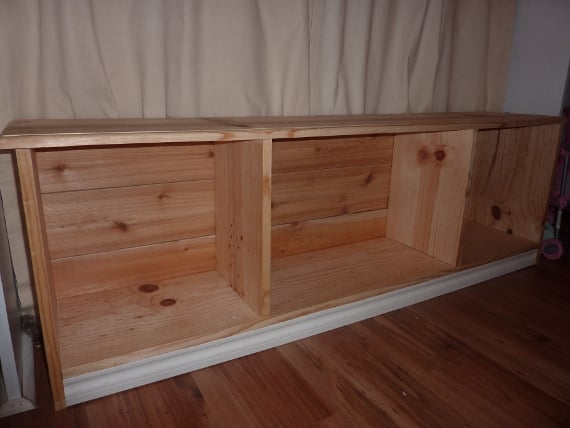
Our daughter's room has built-ins on either side of the window. I always wanted a window seat to sandwich in between, but couldn't find one with the right dimensions.....THANK YOU ANA WHITE! I used her Entryway Bench plan and just changed the length and depth to fit the window. I didn't add the side and back supports on top, but I bullnosed all the edges to make it look more finished.
I built this in one afternoon and even used cedar fence planks (left over from my husband's fence project) for the backing....love the extra charm of those planks!
We also had some molding left over, so I worked that in to the bottom for a little extra detail.
Haven't painted it yet....just enjoying it's usability until I decide on a color. It's super durable. My three year old sits on it (to read), stands on it (to spy on the neighbor's cats) and tosses those baskets in and out all day long.

