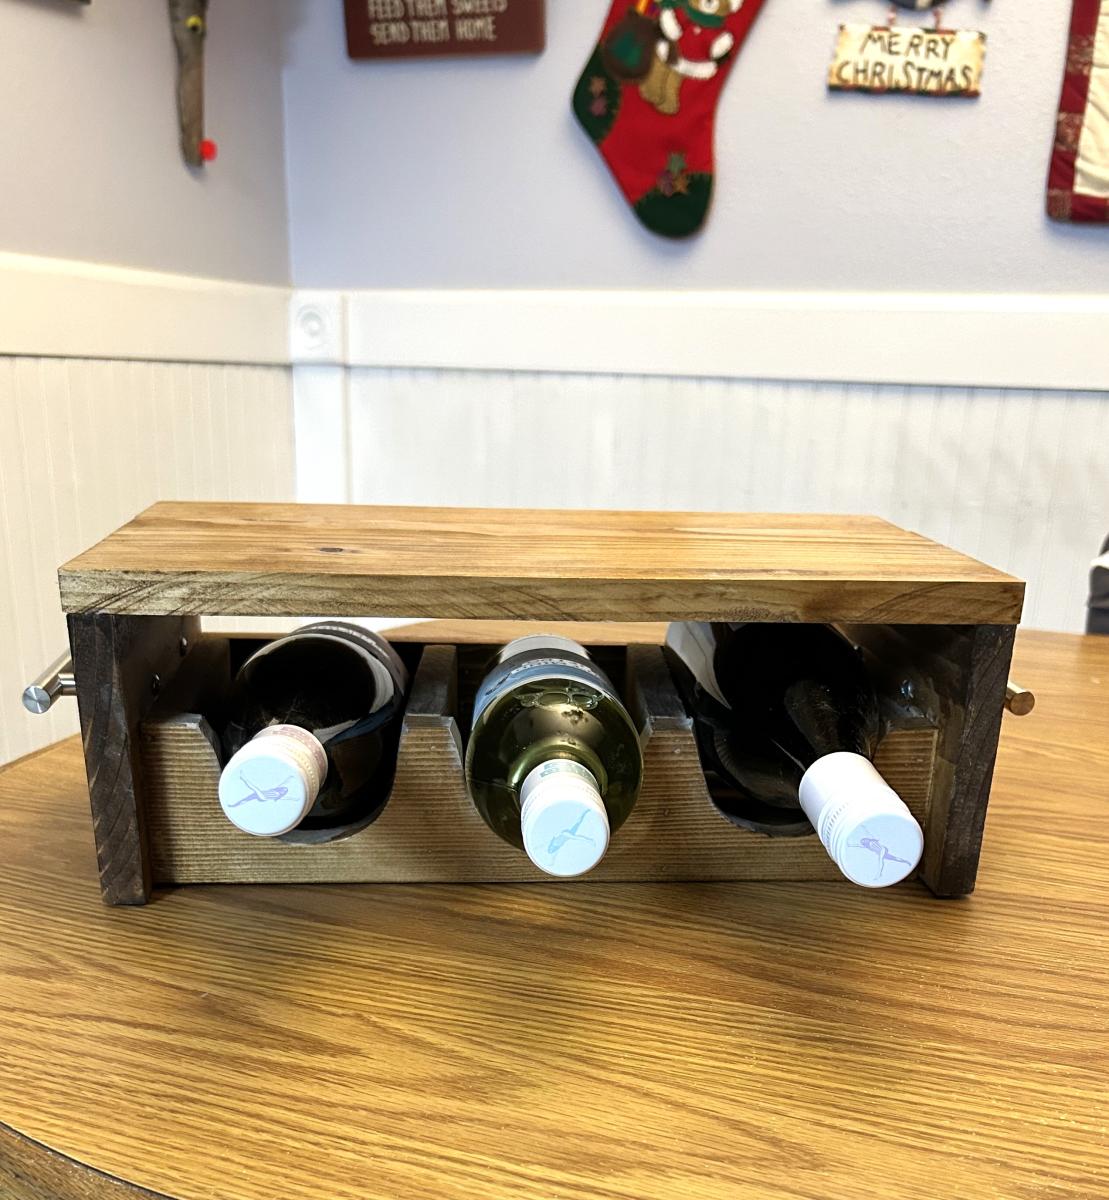
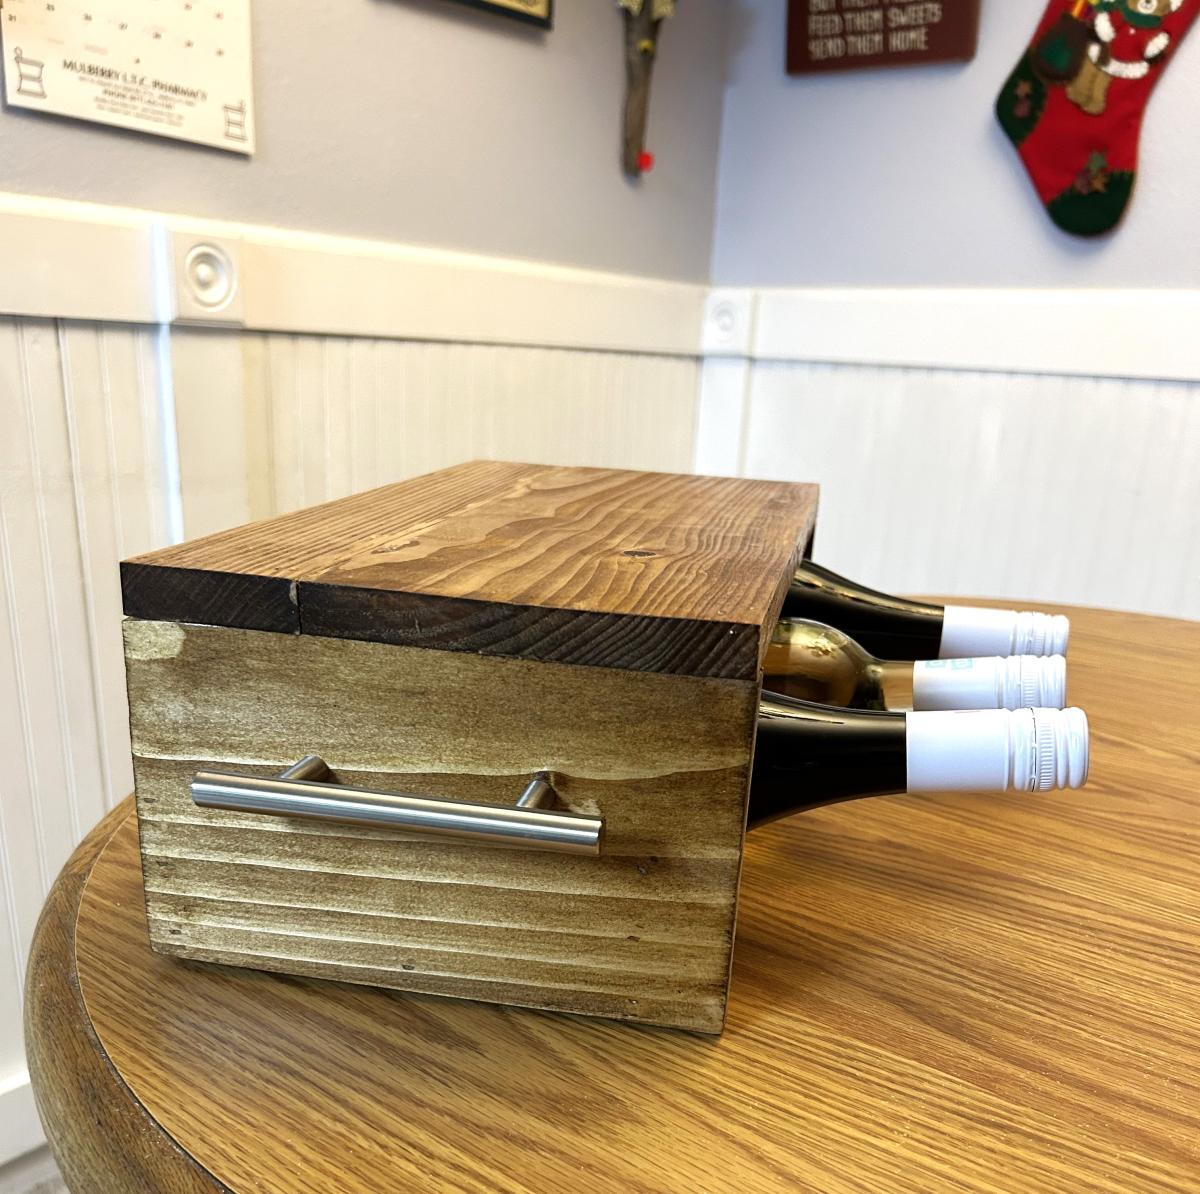
DIY Wine Caddy
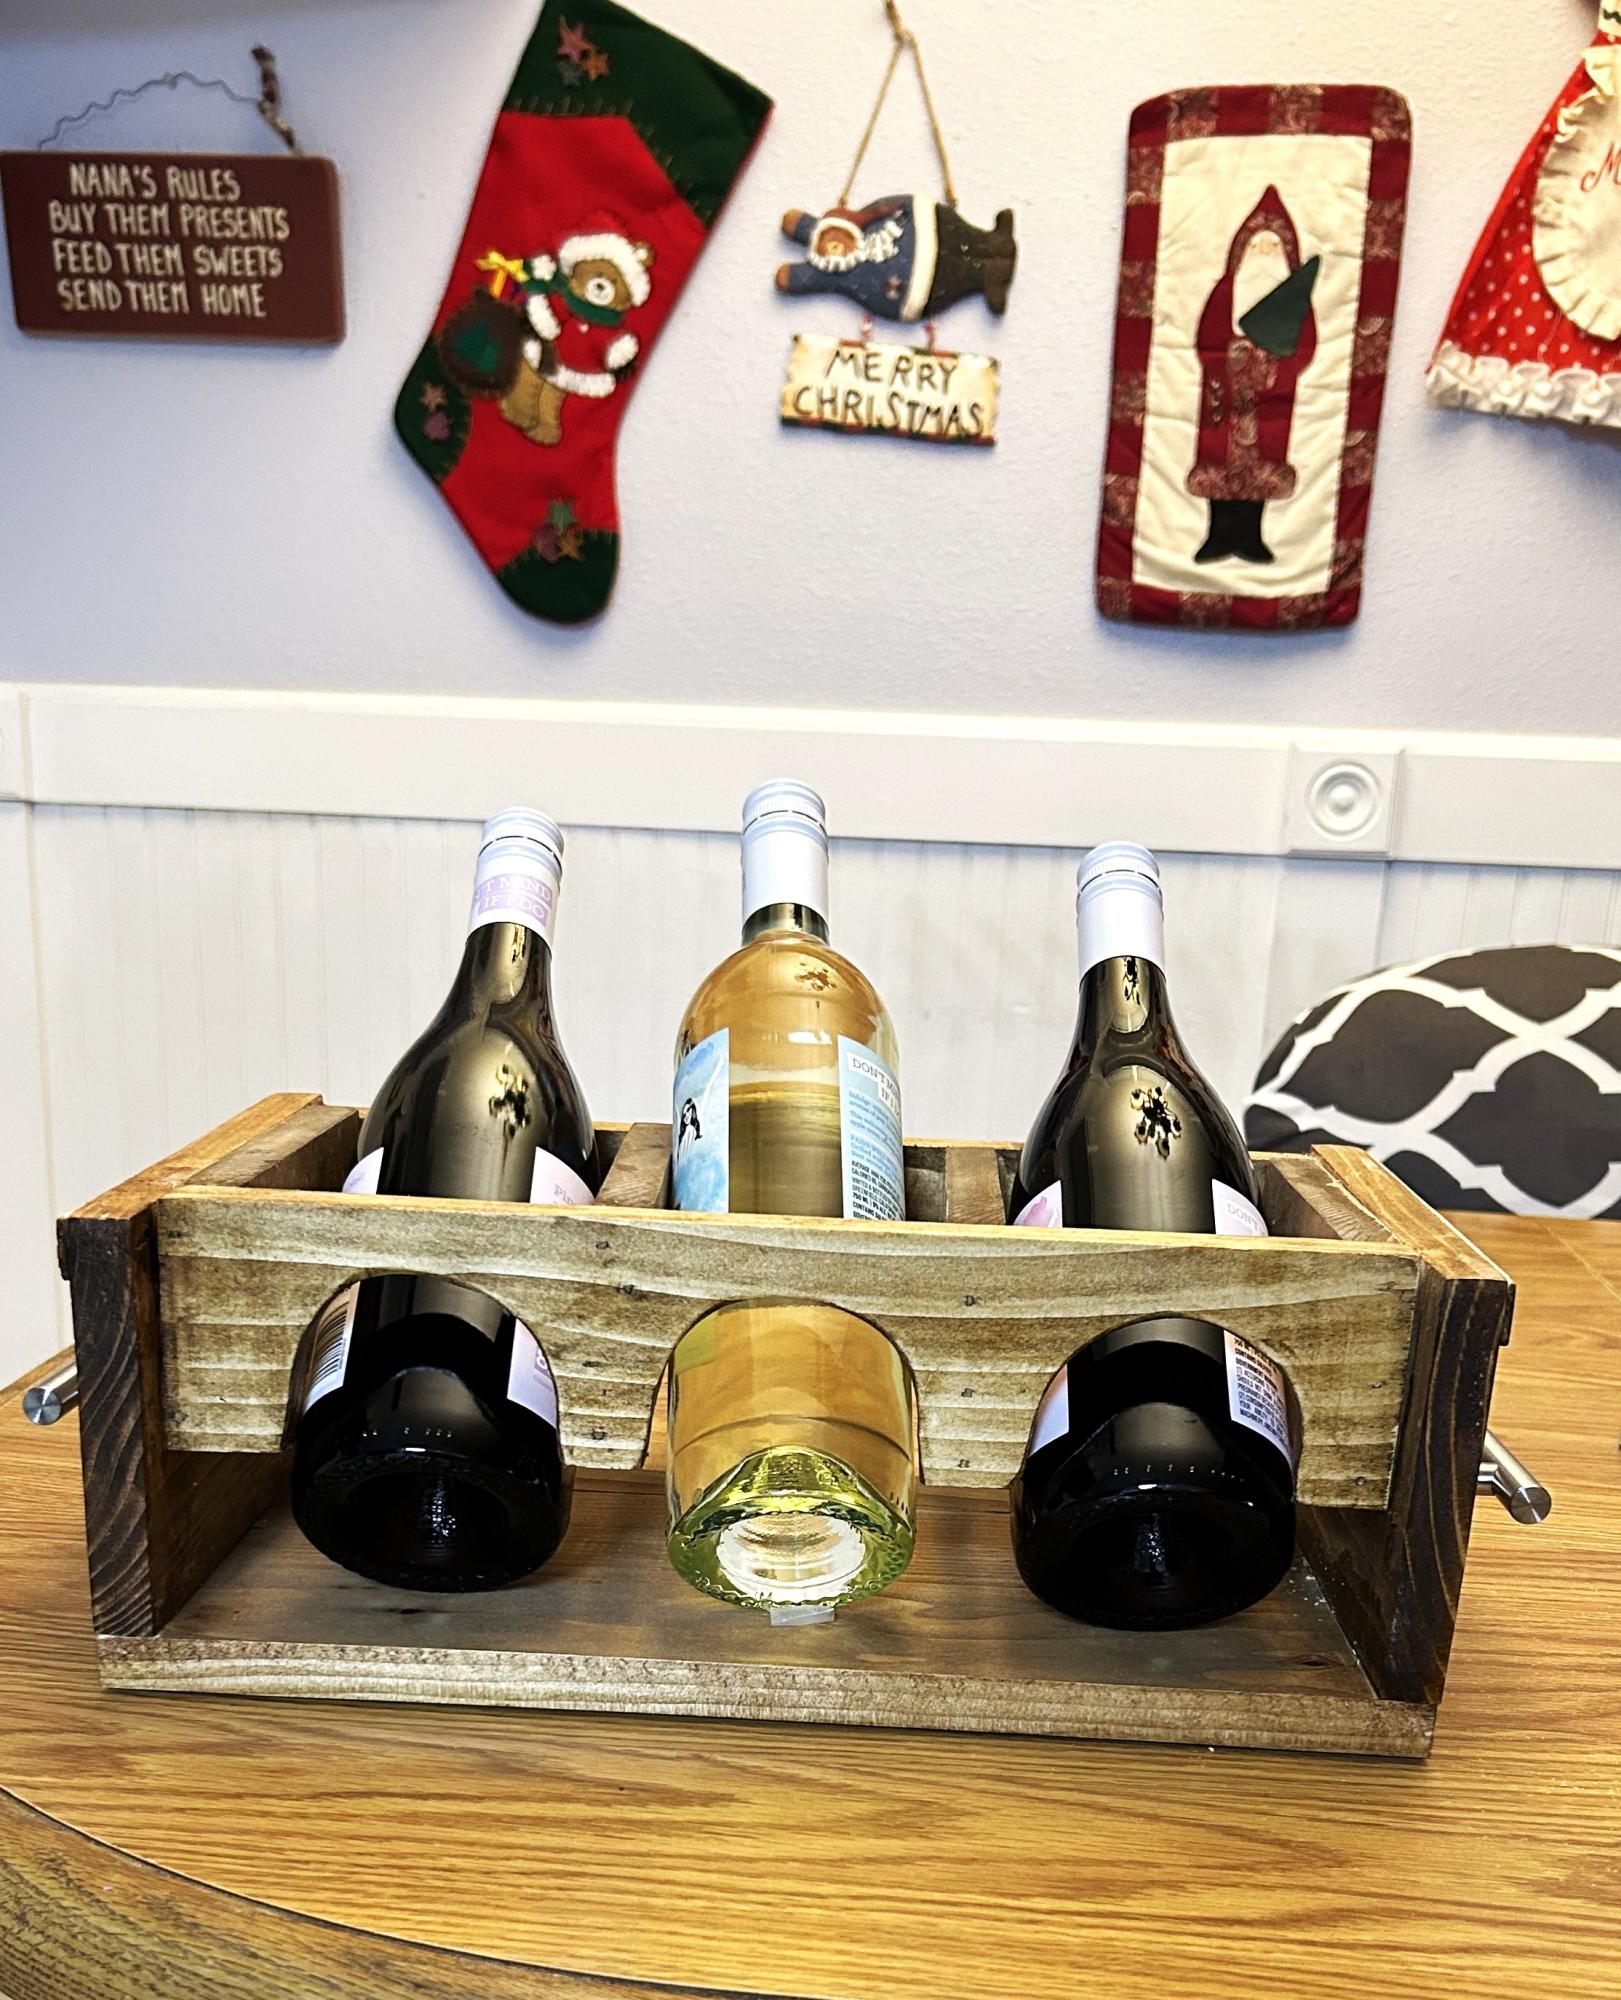
One of my first projects…thank you Ana White for building my confidence in wood working! ❤️
Midge Newth
Built from Plan(s)
Seasonal And Holiday
One of my first projects…thank you Ana White for building my confidence in wood working! ❤️
Midge Newth

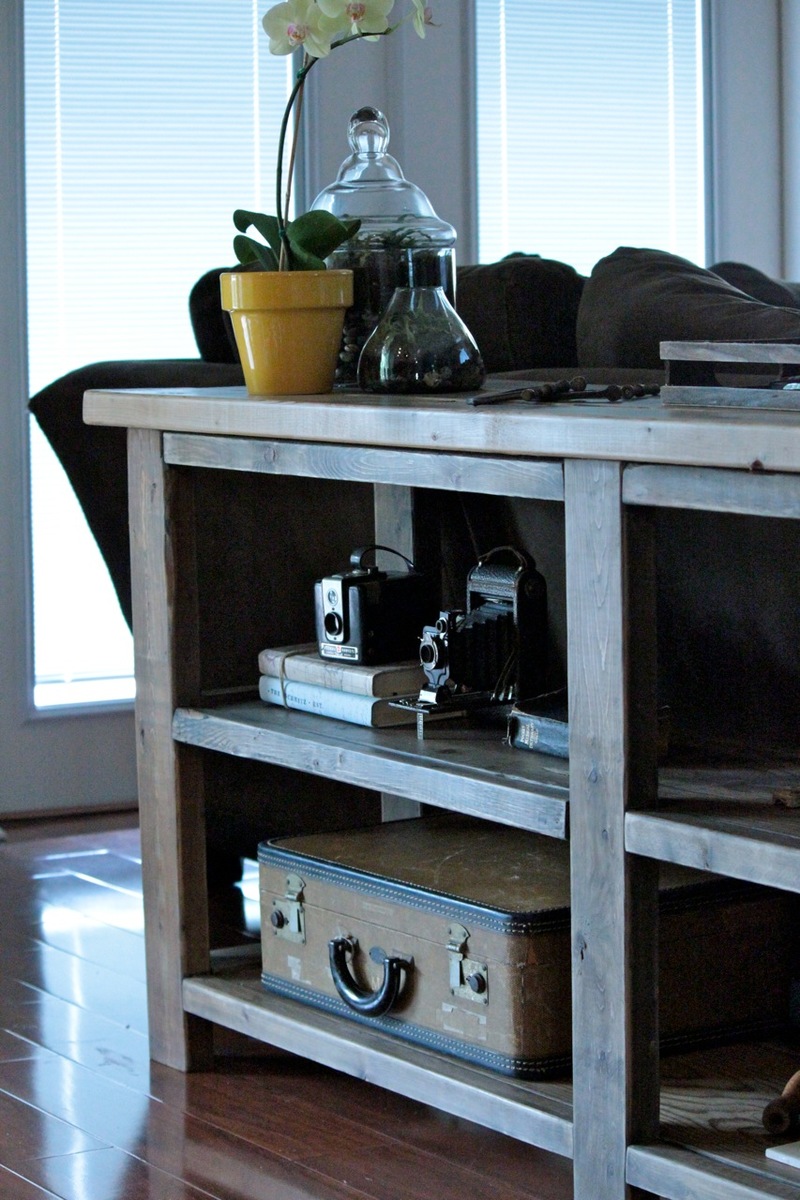
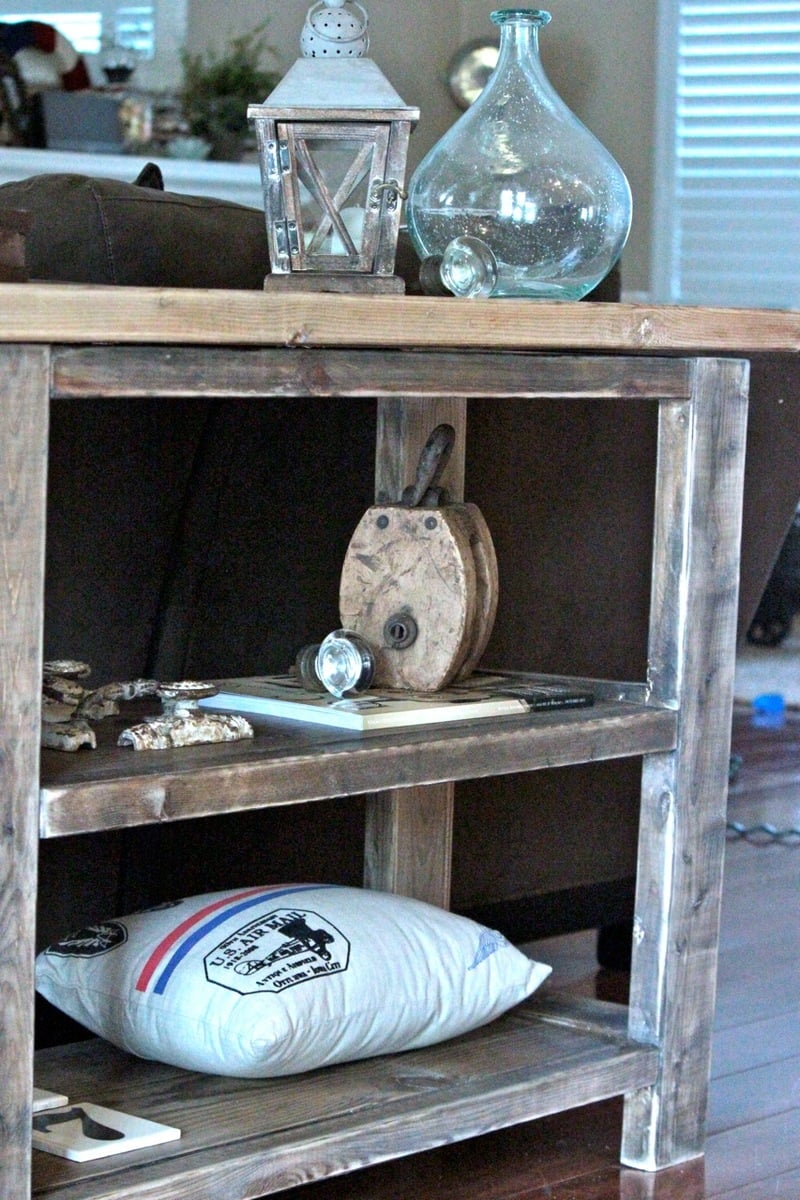
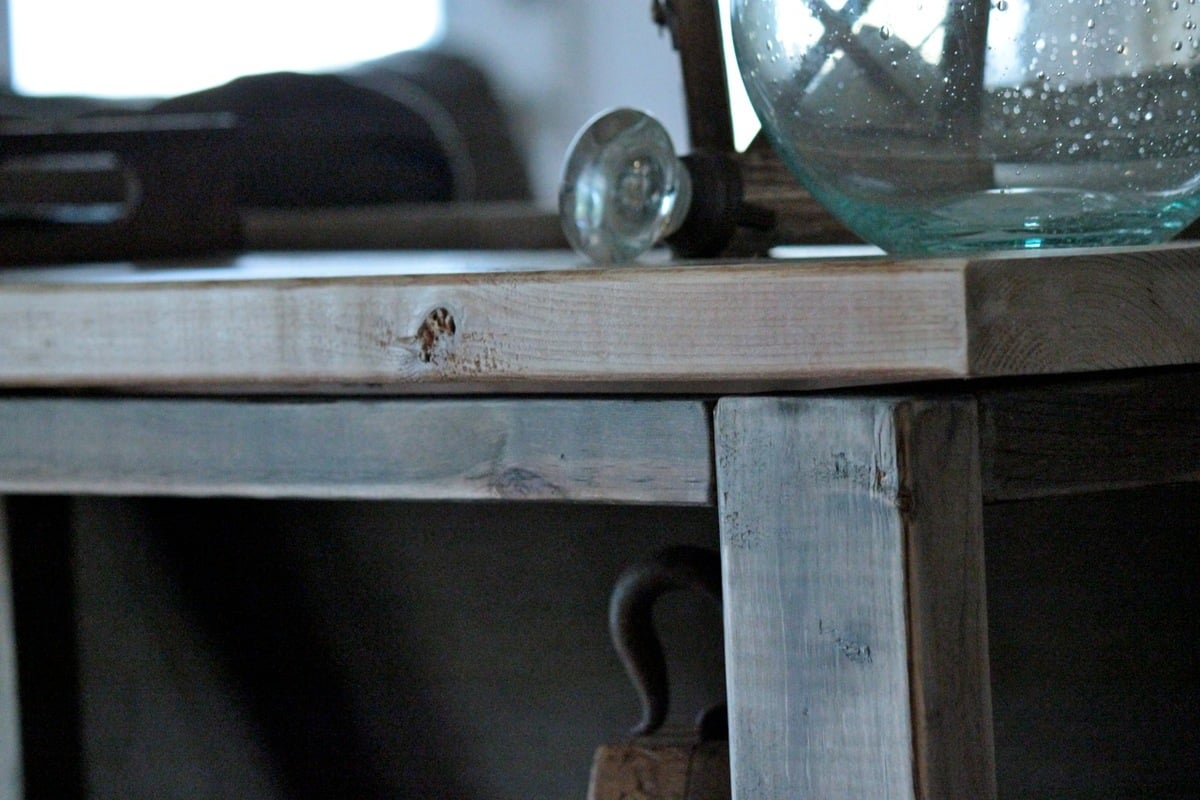
This was my first time building something big :) and im sooo happy with the results. Had been looking for a sofa table/console for so long but couldn't decide on what I wanted , when I saw this on the first page I fell in love. It was fairly easy to build. Took me 2 days, one day sanding, cutting, staining it and the next putting it together. I love how it turned out.
I didnt make the side 'X' bc I want to do something different than the original plan, just trying to figure it out what exactly.
Oh! And I still need to add the decorative hardware, I have it, just need to remember to do it.
Thank you so much for the plans.
Sun, 06/10/2012 - 22:06
One of my favorite things about building is being able to build it however you want. Xs or no Xs -- it is gorgeous. Great work! And it you staged and photographed perfectly. Really, really beautiful.
Mon, 06/18/2012 - 14:44
What kind of tea did you use ? And what do you mean by white wash ?
Fri, 06/22/2012 - 10:07
I used regular walmart brand black tea, let it dry and then applied the vinegar/steel wool solution after that i sanded a bit and diluted white paint in water and applied it all over with a lint free rag, you need to work on small areas and follow it up with a slightly damp cloth. hope that helps :)
Sat, 08/18/2012 - 23:06
Beautiful job!! Looks like a picture out of a pottery barn catalogue! BE PROUD!
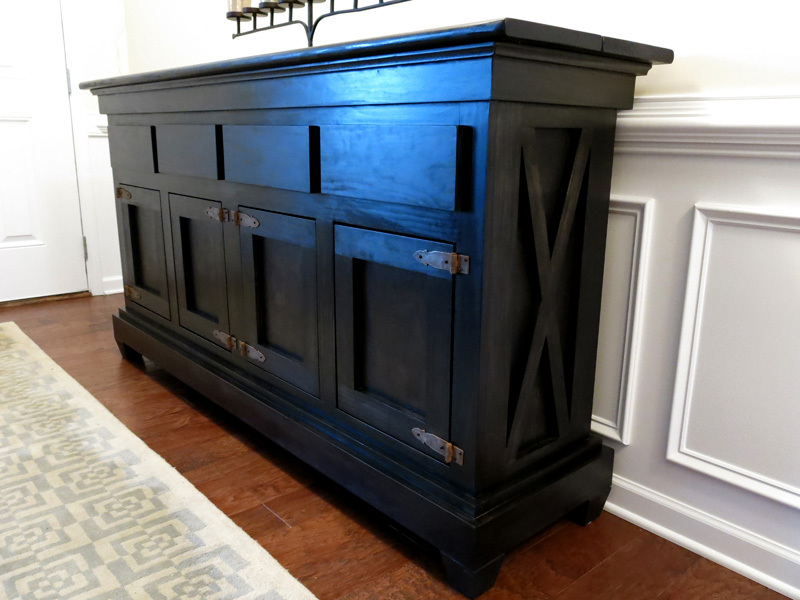
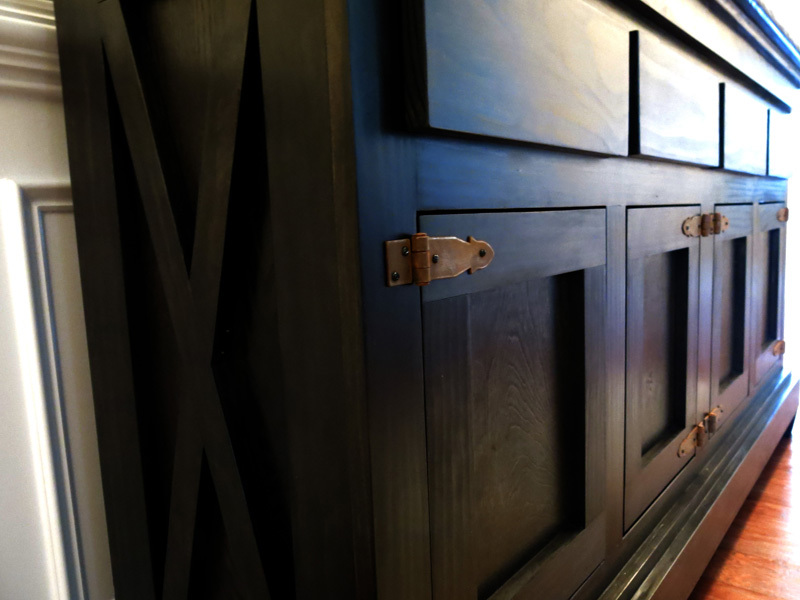
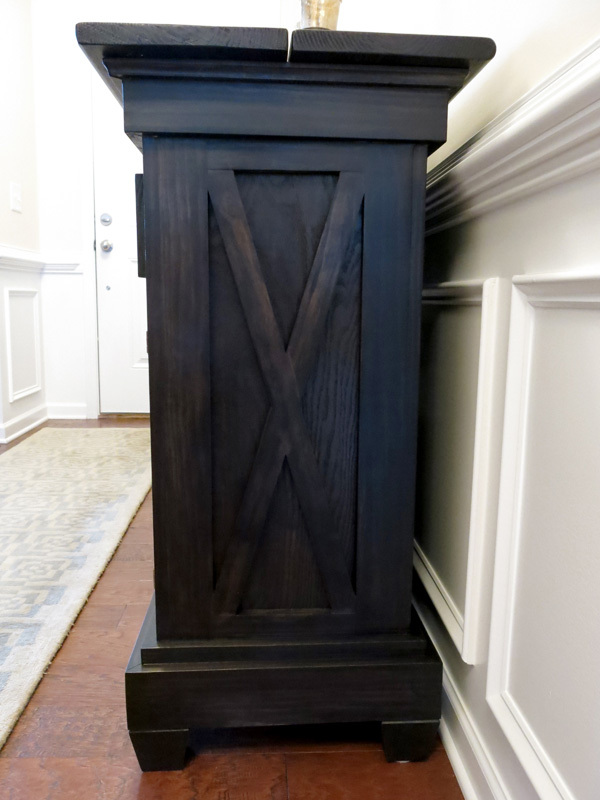
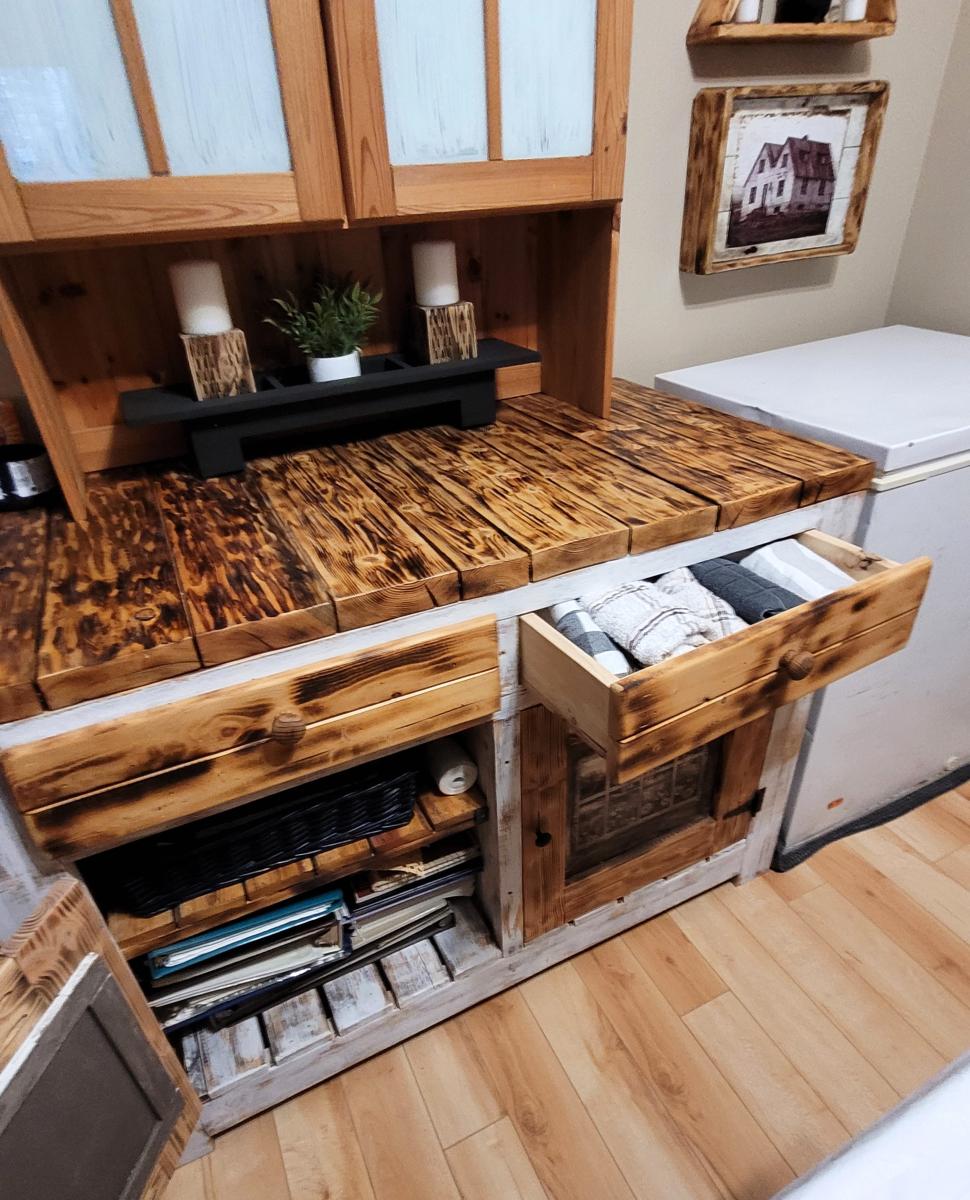
Wanted to build a cabinet for the entrance and liked the look of the Rustic X console but wanted drawers and doors too. Second piece from mainly own design just incorporating those Rustic X ends.
The piece is 6ft long for the main cabinet part.
Found the hinges off the internet and just trying to find some matching drawer pulls now. (Any suggestions greatly welcomed).

Fri, 04/04/2014 - 14:01
I love it! What great mods, and it turned out looking like a classic!
I have this site bookmarked for rustic hardware but haven't used them yet. They sell those same hinges and some pretty drawer pull options.
http://www.directfrommexico.com/rustic-hardware.html

In reply to How beautiful! by romanweel
Wed, 10/08/2014 - 19:23
Hi thanks for the kind comments. I did get the hinges from Direct from Mexico site but ot found any drawer pulls or door handles on there I like yet.
In reply to Gorgeous Piece! by Ana White Admin
Wed, 10/08/2014 - 19:25
Thanks for the comment. Nice to hear you like my work :-)
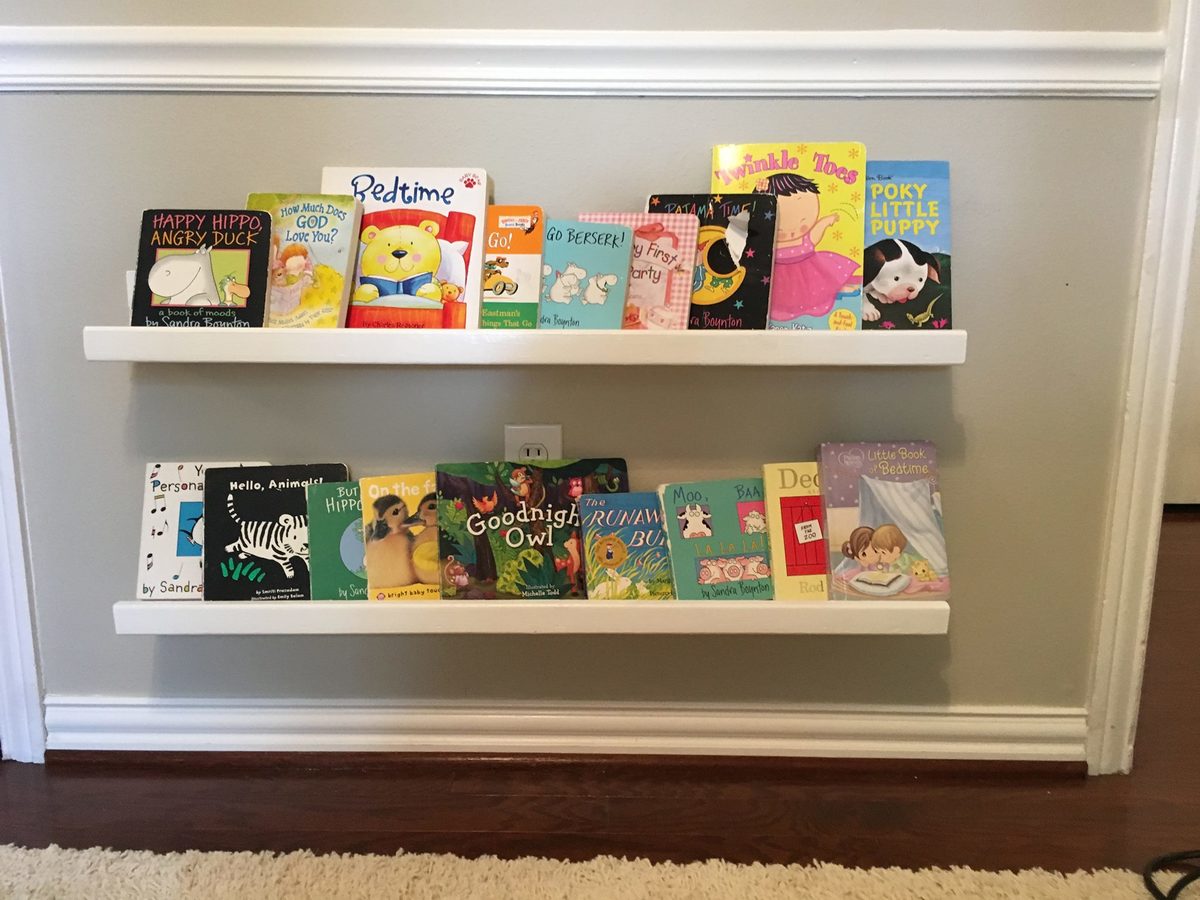
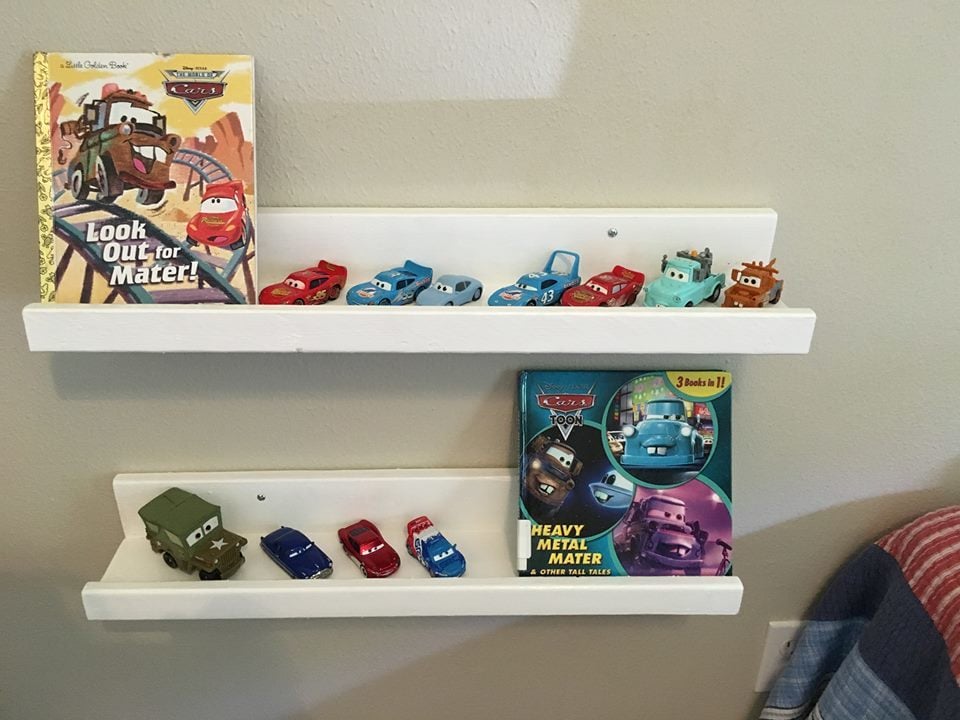
This was my first project after buying a miter saw. I used 2 inch screws to secure the back to the ledge, then nails (I think 2 inch?) to secure the front lip to the ledge. I then covered the nail holes with wood filler, painted with a white glossy paint that I had on hand for my house's trim, and secured into the wall with anchors and screws.
It was a fairly easy project and I used the cheapest wood found at home depot (each ledge literally cost less than a dollar for the wood). It did take me several hours but considering it was my first project, it was pretty fast. I'm sure someone with more experience could knock these out in 1-2 hours! It was a lot of fun and I can't wait to build something else.

Wed, 07/13/2016 - 11:27
Awesome!!! You did a great job, what a steal for $8!
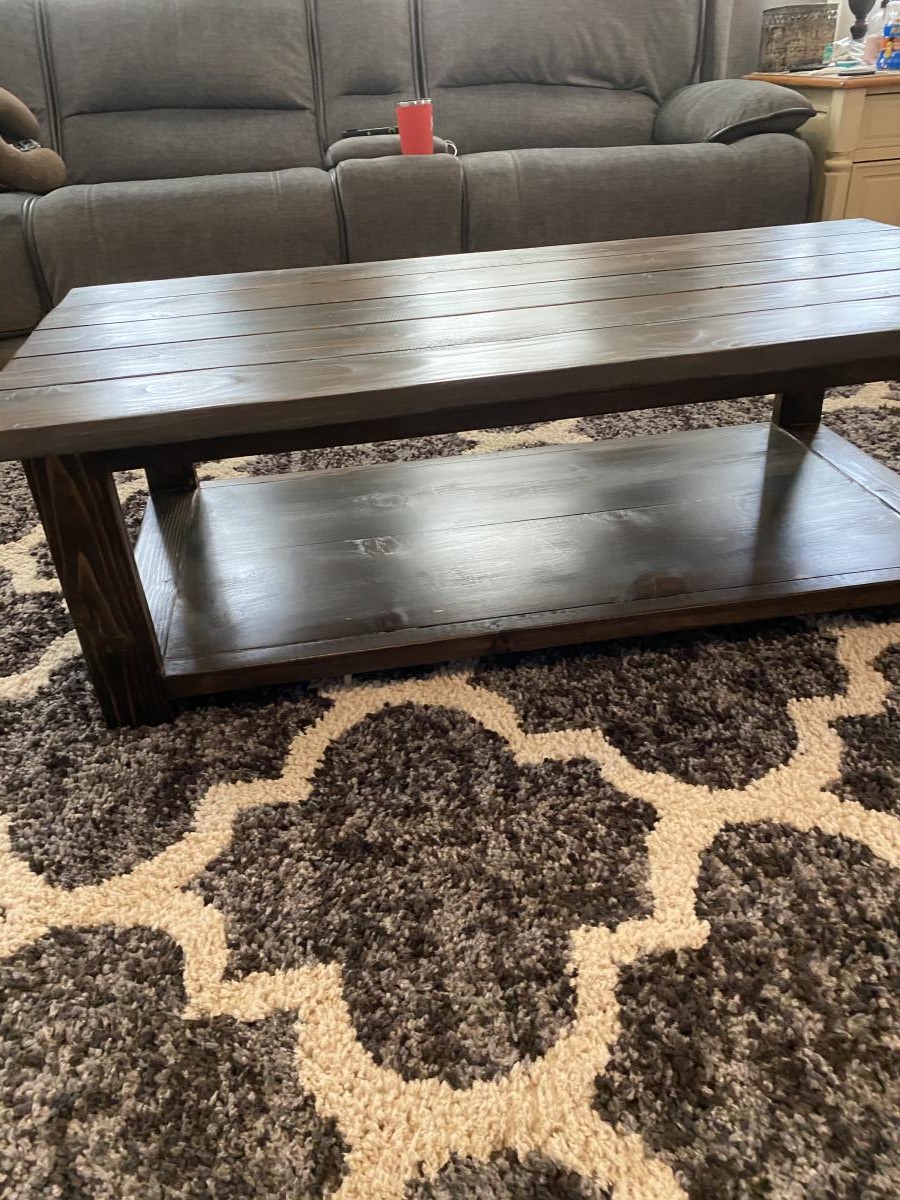
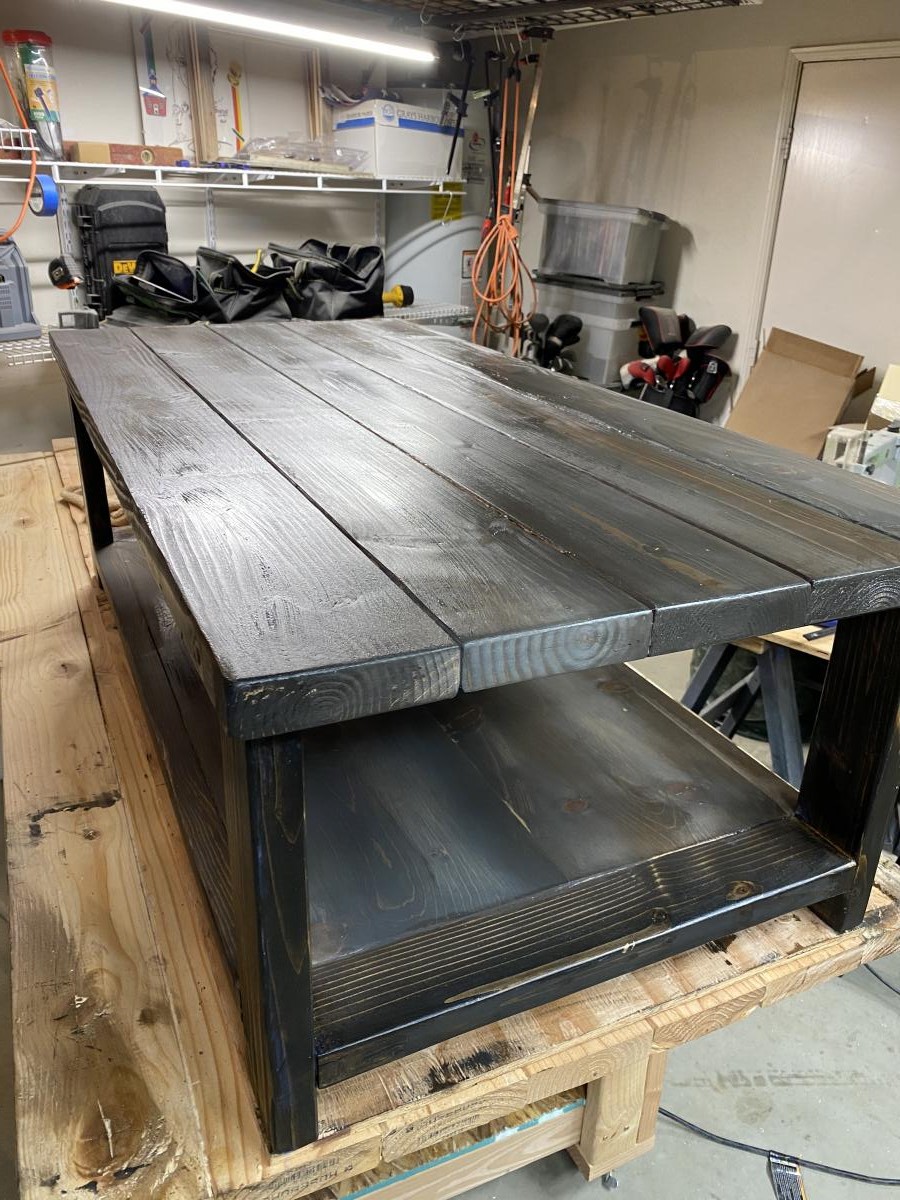
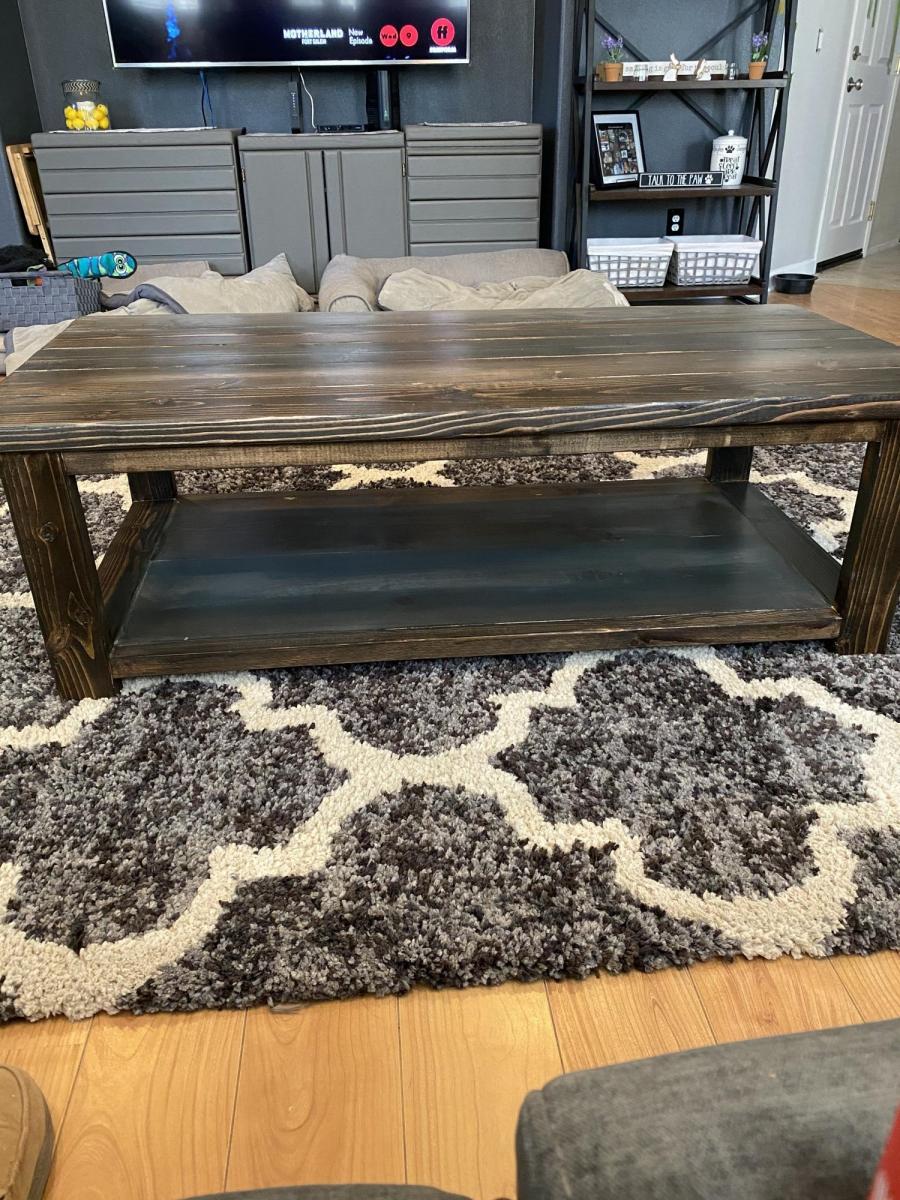
This is a modified version of the Rustic X coffee table I added six inches to the length And I used 4 different color stains to get the aged looked All done with construction grade lumber.
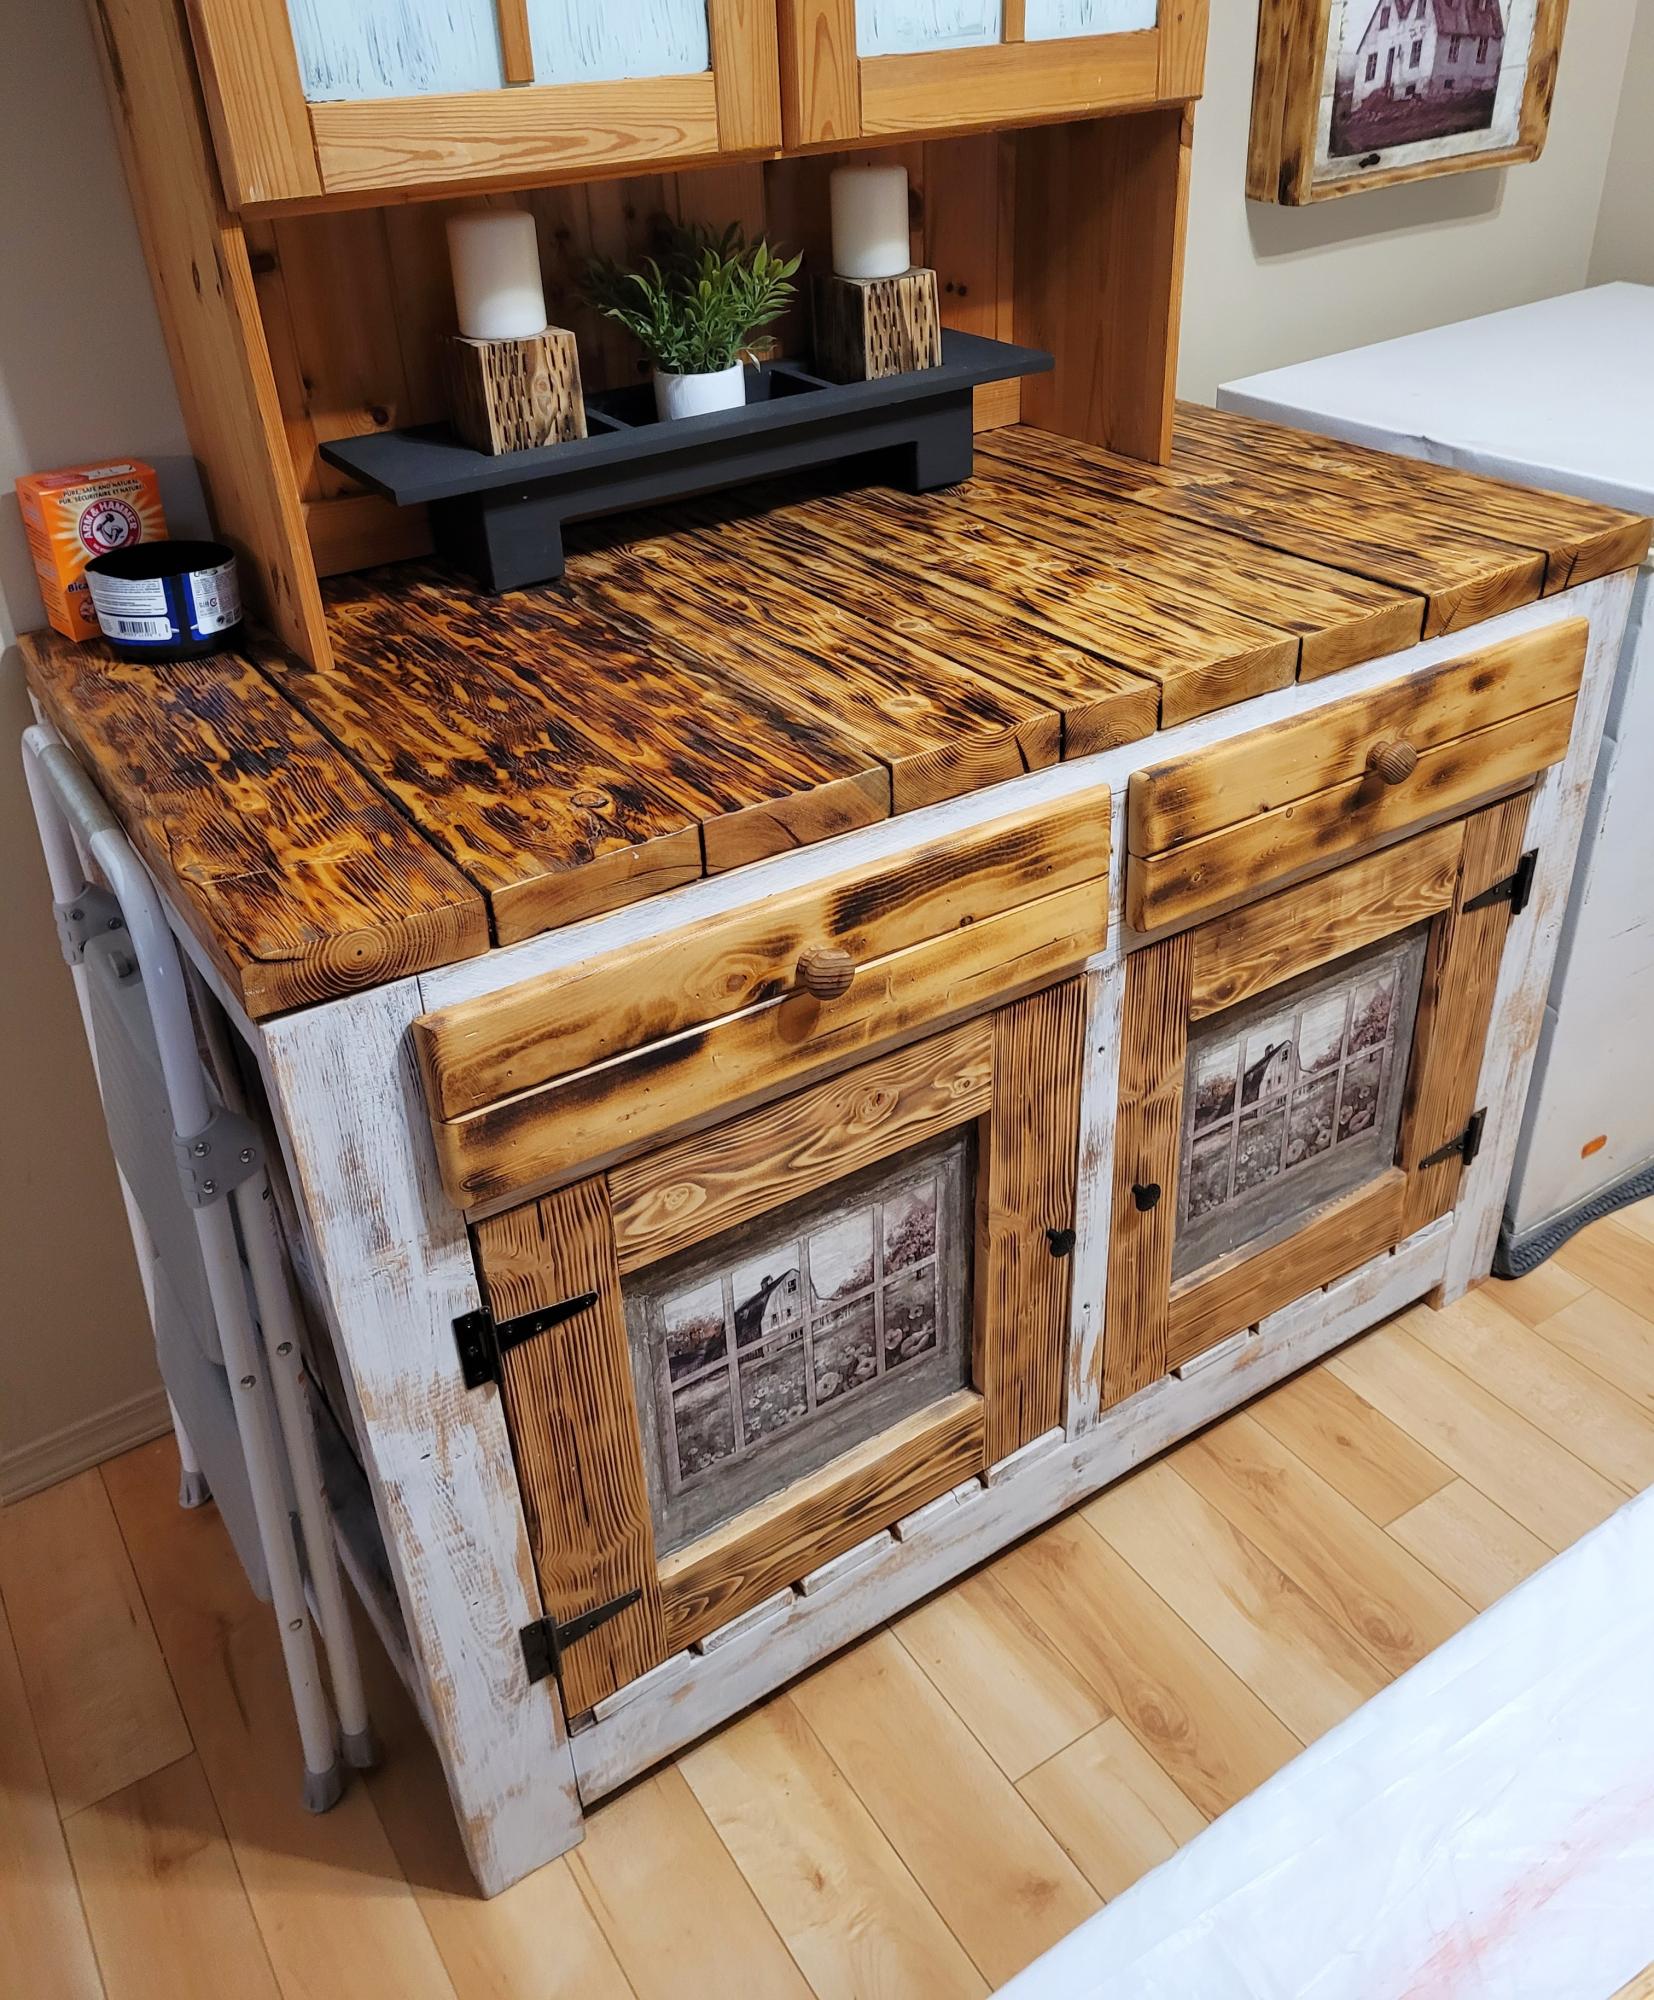
I started with your basic plan but i slightly modified it with out the overhang too much and added a set of doors and covered where the seating would be. But it still has room for two seats .. I made mine rustic :-)
backyarddiybuilder.ca

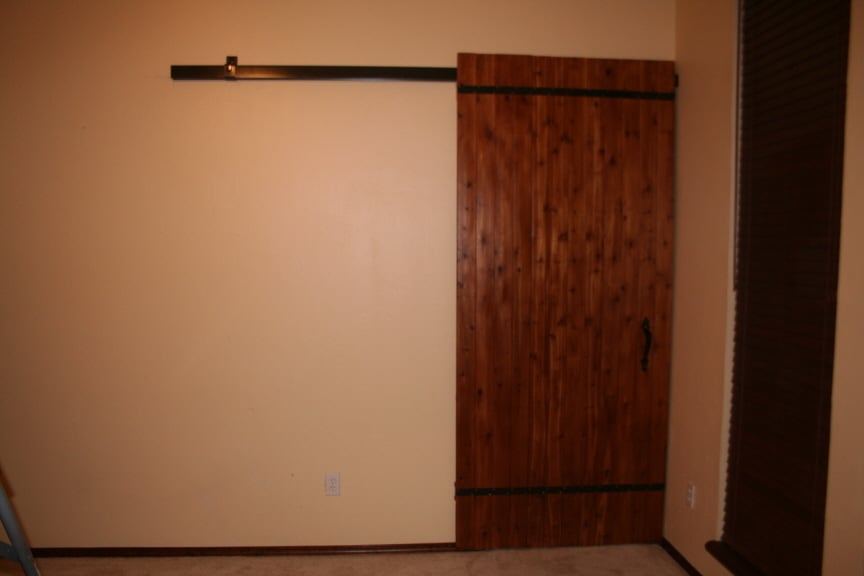
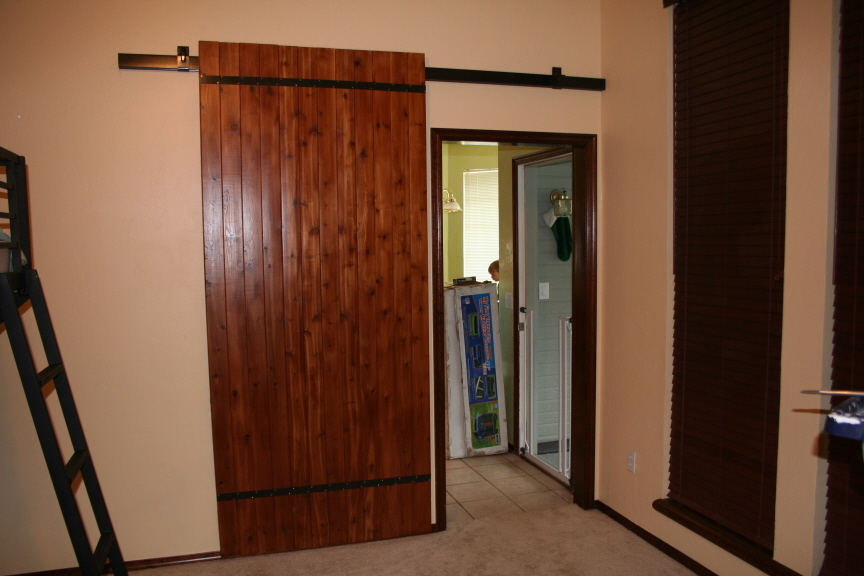
We turned a formal living into a bedroom so we needed a door to close off the kitchen/nook beyond. Since we were on a tight budget, we knew we could not afford the barn door hardware, so we found the next best thing:
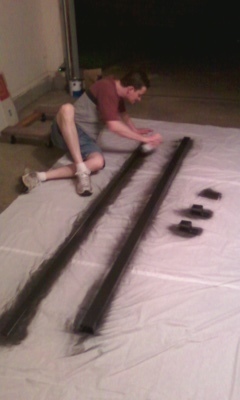
Stanley Trolley Box Track (from Lowe's). http://tinyurl.com/2z6wpn Yes, it's ugly looking, but we painted it black and modified how it was used. We got the 6' track with the box track hangers without apron. We bought the mount bracket, but that was a mistake. The door could not pass the mount on the right side and we ended up just attaching the track to the wall without the mount on that side (pic of door open shows both mounts before we were able to close the door and before we removed the mount on the right side). Had we known, both sides would have been attached to the wall without the mount. But, we went ahead and left the mount on the left side as we didn't think it hurt the look too much.
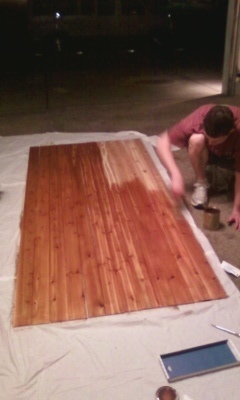
The door: We made another mistake. We meant to buy 1x tongue and groove wood (3/4" thick) to make our door and we somehow got 8' lengths of tongue and groove paneling 1/4" thick (OOPS): http://tinyurl.com/7ea6b3r It looks good, but it's ultra light weight (stain first, then put it together). We used a flat piece of aluminum to hold it together (also painted black - along with painted screws). Due to our mistake in depth, our screws were too long so we located a 2x4 directly behind the aluminum strip on the top and the bottom of the door for stability. It helped a lot. The location of the aluminum strip at the top is strategic because the 2x4 behind it is also what holds the box track hangers that roll on the track above. We put them a few inches in on each side from the edge of the door, drilled a hole vertical through the 2x4 (a little off center so the door wouldn't rub the track) where longer bolts were used to go all the way through the 2x4 and hold the door onto the track while being hidden behind the door. I also had to get smaller screws for my door handle to go on since the door was only 1/4" thick. But, it all worked out.
The backside: Due to the fact the door is so light, we added felt to the 2x4 at the bottom so it wouldn't damage the trim.

Wed, 06/13/2012 - 12:52
My mouth totally fell open when I recognized the door plan from my blog! Your door looks fantastic, even with the oopses ;) I'm glad it all worked out for you guys!
Thu, 06/14/2012 - 14:17
That's why I definitely wanted to link the blog post where the plan came from. It was a great idea and I'm thankful I found it. I don't think we would have been able to do the door without your blog. For one, they are too expensive and I wasn't sure how to do it without that expensive hardware. But, your blog helped us be able to do something nice and without spending too much money. It also functions perfect!!!
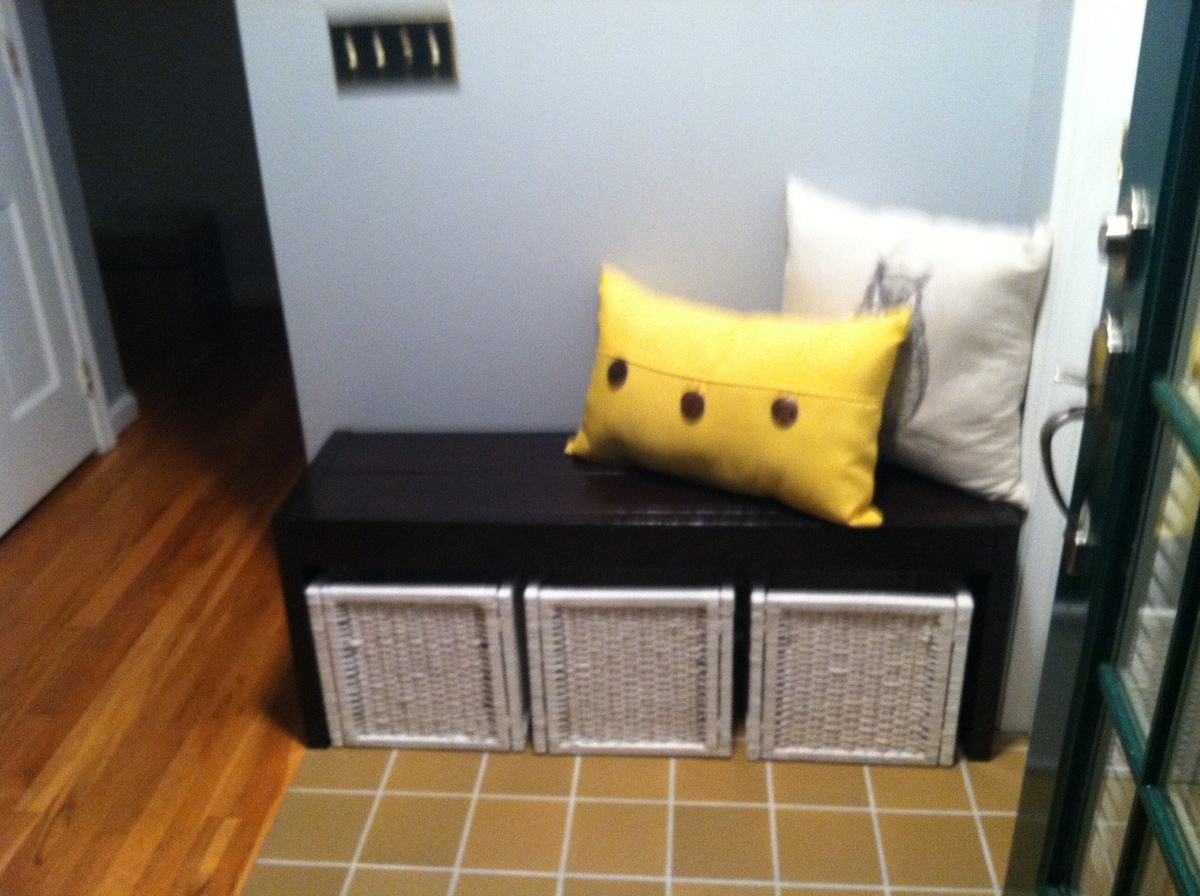
Modern farmhouse bench used as entryway bench/storage
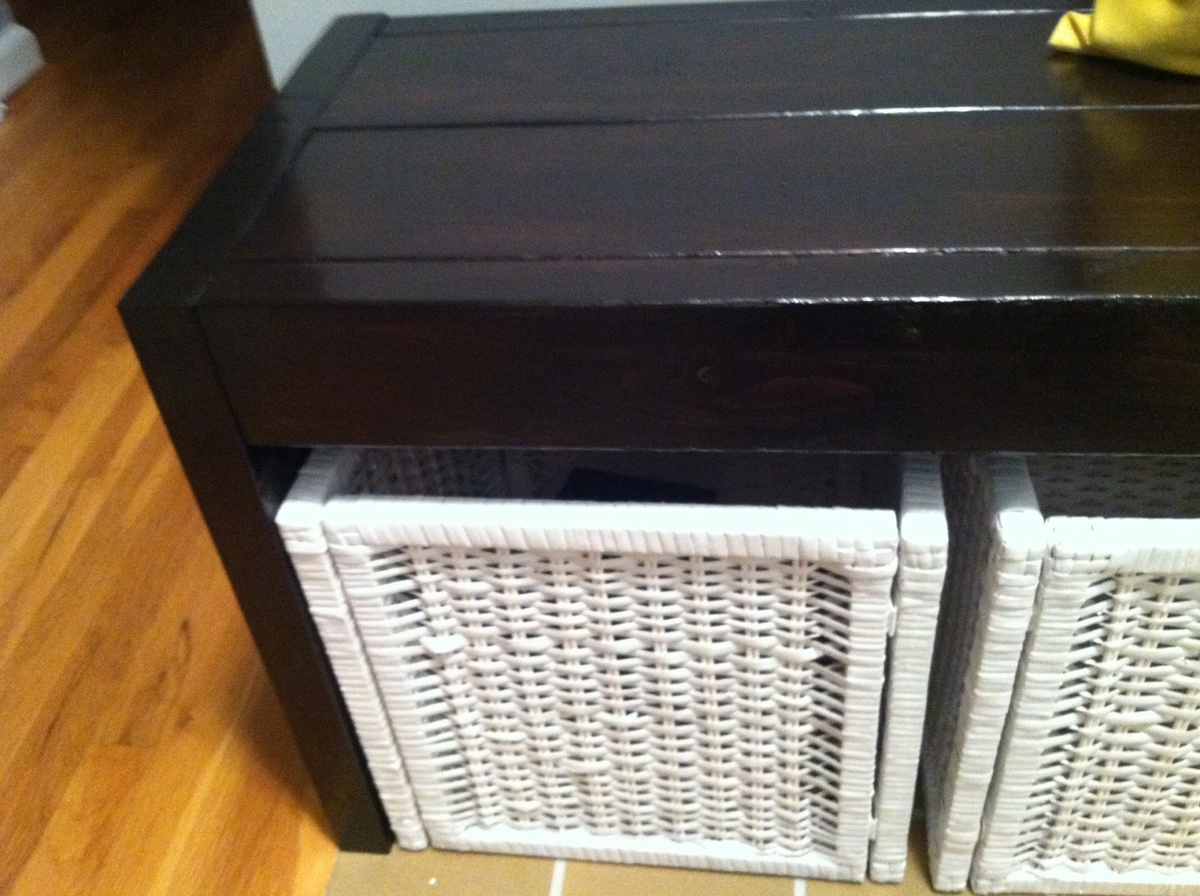

Our two teen boys (13 and 14) took this on for a summer project. Their dad supervised the sawing, but it was a great first project for them. The plans were FANTASTIC! Everything went together perfectly, and we are super pleased with how it turned out! It is a large bench that the entire family can sit on at one time. Our dog is 60 pounds and she has a lot of room on it!
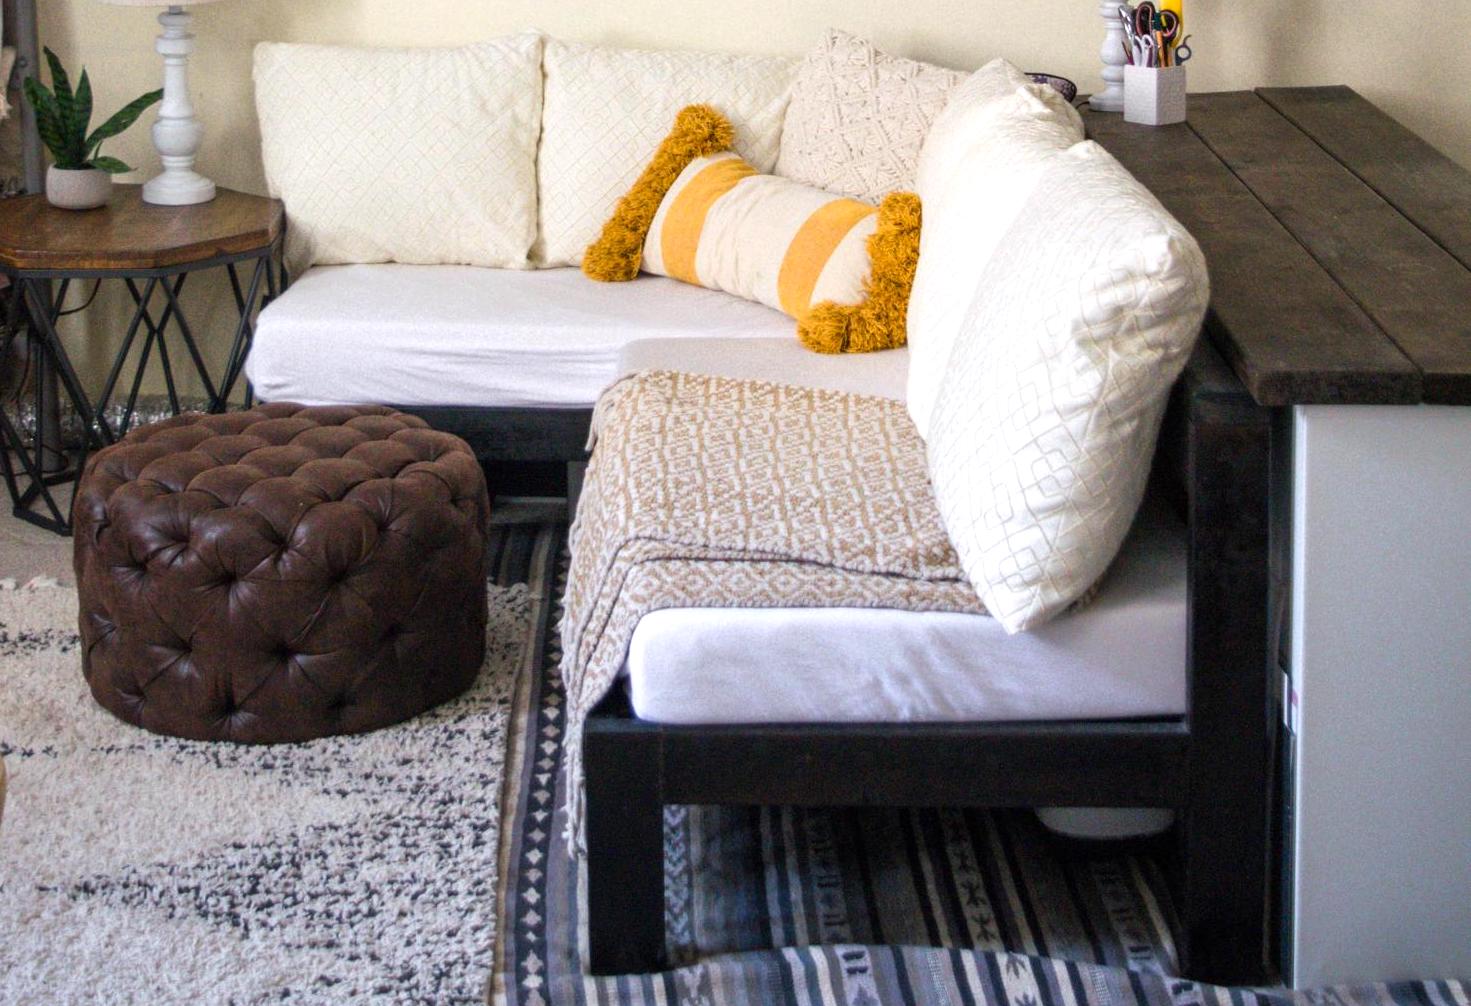
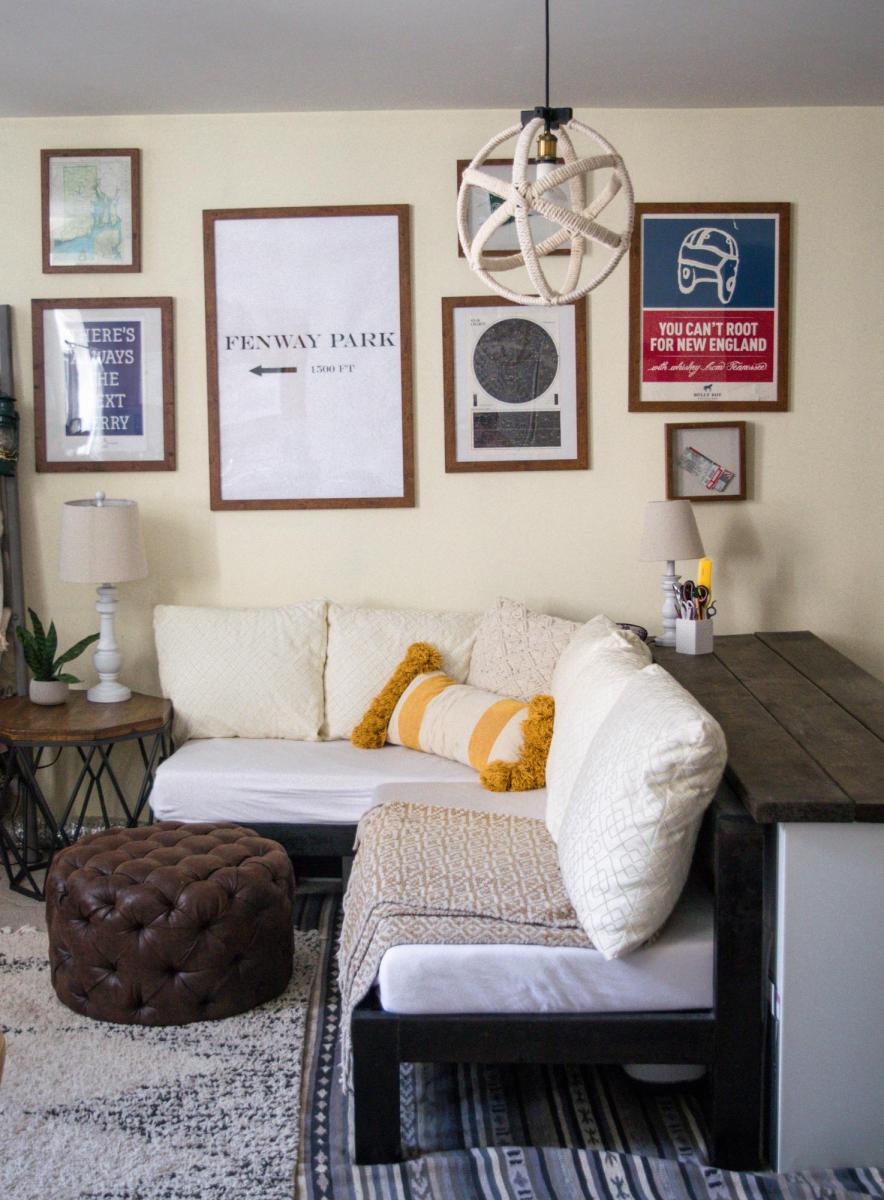
I modified the kids couch plans to make a sectional sofa for my apartment! We removed all but one of the arm rests. So when pillows are removed it doubles as a twin bed for our friends!
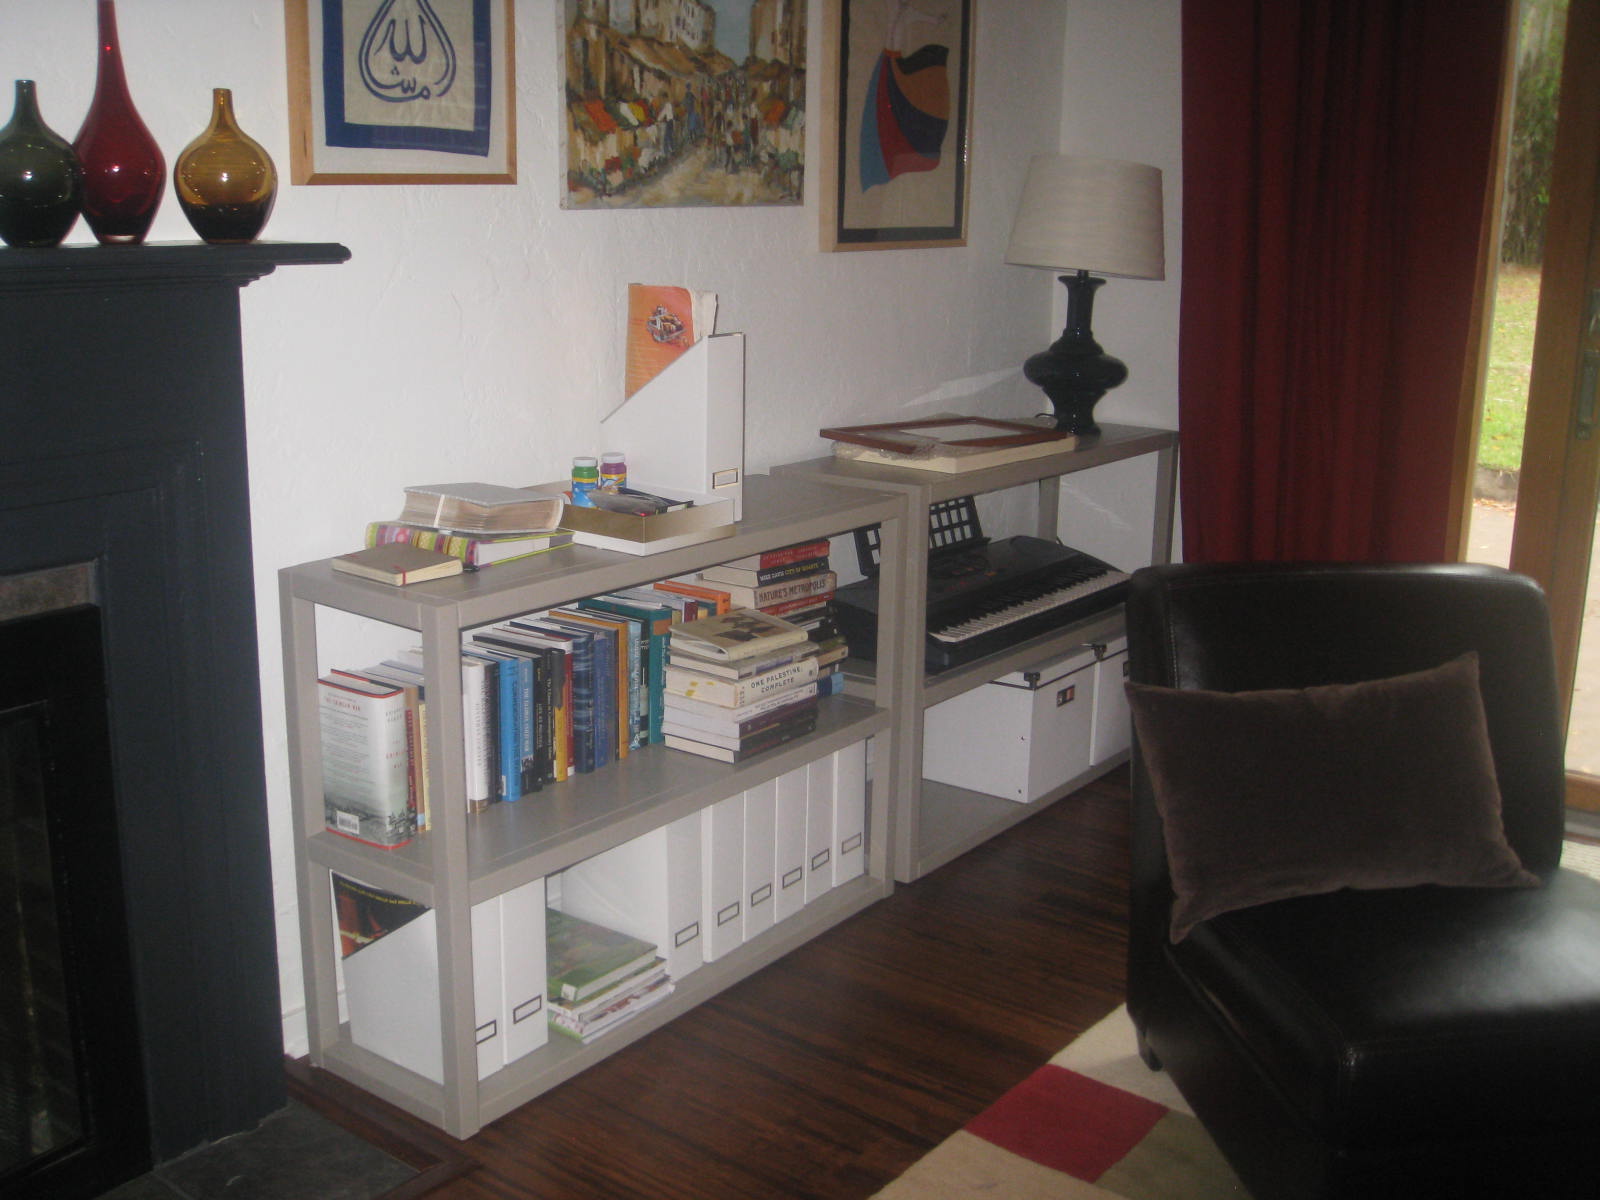
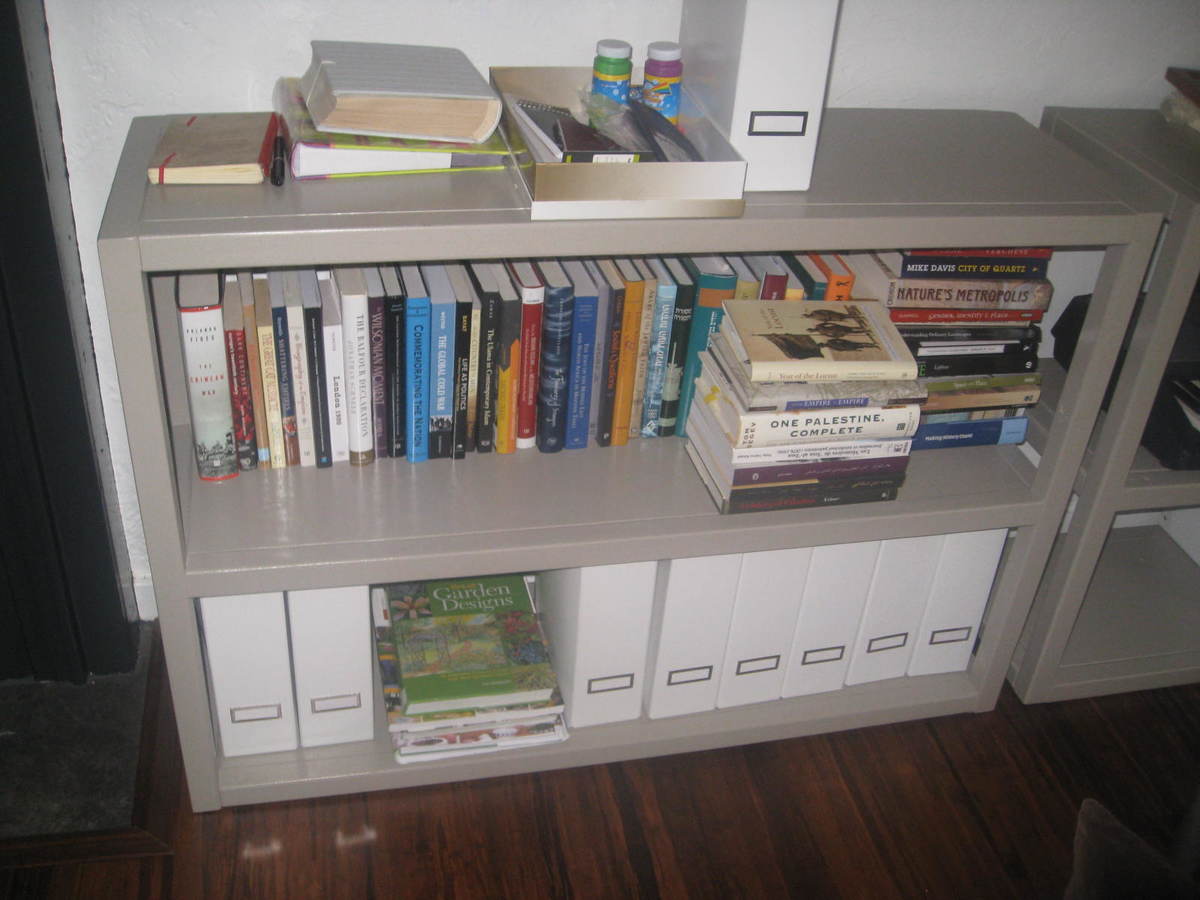
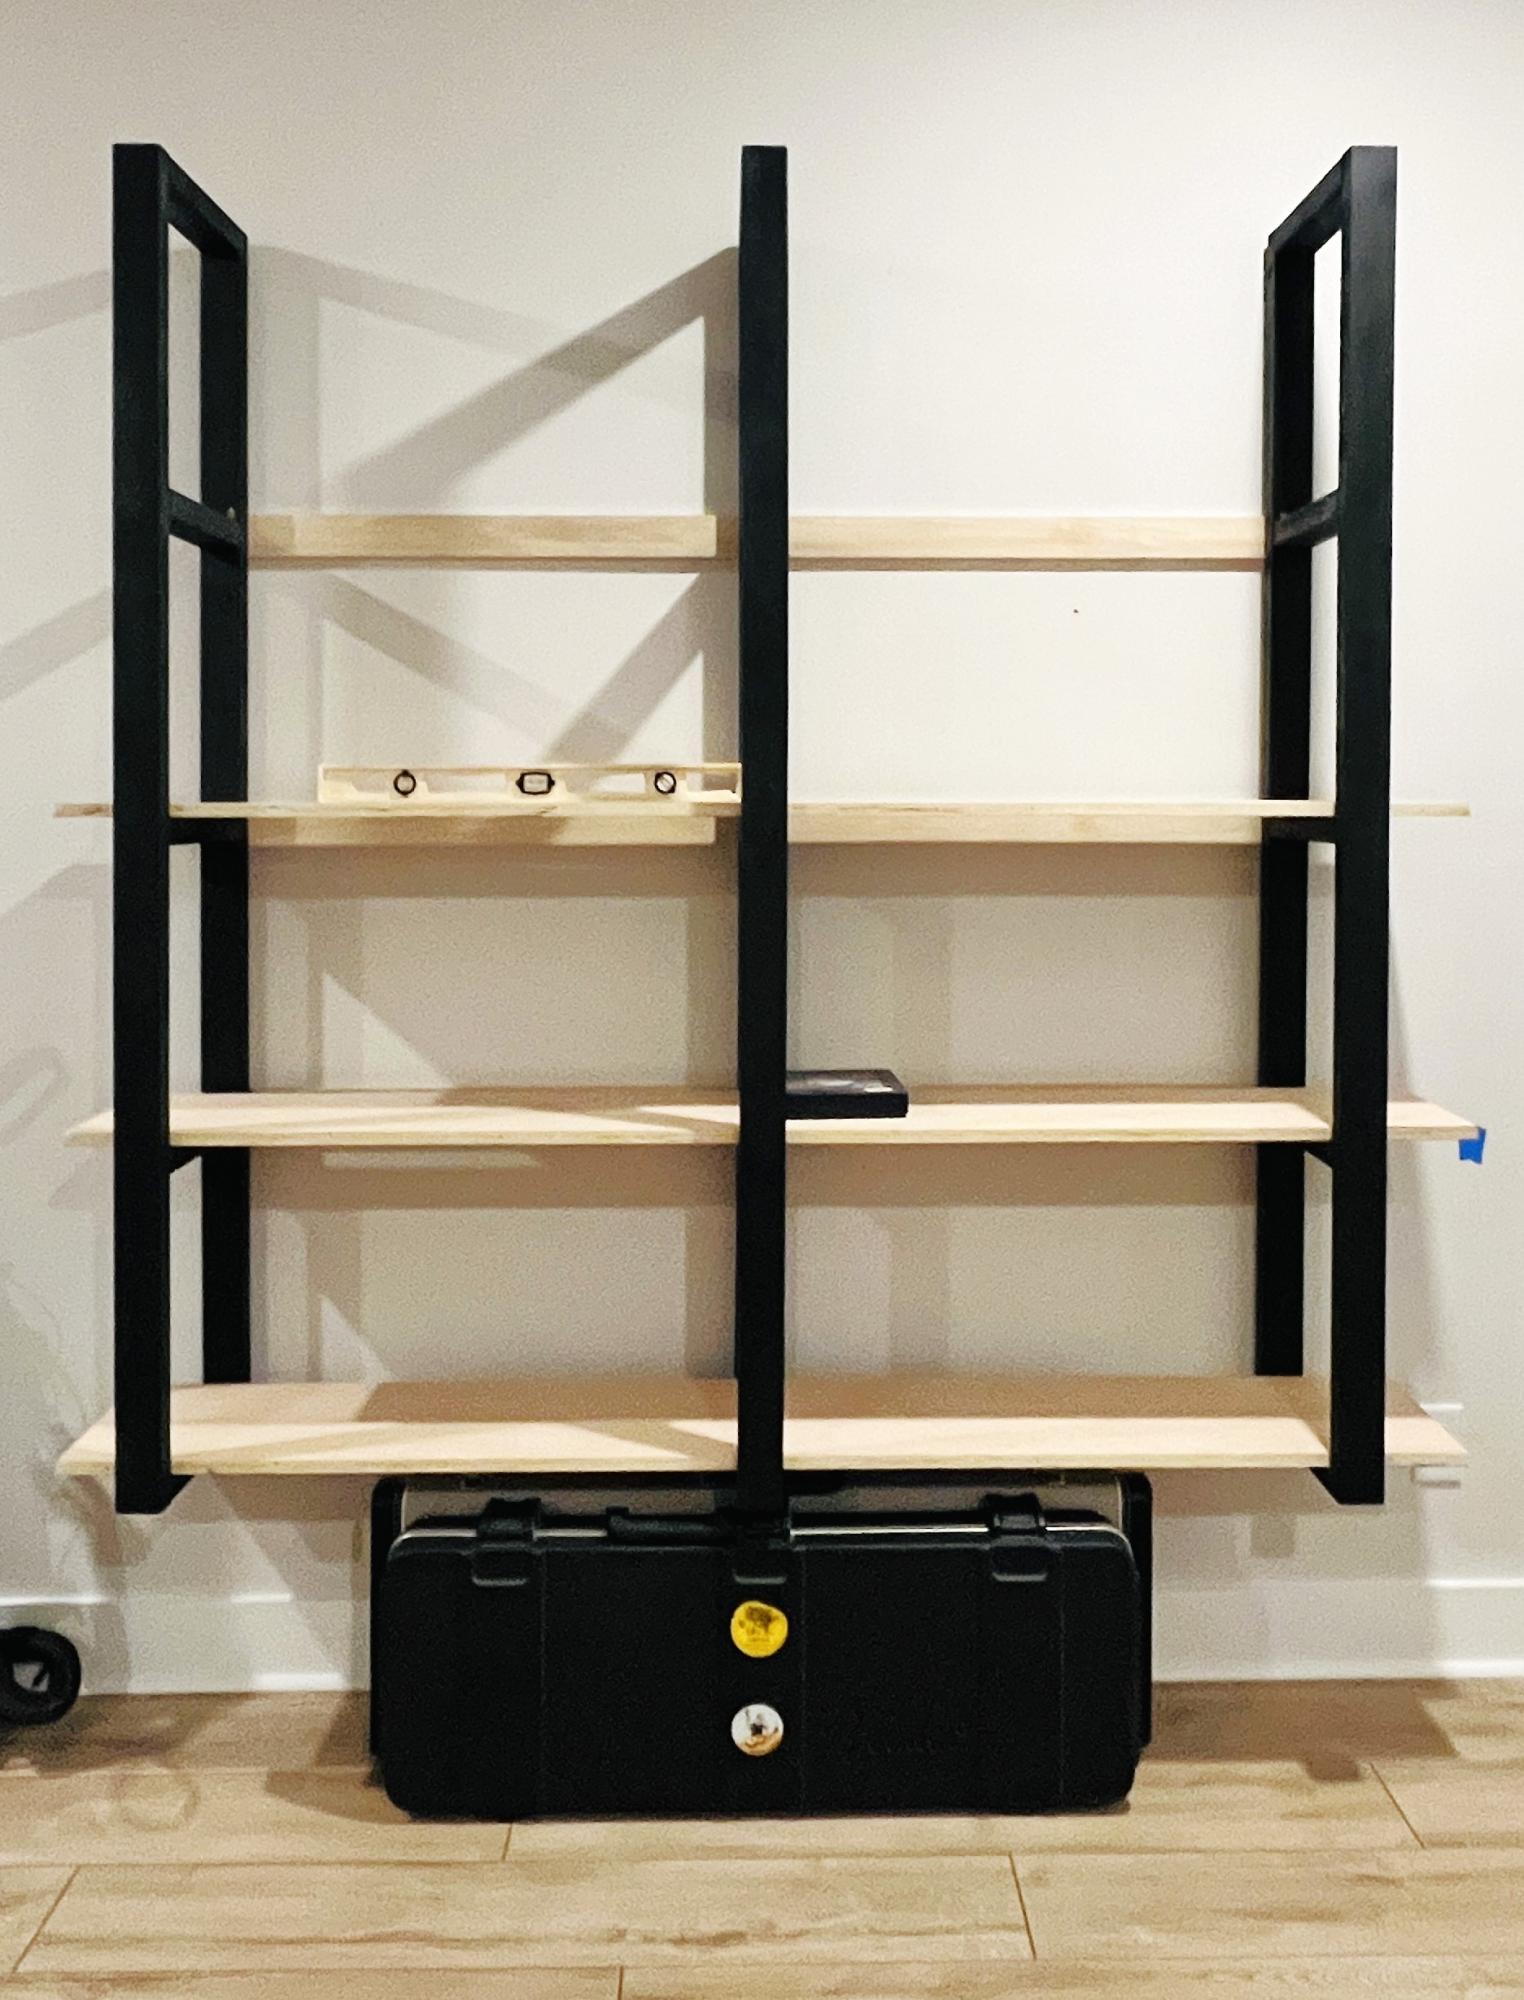
After following Ana's blog for over a year and bookmarking dozens of projects, I finally built my first project. (I built it months ago and have since built 3 other things...so this is addictive!)
I love the modern West Elm look but didn't want to shell out over $600 for two low Parson's shelves which still would not fit my dimension exactly, so this was the perfect project for me. Initially I had intended to stain the bookshelves a warm pecan color, as I think "modern craftsman" is more my style, but honestly the outcome was so wonky that I couldn't see that the shelves would look nice stained. Instead I painted them with what was supposed to be a color match to BM's Weimeraner -- lesson #1001, BM's paint cannot really be color matched. I may repaint in the future as this is not as warm as the original, but it's been fine for the past few months.
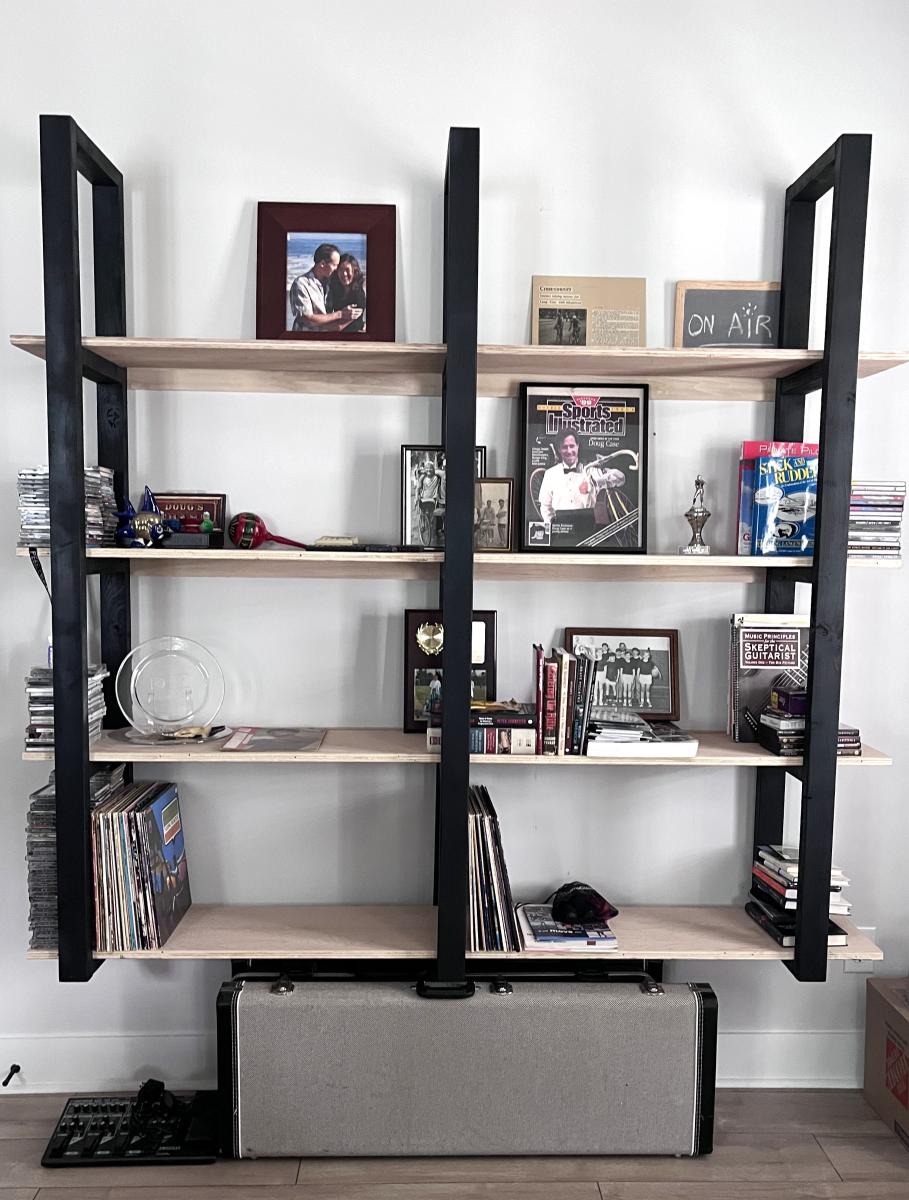
Honestly I had many building problems with my first project -- I had mistakenly thought working with 2x2s (pine) would be 'easy', but I found the opposite to be true (and since I have done another project with 2x2s since then I can confirm that we are not meant to be bffs). I did choose straight boards, but I had the guys at Lowe's cut them. Unfortunately in the future I will have to buy my own saw (and pick up truck and workshop, lol), because literally every single time there has been a problem, even when I check the boards at the store. The problems are generally small--1/4" or so--but of course this makes your project off square.
As a result there were noticeable seams between the 2x2s and the 1x12 boards. Of course caulk and paint hid all of that, but this was the main reason why I couldn't stain the project. I also had trouble with the 2x2s splitting when I used the Kreg jig -- luckily this happened only a couple of times, but in my next built it happened even more often, using Douglas Fir. (if anyone can help me with this, I would love to hear!)
Long story short -- it was a lot of work, it wasn't exactly what I had envisioned, but I love the final product, seams, warts, and all. It fits our space perfectly, it's incredibly sturdy, and the power of making something myself--even imperfect--is amazing. Since then I have built an activity table and a picnic table for my kids, and I even felt confident enough to design and build my own window box. (sure, it's not complicated, but I credit Ana's "training" entirely. of course I haven't yet installed it, but that's a different problem)
Thanks, Ana!!!
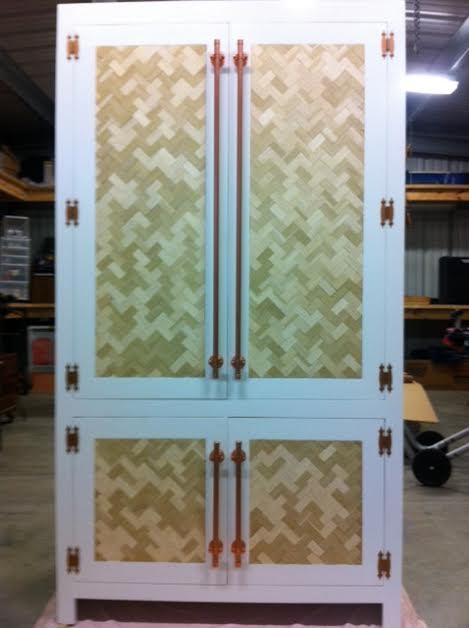
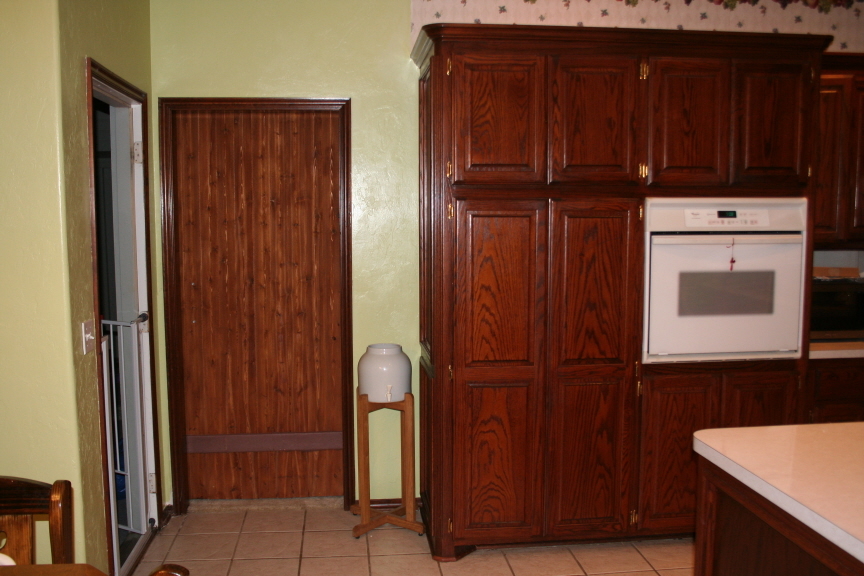
I needed more storage for our TINY kitchen. I found the nursery armoire plans and asked my dad to help me build it for a pantry! We modified it some by making it taller and adding more shelves inside (sorry no pics of that). For the doors I wanted to do something fun so we cut lots (over 700!) of small pieces of wood and inlaid then in a herringbone pattern - IN LOVE! For the handles we used copper pipe and I am IN LOVE with those too! Enjoy!
~ Maggie

Thu, 04/10/2014 - 18:32
You did a marvelous job on this, that herringbone inlay is amazing!
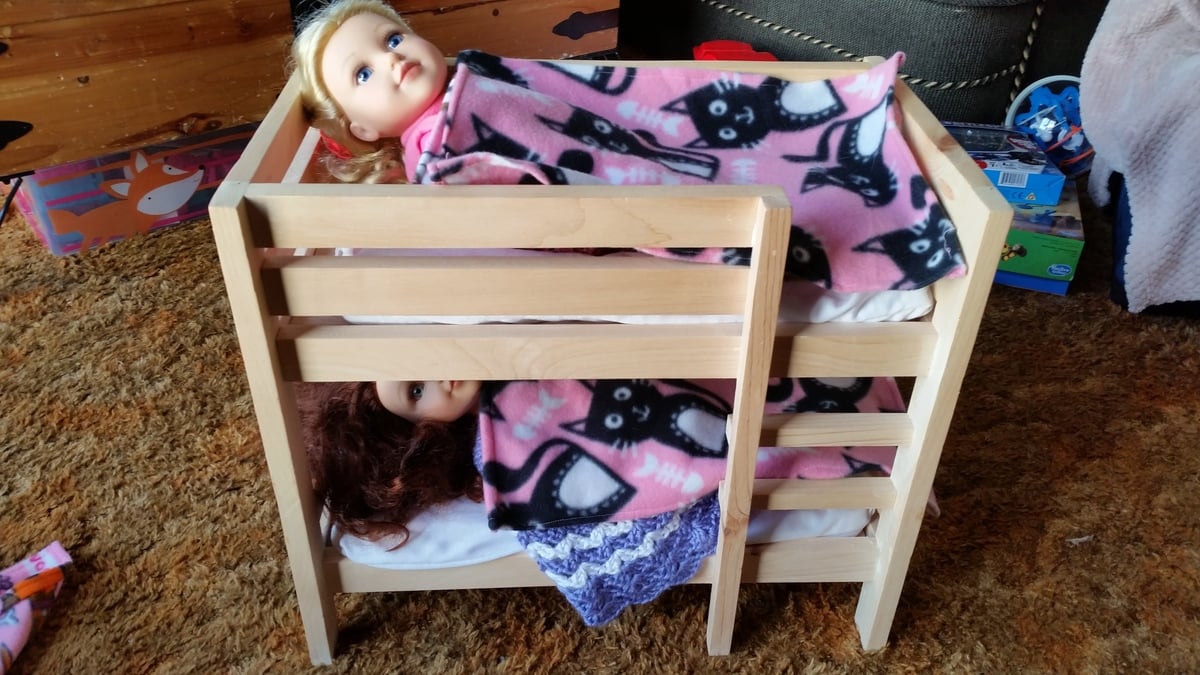
I made this for my daughter as a Christmas gift. She was thrilled and still plays with it every day. The tutorials are detailed and easy to follow. I used material left over from some of my other projects. There was a learning curve for the sewing portion so it took me longer to learn how to use the sewing machine. I am a better carpenter than a tailor :)
Thanks Ana...I will try more of your projects.
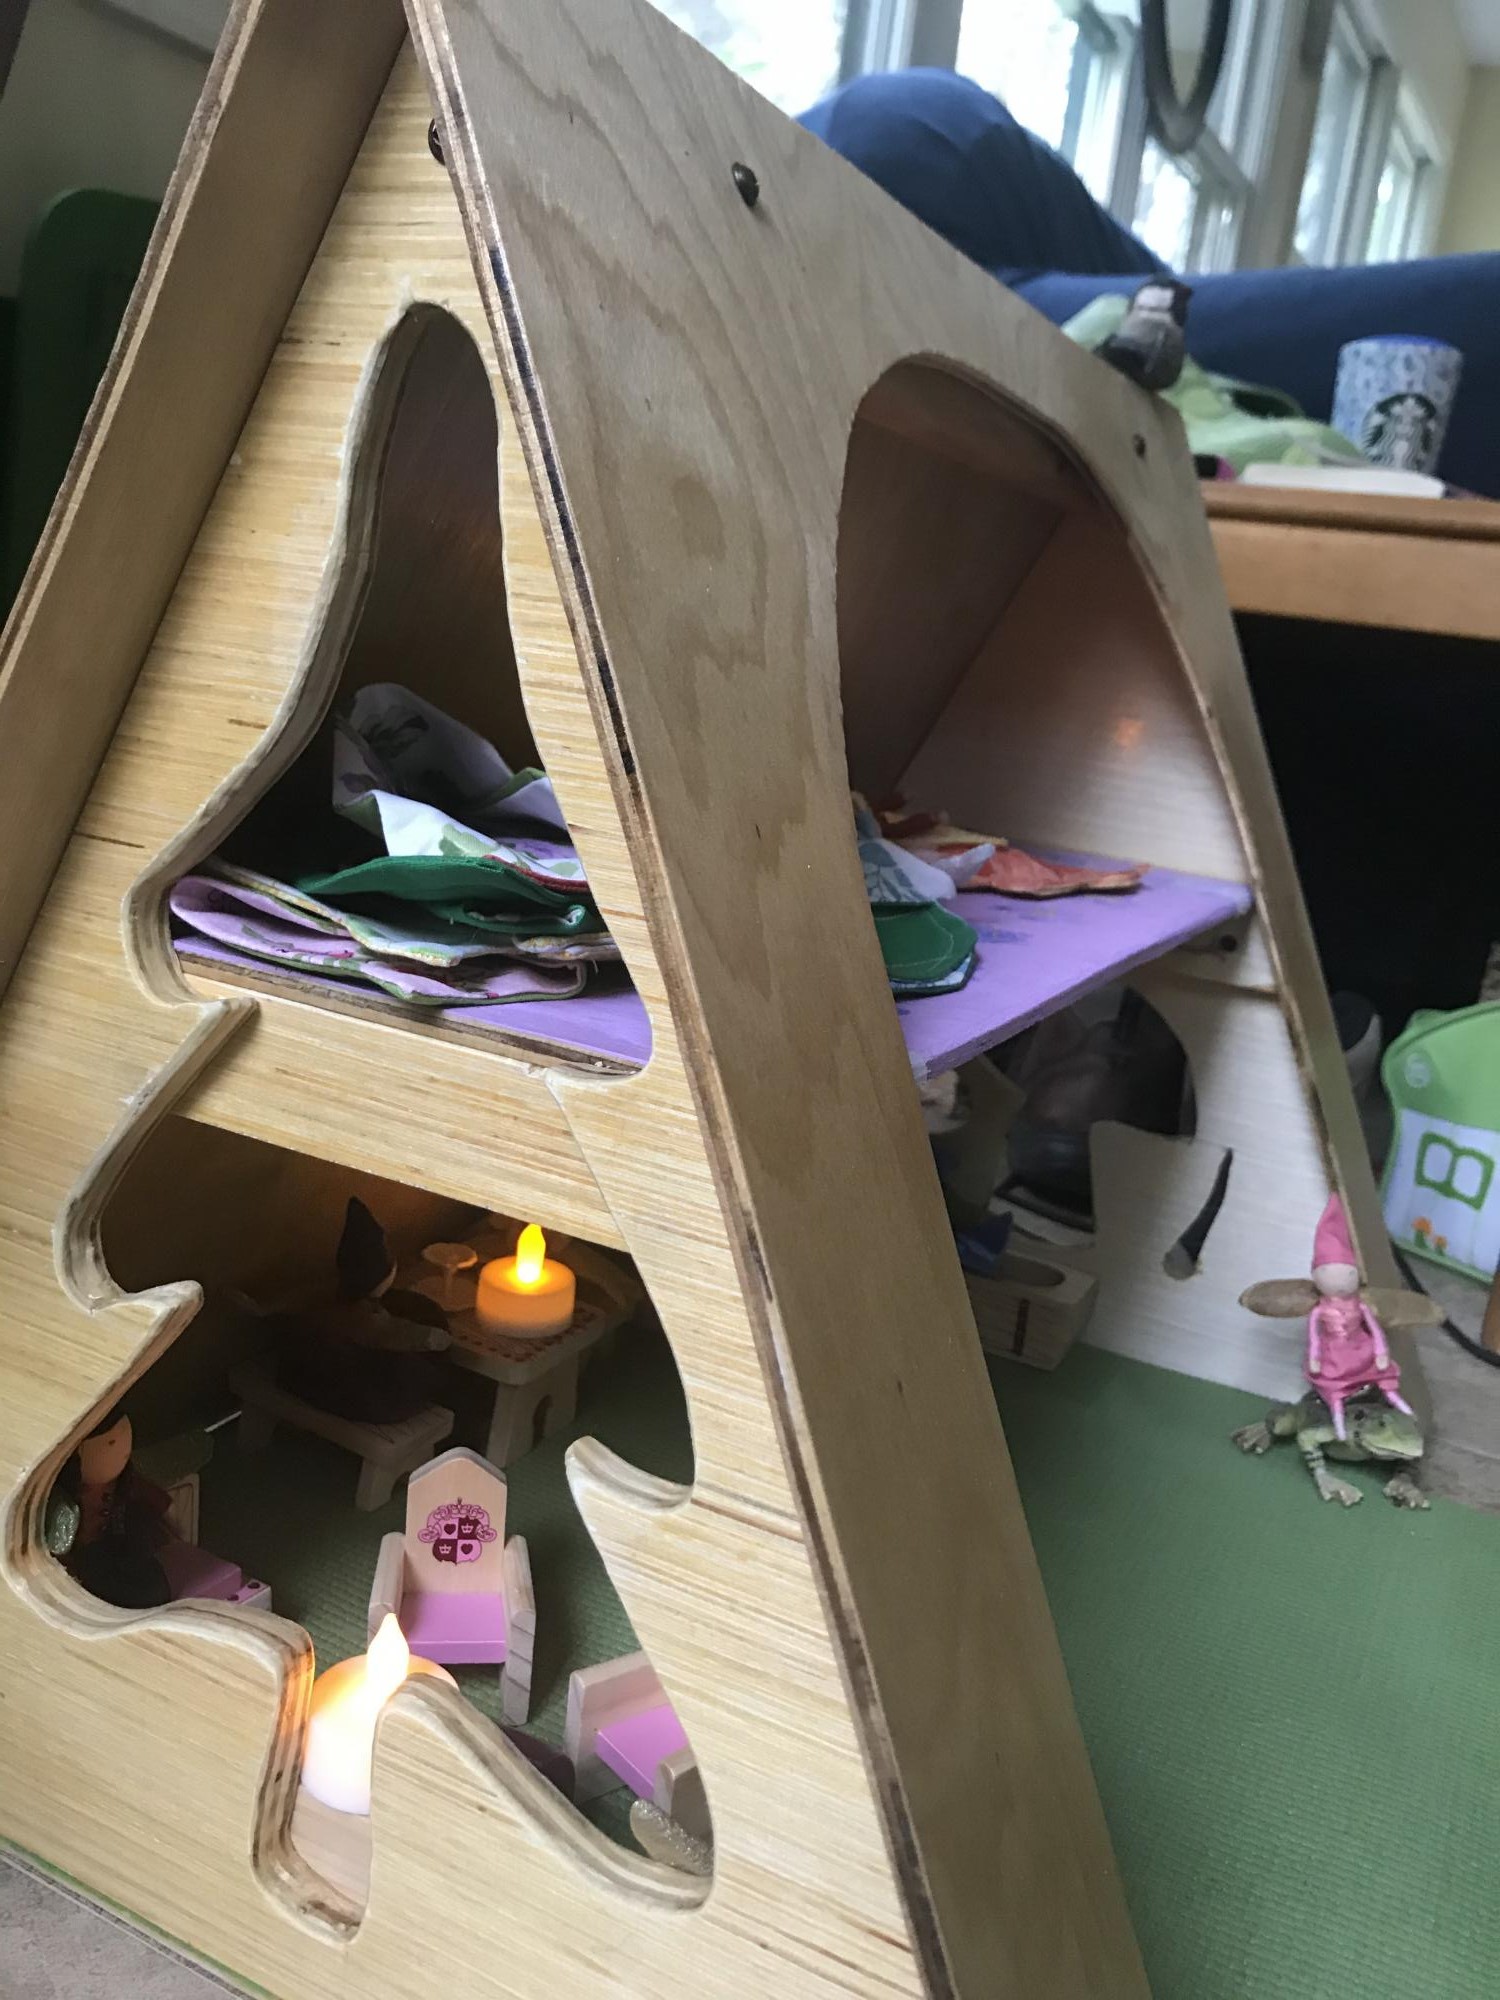
Used quarter and half inch ply. Used closet rod for main beam. Cutout for carry handle. Used Velcro to hold closed. First time. Only used jigsaw and drill

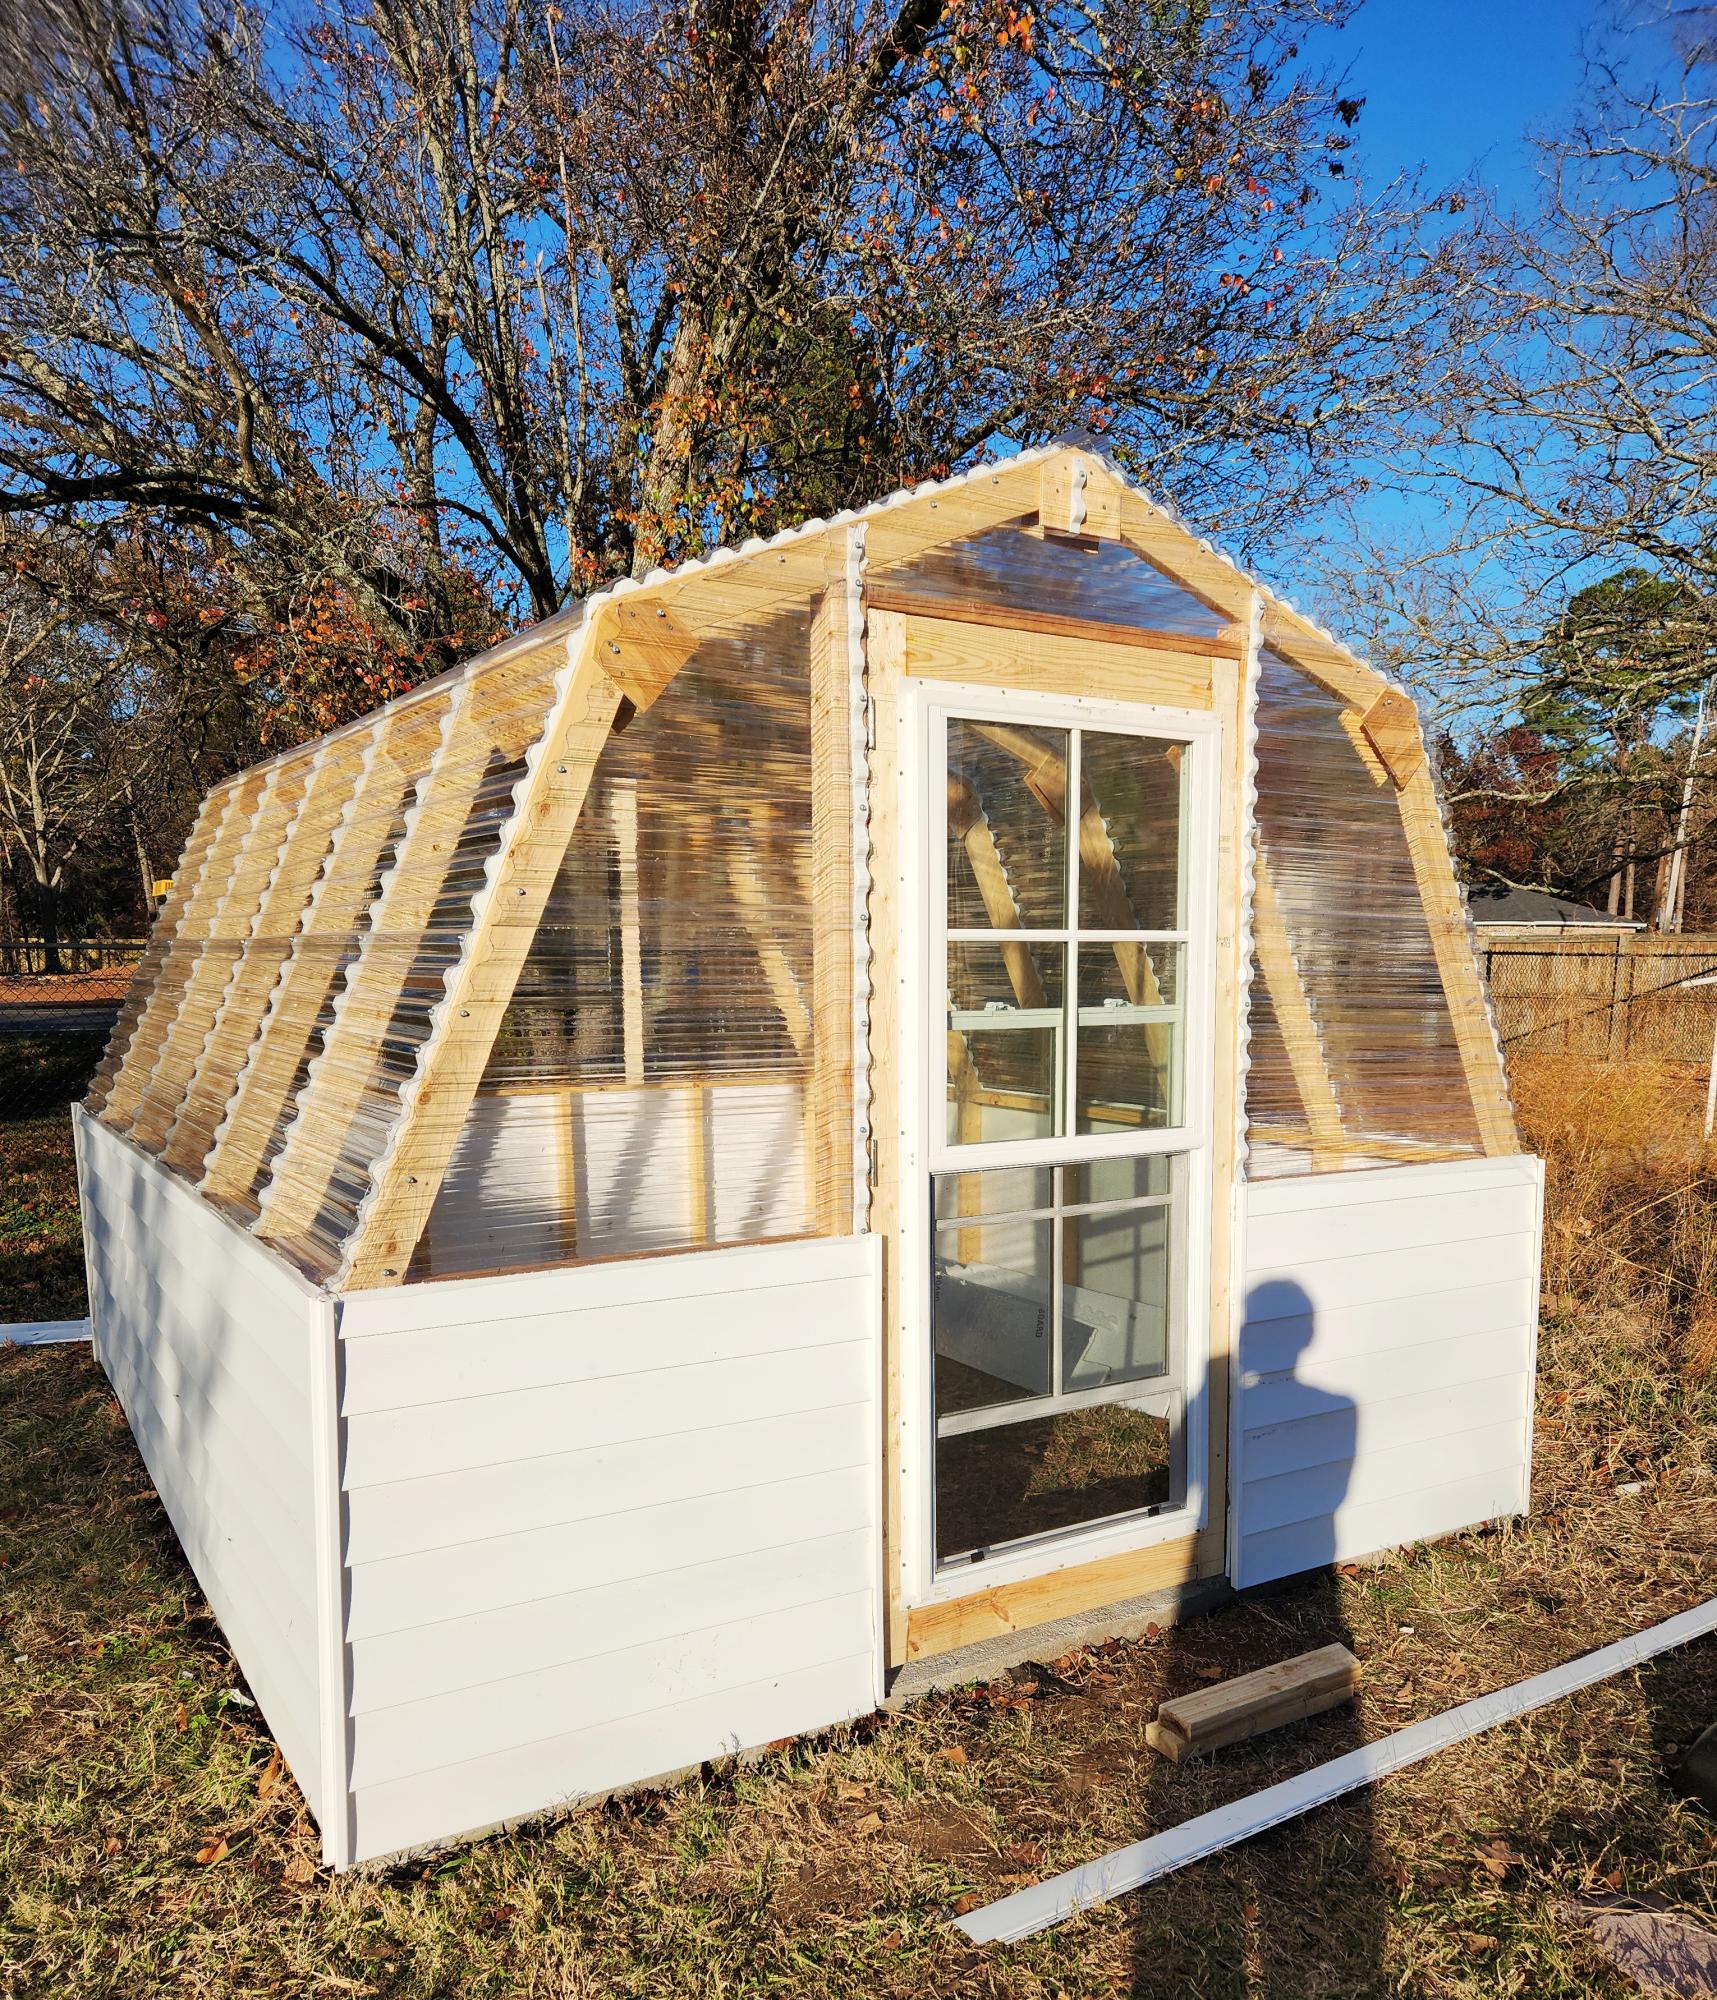
Our greenhouse. Long time coming but your plans were easy to follow. Can't wait to try some others.
Charles
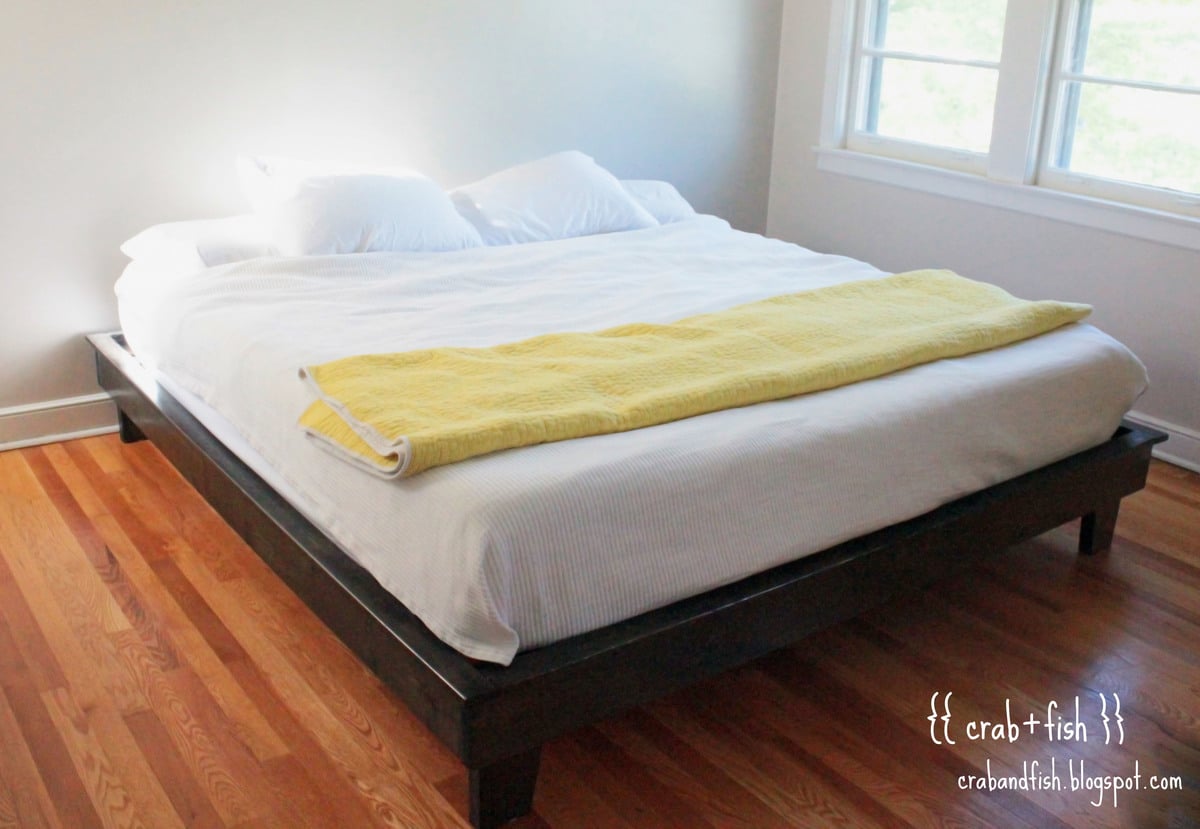
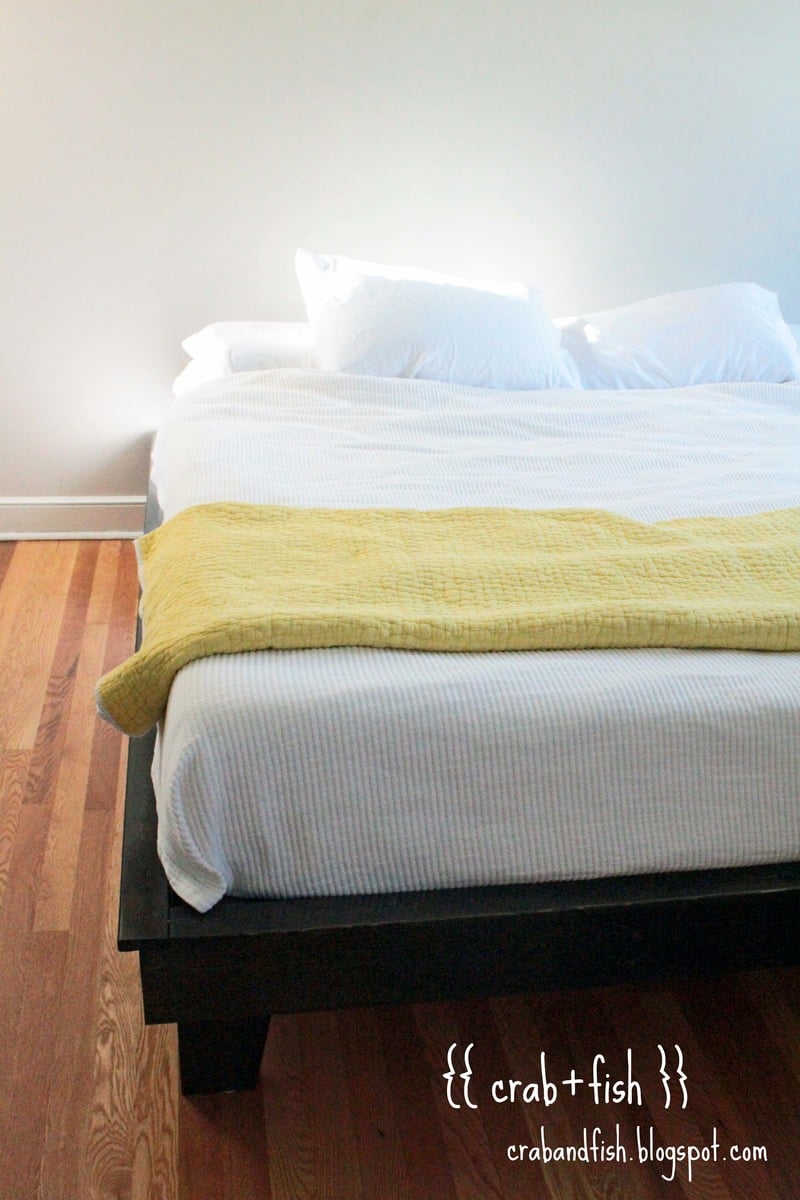
please see the full post here:
http://crabandfish.blogspot.com/2012/05/aaaahhhhi-love-our-bed.html
we built the hailey platform bed, modified for a king size mattress. we included four extra feet under the bed for additional stability.
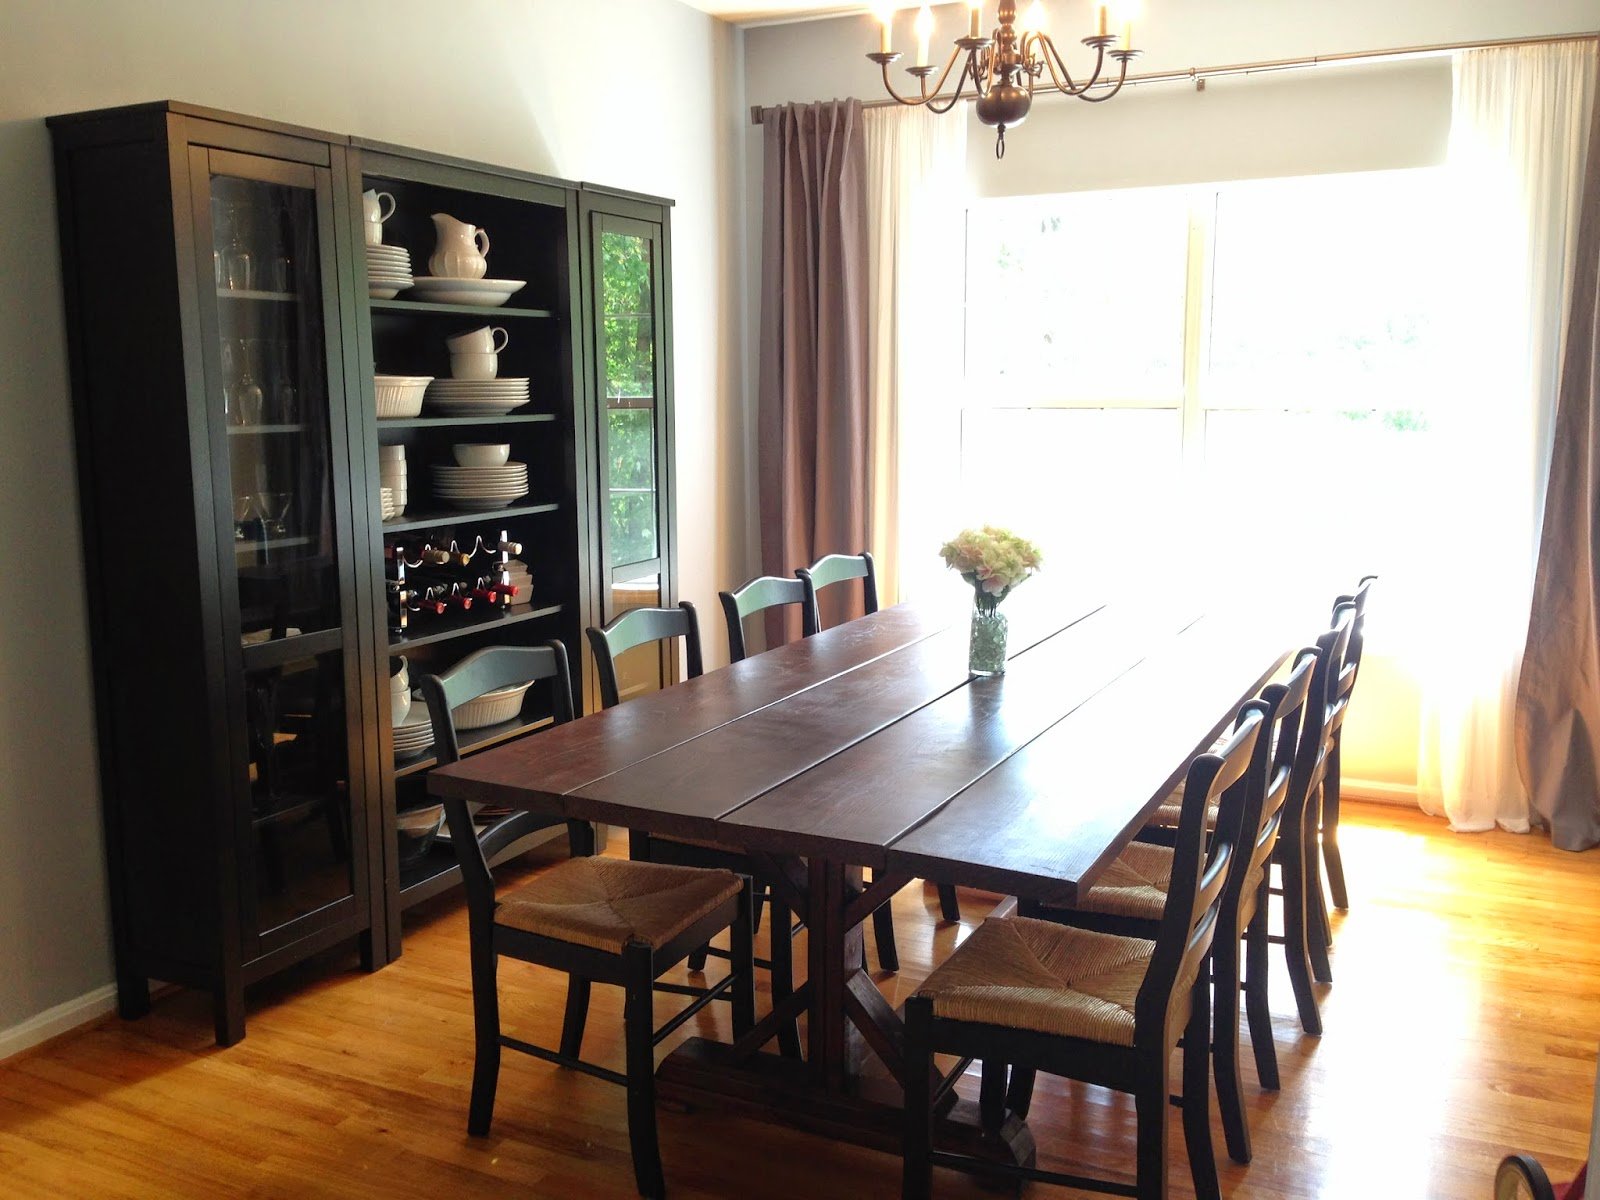
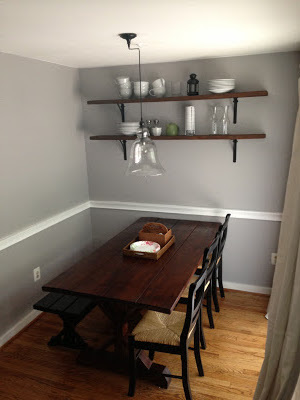
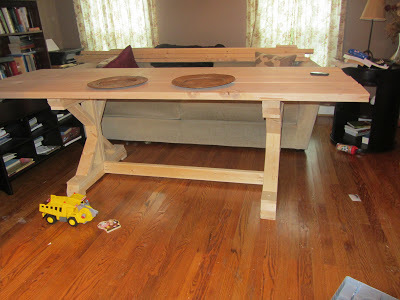
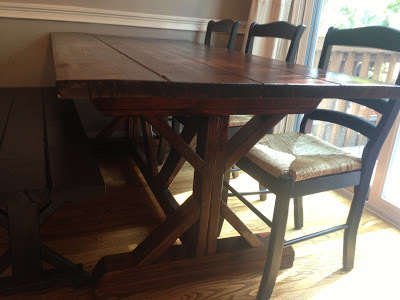
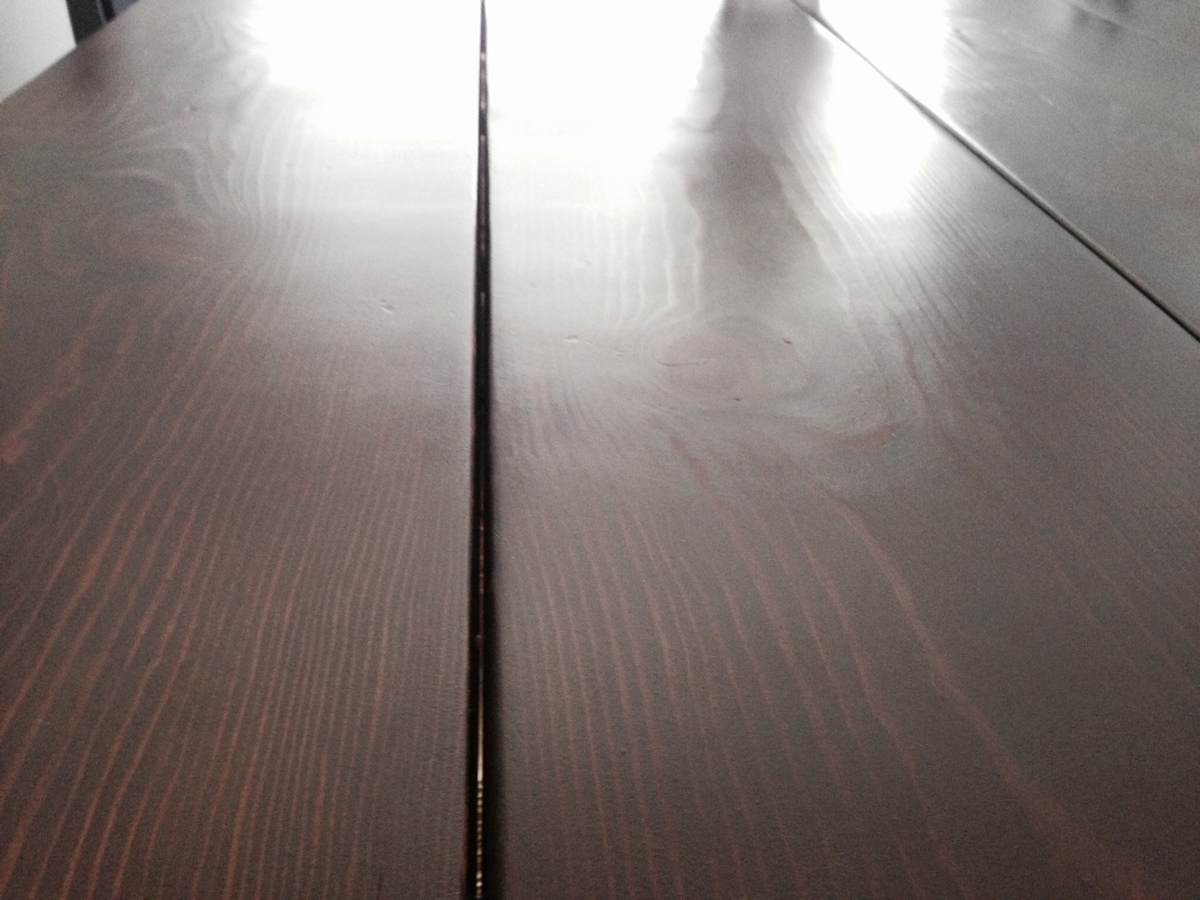
I had admired the x frame table from Anthropologie but knew it was out of my price range. When I saw these plans from Ana White, I knew I had to try to make my own table. This was my first wood working project and turned out that it wasn't too difficult. I constructed the table in a weekend. The first one I built was 5' long (used 4 2x10 boards) so that it would fit in our townhouse kitchen. When we moved to a larger home, I was able to create a new larger top and extended the base. The new table is 8' (used 4 2x12 boards). I absolutely love the table. Thank you Ana!
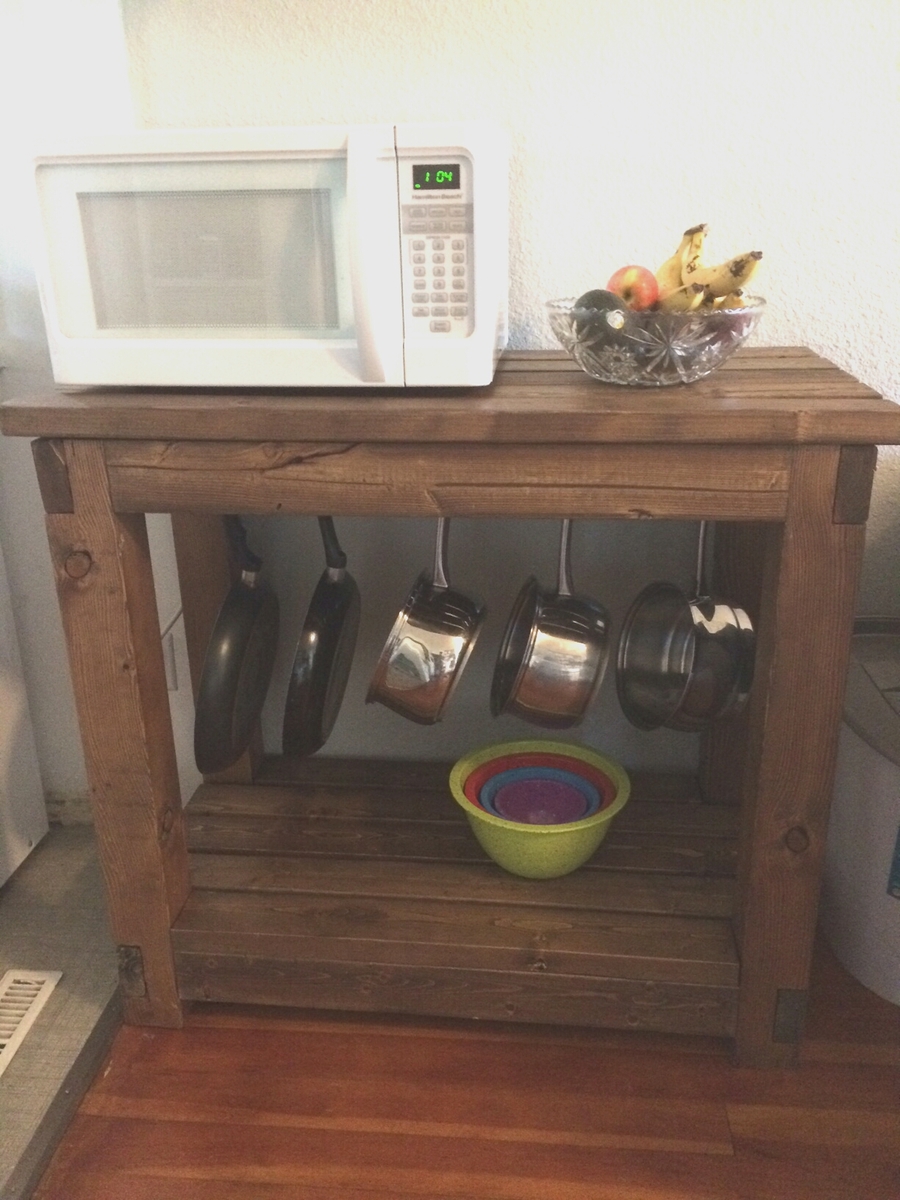
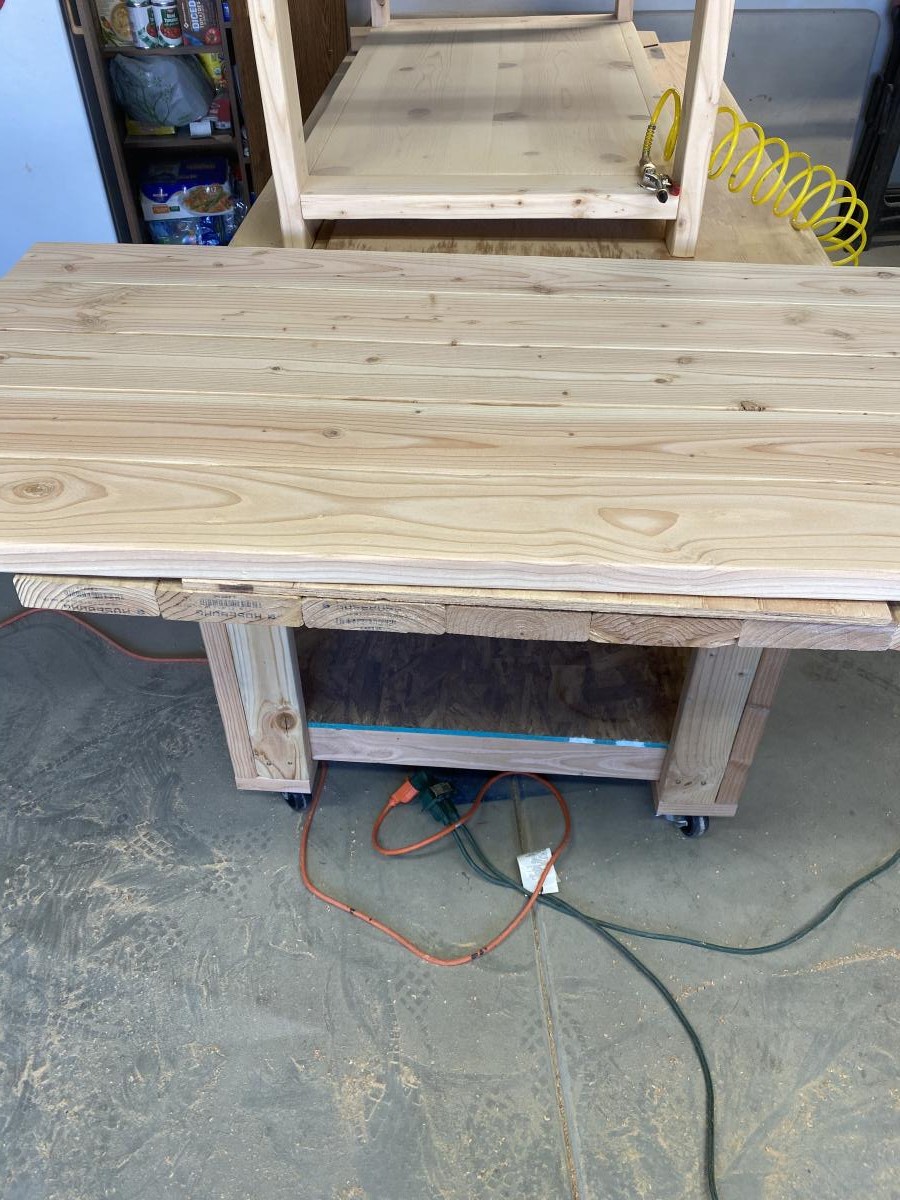
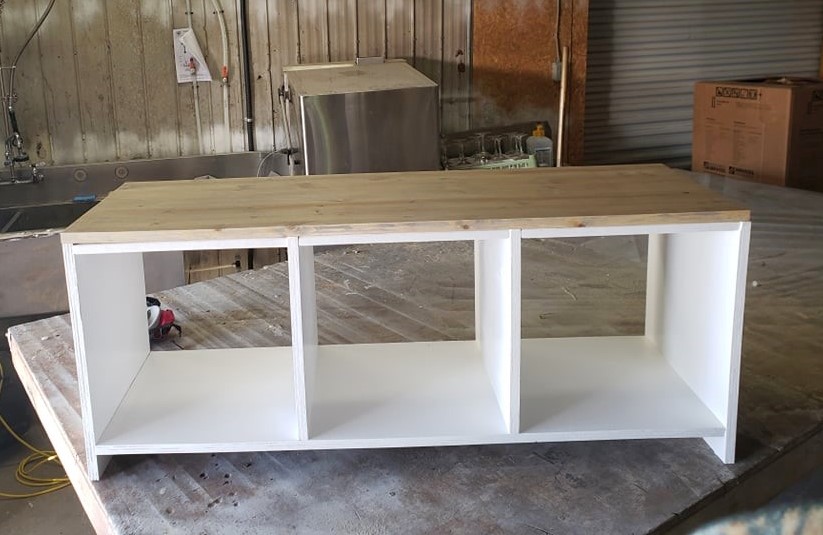
I adapted this from the Gaby Kitchen Island . I loved the design but my kitchen is way too small for an island. I was in need of a table for the microwave so this was the first design I turned to.
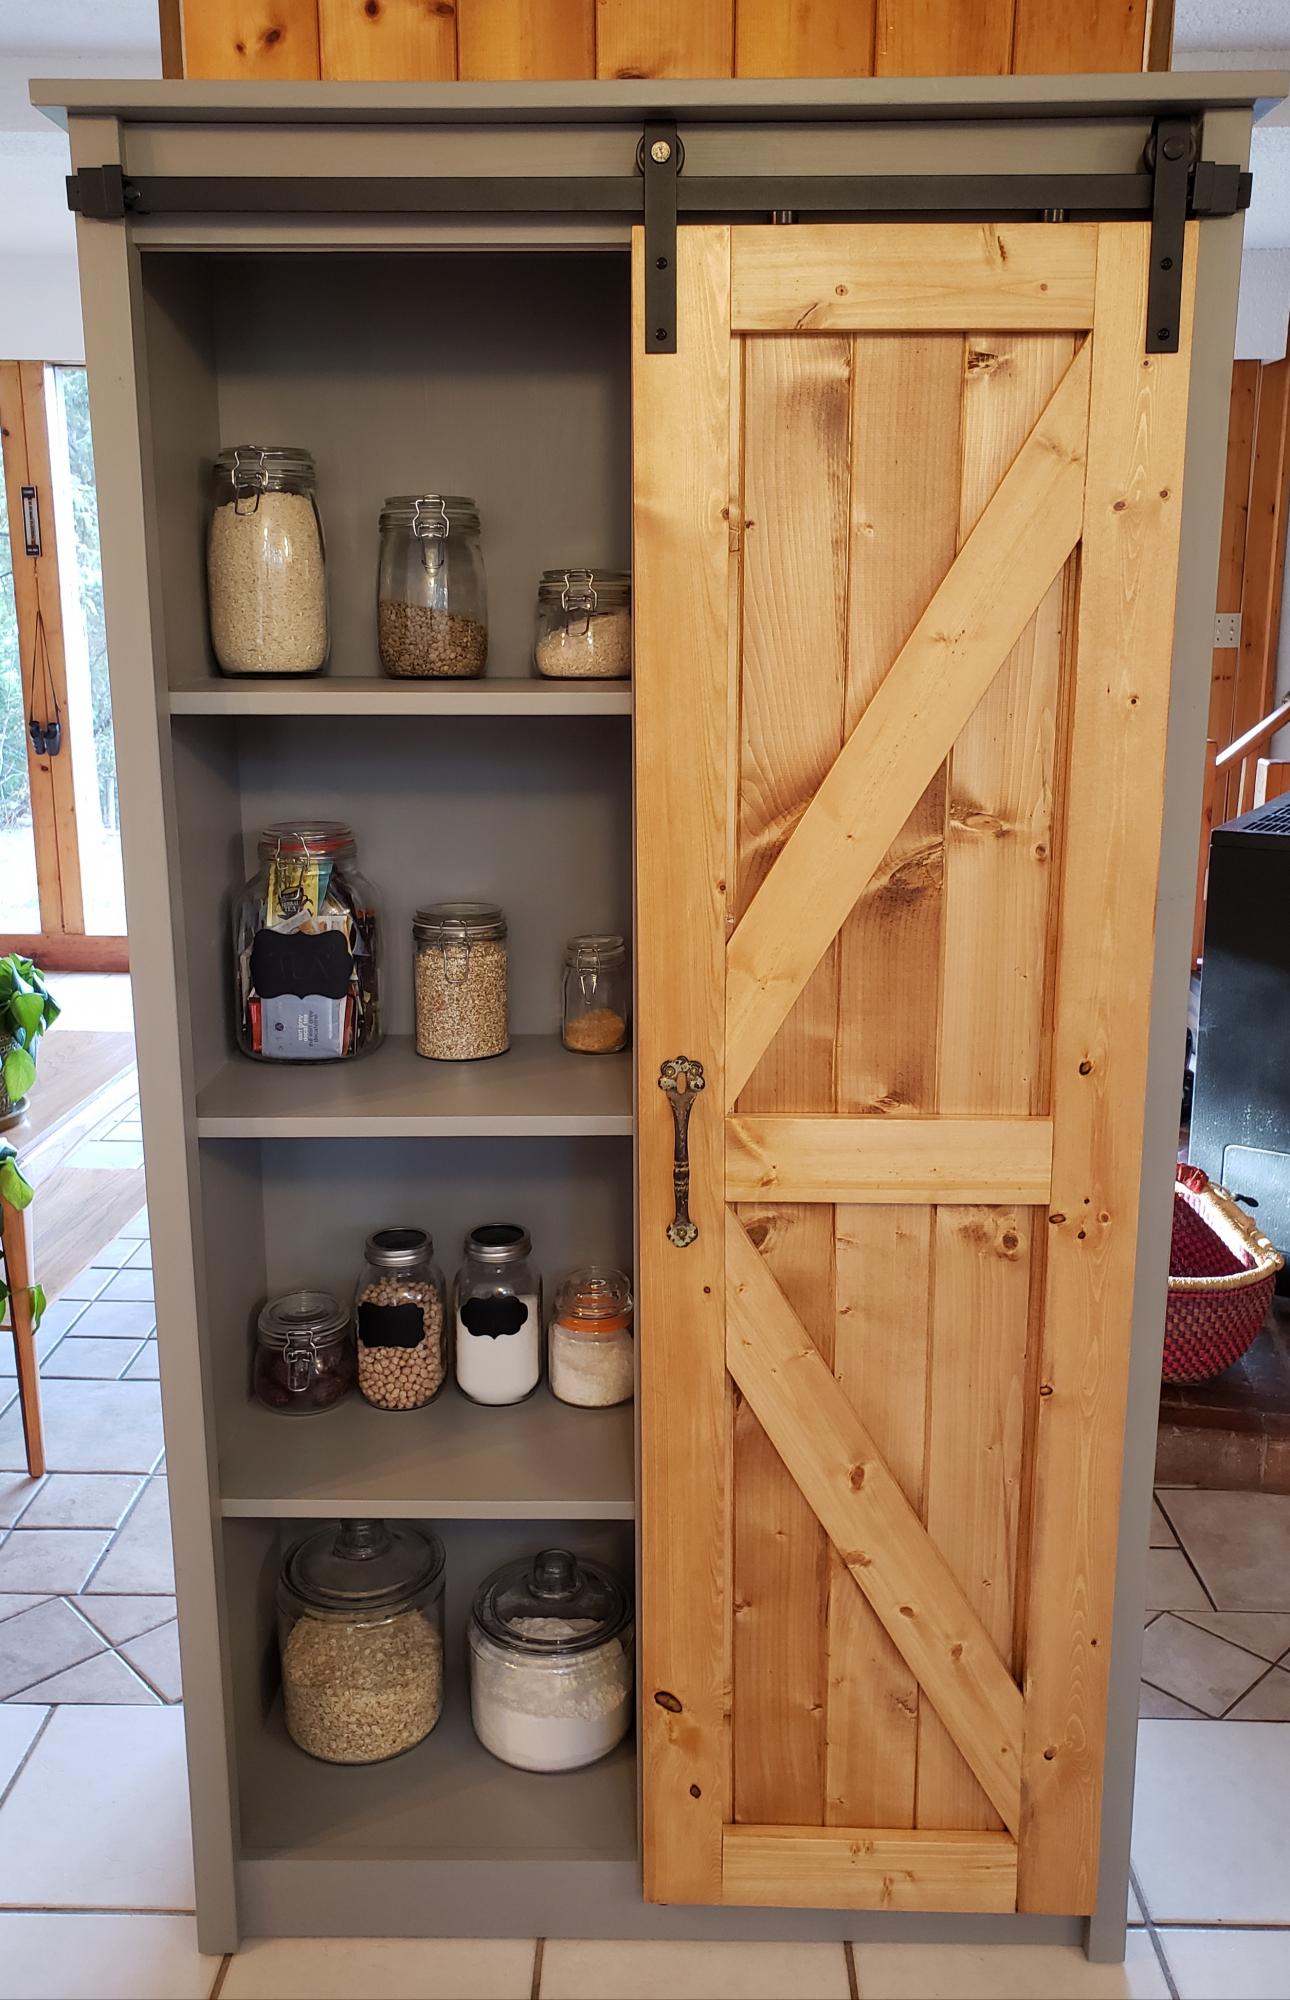
This is my second project and I am really happy with how it turned out! I needed more storage in my kitchen but I only had a 3 foot wide wall to put this up against, so I altered the plans to 5 feet 7 inches tall by 3 feet wide. The handle is an antique from my great great grandmother and dates back to the 1800s. I think it adds some character to the piece.
Thank you for the plans Ana! I can't wait to start my next project!
Fri, 05/15/2020 - 08:31
This looks so beautiful! Similar to you, I have a 3 foot wide wall to place this against. As a beginner here, and my head hurting when I do try to adjust the measurements... Would you happen to still have the measurements that you utilized?
Cubby Bench
by wholistic.kay
Comments
Ana White Admin
Mon, 12/04/2023 - 09:21
Great job!
This is awesome, thank you for sharing!