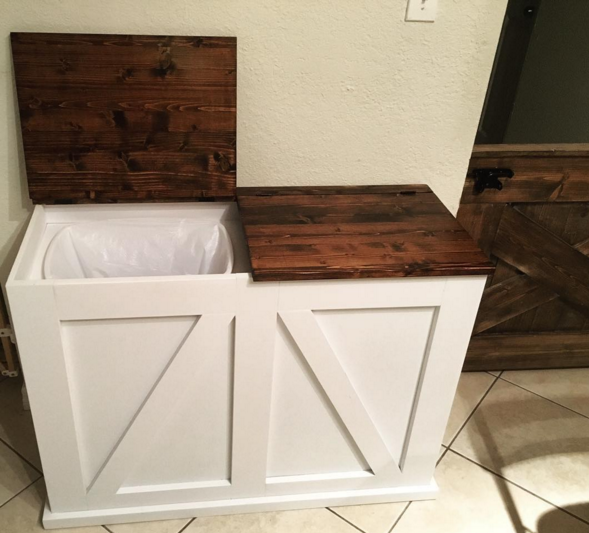
Storage Bench and Cabinets
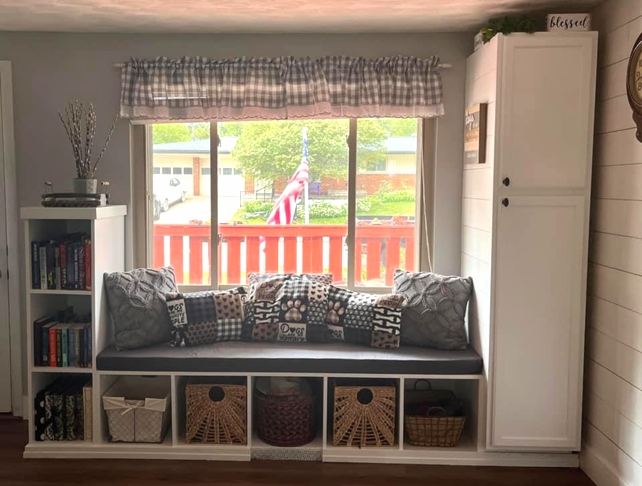
"Built this with Ana's plans, with a couple modifications. What was a dead space, now has purpose!"
Deb Klug Massar
Built from Plan(s)
"Built this with Ana's plans, with a couple modifications. What was a dead space, now has purpose!"
Deb Klug Massar
We've been eyeballing this plan since it was first posted. We tend to accumulate extra 2x4s from other projects. Great easy build, was able to knock it out in a morning. The finish is a custom blend.

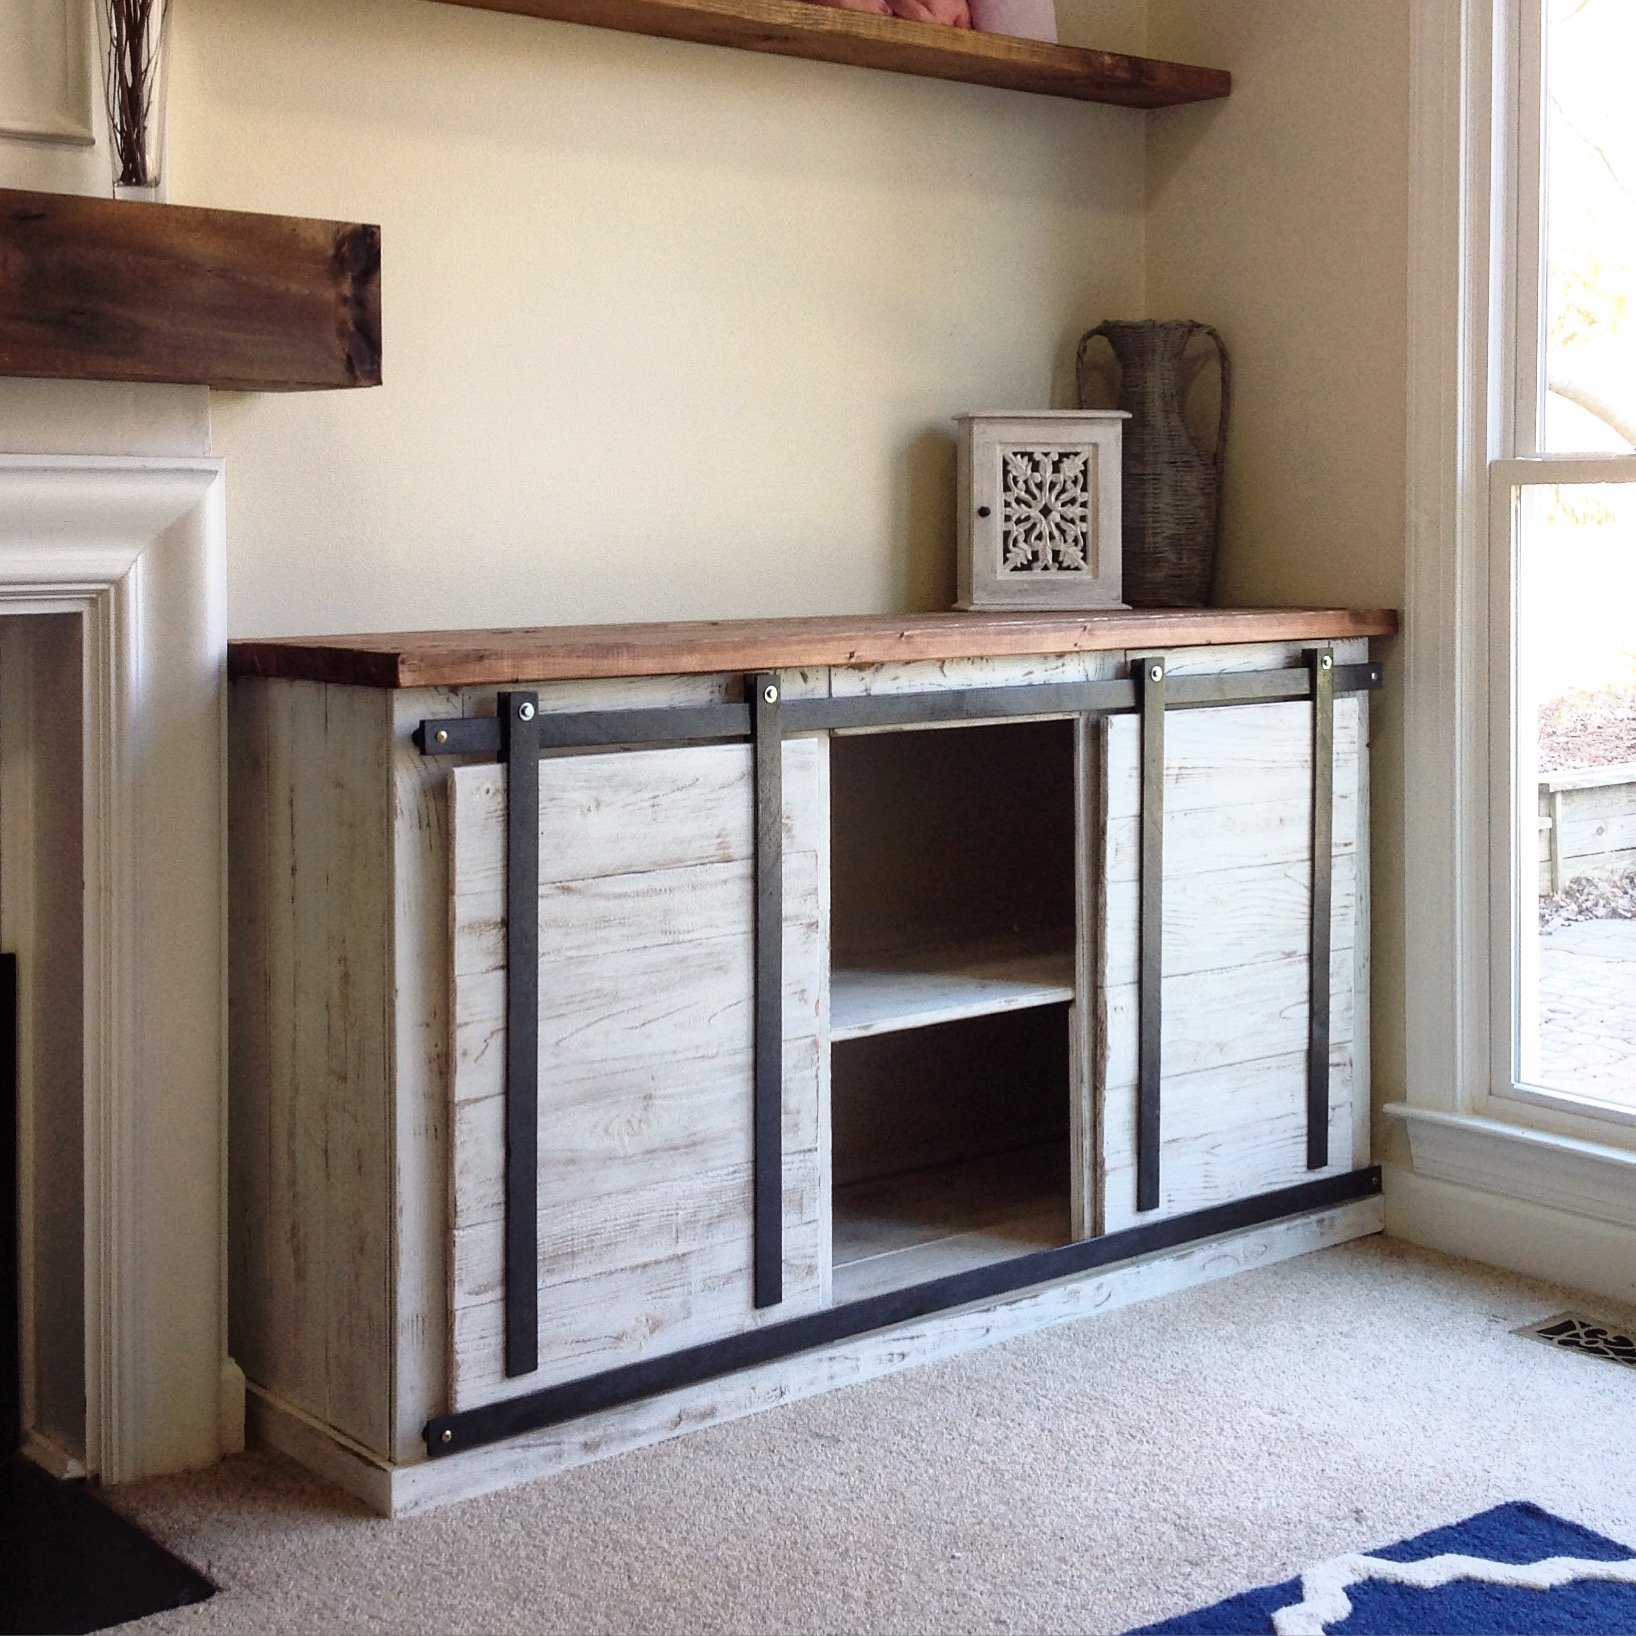
My first big build and I love it! I followed the plans in concept but changed the materials. My frame is still 2x3, but all the trim and siding is cedar fence pickets. I love these! They need a lot of finish work (sanding for days!), but the look is so rustic and real.
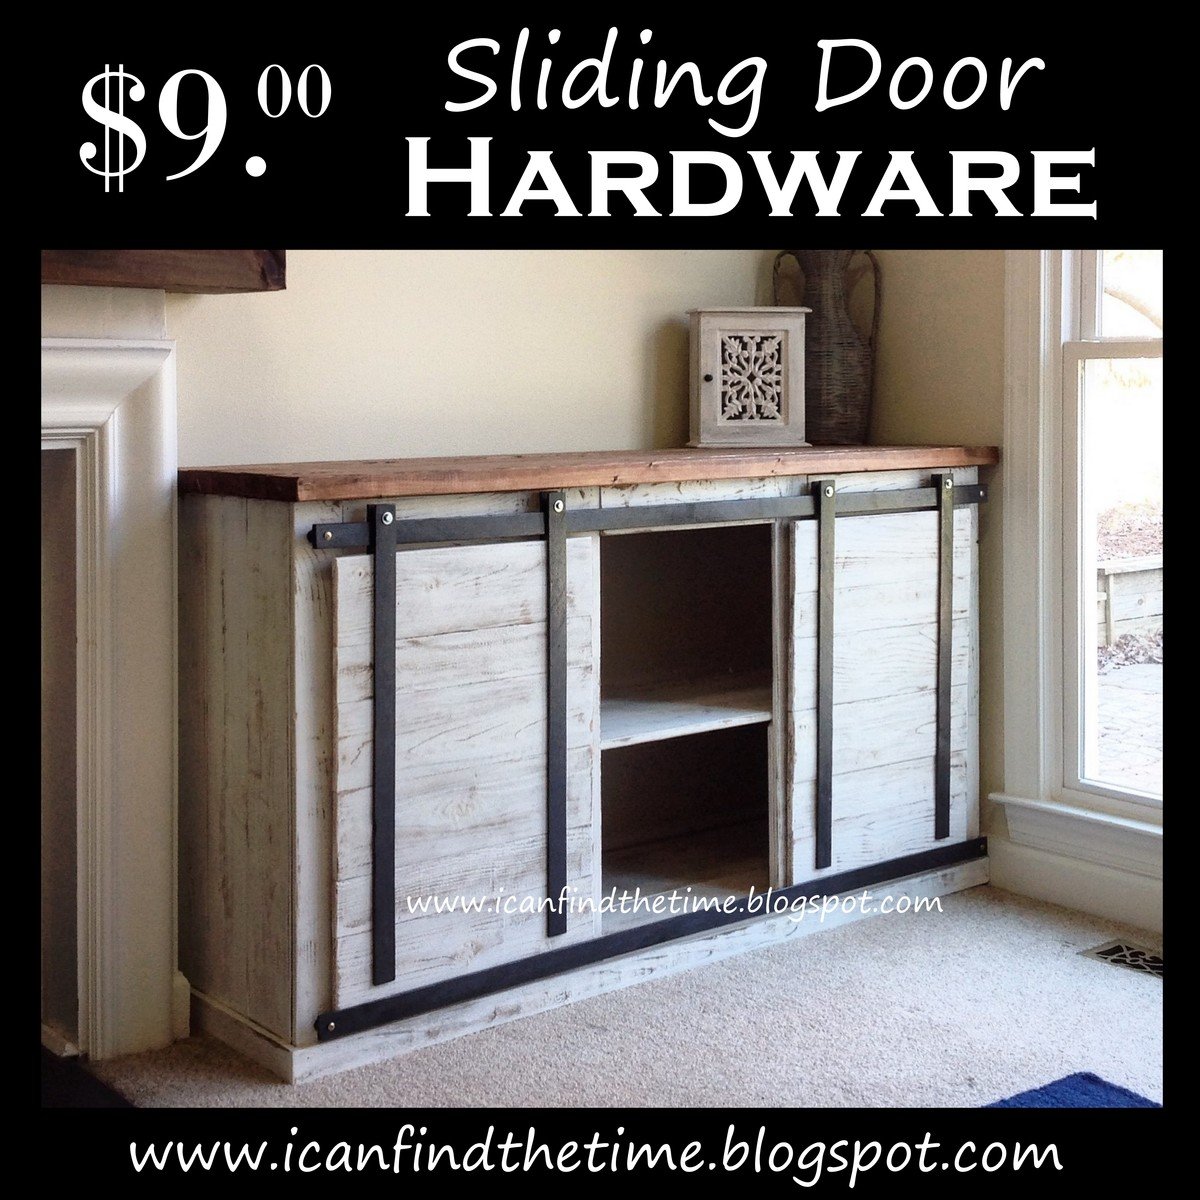
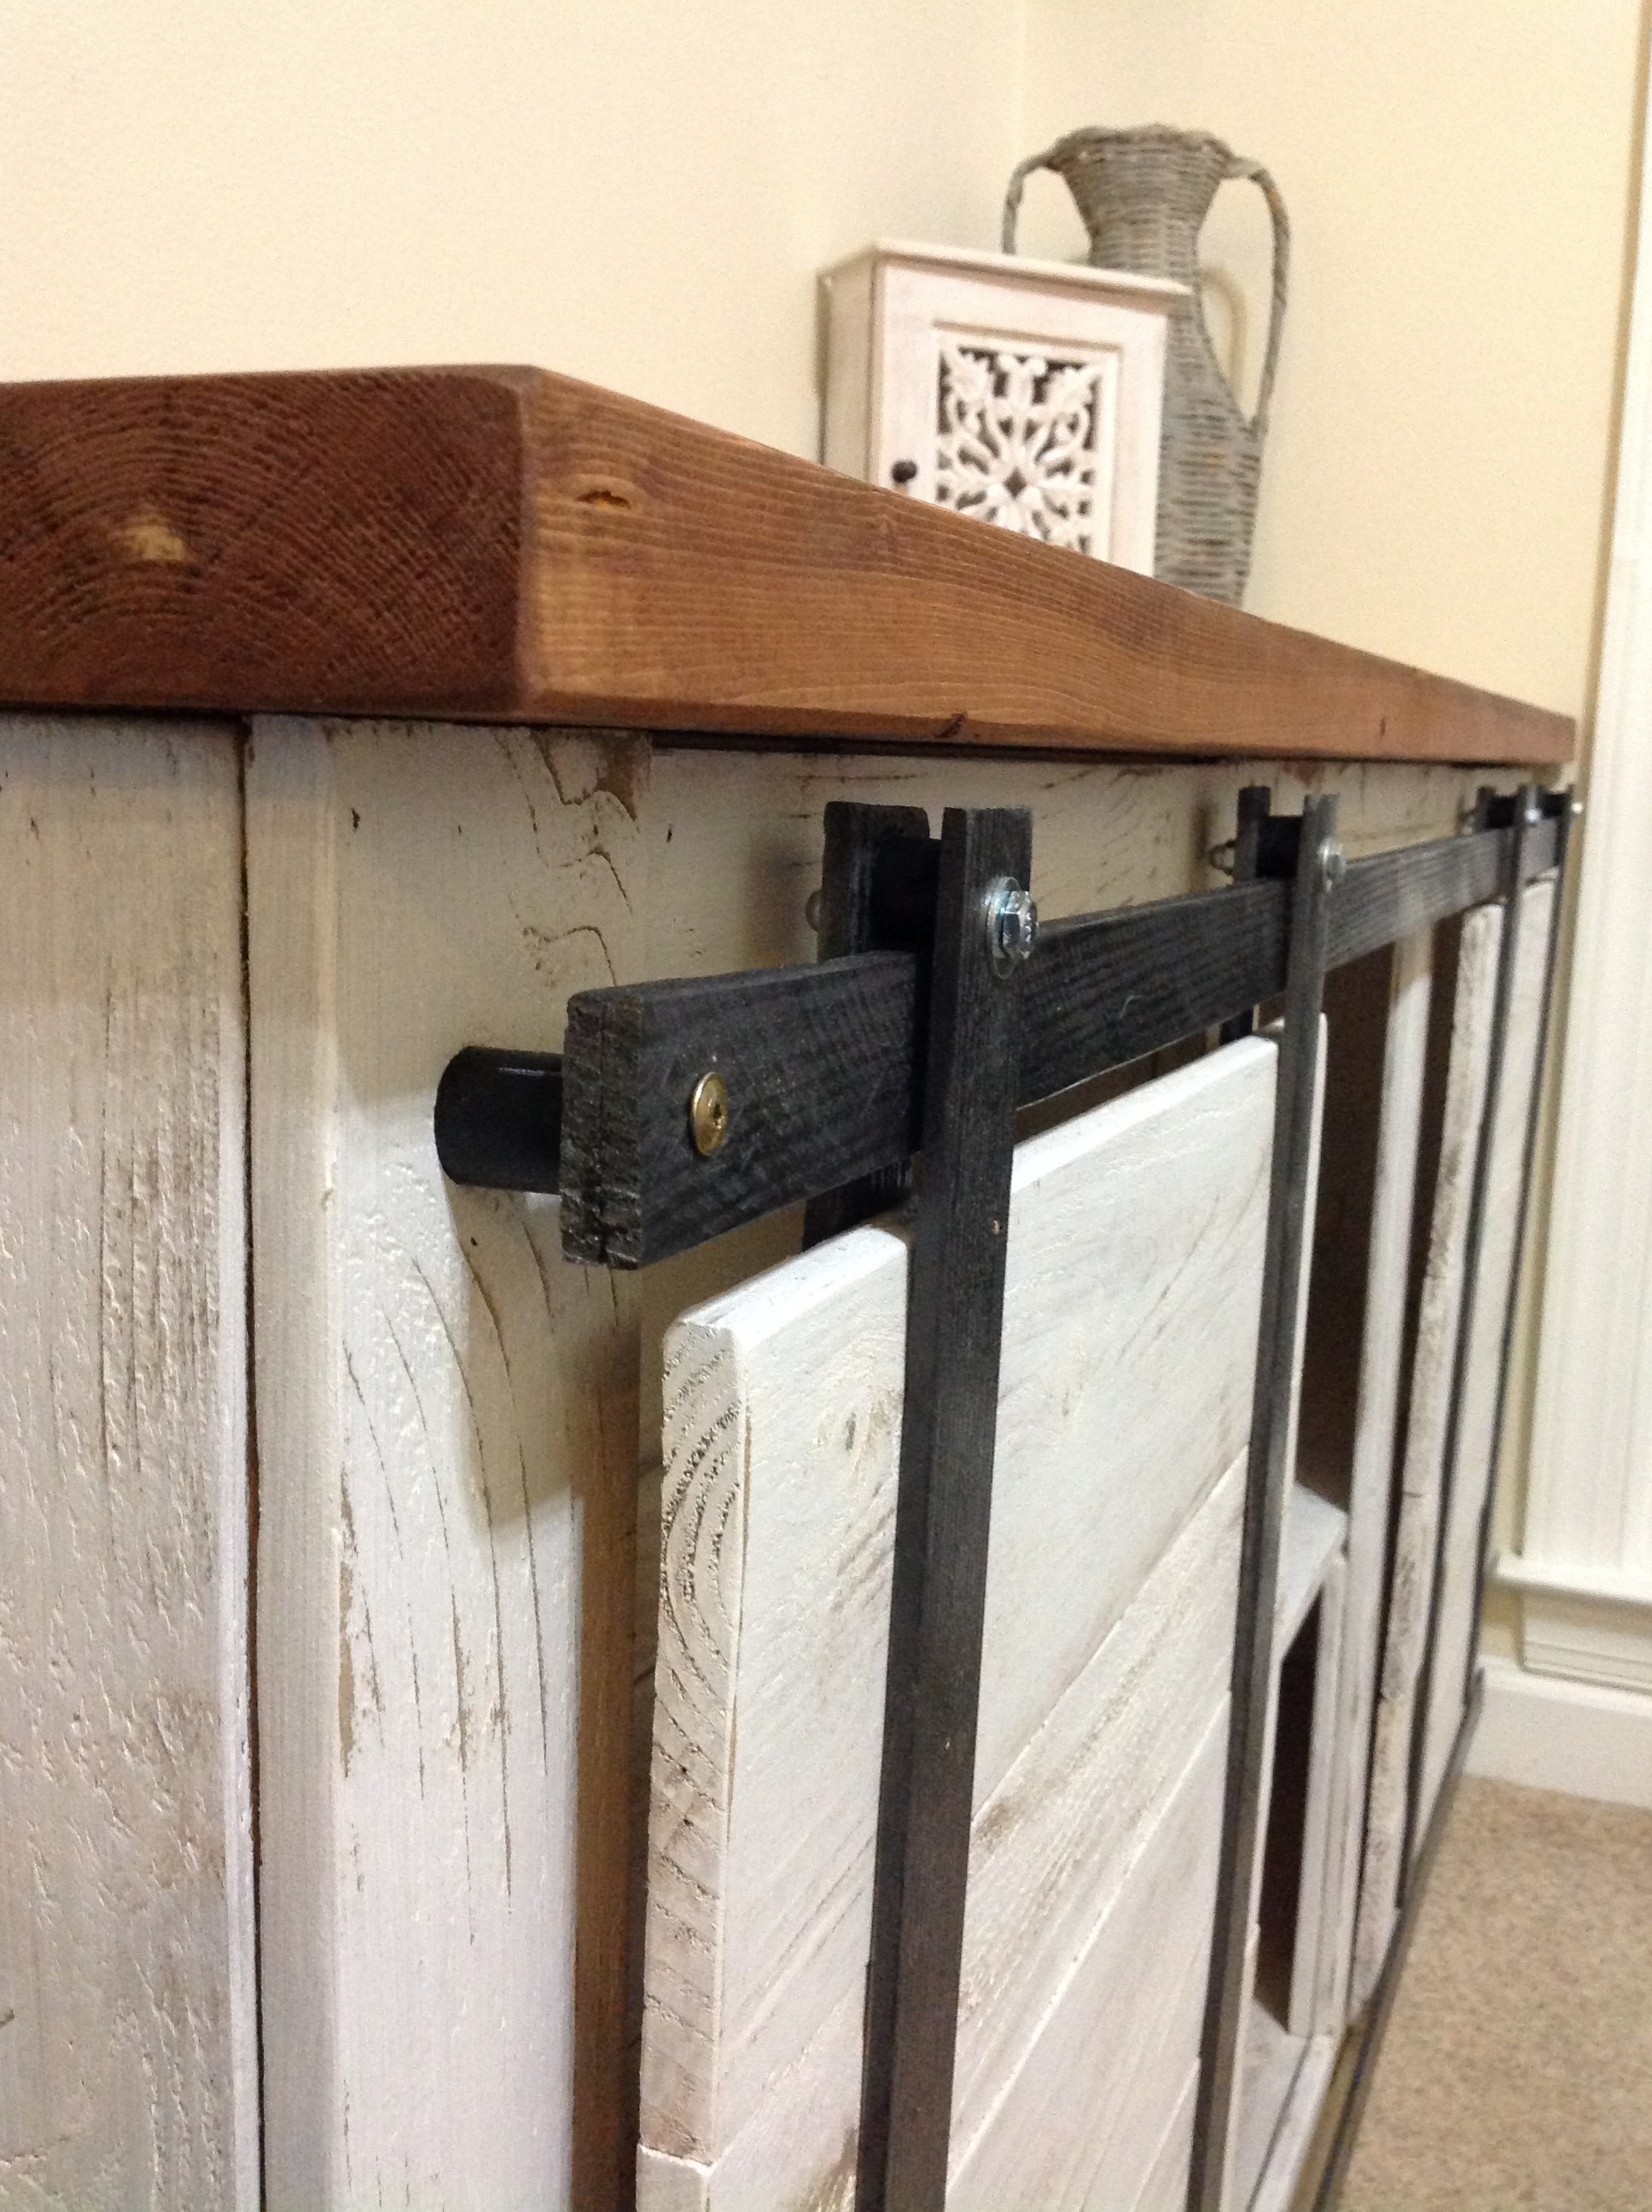
I also came up with a great way to get the sliding door look for only $9 in materials. The other tutorials I found online would have been $60+ and I just didn't want to spend that much. Make sure to check out my tutorial for the sliding door hardware.
Started on Saturday Afternoon around 5pm and finished building on Sunday, sanding on Monday, stain and poly on Tuesday and we ate Thanksgiving Dinner on it on Thursday. All that is left is the wood putty! Not perfect but VERY happy with it :)
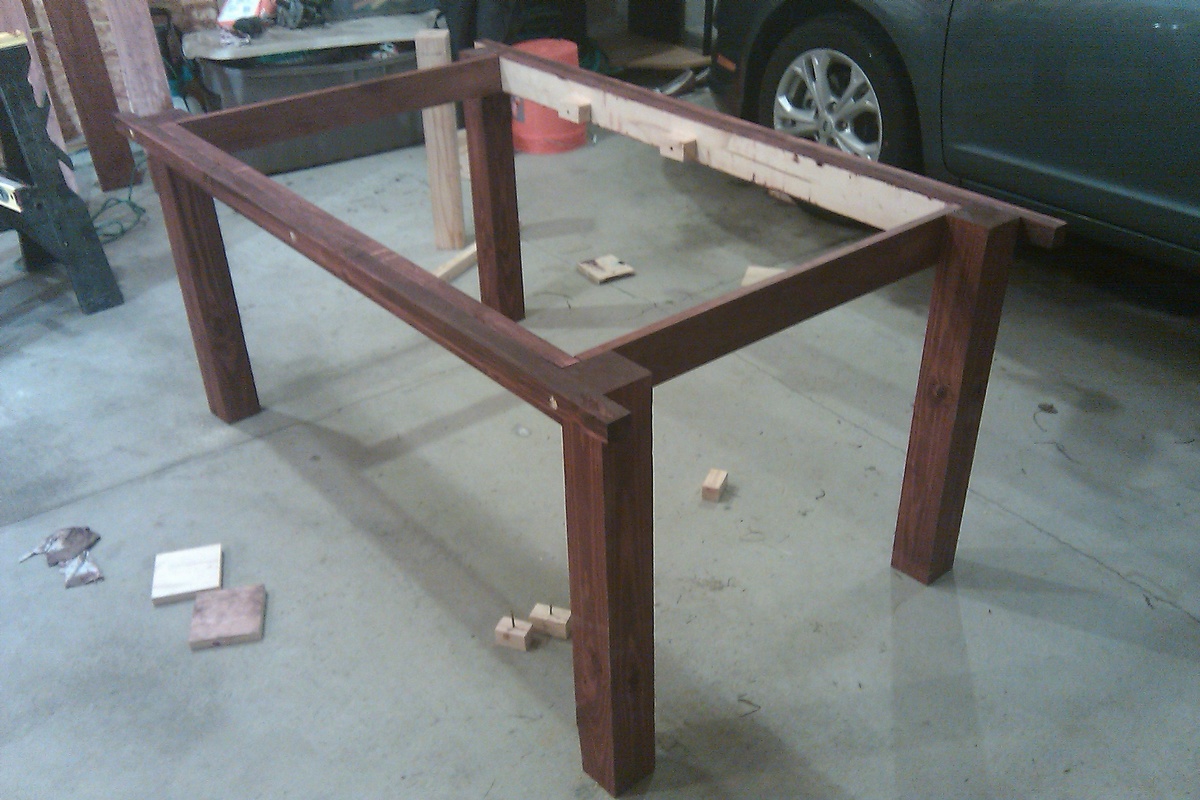
Well, this is my second project and was built to replace the first one I did about 2 years ago.
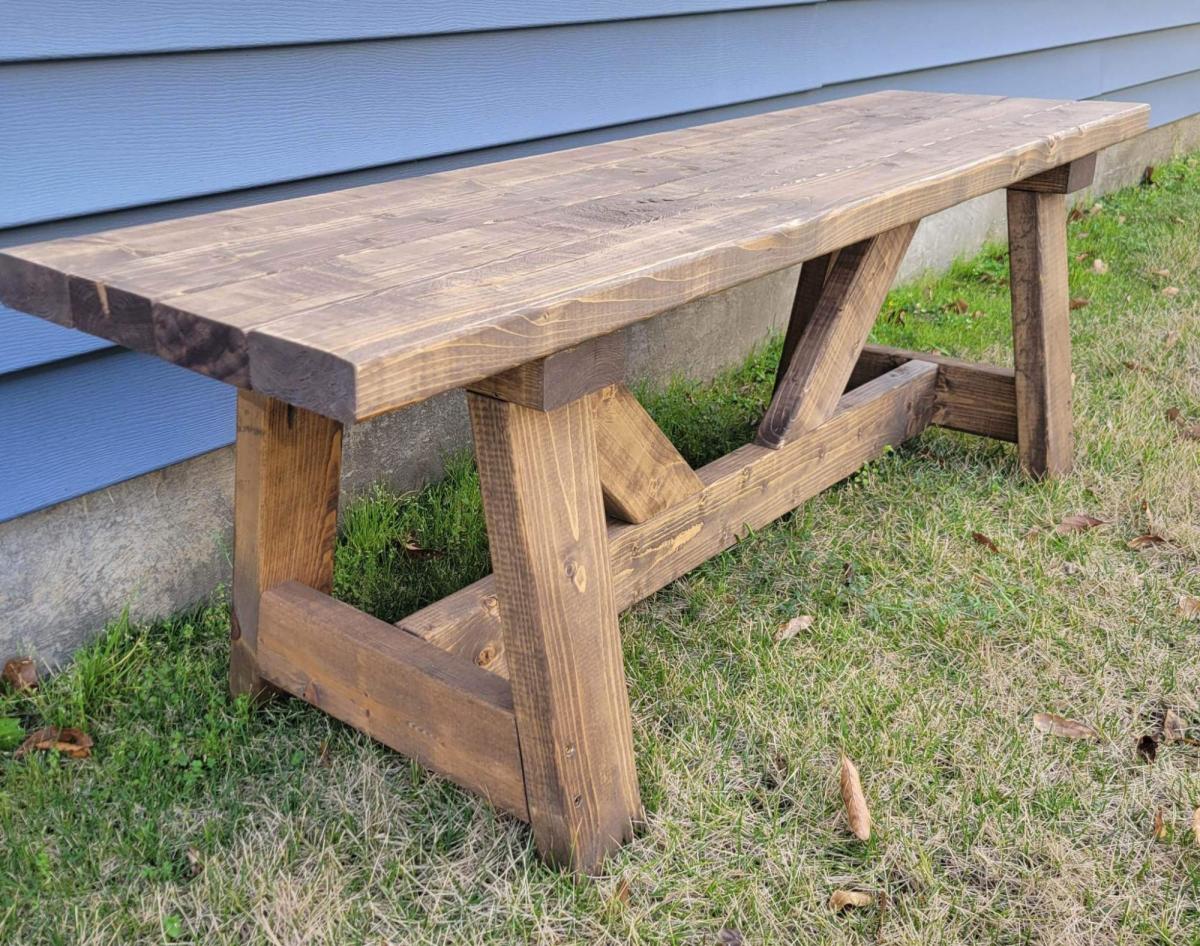
Two summers ago I built the Modern Farm Table and, quite frankly, screwed it up. I rushed that job, not taking the time to be selective about my lumber and forgetting to heed the old axiom of "measure twice, cut once". In short, the table turned out 27" wide and the the table-top surface was as uneven as a highway's rumble strips. Yeah. I know. A sad showing on my part.
This project was a different story. I took my time; and by time I mean it took about 10 hours total, including 3 trips to Home Depot to buy things that I didn't take into consideration (like mineral spirits for brush clean up after polyurethane).
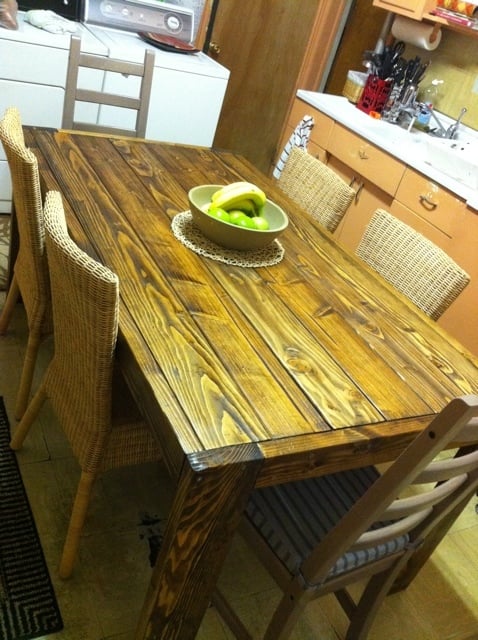
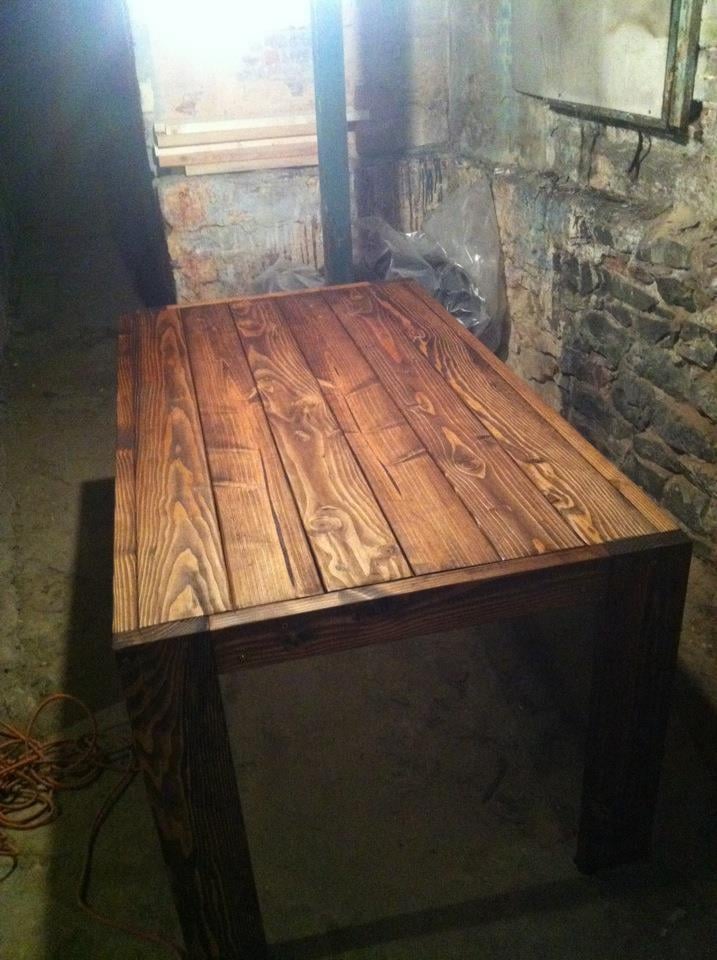
Anyway, this table is a mix between a regular Tryde Table and the Benchwright Table. I liked the thick, heavy look of the Benchwright Table's top, but did not want to sacrifice the ends' leg space by including the trestle.
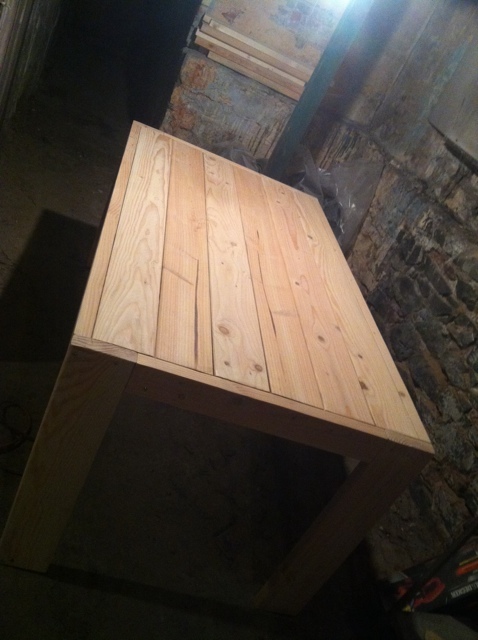
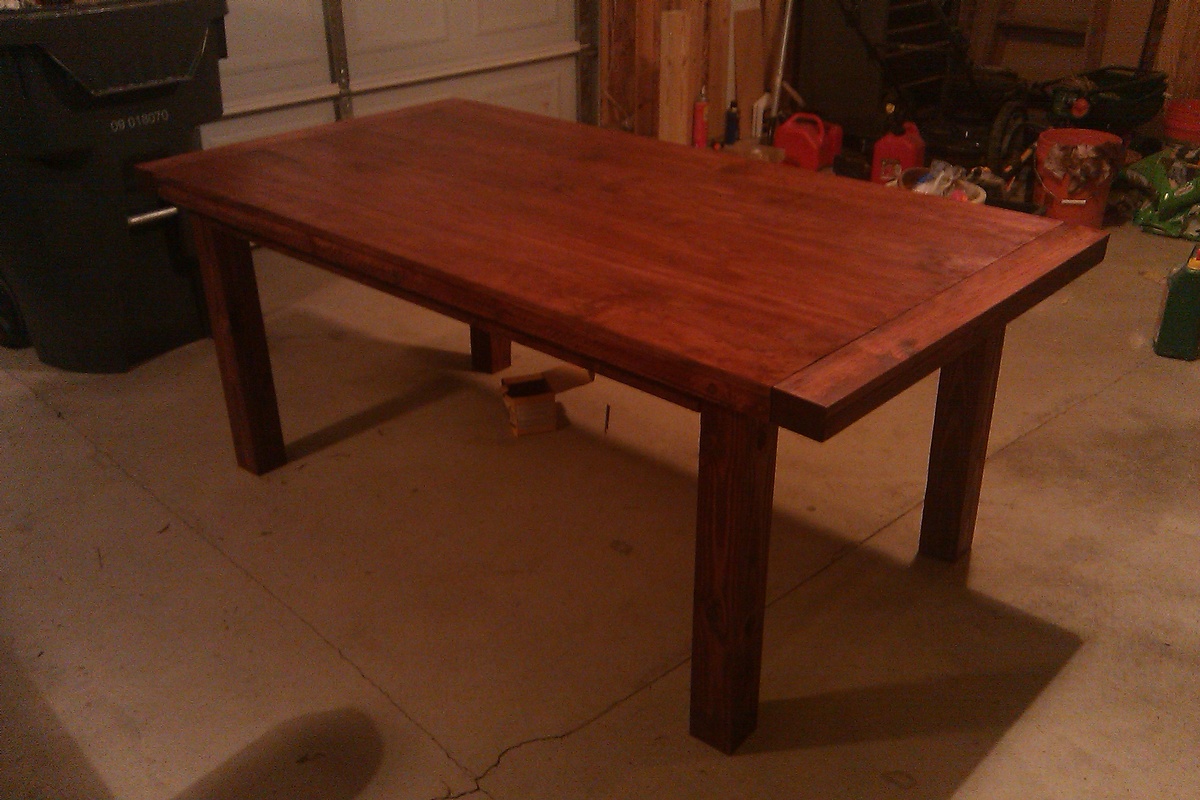
So, this is pretty much a Tryde Table, with the faux-thick top of the Benchwright and 4" x 4" legs. I used Select Appearance Pine for the top boards. I did this more to ensure I got straight edges than for the surface finish quality. But I like the end result.
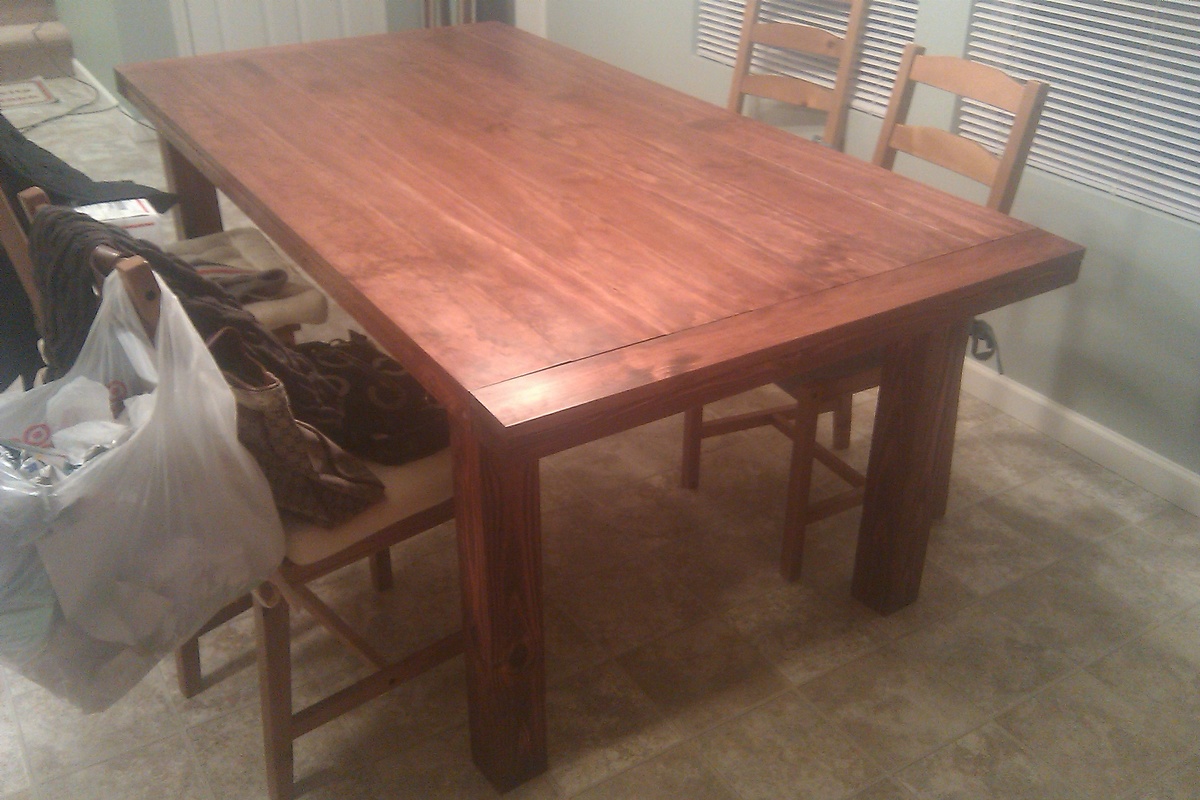
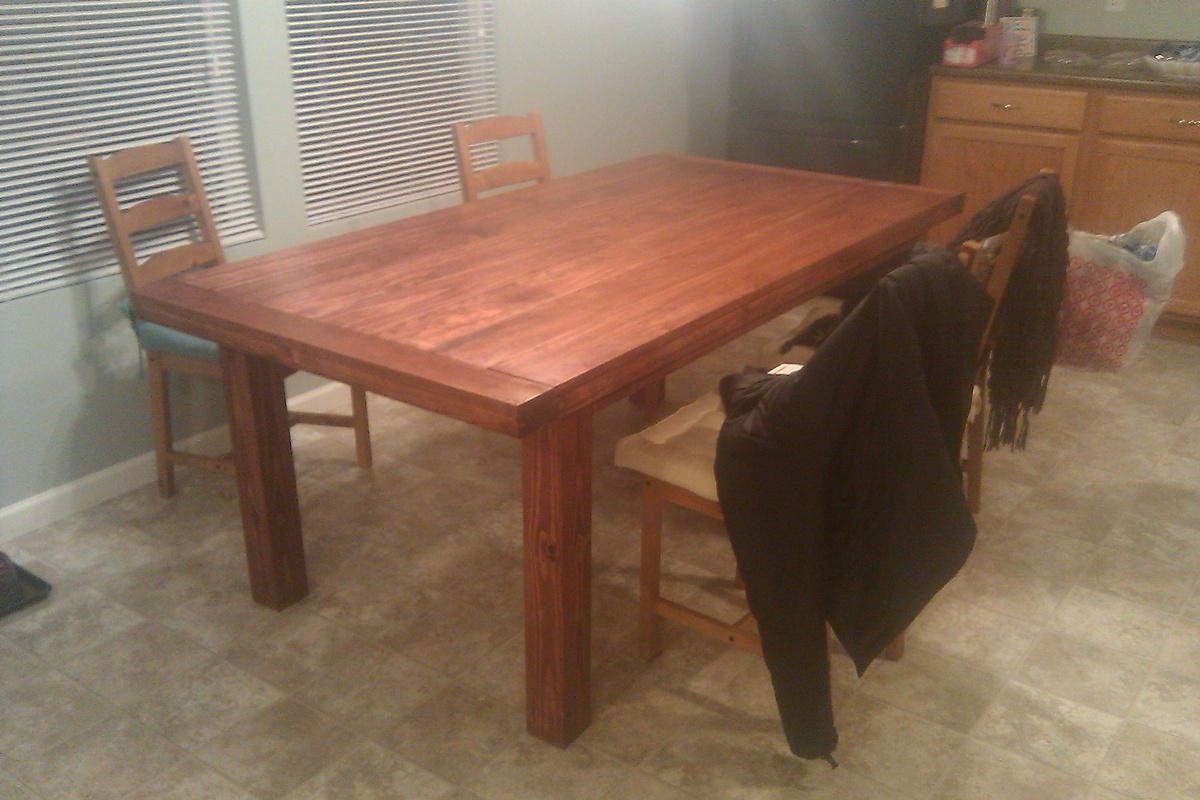
Dimensions: 74 1/4"L X 38.5"W X 30"H
Lumber: 4" X 4" legs, S4S 1" pine boards top, 2" X 4" aprons.
Finish: Red Mahogany
Cost: $160
Total time: 10 hours.

Mon, 12/05/2011 - 17:28
You should be proud of yourself for not only doing a wonderful job on this table but for trying again! I love Ana's site because it allows each of us to begin small and build (no pun intended) bigger and more complicated as we learn!
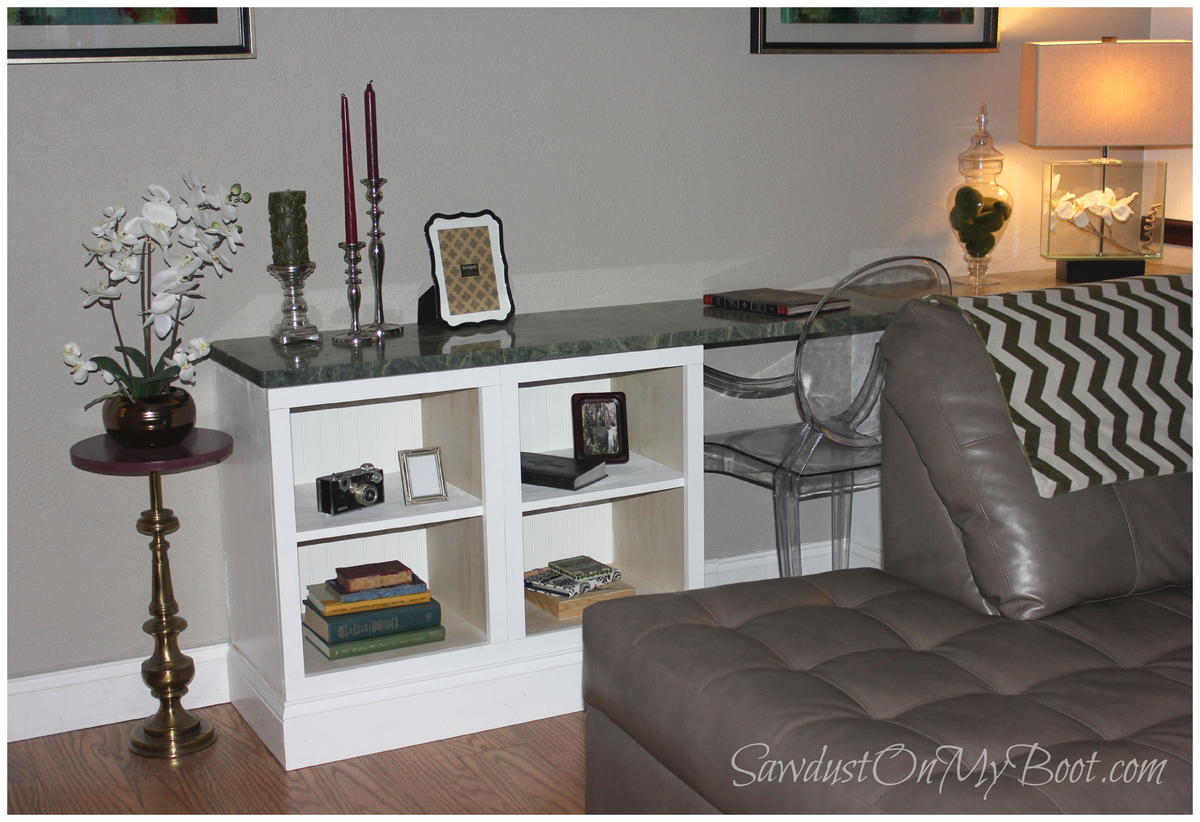
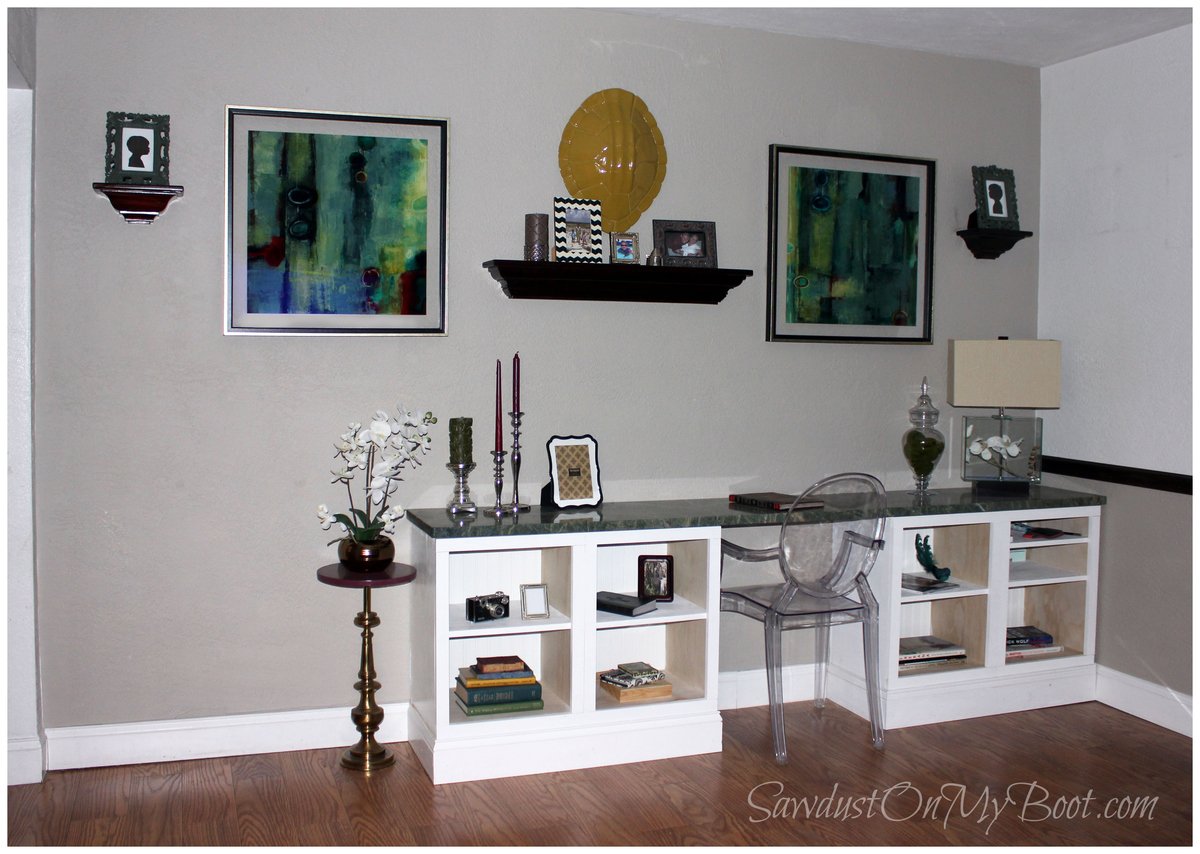
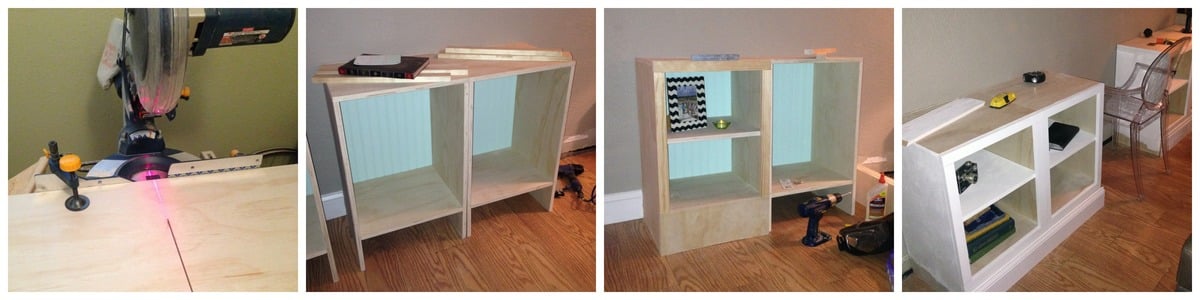
Hi there! I made a built-in desk for our long rectangular living room using a granite top on 4 cabinets... modified from a simple base cabinet plan. It was a blast to build & my family really enjoys it! :D
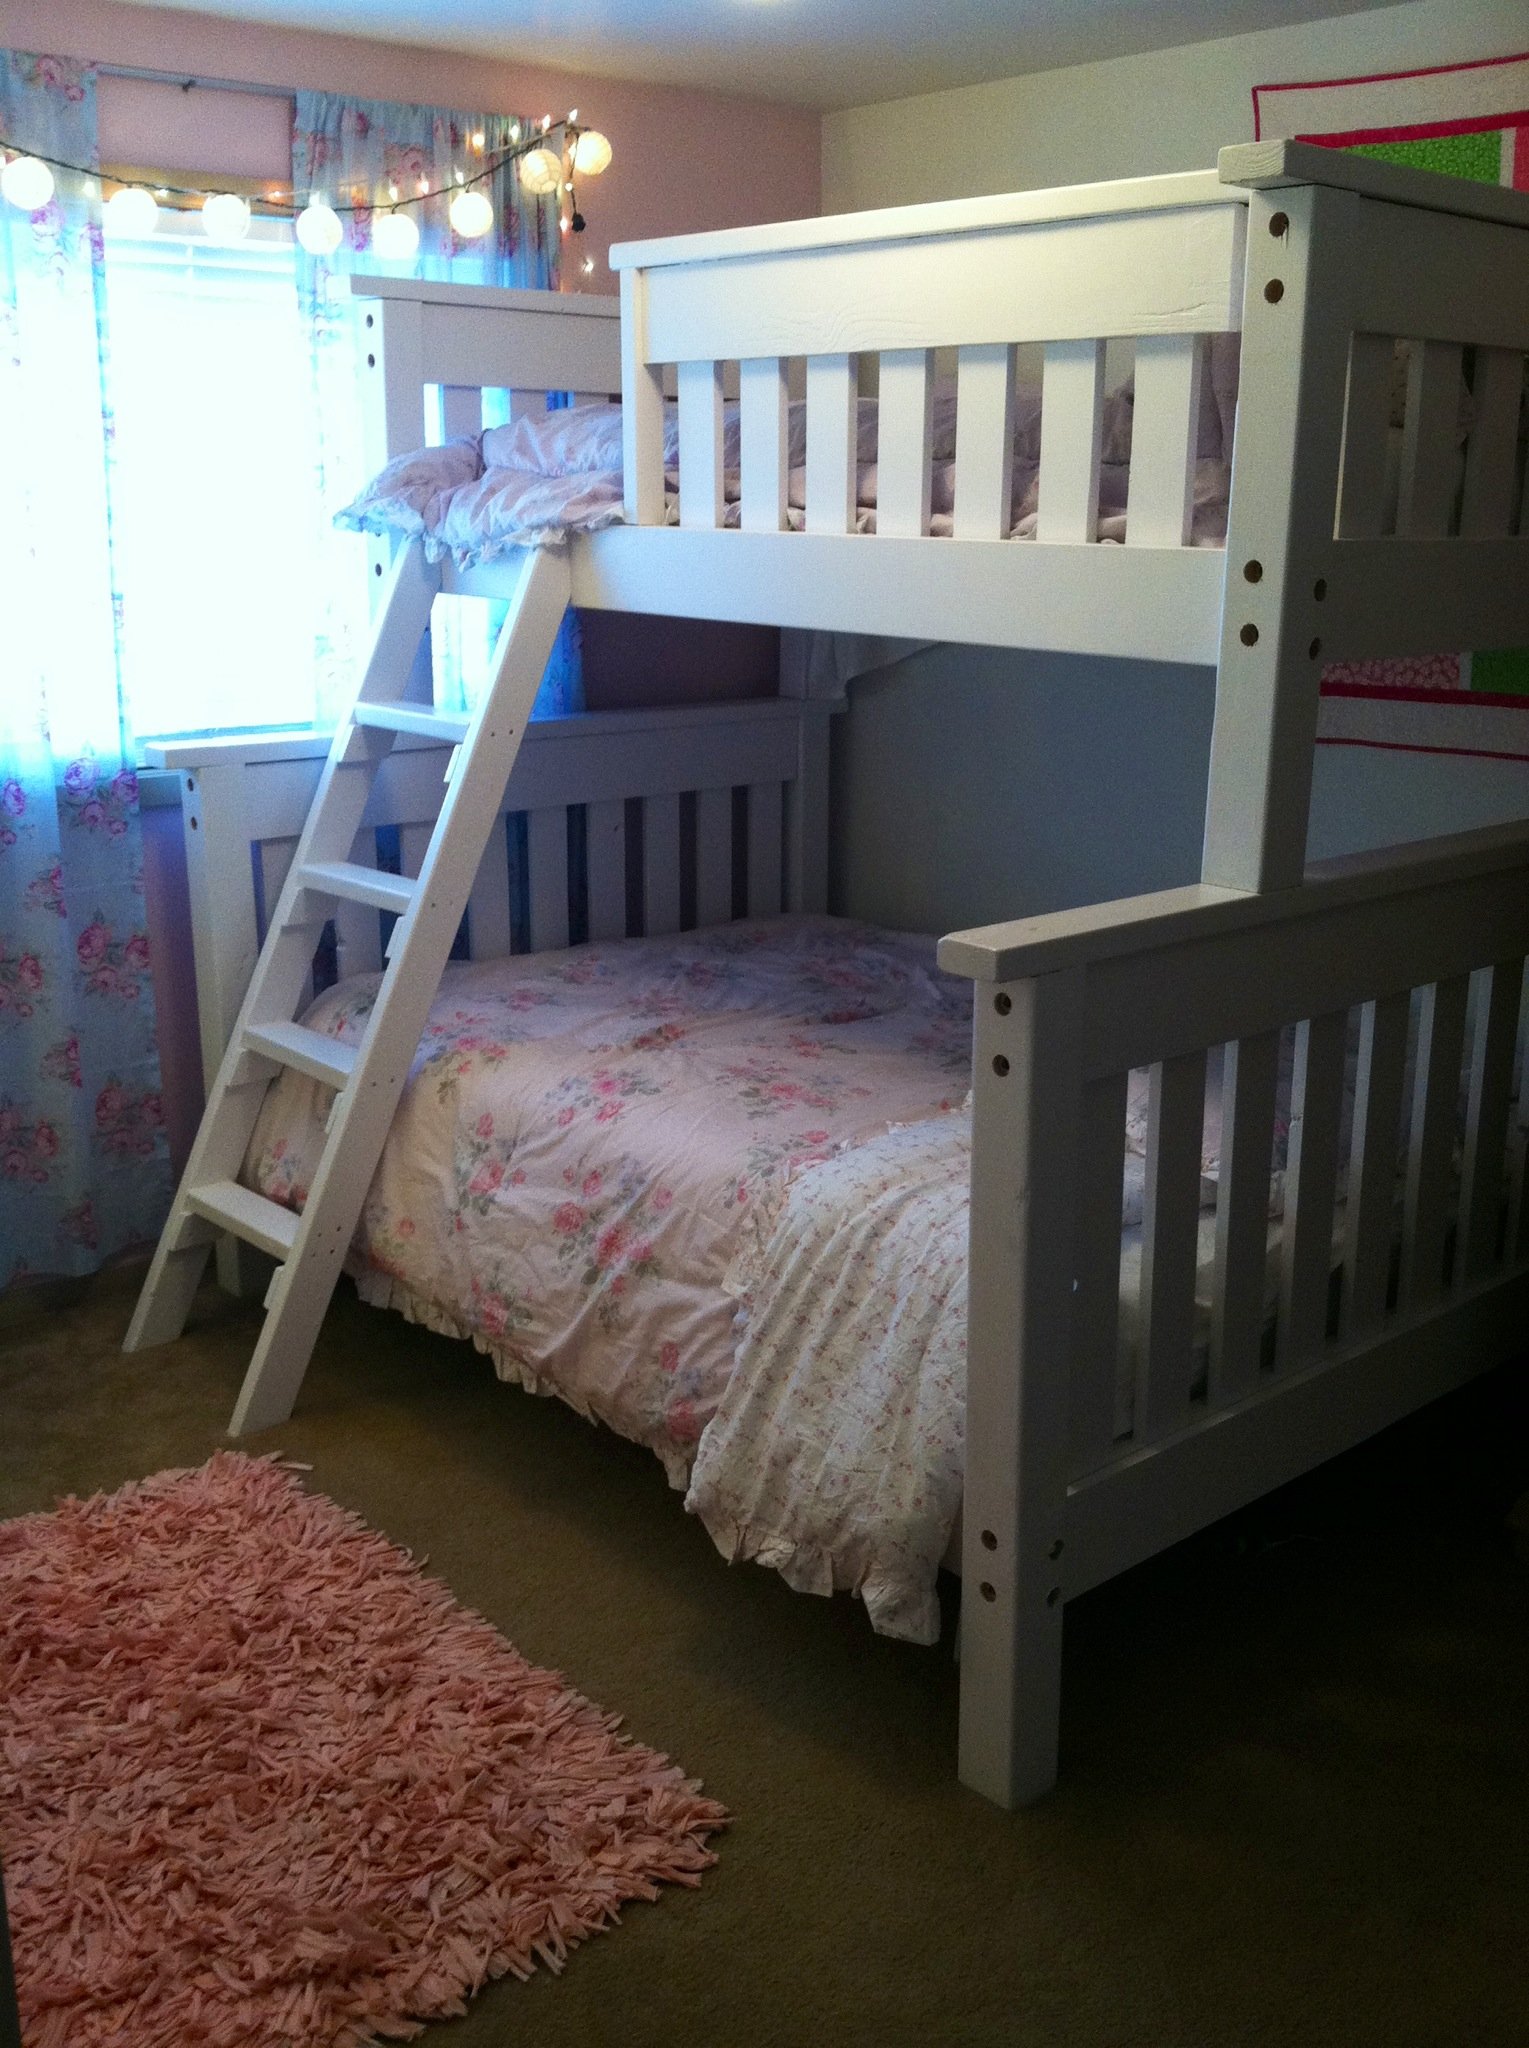
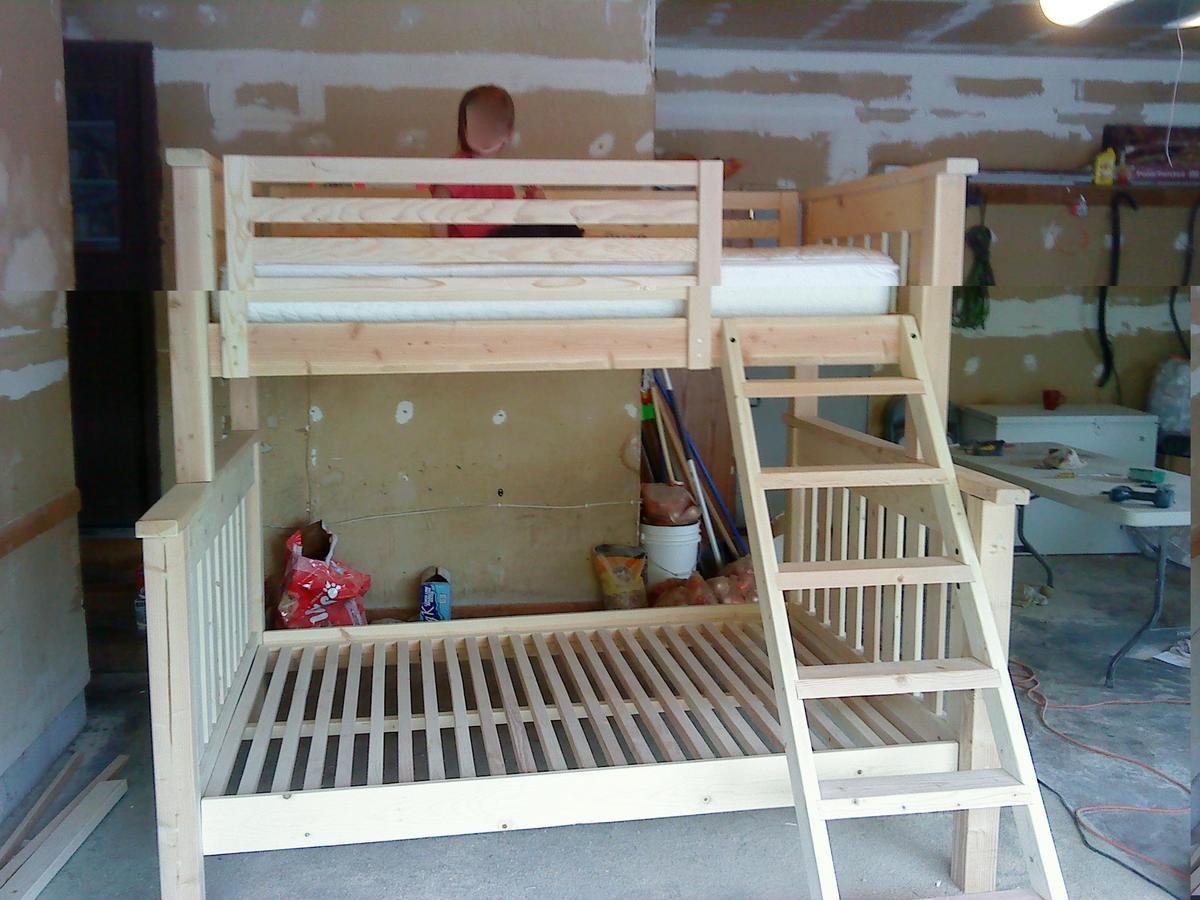
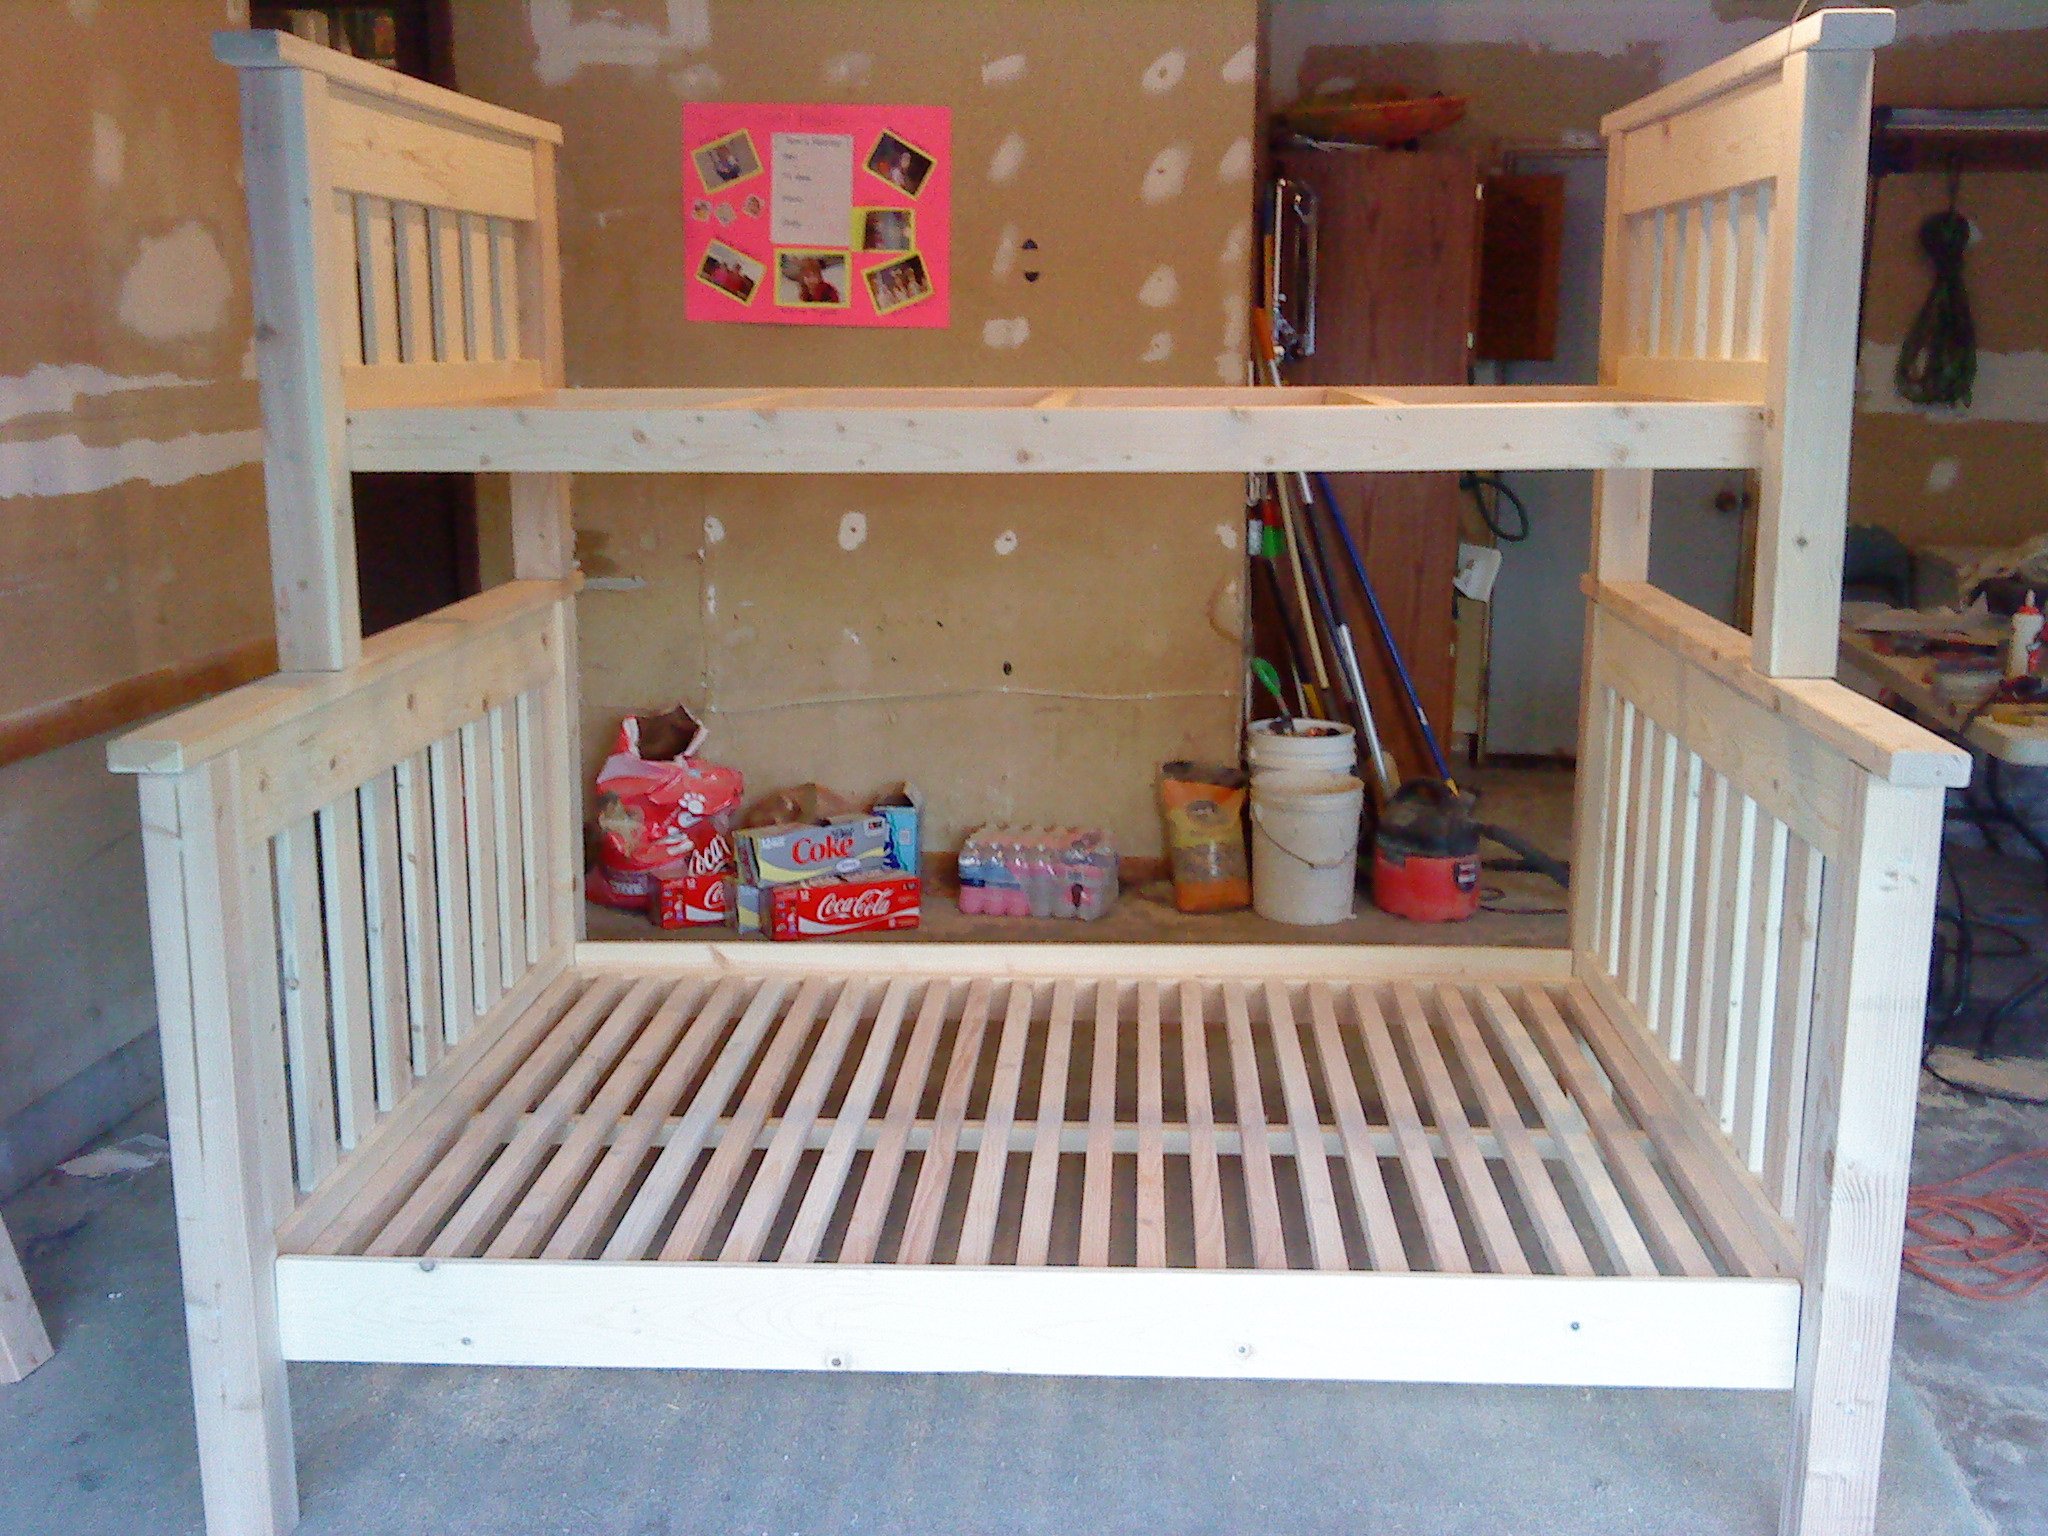
I have two girls and my youngest was getting out of a crib. I could build another bed or include both girls and build a bunk bed. I chose the bunk bed route with the approval of my wife and got started. I loved the plans from ana-white.com and decided to pull the trigger.
Total cost for bed not including the new full mattress was around $300. A huge savings from the estimated $1,500 from comparable beds on the market. This took me about 2 weeks total but that was a couple hours here and there. I would describe most of the work as beginner skill level but a couple of the steps had challenges but you could figure it out. My girls were out there helping me build and paint so it was also very memorable. Thank you again for all you do Ana.
Bobby
Wed, 12/18/2013 - 09:34
I'm new to the site & love this for a potential kids room. Where can I fin the plans w/ specs & materials? Thanks.
In reply to Plans for this by Lindsayayer
Wed, 12/18/2013 - 12:09
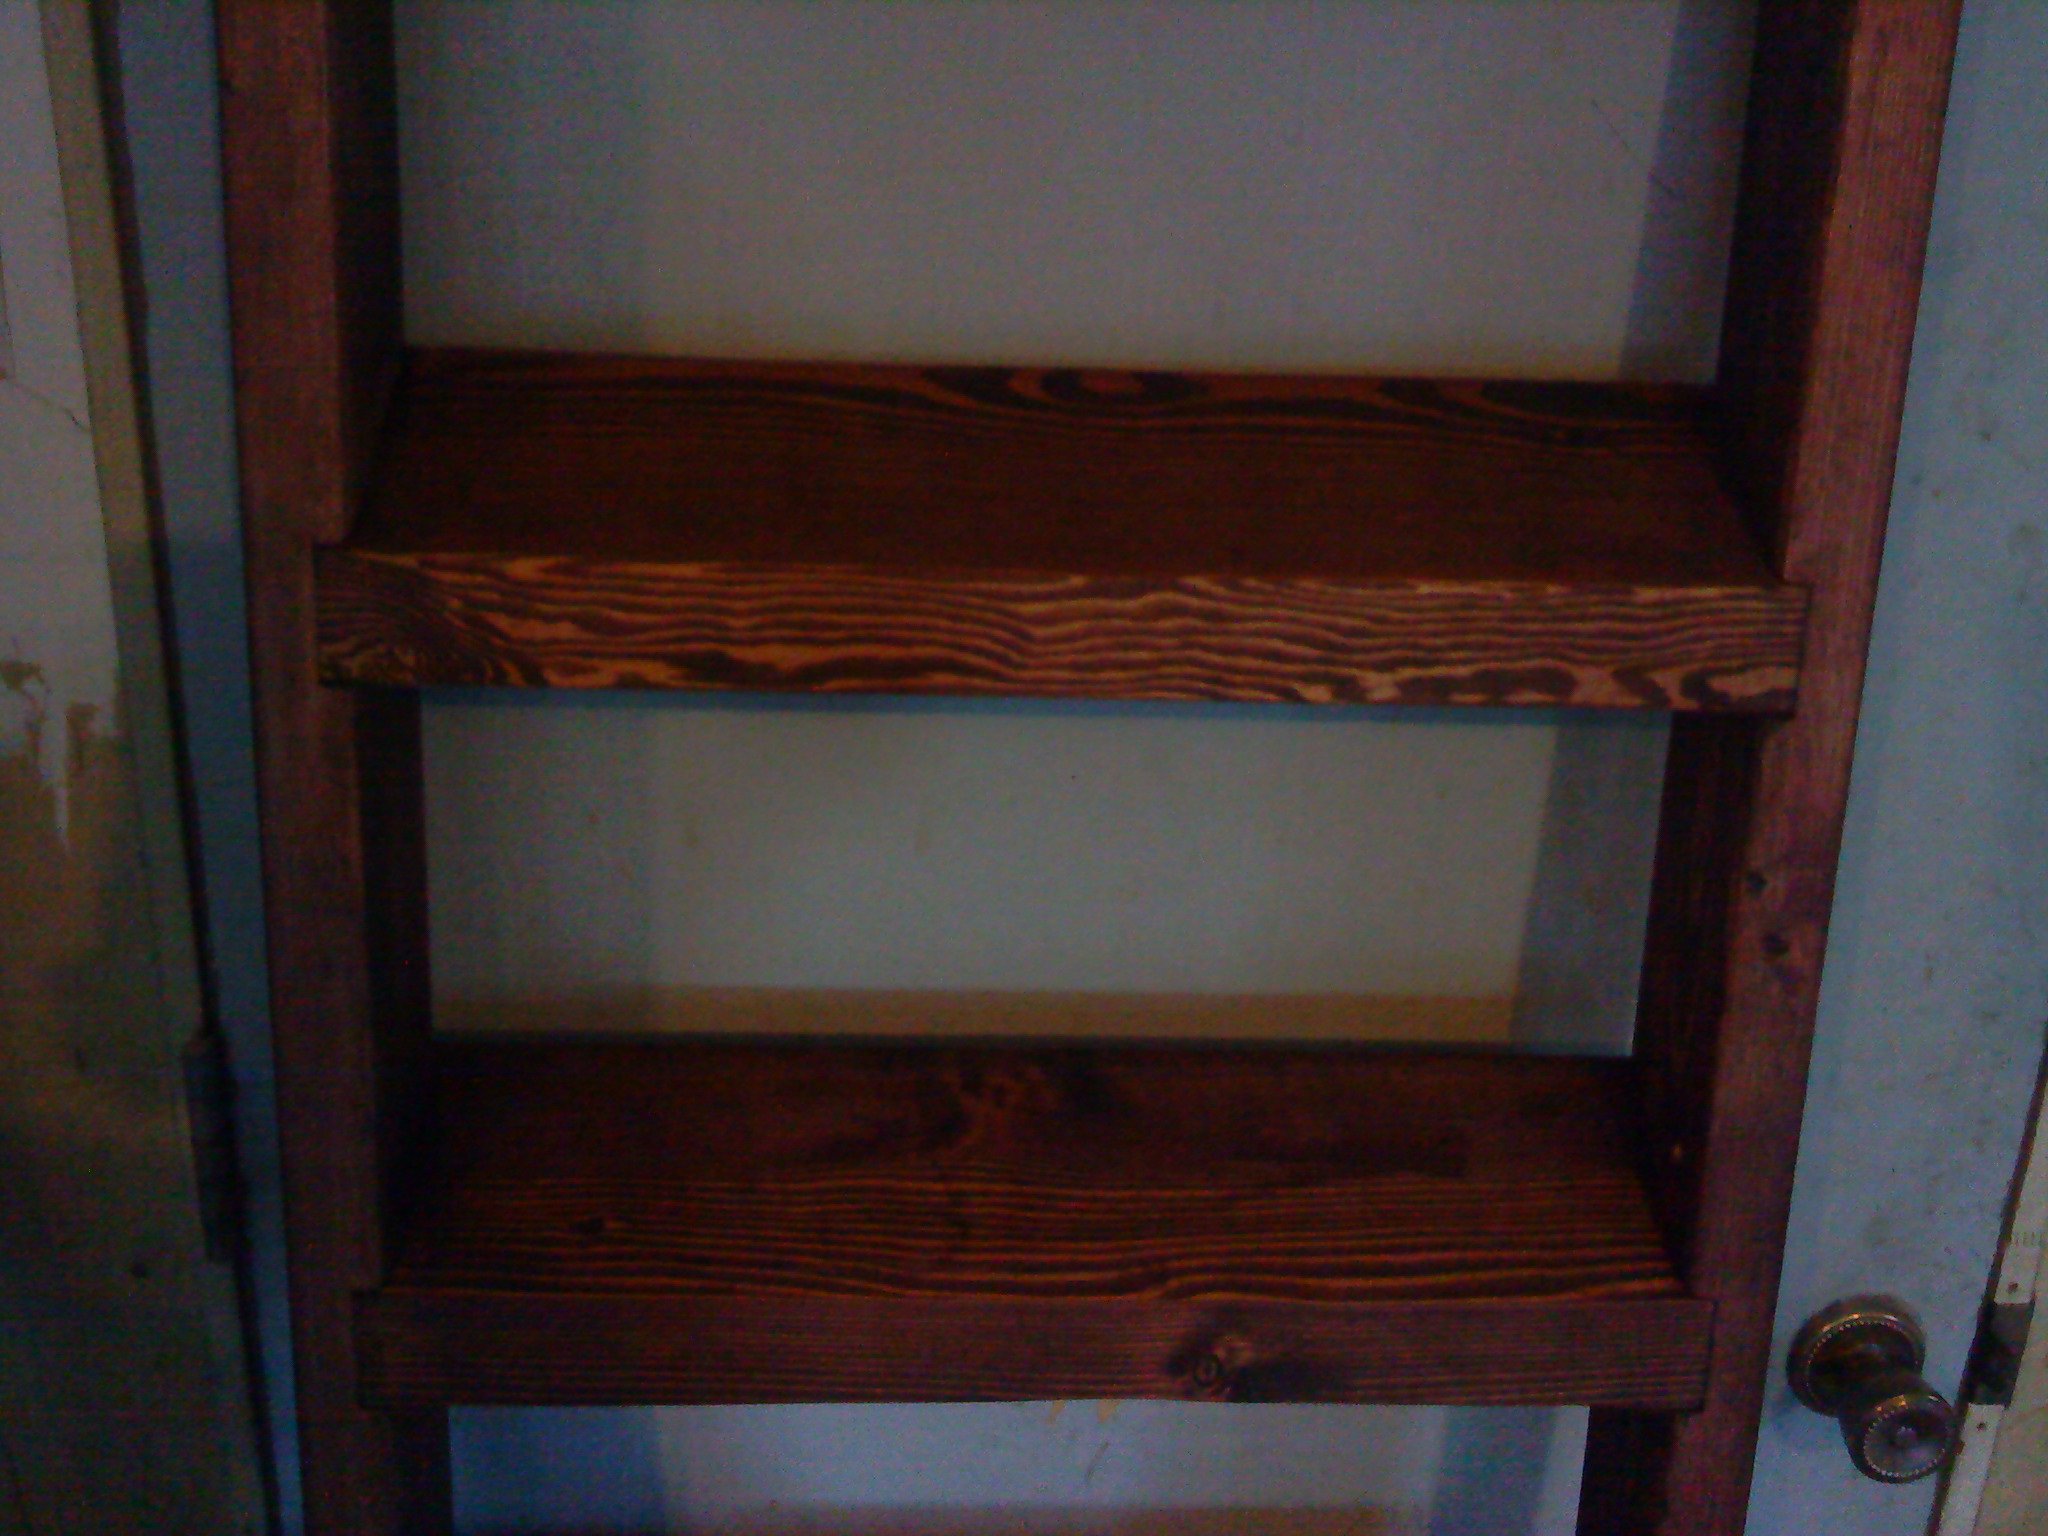
I used the twin simple bed plans, full simple bed plans and the twin over full plans for the ladder. It was easier to just print them all off. Hope that helps
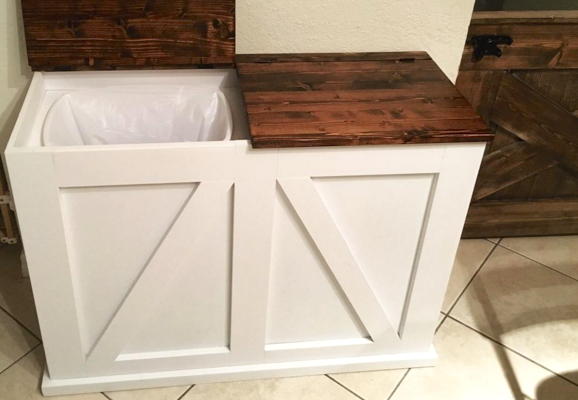
Modified the design a bit to be lift up lids instead of tilt out.
Fri, 02/16/2018 - 17:18
Can you post the specific plans for the lift up trash and recycle bin??
Sun, 05/26/2019 - 18:28
If you could post the plans for this, It would be nice. Great job!
Fri, 01/10/2020 - 05:16
I just love this and would love to have the specific plans for this project!!!

Fri, 01/17/2020 - 20:23
Thank you for the great idea. I’m going to add a third bin and use it for laundry in my bedroom.
Sat, 03/07/2020 - 02:29
I’d be grateful for details, plans, measurements for this project. This is an amazing build, nicely done.With green top looks fantastic and complements the white very well.
Thu, 01/11/2024 - 20:31
To everyone asking for the plans, it's a modified tilt out. It states right there under the pics that it was modified and the original plans are there in red, under "Built from plans"
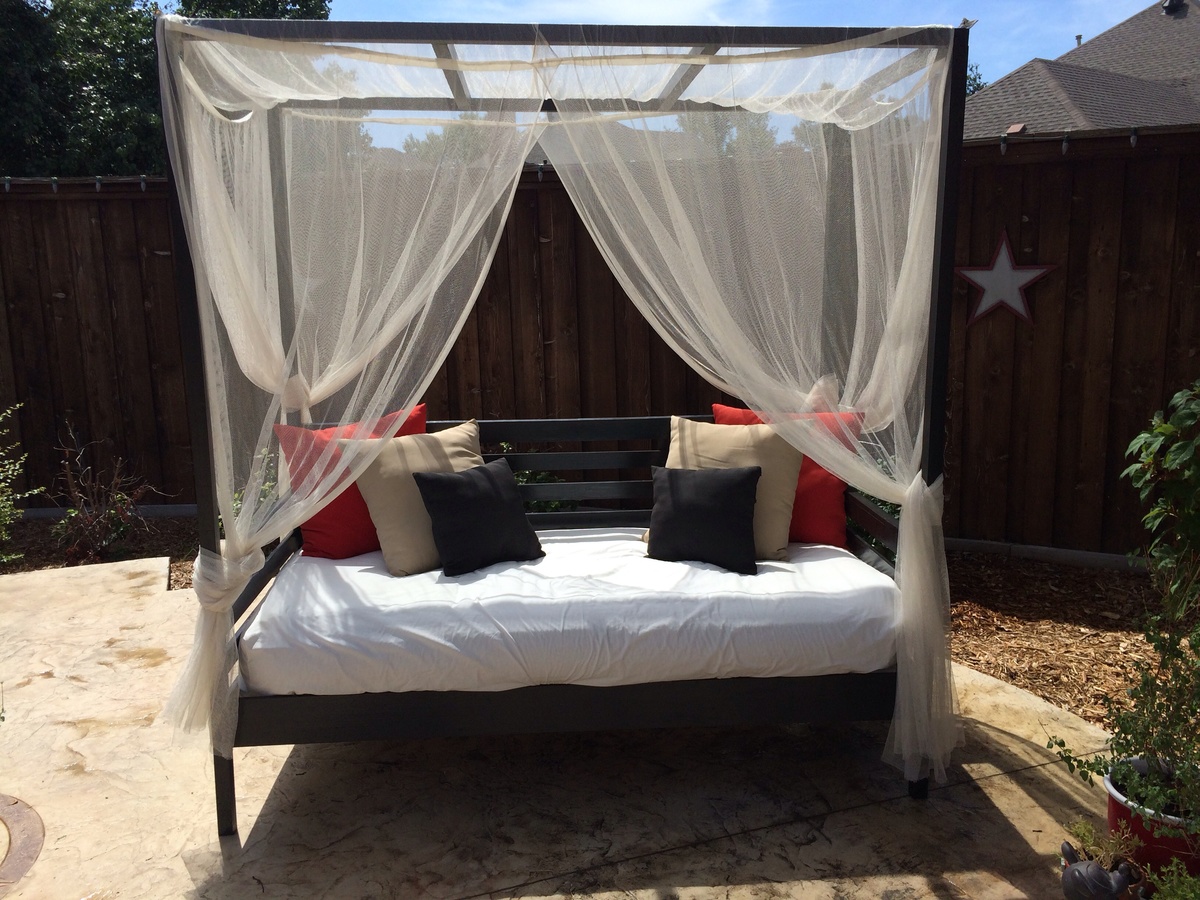
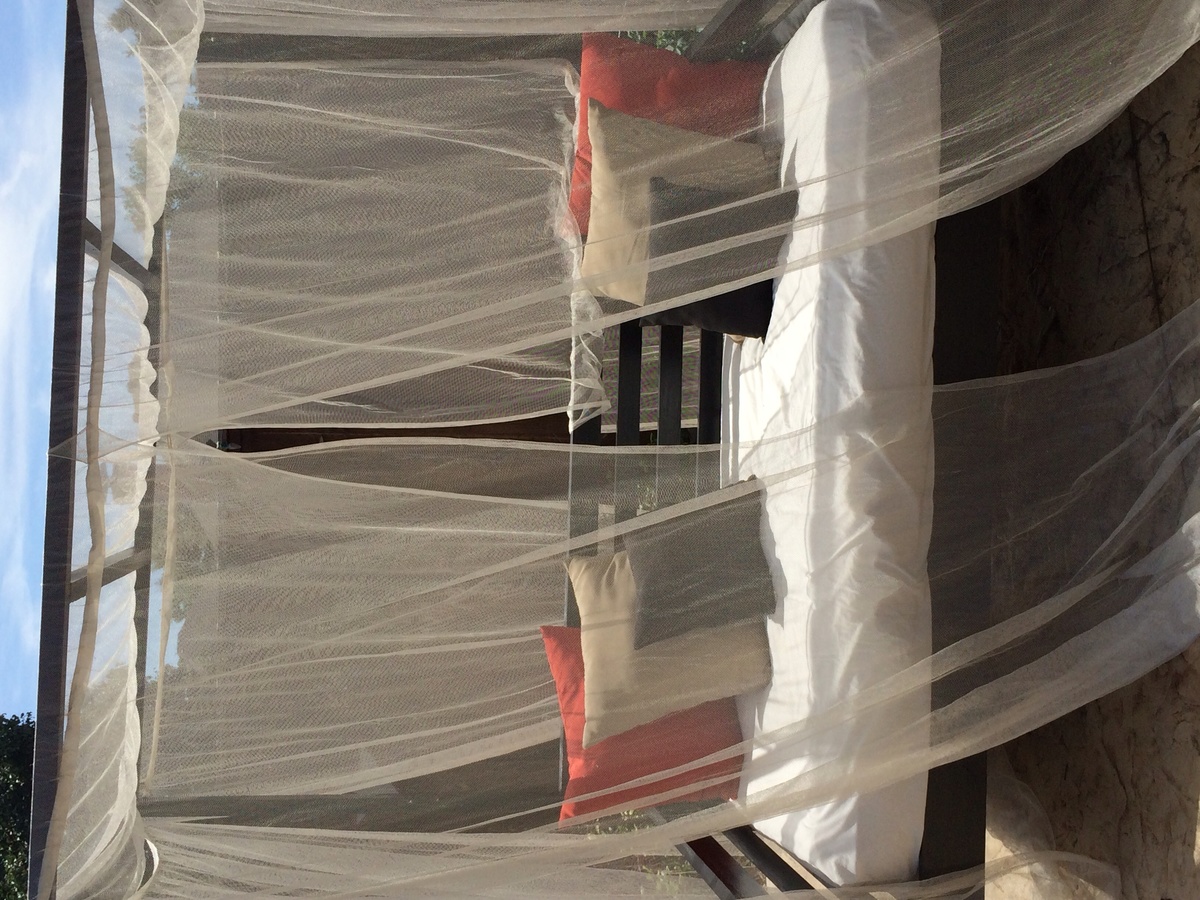
I wanted a Daybed so I could relax outside and read. I found this bed plan on Ana's site. My hubby helped me a lot (I had no wood working experience). I ended up staining and putting on Spar to protect from there Texas sun. I use a blowup camping mattress and twin bed mosquito canopy netting!
Love love, my bed.
Thanks Ana!
Jewels
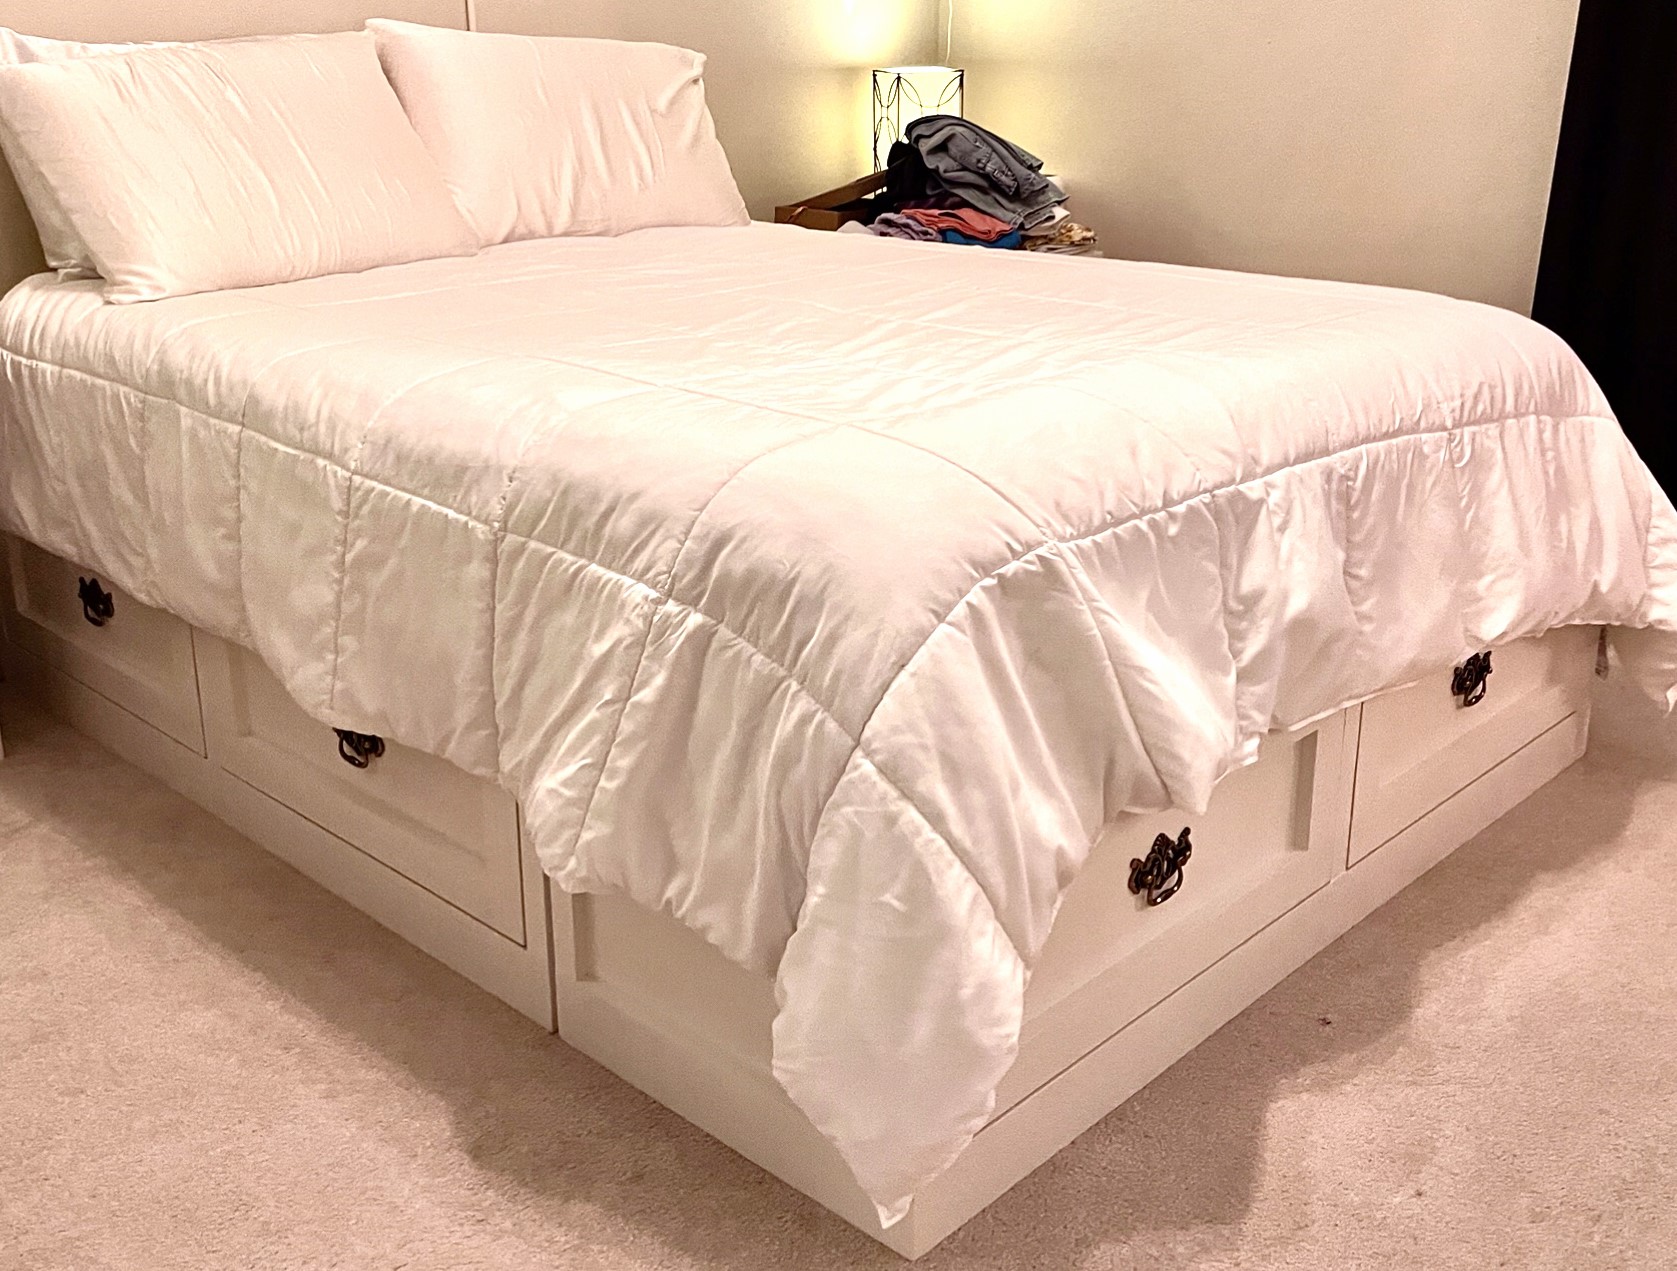
Wonderful addition to my daughter’s bedroom. LOTS of drawer space (a woman can never have enough storage for clothing).
Used a clear cedar stain and mostly used jig holes
On the chairs added a 6 inch screw to hold the chair arms securely to the back in case someone sat on the arms.
Matt
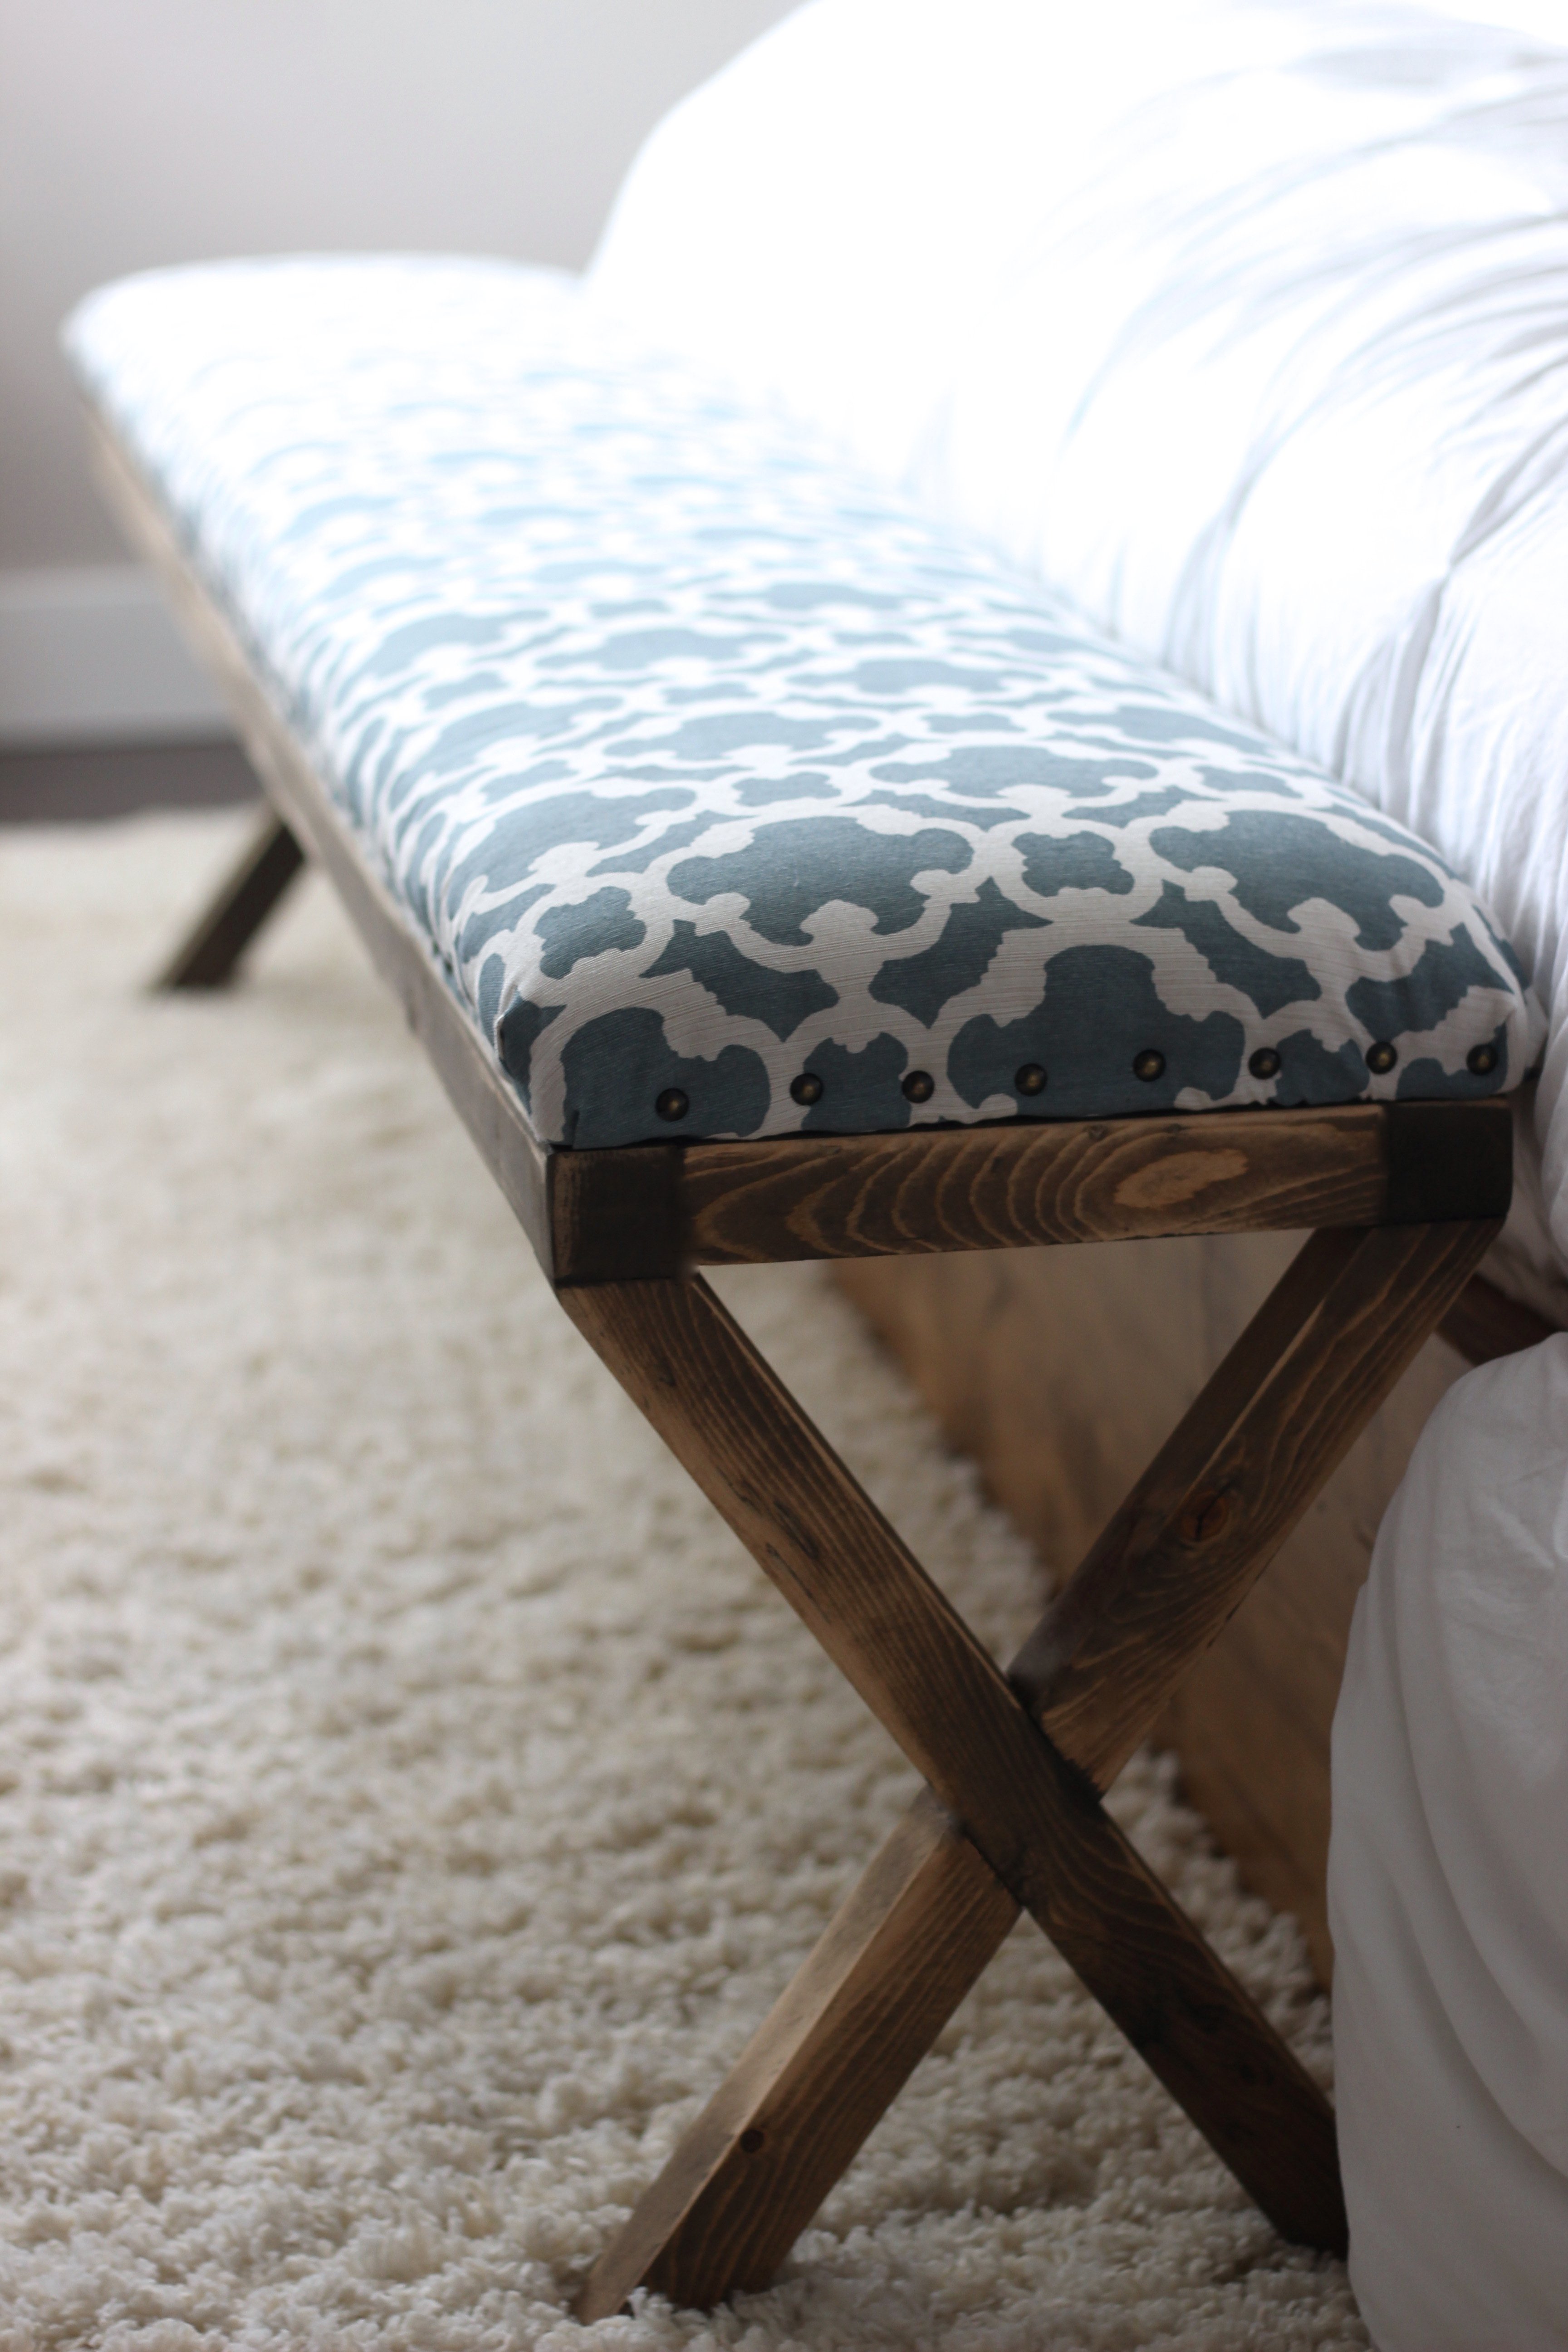
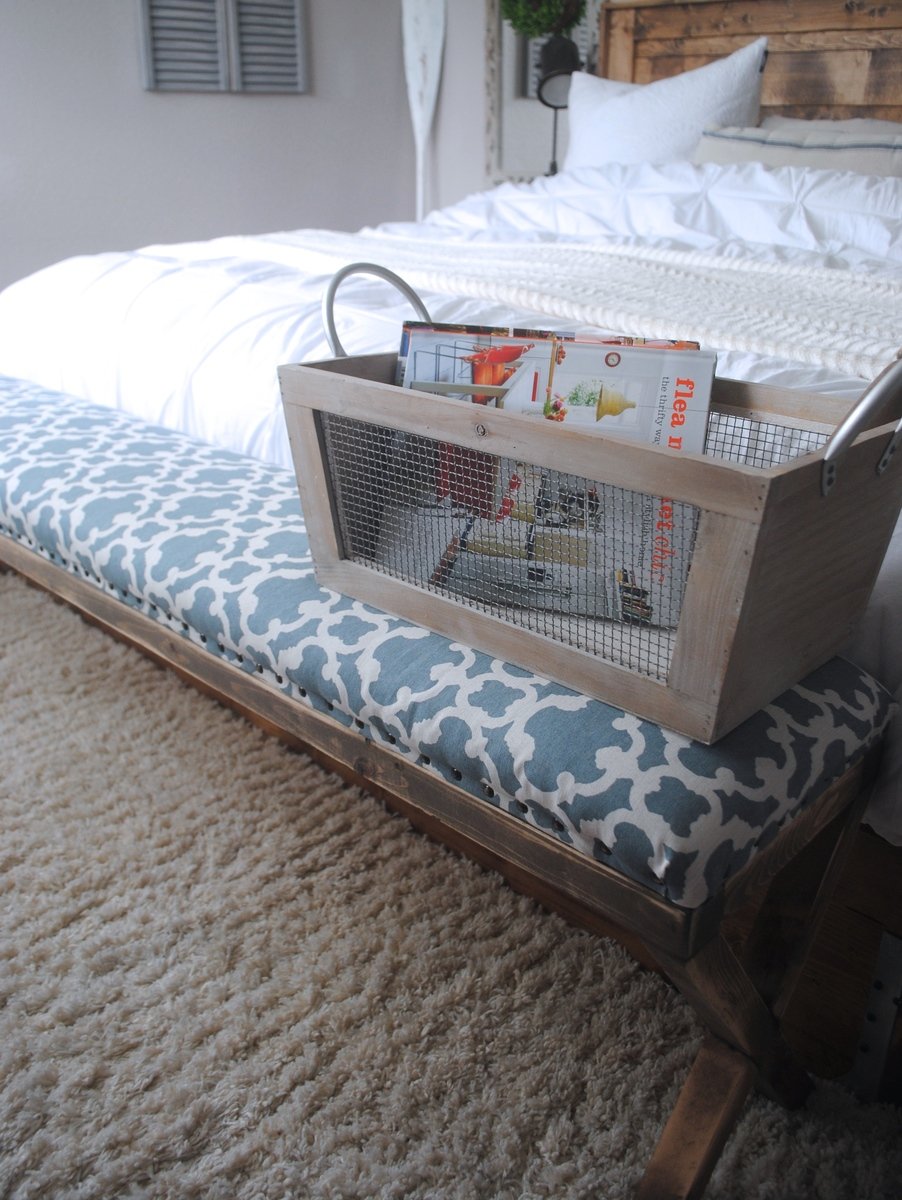
I've wanted a nail head upholstered ottoman for forever. I came across this tutorial & Roque Engineers tutorial and combined them Super super easy guys! We made ours at 6' in length x 12" in width ( our room is SUPER small ) Check out our blog for more details.
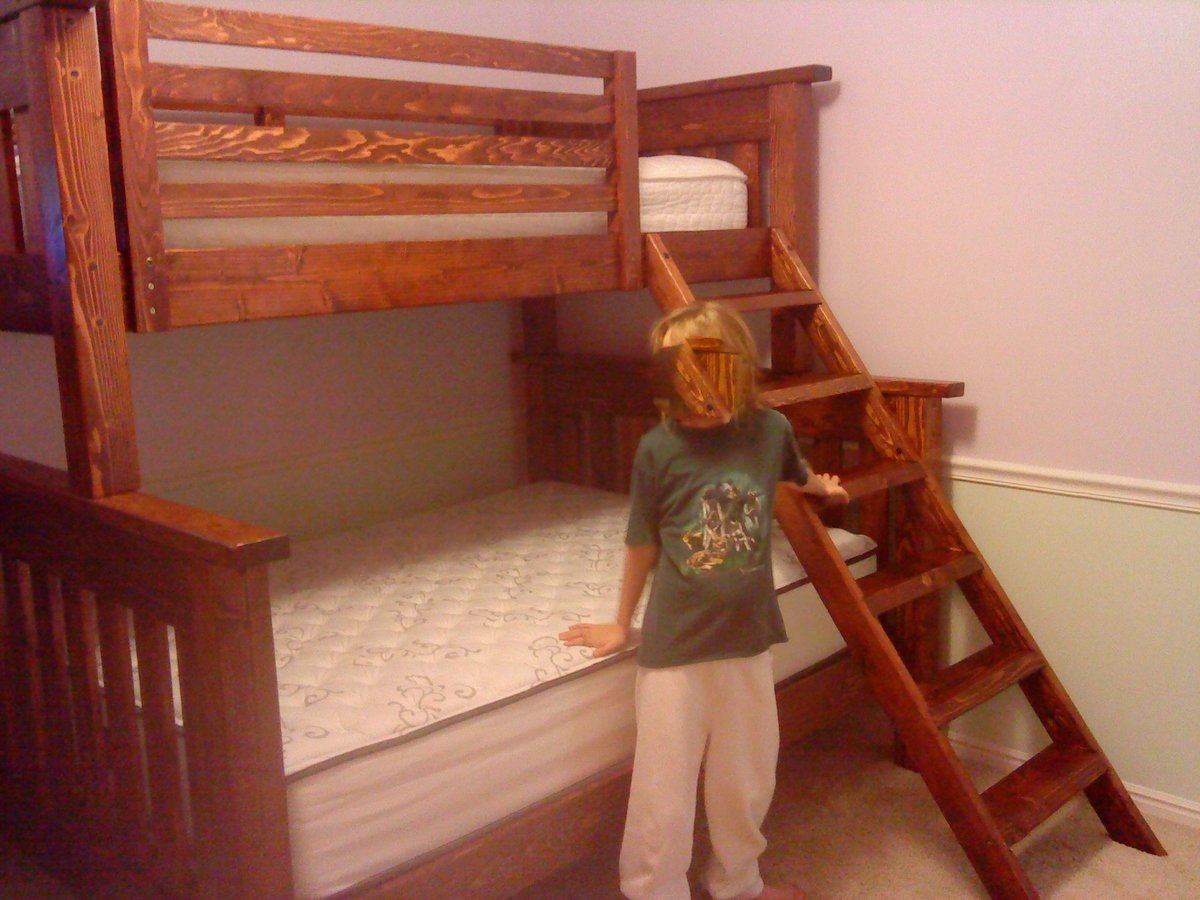
This project was so much easier than I thought it would be when we started. If you follow ana's plans your bunkbed will be much stronger than anything you can buy for a fraction of the price. I would never do it but I honestly think I could park my truck on these beds. The finish is red mahogany stain with a couple coats of polyurethane over it. They say not to use dark stain over pine because of the uneven coat but i like the way it striped the grain. Not everyone's cup of tea but we love it.
We've all heard the saying "give a man a fish and you feed him for a day, teach a man to fish and you feed him for life. Thank You Ana for teaching me to fish. This was the first, but will not be the last project i do from your site.
Mon, 10/27/2014 - 12:43
What materials did you use for your matress supports (size, spacing, attaching)?
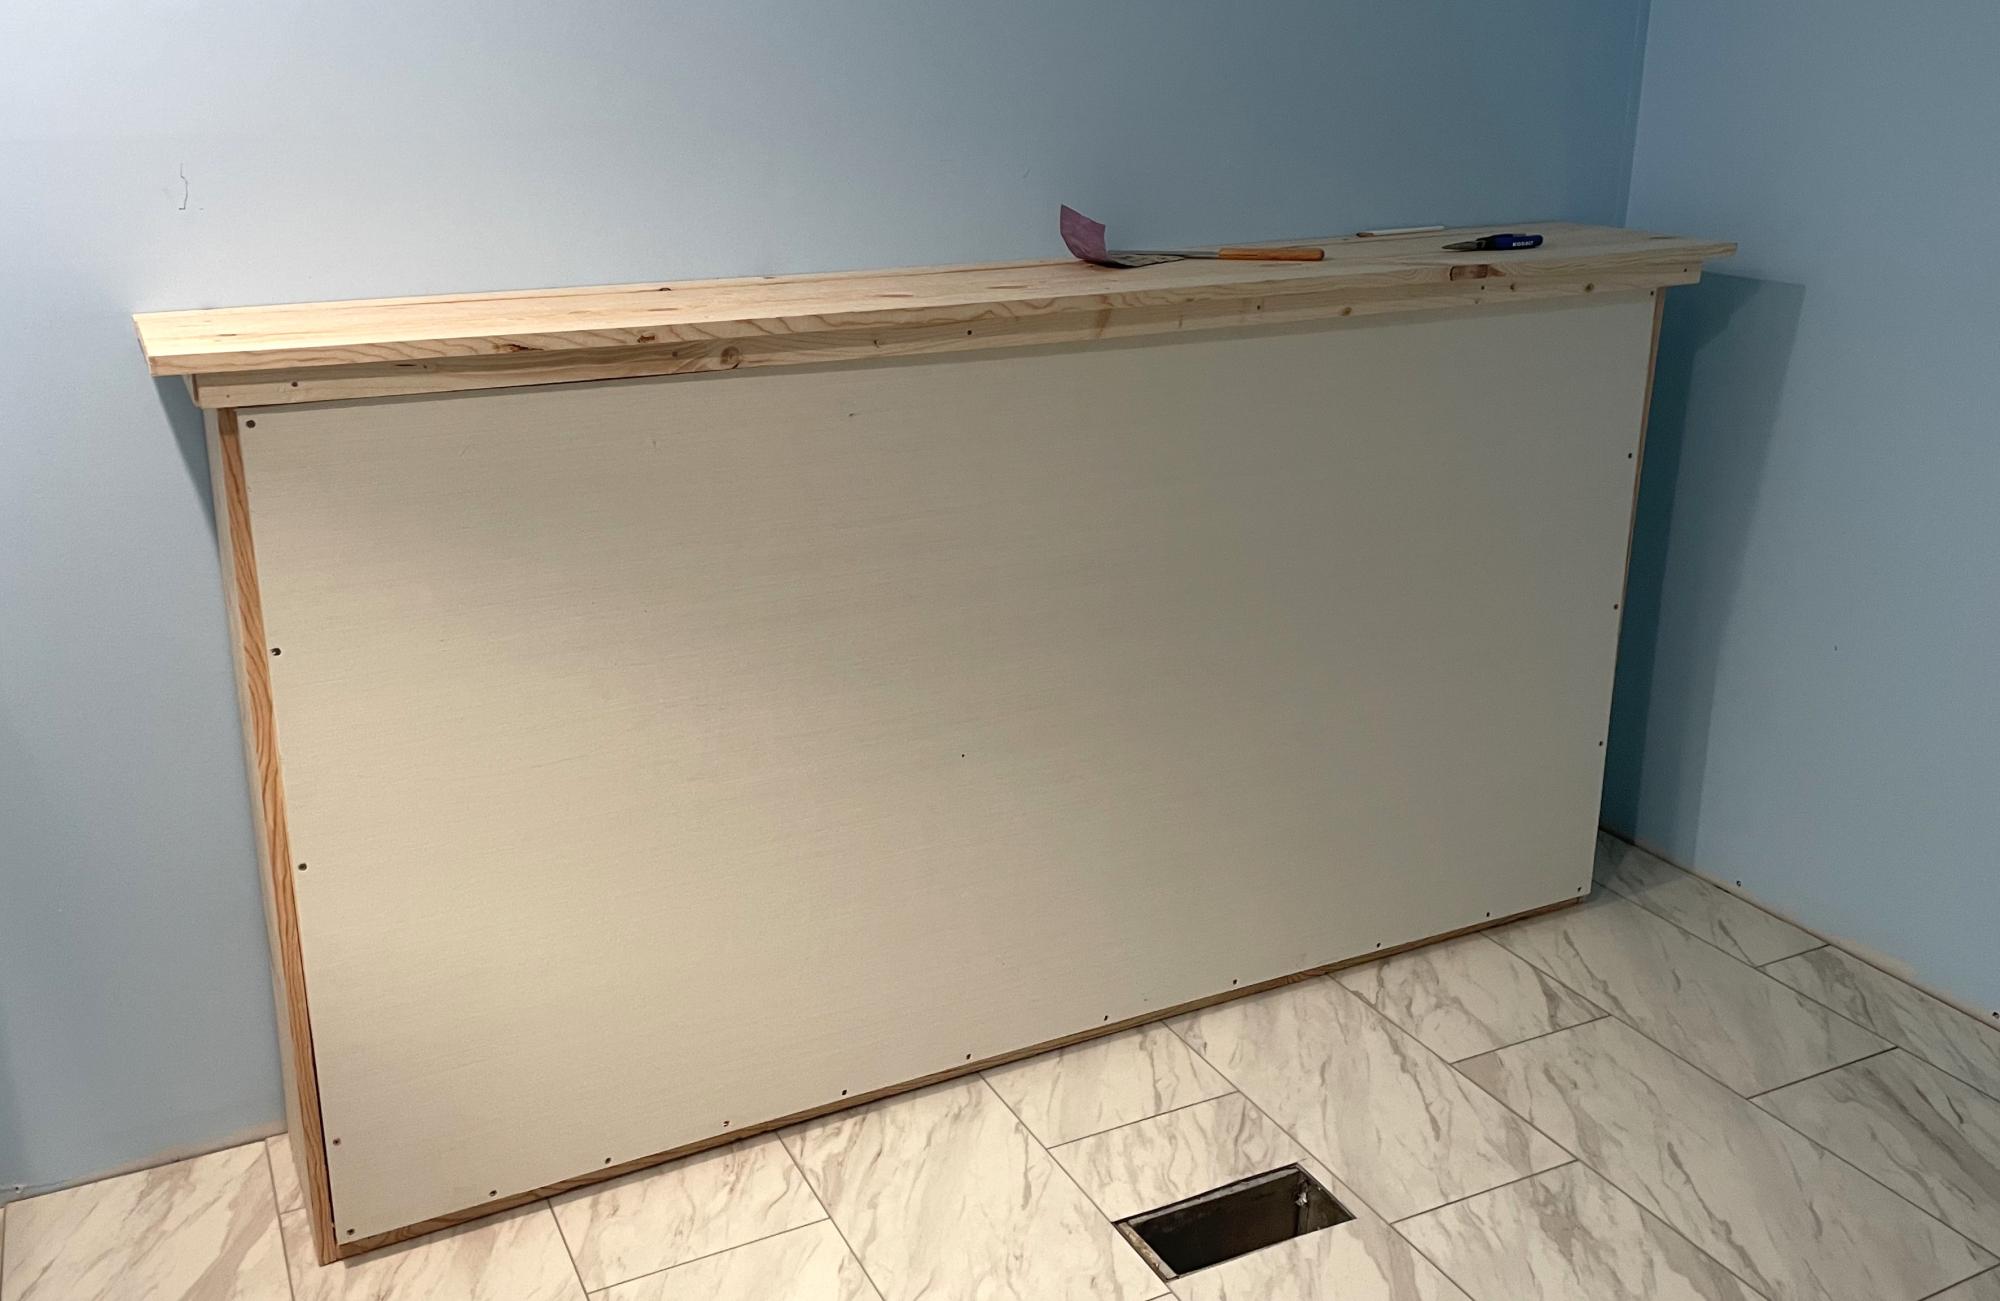
We are remodeling our 3 bedroom house into a 4 bedroom. In doing so, my youngest is getting the smaller room. We decided to go with a Murphy bed to allow more play time space. I do not particularly like the fact that this bed doesn’t sit off the ground but overall love the simplicity of making it. We turned it horizontal and just love the overall product. I can mot wait to make something else from this site!
Tams
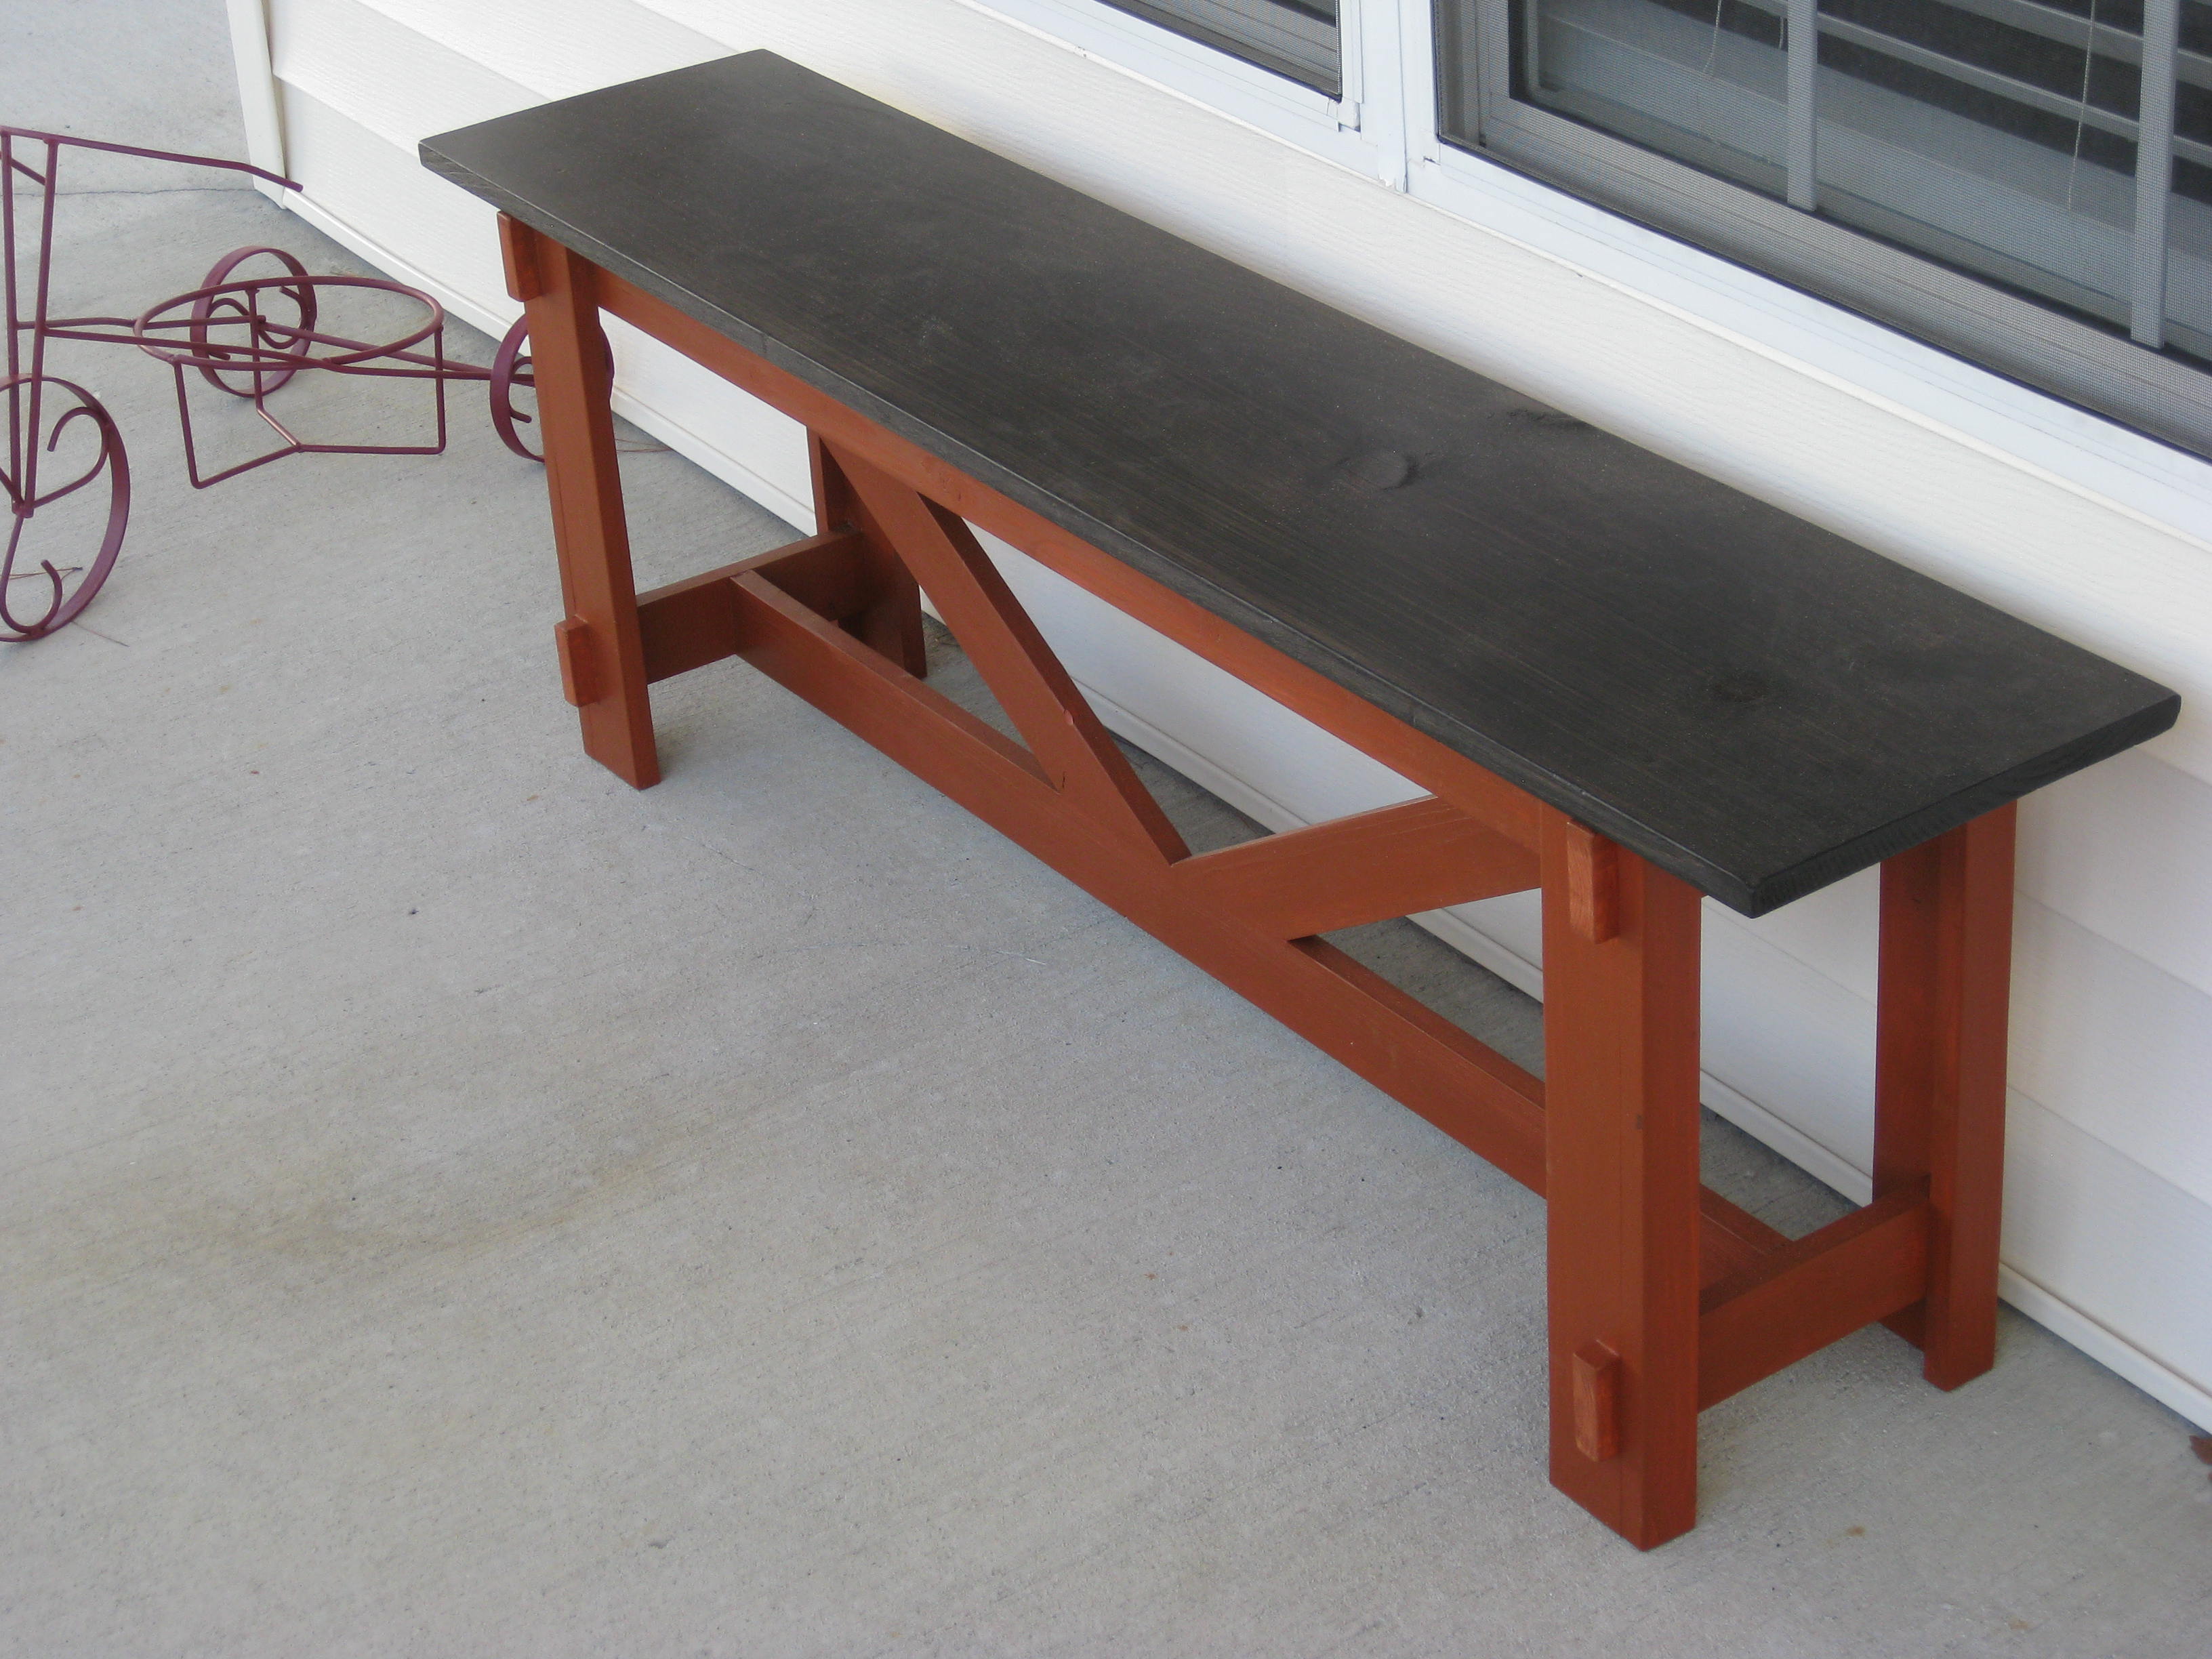
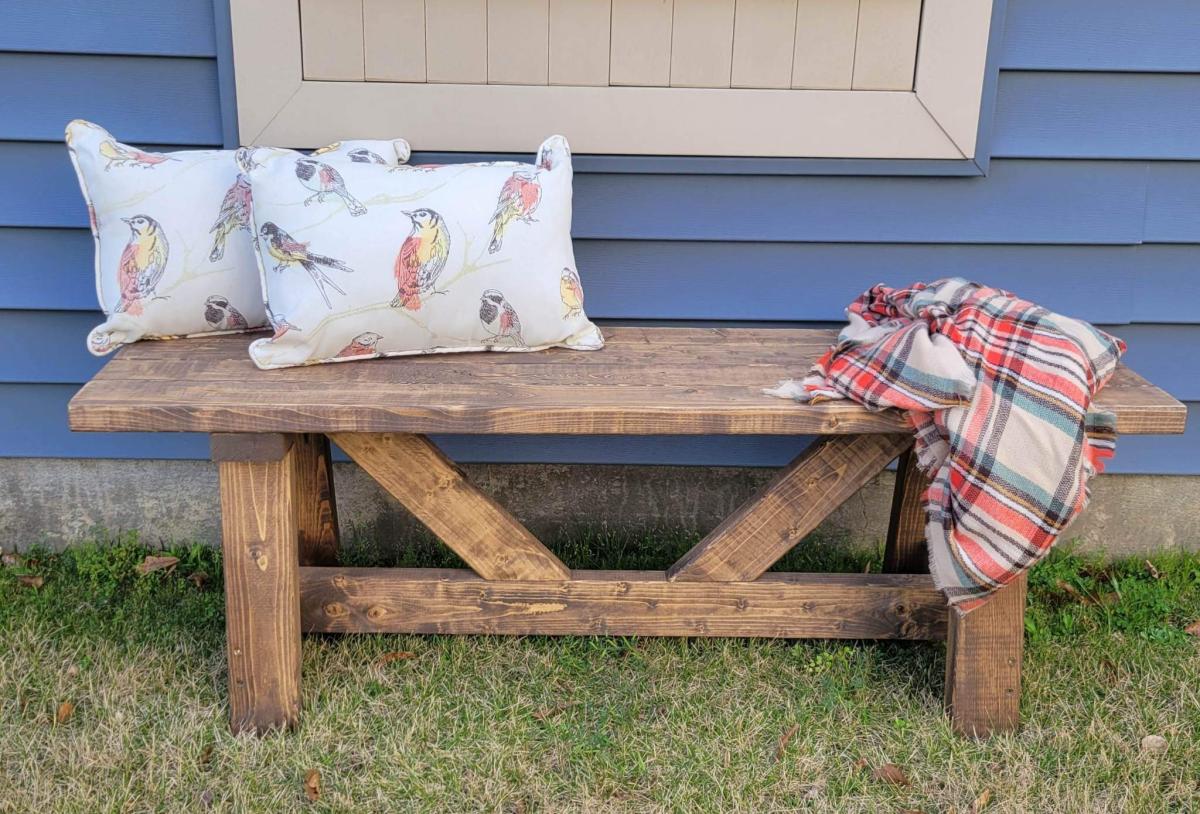
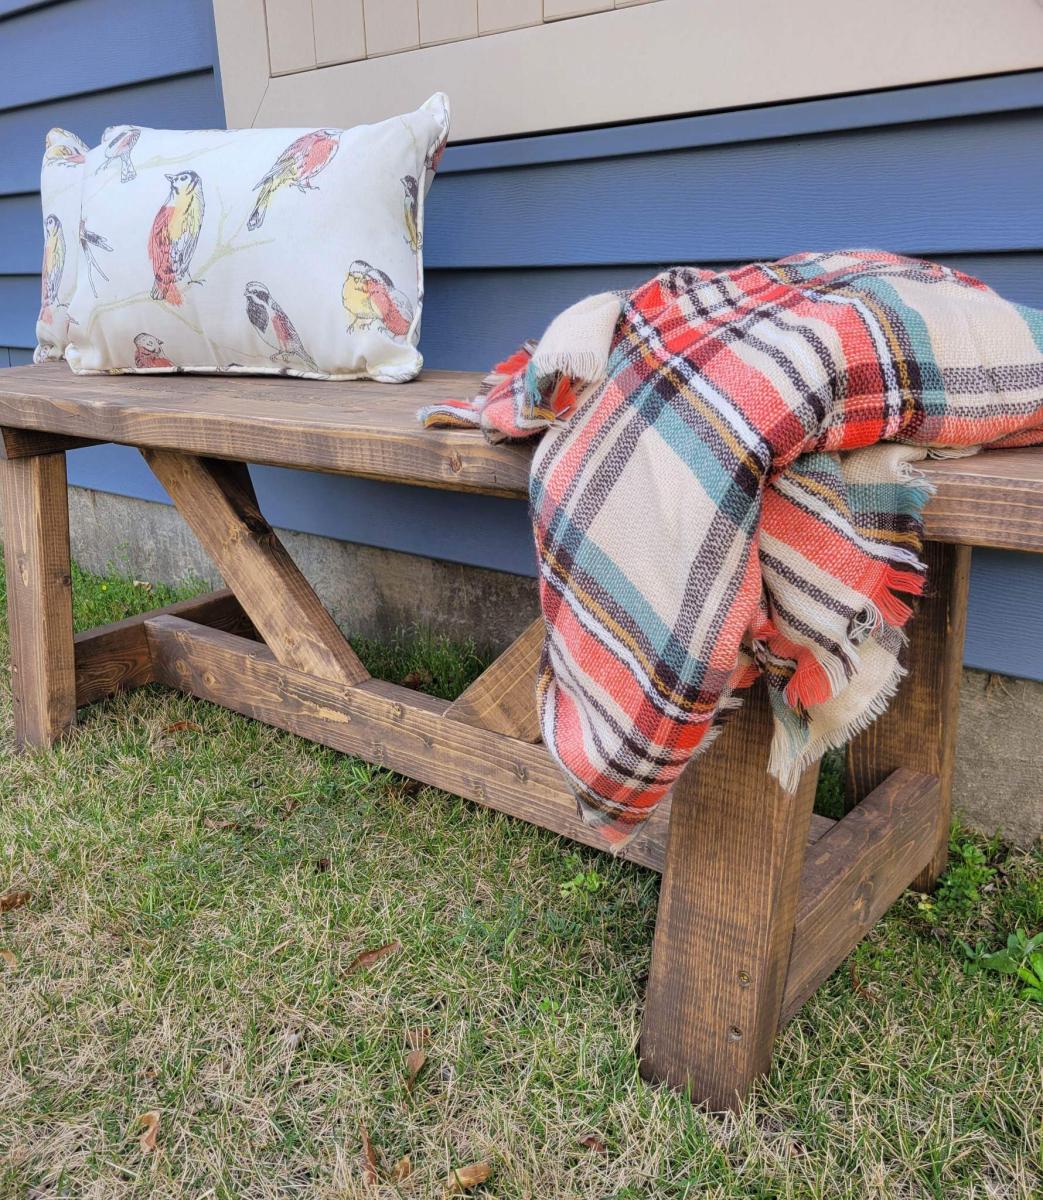
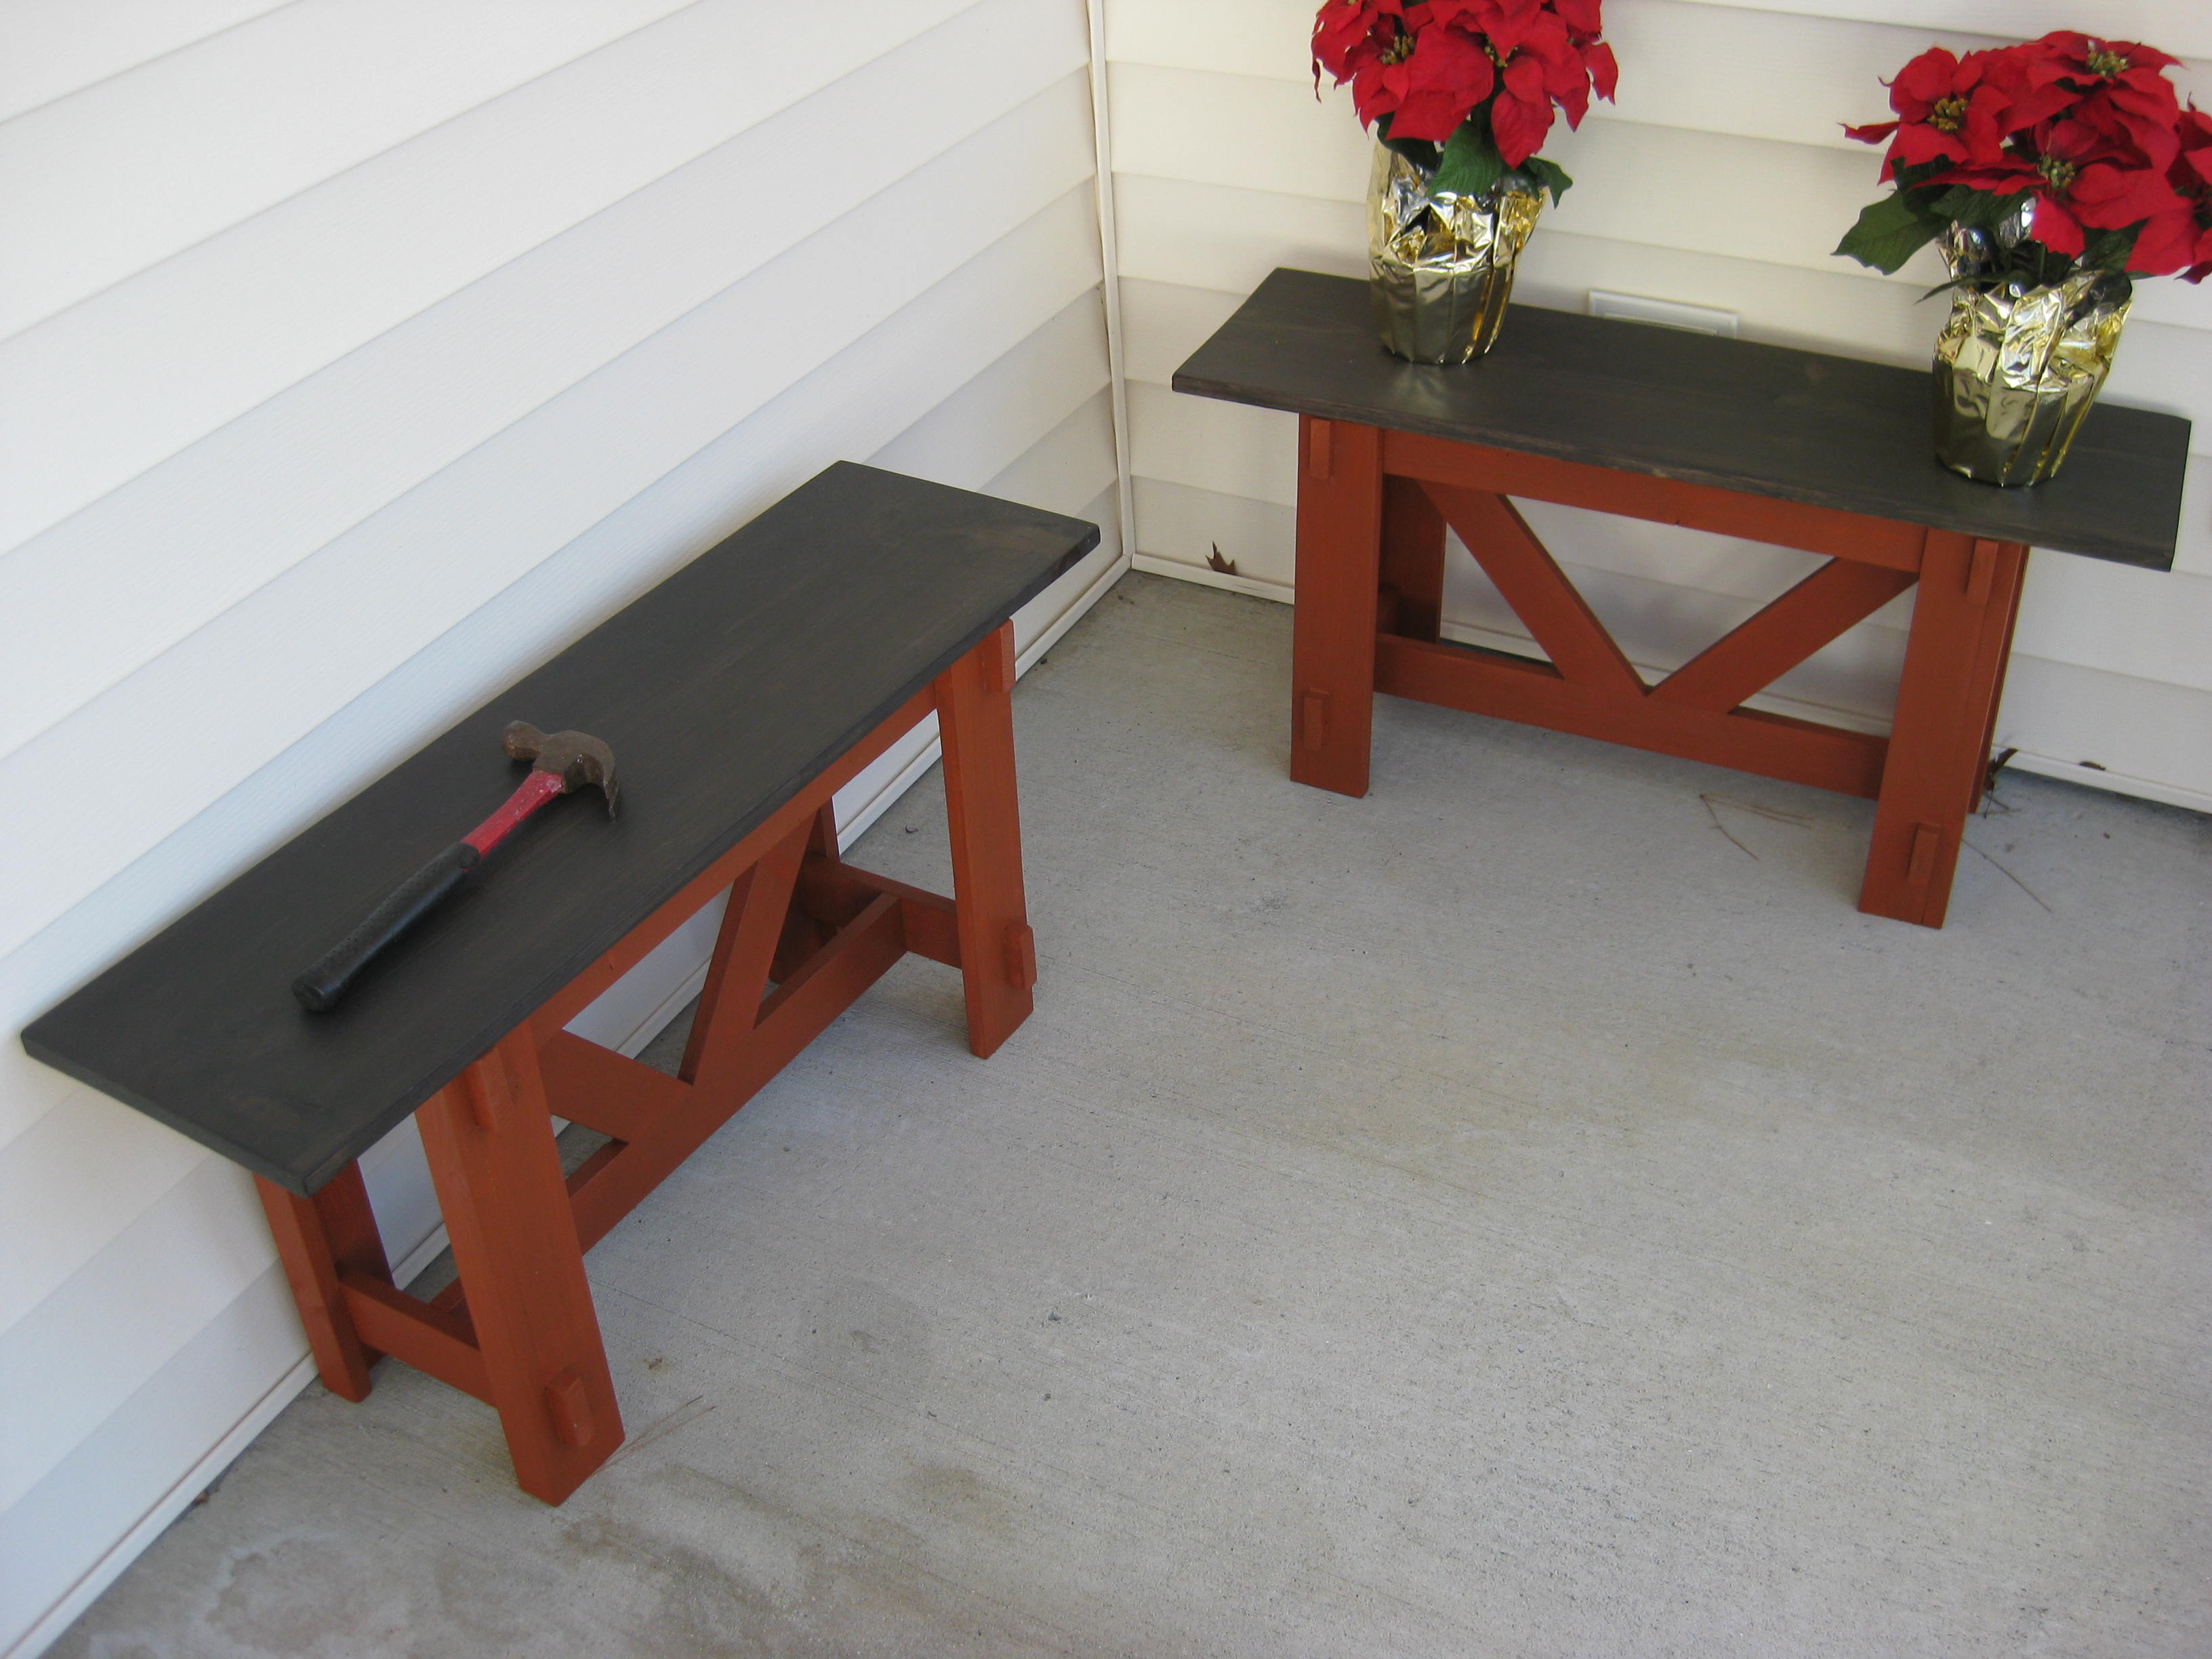
Fun little bench to make for our front porch. We liked it so much we built 2 more smaller ones one for each of the kids to go with mommy and daddy's bench. Bought all the material at the home store and decided to use stain since it was going to stay outside. Used the same method with all my other projects sanded using 180 than 220 grit, wood filled all the cracks and the Kreg Jig made this simple.
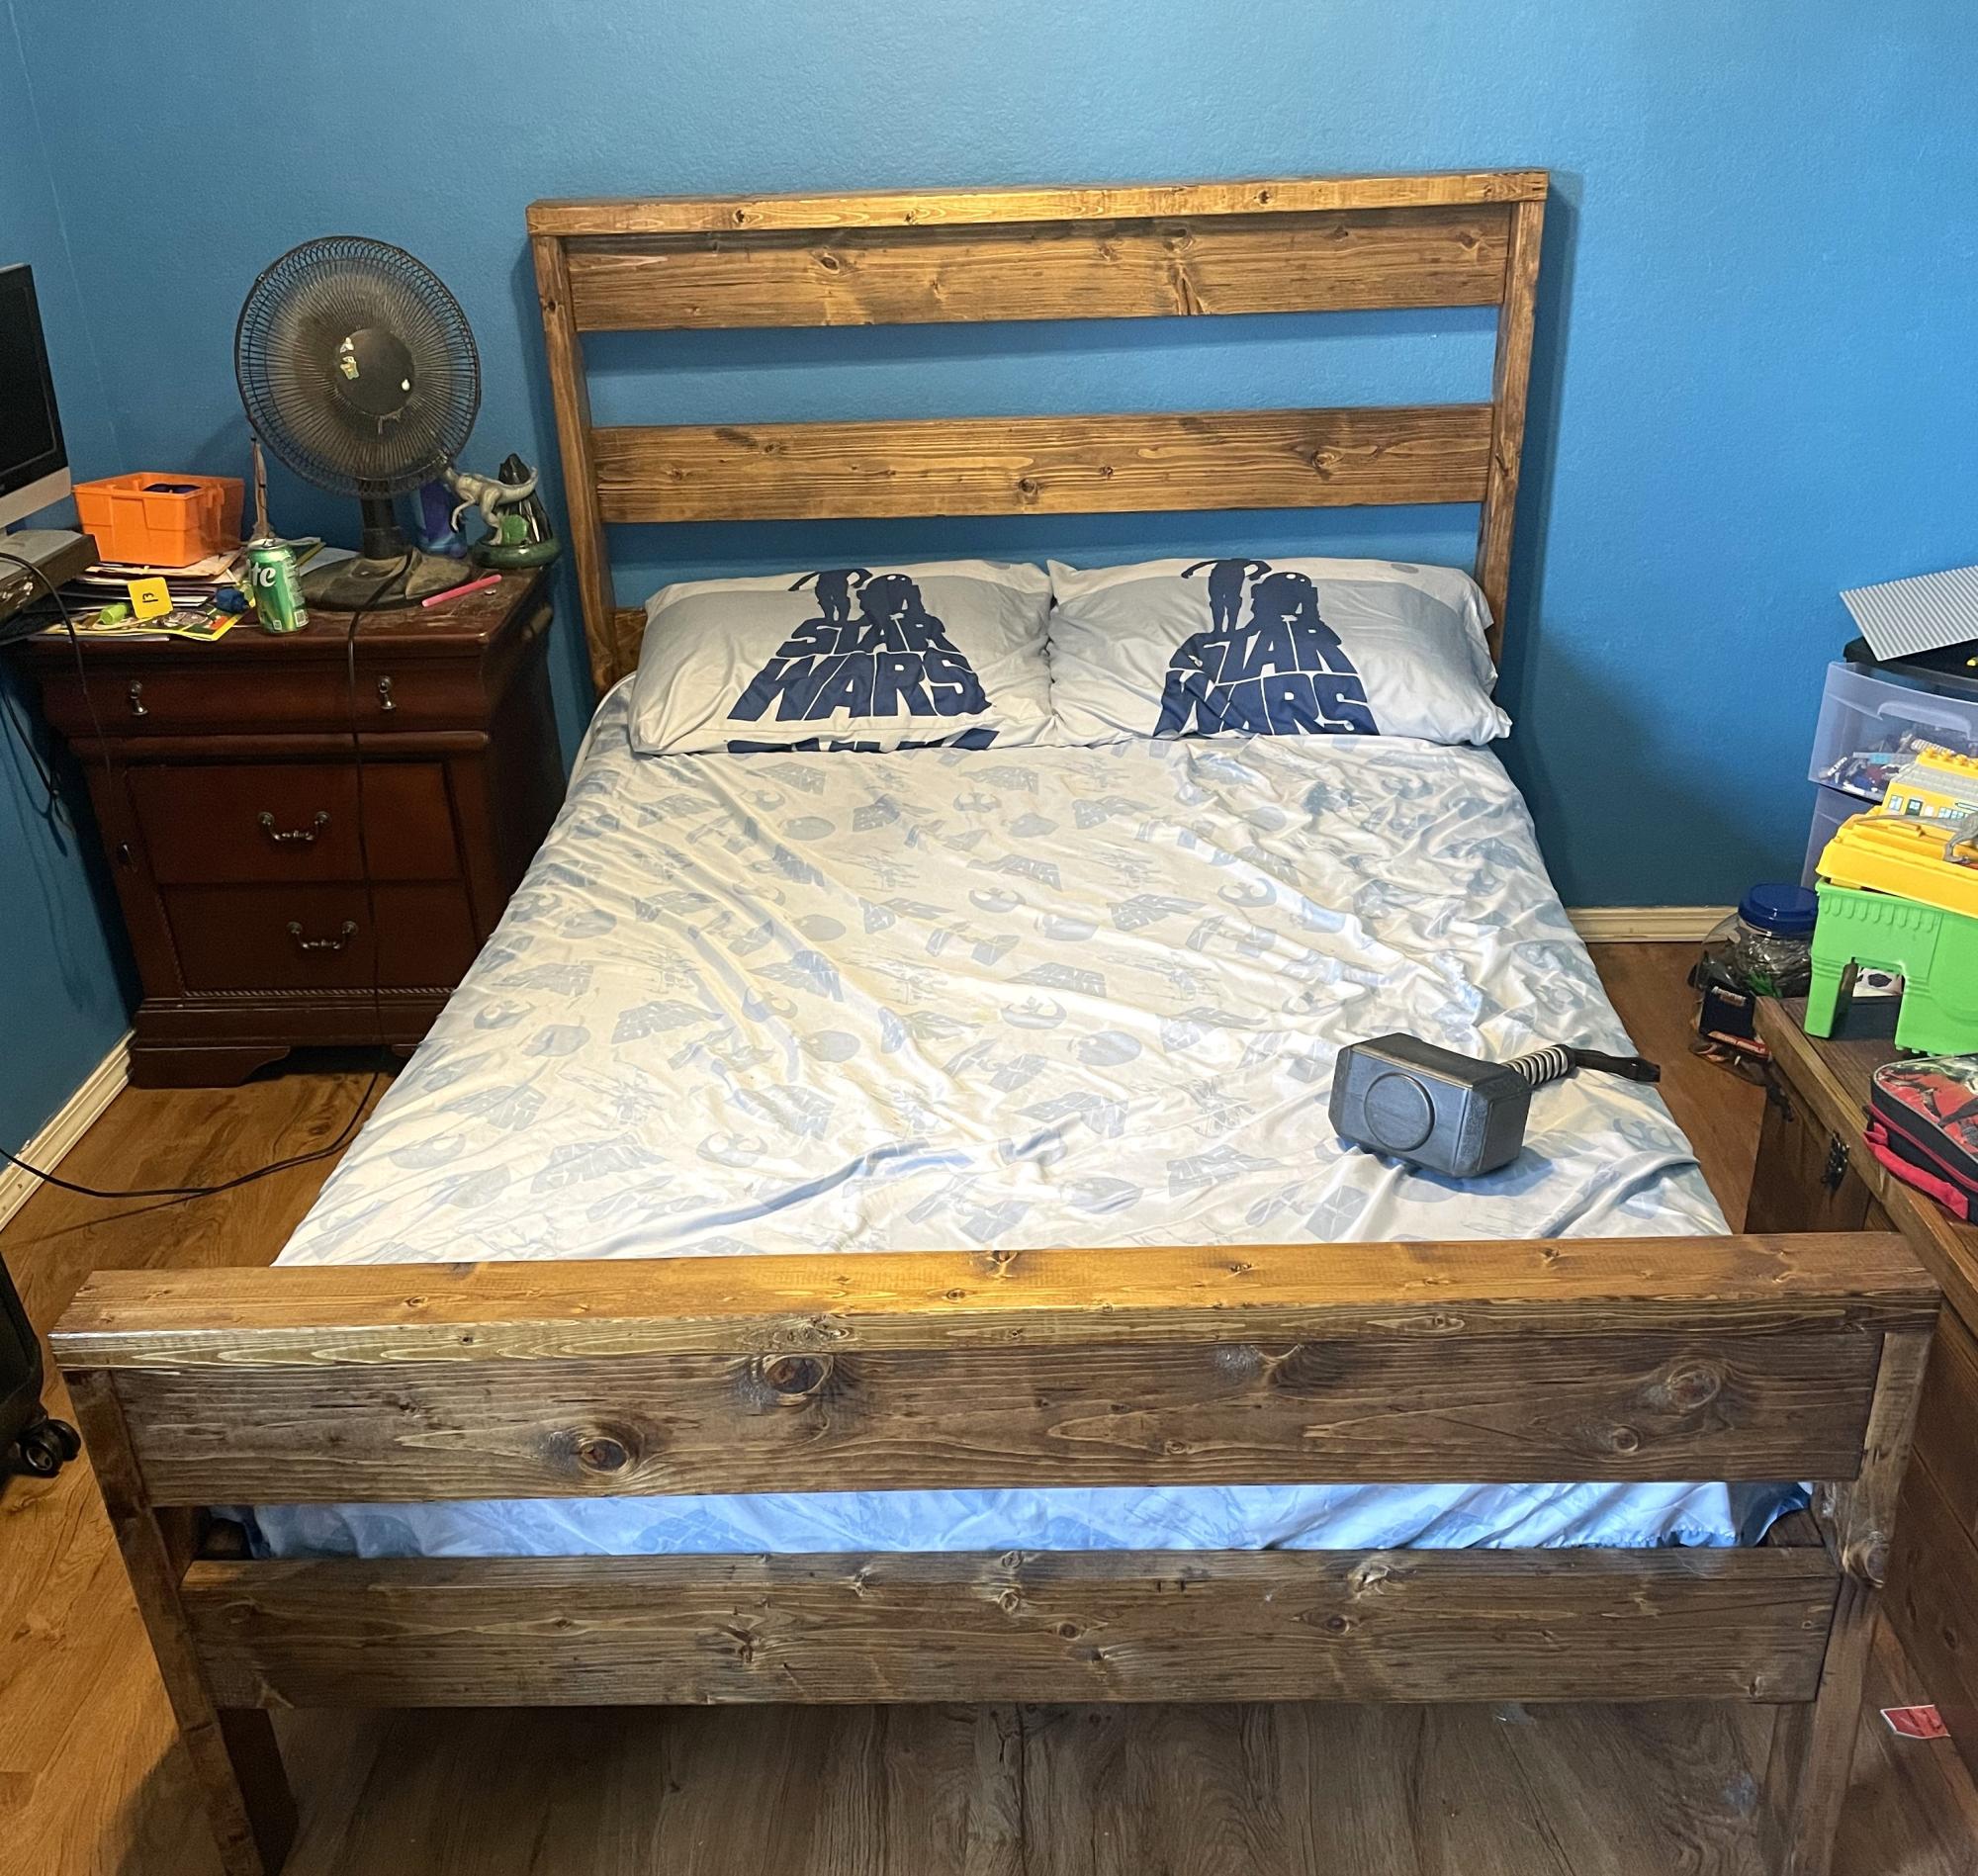
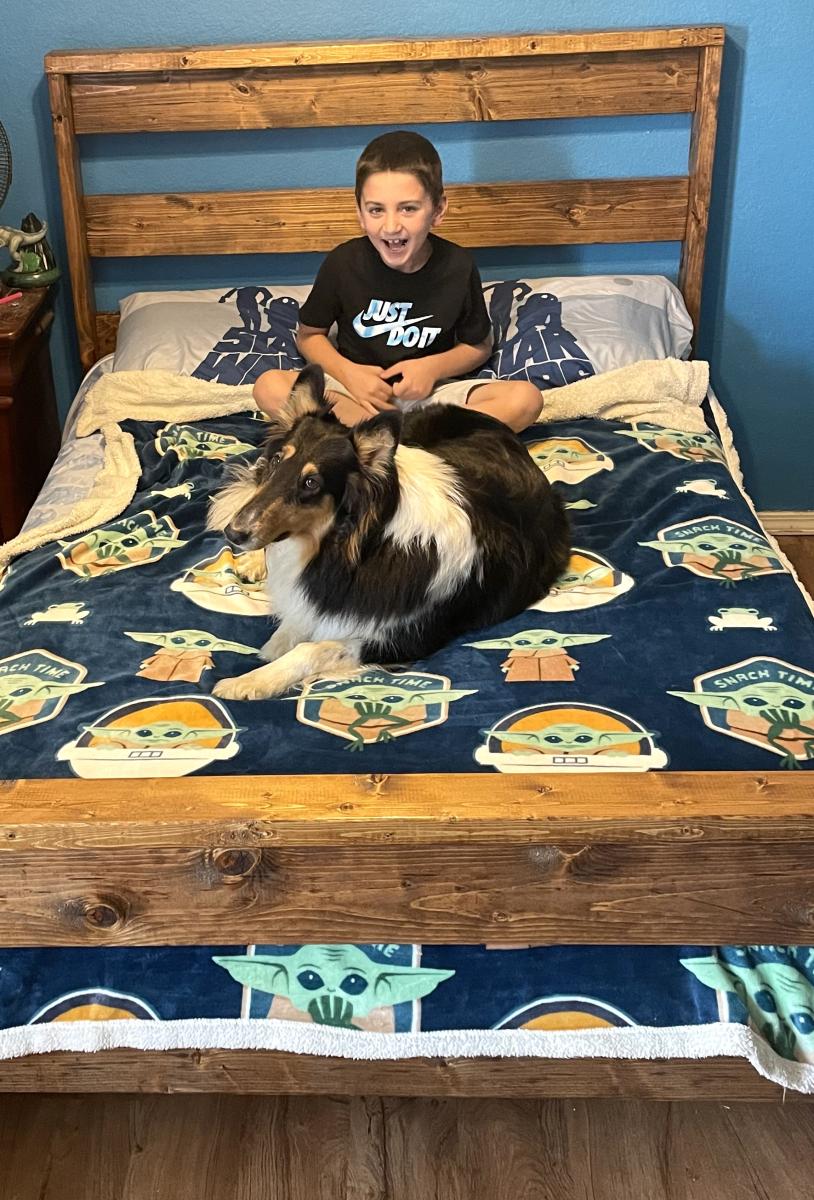
New bed for my boy. Great plan and not expensive.
Sean Hight on Facebook
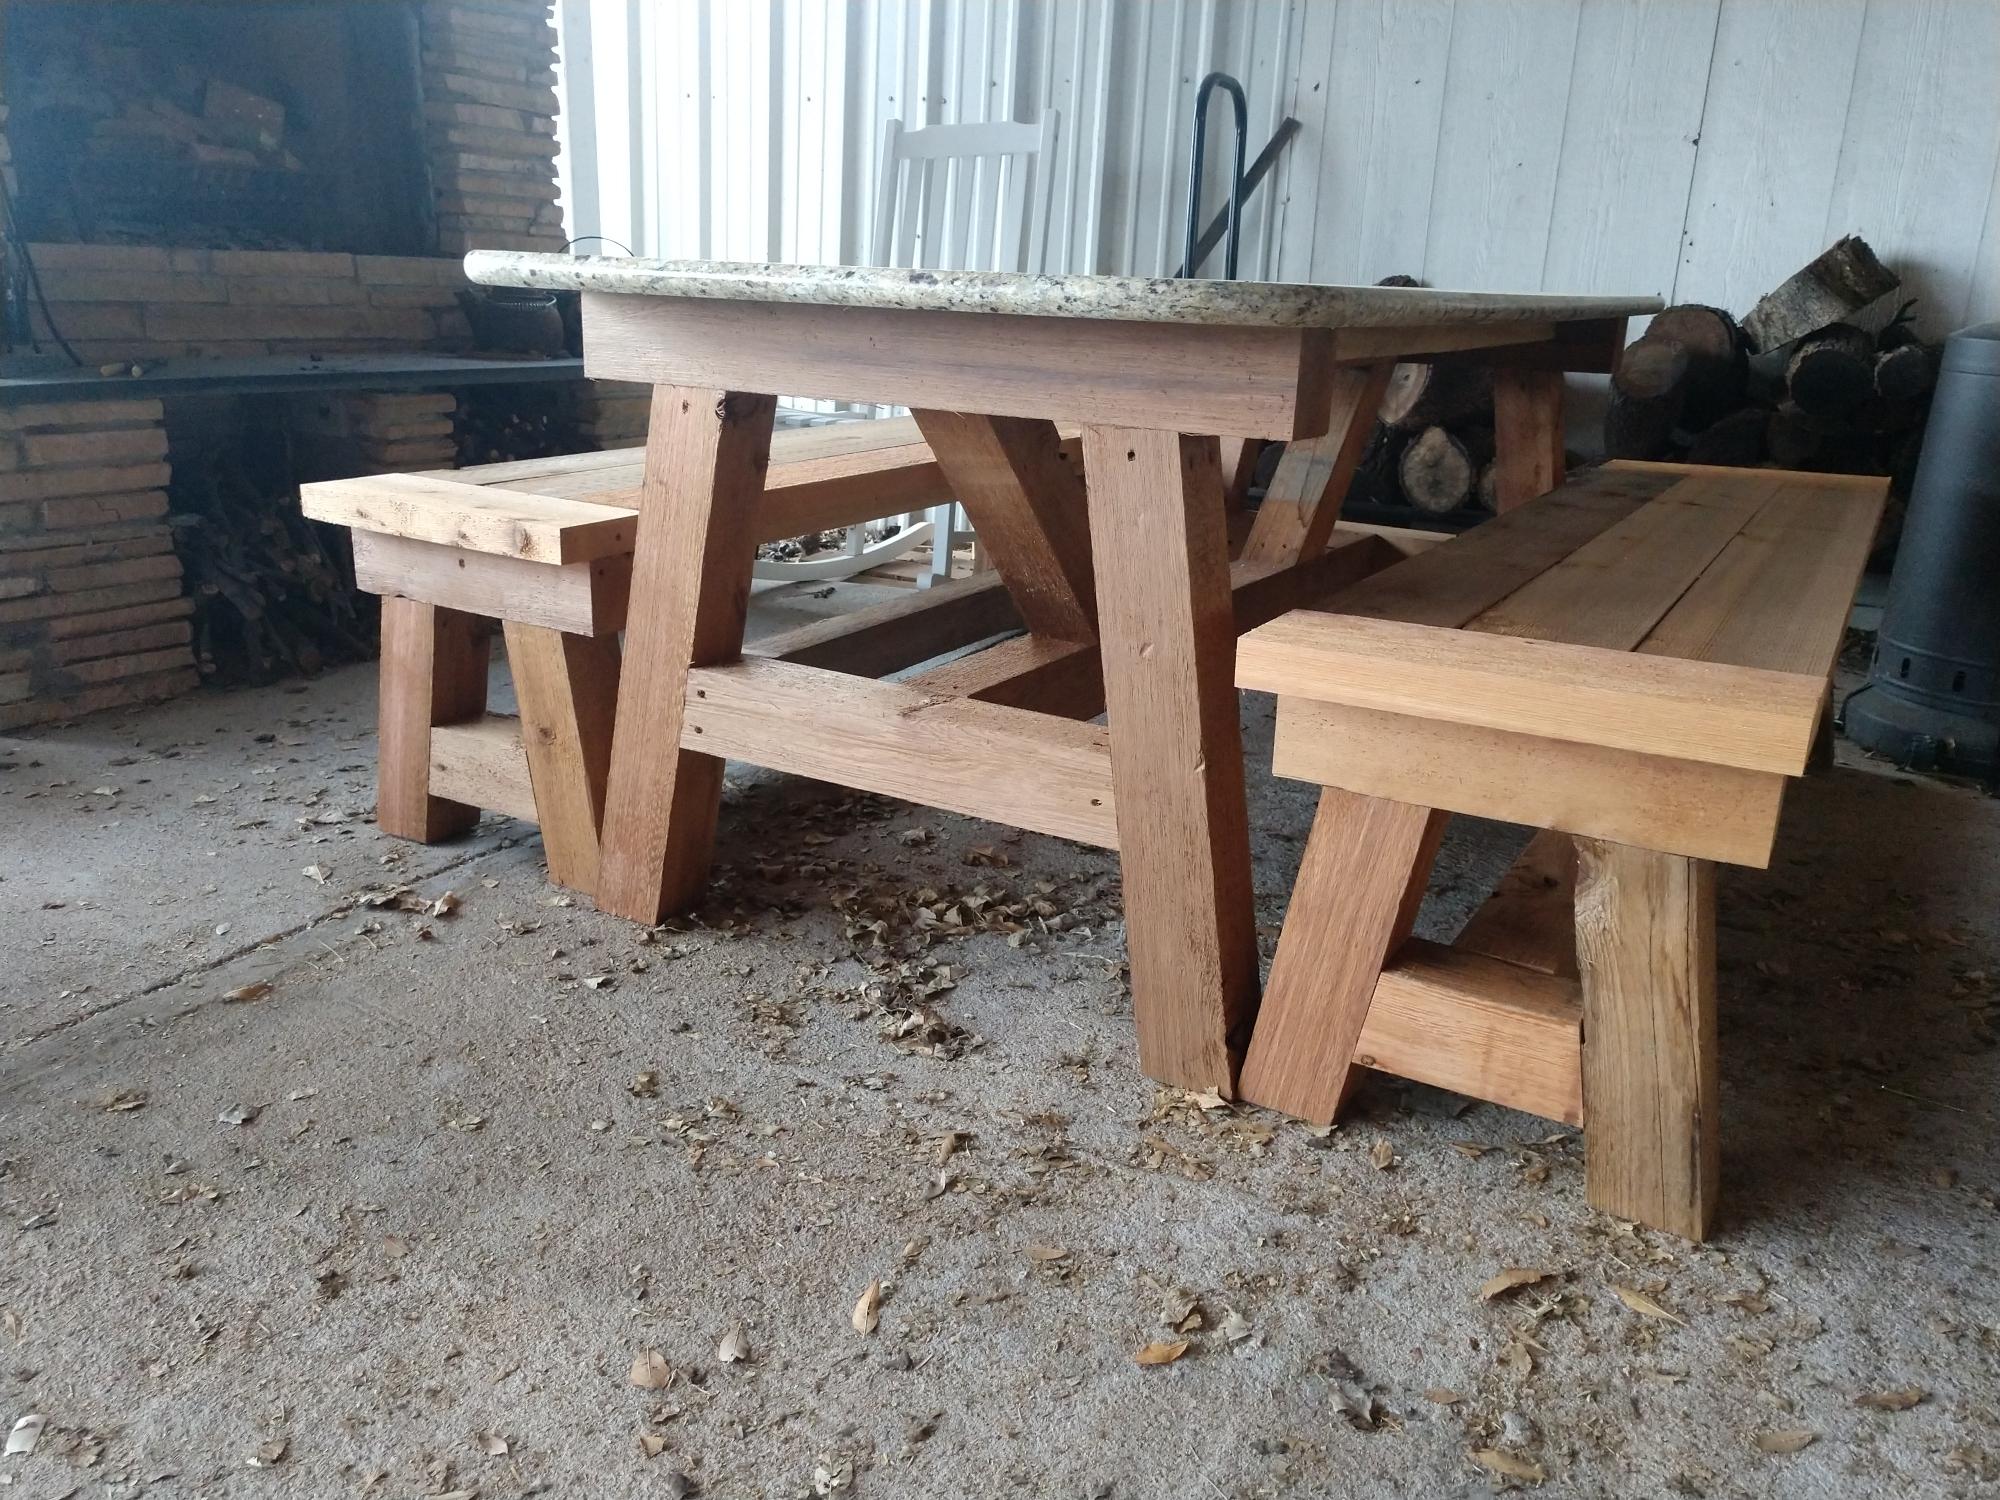
We had gotten a piece of granite for free, so my husband modified the plans to fit the slab. We made one in pressure treated lumber and loved the look so we decided to make a nicer one in cedar. The benches are a little wider because of the size boards available. We could have ripped them down, but we prefer the wider seat. I will sand the seats and seal the wood to keep it looking fresh longer. We look forward to many great memories at our new table by our outside fireplace. Thank you for the great plans!

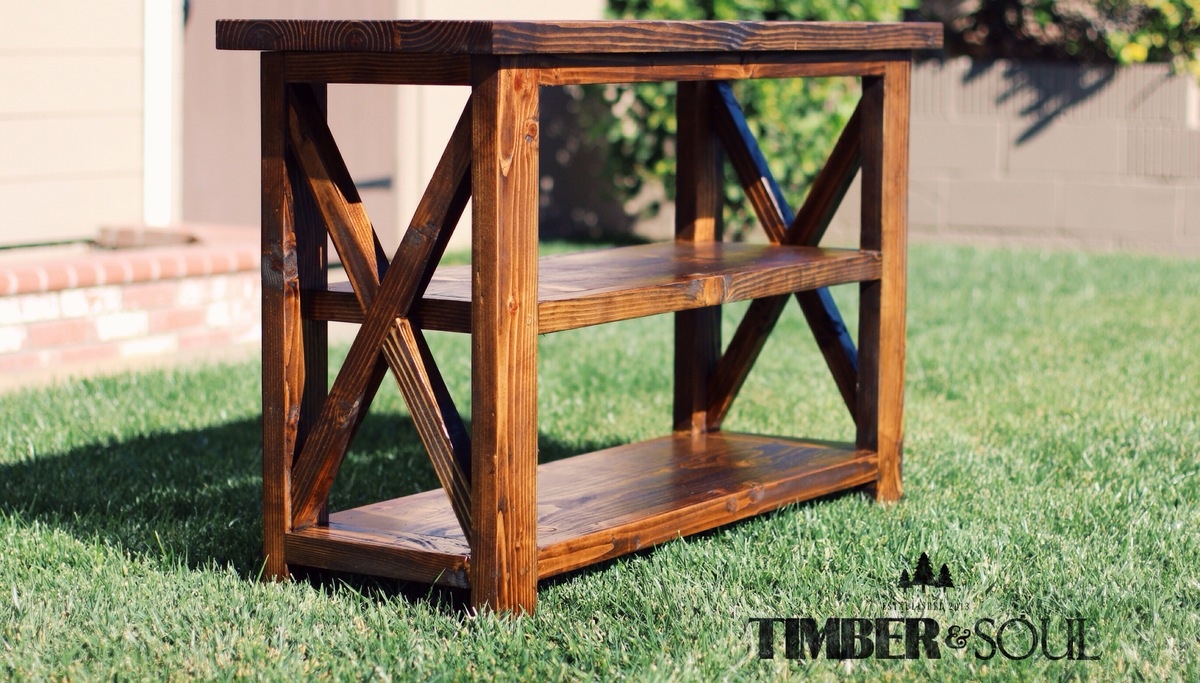
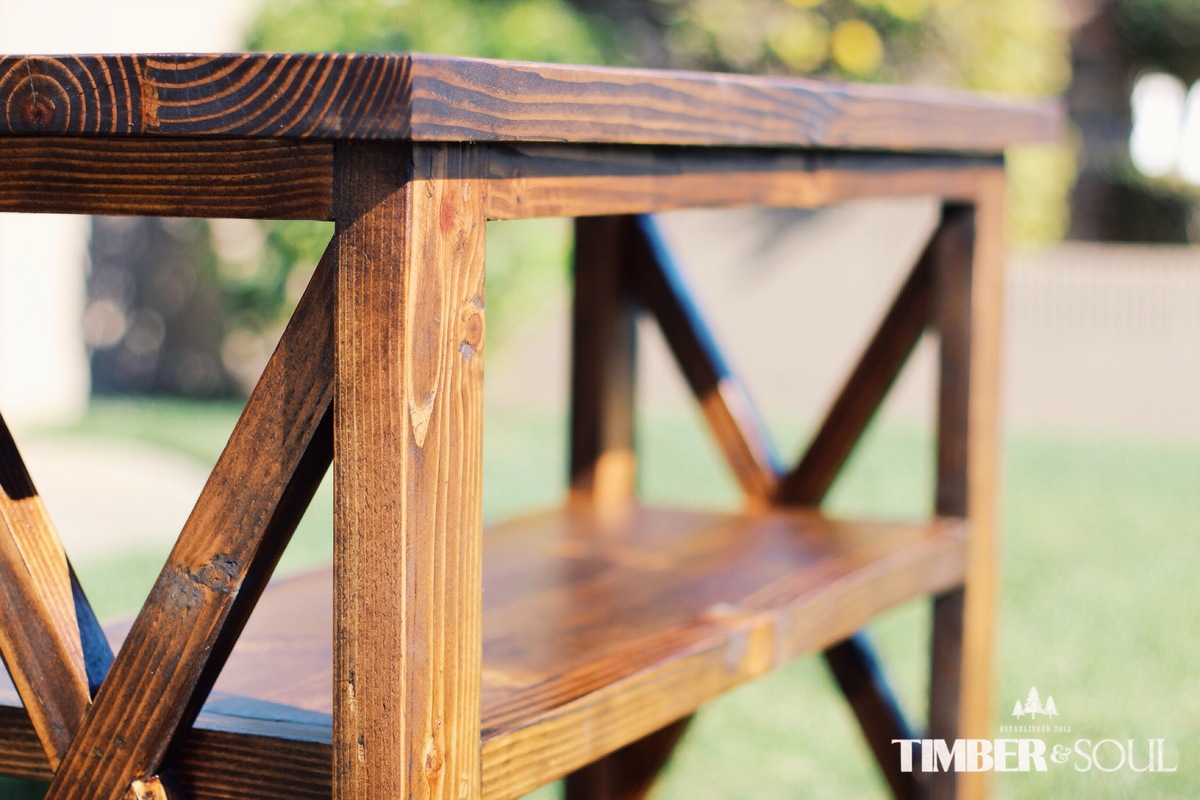
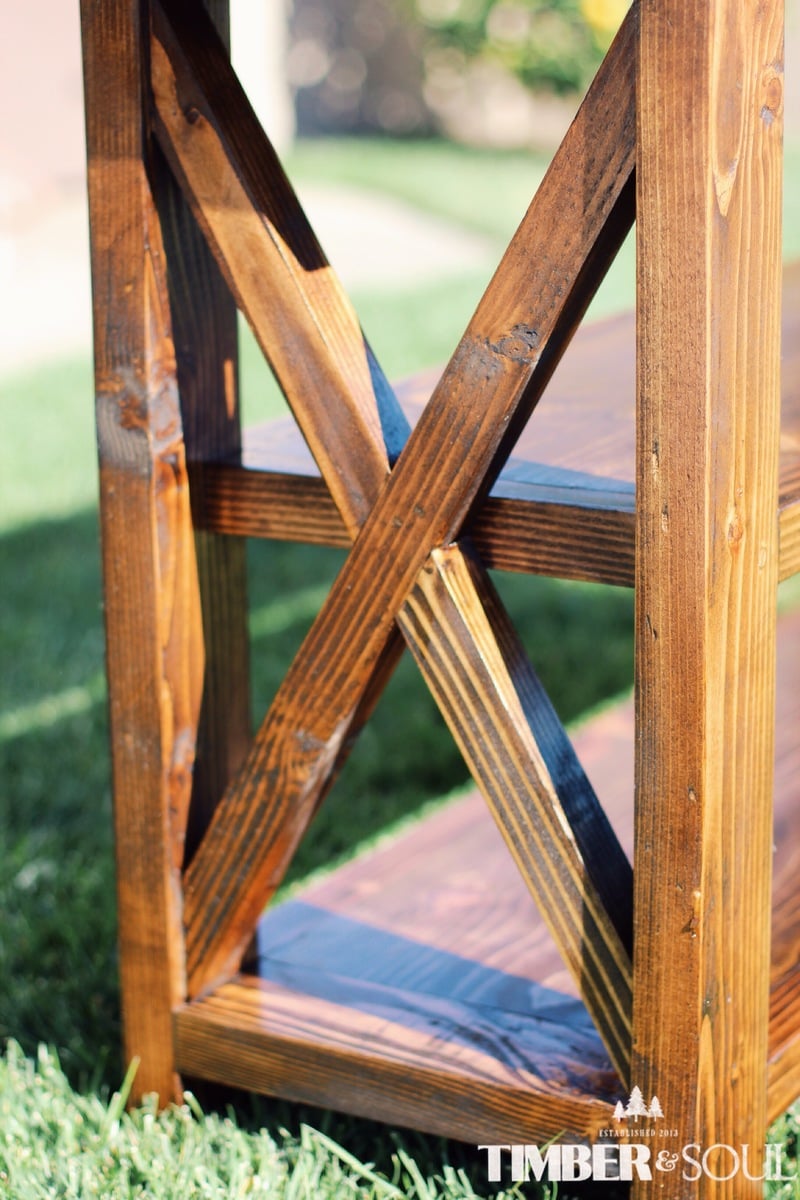
I modified ana white's plans to build a smaller x console.


I was wanting a work bench for my outside shed to work on occasionally and help keep organized. This is the first piece of furniture I have built totally on my own! The plan was easy. I sized it down a little with no problem. I'm a little off on a couple of the cuts but will practice more! Overall, thrilled and extremely proud of it!
Lori B
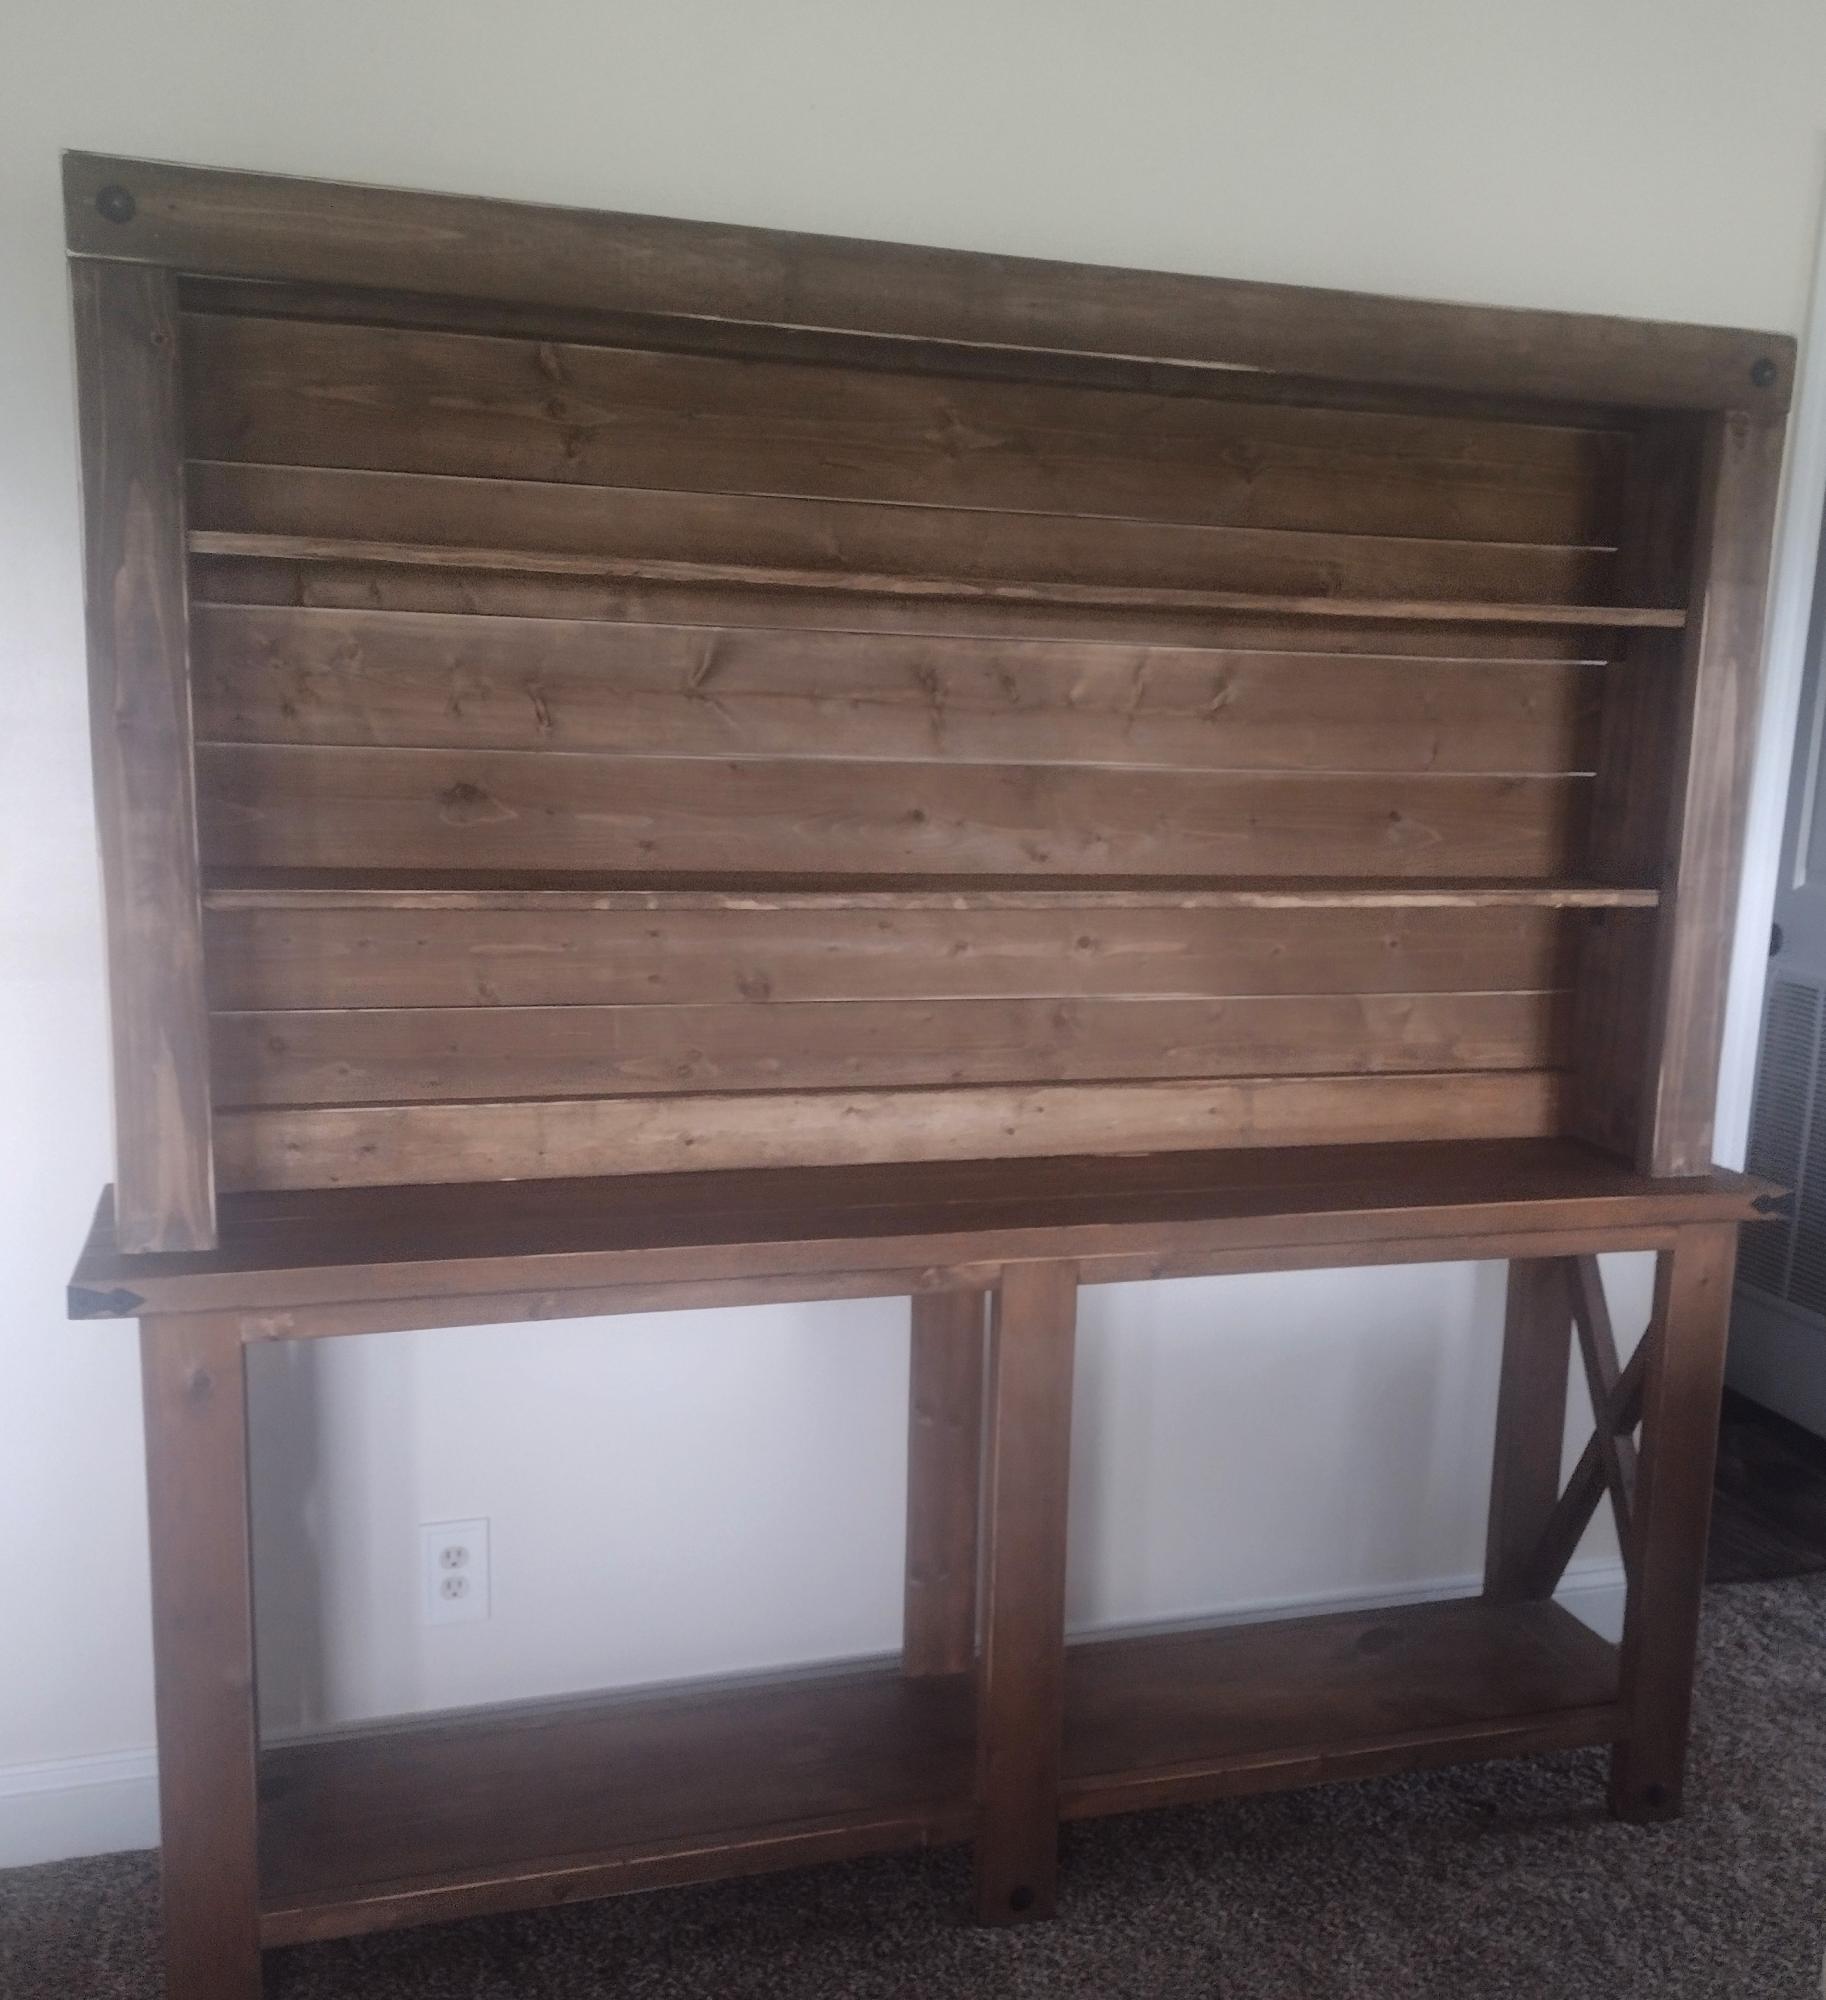
Made the x console table a few years ago, decided recently to add a hutch top to it. Love how it turned out.
Michelle Allen
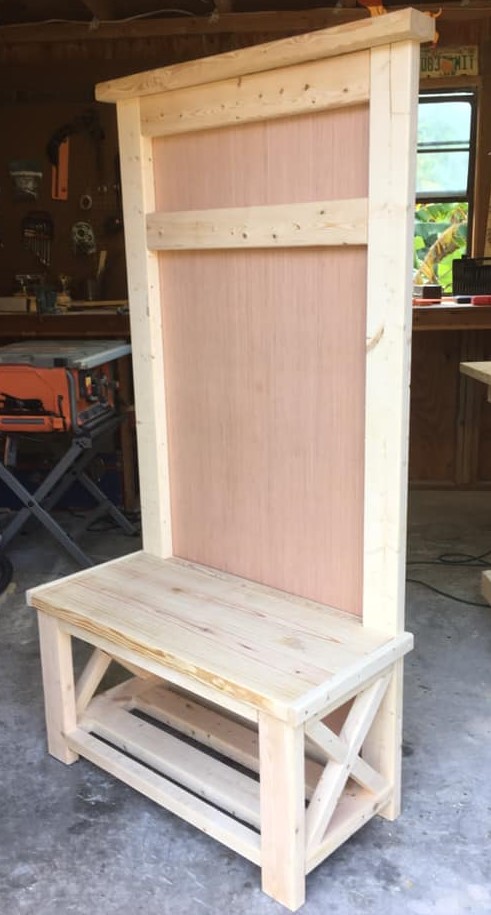
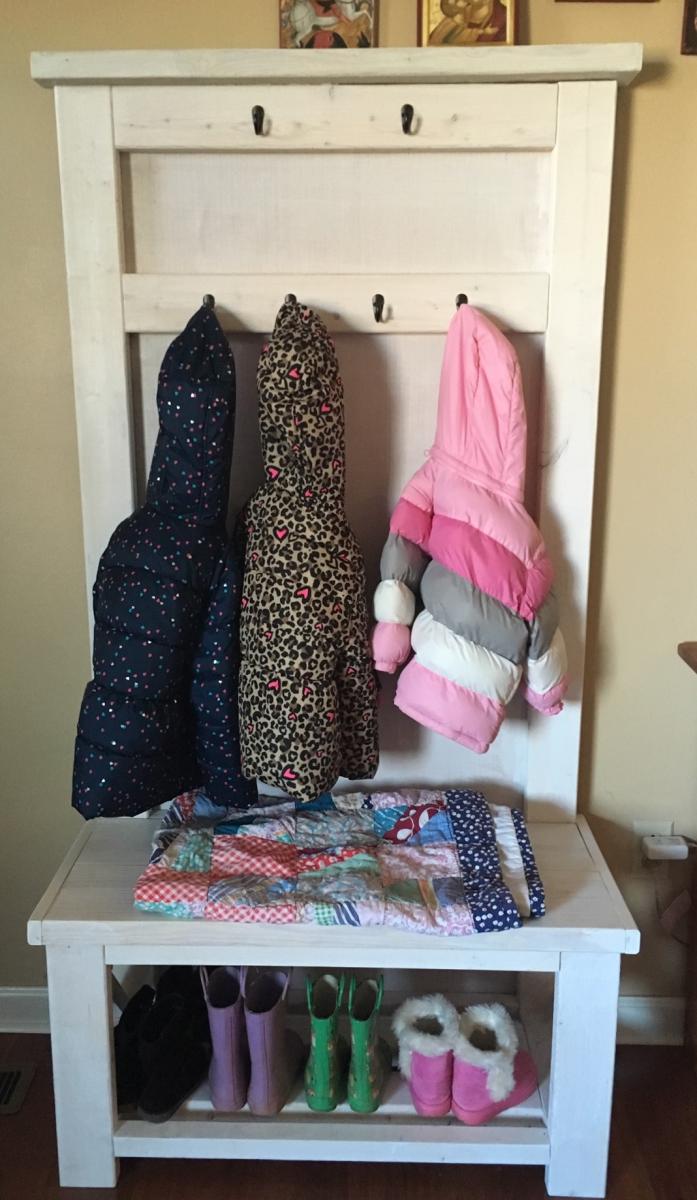
I built this scaled down version of Ana's Hall Tree to fit into a 3 foot wide space in my daughter's living room.