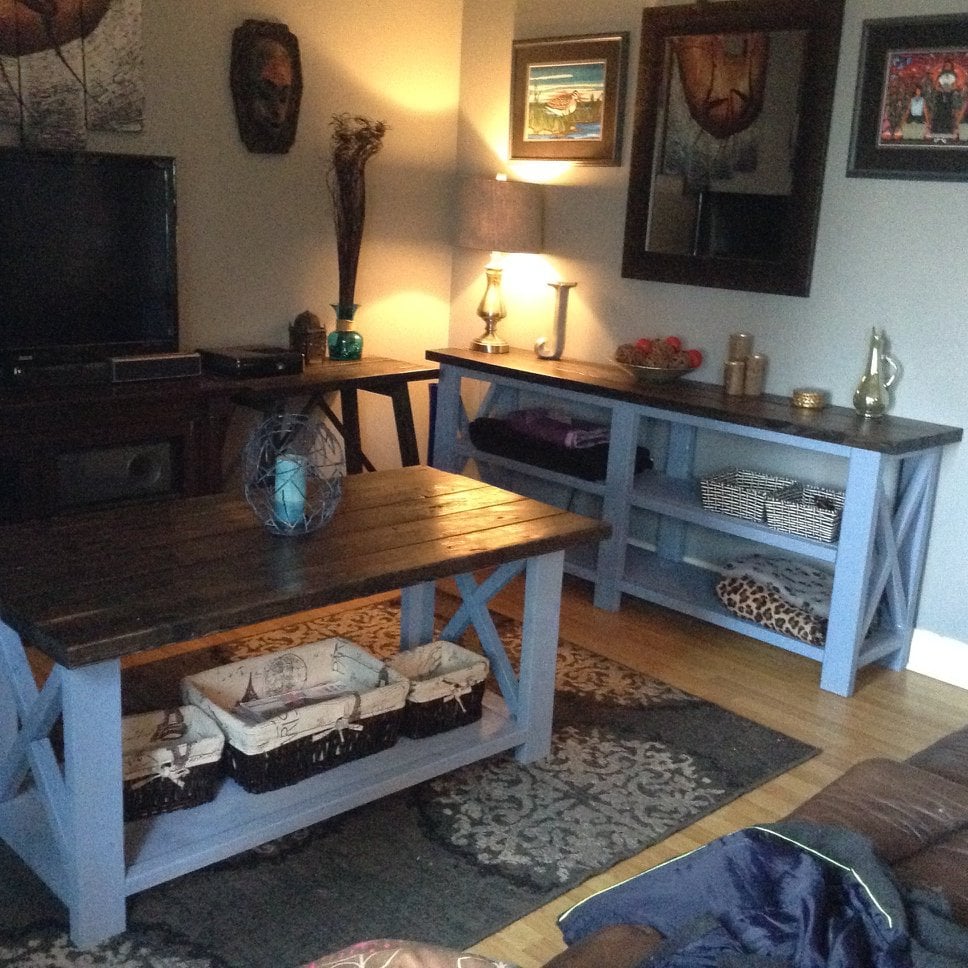
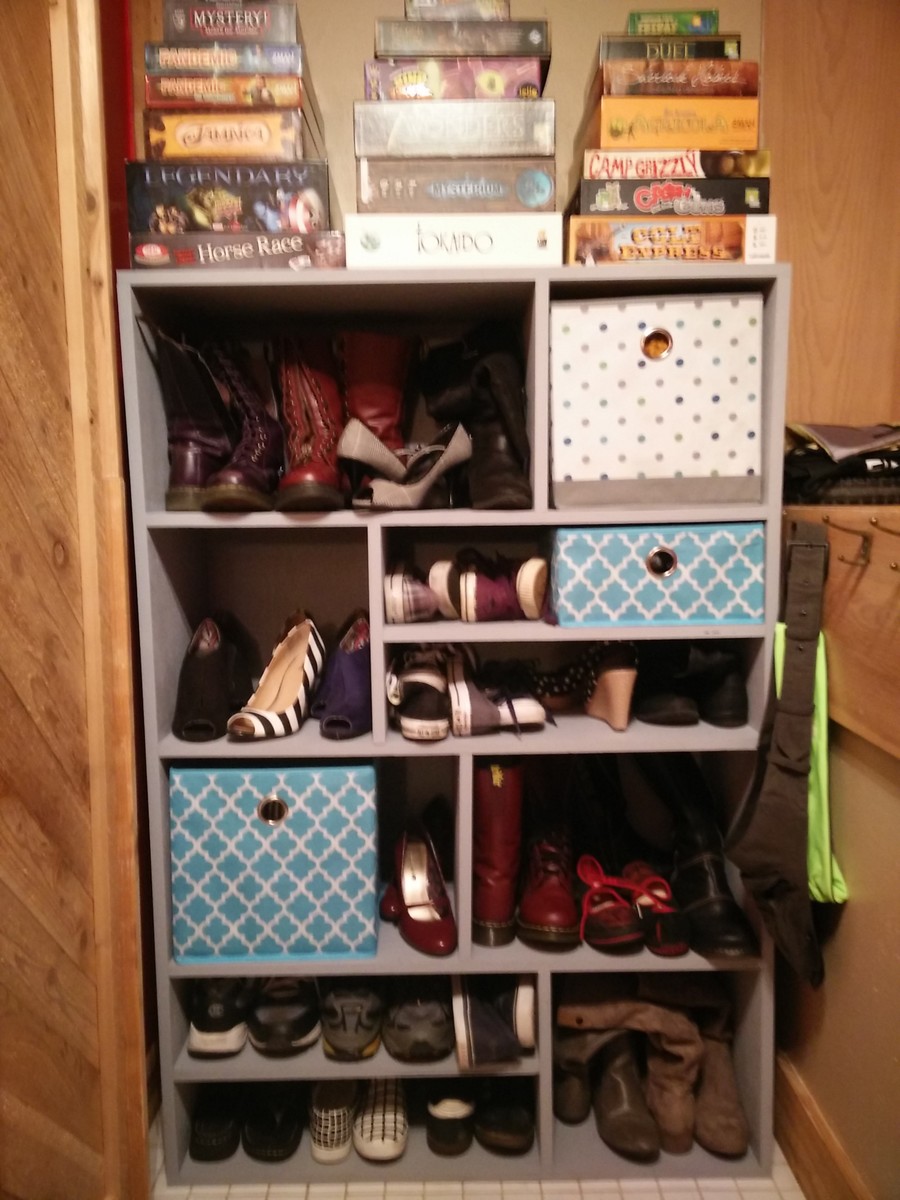
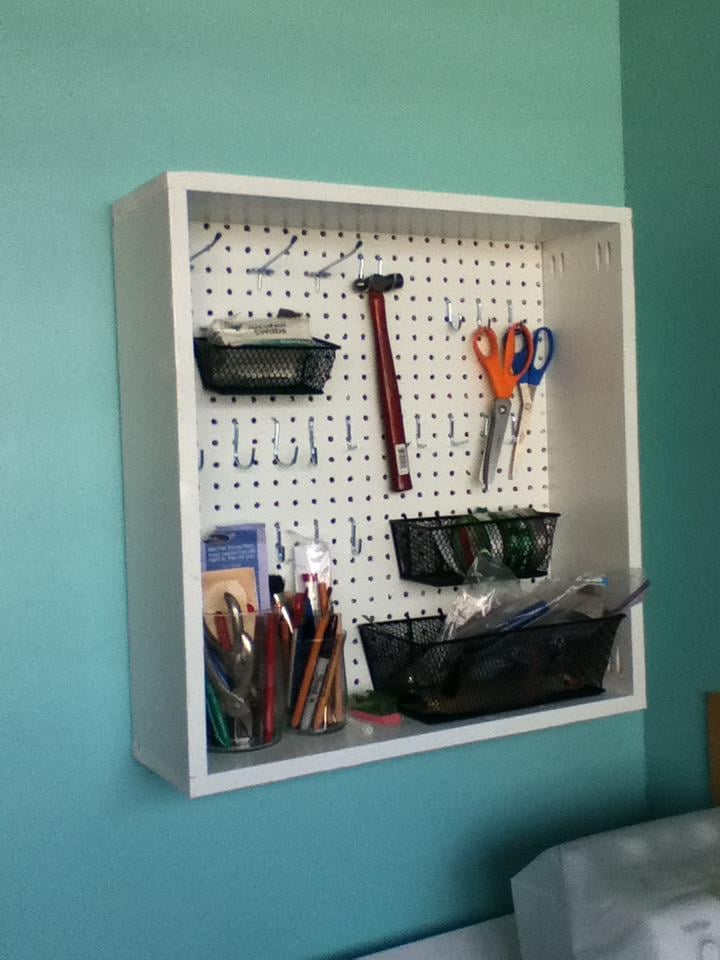
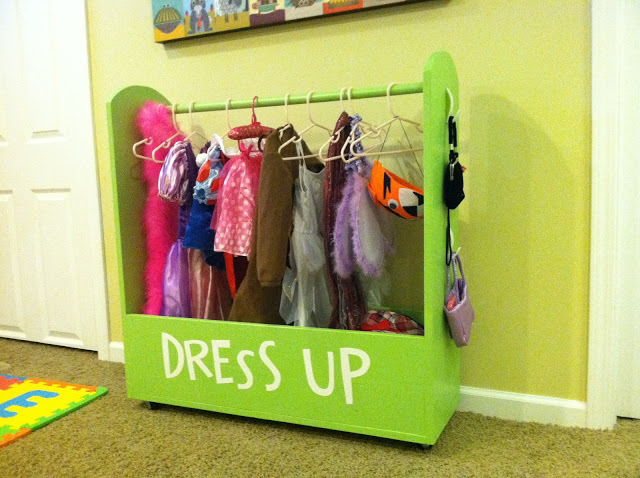
I have been needing to create more storage, while organizing my craft/spare bedroom. I had a piece of pegboard, and got some inspiration while pouring over Pinterest.
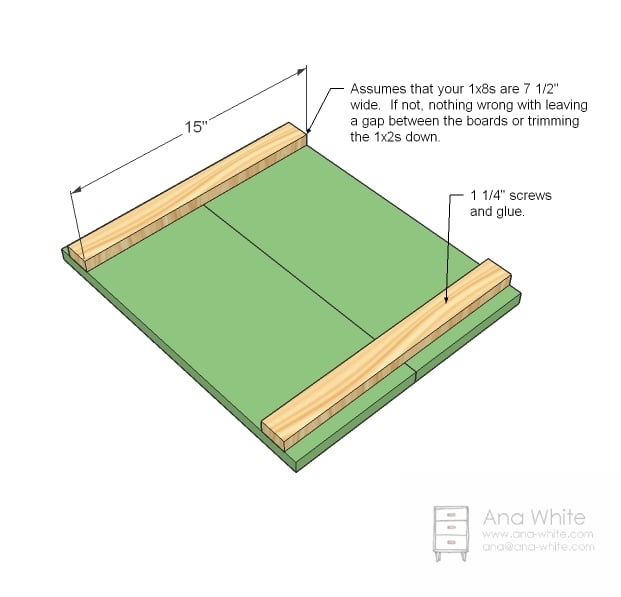
I decided to venture out and try something really new to me - routing. Bear in mind I only have a Dremel with the cheap router attachment - not the routing table thing. I'm happy to say it came out great! I have more pictures i'll upload soon of the actual routing. I did craft up a jig of sorts to keep my routing line (or whatever its called) straight. I did run into some math errors, which resulting in me having to cut things down a couple times. But now I know how things work when piecing together routed frames.
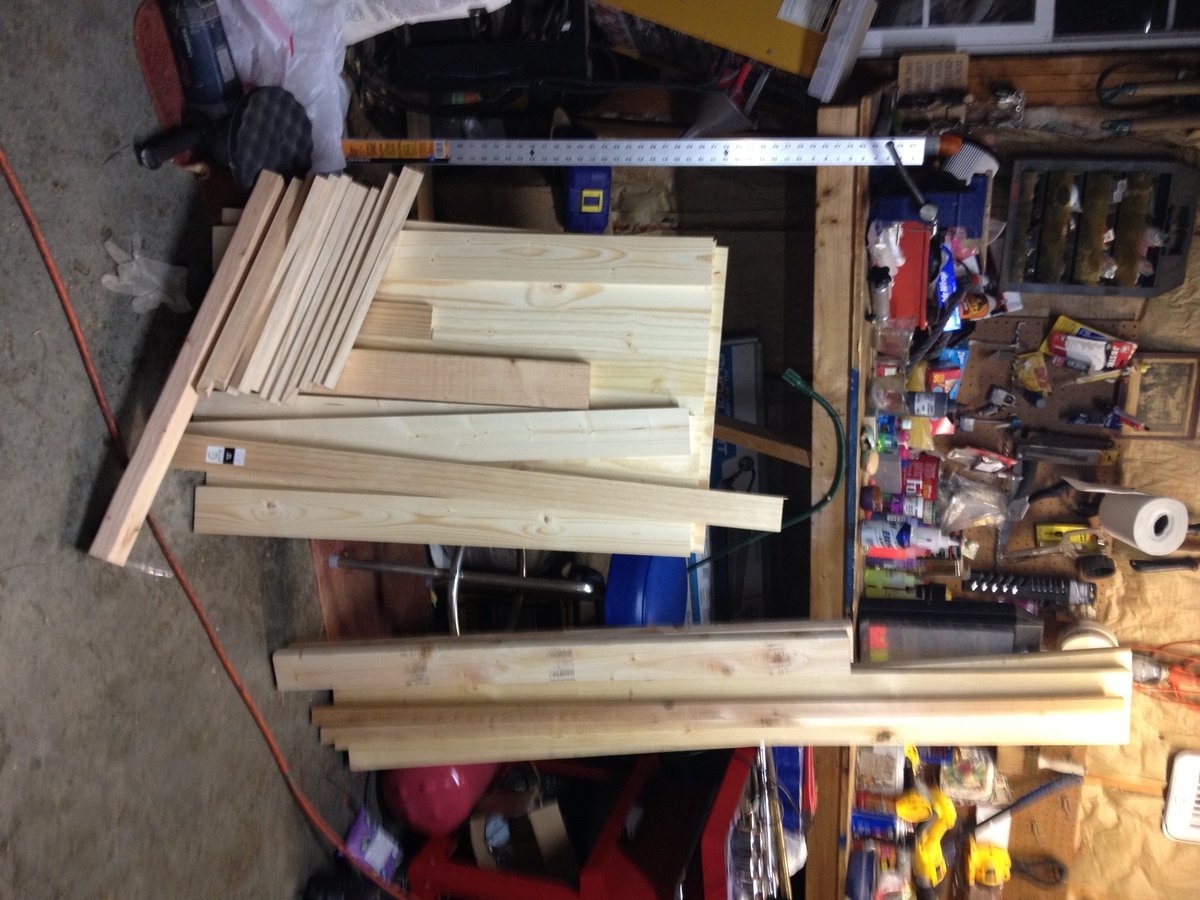
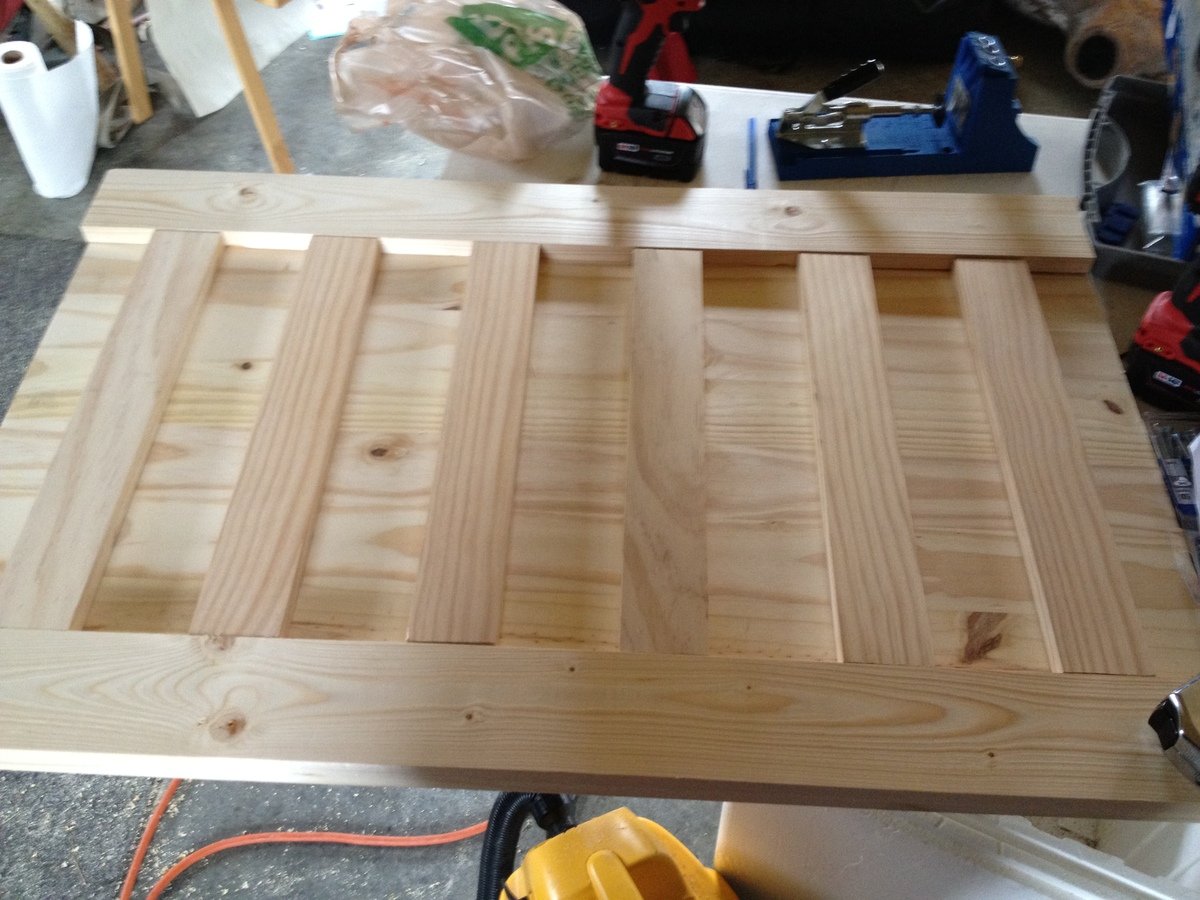
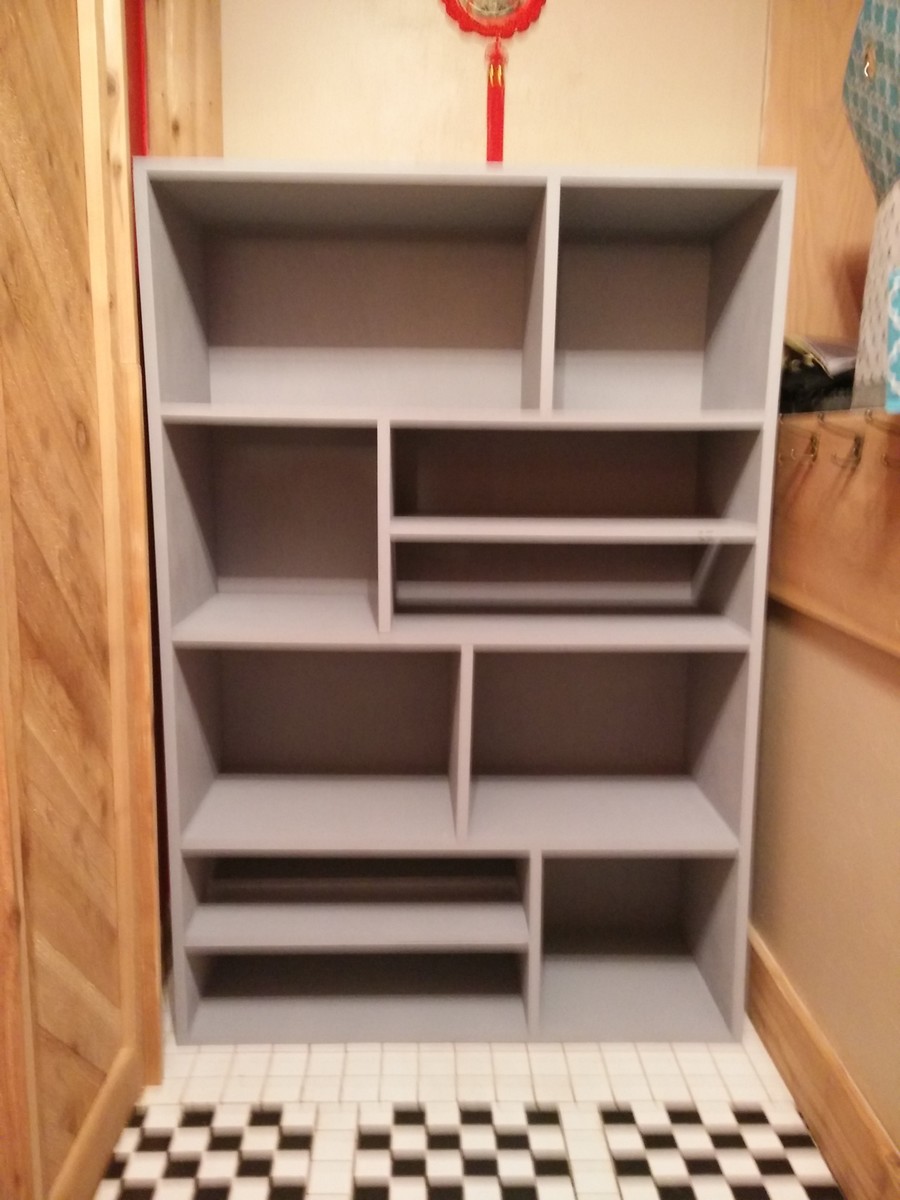
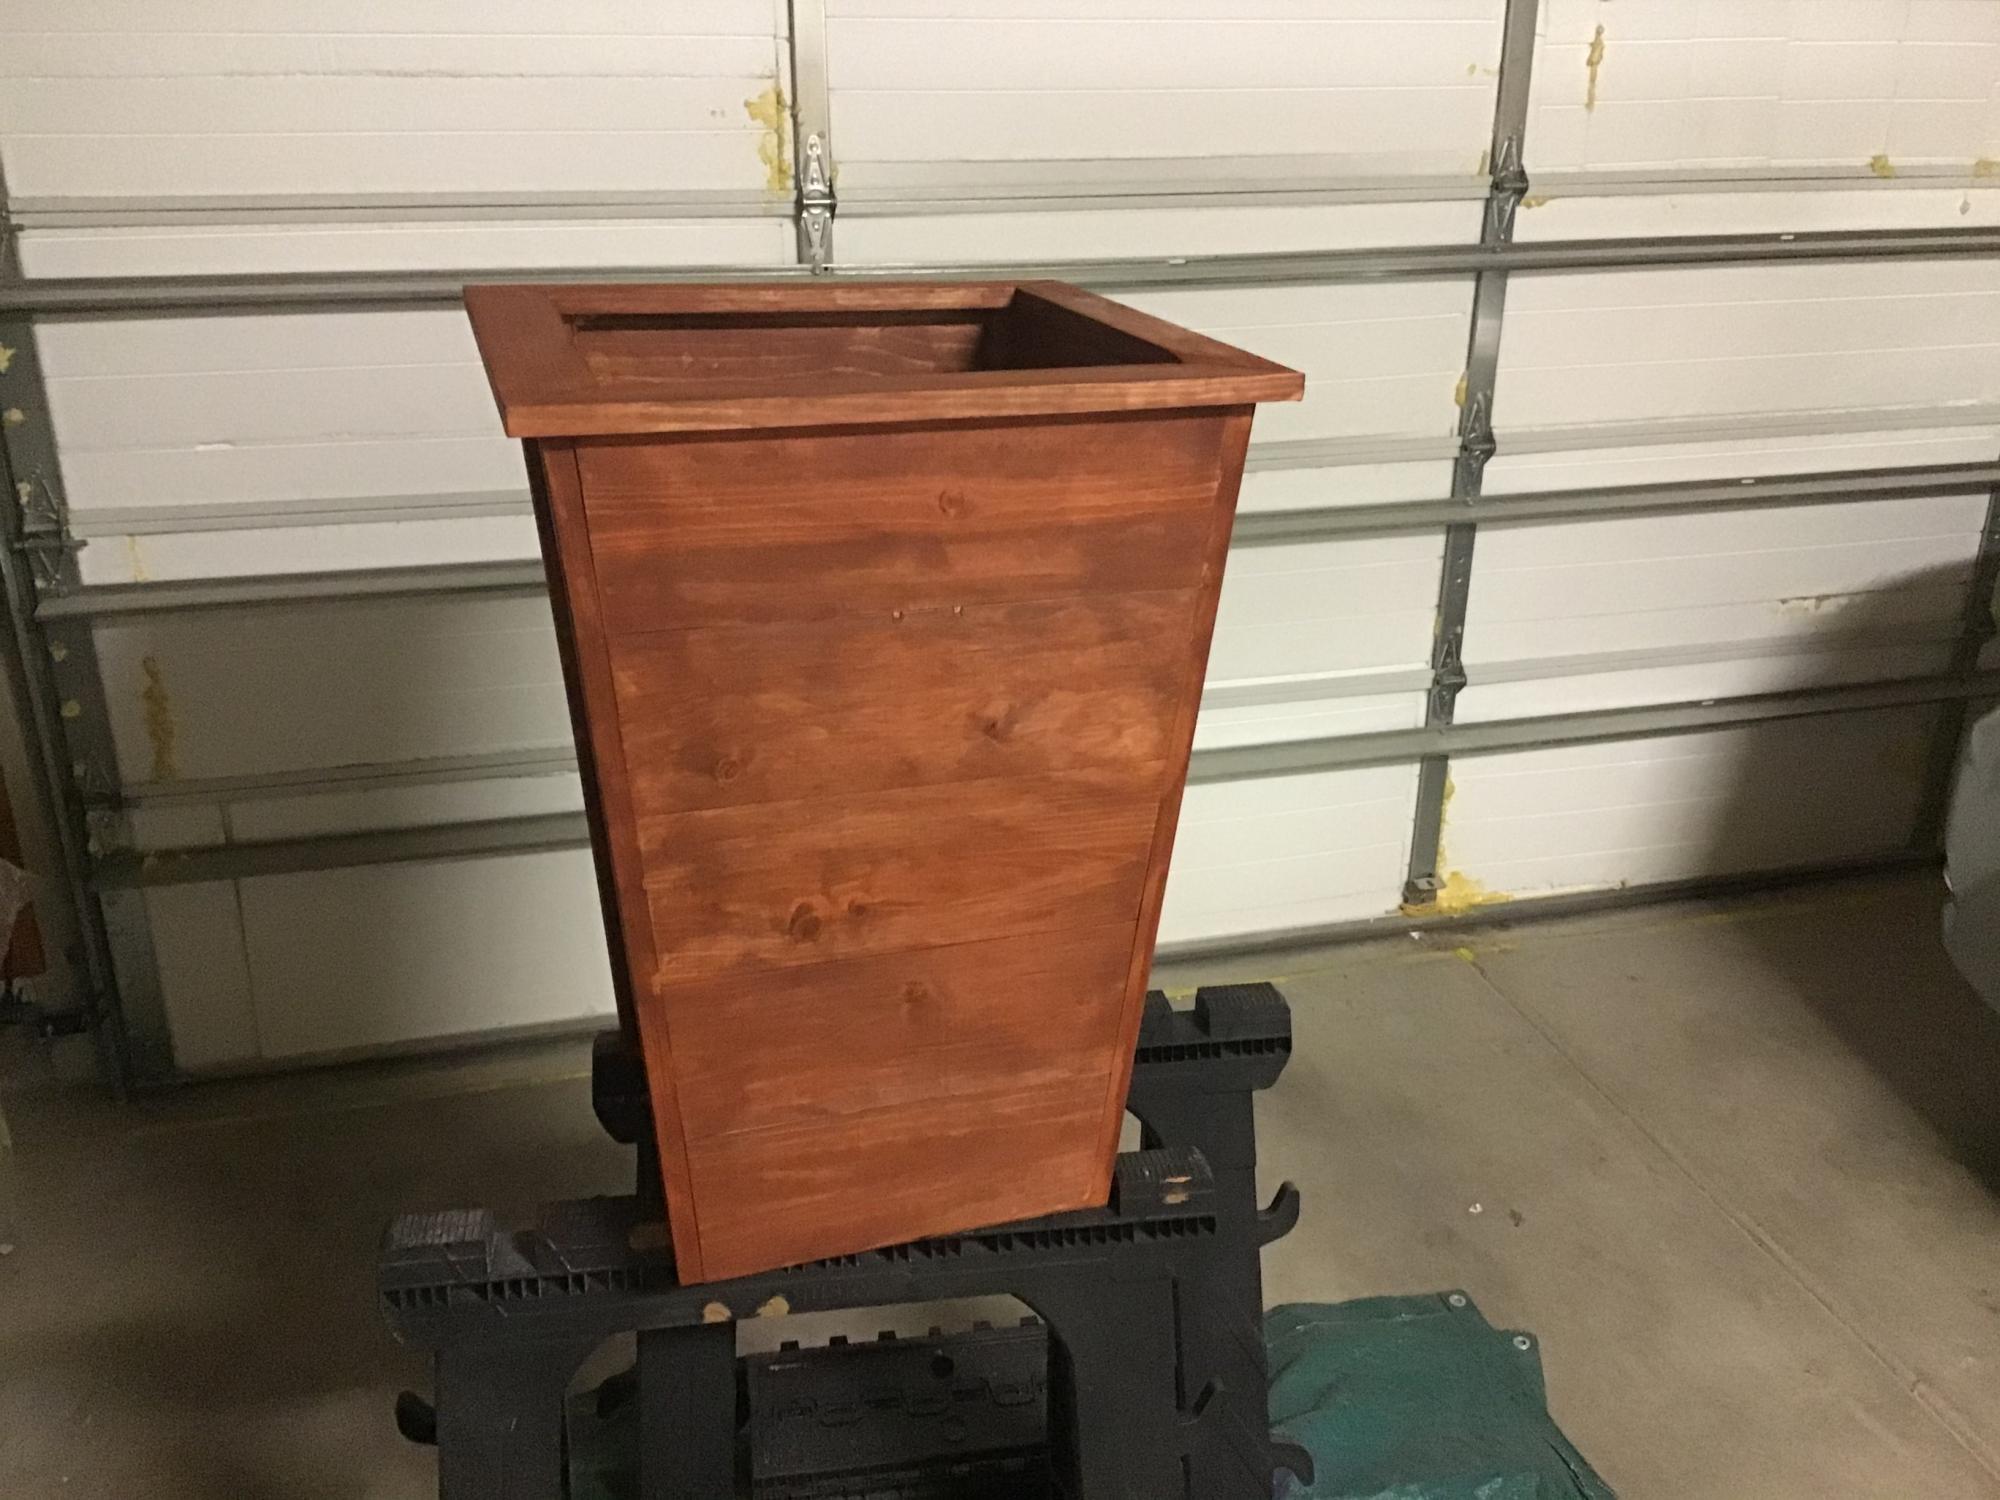
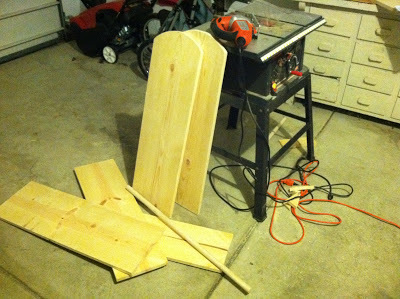
I had 2 pieces of 1x12x36. To keep the routing lines as even as possible, I did the the routing before I cut the pieces.
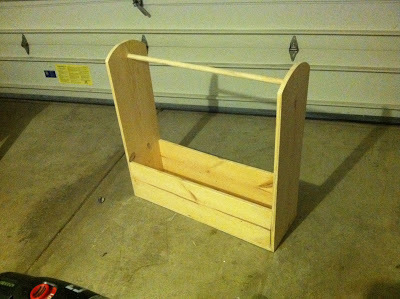
I used my Kreg Jig to join the sides. I assembled by attaching the 2 sides and the bottom. Then slide the pegboard in, and attached the top piece. Then since my routing line was a bit wider that the pegboard, I used caulk in the back to fill it in, keeping the pegboard nice and tight.
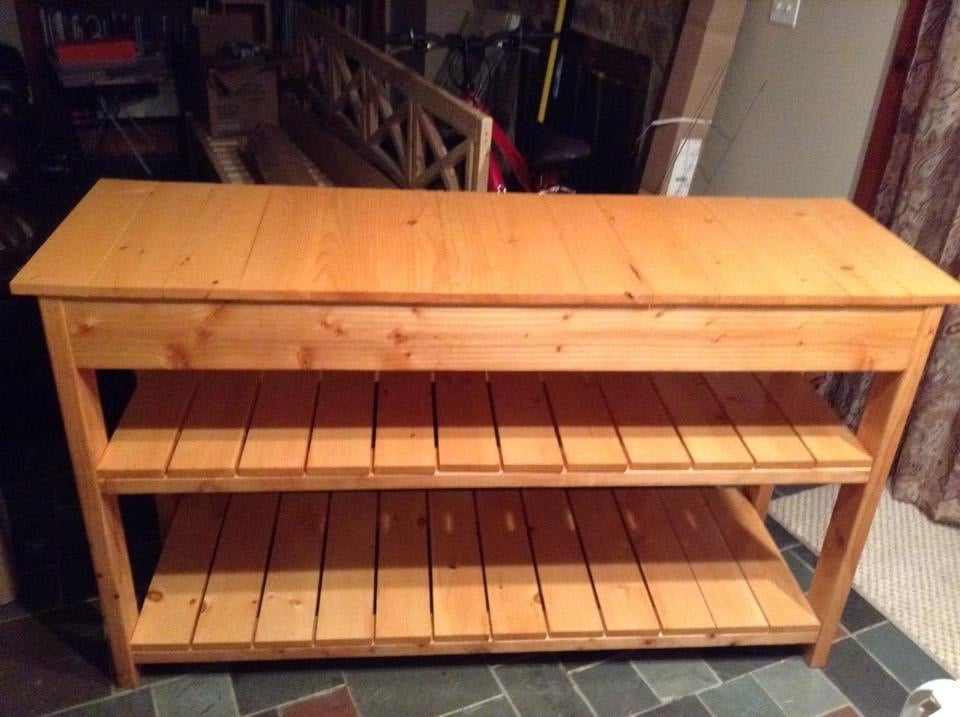
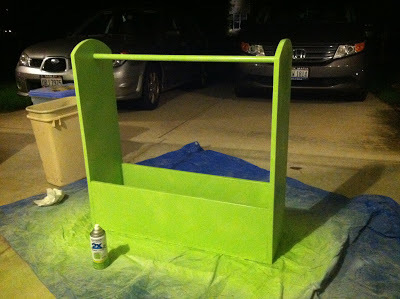
I plan to add doors to the cabinet at a later date. Right now it definitely fills my needs!


Comments
lyds6382
Mon, 11/07/2016 - 07:14
awesome
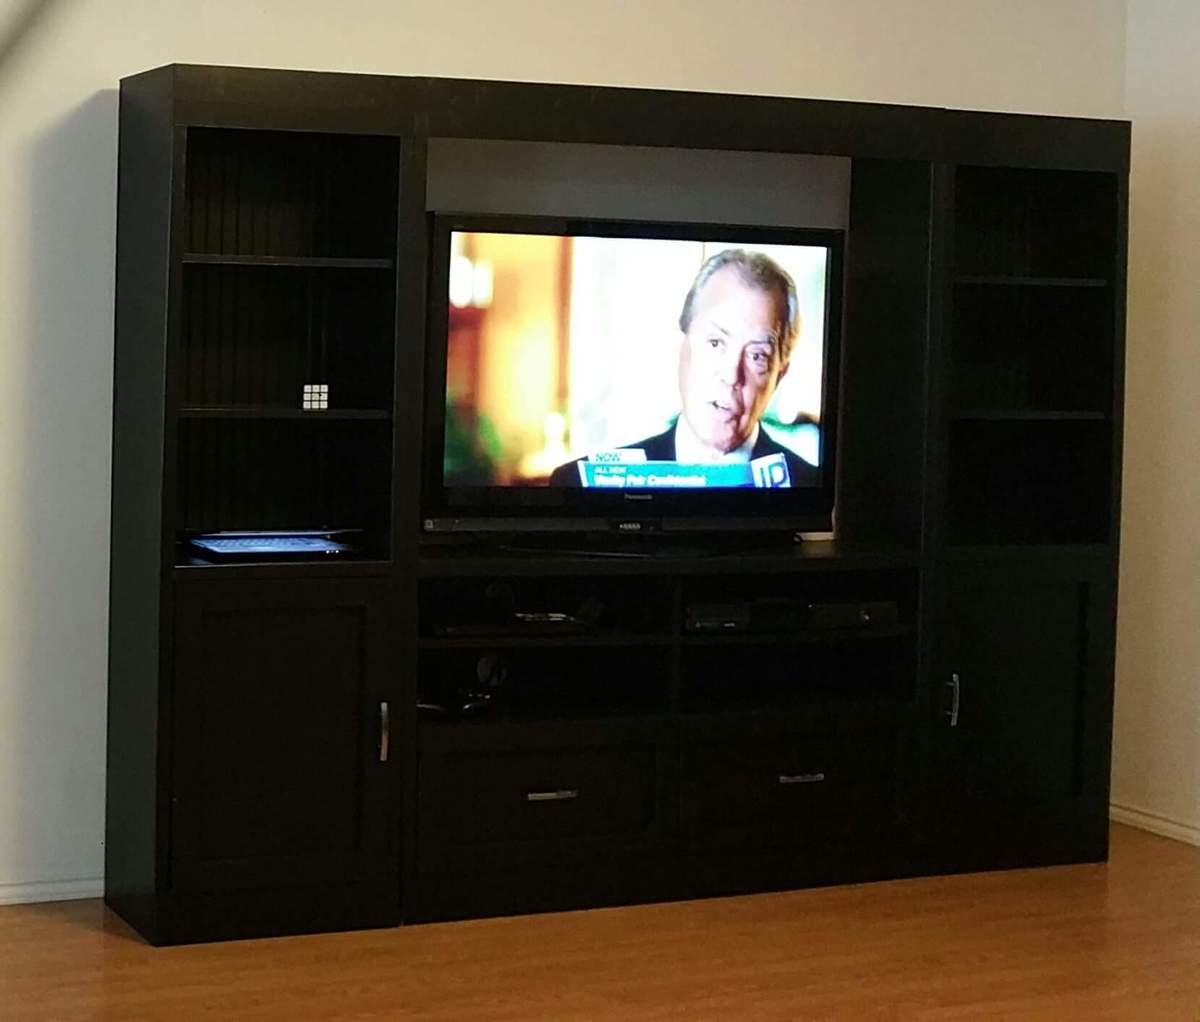
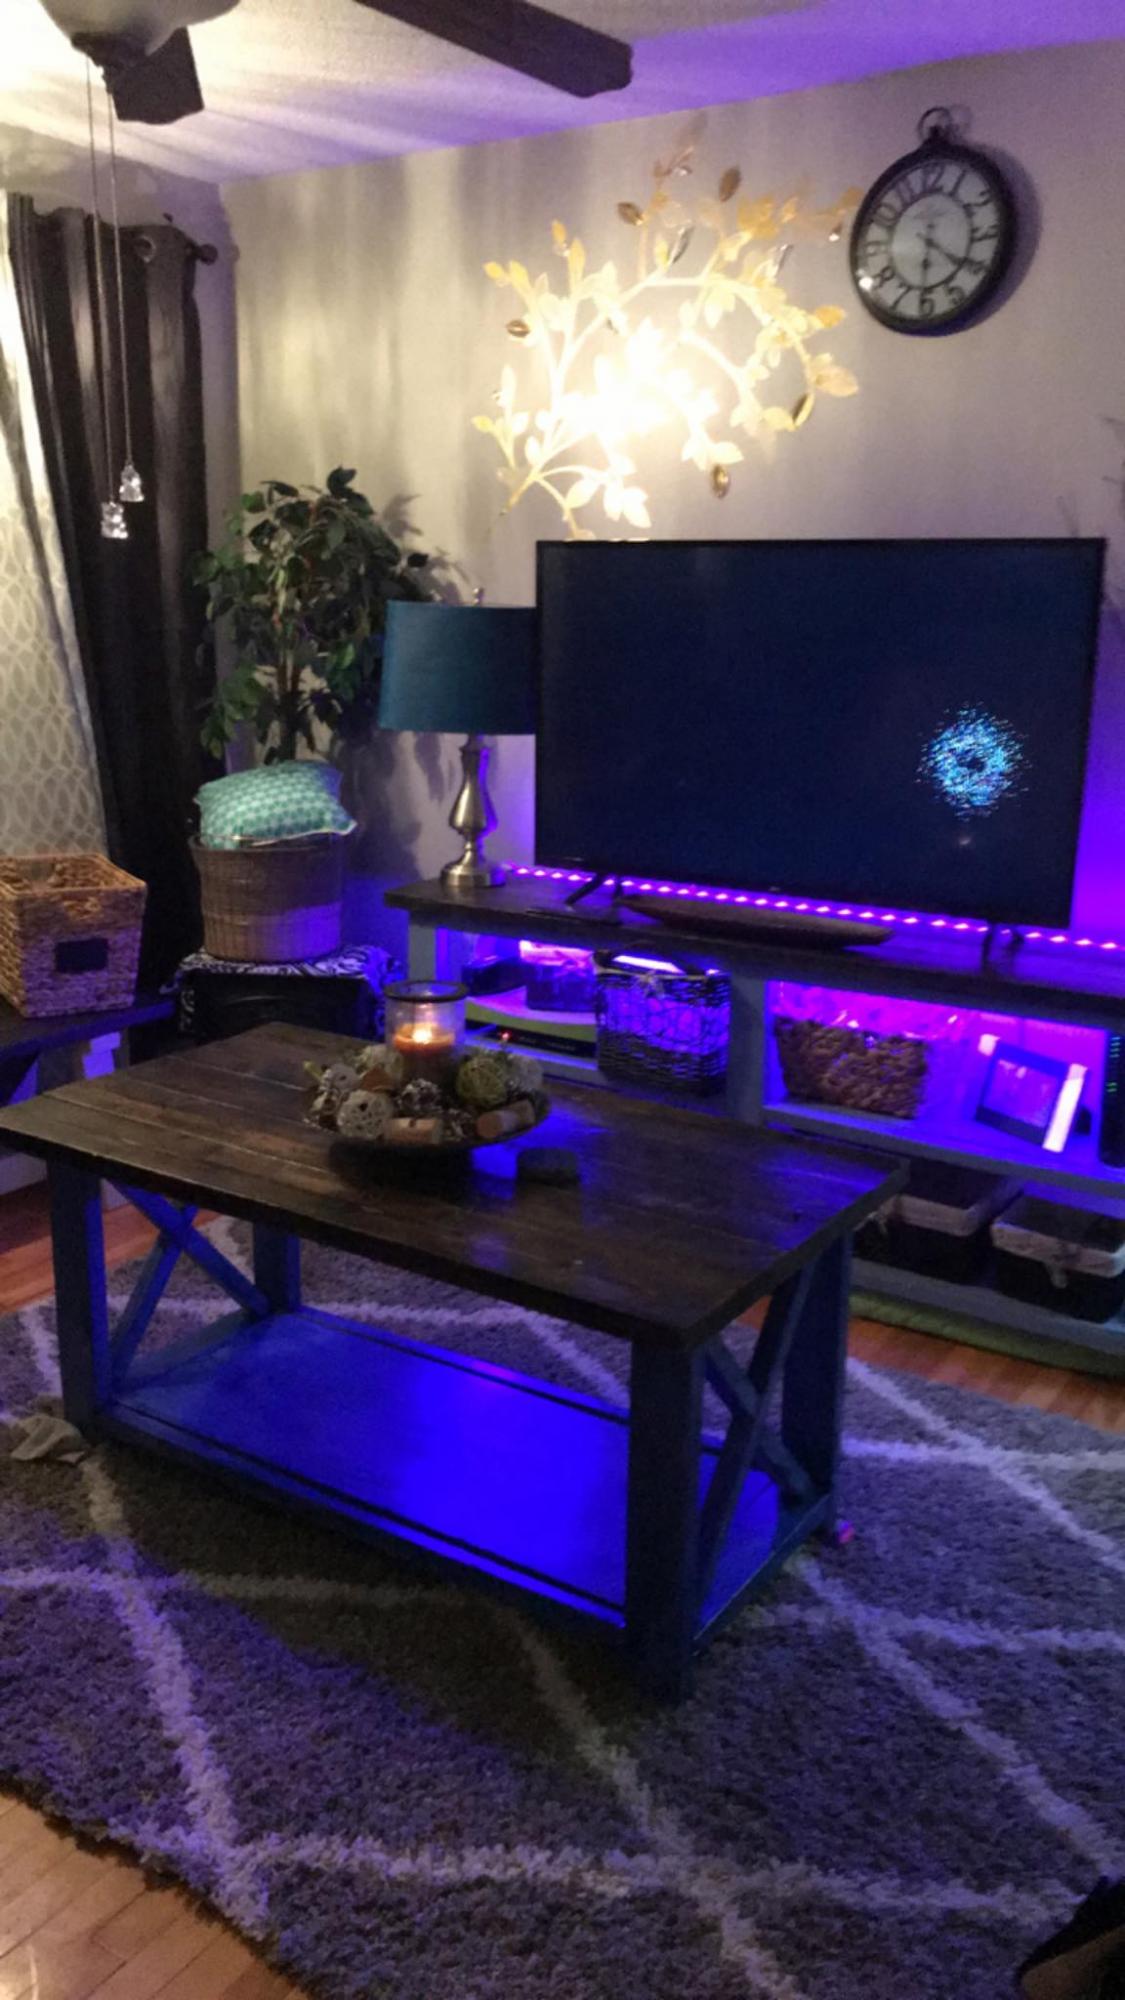
I love this even more than the original! I think I'd get tired of the sliding doors and my kids messing with them. What size of TV will this fit?
Sb1212
Mon, 11/07/2016 - 22:30
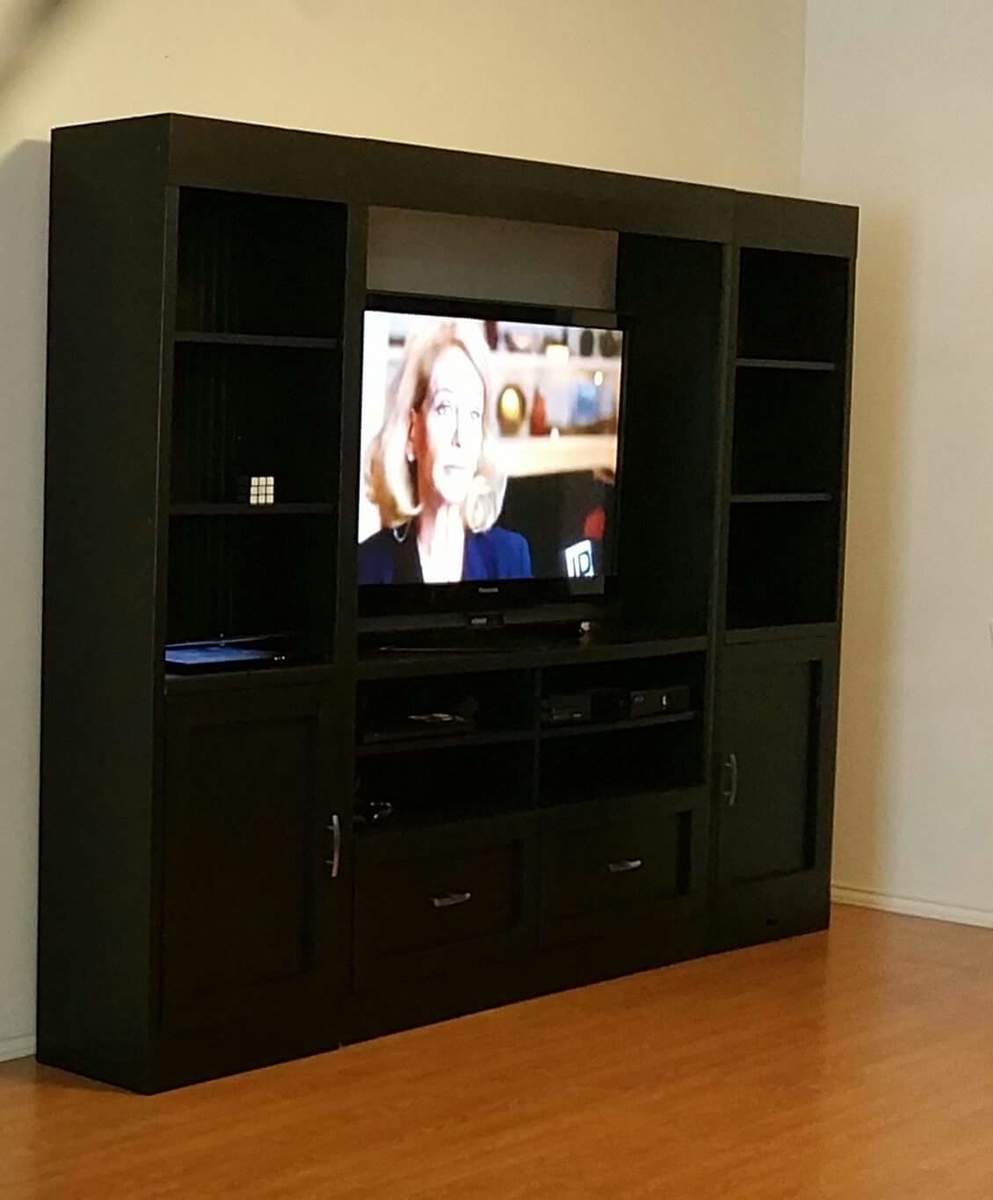
Thank you!! It can fit up to
Thank you!! It can fit up to a 55in TV. We have a 50in right now.
Sb1212
Tue, 11/08/2016 - 06:46
Thank you!! It can fit up too
Thank you!! It can fit up too a 55 in TV. We have a 50in TV.