Community Brag Posts

Chunky leg bedframe

Submitted by Anonymous (not verified) on Tue, 02/12/2019 - 17:43

I got tired of sleeping on the floor like college kids, but I didn’t want to buy a junky particle board bedframe. My husband and I are novice woodworkers. Even still, we bought the lumber around noon and managed to finish the whole project in about 5-6 hours! We used a Kreg jig for the first time and it was pretty simple. I am really pleased with how this turned out, and I can’t wait to try more of Ana’s plans in the future.

Estimated Cost
$100 including the cost of pockethole screws and finishing nails.
Estimated Time Investment
Day Project (6-9 Hours)
Recommended Skill Level
Beginner

Two Story Rabbit Hutch

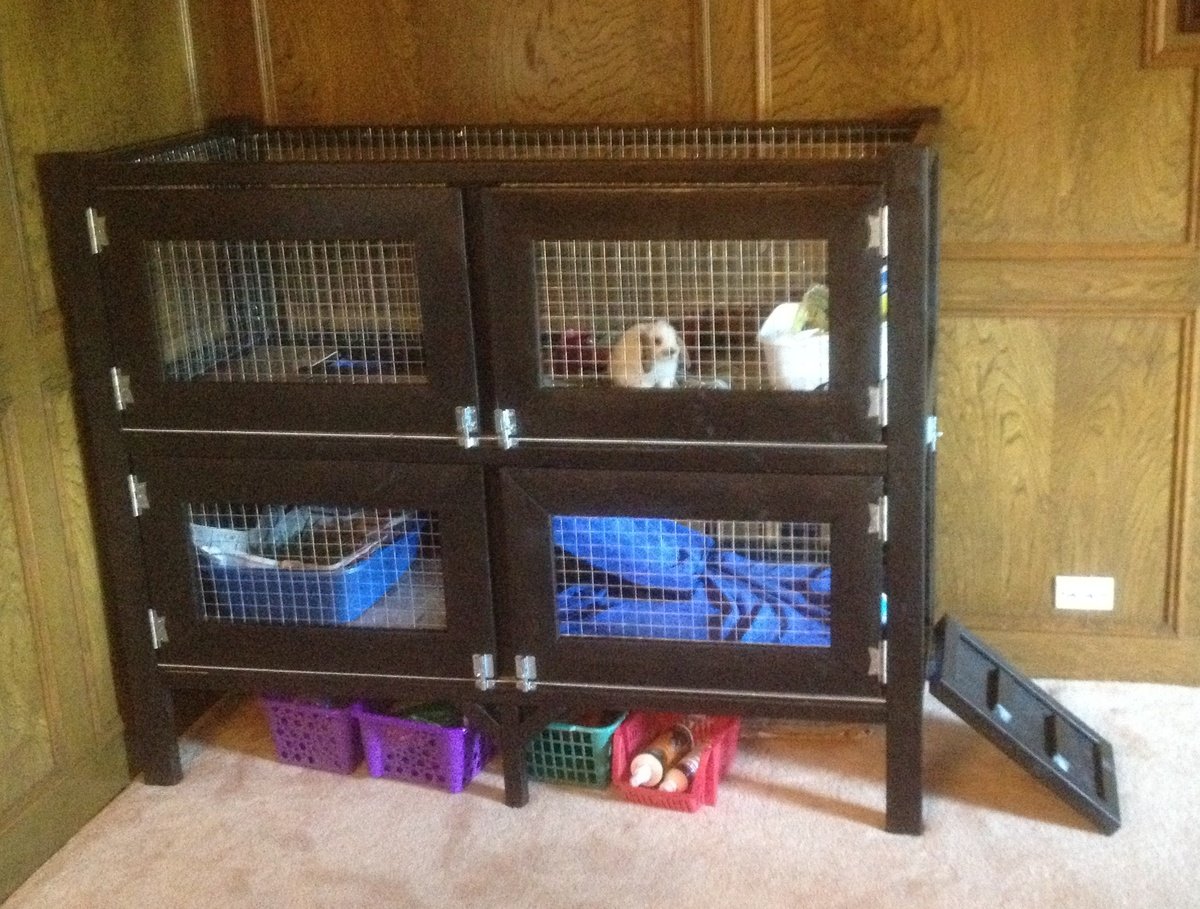
For my first woodworking project, I foolishly decided to build a rabbit hutch without plans for my daughters new Easter Bunny. So I literally scratched some ideas on my wood working bench and started going to work. I did some construction over a decade ago, but never attempted to build any furniture before, so I'm pretty happy with how this came out.

I spent a few days researching various rabbit cages and for our place we needed something that was ascetically pleasing and functional as it was going in our living room. I got some ideas from the web and decided the best thing for us would be to have an entry ramp, 2 sets of barn doors for each level (for easy cleaning) and an open roof. We went with linoleum floors since she's already litter trained. The floors could easily be modified to add 1/2" wire mesh if we decide to change things down the line. Also, we chose an espresso finish with silver hardware to accent the wire mesh

I pretty much crashed and burned on the staining as I've never done that before, but it ended up looking ok after all. I did a light sanding, but will probably invest in a planer and jointer to get my wood in better shape before assembling in the future. Also, I'll probably lightly dab some stain on ends of wood before final assembly as it made it difficulty trying to hide the white pine with the dark stain.

Other cages I saw ran around $200-$350.00 so i don't feel so bad about the cost. It's really the time that it took learning and making mistakes. I'm sure if I had plans I could of cut my time in 1/2.

Total Cost came out to around $150.00 but probably would of been cheaper if I had some plans to go by. I probably wasted a few 2x2s and accidentally mis-cut a scrap piece of 1/4"plywood which added another $16.00 to the bottom line.

Here's a breakdown of my total cost.

Hardware - $30.00
Includes 5 latches, 4 sets of hinges (8 total) and a 3' piano hinge

Stain - $8.00

Linoleum Tile @ ¢.69 sq ft - $16

Brushes, Stain Rags - $5.00

Screws - $6.00

Wire Mesh Roll $30.00
Needed 2 rolls at $15.00 each. I used 1" Wire Mesh measuring 2'x15'

Total Wood $50.00-$60
I used 2x3's for the legs - 2 @ 8' - $2.00 each ($4.00)
probably 15-20 2x2's - $1.52 each - can't remember how many I used to be honest ($30.00)
and a few 1x6's for the Doors - $2.00 each ($6.00)
Sheet of 1/4 plywood - $12.00

Estimated Cost
$150
Estimated Time Investment
Week Long Project (20 Hours or More)
Recommended Skill Level
Intermediate

Comments

ashinshaw

Thu, 05/03/2012 - 08:09

I also have been thinking with the idea of building a two story hutch for our rabbit. I love your ideas so now i have a new project to work on. Thanks for sharing!

Nicolene (not verified)

Mon, 10/08/2012 - 12:46

I LOVE your cage! We have 2 rabbits and 2 Guinea pigs which means we have 2 ugly cages in our living room. We are planning something similar, but a bit bigger (but lower if that makes sense). And we'll put a 3rd story on for our Guinea pigs. So we have everyone on the same patch of real estate so to speak. I was going to do 3 solid walls with wire "windows" too keep all the hay, poops and such contained. I am also going to put lockable wheels underneath, so I can move it to my office if I ever need to (parties and renovations).

Is there anything that you can now think of that you would like to change on yours? R my research purposes.. :) It looks awesome, I'm just picking your brain for "hindsight" tips.

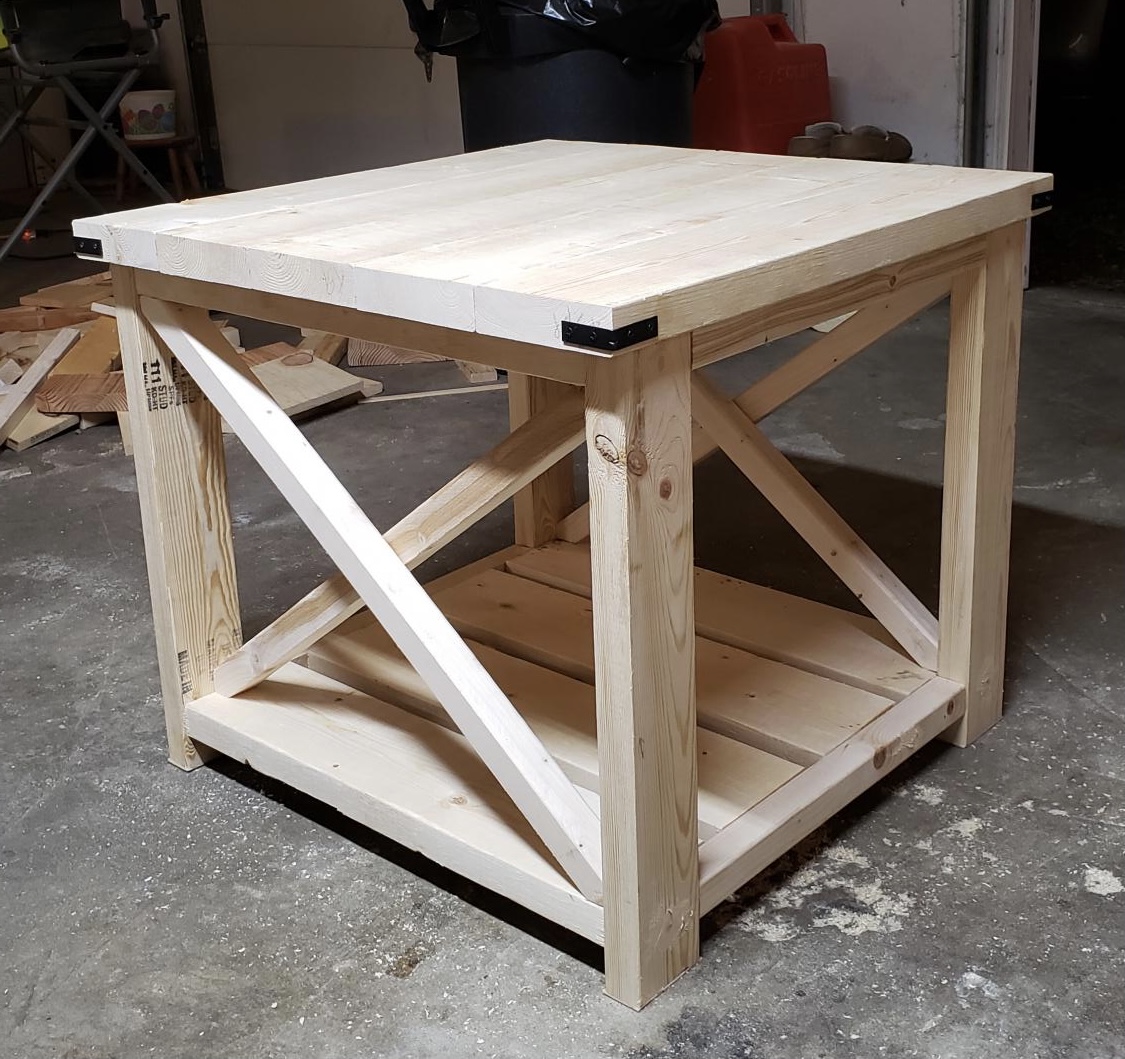
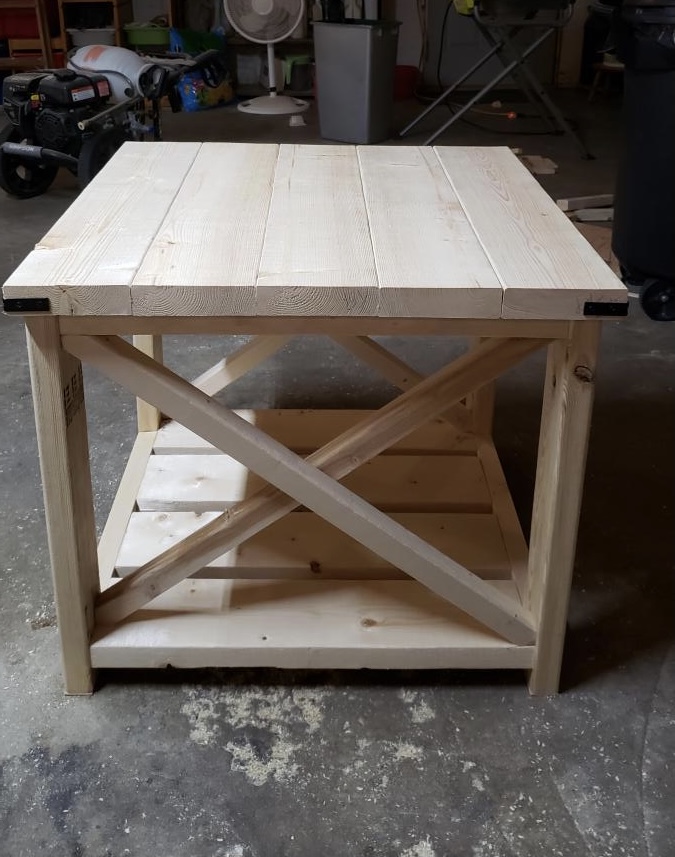
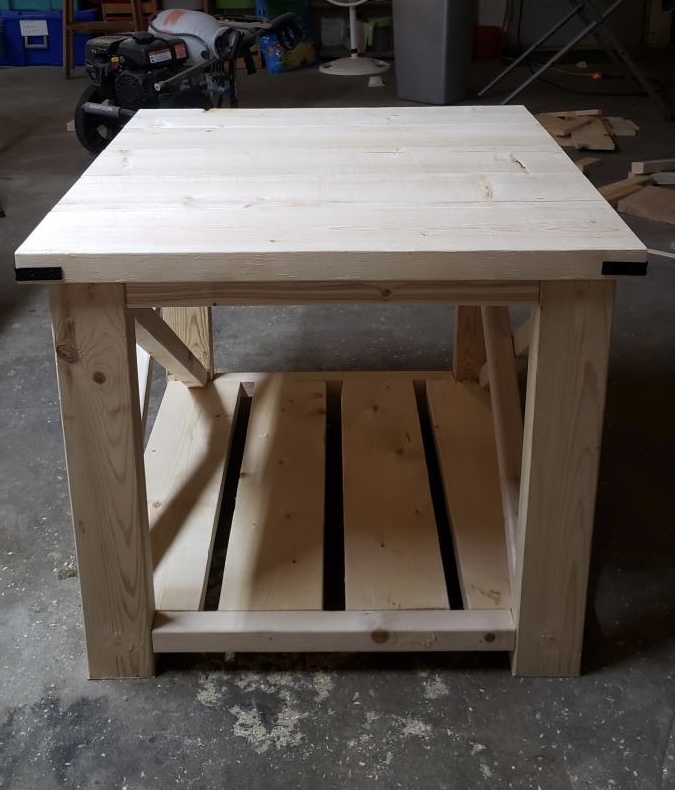
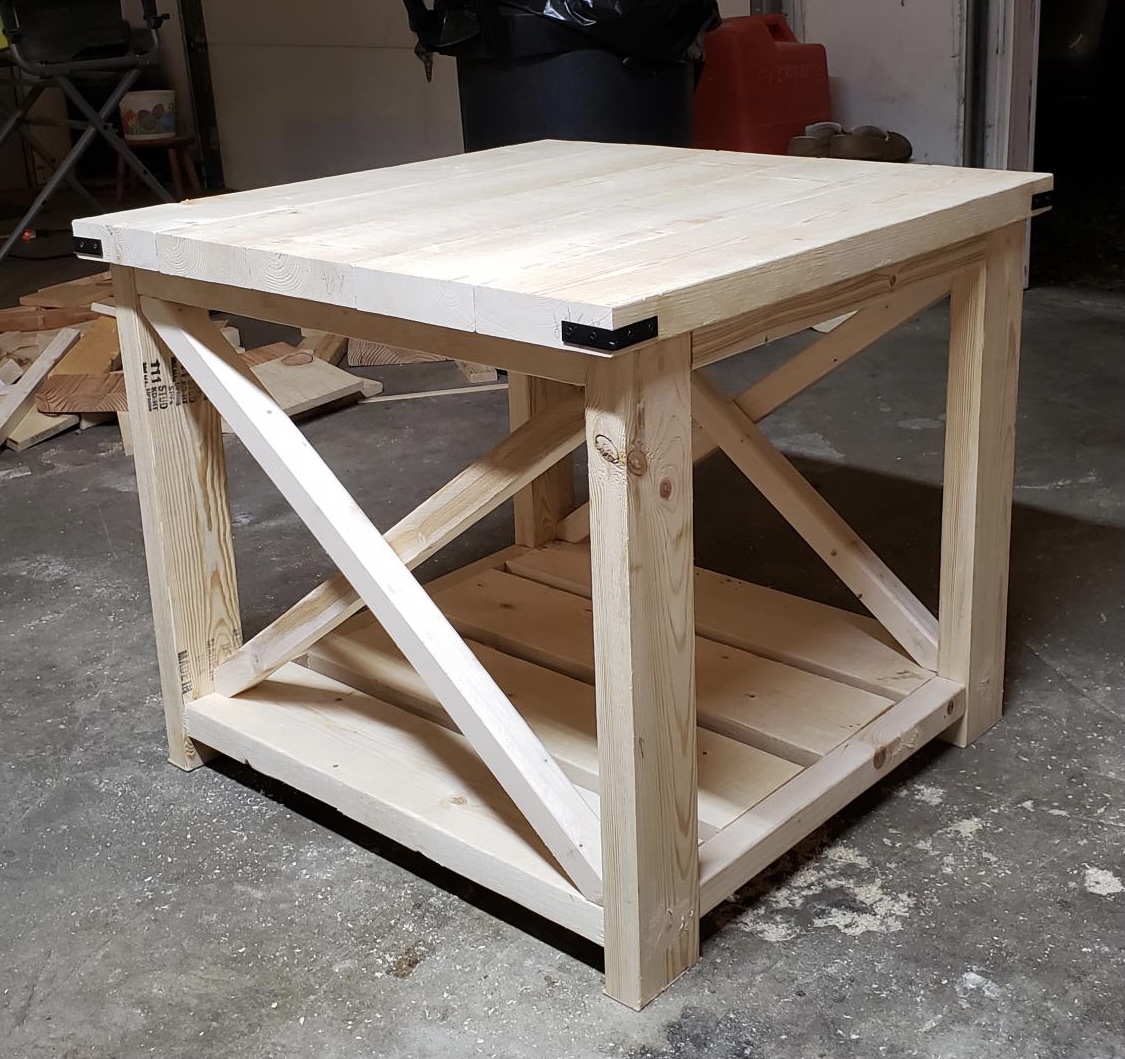
I Built The Farmhouse side table (Large)

Submitted by nekeroom58 on Sat, 04/17/2021 - 20:10

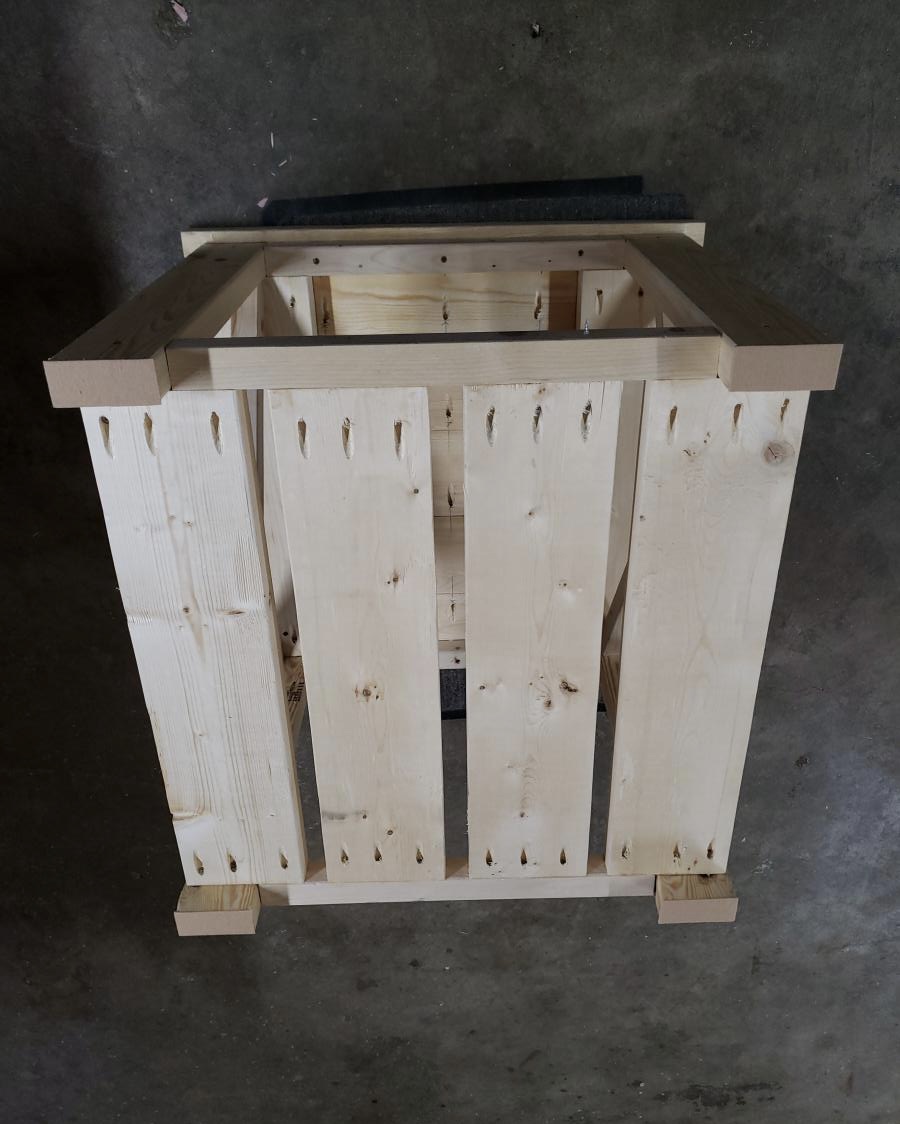
I had fun building this side table it took me one day to build it. I didn't sand it or stain that's how my daughter wanted it. I used pocket holes on the bottom shelves and the tabletop.

Built from Plan(s)
Finish Used
none

Comments

Ana White Barn Door Entertainment Center / Closet

Submitted by Anonymous (not verified) on Wed, 10/02/2019 - 17:07

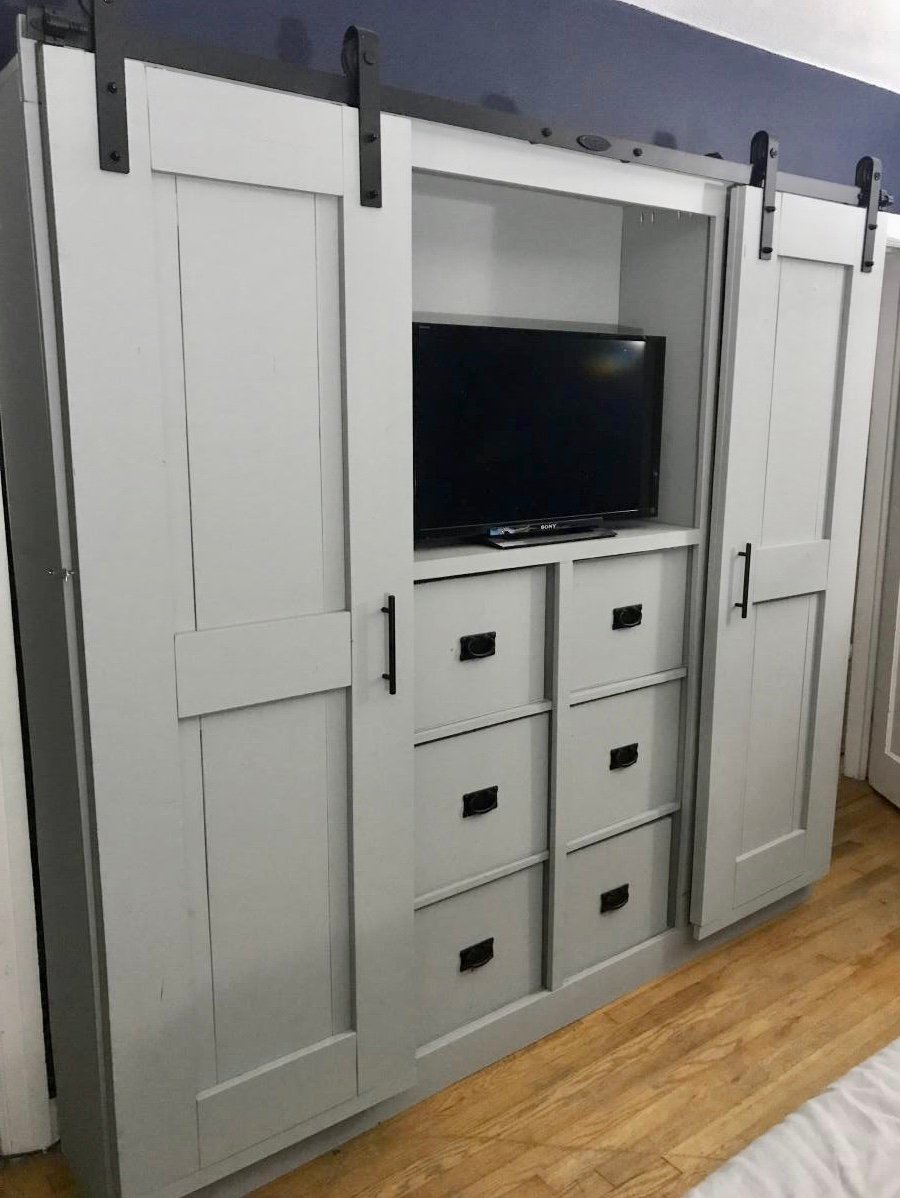
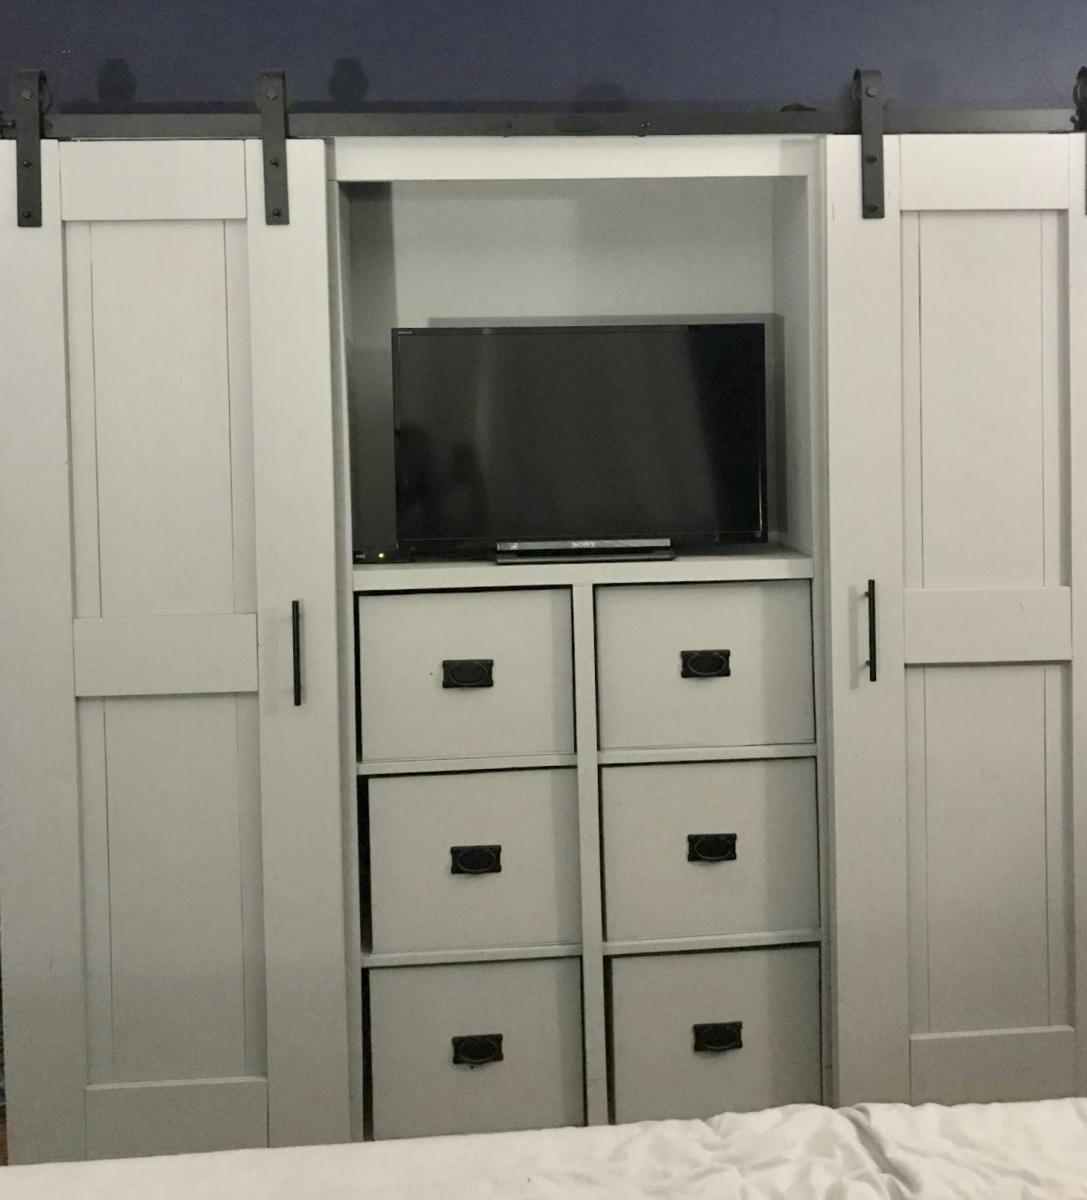
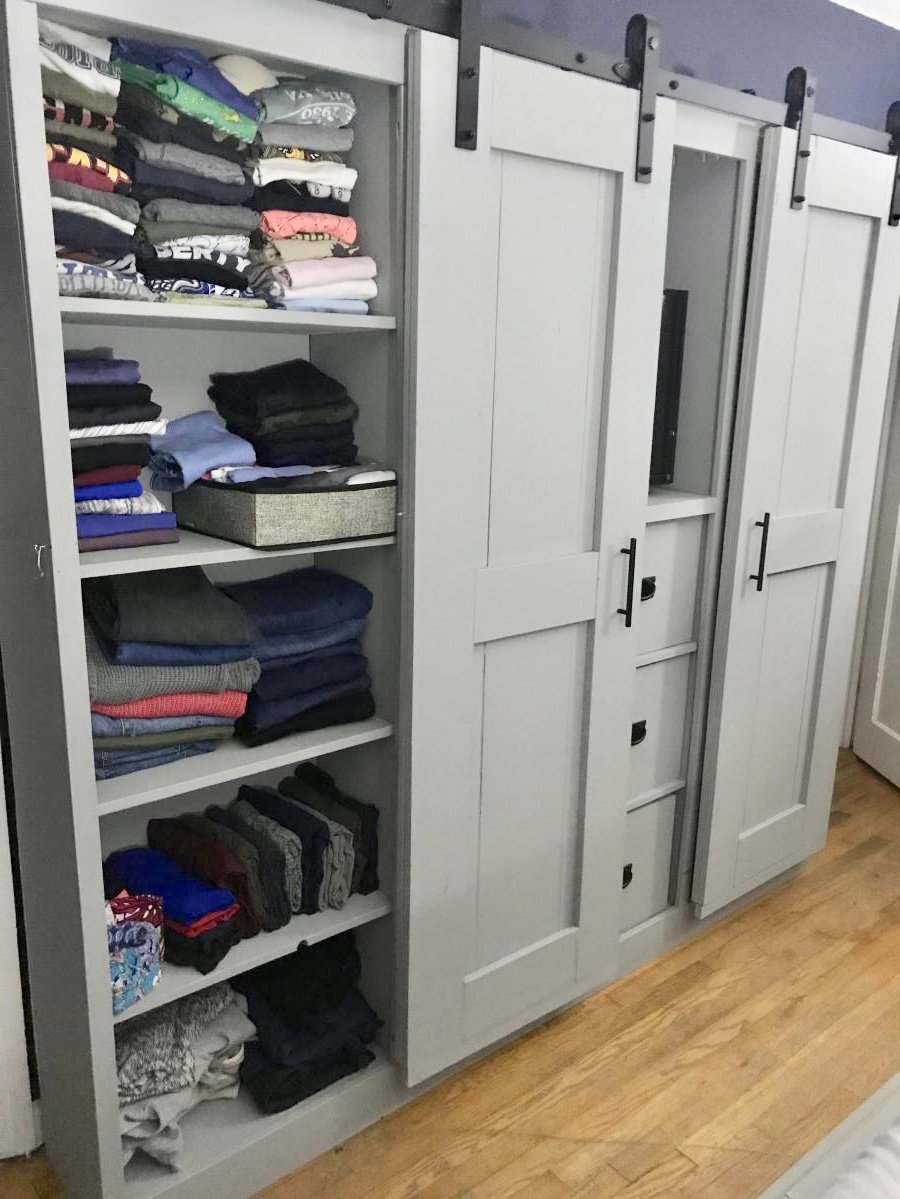
After many months of trying to find the perfect piece of furniture for our bedroom, I stumbled upon Ana White’s barn door entertainment center. I loved it so much that instead, we turned it into an armoire for our bedroom. Behind the barn doors are shelves that holds our clothes, and in the center we added simple pull out drawers. The center space was perfect for our tv. We had to rework the size of the piece and it is 7 feet instead of the 8 feet that the plan called for. This is my favorite build (we have done a lot of them)!

Built from Plan(s)
Estimated Cost
$600-$650
Estimated Time Investment
Week Long Project (20 Hours or More)
Finish Used
Behr Graphite grey
Recommended Skill Level
Intermediate

Comments

Outdoor Patio Set

Submitted by @m@nd@ on Wed, 10/17/2012 - 15:10

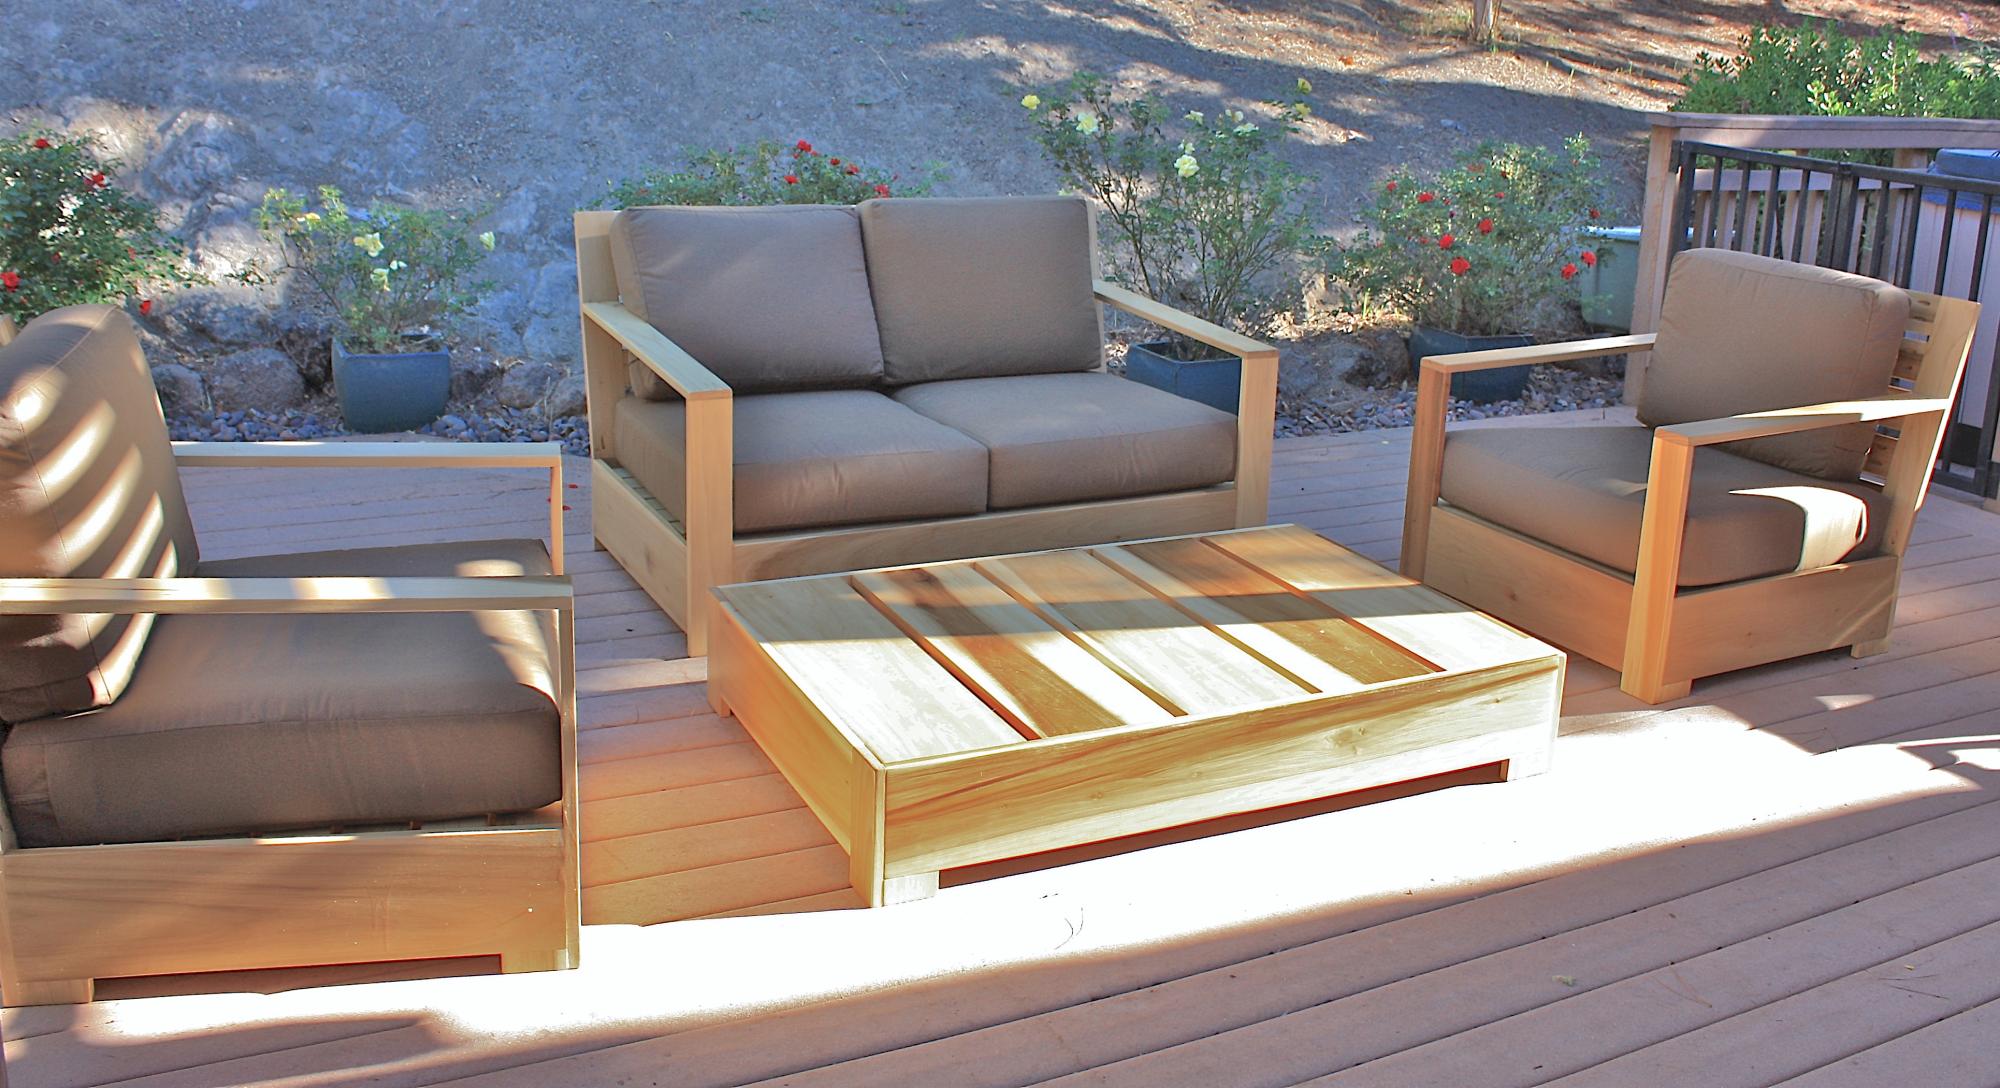
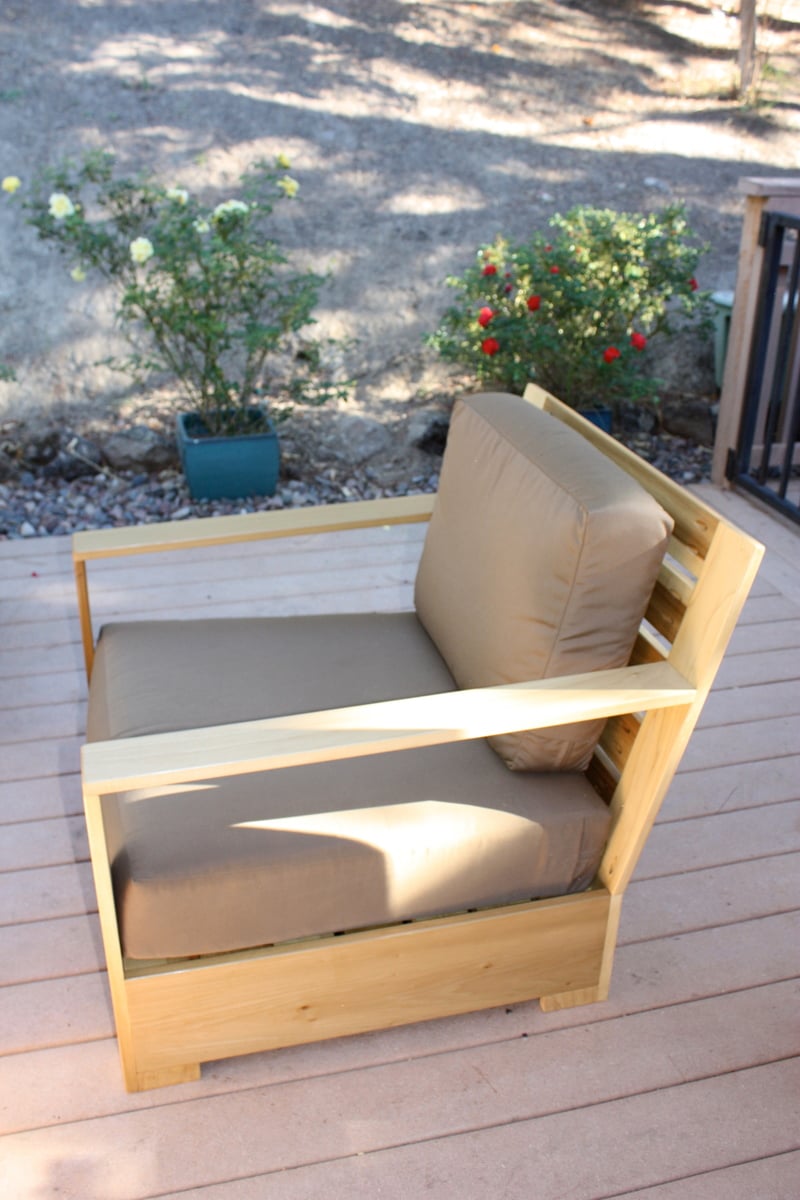
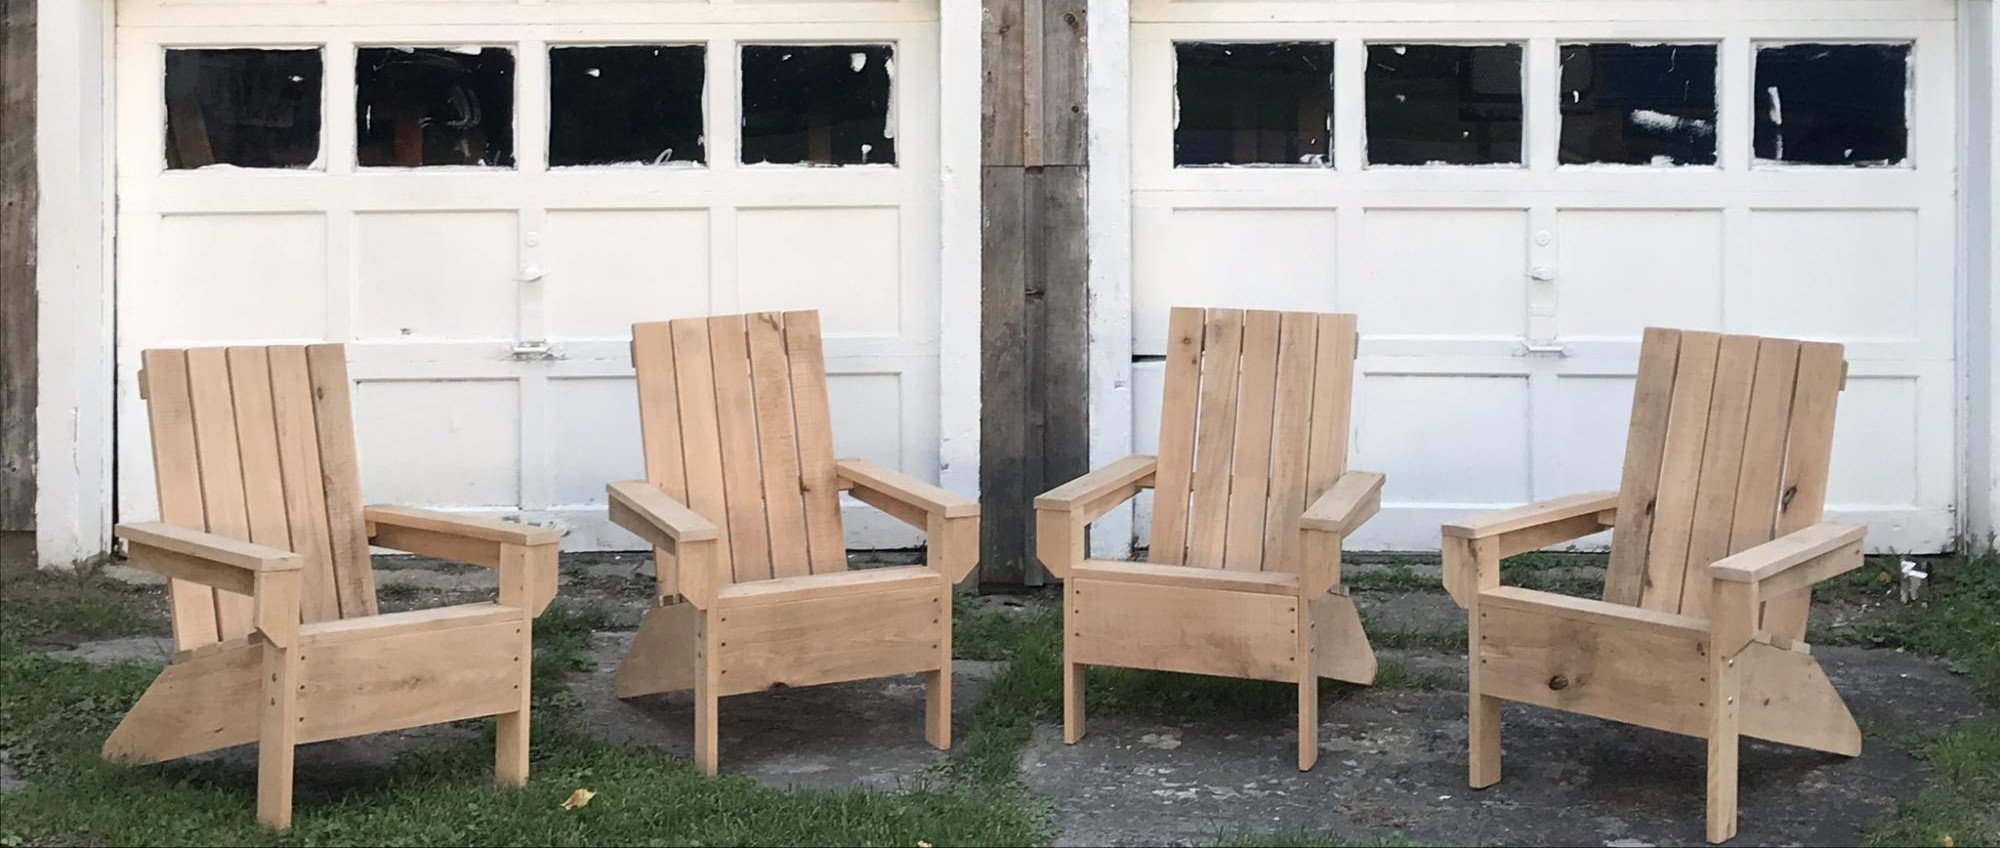
I started this project with just one of the Bristol Outdoor Lounge Chairs. I ended up liking it so much I decided to complete the collection with anther chair, a love seat, and a table. I got the designs for the other pieces from OldPaintDesign.com Poplar was my wood of choice because it is a hard wood that will last but won't break the bank. I also had a really hard time deciding how to finish it. Initially, I was going to paint the wood but liked the natural wood grain of the poplar so much I just simply put a few coats of polyurethane on it to preserve it. I ordered the cushions from Restoration Hardware this fall when they were on sale and even then they were expensive, but I love them. (Brown was the only color on sale.) Finishing the pieces was much more time consuming than I thought it would be.The first chair took much longer and required much more sanding since some of my joints weren't flush. The rest of the pieces combined took me about as long as the original chair. I wised up after completing the 1st chair and did the majority of the sanding before I assembled the boards together. Next, I am going to build an outdoor dining table to match.

Estimated Cost
$1600
Estimated Time Investment
Week Long Project (20 Hours or More)
Finish Used
Minwax Helmsman Satin Spar Urethane - 3 coats.
I used 220 grit sand paper before application and thoroughly cleaned with tack cloth before and in between each coat. I also lightly sanded out any rough spots in between coats.
Recommended Skill Level
Beginner

Comments

spiceylg

Thu, 10/18/2012 - 08:14

What a beautiful job you did. I've loved this set since I first saw it on RH website and requested plans for it. However, I realized with the cost of those cushions and such, my hubby probably wouldn't agree to the cost, at least now. So we built the outdoor sectional and got a great deal on the cushions from Costco. I haven't given up on this set maybe some day in the future when we built our pergola because it's just so beautiful. Again, great job!!!

MrsMcKay

Sat, 05/25/2013 - 14:56

My husband made the chair and it has turned out great, it just needs to be stained. My question is about the cushions... getting them on RH is expensive so If I want to make them myself how do I do that? What is the foam I need? Where can I get it?

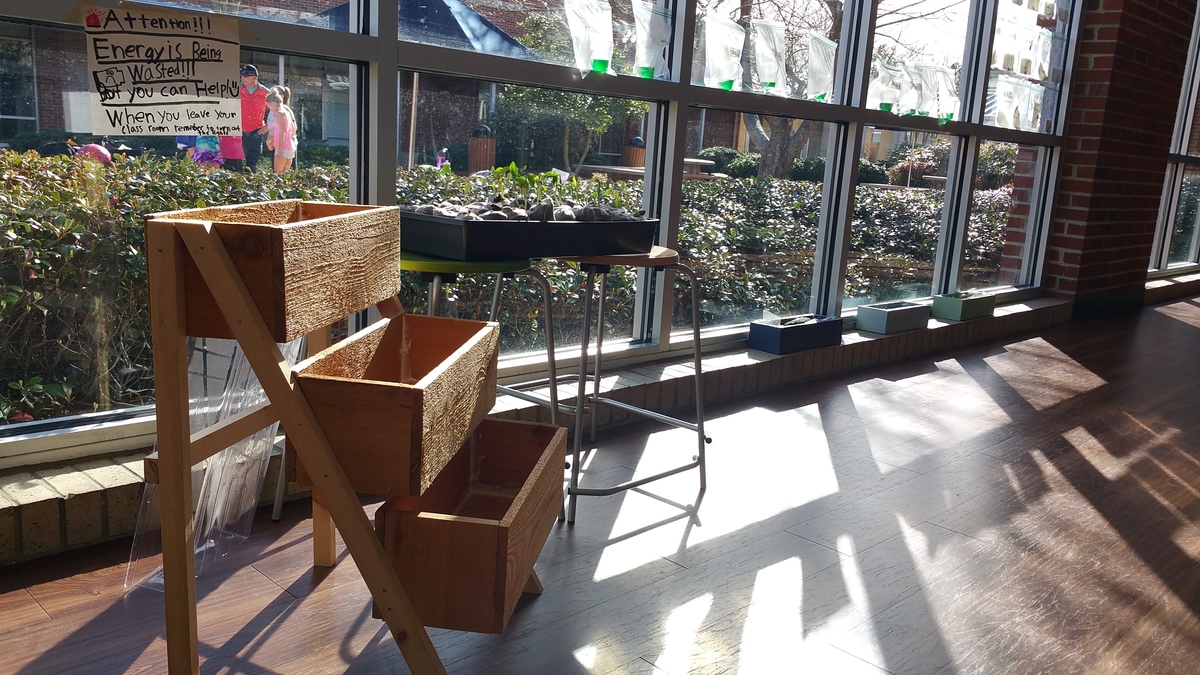
Indoor Garden Boxes for Science Class

Submitted by Anonymous (not verified) on Thu, 02/16/2017 - 19:12

After doing some string art with the Kindergarteners in my class, the were anxious to pound some nails in "all the way." I remembered seeing this plan before on Ana's website, and earlier in the week our science teacher had been talking to the Kindergarteners about how the seeds they had planted were starting to get too big for their containers. The students themselves suggested a bigger box to put them in, and just like that... our next project was born!


The students did every part of this build, except for the cutting of the boards. They loved it, and couldn't believe how quickly they put it together. Here are a couple of tweets to show these little #elemakers at work!

https://twitter.com/JimTiffinJr/status/830163344057327617

https://twitter.com/JimTiffinJr/status/830164086847655936

https://twitter.com/JimTiffinJr/status/830164527304077313


Thanks for sharing some very simple projects and plans that even the littlest of builders can do!

Estimated Time Investment
An Hour or Two (0-2 Hours)
Finish Used
none
Recommended Skill Level
Starter Project

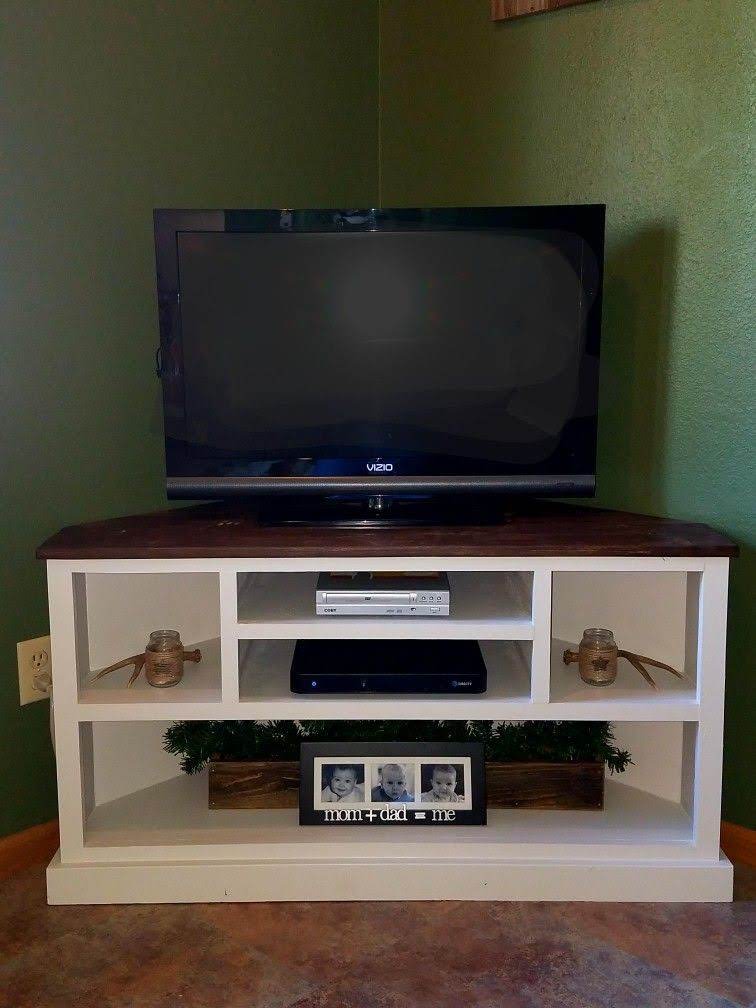
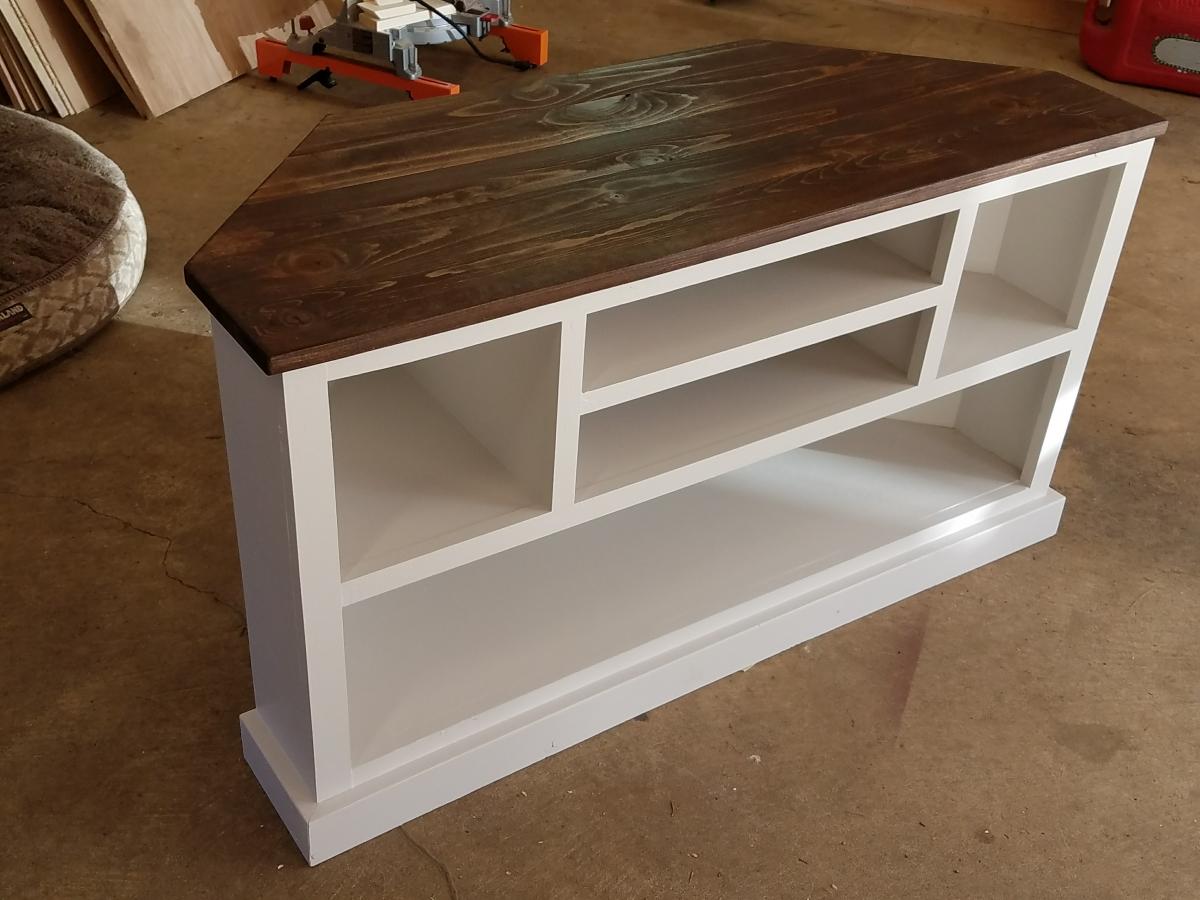
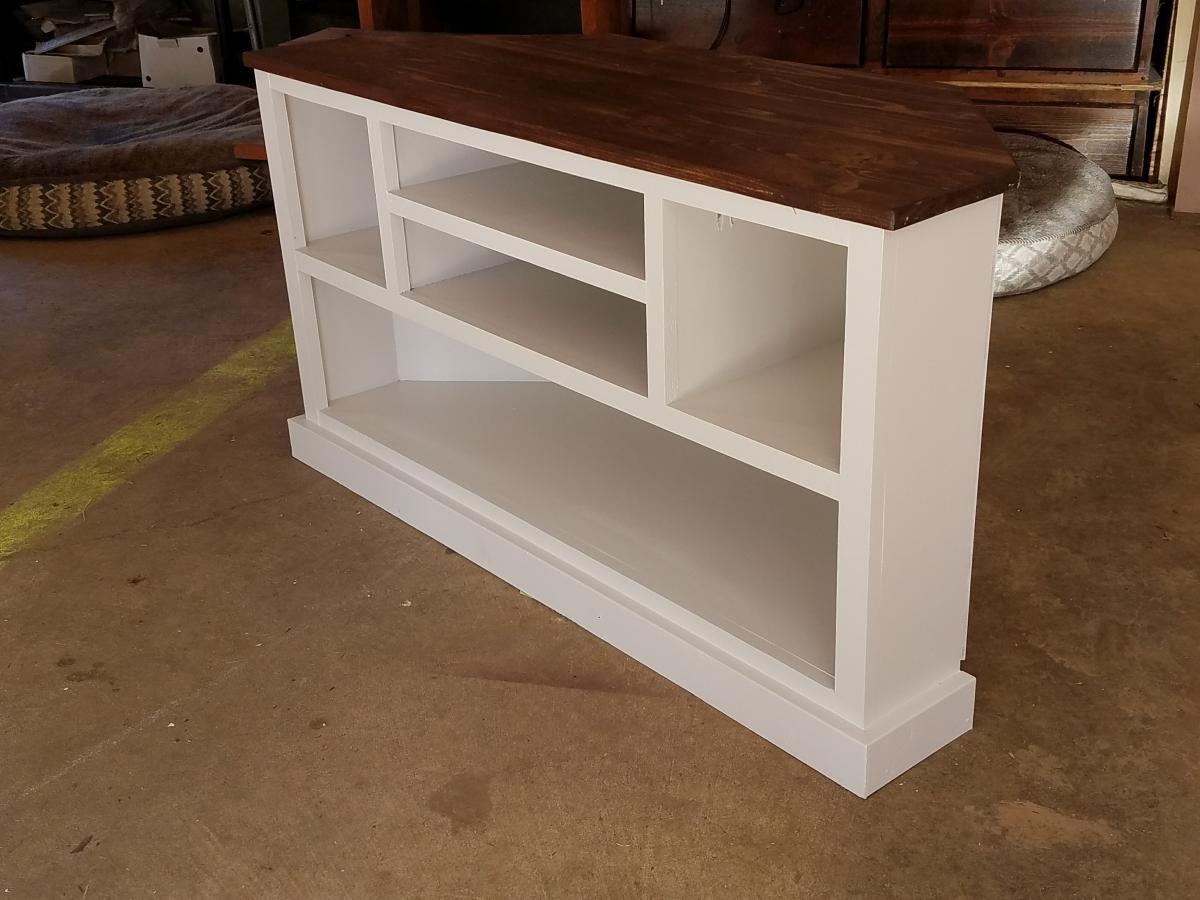
Corner Media Console

Submitted by craw4dz on Thu, 02/27/2020 - 10:39

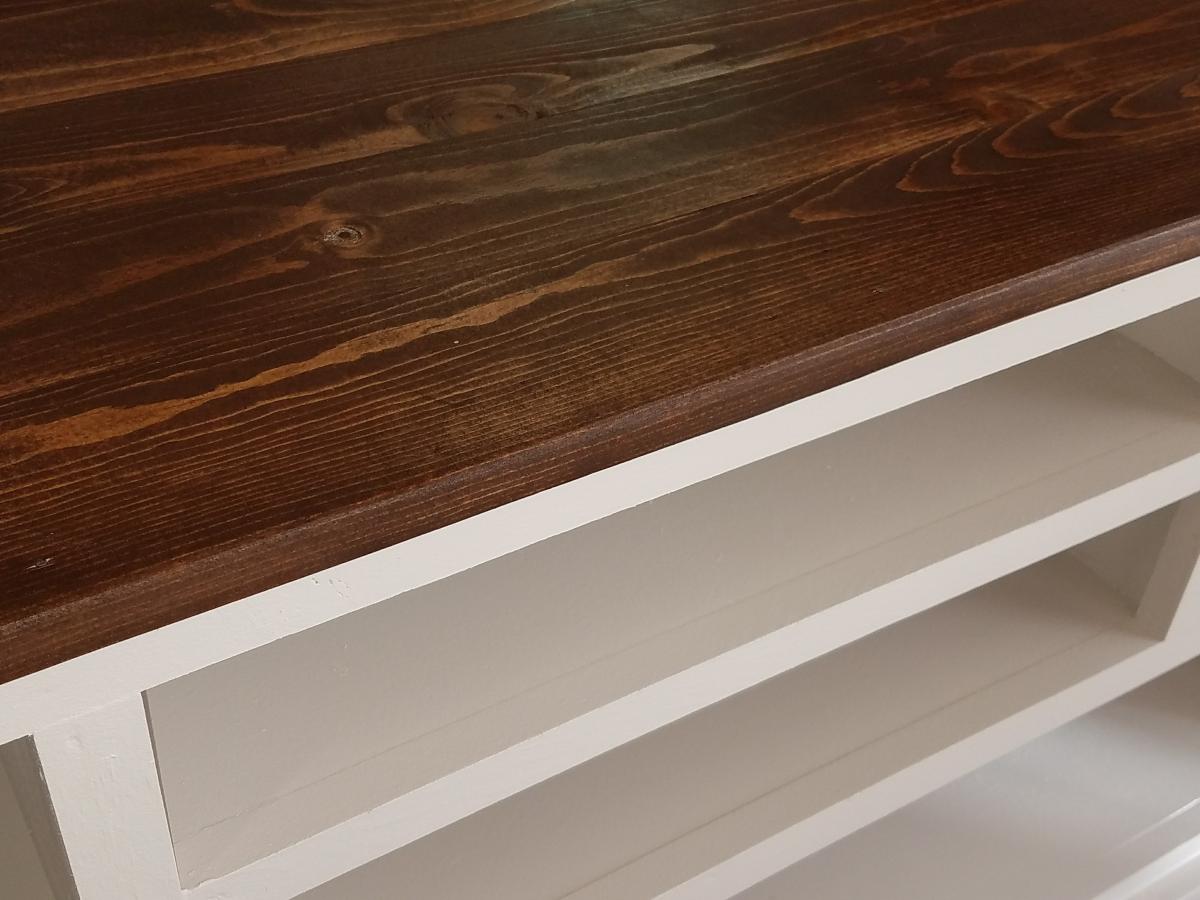
We had just moved into our new house and were using an end table for our TV stand I just didn't like it.  I found this and modified it so it's shorter and fits in our room better.  I also opted to not put doors on it and use it to display items instead.  This was a relatively easy build and I'm learning new things with every build I make.  It took about 2 days to complete not including filling holes/paint/stain.  I love it, it looks so great in our room and I am planning on building end tables to match as well as replacing our buffet with movies in it to match also.  Thanks for the easy-to-follow plans!

Built from Plan(s)
Estimated Cost
$45
Estimated Time Investment
Weekend Project (10-20 Hours)
Finish Used
Whatever white paint I had on hand (haha) and Varathane Kona with a satin poly for the top.
Recommended Skill Level
Beginner

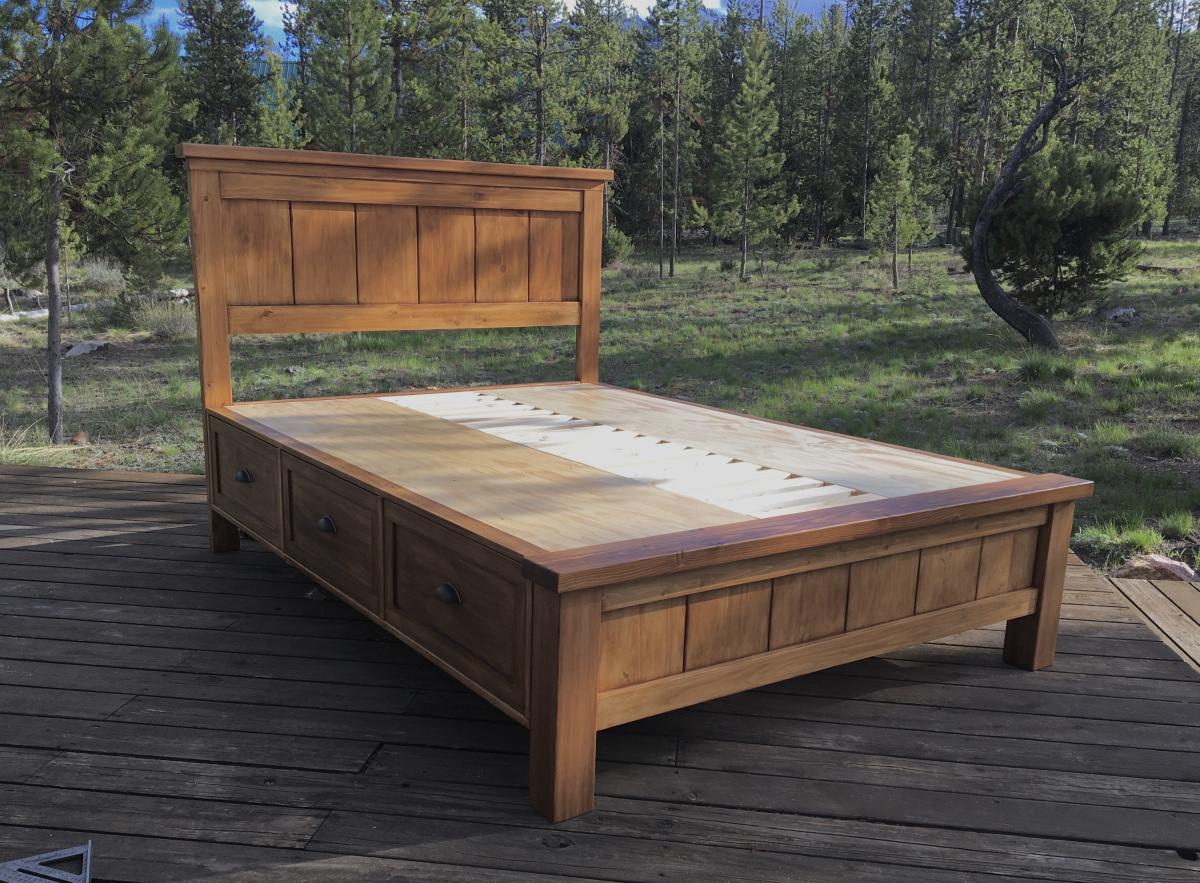
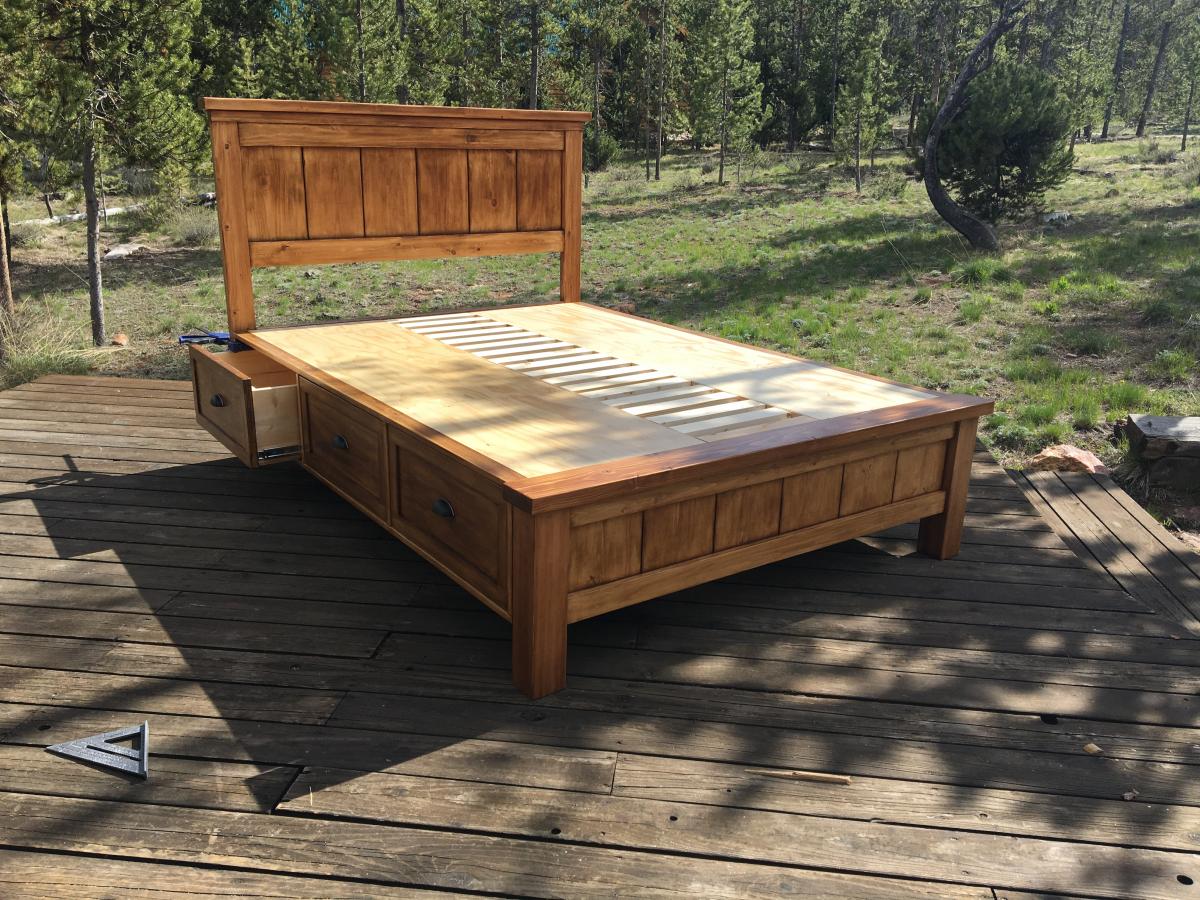
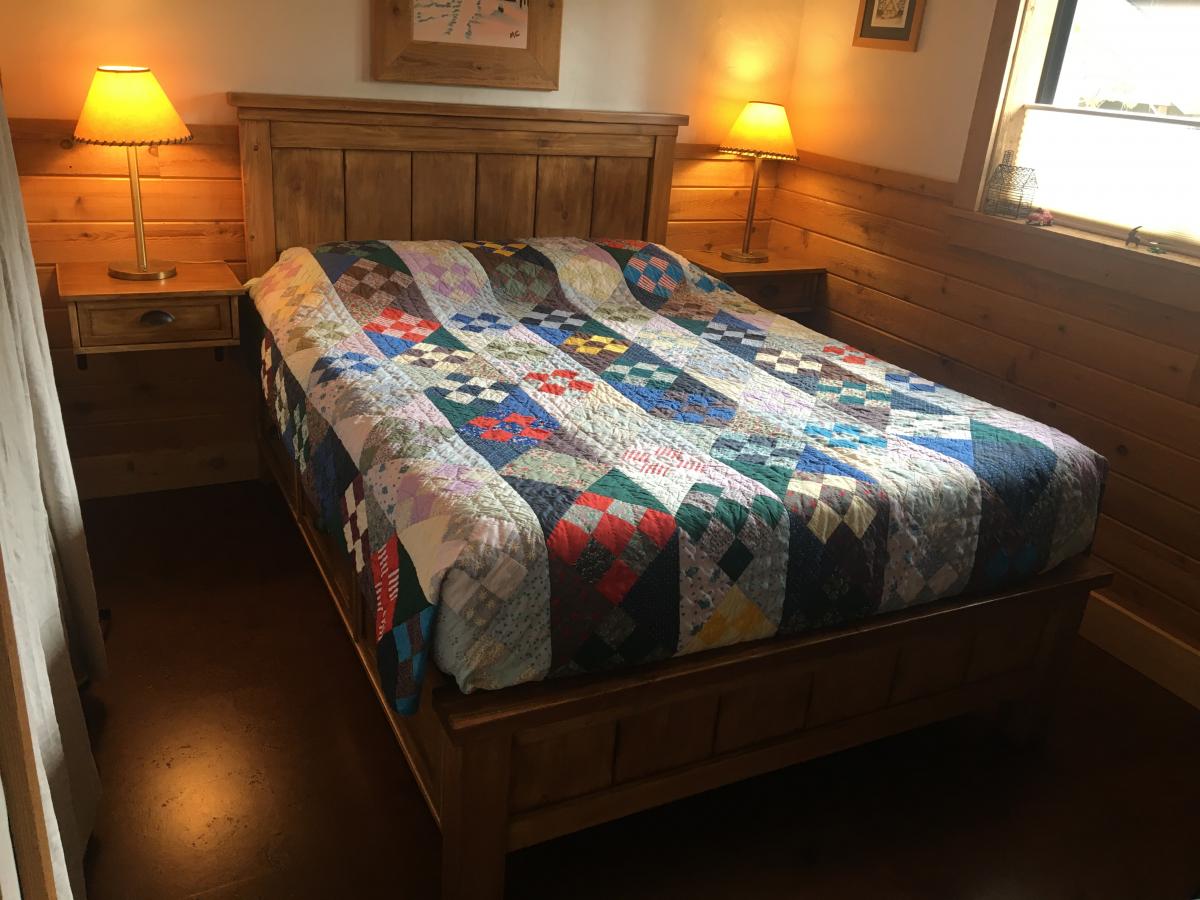
Farmhouse Storage bed with platform modification

Submitted by Anonymous (not verified) on Mon, 10/04/2021 - 13:06

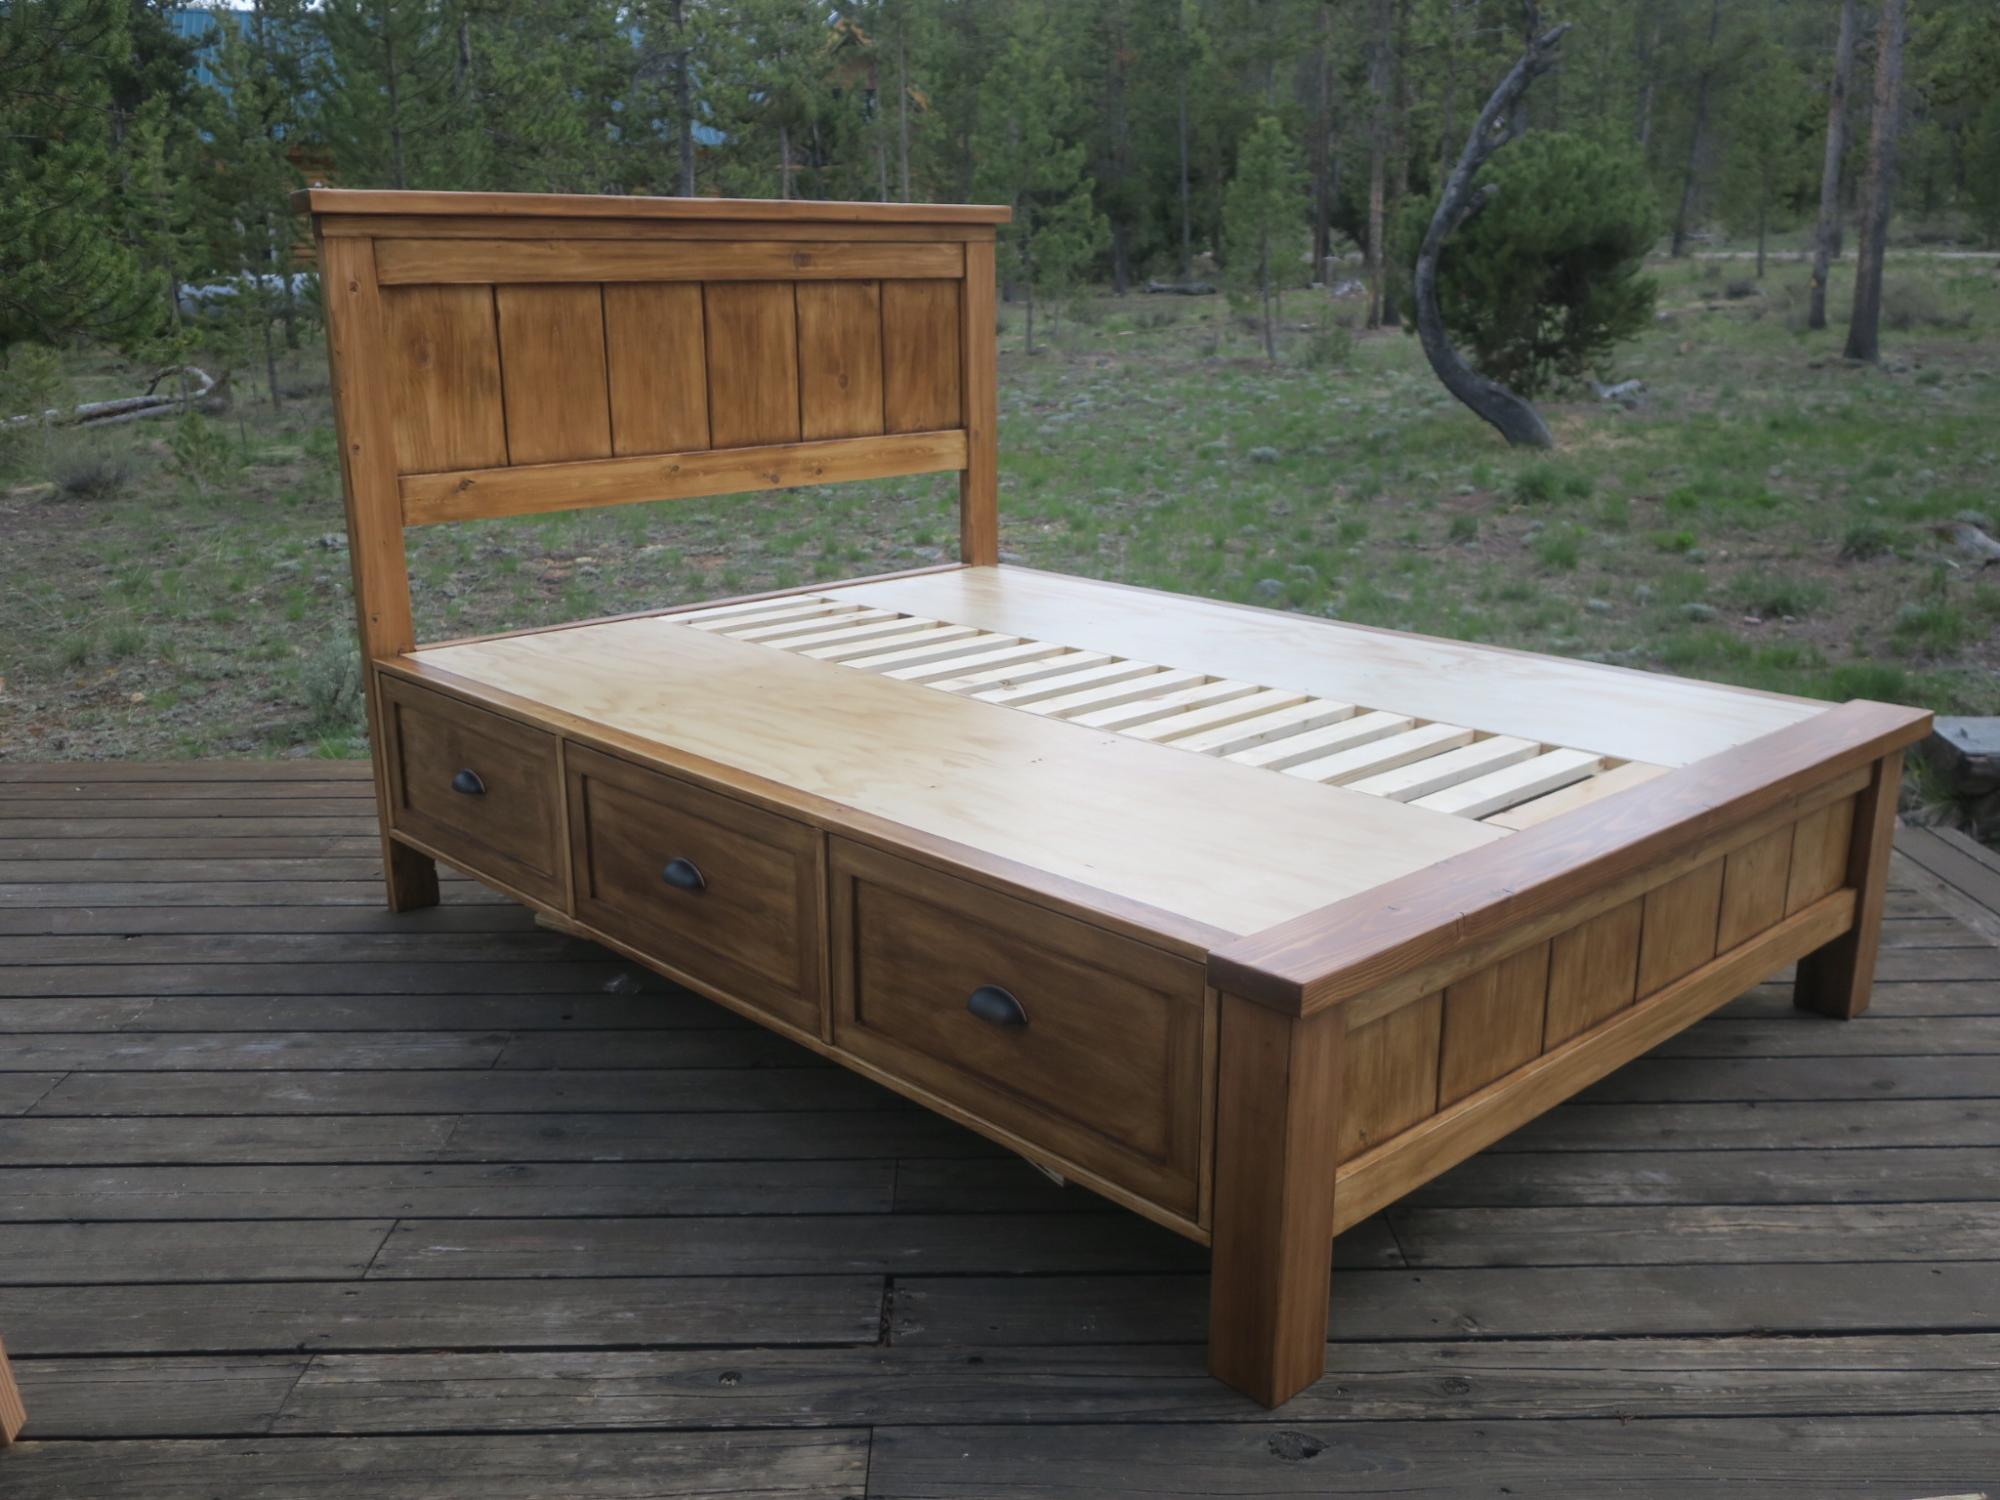
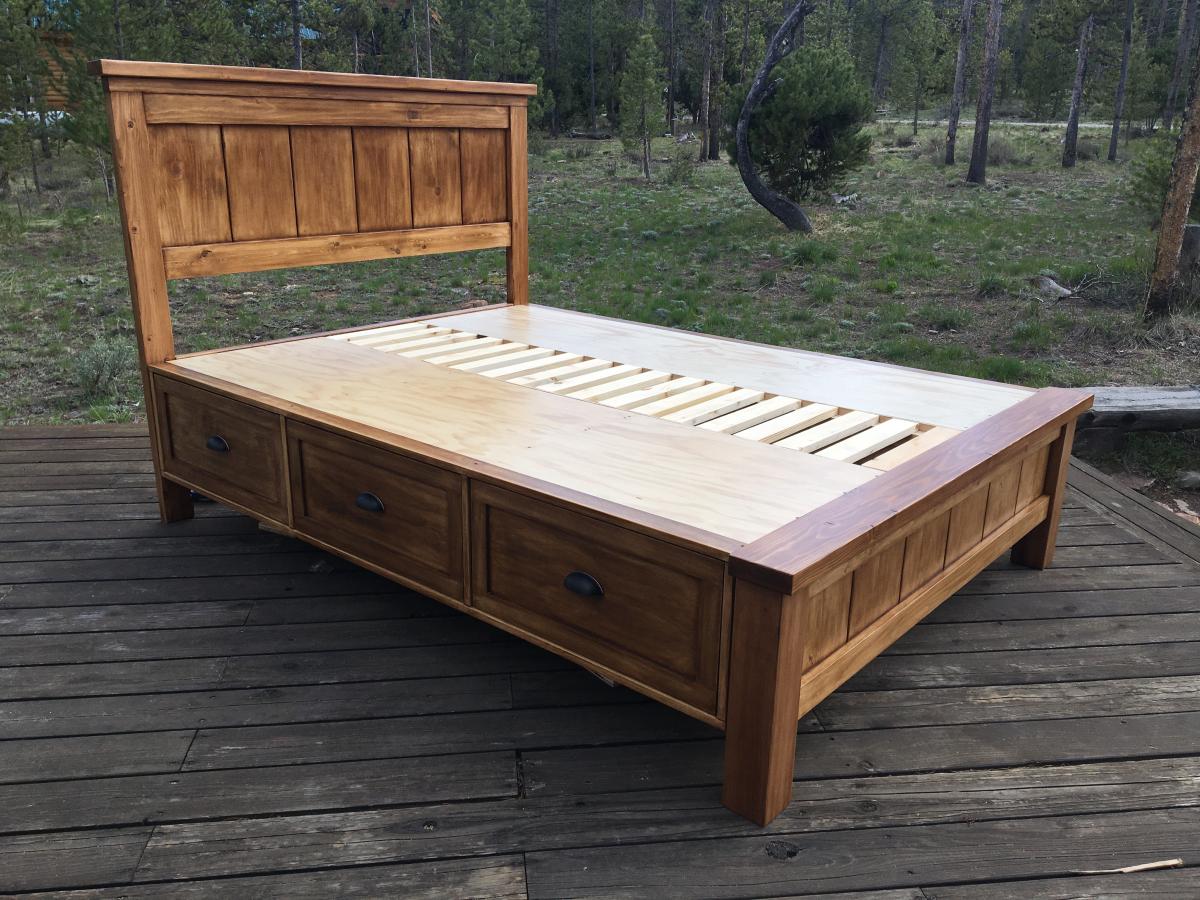
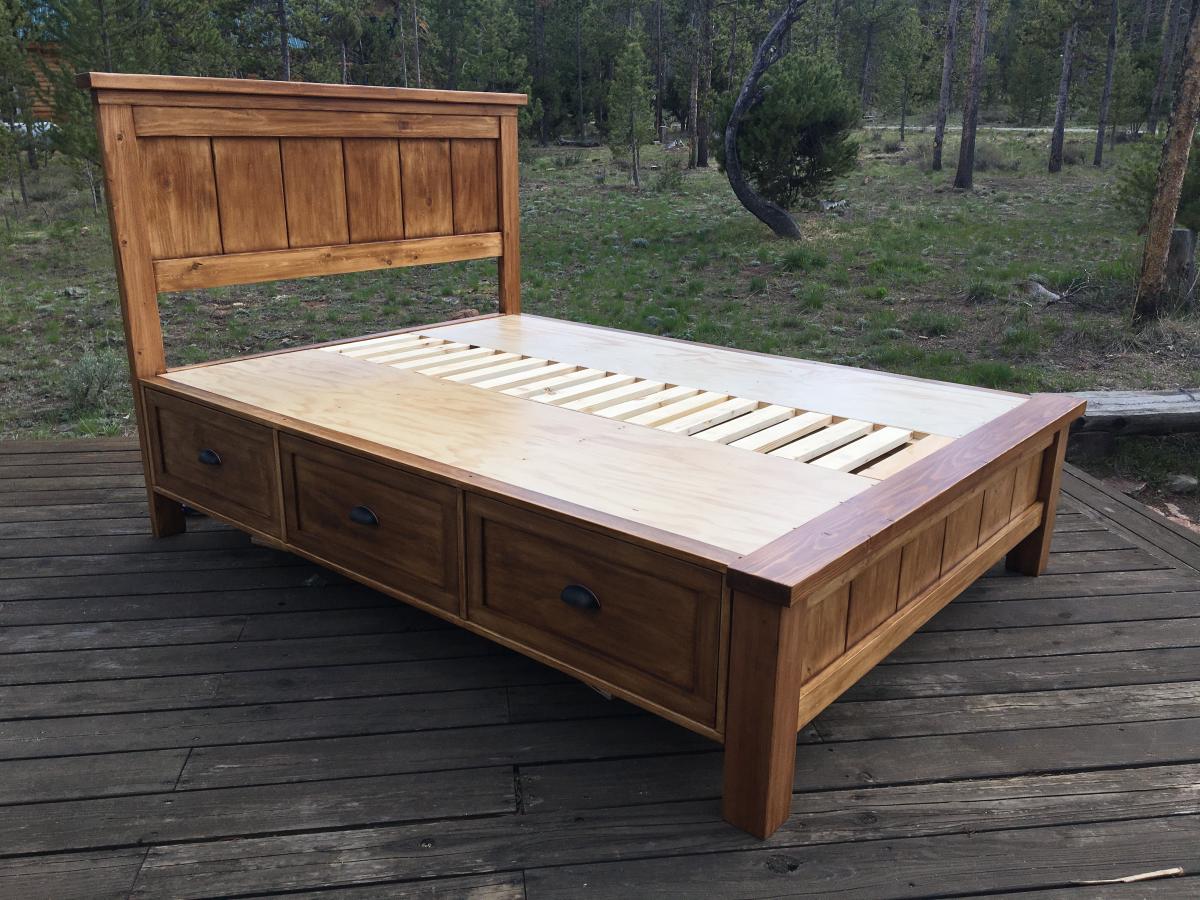
Hi, I’m Joe and love working on my cabin in Stanley Idaho. I needed a queen size bed on the ground floor but the room is small so I incorporated the footboard into into the platform to gain 6 inches of space in the room. It took a couple months working off and on but all fun. I also made the drawers deeper front to back to maximize storage. I did this at the peak of lumber prices and spent like $900 on lumber. It came out great, my Airbnb guests love it!

Comments

Playhouse Loft Bed with Storage Stairs

I changed this plan and made it into Full size. Feel free to contact me if you would like more information about how to do this too. 

Estimated Cost
$350
Estimated Time Investment
Week Long Project (20 Hours or More)
Recommended Skill Level
Beginner

Golf Club Locker

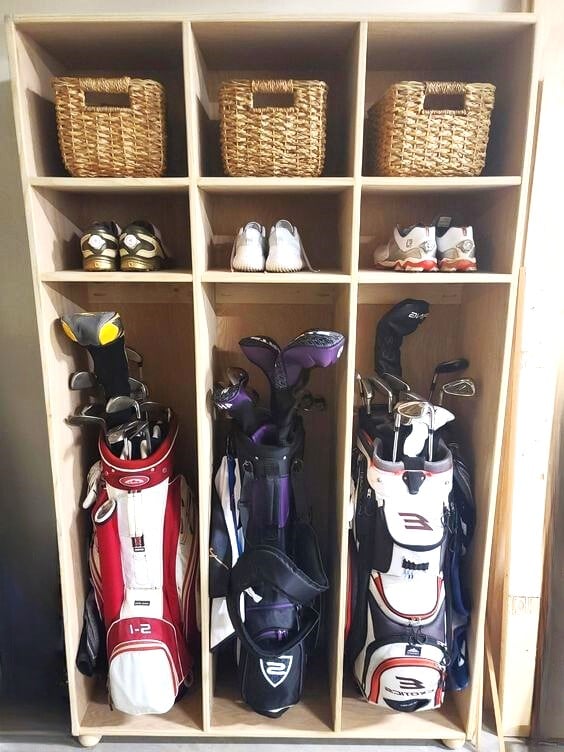
Utilized the plan for the Locker Book Shelf-Full Size and modified it a bit to convert to a golf club locker. Definitely keeps all the clubs, shoes, and accessories organized and eliminates the clutter. My wife loves it, course she added the baskets, which makes it look awesome! Actually this is how I stumbled upon Ana White's website. I was looking high and low for a plan for golf club lockers, and found Ana's website as part of the process. Best google search I've ever done!

Built from Plan(s)

Comments

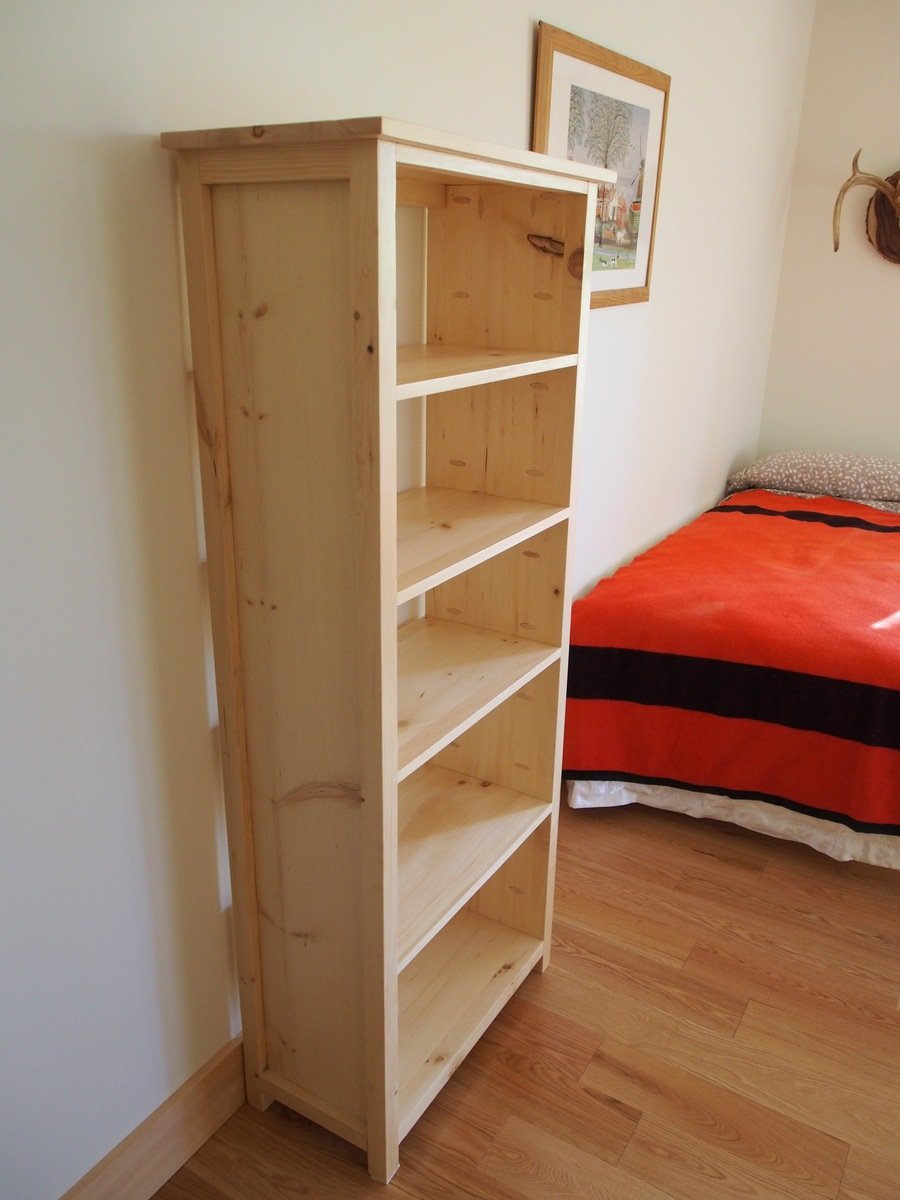
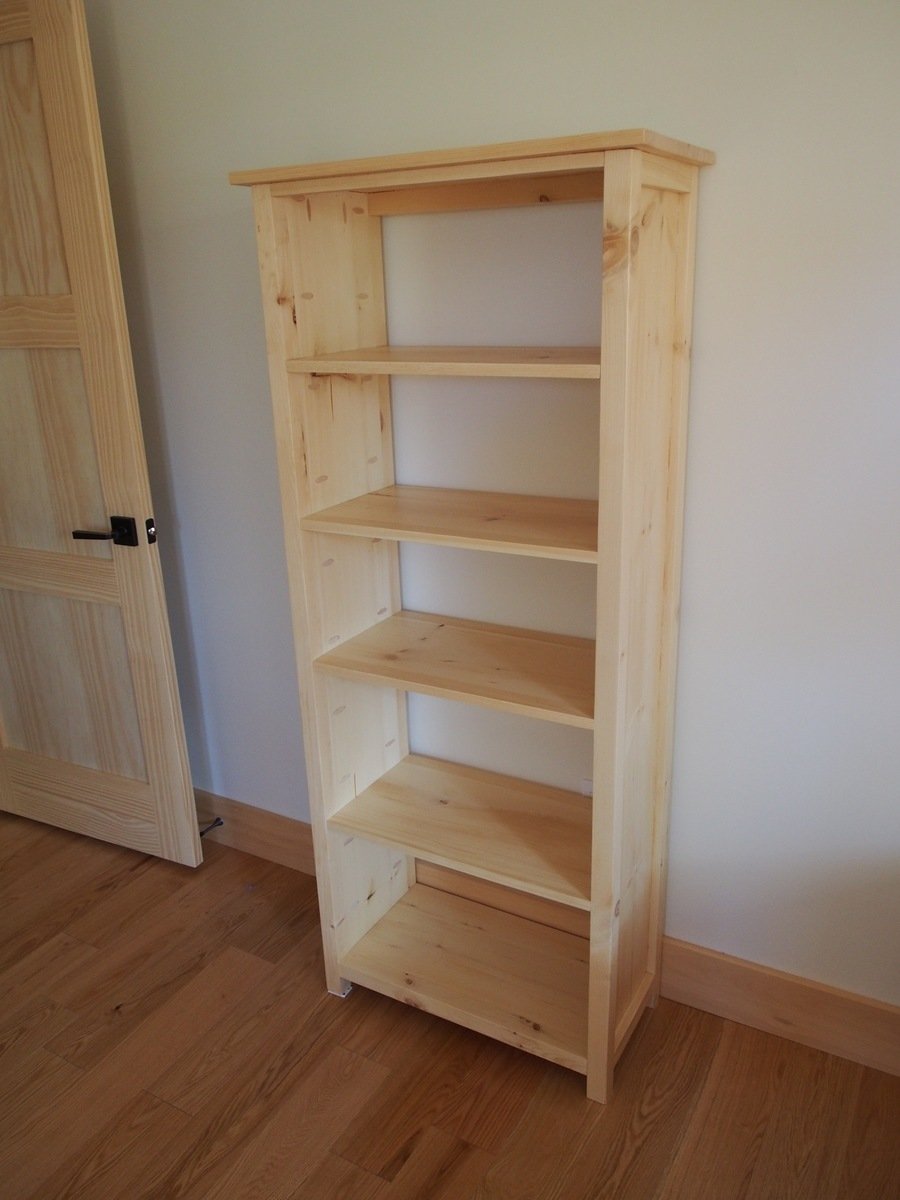
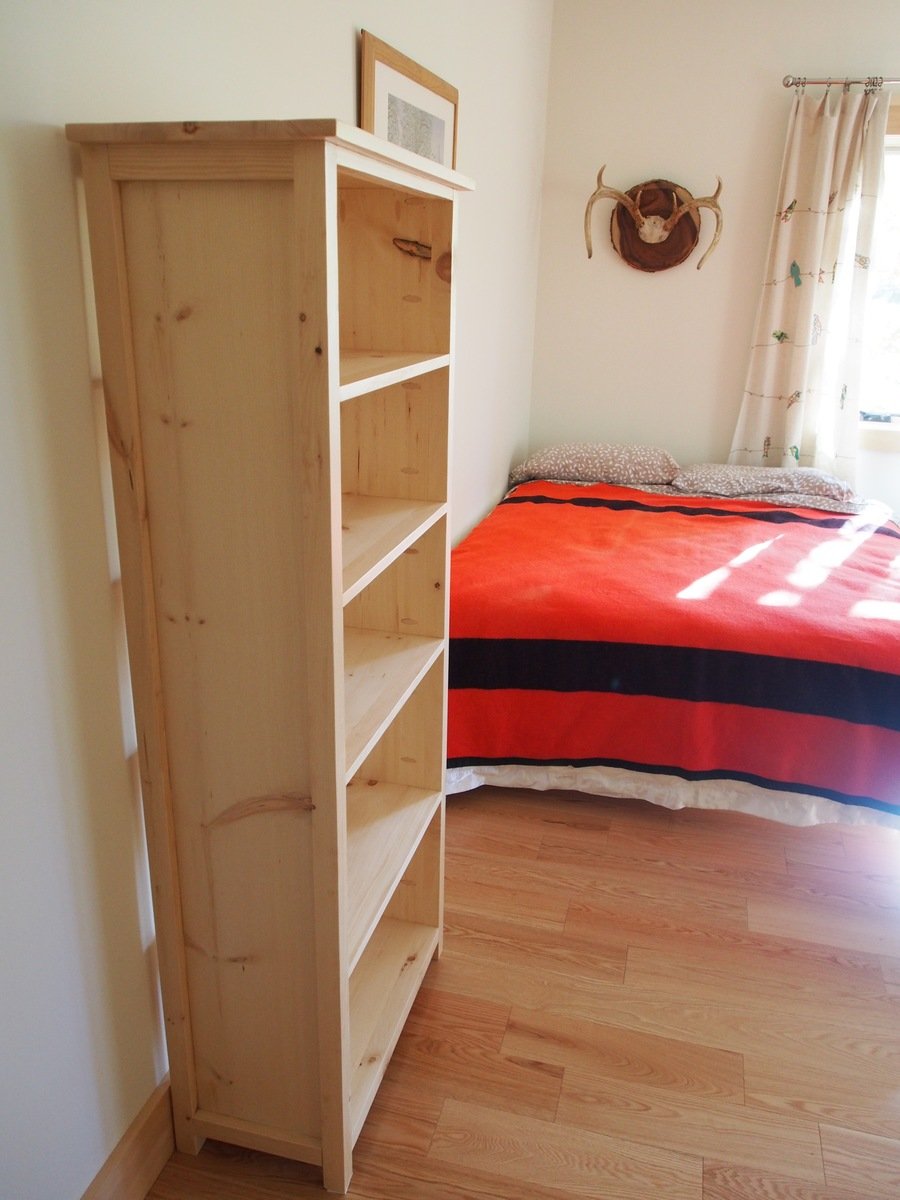
Cottage bedroom bookcase

Submitted by yhaas on Thu, 10/29/2015 - 20:42

I used 1 x 10s to make the bookcase a little shallower, and left the back open. Thanks for the great plan.

Built from Plan(s)
Estimated Cost
$100
Estimated Time Investment
Weekend Project (10-20 Hours)
Finish Used
Varathane diamond finish water-based polyurethane, satin.
Recommended Skill Level
Beginner

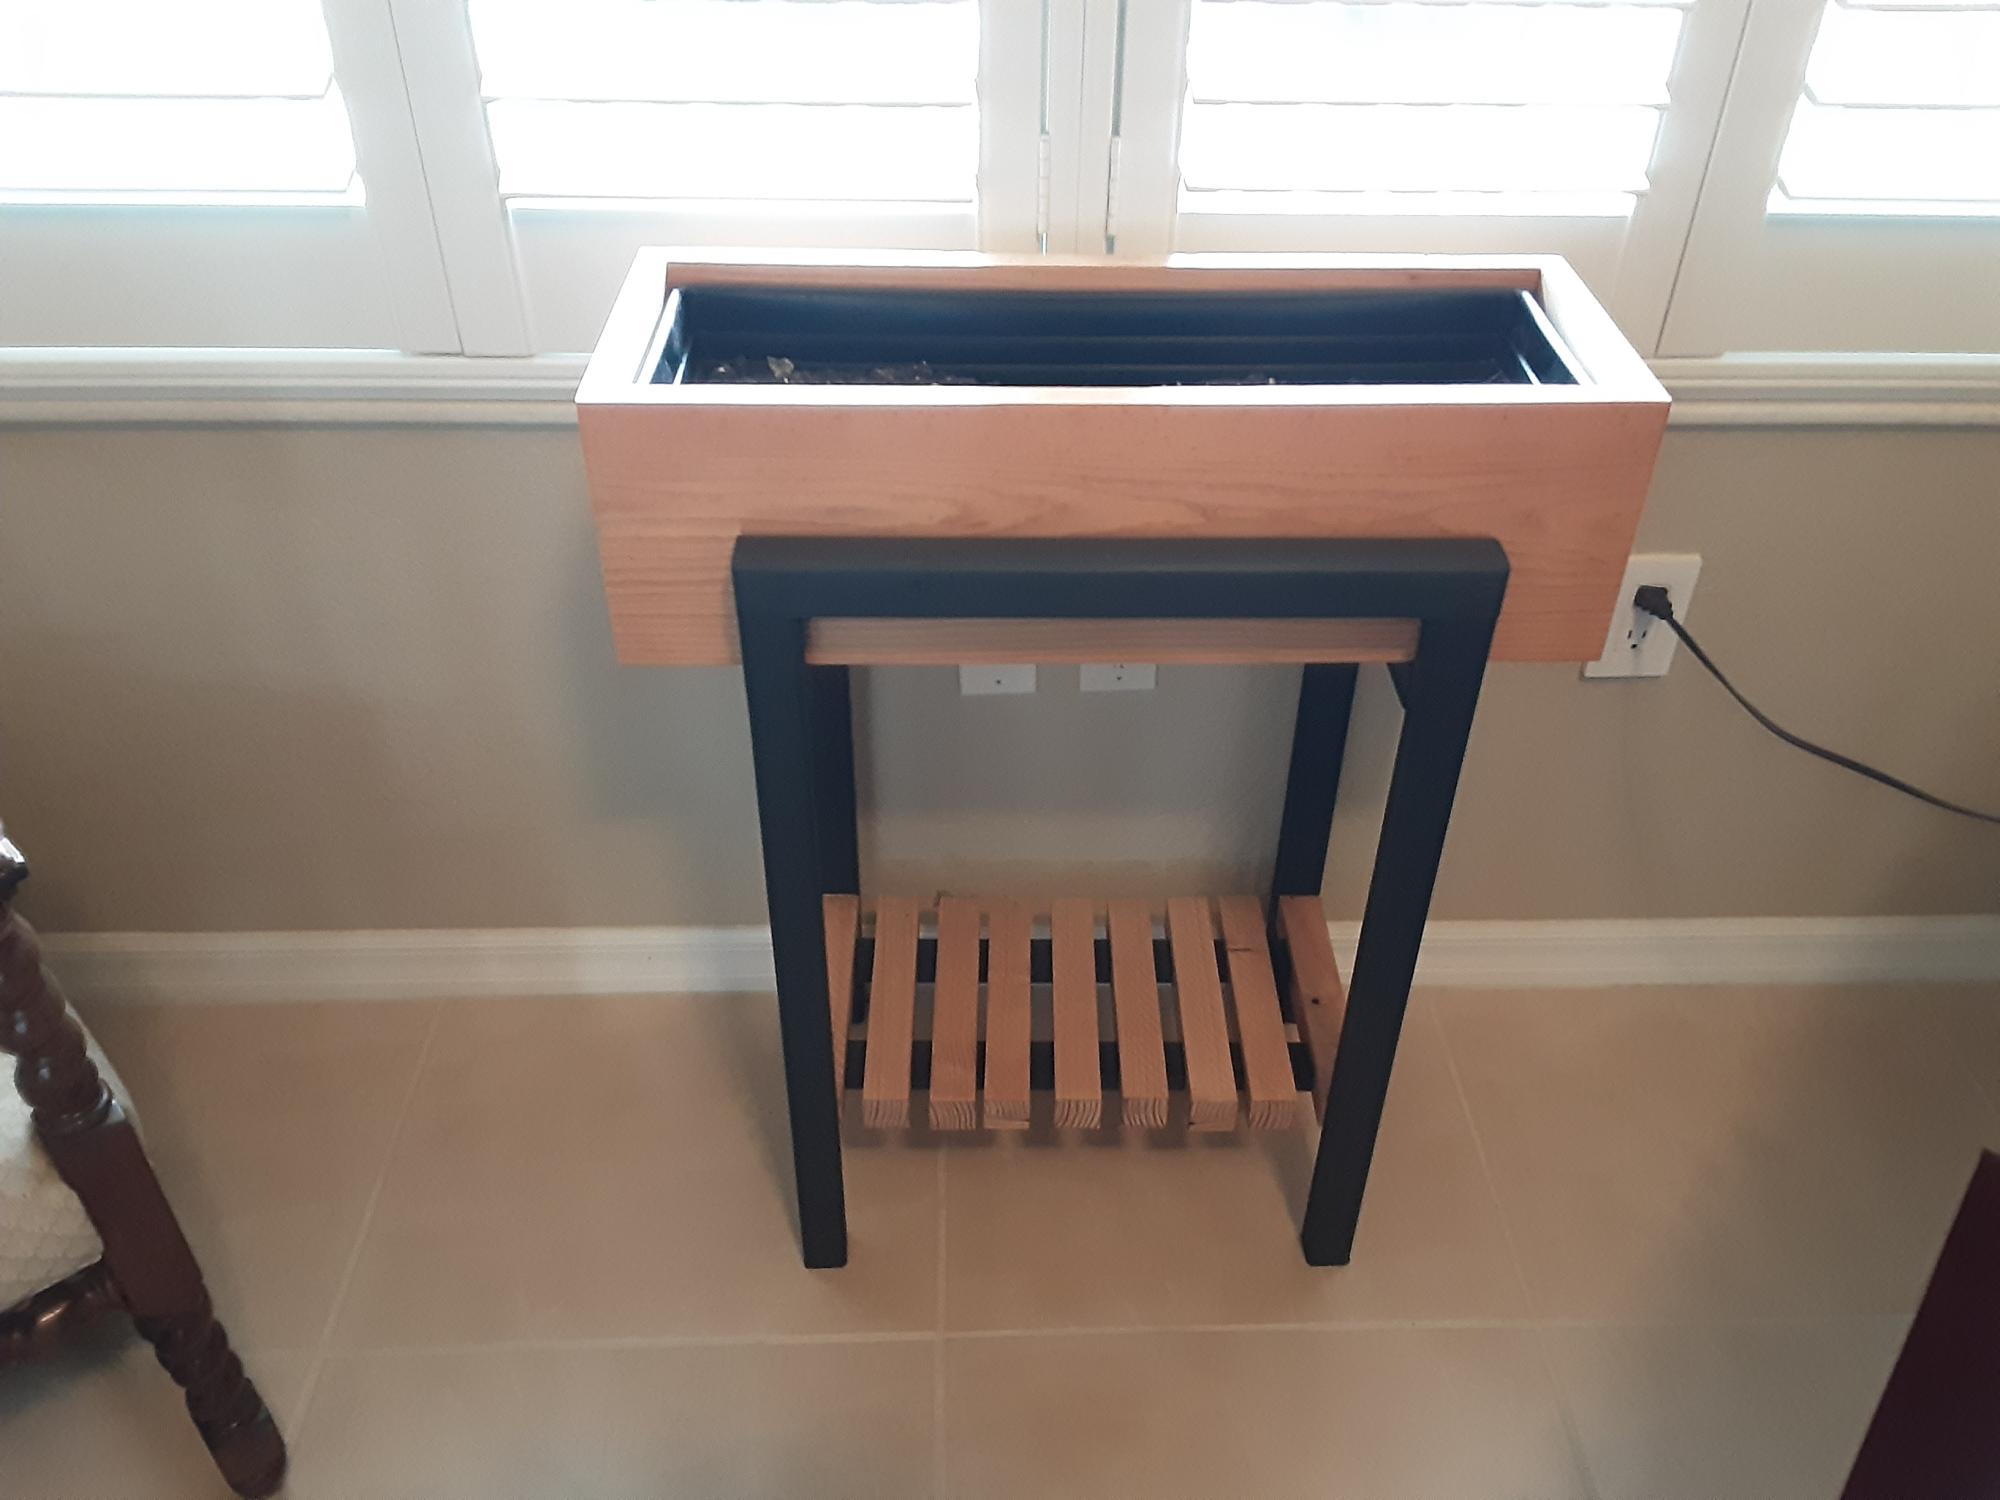
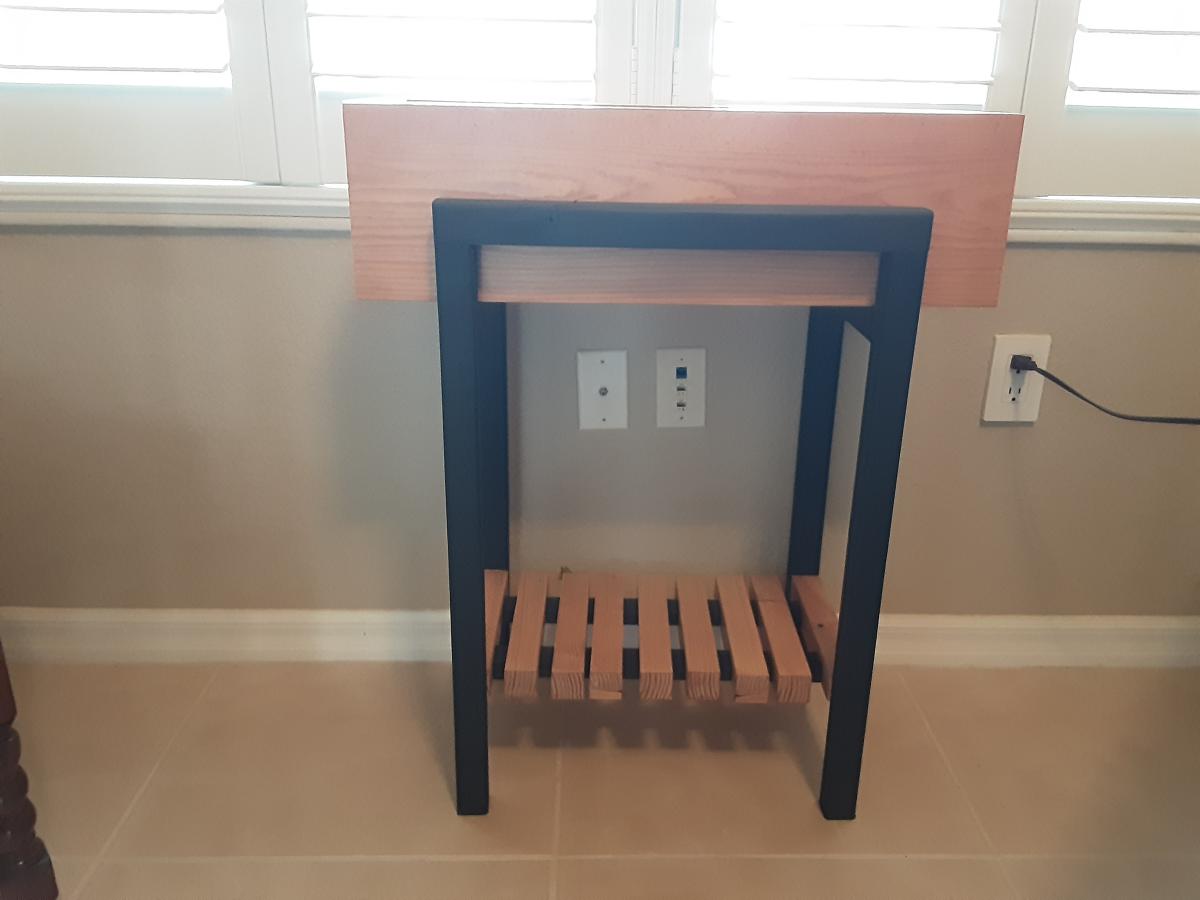
Raised Planter Stand

Submitted by Anonymous (not verified) on Sun, 04/30/2023 - 13:02

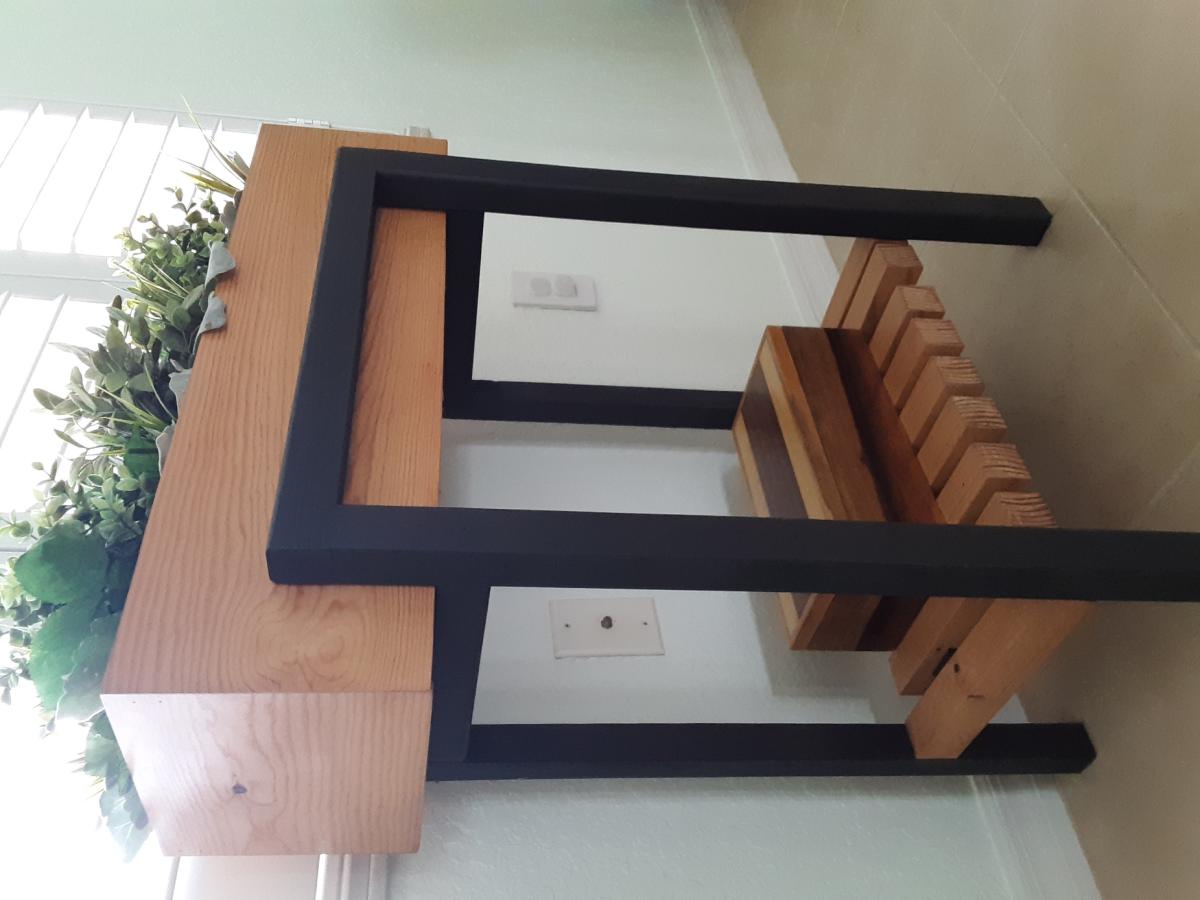
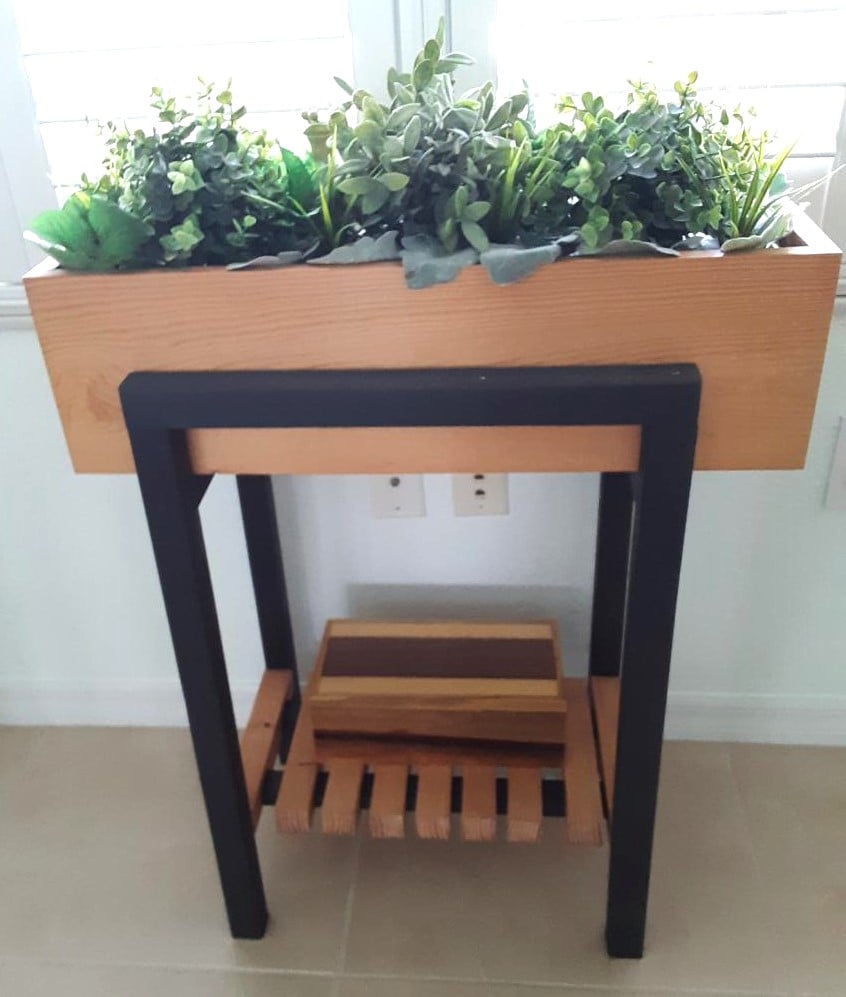
Created the stand for the raised planter using 2X2 assembled using dowels. Painted the stand mixing black with a bit of white to simulate metal. The actually plastic window box fits within a wood open box with mitered corners fir clean log. Bottom of the stand provides a shelf using (9) 2X2s with a dado placed on either end to fit on the runners of the stand.

Built from Plan(s)

Comments

SMALL GABLE ROOF GREENHOUSE

Submitted by Ledopmi on Wed, 12/23/2020 - 06:07

I was planning on building a greenhouse some time next year but I just happen to see this by chance and fell in love with it. I've always built from my own designs but when I saw this I decided to purchase the plans. I couldn't be more happy with it. Right now its doubling as a feed room. I wanted a solid foundation so I build a floating deck to mount the walls on. The deck added quite a bit to the total price.

Built from Plan(s)
Estimated Cost
$1384.94
Estimated Time Investment
Week Long Project (20 Hours or More)
Finish Used
Paint
Recommended Skill Level
Advanced

Comments

Washer & Dryer Pedestal / Platform with Drawers

Submitted by dmccoy on Tue, 03/12/2013 - 10:26

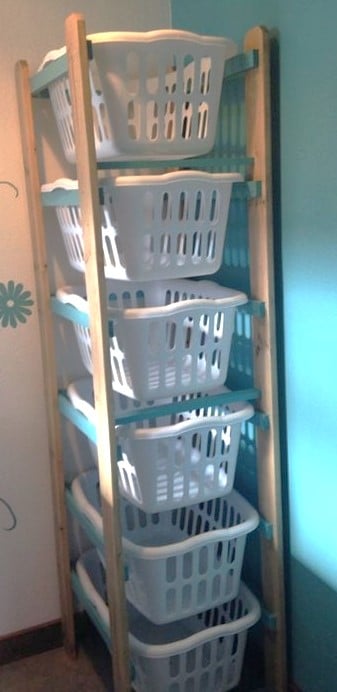
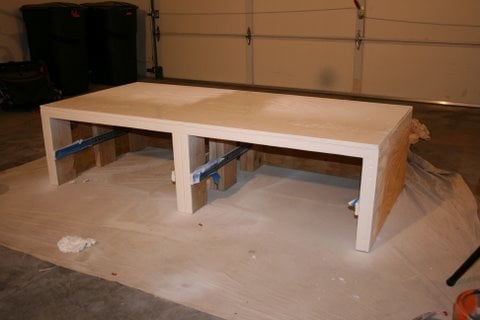
Platform (Pedestal) with Drawers for front-loader Washer & Dryer. Cheaper than buying the manufacturer's plastic pedestals and more fun to build anyway! The drawers are also much wider and deeper than the manufacturer's pedestals. We can usually fit about 3 full loads of laundry in each drawer. (That's 6 loads of laundry before we have to start folding!) It's a very easy and basic DIY project. I made a 2nd one for my brother using these plans (sans the drawers). I gotta say, the drawers are SO nice to have though. But you could just leave the front open, without drawers, and slide some laundry baskets underneath for an even quicker project. We've been using this platform now for over 2 years and there is still no squeaking or rattling. The washer & dryer haven't moved from the vibration even in the slightest. They're exactly where I placed them on the pedestal 2 years ago. There's also zero problem with the weight of the washer either...it really is a strong frame. (After finishing, I jumped up and down on it!) A couple small tweaks I would make doing it over is raising the drawers a 1/2" in. off the floor to tuck a rug underneath (as is, they sit about 1/8" in. off the floor). Also, I would cut out a couple of square holes in the back panel to access those socks that fall behind (I can't access the sides of my W&D in our particular laundry room). Lastly, I would have painted with a quality paint (I just used a few cans of white spray paint to be quicker). Step-by-Step Plans and Materials List (PDF) and many more photos found at the Blog Link below...I'm certainly no professional "Plans Writer" so email if you have questions! Happy DIY-ing! Estimated Cost: ~$200 (2x6 lumber, plywood, drawer trim, nails, screws, paint)

Estimated Time Investment
Weekend Project (10-20 Hours)
Finish Used
White spray paint
Recommended Skill Level
Beginner

Comments

nikolegraves@h…

Wed, 03/13/2013 - 10:12

I have wanted to do the pedestal project for quite a while. I am so glad I held off though. Yours are fantastic! I would never have thought of drawers to hide the dirty laundry! Love it!

gmccoy20

Tue, 04/02/2013 - 11:06

Really appreciate the help with mine brotha! We really like them (even without the drawers) and are glad you had these plans to go off of for ours.

I'll be calling you for our next project!

strahmers8

Fri, 02/07/2014 - 17:05

Hello this looks great and for the amateur carpenter I am but one item I need clarified "the top measurement at 64" is .25" greater than the bottom at 63.75"

Please explain if I am missing something
Thanks

dwm22

Mon, 02/10/2014 - 15:33

Not sure what measurement you mean that's 63.75" since there's no "bottom" to the pedestals. Or do you mean 1/4" wider than the sides? The top panel should overhang both sides by 1/4" each so that when the side plywood is attached, it will be flush. Hopefully that helps? (If I'm understanding the question correctly)

jmkc

Mon, 02/24/2014 - 10:29

Could leave the back panel of plywood out so you could reach what may fall behind? Then you would just have to pull the drawers out?

heverest

Wed, 06/22/2016 - 16:35

Back panel is very very structural and provides lot of strength. If i wanted more access than the 5-7 inch of duct space behind the pedestal gives me, then i would replace the back panel with a long 2x6, that holds the three legs from going in different directions due to all that weight.

dmccoy

Mon, 12/12/2016 - 14:58

This is the one modification I could make if i could redo these plans...I would still put on the back panel of plywood as it stabilizes the pedestal, I would just have cut out a rectangle (behind each drawer) so that I could remove the drawers and stick my hand/arm through to grab fallen clothes or vacuum the lint.

dachiri

Mon, 12/18/2017 - 19:17

Rather than cut holes in the back, I just cut the back and side boards a little small and left a gap around the bottom the whole way around.  That way I can get a vaccuum hose in there or reach through and get lost items.  Because my washer and dryer seem to be deeper than yours (I needed at least 33" depth, so I went with 3'), that also worked out well in getting the most out of the boards.  I could do the top, back, and sides out of one single sheet of good 3/4" plywood just leaving those small gaps at the bottom for clean-up and retreival.

Jperera

Fri, 11/20/2015 - 05:23

Hello,

I downloaded the pdf but have exactly the same information that the website html, where can I find a solution step by step guide?

Thank you for all the interesting posts.

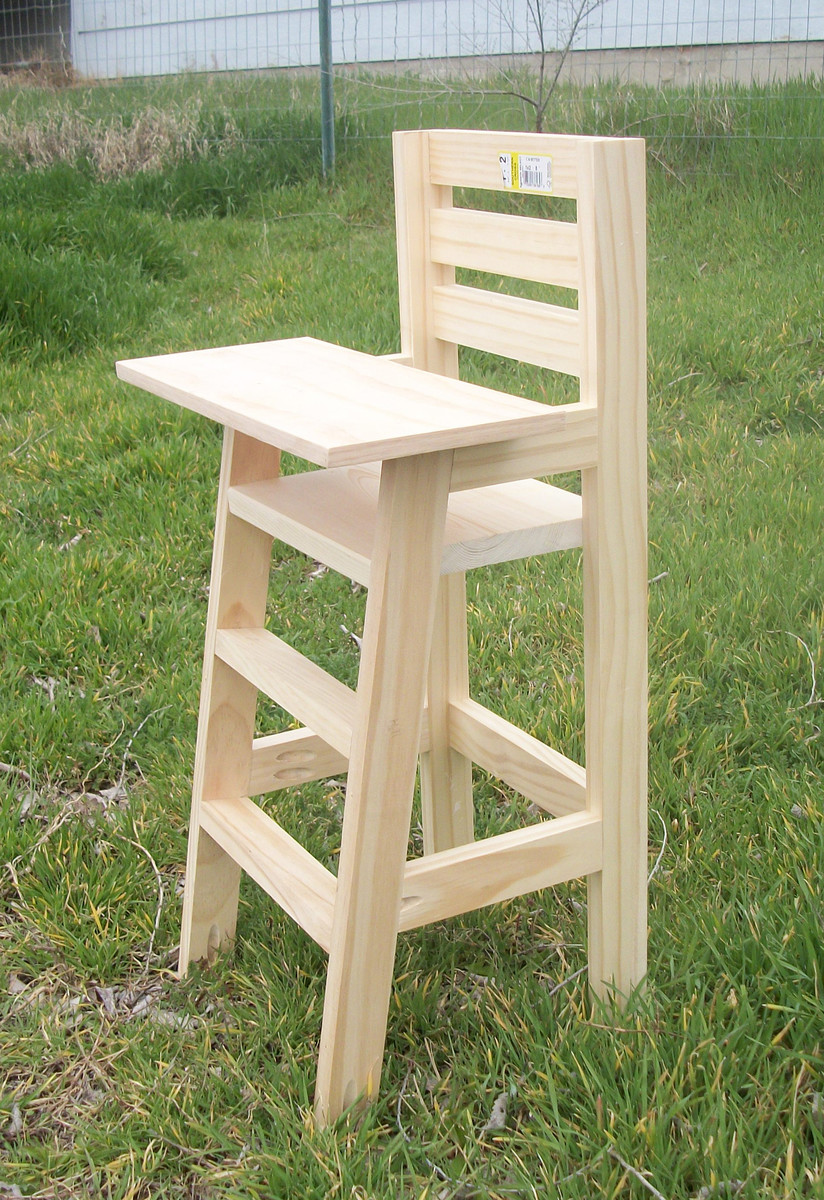
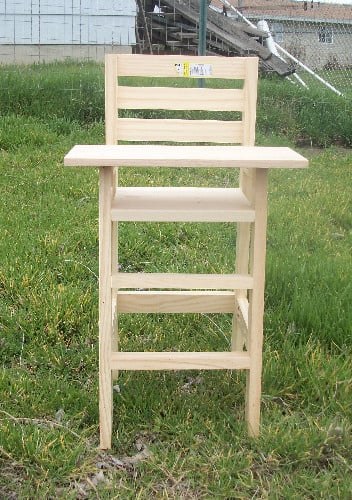
Cutest Baby Doll High Chair

Submitted by tracysmith on Sun, 03/27/2011 - 15:29

My neighbors grand-daughter is about to turn 3 and I thought this would make a great present for her.. plus, when she saw it online while visiting me (I was checking the website as usual), she said "Oh, I NEED one of those!".  I laughed and then that night went out and checked my scrap pile to see if I had everything I needed to build it.

I only needed one 8' piece of 1x2 to complete it.. .everything else I had, so great!
Estimated Cost
About $10 with paint.
Estimated Time Investment
An Hour or Two (0-2 Hours)
Finish Used
I have yet to paint this little project, but it will be painted in a gloss lavender purple so it's easy to clean.
Recommended Skill Level
Starter Project

Comments

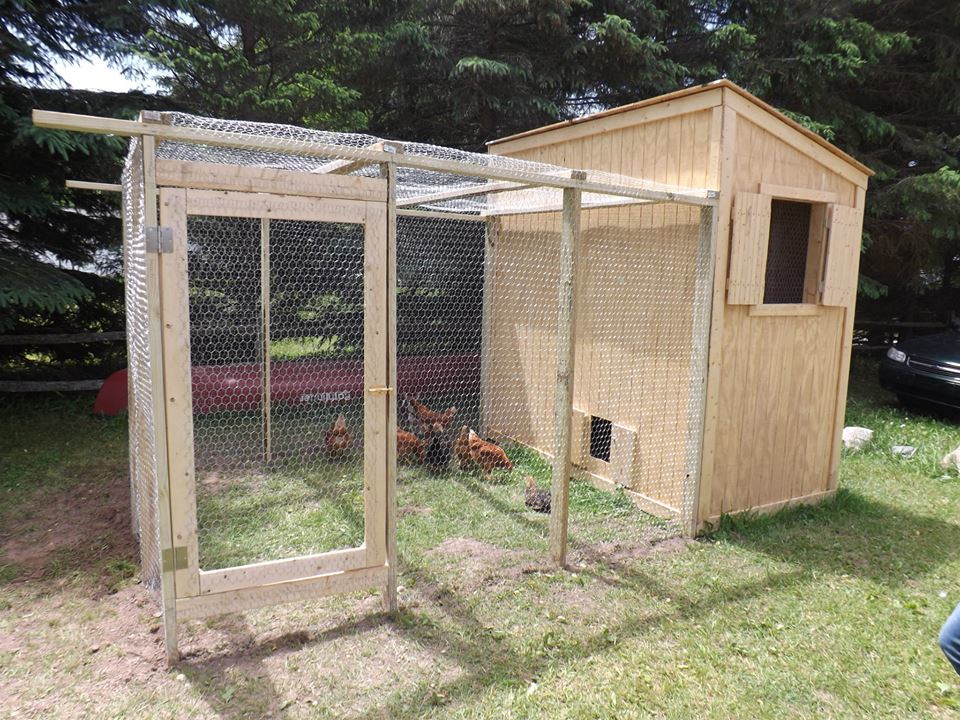
My incredible chicken coop and run!

This was my first attempt at building anything....ever. It was so incredibly fun and I certainly learned a lot. My 8 little chickens are loving their new home and I can't wait to build my next project!

Estimated Time Investment
Week Long Project (20 Hours or More)
Recommended Skill Level
Intermediate

Comments

GreenLaLa

Wed, 06/19/2013 - 11:51

Hello! Could you repost the picture / info on your chicken run? I keep getting "page not available" and I've been trying for days :O) I think I want to build that chicken shed (too big for 3 hens?? It's just so cute!) and a run like that to go with it! Thanks! Have a great day!