Outdoor Wood Sofa and Chair
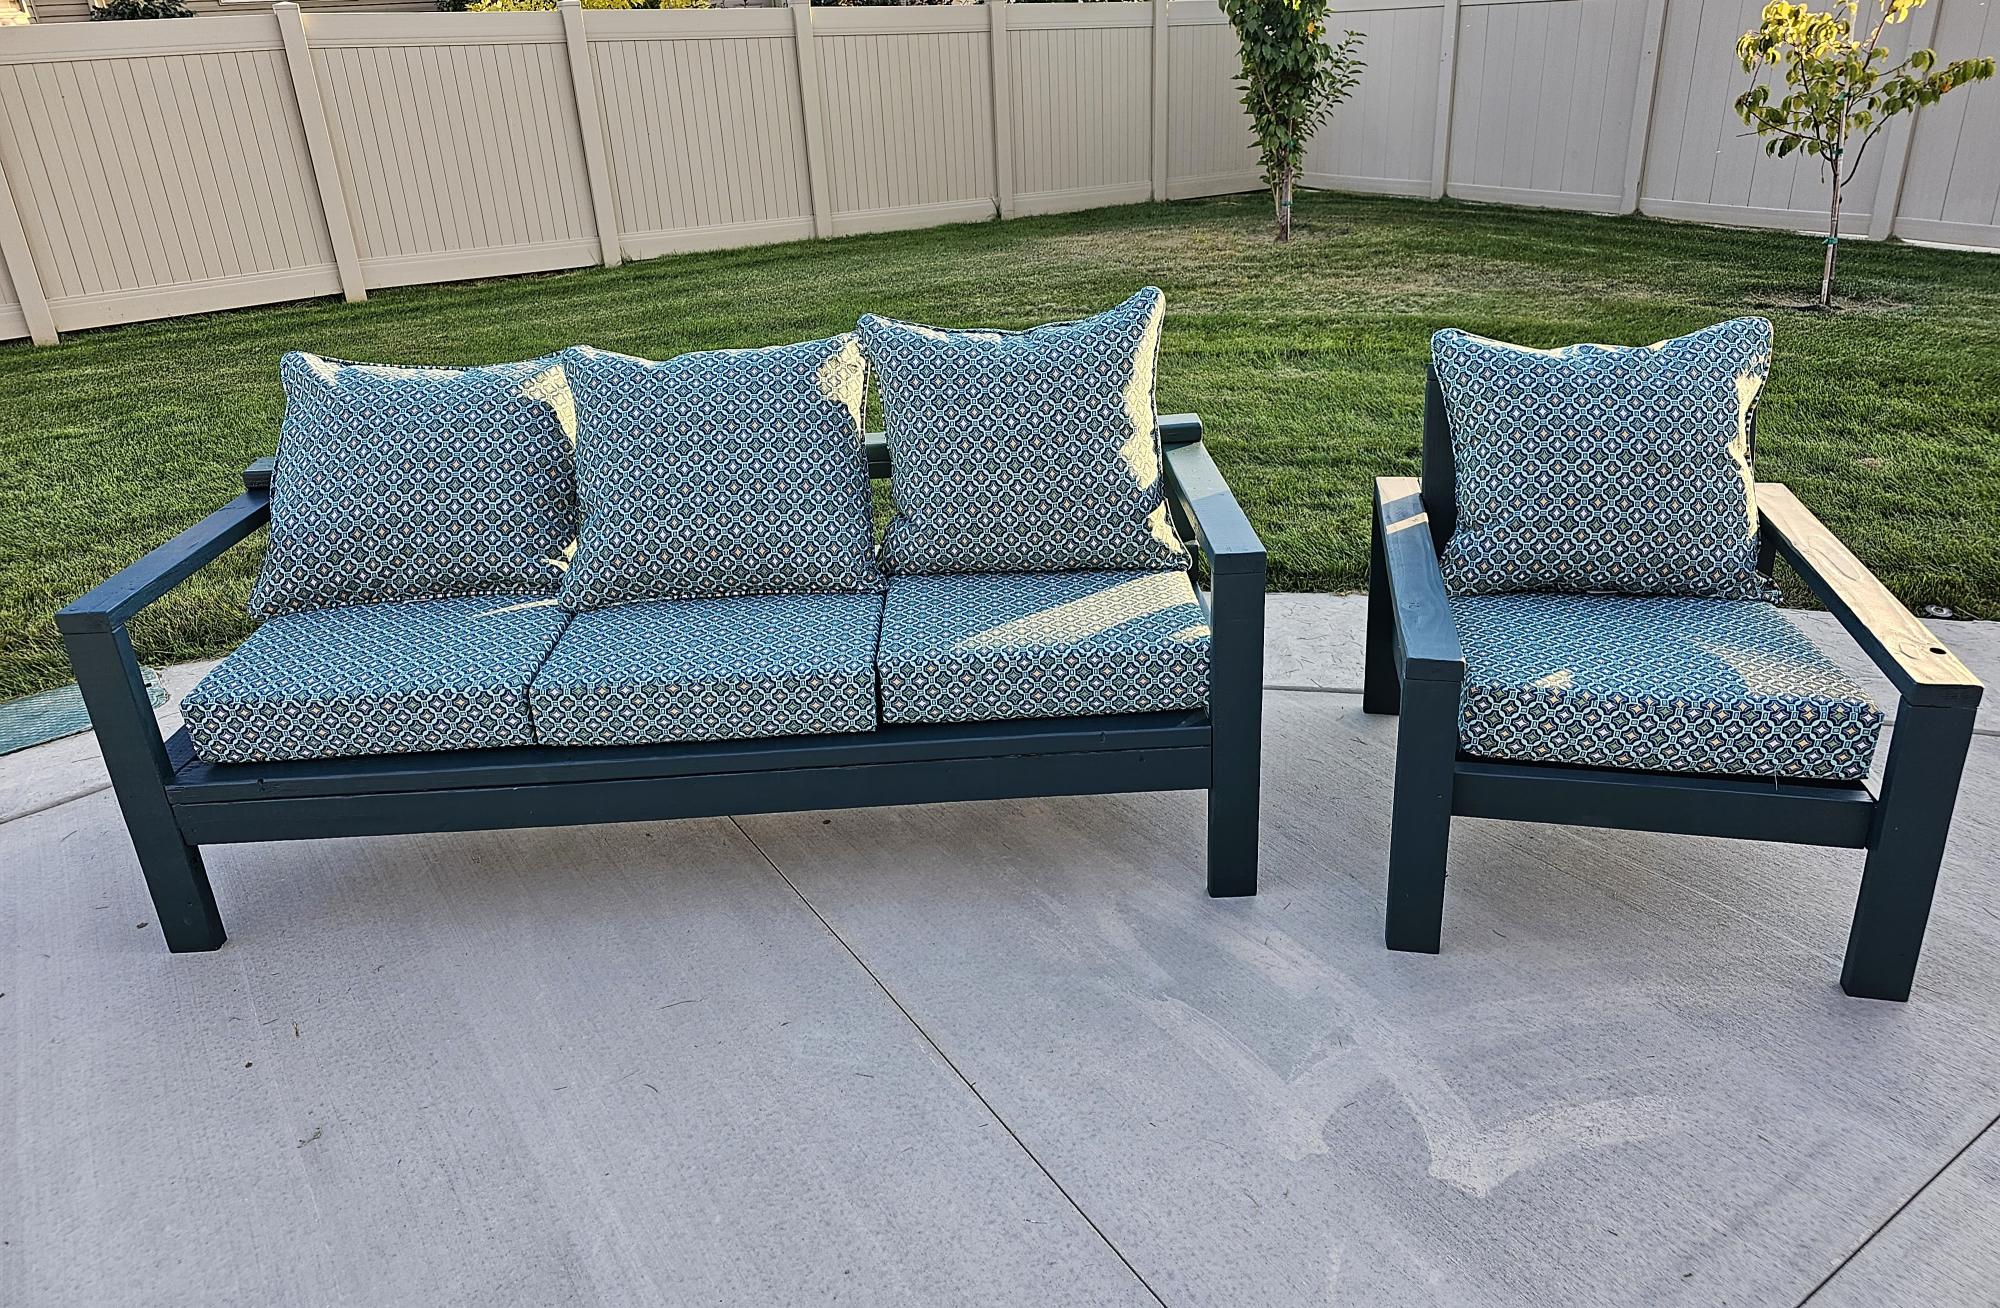
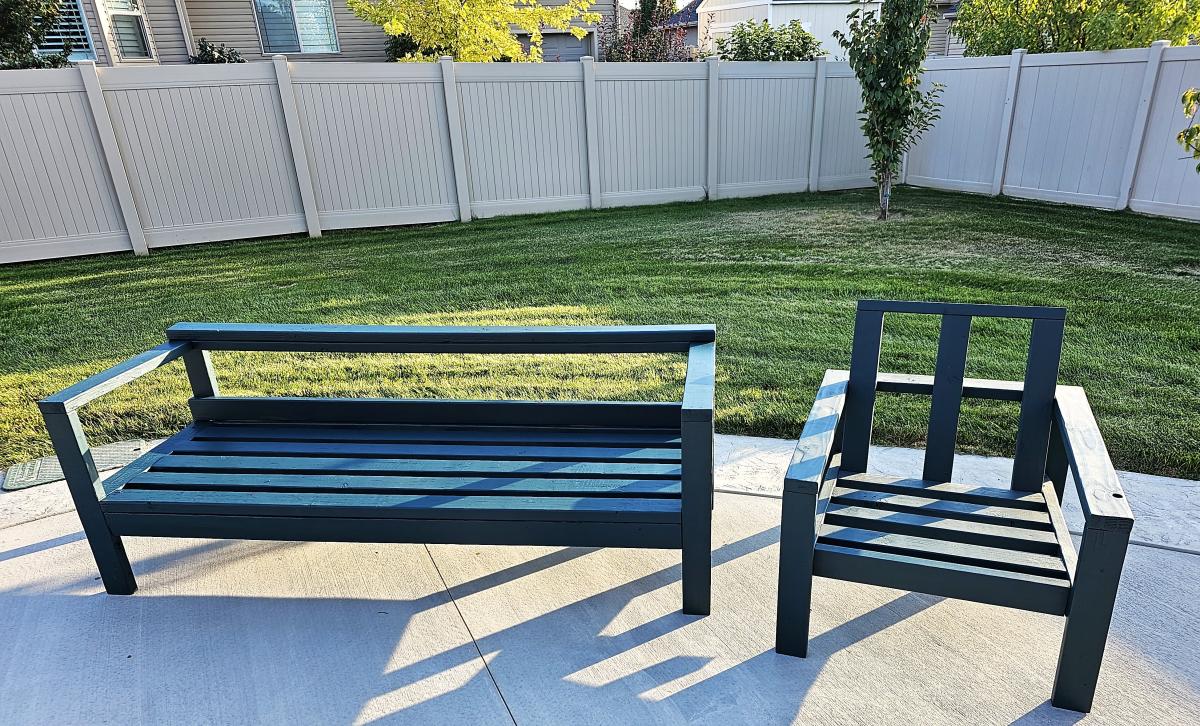
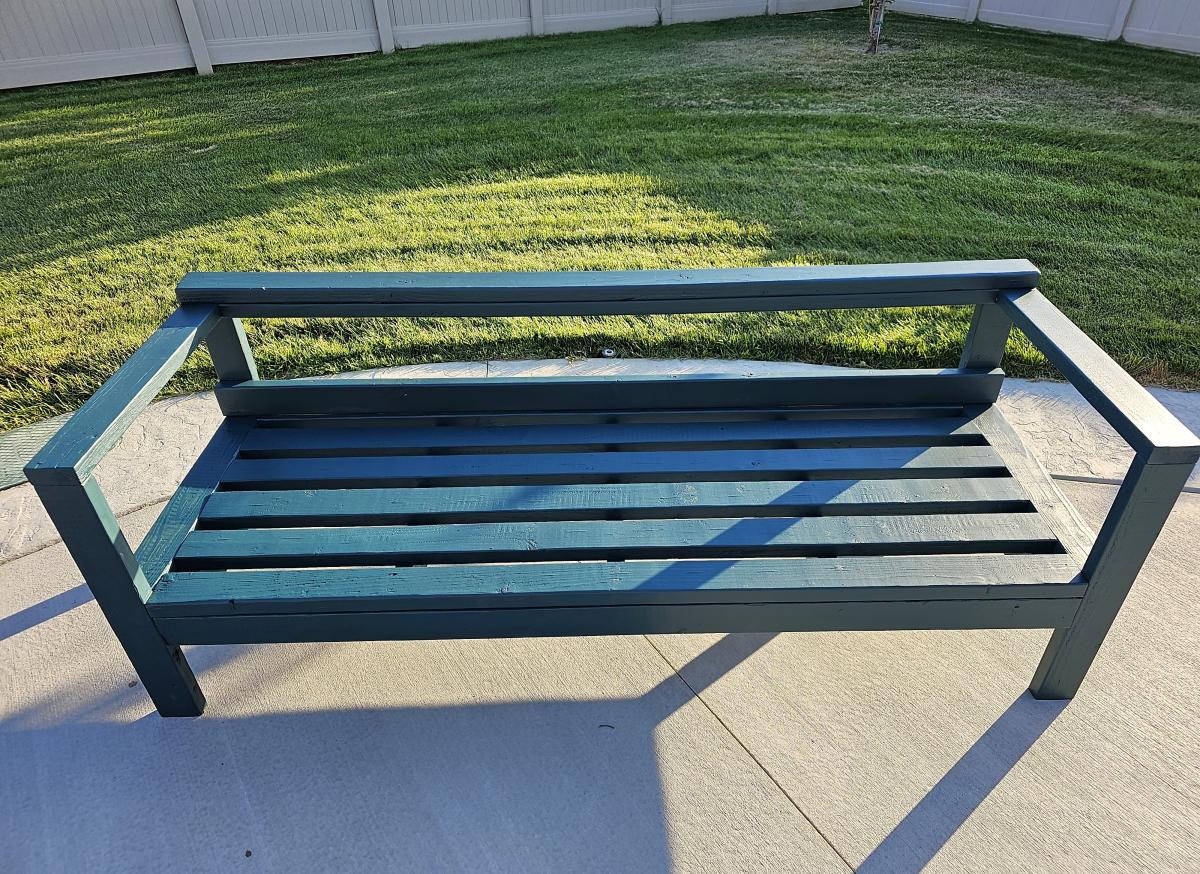
2x4 sofa and Chair. I added a couple pieces to the back of the sofa to stop the cushions from slipping through and another 2x4 to the top for a little more height. Stained a dark teal.
Built from Plan(s)
2x4 sofa and Chair. I added a couple pieces to the back of the sofa to stop the cushions from slipping through and another 2x4 to the top for a little more height. Stained a dark teal.
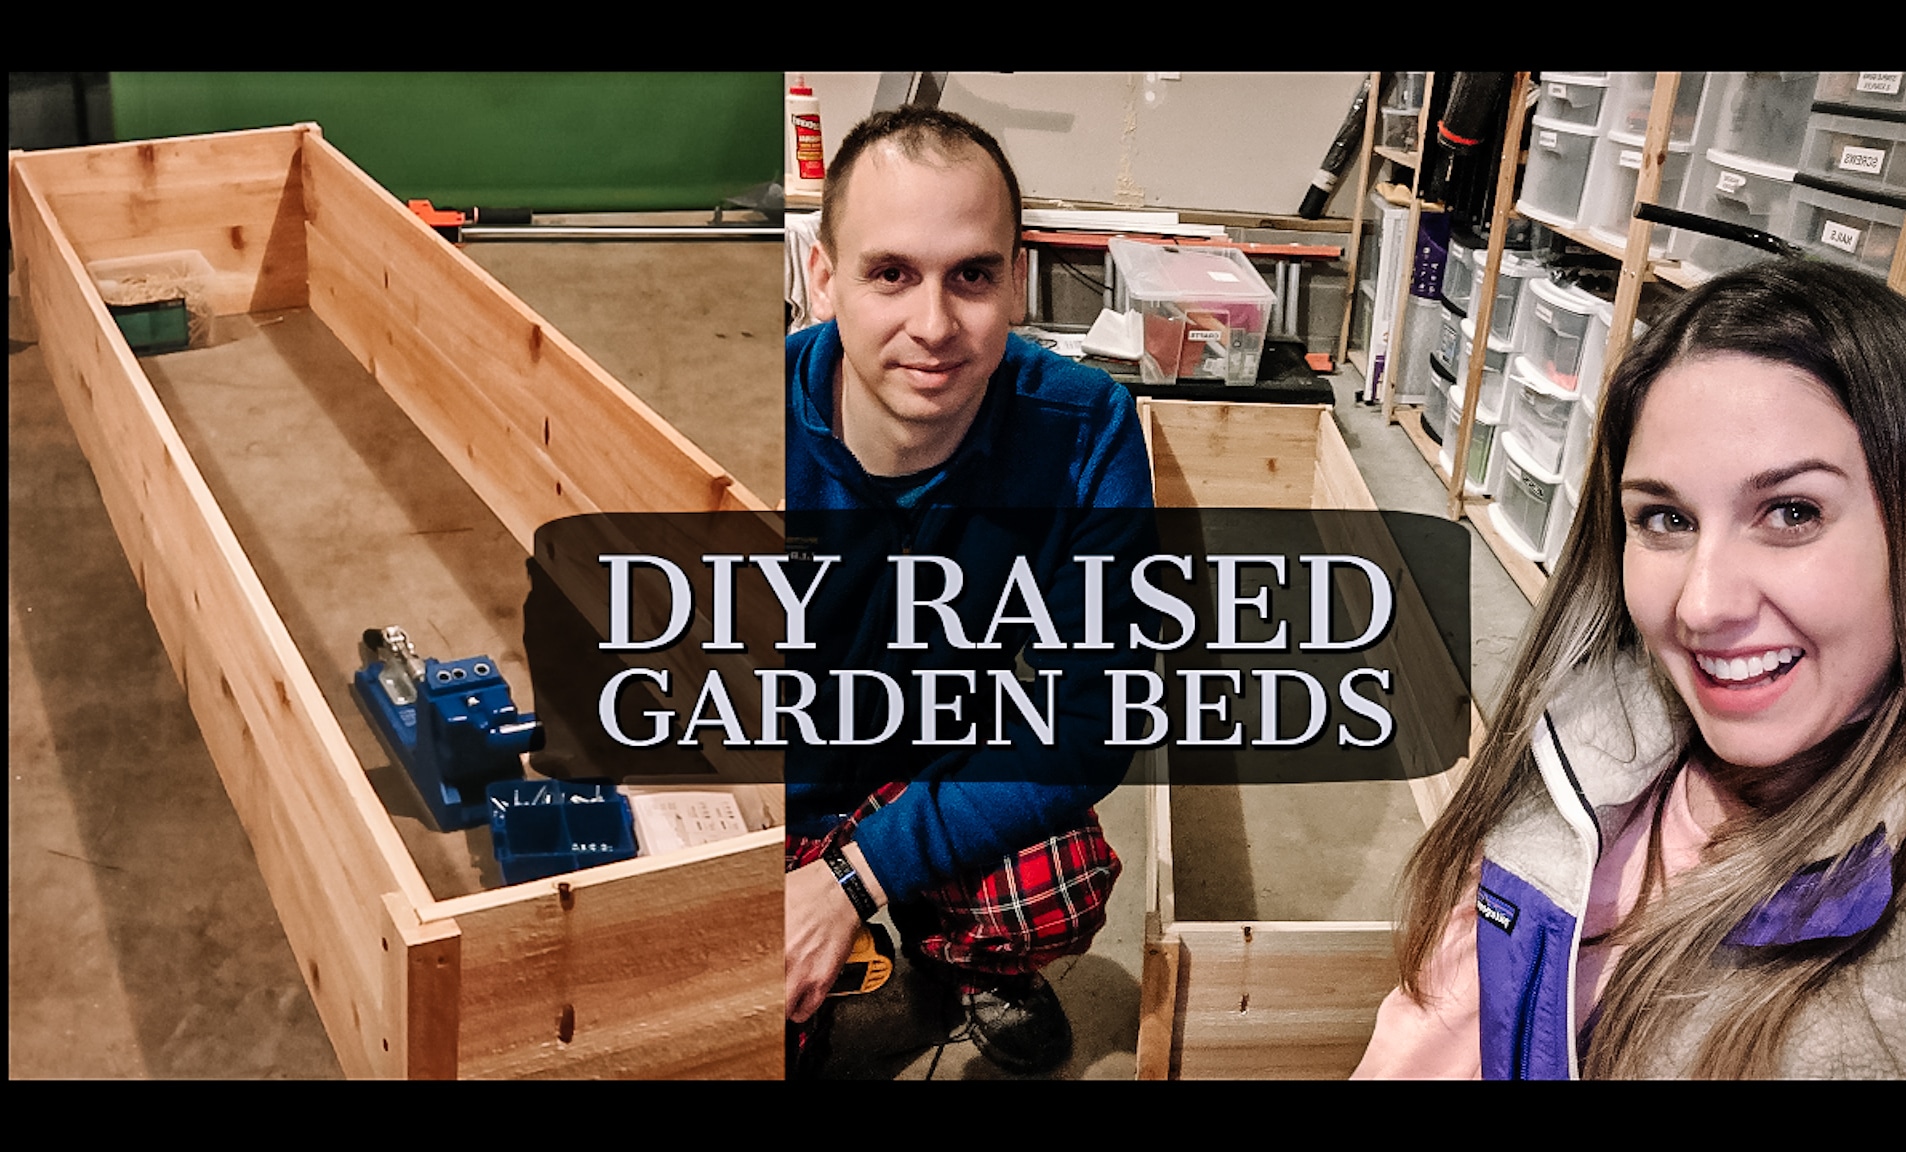
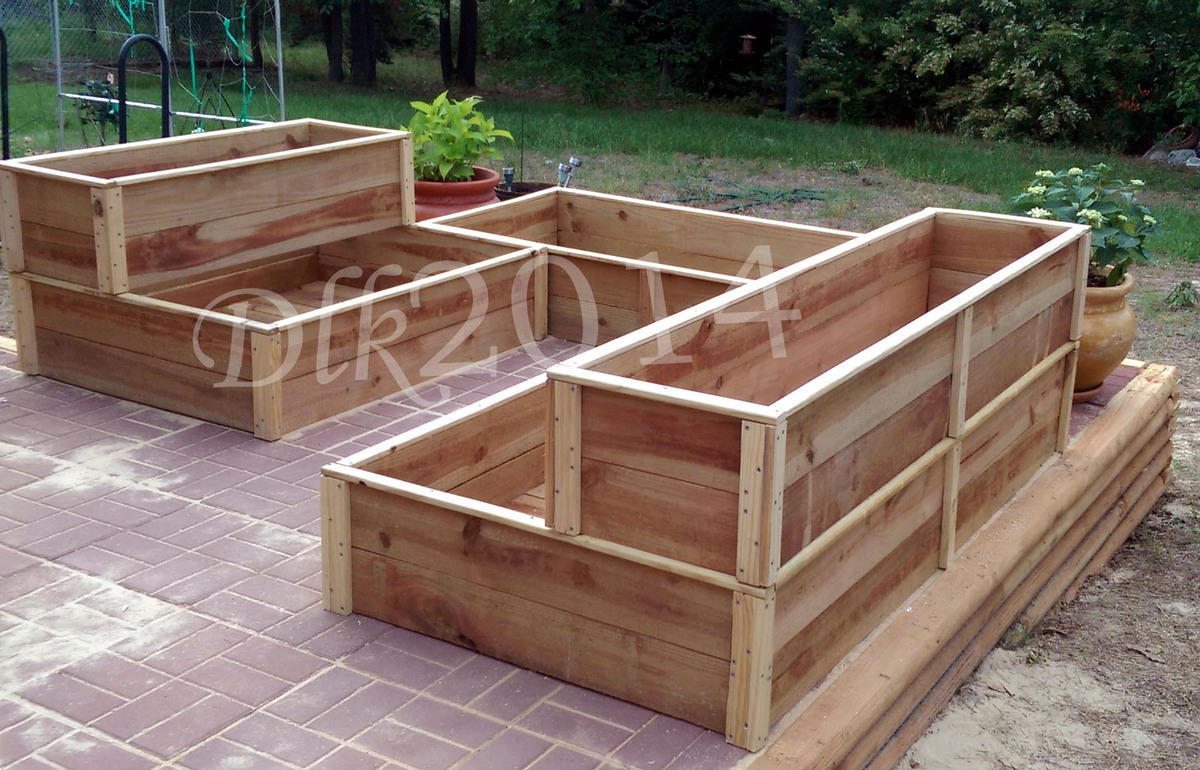
We made two $10 raised beds last weekend and can't wait to get them in the yard!
The cedar fence pickets ended up costing us about $15 per bed with another $15 for screws, so total cost was about $30 per bed.
We found it tricky to do the 1x2 pieces in the order recommended and when we make these again, will form the full box and then add on the 1x2s for support.
We made a YouTube video detailing the process - hope you'll check it out!
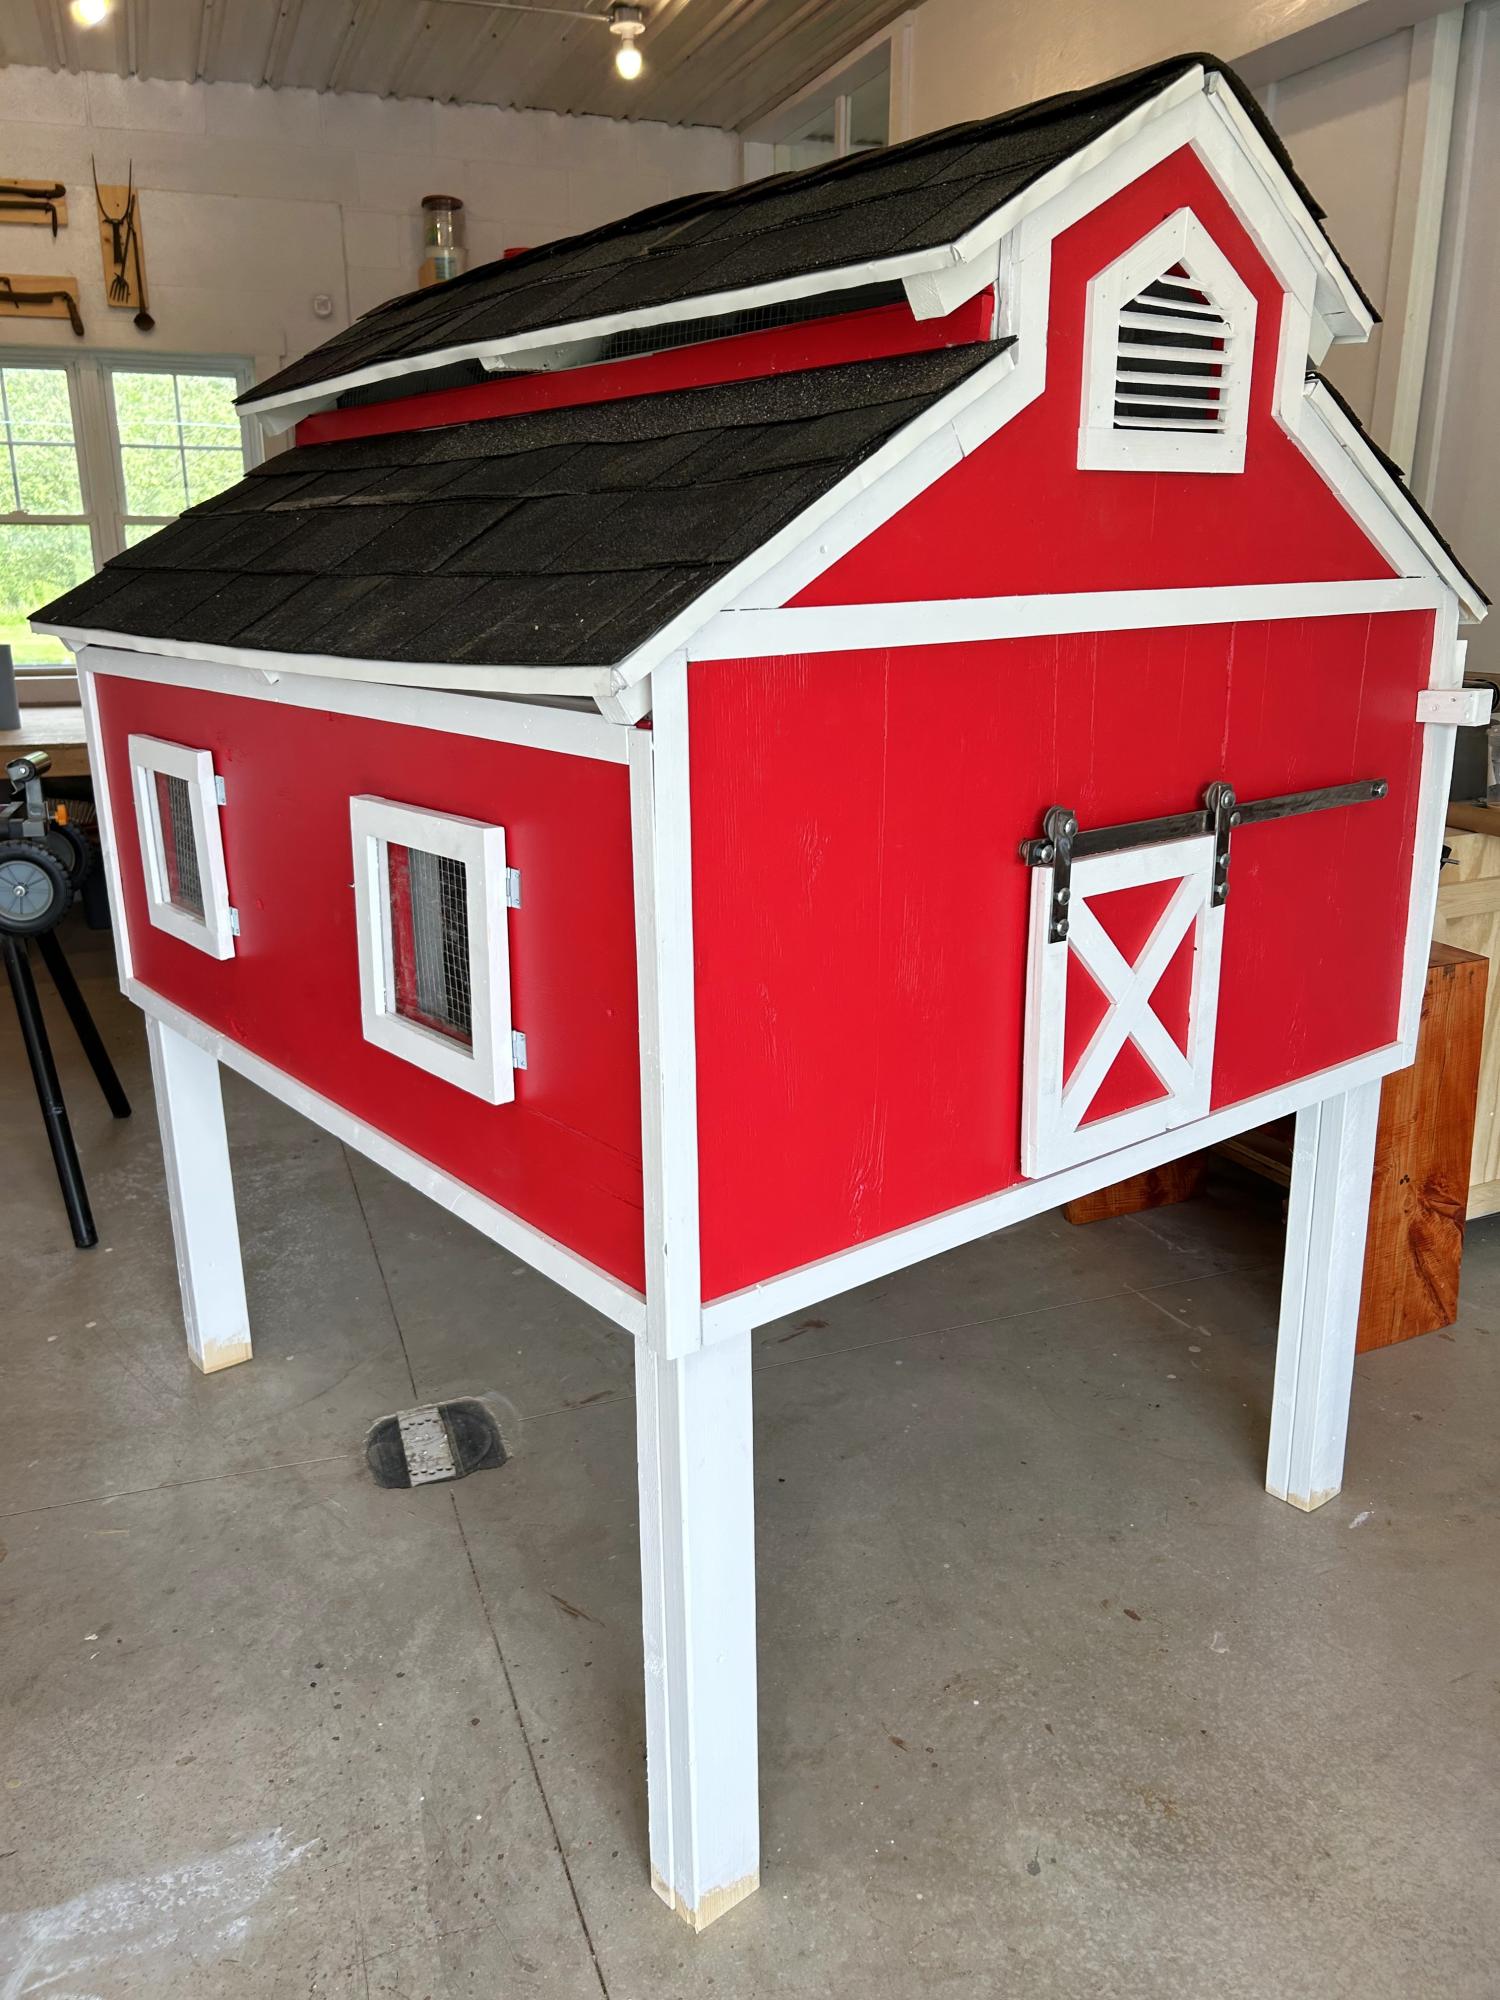
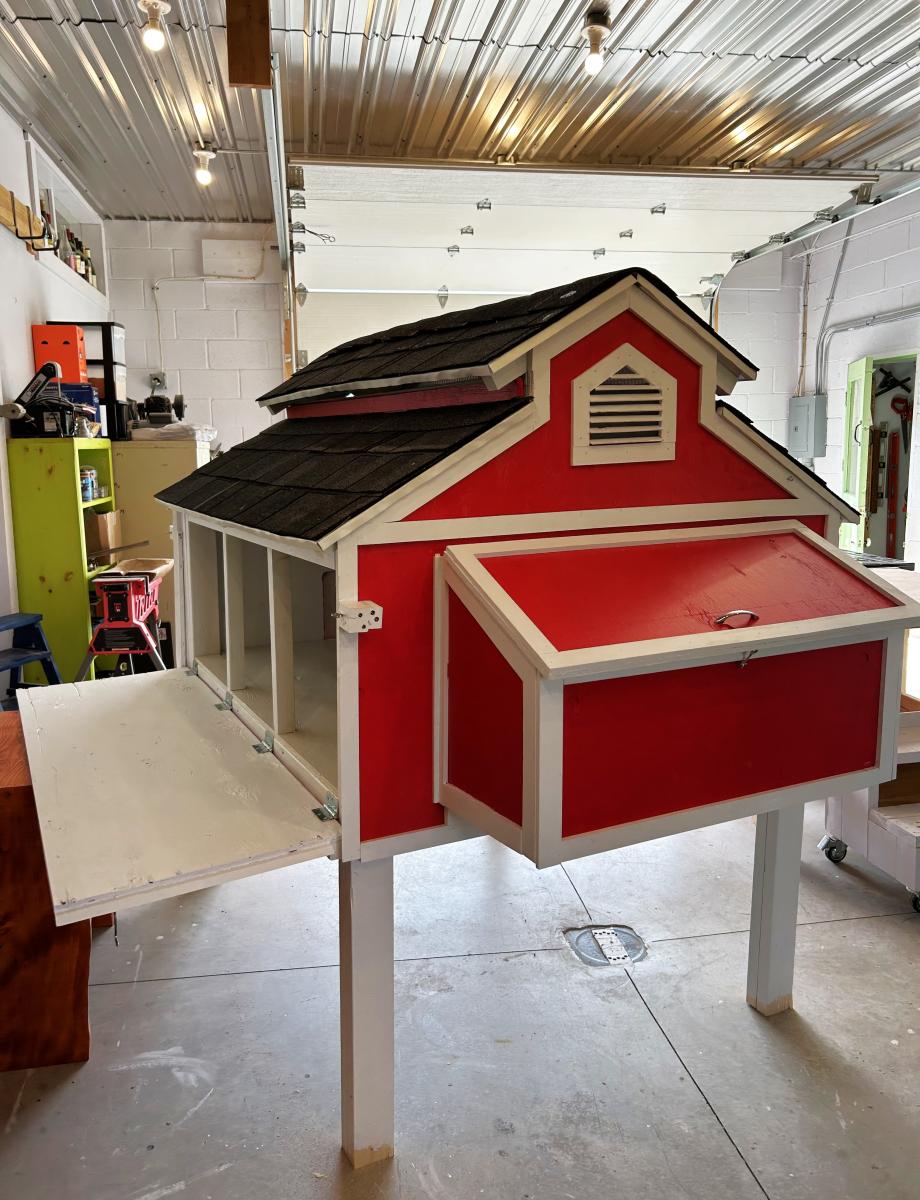
Chicken coop I made to look like a little red barn complete with a working barn door. We have seven girls and they love their lovely barn home.
Sue Laidacker
Really loved these plans and they produced a beautiful product. The only minor change I'd make is to double the number of support slats. Our Casper mattress requires gaps less than 3" between each slat. Thank you for the plans!
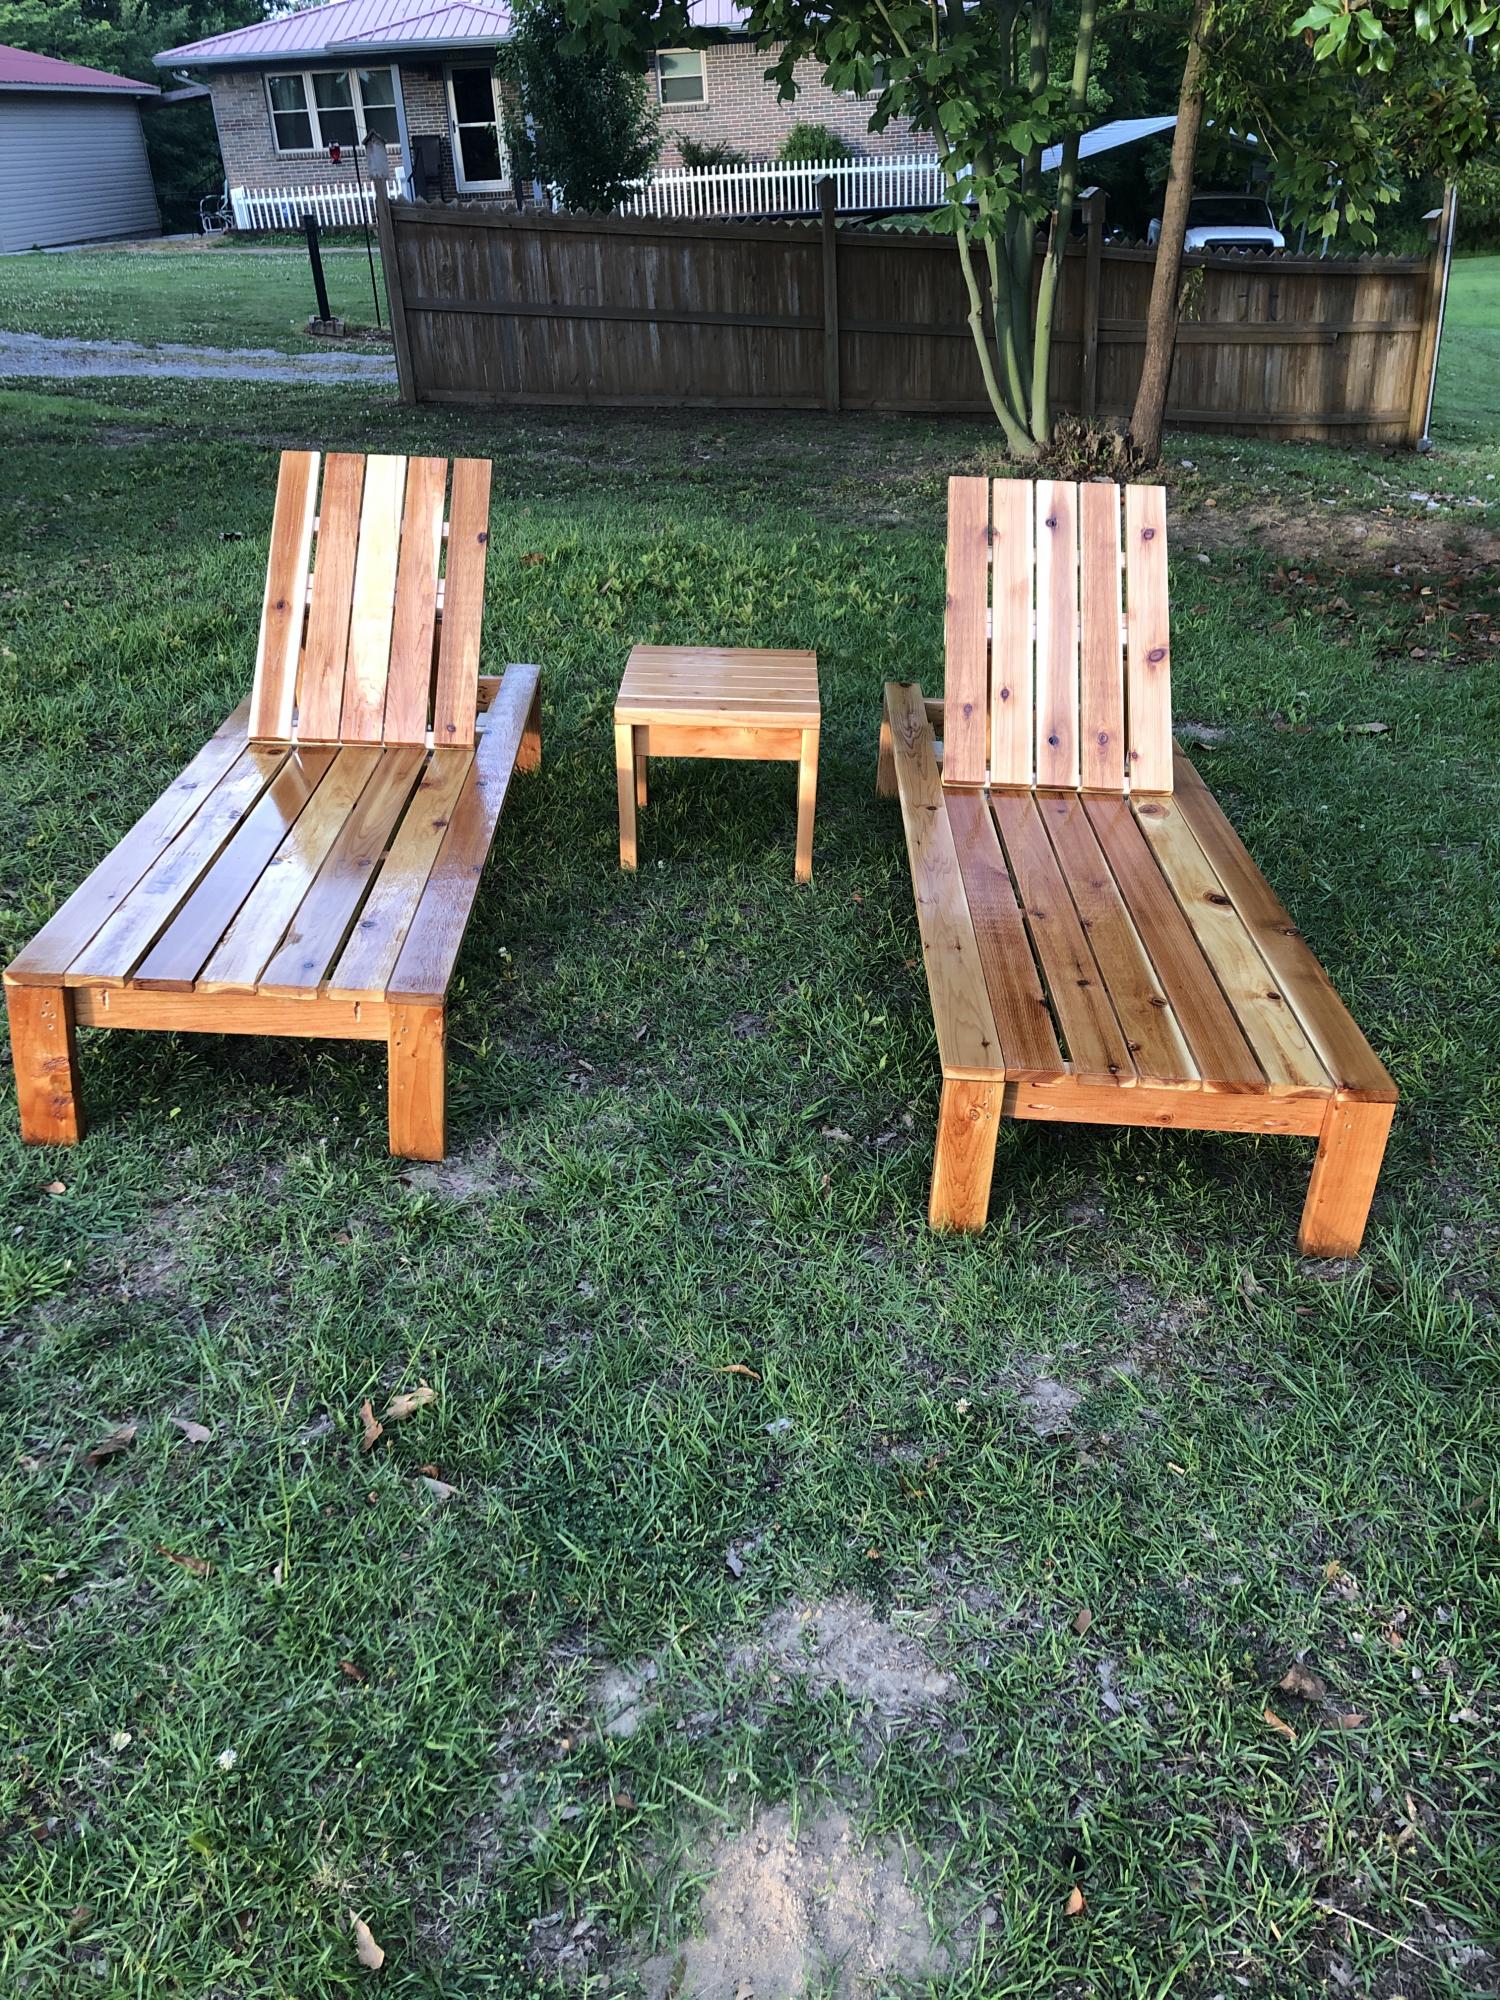
Shortened to 5ft length.
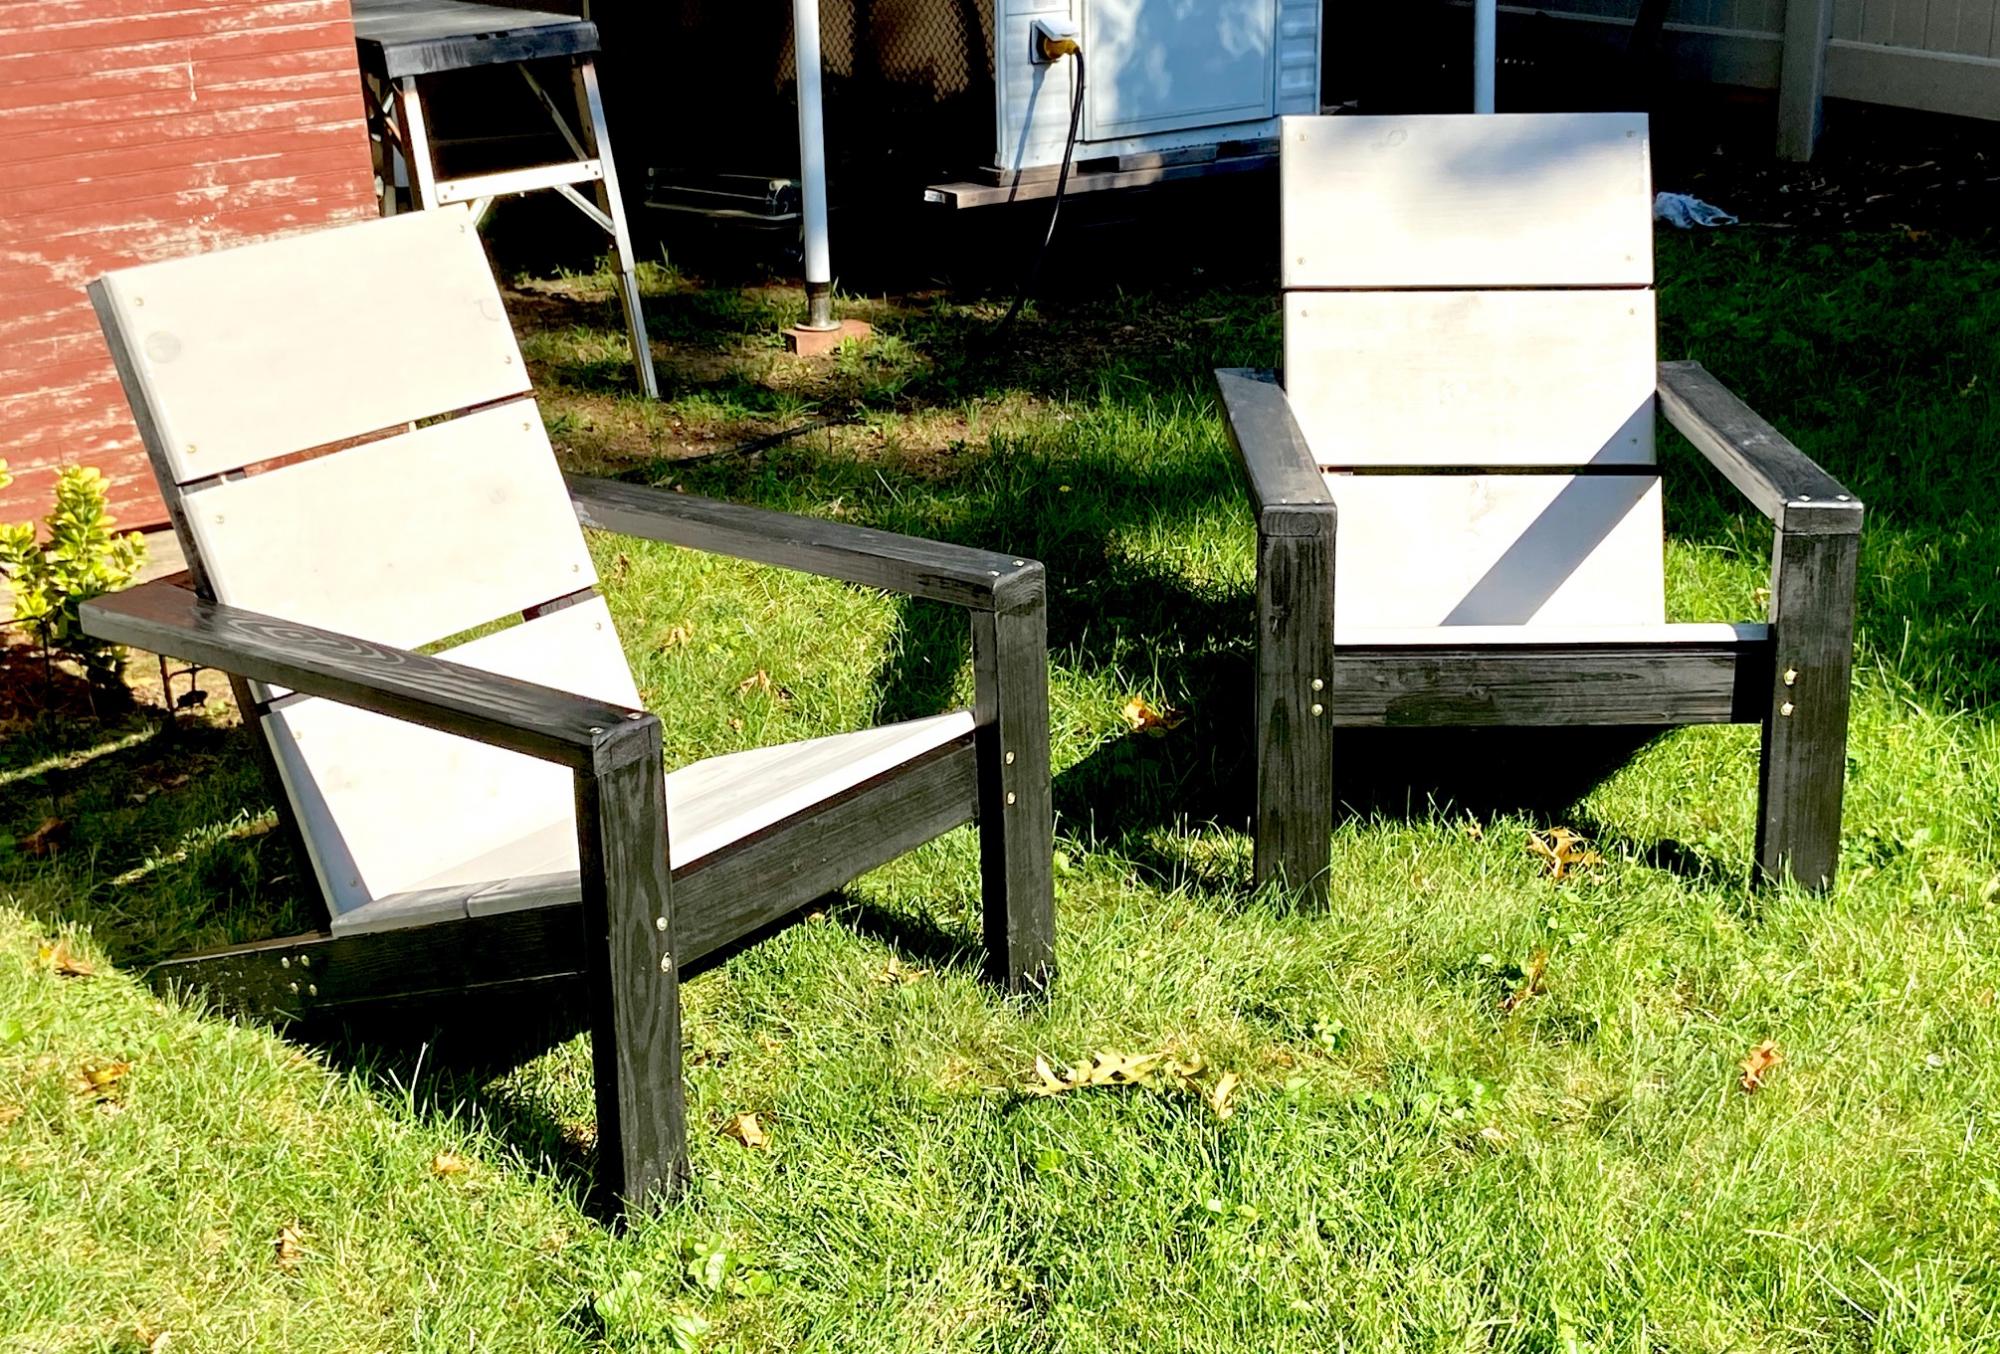
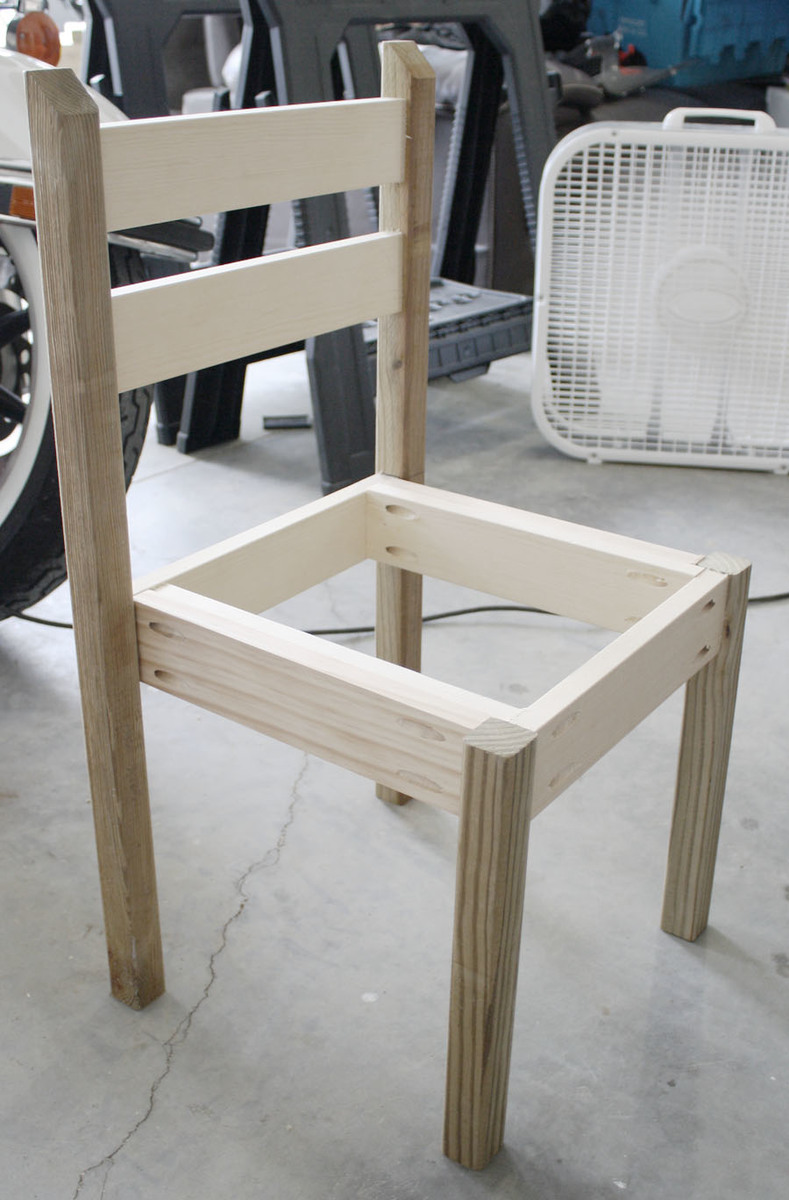
I used a lot of extra screws in the legs for additional supports, and filled all the gaps and screws with wood filler. I also used electric planer on top to flatten surface and then sand, sand, sand.
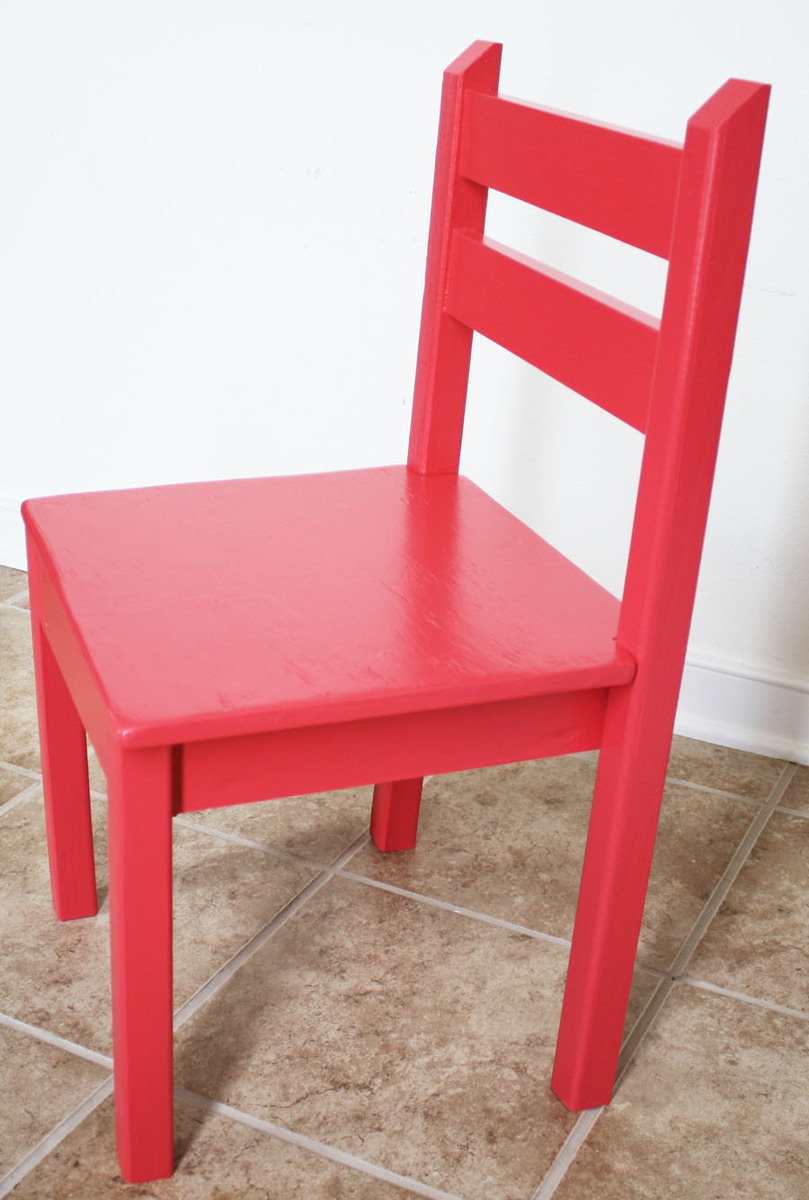
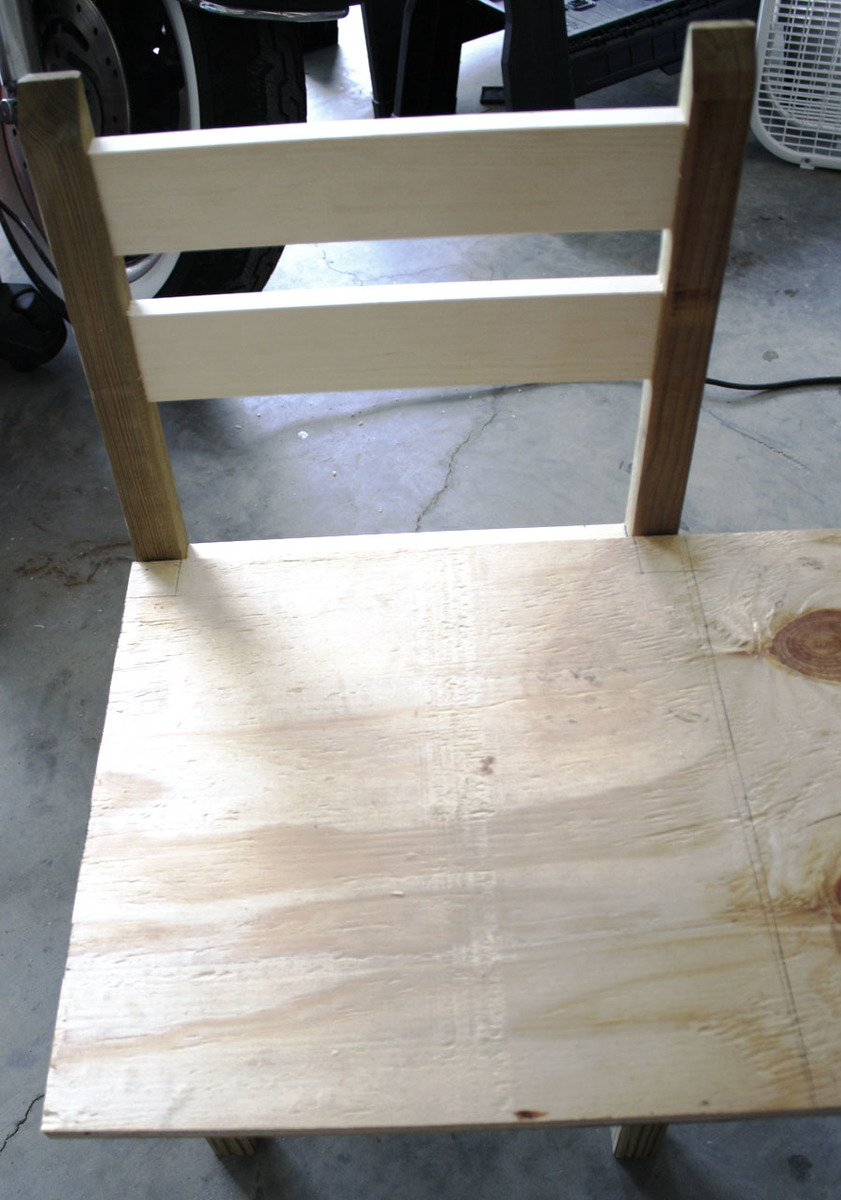
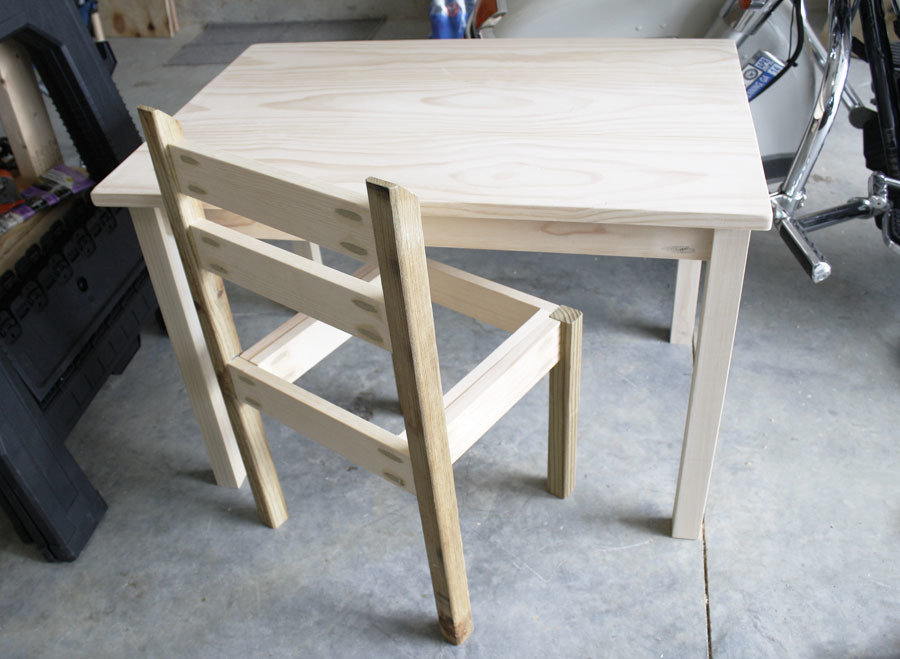
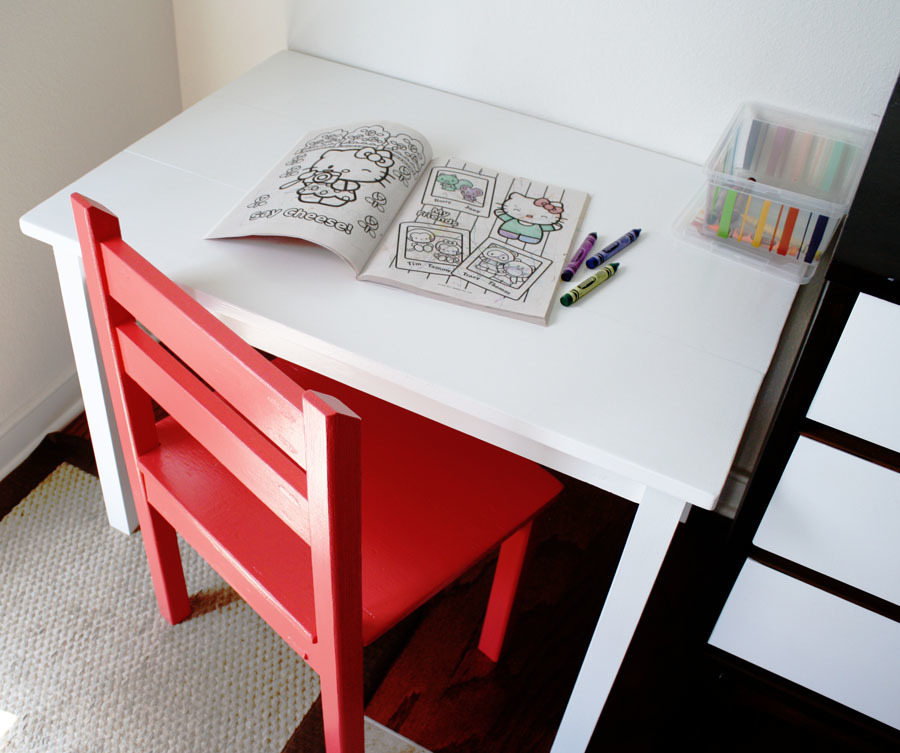
These chairs were easy to build, although I modified Ana's plans a little bit. I opted for solid wood 2x2s for the legs (I wanted it to be sturdier), and a solid seat instead of a slatted one. I notched out the back of the seat so it would fit flush against the back legs. Because of my modifications, my chair was just a couple bucks more.
Also, I was so excited to find solid wood balusters for the chair legs - they're not only better quality, but cheaper than furring strips!
Check out my blog link for a complete play-by-play!

Mon, 07/23/2012 - 08:25
Nice. I like the solid seat. Much easier to keep clean from kid grime.
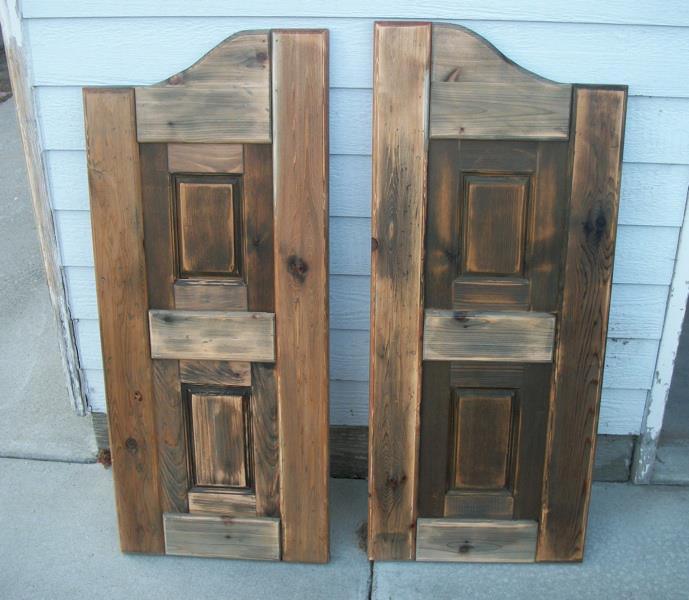
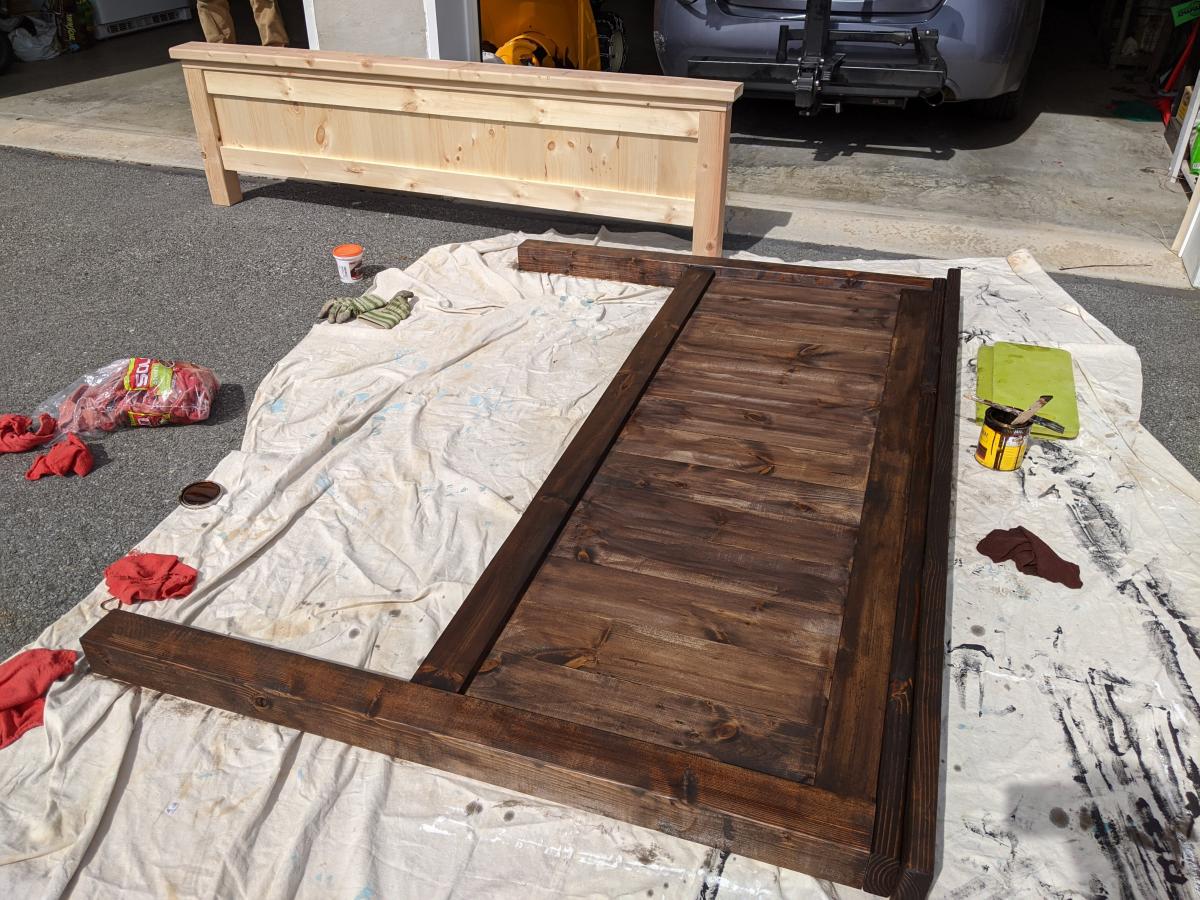
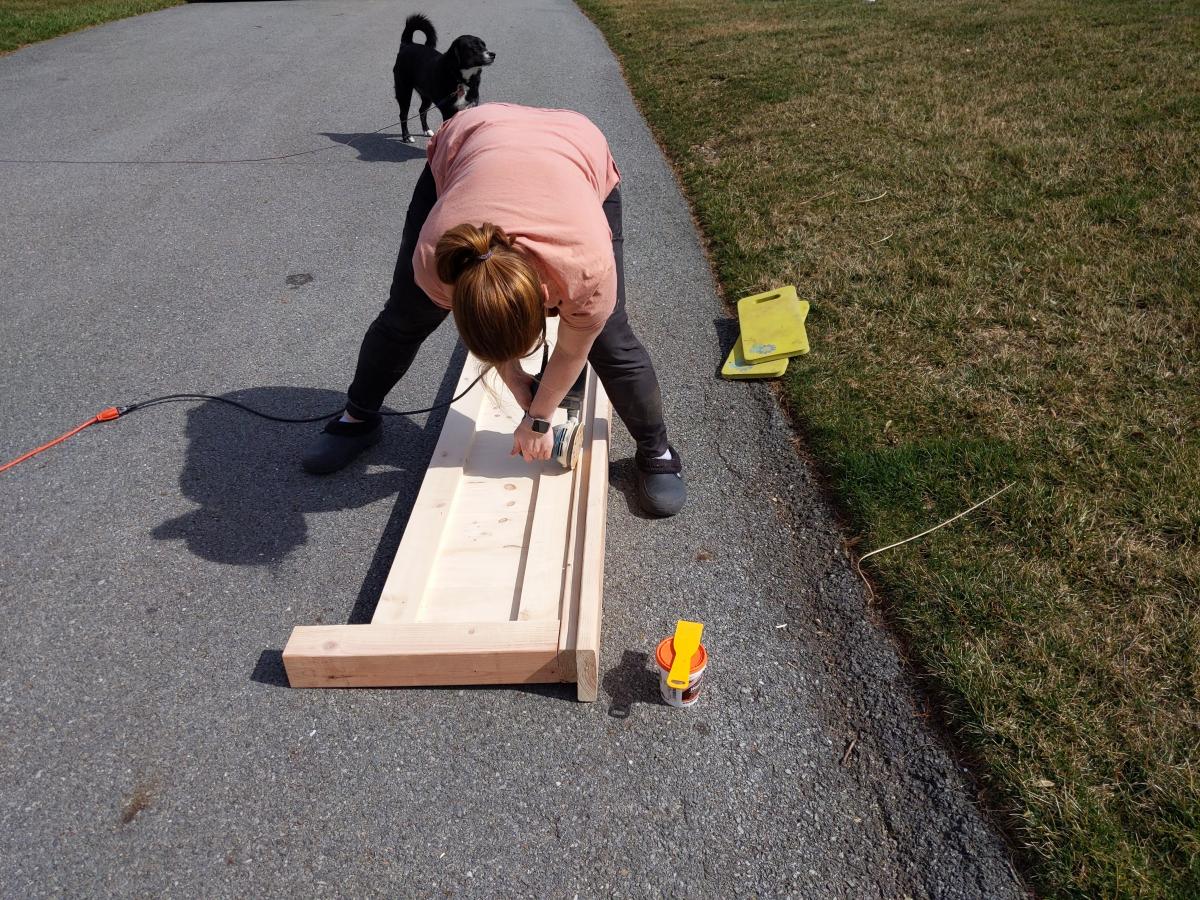
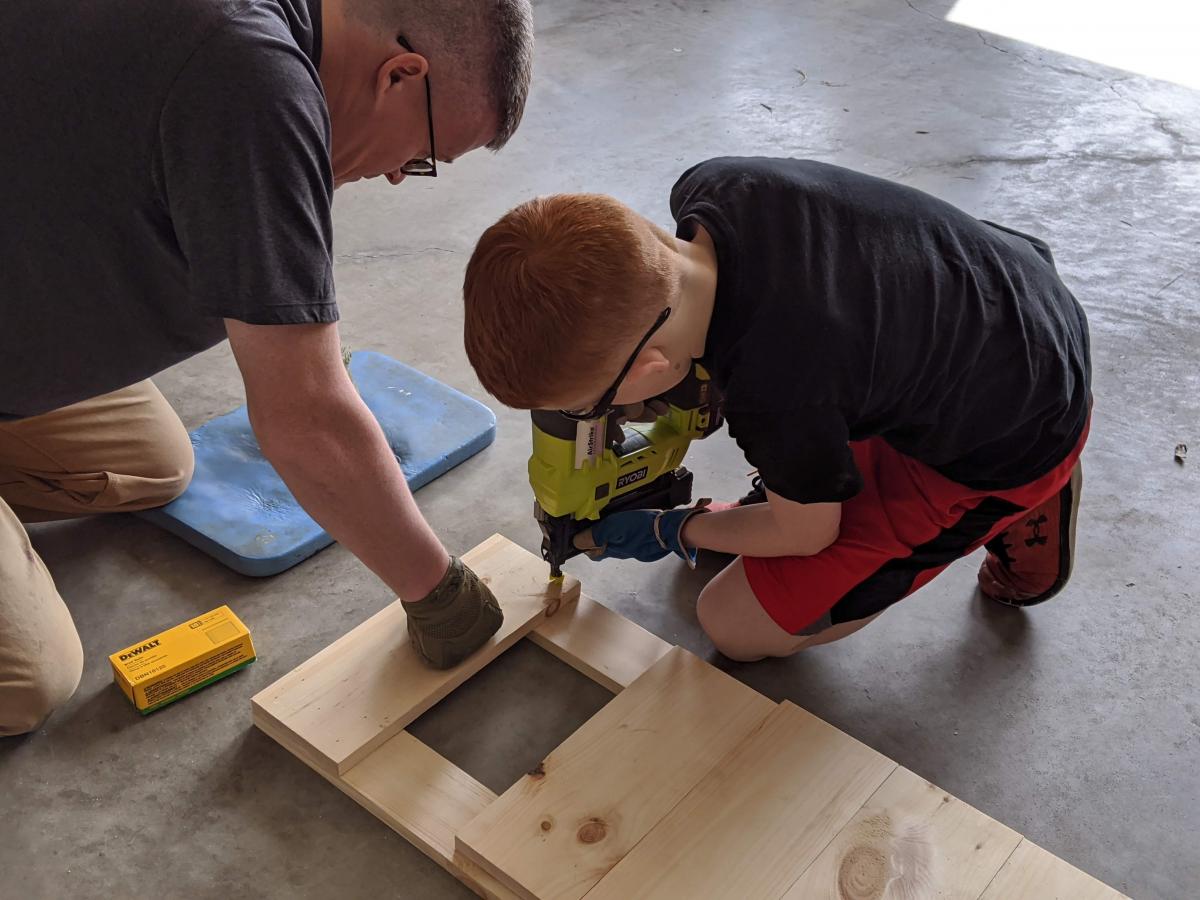
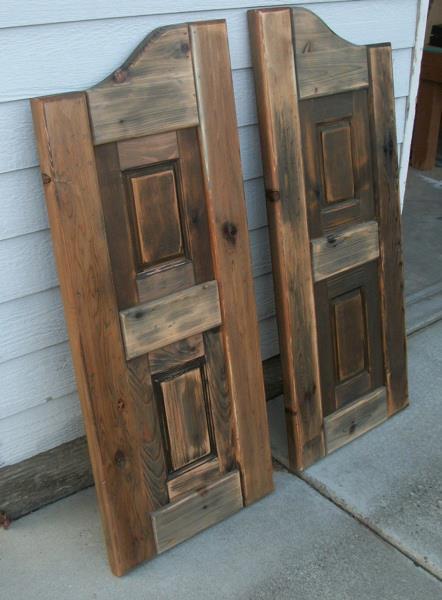
I built these doors for a very good friend of mine who actually helped me get started turning my new love for building (after finding Ana's site) into a way for our family to make some extra money.
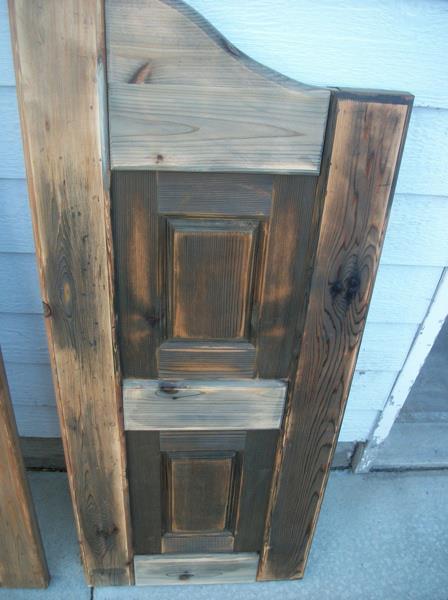
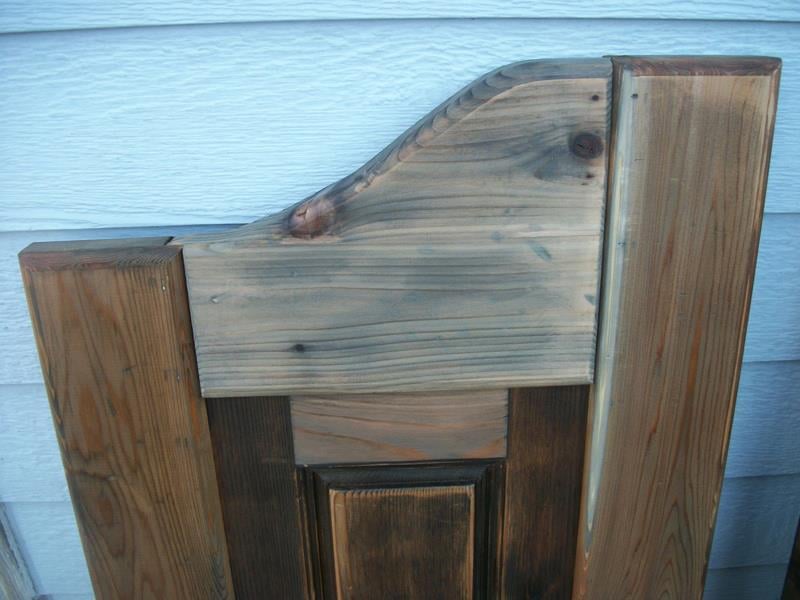
It took me a little while to wrap my brain around building something without using my Kreg Jig. I used a router table set up with some raised panels bits and put the whole thing together with glue and nails! Wonderful experience!
For the finish, I used a vinegar solution to give the cedar wood an old barn look. I think the final result turned out great and the final step was a clear coat sprayed on out of a rattle can.


Thu, 08/02/2012 - 10:51
These turned out great! I haven't seen this style of door in forever! They used to be really popular, I remember my Aunt and Uncle having these in the entry to their kitchen. They were the coolest thing ever when I was a kid! Maybe they are a making a comeback?
I'm really impressed with your routing skills, that's a task I have yet to tackle, but I've got the bits laying around waiting.
Nice job!

Thu, 08/02/2012 - 21:10
Thanks a bunch! My friend is replacing an old set of louvered doors that went into her laundry room. Her family are farmers and rodeo people so the western decor really fits in their house. Great western stuff there. They made a chandelier out of a wagon wheel! Really cool!
This was my first attempt at routing so I really appreciate your compliment! It's really simple if you can get the basics of it. I'm sure you'll do just fine when you get to that point. If I can do it, anyone can do it! Thanks again!!
Mon, 01/23/2017 - 09:32
I really want to try and build this for a closet. Are there any instructions for this? This is the first door of this style that I have come across that I absolutely love.
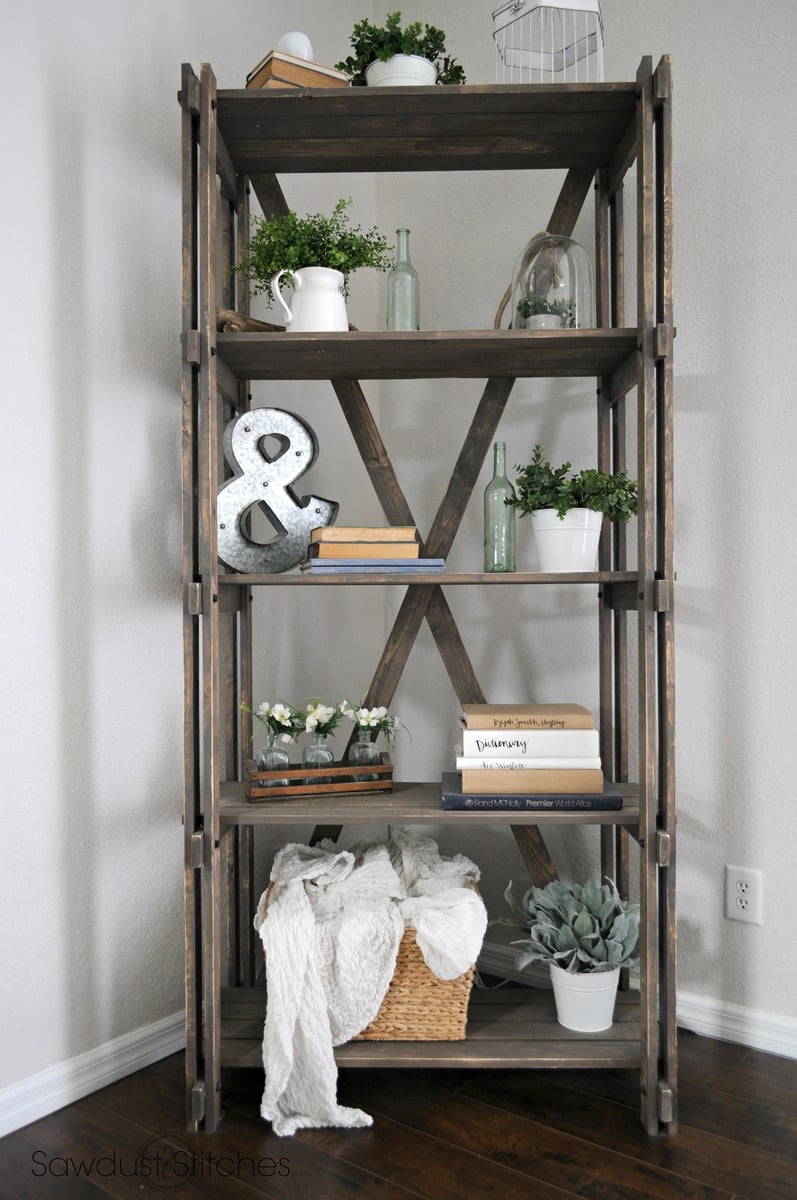
Awesome rustic book case that was inspired by an Arhaus table. It is a fun twist on a traditional book shelf with tons of character!
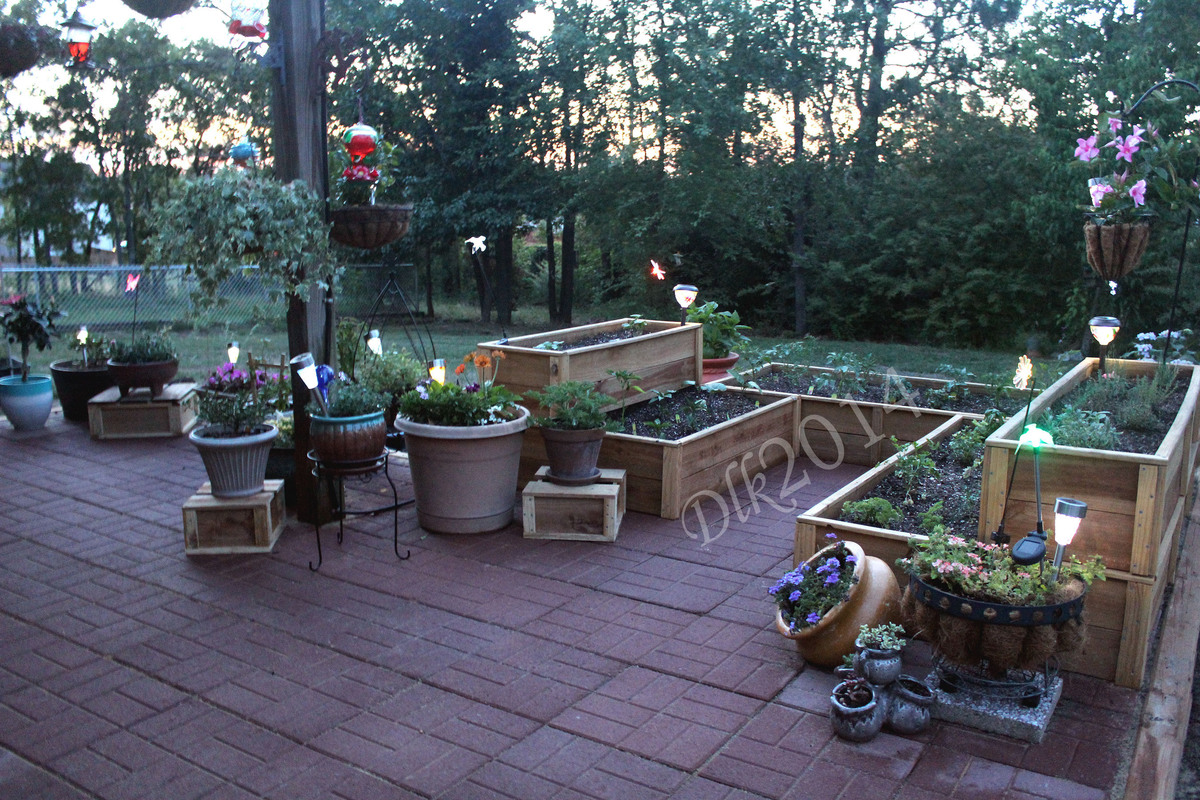
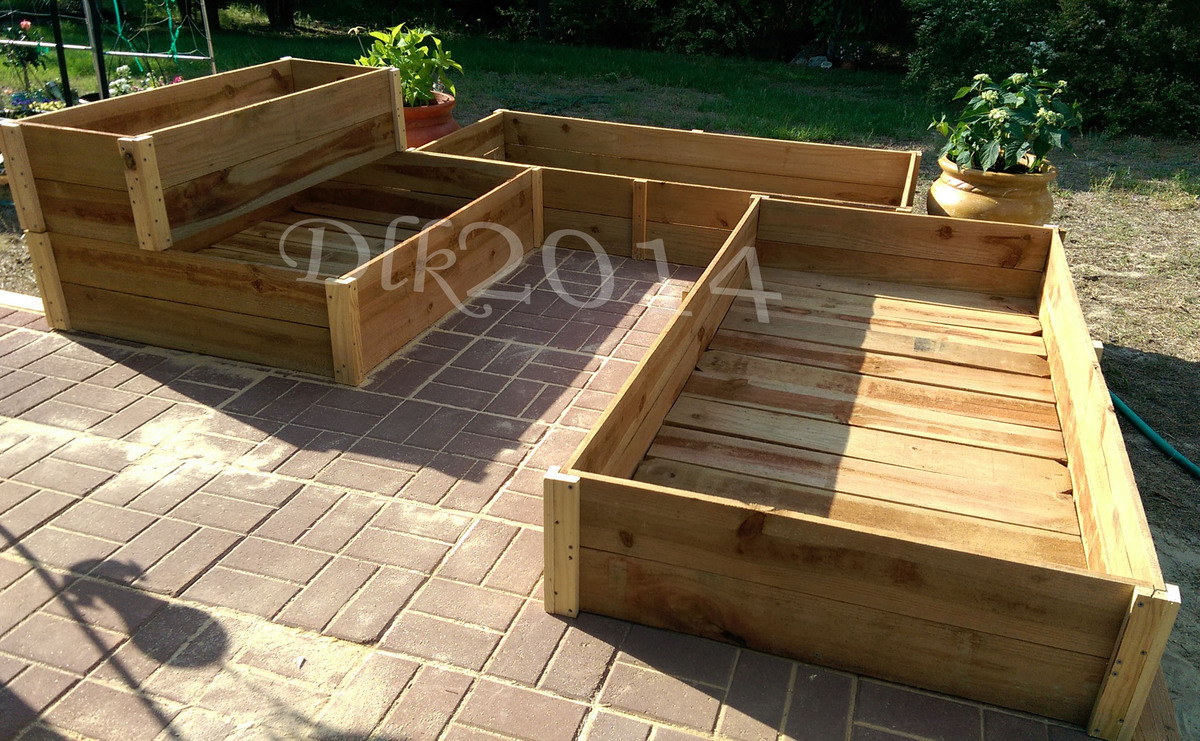
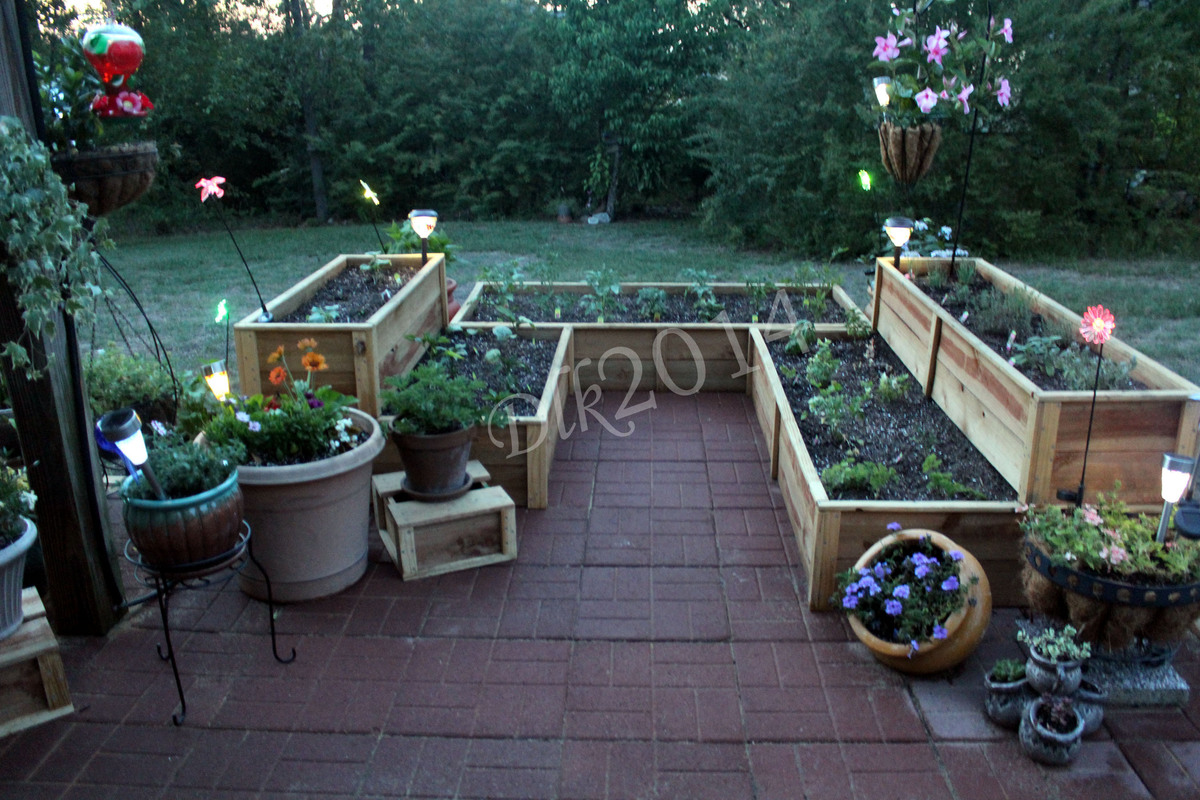
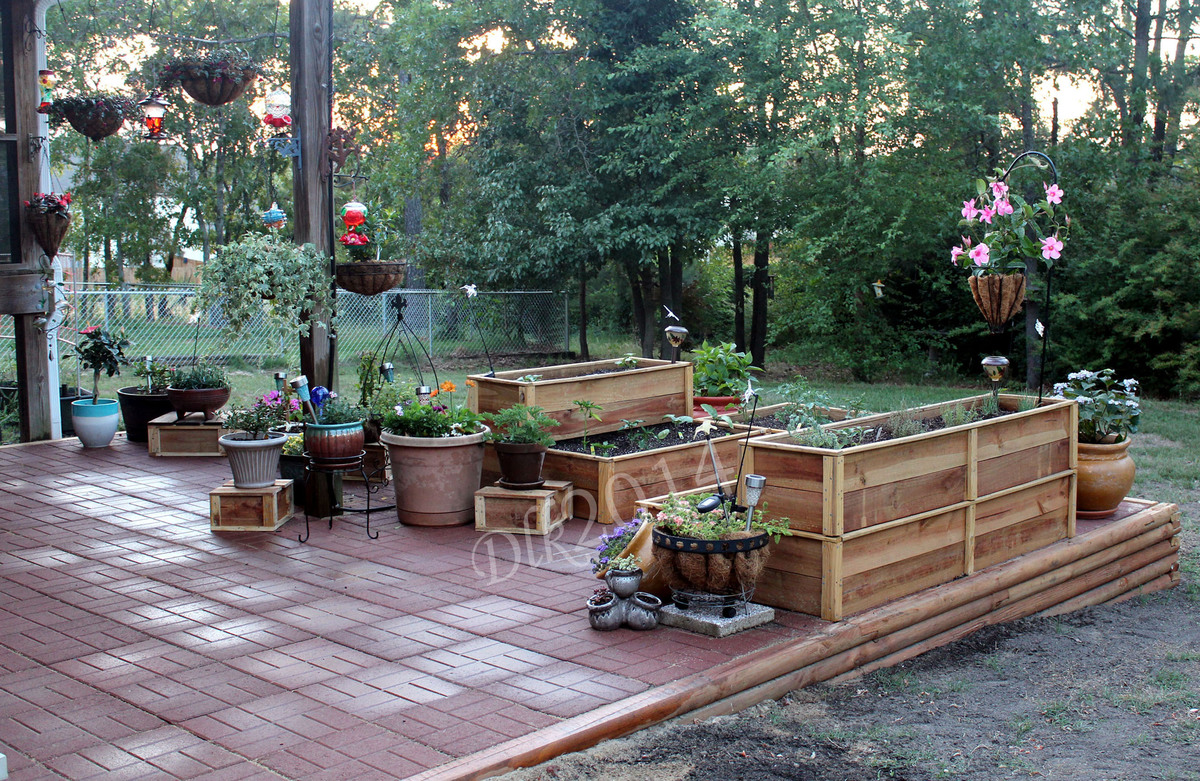
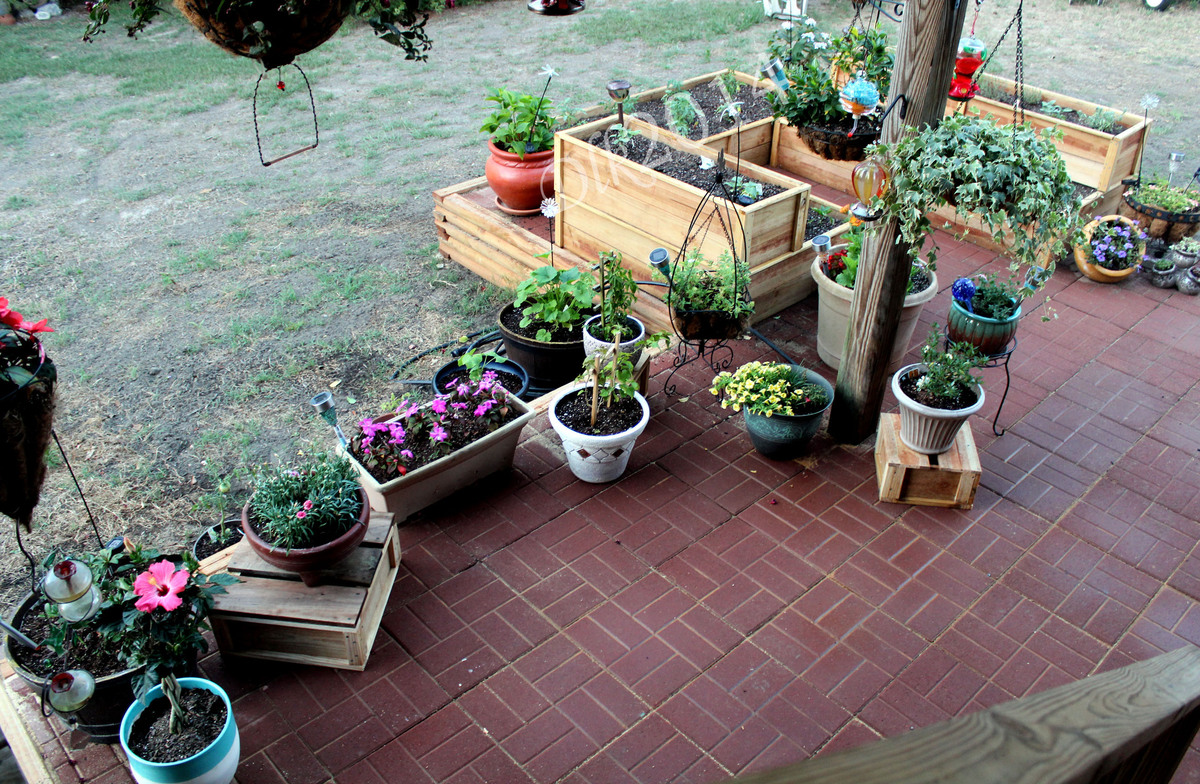
I used the basic Raised cedar garden bed plans with a few alterations. I made them different sizes, stacked one on top of the other for some dimension in my garden and secured them together from in inside.
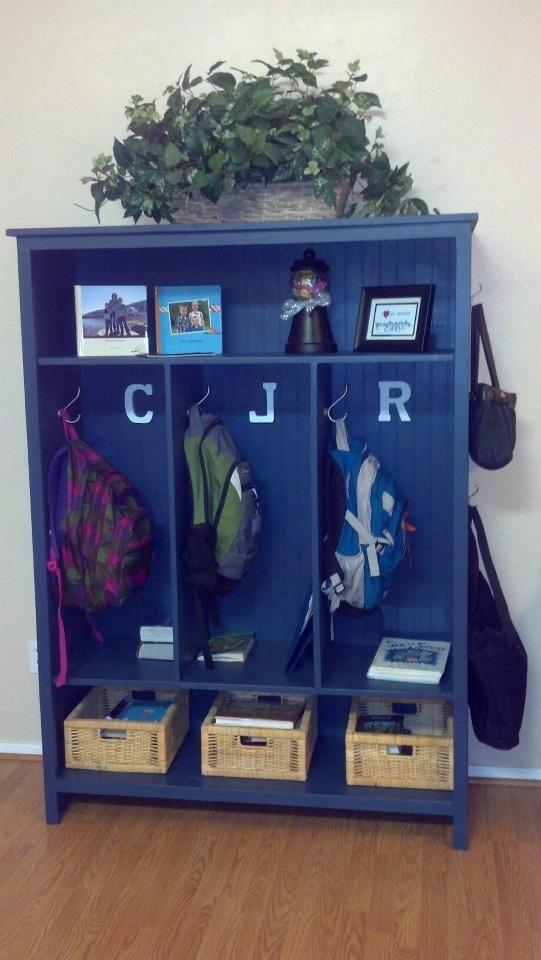
Thank you so much, Ana, for posting these plans. My husband built the storage locker in a few hours last Saturday. Our only modification was to use beadboard for the backing instead of plywood, and to switch out the 1x12's for 1x16 project panels to add depth so the backpacks will fit. I love how it turned out and now there is no more tripping over backpacks! I can't wait for our next project.
This is a realtively easy build. Simply follow the instructions and it will come together beautifully. I have down a couple of these so far and this one was actually narrower than the plans called for. The lady I built them for wanted the center section to match her cushion width as closely as possible so I simply used one less cedar 1x4. It turned our perfectly.
I have found most of the plans I have built from this site are pretty simple and most of my time has been spent on the finish.
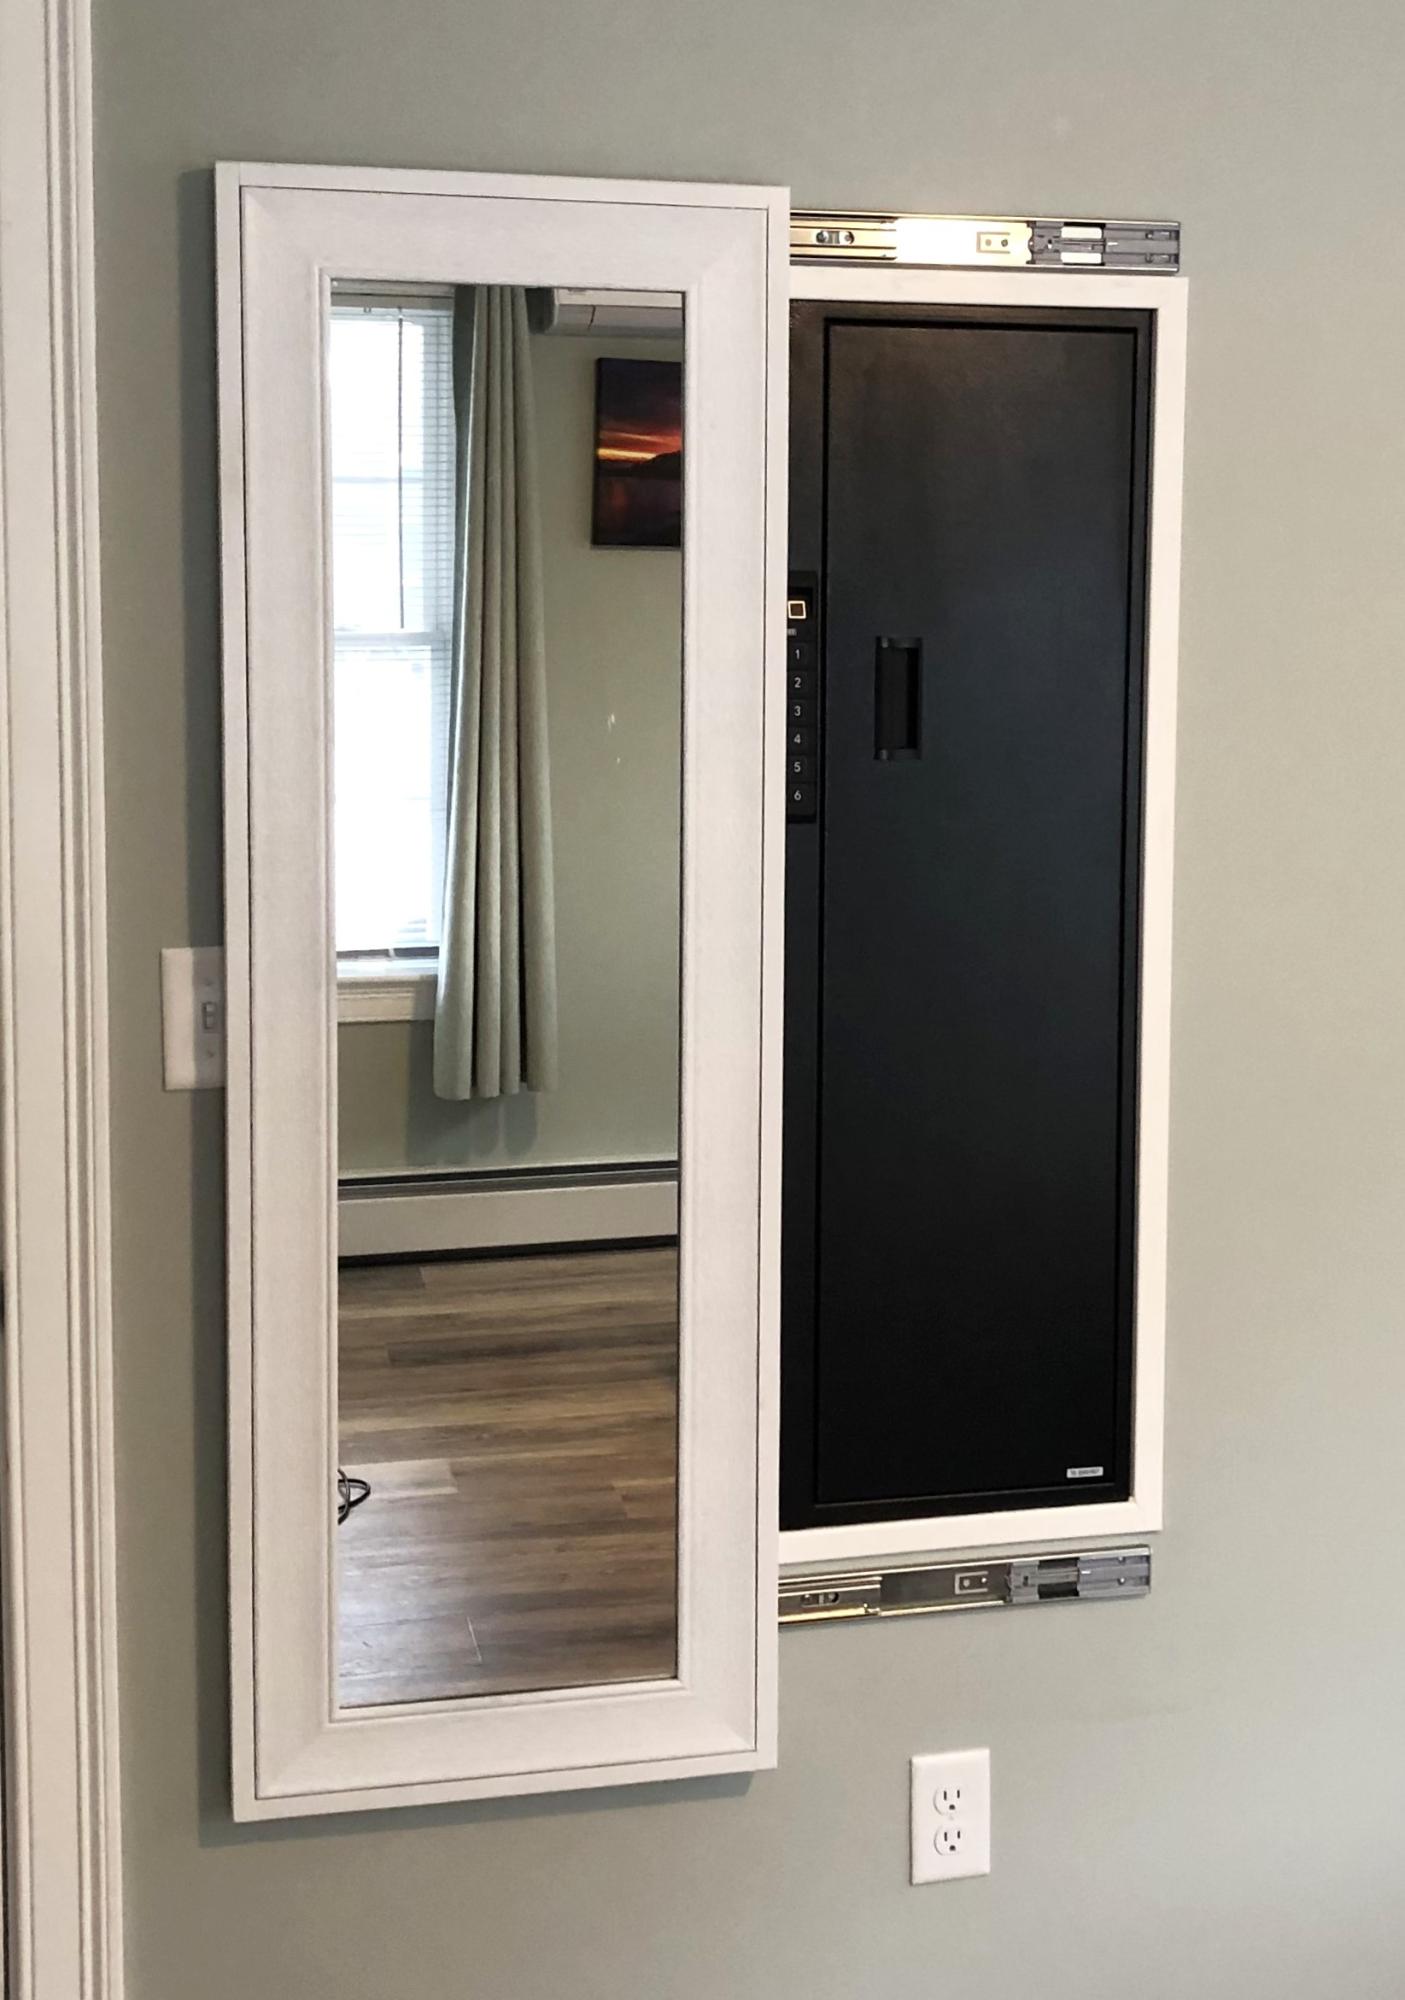
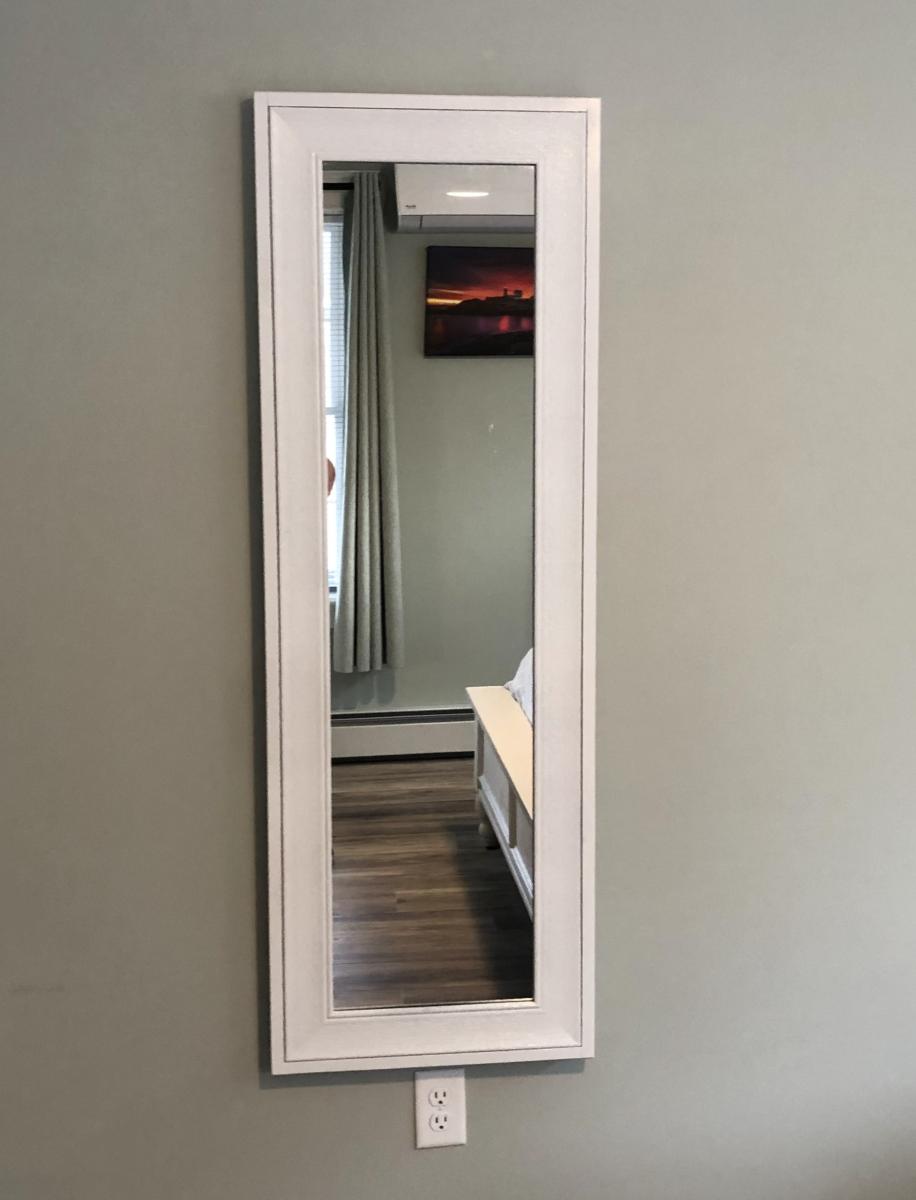
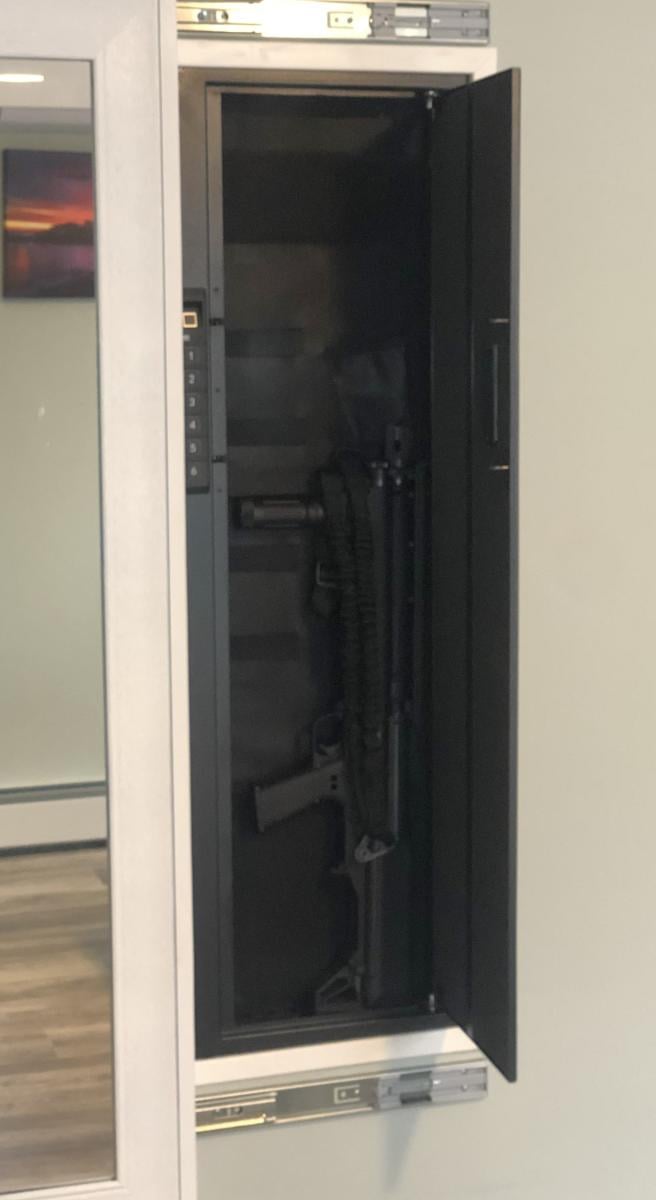
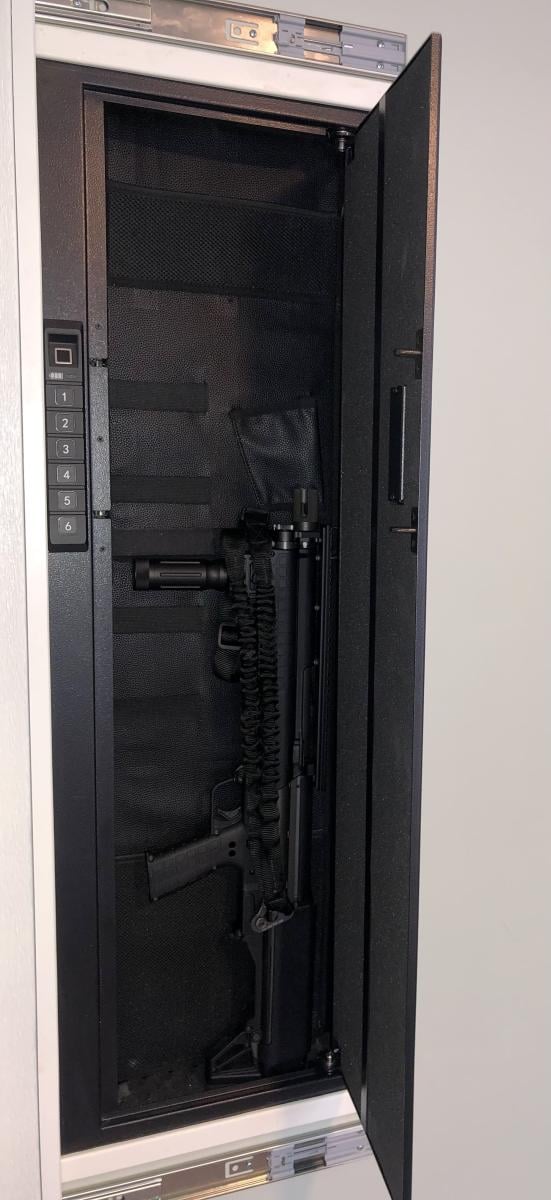
I used your frame idea to install a hidden wall safe for valuables and firearms.
Bill Devereaux

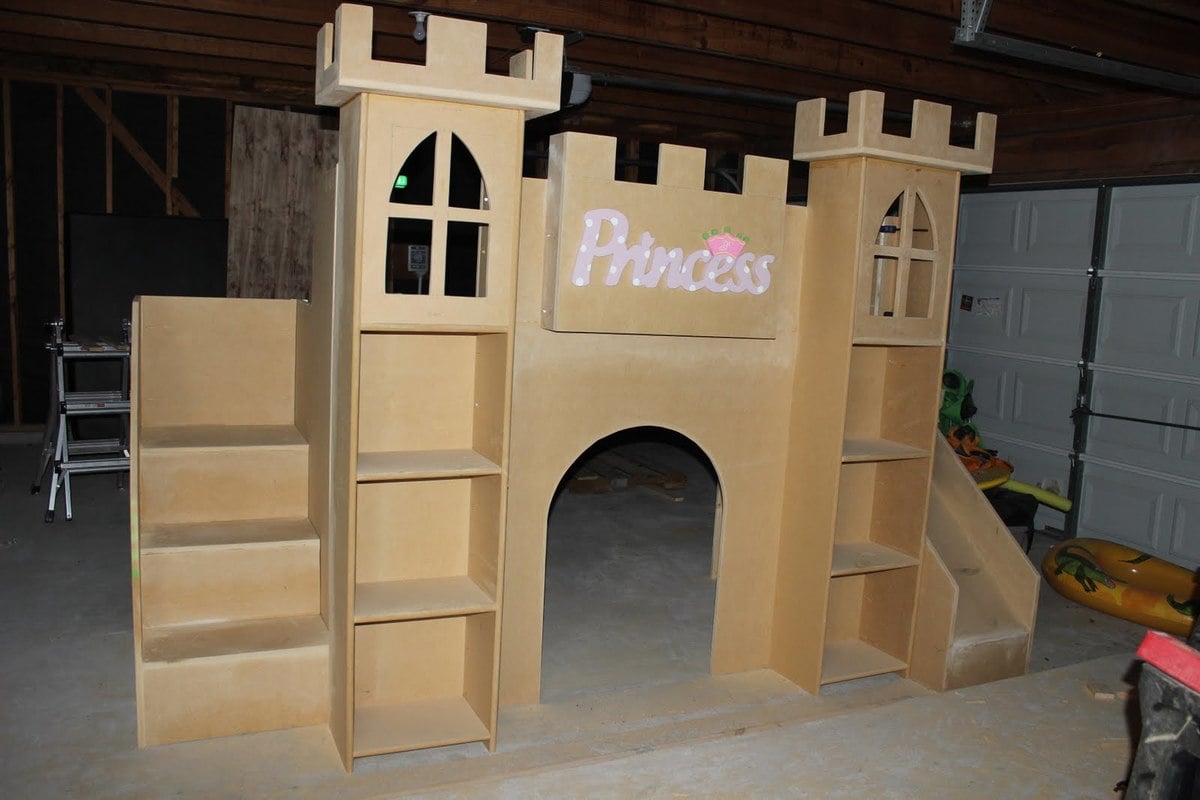
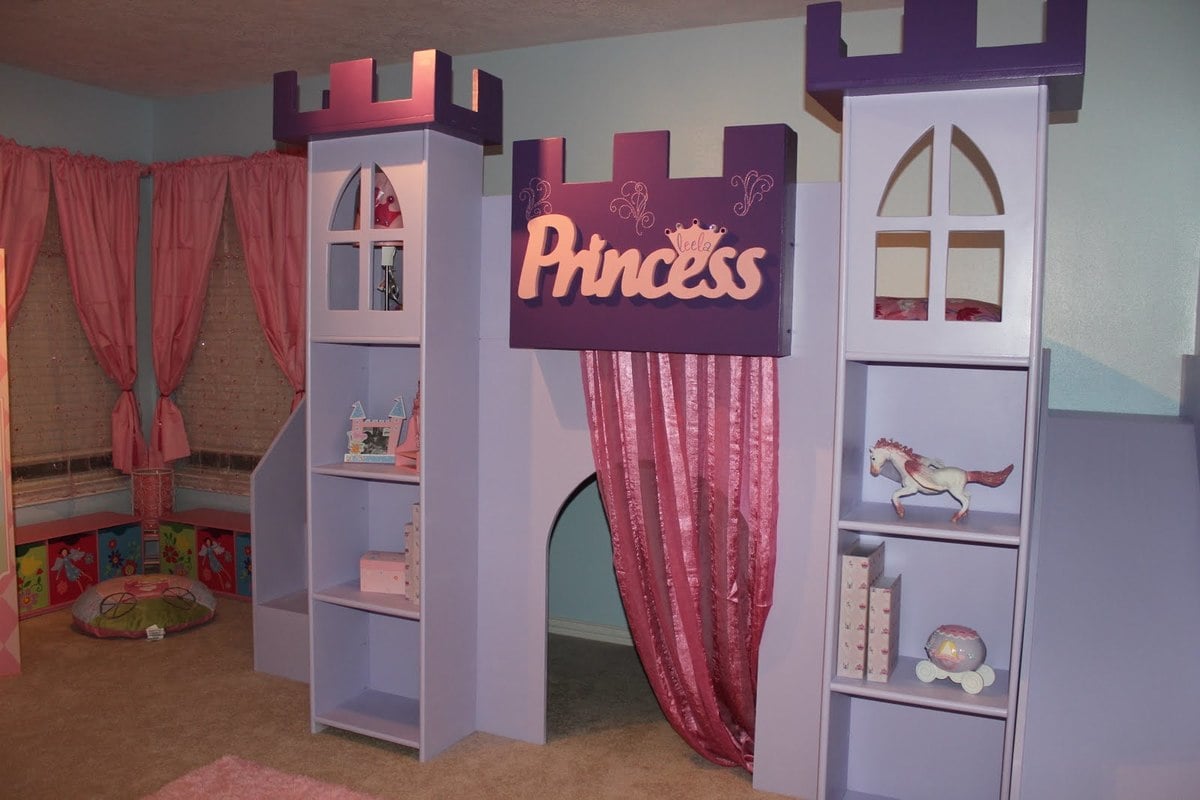
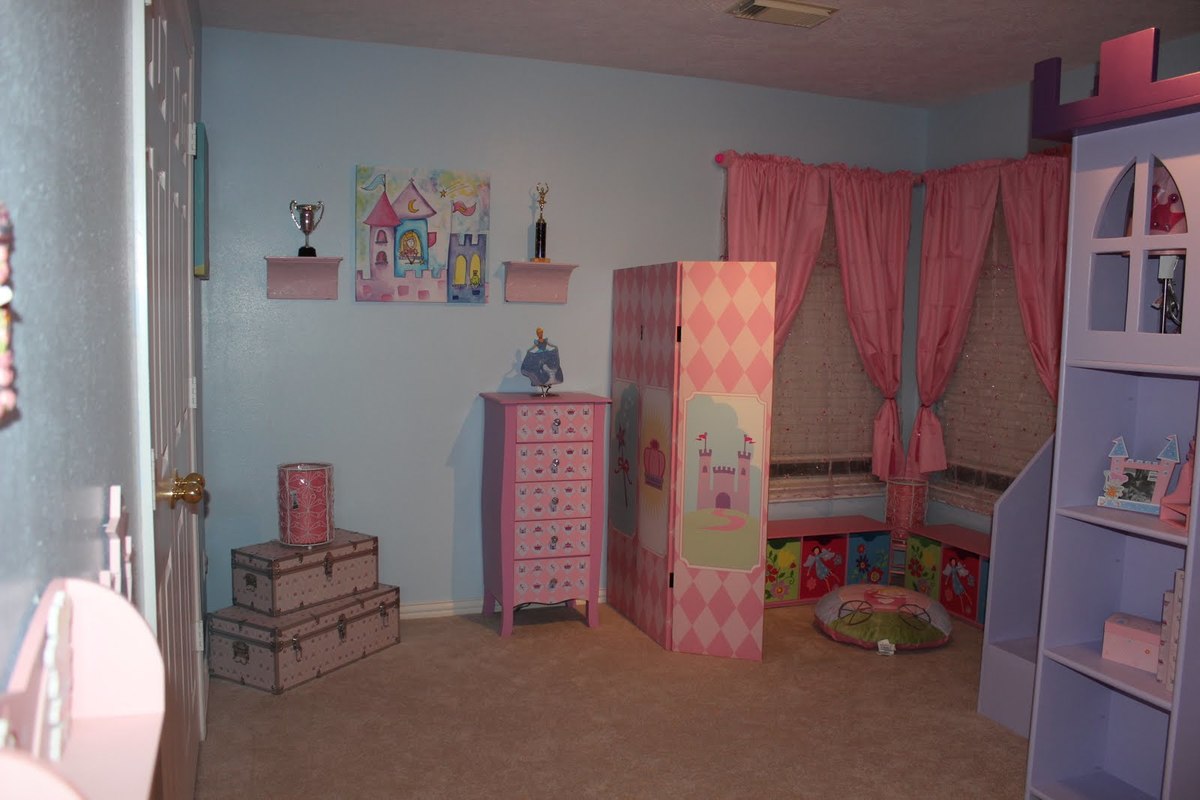
Thanks to Ana White and fsmumford, I was inspired to create a castle bed for my princess. It was a lot of hard work but it paid off seeing her going up the stairs and down the slide a million times the 1st day!


Wed, 01/13/2016 - 05:12
I am looking for the plans for this bed as well.
Have you had any luck finding them?

Thu, 11/26/2015 - 15:49
Thanks so much for being so generous with your plans. I just had my first granddaughter and you've given me so many options for what I can do for her. The castle bed will be great in a few years. Thank you.
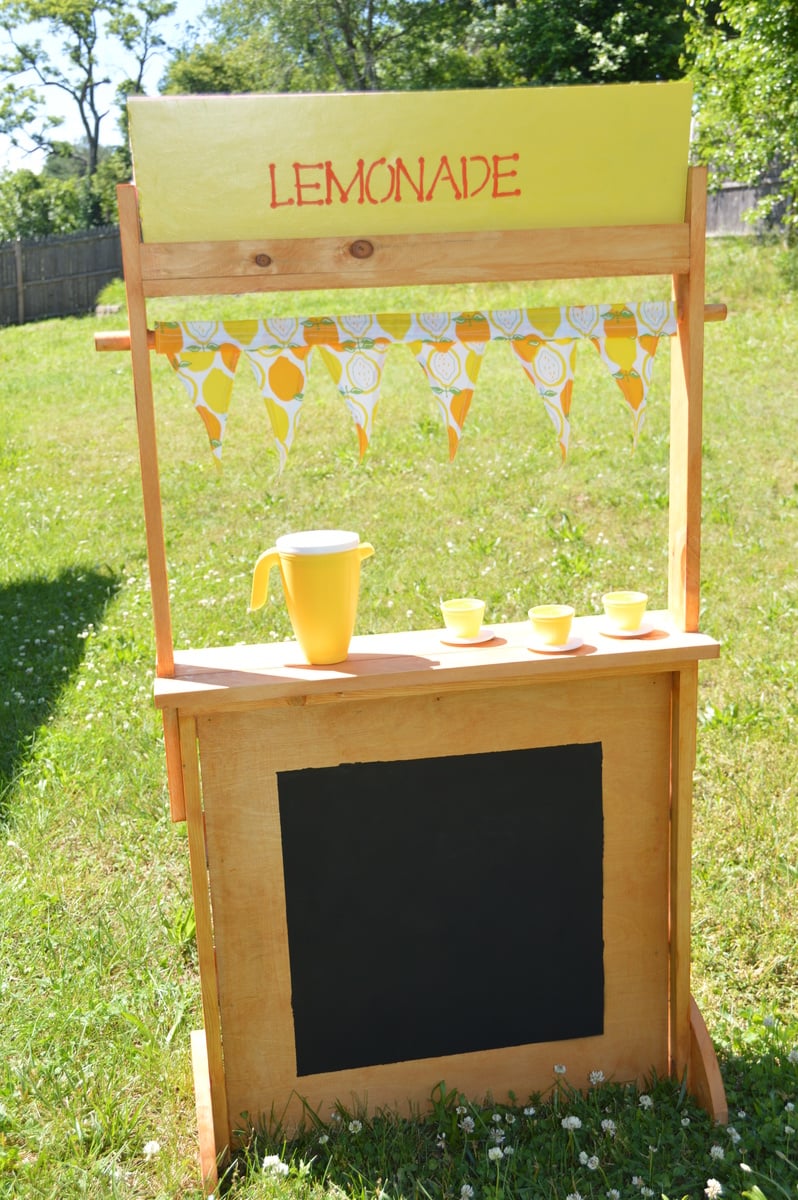
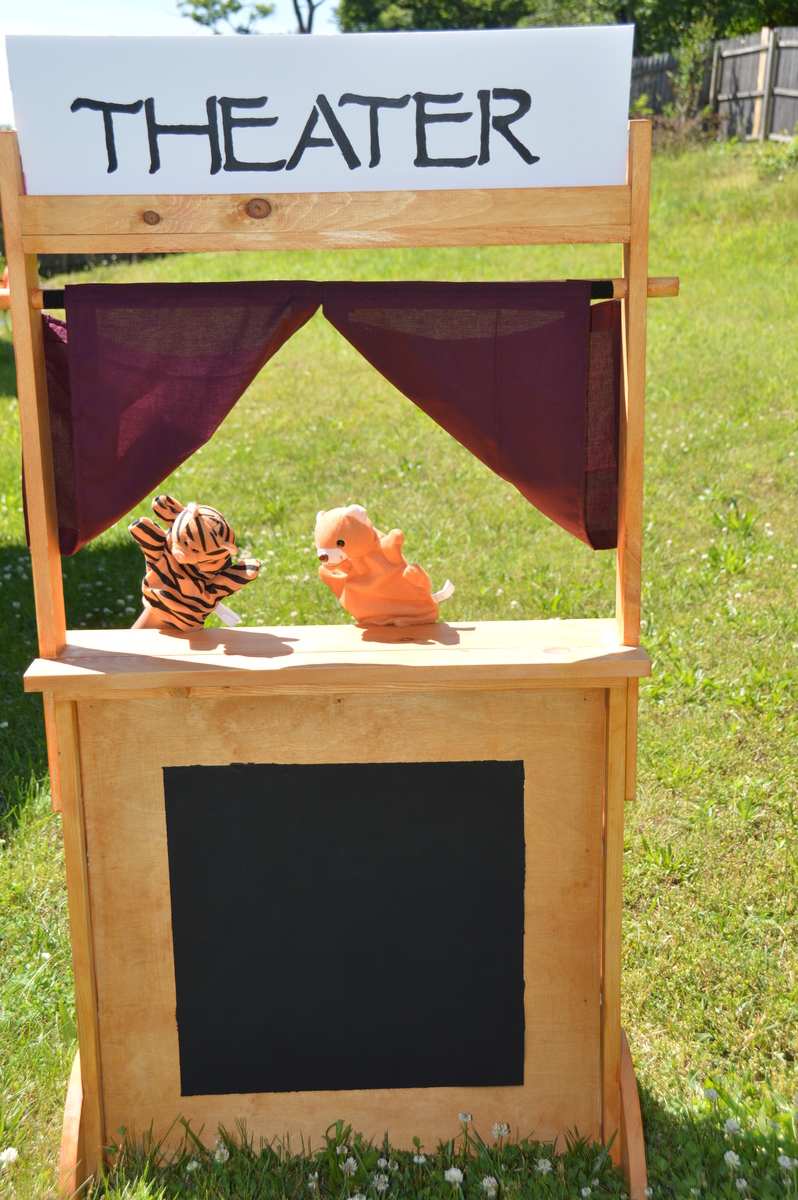
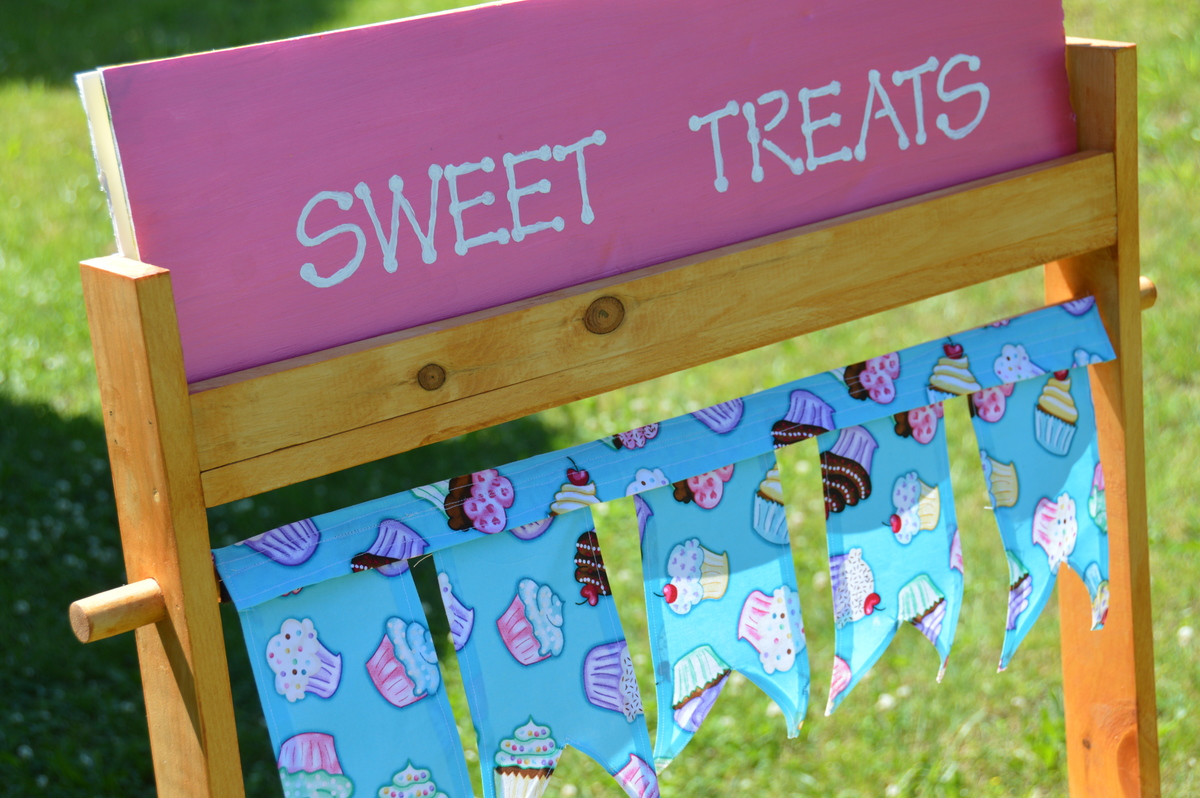
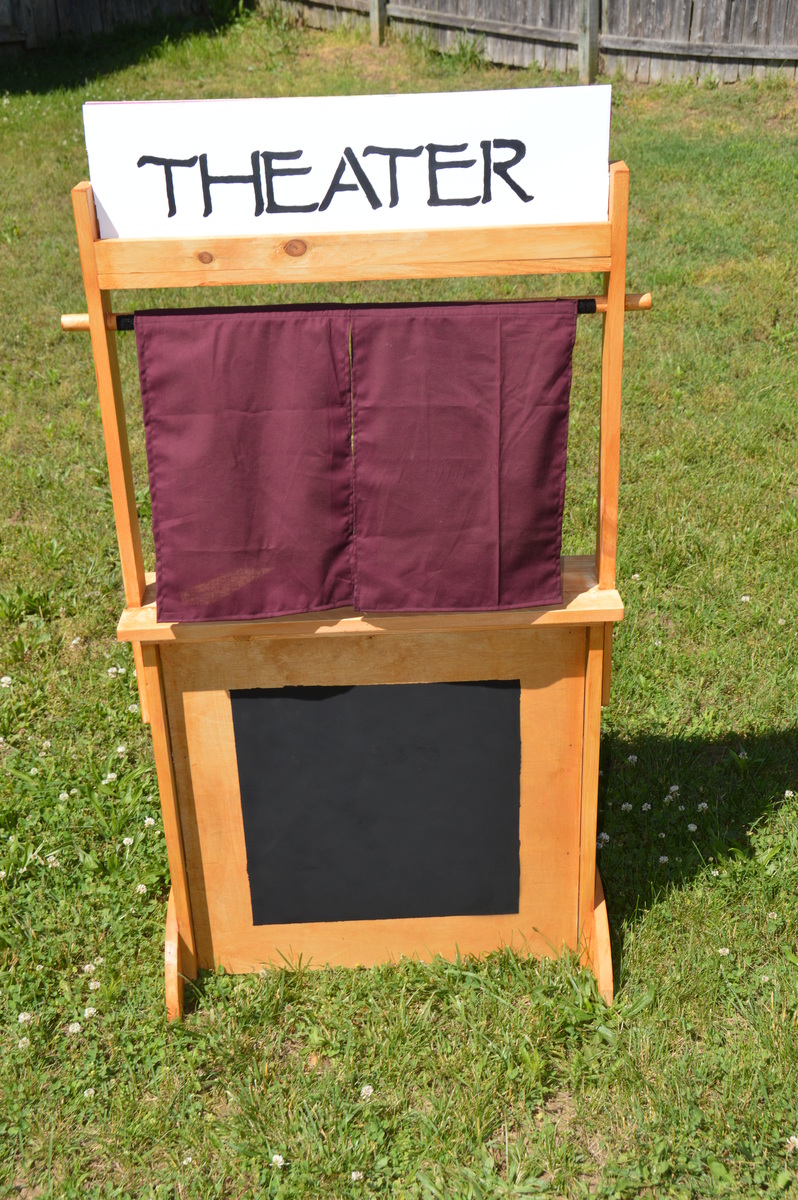
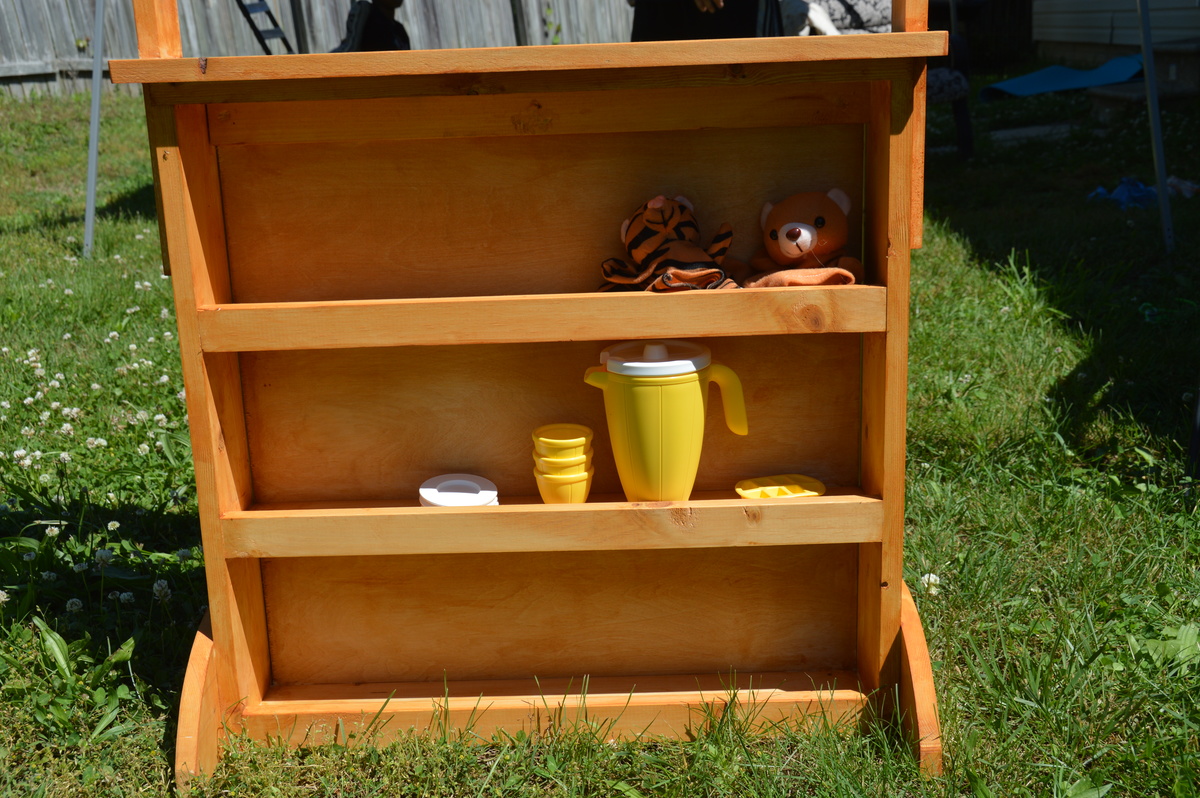
My husband and I made this completely fabulous DIY playstand for my niece's birthday. It turned out fantastic. Ana's plans were straightforward and easy to follow. The most difficult part was making the buntings, but even those turned out fine. The only recommendations that I have beyond what is in Ana's post are use a good piece of plywood since it isn't easy to sand, and to put the extra velcro for holding back the theater curtains on the back. My cost is a little higher than the one on the original plans, but I also factored in the cost of the different fabrics, velcro, etc.
You can read more about it on my blog.

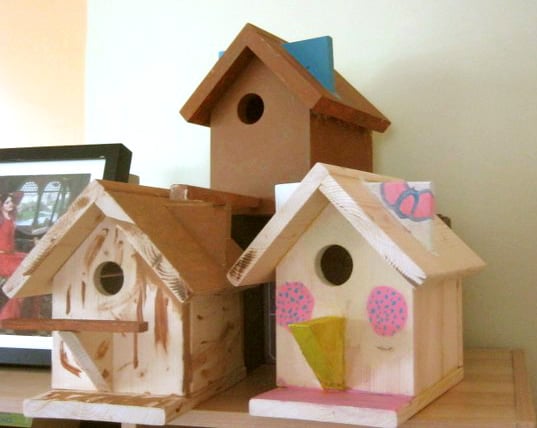
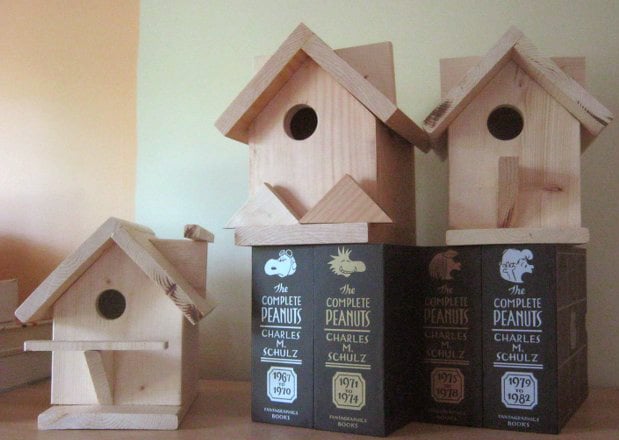
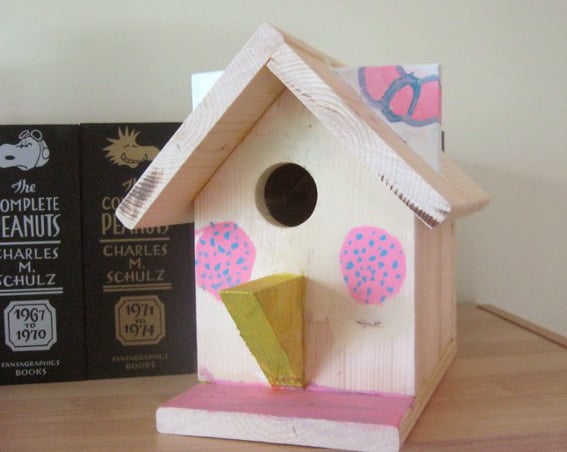
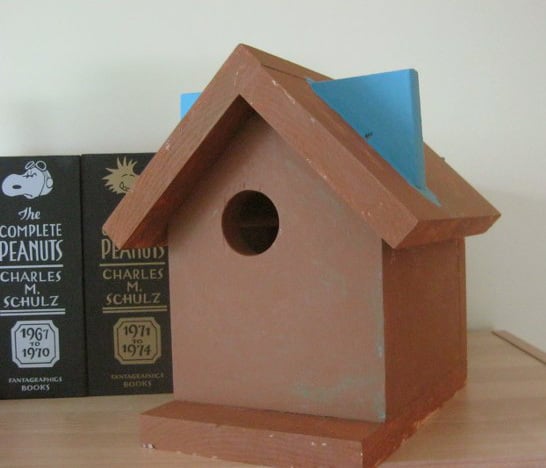
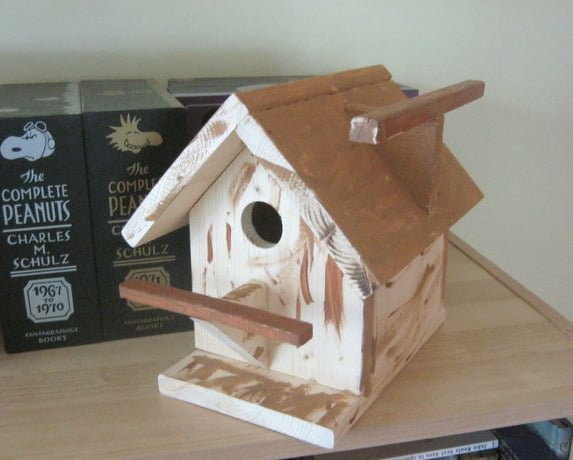
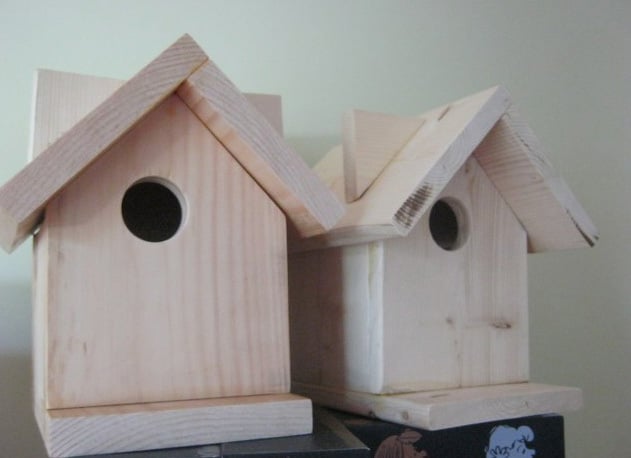
Our first plan from Ana White. It was really easy to follow and this was a fun project to do with the children. We used pine wood because it was cheaper than cedar, so we will try to not put them directly under the rain.
We were able to make two birdhouses in removing .25 inch in one birdhouse. We used wood we already had for the third one.
We let the children added some details to the birdhouses. Because of the birds we want to attract here, one hole is 1.25 inch and the other two are 1.5 inch.
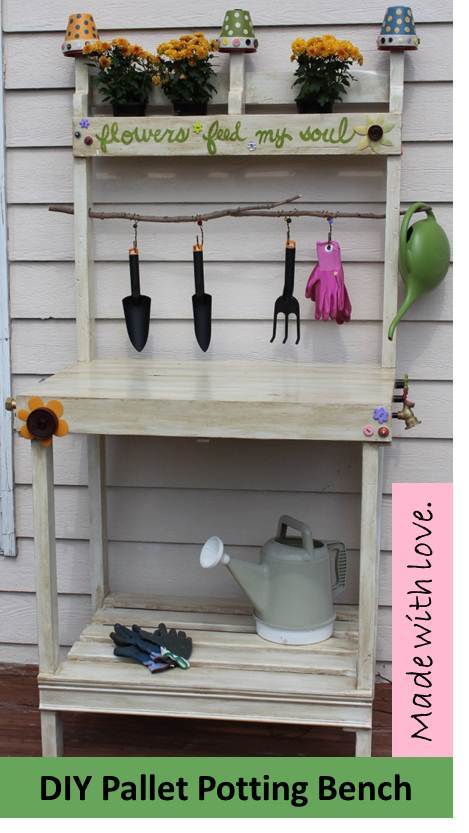
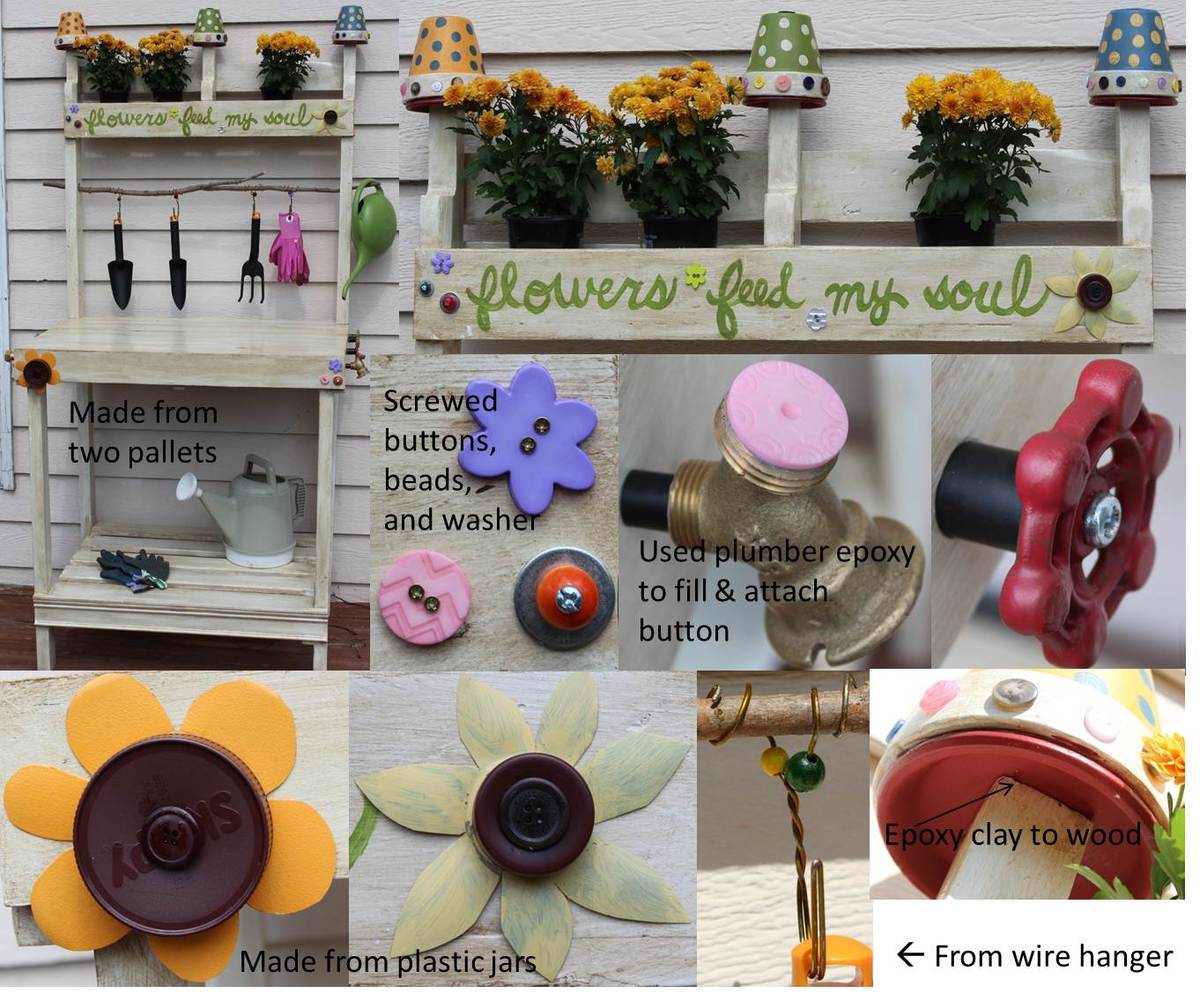
Made from 2 pallets, 2 x 6 x 8, leftover trim from my house, wood branch from my backyard. Attached shelf with pocket holes.
Accents:
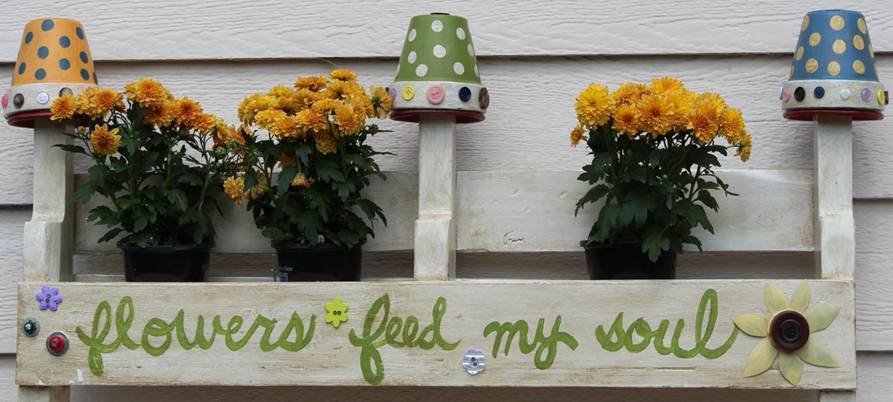
-Handpainted lettering; painted prior to glazing entire piece
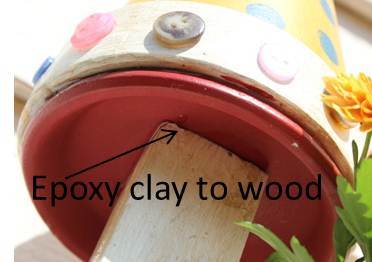
-Finials made from 4.25 inch spray painted and glazed clay pots and saucers coated with Valspar clear finish and attached together with epoxy; buttons attached to pots with E6000 adhesive
-Buttons attached mostly with small screws; a few with holes too small for screws were attached with epoxy
-Plastic flowers made from mayo and water bottles and lids; sanded, primed, spray painted, coated with Valspar clear coating; attached with screws
-Faucet knobs sanded, spray painted, glazed and attached with screws
-Plumbing pipe filled with plumber epoxy puttty; insert screw into putty before it hardened, then screwed into wood
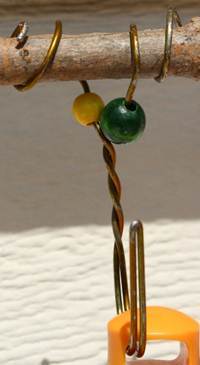
-Gardening tool hooks made from pant wire hangers with a few beads attached; wire simply wrapped around tree branch
Not sure that I will use pallet wood again since difficult to pull apart pallets, uneven and some split boards could not be used, and required tons of sanding for those boards that could be used. I think I paid more for orbital sanding pads than the cost of buying new wood. Will use pallet wood for other non-furniture projects not requiring a perfect finish.

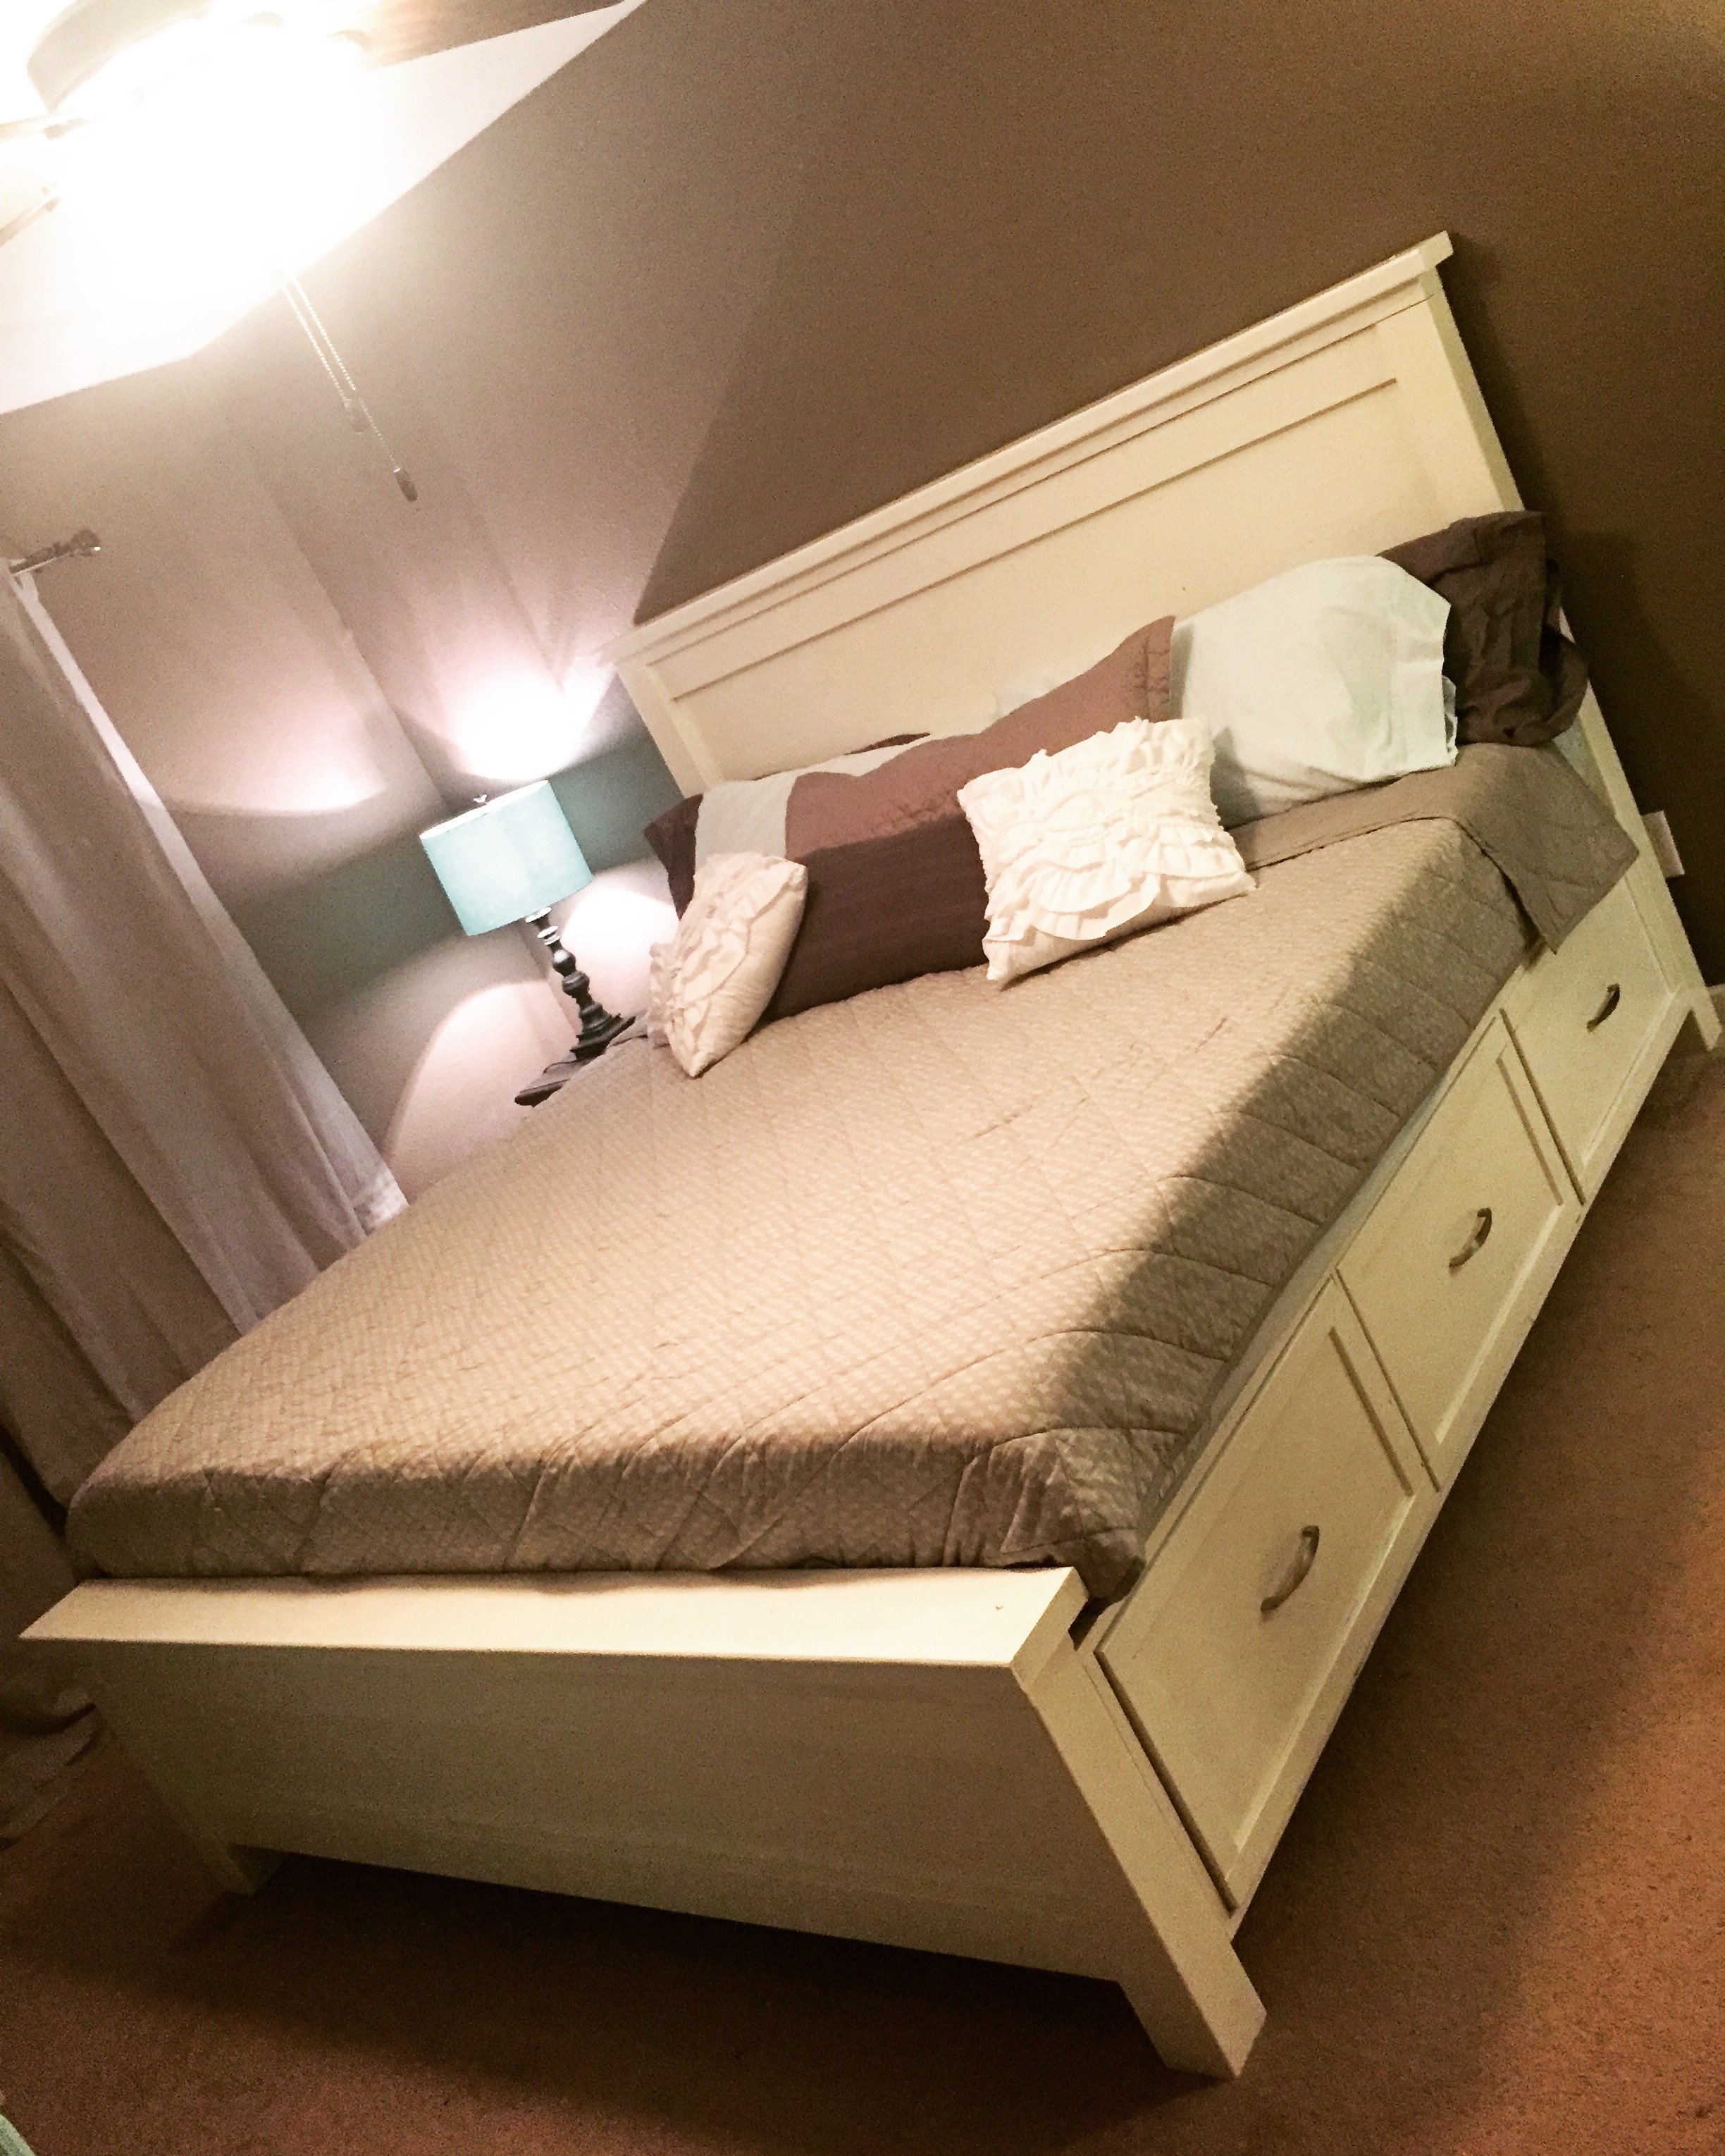
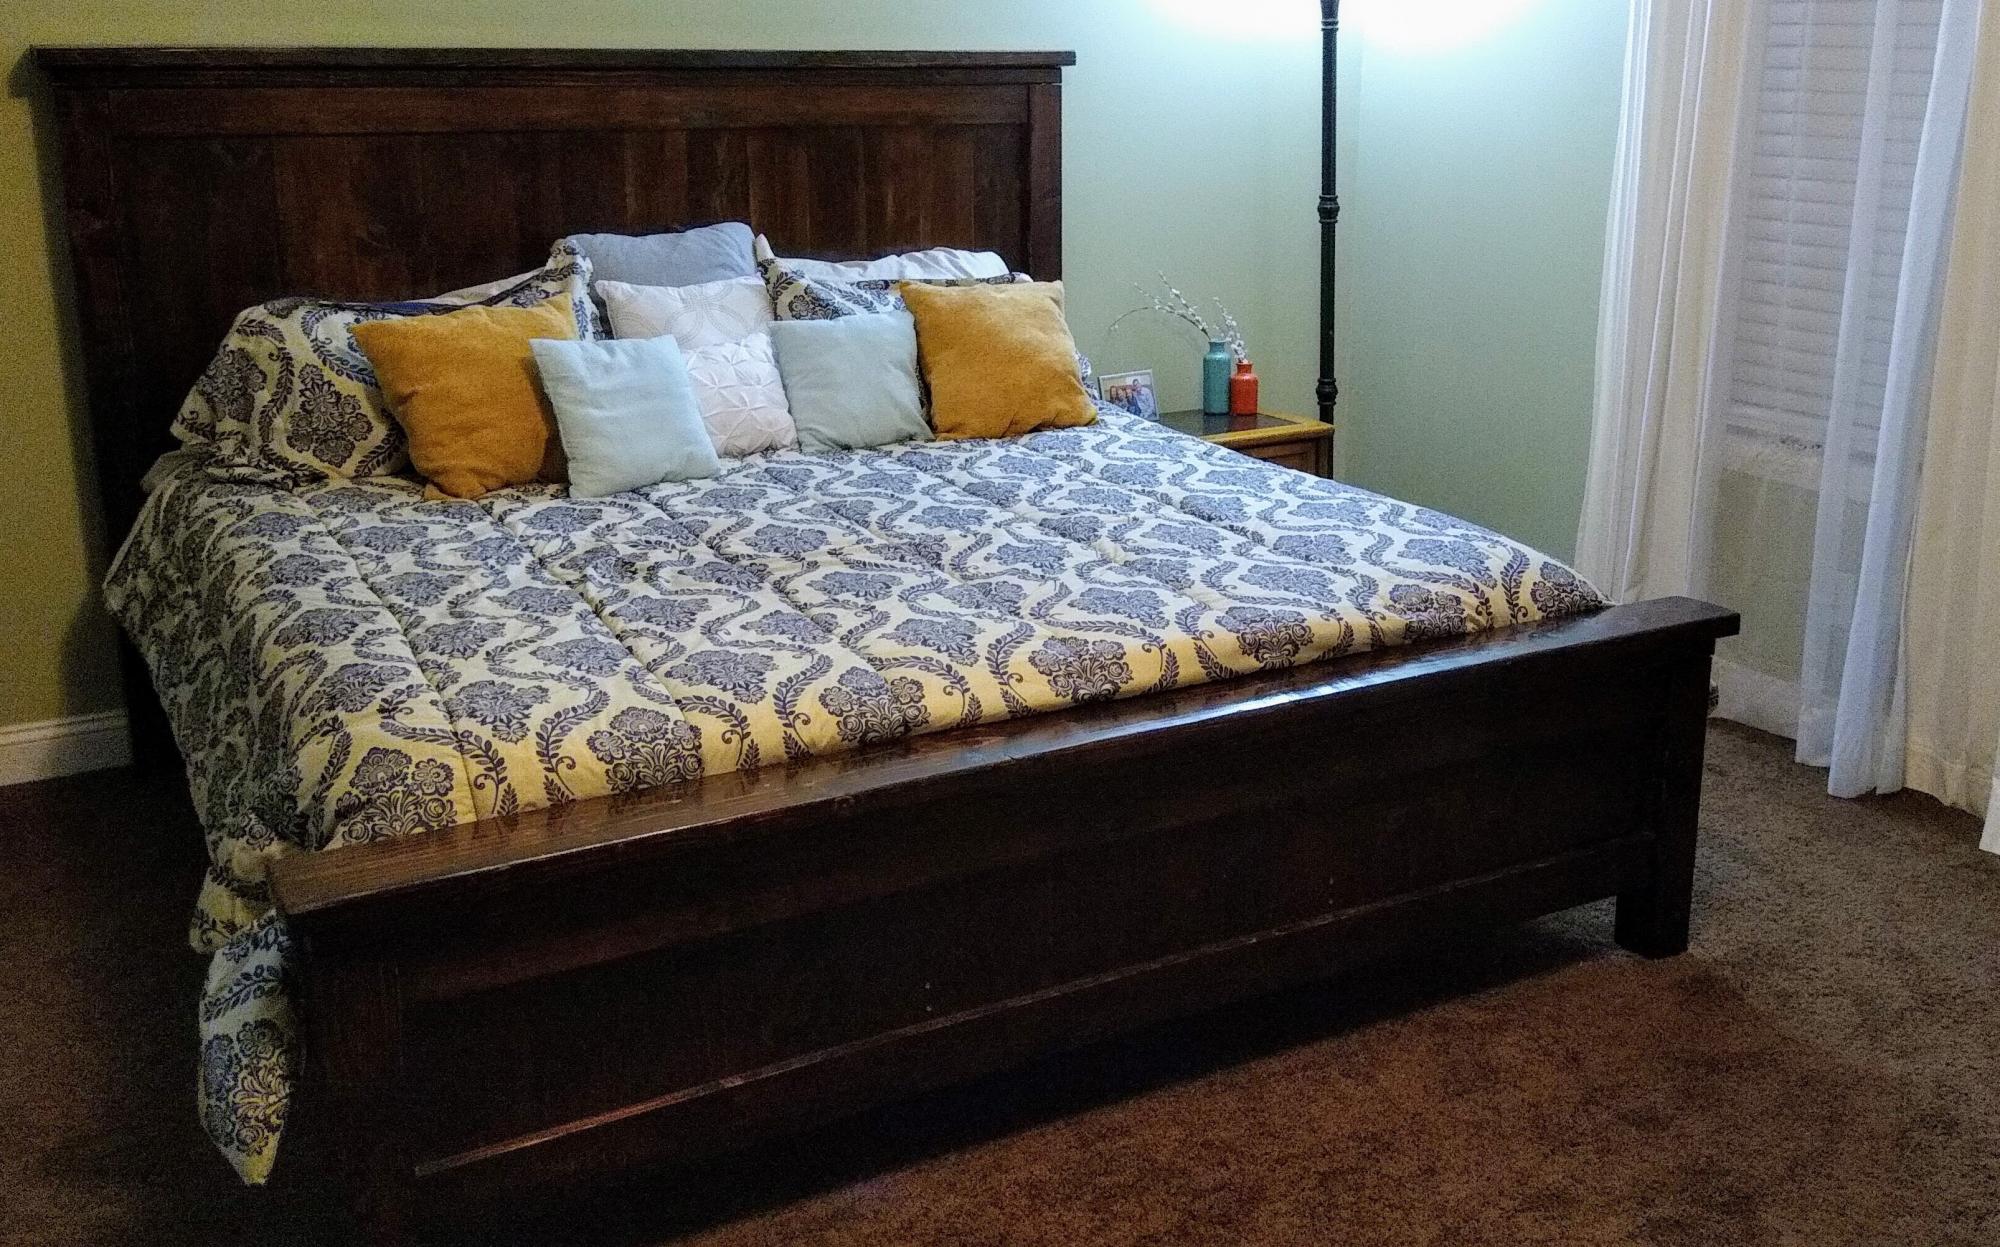
Took be about 2.5 weeks to build this bed, working evenings and a couple full days on the weekend. I HIGHLY recommend getting a Kreg Jig. It made life so much easier.
To go from a queen to a king, simply add 16" to all of the width pieces. All of the length pieces will be the same for a queen and king.
I added one 2x2 support beam down the middle of the bed, with two 16 3/4 inch legs attached to it, for added support. I screwed the slats into all 3 of the 2x2 support beams.
The drawers are the trickiest part. Make sure you follow the plan in order, waiting to install the drawers until after you have screwed the storage bins to the headboard and footboard.
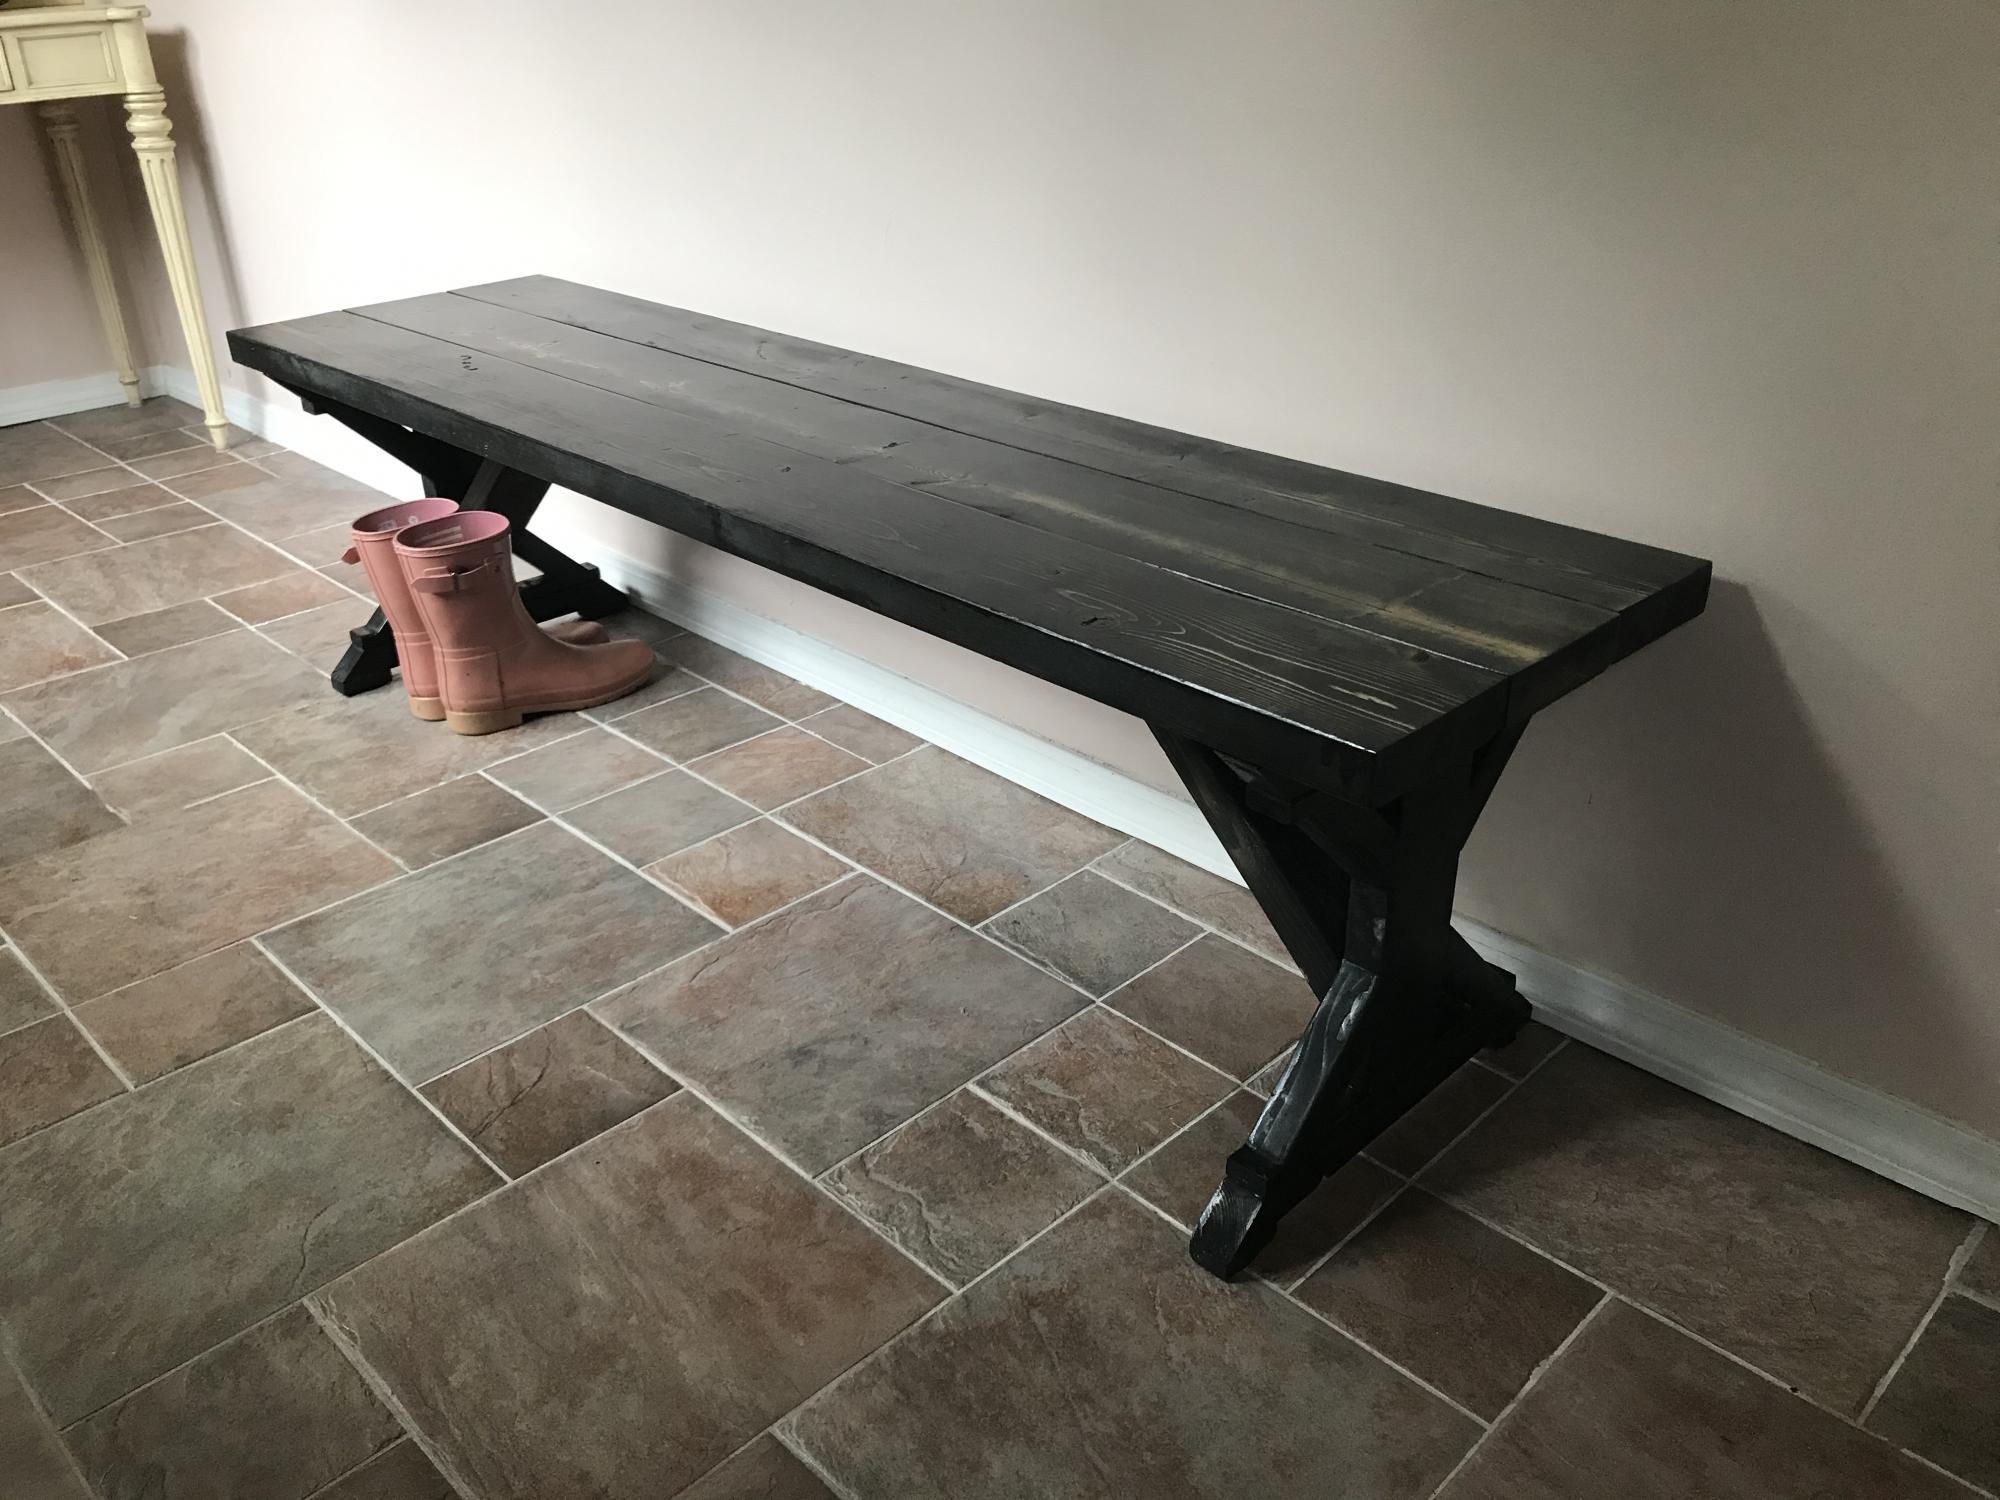
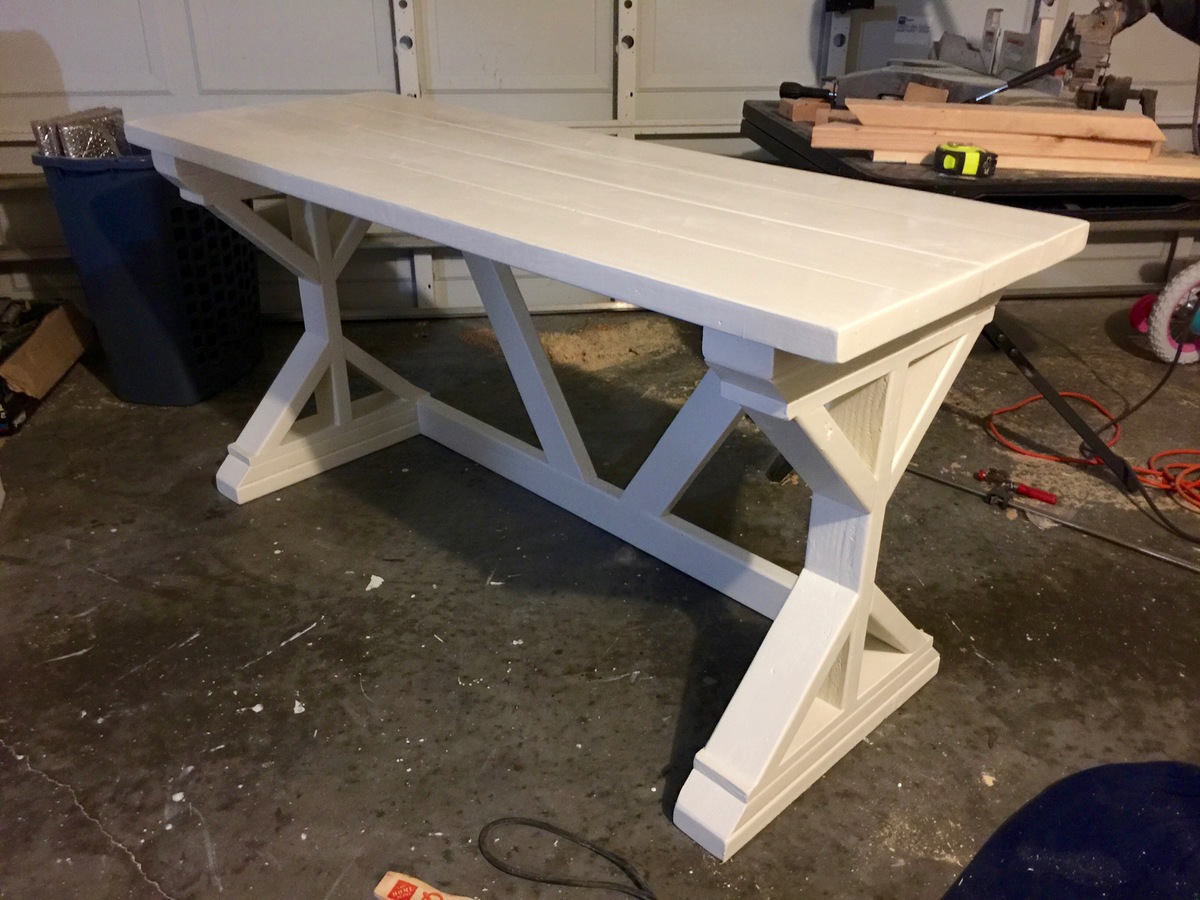
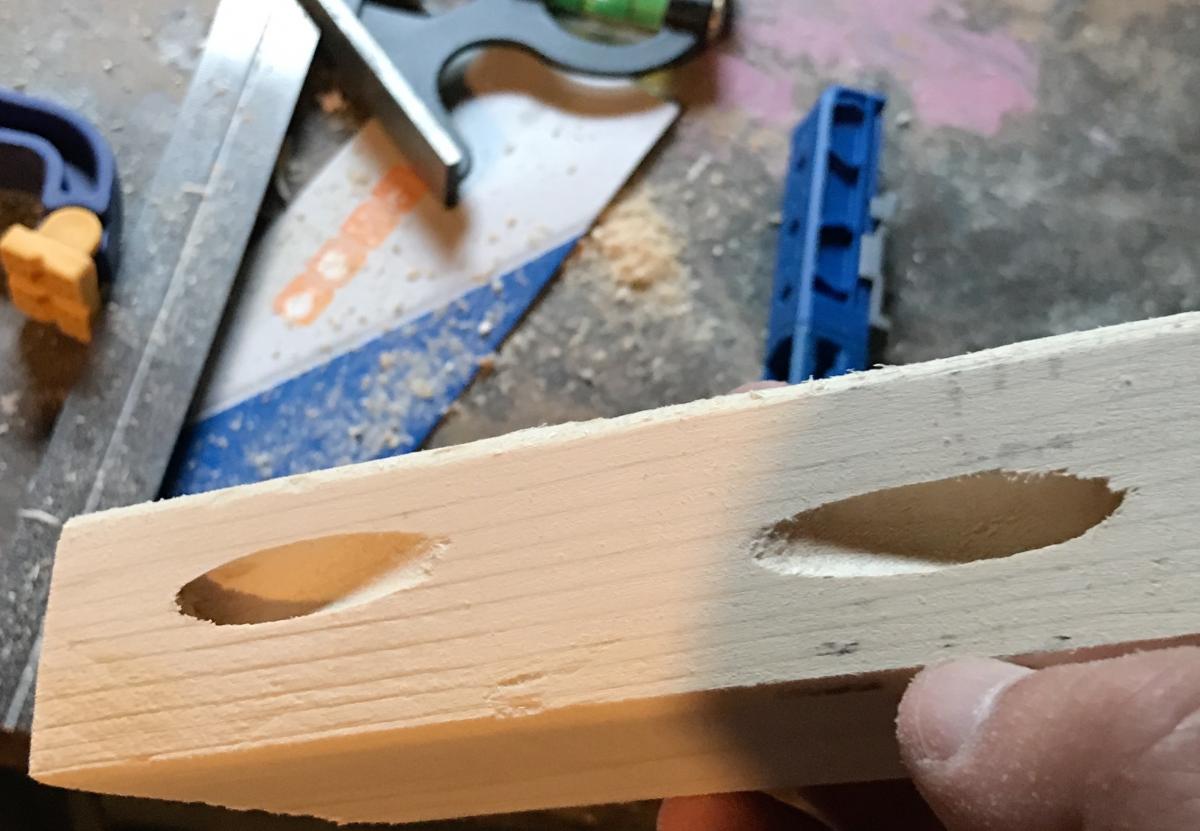
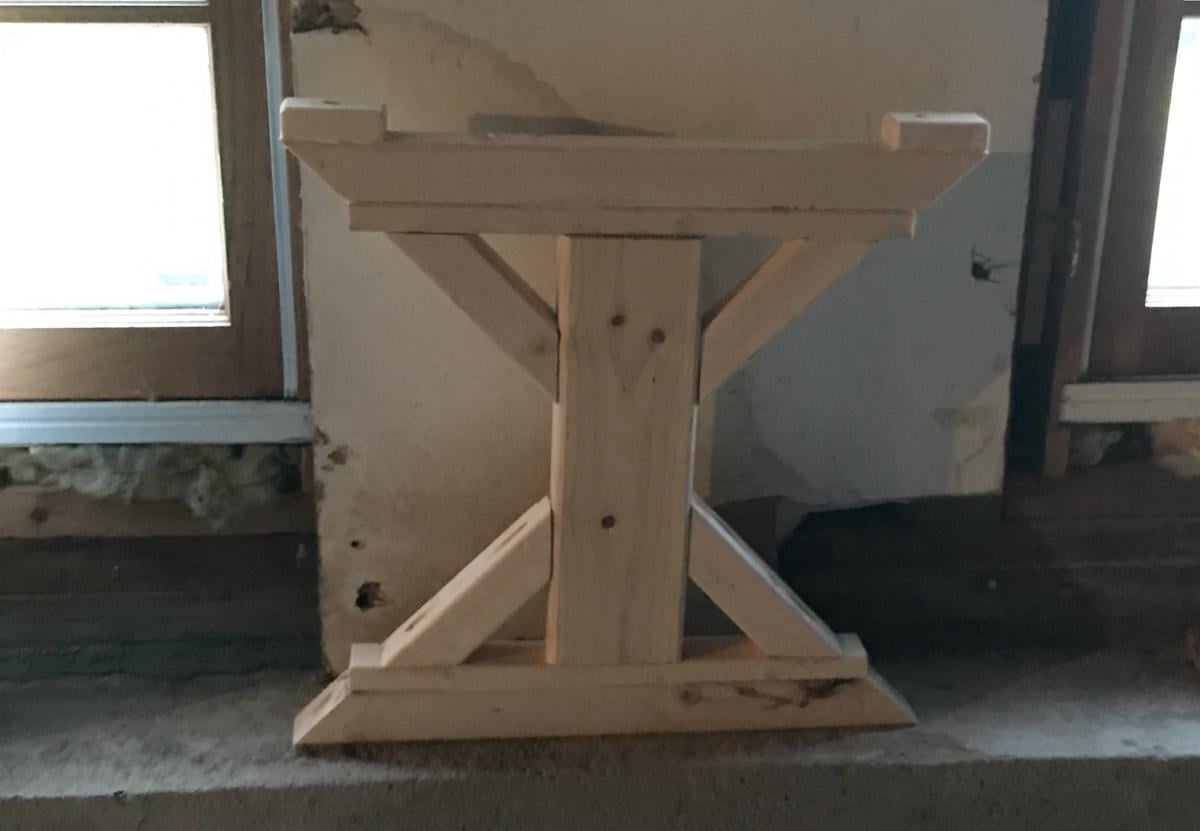
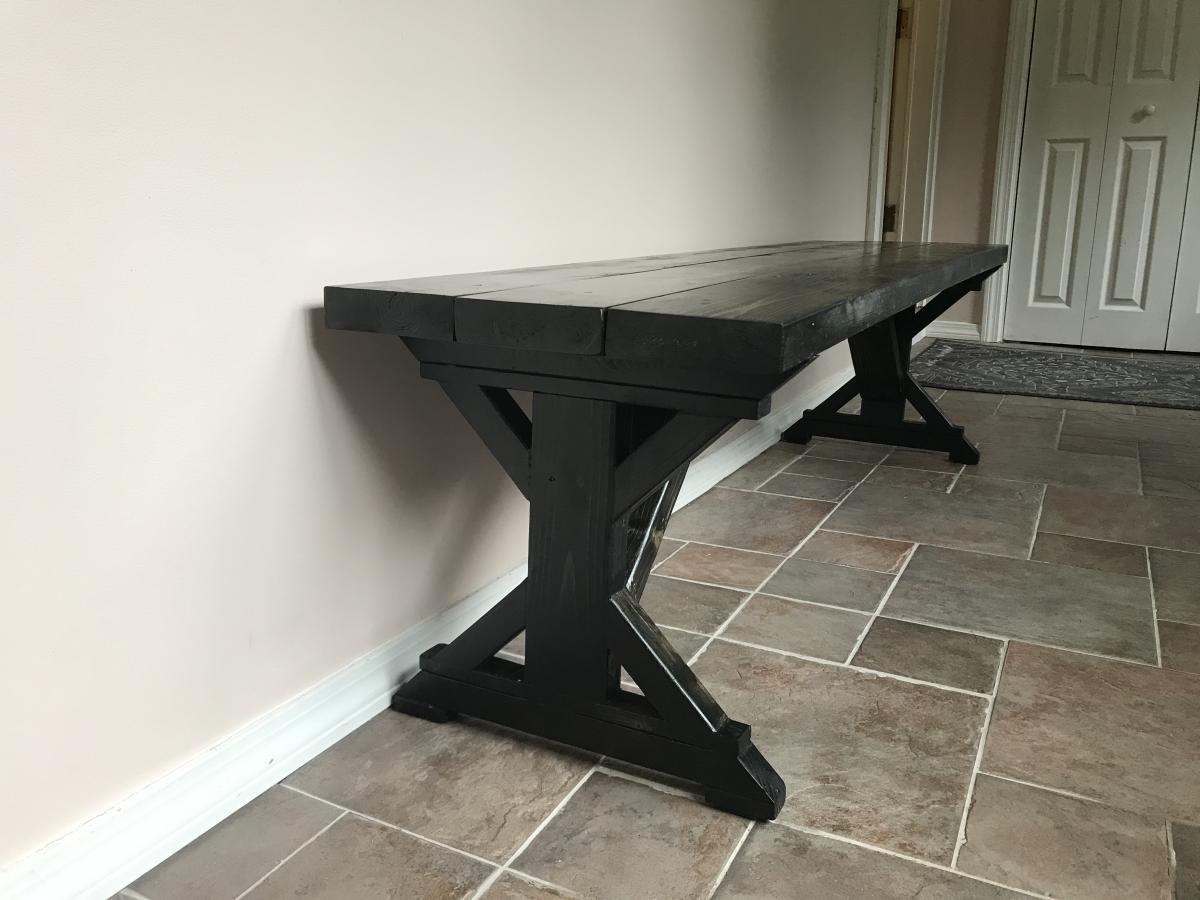
Made this for the mud room. Been wanting a place to sit while we put our shoes on and take them off. This was a mod on the 63" version of the Fancy Farmhouse bench. I saw a mod similar to this but even more reinforced supports. I used Pocket holes for this first time with the project. from a distance you can't see the covered up screws on the top. I dunno if this was the best way but I wanted a solid connection for the bench and it's legs. instead of a bottom support beam I went with 20" diagonal 2x4's so we could put our shoes underneath the bench.
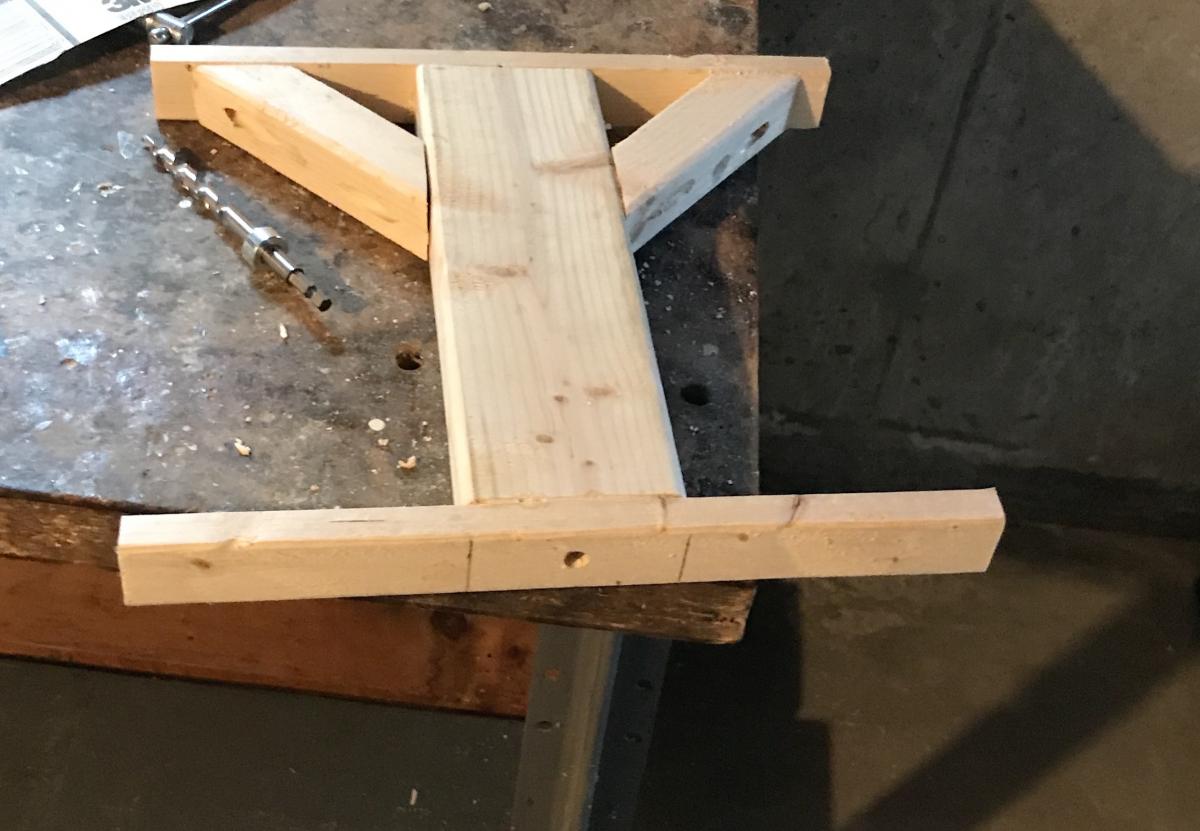
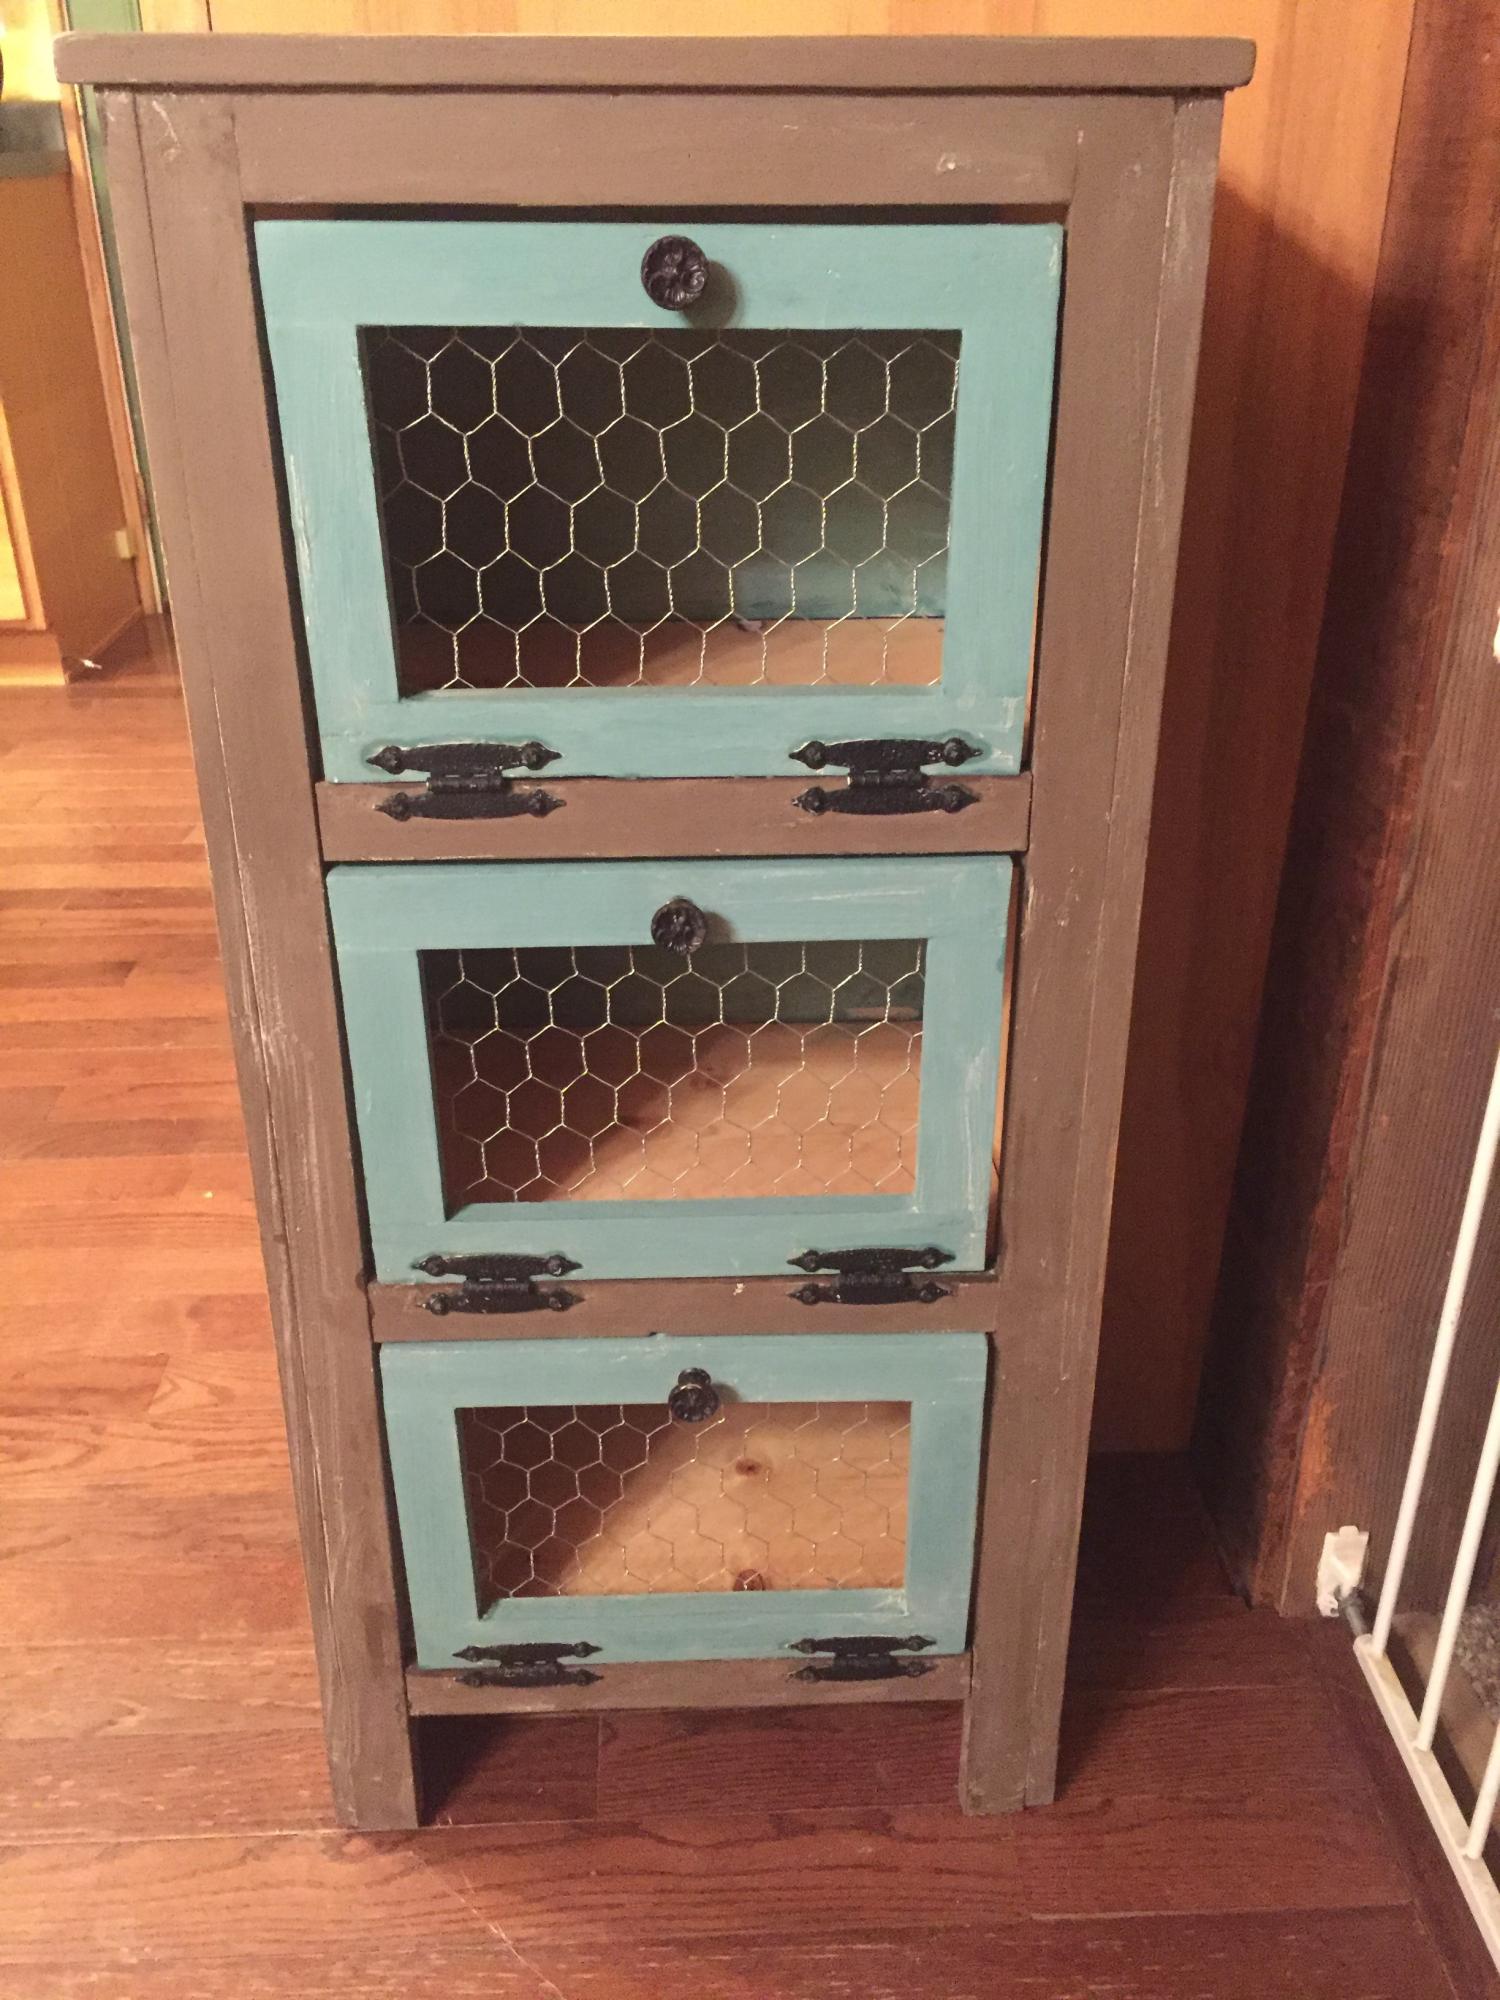
The plans seemed ok for me. I used all scrap lumber I had laying around. I bought a kreg jig in the middle of this project, after watching one of Ana's vidoes's about pocket holes. That is one reason why I built the 3 doors all twice, but also swapped out the top piece of the bin 3x's before I finally settled. In other words, I really struggled with this, but I was so excited to perservere and have this completed!
I haven't wanted to make one of these for a long time. Thank you so much for the site and all the plans! I love all your work and your style.
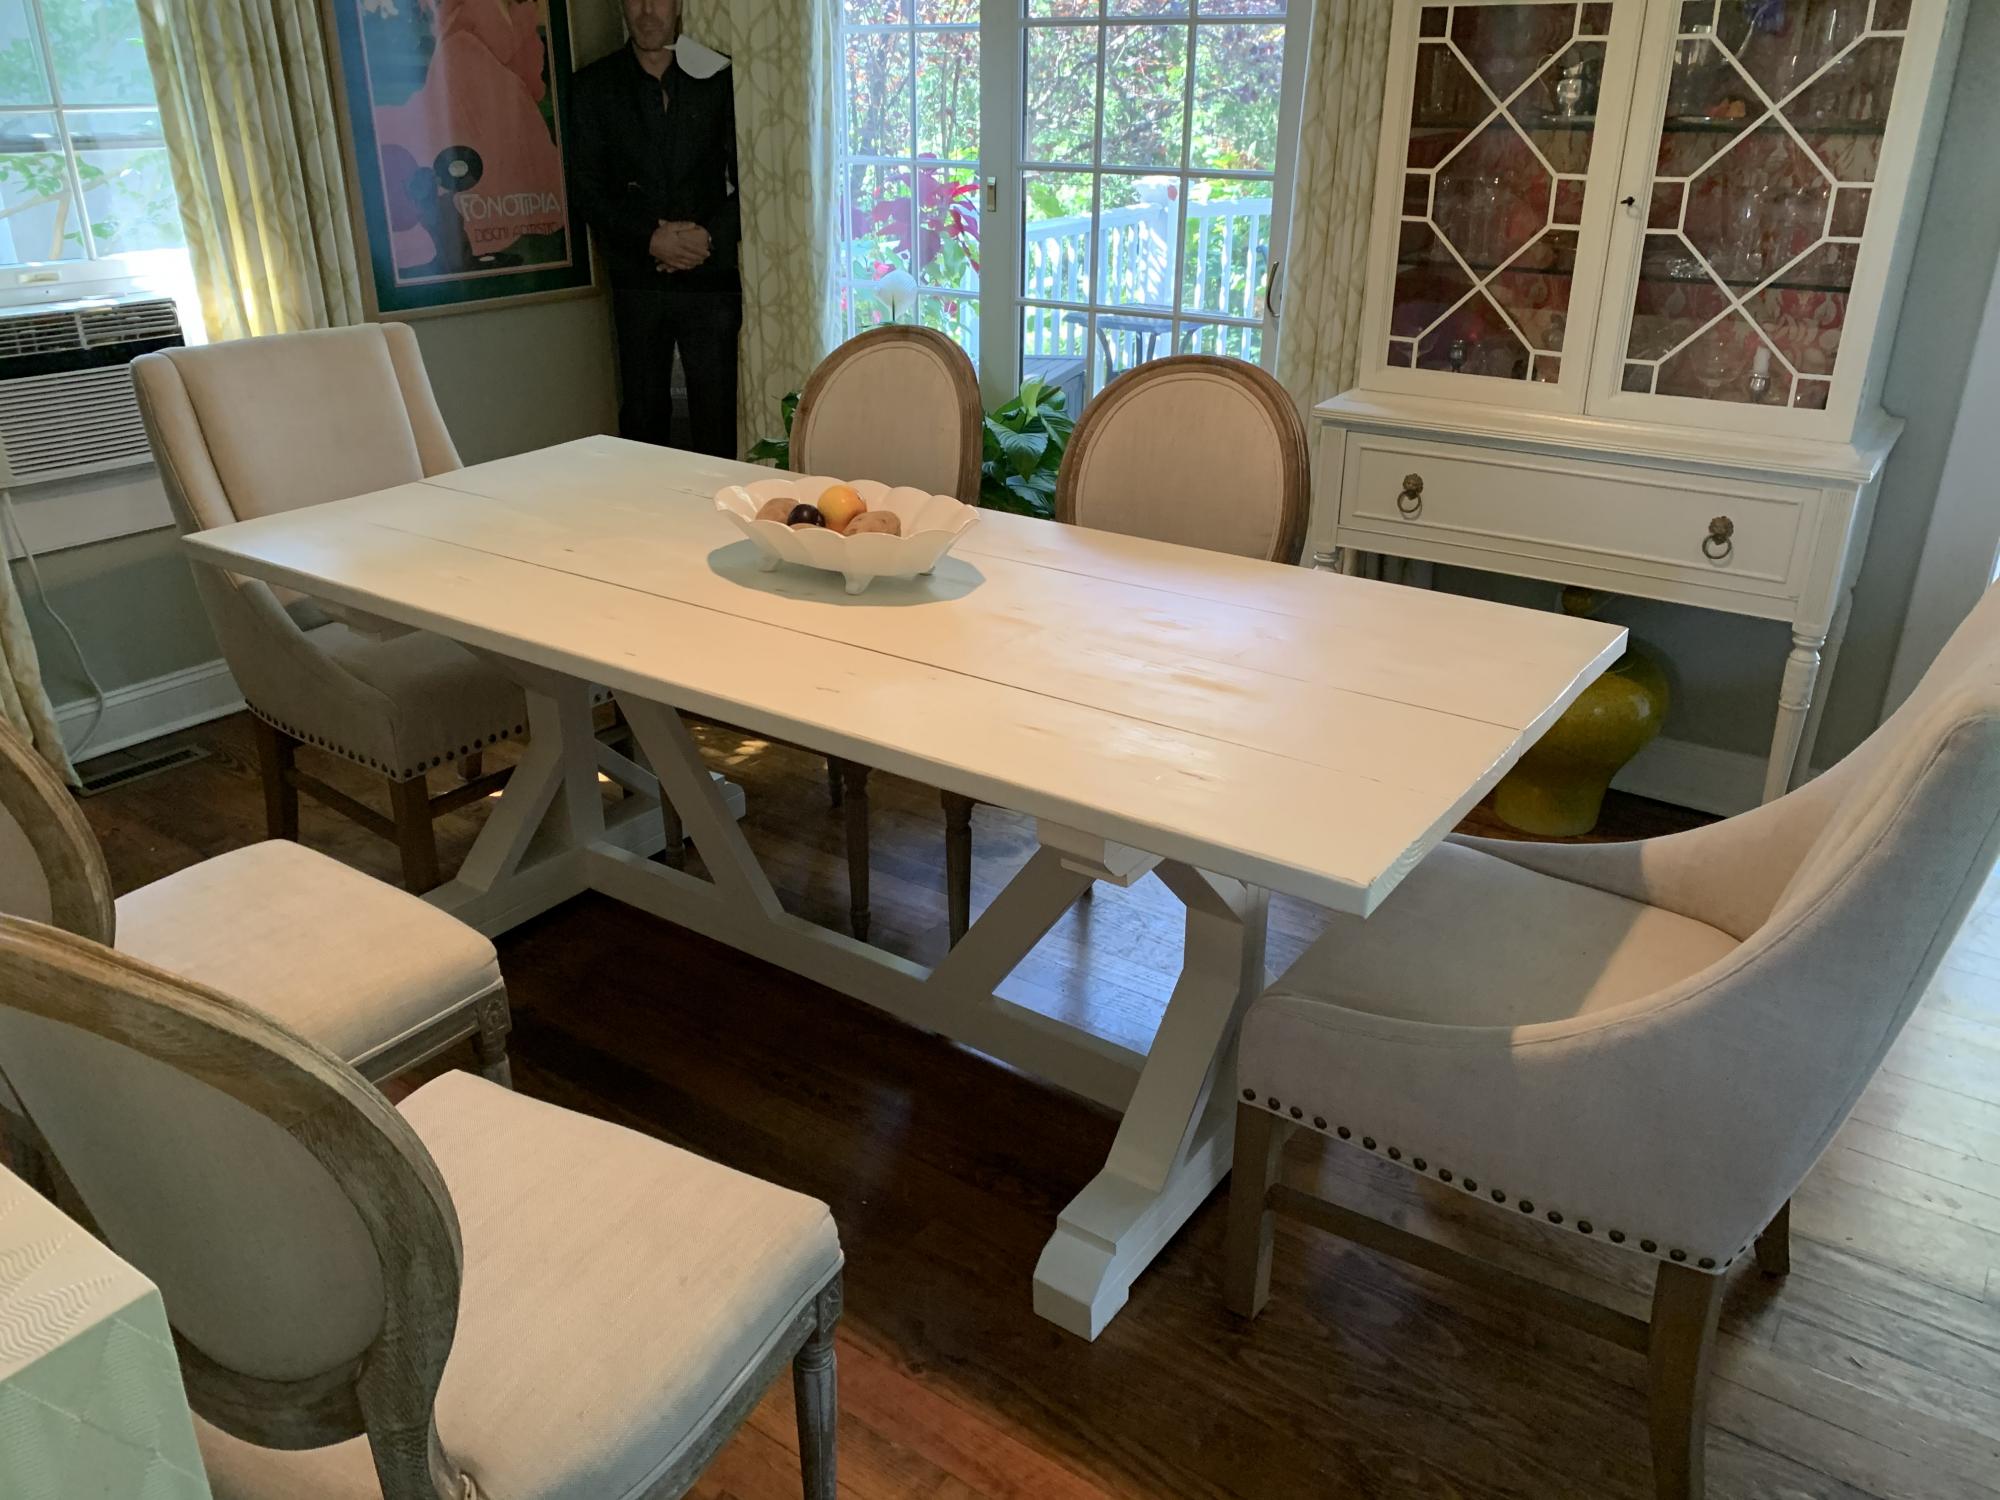
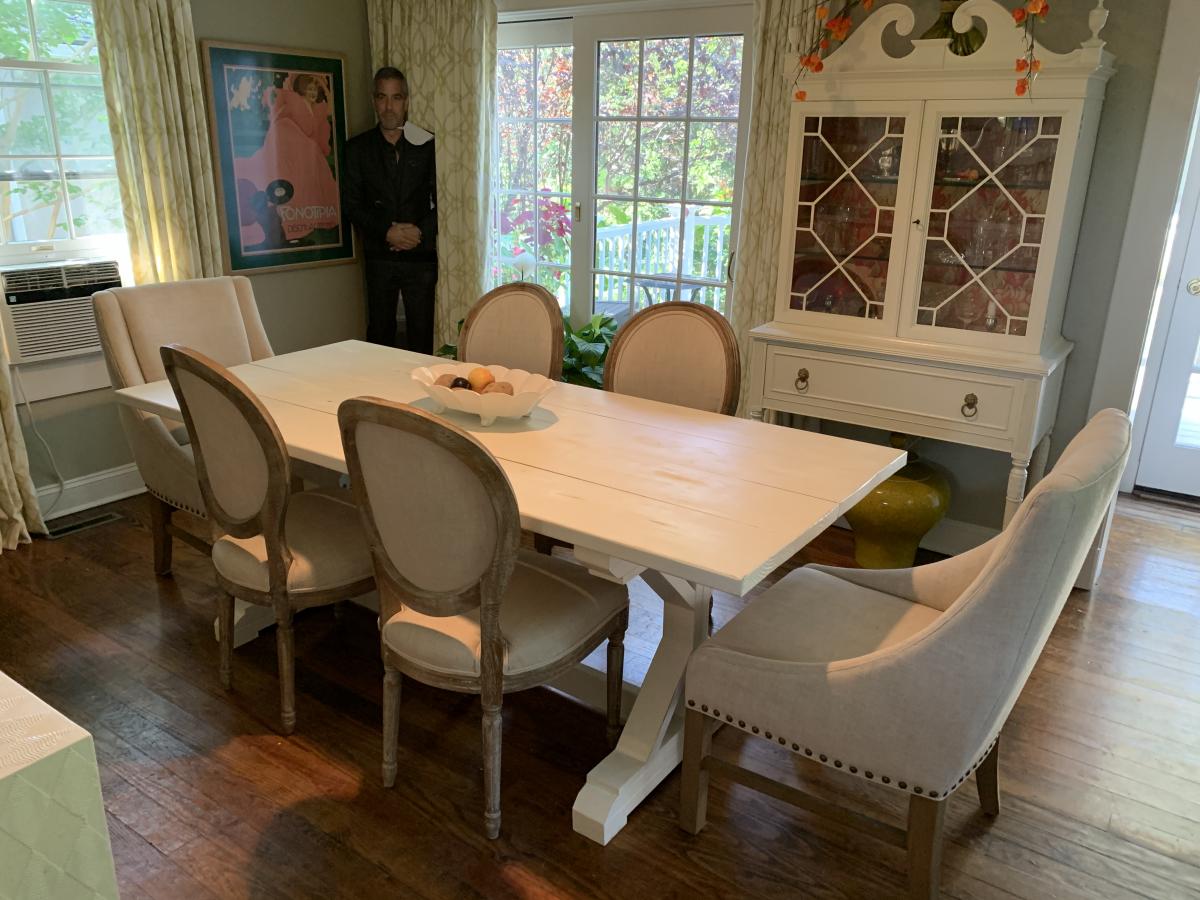
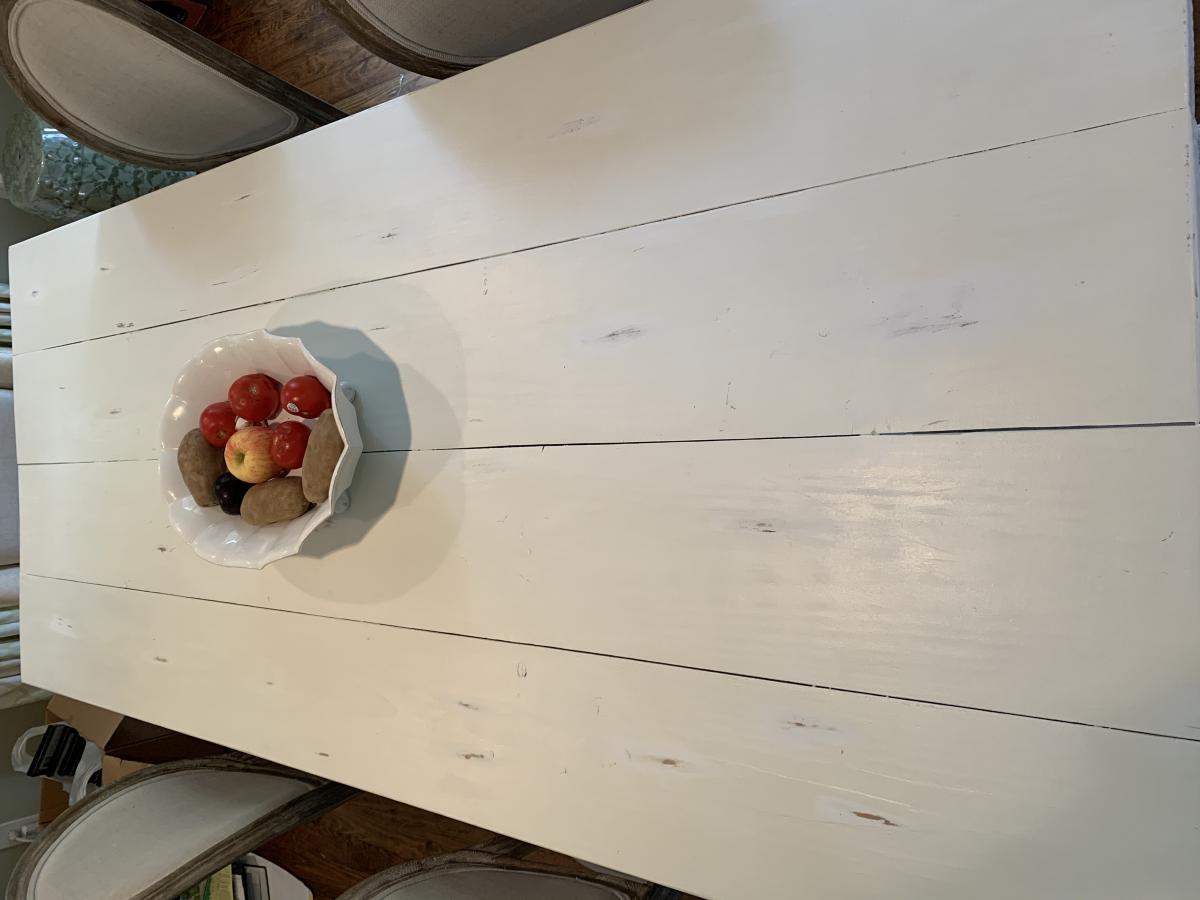
This was our (my husband built, I applied finish) second such table. We first use these plans about 6 years ago, and revisited to make this for my mother. One modification we added to both, was we built a cleat system under the table top. This way it fit snuggly over the base, but it can be easily moved when necessary. Thanks for the plans- lots of compliments on this one!


Mon, 09/28/2020 - 09:37
I'm sure your mother loves it, it looks amazing in her space!