Community Brag Posts

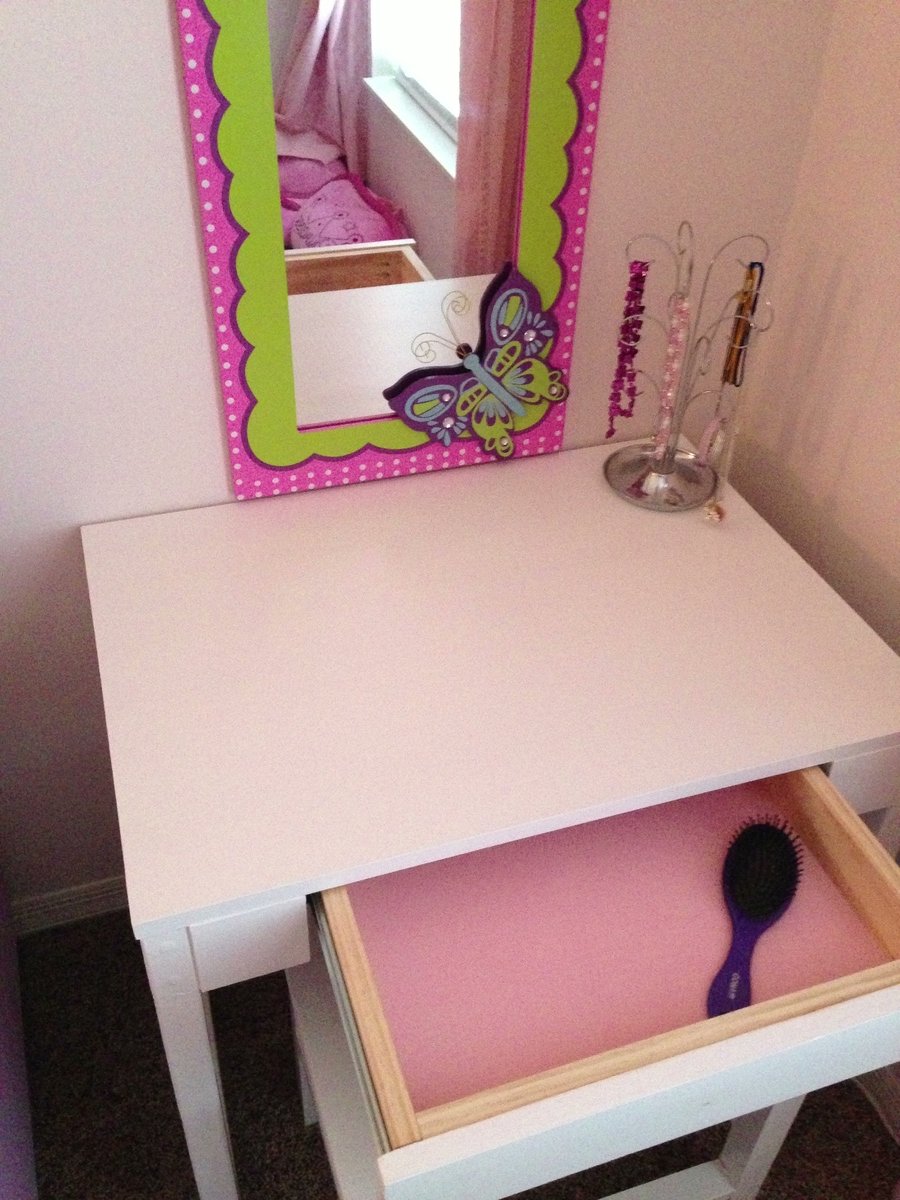
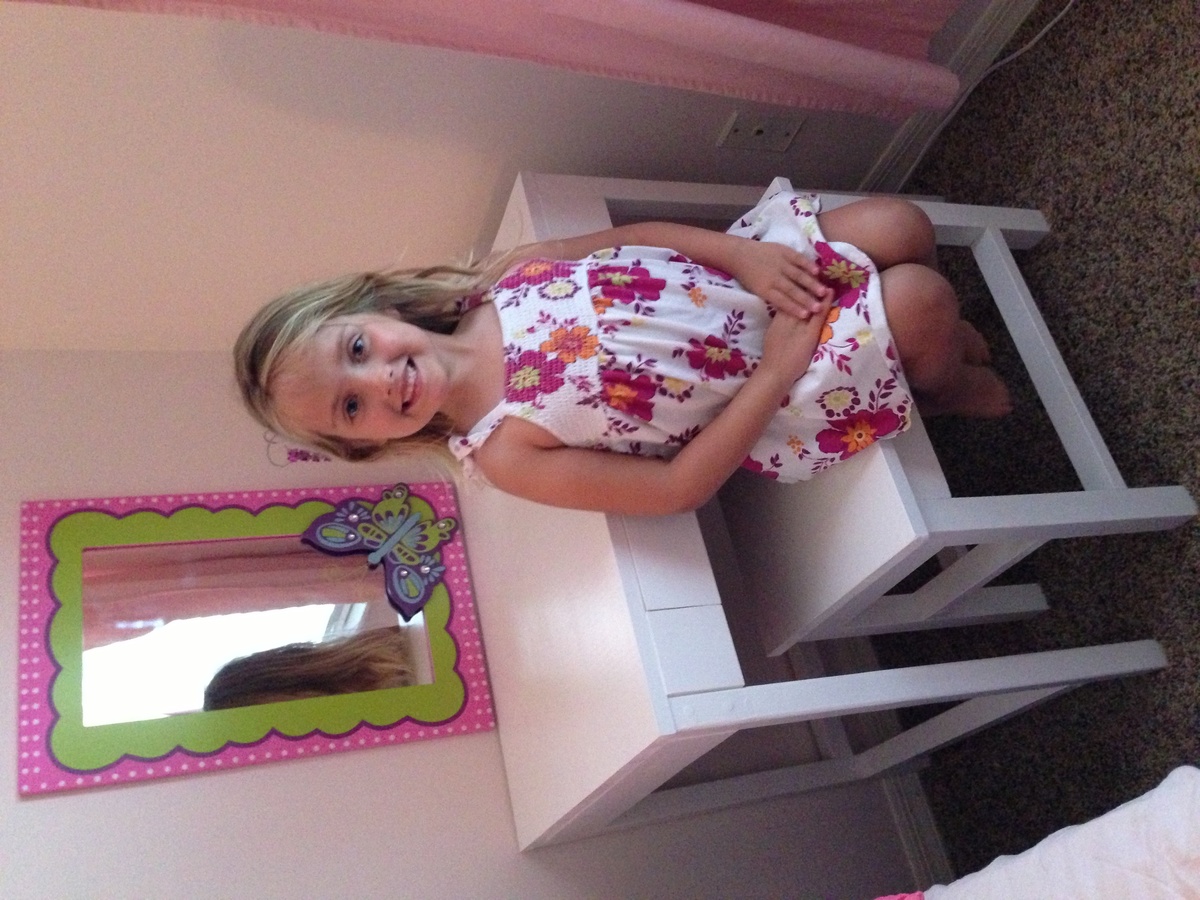
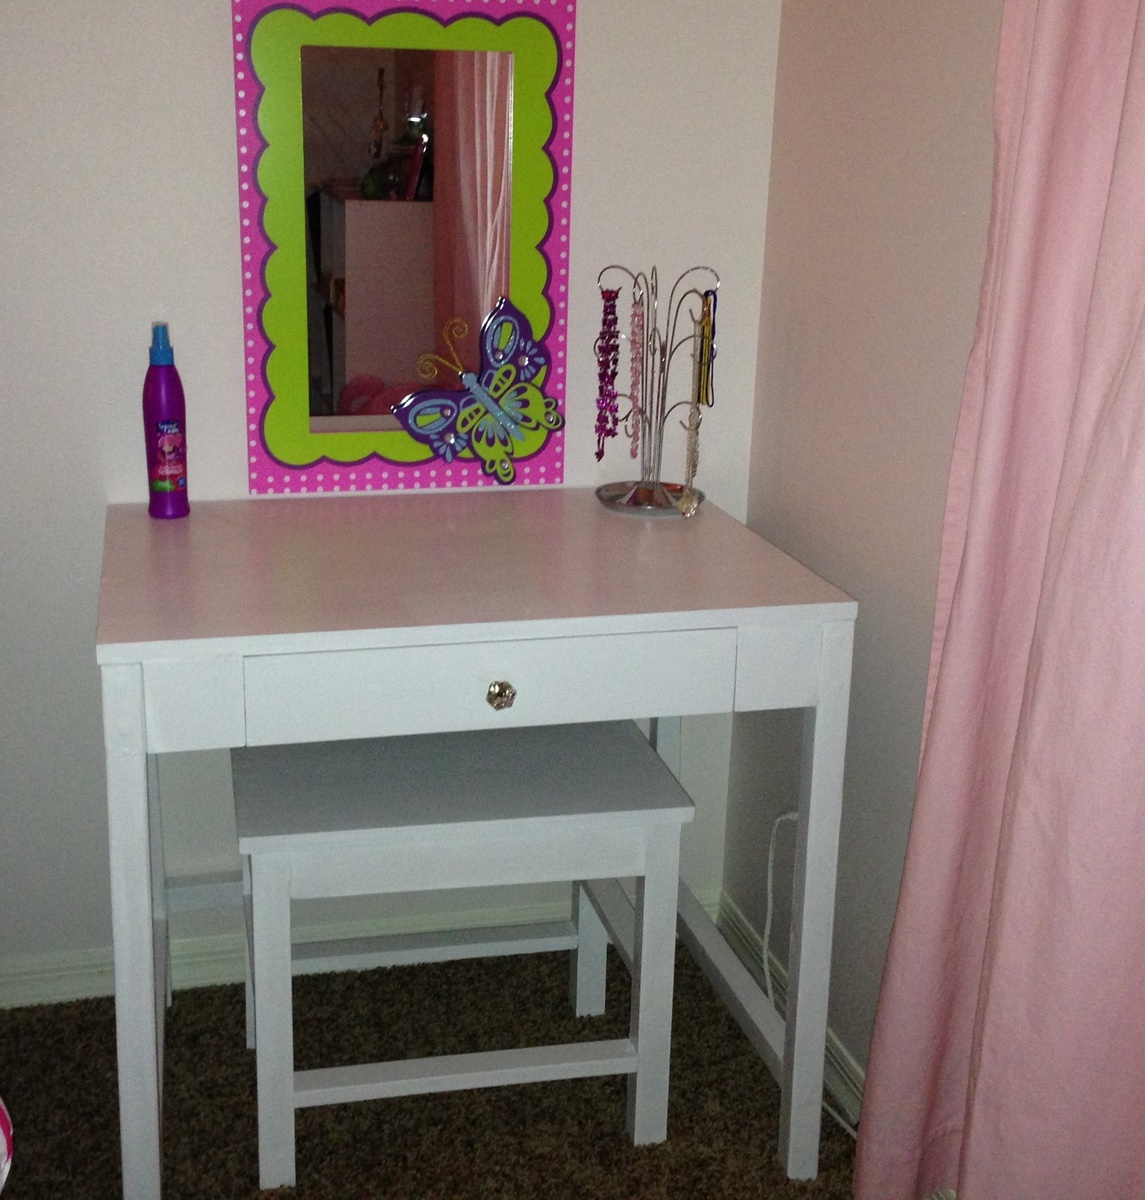
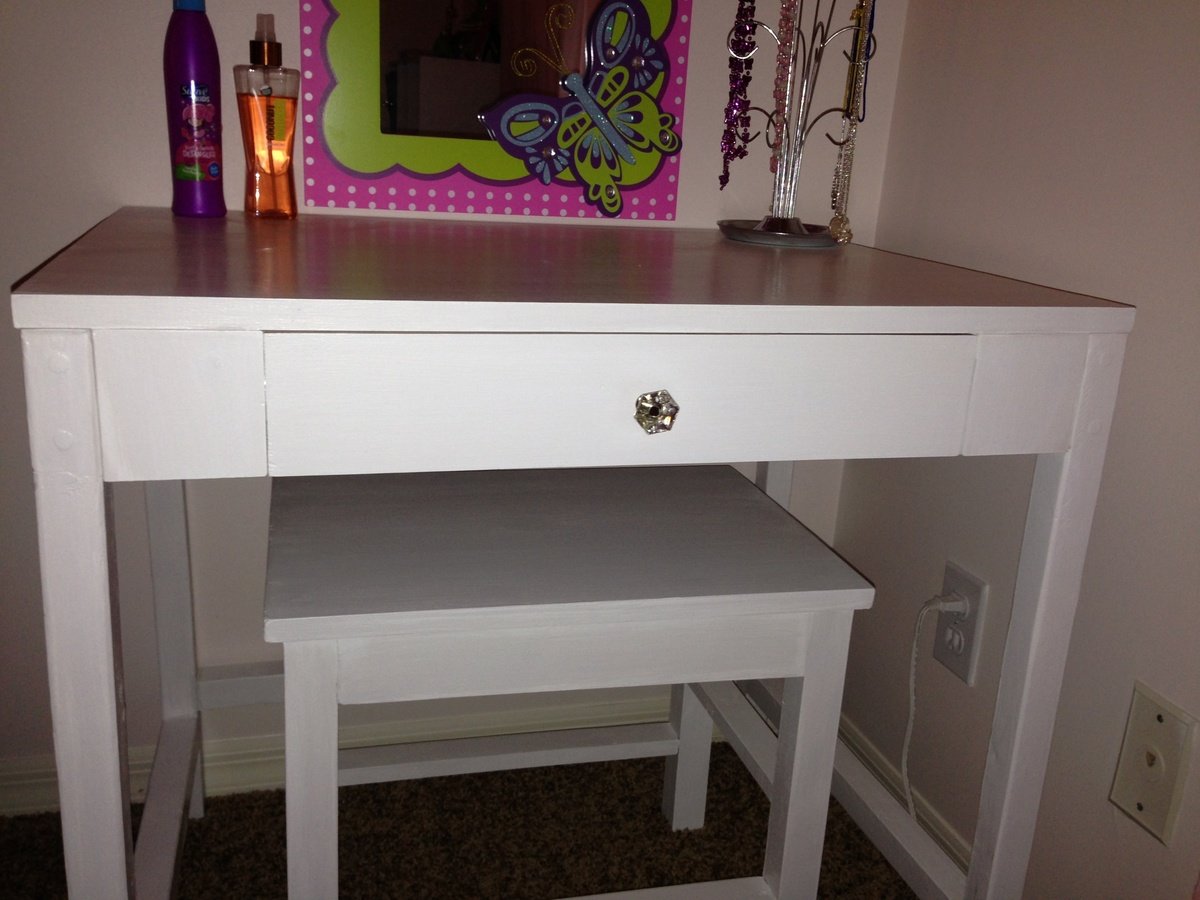
Cubby desk turned kid's vanity

This was my first "by myself" build! I decided to make my daughter a pre-K graduation gift. She helped me fill the screw holes and painted the inside of the drawer with me. We called it "peek-a-boo pink" because she pulled it out and said it's a surprise. My only complaint was a lot of the pieces in the plans said they were 1x4's when they were in fact 2x4's, so I ended up building the desk top twice before I got it right. Live and learn right? I love, love, love this site and am so excited looking through plans deciding what to build next. Thank you Ana!!

Estimated Cost
$85
Estimated Time Investment
Week Long Project (20 Hours or More)
Finish Used
Glidden Gripper primer and valspar interior semi-gloss latex paint.
Recommended Skill Level
Intermediate

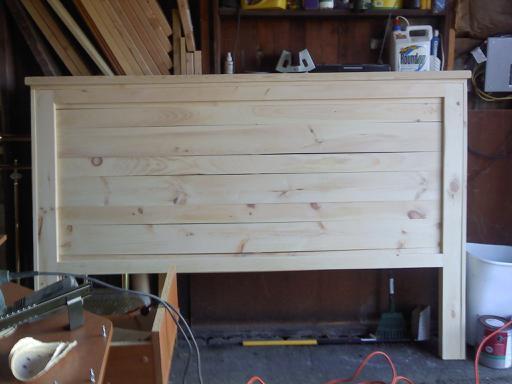
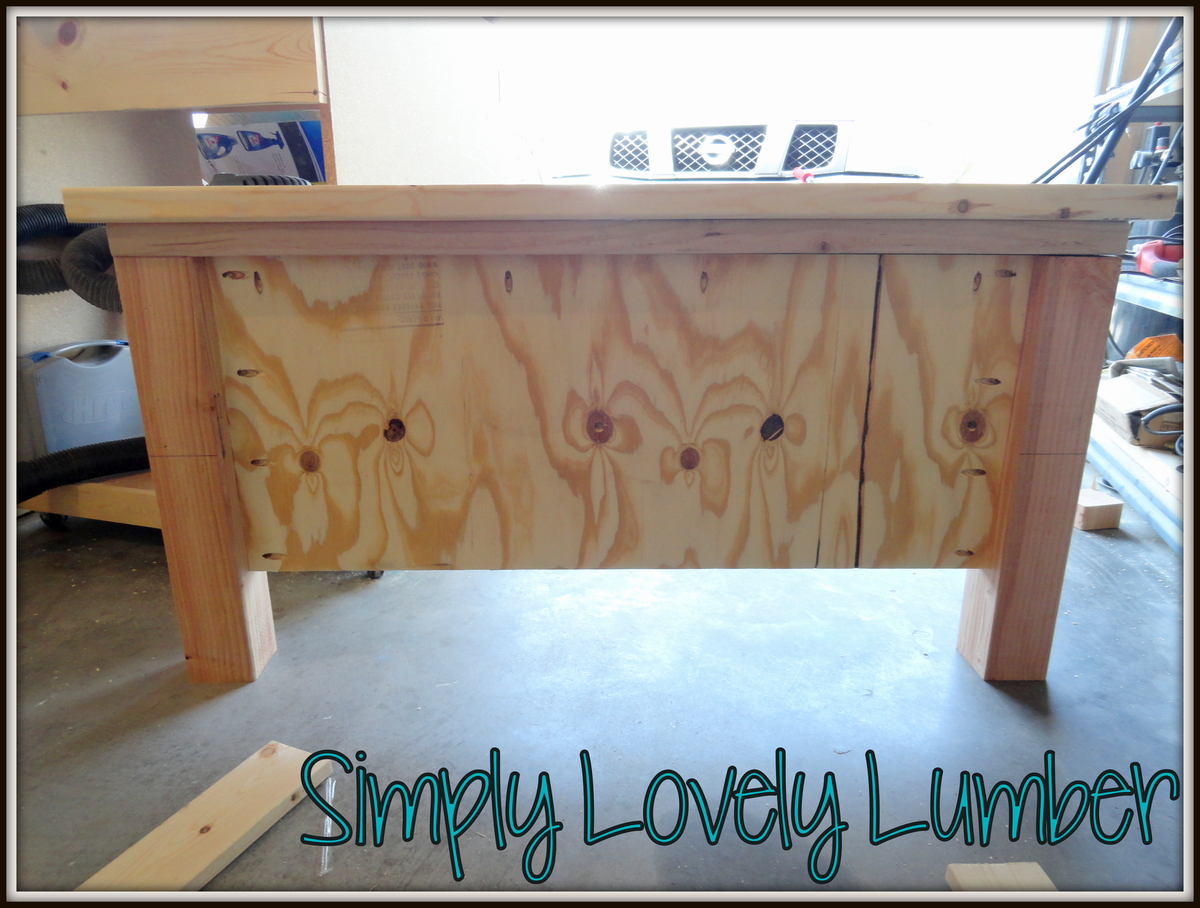
My first Easy Build Headboard, King Size

Submitted by andreak on Thu, 05/12/2011 - 16:15

This was my first project and it come out beautifully. I did learn a valuable lesson - if you are going to build something in the basement, make sure it fits up the stairs. Not sure if you can tell from the picture but this ended up 6 inches shorter than the plans. Can wait to find my next project!

Estimated Cost
$150
Estimated Time Investment
Day Project (6-9 Hours)
Finish Used
MinWax Wood Finish Red Mahogany 25 - Minwax Polyurethane
Recommended Skill Level
Beginner

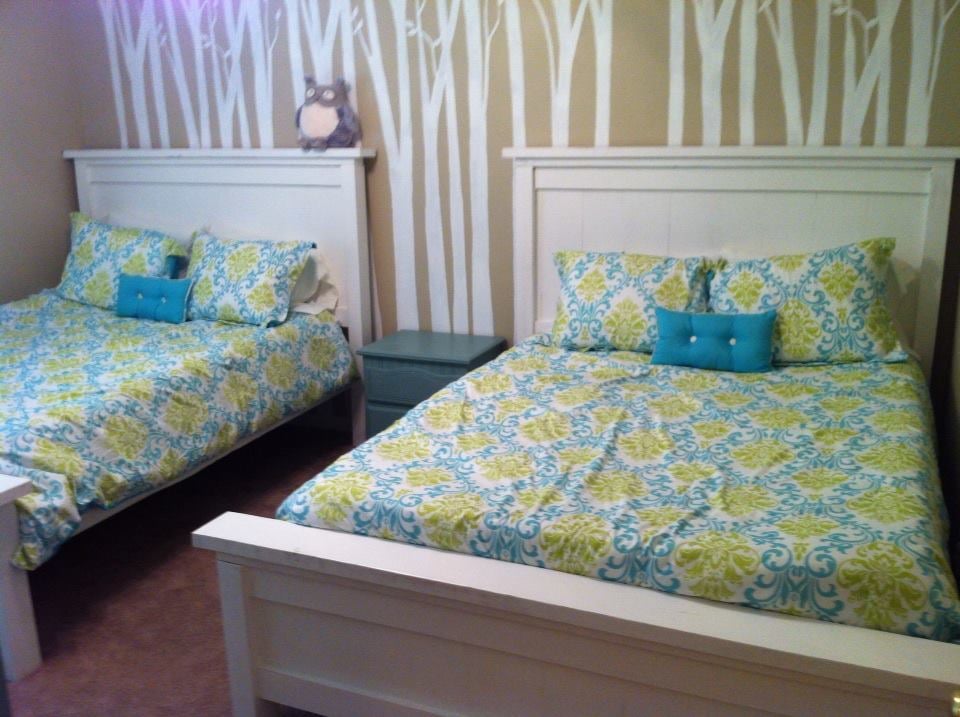
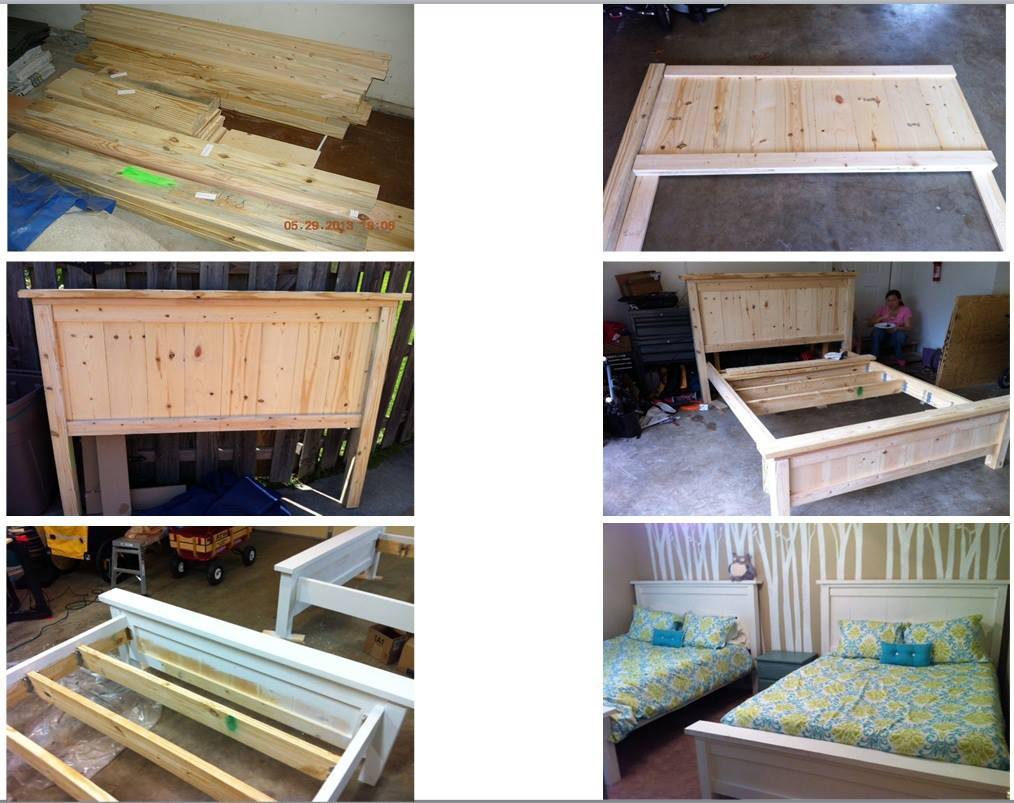
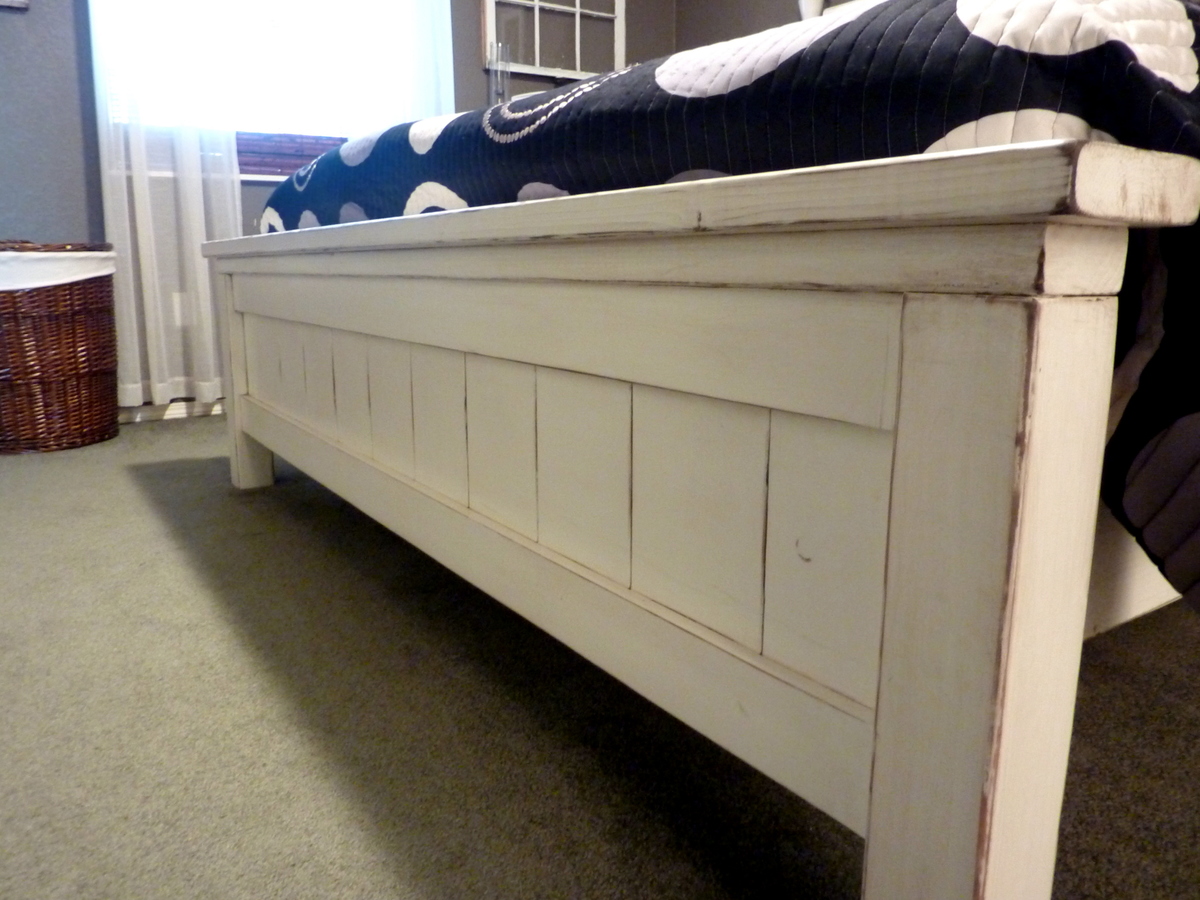
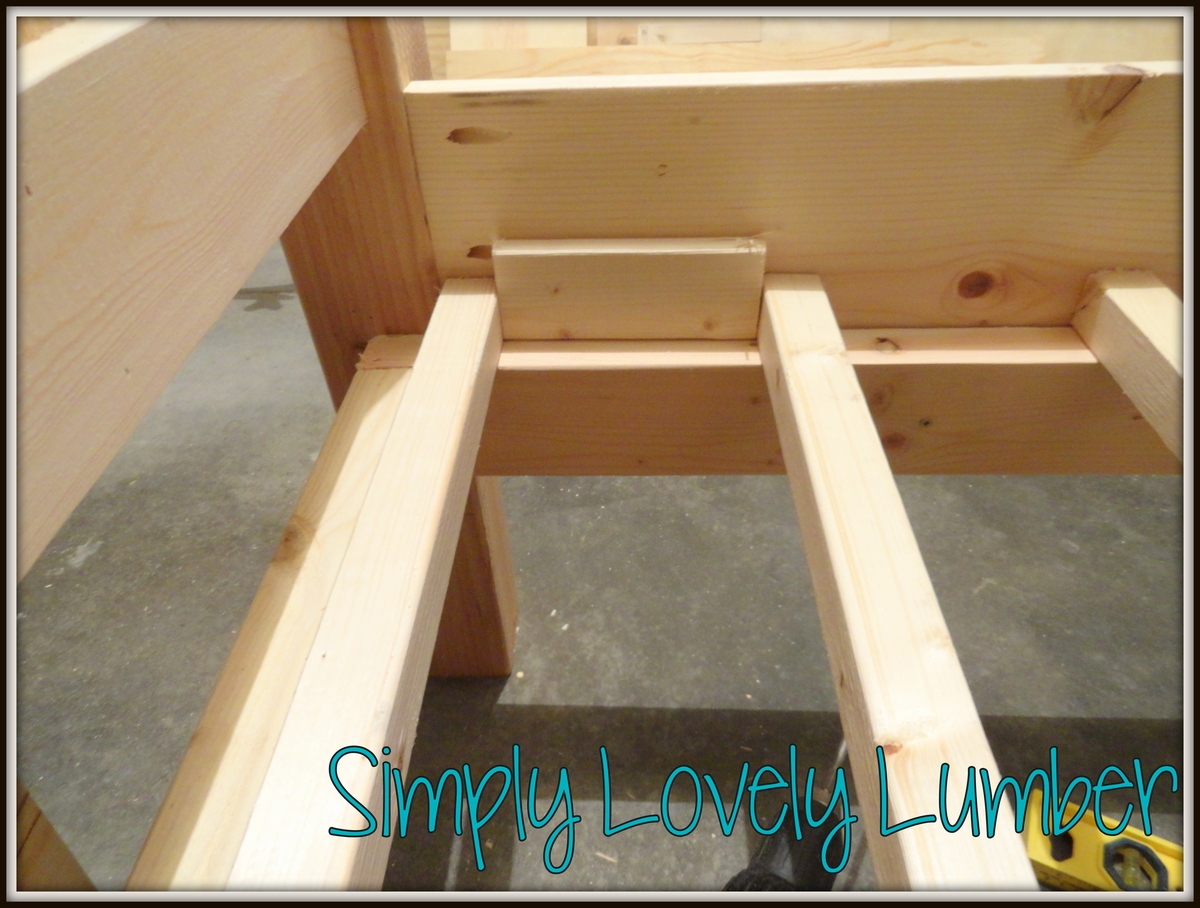
Built two queen sized farmhouse beds for my daughters.

Submitted by bh2469 on Sat, 07/13/2013 - 13:11

Decided to build beds for my two daughters. We went with two queen sized farmhouse beds that I hope they can keep with them for a very long time. I used joist hangers and attached the head board and foot board so that they could be disassembled easily for moves. The beds came out great and I painted them using Chalk Paint. The project took about three weekends to complete.

Built from Plan(s)
Estimated Cost
$500
Estimated Time Investment
Week Long Project (20 Hours or More)
Finish Used
Annie Sloan Chalk Paint
Recommended Skill Level
Beginner

Comments

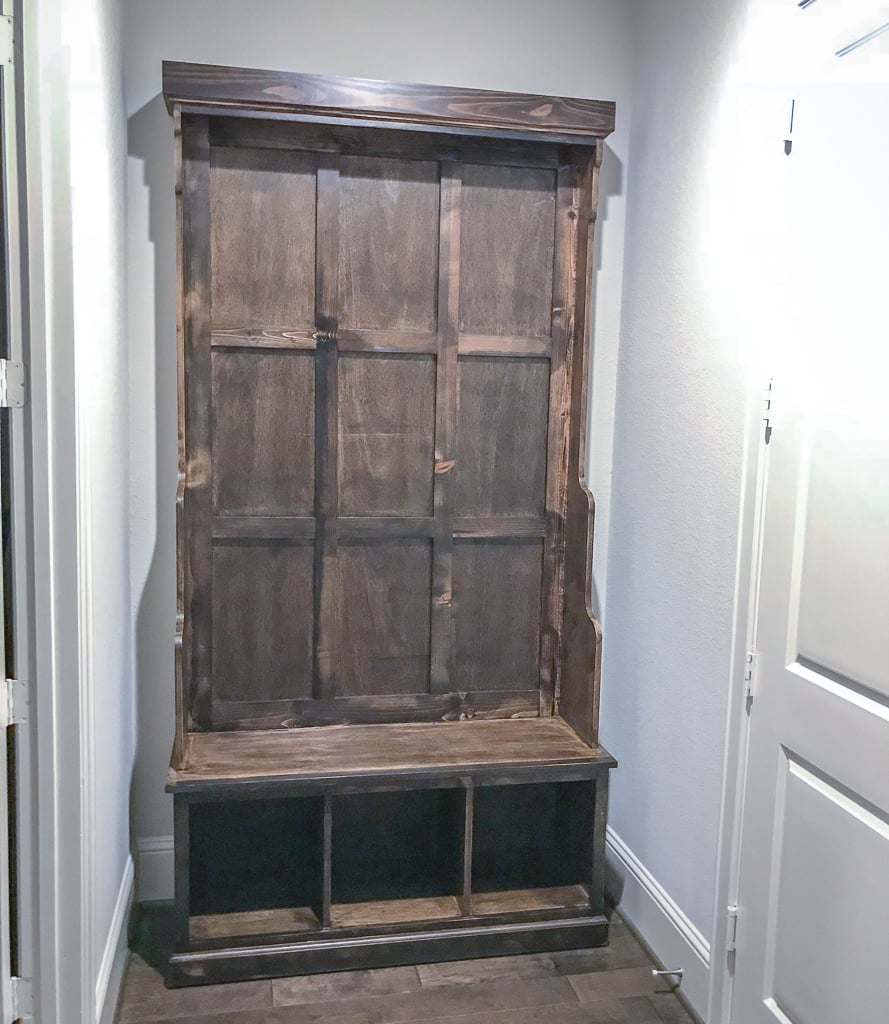
8 Foot Tall Hall Tree

Submitted by Fulton610 on Fri, 02/02/2018 - 14:23

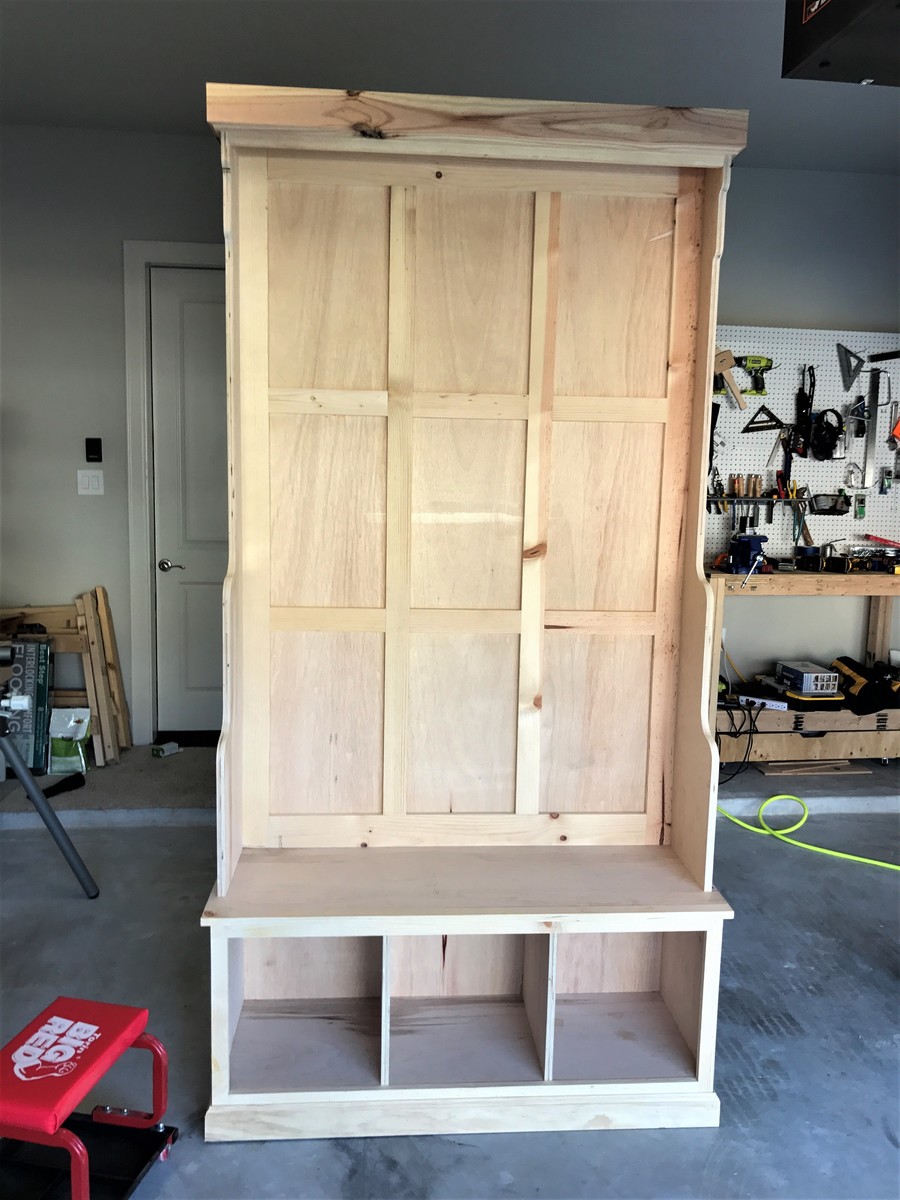
Made the overall height 8 foot since my ceilings are 10 foot. Turned out really great and was a super cheap project compared to purchasing one. 

Built from Plan(s)
Estimated Cost
$250
Estimated Time Investment
Weekend Project (10-20 Hours)
Finish Used
Minwax Walnut
Recommended Skill Level
Intermediate

King Farmhouse Bed

Submitted by peaches76 on Sat, 05/28/2011 - 01:34

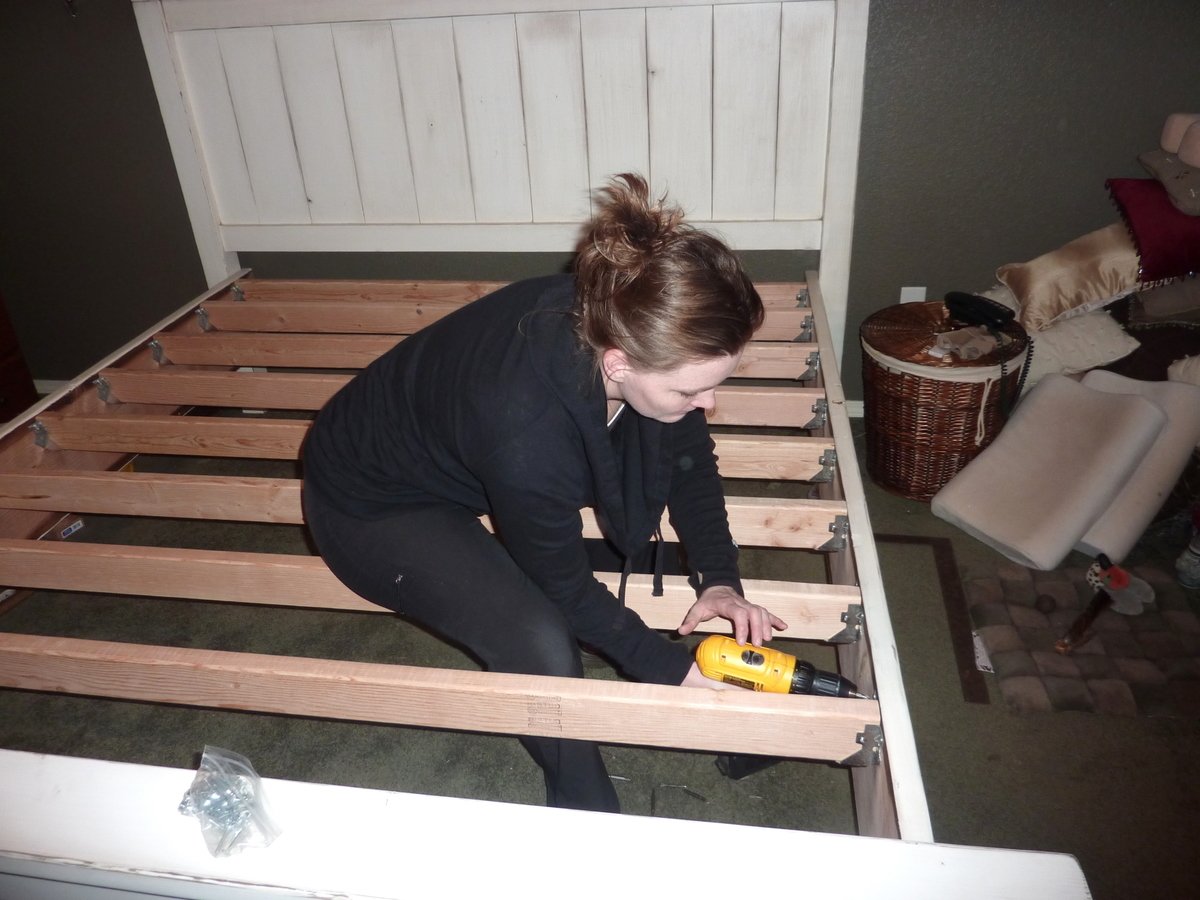
I had been dying to make this bed for awhile but first I needed to convince my husband that it really would be okay to let his sentimental old headboard go. He doesn't like change. Obviously I eventually won. This bed is absolutely bomb proof! I built it as a platform bed and plunked a brand new memory foam mattress on it. We love it!

Estimated Cost
$200
Estimated Time Investment
Weekend Project (10-20 Hours)
Finish Used
Primed. Painted in Behr Cotton Fluff - Satin finish. Sanded and stained with Minwax Dark Walnut stain. The stain was pretty dark but I wanted to use up what I had. I just kept plenty of paper towels and paint thinner nearby to thin it down to the shade I wanted.
Recommended Skill Level
Beginner

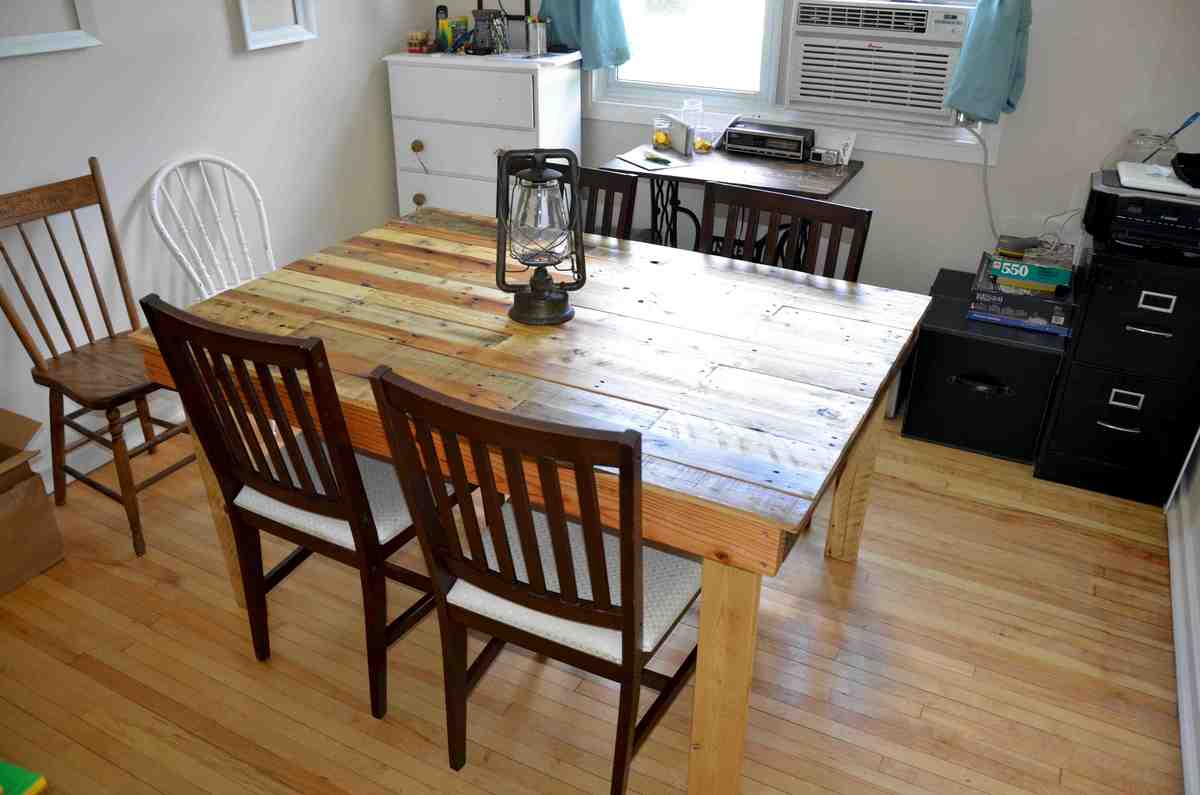
The Shipping Pallet Dining Table

Submitted by worrow on Mon, 07/29/2013 - 05:57

Table measures * 41" wide x 57 1/4" long x 30" tall.
We kept the measurement at 26" from floor to bottom of table.

Here is a list of what we used:

2 1/2" decking screws
2" finishing nails
8 pallets
Table Saw
Corded drill
Reciprocating saw
Bar clamps
1/2" plywood scraps

I wish I was thinking about taking some pictures along the way but here is a brief explanation.

We started with building the frame for the top.

2 - 2x4 @ 55"
2 - 2x4 @ 37 1/2"
3 - 2x3 @ 37 1/2" (we ripped the 2x3's on table saw from other lumber lying around)

Instructions are simple for the frame. Attach the 55" 2x4's to the 37 1/2" 2x4 and note the 37 1/2" ones go in between the long ones not on the end of them.

Next step is to run the 3 2x3 supports. 1 in the middle then the others go in the middle of the next gaps roughly.

*Note*
We did not do the pocket hole screws or try and hide the screws in any way. We screwed the entire frame together from the outside.

So now onto the more challenging step. So the top we have no guide for. We used
our reciprocating saw to get the boards off the skids. Then we had to de-nail the materials. Took approx 8 skids worth. Next was to run them all through the table saw to clean up the edges and remove any crowning or bowing? In a nutshell make all the board edges flush and straight.

After that long process we then started to do our dry fit so we would know which boards we wanted to use and how long we wanted each one to be. Then proceeded to cut them to the lengths and keep them in their respective groups as there were many varying widths as we wanted the top to be very different.

The next step was simple start laying them in place and attaching them to the frame.

During this process we had to bust out the clamps as we had a few troublesome boards that had to be pulled in flush. We used the 2" finishing nails to attach all the boards. After they are all attached this is the ideal time to sand the top.

*Note*
Decide what you want your overhang to be all around during the dry fit process. That will also be the time where you can play with ripping some thinner to make it unique.

So now we have all the boards attached it was time to counter sink ann the finishing nails. After we completed this we wanted to make secure everything just a bit more so we added 1/2" plywood to the bottom of the table in between the support sections.

After this was done it was simply time to cut the legs. We cut our legs @ 28"
We sanded these before attaching them.

*Note*
For the legs we had to assemble the legs in the room as the table is simply too large to bring through a door assembled. Keep this in mind if you decide to use a different design for the legs. We attached the legs with 4 - 2 1/2" screws which was perfect.

After that was done all that was left was to get it finished the way we like it. We used Minwax Antique Protective Oil Finish

If you used my notes to get by hopefully you have something beautiful in your dining room.

Thank you for visiting.

We would like to thank Ann from
http://littlepaths.wordpress.com/2012/08/26/the-shipping-pallet-dining-… for providing us with their design that inspired us.
Estimated Cost
$20
Estimated Time Investment
Weekend Project (10-20 Hours)
Finish Used
Minwax Antique Protective Oil Finish - We followed the directions on the can and applied 3 coats.
Recommended Skill Level
Intermediate

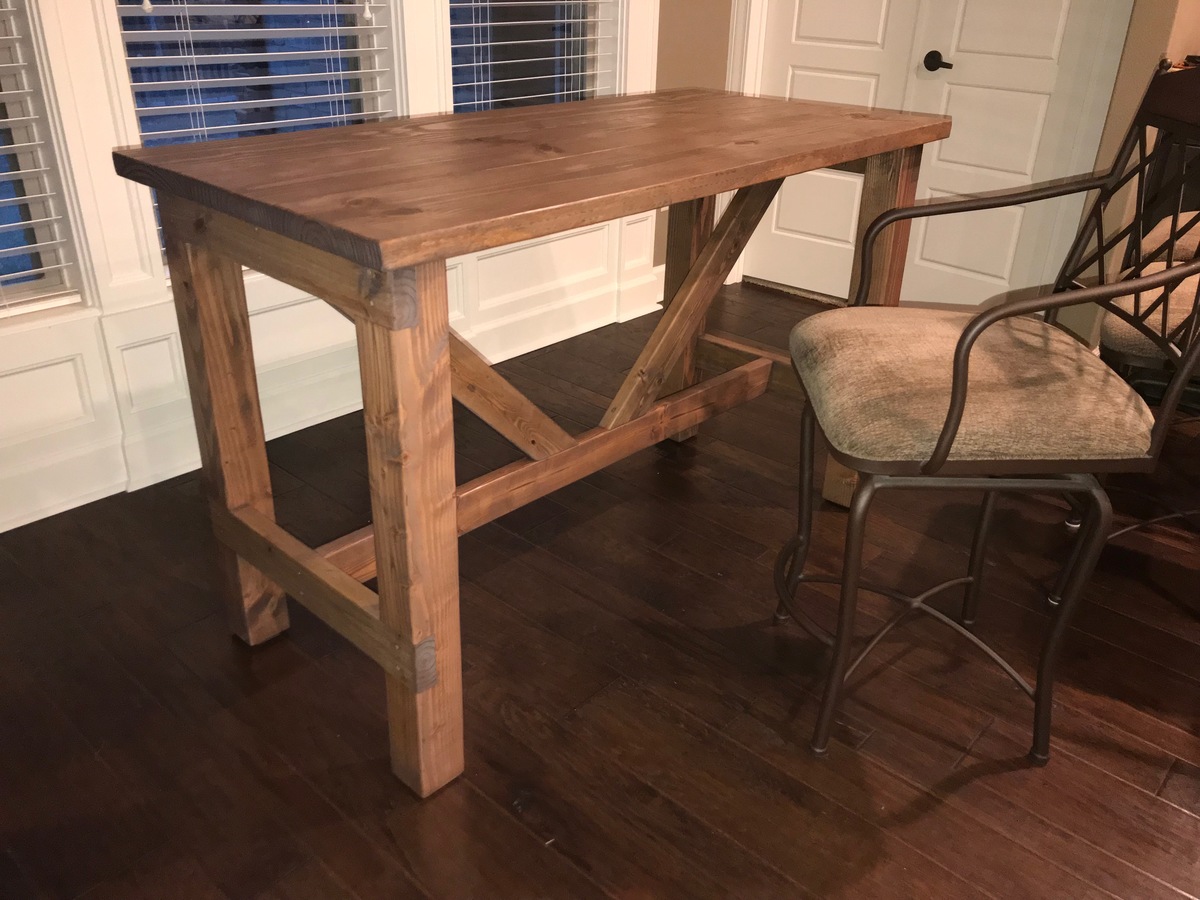
Farmhouse Table - Modified

The Breakfast Nook is a small space with doors on either side.  The Bar-Stools are a little bit "higher than normal" and they have an obtrusive arm.  Very comfortable for sitting; but, cannot have an apron on a table or bar.  Needed room for 2 stools on each side.
To meet all these requirements, end up with a table that's long-ish, narrow, and tall.  Desired dimensions:  58 L x 28 W x 36.25 H.

Problems:  (1) worried about it being "wobbly" (tall & could not have an apron on the length); (2) needed to fit those bar-stools between the legs.

Solution:  I "merged" the plans for the Farmhouse Table with elements of the Truss Beam table for structural integrity.

Top is typical:  used pocket-hole jig / screws (Kreg) to join three 2 x 10's.  Final Width:  27.75".  Cut even with straight-edge and framing saw (used a 60 T Fine-finish blade - nice!).

Set the end stretchers into the legs; attached with brown-colored deck screws.  Attached length-wise stretchers to the end stretchers with deck screws.  Could have used pocket-holes; but, this way, it's symmetrical and everything matches.

Added 45 degree supports for stabililty - used combination of pocket-holes and deck screws.

Base is sized so that top has a 1.5" overhang all-round.  

Attached the top to the base with pocket-holes / screws - to top end stretchers and legs, and top length-wise stretcher.

Estimated Cost
130
Estimated Time Investment
Weekend Project (10-20 Hours)
Finish Used
First, pre-stain wood conditioner (oil-based). Then a 2-stage stain:  Special Walnut followed by Weathered Oak (the wife got this scheme from AnaWhite.com). Finished with Satin Polyurethane (Wipe-on). All Min-Wax products.
Recommended Skill Level
Intermediate

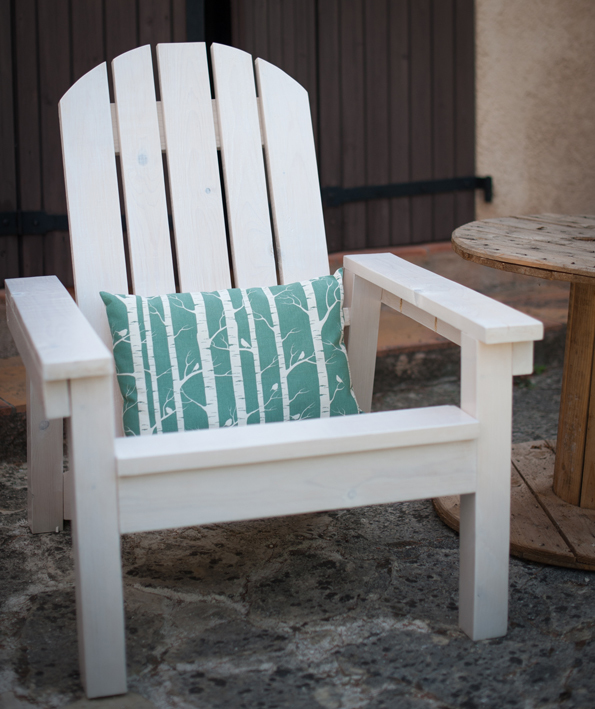
Adirondack Chair

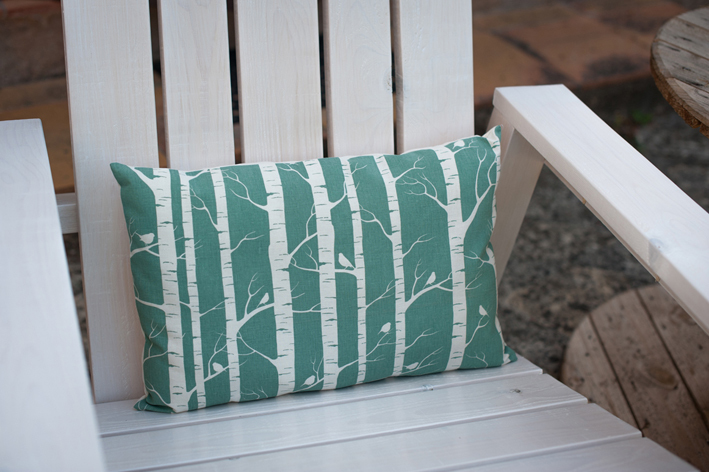
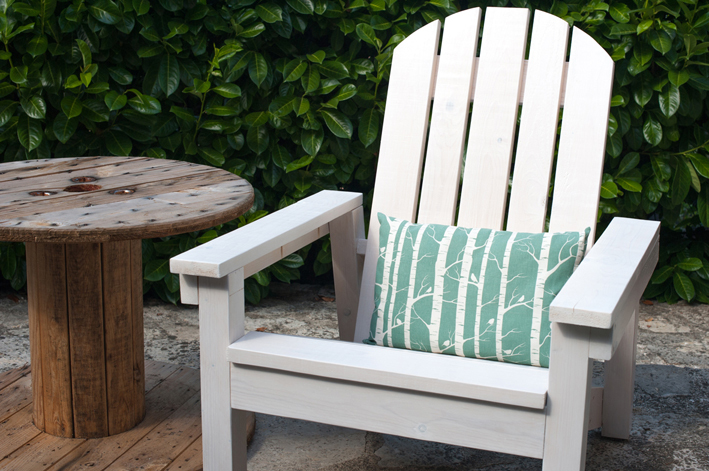
I'm a French woodworking. It was so easy to buid this adirondack chair. I'm using my lovely kreg jig. I want to redo two other chairs... Thank you so much Ana ;-). Sory for my bad english !!!

Estimated Cost
50€
Estimated Time Investment
Afternoon Project (3-6 Hours)
Finish Used
lasure
Recommended Skill Level
Intermediate

Indoor Playhouse for nephew

Submitted by Anonymous (not verified) on Tue, 04/26/2022 - 10:18

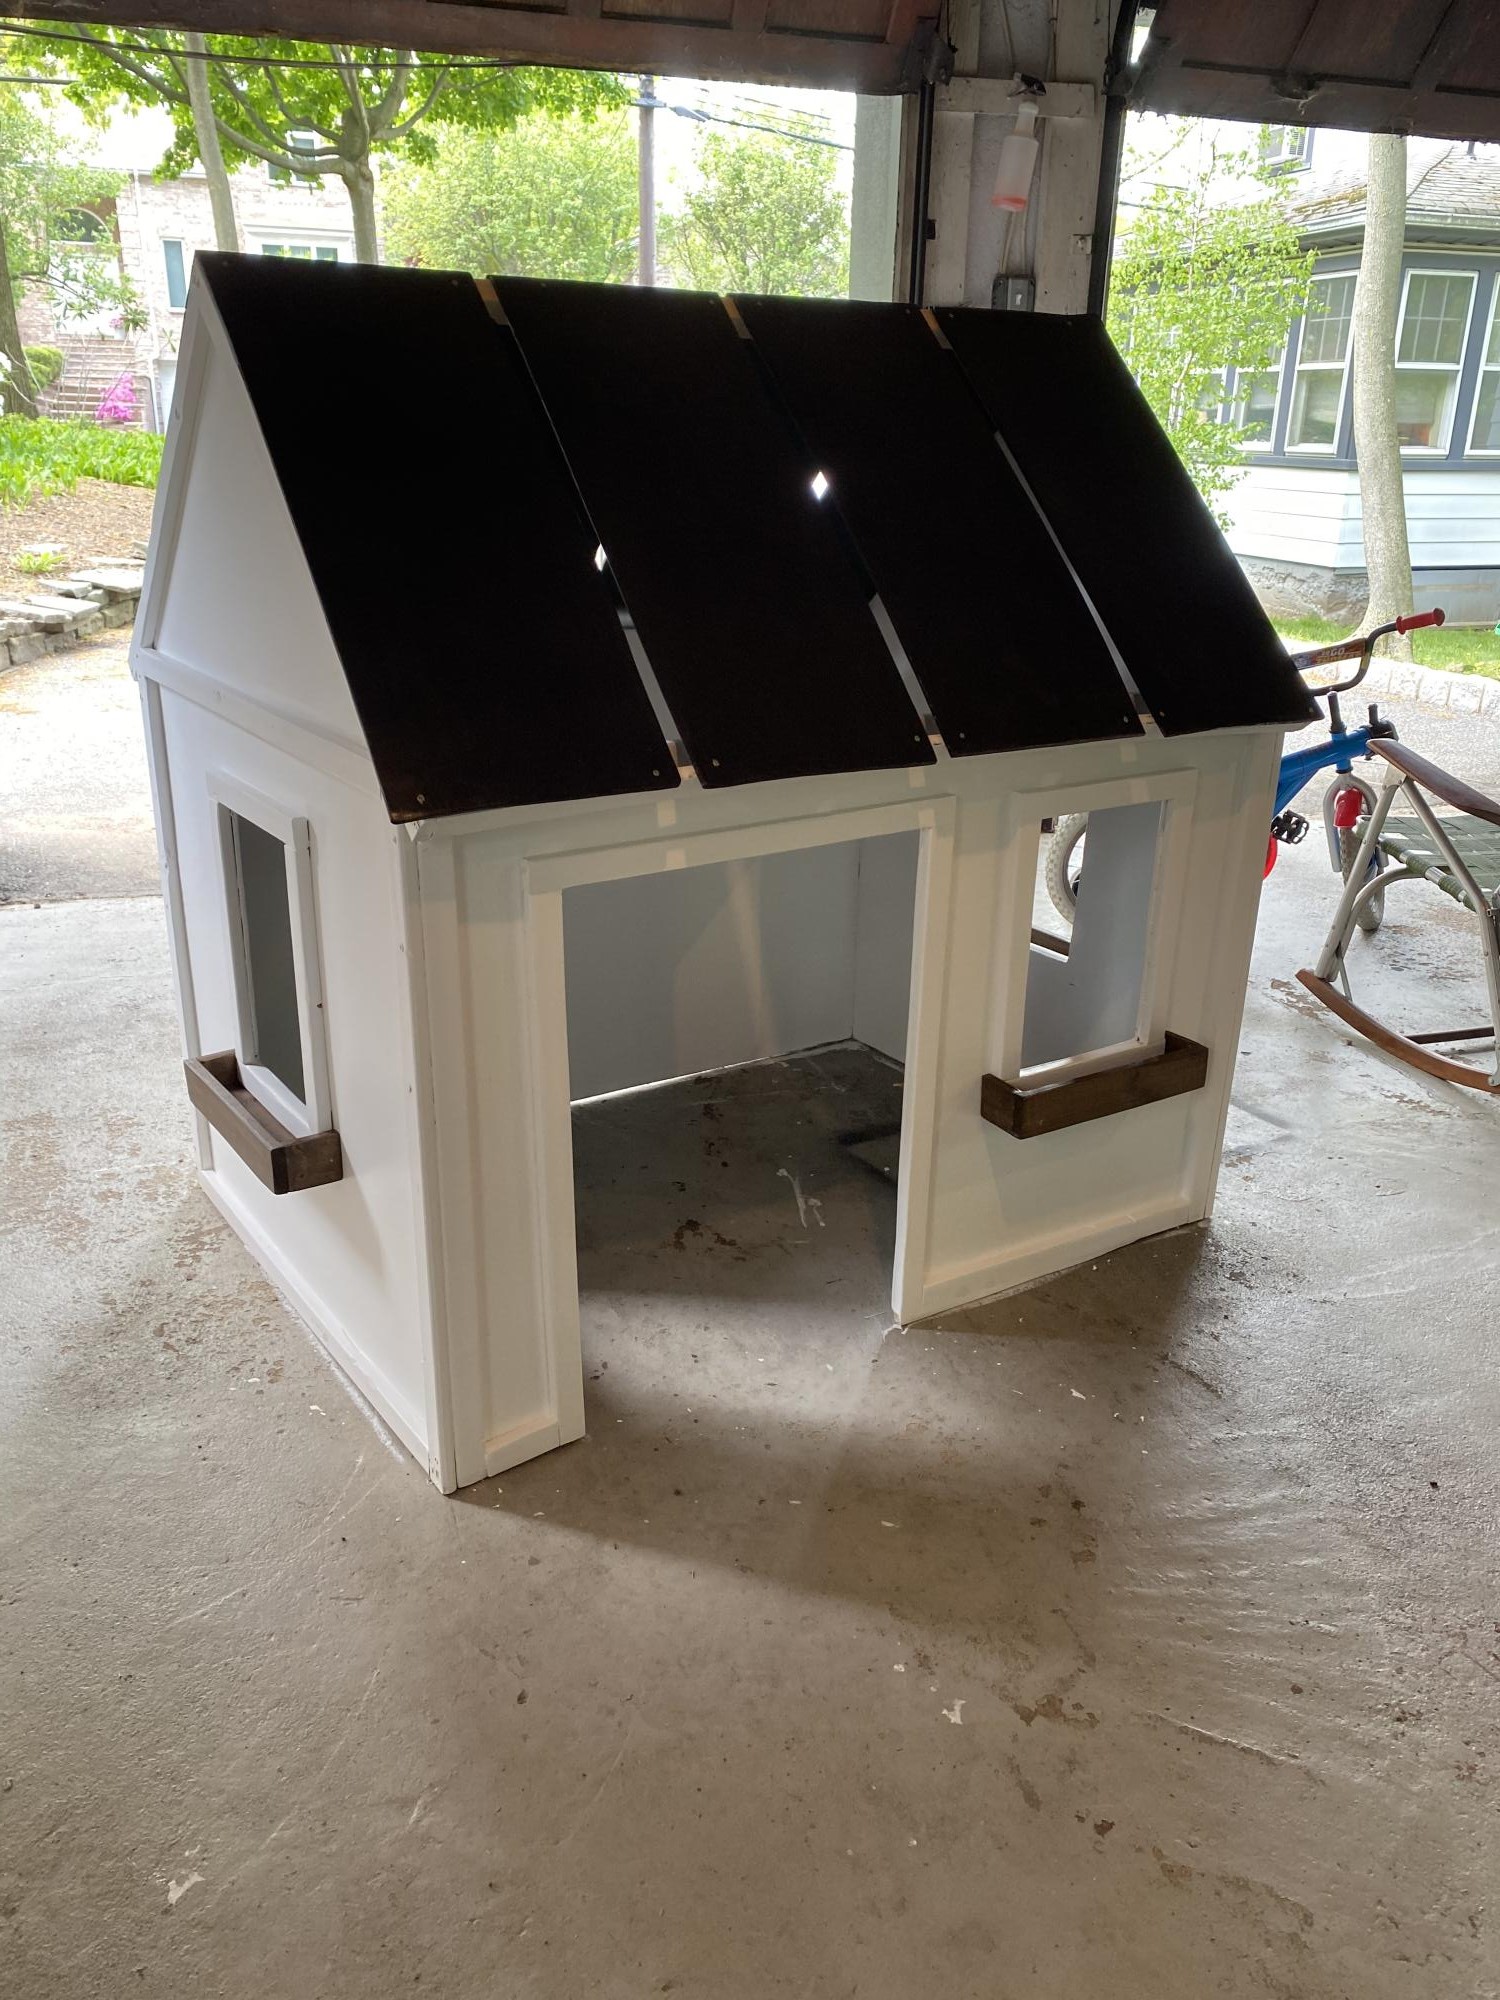
First project with pocket holes. A little challenging for a complete beginner, but pretty forgiving and fun to make! My nephew LOVES it!

Built from Plan(s)

Comments

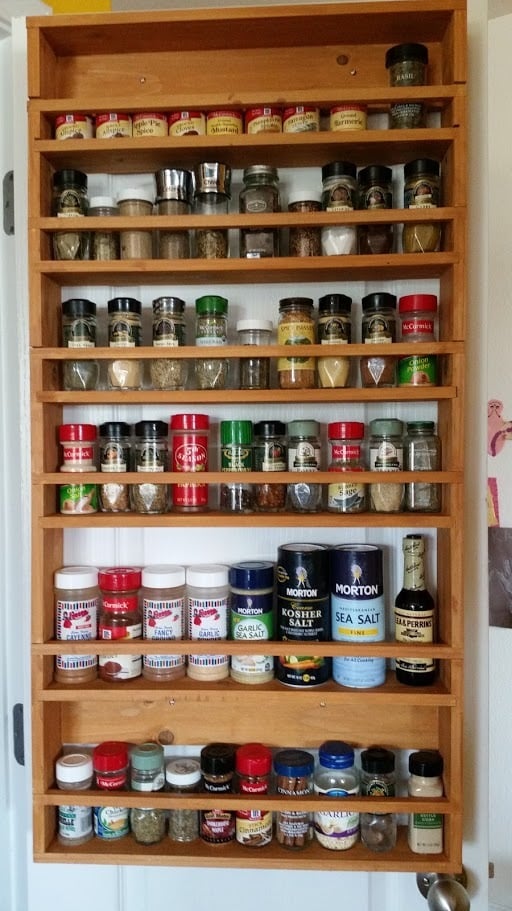
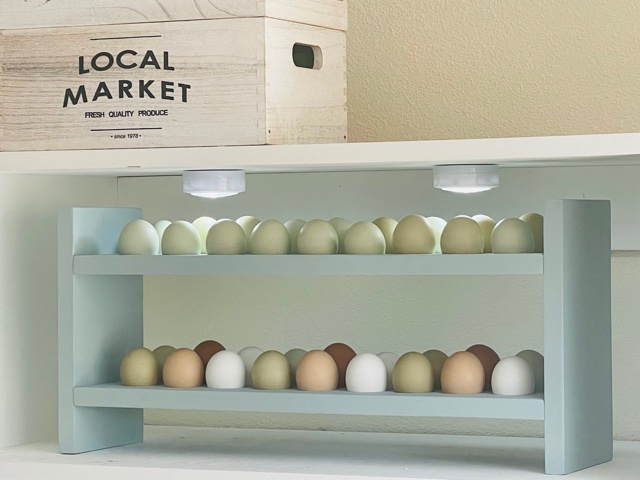
Door Spice Rack from 2x4s

Submitted by newfern on Mon, 09/07/2015 - 19:59

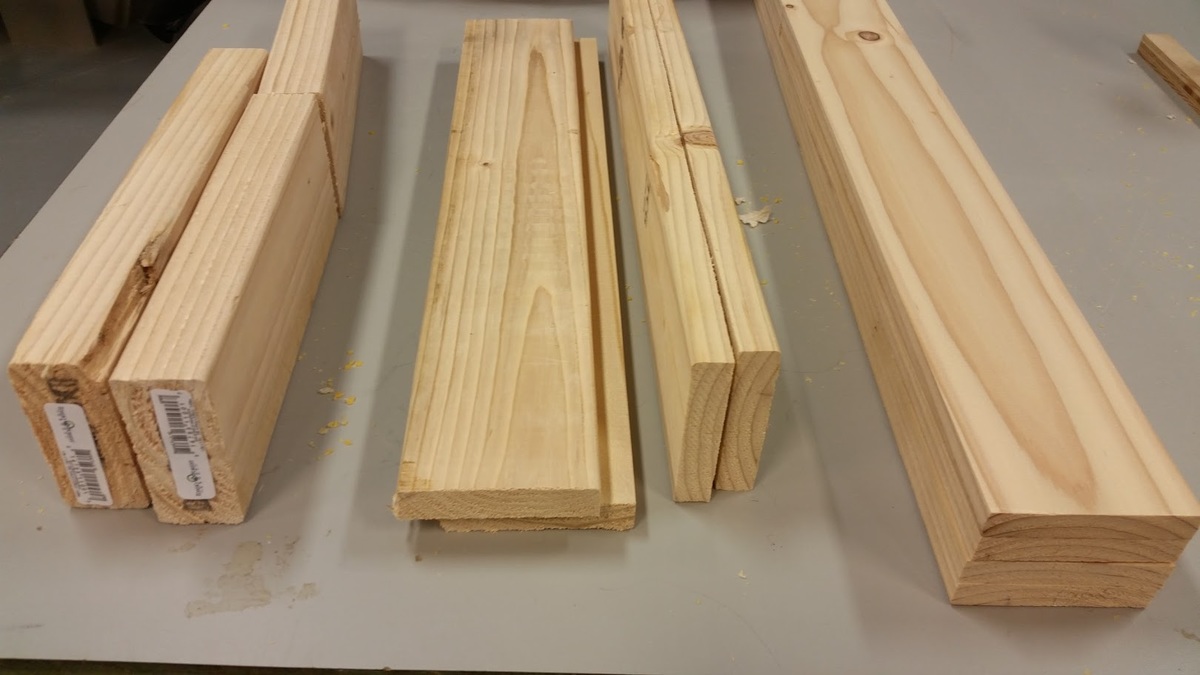
Bought only two 2x4s to complete this project. Ripped and chopped and milled like crazy to get it down to the dimensions of the plans. The pine is a little flimsy, I wouldn't recommend it unless you're on an extreme budget, but it CAN be done! Just know that any of the cross-bars that have a knot-hole will probably snap sooner than later. (Luckily I milled extras!)

Another cost tip is to skip the backing. I used two supports from the main material instead of any plywood. Watch out for wracking when doing the glue up and it'll be just fine. Fully supported with less weight too!

Built from Plan(s)
Estimated Cost
$10
Estimated Time Investment
Afternoon Project (3-6 Hours)
Finish Used
cedar fence stain (Says mildew resistant... sounds great!)
Recommended Skill Level
Intermediate

Comments

Step Stools are Awesome

Submitted by Jake on Tue, 08/13/2013 - 18:55

About three years ago I made my first project from Ana's plan for the Super Easy Little Tricky Ladder Table. It is the one on the right in the opening picture. That little step stool (that is what it is used for) has stood the test of my 175 lbs and the terrors of two grandkids dragging it around for all sorts of mischief. Since then I have made another version of that same stool but a little wider and shorter for more stability and I like the new proportions

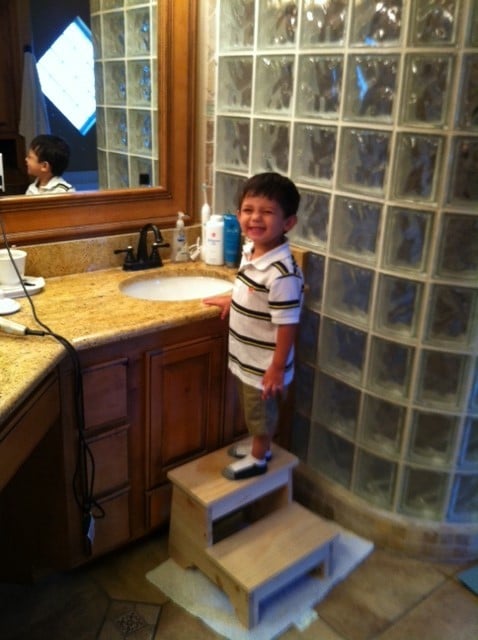
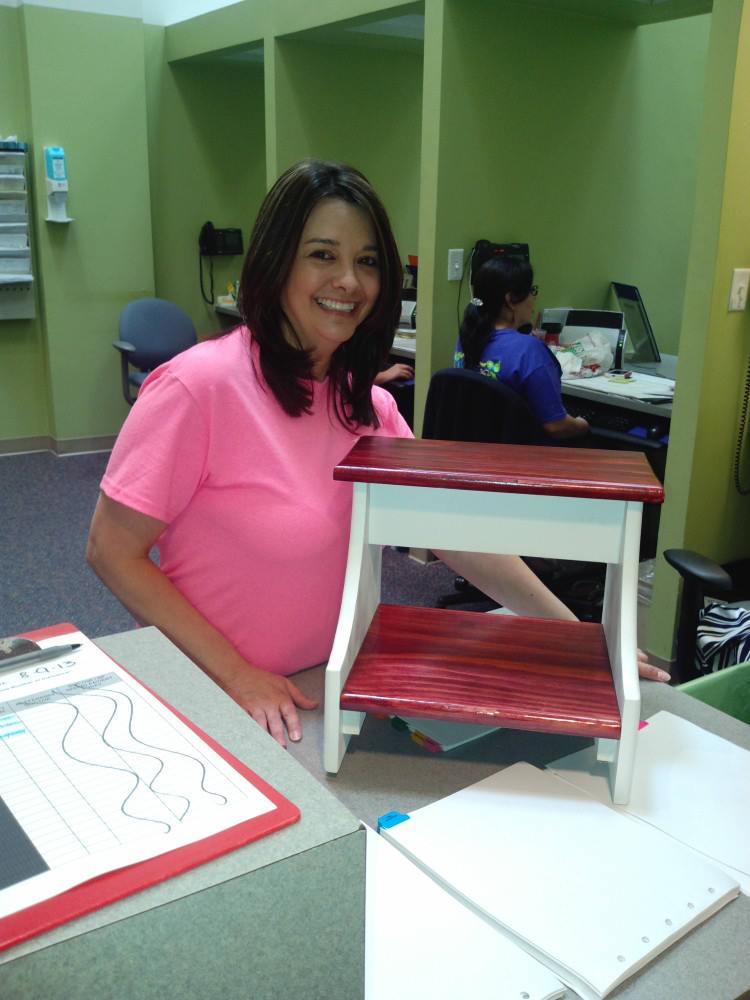
I have also made one of Ana's Vintage Step Stools and that is the one with the kid standing on it in the bathroom. Perfect. The last picture shows my knock-off of a classic Shaker step stool except I hinged the top to add a small amount of storage under it. That is not me in the picture. Its a co-worker.

I encourage everyone to build these stools. My family has found them to be very very useful in the kitchen, in the bathroom, reaching high places in closets and I even use them to paint rooms. Easier than dragging a step ladder around.

My only caution is to use the best grade of pine or a stronger wood and to overdo the strength of the lower step connections. Do NOT build these out of furring strip wood. I did and it collapsed immediately. Not the joint but a leg below the lower step connection.

Estimated Cost
About $36 for all four. Two days per stool to build and finish.
Estimated Time Investment
Weekend Project (10-20 Hours)
Finish Used
A great variety as the photos show. On the last stool I tried the paste stain to my horror.
Recommended Skill Level
Beginner

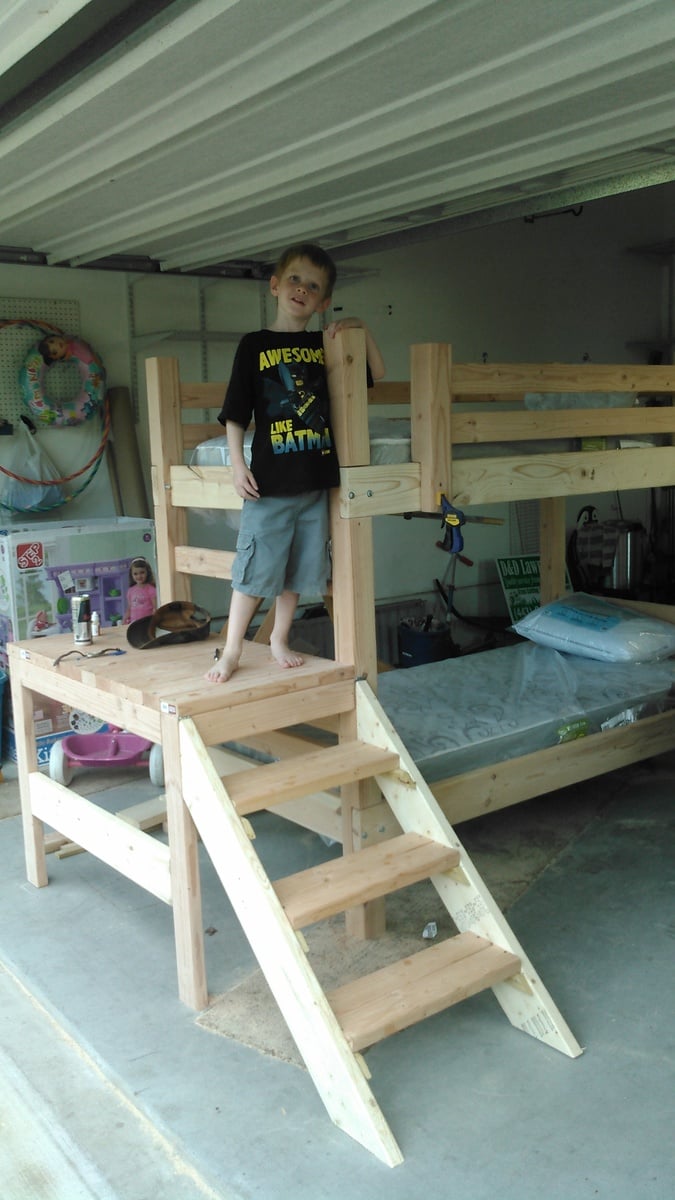
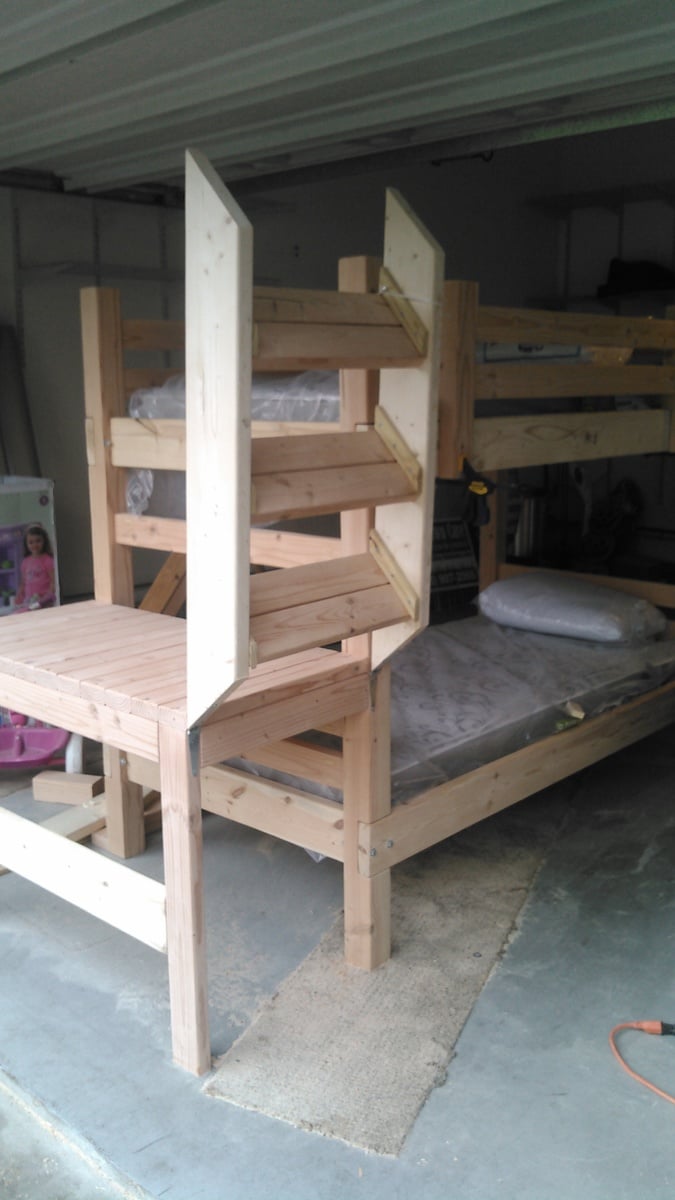
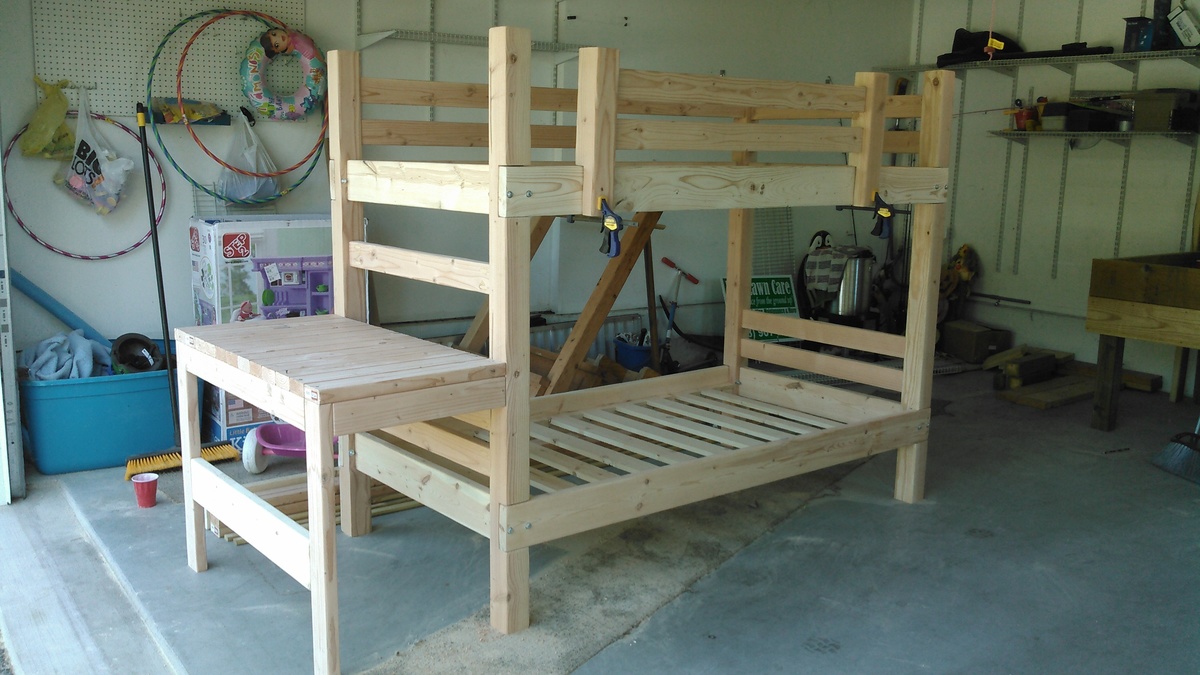
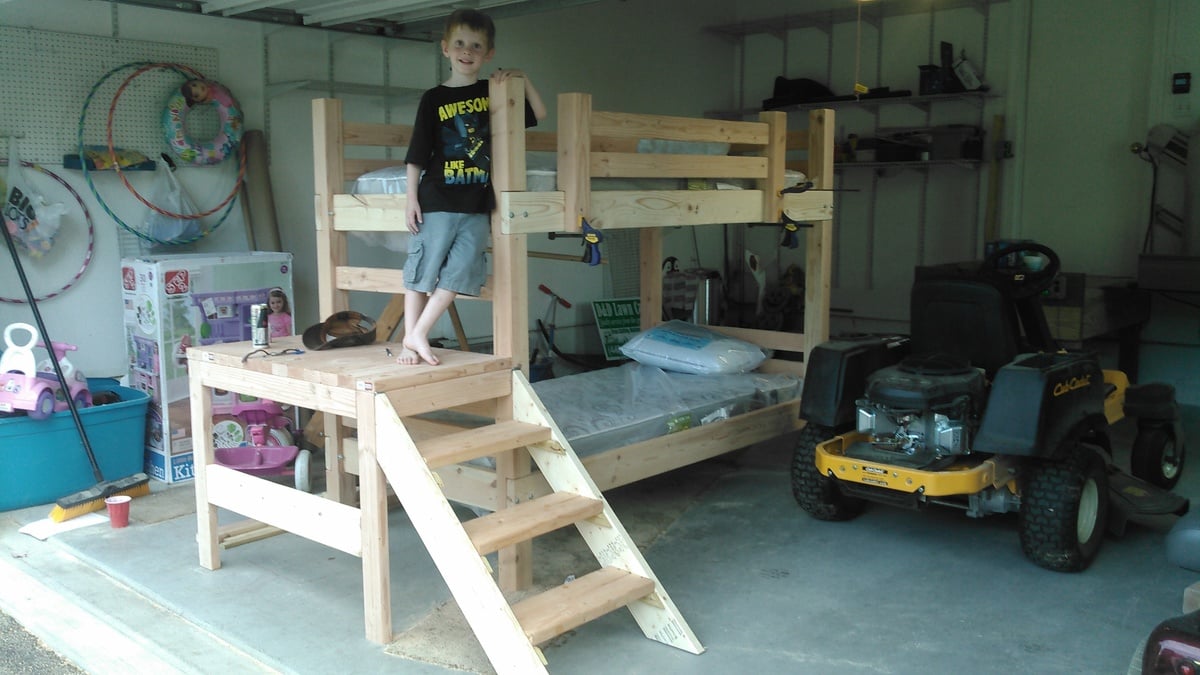
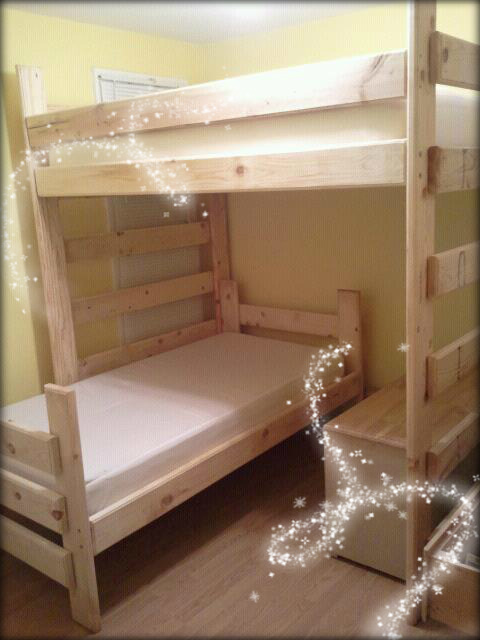
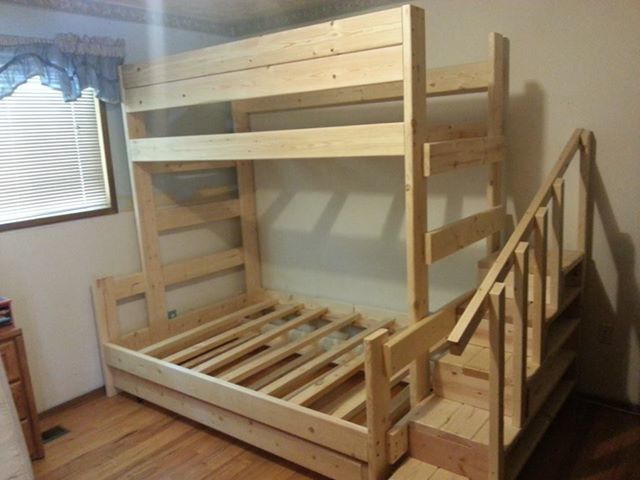
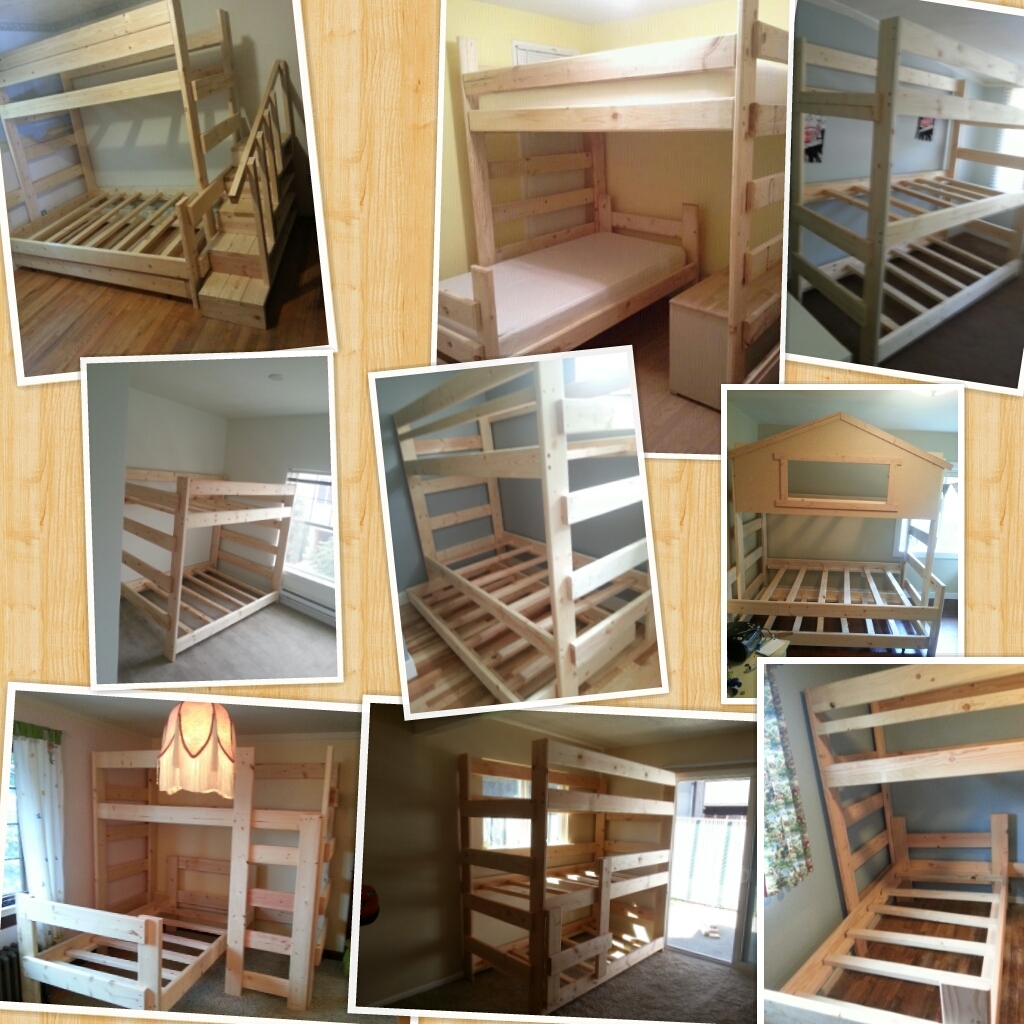
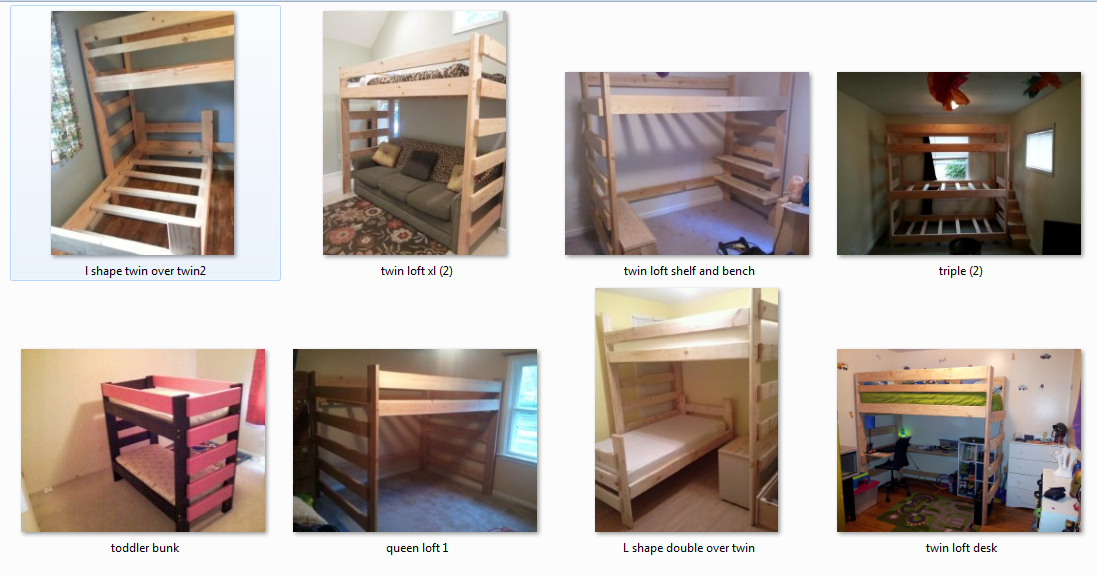
Altered Camp Loft Bed w/ stairs

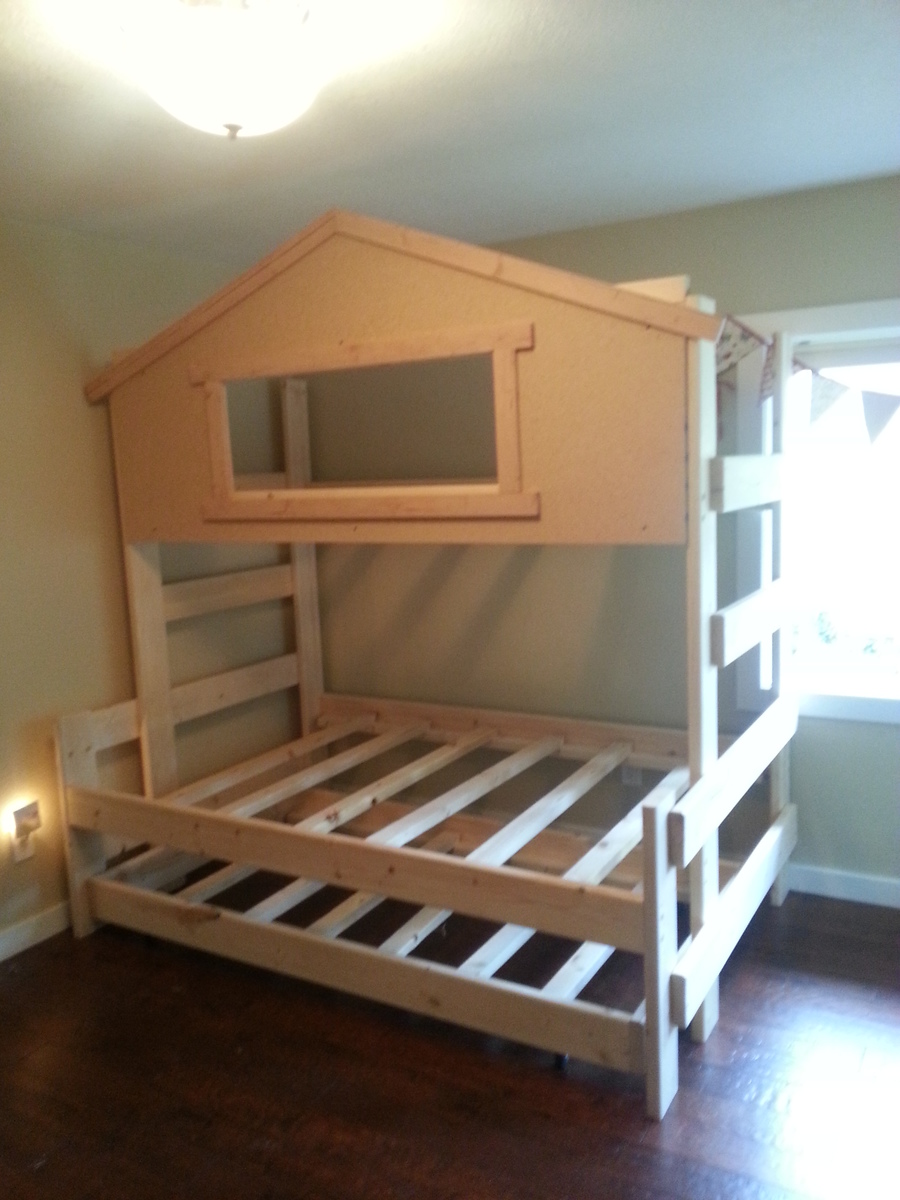
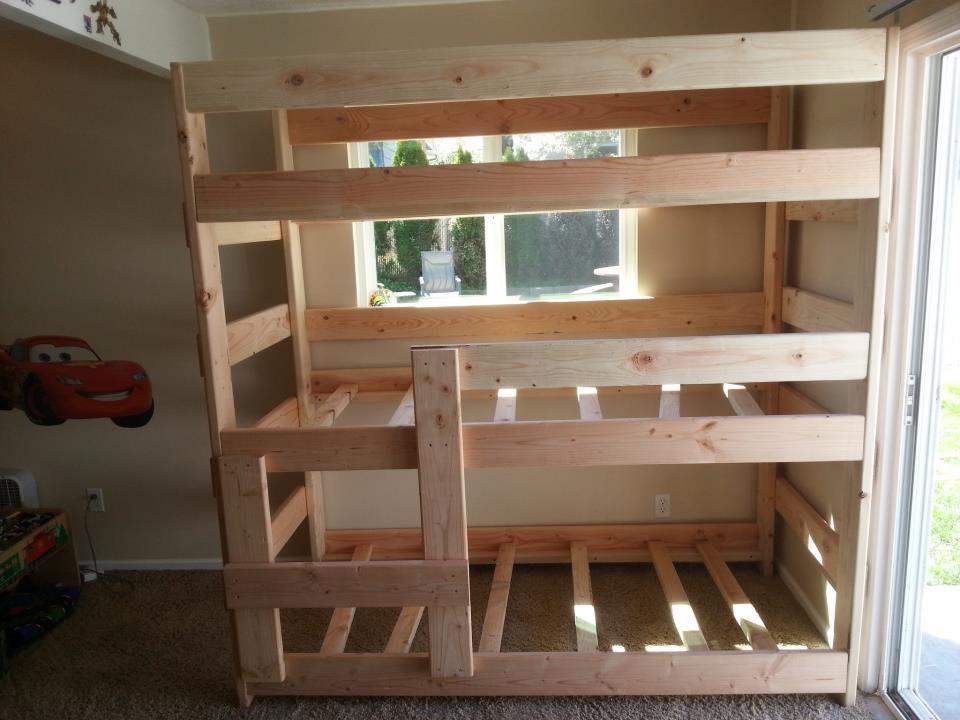
Started with the basic loft plans. Changed out the 2x4 post for some sturdy 4x4's and added a bottom bunk to build this set for my two boys. I also deviated from the plans by using carriage bolts to connect the landing for the steps and the side rails to those post so the bed can easily be disassembled and moved in the future. Finally I placed the steps themselves on a set of hinges so I could easily access the area underneath the landing if needed. This has the added bonus of allowing me to lock the steps in the up position to restrict access to the top bunk during visits with younger family and friends. Now just need to stain it, seal it, and put inside.

Estimated Cost
200.00
Estimated Time Investment
Weekend Project (10-20 Hours)
Recommended Skill Level
Beginner

Comments

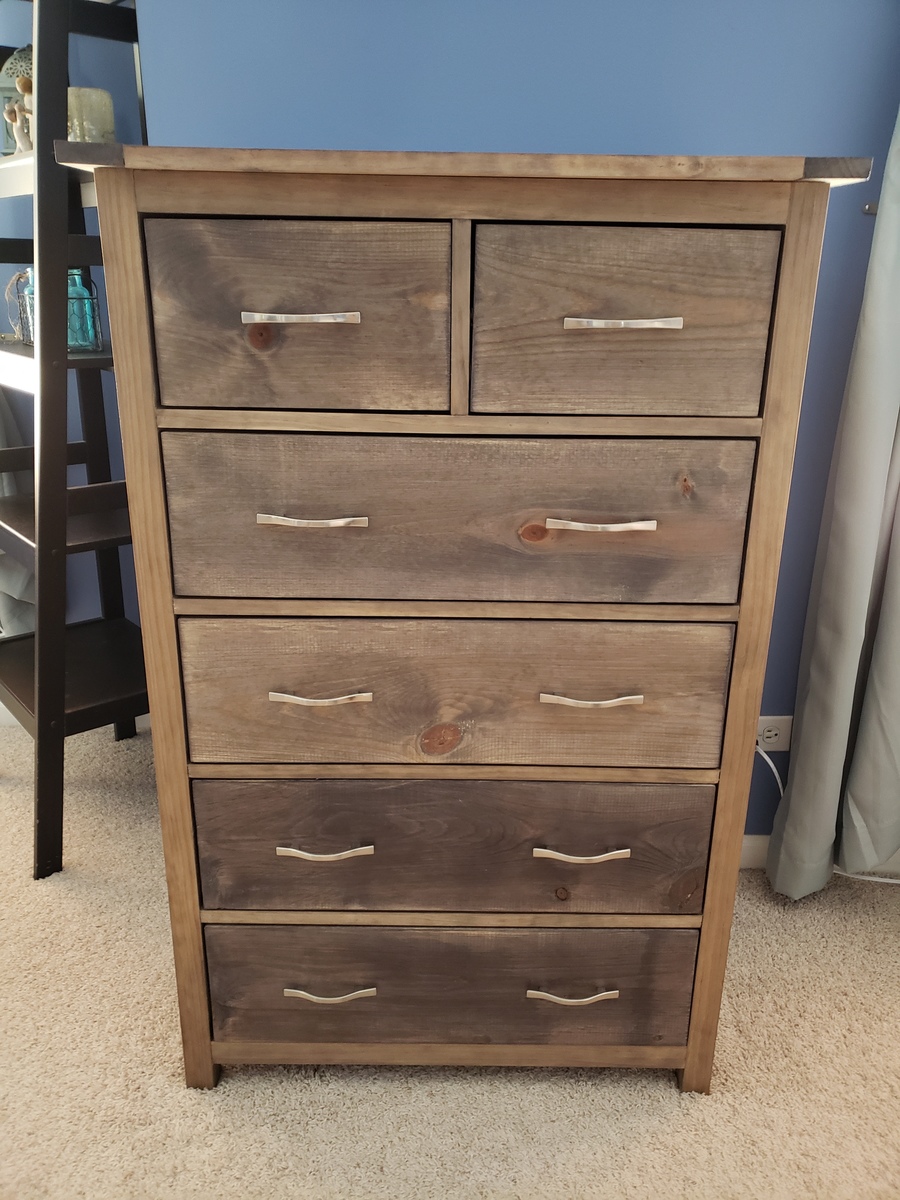
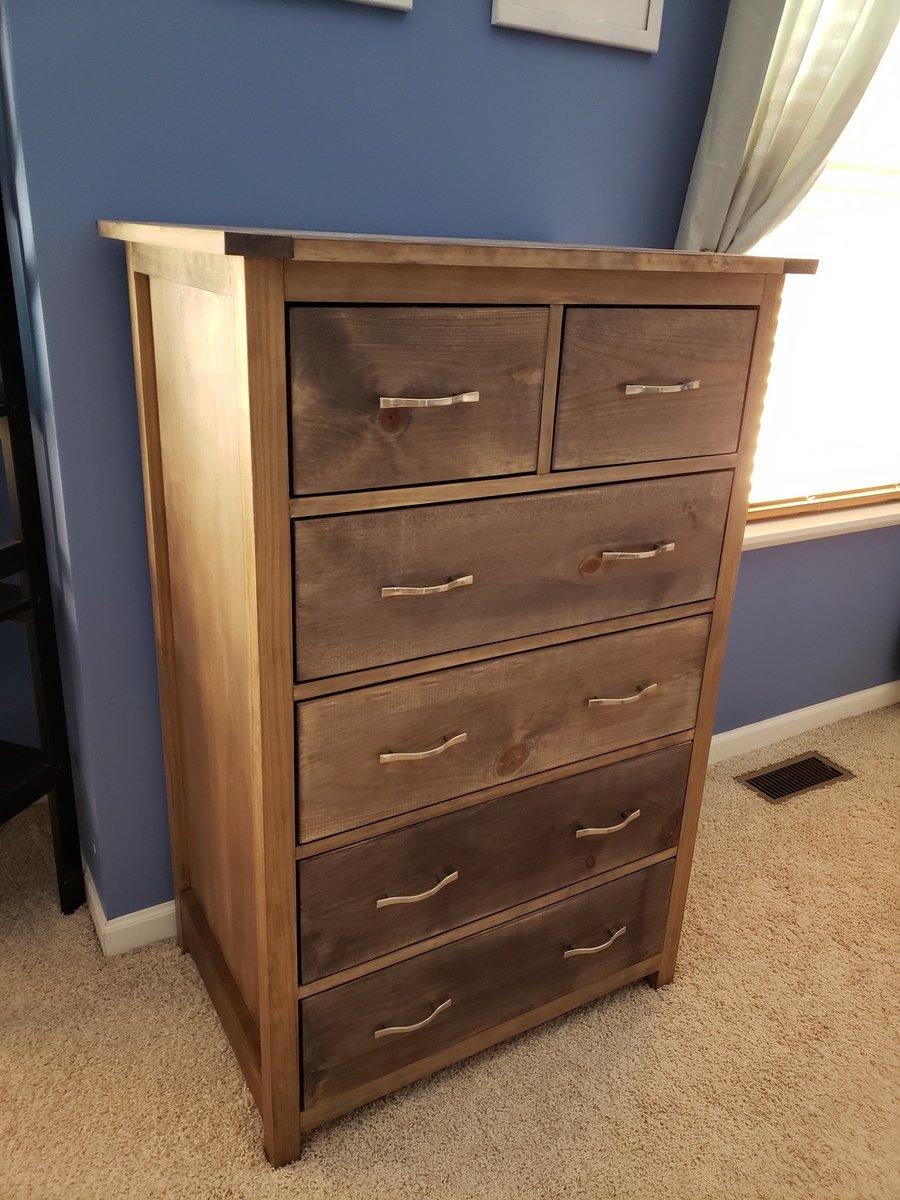
Tall Bedroom Dresser

Had a blast with this project and am getting more confident with drawer slides. I built a matching dresser that is much shorter and wider. It can be found here: http://www.ana-white.com/2018/08/DIY_furniture/bedroom-dresser

Estimated Cost
$150-$200
Estimated Time Investment
Weekend Project (10-20 Hours)
Finish Used
Varathane Weathered Wood Accelerator, Varathane Poly
Recommended Skill Level
Advanced

Comments

hutchingslv

Thu, 08/12/2021 - 15:35

Any way to get a copy of these plans? I really like the look and want to give it a shot. Have to make a few of these if all goes well for all my boys.
Thanks

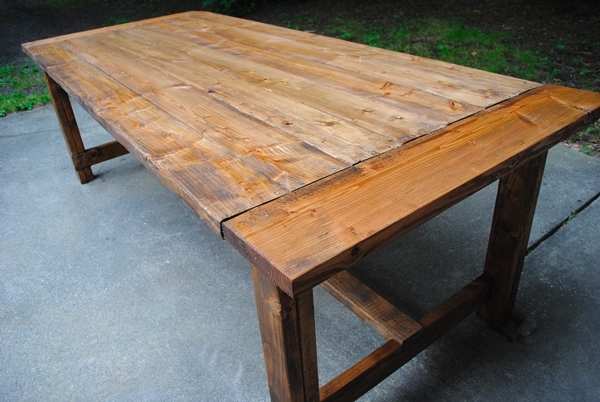
Farmhouse Table

This is my very first woodworking project (except for a Paper Towel Holder in High school over twenty years ago).I have always wanted a long farmhouse table, so when I saw the plans,I was excited to try building my own. Thanks so much Ana for making this doable! 

Estimated Cost
Under $200.00
Estimated Time Investment
Week Long Project (20 Hours or More)
Finish Used
Minwax Special Walnut #224 and Polyurethane
Recommended Skill Level
Beginner

Comments

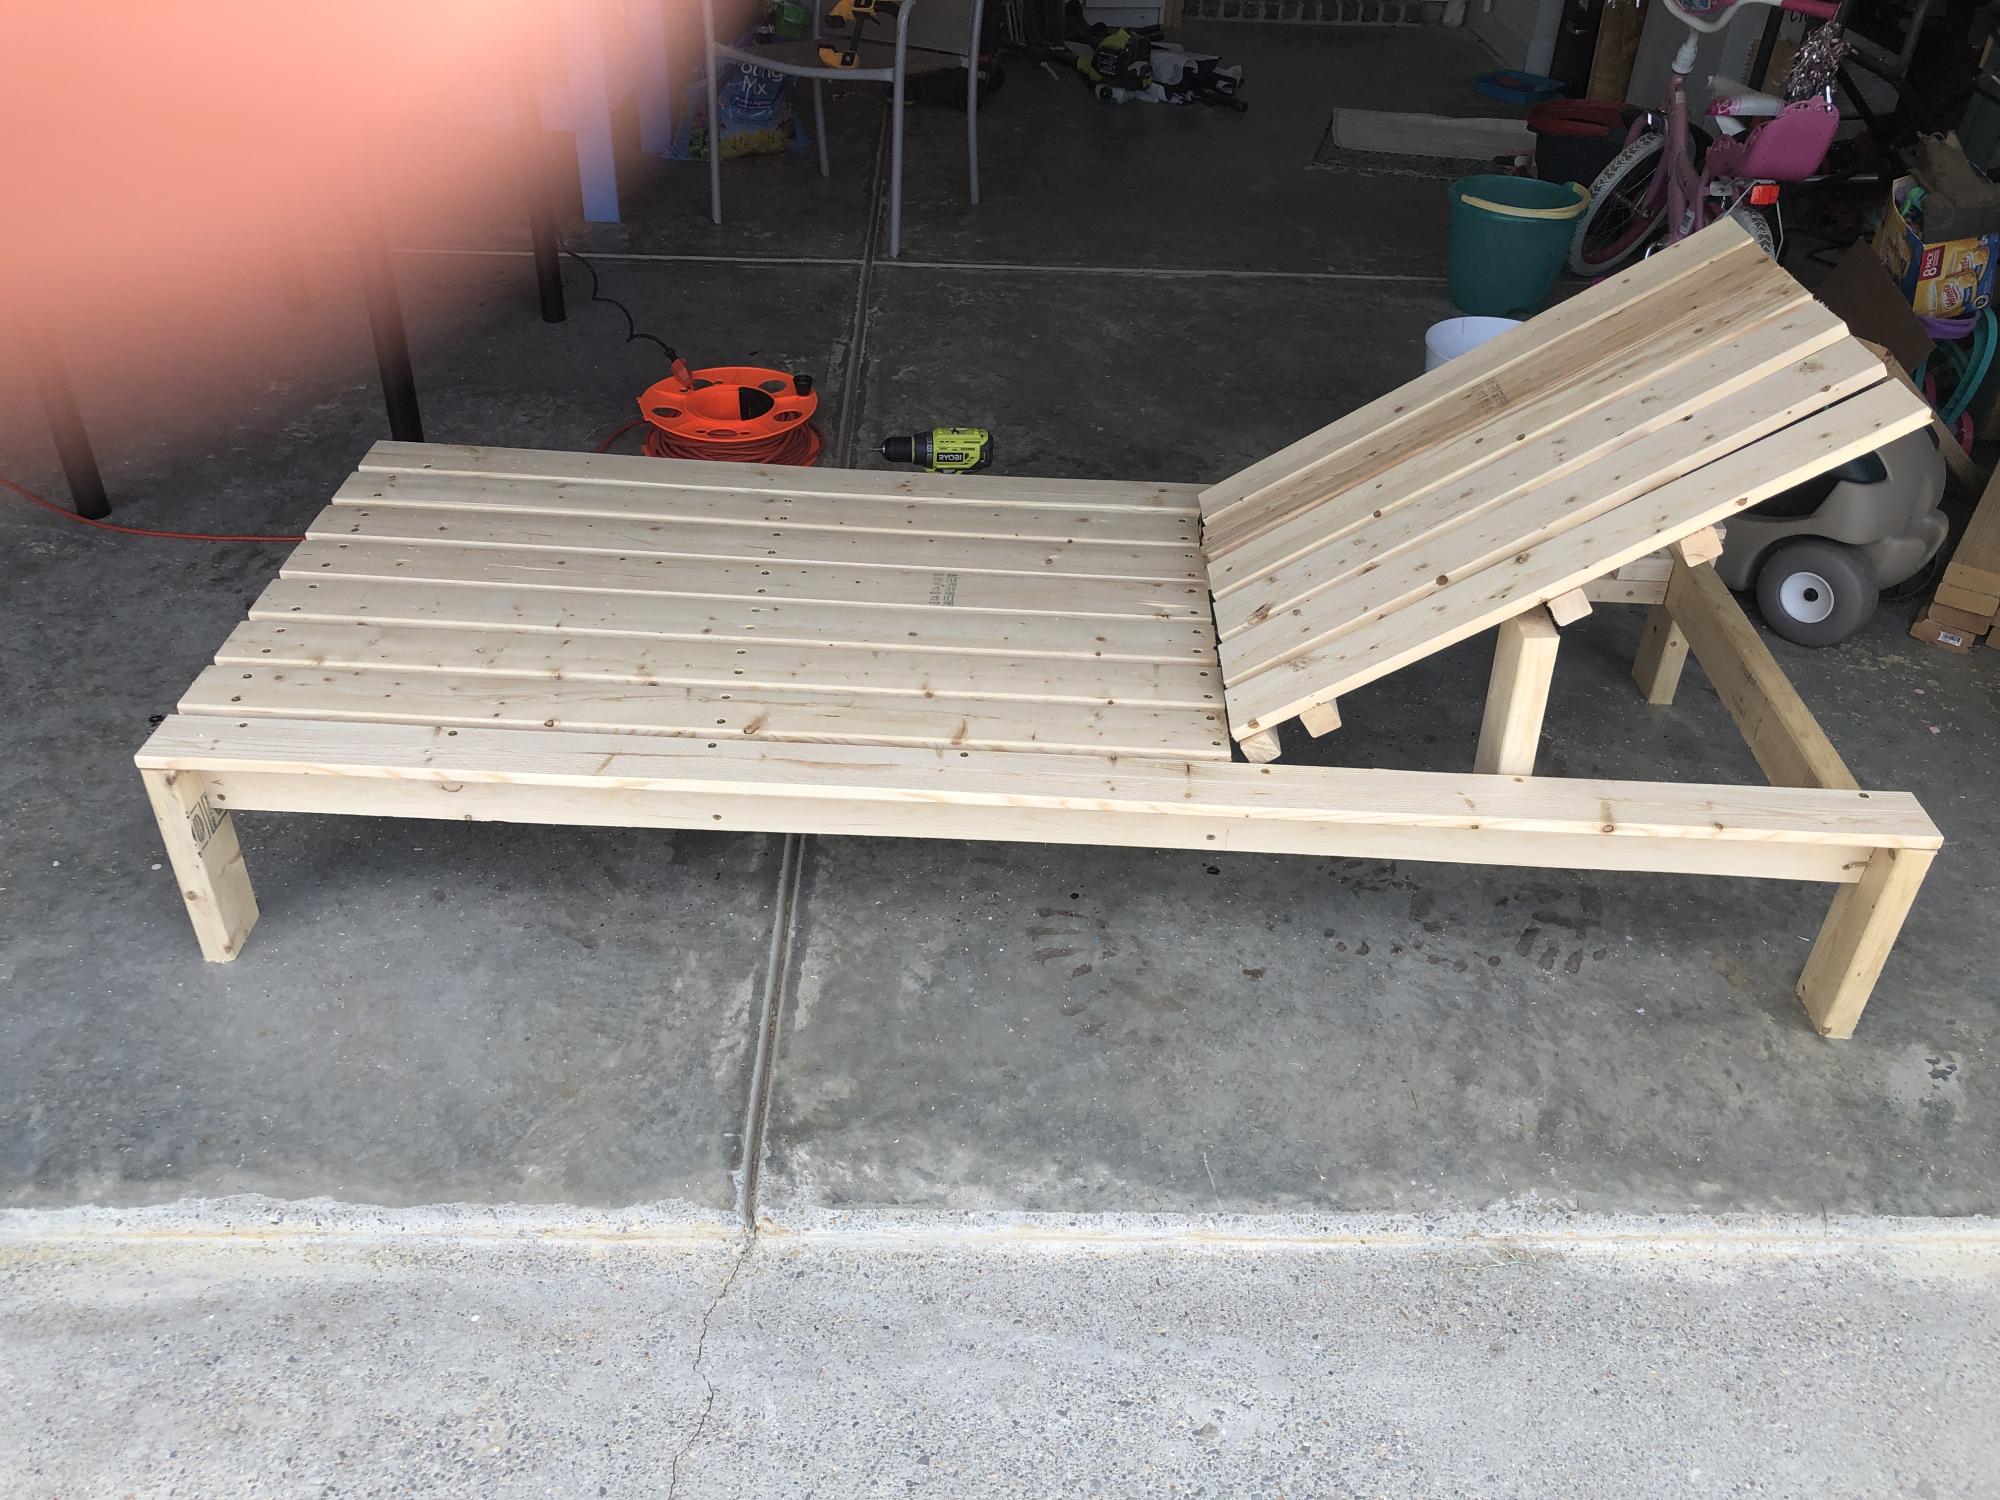
Chaise Lounge

I built this chaise lounge for my daughter from your plans. She will paint it tomorrow. Thanks!!!

Comments

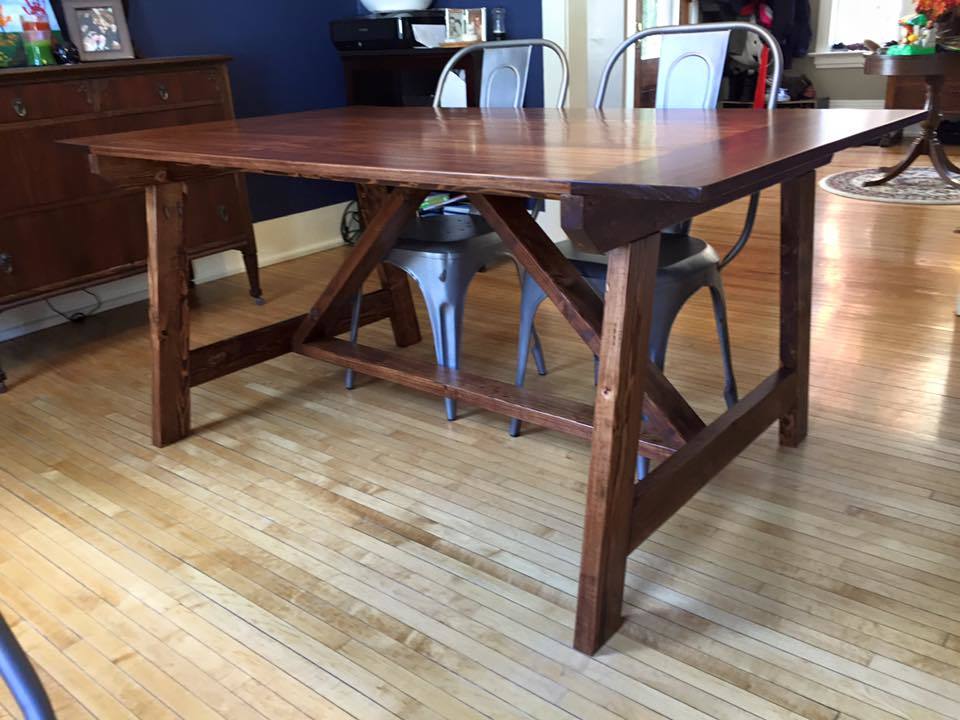
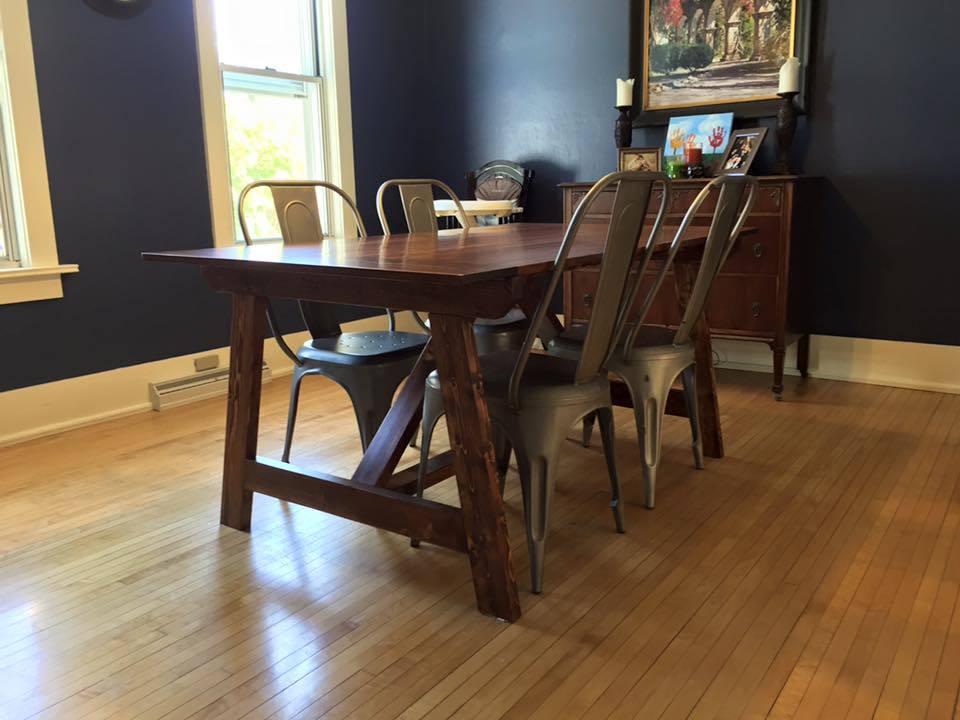
2x4 Truss Table - Modified

Submitted by ckdesigns on Mon, 10/19/2015 - 06:35

Since our dining room is small I modifed this table to 66" long.  It is 50" between legs.  Also, I do not have a table saw, so I could not get the 10 degree angle on the legs.  I actually think that having them at 90 worked out better since this table was scaled down.  We love it and think it is really great in the room.

Built from Plan(s)
Estimated Cost
About $100 in wood and $50 in other materials.
Estimated Time Investment
Week Long Project (20 Hours or More)
Finish Used
Varathane Dark Walnut
Recommended Skill Level
Intermediate

Comments