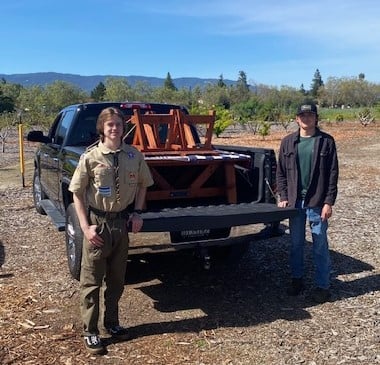
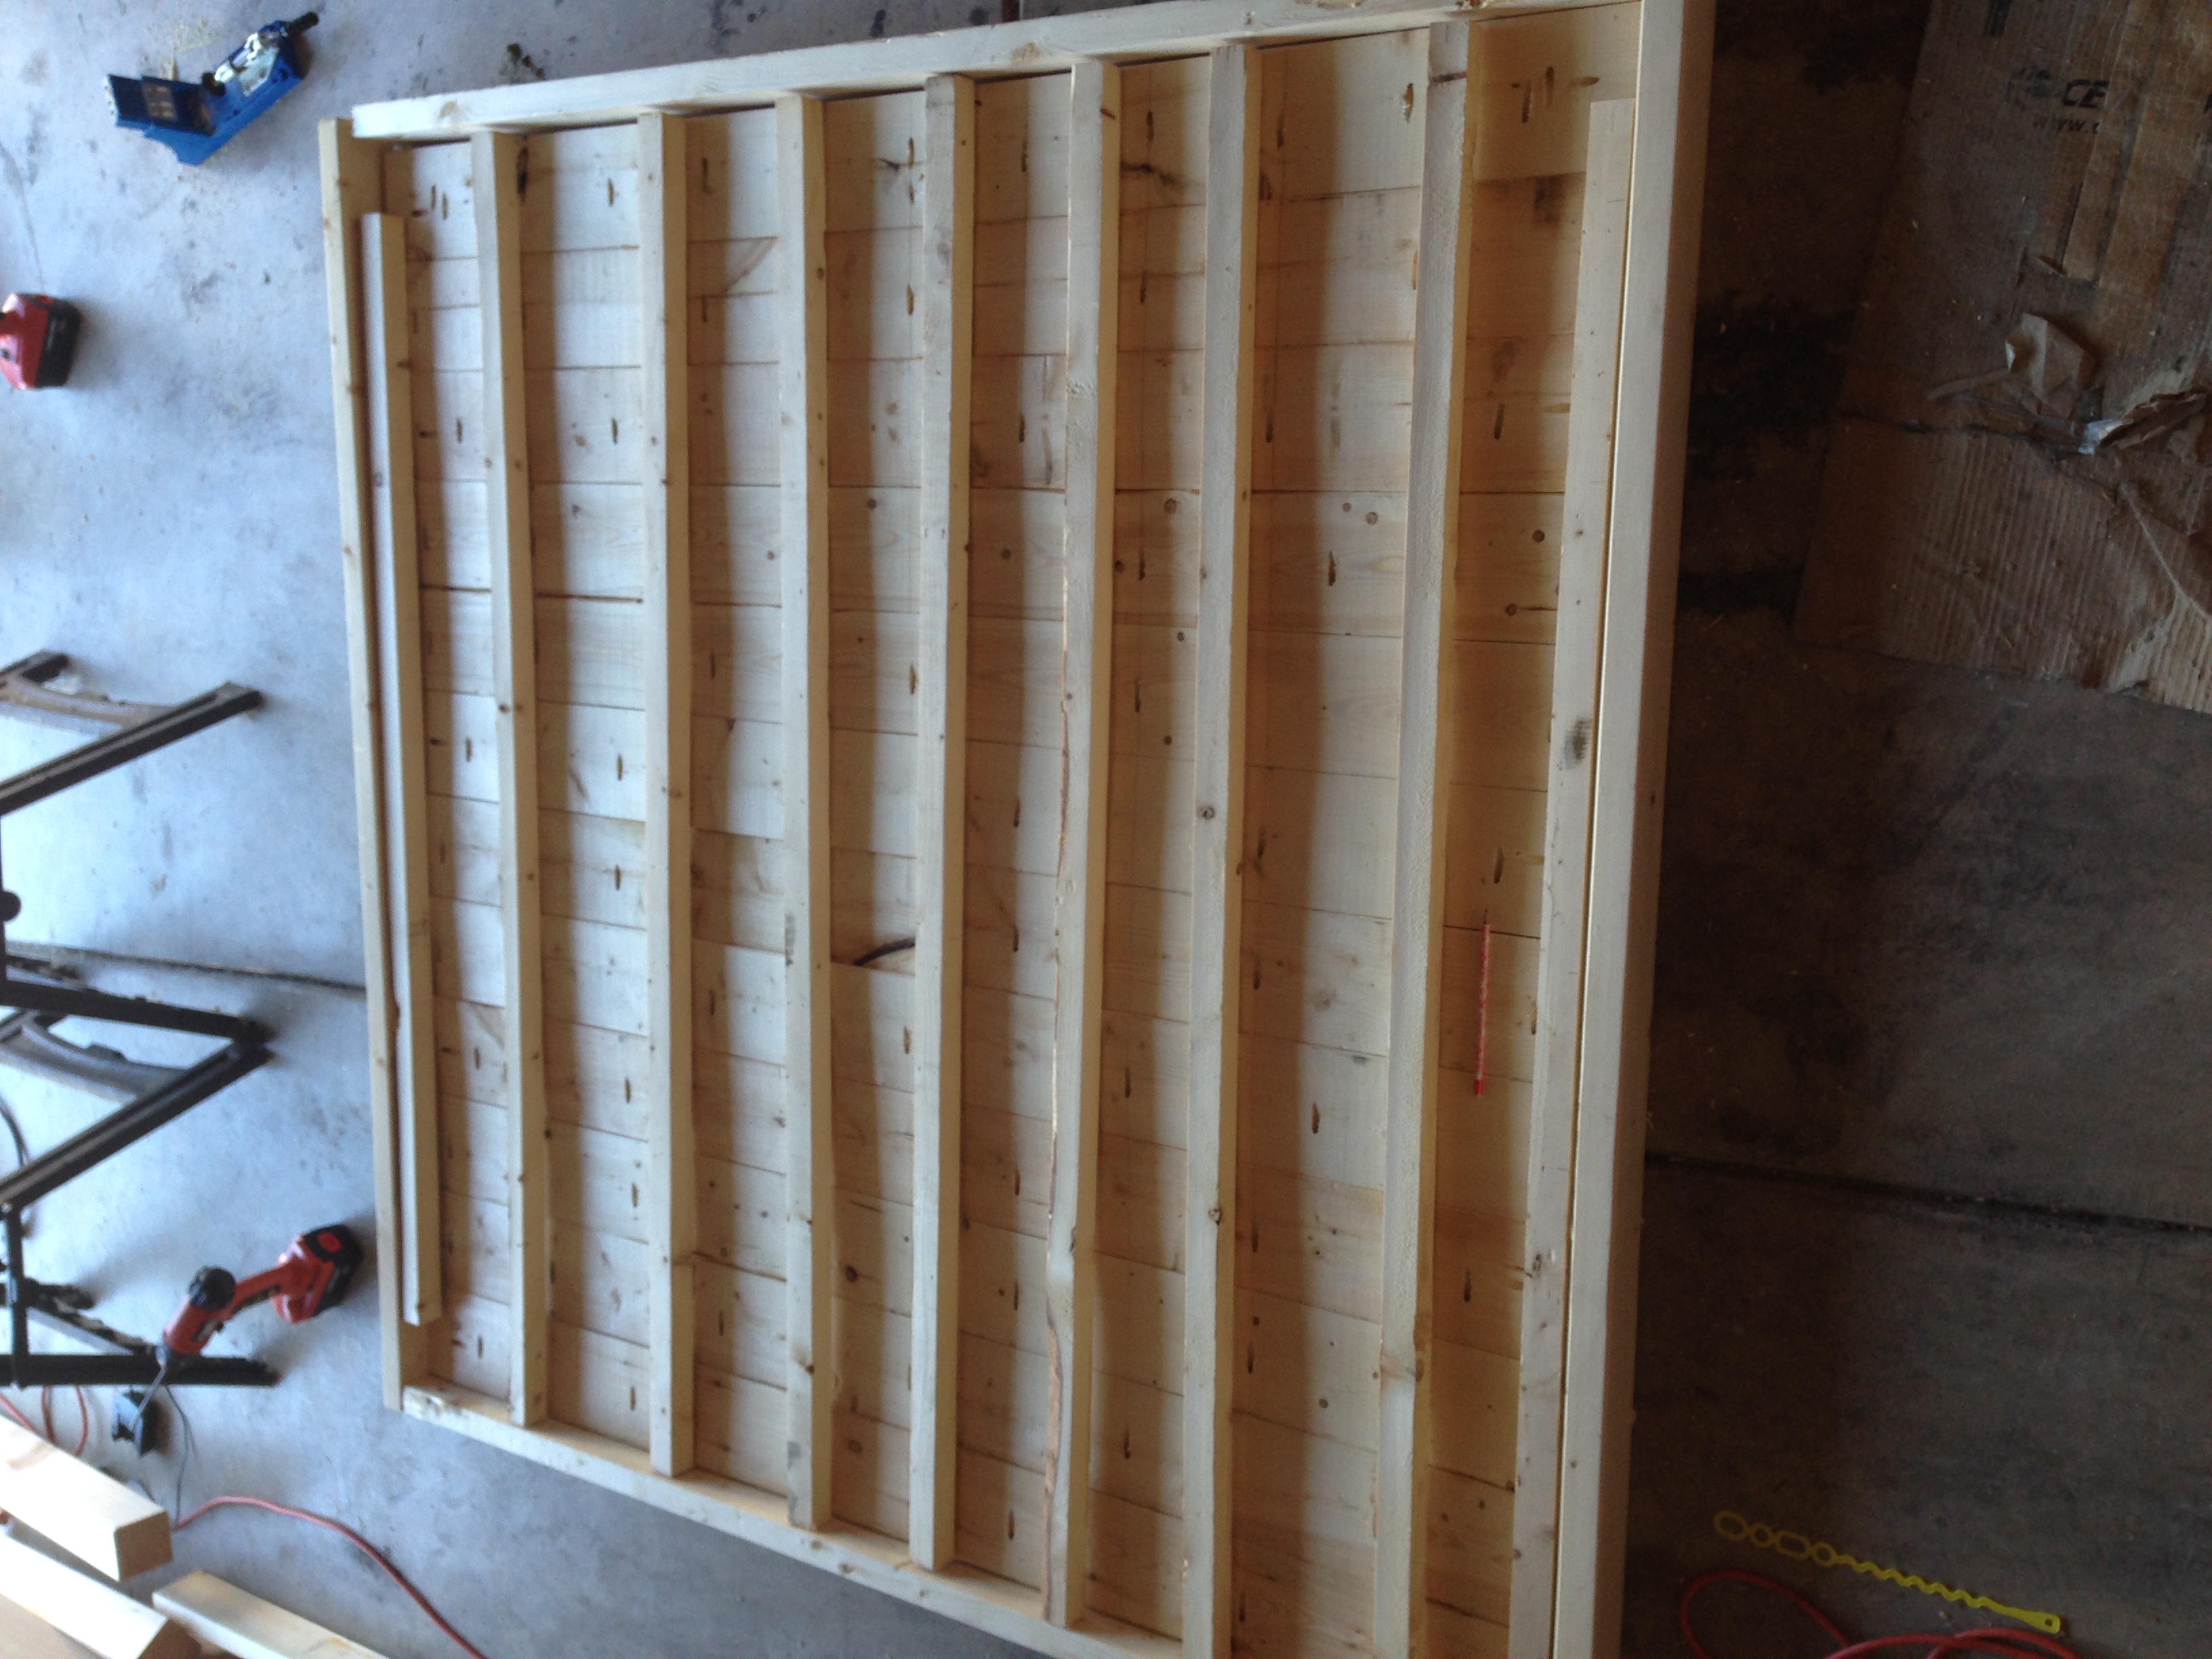
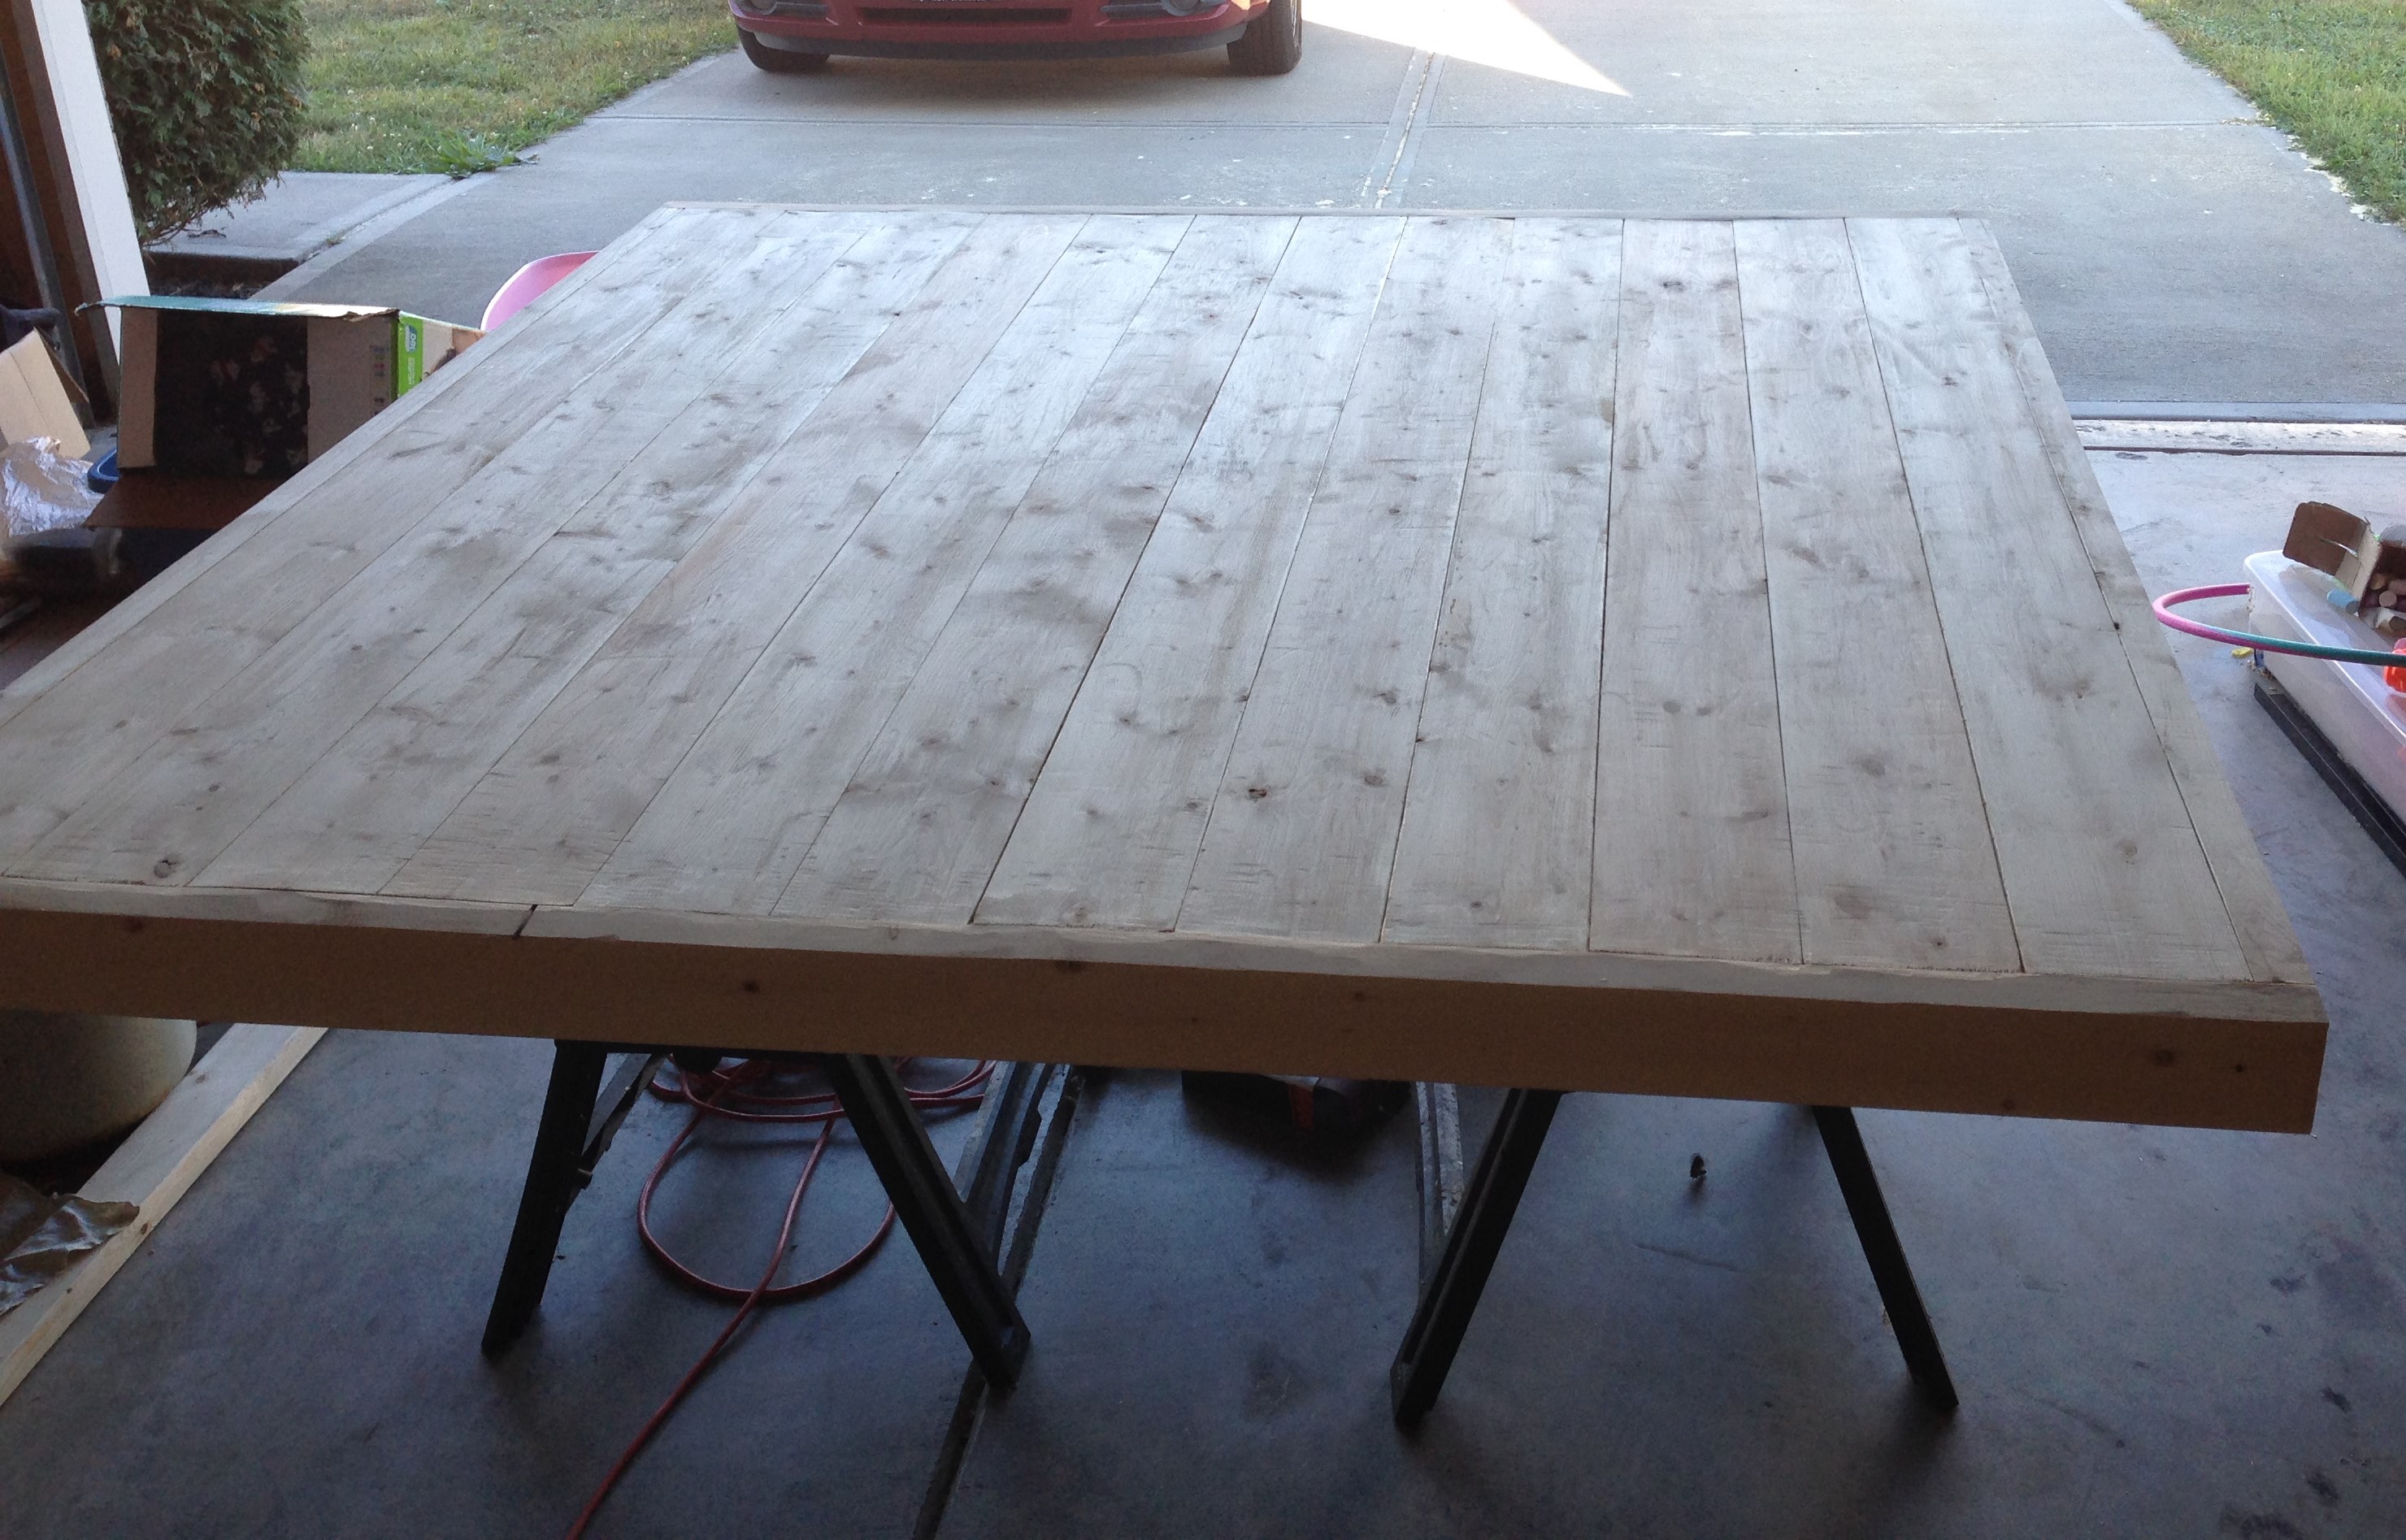
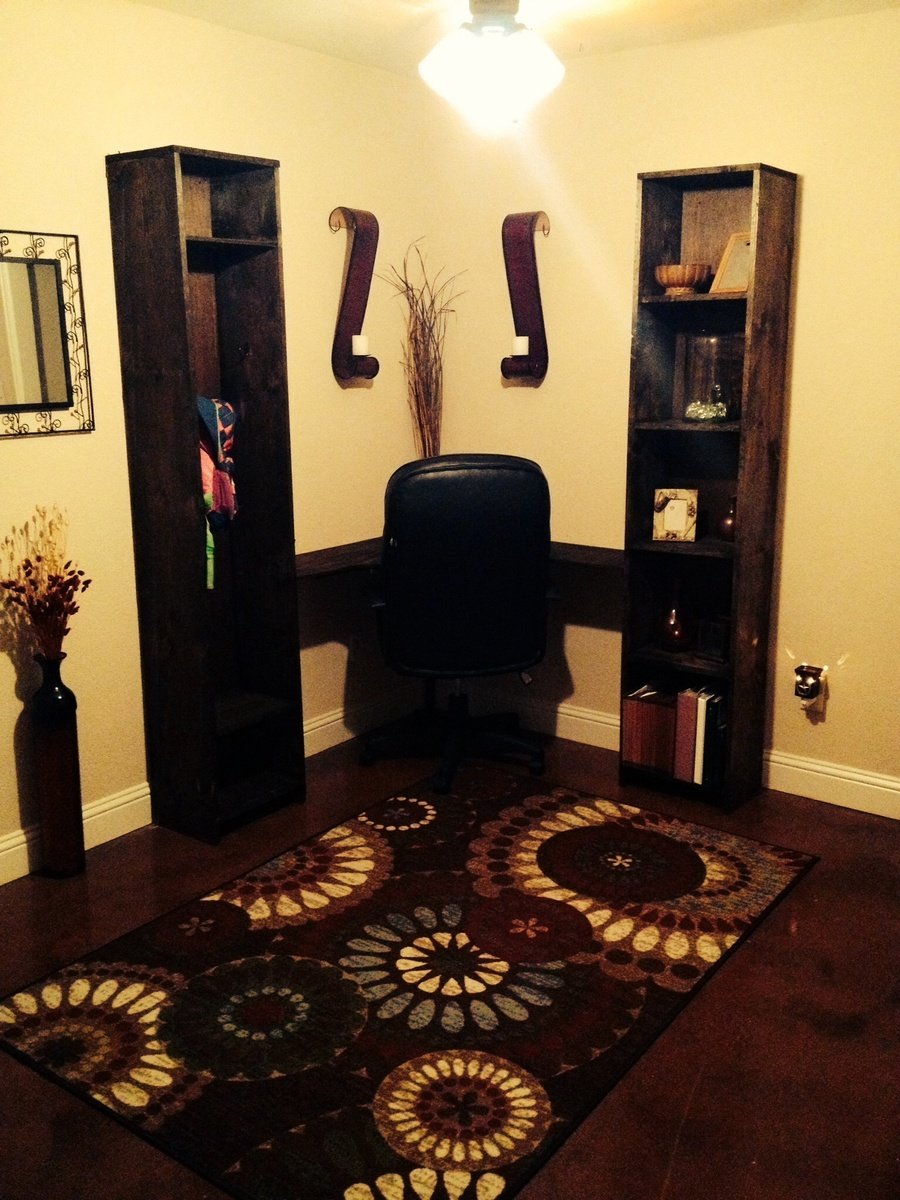
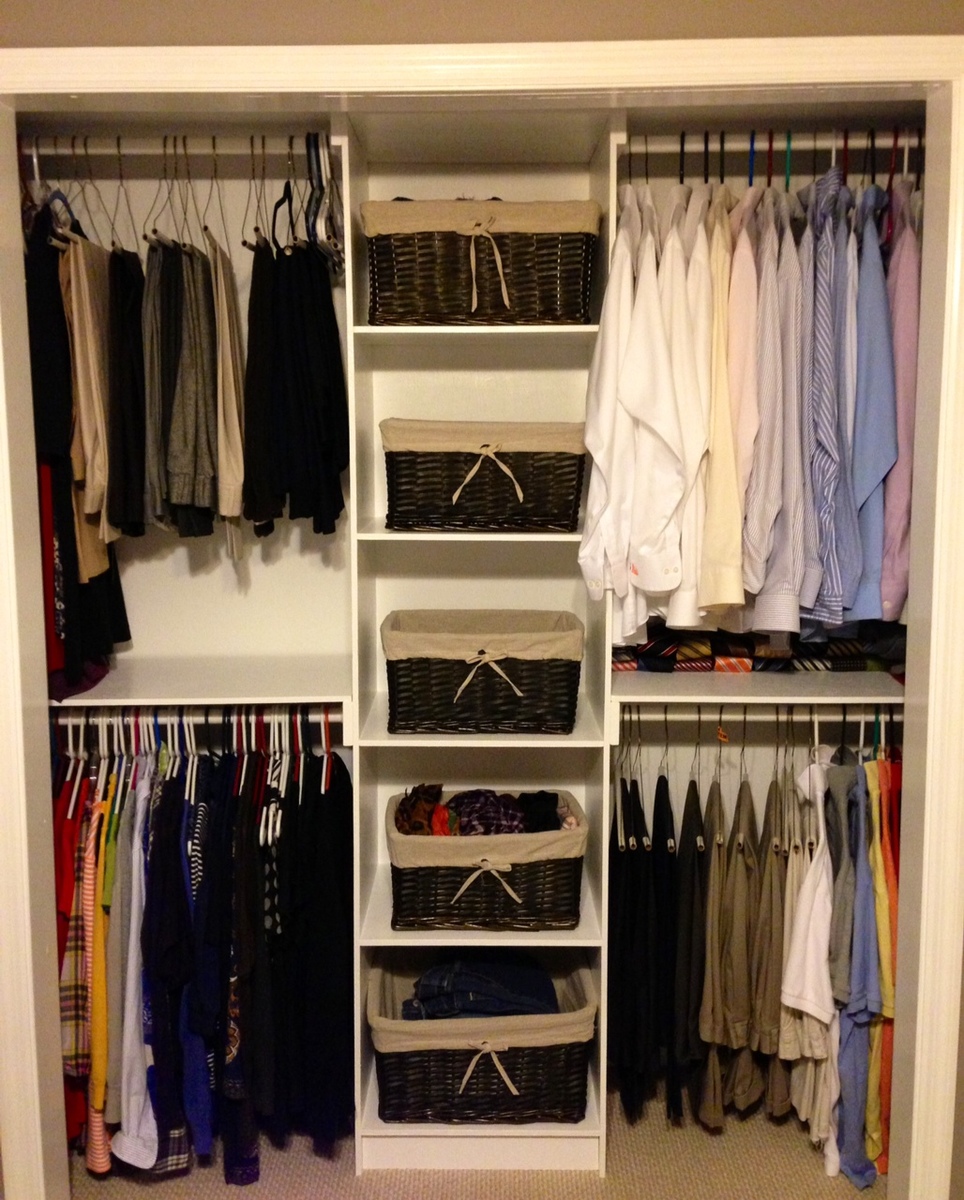
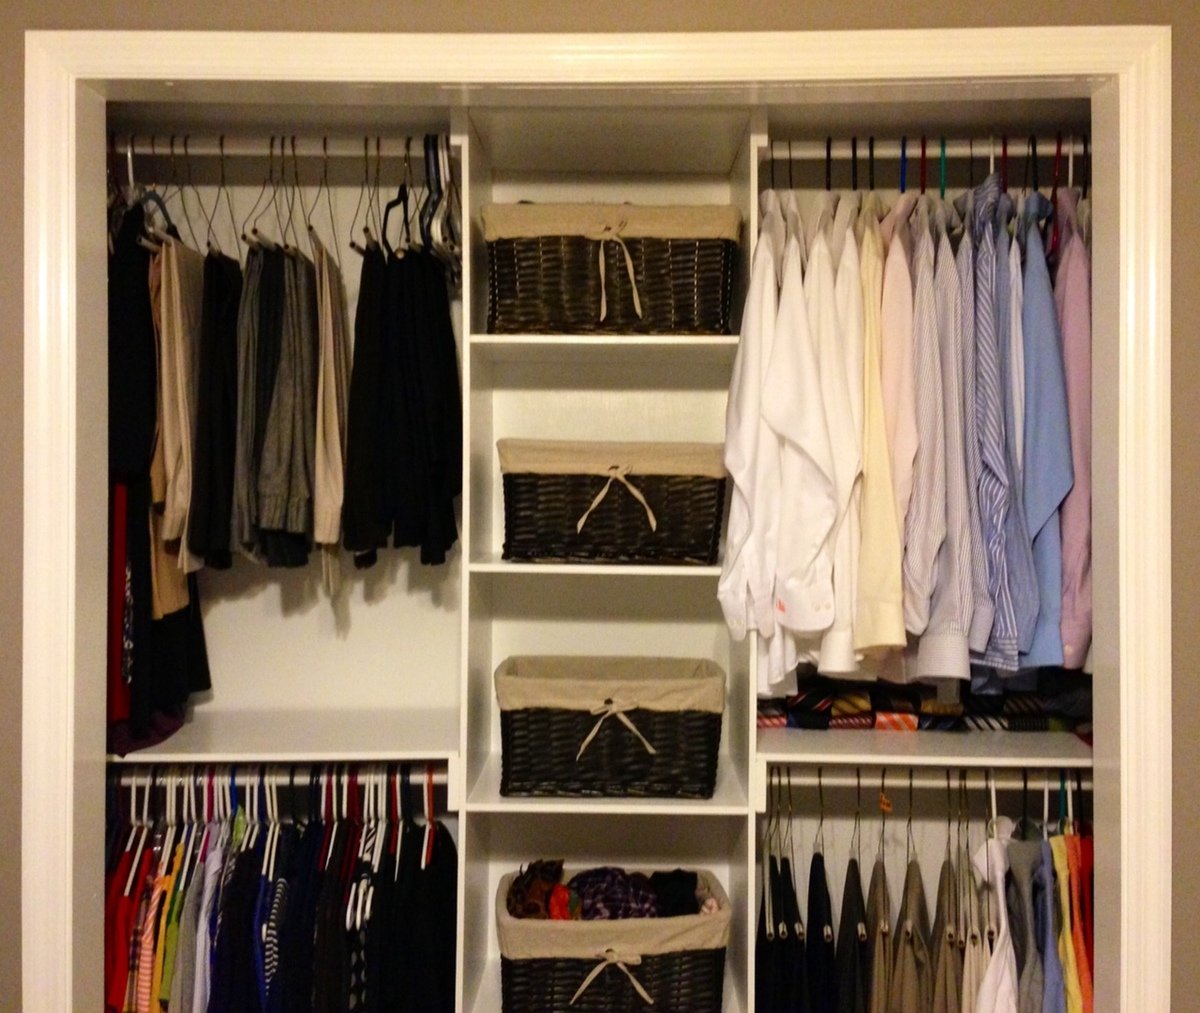
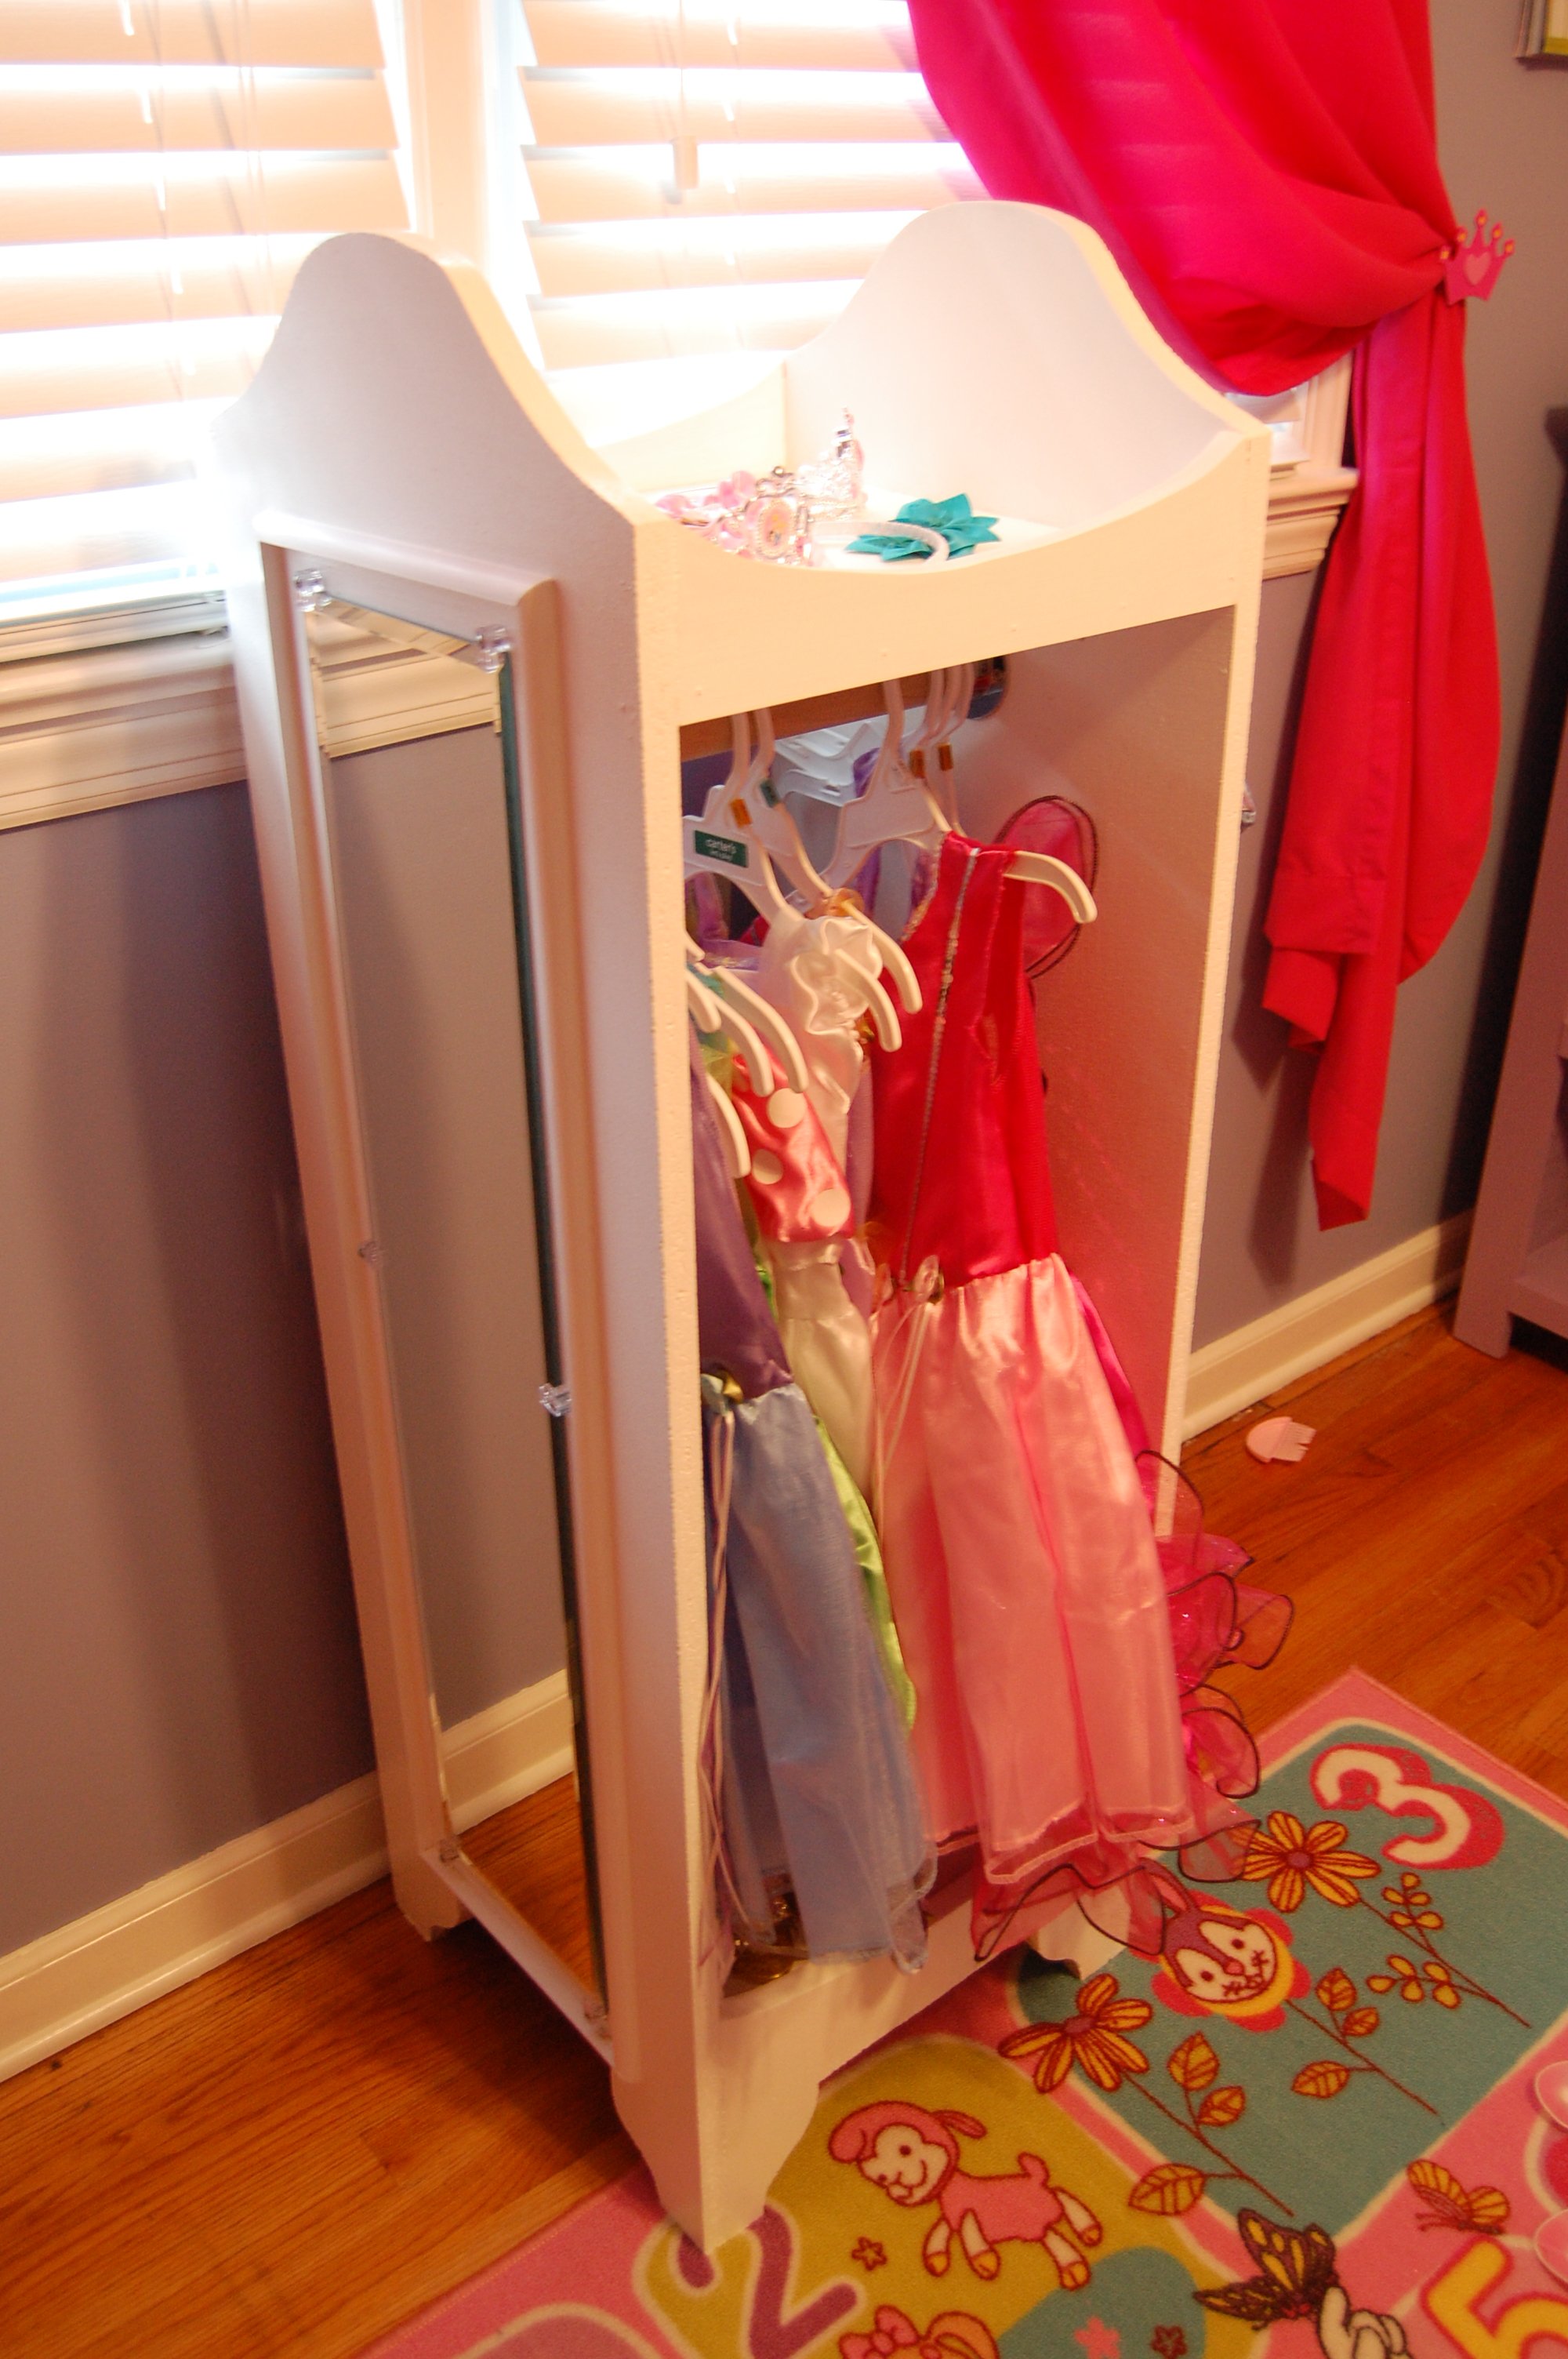
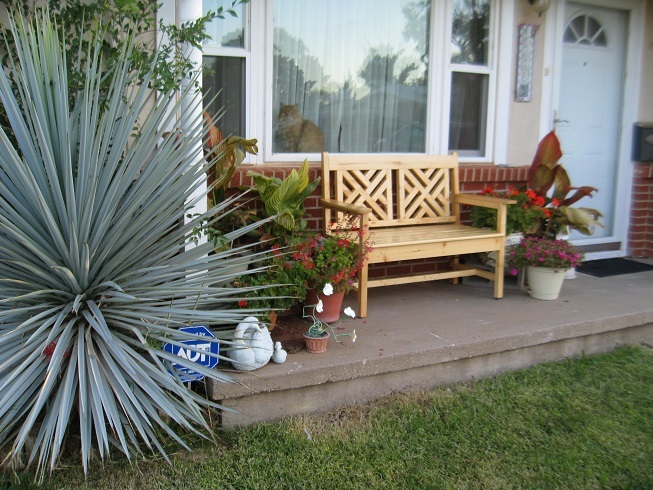
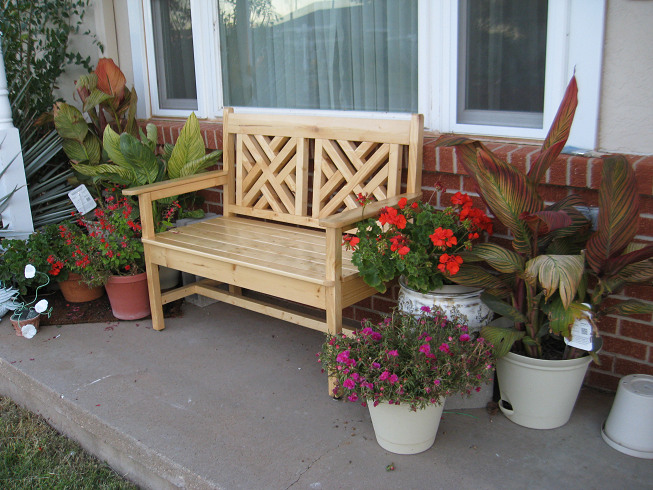
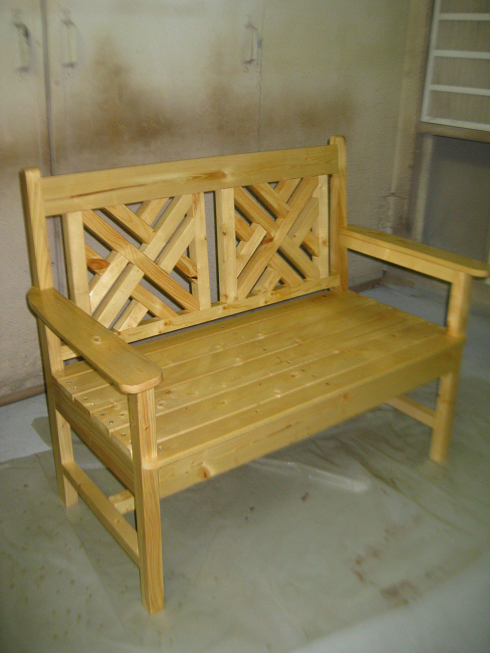
This was mine and my wife's very first woodworking project. Overall, it wasn't bad at all. I thoroughly enjoyed the actual process of cutting the wood and putting everything together. As far as the painting goes, I'd much rather just go on to another woodworking project, but I have to say that all the hard work paid off. Anna's plans helped tremendously. I tweaked slightly just because we wanted our center piece to be a little taller and slightly more narrow. We also added two shelves on each side, for a total of four. For our small reach-in closet, this was by far the best way to go about everything. We definitely have much more room and overall it is a much better use of the space.
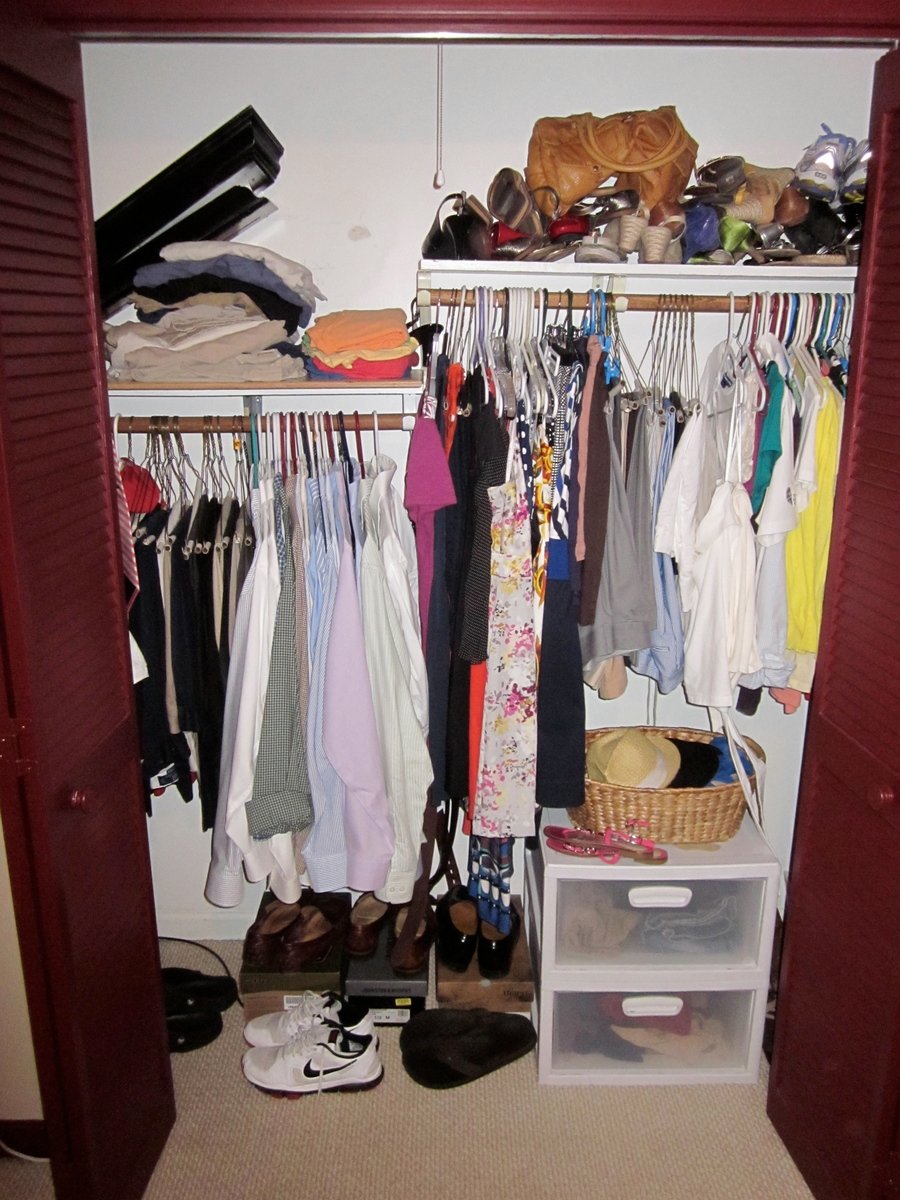
I threw in a "before" picture just for fun.
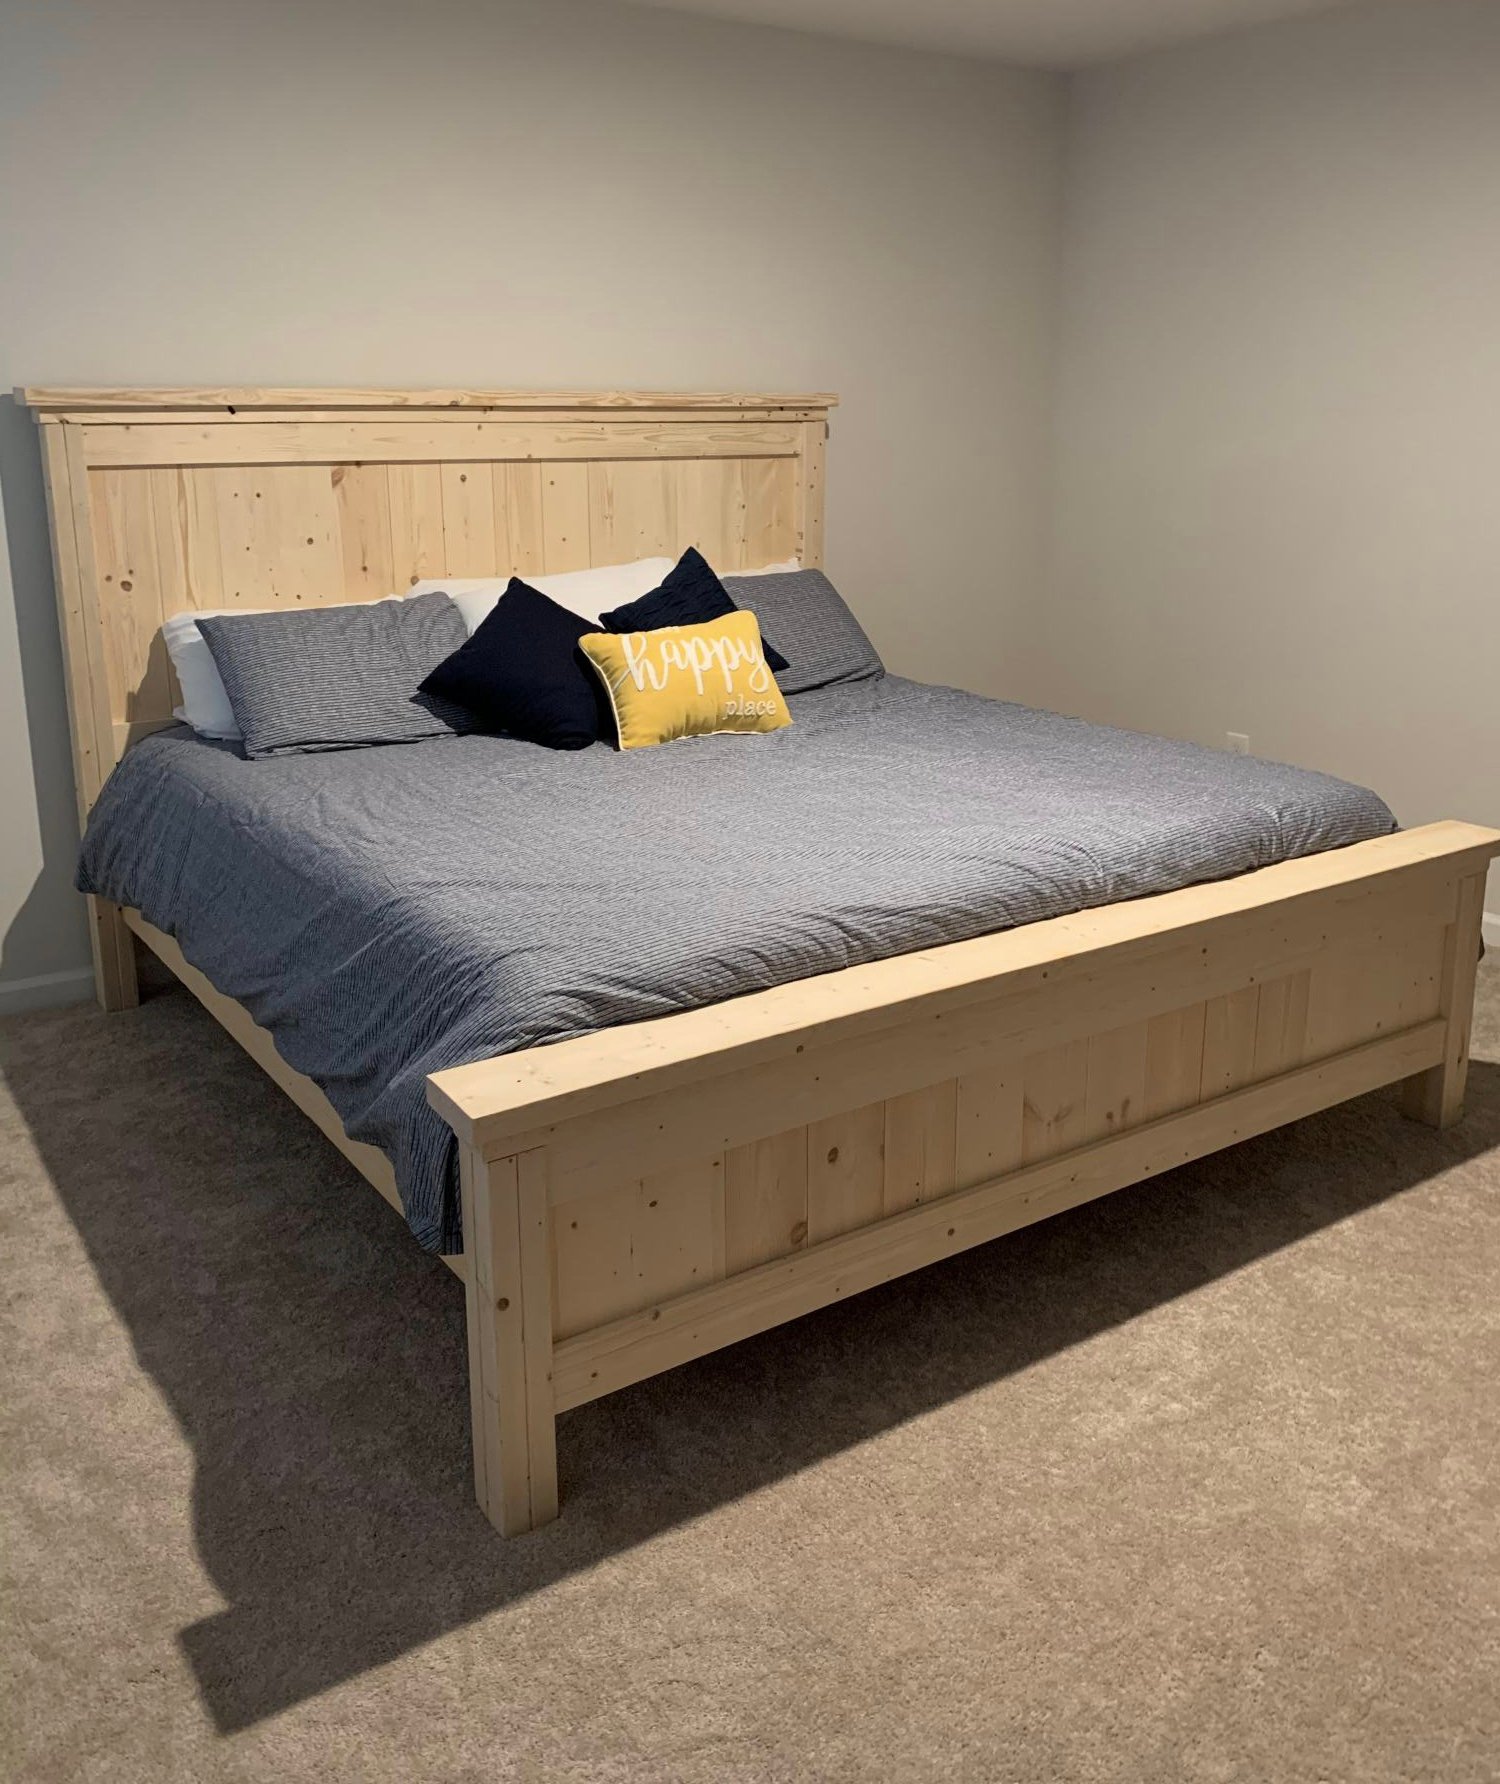
We also just finished the Farmhouse Queen Bed that Anna has plans for, and we will be putting up a brag post on it very shortly.
Estimated Time Investment
Weekend Project (10-20 Hours)
Finish Used
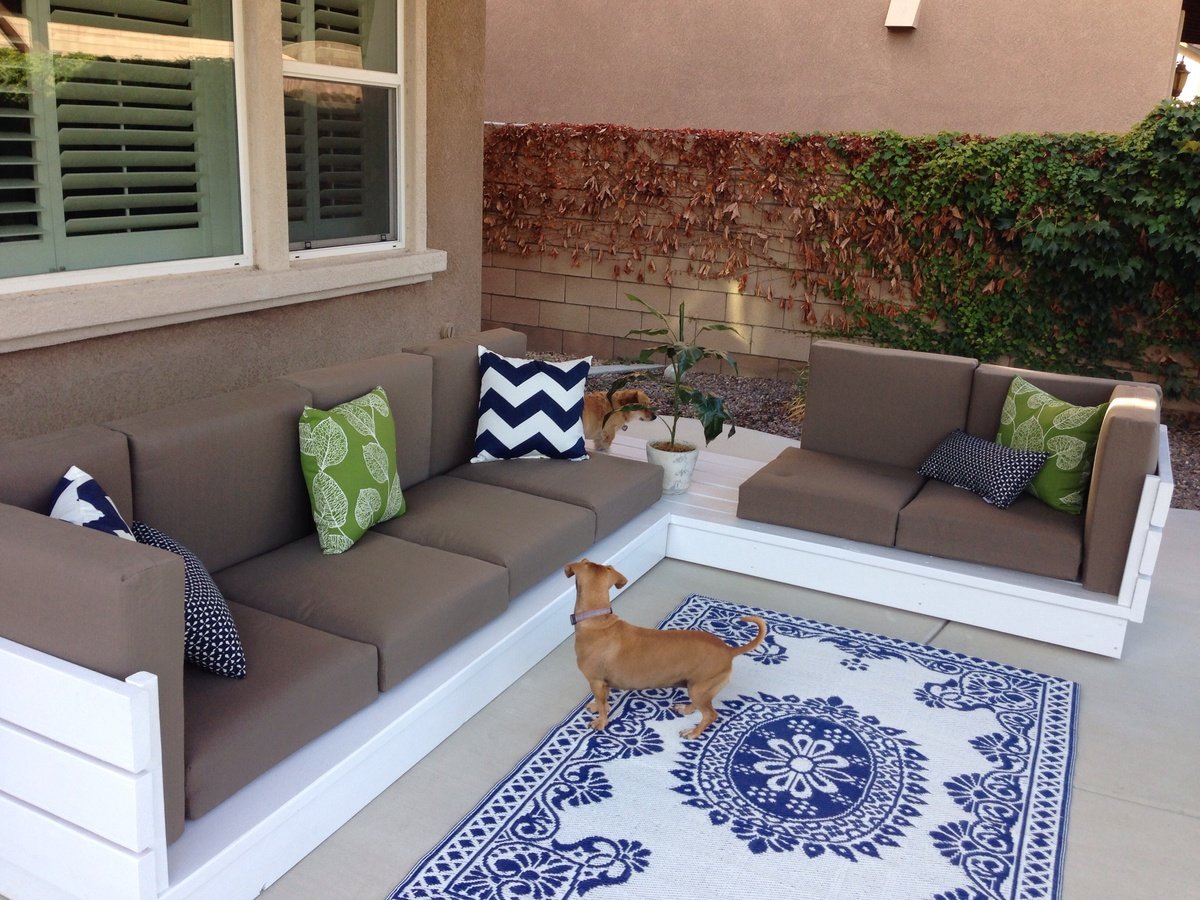
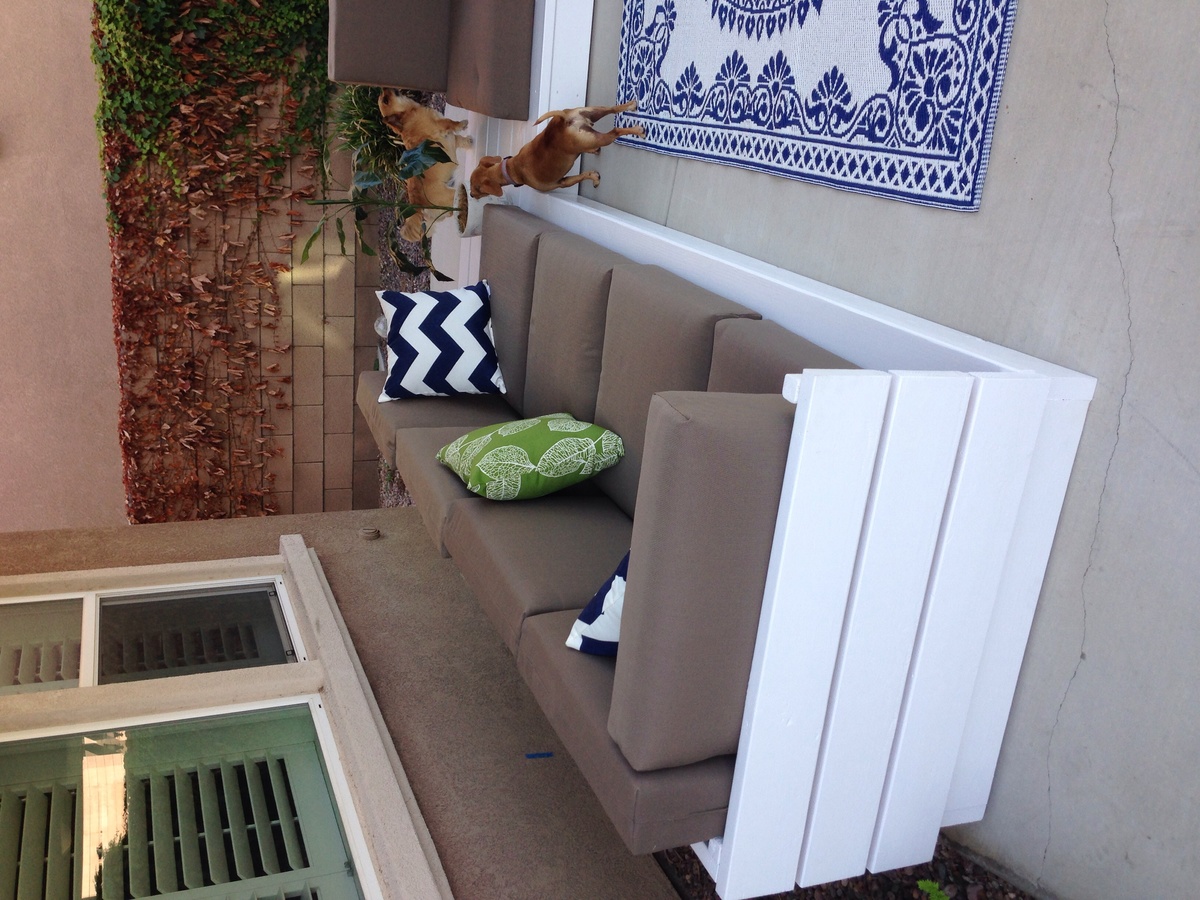
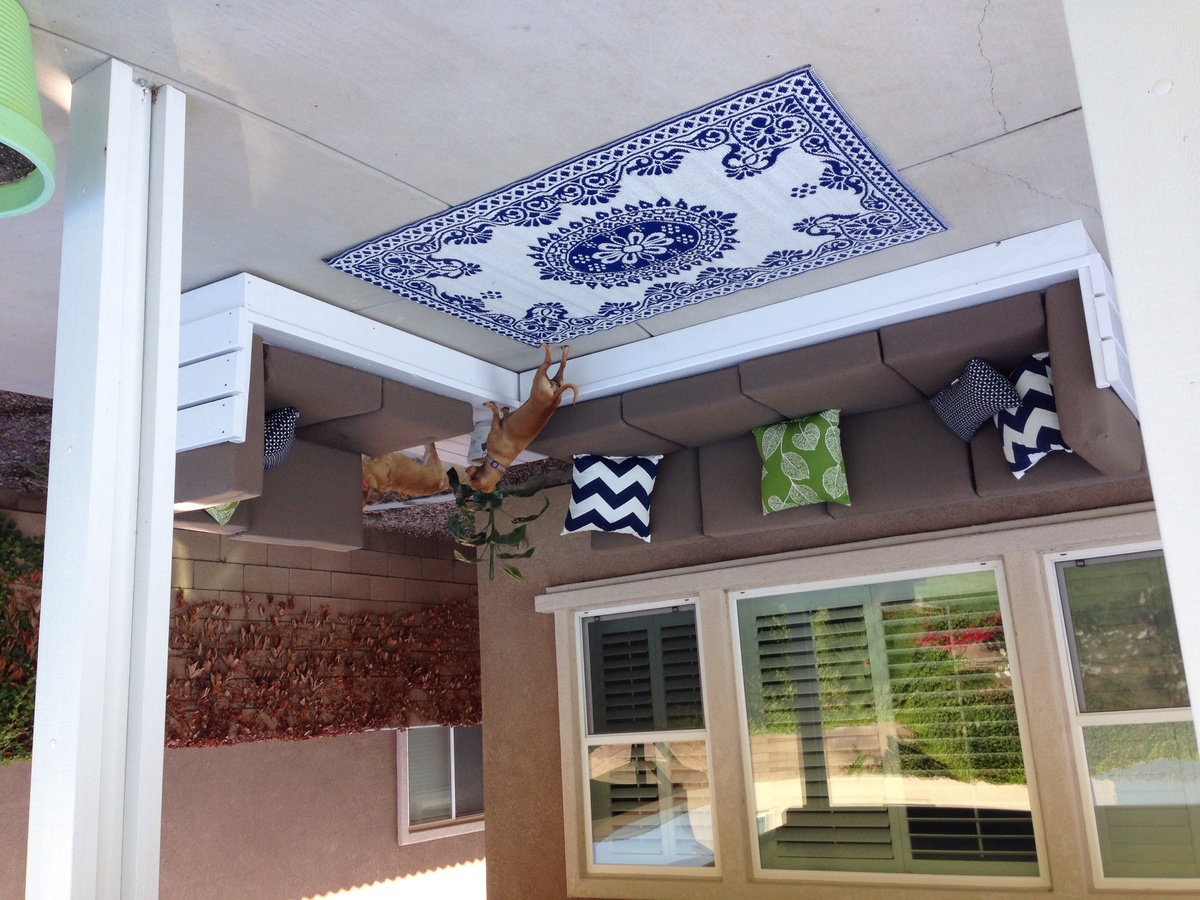
We just went with a simple white. My wife and I sanded everything down, then used some leftover Behr Premium Plus, Self-Priming, Interior Semi-Gloss that we previously used on our bedroom trim. We sanded between coats and applied a total of three coats for the finished product.
Recommended Skill Level
Beginner


Comments
ewebrat
Mon, 06/29/2020 - 12:44
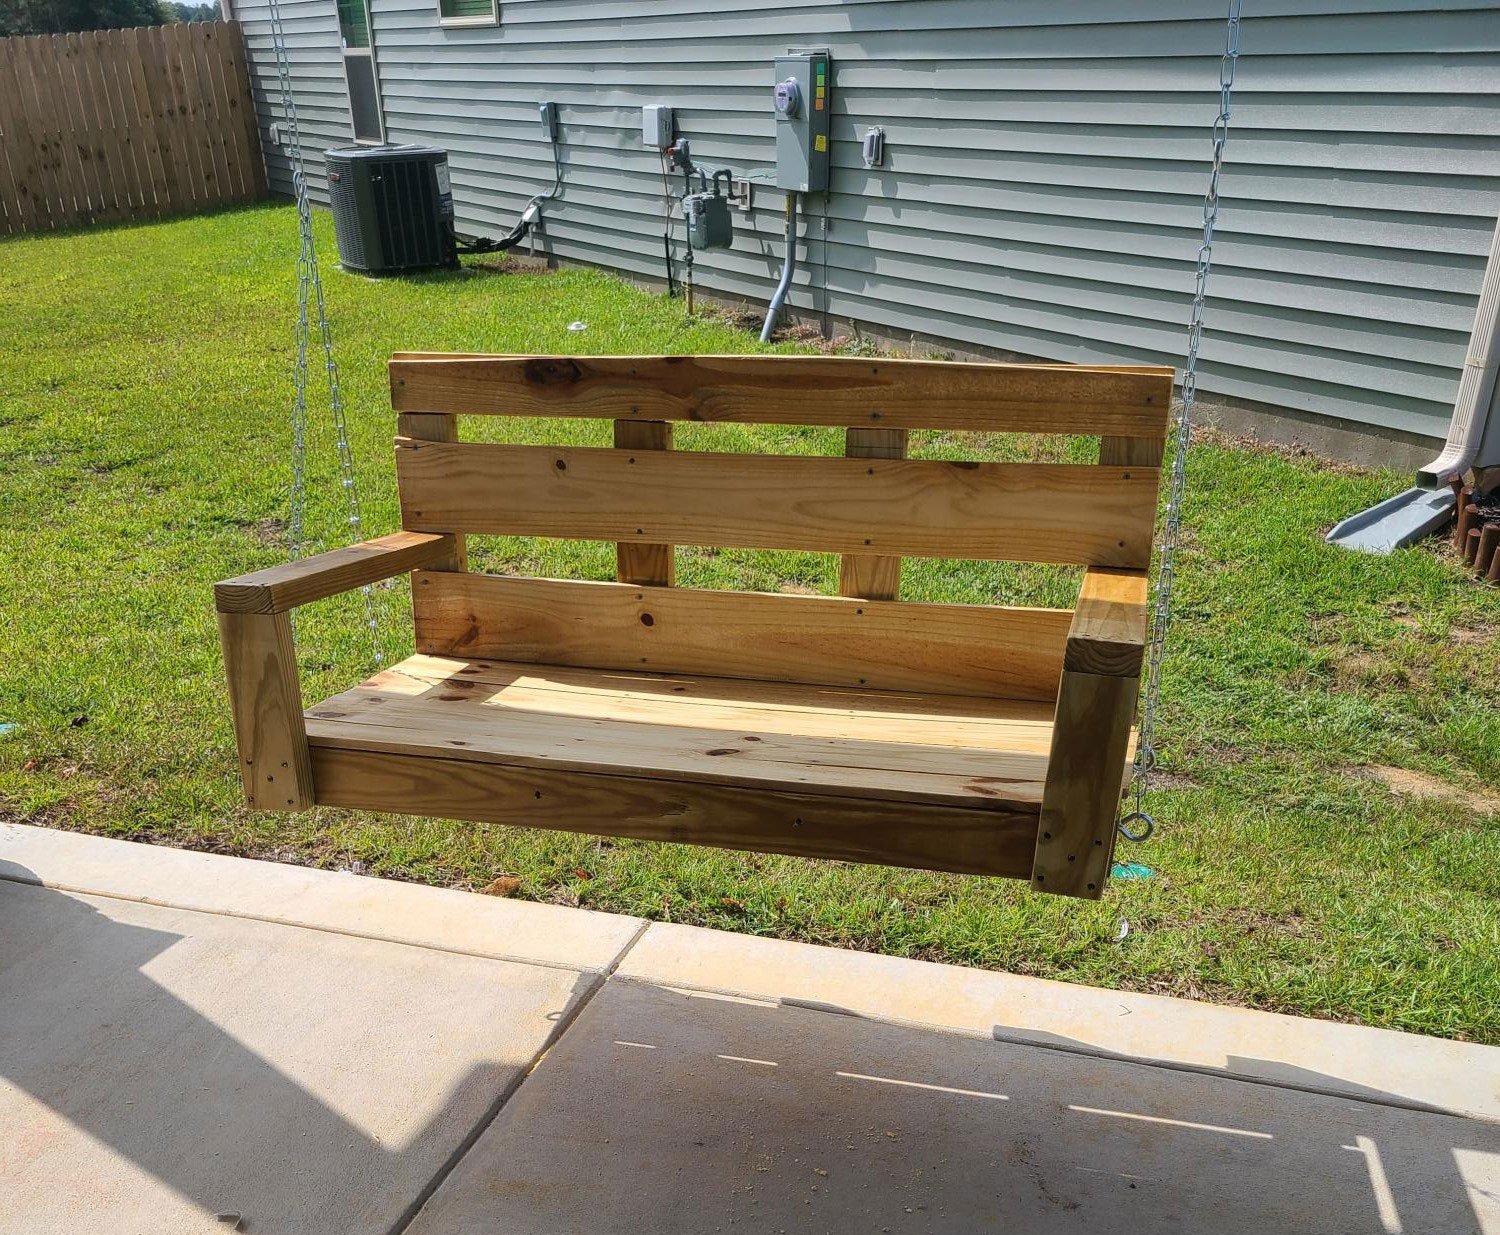
I also made one of these…
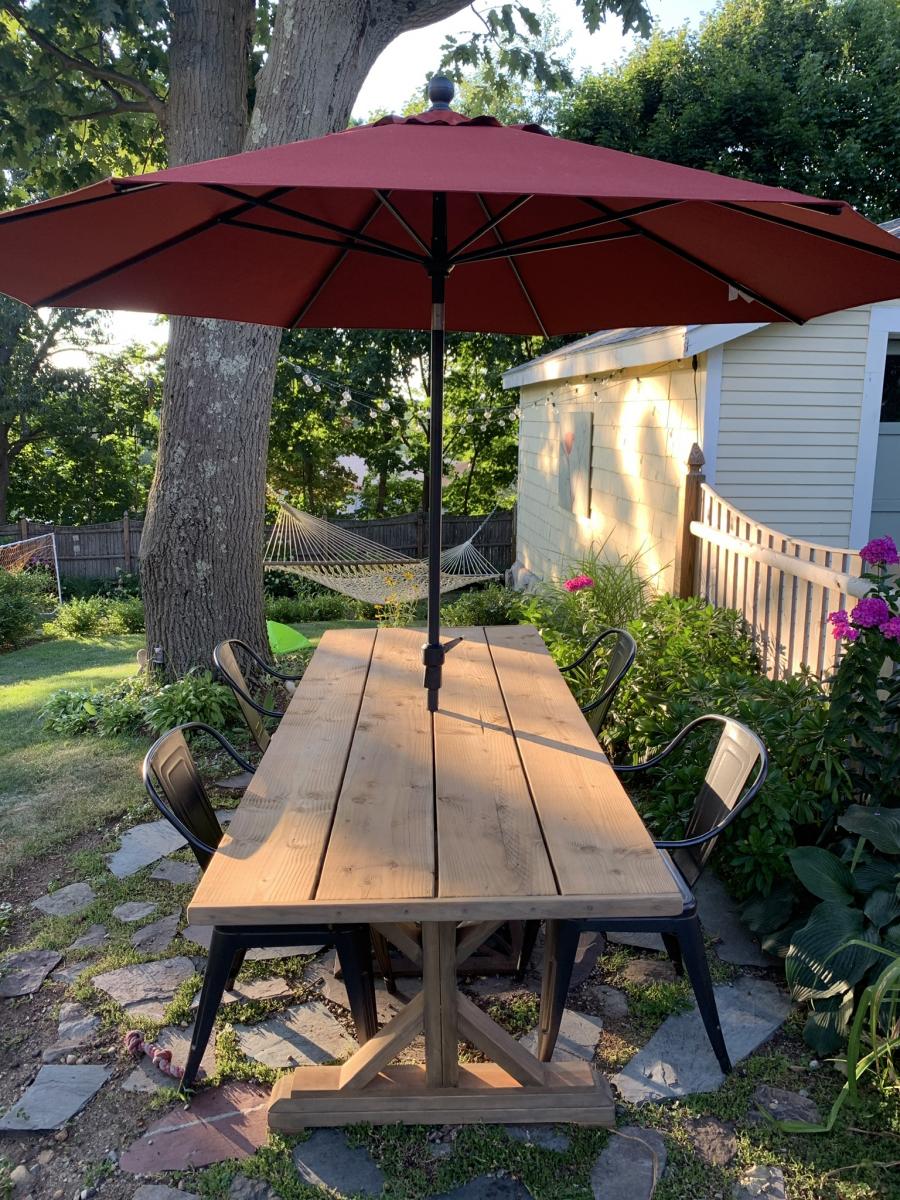
I also made one of these last week and it has already proved it's worth many times! Yours looks great - I hope you get lots of use out of it :)