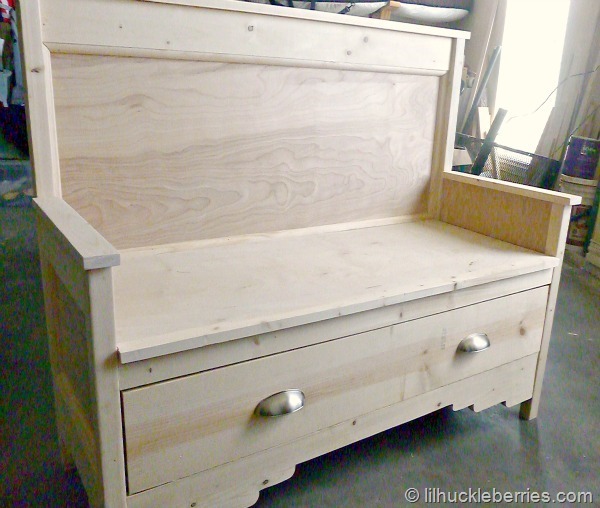
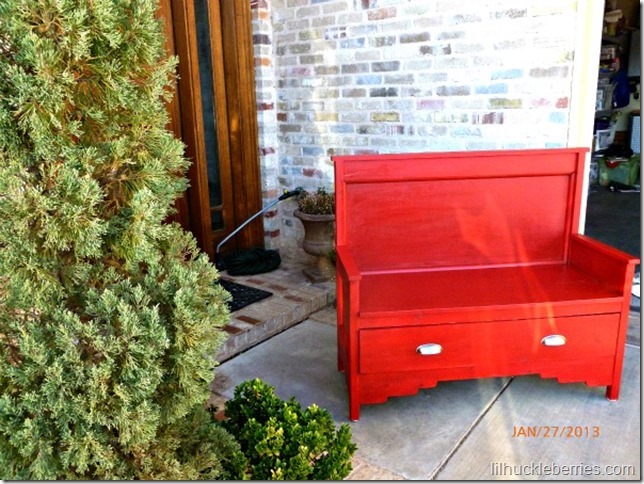
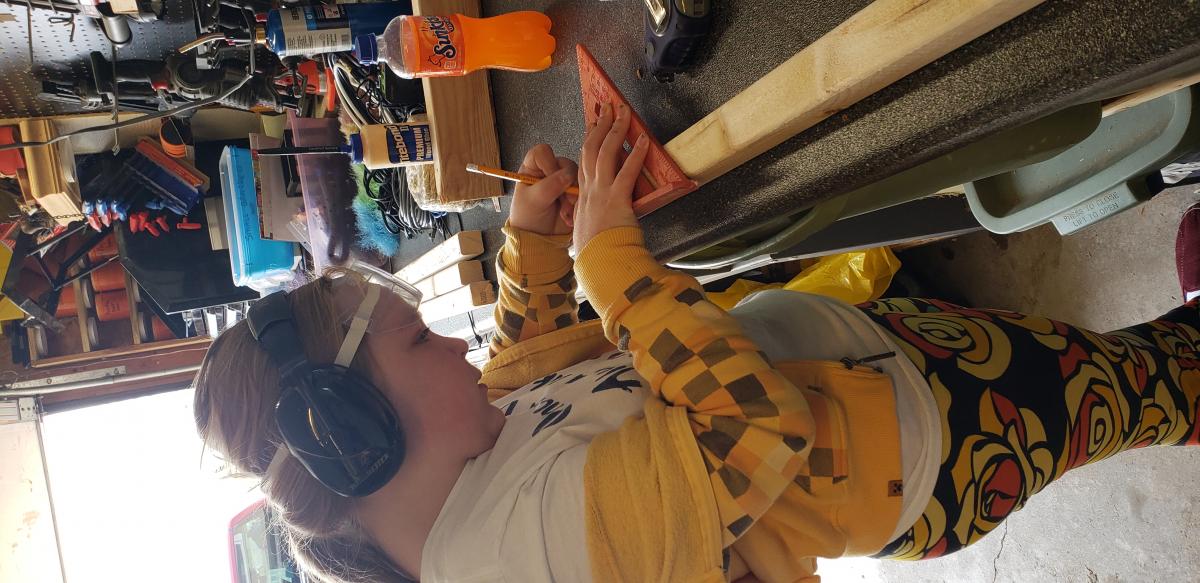
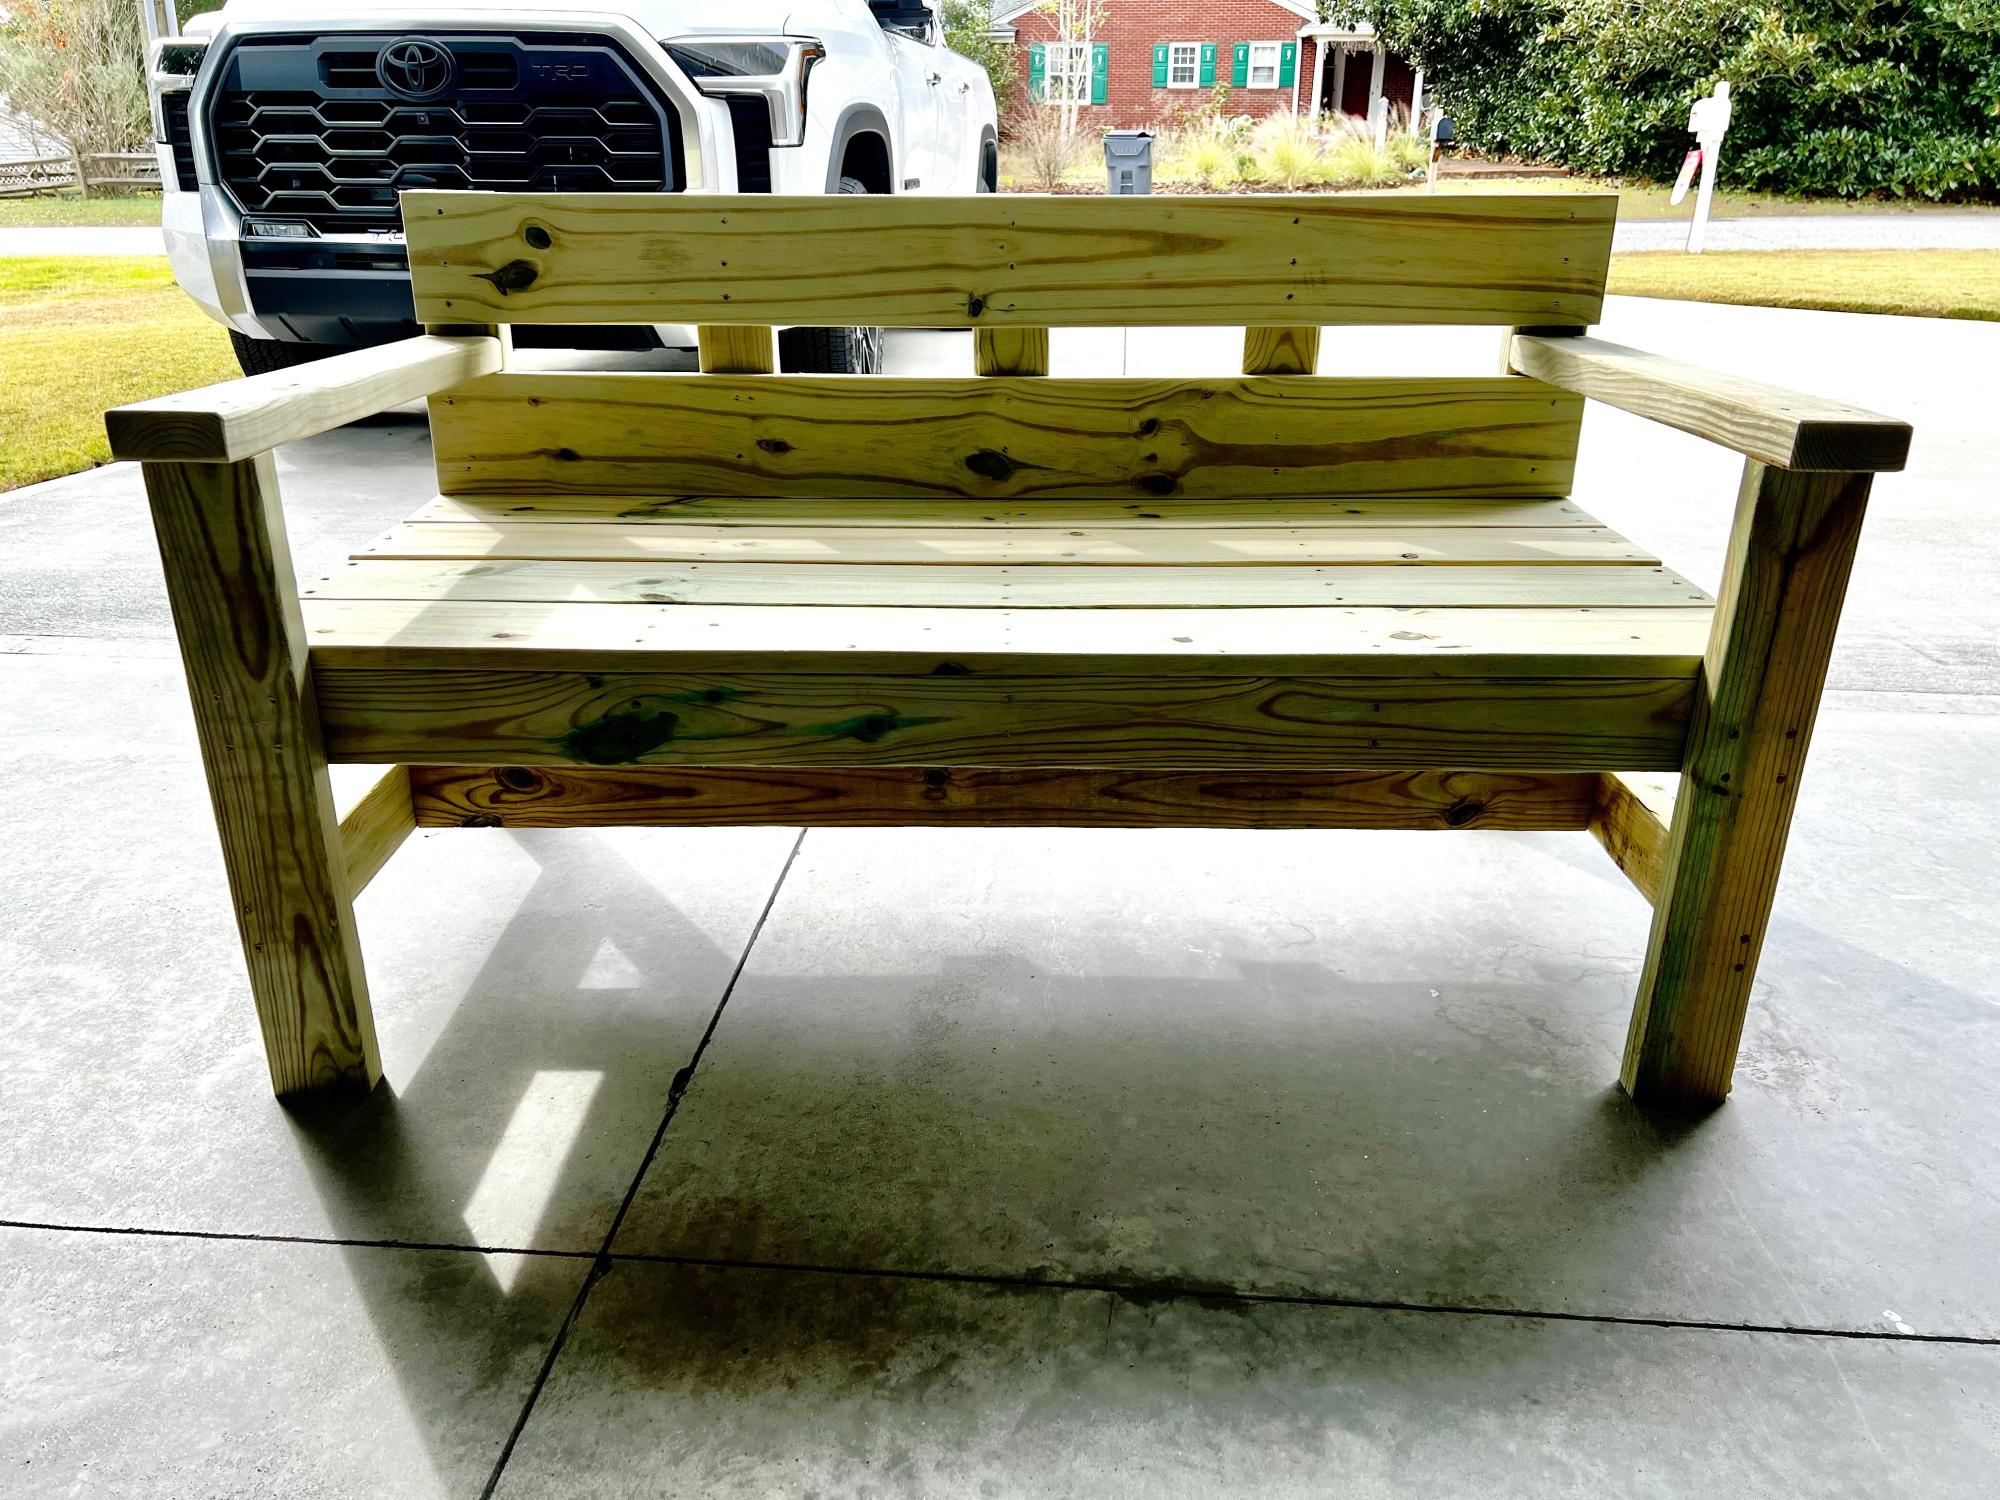
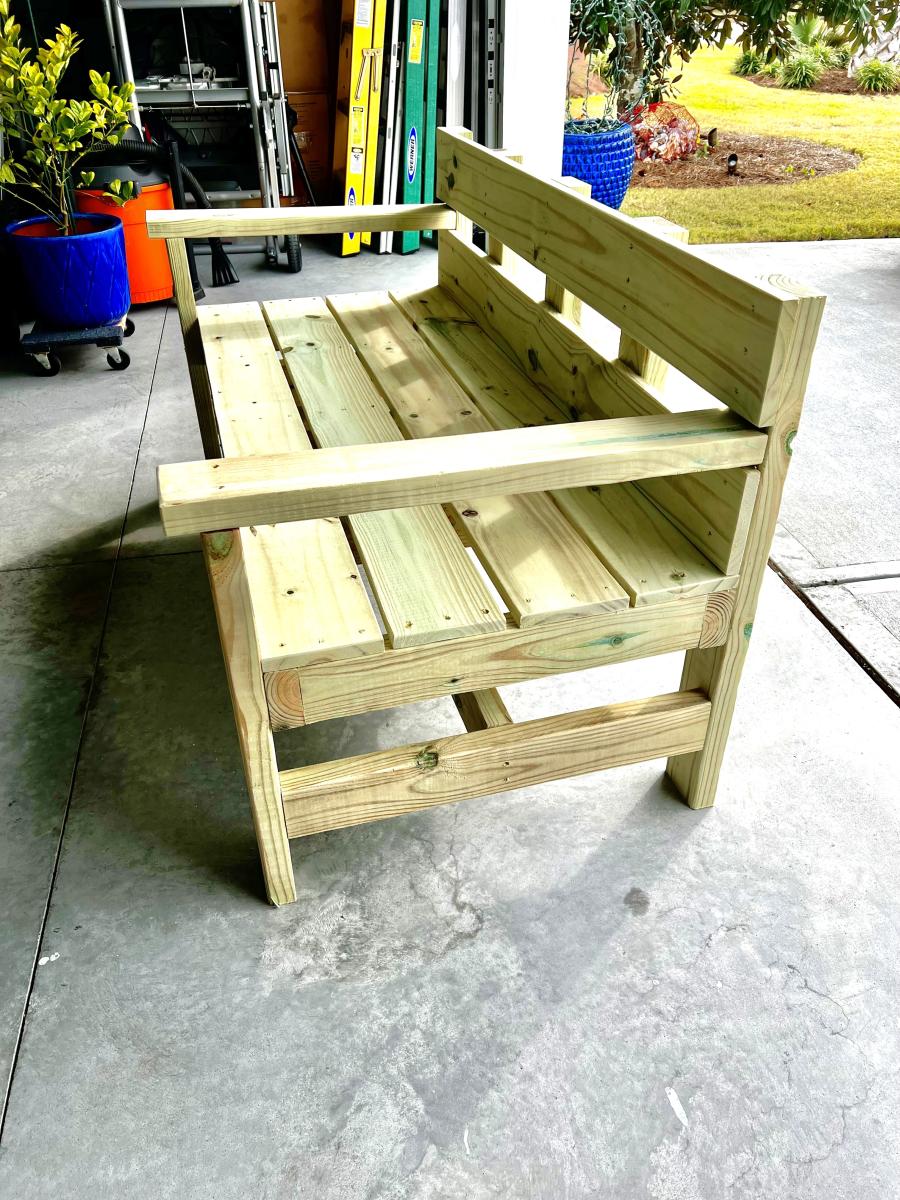
Easiest Upholstered Bench
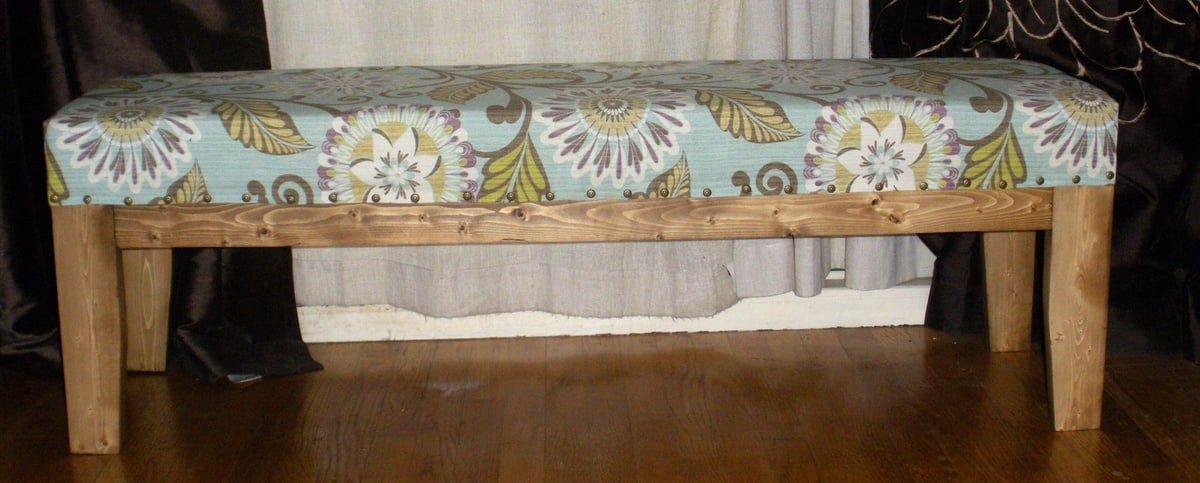
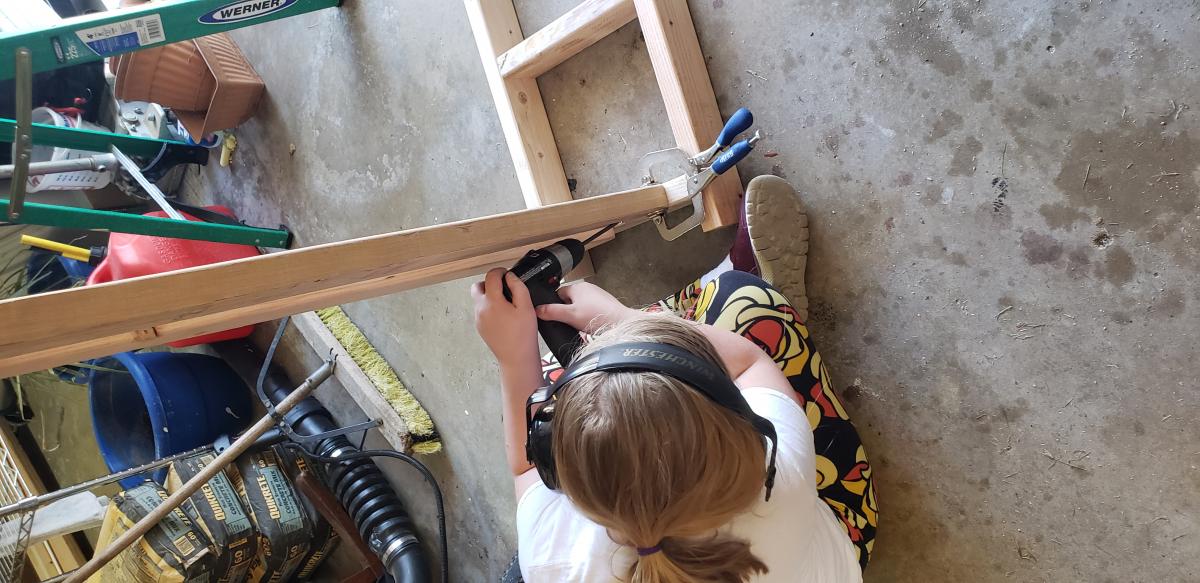
This was a very simple and fun project!!! One of my favorites!! Plus I learned two new DIY SKILLS......upholstery & tapered legs!!!

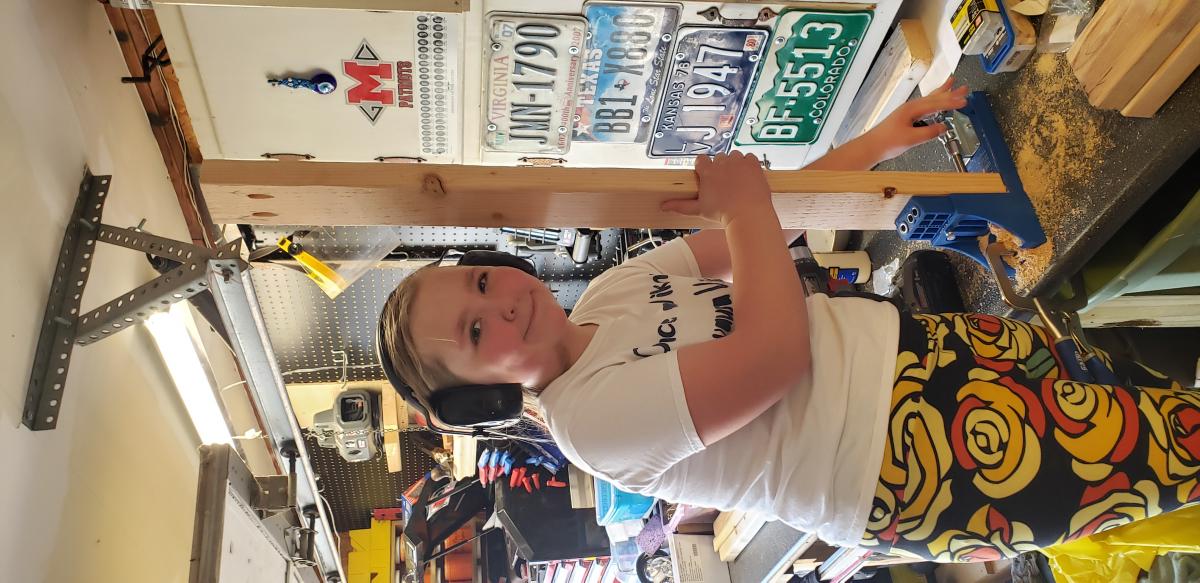
Built from Plan(s)
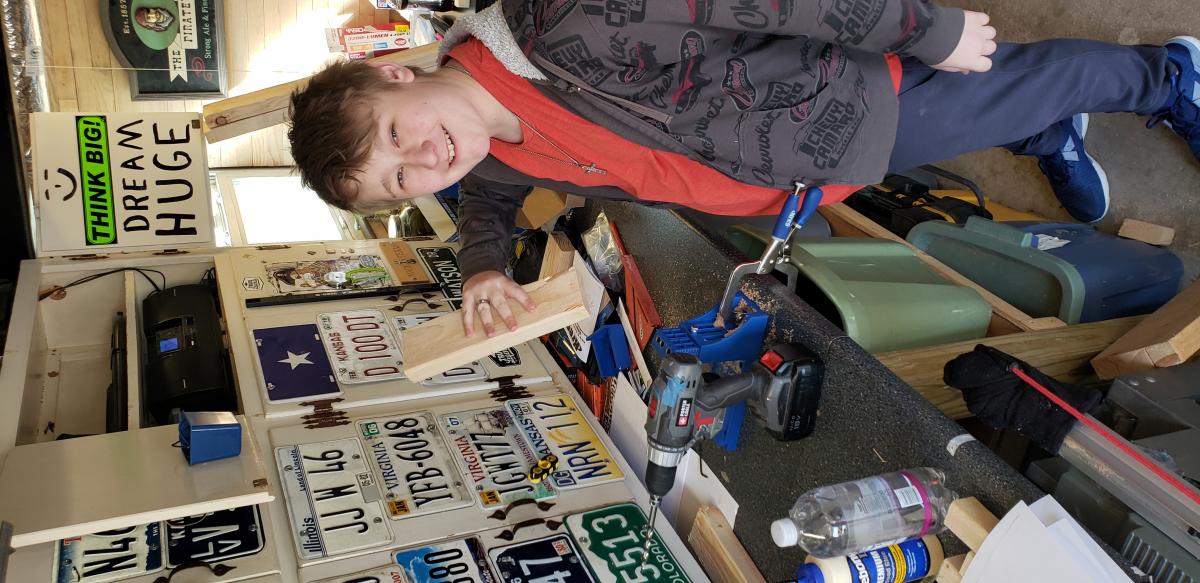
Estimated Time Investment
An Hour or Two (0-2 Hours)
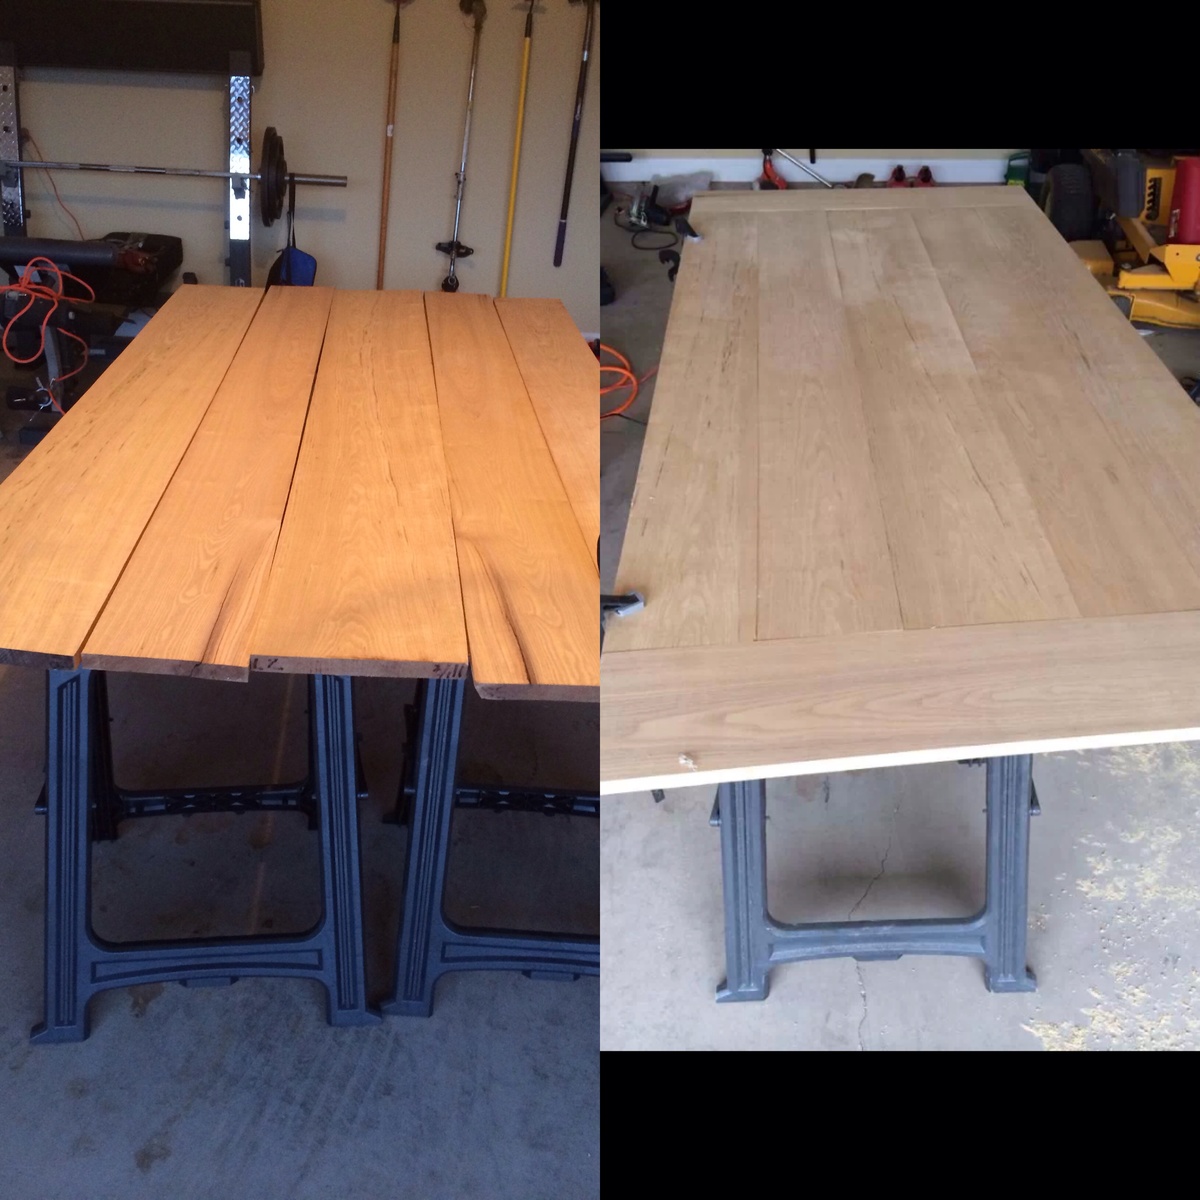
Finish Used
Dark Walnut, HGTV FABRIC
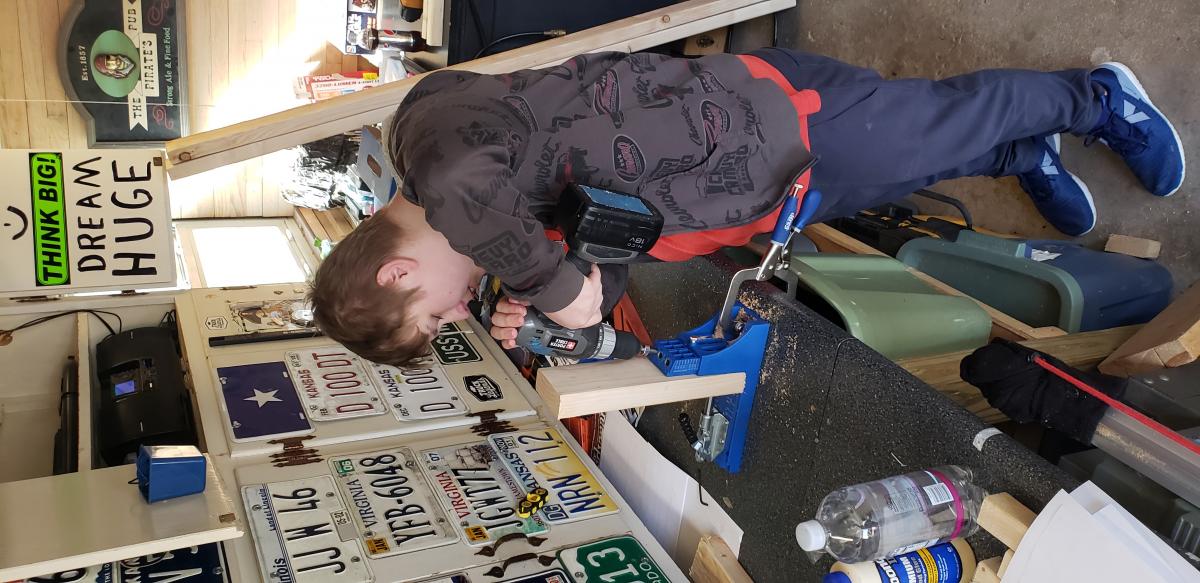
Recommended Skill Level
Starter Project