Community Brag Posts

Perfect playhouse

Submitted by Anonymous (not verified) on Mon, 05/02/2016 - 06:37

Perfect little playhouse my husband built for our girls.   It took about a week to build by himself, but worth every minute.   He did a wonderful job.   Such a good daddy!

Estimated Cost
1400
Estimated Time Investment
Week Long Project (20 Hours or More)
Recommended Skill Level
Intermediate

Full over Full Bunk Bed

Full over Full bunk beds. Adjusted for Full from a twin measurement. only 1" off floor for more head room.extra rail bar coverage upstairs for my daughter who rolls out of bed regularly.

Built from Plan(s)
Estimated Cost
used common board mix and a few premium cuts. Pine was more costly. @$250
Estimated Time Investment
Weekend Project (10-20 Hours)
Finish Used
White primer/paint
Recommended Skill Level
Beginner

Comments

bjerfr

Sat, 07/11/2020 - 10:12

What measurements did you use to adjust to a full size?

Outdoor Table with Concrete Top

Submitted by Anonymous (not verified) on Mon, 10/02/2023 - 10:25

Fancy X Farmhouse Table in stained cedar with concrete table top. Concrete top made using 4’x8’ melamine coated MDF boards for form, reinforced with welded wire fabric, standard Quikrete concrete mix.

MDeMotte

Built from Plan(s)

Surfer Shack

My buddy wanted this bed from Pottery Barn Kids but didn't want to spend $1300. It cost him $250 in materials and i built it for $300. So you DIY'ers could do it for $250. We also adjusted the size to fit a full size mattress.

Built from Plan(s)
Estimated Cost
$250
Estimated Time Investment
Weekend Project (10-20 Hours)
Finish Used
Kona wood stain
Recommended Skill Level
Intermediate

Comments

Rachael Cabos (not verified)

Wed, 06/06/2012 - 16:35

What were the dimensions?

Alexis buchanan (not verified)

Sun, 09/23/2012 - 14:42

Both my boys want to sleep up top I have a nice corner window seal that I'd like to put the l shaped loft at mid height double twin any suggestions also would like the entry on both ends so my 9 yr old can descend without waking my middle son would like a detachable slide in the middle

Hall Tree Bench with Shiplap Back

I made this for a cousin, but now I think I am going to need to make one for myself too!  I used shiplap for the back instead of plywood. It cost a little more but was less effort than cutting the lines into the plywood. Plus it was already finished. 

Built from Plan(s)

Toddler bed variation

Submitted by montero65 on Thu, 06/23/2016 - 09:54

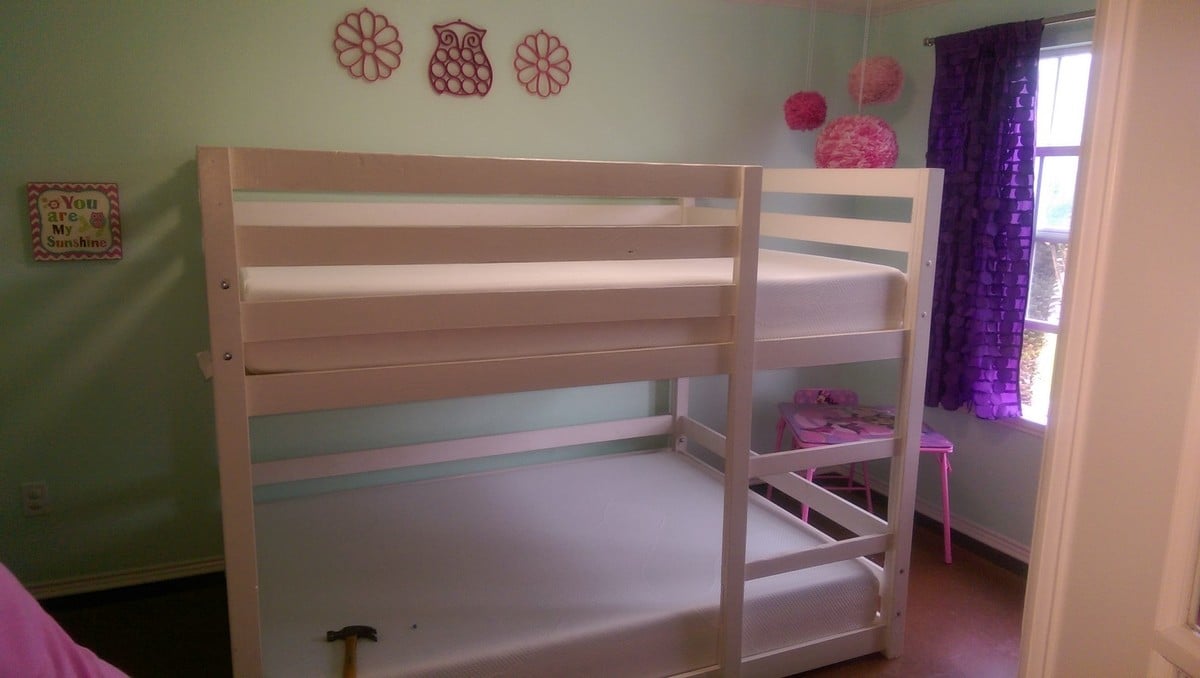
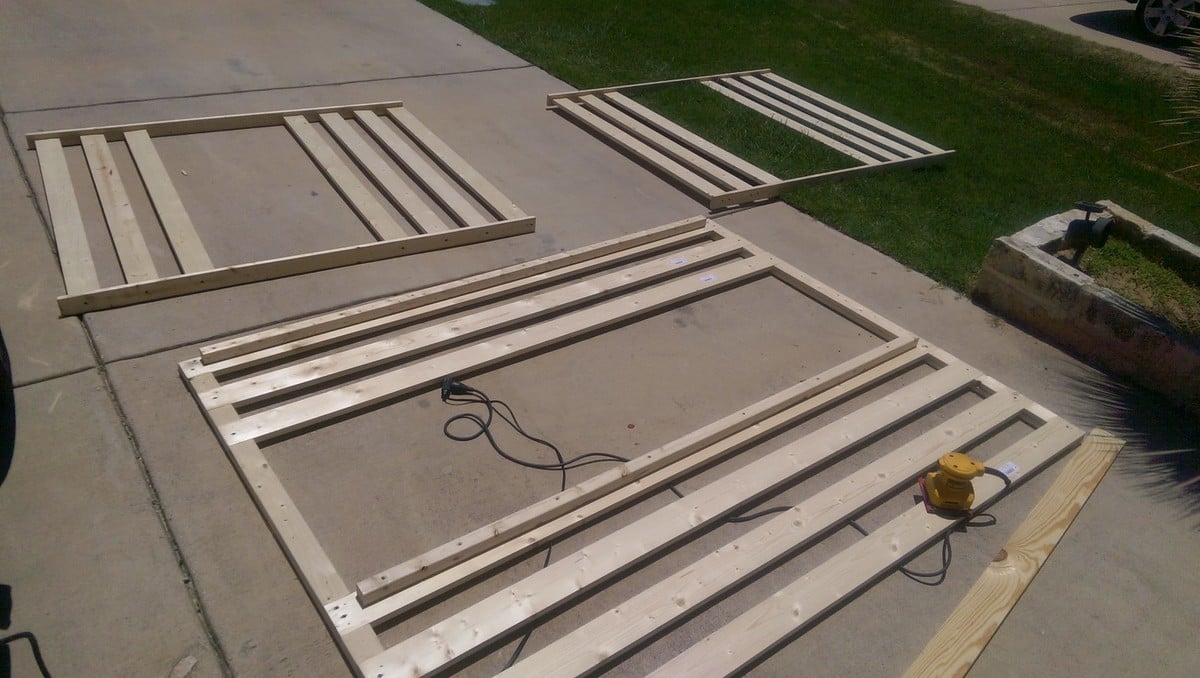
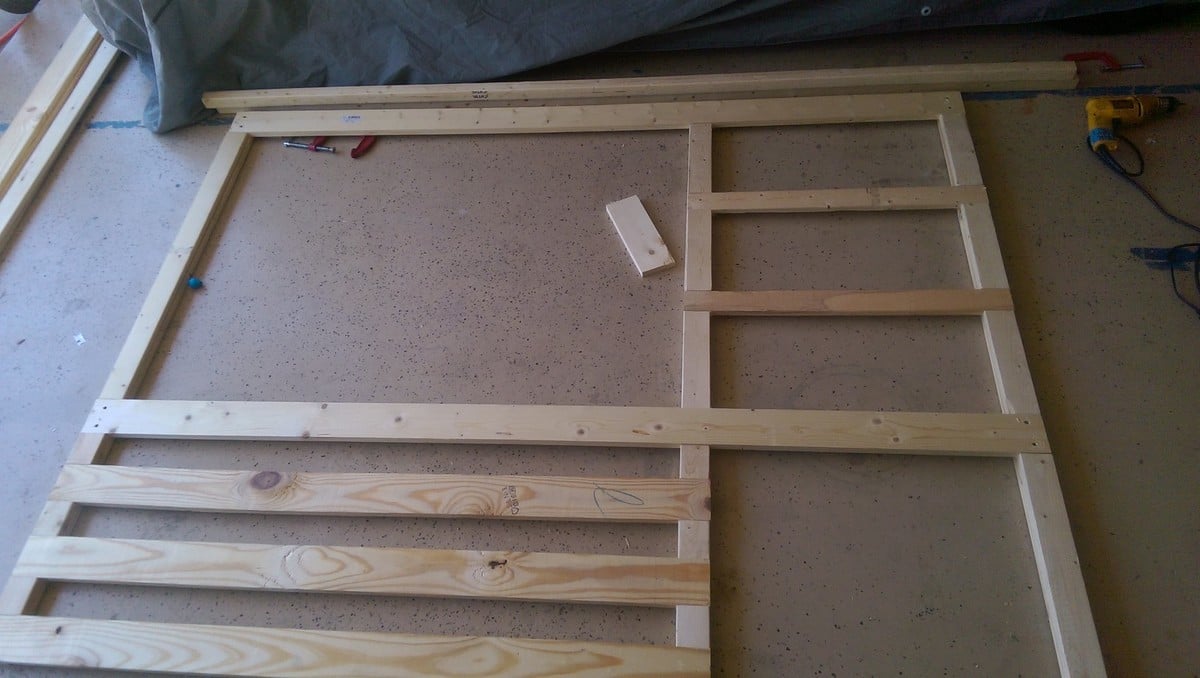
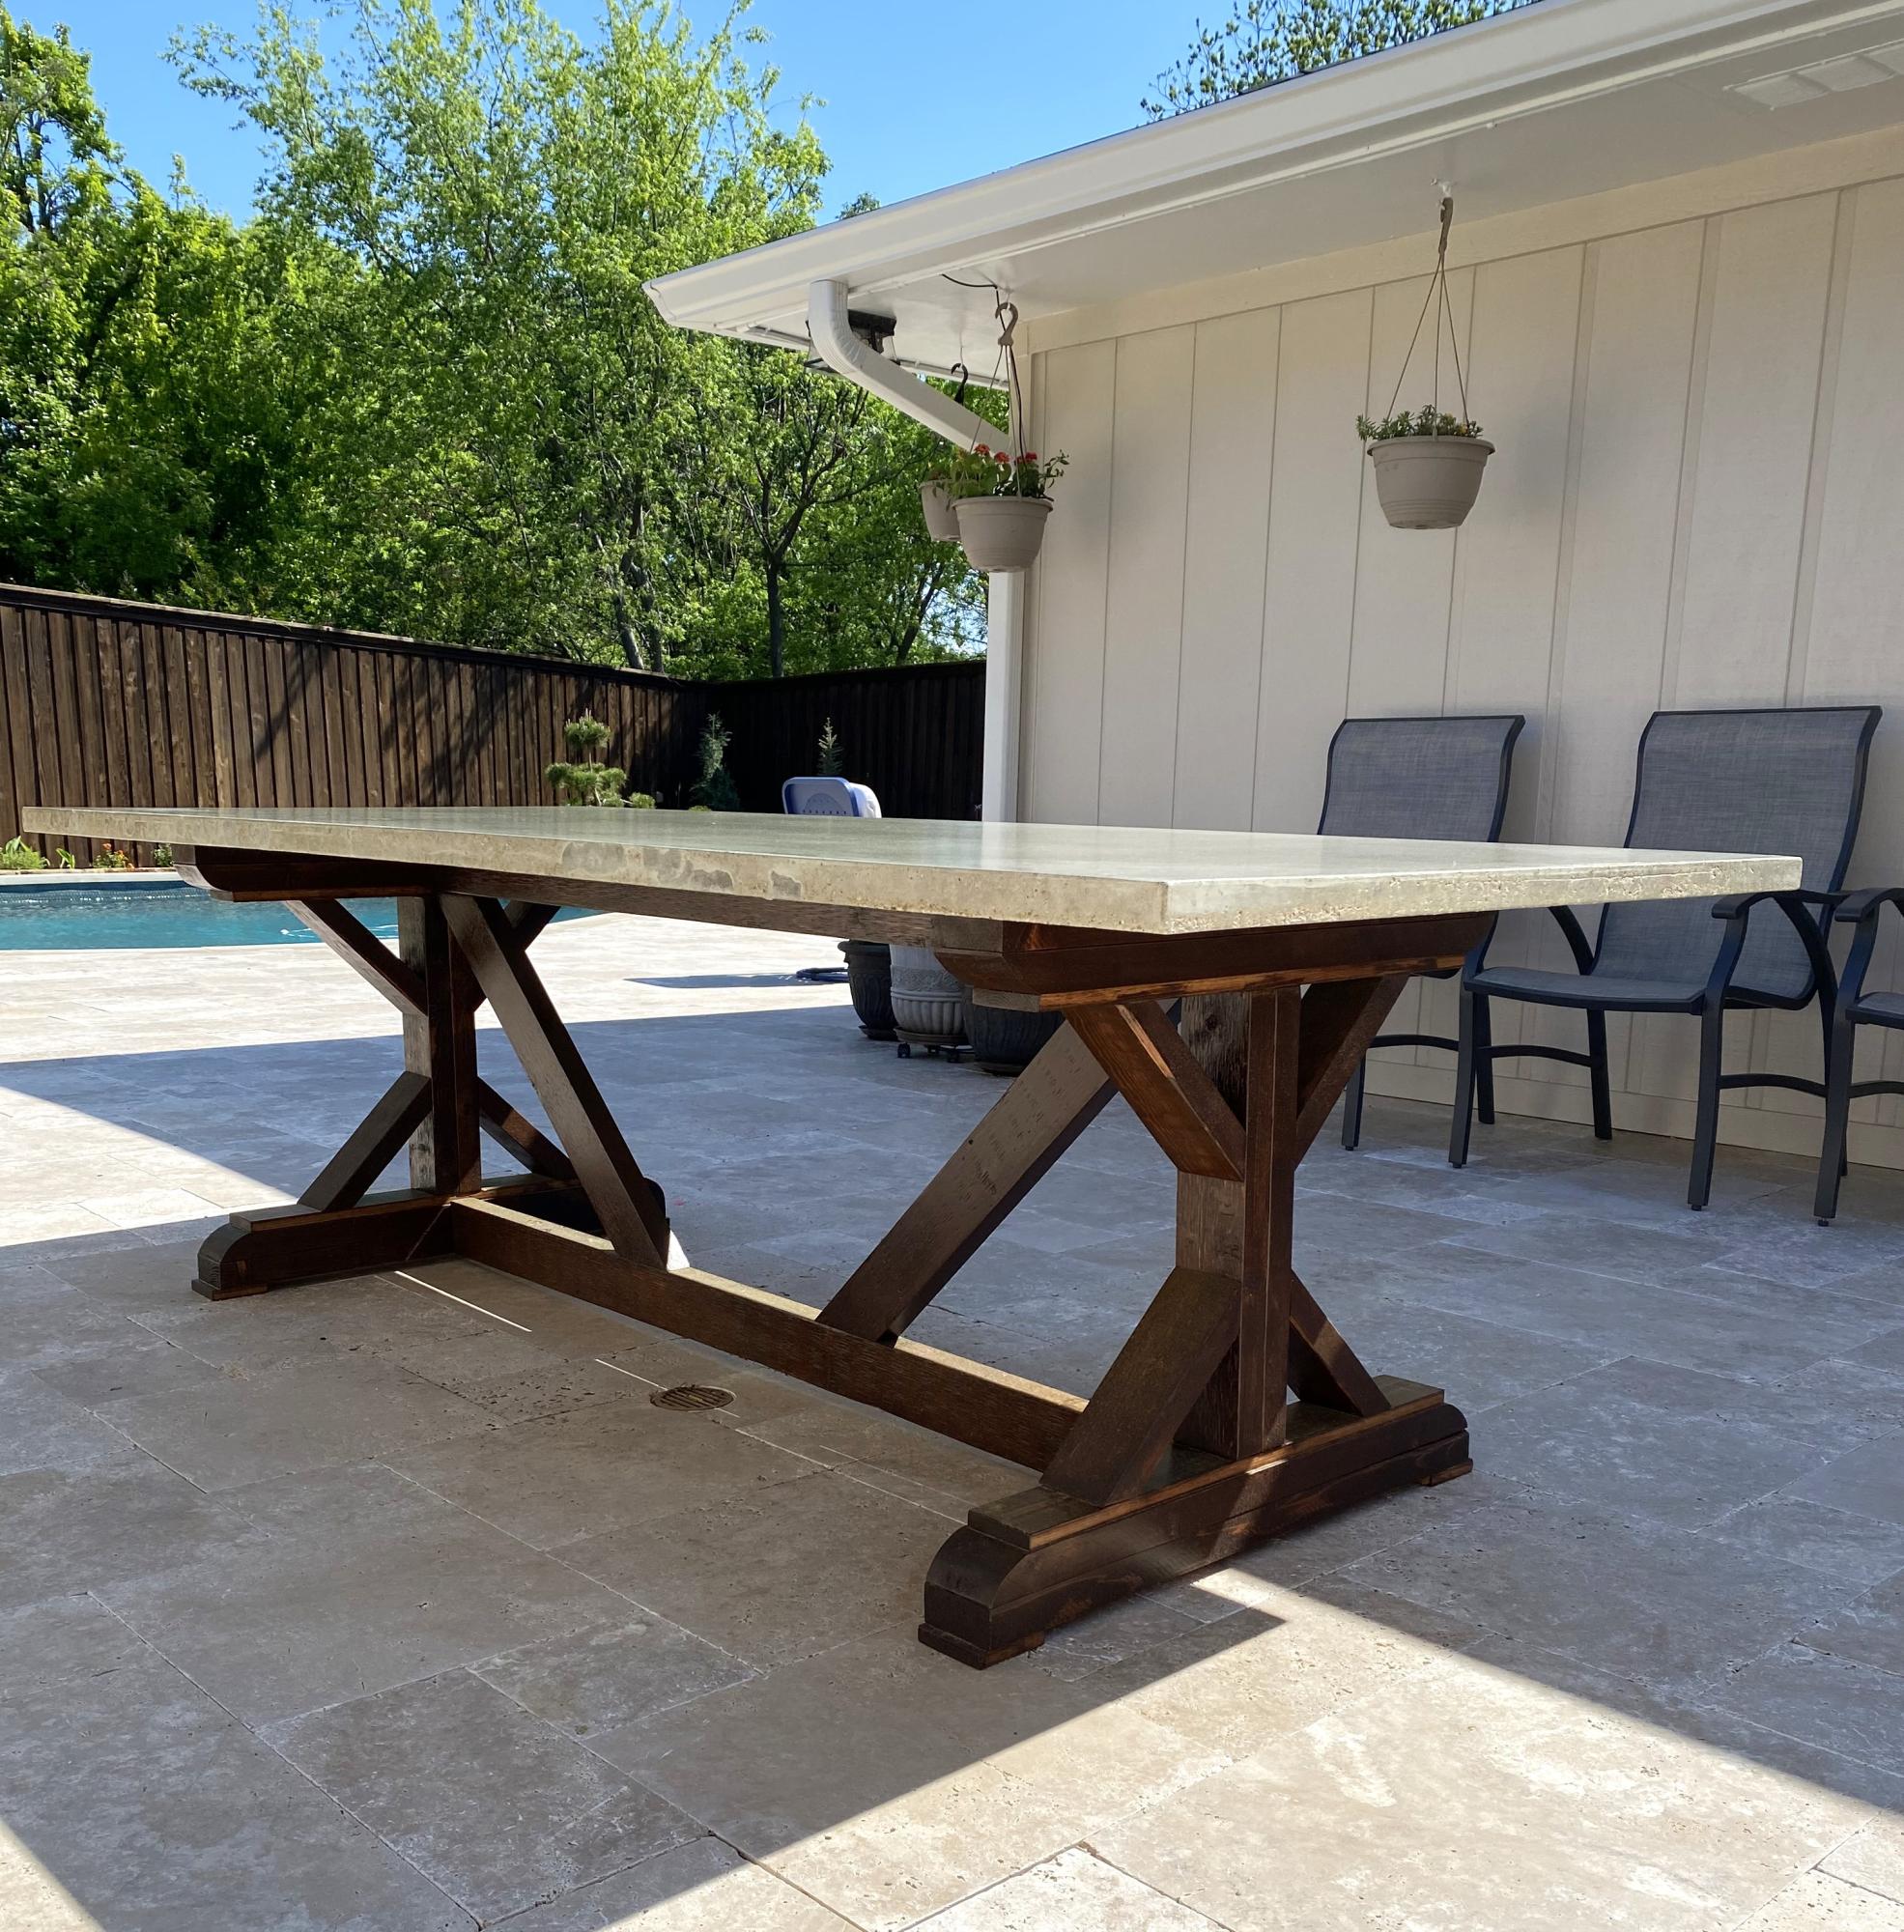
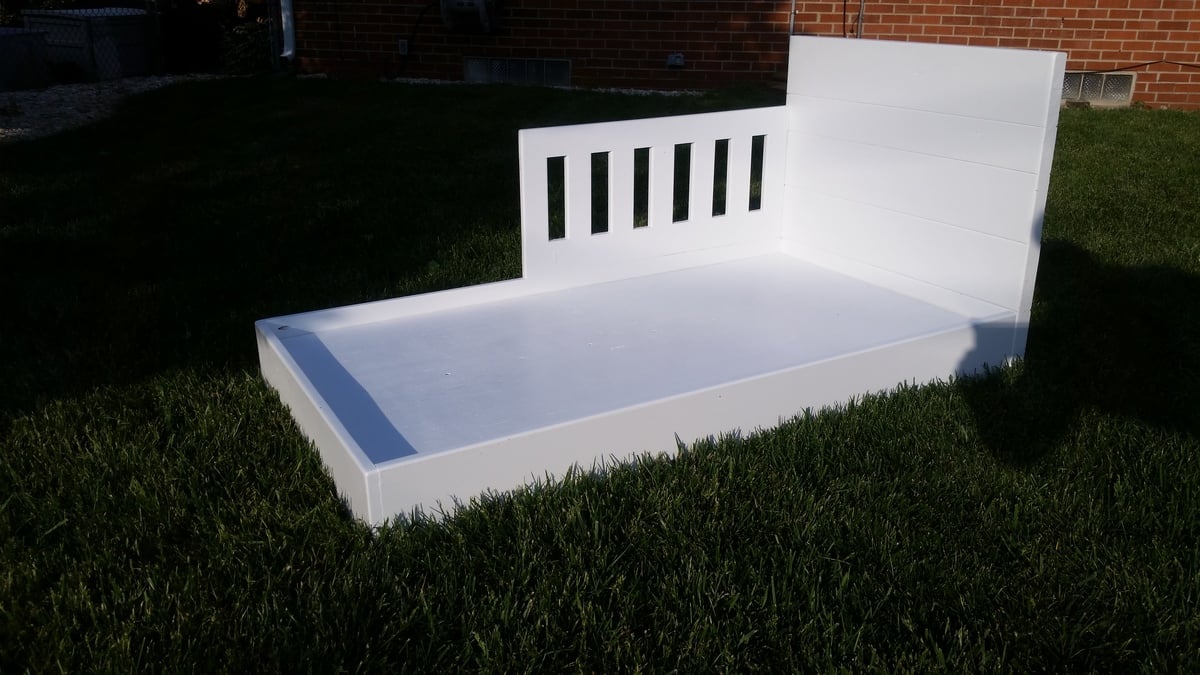
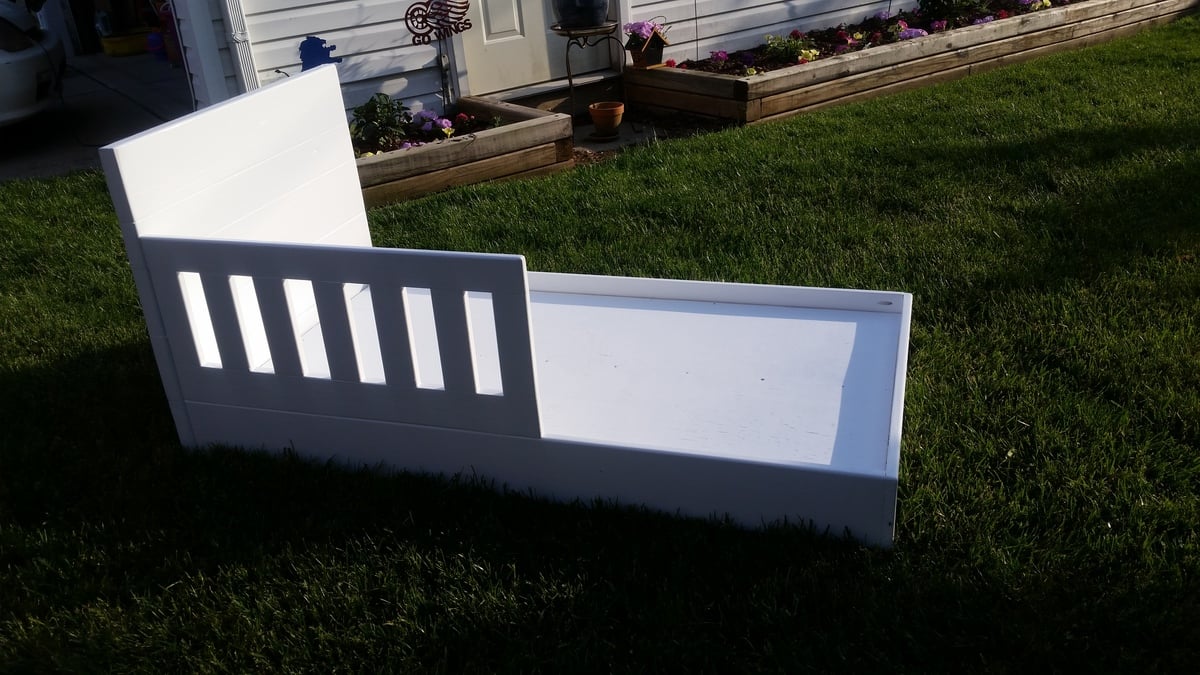
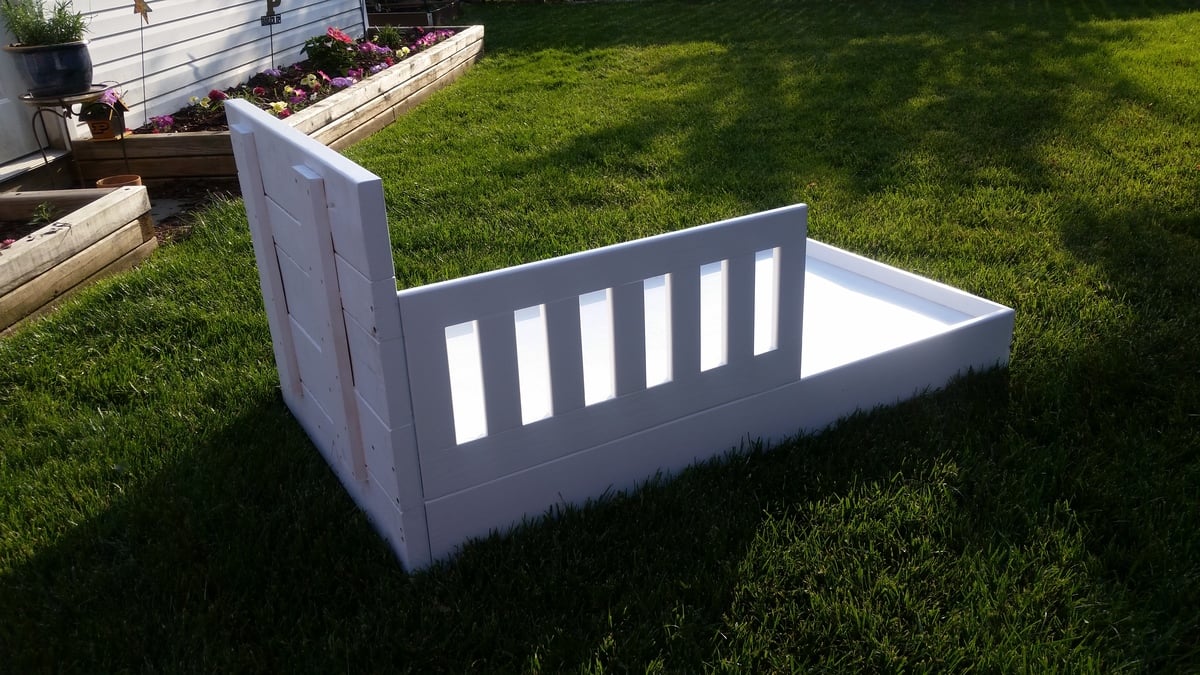
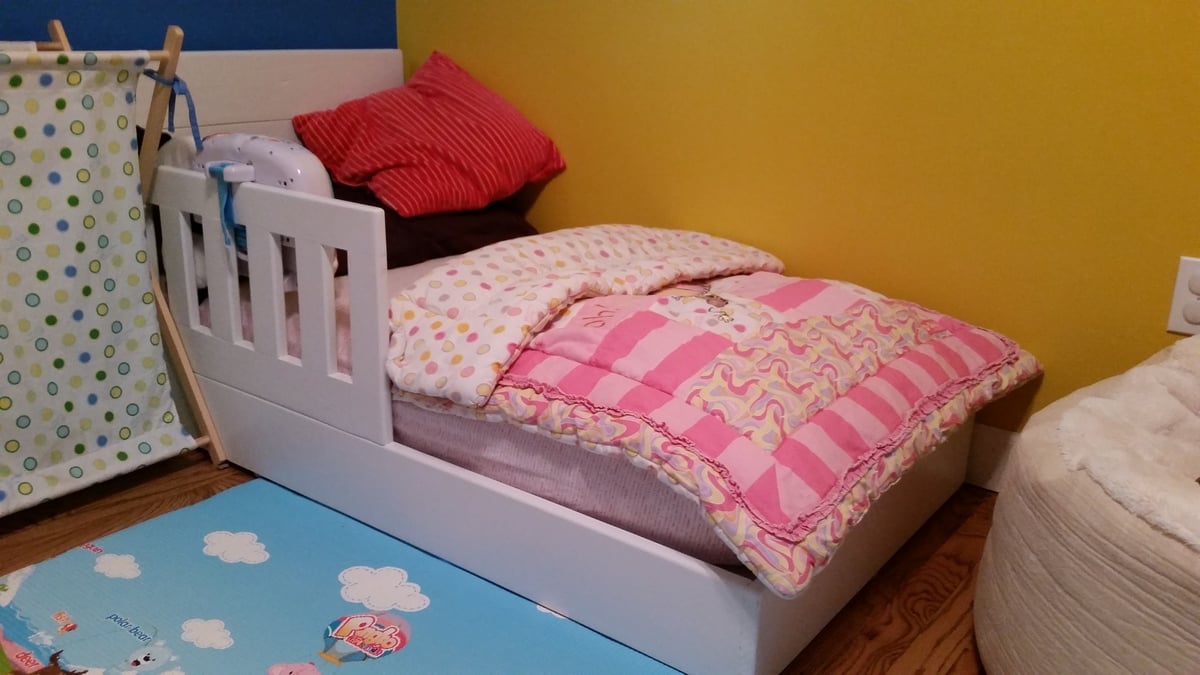
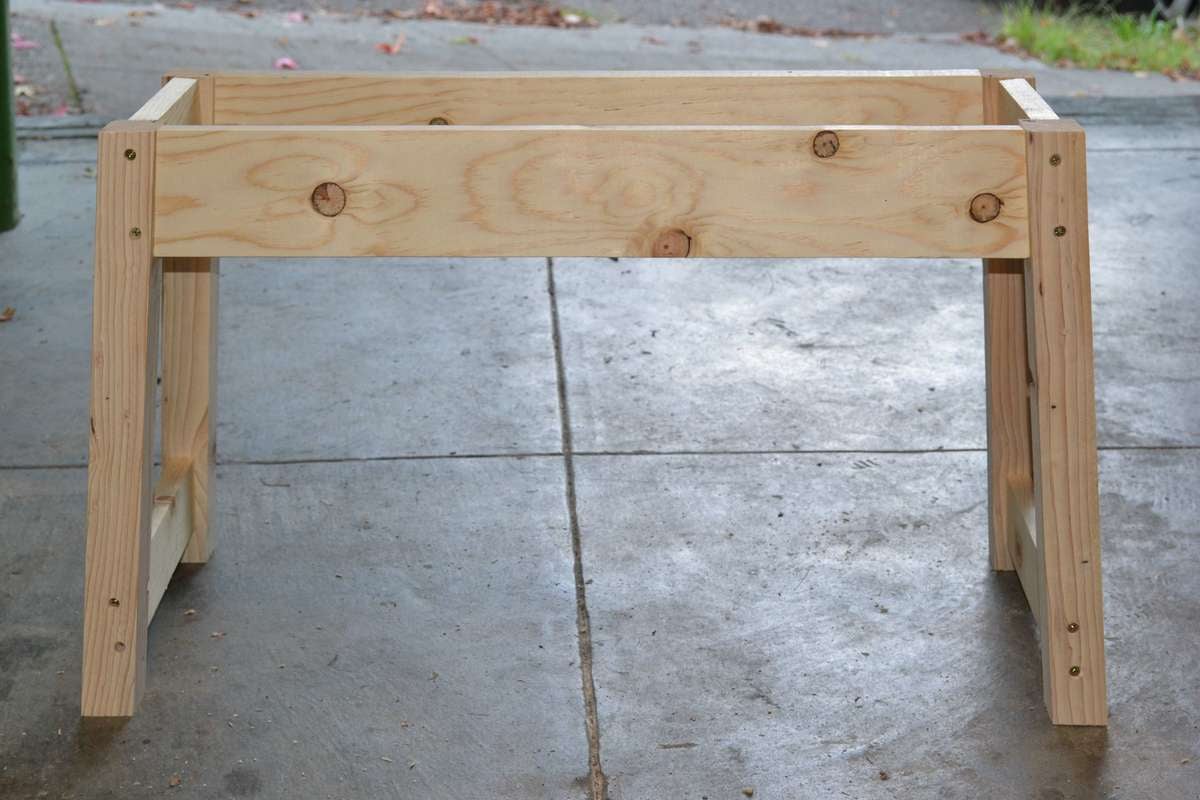
I really liked the design of the Rustic platform bed, and wanted to make a small version for my toddler.  So I tweaked everything down to fit a toddler mattress, and then reduced the wood sizes for weight (2x6 became 1x6, 2x4 became 1x4).  First built with the slats design but was way too heavy, so went with a sheet of plywood.  Headboard is still 2x4 and 2x6.  I also got rid of the platforms so the bed could go up against the wall.  Finally, added the side rail guard so no rolling out onto the floor.  That required a new tool (yay!) and I bought a biscuit joiner to make it.  It took some effort to get it mounted to the bed rail, but it works.  In the end, my toddler loves it, and was so excited when I brought it in.  She loves having her own sized little bed that she can hop into (and out of) as she pleases.  Best of all, it's strong enough if she needs us to snuggle her, we can lay next to her.

Estimated Time Investment
Week Long Project (20 Hours or More)
Finish Used
Sanded, then sealed with Kilz primer, and painted with semi-gloss white.
Recommended Skill Level
Intermediate

Barn Door Bookcase/ Side Pantry

Submitted by BmoreITguy on Wed, 04/22/2020 - 05:57

This took a lot of time and money but I like the way it looks. We have 4 kitchen cabinets and one drawer and no room for more so storage is tight.

Built from Plan(s)
Estimated Cost
400
Estimated Time Investment
Week Long Project (20 Hours or More)
Finish Used
Same as Ana’s
Recommended Skill Level
Advanced

Comments

BmoreITguy

Wed, 04/22/2020 - 06:00

Why is my picture sideways? Ana, one of the most frustrating things with this build was the mobile version of your site. Very laggy, typing lags, pages crash in the middle of typing or viewing and persistent ads are a nightmare

Changing table

Submitted by markmart74 on Thu, 07/07/2016 - 03:40

With the arrival of our first baby in 10 days,  the wife wanted a changing table. My only vision of a changing table was the ones in public restrooms. With the help of Google, I came across all the great diy ideas on this site. I combined 3 plans into 1 and came up with this. The project took 2 days to build. Next step is to prime and paint. 

Estimated Cost
90 - 100
Estimated Time Investment
Weekend Project (10-20 Hours)
Finish Used
Primer and paint
Recommended Skill Level
Intermediate

Comments

Fancy Picnic Table - Definately worth the extra little effort!

Submitted by mlmerrel on Wed, 06/20/2012 - 10:30

Needed a table for our deck, but didn't want to spend the $400-500 on sets at the store. Followed the plan for the most part and it was fairly easy to build. The only thing I did differently was in building the ends was put the "X" supports in after making the "I" shape in case I was off with my cuts.

Spent an hour cutting all the pieces on a Friday night and about 3 hours assembling Saturday morning. Table was ready to eat lunch on!

Built from Plan(s)
Estimated Cost
$90 (thanks to the Veteran discount at Lowe's)
Estimated Time Investment
Afternoon Project (3-6 Hours)
Finish Used
None, yet... plan to stain at the end of the summer once the wood dries out.
Recommended Skill Level
Beginner

Comments

mlmerrel

Thu, 07/05/2012 - 12:05

I did not use a Kreg jig because i dont havd one and I didn't try to hide my screws. I did pre-drill all my holes so that I didn't split any boards... and my dad is a carpenter so he helped me attach the 2 cross pieces (which is the only part I had trouble with) to the ends, which we did by just angling the screws in. I will try to take a few more detailed pics in the next few days so you can get a better idea of how I did it.

I Rub (not verified)

Mon, 07/02/2012 - 03:37

Hi, great build !
Could you please explain how and from where did you screw the curved pieces at the bases ?
same question for the table top boards ?

Thank you!

In reply to by I Rub (not verified)

mlmerrel

Thu, 07/05/2012 - 12:03

If you look at the first drawing I have attached it will show you where to screw the curved pieces in. I screwed through the 1 x 4 to attach the smaller curved piece. Then I would screw through the larger curved piece into the smaller curved piece to attach it.

The table top pieces I screwed in from the top into the side pieces that you build first. I used 2 screws per board per side. The 2 boards in the middle should have screws at least 2 inches in from each side. The 2 boards on the end will have one set of screws 2 inches from the side that is next to the boards in the middle. The second set of screws will end up in about the middle of the outside boards. I'm going to attach another drawing to explain. Let me know if this helps.

I Rub

Mon, 07/09/2012 - 11:22

I plan on building the table this week, will use your advice. Much appreciated.

Gus (not verified)

Sun, 07/15/2012 - 16:20

Thank you for posting this. I started the project yesterday and I started with putting the cross braces on first and it did not turn out leveled. I thought that I would try to put it together first and then add the cross braces but was scared if it would hold. Thanks to your post I feel more confidant about it. I am going to make a run to the big box store and start over. Its okay because this is my very first build and I am just happy with my first 45 degree cut with my new circular saw ;) I guess its a learning process.

Thanks again for your post,
Gus

Outdoor Living Space - Inspired by Ana's Plans

Submitted by Anonymous (not verified) on Thu, 05/07/2020 - 10:25

My wife and I were looking for a way to make our deck more enjoyable. I came across Ana's plans a year or so ago, and after building the couch and chairs, I decided to make a loveseat, add a rug and outdoor curtains. Hopefully one day I'll add some lights and an outdoor fan to complete the look.

Estimated Time Investment
Weekend Project (10-20 Hours)
Recommended Skill Level
Beginner

Comments

Seasonal And Holiday

Football Bat Shelves

This is a simple shelf to hold the reference books I keep on my desk at work. That's now how it started out though. It was supposed to be a laptop stand, but a small mistake turned it into this. Rather than toss it as scrap, I decided to make lemonade.

I'd love to link a plan, but all you really need to do is take a 1x10, cut legs (mine are 8 inches long), and join them to the ends with pocket hole screws.

Estimated Cost
10
Estimated Time Investment
An Hour or Two (0-2 Hours)
Finish Used
Custom toner made from General Finishes polycrylic and Espresso stain.
Recommended Skill Level
Starter Project

Bookcase Dollhouse

We built this for our daughter's 6th birthday! Love how it turned out :D  As you can see we opted to leave the plywood backing off for the time being so she can use it as a doll house and play on both sides. When she grows out of the doll house phase we will either convert it to a book shelf, donate, or sell in a yard sale ... so many options!

Built from Plan(s)
Estimated Cost
$74 wood & white paint
Estimated Time Investment
Afternoon Project (3-6 Hours)
Finish Used
One quart semi-gloss white paint (2 coats) bought at Walmart. Pink and green colors were left over paints from when we painted the walls in our home.
Recommended Skill Level
Beginner

Comments

Stuffed Animal Zoo

My daughter loves this! And now I have to make one for my youngest! Instead of rope I used 3/8" Bungee Shock Cord. I used one long piece and threaded it through the screw eyes. I put the screw eyes in the top, middle and bottom.

Built from Plan(s)
Estimated Time Investment
An Hour or Two (0-2 Hours)
Recommended Skill Level
Beginner

Indoor Playground slide fort

Submitted by Glenda544 on Wed, 05/28/2014 - 18:49

We wanted a place for the kids to play when the weather outside is unbearable. So, we modified the camp loft bunk bed plan to work in our game room. We have a pool table in the room and we didn't want it to interfere with any shots. Subsequently, we cut the width down to 24 inches and extended the length to 93 inches to fit in our space. Additionally, we pre-ordered a slide that had to be mounted at 48 inches and measured 71 inches in length. So, my husband framed it out so the planks that are meant to hold the mattress would sit right at 48 inches and we could mount the slide. This has been the best idea ever for our kids, because they can't get enough of sliding and swinging indoors.

Estimated Cost
$100 plus slide ($89), swings ($16 each) and handles ($4 for 2)
Estimated Time Investment
Weekend Project (10-20 Hours)
Finish Used
Hmm, I believe it was a gallon of Snow Fall finish with primer all in one from Home Depot. We used about 1/2 but have more projects planned.
Recommended Skill Level
Beginner

Comments

Simple Entryway Bench

Submitted by tfox on Fri, 08/10/2012 - 10:57

I loved this project as soon as I saw it on Ana's site. I made a few changes to the plans in order to suit my needs and also as an excuse to use my new tools. I left out the cross supports in order to accomodate storage underneath the stool and it still retains exceptional strength without the supports. I also used my new router to round the edges on the top peice to give it a more finished feel. I'm really happy with the results and have made multiple for friends and family, both painted and stained.

Built from Plan(s)
Estimated Cost
$50
Estimated Time Investment
Day Project (6-9 Hours)
Finish Used
Red paint over white primer. Finished top with satin spray on poly.
Recommended Skill Level
Intermediate
Back