Faux Mantle by Posh Barn
This is such a great project. Easy and fast you still have time to make one for hanging Christmas stockings!
I truly enjoyed using these plans to make this project mostly because I made it with wood that I got from a friend and reclaimed from other projects. The top of my desk is made with reclaimed 3/4 X 5 1/2 that wanted to curl and twist when I glued them together but after sanding and finishing they came out great and add a lot of character to the overall project.
A nice summer project that is good for relaxing and eating outside.
Built with
7 - 2x4x72"
1 - 2x6x8
galvanized hardware
Started with a light base paint and taped off diagonal sections.
Next time we would lessen the gap inbetween 2x4's.
I took the plans for the indutrial cart and modified them just a little. I needed a shelf, not a cart, so I left the casters off and I made mine 4 feet tall and 5 feet wide. I just had the guys at Lowes cut some 2x12x10's in half for me and the metal angles were already 4 feet long, so I didn't even have to cut them!
Thu, 11/06/2014 - 11:41
You did a fantastic job and I love the stain color you used! Just wondering if you have had any issue with the shelves bowing or sagging in the middle? I am looking to build two of these to hold books in my living room. Nothing too heavy... just curious to see how they are holding up.
Wed, 12/23/2015 - 10:20
Just barely saw this comment! It's been over a year and the shelf is holding up great!
With Christmas fast approaching I am busy finishing making my holiday gifts. As a personal touch for some of the purchased items I decided to make little crates to hold the gifts. I used 1/4" poplar craft boards and made them in about half an hour. My dimensions are to fit these spices that I bought for gifts in the Caribbean when I was visiting my sister last month, but the design is so simple that you can easily modify it to fit whatever gift you are giving.
Check out my blog for more details: http://homeandawaywithlisa.com/blog/2012/12/14/small-gift-crate.html
I modified the plans (took out the top set of drawers) to make it a little shorter so my daughter can climb on it easier.
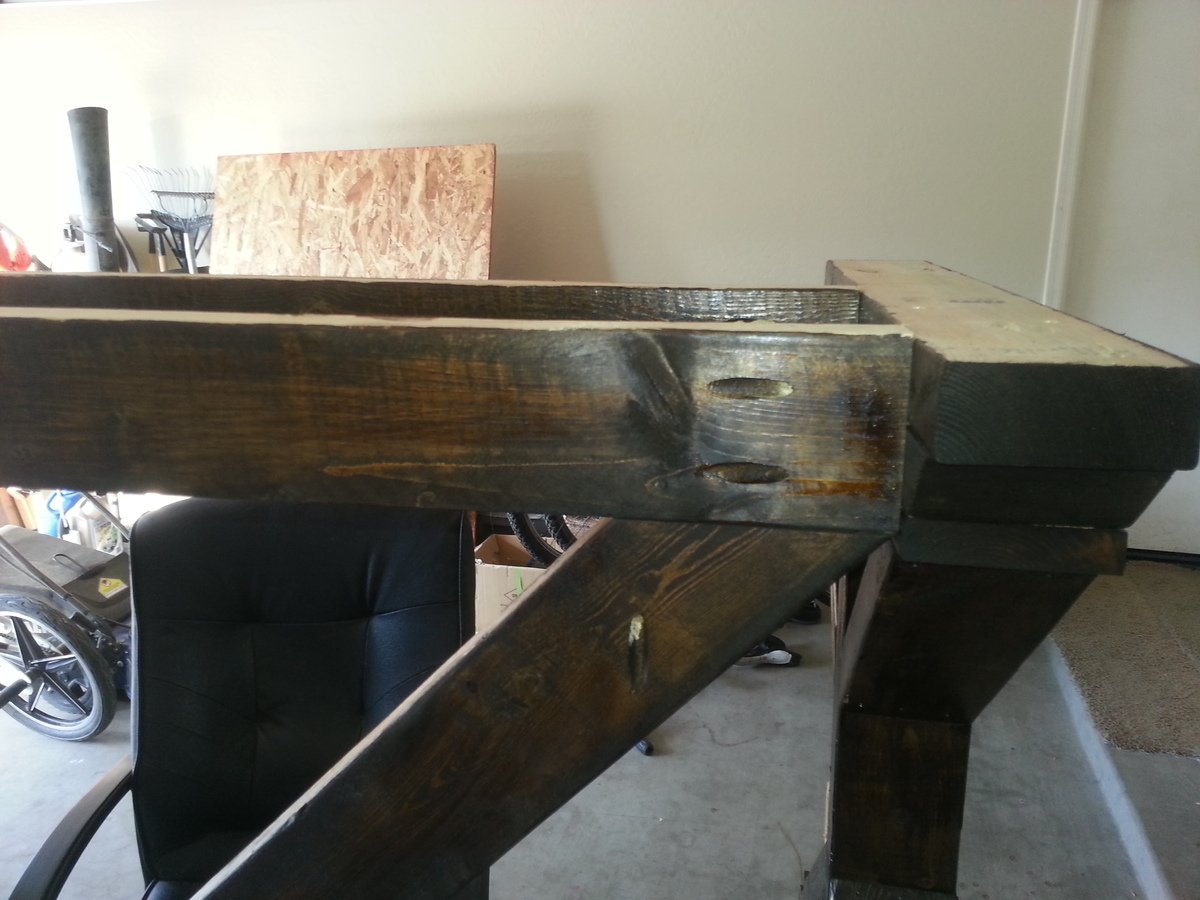
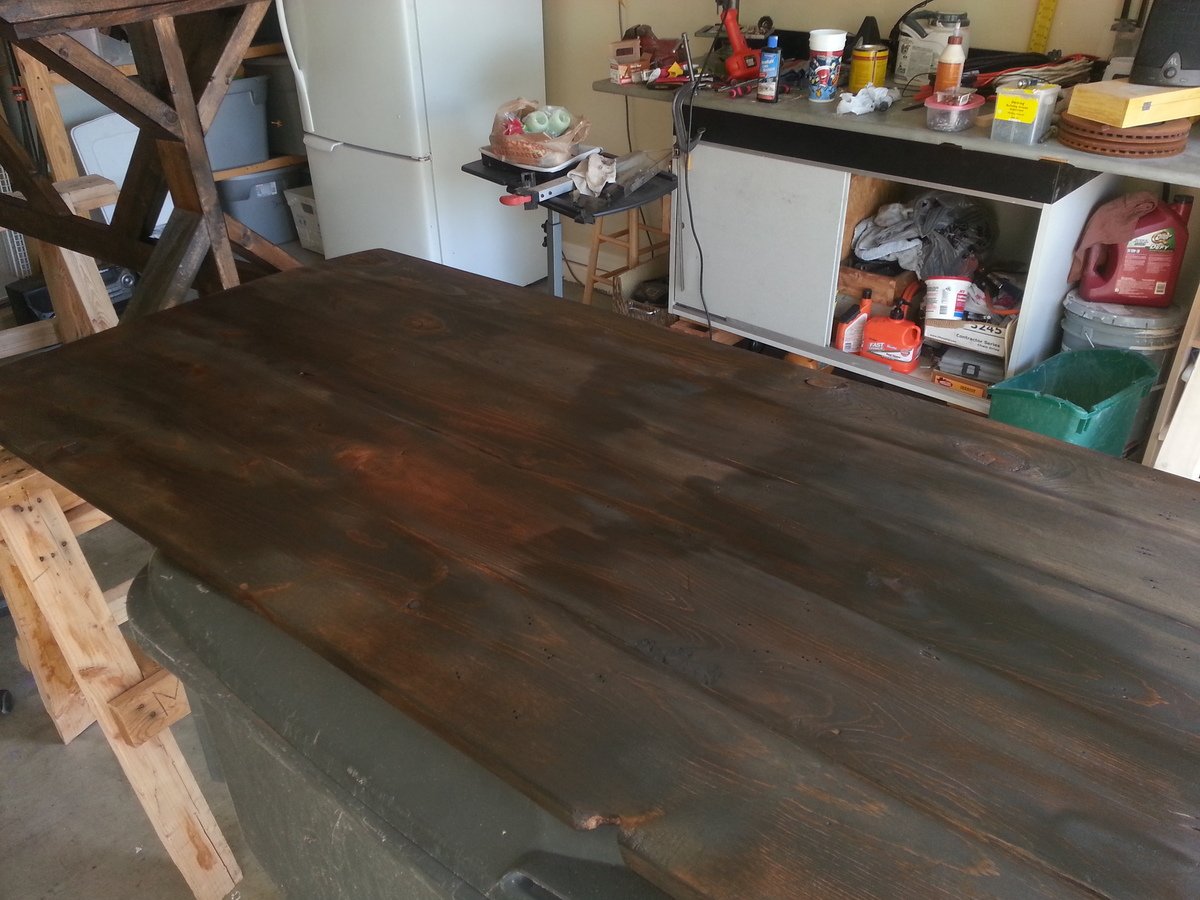
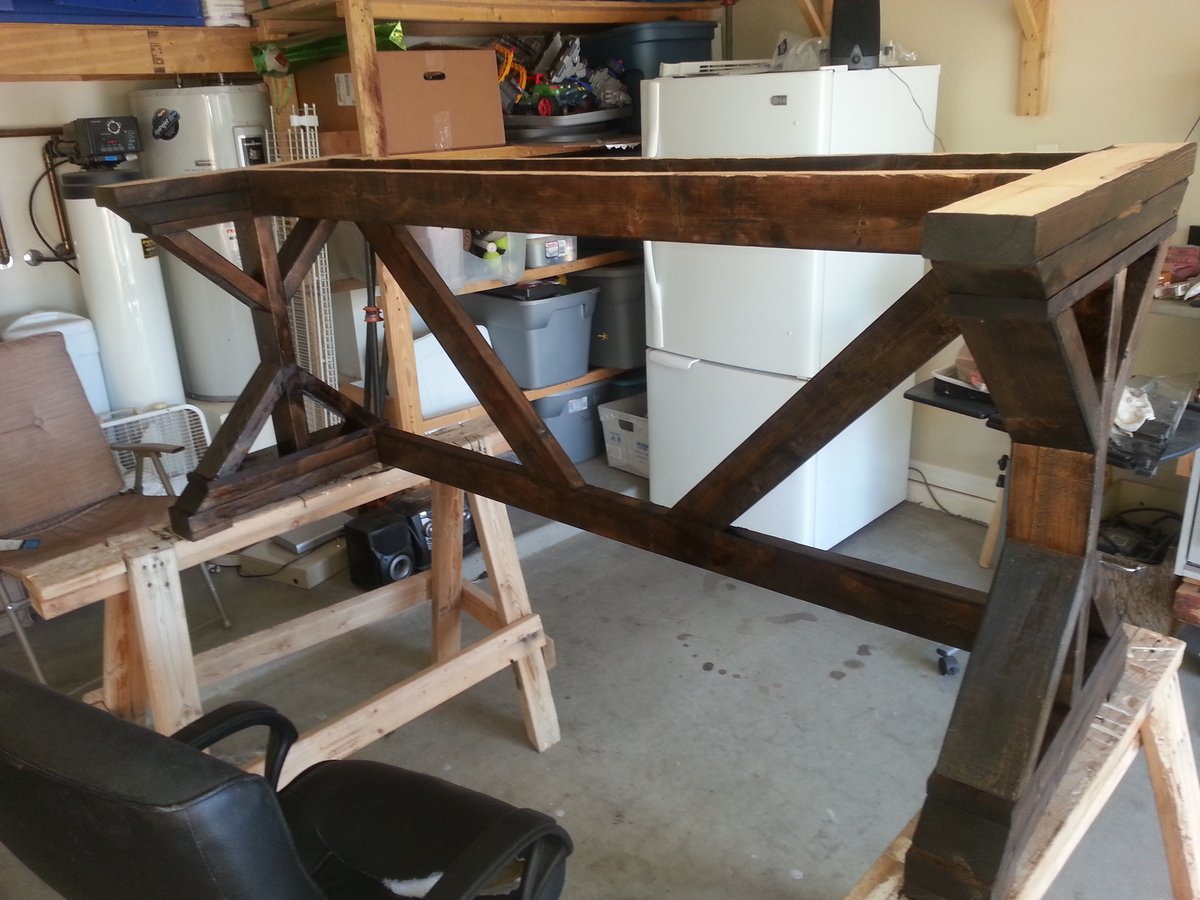
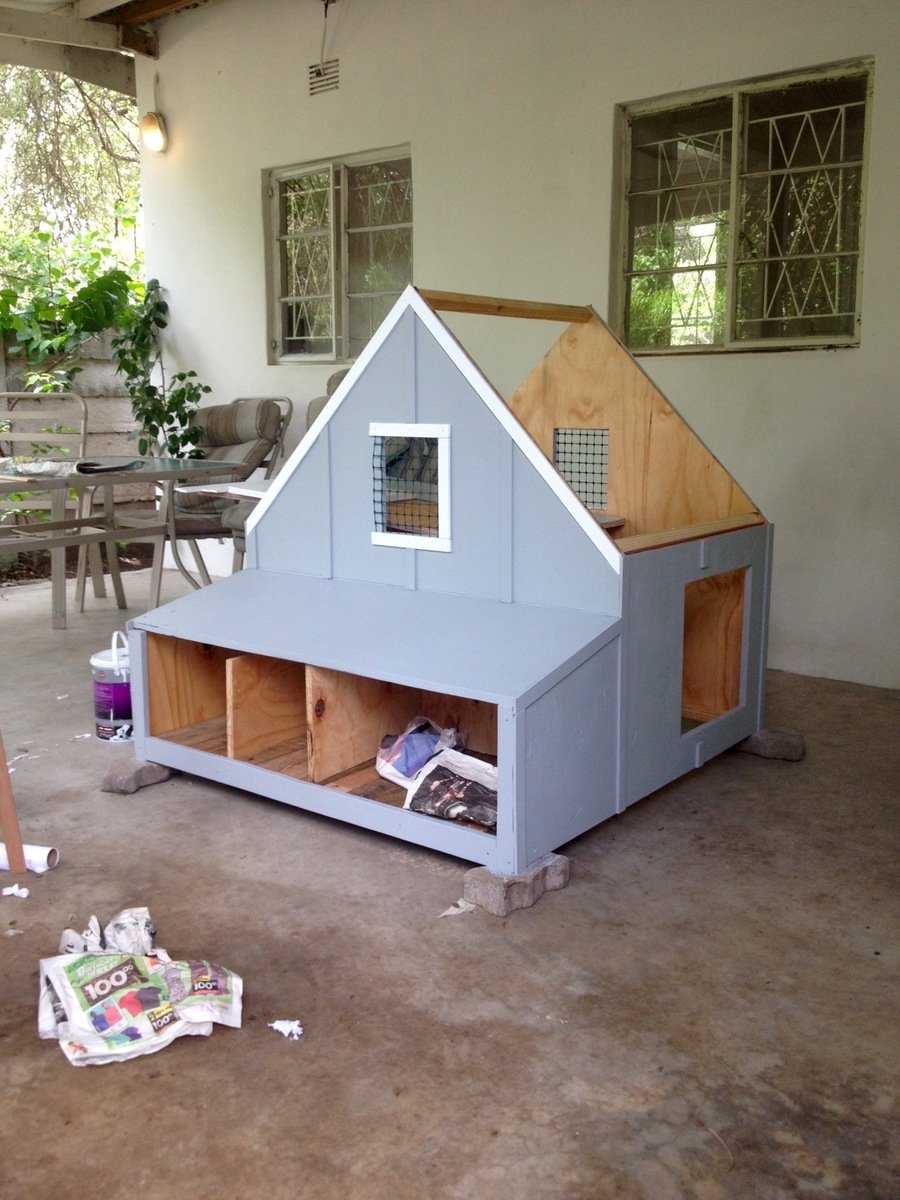
We live in a termite infested area and as such were nervous about putting wood in contact with the ground. We modified these plans to sit on top of a welded bar frame that is moveable and stands a meter high. The measurements are custom to our welded frame but the shape was based on these plans as was the construction process followed. We dont have a worry about predators so have used a design that doen not have a closed floor - our girls can simply fly or walk up the ladder to the roost and are able to leave the coop when ready in the morning without us opening doors. We are also in a warm environment thus an enclosed coop is not needed.
So far they are happy and are happily laying in the two egg boxes (We left the remaining space closed internally so that we can use it for storage) and as there is no bottom to the coop they poop straight into the run and onto the sand floor.
They are not free ranging yet as we are nervous of our dogs chasing them but once we are happy to let them free range we will use the gate built into the welded run.
Thank you Ana and lady goats for this design - I spent hours (and hours) researching and reading and looking at coop designs before deciding that this cute number was the one we wanted.
From me and my happy hens, thanks again!
Made this little shelf upon special request from my mother for a cookbook shelf. Perfect size. Ended up staining it, but in the photo it's unfinished. Easy shelf!
Very easy and fun first dollhouse project. Opted not to go with traditional "barn" colors and made it a mod Barbie house. My 5 year old niece loves it. Thanks Ana!
I scaled this 1 foot long coffin from a full size version I saw online. I built two versions – see drawing links. The first one (documented below) is from purchased craft wood which was clean and straight. The second version was built from scrap pallets. I’ve also included a quick video of the build along with PDF versions of the plans.
Build Instructions:
http://www.instructables.com/id/Mini-Coffin/
Video:
We LOVE how functional this toy bin is!! My husband built it in 3 hours, and then the stain took me 2 days (typical the finishing stain takes the most time! Ha ha) I did a 4 step process after looking at dozens of websites of how to stain- since we used pine board I didn't want the grain to stand out as much. 1: homemade vinegar solution stain 2: rustoleum weathered grain stain 3: minwax special walnut 4: 3 coats of poly
I found the label holders at houseofantiquehardware.com
This was my first big build, previously I had only made the $10 ledges. It mostly went as expected! The hardest part, as many have said, is keeping the pieces still while drilling the pocket screws into place. The bed itself did not take much time to build, my time estimate is so high due to the finishing, and really it could’ve used a great deal more sanding and sealing. I was OK with a somewhat rough/rustic finish because it is for my daughter’s “forest” themed room.
I considered using bed hanging hardware, but all I could find used hooks or something similar, which does not seem wise for a bunk or loft bed, since someone could be underneath and accidentally lift it out of place! In the end I just use pocket hole screws to attach everything like the plans dictate.
Used cedar wood so I applied a few costs of oil based polyurethane to compensate for the softness of the wood.
It came out really good my daughter loves pokadots so I filled the thing with hundreds and hundreds of pokadots. This was a lot of fun and very rewarding.
My sweet son completed his first woodworking project over the weekend! He chose the board game lazy susan as his first project and it turned out beautifully! He used a circular saw for this but thanks to one of Miss Ana’s videos we are looking at purchasing a compound sliding miter saw in the near future. He genuinely enjoyed this project and has received great feedback from loved ones! Thank you very much Miss Ana for sharing these plans! Don’t underestimate the impact you are having on families as far away as Ohio :) We appreciate you and your time and effort!
Fri, 10/02/2020 - 21:14
That smile says it all, thank you for sharing! I can see many hours of games being played on that as well as many more hours, building great projects!
I made this for my 5 year old niece for Christmas...she loved it! Got a big hug without her parents saying a word.
Considering it's only my third woodworking project I was pleased with the results. Her Mom has requested one for London's baby brother; if I learn from my mistakes that one should be even better.
I painted all of the pieces separately before assembly, so the project was spread out over several days. If you're good enough to paint it all at once it's a weekend project.
Used the plans for the Rustic X End Table on this site, modified them a bit to fit the space I wanted to fill. Also changed the design a bit to incorporate a drawer. I wire brushed each piece with a wire wheel brush drill bit to give it texture and make the grain come to life, then after assembly I went over the whole thing with a blow torch to add some nice colour and make the grain further stand out. Finally finished it off with minwax classic grey stain. I'm very pleased with how it turned out.
Tue, 12/09/2014 - 14:54
Just built a simple drawer box and attached some supports on the inside of the table for it to slide on, nothing fancy.
We recently moved to Texas from Virginia and downsized in living space. Our 3 1/2 year old son had his own playroom so unfortunately we don't have an extra room for that any longer. My solution to that problem was building this loft bed. We altered the plans to fit our measurements (smaller bedroom). We also made it taller so we could use it longer. Also we didn't have a keg jig so we invested in that within that $200 cost. My husband and I built this in one evening from start to finish. 6pm to 2 am! This was also our first wood project. Not bad I say!
Comments
moosmani
Wed, 12/05/2012 - 21:15
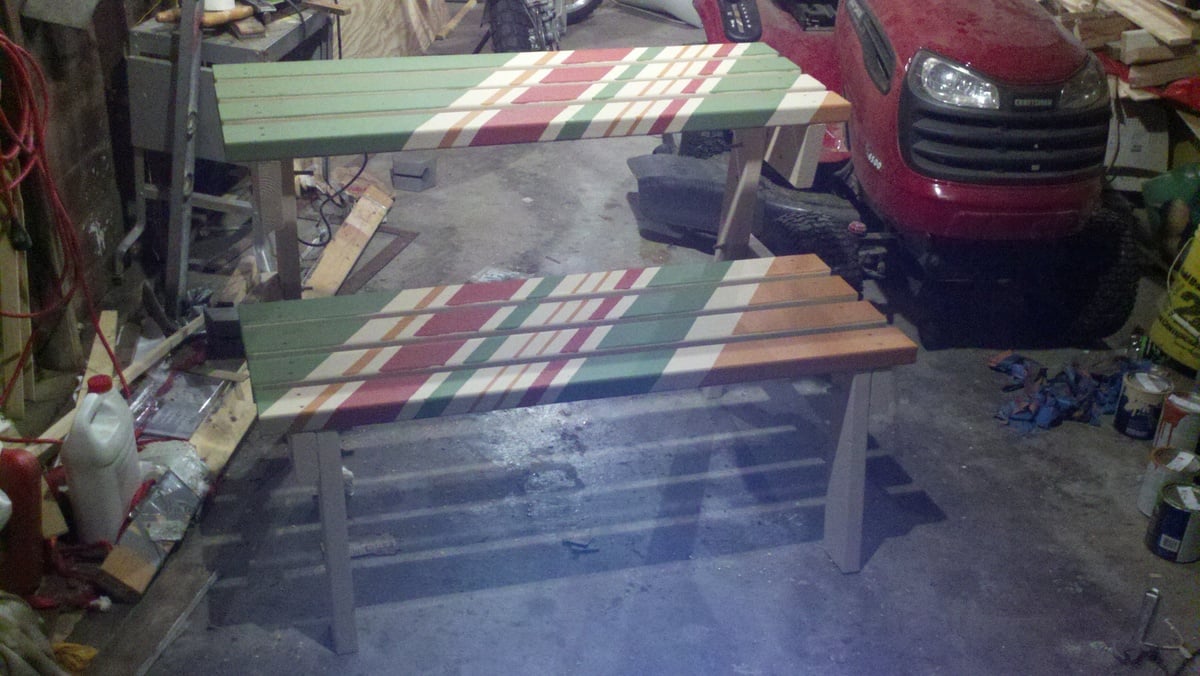
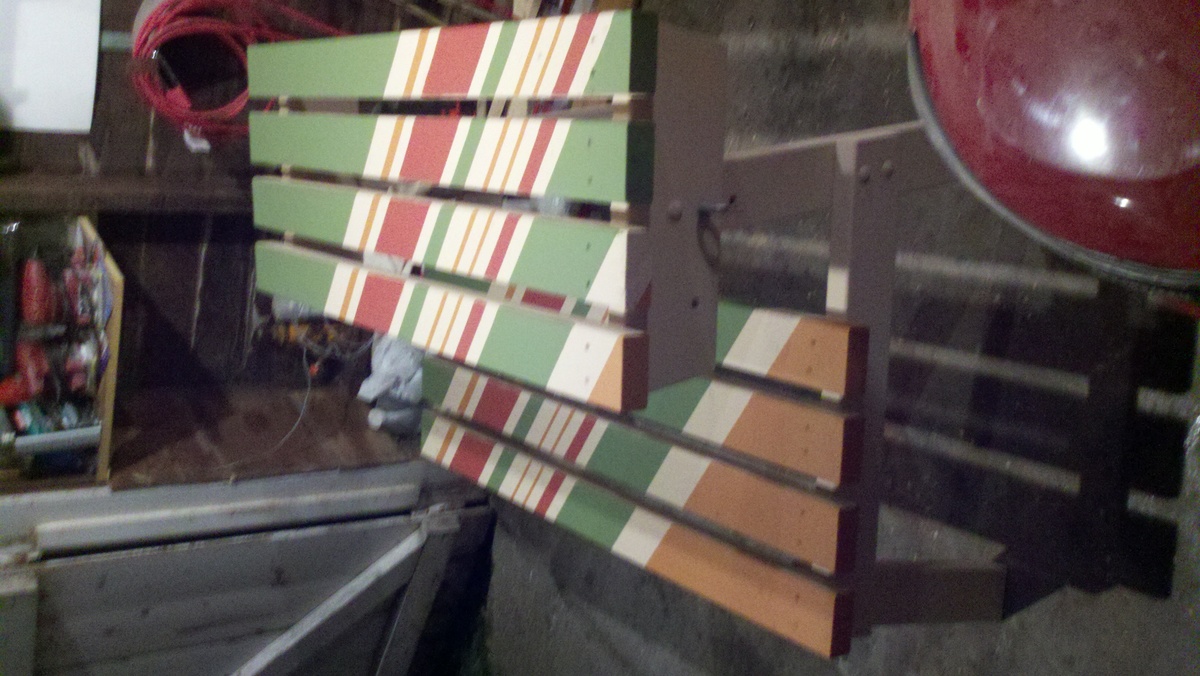
Very, very pretty!
Very, very pretty!