Such a fun build!
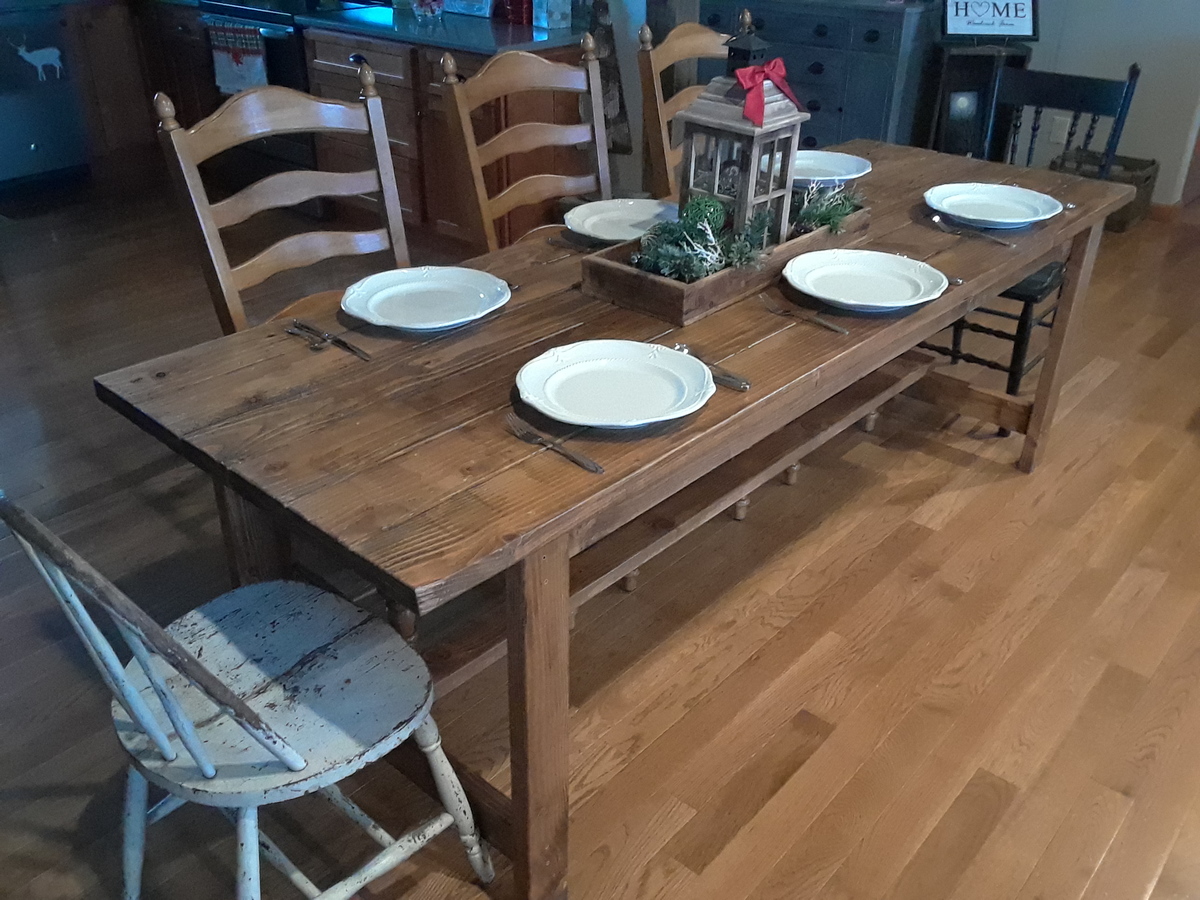
I've used Ana's plans for several builds in my house and this one was so much fun to build. I love the way it turned out and think it looks great! Thanks for all the great plans Ana! Keep them coming and I'll keep building. :)
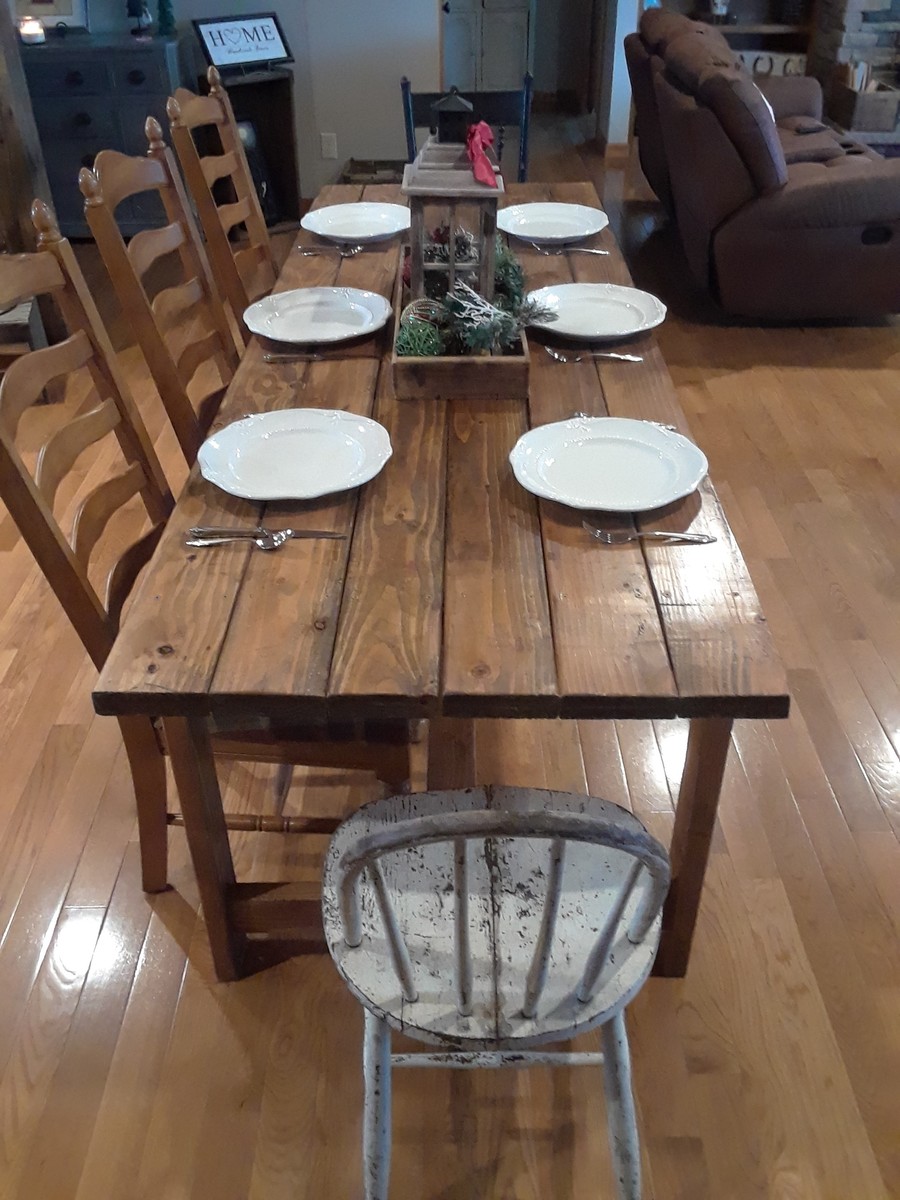

I've used Ana's plans for several builds in my house and this one was so much fun to build. I love the way it turned out and think it looks great! Thanks for all the great plans Ana! Keep them coming and I'll keep building. :)

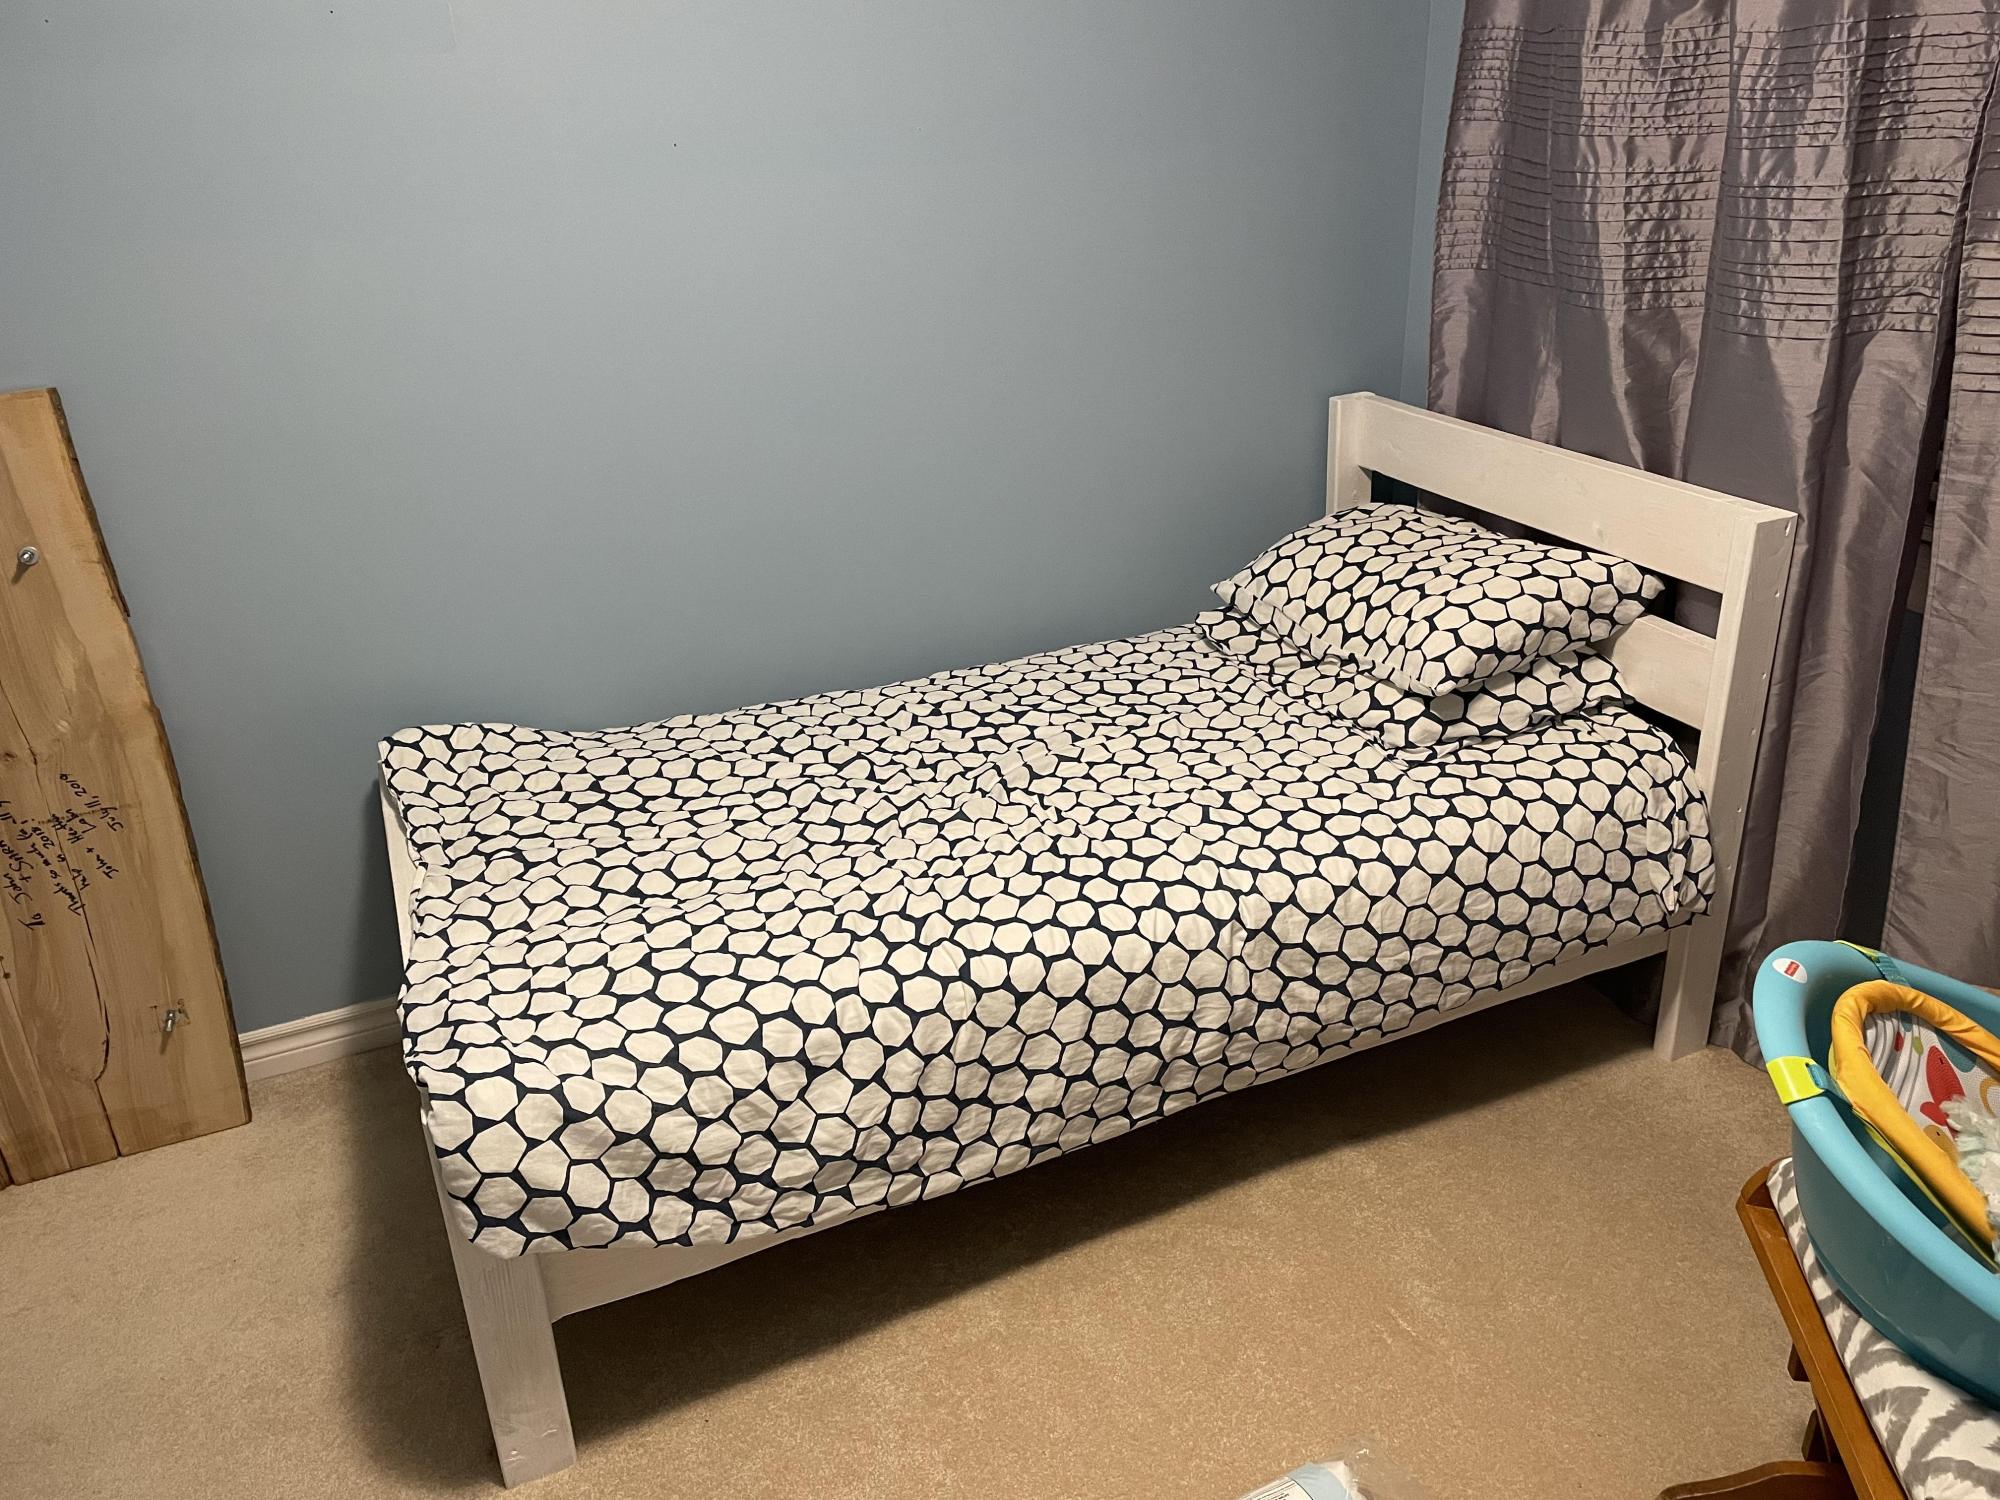
I’m not a handy man, but when I saw the high prices for shoddy twin bed frames in stores, I decided to do my own using your plans. This is our 3 year olds first real bed and he loves it :)
Submitted via email user John from Nova Scotia
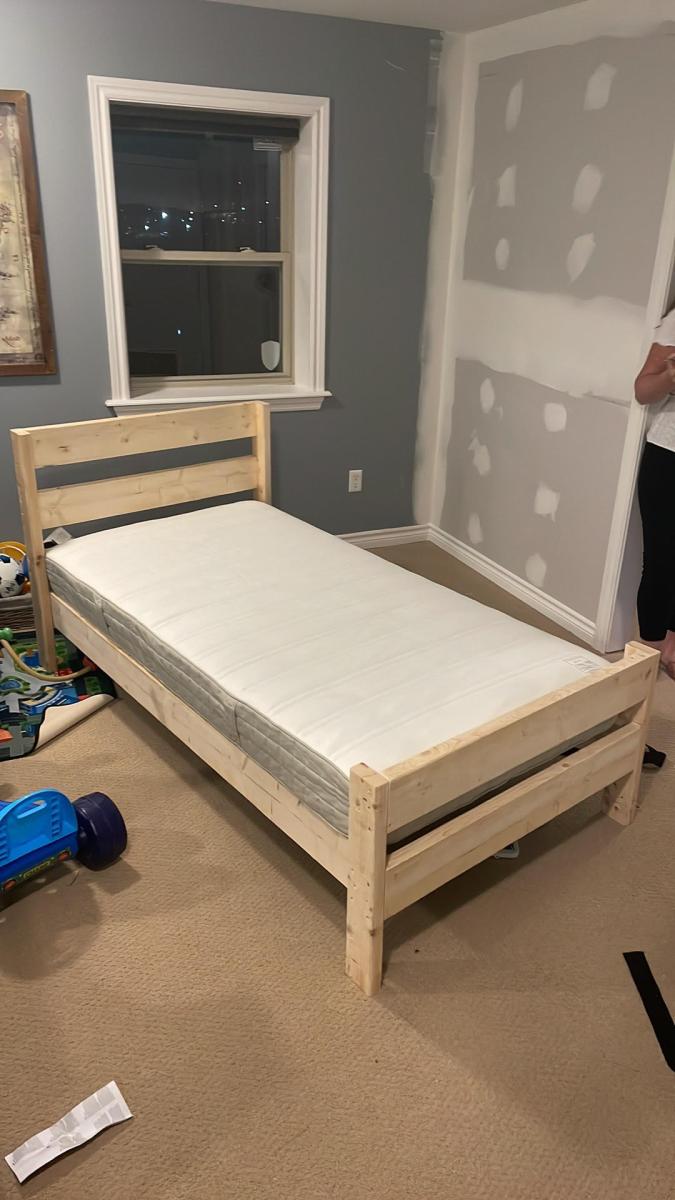
A great project!! I love how it turned out! I used Poplar wood because I wanted a larger top than 1 inch but smaller than 2 inch. Poplar had an in between size. I love how it turned out! Need to make another one now for my living room so that I have a matching set! Thanks Ana!!
After our Wal-Mart dining room chairs started falling apart (after 8 years of use) I decided it was time to replace those ugly old things with something a bit more unique. The Harriet Chair really caught my eye, so I set out to build it! My wife, Judi, chose the mustard yellow color and we thought it would be cool to add contrast with some red and white polkadot seat pads from IKEA ($9.99 ea.).
These are the first two I've built, with a goal to eventually build a total of 6-8 to fit around a table I also plan on building.
I made the addition of the front support as Judi likes to rest her feet on it. And, as you can see in the second photo, I added a small brace, cut at 15 deg., on the bottom side screwed to each backrest 2x2, and screwed to the underside of the seat (chair is upside down in photo). This gives additional rigidity and support for the backrest and also provides a nice guide to ensure the backrest has an exact 15 deg. angle on every chair. This was at no additional cost as I used scrap 2x2 pieces for it. And best of all this addition stays hidden and in no way changes the original aesthetic of the chair.
The chairs are extremely sturdy, comfortable and look great in our dining room! The only change I will make on the next set is using higher quality plywood as I had to putty this plywood a bit more than I had hoped. Otherwise, what an easy and inexpensive upgrade to our space!
Fri, 11/04/2011 - 14:59
Haven't been able to add the Kreg to my tool chest yet so I used glue and screws. Pre-drilled all the holes of course. Came out extremely sturdy. This was one of my first projects of this nature so I've learned a ton from each chair I make. These two were the first and the next ones have been a lot more precise and sharp looking.
Sat, 11/05/2011 - 00:59
Thanks for your answer! I'll try it that way too then...
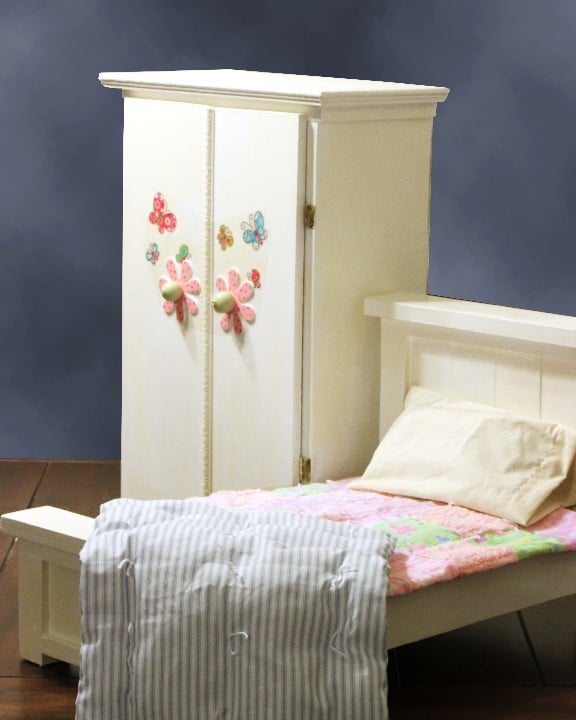
I love the Farmhouse Doll Bed, but because we bought a lot of doll clothes, I built a wardrobe to go with it.
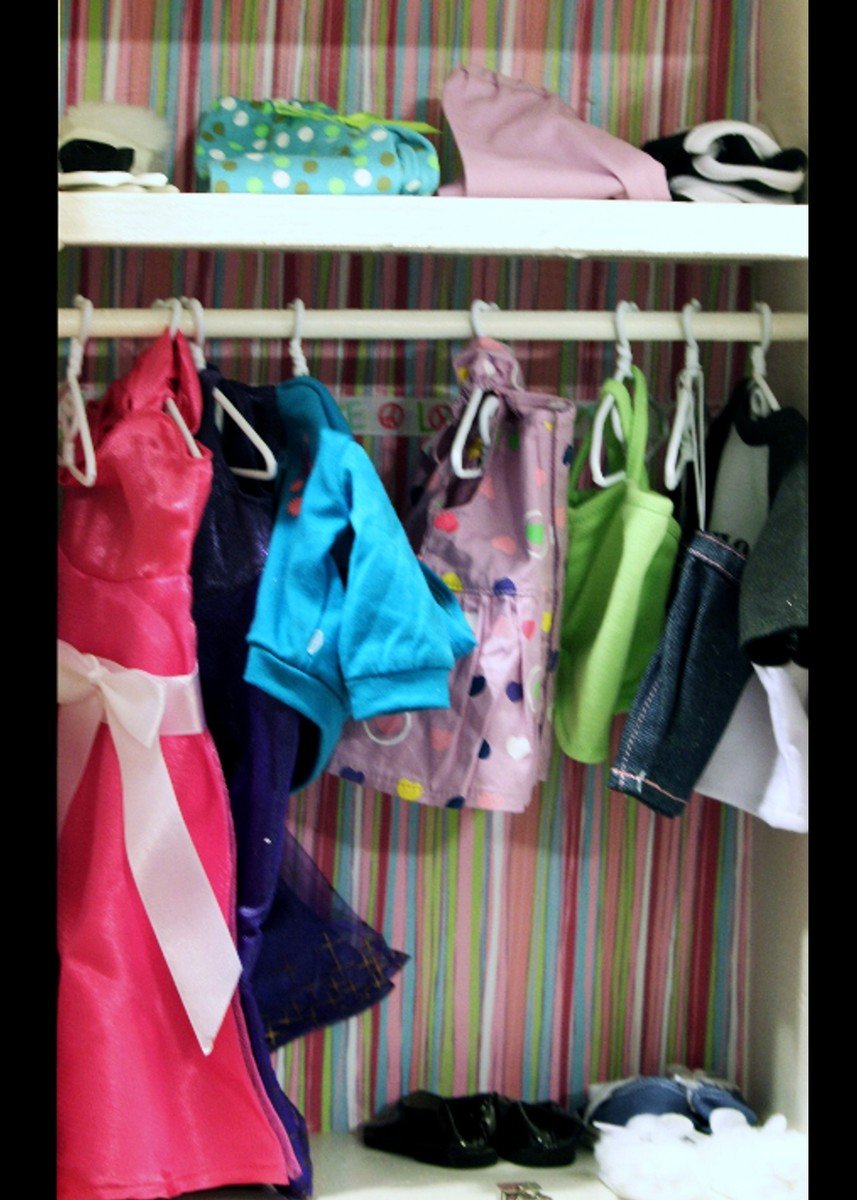
The wardrobe is 21 1/2" tall X 14" wide X 7" deep. The inside shelf is 4" from the top. I'm having trouble uploading a photo of the inside, but will keep trying...
I made a mattress to look like the older striped "ticking" style. I still need to do a little more with the bedding because I'm not happy with the (muslin) pillowcase and want to do something brighter.
Cost was minimal because I'm still using up scraps from other wood projects and I used material for the mattress and bedding that I already had. That is what I love about some of the plans - they help me to use my leftover materials and still have something nice to give as gifts.
Thank you so much Anna for this plan - I also followed your suggestion and made a second one to donate. I love your site...
Tue, 11/22/2011 - 07:25
Beautiful! I am trying to do a wardrobe right now, too! I am making my second of this bed today. Great job!
Tue, 11/22/2011 - 13:21
The wardrobe is great! I especially love the decorative touches! :)
Tue, 11/22/2011 - 13:21
The wardrobe is great! I especially love the decorative touches! :)
Thu, 11/24/2011 - 12:56
I finally managed to upload a photo of the inside of the wardrobe
Sat, 12/03/2011 - 11:29
Where and how do I find the plans for the doll wardrobe?? I made the Farmhouse bed and love it. Thank you
Sun, 02/26/2012 - 15:22
I'll trade you picture and info for a great doll closet for you plans for the Farmhouse bed. Our granddaughter loves the closet, so now I need to build the bed.
Thanks,
Sat, 12/03/2011 - 14:12
Thanks for your interest - I'm sorry, I tend to work by the seat of my pants and develop an idea as I go; so I don't really have plans. The best I can do is give somewhat of a cut list; which is:
Sides: 2@7"X19.5"
Bottom: 1@7"X13.5"
1st Top Board:1@7"X14" (hangs over 1/4in on sides)
2nd Top Board:[email protected]"X15"(hangs over 1/2in on sides and in front- it's even at back)
Doors: [email protected]"
Inside Shelf 1@7"X12" (Top of shelf is 4" below top of inside cabinet.
I just measured enough below to allow for doll hangers and drilled for dowel, but it came out just right for the longer dresses.
The front trim overlaps the left door, so that I only had to put one door catch at the bottom.
I hope this helps - I really need to learn the Sketchup program.
I used 3/4" plywood because that is what I had, but used 1/2" playwood for doors to make them lighter.
Fri, 12/09/2011 - 14:41
What size dowel rod did you use? I have a niece who I've made a bunch of clothes for, and I'd love to make her a wardrobe to house new clothes!
Fri, 12/09/2011 - 21:14
I believe it was 3/8 or 1/2 inch - I took one of the hangers with me and just put it on dowels until I got the right size.
Wed, 03/14/2012 - 20:25
Just a suggestion for a quick way to "brighten up" the pillow case. Just find some ribbon to coordinate with the bedding and sew (or use iron on adhesive - really easy then!) around the hem line of the opening.
The wardrobe is darling. I love the flower knobs!
I loved this when I saw it posted the other day, it really doesn't take long to make and adds character to our kitchen! I added a dowel that i sanded a little on one side to the long end of the 1x4 so that the chalk won't slide off, just something that I can see happening here.
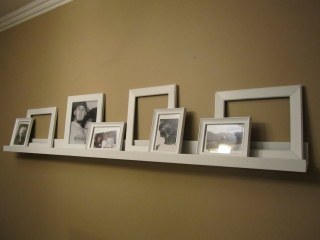
If you need a shelf/ledge, this is the plan for you - regardless of your building ability. Easiest. plan. ever.
And if you are like me - you won't even have to make any cuts! We have this ledge in our dining room along the long wall. it gets decorated for each season and it's GREAT! We love showcasing family photos as well as our holiday decor.
Wood, glue, nails or screws. Paint. Done! It's that easy!
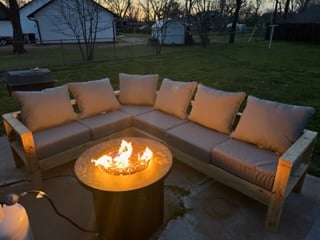
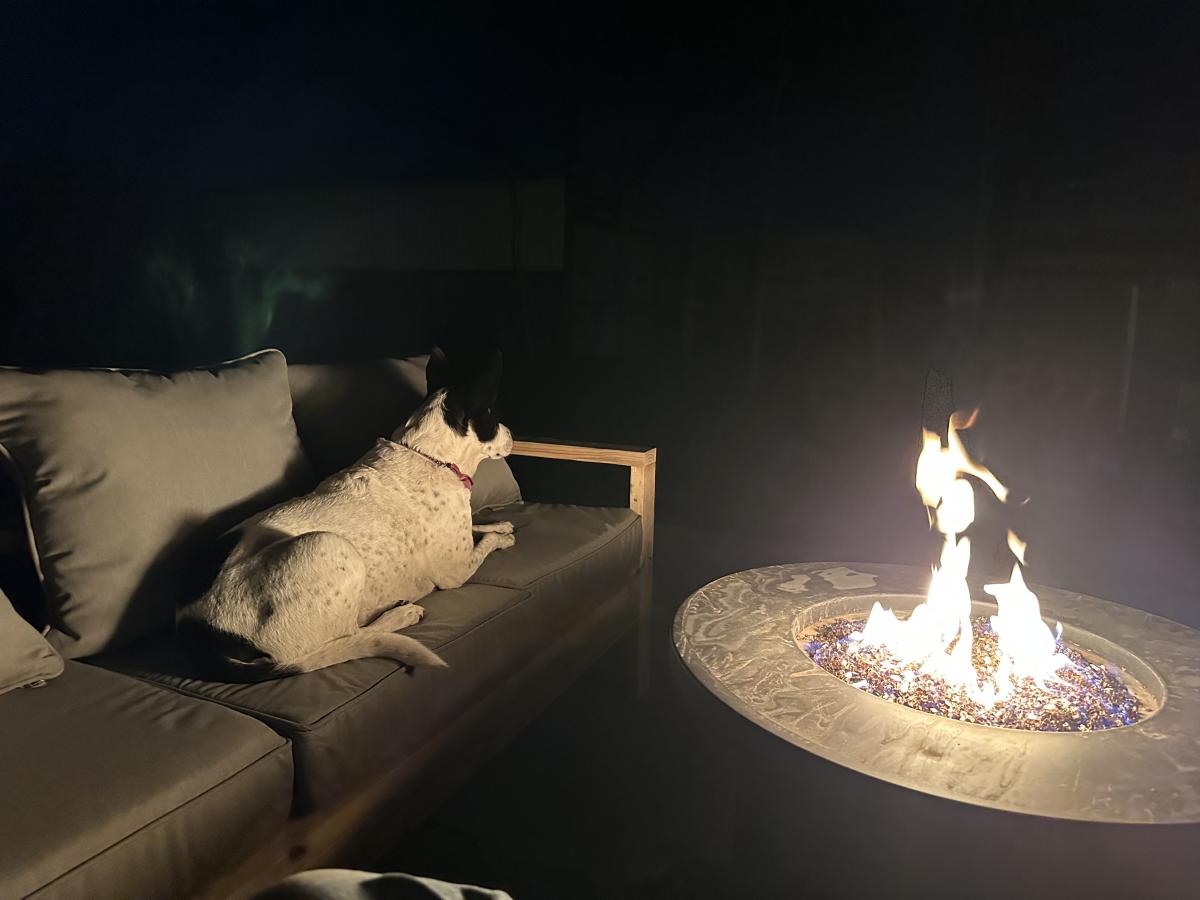
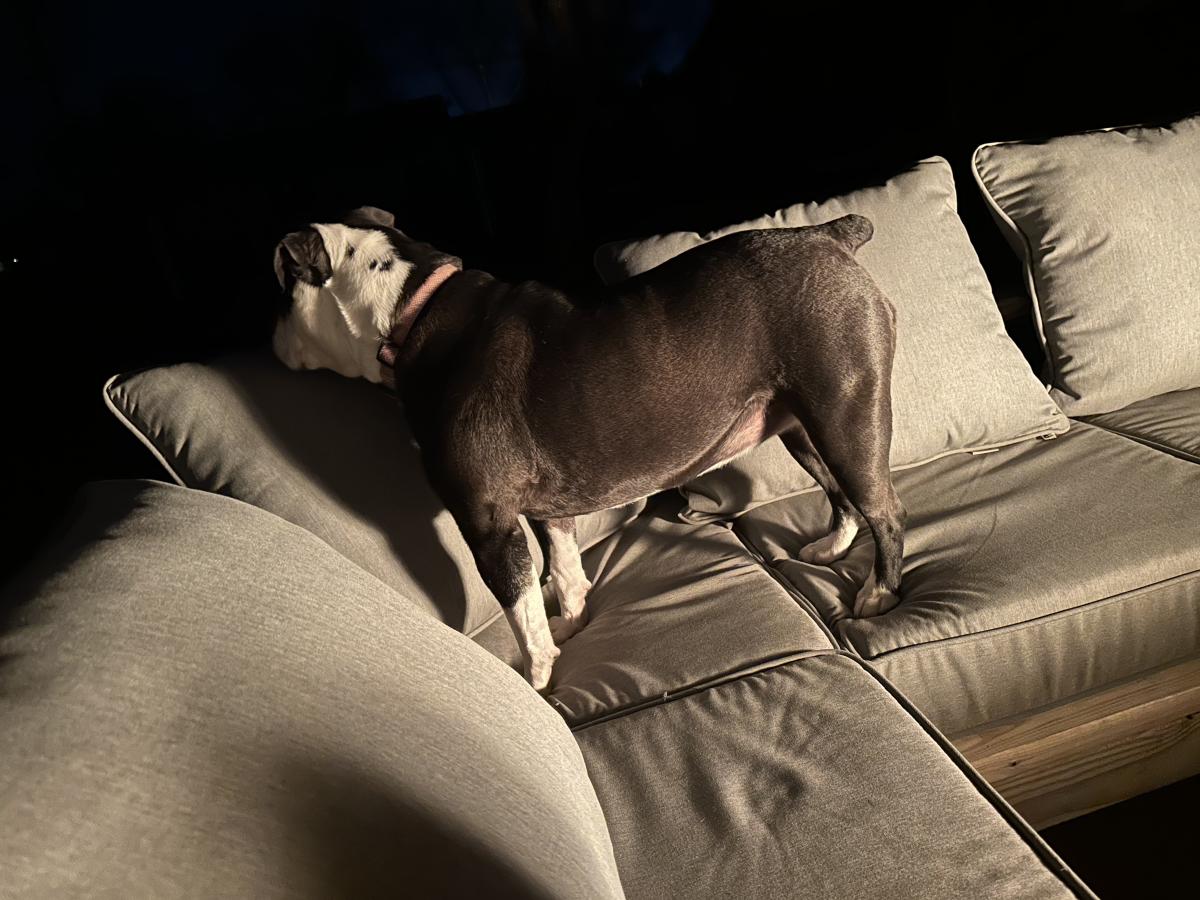
First build ever. Took about 2 days and the most expensive part was the cushions, but Lowe's had a good deal. I did not sanding, painting, or staining. I'm sure I'll do that eventually, or make another sectional later, but I'm in North Texas and loving this set right now.
Tue, 04/18/2023 - 15:35
This looks so great! Thank you for sharing your first ever build, can't wait to see what's next.:)
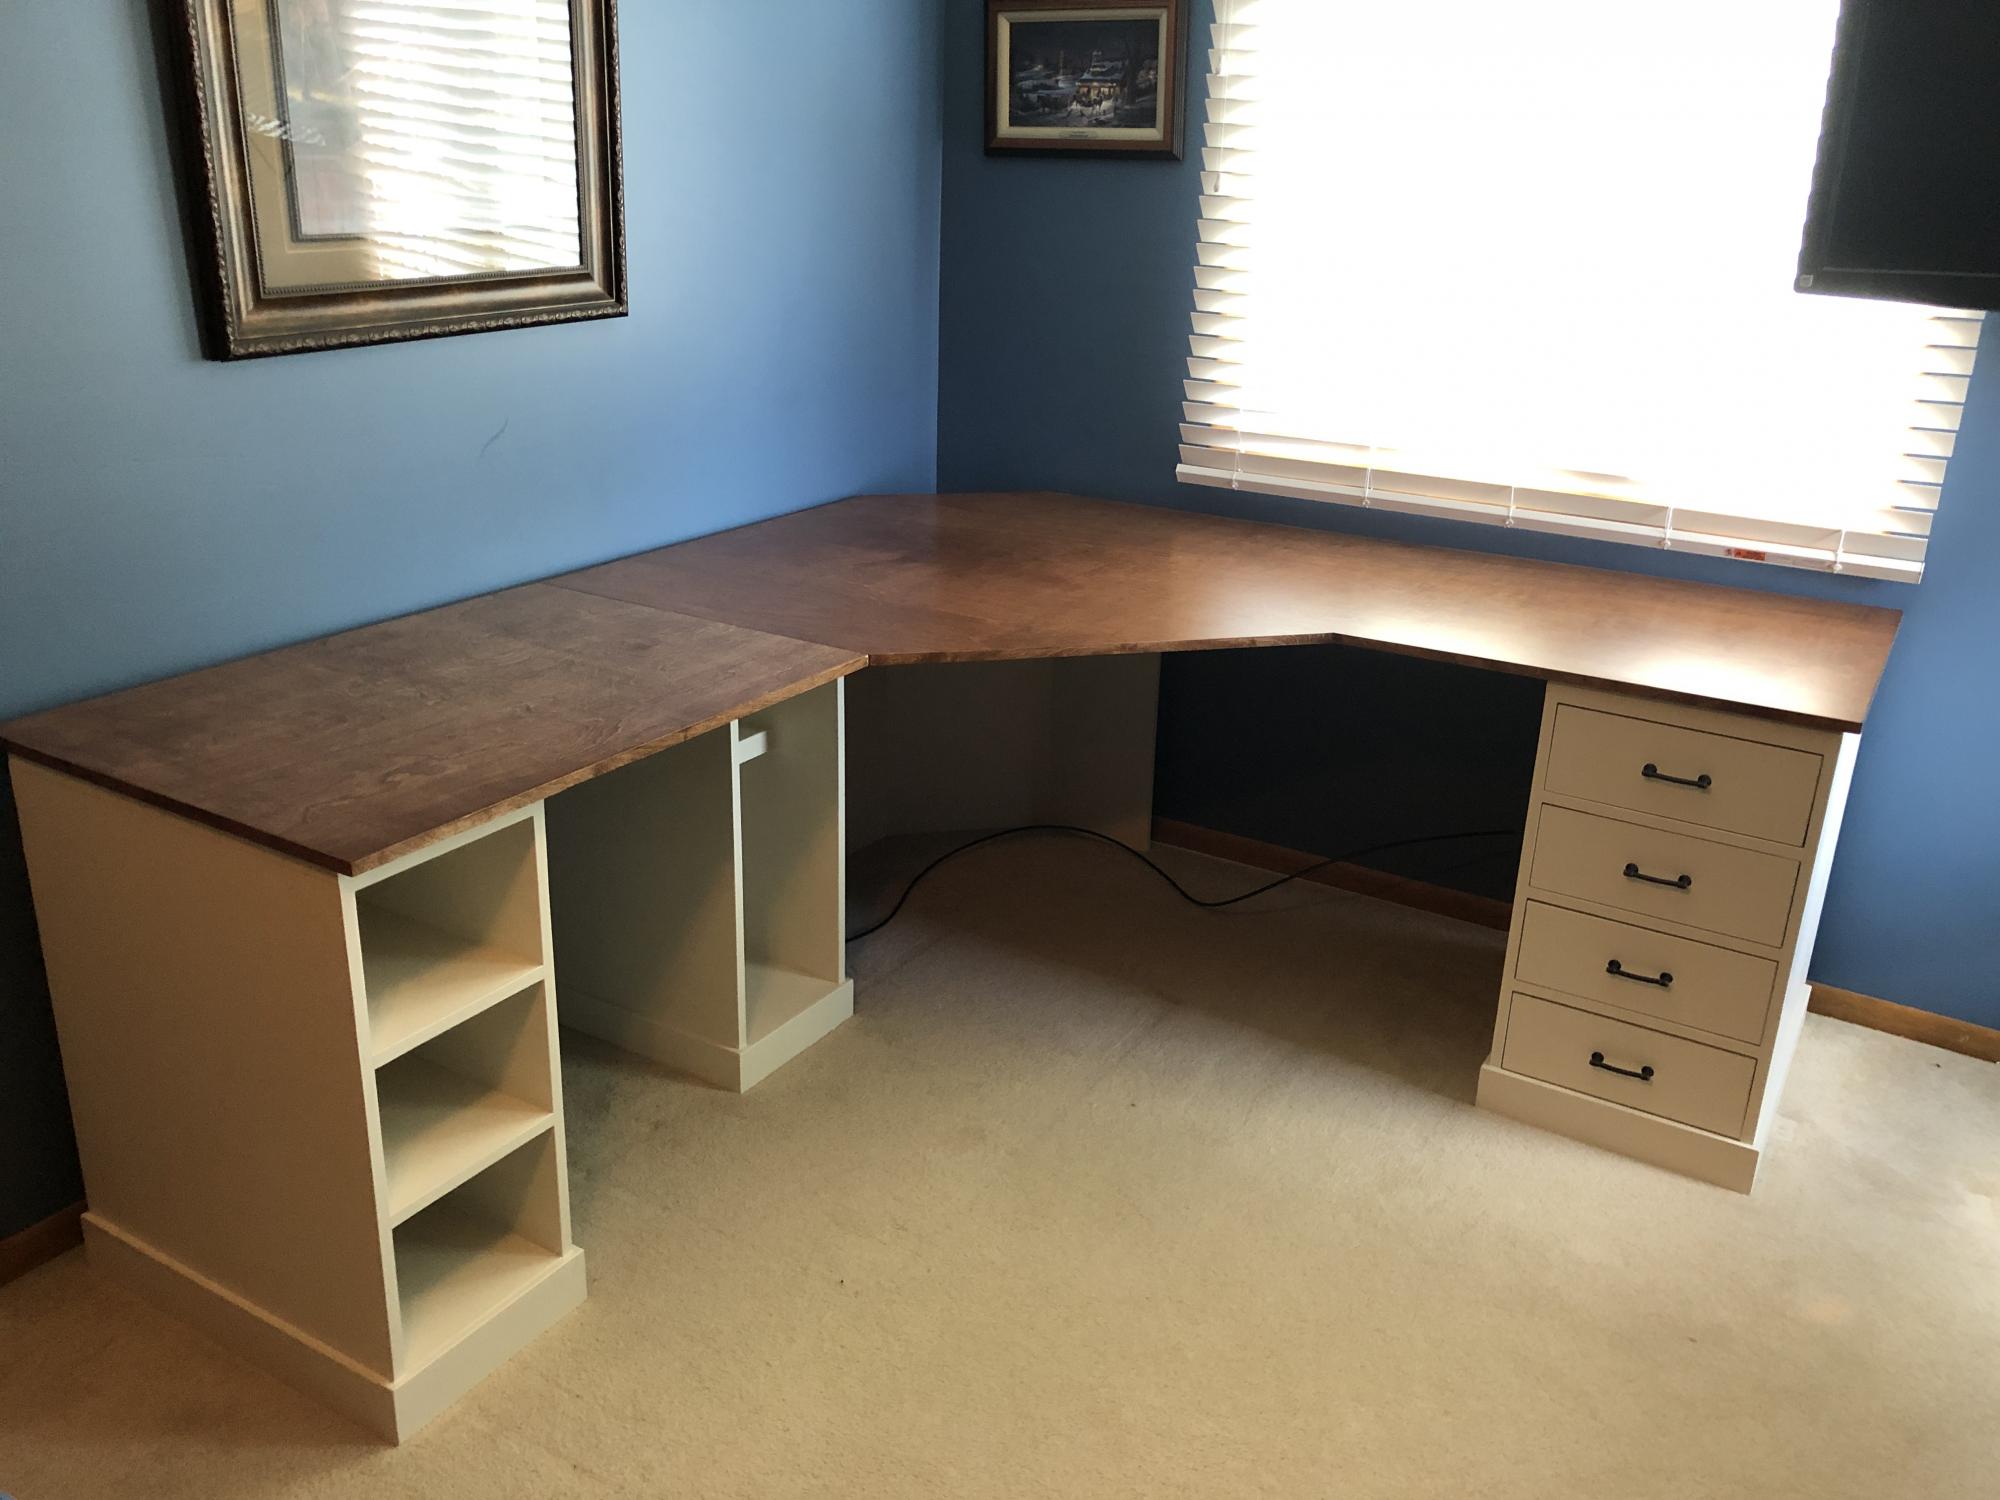
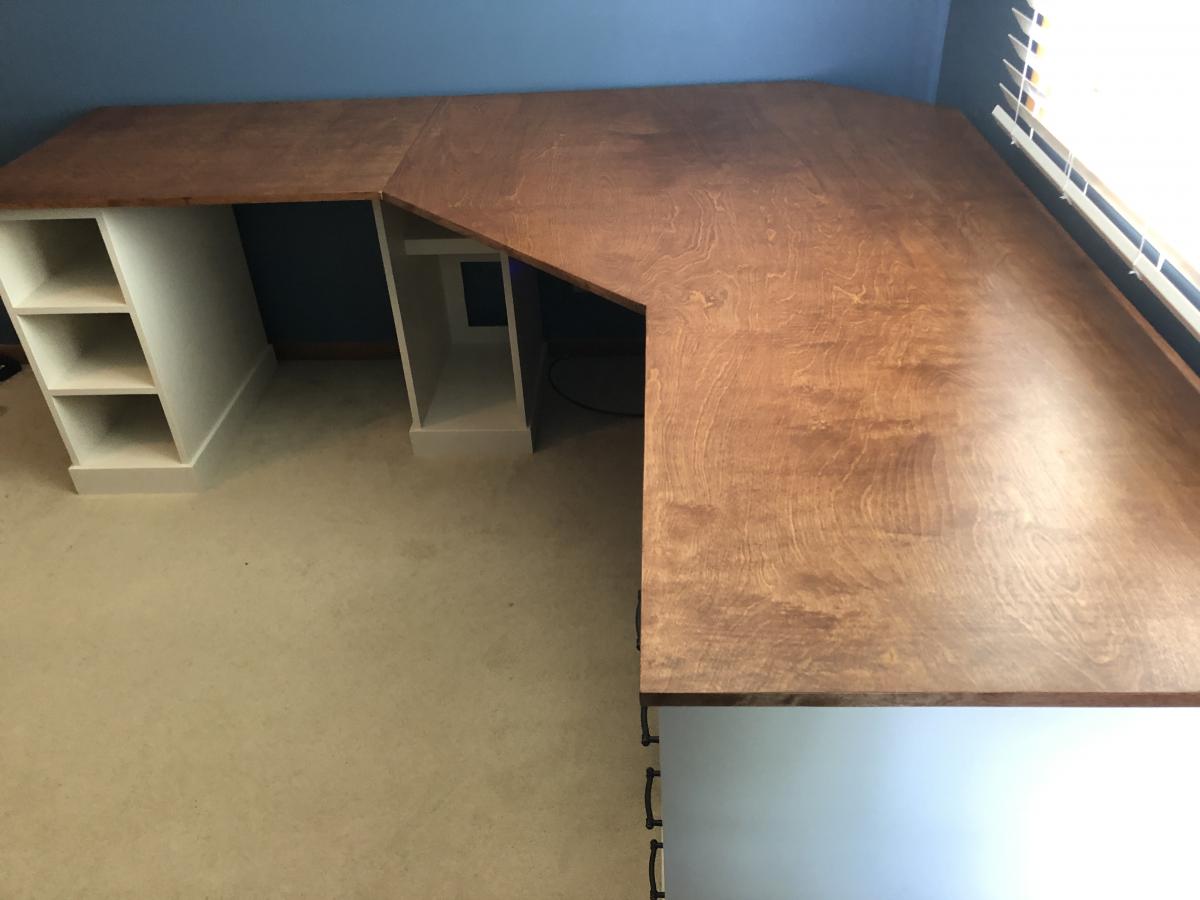
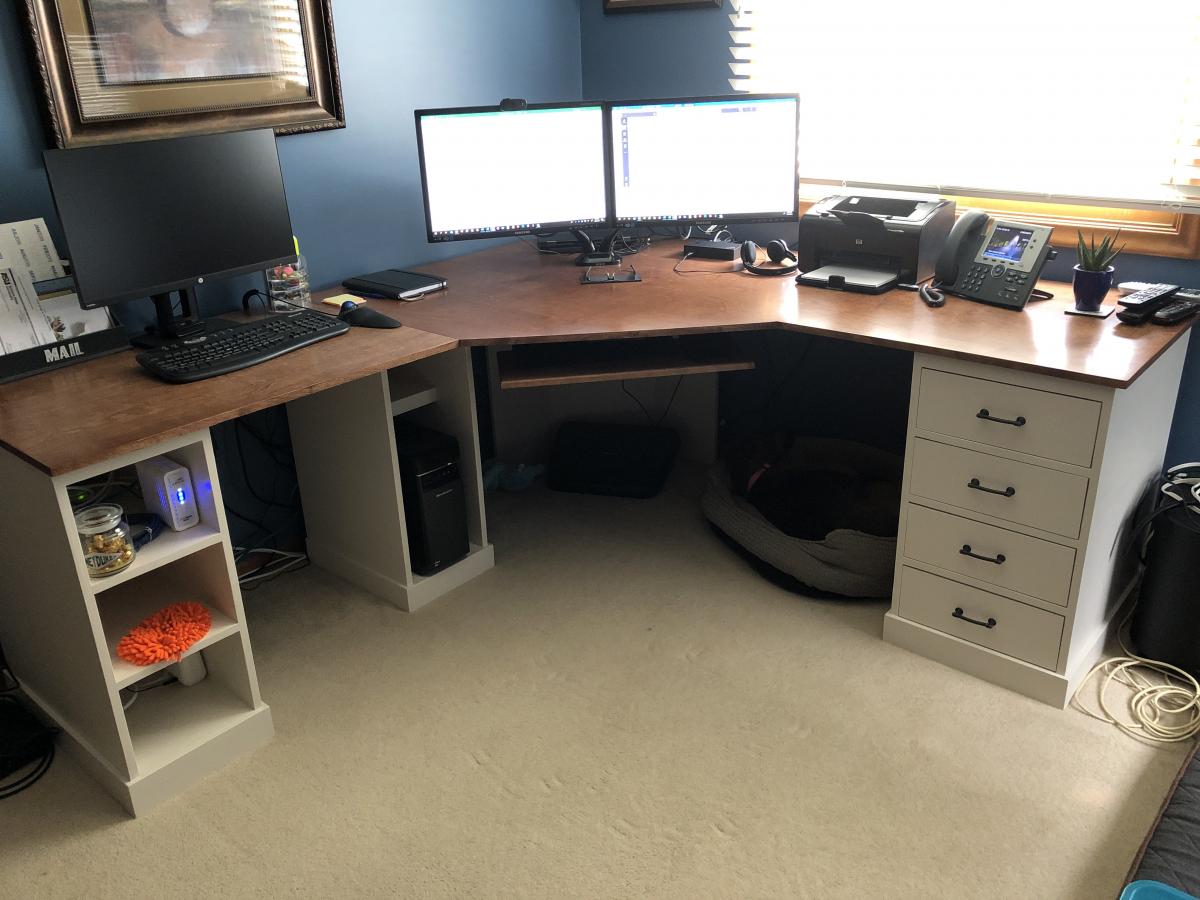
I used a modified version of the narrow drawer unit as the foundation for this desk build. I decided to make wooden drawer guides rather than using manufacturer metal guides. I liked the idea of it having a more traditional wood-on-wood feel and saving a few dollars. I love the simplicity of the base cabinet design and the contrast between the painted base and stained top. Thanks yo all who shared their projects for the inspiration!
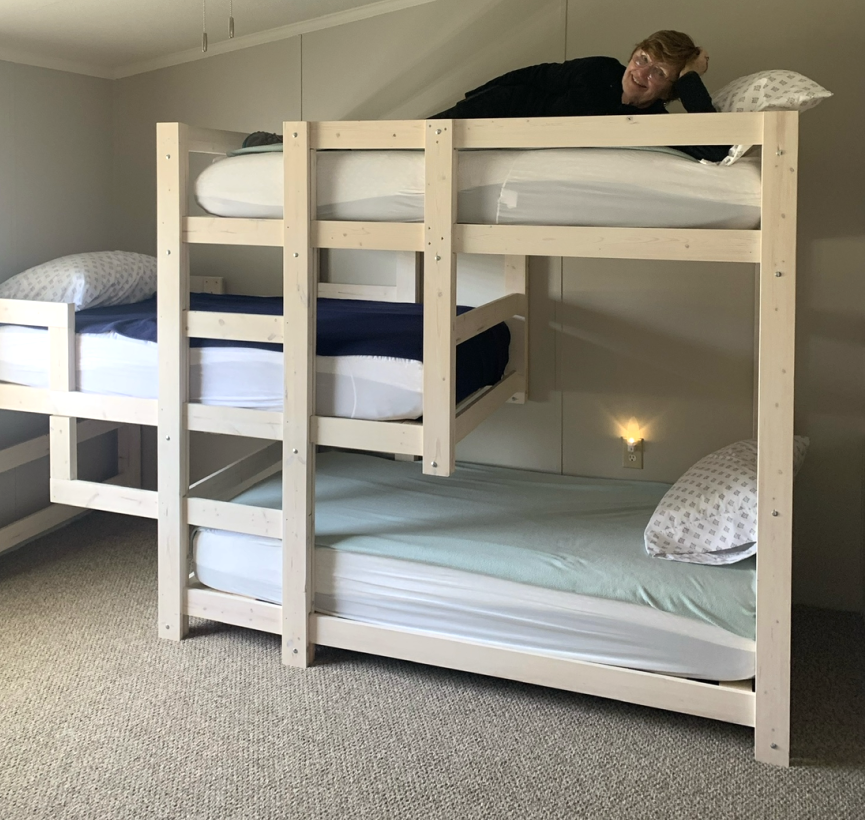
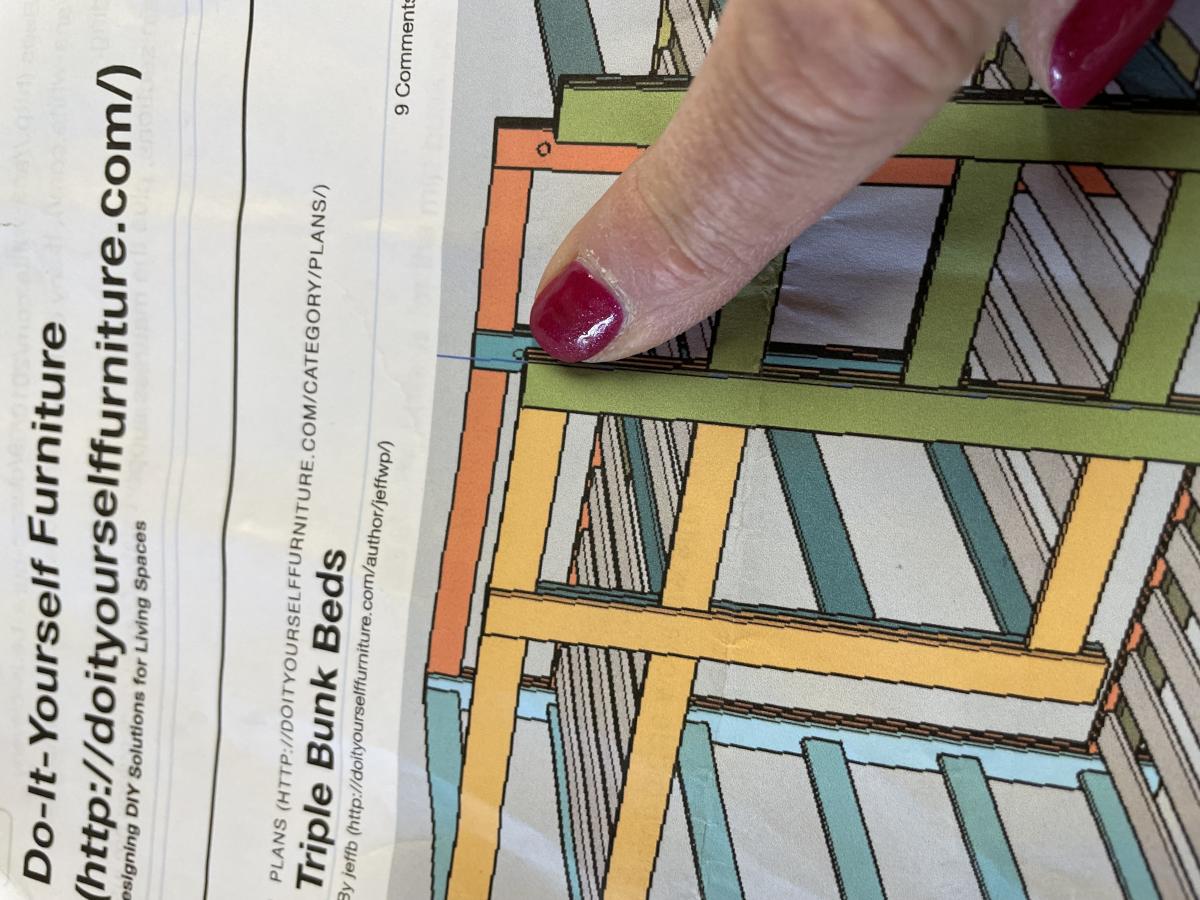
I needed to find a way to conserve space for 3 children to sleep in a very small home. I used an adapted pattern from Ana White. It turned out perfectly!
Sat, 04/29/2023 - 09:22
WOW, this is great, you fit a lot of sleeping in a small space!
After a not so subtle hint, my husband embarked on his first furniture build to give me my dream coffee table! (He is in construction by trade- this is not a beginner project!). It came out beautifully and we LOVE all the drawers and storage! He found a few errors on the plan, first of all in the price- ours cost us a bit over $200 with some of the wood given to us by my dad- slides alone cost about $40. He also had to add shims so that the drawers fit with the slides. You may be able to change the dimensions of the drawers slightly so they fit without the shims. We are happy with it, and excited to move on to the next project in our home!
Tue, 02/28/2012 - 17:48
i love this, i intend this to be my next project after i am done with this job... i think i will only do the 2 bottom drawers tho.
Thu, 03/01/2012 - 08:59
Nice job! It looks great! I'm actually going to be build this for my wife and was wondering what kind of plywood you used for the top to go along with the poplar? Did you use 3/4 Birch plywood? I think I'm going to use the General finishes Java Gel stain for the finish too. Thanks!
Fri, 10/05/2012 - 17:59
ACK! sorry, thought I would get notified if someone posted... IDK if you already finished yours or not, but my husband thinks it is maple plywood, but we aren't sure. after seeing some other projects with the gel stain you mentioned I will definitely have to get some of it for future projects, cause i love the look of it! Good luck, i hope you post photos of yours! If you have any other questions, post them on my blog post here http://monkeyshiners.blogspot.com/2012/01/my-christmas-gift-storage-cof… and i will get an email about it to respond asap. :)
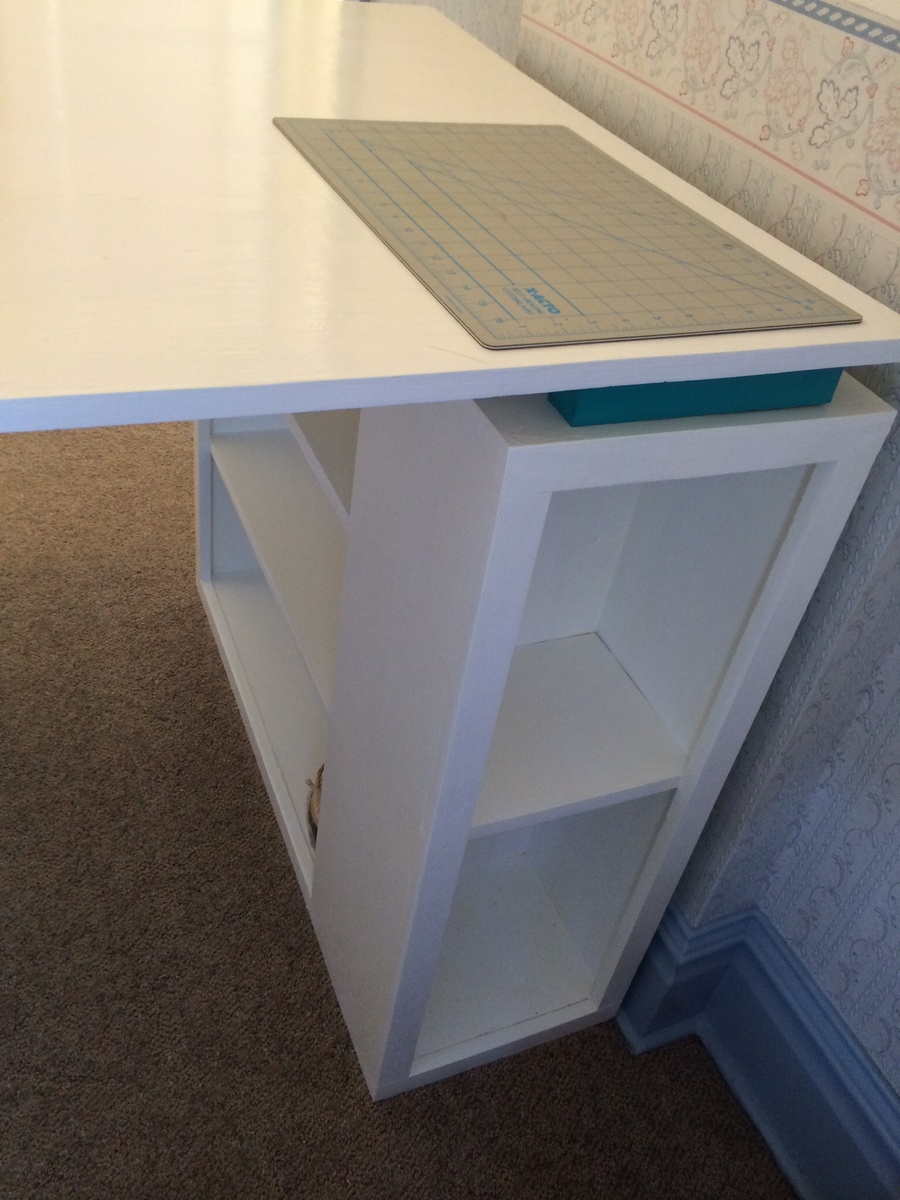
This is my first attempt at woodworking. There are plenty of mistakes, but I'm happy with the finished project
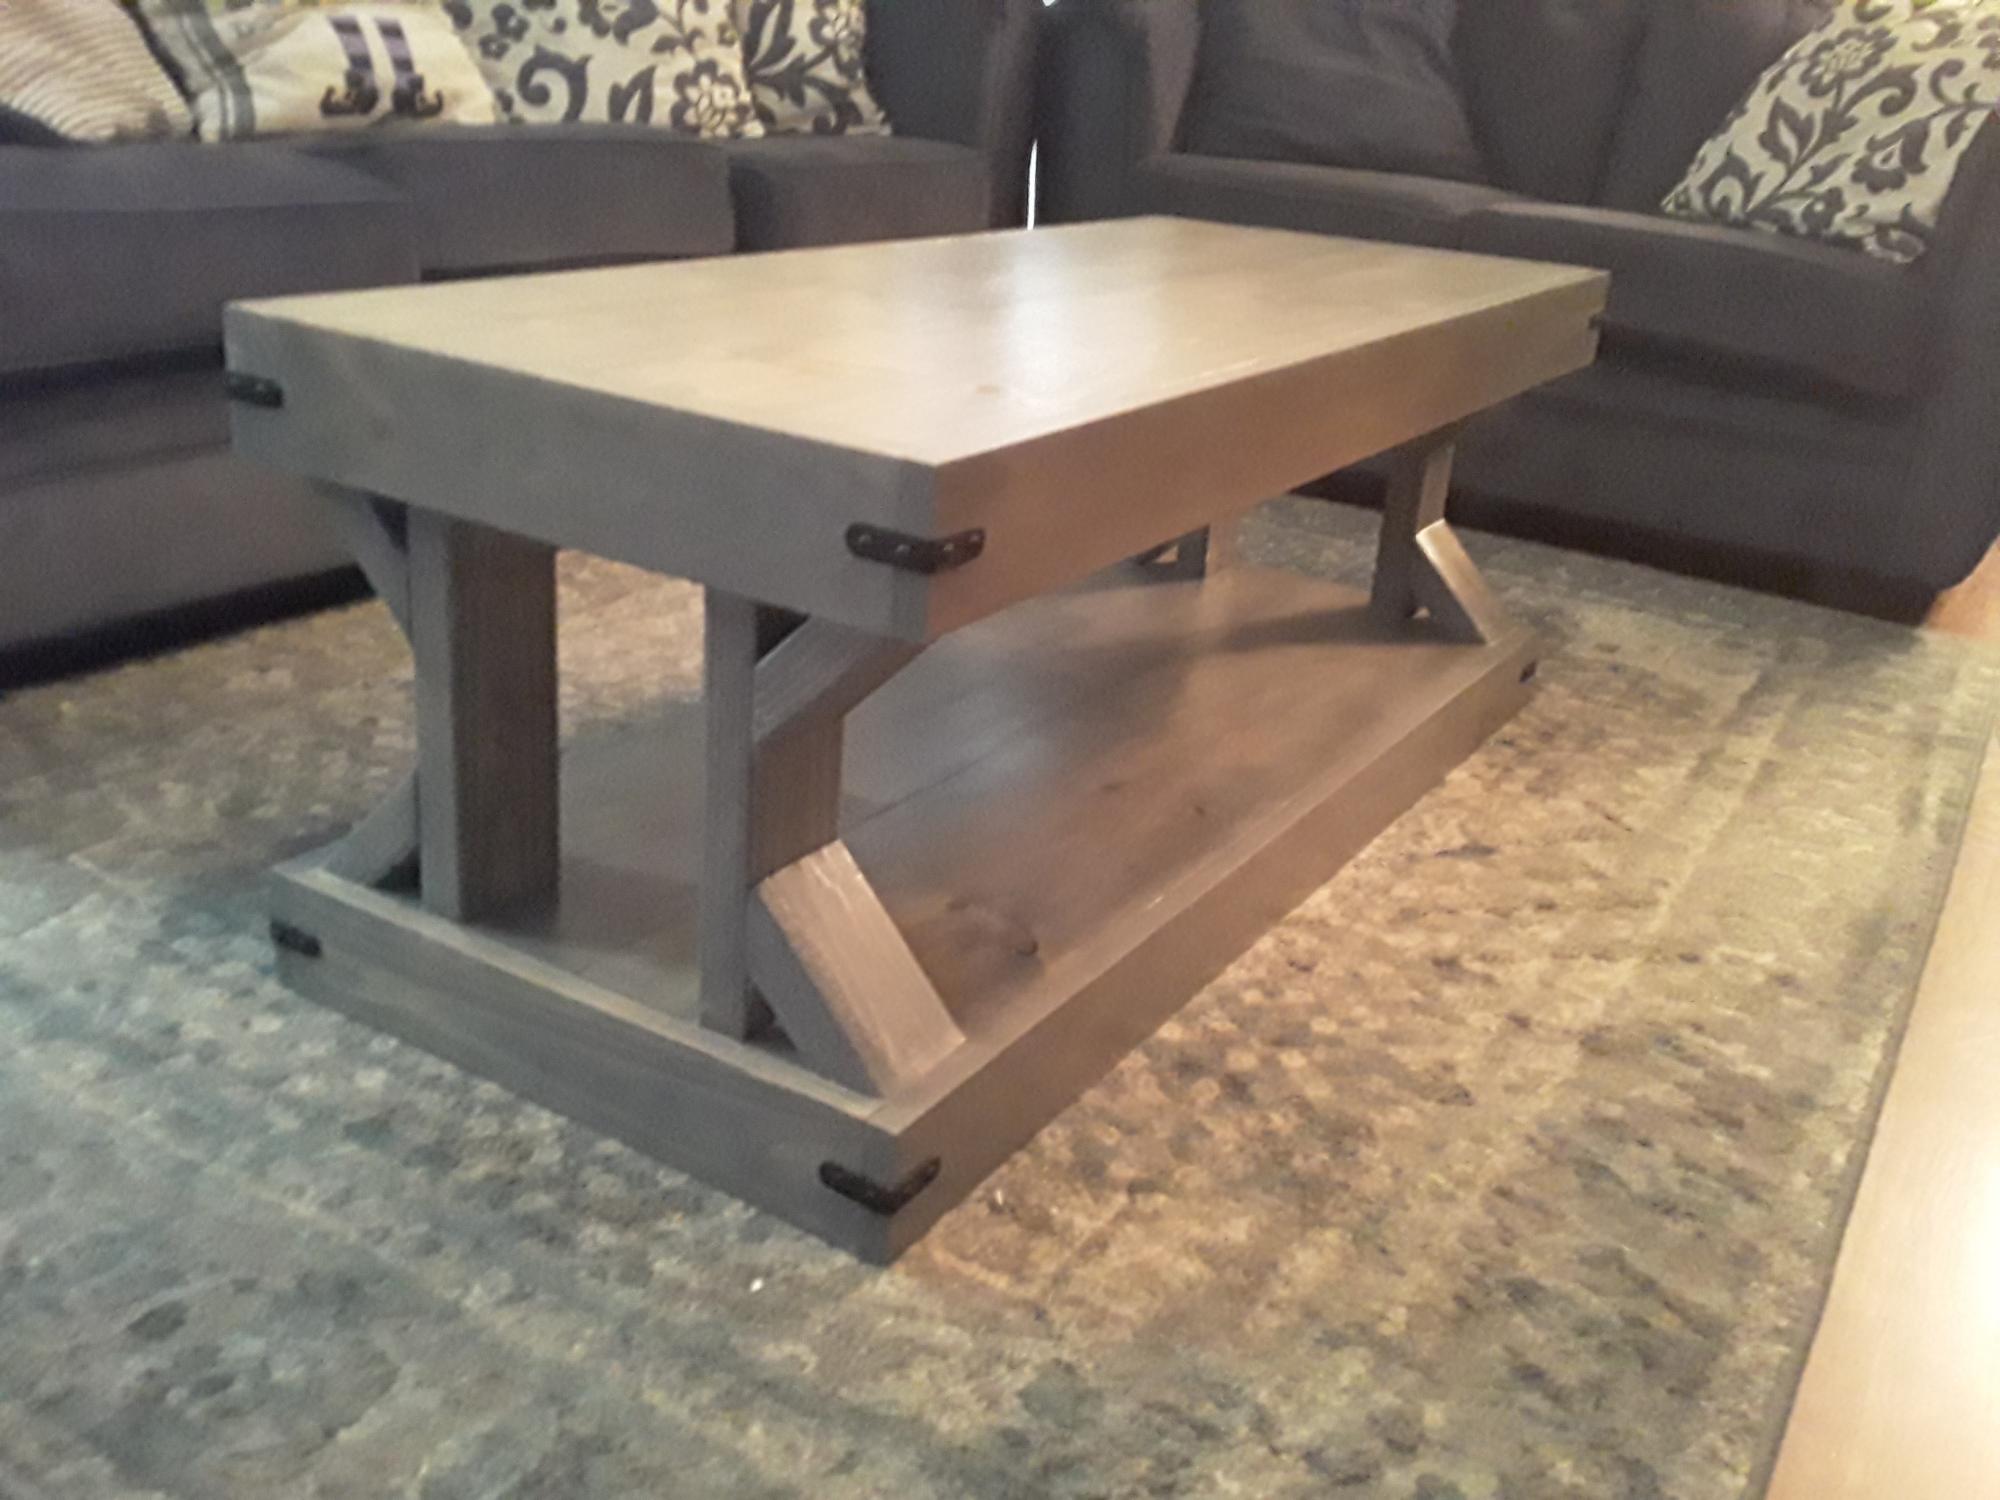
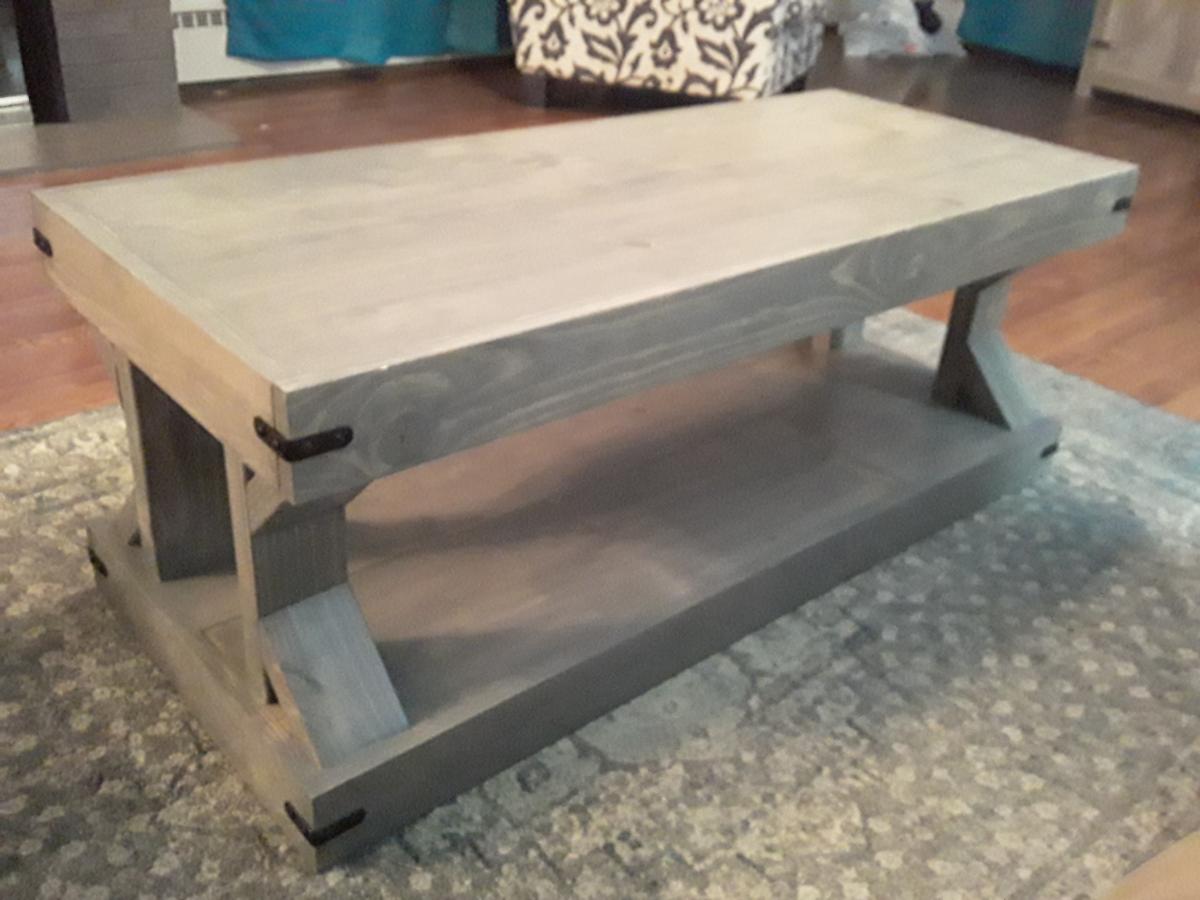
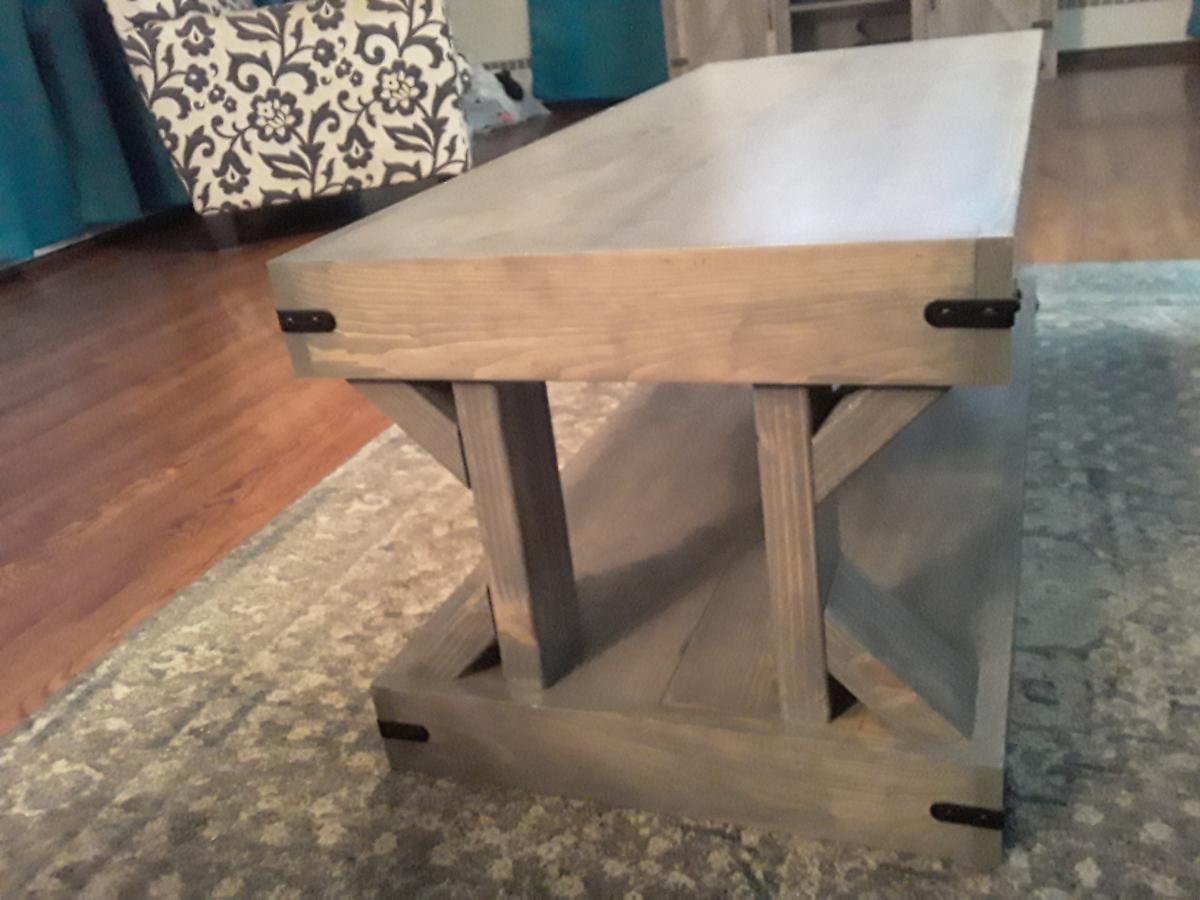
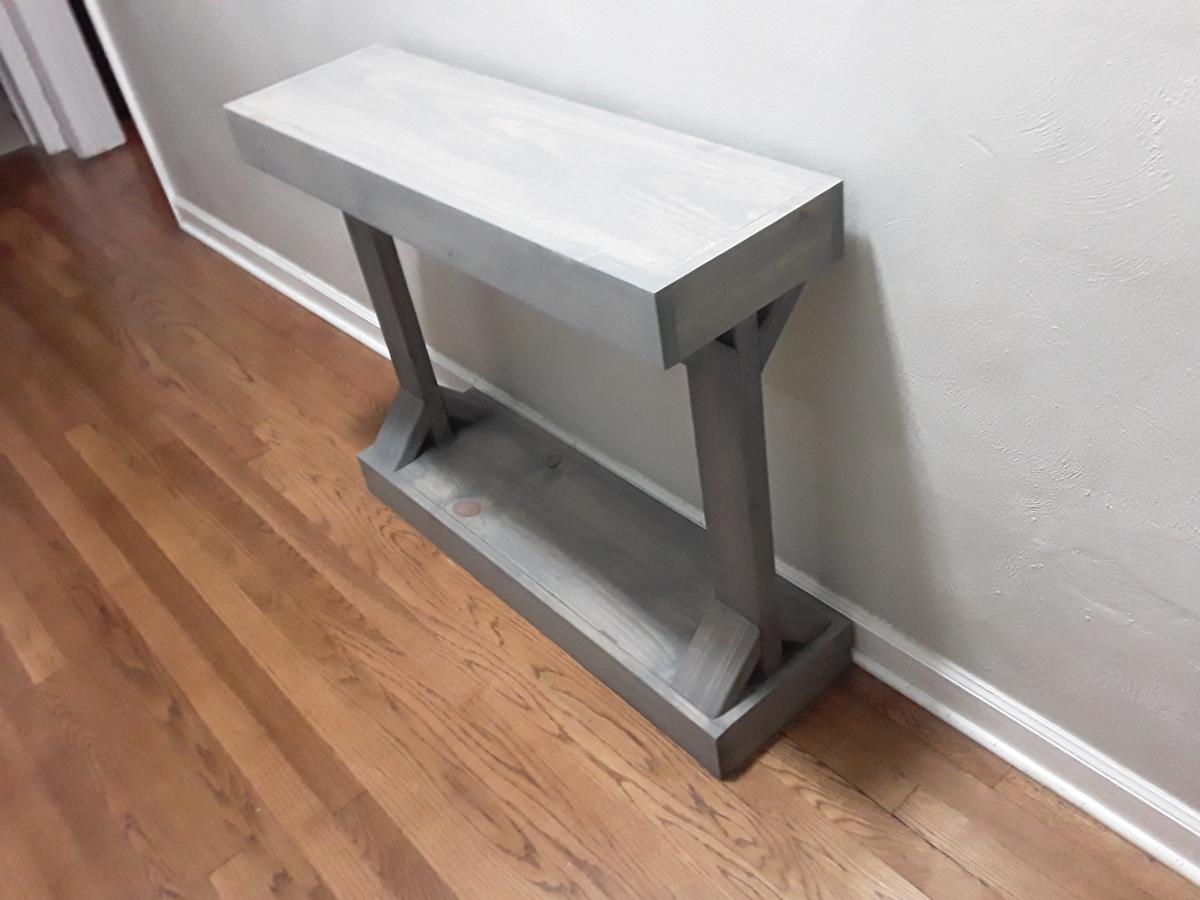
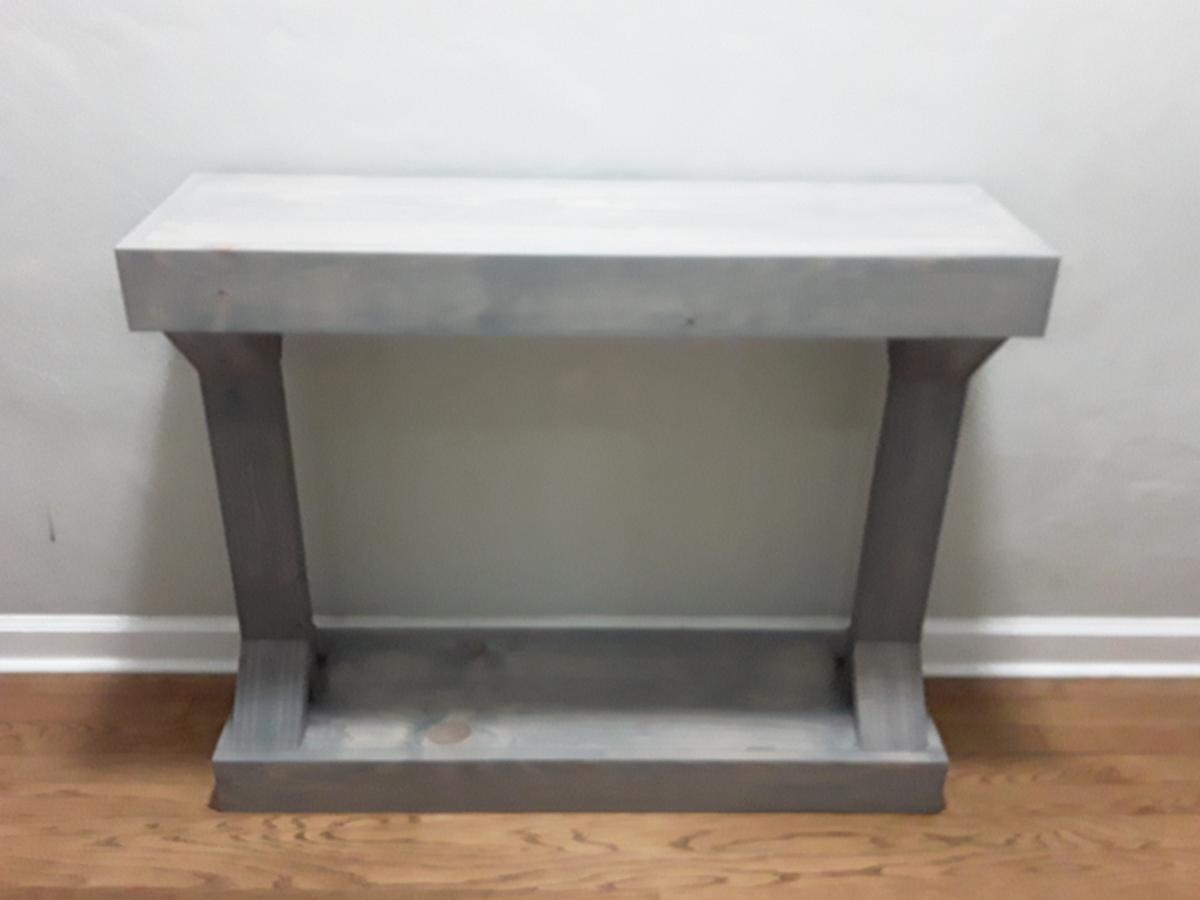
Saw this table and had to build it, love it, easy and fairly quick to build, I also built the console table after seeing the finished coffee table. I also want to make matching end tables. Love this site and how easy it is to build projects with the plans, my go to when finding projects, Thank you
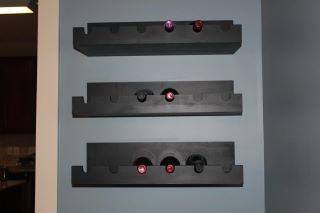
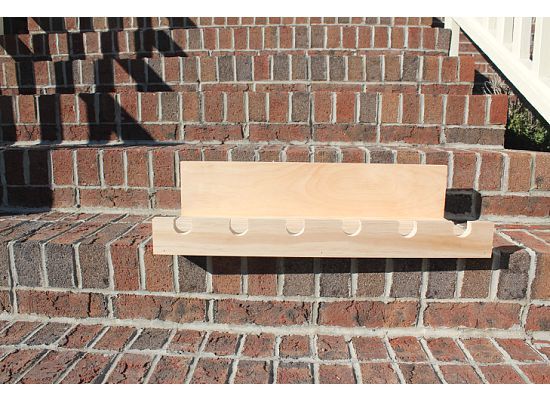
I loved the Holman Entertaining Shleves from Pottery Barn, however, I didn't like the price. Taking the $10 ledge plans and modifying them, I set out to make my own. I used a 1 x 10 (bottom), 1 x 6 (back) and a 1 x 3 (front). They are 23 7/8 inches long to get the 3 shelves out of 6 foot boards. To get the holes to hold the top of the bottle, I used a 1 and 1/4 inch forstner bit. Since I had gift cards left from Christmas I splurged on the wood and bought the select pine.
Thu, 02/09/2012 - 09:11
Each shelf has 4 drywall screws countersunk and attached to the studs.
Tue, 01/14/2014 - 10:55
I love your adaptation of the original design. I have been looking for an example of someone who made this plan into a wider shelf. Has it held up well? I was worried about the stress on the joints when you make it deeper. Has yours handled the weight of the bottles?
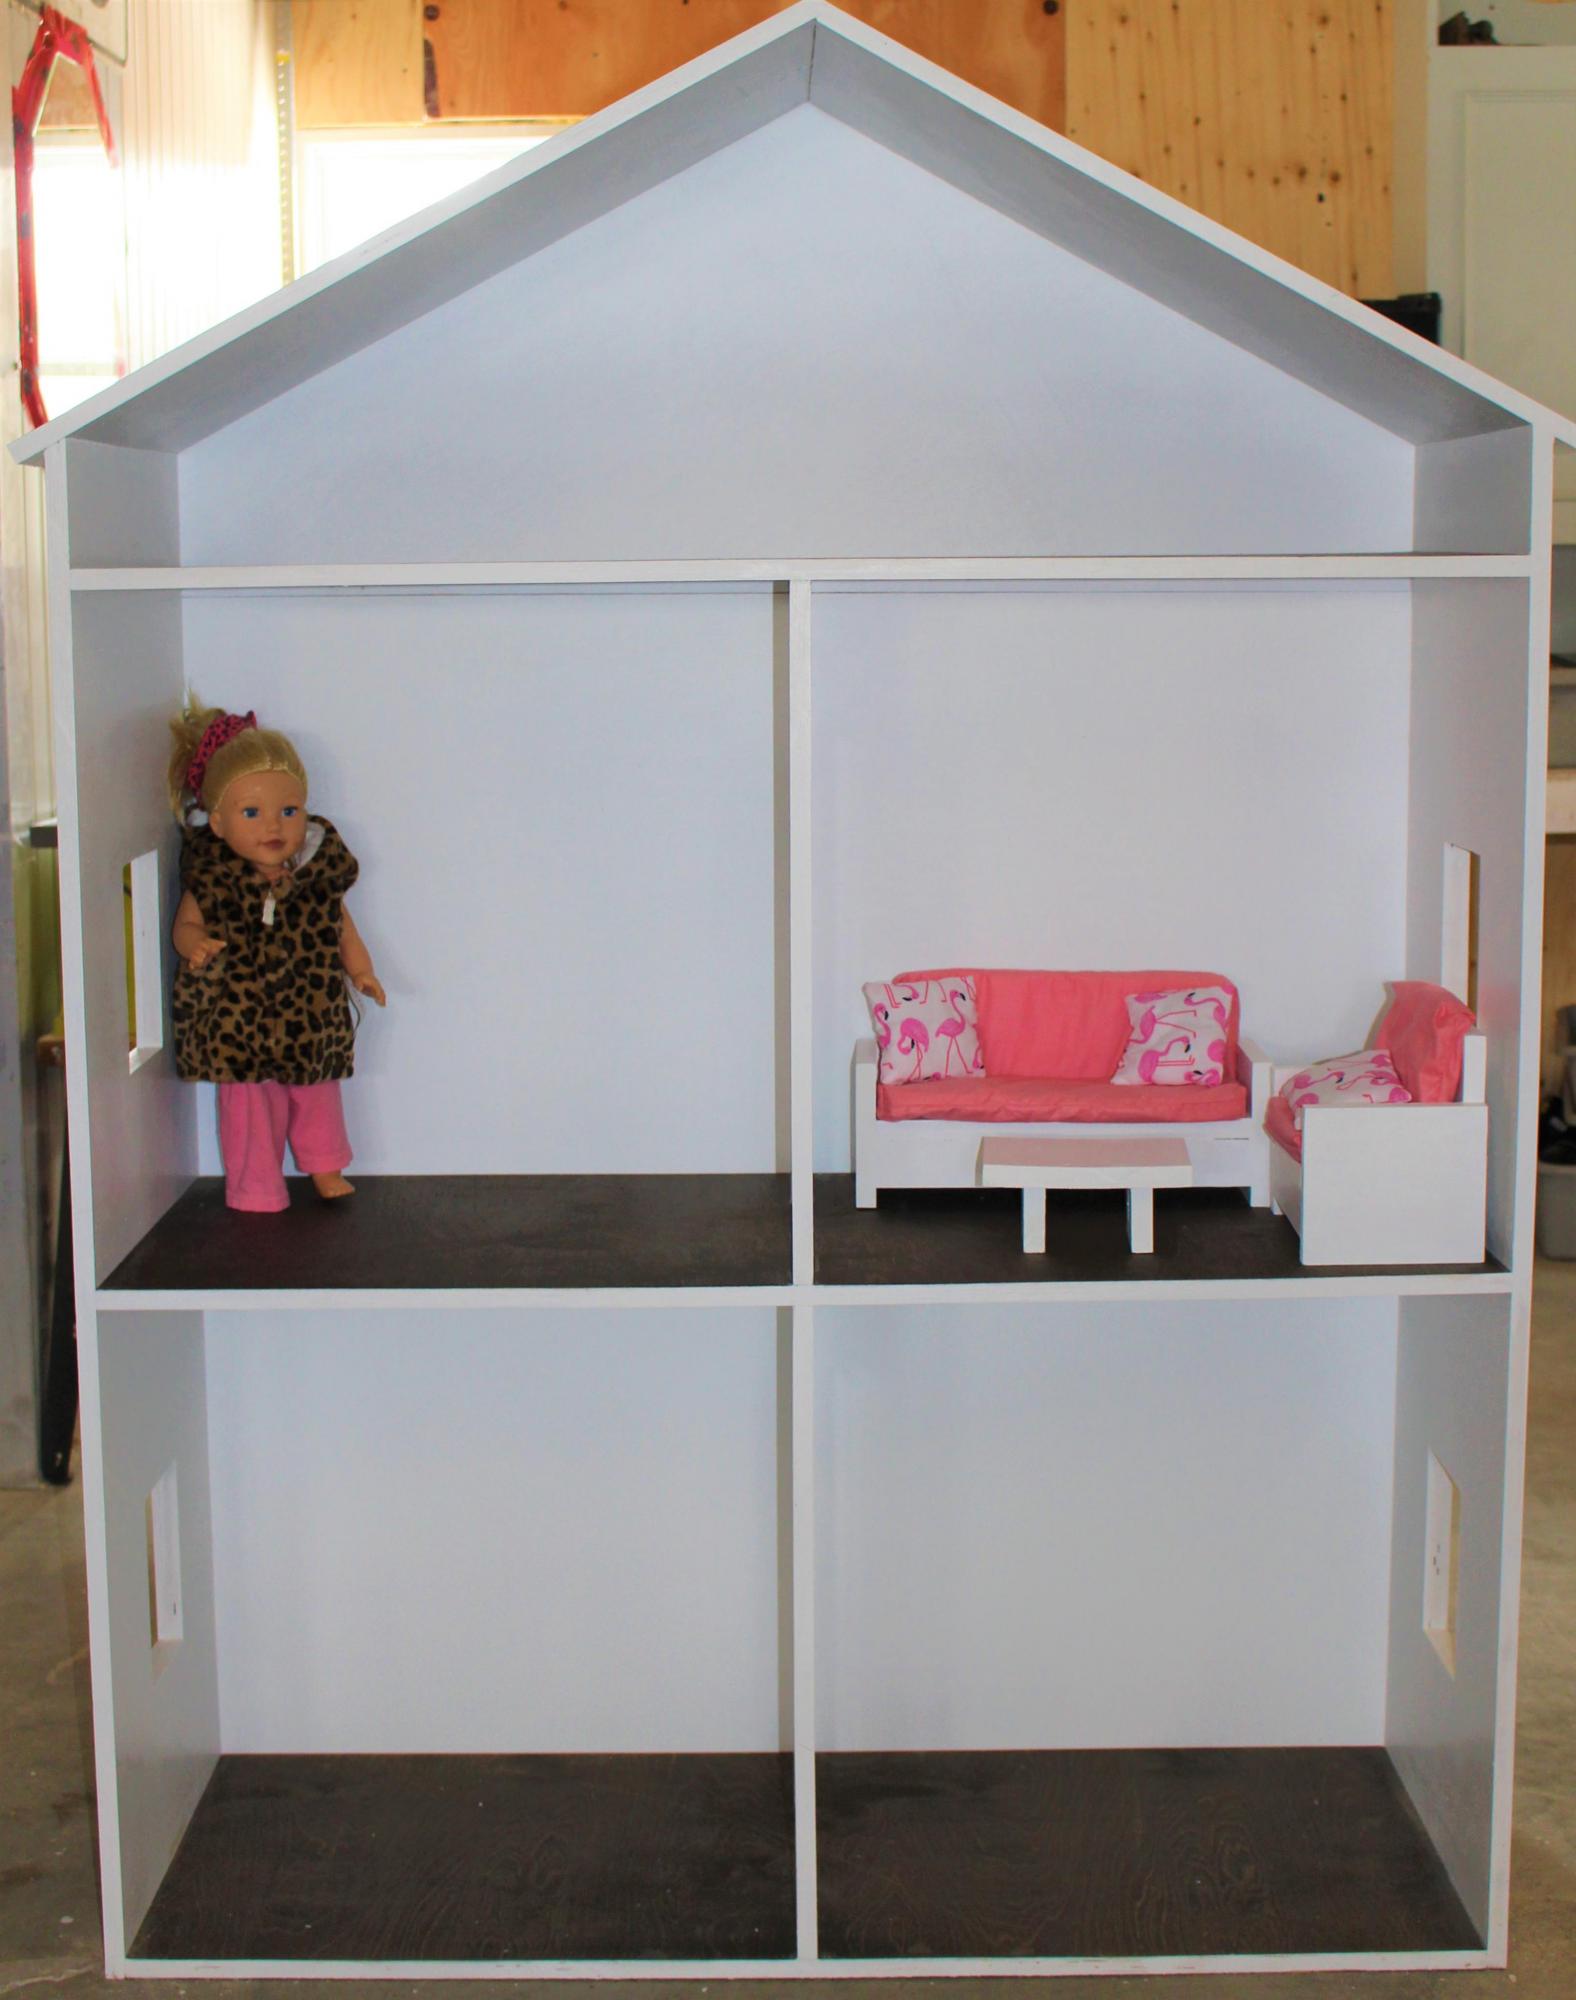
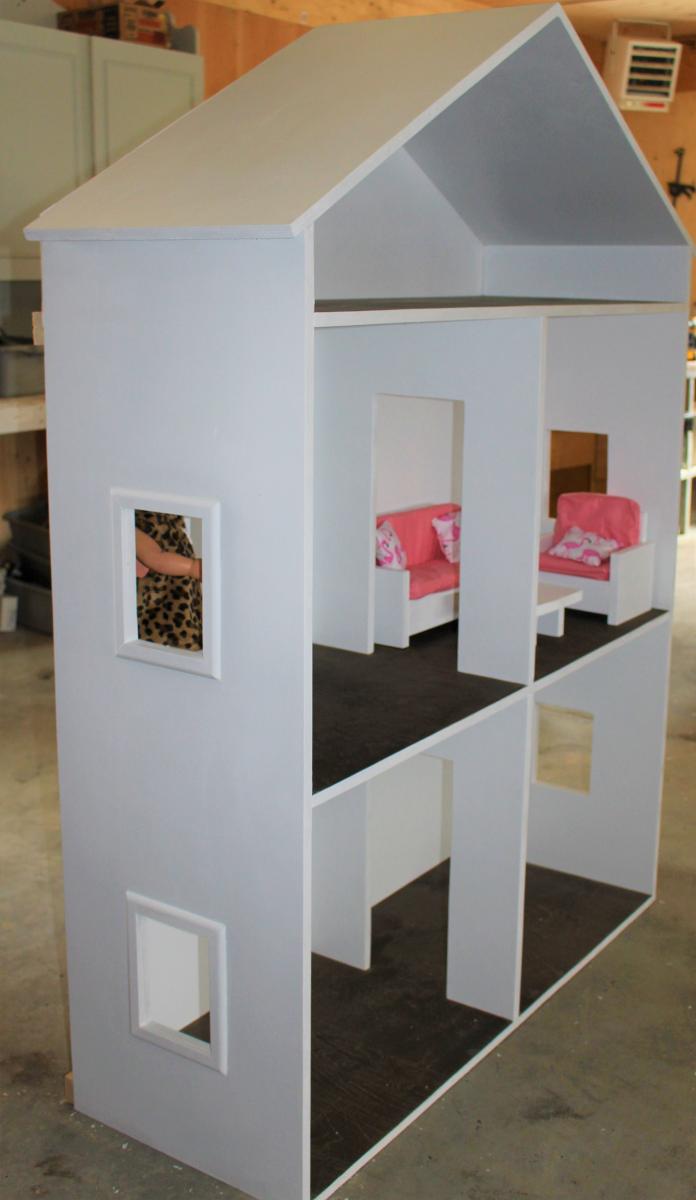
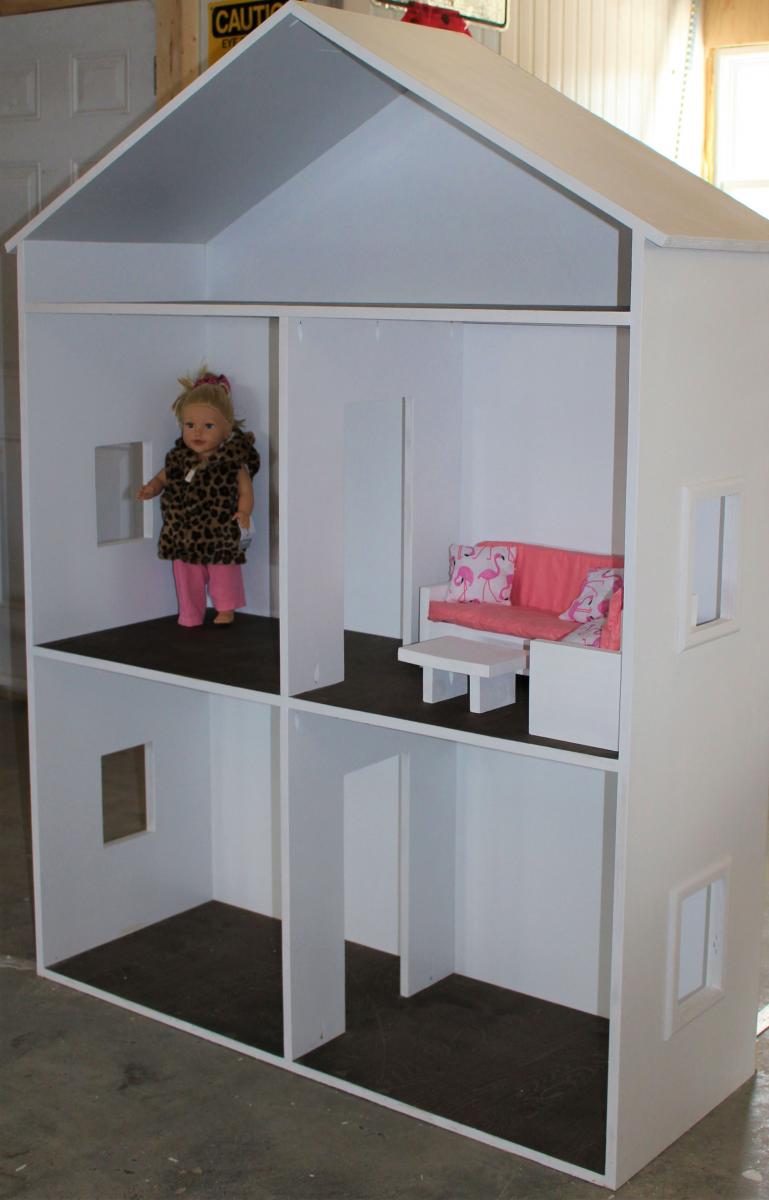
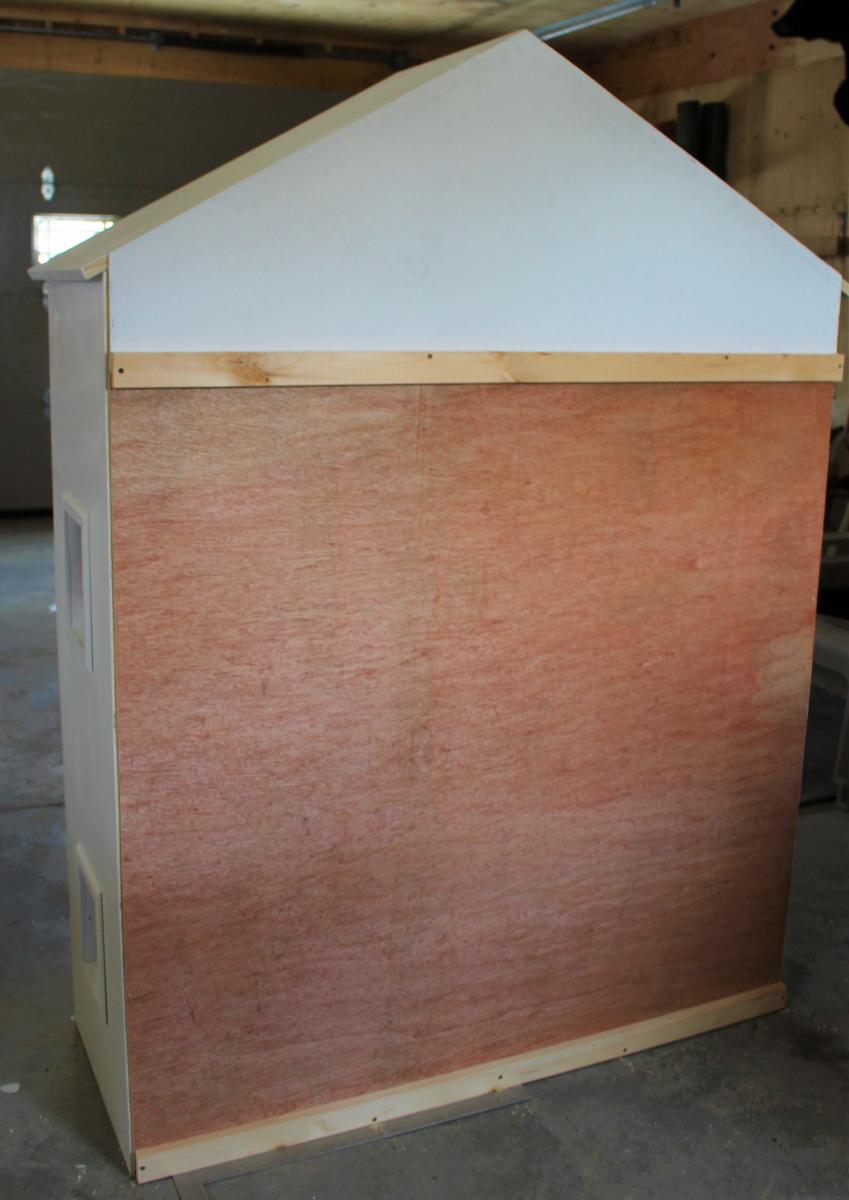
This Project was a Challenge mostly because of its size. Standing 6ft Tall and 4ft wide it was hard to handle at times but easy enough and fun to build.
I followed Ana's Three Story American Girl or 18" Dollhouse plans.
We also made the American Girl or 18" Doll Sofa or Couch.
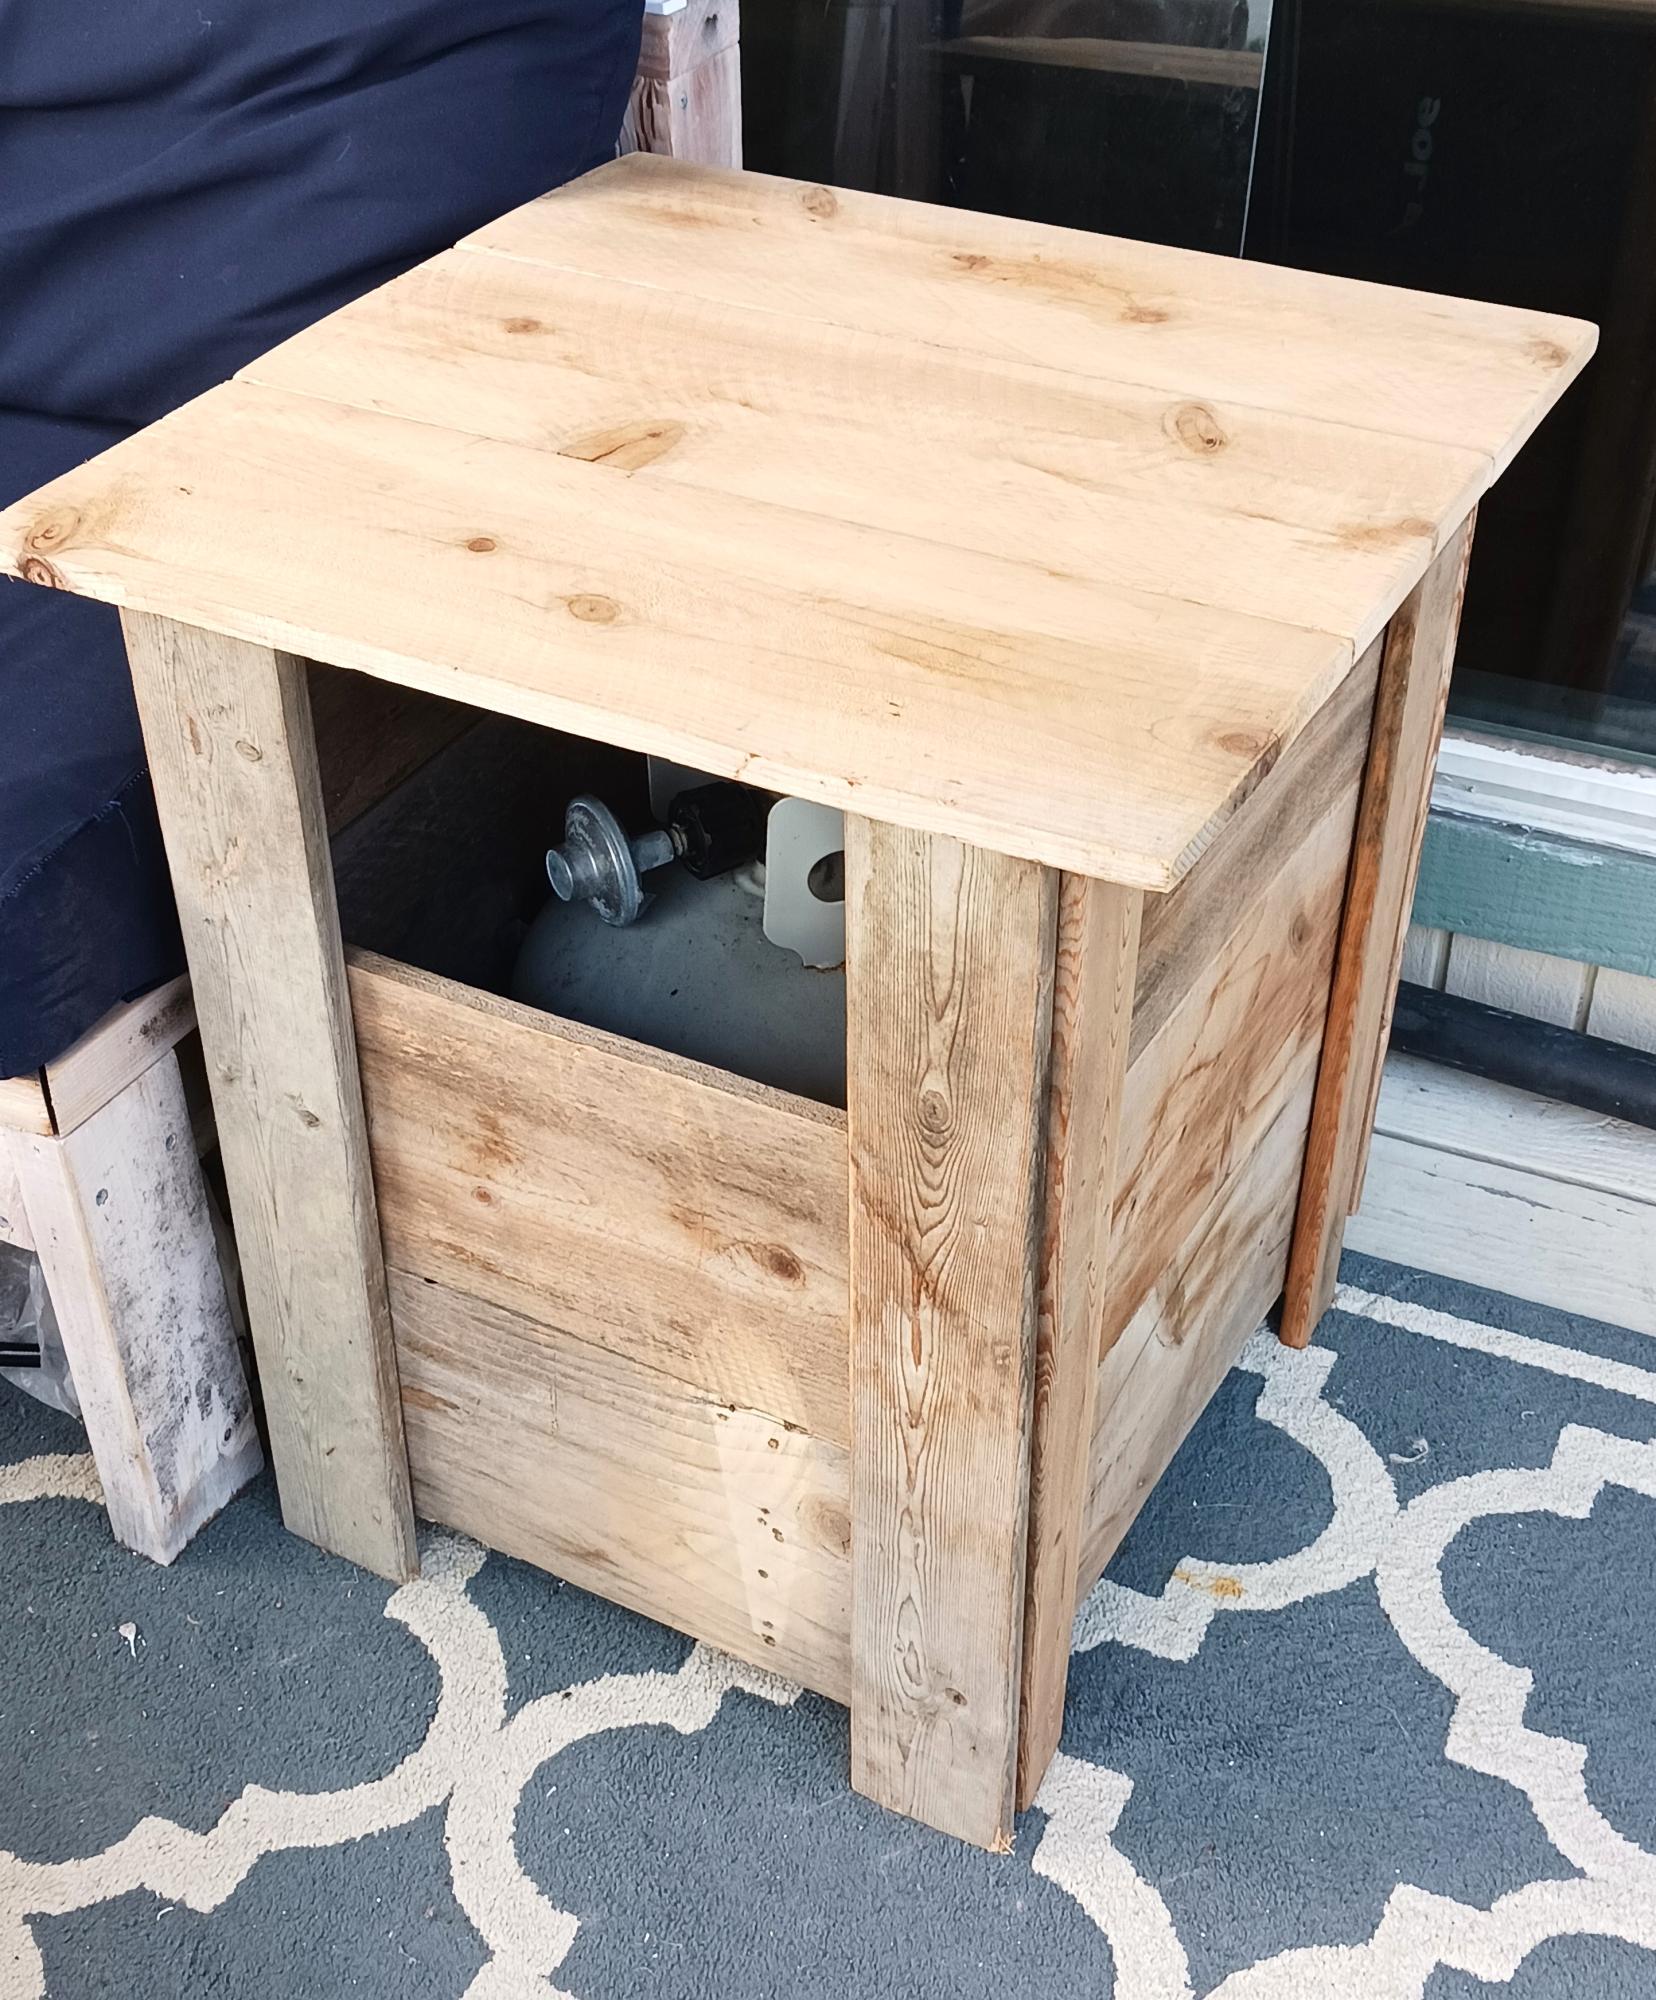
I had inquire on your Facebook about you making a new plan... i had wanted a side table to hide my propane tank. I used the planter plans as an inspiration for this table. It is regiment rough looking as I managed to build it using only scrap on hand. I did have one cedar board in my pile that was leftover from another project that I used for the top... pretty happy but know it would have been better with new wood that was the right size and not warped! The space at the top is on purpose to be able to teach in and turn the gas on and off.
Debbie Hertz
This is my first made-from-scratch table, and I'm really proud of the result!
I made this table for my amazing in-laws. They just moved into a beautiful new home with a spacious, open dining area, and they've been looking for a large table that our growing family can gather around.
We customized Ana's design by making the table larger and by transforming the ends of the table into extendable 10" table leaves.
The final dimensions are:
Height: 2.5'
Width: 3.4'
Length (fully extended): 10'
It took two weeks to make, predominately evenings and weekends, and/or whenever my baby girl was asleep!
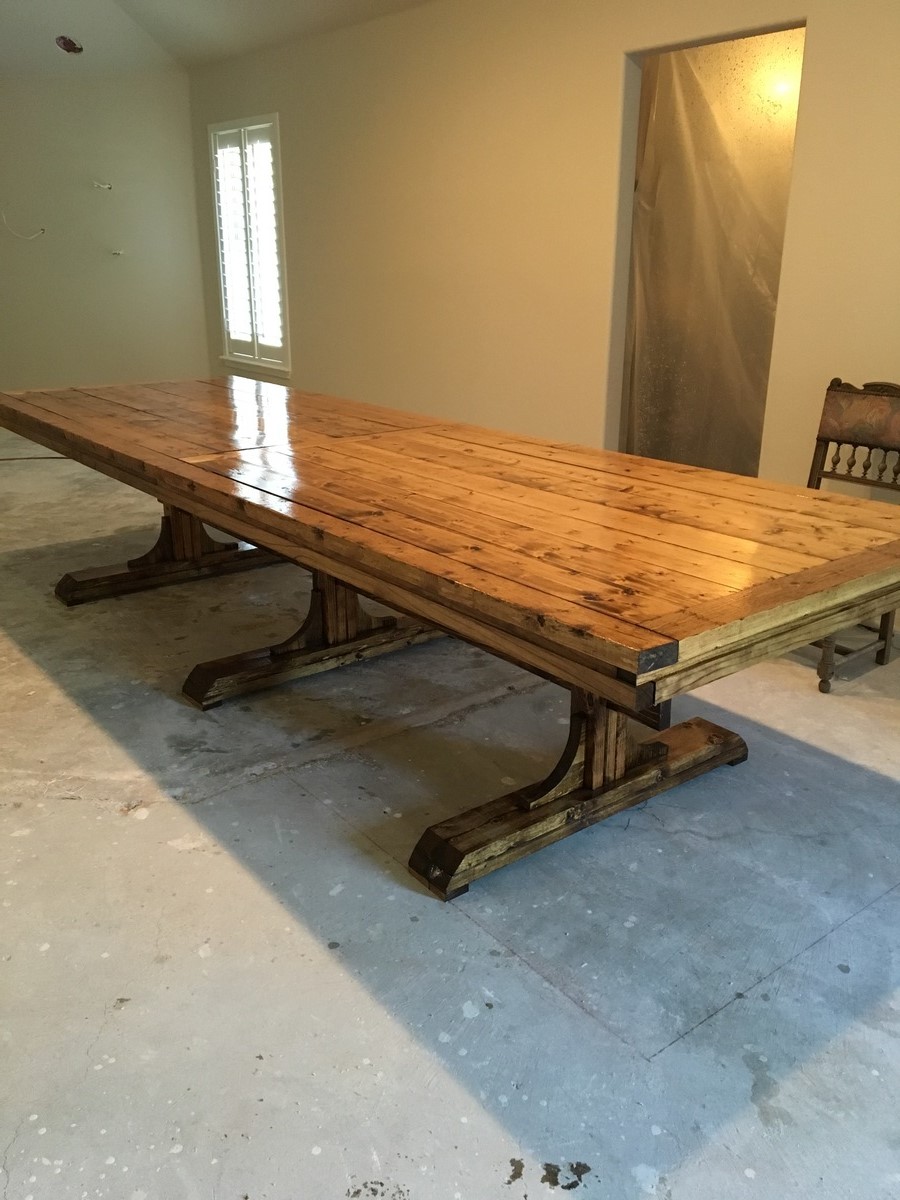
First DIY, my twin brother and I decided to build a table for my parents; as they are currently remodeling their house. Thank you so much for these easy-to-follow yet very thorough set of plans! We made some adjustments to the length and width: 144inches (12ft) long by about 45inches wide!! It's a monster of a table! We made the legs wider as well to compensate for the adjustments of the table top. We are all extremely happy with the results- thanks!
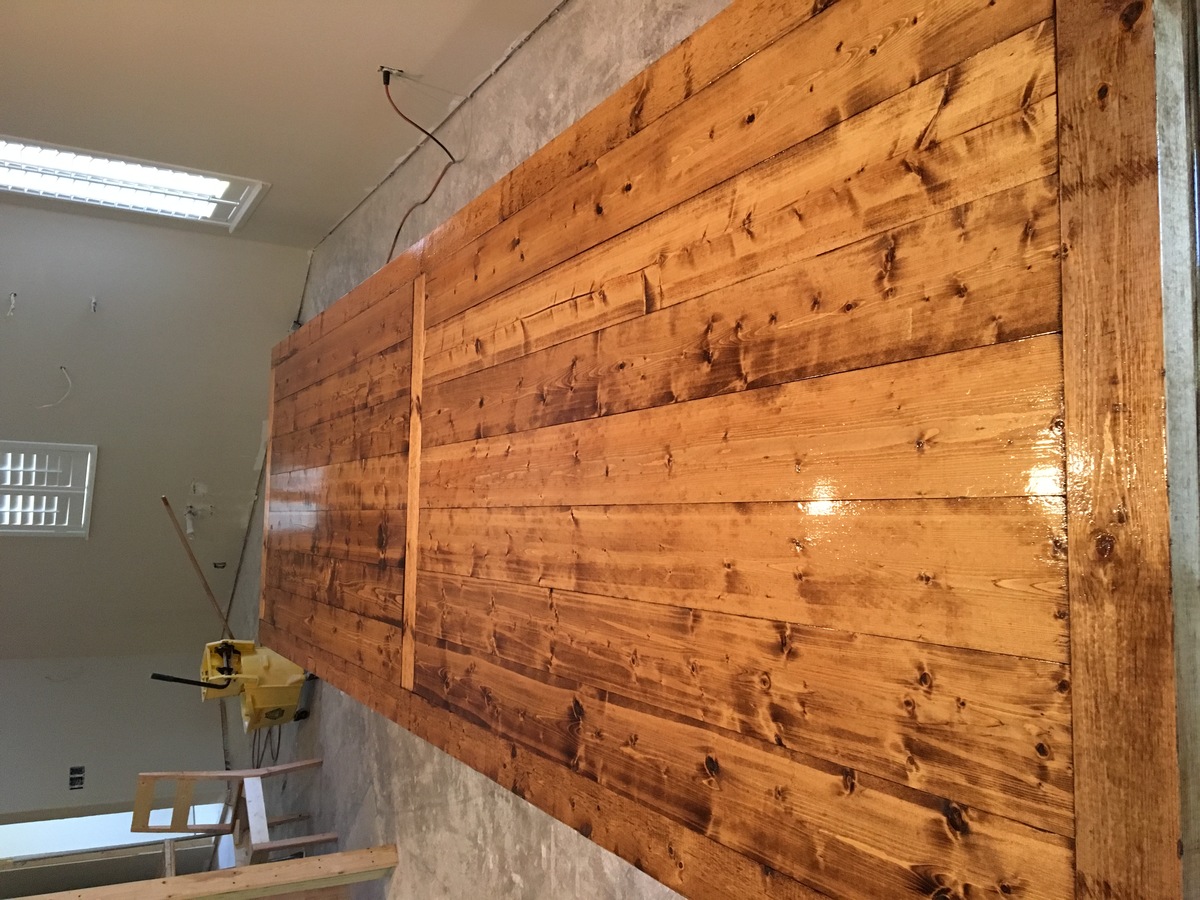
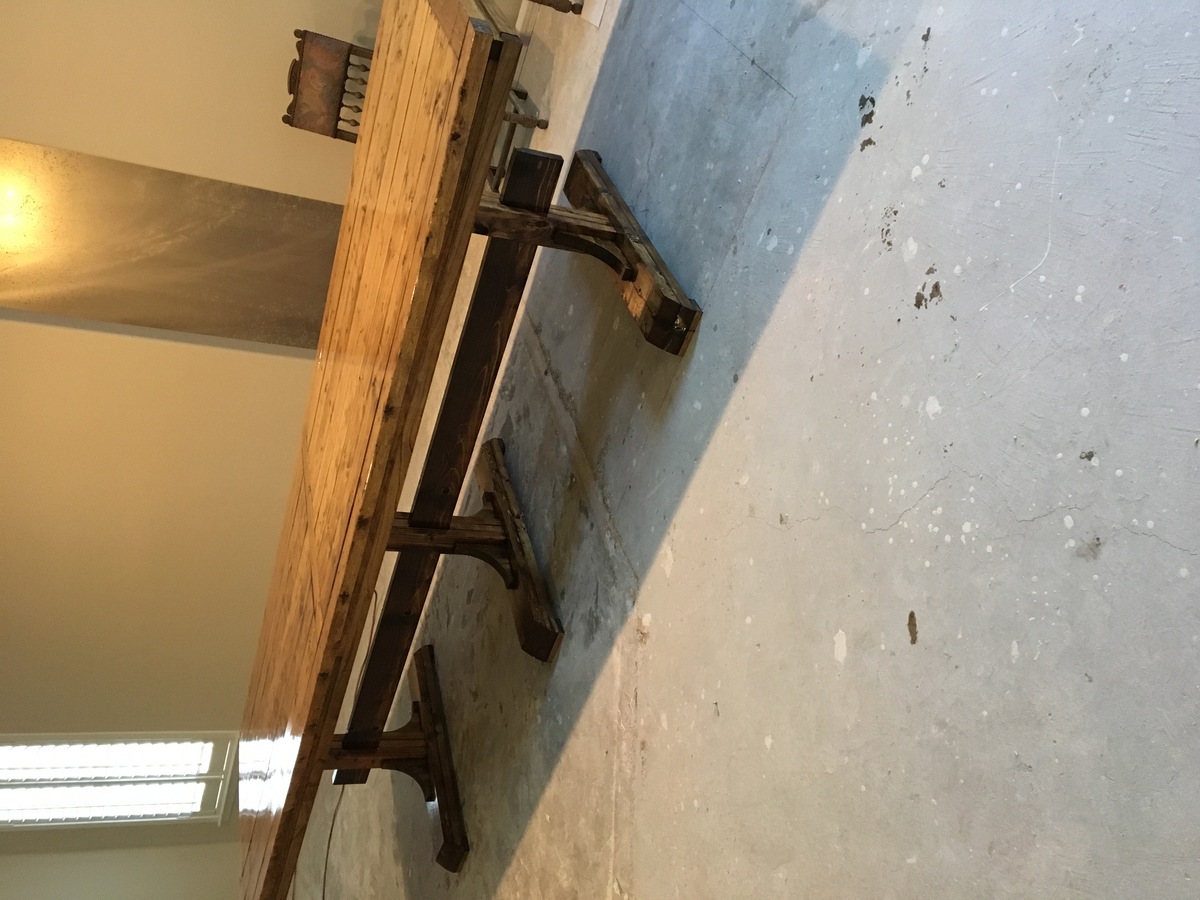
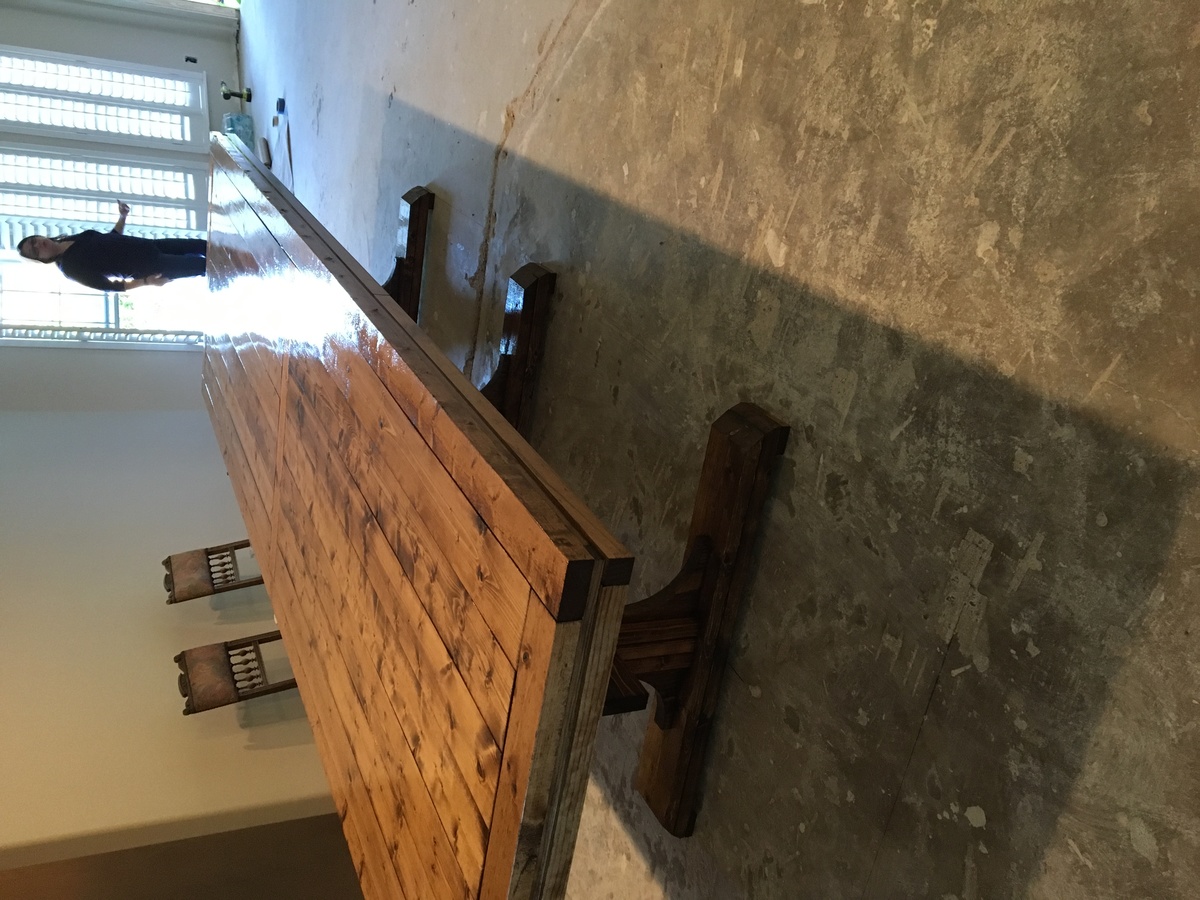
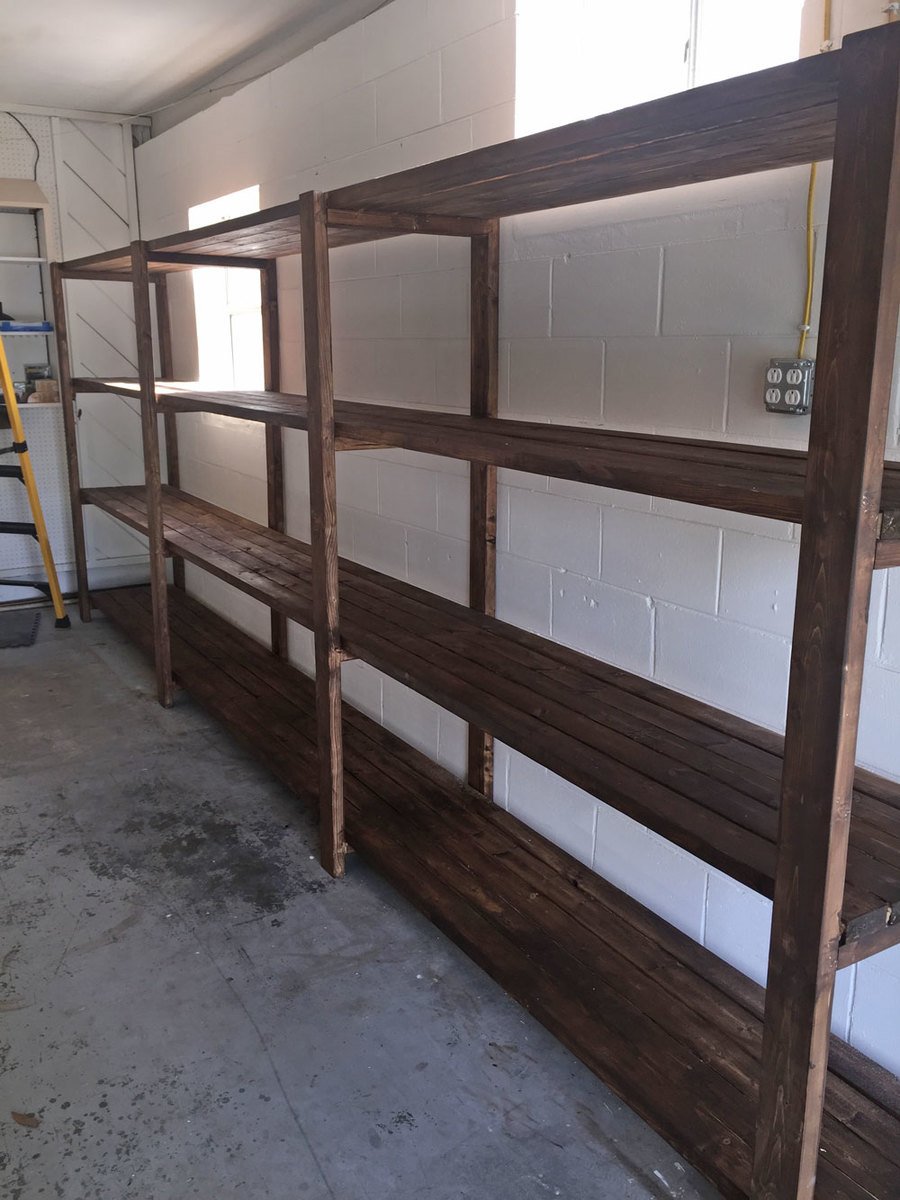
This is my first project ever built. I can't thank you enough for this site. I already have several other projects I want to build around the house because of this site. Thank you so much!

I took the original plan design for a Murphy bed - it was inspired by a Dr. Who themed bed that used a Murphy Bed Kit - I've used Ana White's plans before and thought why spend $$$ on a kit when you don't have to. I few trips to the store and a weekend later I have my very own Tardis Murphy Bed. It cost about $140 to build not including the mattress and accessories cost (light kit/upholstery panel/police box sign etc) I raised it up about 4" to attach legs and added some puck lights for a lighting effect. I think it came together rather nicely. I just have to add handles and the magnetic closures and it will be all done.
It took me all weekend to build by myself - had my brother help me with mounting the mattress box in the cabinet. I would suggest having wood cut at the lumbar yard as it is difficult to cut the 8 and 12" boards unless you have a bigger table saw that I do.


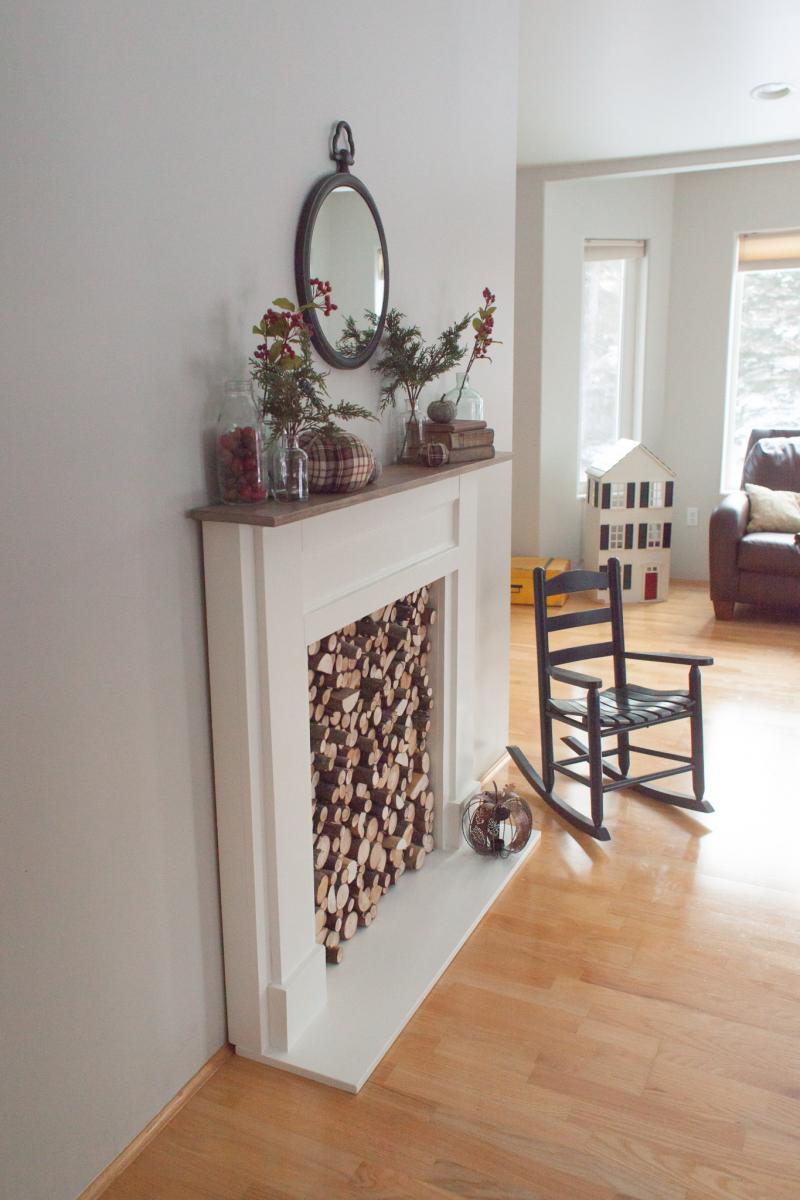
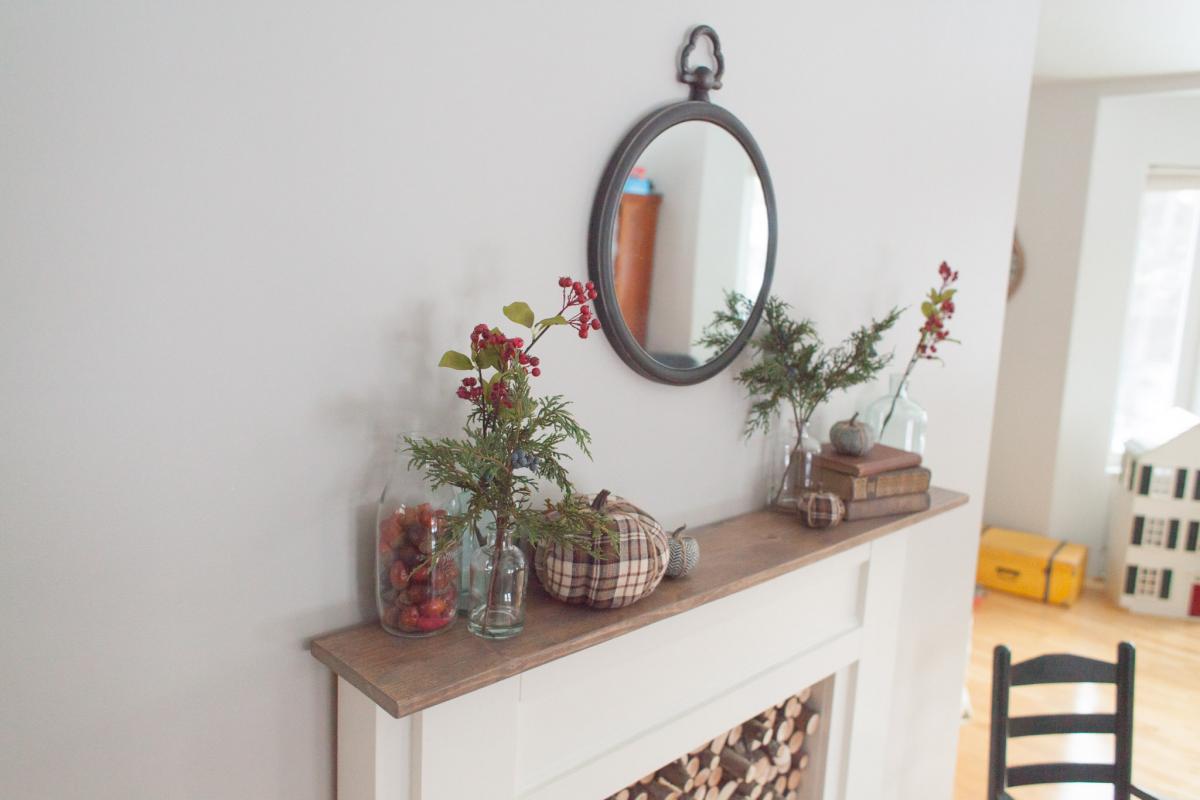
I added a 1x12 as a base so that it could be free-standing, in case we ever want to move it to a different spot. I also added an insert by gluing slices of tree branches to a piece of plywood . This was a fun, quick and easy project, even for a relative beginner. I love the character it adds to this room!

Comments
Ana White
Sat, 01/05/2019 - 14:27
SO pretty! I love this table
SO pretty! I love this table too, it is so easy but very substantial! We are using the same table right now too!