Community Brag Posts

Antique Quartersawn White Oak Dining Table

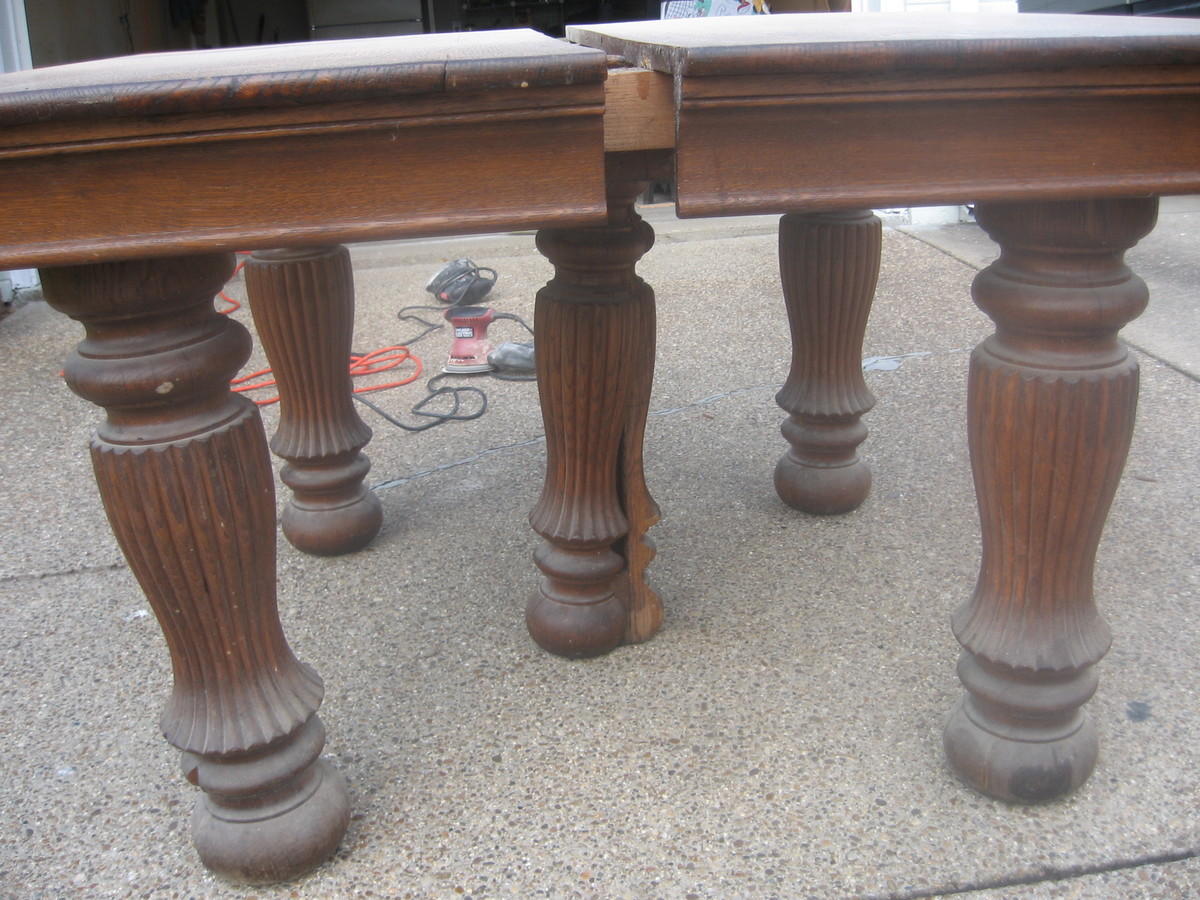
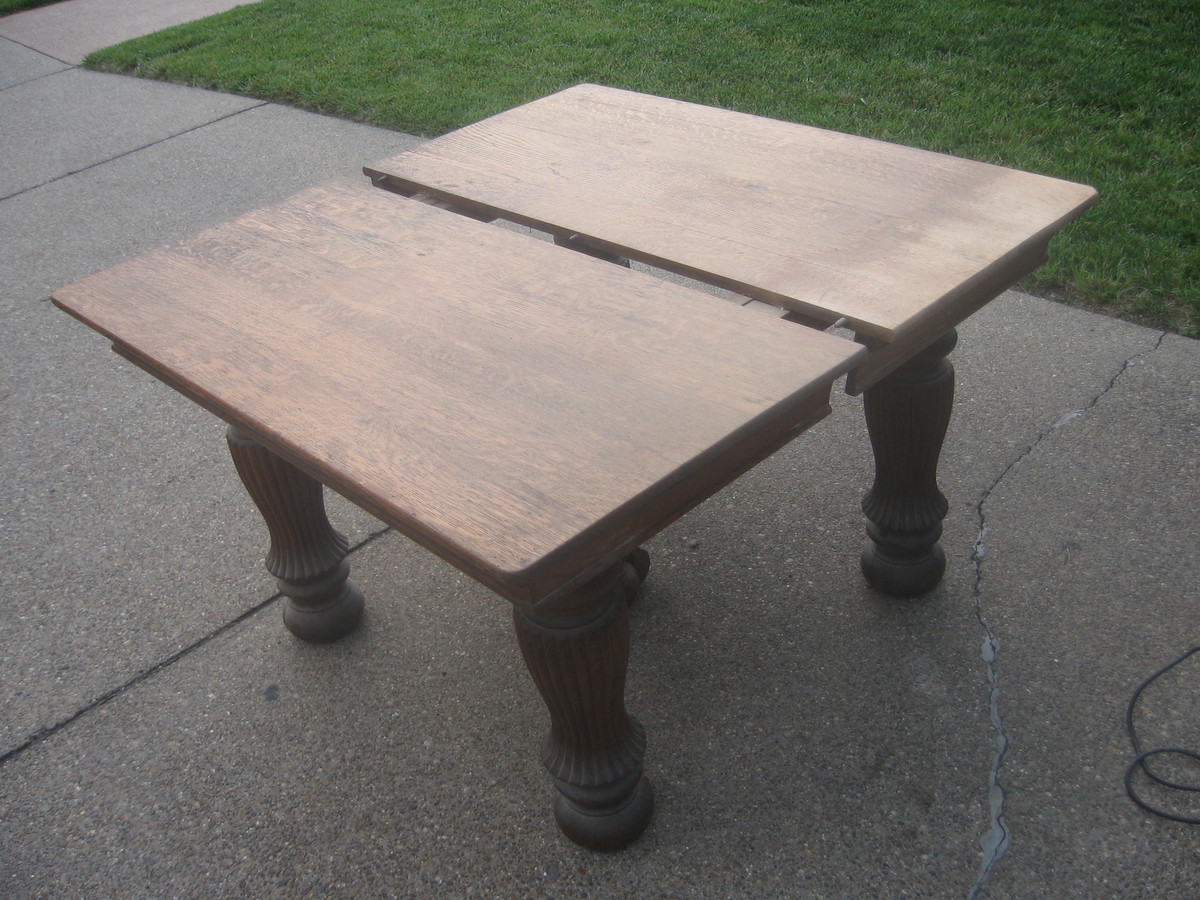
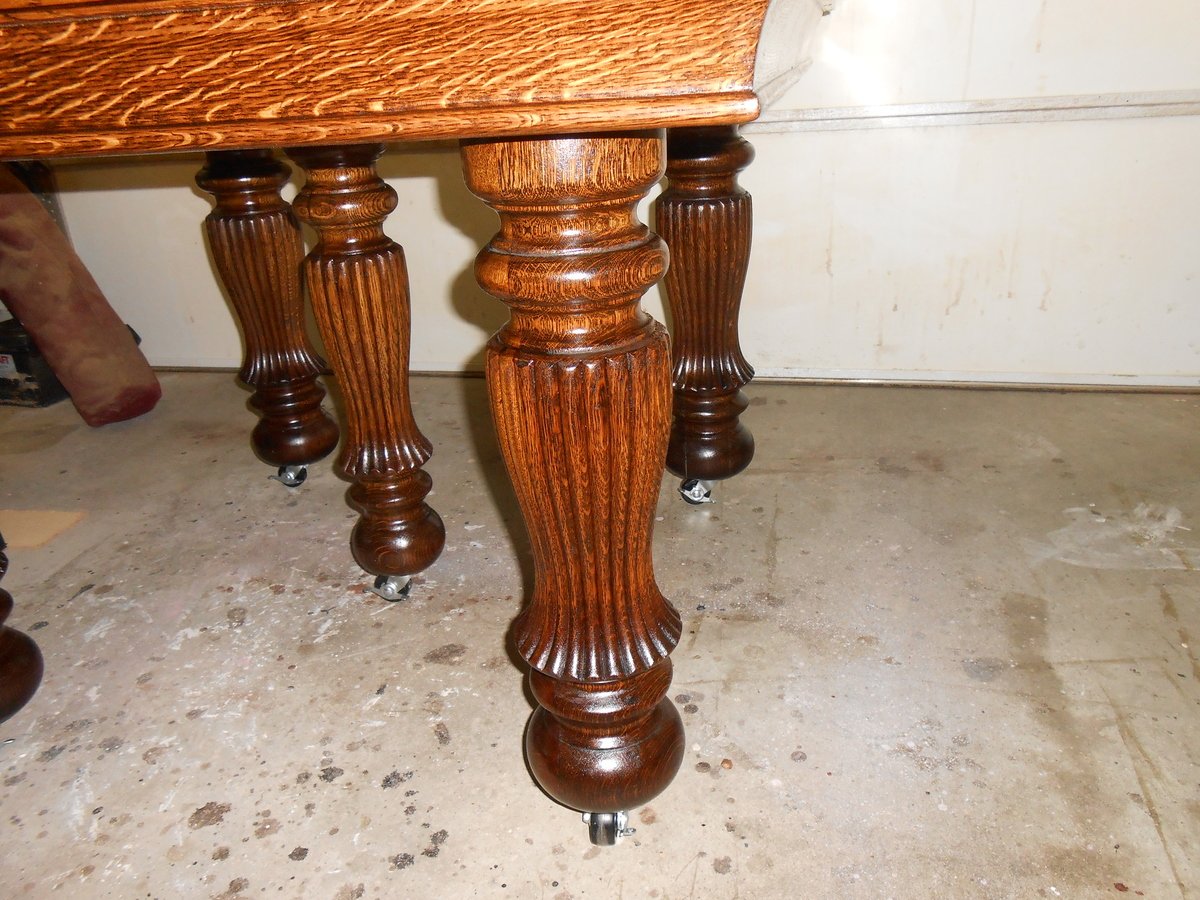
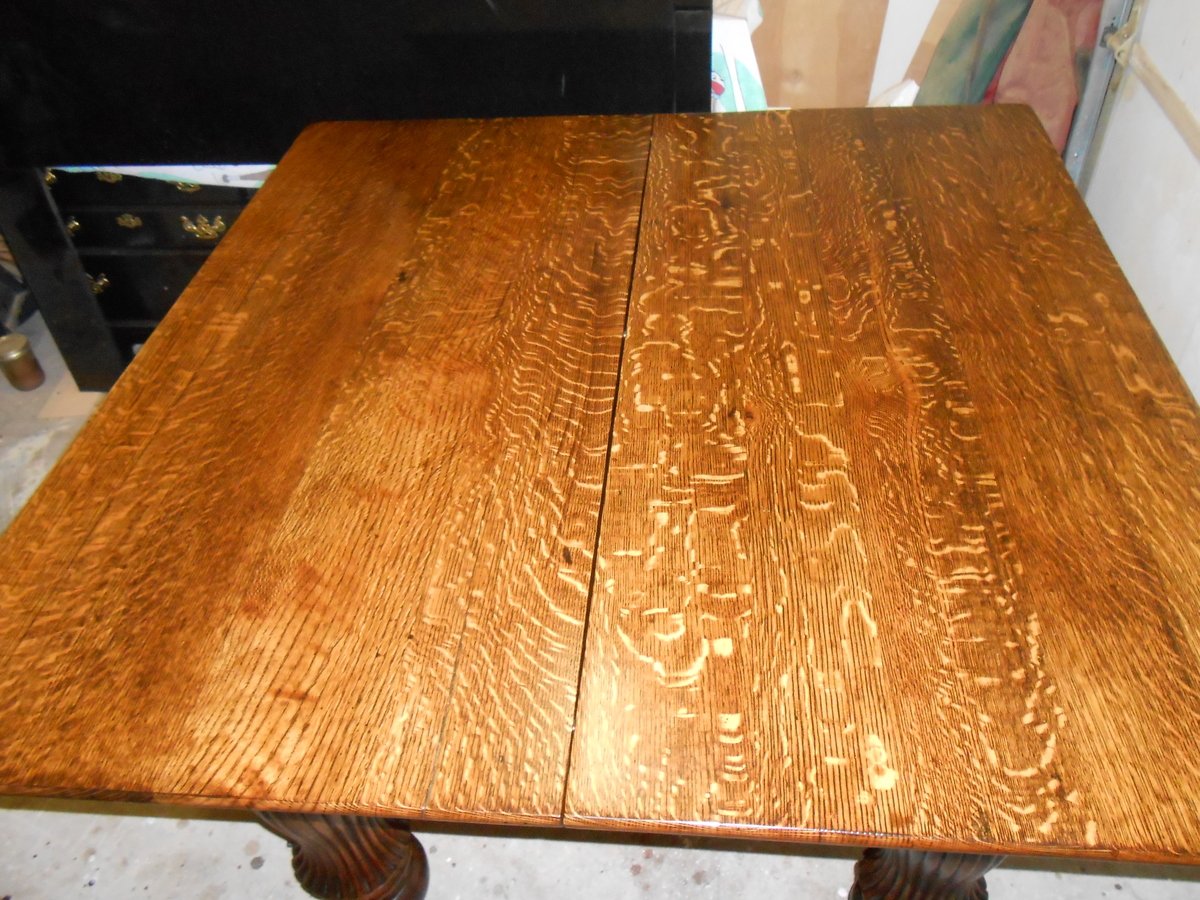
This is a solid, quartersawn white oak 5-legged dining table. It was originally built in the late 19th or early 20th century. The table was in need of a refinish. The massive turned and fluted legs were full of cracks, chips, and splits.

I took the table completely apart and began stripping and sanding. The legs were re-glued where needed and clamped. I filled the cracks, splits, and and chips with wood filler, sanded, and repeated until I was happy with the results. I replaced some bracing and replaced the screws where needed. Heavy duty casters were added. They have brakes/stops that can be locked to keep the table from rolling on a hardwood or tile floor.

Once the final sanding was completed, I applied 2 coats of Minwax Dark Walnut stain with a foam brush. I wiped down after each coat after waiting 10-15 minutes or so. After drying I began applying Minwax Fast Drying (oil based) polyurethane. The table received 3 coats and the top received 6 coats. I hand sanded with 220 grit sandpaper between coats.

After applying the final coat of poly to the top, I allowed it to cure 48 hours. I then hand sanded the top very lightly using 400 grit paper. I did the same using 0000 steel wool. I then added a few drops of dish soap to a cup of water and wet sanded with the 0000 steel wool. I used a circular motion to remove any scratches. I then wiped down the table and buffed out two coats of Johnson Past Wax with an orbital buffer. It resulted in a super smooth finish.

I am very happy with the results. By the way the table if for sale ($600) and is located in Evansville, Indiana.
Estimated Cost
$80
Estimated Time Investment
Week Long Project (20 Hours or More)
Finish Used
Minwax Dark Walnut Stain (2 coats) and Minwax Fast Drying (oil based) polyurethane.
Recommended Skill Level
Beginner

Full Size Camp Loft

Submitted by jcygan on Wed, 09/30/2015 - 16:37

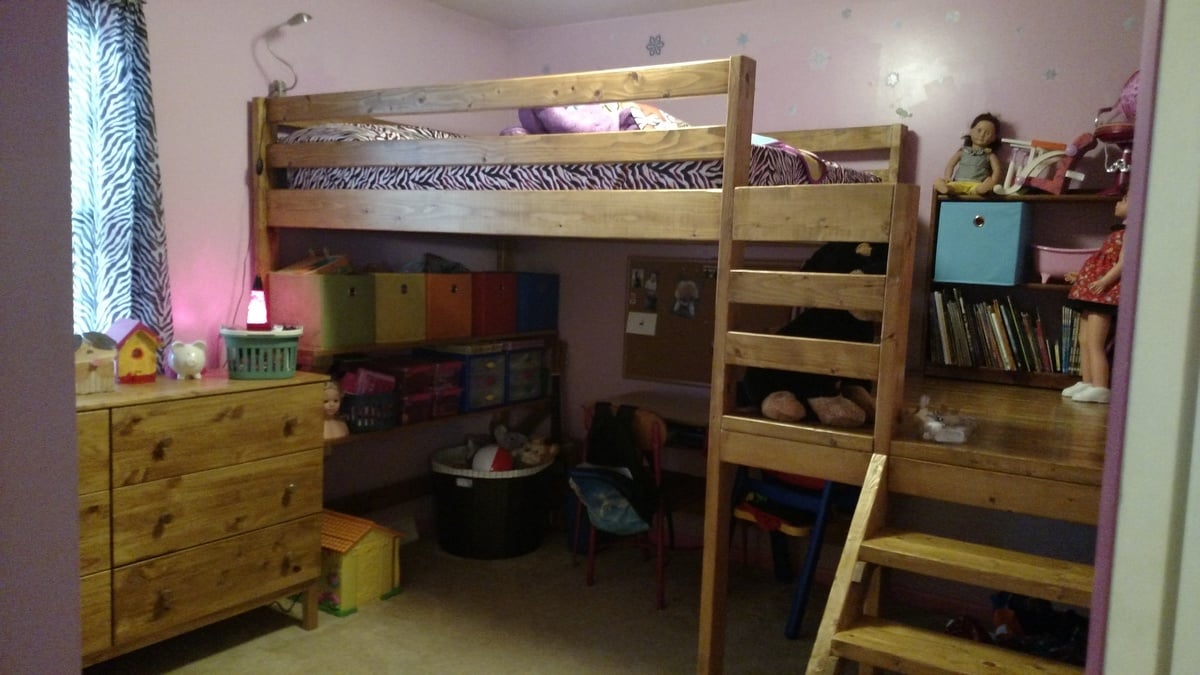
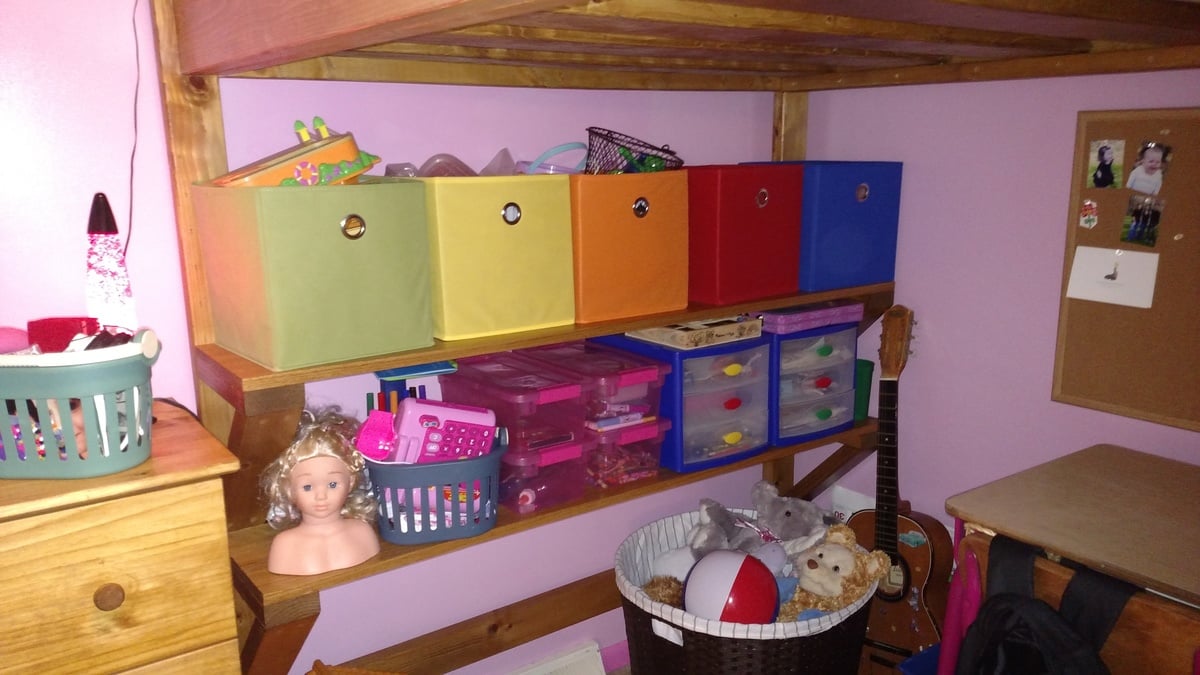
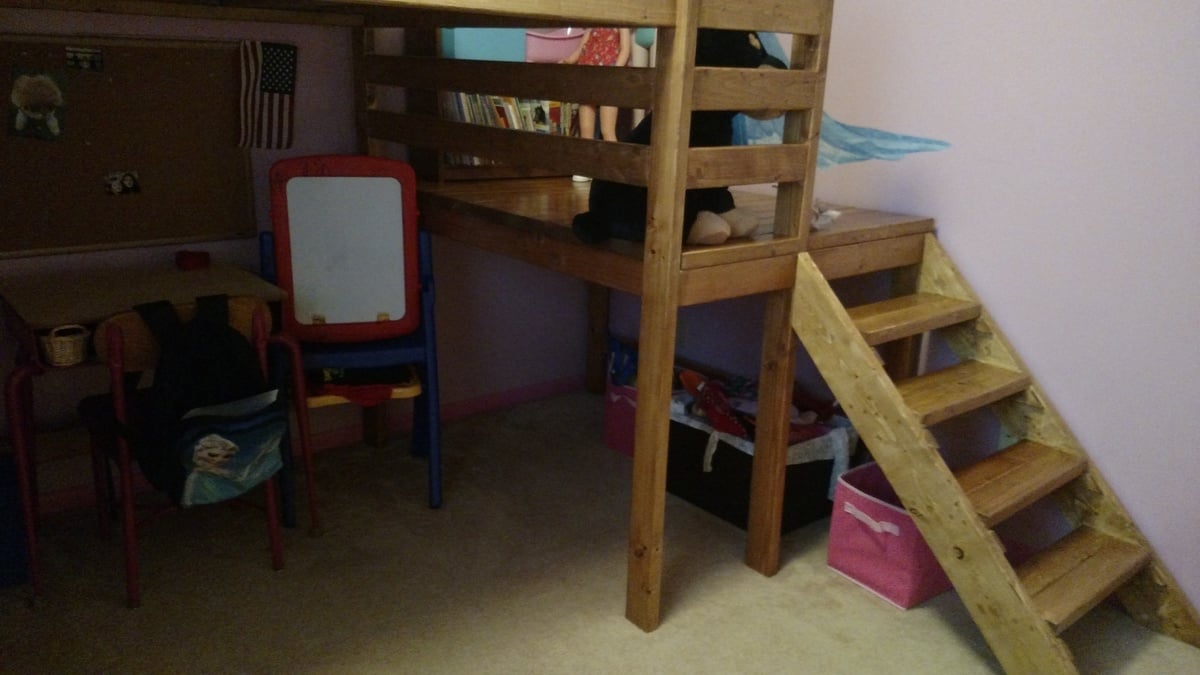
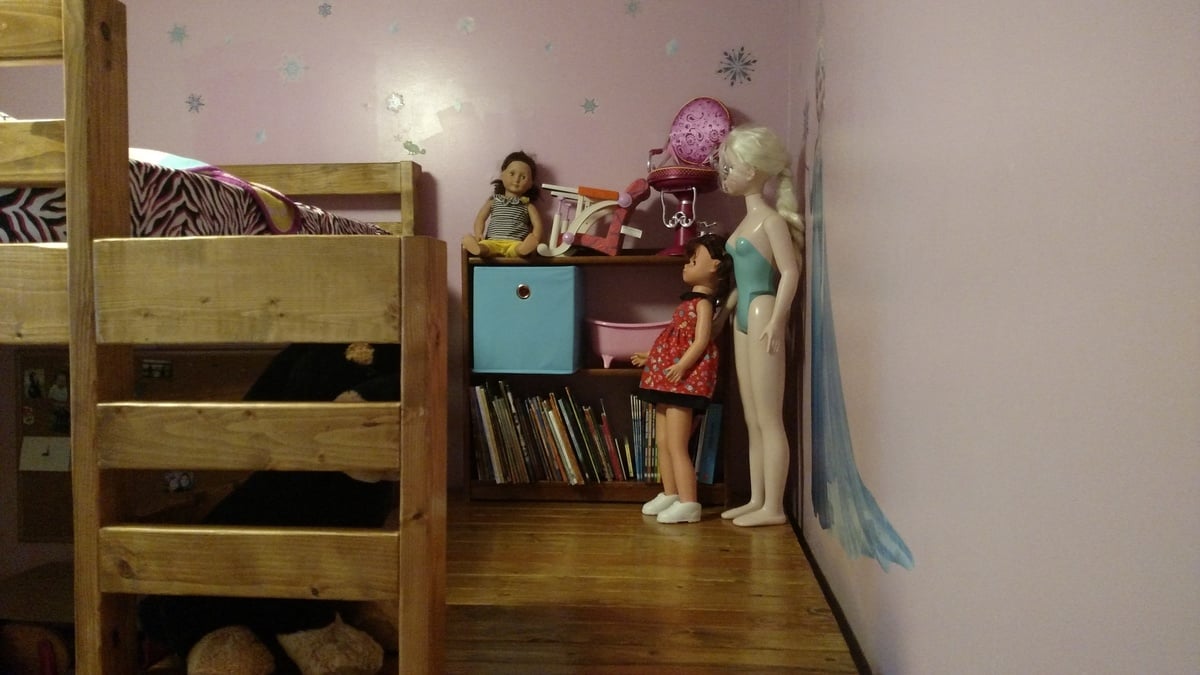
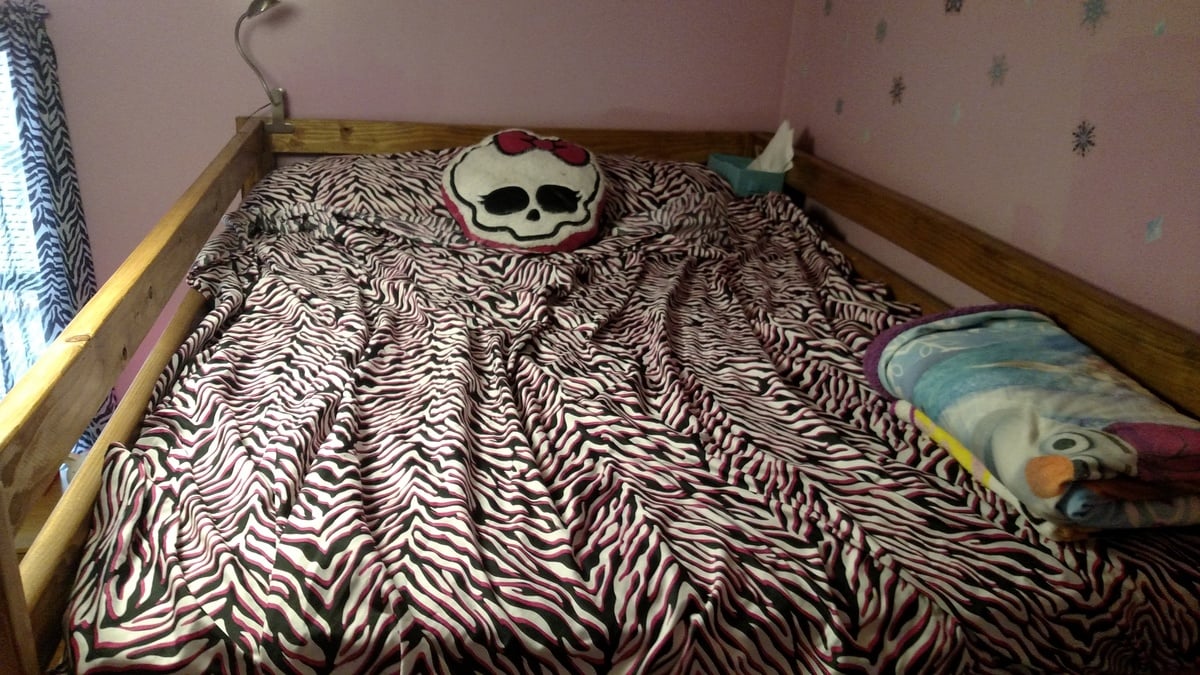
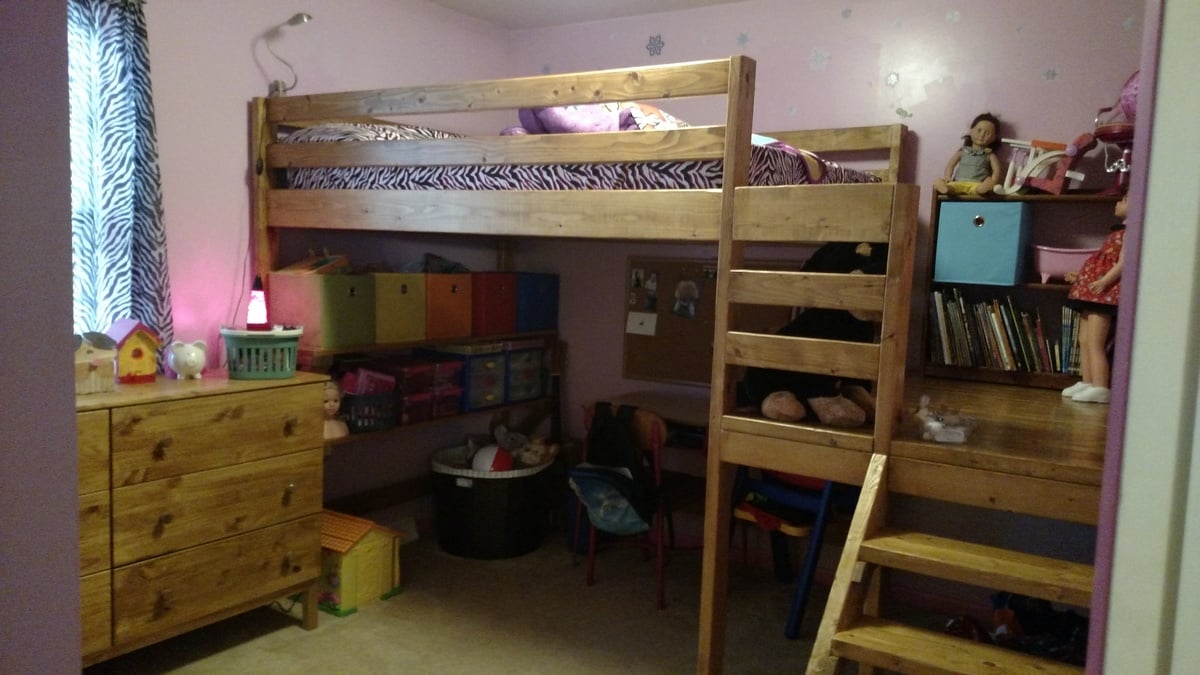
We modified the plans for the Camp Loft Bed to accommodate a full size mattress.  We also extended the platform so that the bed spread wall to wall in the bedroom.  Since the platform was extended, we added a short railing to prevent falls.  The height was pushed up to make it taller than the junior size of the original design.  This way we were able to place a desk and add 2 pine shelves underneath the head of the bed.  

We added a board along the long side at the bottom to take out some wiggling.  The bed itself still seemed a little shaky until we attached the platform and now it is rock solid.  We have had 1-2 adults and multiple kids up there at the same time with no problem.

The bed itself could have been built in a weekend.  However, the time it took to sand, stain, and clear coat added many more hours.  Those hours were definitely worth it for a finished product.

Estimated Cost
$500
Estimated Time Investment
Week Long Project (20 Hours or More)
Finish Used
We used the medium warm stain used on the original bed. The directions are found here: http://ana-white.com/2012/07/medium-warm-stain
Recommended Skill Level
Intermediate

Comments

Albright777

Fri, 10/02/2015 - 10:43

Thank you so much for posting this.  My oldest wants a loft bed, but has a full right now.  I am building my 2 youngest the junior loft this fall and the oldest was jealous.  I was scared to build one.  Afraid it would not hold up.  Thank you for showing that it does.  Great job!!!


DIY Coffee Bar

Submitted by Liz Miller on Tue, 12/04/2018 - 10:37

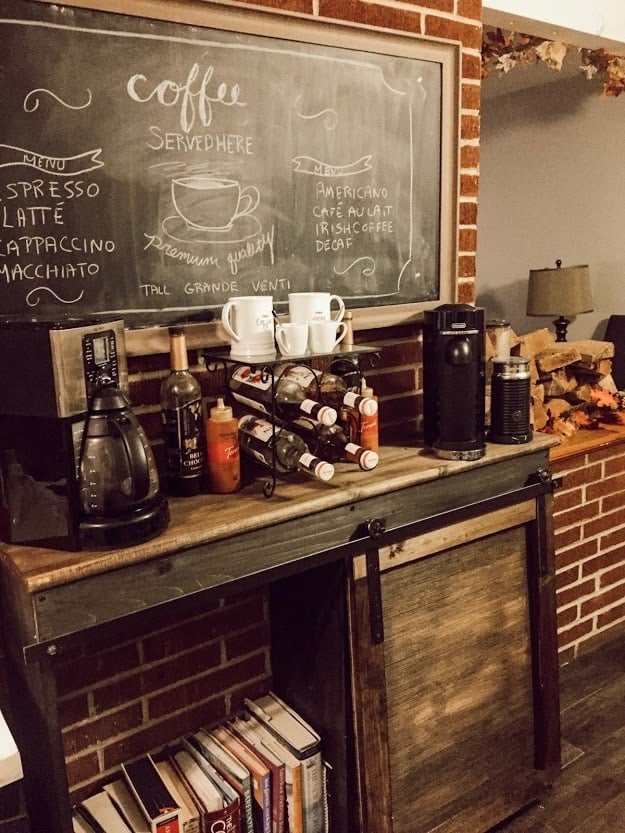
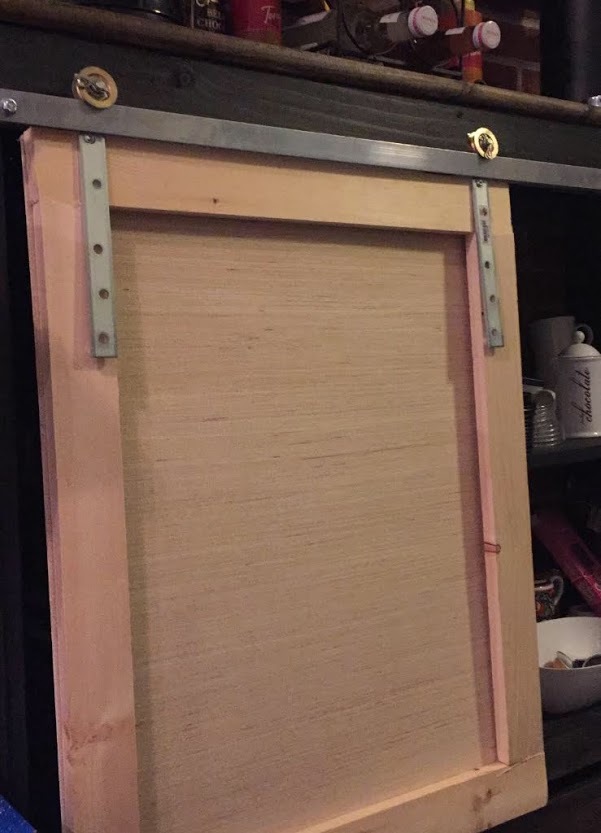
This was my first time using my own measurements for an Ana White build. I was really nervous but having completed a few other projects by following plans exactly, I felt confident I had gained the skill to branch out of my comfort zone. I had been looking at coffee bars for my kitchen, but at $300 and up, cheaply made and in the wrong dimensions,. I just knew I could build something with better quality for a portion of the price. This project took me half a day to build the carcass and then another afternoon to figure out the door hardware and stain. I used all 1 x boards and the final bar is 12" wide so I used 1 x 12 boards for everything except the trim.  All in all you could complete it in a few hours, it was really simple. I made the door hardware by popping open two pulleys and attaching them with metal somethings (not sure what they are) that I found at Lowes. I then ran a flat bar across the front using spacers like Ana did in hers. I painted the hardware with Rustoleum Oil Rubbed Bronze spray paint and stained the top of the bar with Minewax Dark Walnut, the bottom is Minewax Ebony. I still need to poly. One thing I changed up was the top. Instead of using a piece of plywood, pine, or combining pieces together, I used a stair tread! It was a little thicker than a typical 1 x, and also had a rounded edge which I think gives the piece a finished look! This is a piece of furniture I will truly use every single day and I couldn't be happier with how it turned out! The grand total? $60 for the wood and $20 for the hardware. $80 all in all (I had the stain leftover from another project). There's no way I could have bought a piece this nice for that price! 

Estimated Cost
$80 ($60 for wood and $20 for hardware) I had the stain from a previous project.
Estimated Time Investment
Afternoon Project (3-6 Hours)
Finish Used
The top is MInewax Dark Walnut, the base is Minewax Ebony, and the hardware is spray painted Rustoleum Oil Rubbed Bronze. I still need to poly the top.
Recommended Skill Level
Starter Project

Comments

My cedar fence--thank you!

Submitted by NayNay on Tue, 09/03/2013 - 12:48

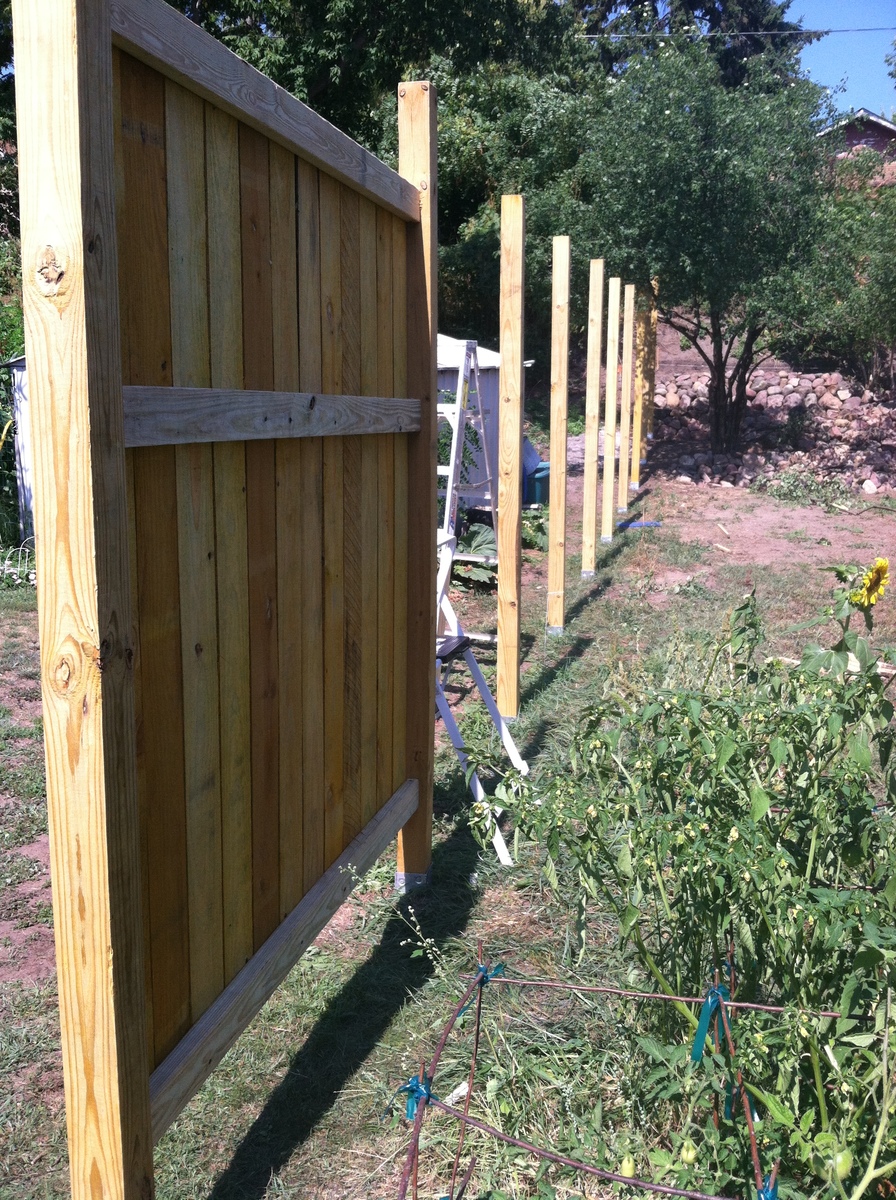
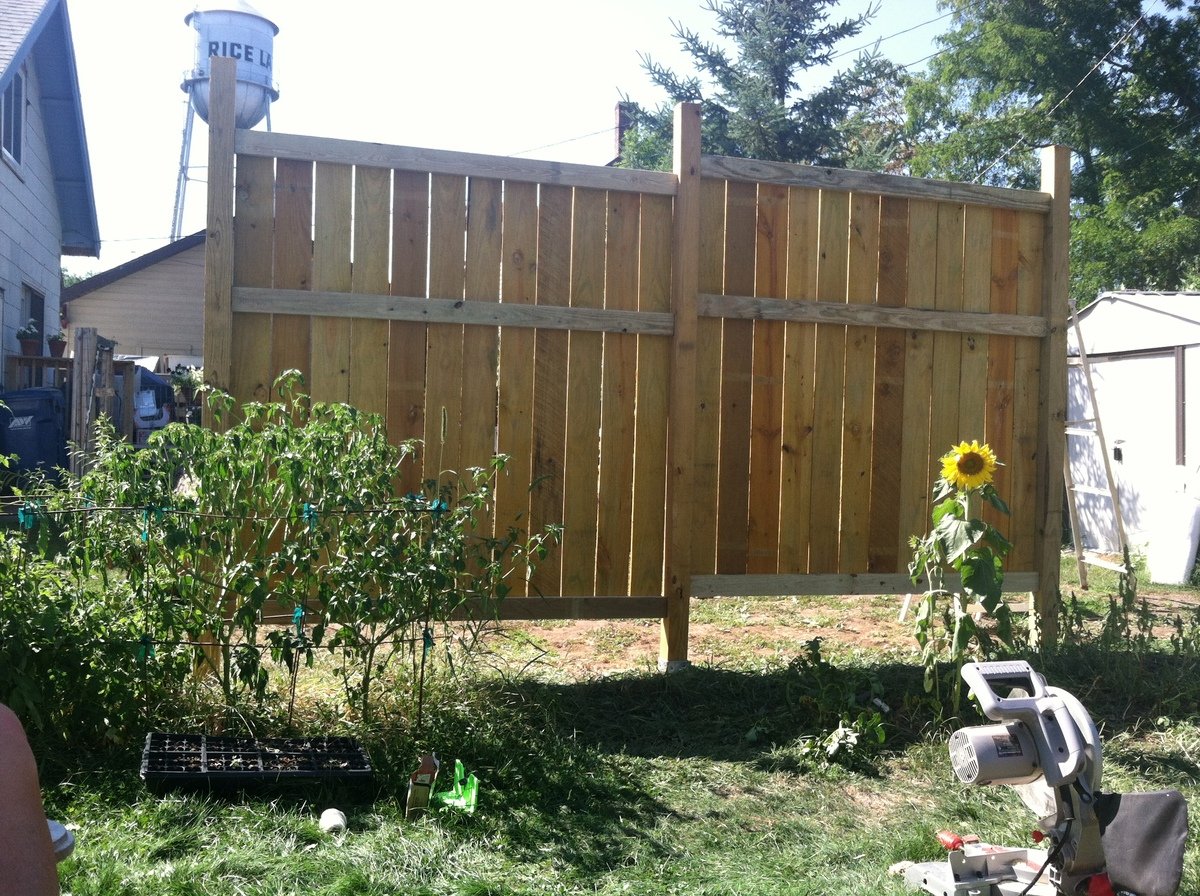
Thank you for the plans for this fence! So many sites tell you what you need to do to plan for a fence, but don't give you any dimensions, materials, etc.

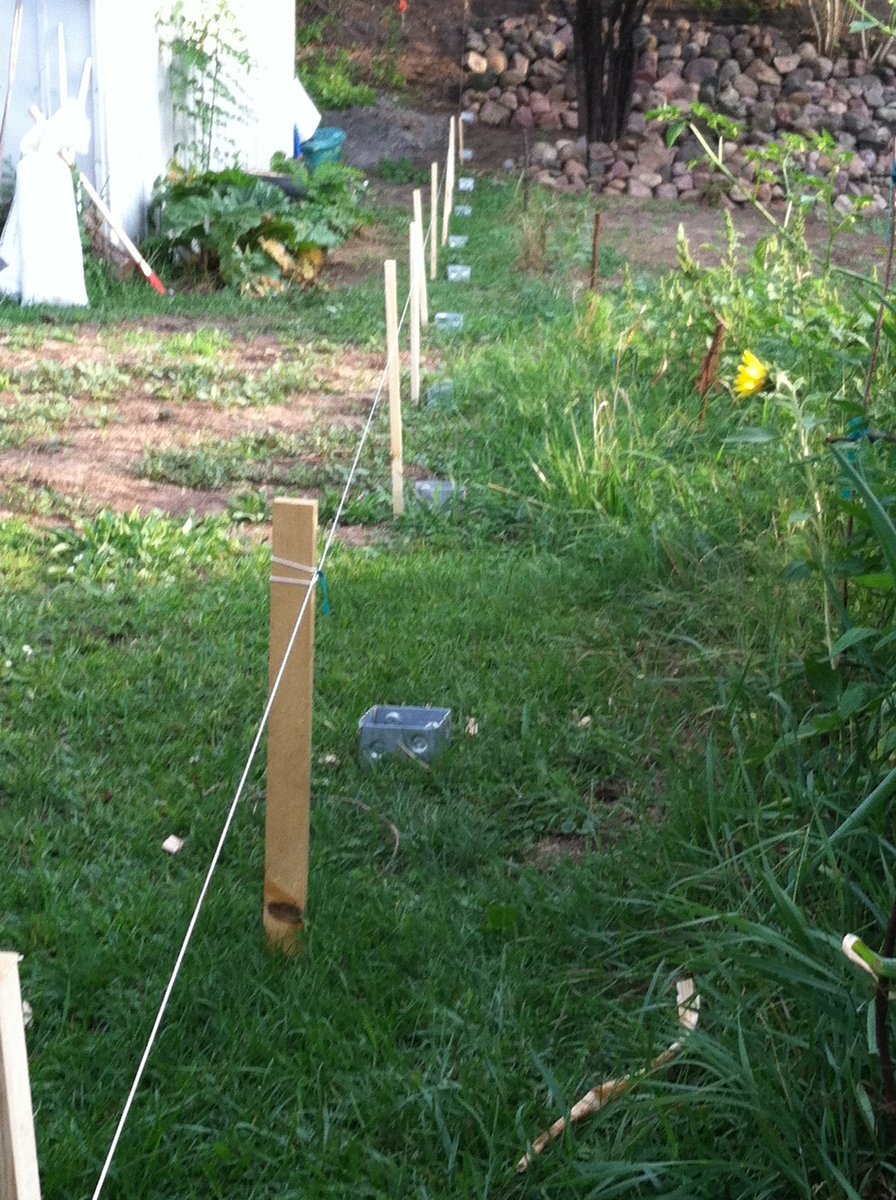
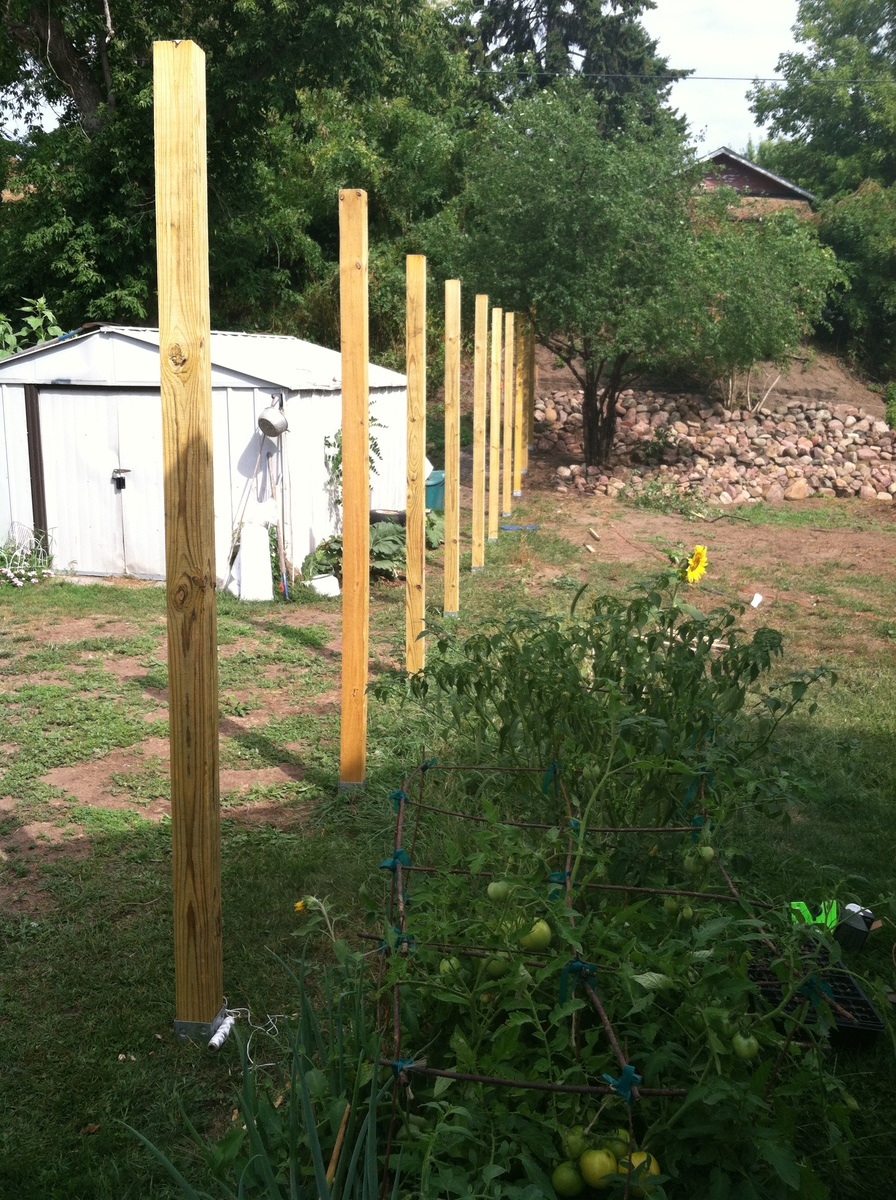
I didn't do it exactly like your instructions, but close enough to give you all the credit!! I am a 45 year old woman, with only a little do-it-yourself experience. I went to the hardware store, and asked "what are these PH screws?" and felt a little stupid. But my friend Tanya and I built this fence this weekend, with a post level, stakes and string, a chop saw, two 18v drills,a sledgehammer, a string level and a sharpie! We are so proud of ourselves.

I still need to trim off the tops of the posts, and do a few little tweaks. Also, we did not dig post holes. We used oz-posts, and pounded them in with a sledgehammer, attached the wooden posts into the oz-posts with heavy-duty construction adhesive and 8 screws, and straightened them with a huge wood clamp. And next weekend, I'll be putting in raised flower beds along the bottom to cover the lower space. :-))

Built from Plan(s)
Estimated Cost
$76 per panel
Estimated Time Investment
Weekend Project (10-20 Hours)
Finish Used
cedar-toned (pre-finished)
Recommended Skill Level
Beginner

Comments

carongirls

Wed, 09/04/2013 - 06:40

I am excited to hear about these Oz posts. I put up a small fence and dig holes which took me a week and blistered my hands.
I love your fence!

NayNay

Wed, 09/04/2013 - 07:36

If you check out the oz-post website (just google "oz-post"), there are video tutorials. We pounded them in with sledgehammers which kicked our butts. The oz-posts are about $16 each from Home Depot, which adds to the cost of your fence. But renting a jackhammer was $130 per day plus $30 per running hour, PLUS gas. Renting a post hole digger and buying cement is also expensive. So, buy yourself a sledgehammer, and use chunks of pressure treated wood to put in the tops and wack away!! We first used just regular wood, which splintered terribly, and then spent a lot of time trying to pry them out. If you do get the wood stuck in the posts, drill in a couple screws through the top, and pull them out with someting attached to the screws. Use chunks of pressured treated 4x4s and try to hit it square in the middle!! Good luck!

HD

Thu, 10/30/2014 - 12:46

I know this has nothing to do with woodworking or fence buidling...but that water tower in one of the picture reminds me of one I saw during a drive through Wisconsin. 

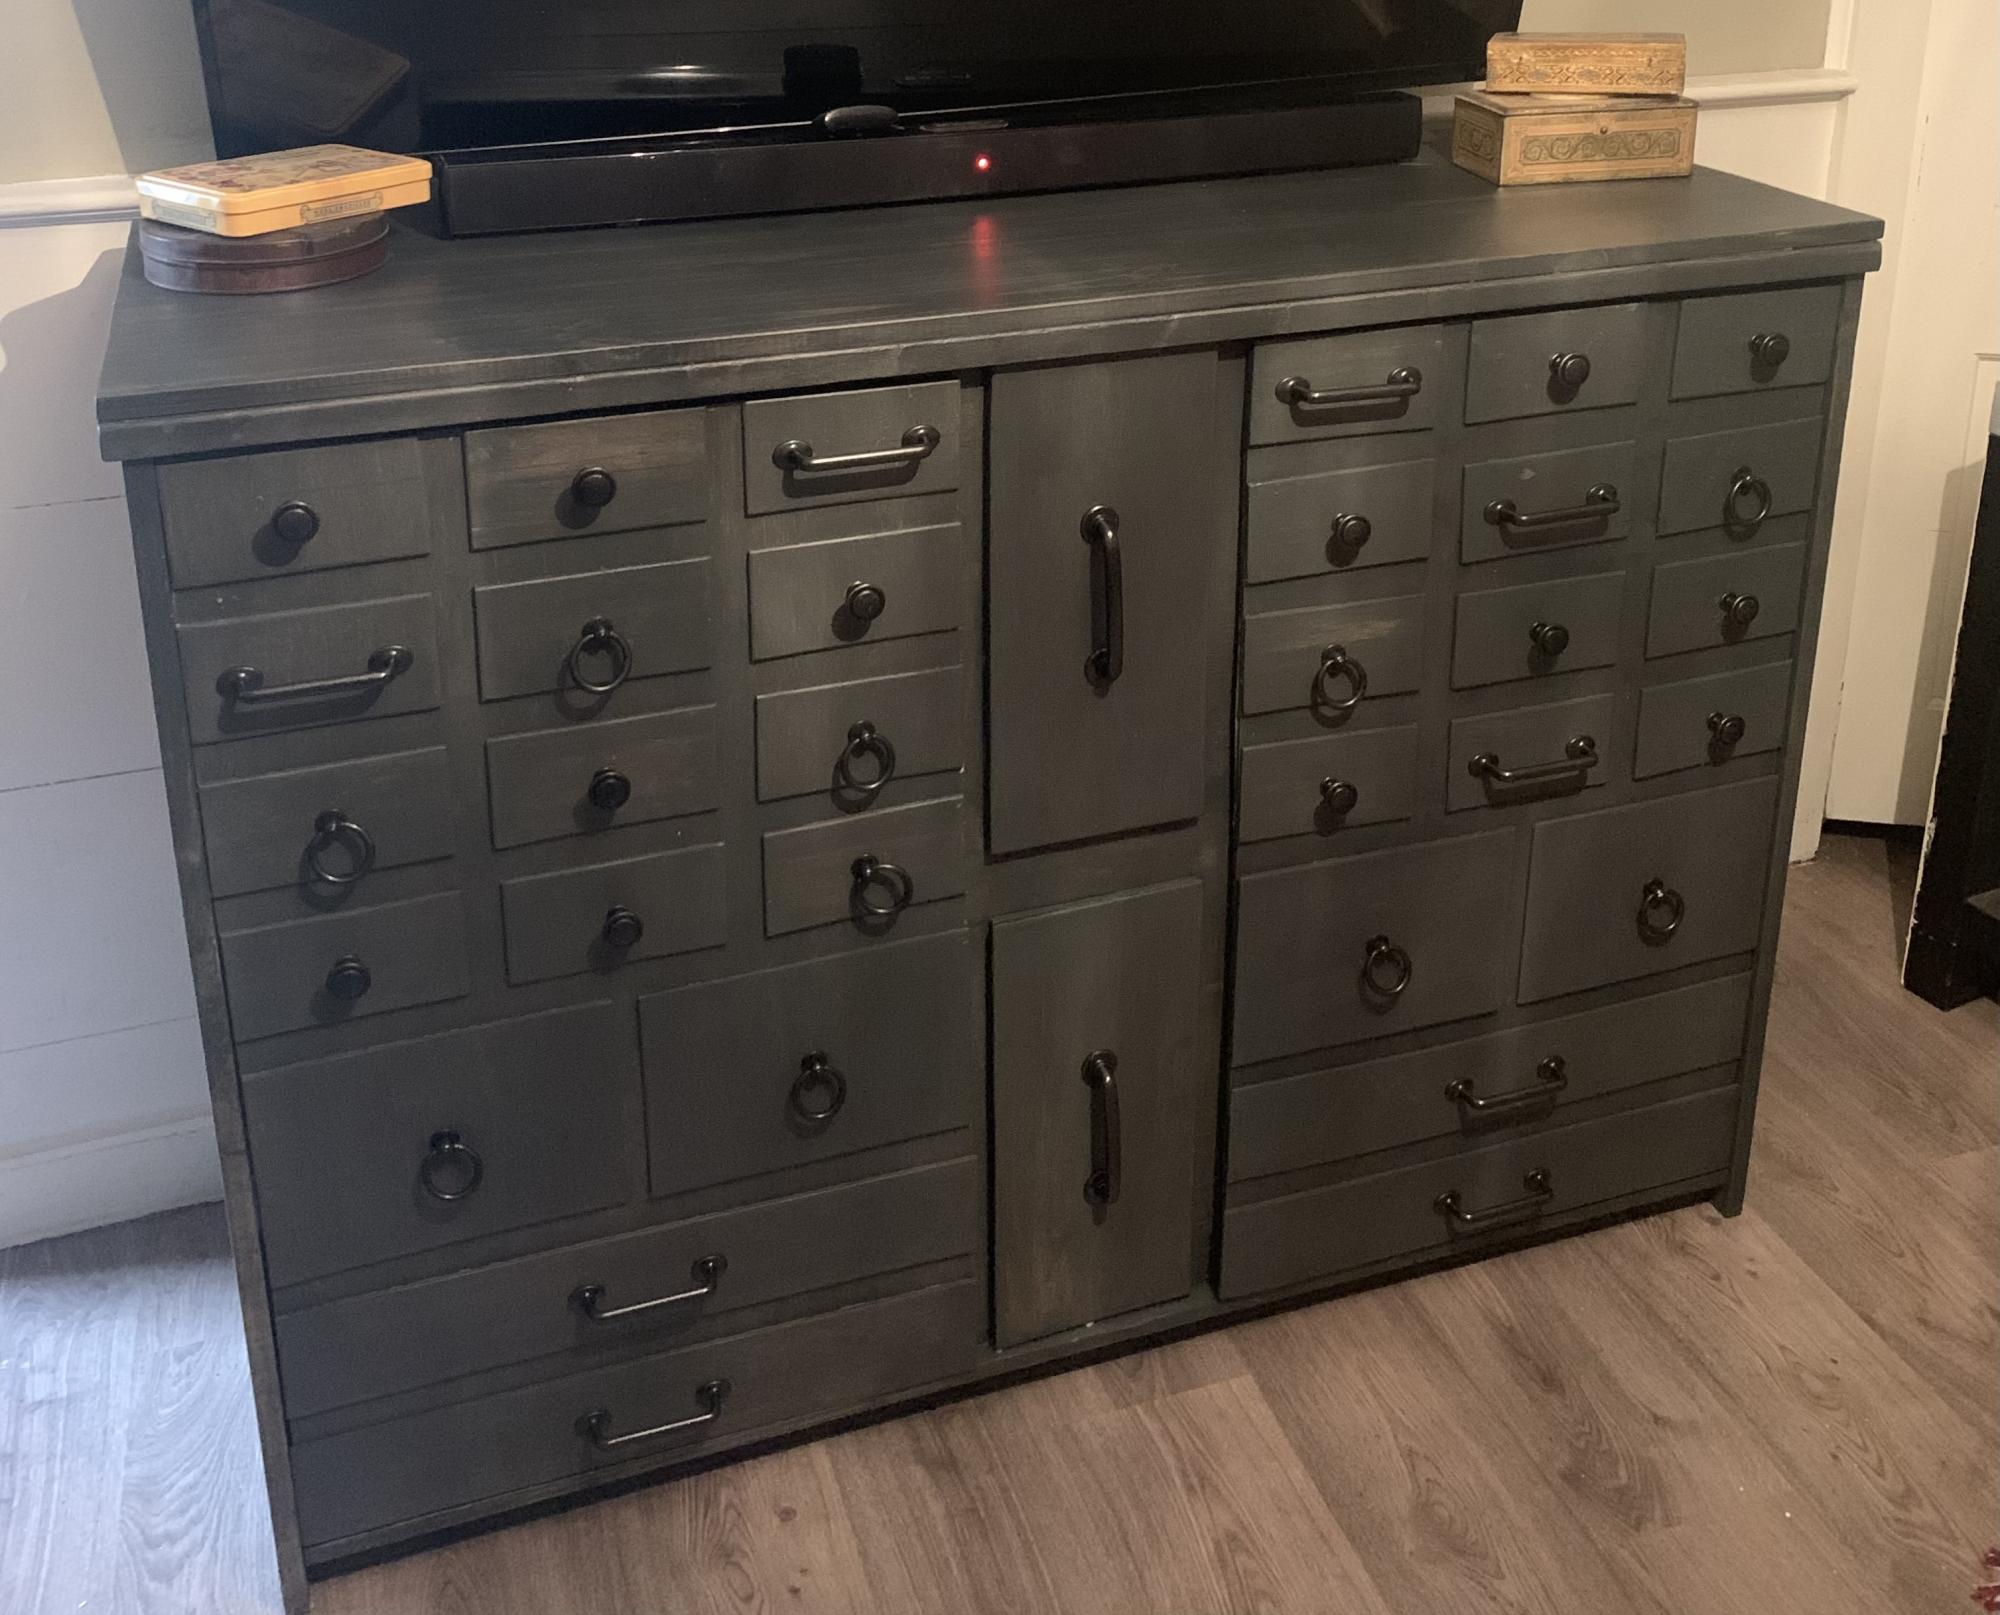
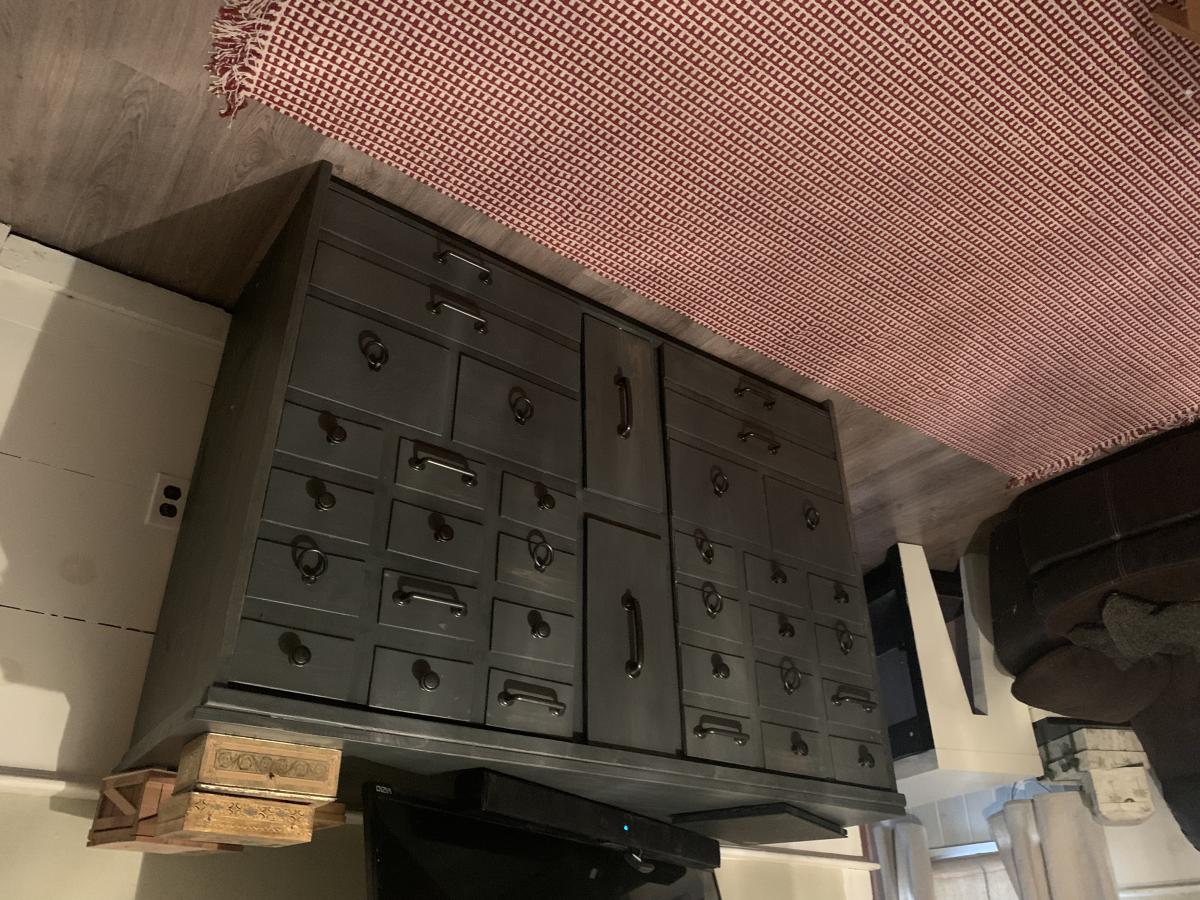
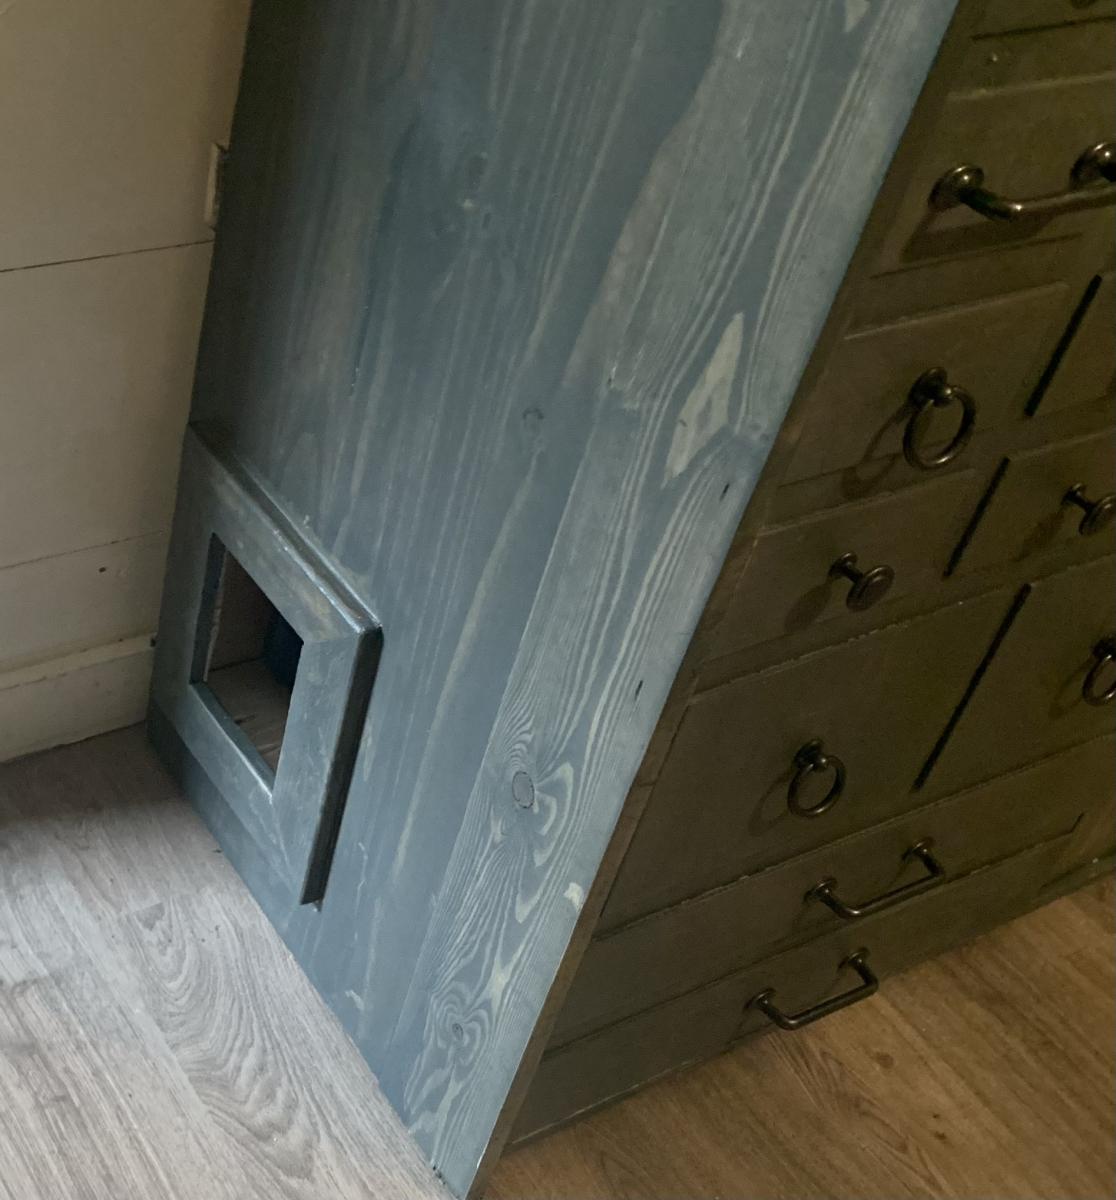
Apothecary cat box console

Submitted by Anonymous (not verified) on Tue, 09/06/2022 - 06:21

Just used Ana’s plan for apothecary cabinets. Needed mine wider, shallower and taller for use under wall mounted tv and wanted it to reach very high chair rail behind it. As well as hiding tv wires and providing much needed storage I needed to hide a cat box.

Comments

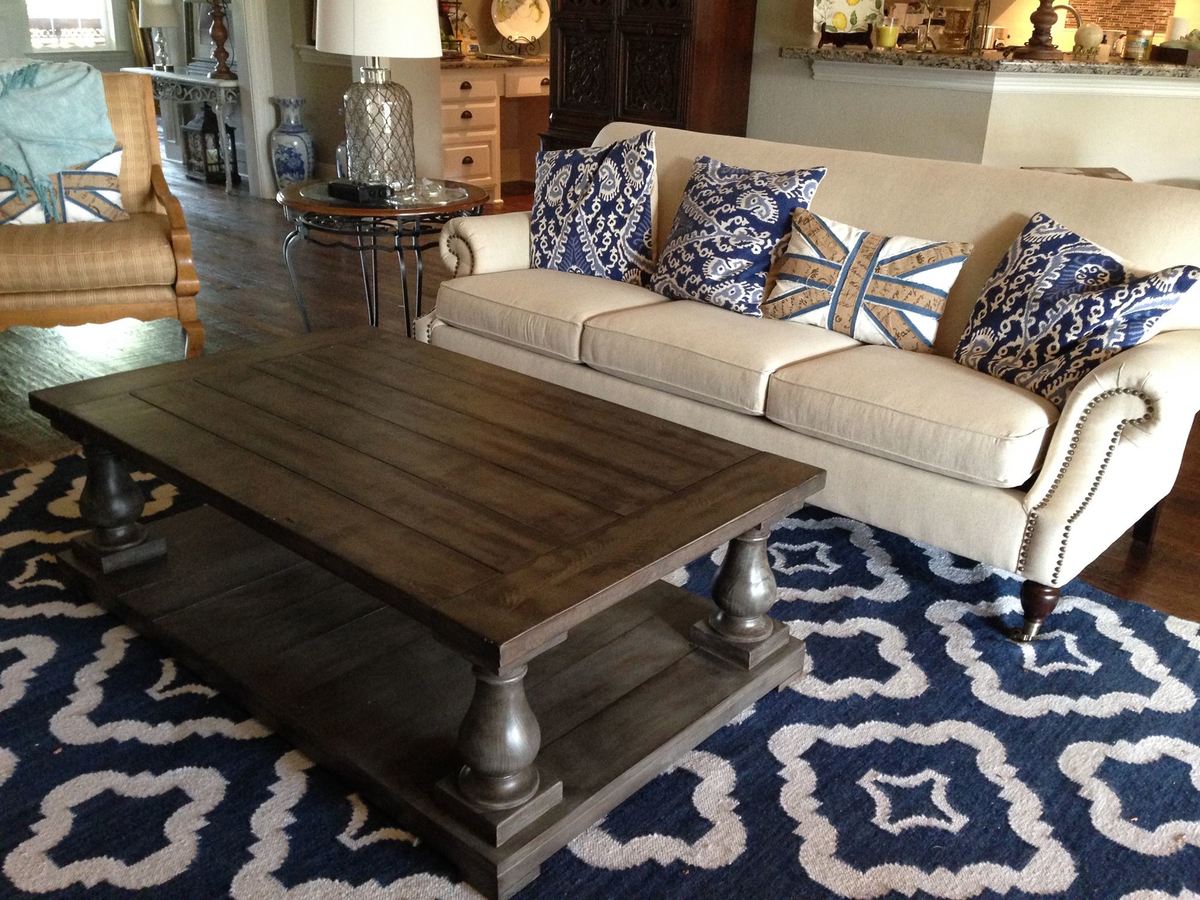
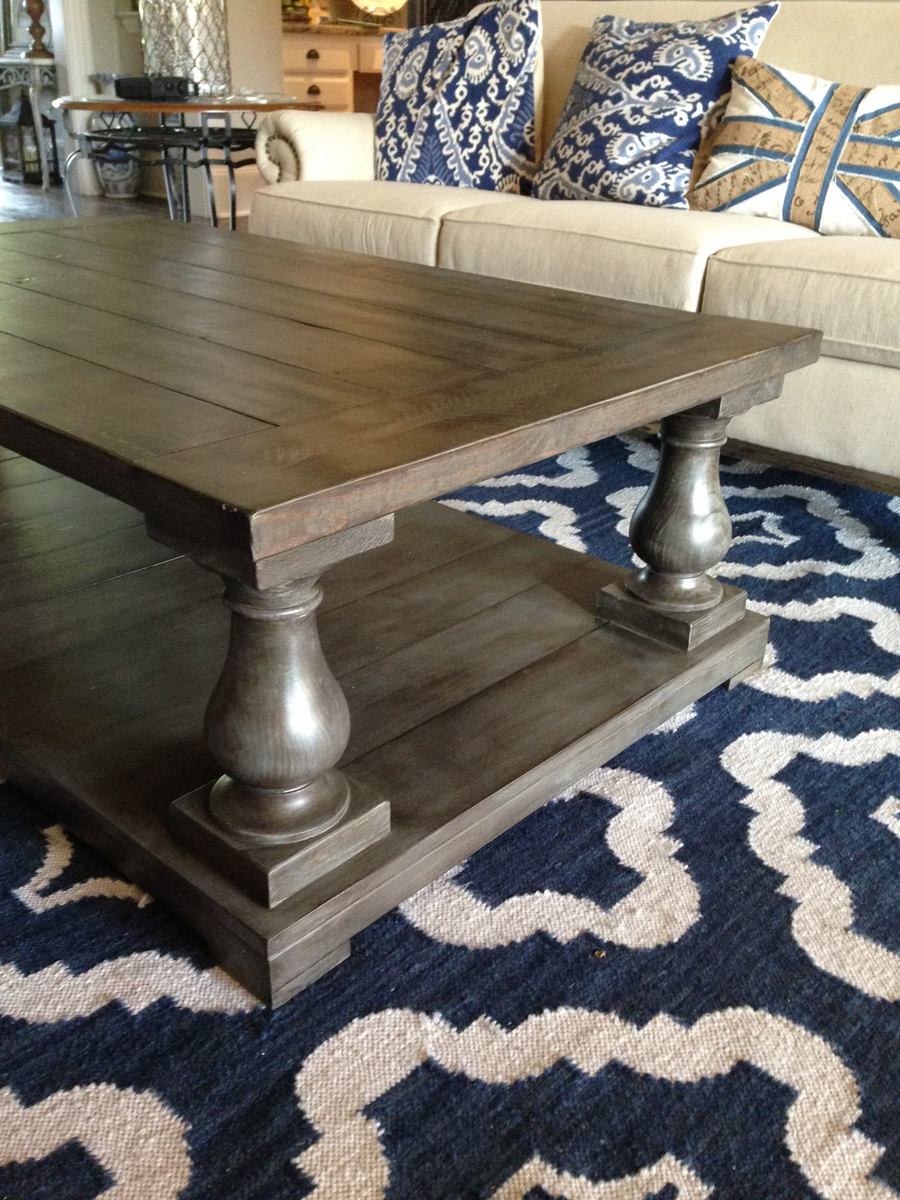
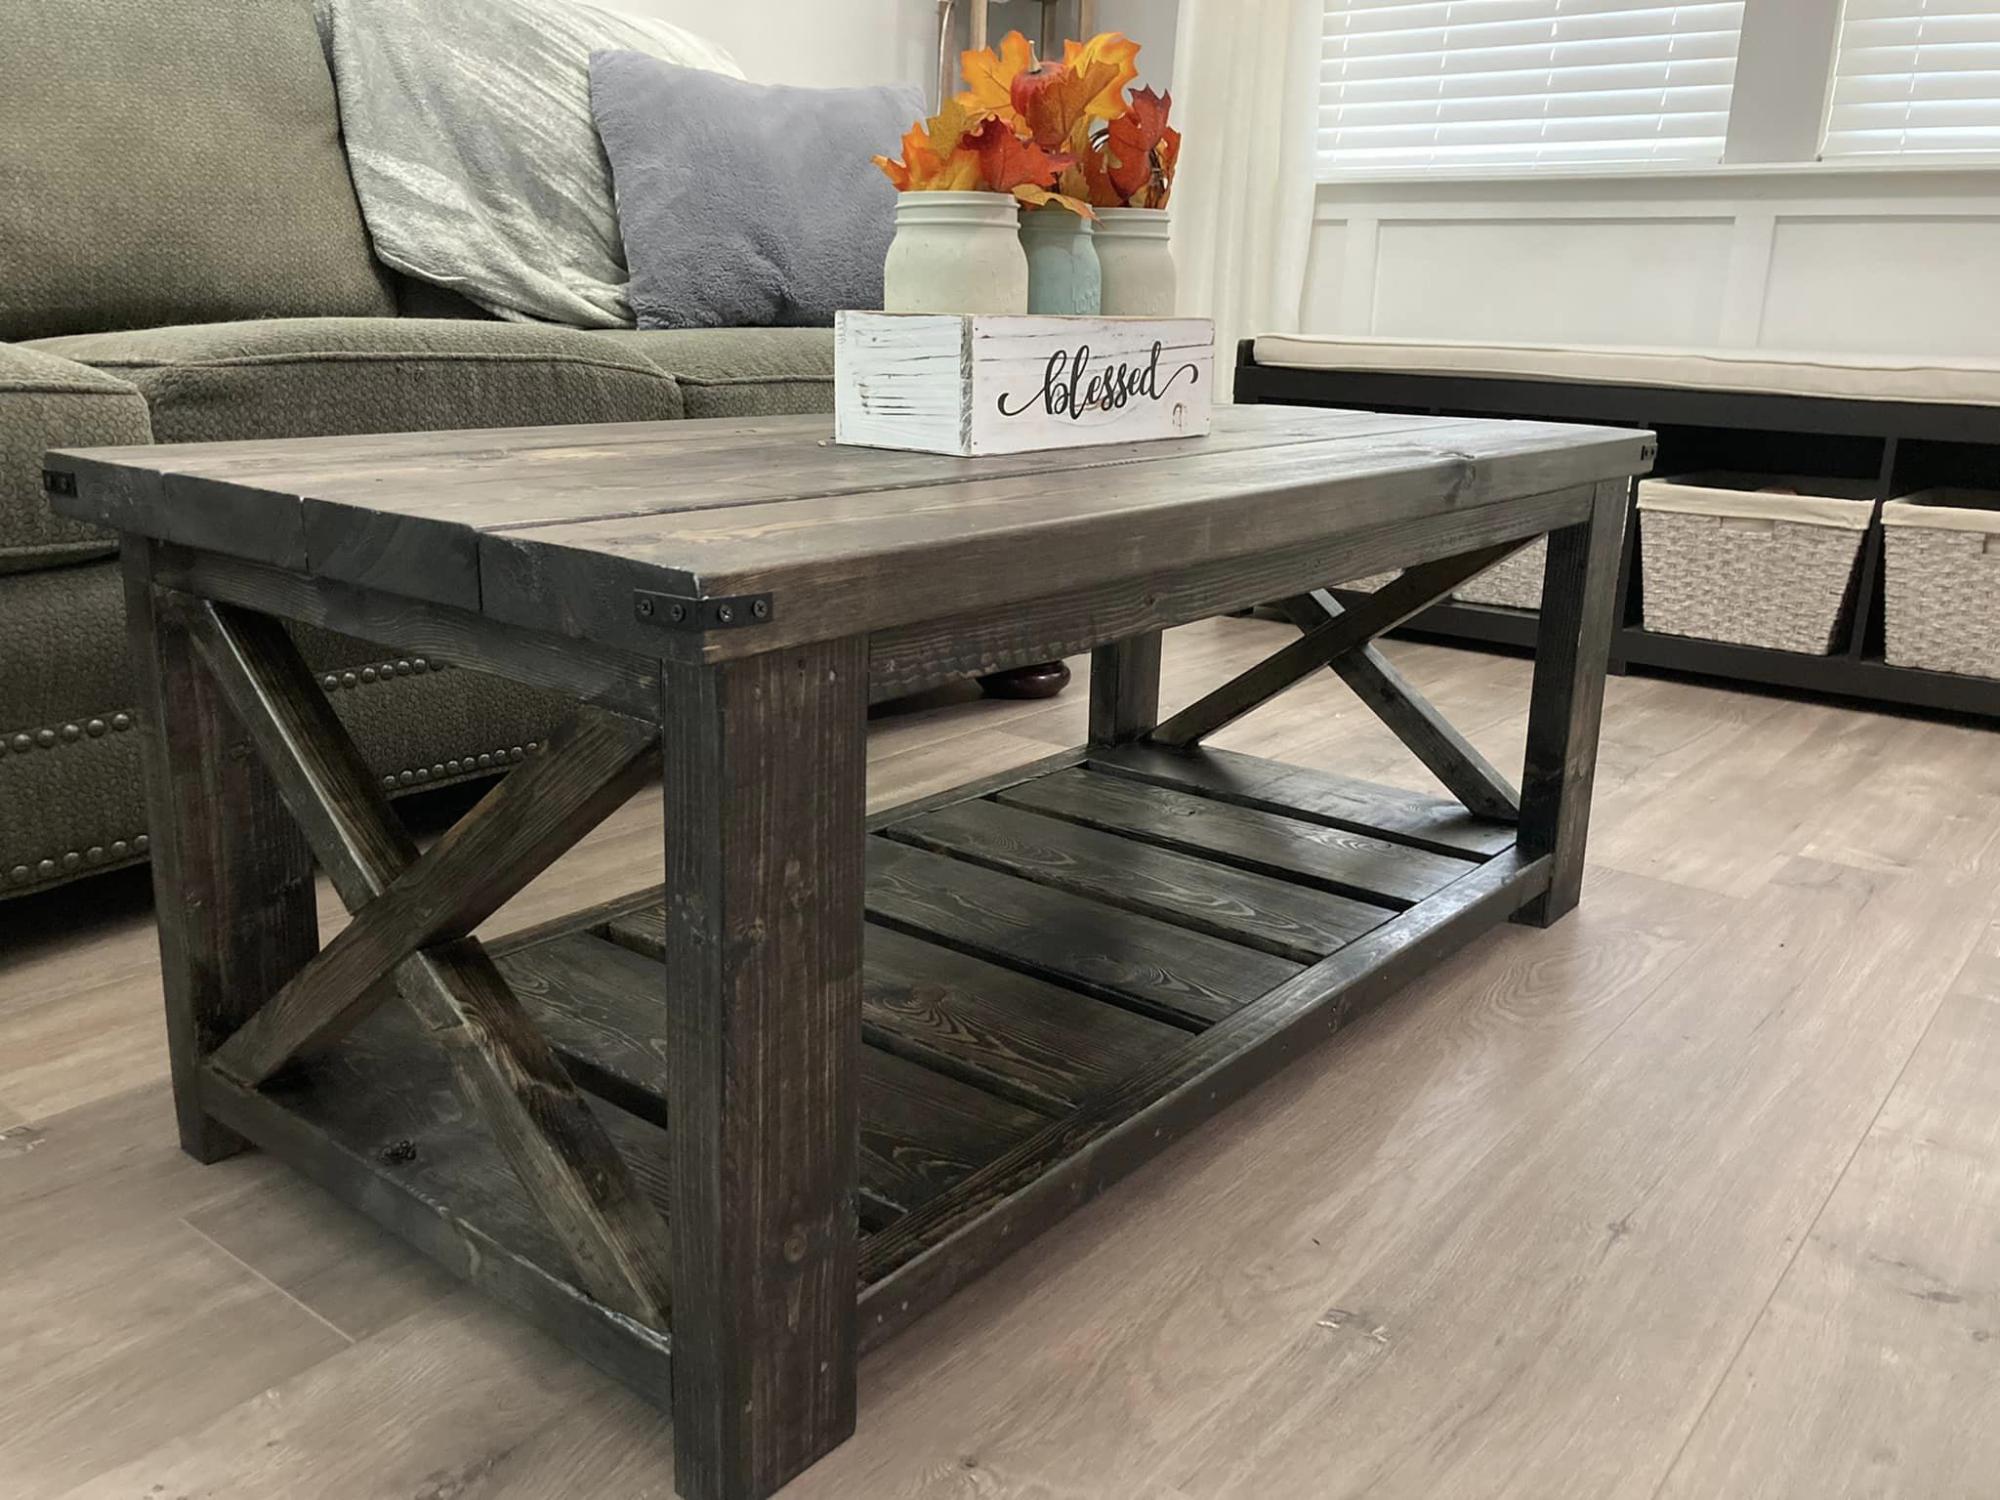
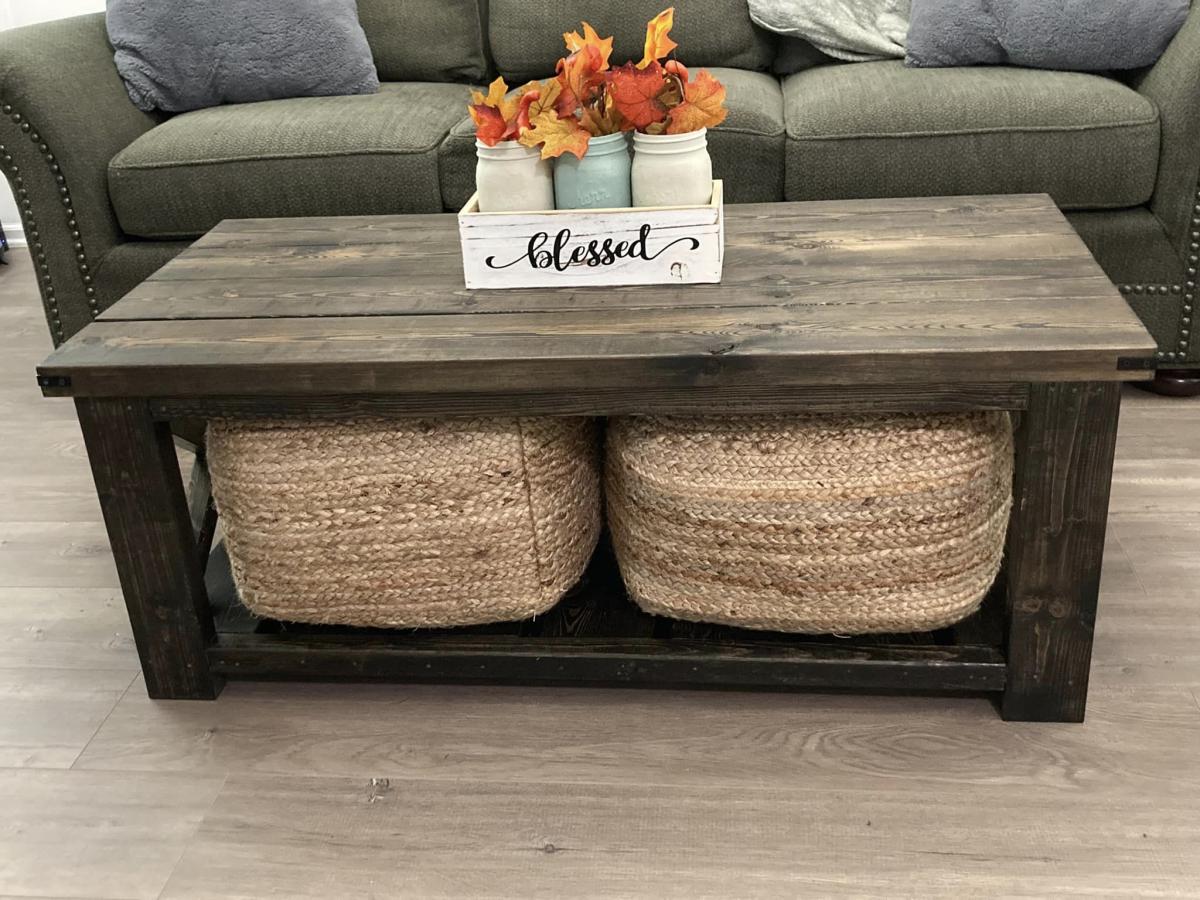
Balustrade Coffee Table

Submitted by Pippa on Sun, 11/15/2015 - 11:39

This table was my first build. Once I learned how to use the Kreg Jig and my husband taught me how to use the table and miter saws, I have fallen in love with building furniture. Since building this table, I have built a twin bed, two farm tables, a bench, the kitchen island/rolling server table from Ana's book, and an awesome workbench with red racing wheels! This past weekend I finished my first custom order - an 8-foot Husky leg Farm table using Ana's plan. I now have orders for another balustrade coffee table and an end table using the matching legs from Osborne. THank you Ana! 

Built from Plan(s)
Estimated Cost
less than $200
Estimated Time Investment
Weekend Project (10-20 Hours)
Finish Used
An experimental mix of Minwax and Rustoleum stains - gray with expresso and special walnut rub. Minwax poly in matte finish.
Recommended Skill Level
Beginner

Comments

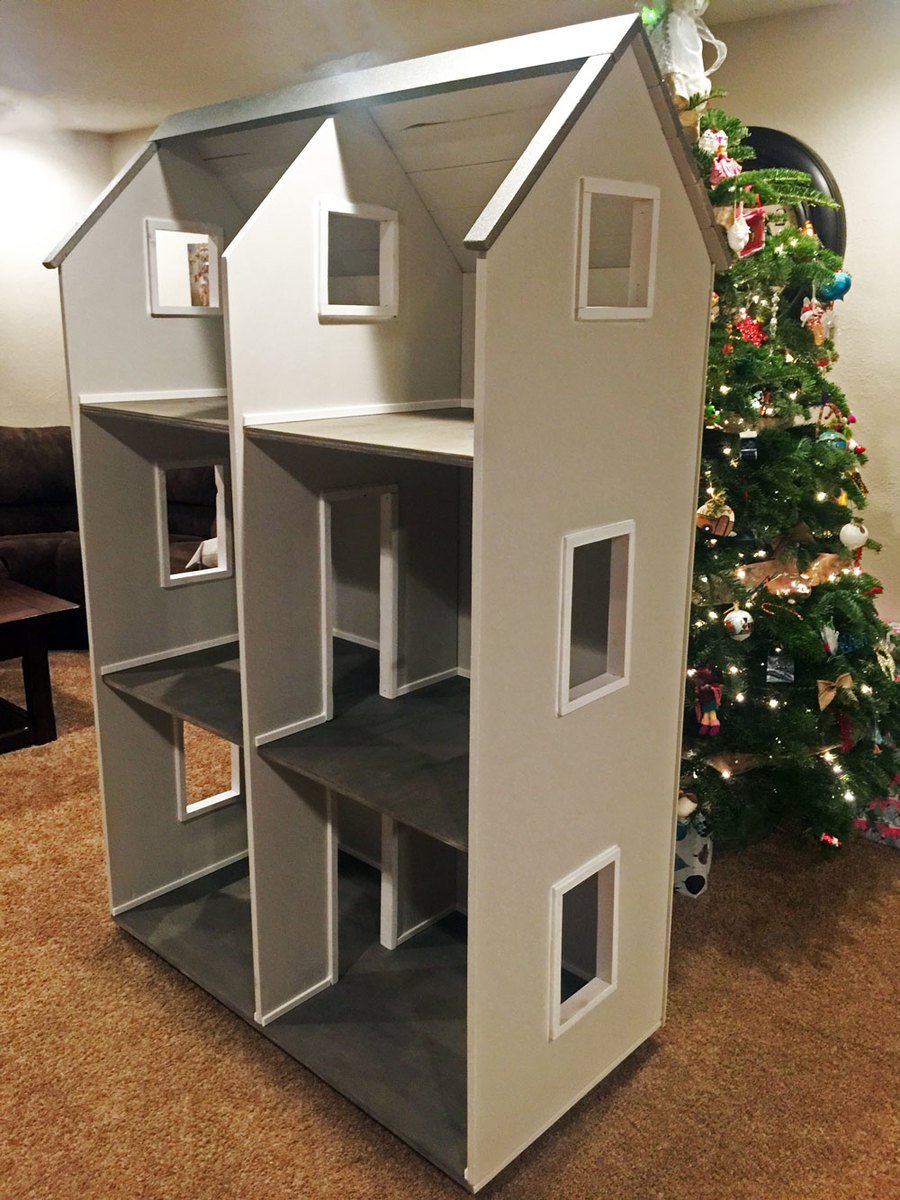
Three story doll house

Submitted by Anonymous (not verified) on Sun, 01/06/2019 - 13:53

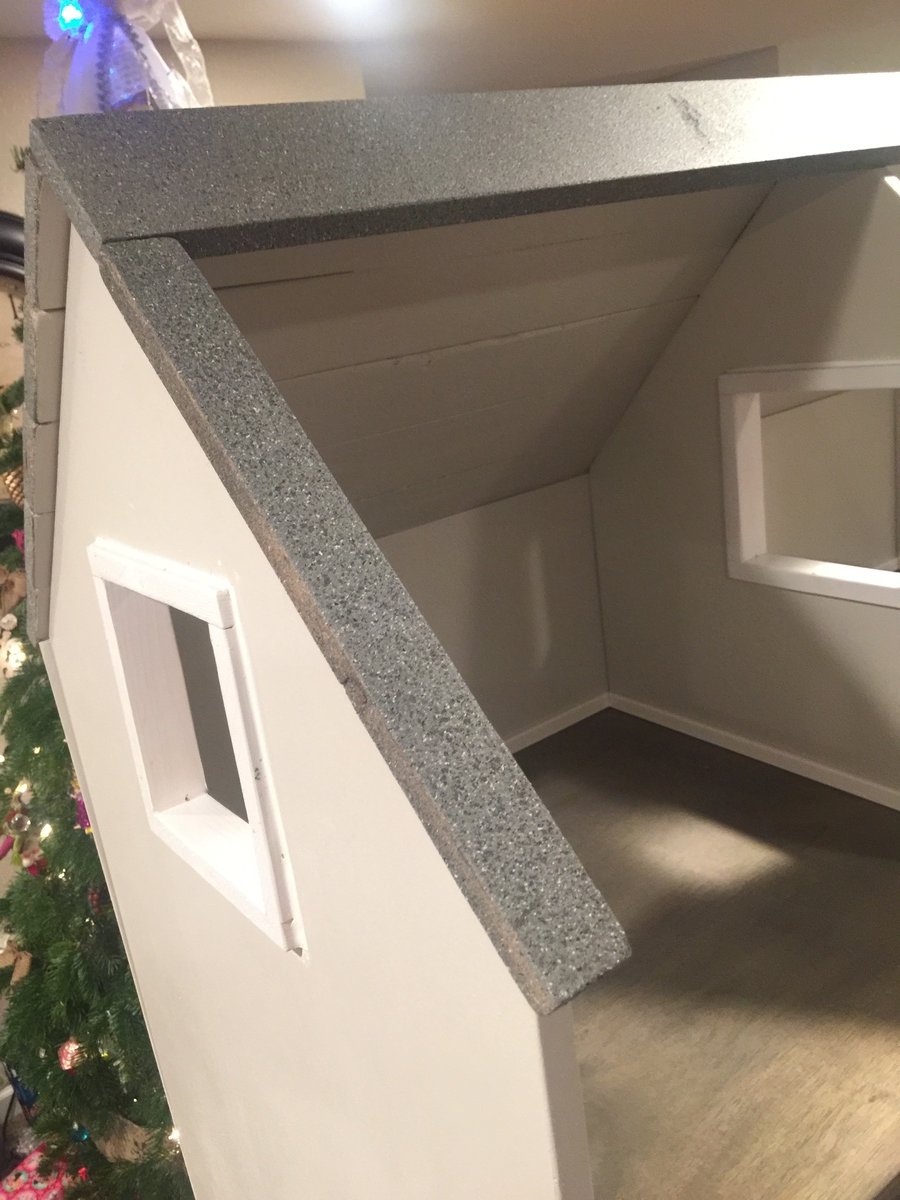
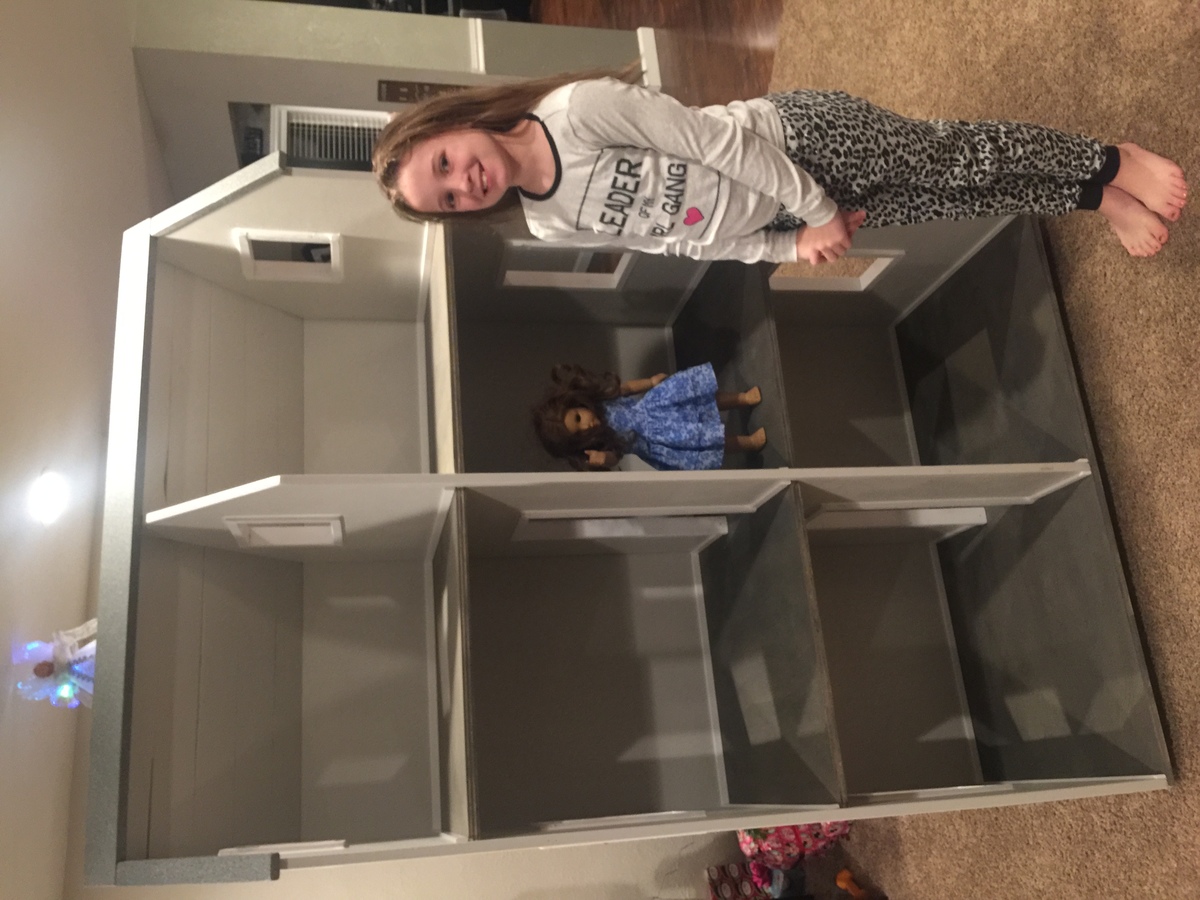
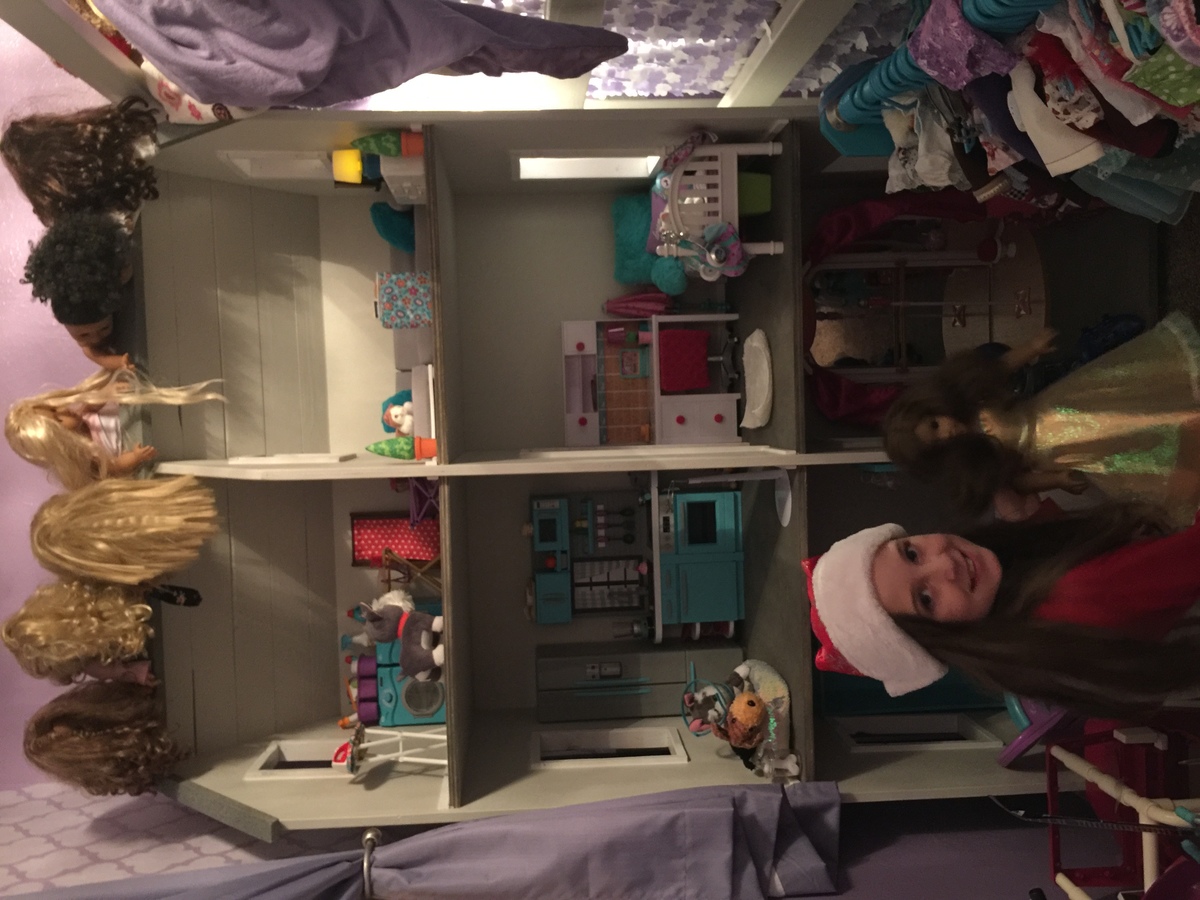
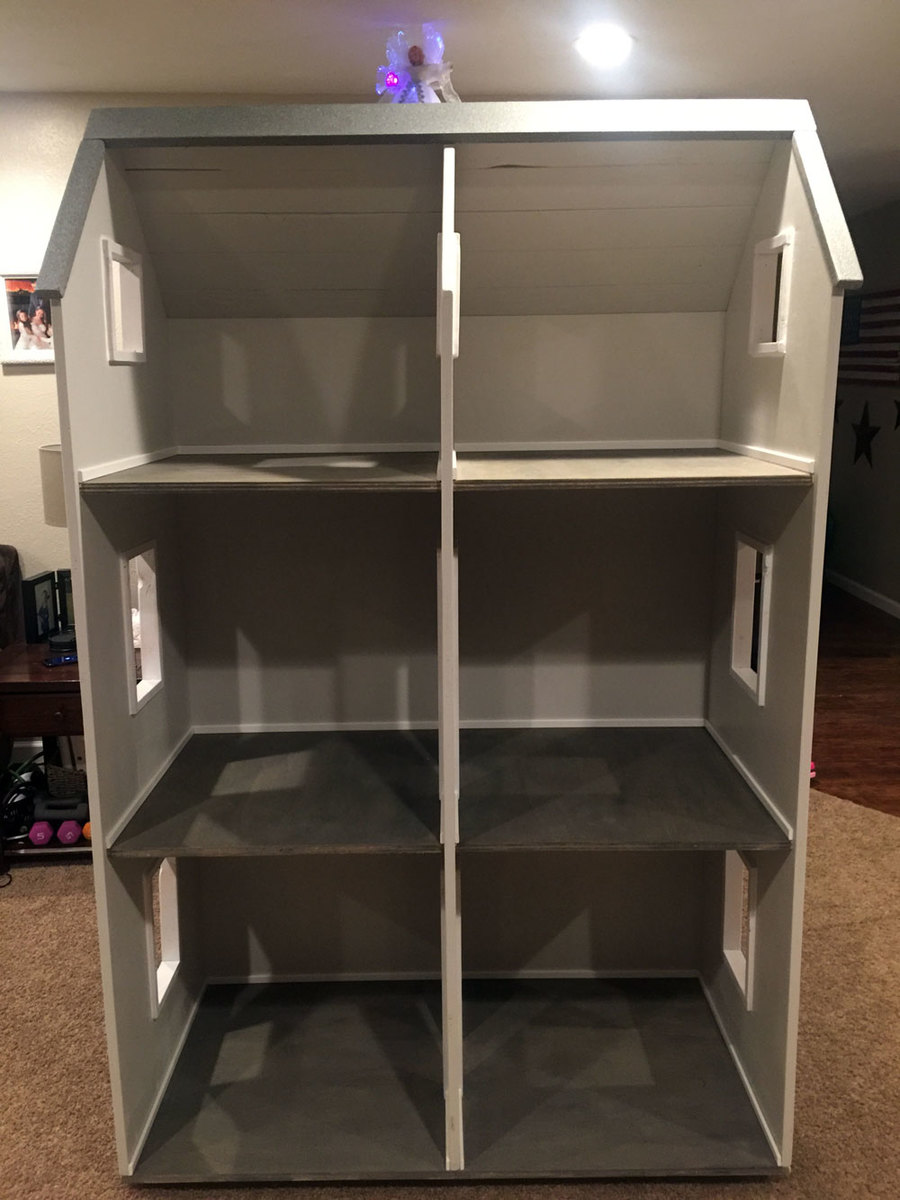
I built this American girl doll house for my daughter. I wanted to give her something to keep her youth alive! 

Estimated Cost
$150-200
Estimated Time Investment
Weekend Project (10-20 Hours)
Finish Used
Light grey paint for all the walls and ceiling. Classic grey stain by Minwax for the floors. I also added baseboards to all the rooms with some small trim I found in the window trim section at Home Depot.
Recommended Skill Level
Intermediate

Comments

Tessa2009

Sun, 01/06/2019 - 21:46

Thanks Ana! This is her momma that built it for her. I wanted to tackle something on my own and challenge myself. Your plans were amazing to work with. Thanks for taking the time to make these plans so easy to understand and follow. She is very happy with the doll house! Happy New Year! -Abbey

Coffee Table

Submitted by Anonymous (not verified) on Mon, 10/10/2022 - 07:15

Thank you so much for sharing your plans!! You are so generous! This is my first attempt at building furniture!

Check out my TikTok at - https://www.tiktok.com/@floridagirl092/video/7152573909735427370?is_fro…

Comments

Seasonal And Holiday

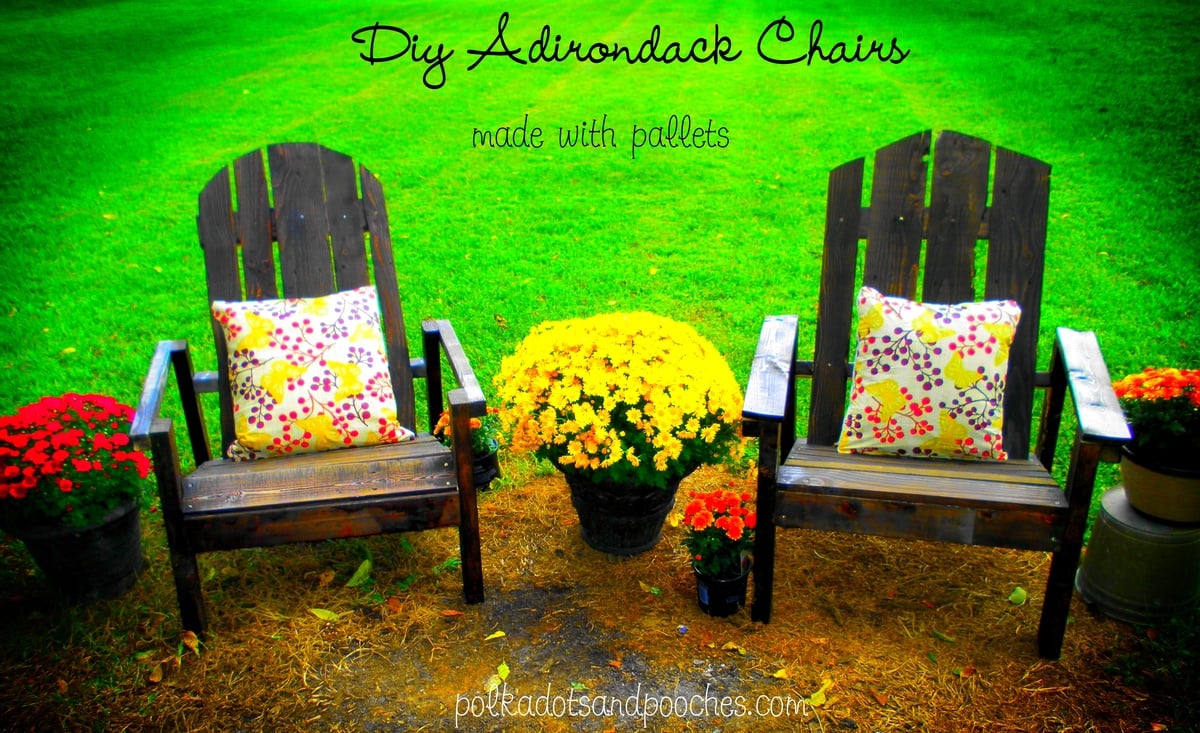
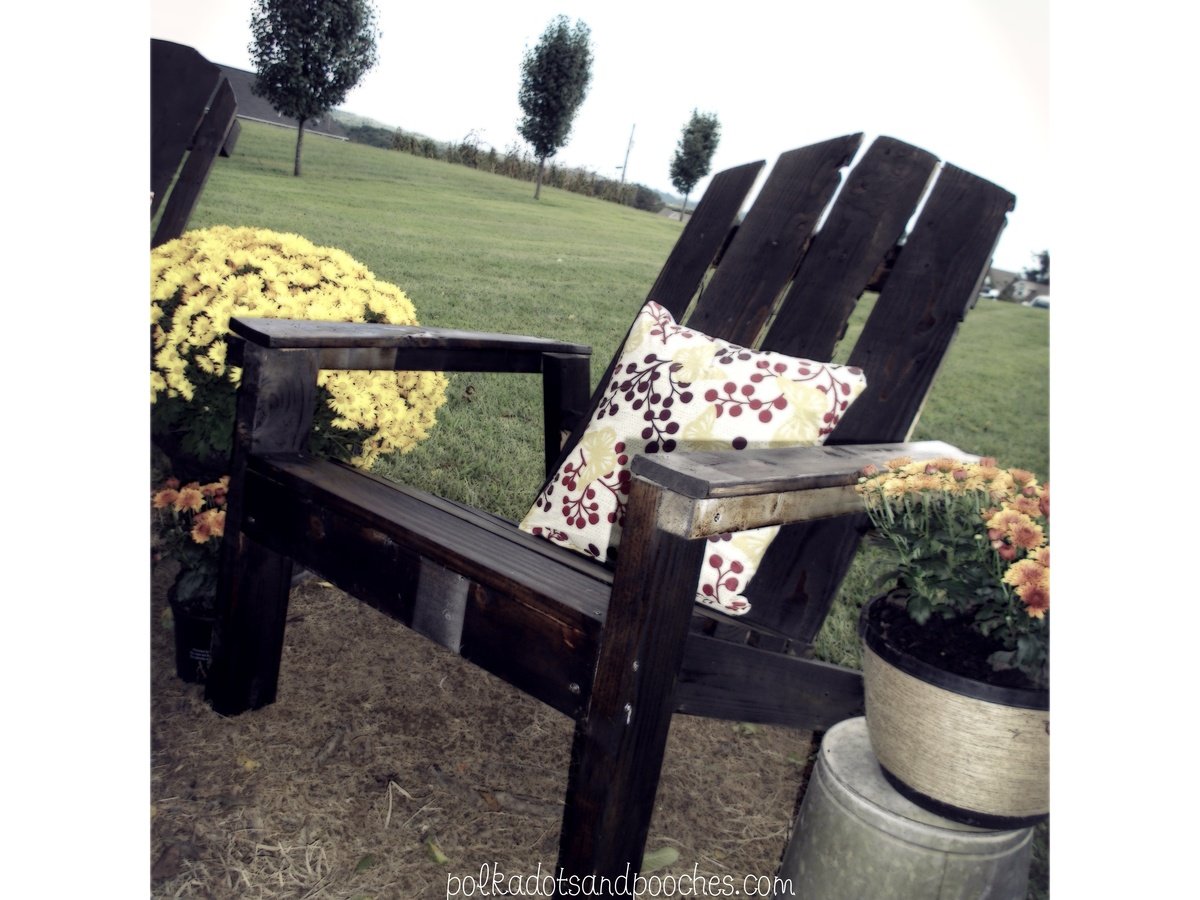
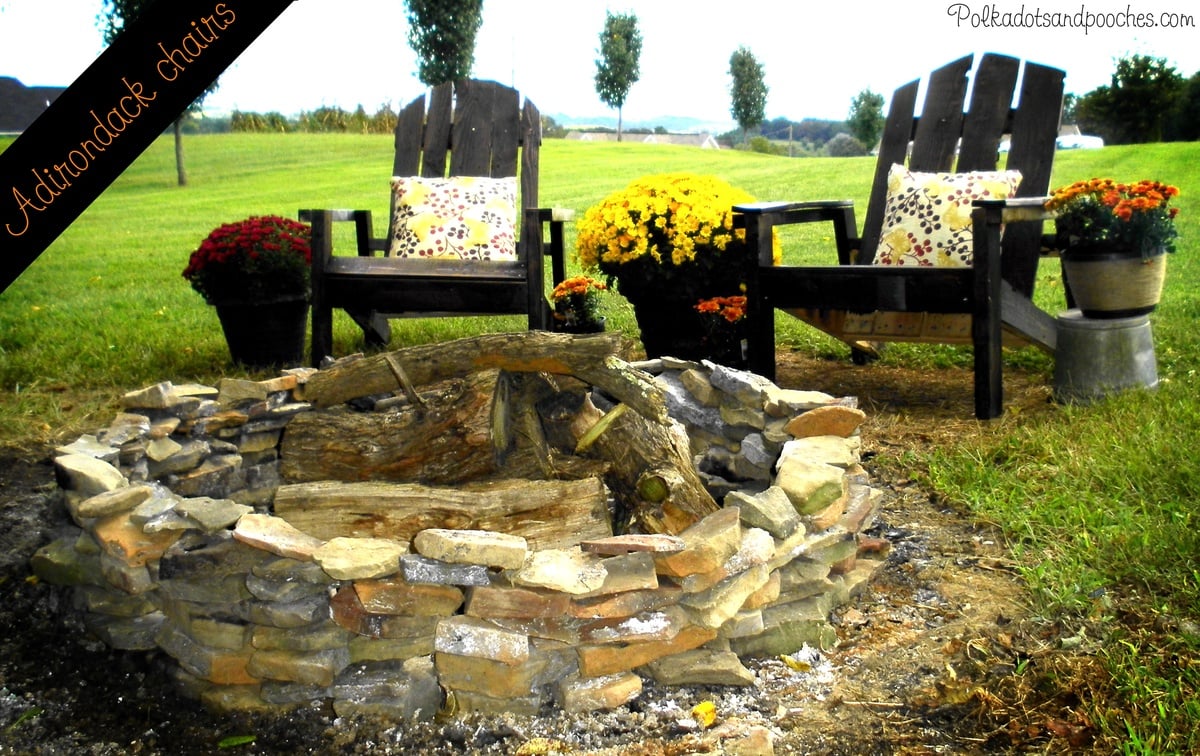
Adirondack Chairs made from Pallets!

Submitted by m_jonesrn on Wed, 09/18/2013 - 17:36

Built these two adirondack chairs from pallet wood that I had at home. Made the perfect seating area for my fire pit. Can't wait to enjoy the fall evenings in my $0 chairs!

Estimated Cost
0
Estimated Time Investment
Afternoon Project (3-6 Hours)
Finish Used
Dark walnut Stain
Recommended Skill Level
Beginner

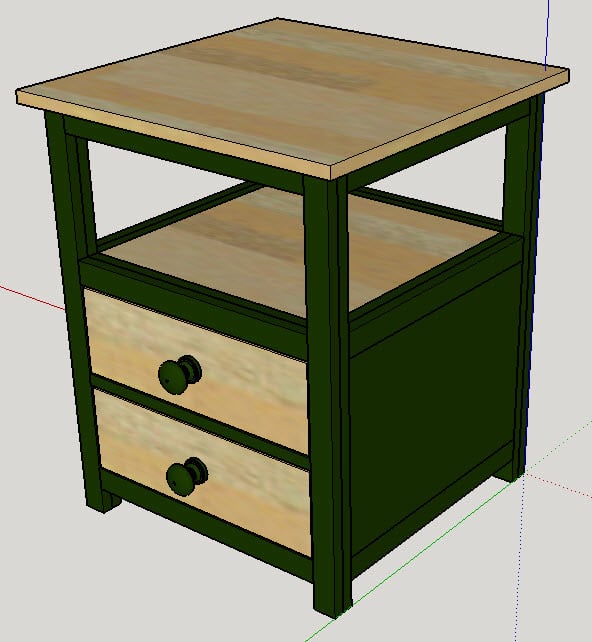
Rhyan End Table - Turtlecove Variant

Submitted by watsonam on Tue, 11/24/2015 - 05:19

What I really liked about this plan is its versatility. Relatively easy with pocket hole joinery and inexpensive materials, I used paint to match existing furniture and solid wood tops and drawer fronts to add just a touch of elegance.

Built from Plan(s)
Estimated Cost
$150
Estimated Time Investment
Week Long Project (20 Hours or More)
Finish Used
one can green spray paint and General Finishes Top Coat gloss
Recommended Skill Level
Intermediate

Ladder Desk

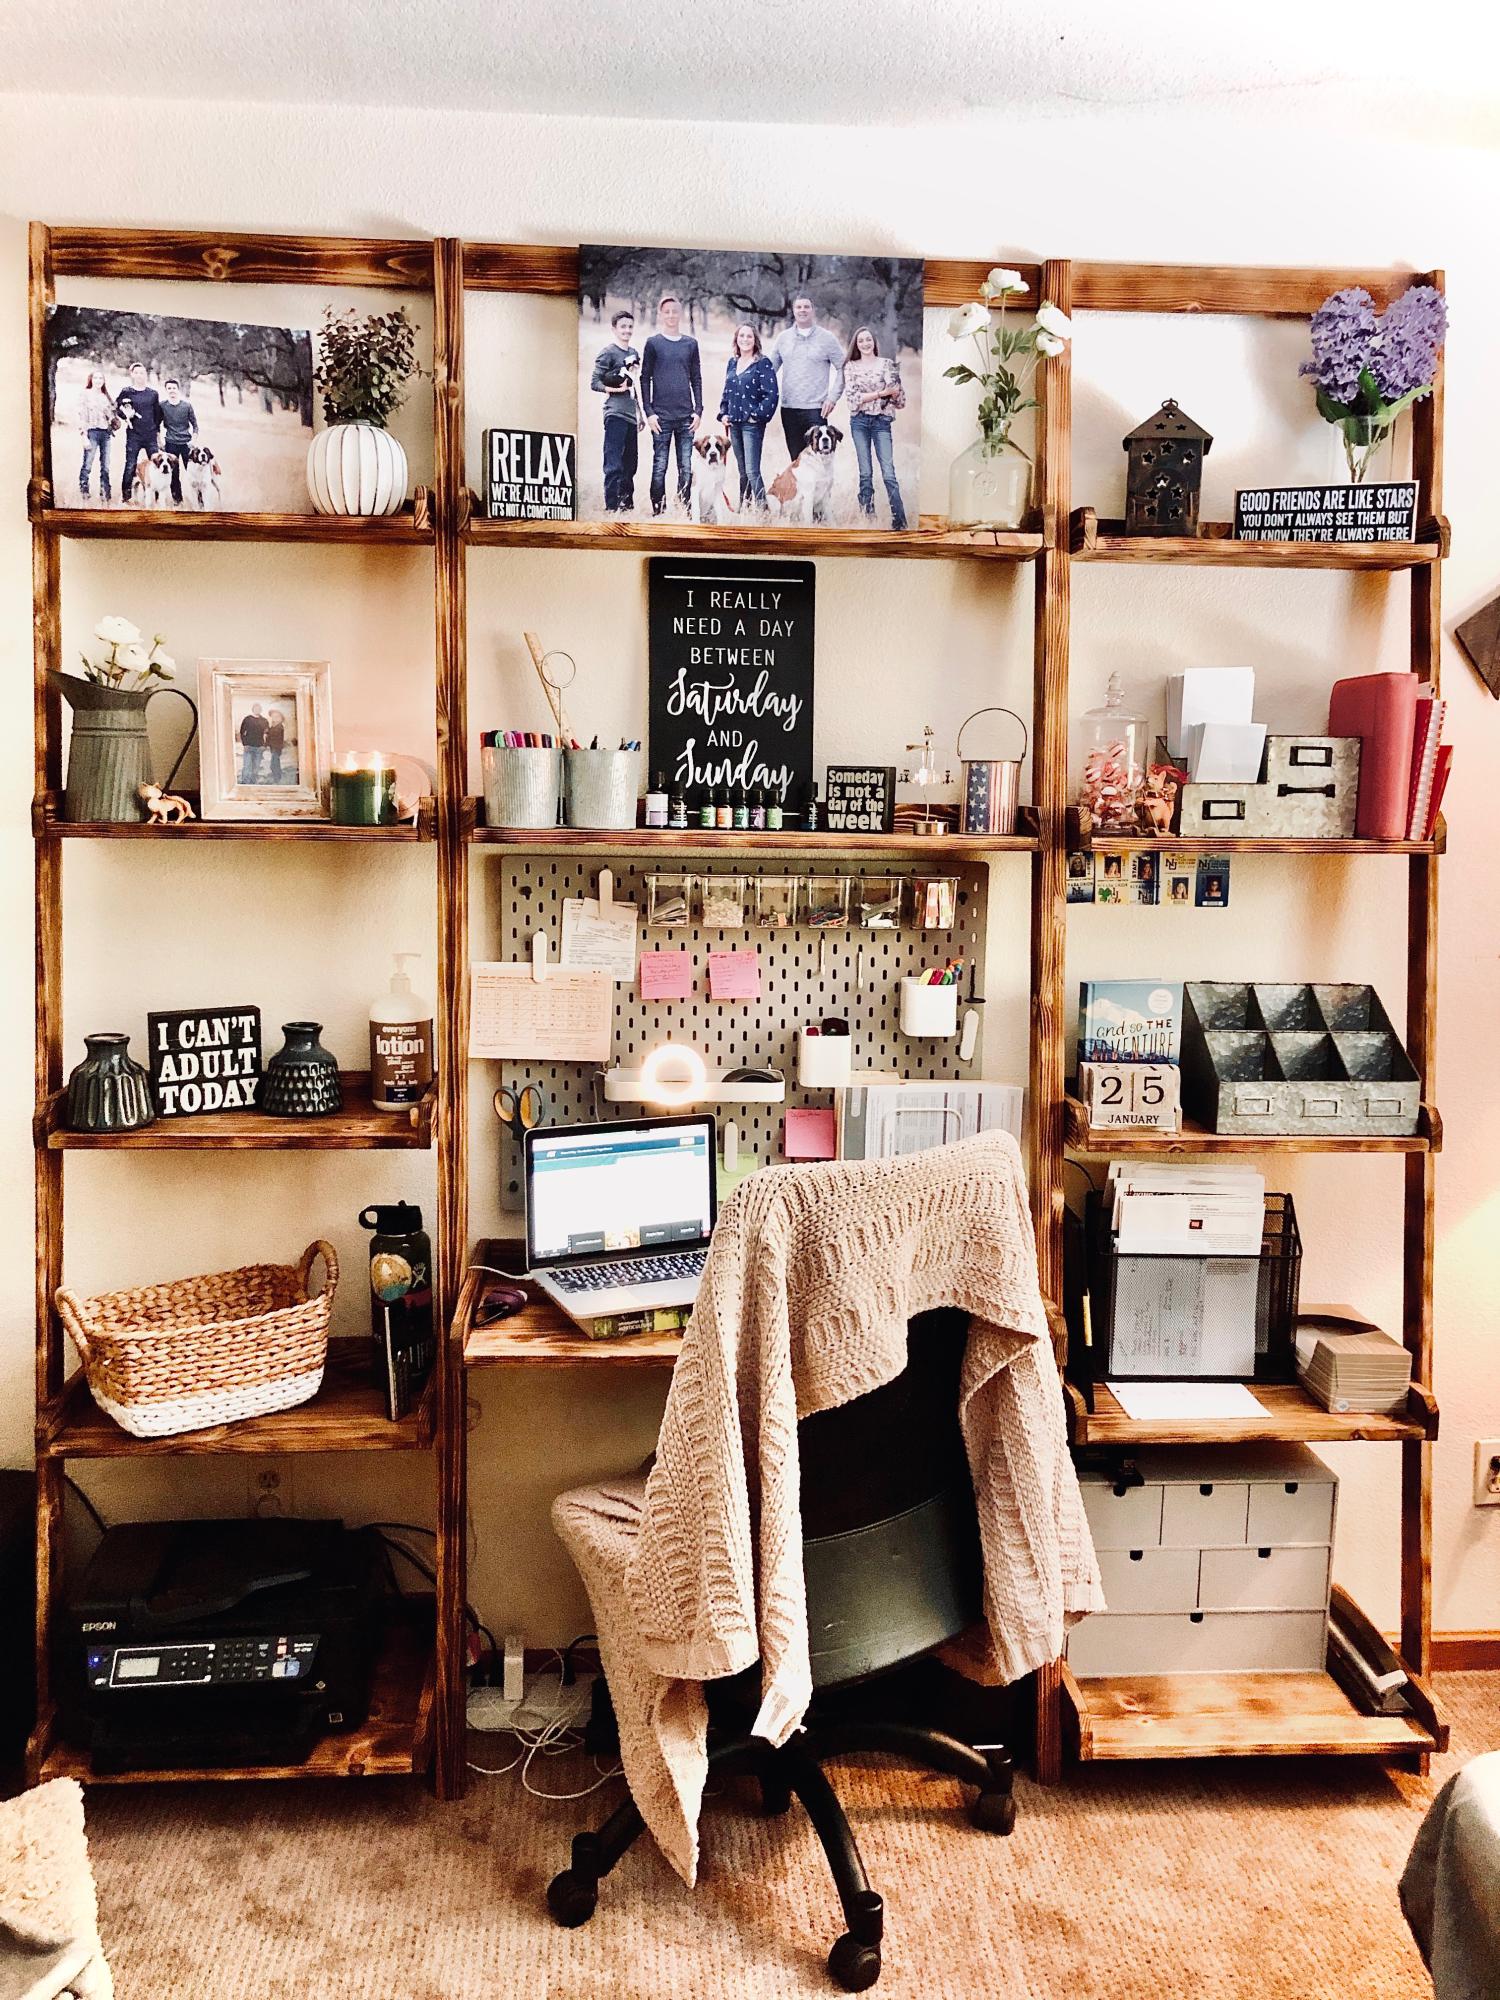
Submitted by Ltjj2004 on Sun, 11/06/2022 - 12:33

Absolutely love this desk. We changed the shelf heights just a bit and made the center ladder more to my height needs. We burned the wood before staining.

Comments

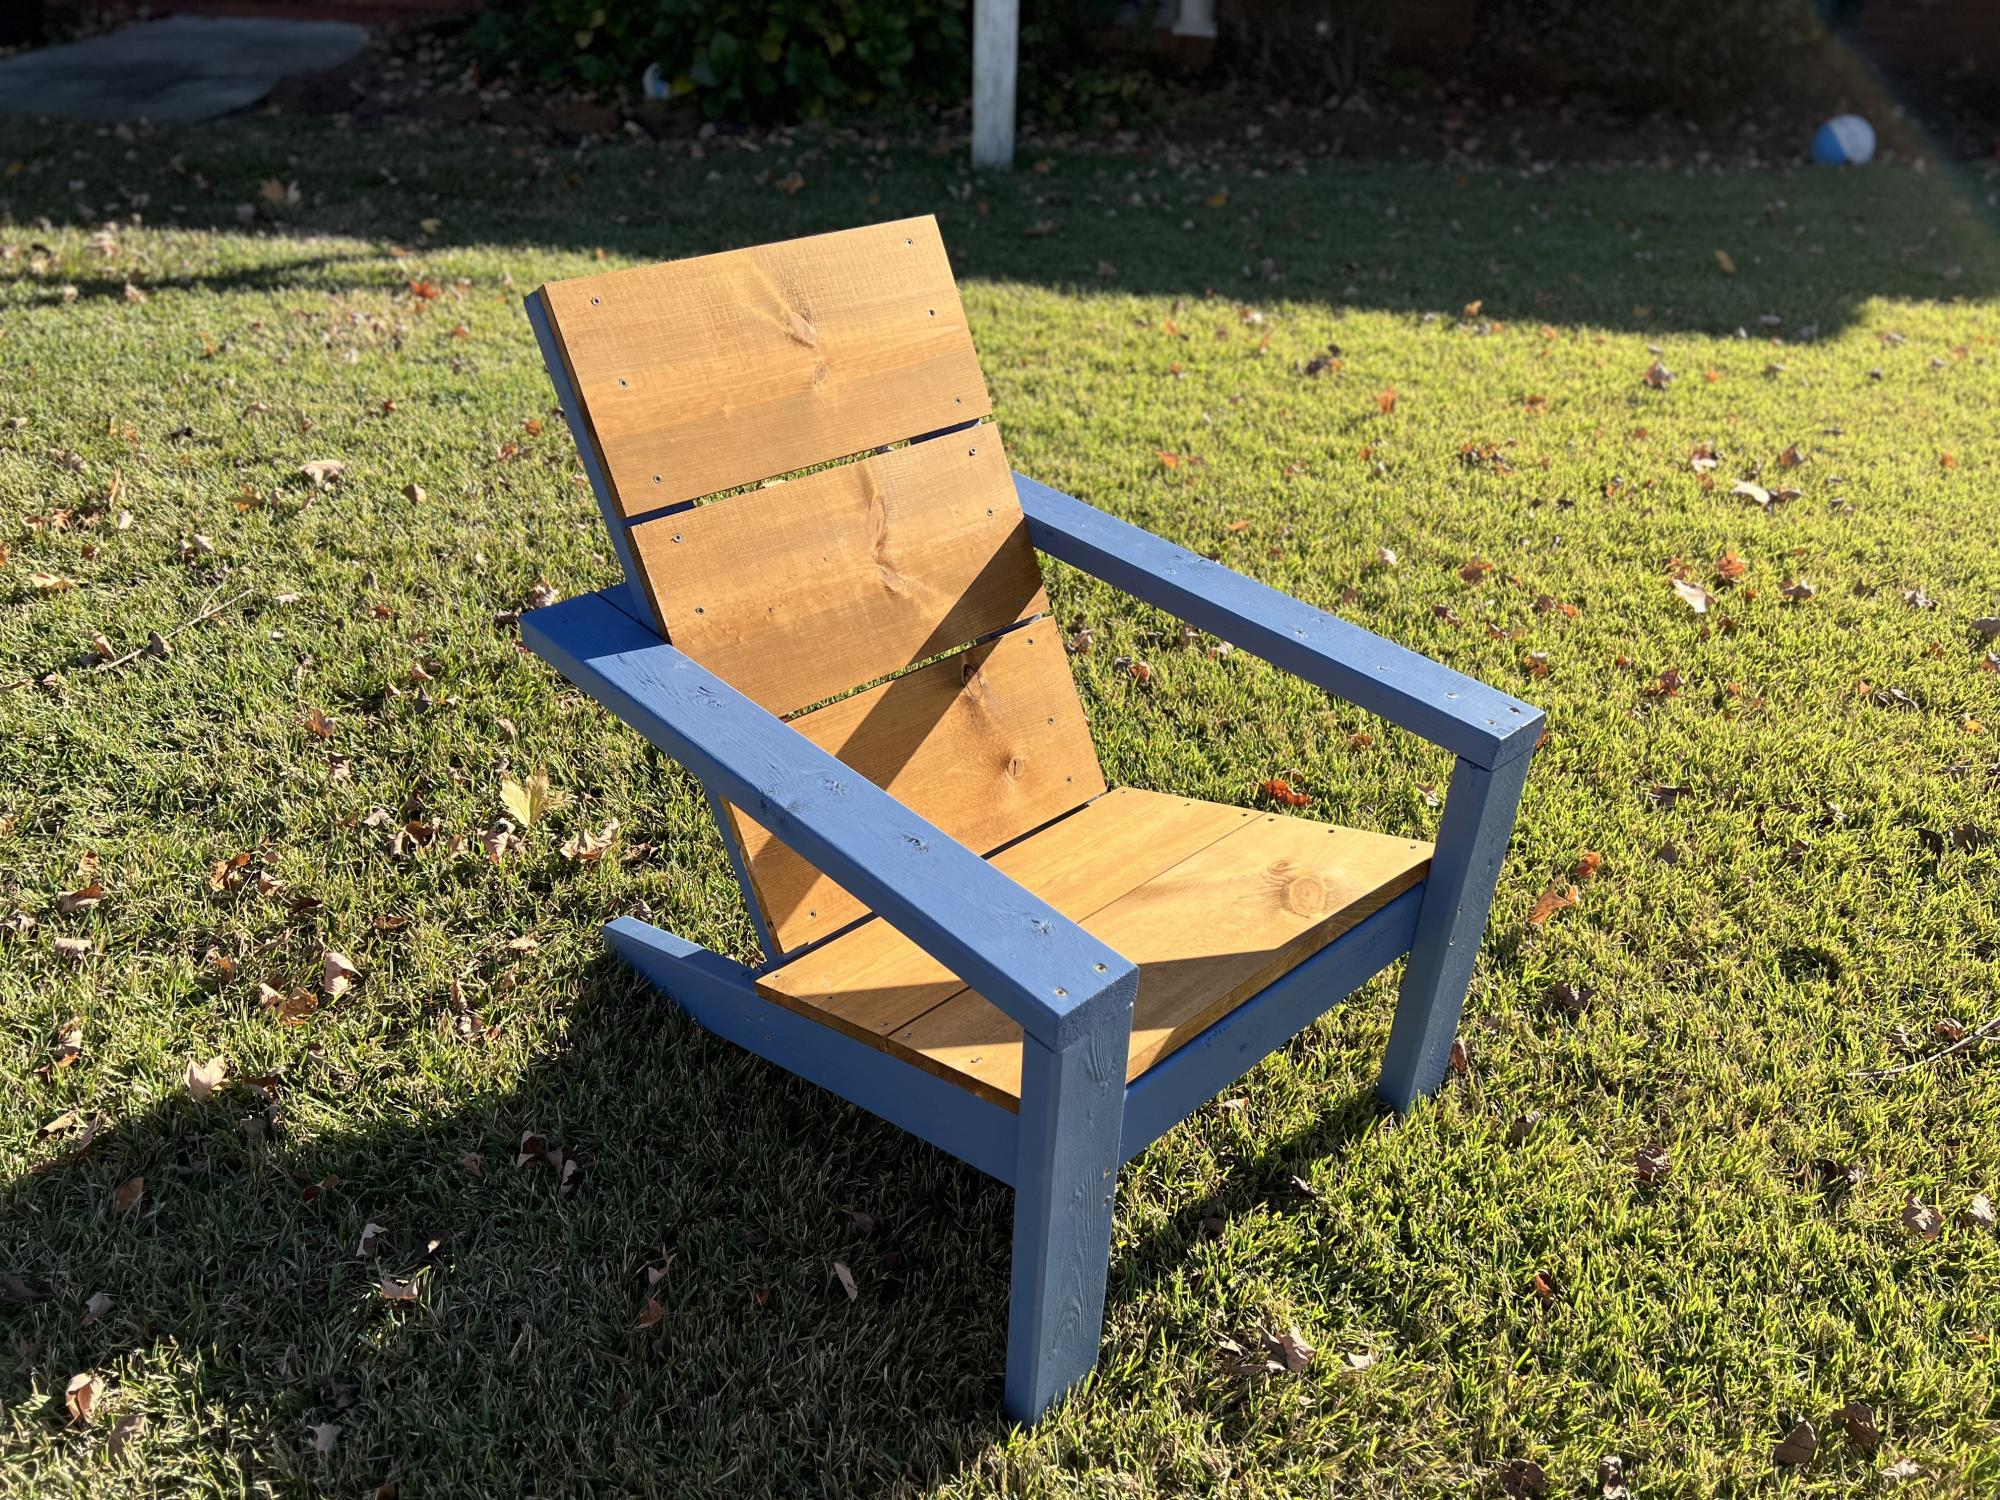
Modern Adirondack Chair

Submitted by Anonymous (not verified) on Sat, 11/19/2022 - 03:24

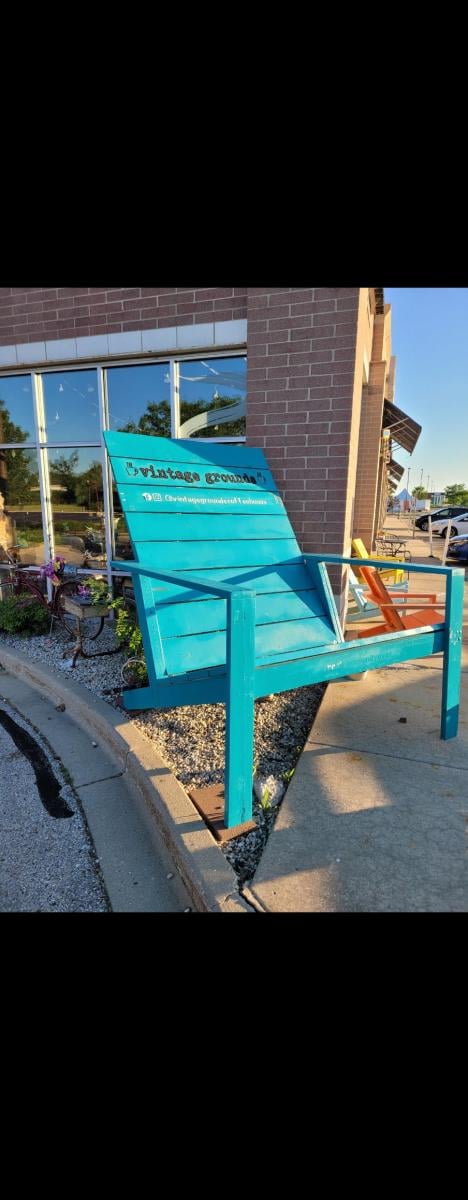
Easy build, turned out great. Our first project like this. We built 4!

Comments

Smart Simple Workbench

Submitted by Anonymous (not verified) on Thu, 12/29/2022 - 04:31

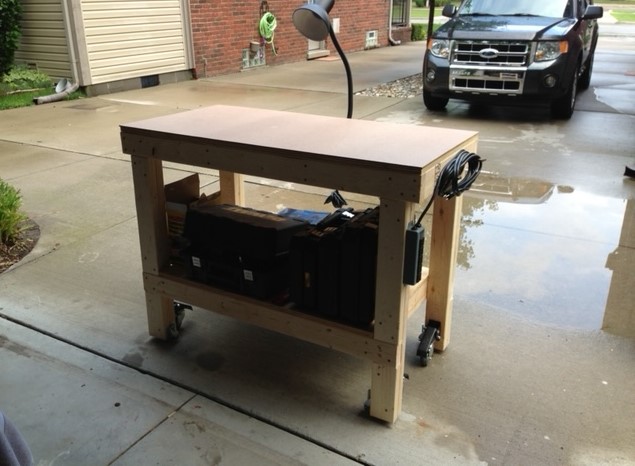
Built this workbench and added some casters from Rockler Woodworking. Also added a power strip for convenience and a handle made from black pipe parts that I had in the garage. I also added a sheet of masonite to the top that I can replace if needed.

Comments

King Farmhouse Bed

Me and my husband had only a hollywood frame forever and just never wanted to spend the money to buy one, then I found this website!! This is the first thing that I ever built I'm pretty proud of my self. Espically since I had the help of my one and two year old it took a little longer but i got it done.

Estimated Cost
$150 including stain, nails and screws
Estimated Time Investment
Weekend Project (10-20 Hours)
Finish Used
Ebony Stain
Recommended Skill Level
Beginner

Kitchen Island (or Cactus Table!)

Submitted by Joni on Sun, 10/09/2011 - 10:56

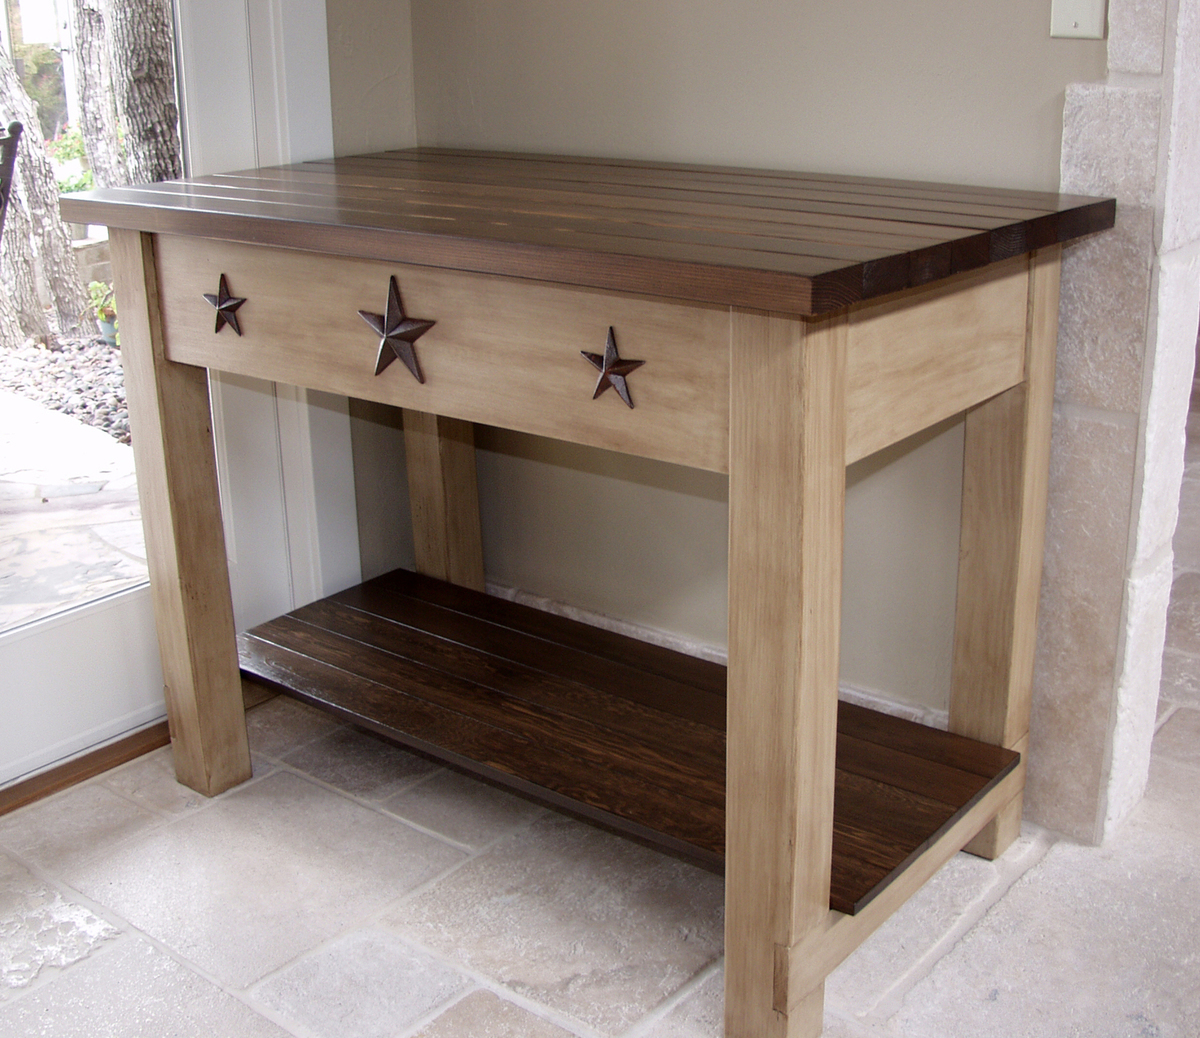
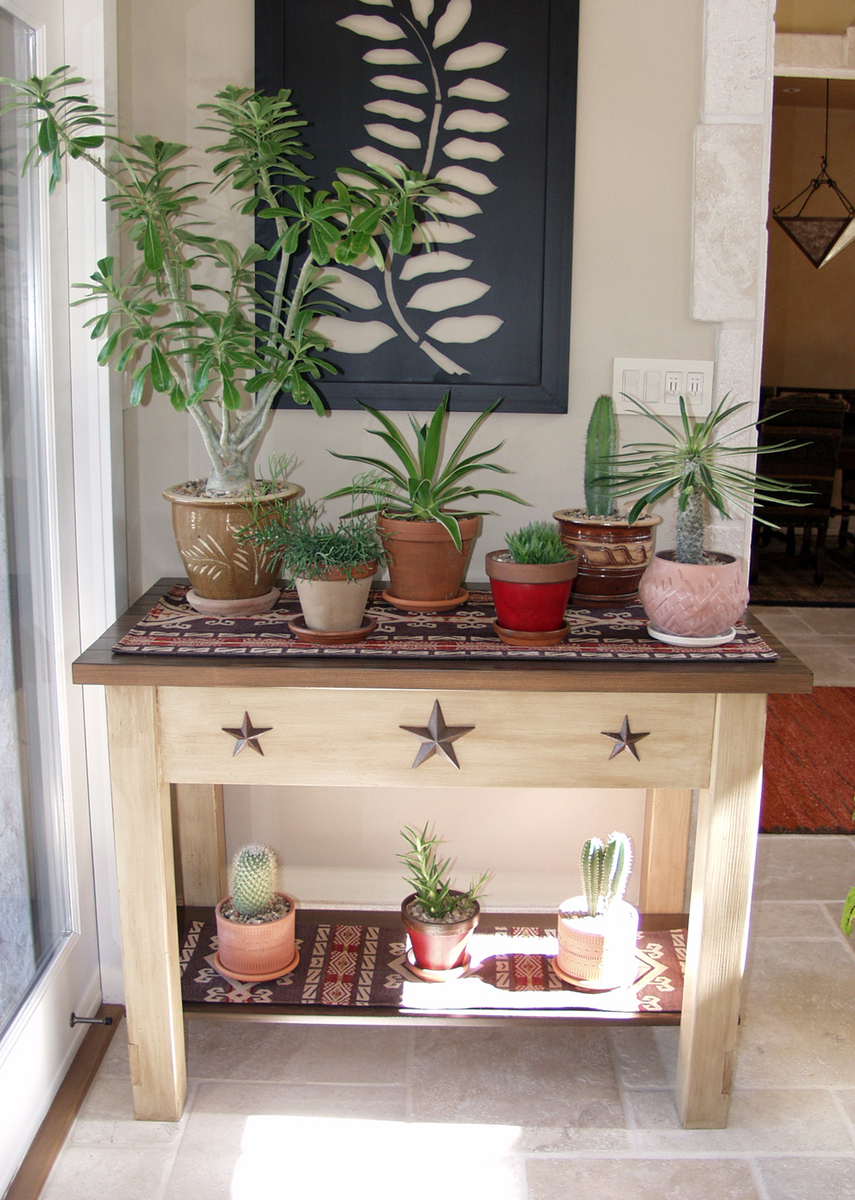
I absolutely loved Michaela's Kitchen Island (http://ana-white.com/2010/03/plans-michaelas-kitchen-island.html), so I modified it to suit my needs of having a table to place my cacti in the winter months. I modified the size, removed one of the shelves, and left the drawers out so that I could put my Texas stars.

Built from Plan(s)
Estimated Time Investment
Week Long Project (20 Hours or More)
Finish Used
Tabletops: Mixture of Minwax water-based stains using Antique Walnut & Onyx, topped with 4 coats of General Finish Satin EnduroVar.

Table: 2 coats of General Finish Milkpaint in Millstone, followed by 4 coats of General Finish Glaze in Van Dyke Brown, followed by 1 coat of General Finish Satin EnduroVar.
Recommended Skill Level
Beginner

Comments

BlueSky73

Sat, 05/17/2014 - 11:09

Love your version of this project! we are using your version for a bathroom vanity...any input as to the modifications you made would be appreciated!

Rustic X Console Finished With Annie Sloan Chalk Paint and Wax

Submitted by Anonymous (not verified) on Thu, 12/31/2015 - 21:34

I love this table! Thank you Ana for the plans! Everyone who sees it says it came out incredible. I used my birthday money to buy the Kreg Jig for this piece and I'm glad I did! I'm excited to continue building. This was my first real build and it was fun! I painted it with a mixture of Barcelona and Graphite Chalk paint to make the brown and then I used that brown mixture to paint it as well as Graphite so it has two tones of colors. Chalk paint from Annie Sloan. I then clear waxed for protection and finished with dark wax.

Built from Plan(s)
Estimated Cost
$80
Estimated Time Investment
Weekend Project (10-20 Hours)
Finish Used
Chalk paint and wax by Annie Sloan. I used Barcelona Orange mixed 50/50 with Graphite to get the brown. I then painted with that brown mixture and Graphite. I clear waxed with Annie Sloan clear wax for protection and finished with her dark wax. I rubbed the dark wax in the grooves and knots so they would stand out.
Recommended Skill Level
Intermediate

Double Pedestal Farmhouse Table

Submitted by Anonymous (not verified) on Sun, 01/03/2016 - 01:34

Keep on building on! This is the second peice I've built for our dining room - built a bar first. I opted to only make 2 pedestals instead of 3 that was on the plans. Dimensions are a tad smaller to fit our room nicely, measuring 90in x 40in. My wife and I absolutely love this table! I used Red Oak for the top and Doug fir for the base. Hardest part was lugging around that dense oak and looking for chairs! The stretcher was also a bit of a task as well. Had to go out a buy a rubber mallet to bang it in enough so that the slack on both ends were even. We particularly like this piece because it will be used often and many memories will be created around this table! Thanks again for the inspiration!

Built from Plan(s)
Estimated Cost
$400, but sold previous dining table and chairs for $425
Estimated Time Investment
Weekend Project (10-20 Hours)
Finish Used
Miniwax Special Walnut,
Spar Urethane
Recommended Skill Level
Intermediate

8 foot mudroom hall tree

Submitted by Anonymous (not verified) on Wed, 03/20/2019 - 09:15

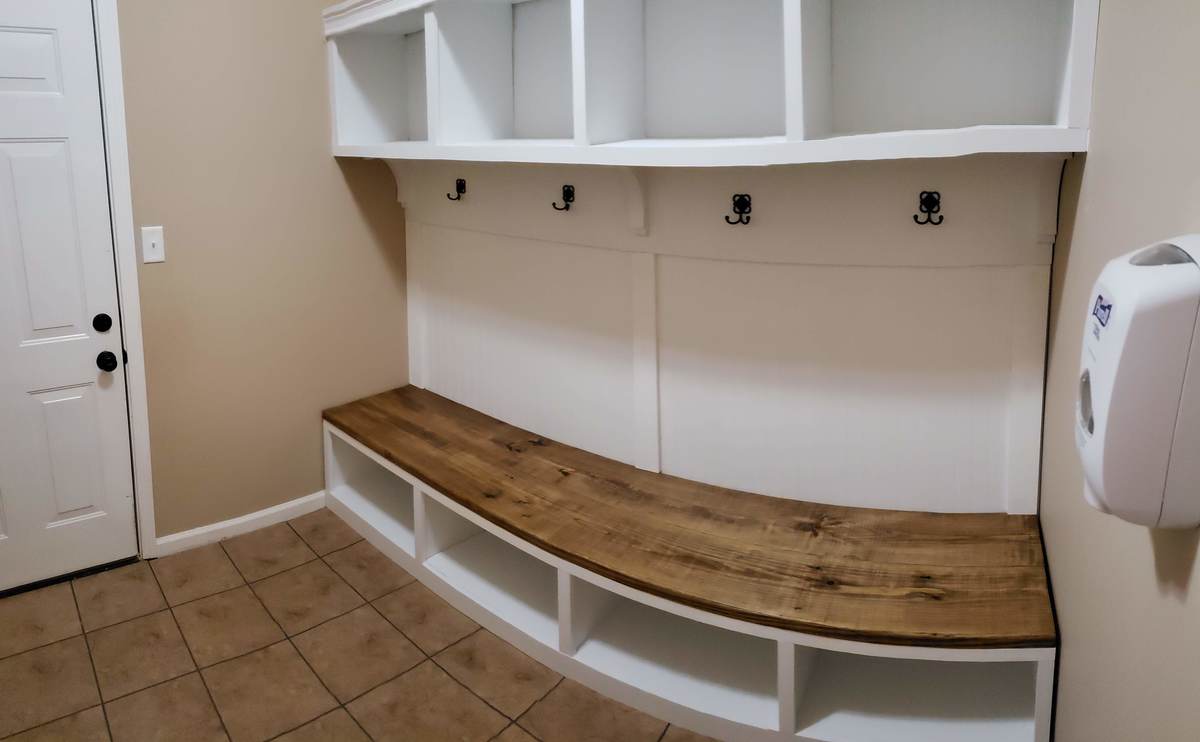
We had an 8' mudroom, that previously contained our laundry area as well. We moved that and had this space to fill up.  We used 3/4" plywood for the most part, and some 1x2 finishing pieces in the front, as per your plan.  We built the bench and then installed it, but the upper shelves had to be built in place on the wall, because we couldn't fit it in the room if we pre-built it.  So that was a bit of a challence. Turned out great though.  Thanks for the plans!

Estimated Cost
About $400
Estimated Time Investment
Weekend Project (10-20 Hours)
Finish Used
Mudroom and hall tree.
Recommended Skill Level
Intermediate

Comments

paries

Sat, 05/18/2019 - 12:41

Hello,
great Job on this!!

I am new to this site. This is exactly what i am looking to build.

You mentioned a "plan"

where do i find this plan?

Thank you

Modern Angle Chair

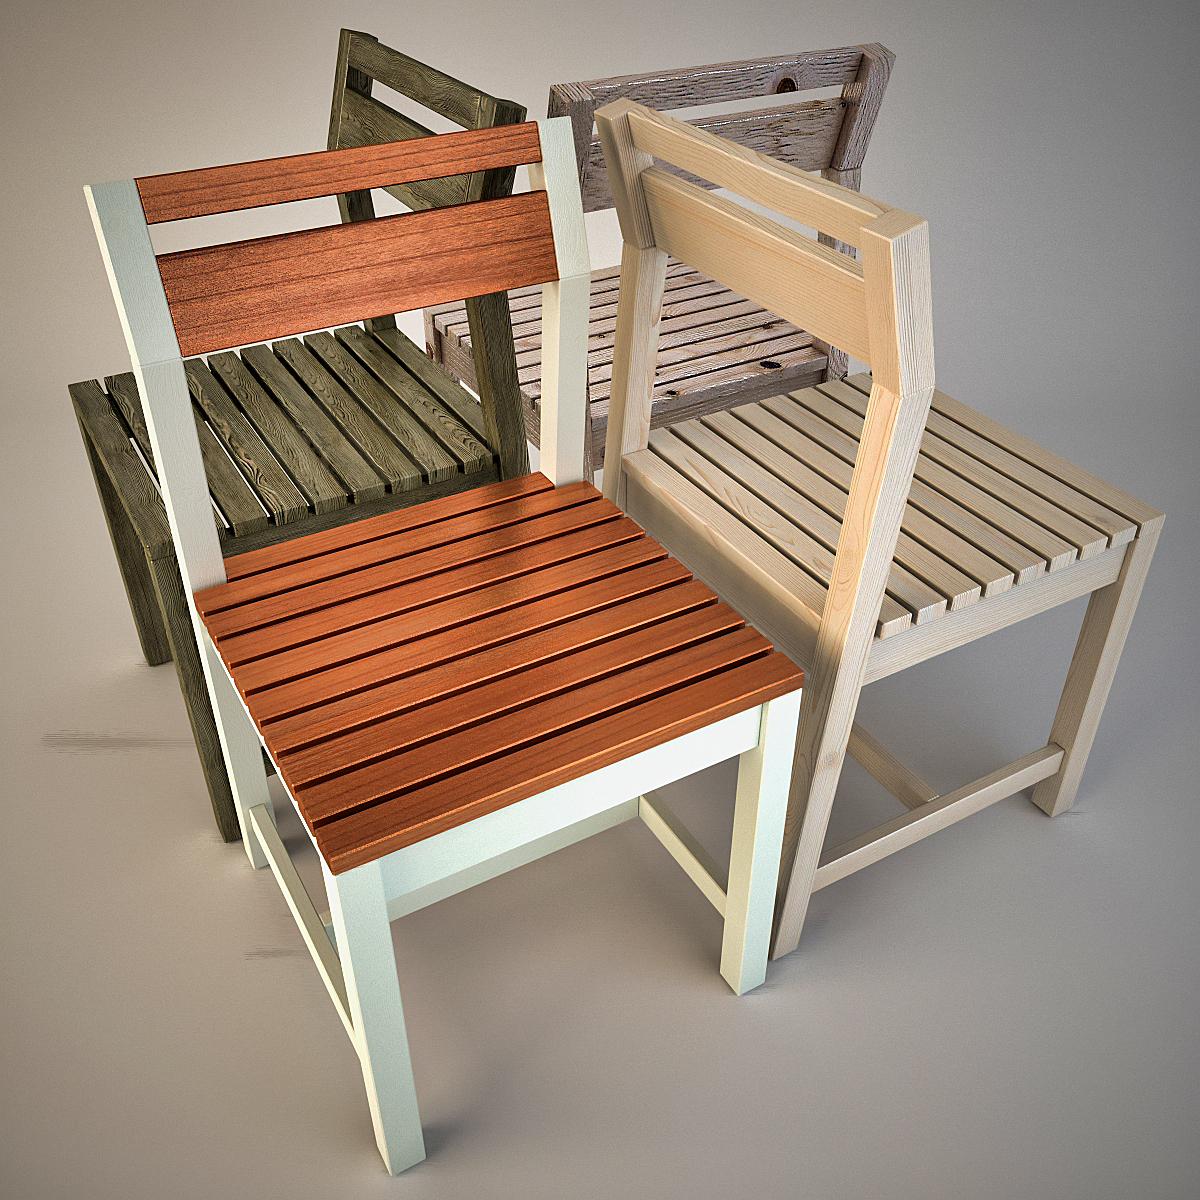
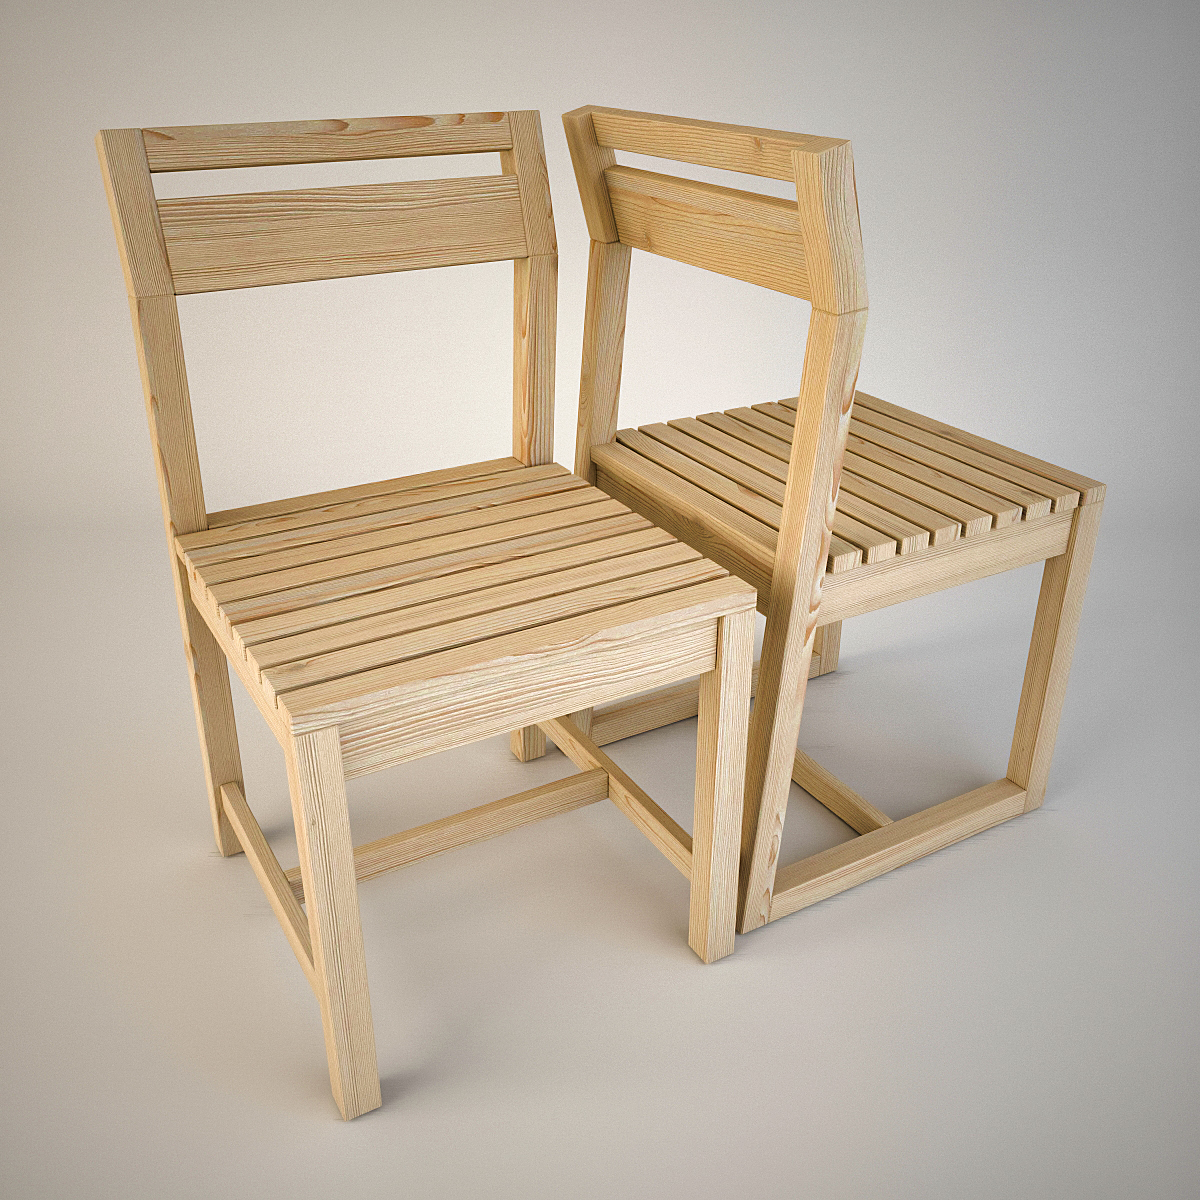
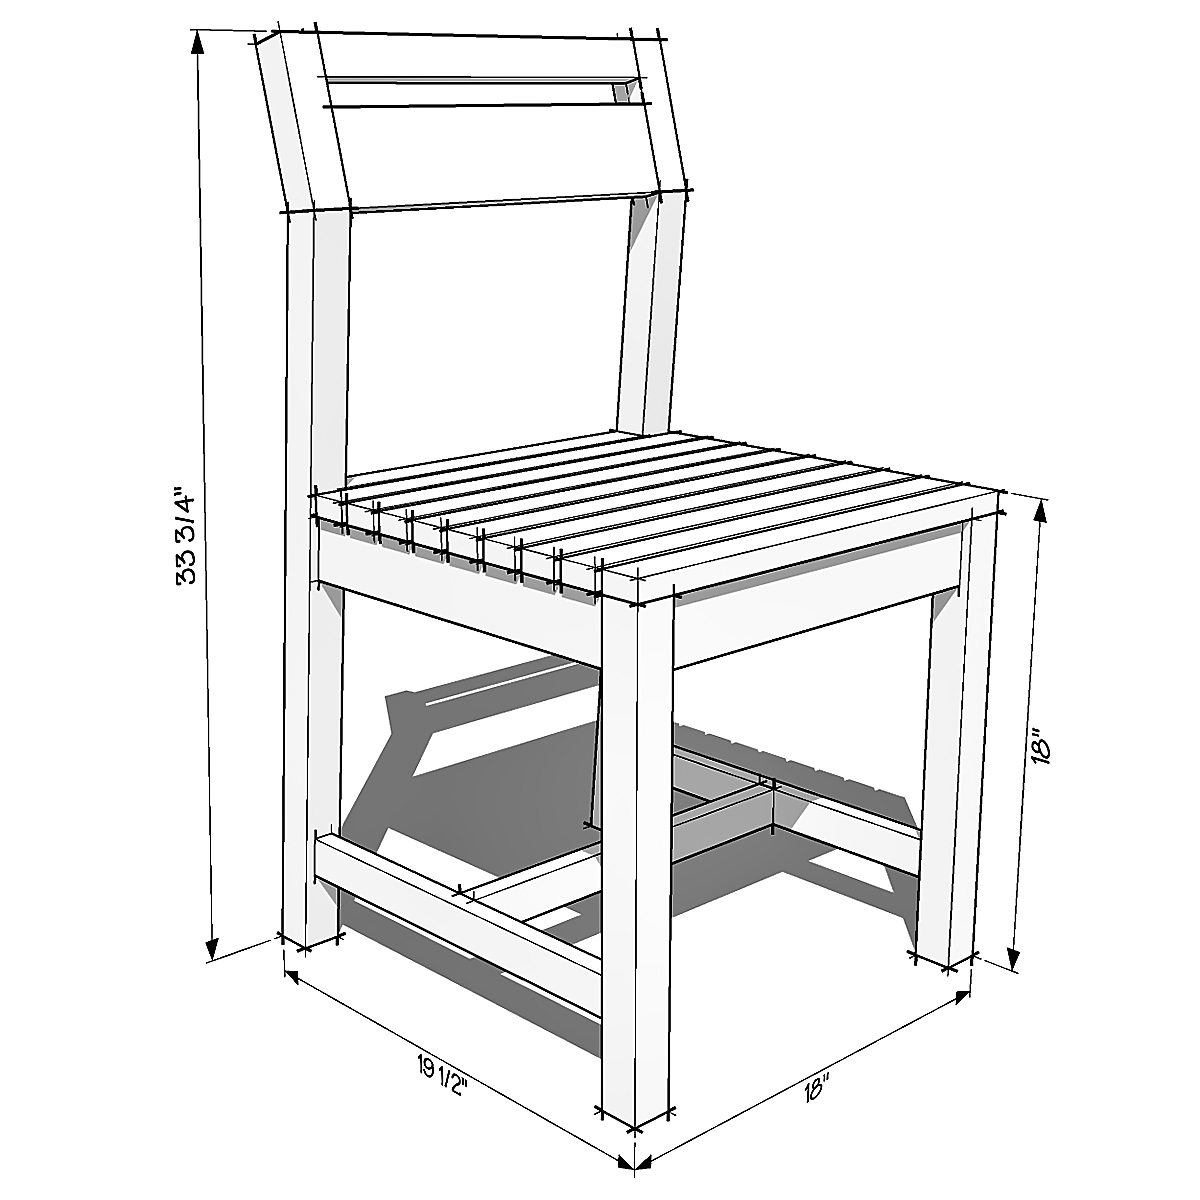
Hello Ana, I decided to modernize your project a little ...
This is 3DS MAX ... ;)
Thank you for your work ...
Regards, Serge...

Built from Plan(s)
Estimated Time Investment
An Hour or Two (0-2 Hours)
Recommended Skill Level
Advanced