Community Brag Posts

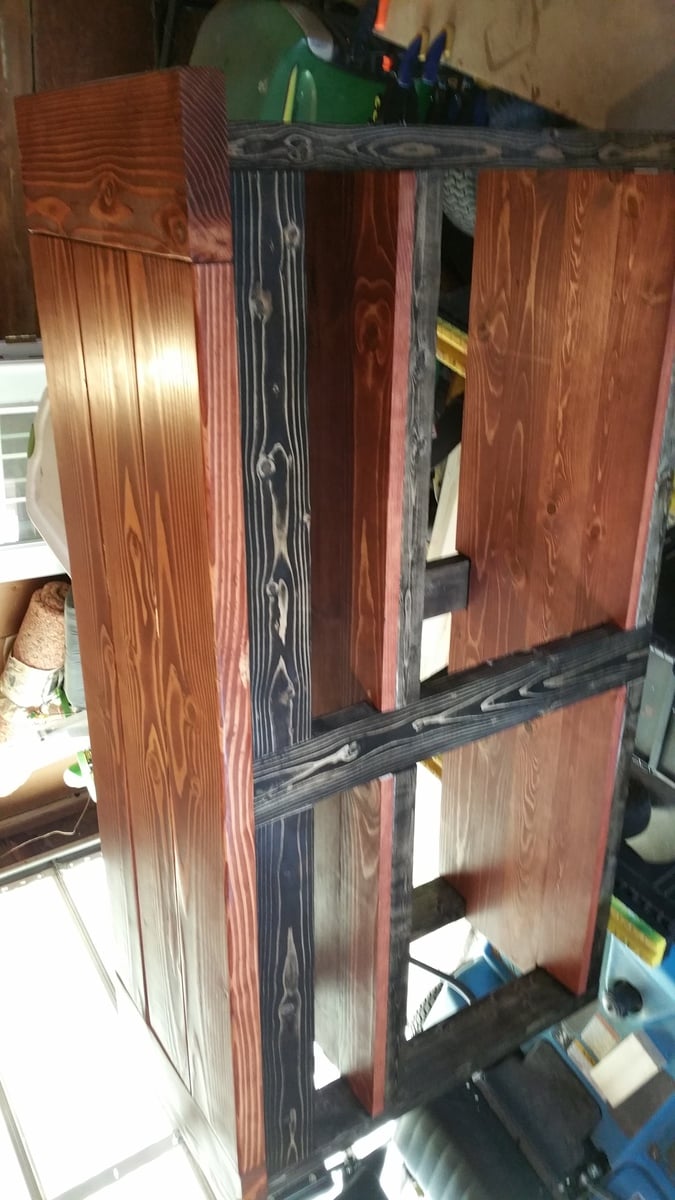
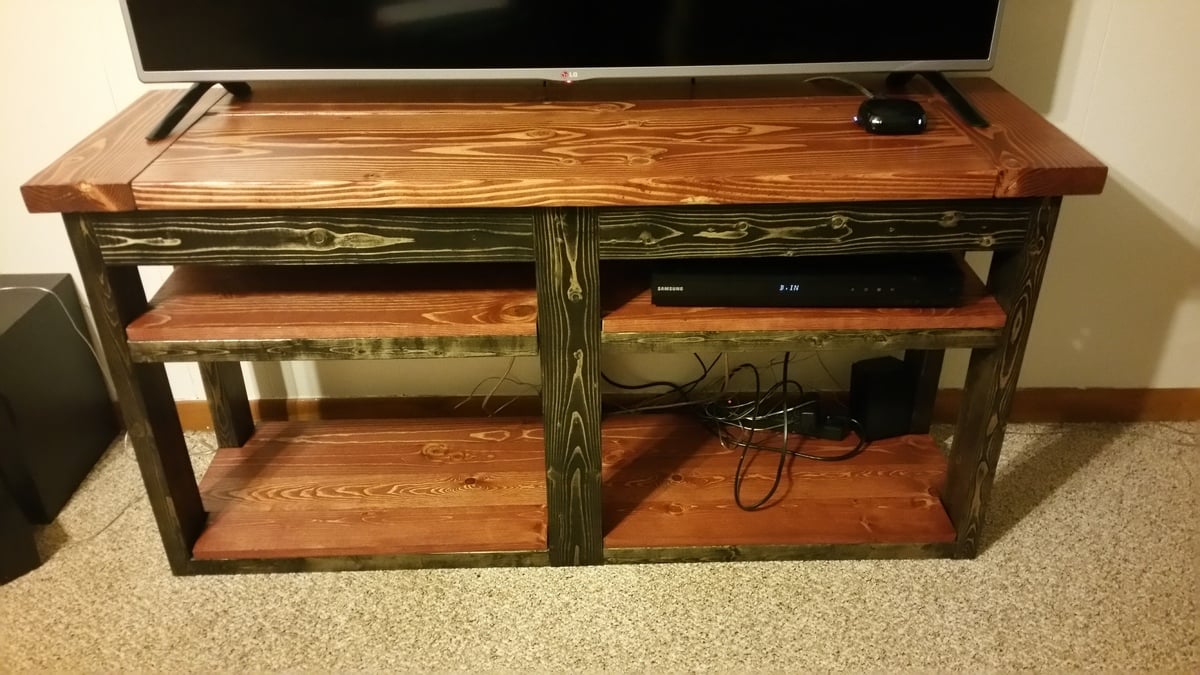
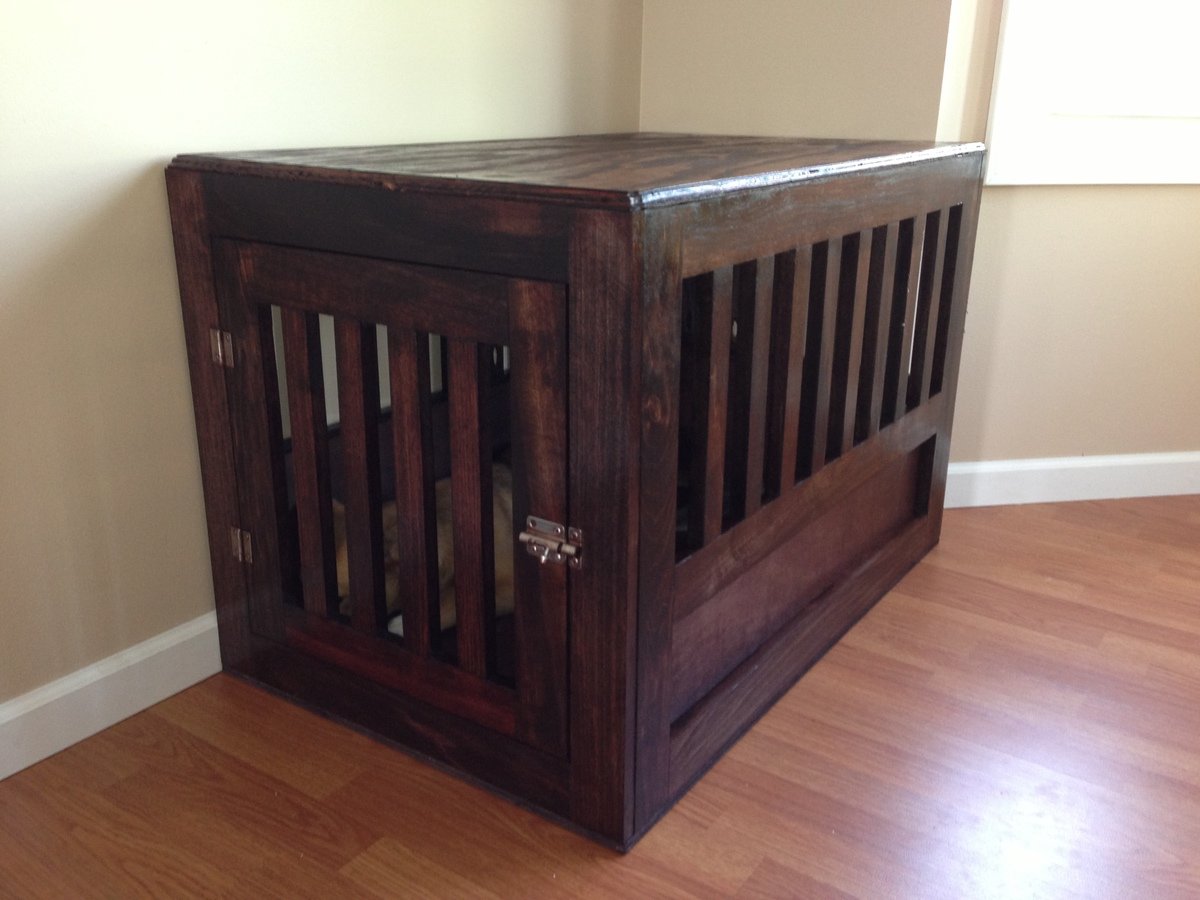
Medium / Large dog crate

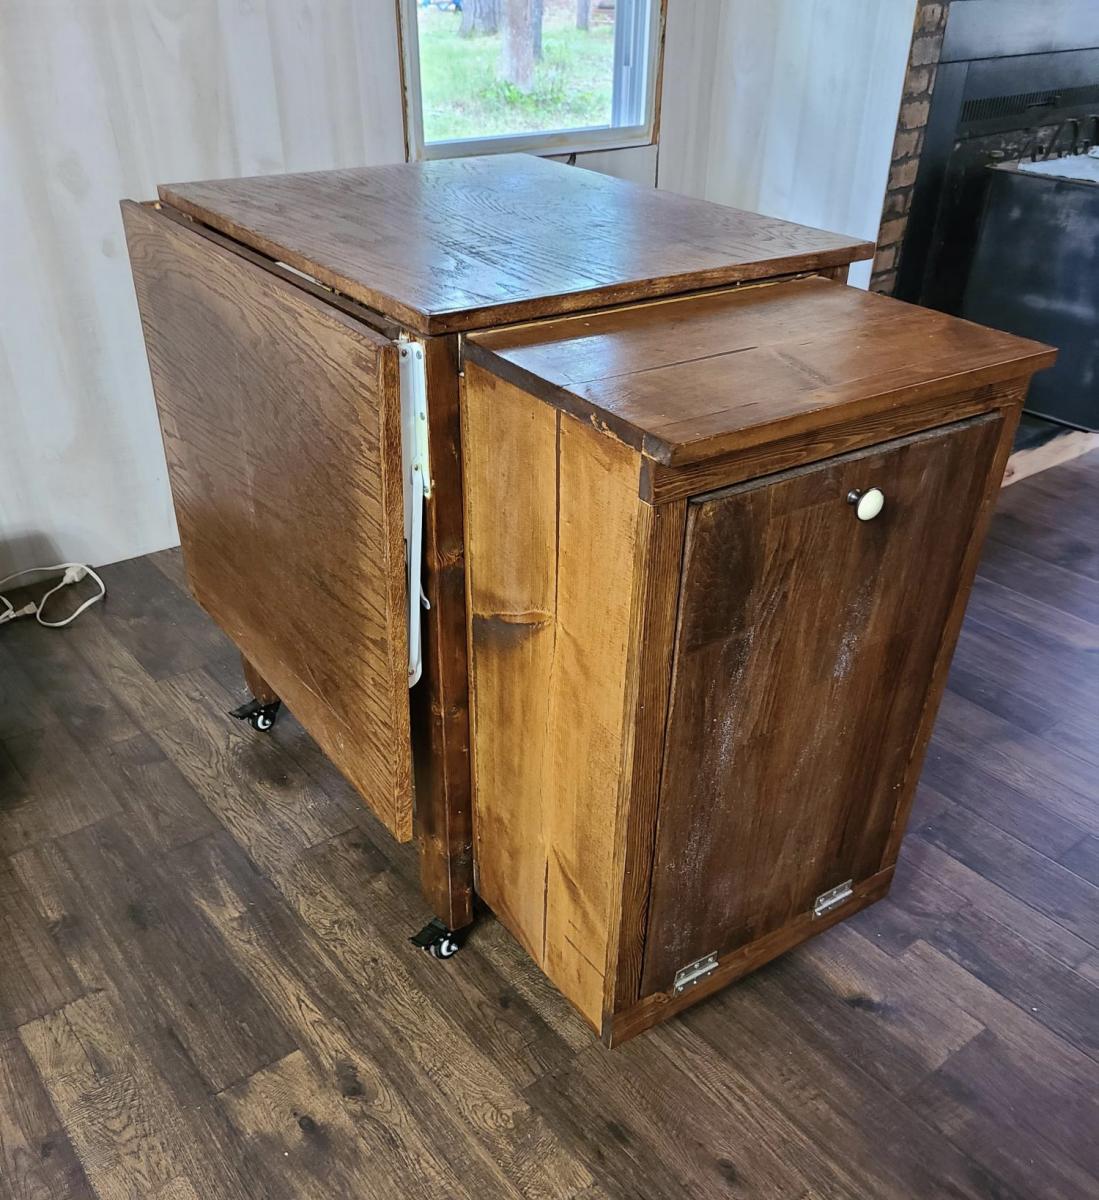
I took the plans for the large dog crate and adjusted them to fit my needs.

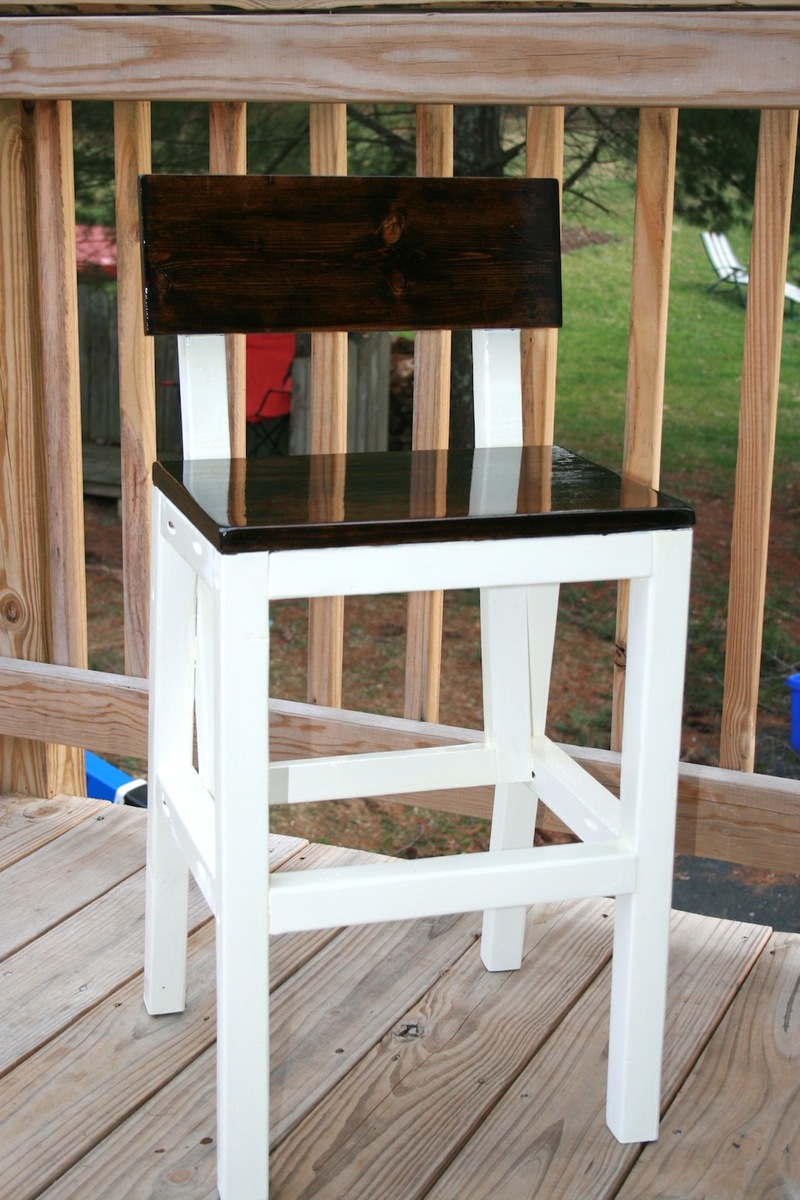
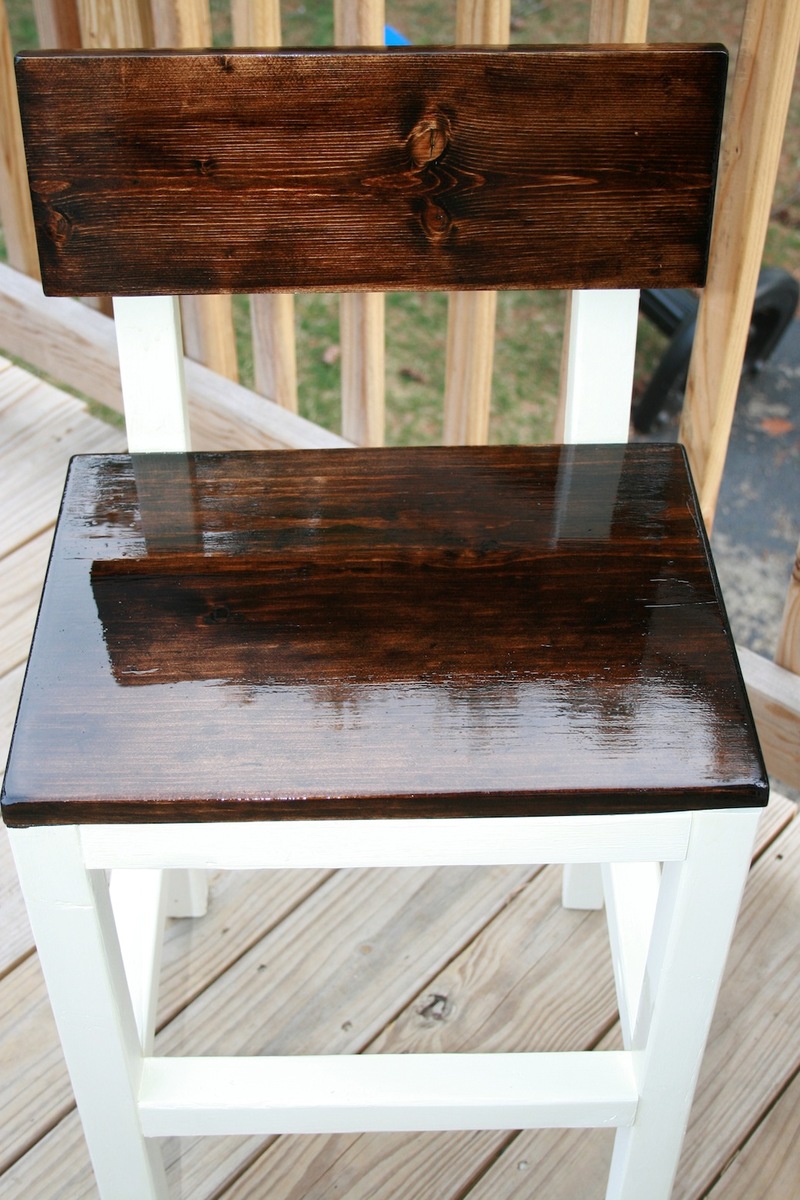
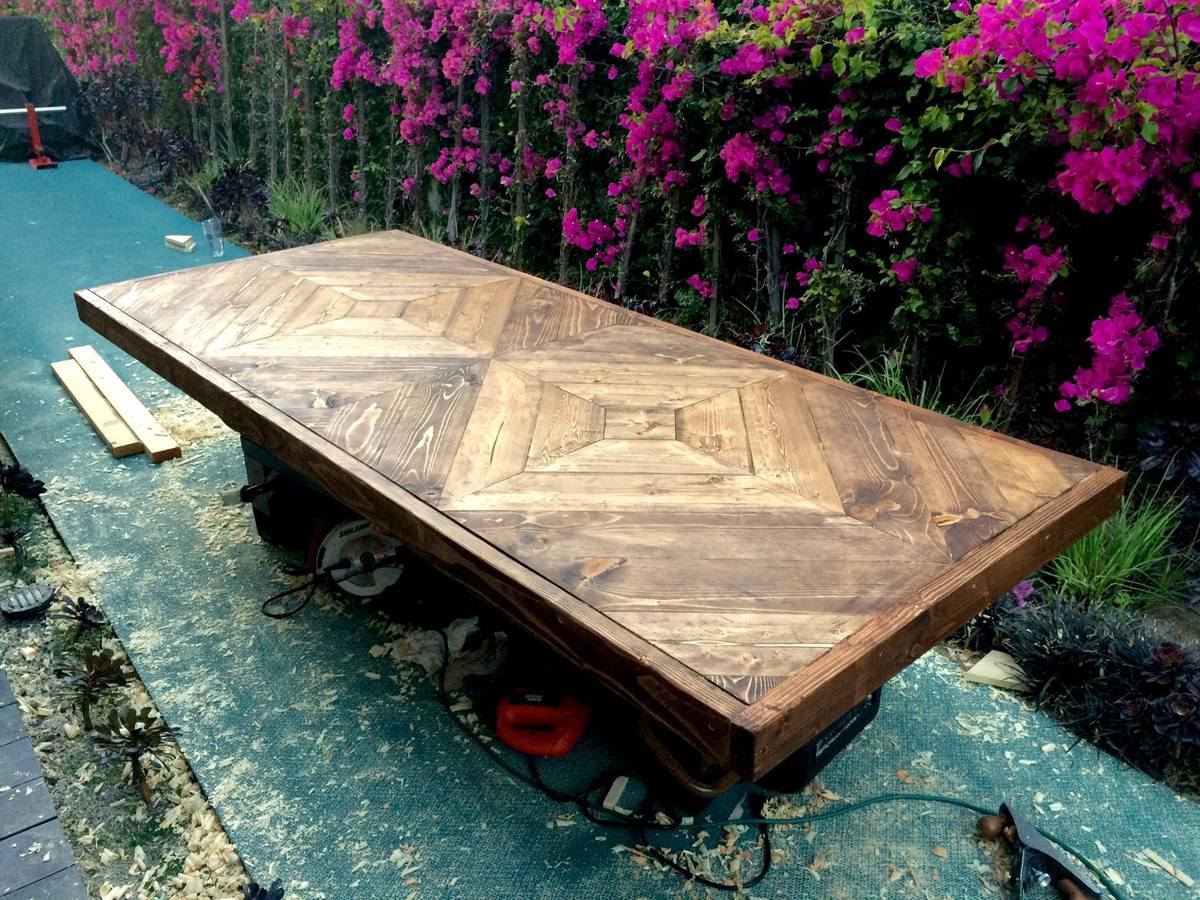
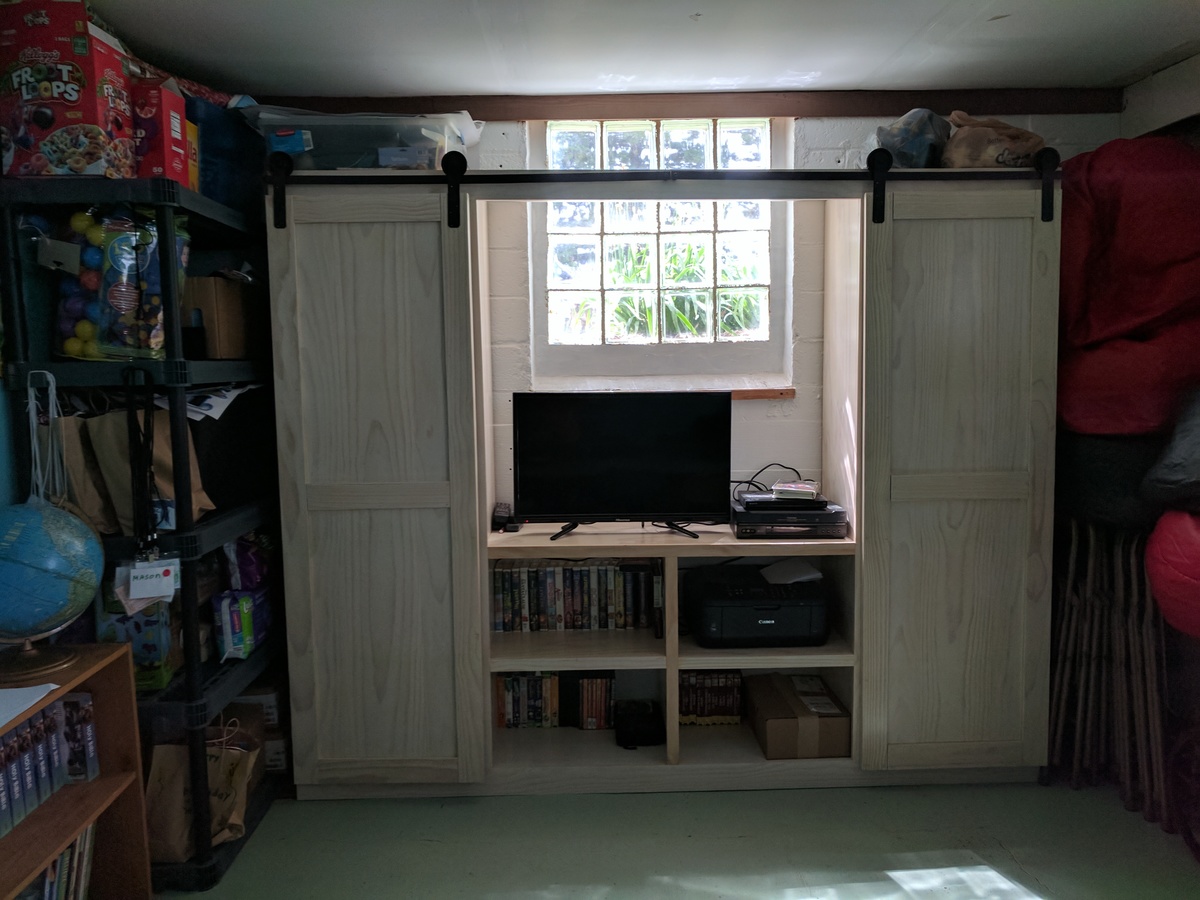
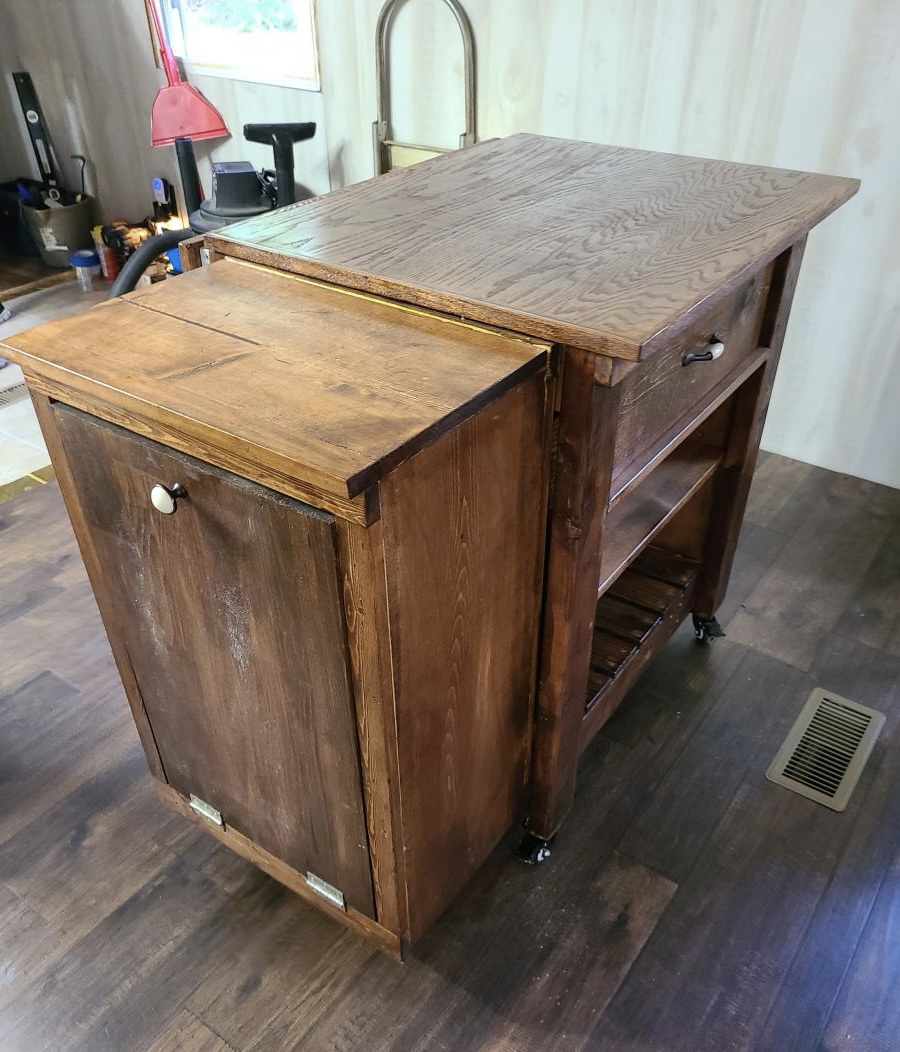
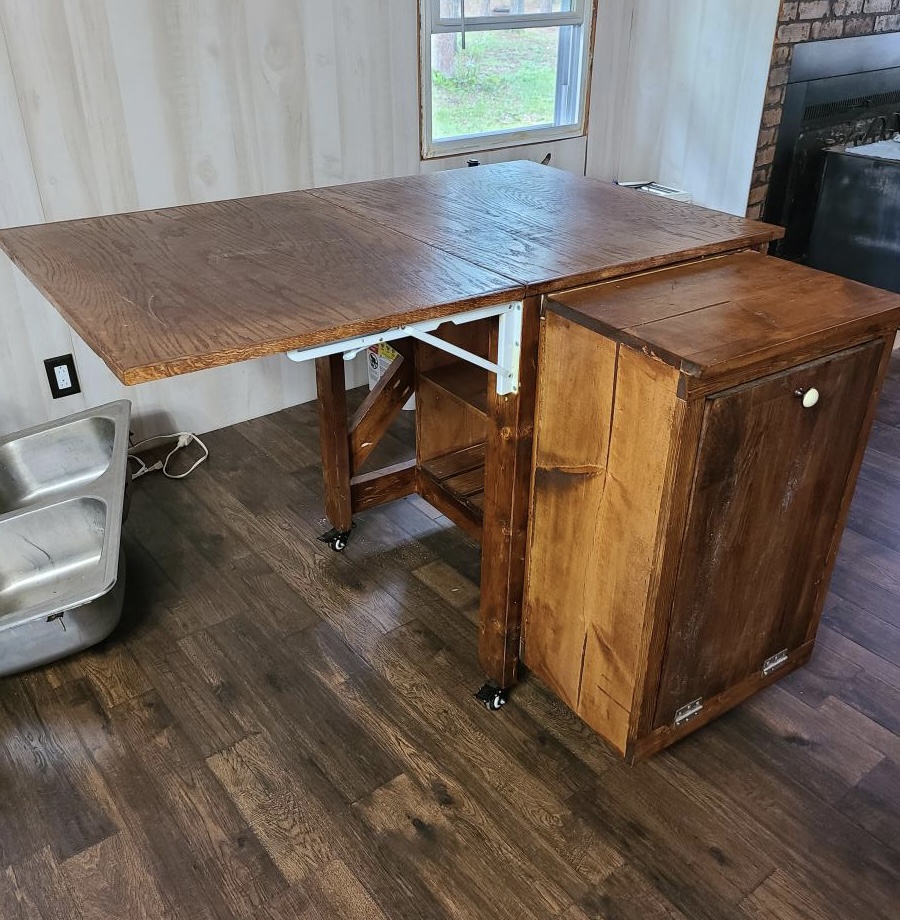
I made the "light entry" sections taller so that the inside would not be so dark, I used plywood with a routed edge for the top and stained it a red mahogany color and used polyurethane to seal it.

Estimated Cost
$70
Estimated Time Investment
Weekend Project (10-20 Hours)
Finish Used
Min-wax Red Mahogany
Recommended Skill Level
Beginner

TV Table...first biggish project

Submitted by nickx1985 on Sat, 04/11/2015 - 10:54

So, after seeing a project my brother in law made I got the inspiration to try my hand at woodworking. Low and behold I stumbled upon Ana's WONDERFUL site! After spending the winter, rigorously studying plans and picking different projects I could use, I was able to afford gathering up some basic woodworking tools and get to work. First project was the 2x4 workbench off of kregtool.com (on a side note I <3 my new kreg jig). That went together easypeasy and came out great. Now i wanted to try my hand at something that took finish work and went inside my house, not out in the garage. We had just purchased a new TV and needed something other than the 2 side tables from our living room that where serving as it's temporary home atm. Needless to say that is how this project was decided on. I didn't make it from any specific plans from the site, but without this site I wouldn't have even known where to begin. I took some measurements and drew up a rough (and I mean ROUGH) plans. Then started chopping away at wood and drilling pocket holes. This is the end result.

Estimated Cost
around $50
Estimated Time Investment
Weekend Project (10-20 Hours)
Finish Used
Frame is minwax's oil based ebony
Shelves and top are minwax's oil based red chestnut
Top and frame got 2 coats of poly and though I would try 50/50 poly/mineral spirits on the shelves(found I liked rubbing with a rag rather than brushing on)
Recommended Skill Level
Beginner

Comments

Kiddies table and chairs

Submitted by pADDY1957 on Thu, 08/03/2017 - 23:28

I made this table and chairs for when the grandchildren come over. The chair design was from a larger chair I had made and just downsized them

Estimated Time Investment
Day Project (6-9 Hours)
Finish Used
White French paint
Recommended Skill Level
Intermediate

Raised Garden Beds!

Submitted by ferbit on Thu, 03/10/2011 - 08:02

Yay! Here are my raised beds, motivated by Ana White's post. :) I decided to use 2x lumber rather than 1x lumber because I plan to add benches on the ends of each bed. I just love how these turned out! I used Hemlock rather than cedar because it was a THIRD less expensive. Orange told me hemlock would last roughly 5-6 years whereas cedar would last 7-9 year. I staggered the sizes too - first bed (with the strawberries) is 4' x 10', second is 4' x 8' and the third (with the stakes) is 4' x 6'. Hubby hauled in a bunch of pea gravel to surround the beds while the girls and I added rocks from around our yard to the perimeter. :)

Estimated Time Investment
An Hour or Two (0-2 Hours)
Finish Used
None!
Recommended Skill Level
Beginner

Harriet Higher Chair

Submitted by tara2 on Fri, 05/24/2013 - 12:20

This is one of two chairs we made for our two kids. They love it!

Built from Plan(s)
Estimated Cost
$15
Estimated Time Investment
Afternoon Project (3-6 Hours)
Finish Used
Minwax walnut stain (2 coats)
Behr Ultra White Hydrangea (2 coats) - the small samples have enough paint to complete project
Recommended Skill Level
Beginner

Farm house nighstands

Submitted by 3Bears on Mon, 04/13/2015 - 18:48

These were our second project.  Again, chosen out of necessity for new bedside tables.  These took a while to complete due to the finish work needed for the paint and our leaning curve.  BTW, building jig templates will help ensure consistency between the two tables (drawer fronts, strechers, drawer stops, etc).  Also, look through the wood on the shelf at the store for the best (and straightest) 2X2's to make the process easier.  Finally, while spraying was easiest for the paint application, brushing on the poly finish coats worked best for us.

These tables are 3" wider than the plans and fit our room better, but the rest is the same.

Built from Plan(s)
Estimated Cost
25/table
Estimated Time Investment
Week Long Project (20 Hours or More)
Finish Used
Minwax Honey Oak stain for wood

Rustoleum Satin Natural While for paint

Minwax poly for finish on both (3 coats; 220 grit sanding between each coat)

Recommended Skill Level
Intermediate

2x4 Outdoor Patio Furniture Set

Submitted by trodkewich on Mon, 08/14/2017 - 12:24

Using the plans from this website for the 2x4 tables and 2x4 loveseat, we modified the sizes to fit the couches that we bought at Target.  Used cedar wood and painted black when we were done to match out deck.  Less than $300 in cedar wood.

Estimated Time Investment
Weekend Project (10-20 Hours)
Recommended Skill Level
Intermediate

Desk rustic x

Submitted by Anonymous (not verified) on Tue, 10/05/2021 - 03:26

To simplify and elevate the design I chose a pre made butcher block top. It turned out beautiful!

Built from Plan(s)

Comments

Sewing Table for Small Spaces

Love the sewing table! It was a surprise Christmas gift from my parents.

Estimated Time Investment
Afternoon Project (3-6 Hours)
Finish Used
We used Bombay Mahogany stain.
Recommended Skill Level
Beginner

Farm Table

Submitted by holen1ne on Mon, 04/20/2015 - 12:50

Took a lot more wood than I thought and time, but was a nice distraction from Law School.

Built from Plan(s)
Estimated Time Investment
Week Long Project (20 Hours or More)
Finish Used
Minwax Special Walnut
Recommended Skill Level
Intermediate

Comments

Kitchen Island +

Submitted by Anonymous (not verified) on Tue, 10/05/2021 - 08:28

I decided to combine Ana's wastebasket project with her island project and then added a retractable tabletop so I can use it to prep food and even use it as a counter height table for two.

Comments

Coat Tree

Submitted by annem on Sat, 03/12/2011 - 07:27

With my 3 young kids and all of their winter gear, I needed a coat rack that they can use. Since I don't have a miter saw, I asked my Father-in-law to make the cuts for me so I can't claim to have done that (although I am asking for a miter saw for my birthday!). Assembly was pretty easy with 2 pocket holes each on the roots and one for each of the limbs. With the small pieces of wood, it was tricky to get the holes centered using my Kreg Jig Jr. so I added some small finishing nails to some of the limbs for more support. (Think young kids tugging to get their coats down!) Some things I learned: Sand all pieces to the way you want them BEFORE assembling as it's nearly impossible to do later. Stagger the bottom roots because screwing in 8 screws to the same center point does not work. I ended up using shorter screws than the 2 1/2" recommended and had to add felt pads to stabilize the legs that were moved up to allow for me to fit the screws in. I am pleased with this project and while it's not perfect, it will get a lot of use around here!

Estimated Time Investment
An Hour or Two (0-2 Hours)
Finish Used
Spray primer, Rustoleum Slate Blue spray paint
Recommended Skill Level
Beginner

Farmhouse Table with Butcher Block

Submitted by kharris on Tue, 05/28/2013 - 16:51

We are selling our house and needed a small table for the corner of our kitchen. Since we had leftover butcher block after replacing the countertops, I modified the Farmhouse Table and bench plans. The piece worked perfectly in the space and the house sold immediately after our open house.

Estimated Cost
$100
Estimated Time Investment
Afternoon Project (3-6 Hours)
Finish Used
Mineral oil for the butcher block top and white paint and primer for the legs. We still need to varnish the top of the benches.
Recommended Skill Level
Beginner

Jewelry Cabinet

Submitted by jleigh333 on Sat, 04/25/2015 - 07:32

This is such an easy and fun project! This is the second time I've made this cabinet. The first time I made it identical to the one in the plans but this one was for my 11yr old niece so I wanted it to look more girly and less rustic. I used hooks instead of nails which I really like. Thanks for such a great plan!

Built from Plan(s)
Estimated Cost
$35
Estimated Time Investment
Afternoon Project (3-6 Hours)
Finish Used
Antique white paint
Recommended Skill Level
Starter Project

Comments

JoanneS

Sat, 04/25/2015 - 08:06

Great job on this jewelry cabinet! I love everything about it - the color, the hardware, and the hooks -- I'm sure your niece will adore it!

Pallet backboard

Submitted by ErinRN on Thu, 09/07/2017 - 06:55

My son found an old basketball rim and wanted it for his room. I googled plans and lo and behold, Ana provided again!! He wanted it simple (i.e. so he didn't have to do much work) so we stripped a pallet down and followed Ana's plans, sanding it but not staining it. He didn't want the frame for it either. The back is held together with 3 1x2's, 1 1/4" nails, and wood glue. Thankfully it is 32" wide so I could drill it into wood studs, although I did tell him this is not to be dunked on :-) He ordered a new net from Amazon for $5 and there you have it!

Estimated Cost
$5
Estimated Time Investment
An Hour or Two (0-2 Hours)
Recommended Skill Level
Beginner

Tall Wood Planters

Submitted by Anonymous (not verified) on Tue, 10/05/2021 - 19:31

This planter was easy to make. Two days including finish.

Built from Plan(s)

Comments

Storage Bed

Submitted by mariakathh on Sun, 03/13/2011 - 08:40

So we really needed a better bed than the flimsy moderny thing that would shift at least a few inches when I would get into the bed. And I like storage. So this was a great fit. The folks at blue were really good to me and help me cut all my lengths of plywood. I did modify the headboard to be 3 inches taller. Otherwise the plans were great! I had one hiccup in adding the divider to one of the benches. It came out kind of slanted. So I would recommend having a lot of light and measuring it out in the back of the box when you are inserting the divider

Estimated Cost
$250
Estimated Time Investment
Weekend Project (10-20 Hours)
Recommended Skill Level
Beginner

Entry table/console table

Submitted by Medickep on Thu, 05/30/2013 - 12:52

I made this entry table to go by our front door. It's a spin off from the "console table" posted by Anna. I read some of the comments from people who had problems with her plans as a result of different standards in lumber and decided to alter this some!

I cut the side braces short enough so when I included the measurements of the legs the actual table top extended approx. 3/4" further past the legs and apron of the table. I also went with one sheet of wood on the table top and finished it up with some trim around the edge of the table top.

Estimated Cost
approx. 100.00 (depends on wood used, I used hemlock)
Estimated Time Investment
Day Project (6-9 Hours)
Finish Used
I wanted to paint the table to matched a near bye coat rack I made. I primed the table first and painted it with three coats of Behr premium paint. I also used a polyacrylic to protect it a little from my boys. I did three coats on all of it and two additional coats on the front of the legs, apron, table top and bottom brace. Make sure you sand with 300-400 grit between coats!
Recommended Skill Level
Starter Project

Industrial coffee table

Here is an industrial style coffee table I recently built.  I used reclaimed pallet wood for the top and shelves and I built the shelves to be removable if needed.  For the finish I used oil based poly in a satin.   

@timberandsoul 

www.facebook.com/timberandsoul

Estimated Cost
$140.00
Estimated Time Investment
Afternoon Project (3-6 Hours)
Finish Used
oil based poly
Recommended Skill Level
Beginner

Comments