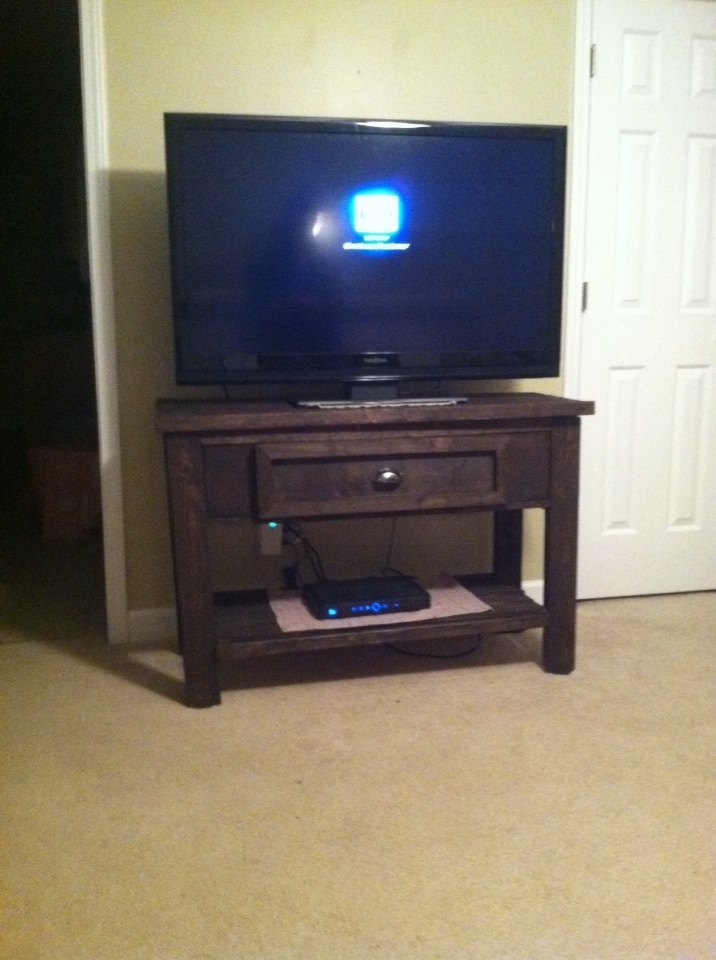
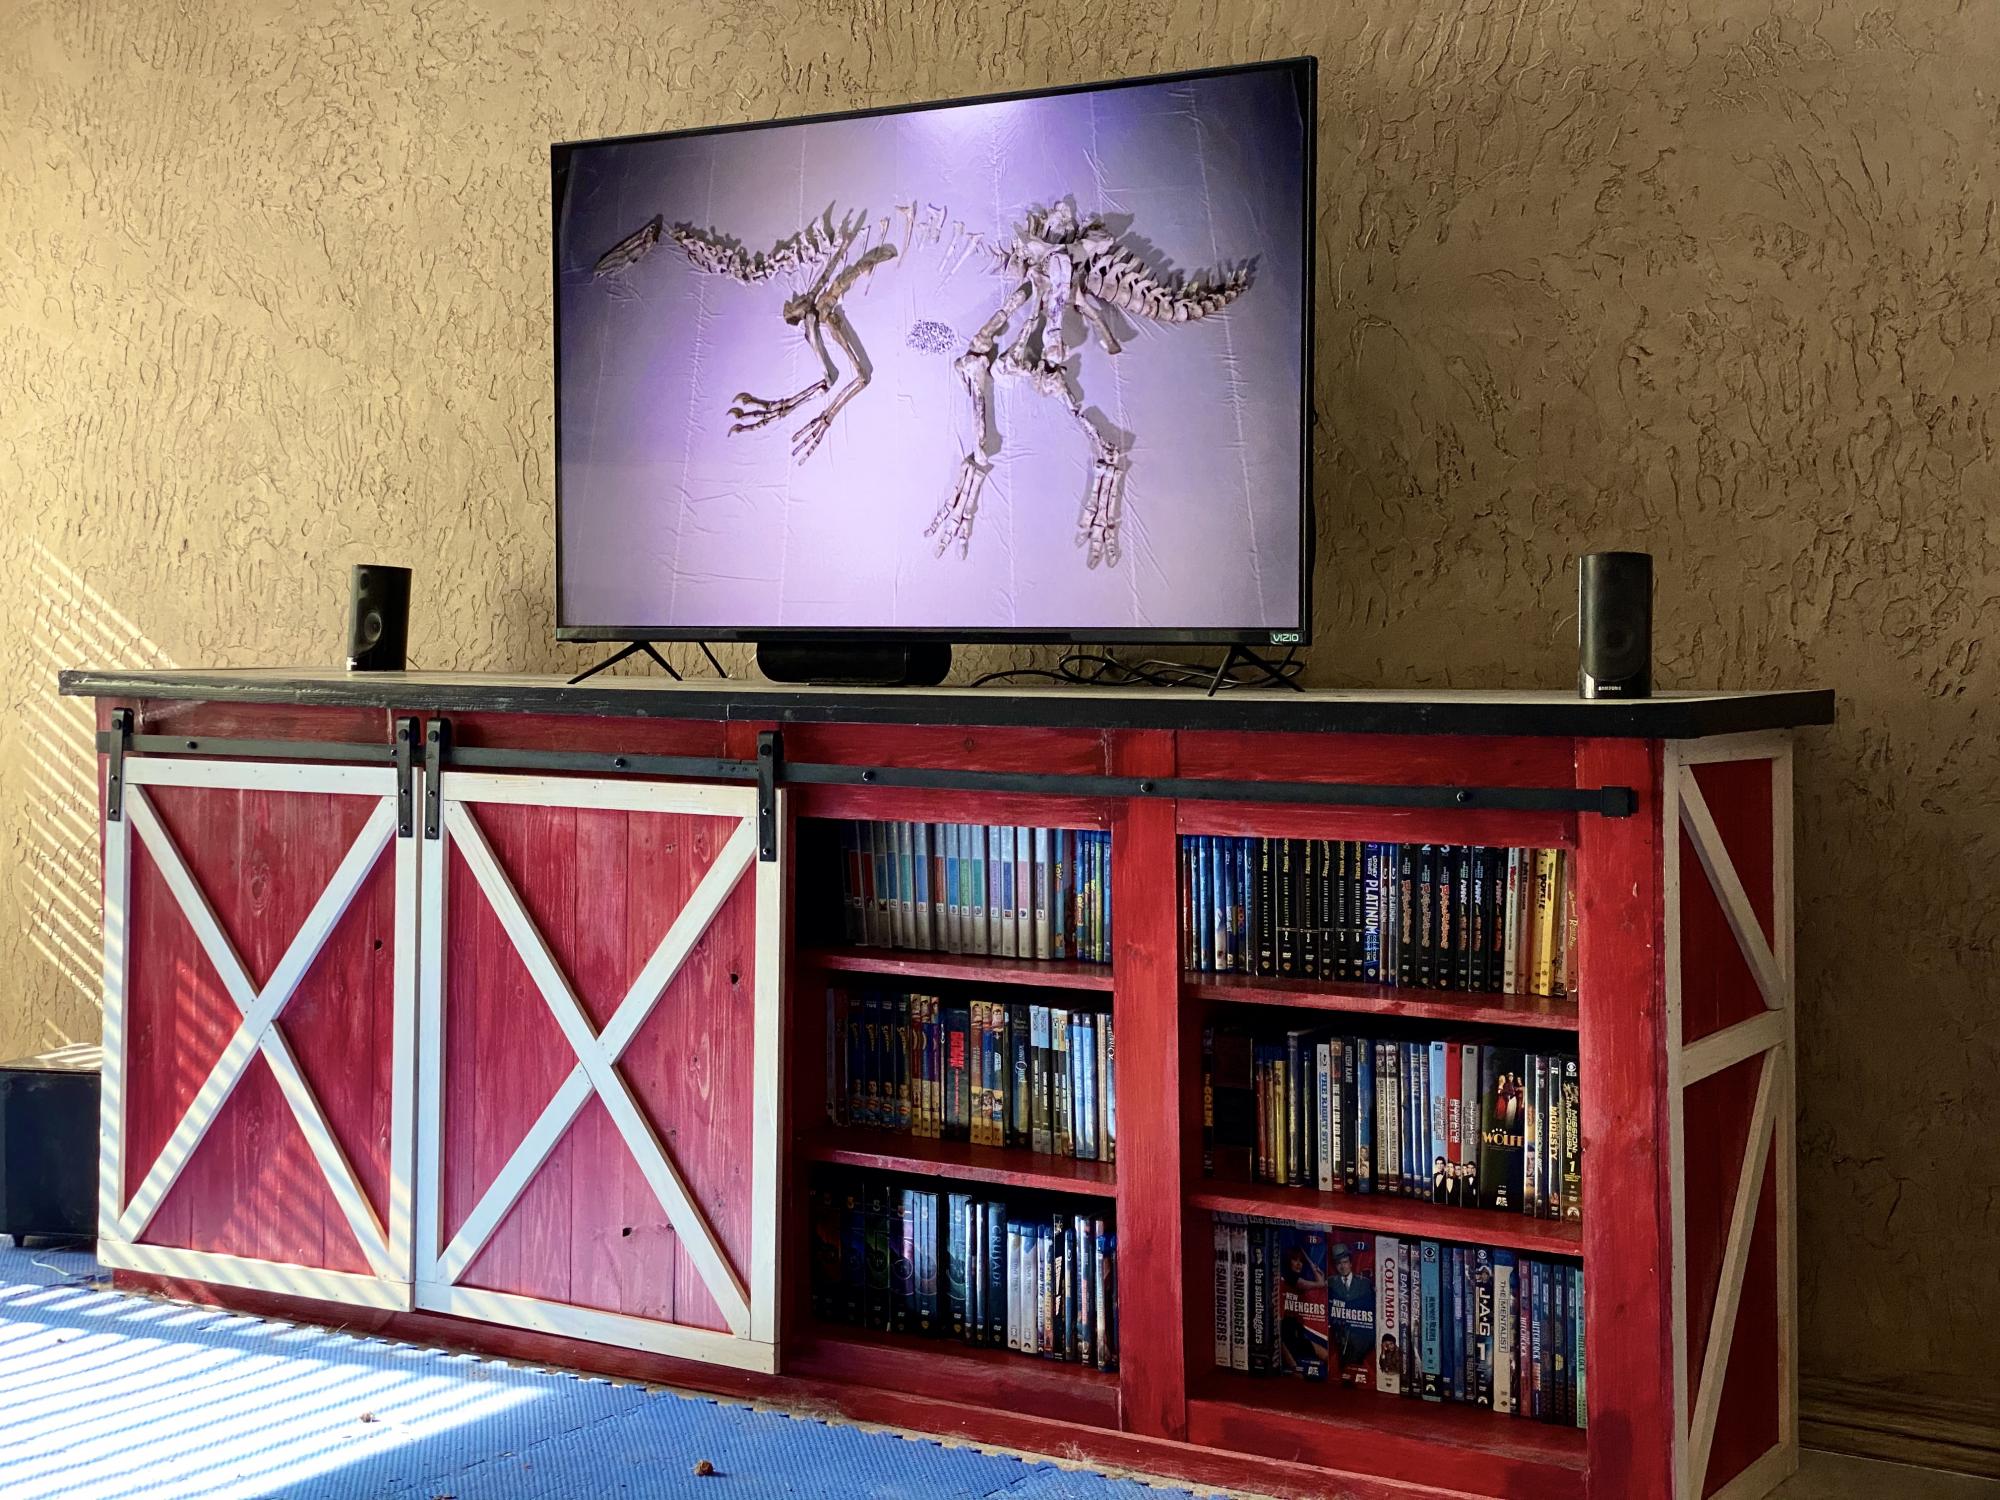
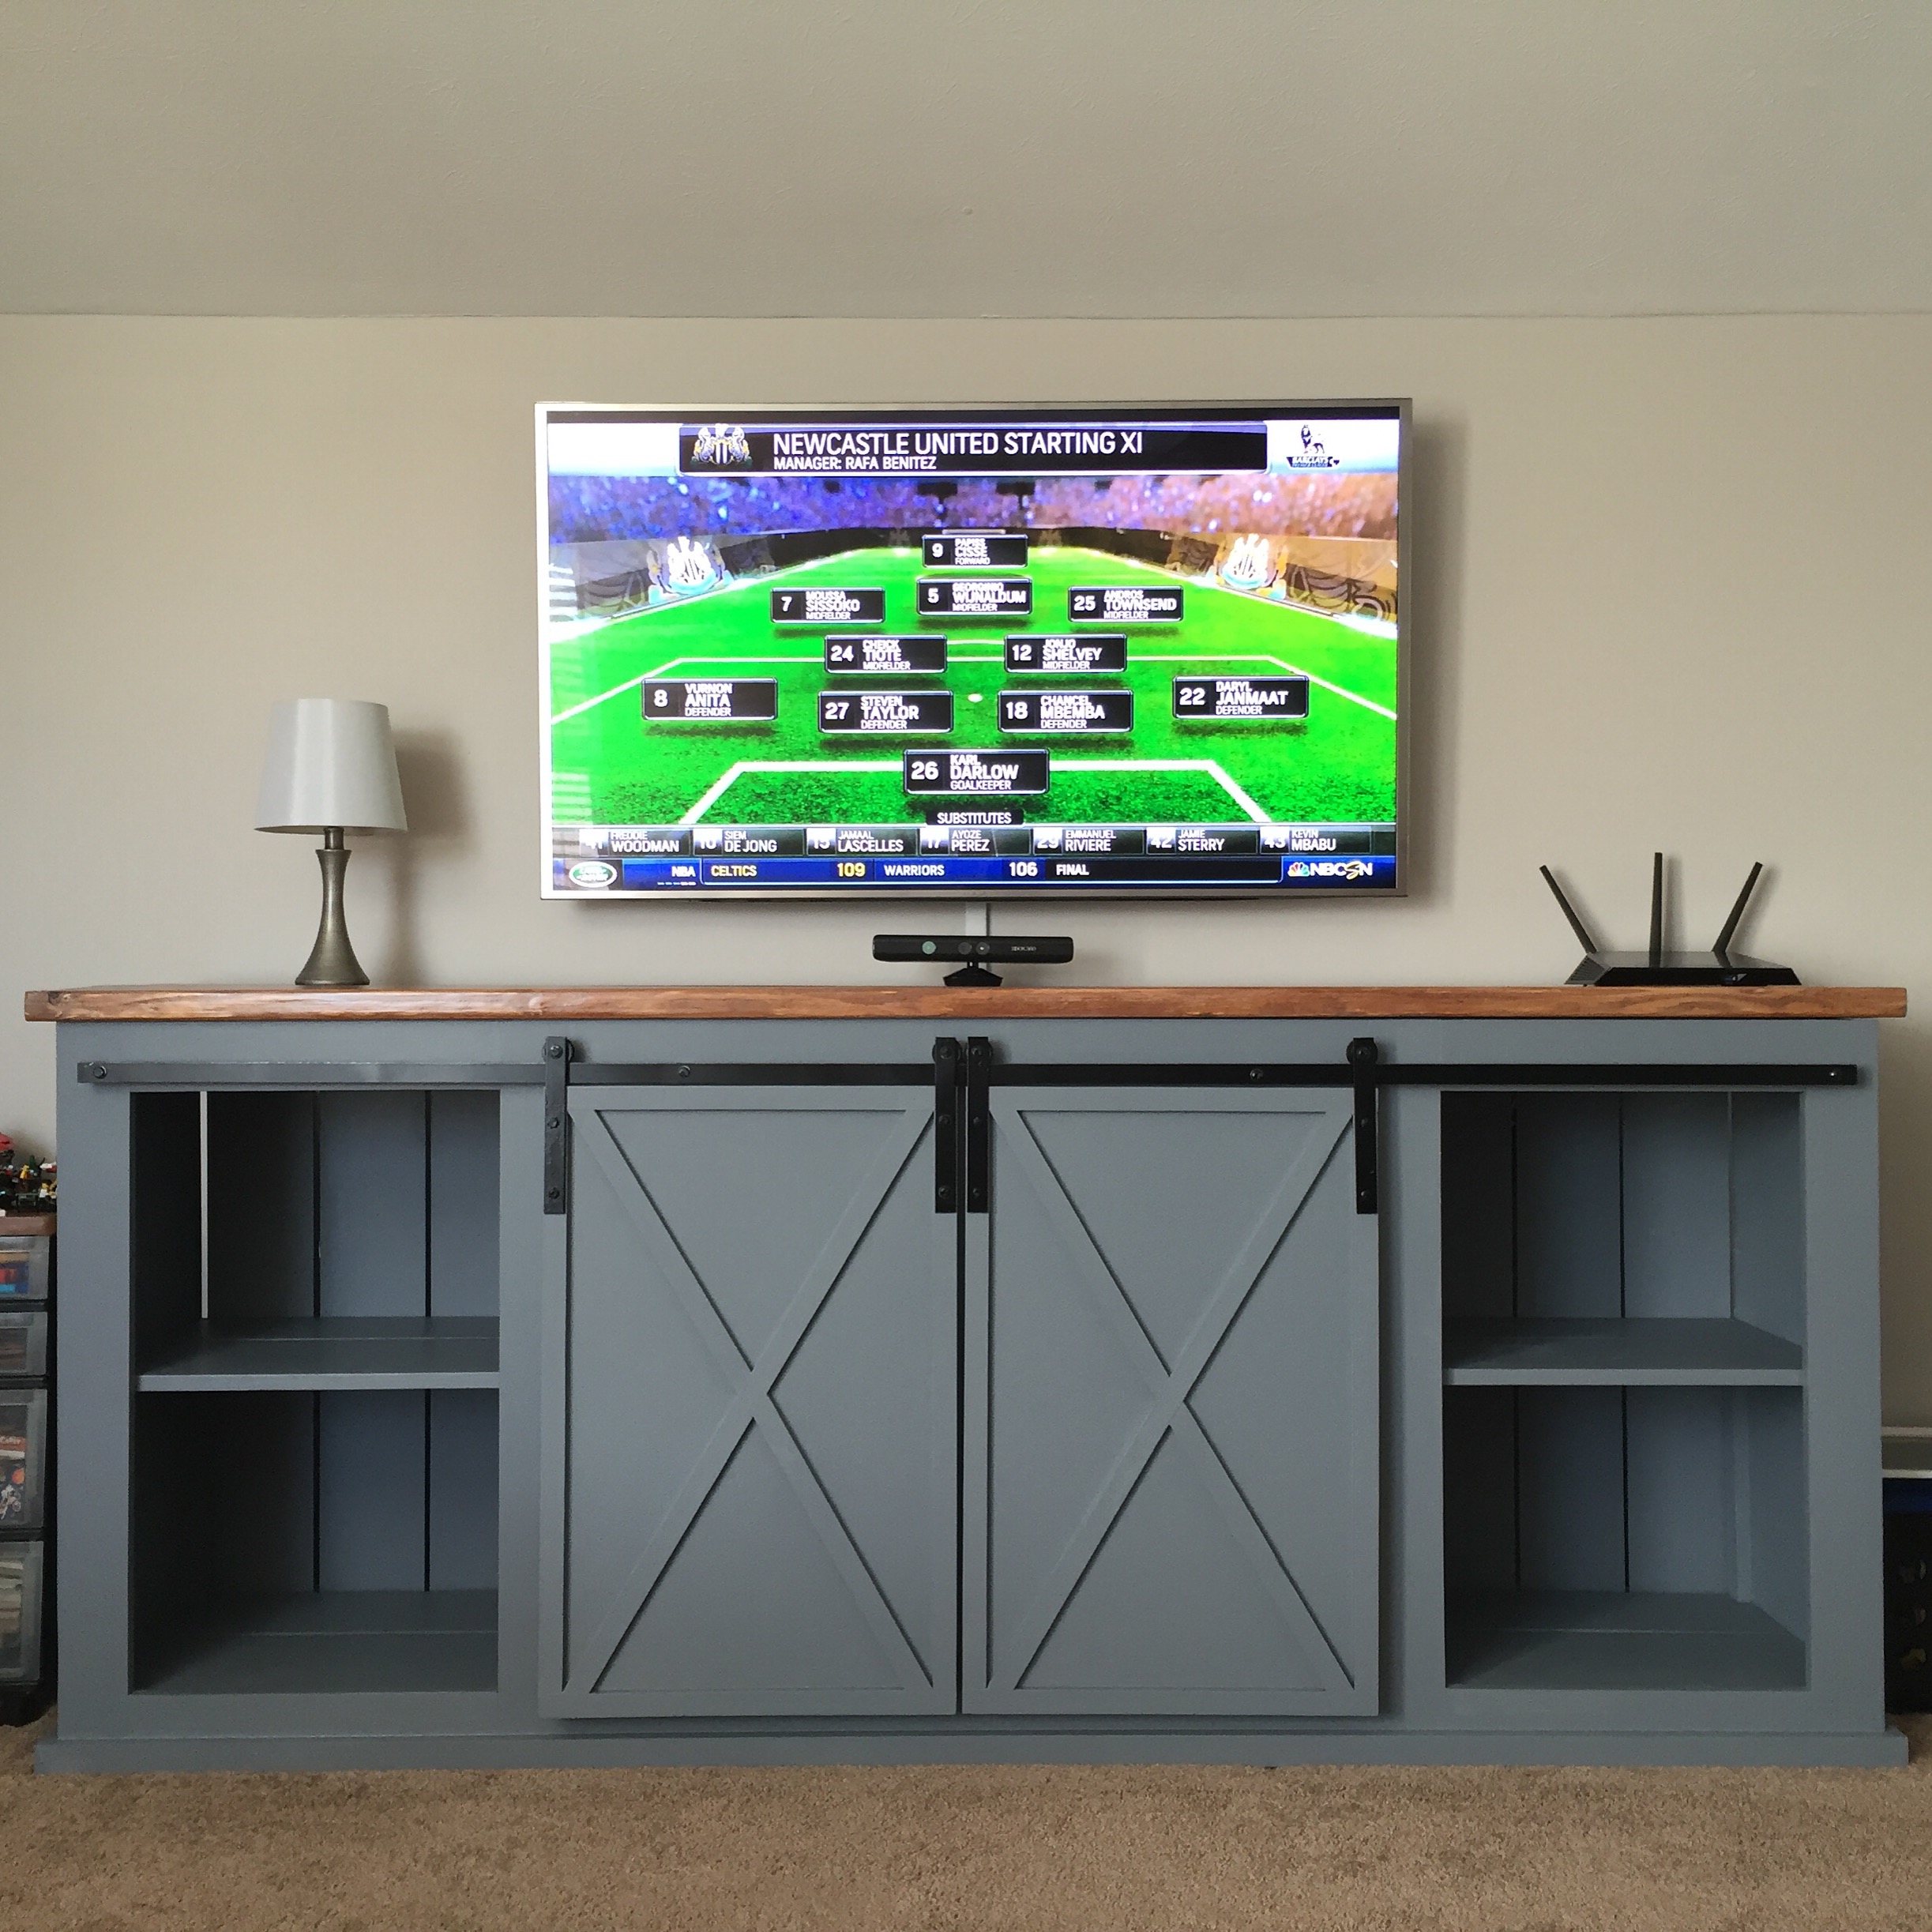
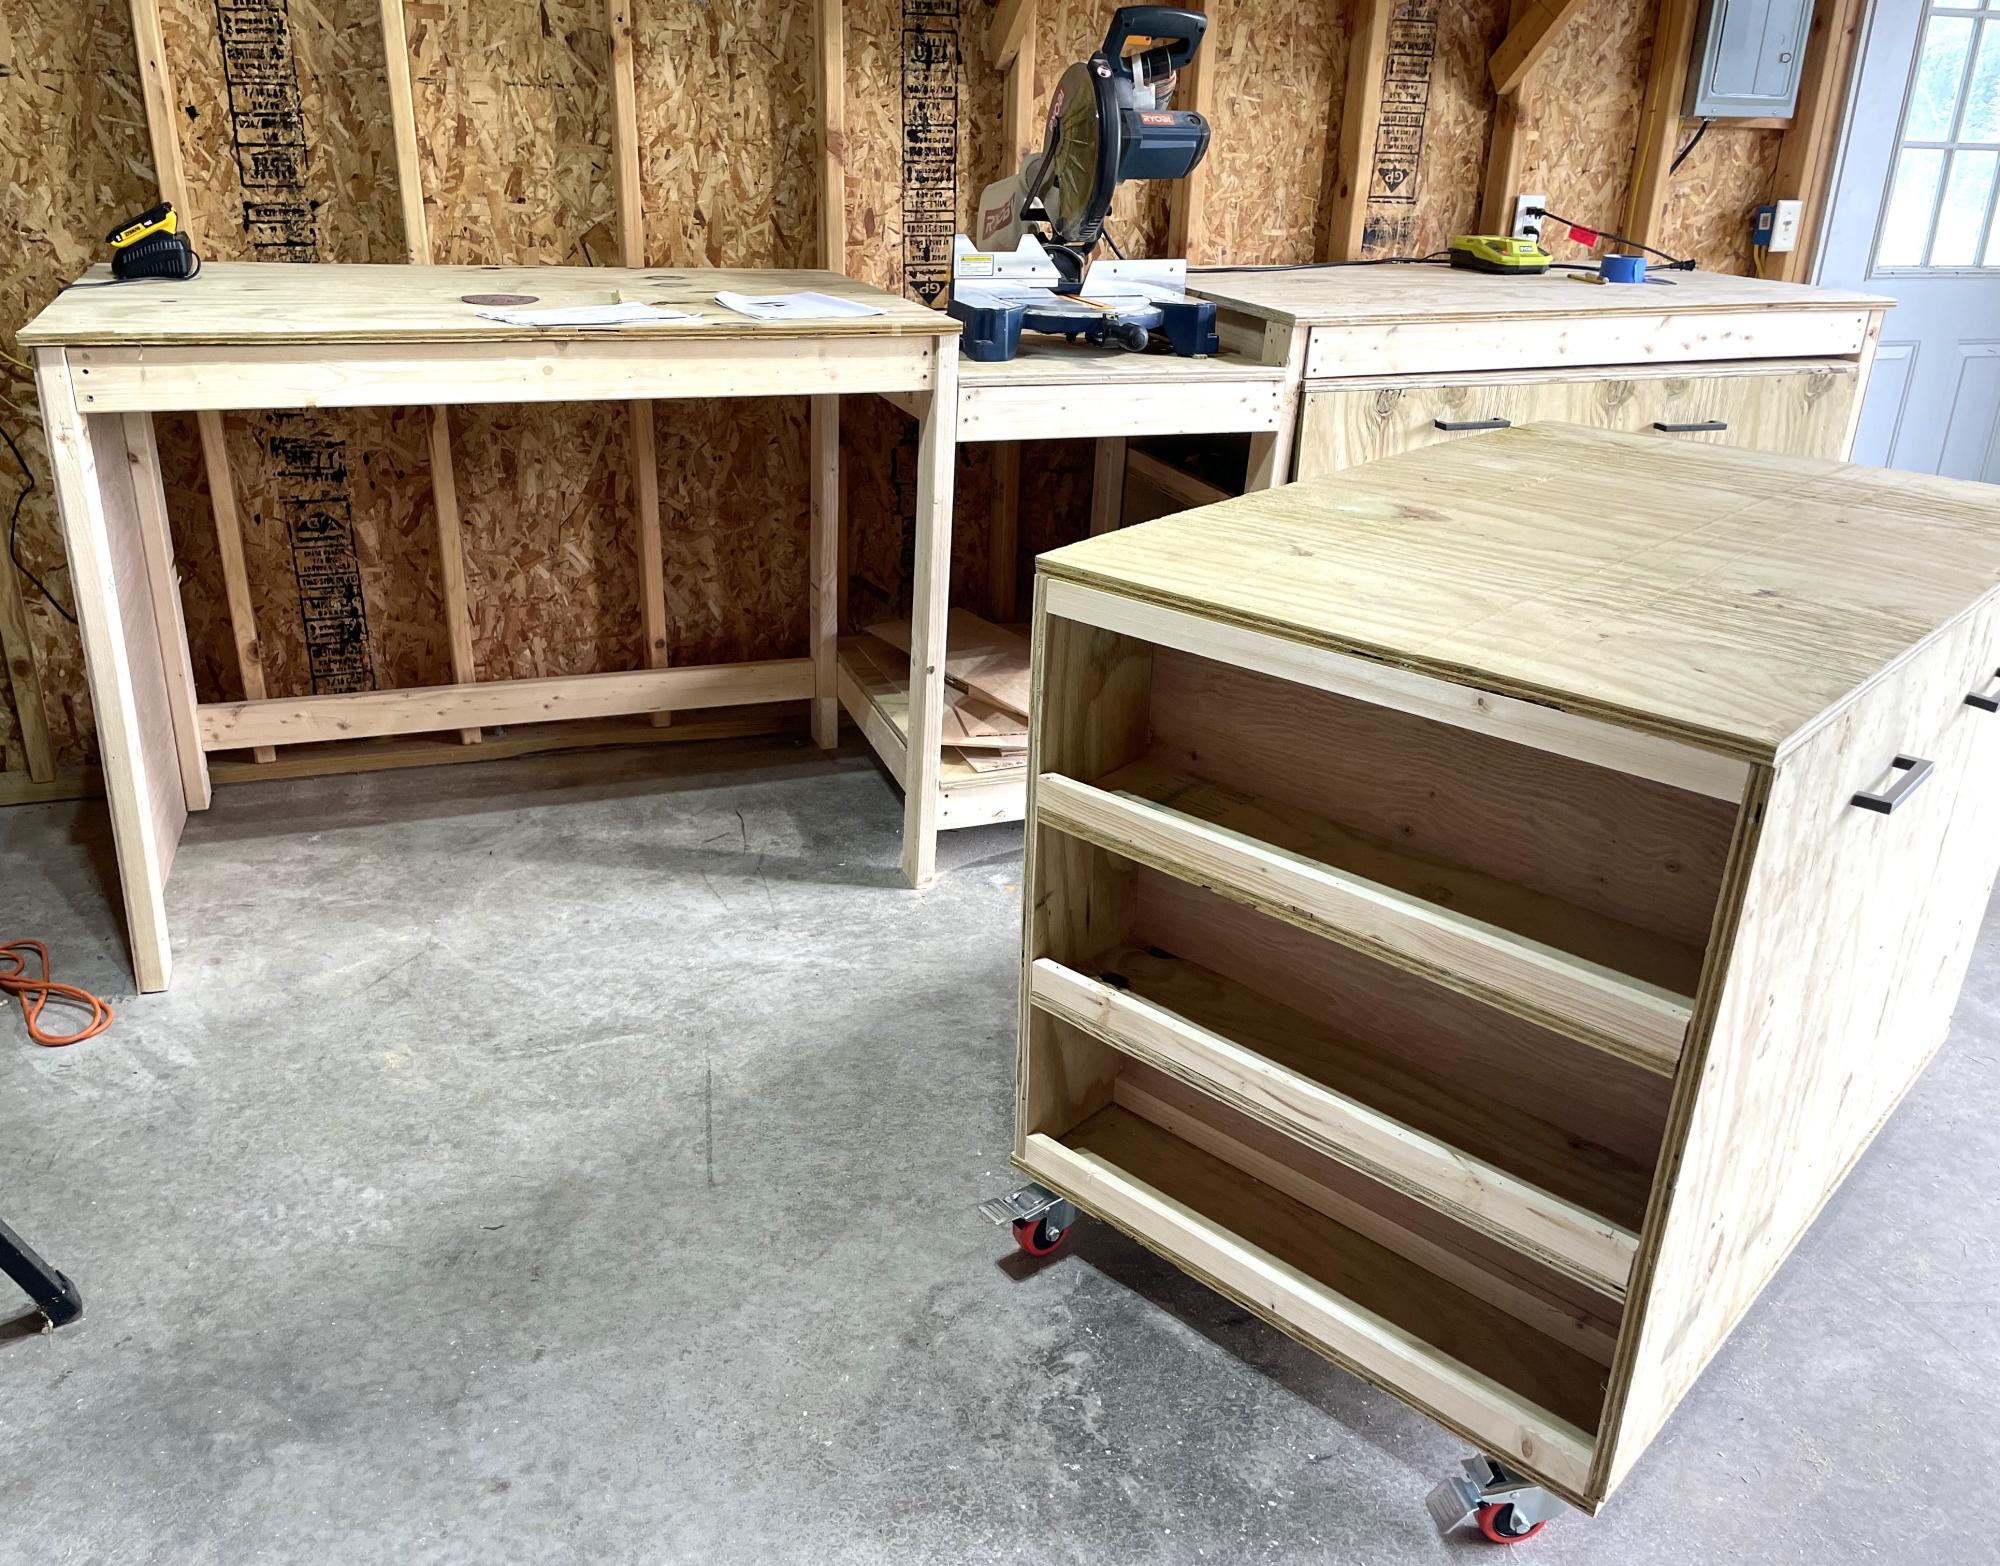
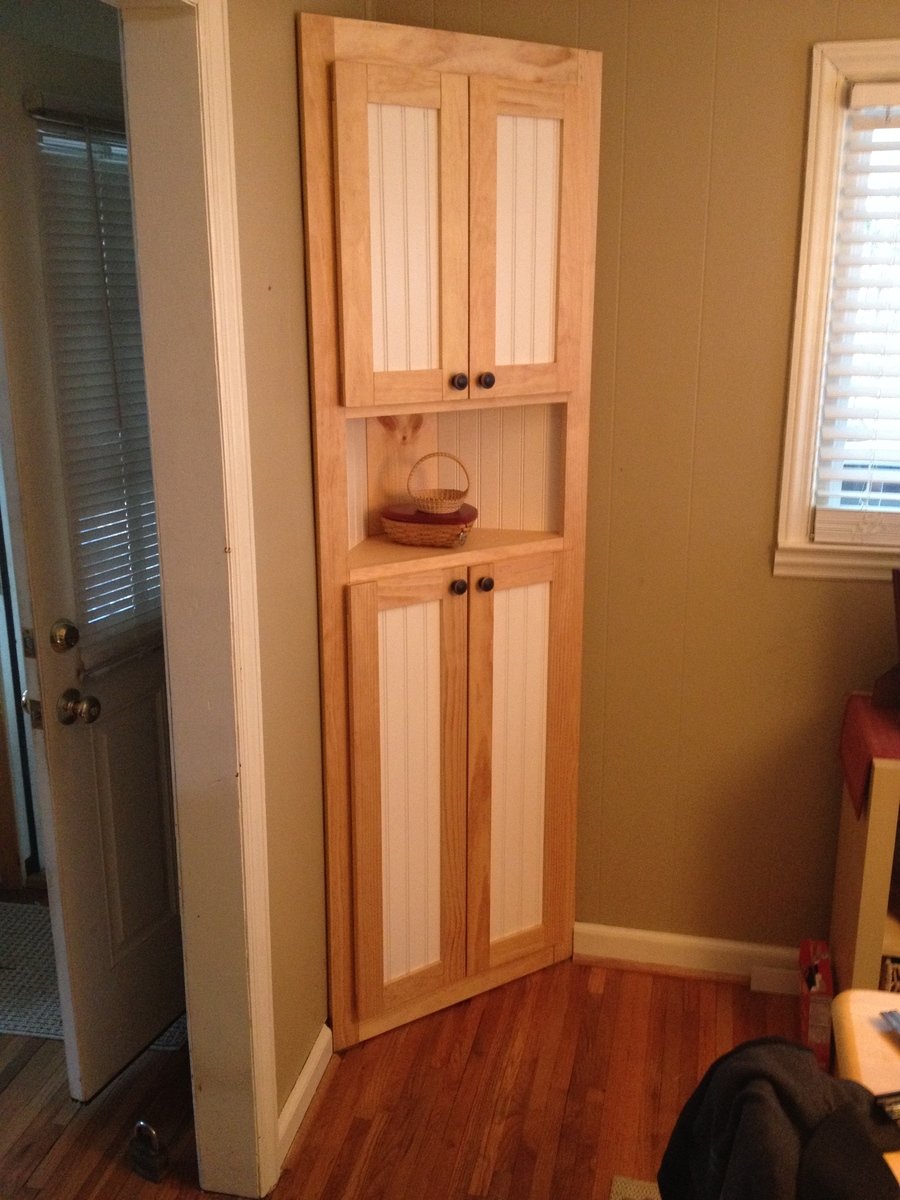
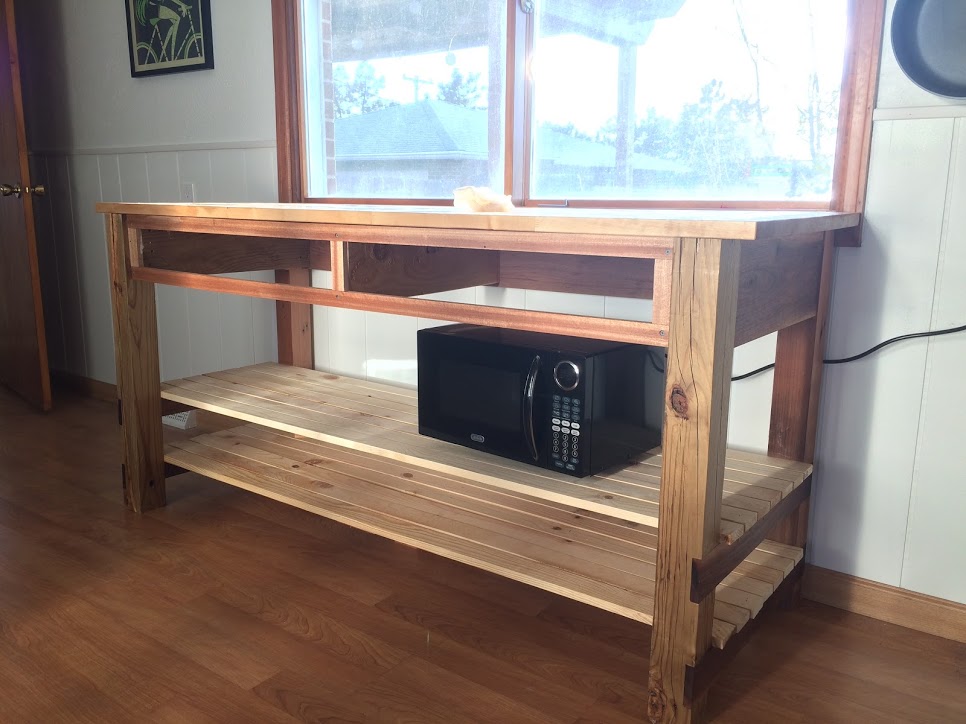
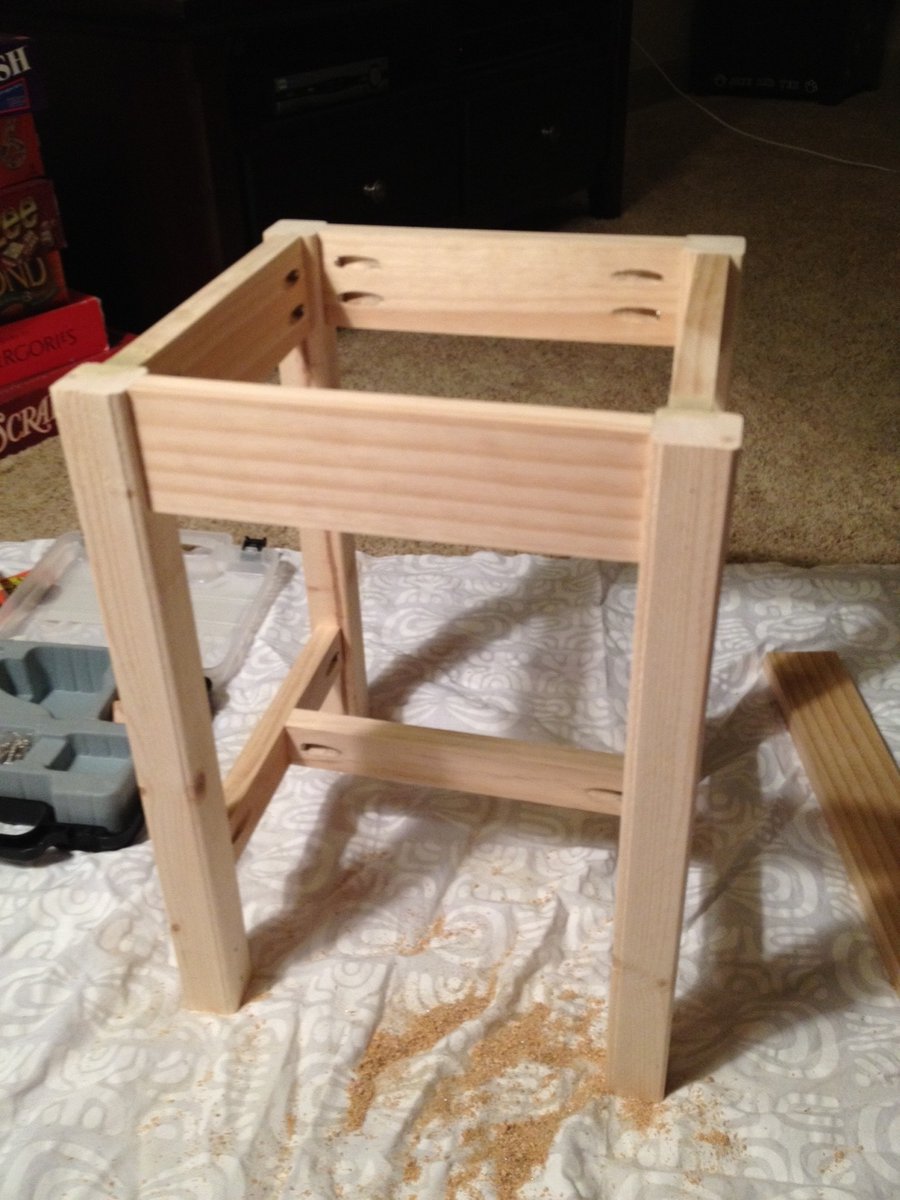
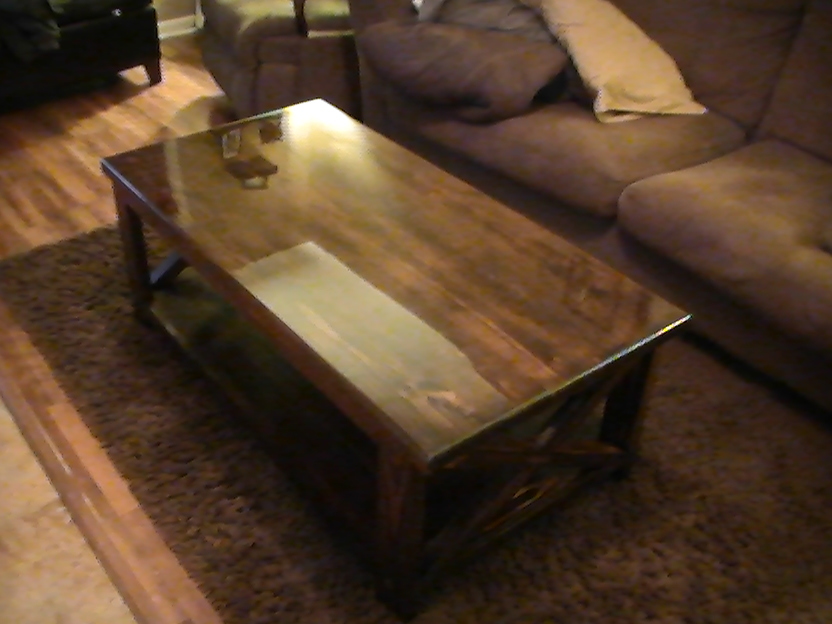
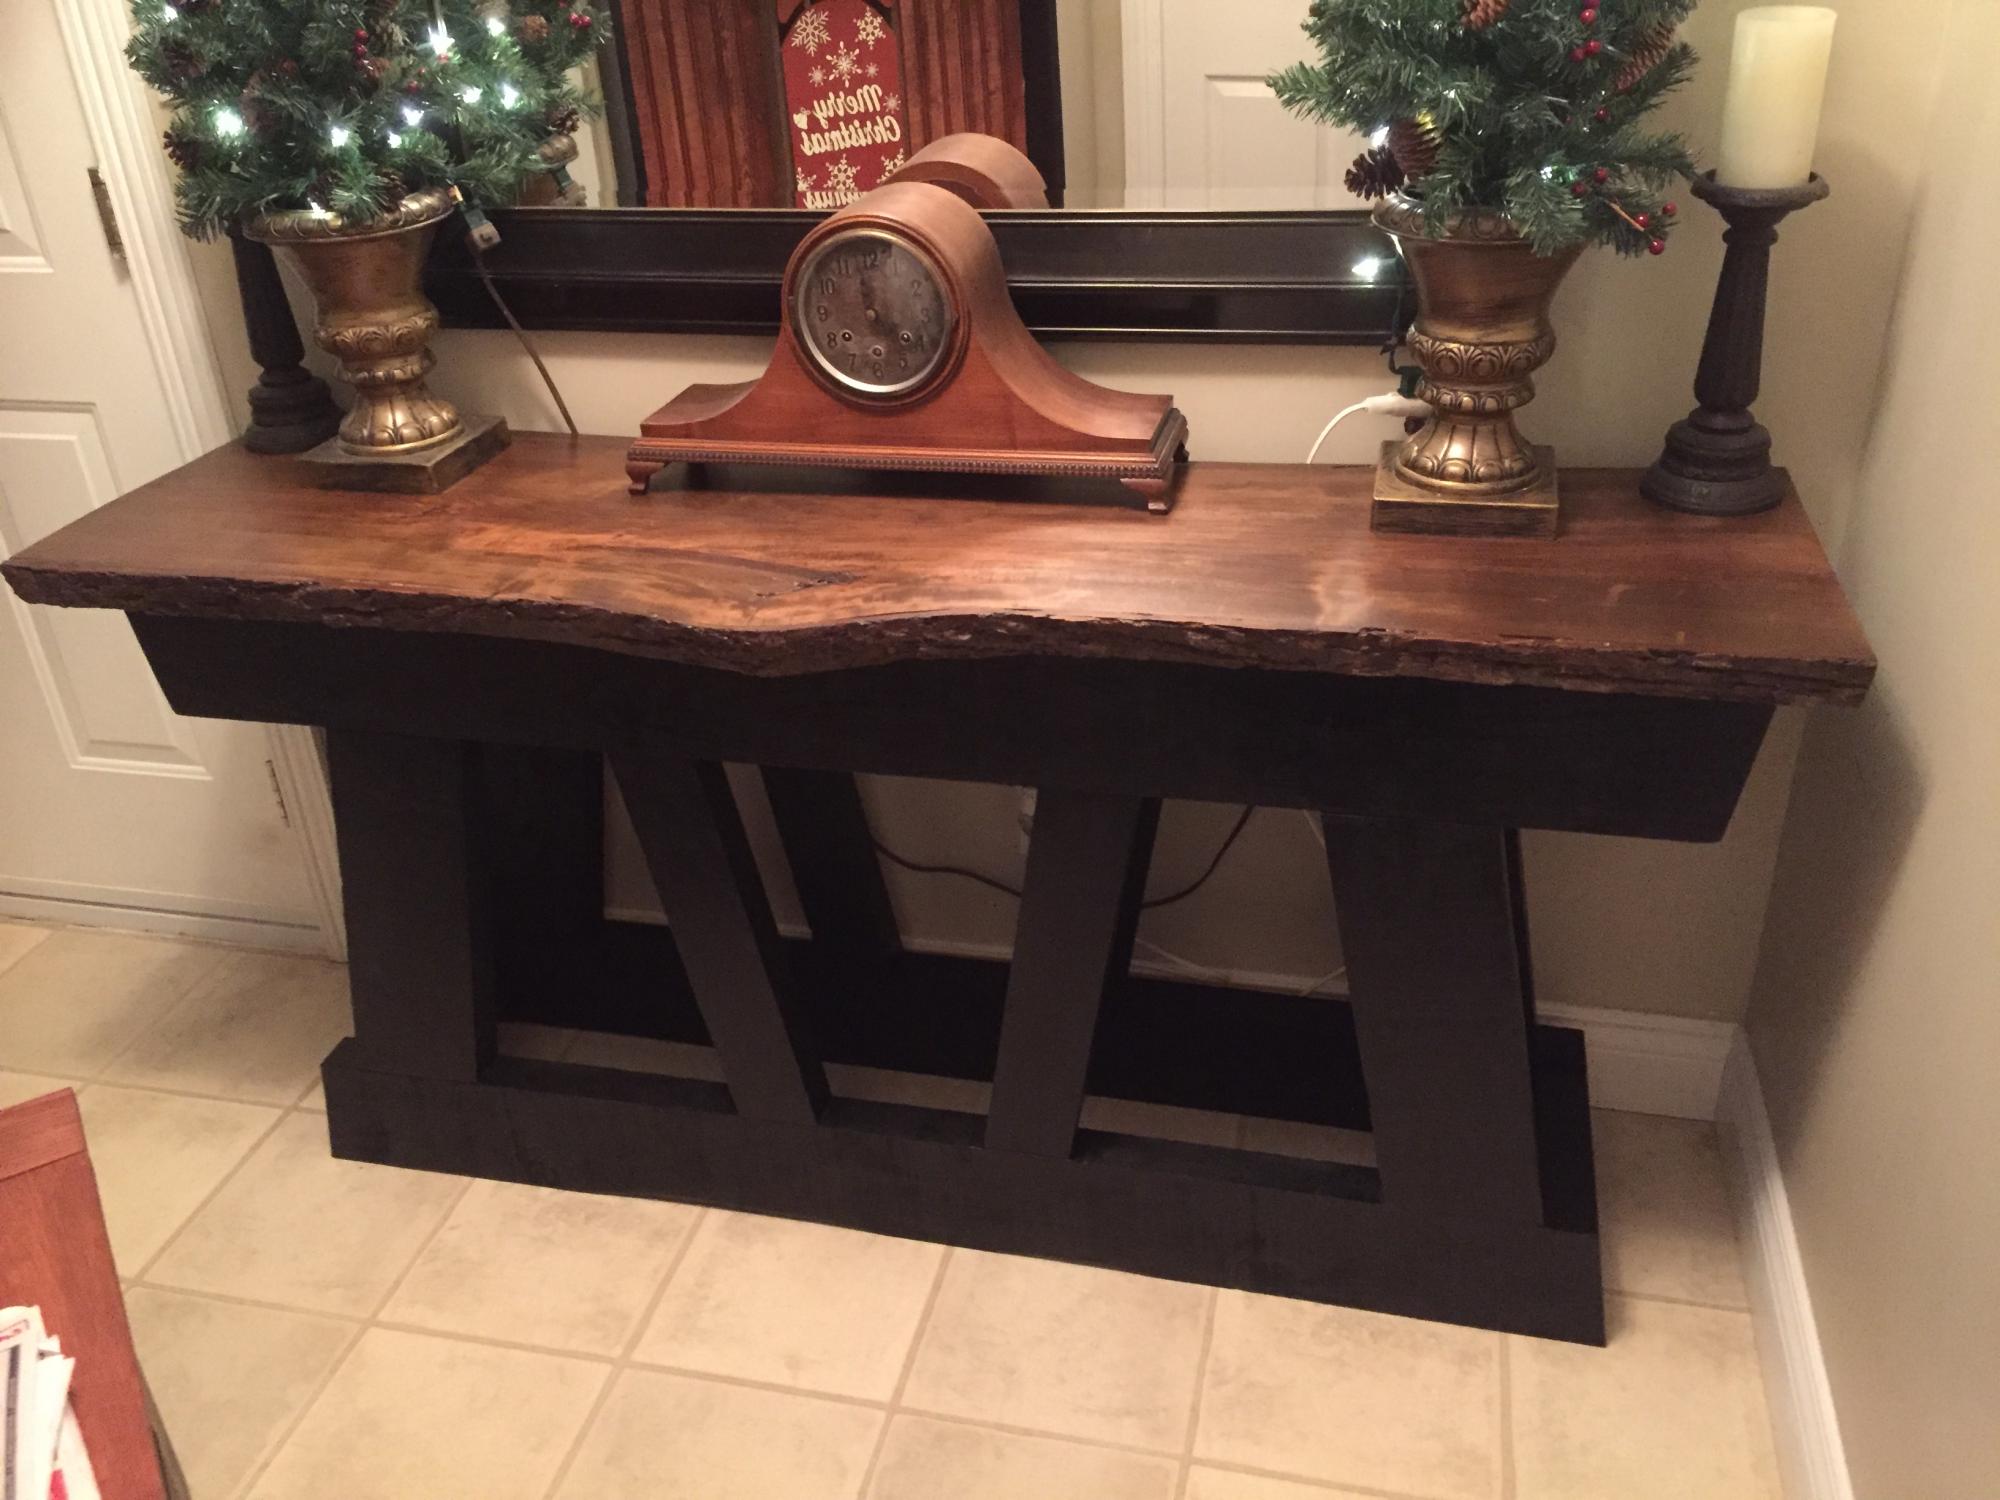
Built from plans on this website, with some modifications.
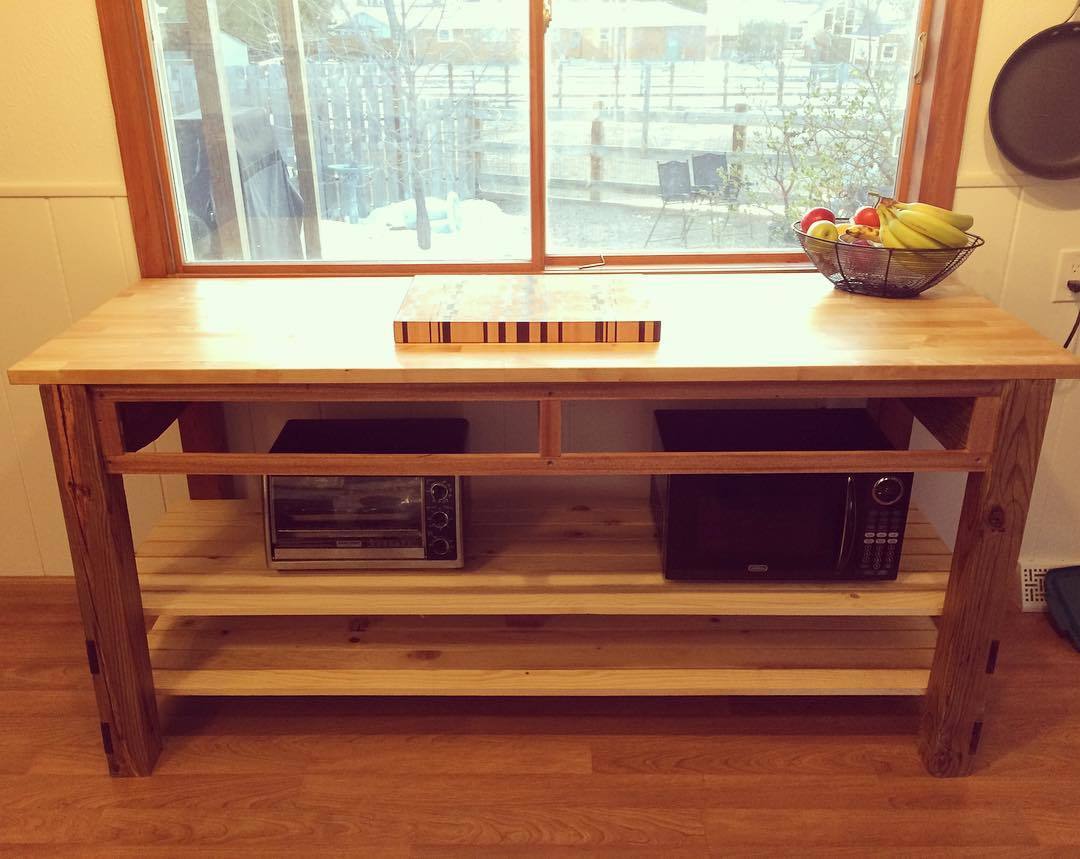
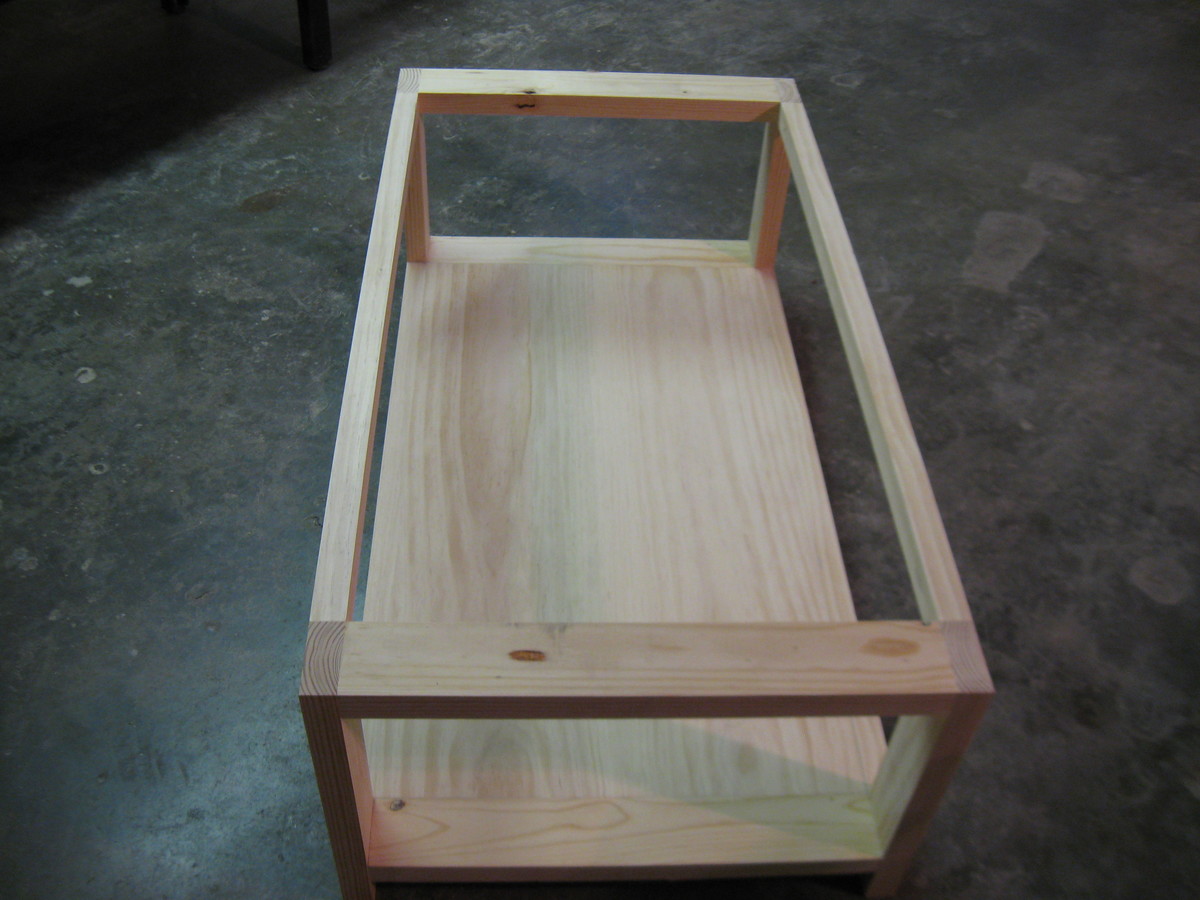
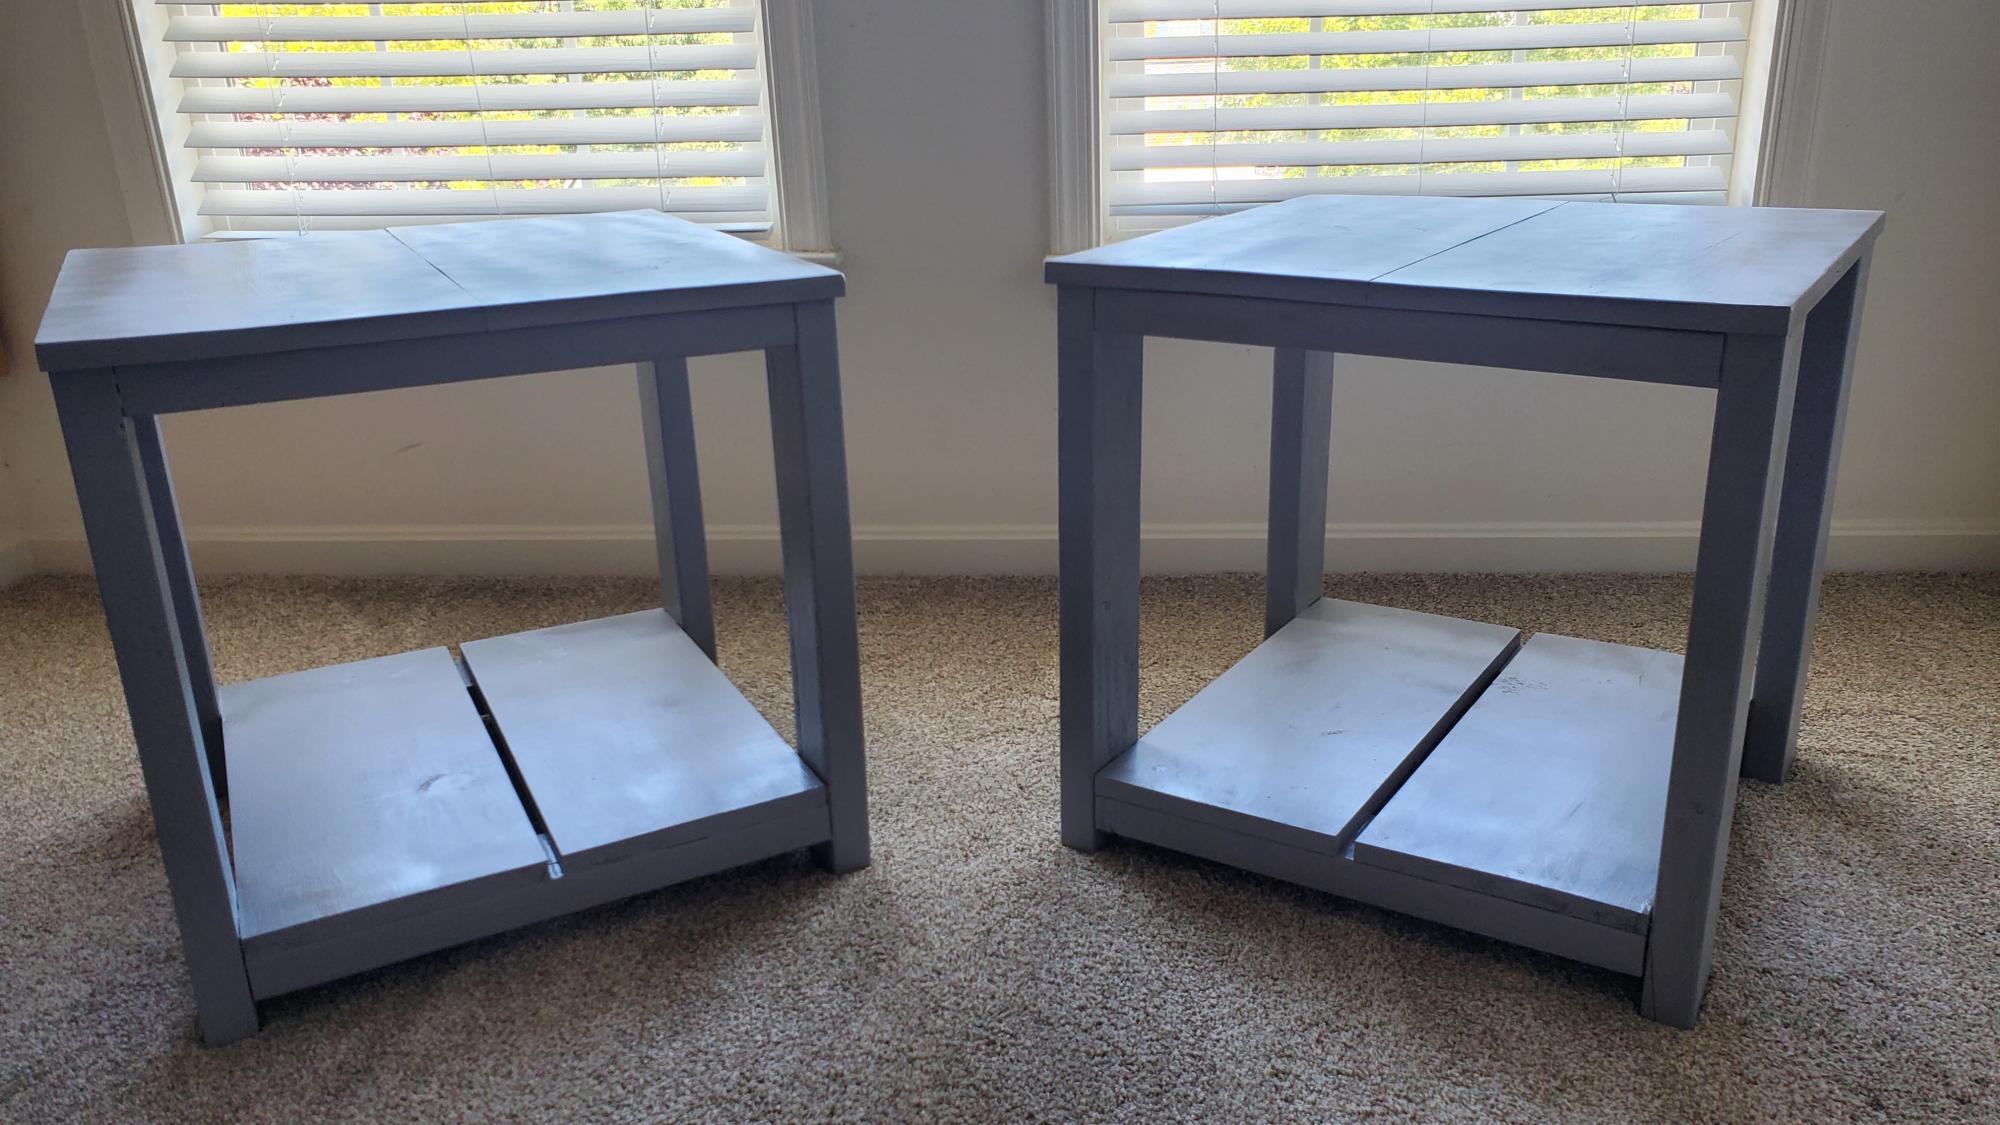
i used 8-ft x 16-in x 3/4-in edge-glued boards from Lowe’s for the shelves. Instead of cutting the boards to length, I widened the console slightly to accommodate.
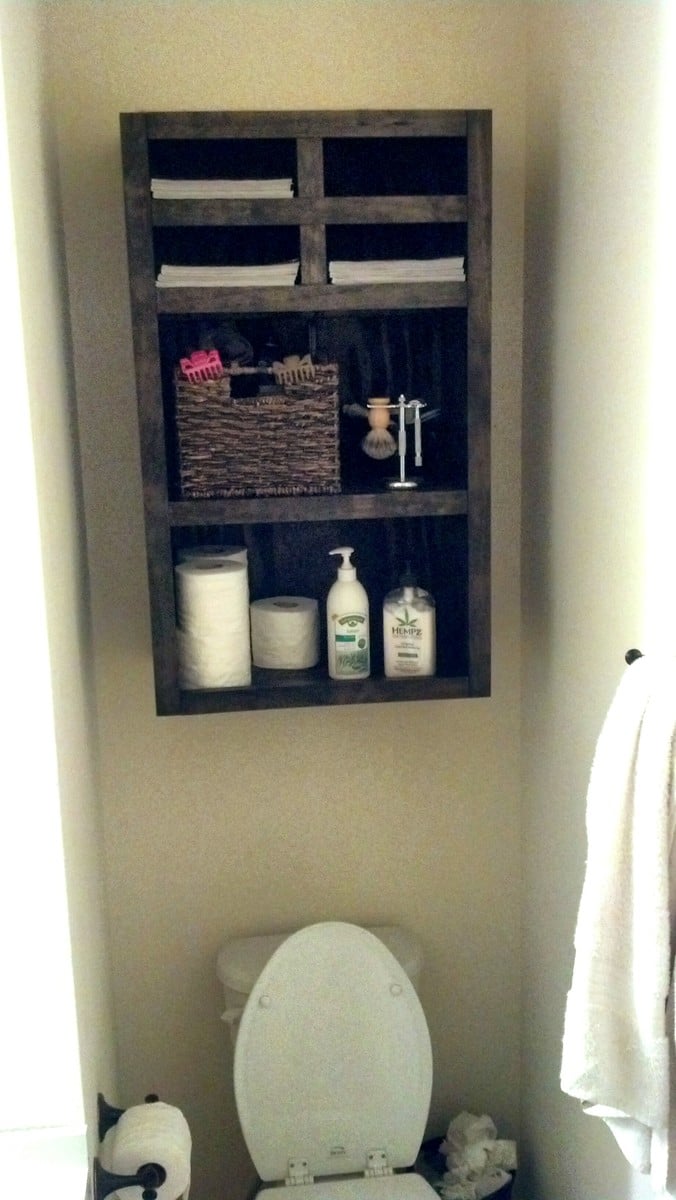
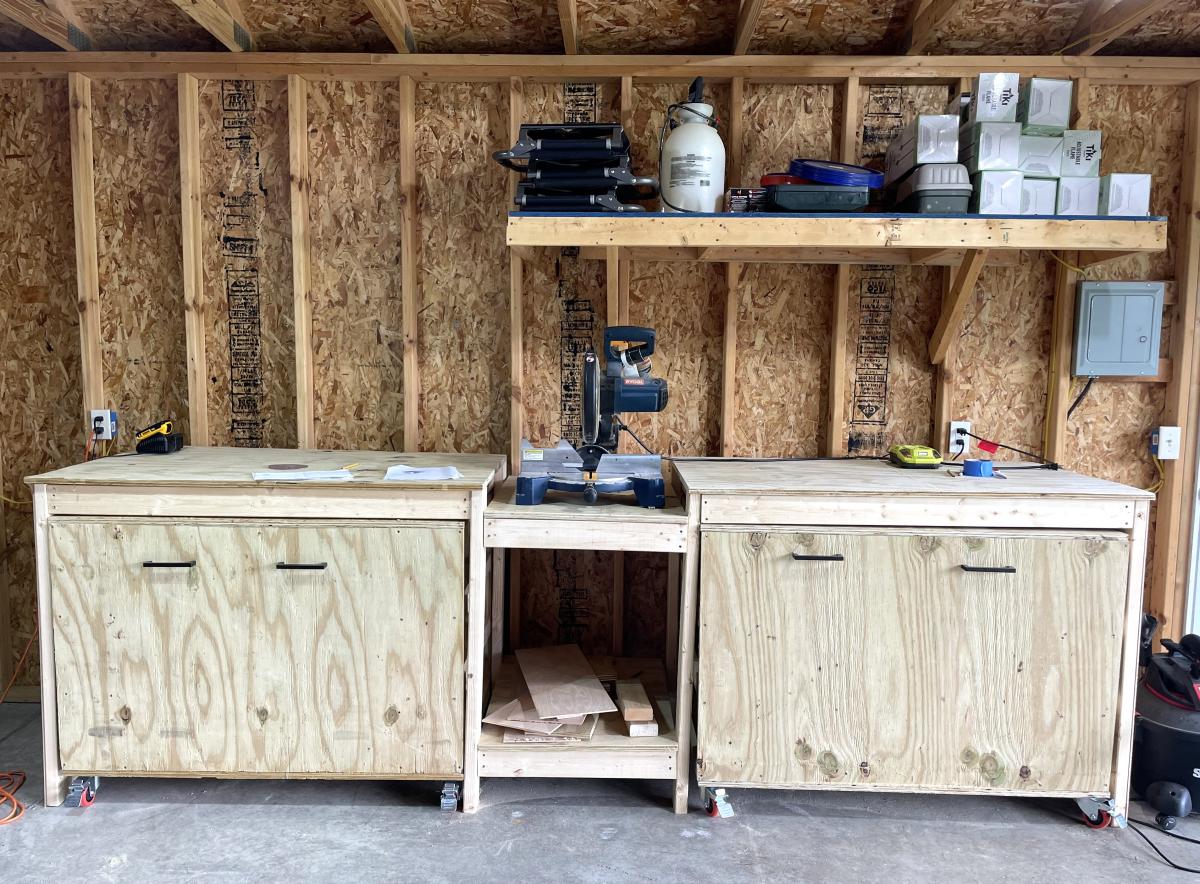
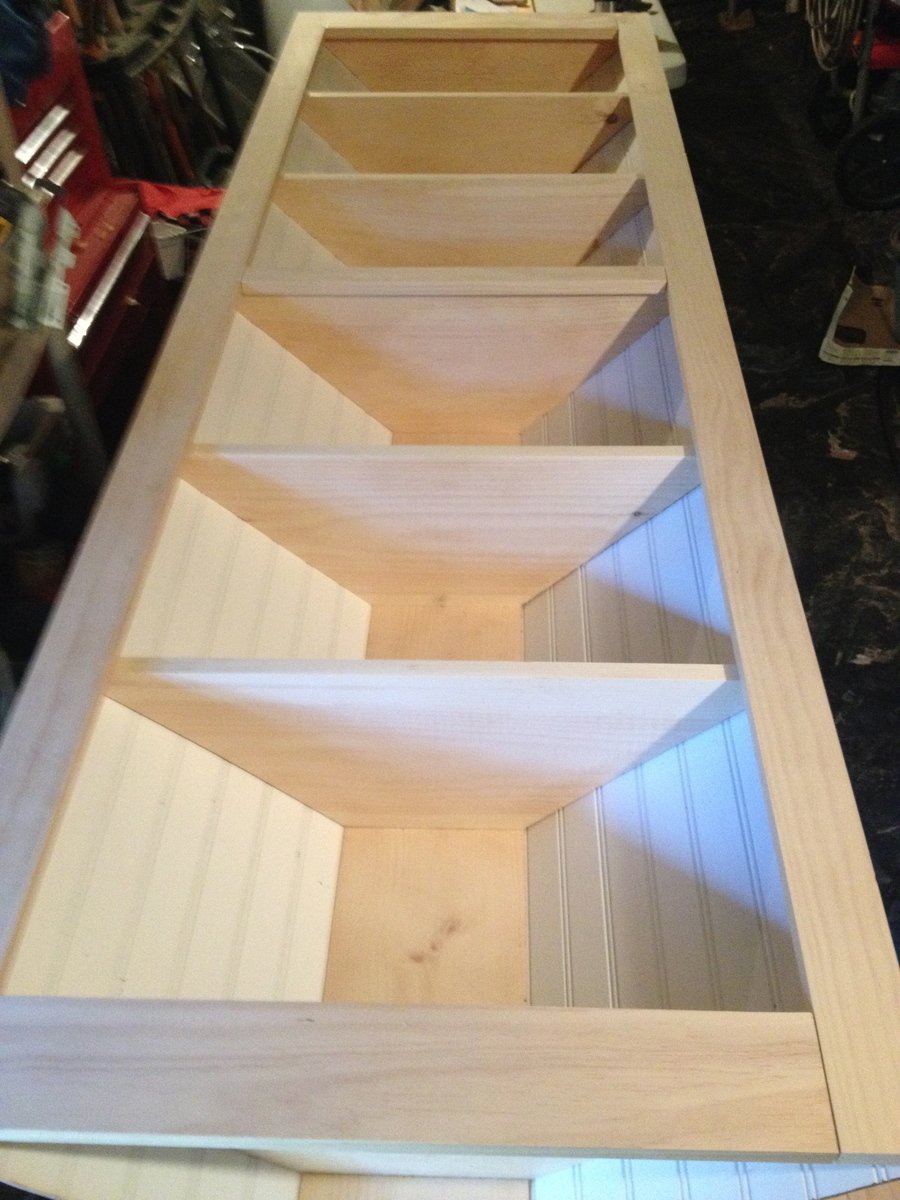
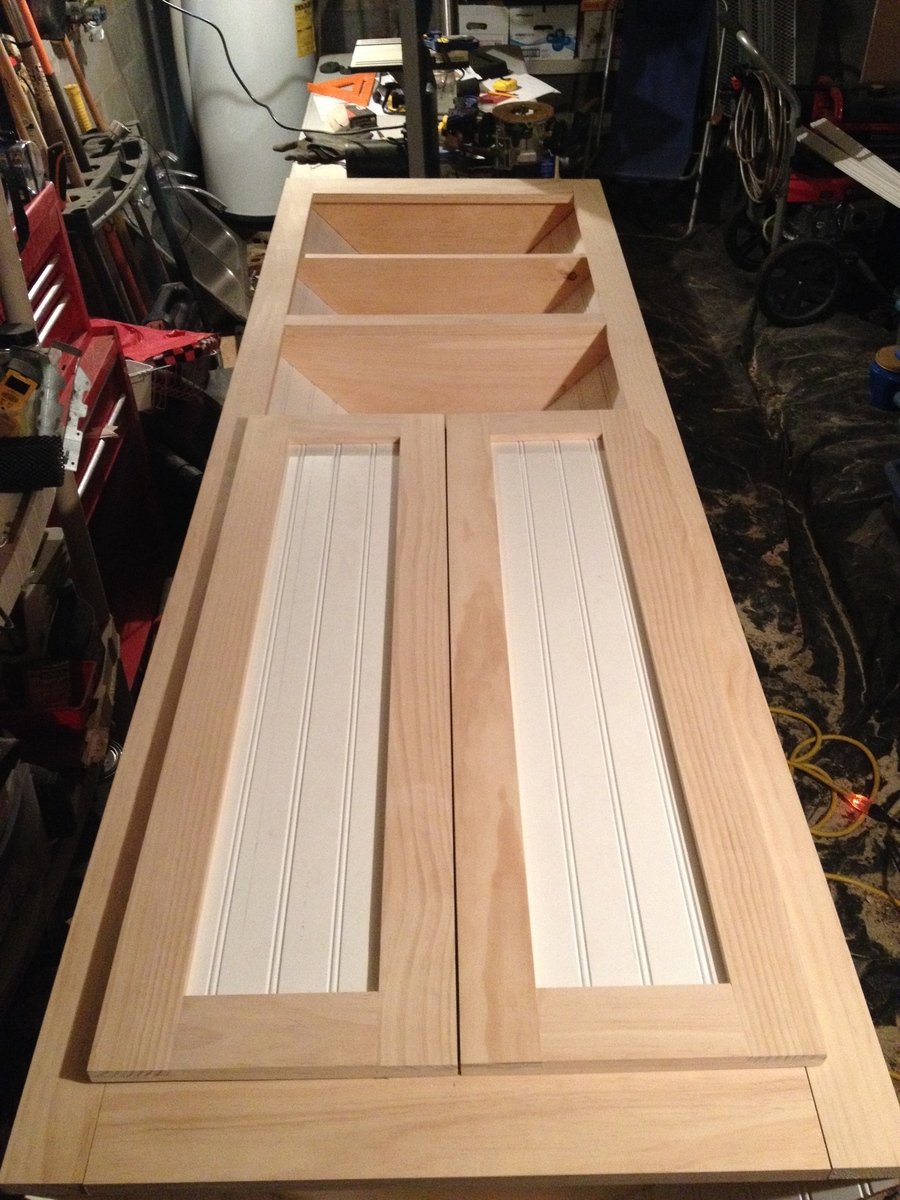
I added an extra shelf to increase storage. I also added vertical dividers between the shelves to increase strength and prevent sagging.
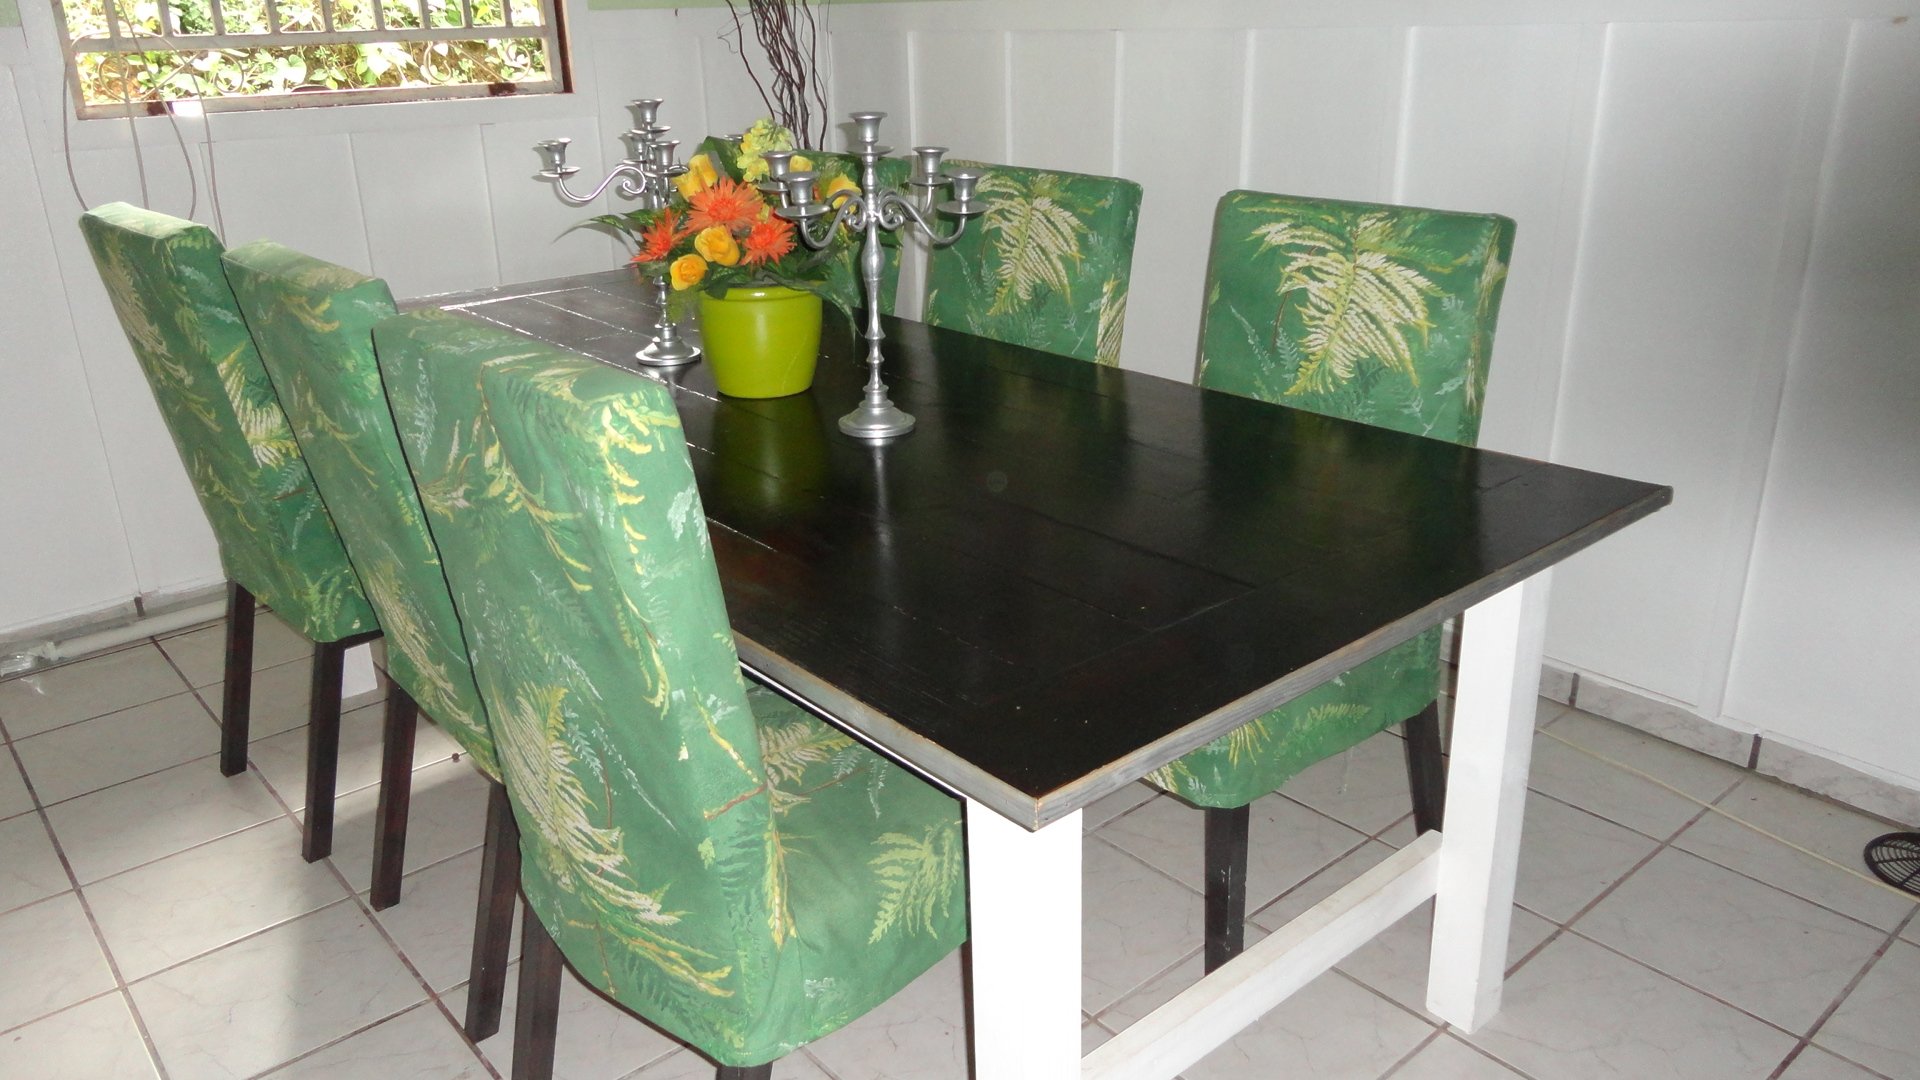
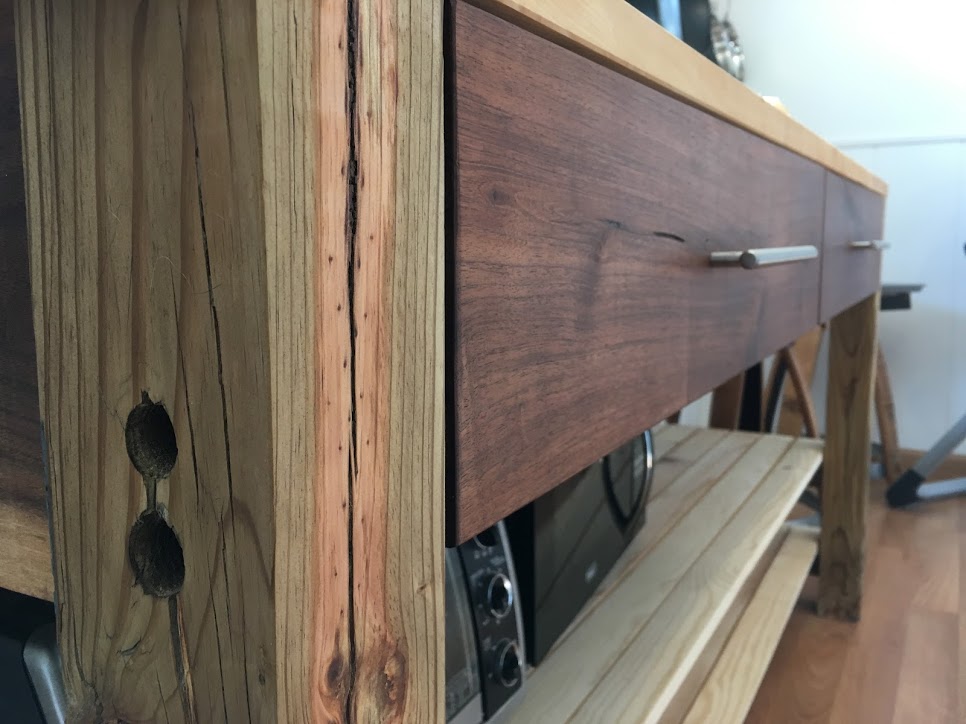
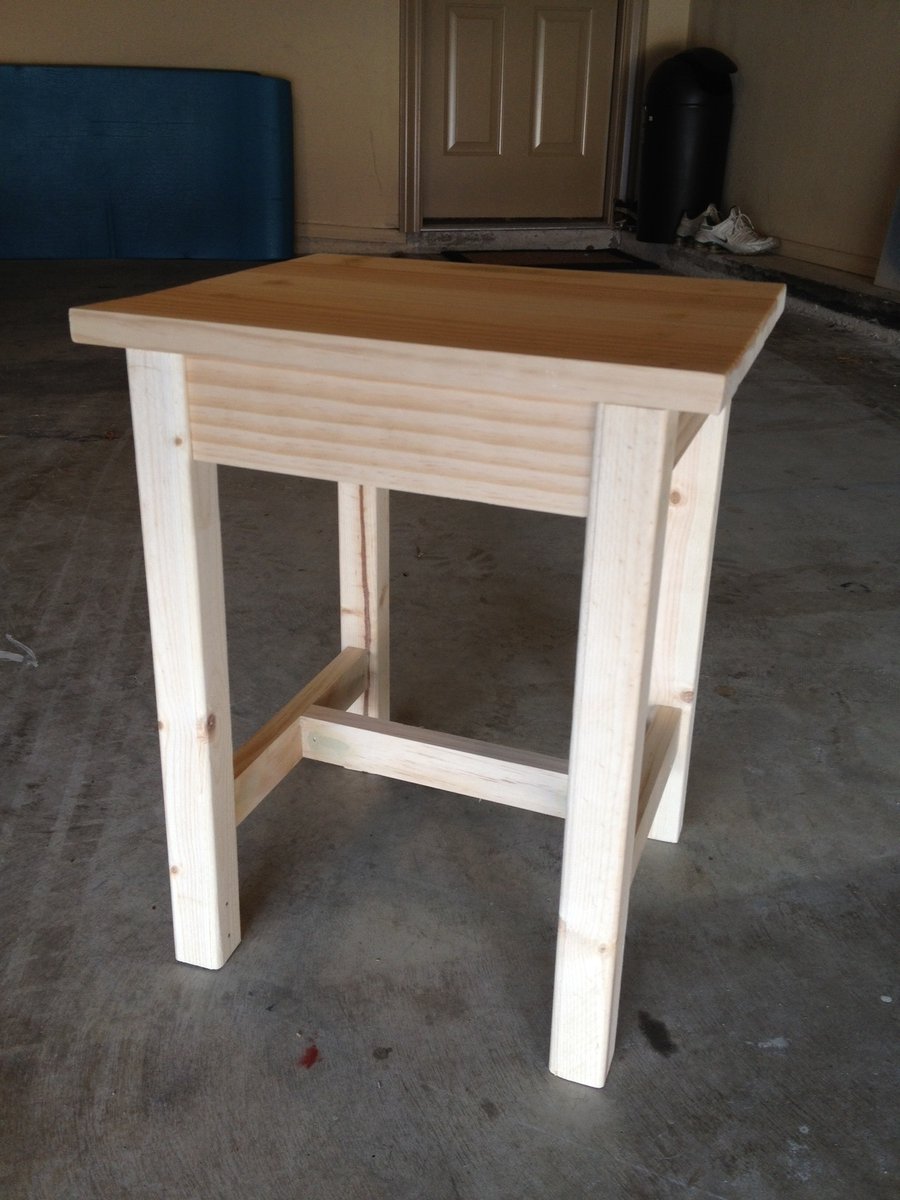
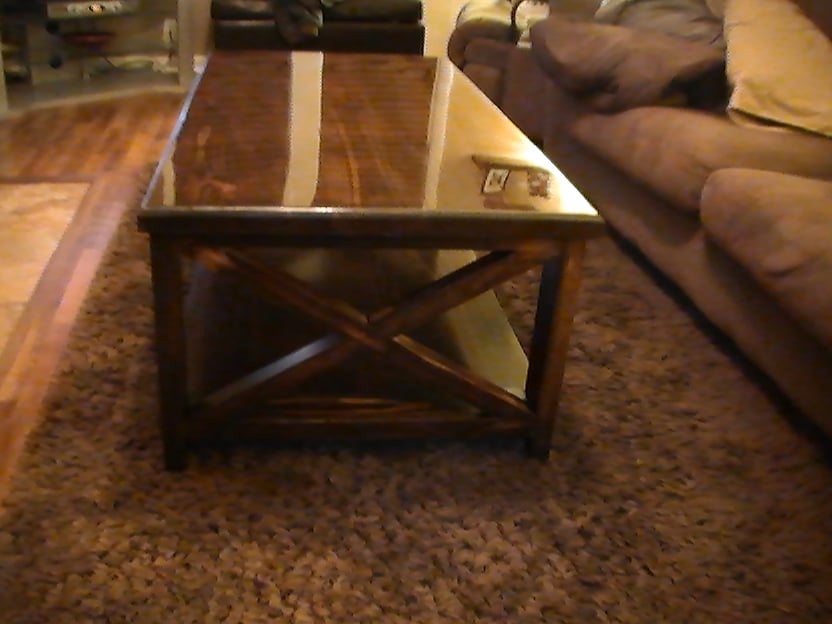
The top is an 8-ft x 20-in edge-glued board with a piece of 1x4 board added on at each end. I then added strips of 1x2 underneath on all sides to create an overhang. The top is not fastened on with screws or any other fasteners. Its weight keeps it in place, and being removable will make it easier to move the console, if necessary, in the future.
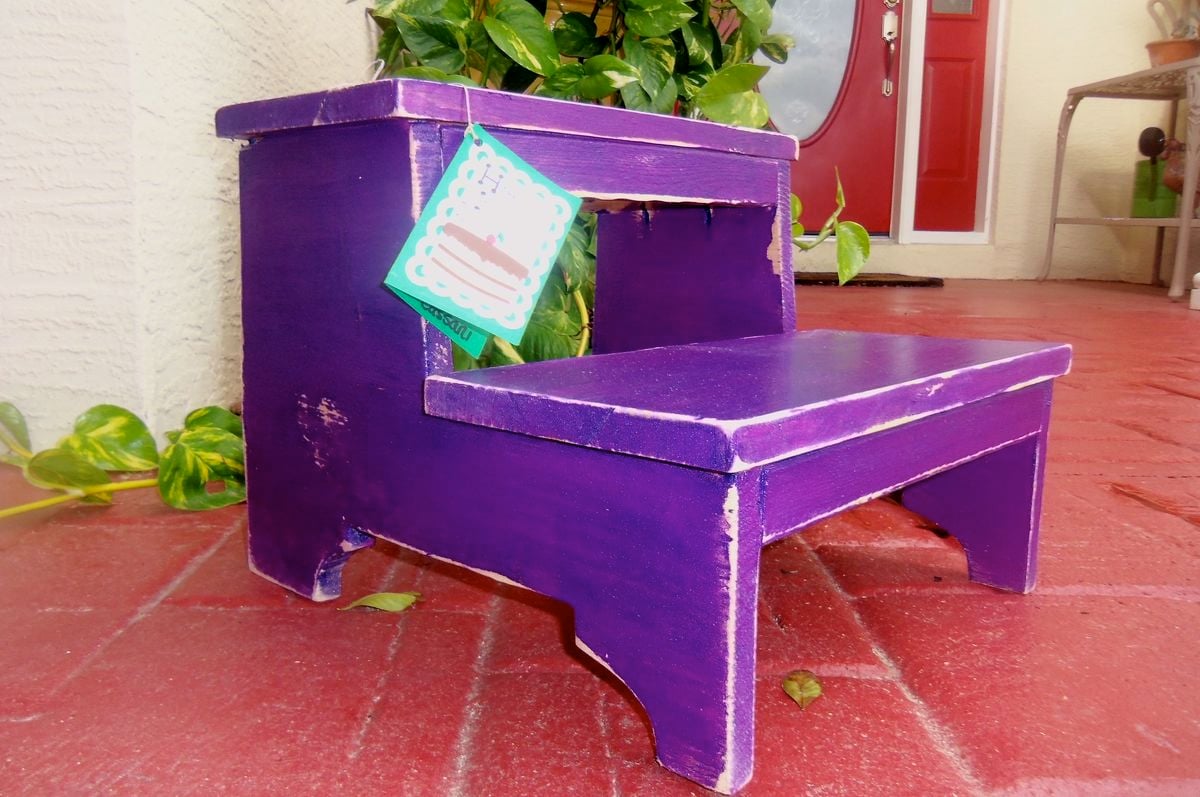
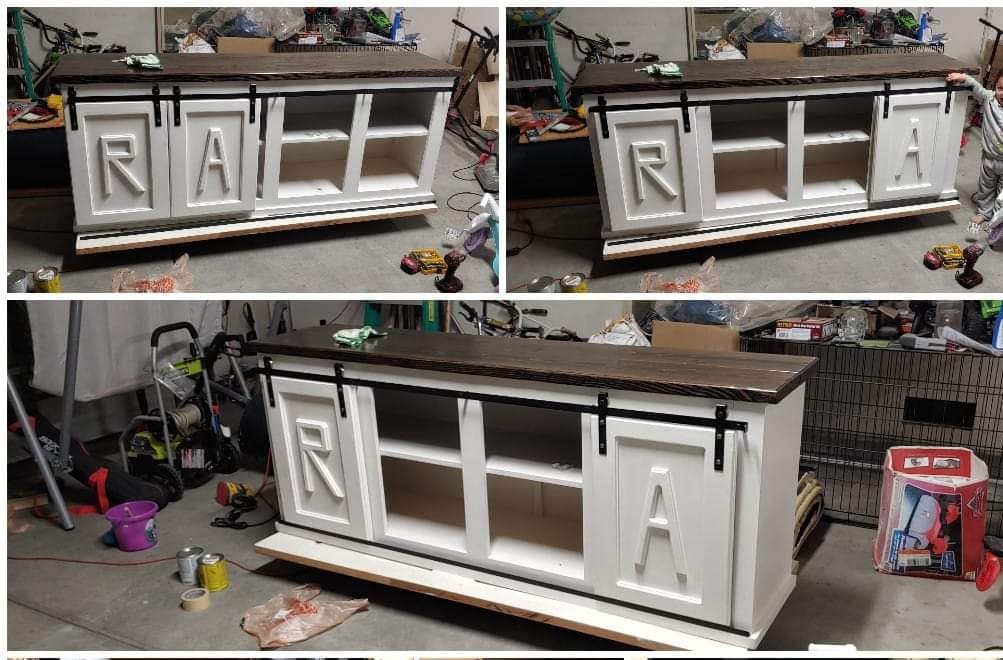
I couldn’t find a commercial stain that had the “red barn” look I wanted, so I used latex paint thinned with an approximately equal amount of water.
Estimated Time Investment
Week Long Project (20 Hours or More)
Finish Used
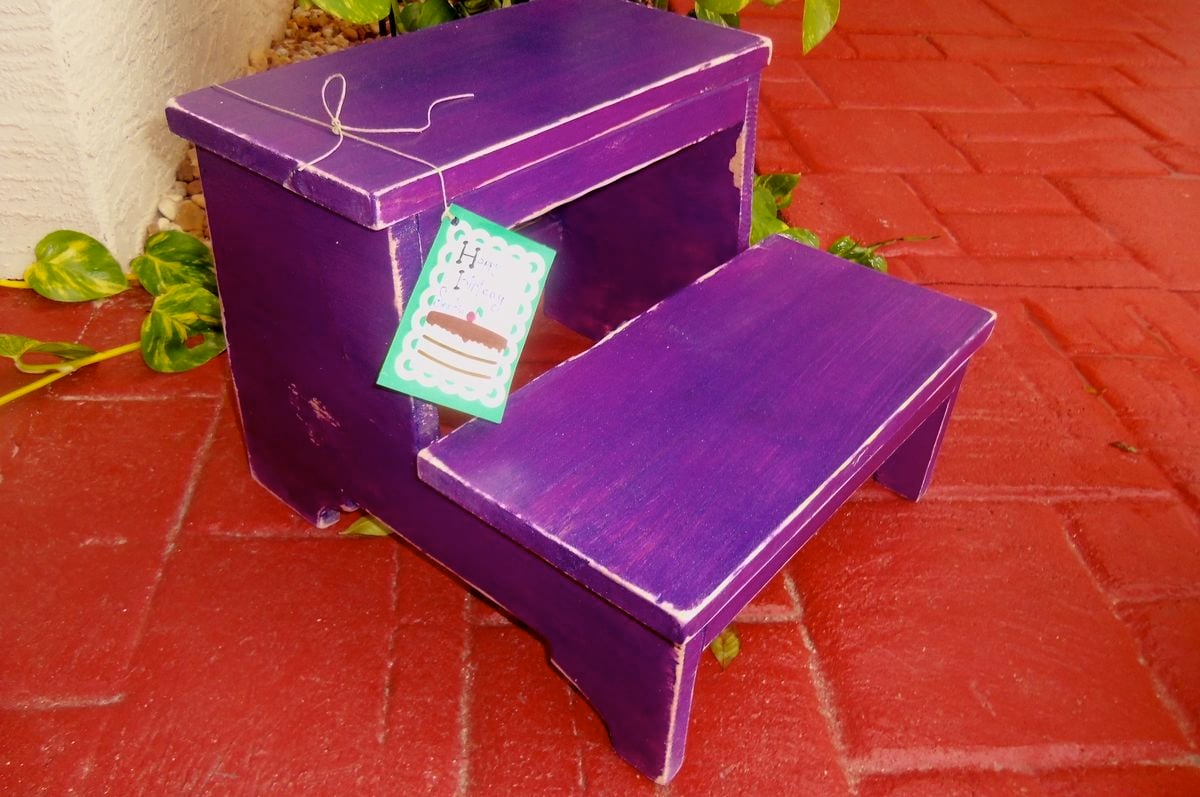
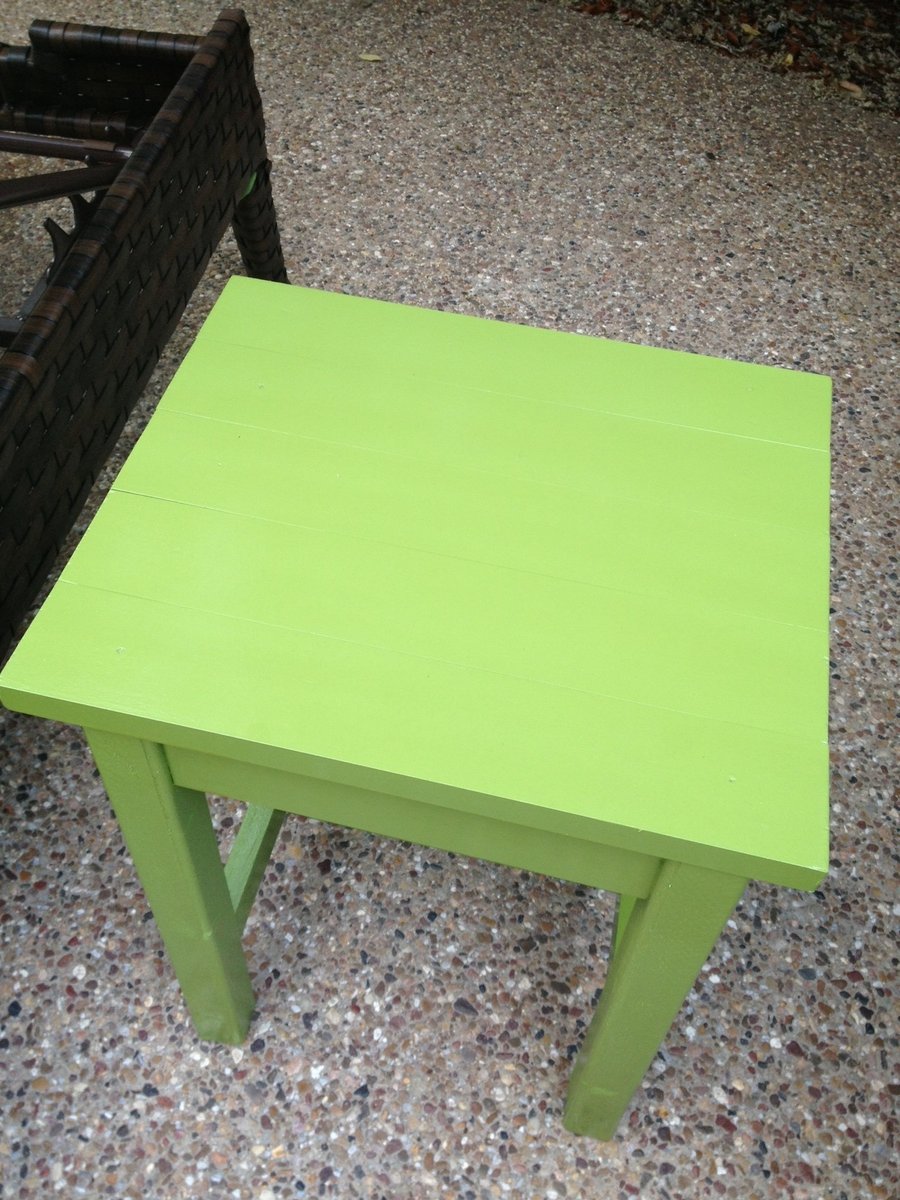
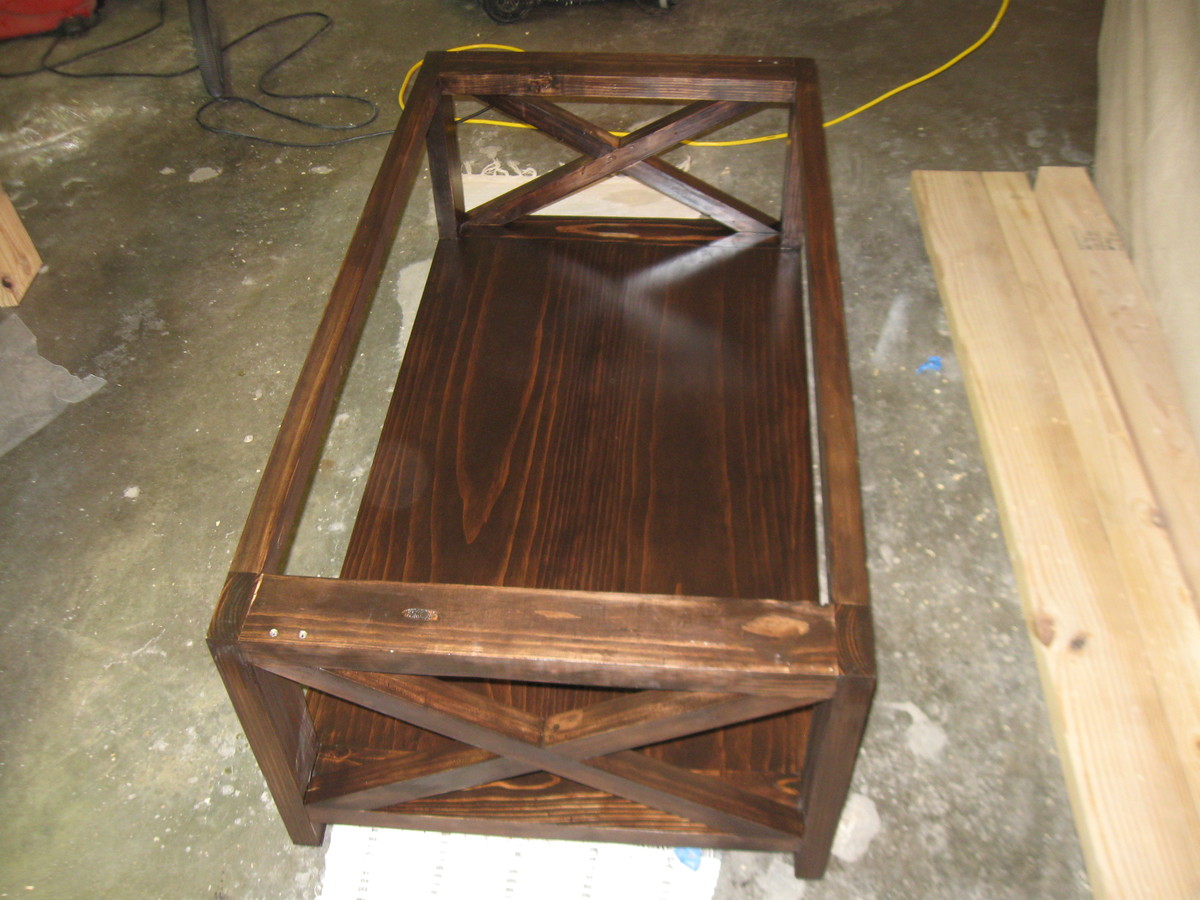
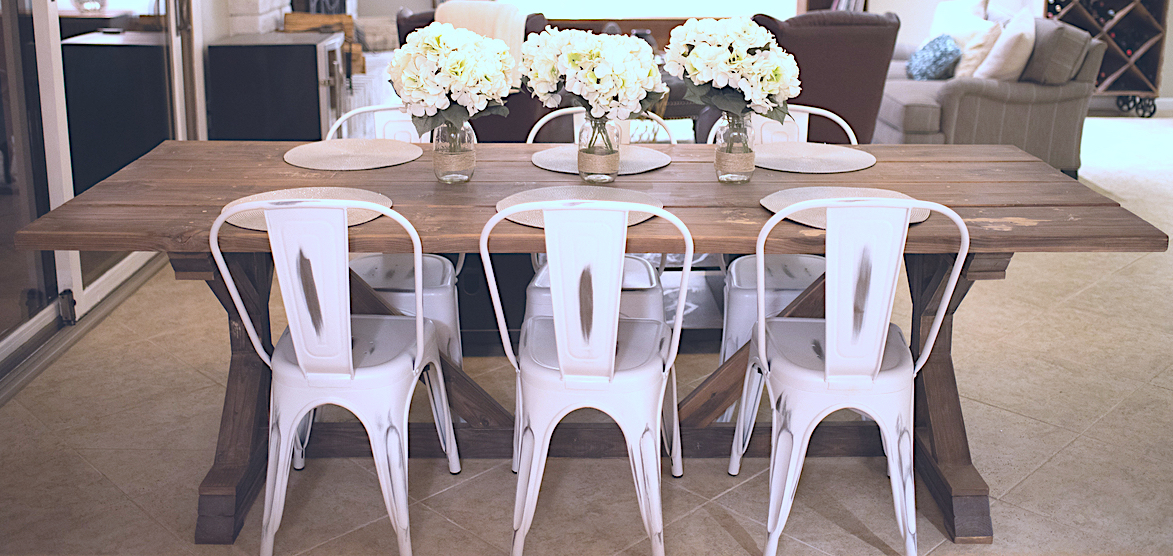
The red stain is Sherman Williams “Sun-Dried Tomato” thinned with an approximately equal amount of water. The white wash on the trim is Valspar “Navaho White”, thinned the same way.
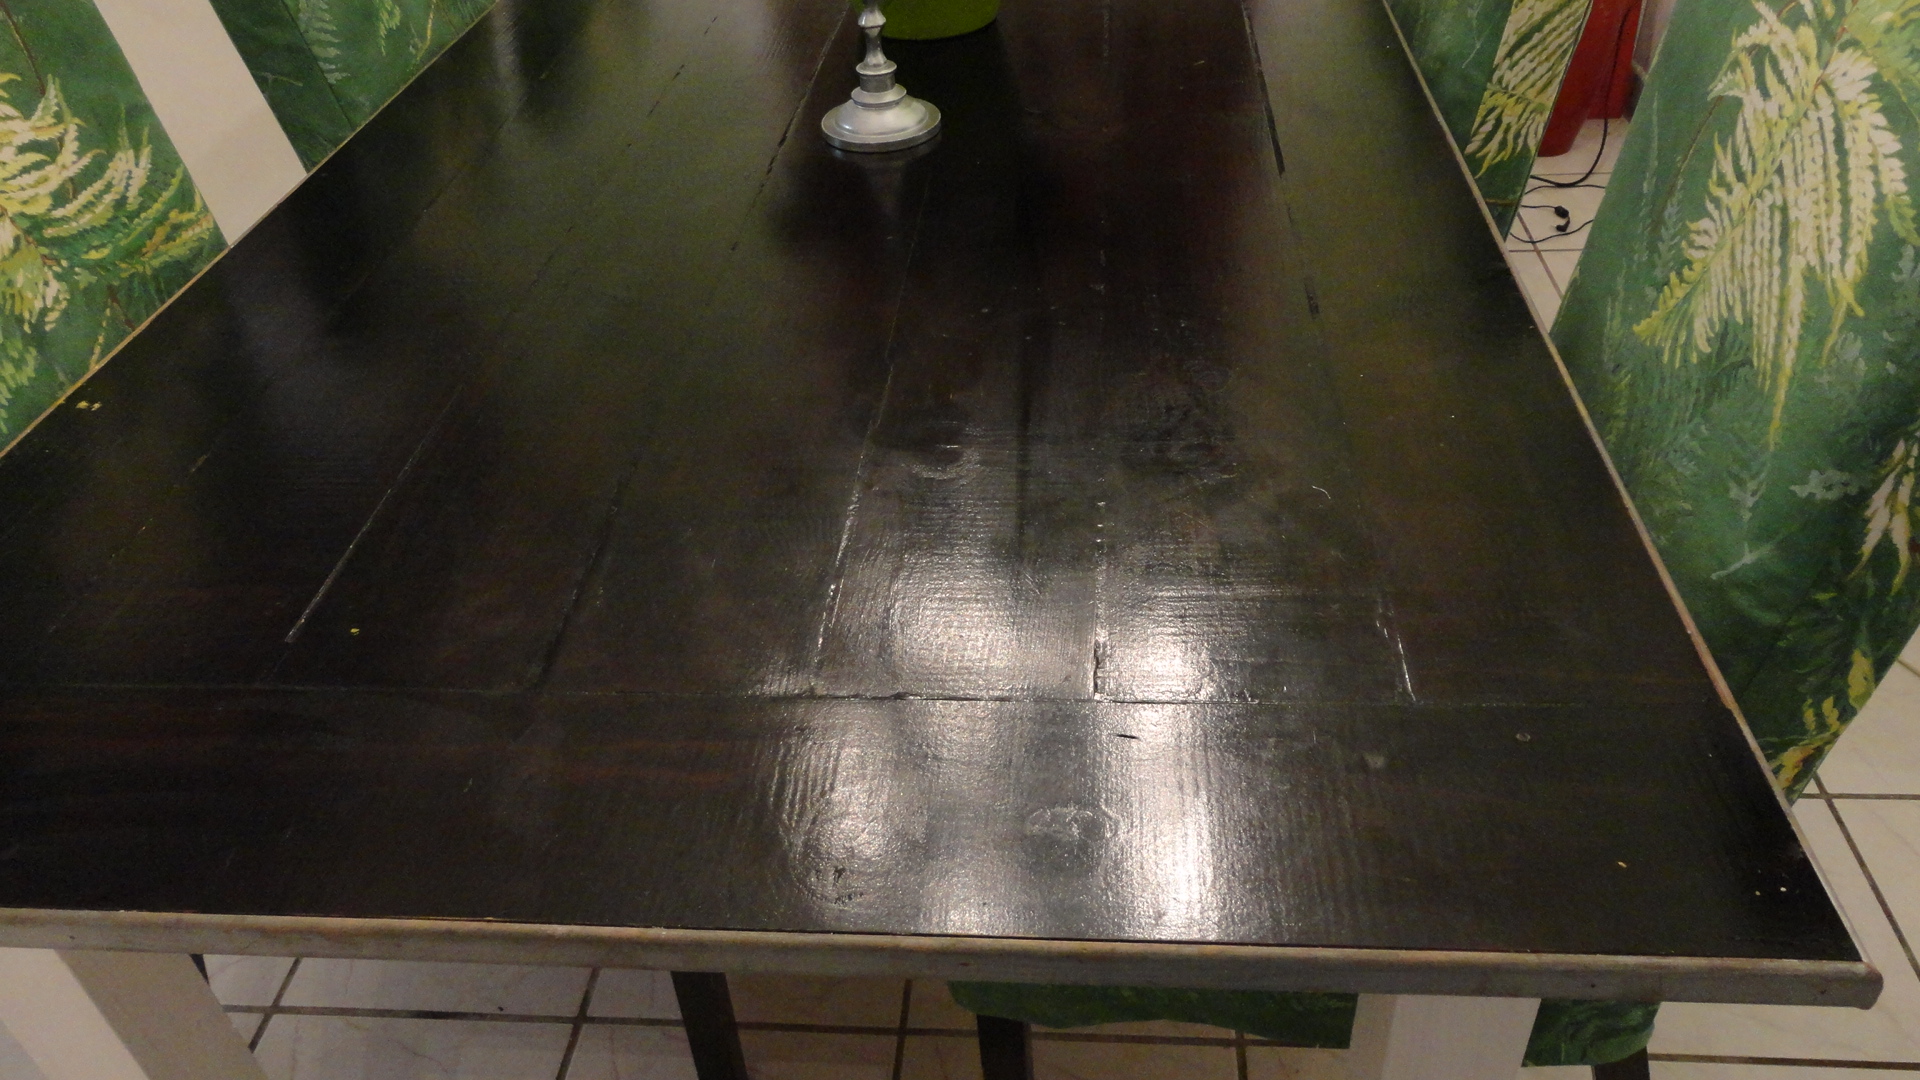
The top is painted with three coats of Sherman Williams “Caviar” (not thinned).
For a protective finish, I used four coats of Minwax Wipe-on Water-based Polycrilic on the top. I decided I didn’t like the wipe-on poly, though — wiping it on was too messy on my hands — so I switched to brush-on for the rest of the project. That received three coats in critical areas, two coats in places unlikely to see much wear.


Comments
JoanneS
Mon, 03/19/2012 - 18:15
Awesome job!
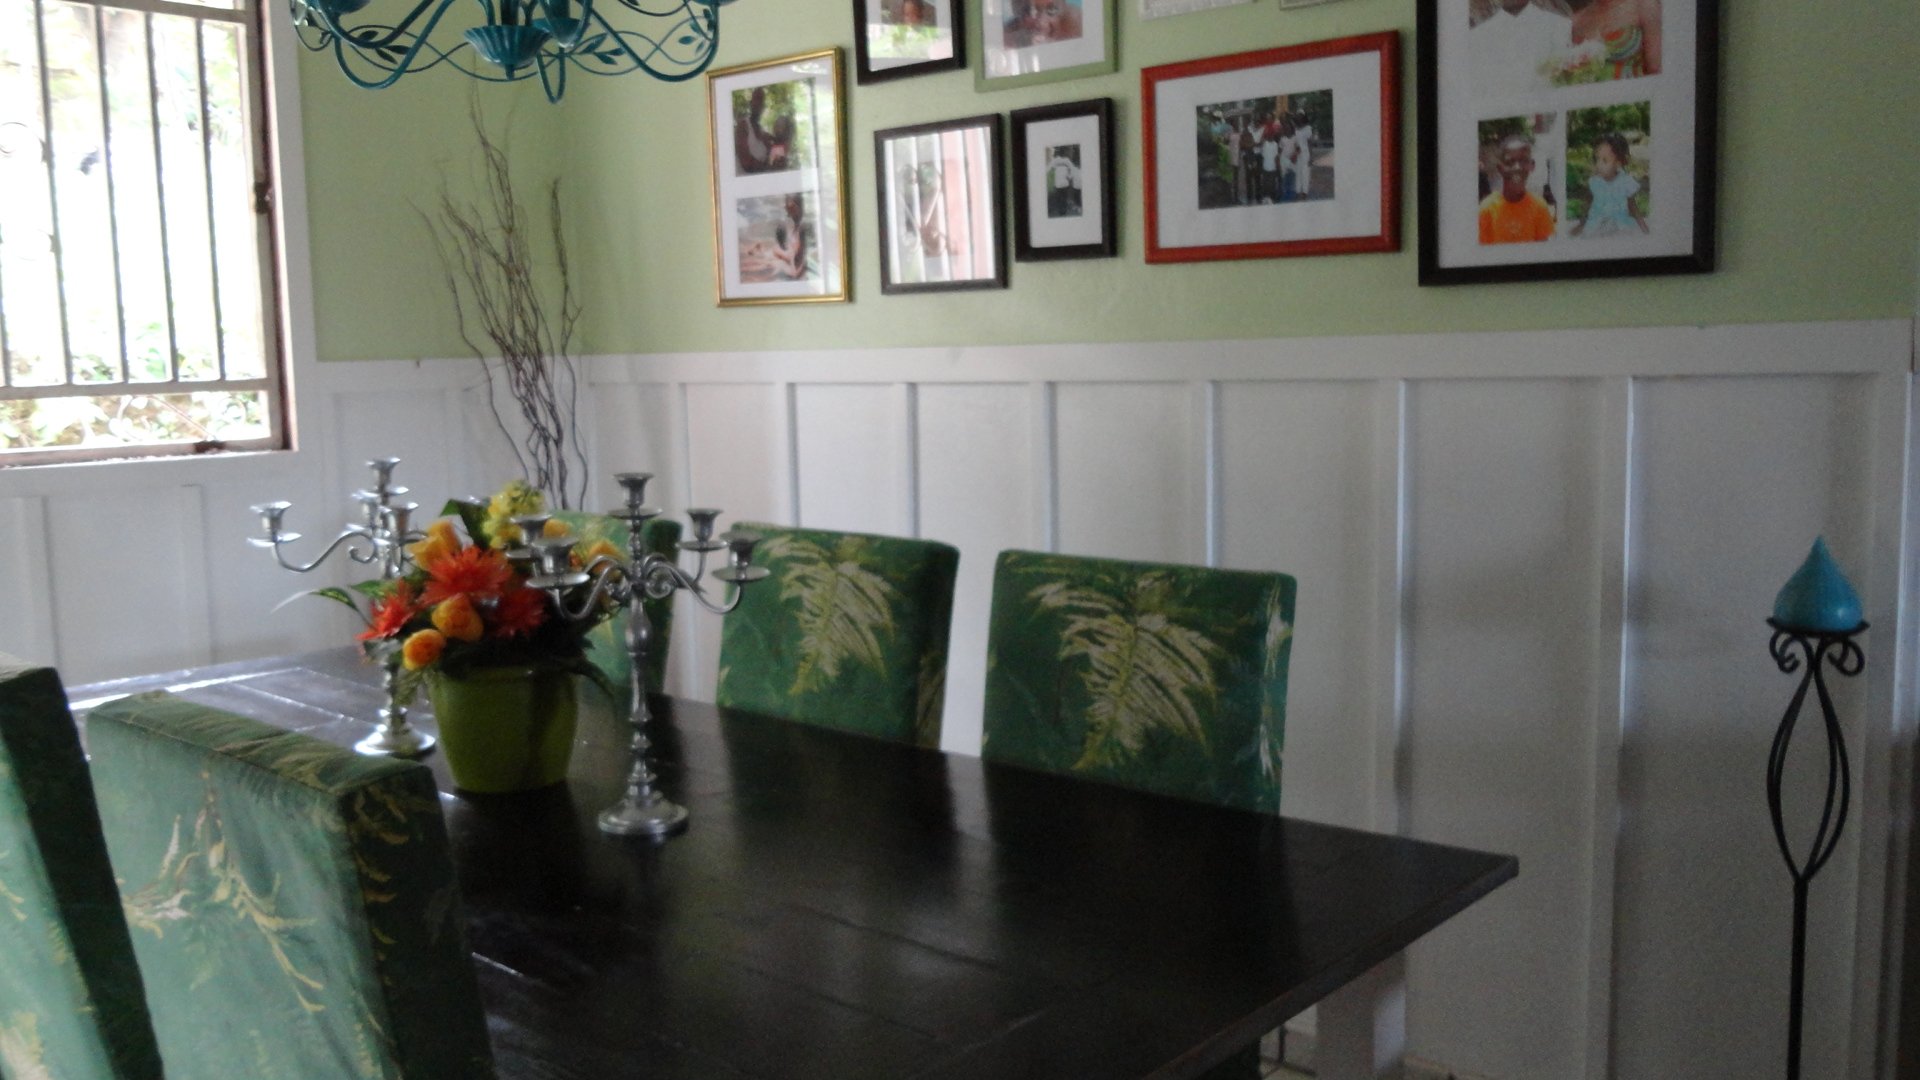
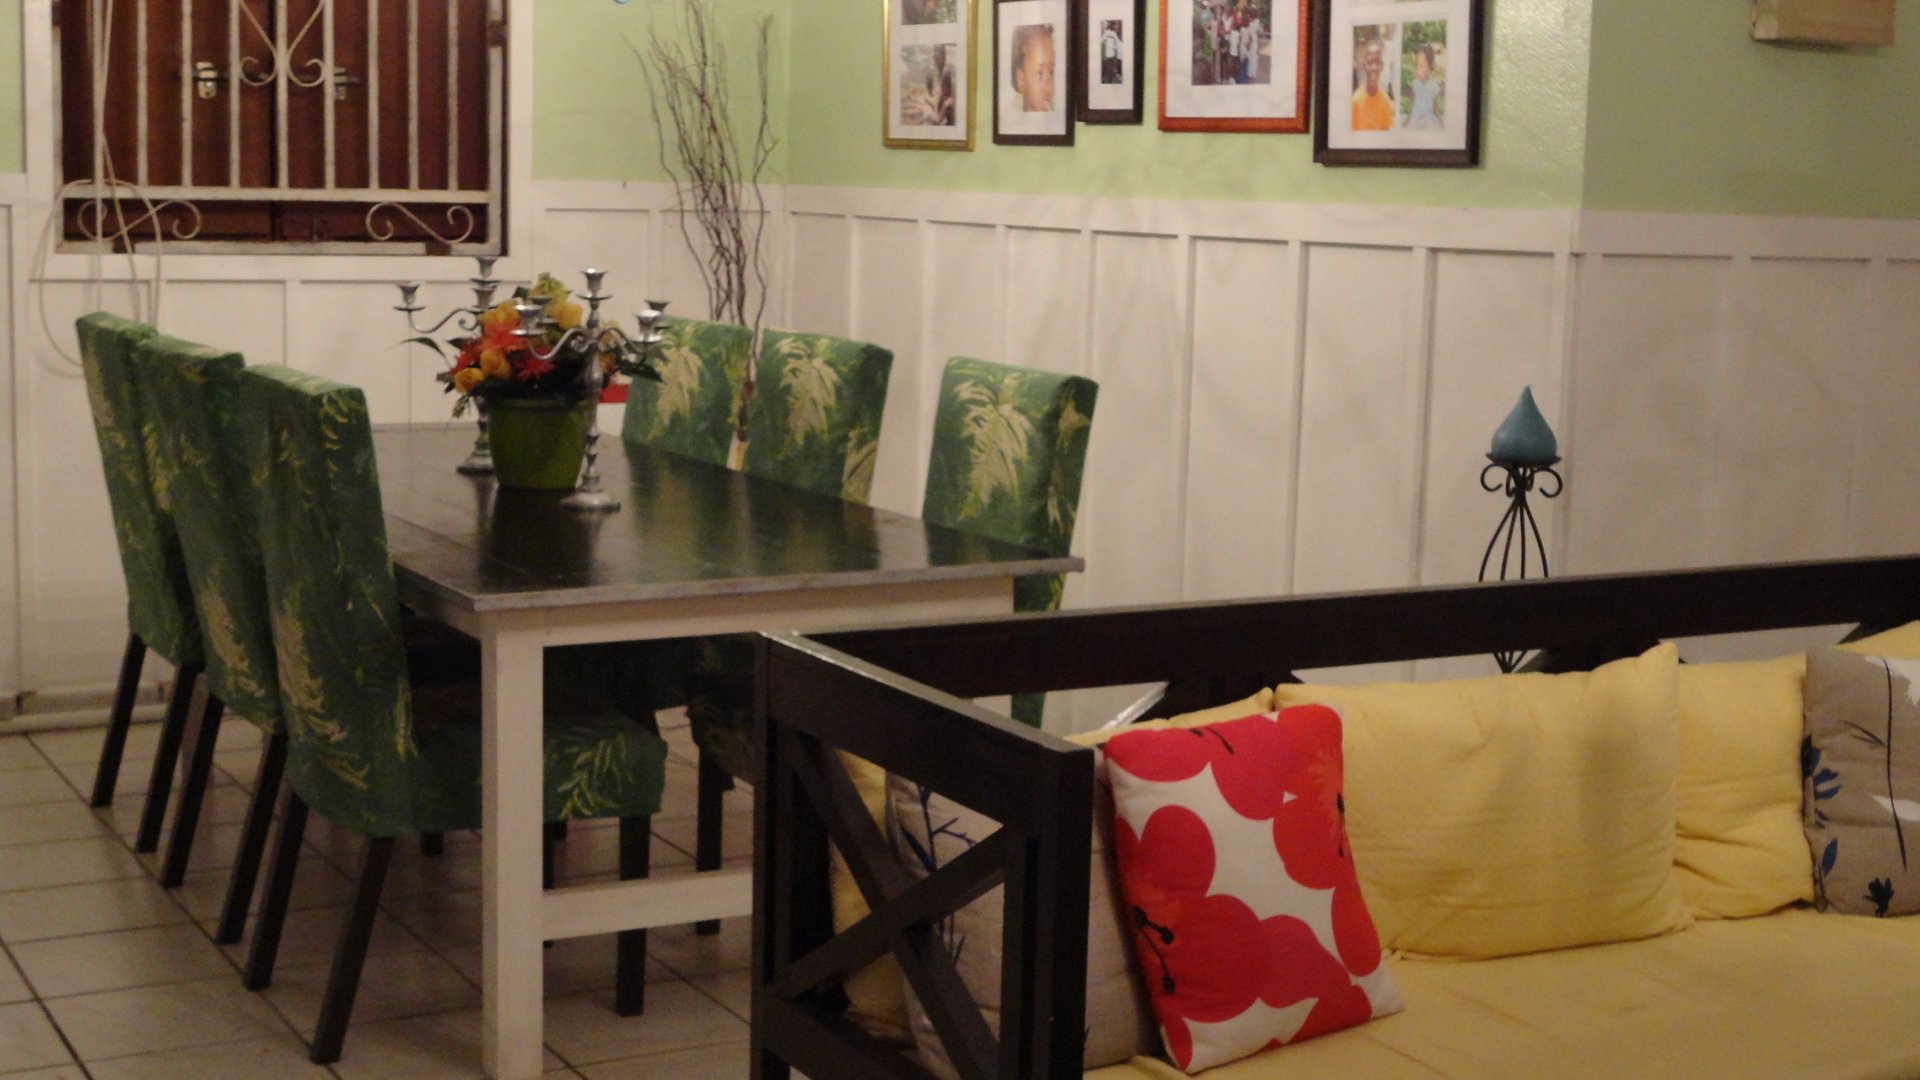
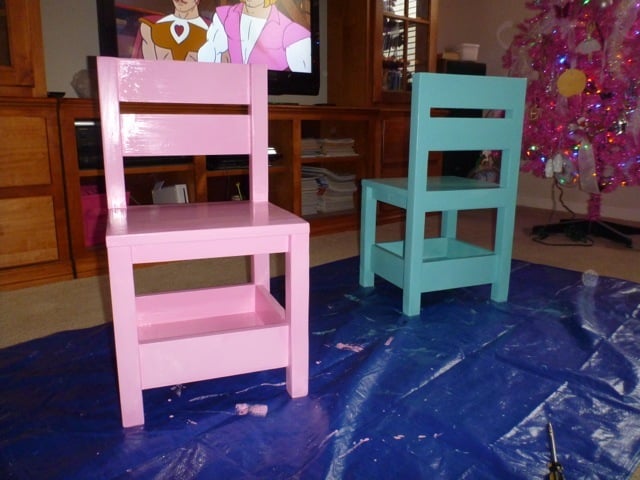
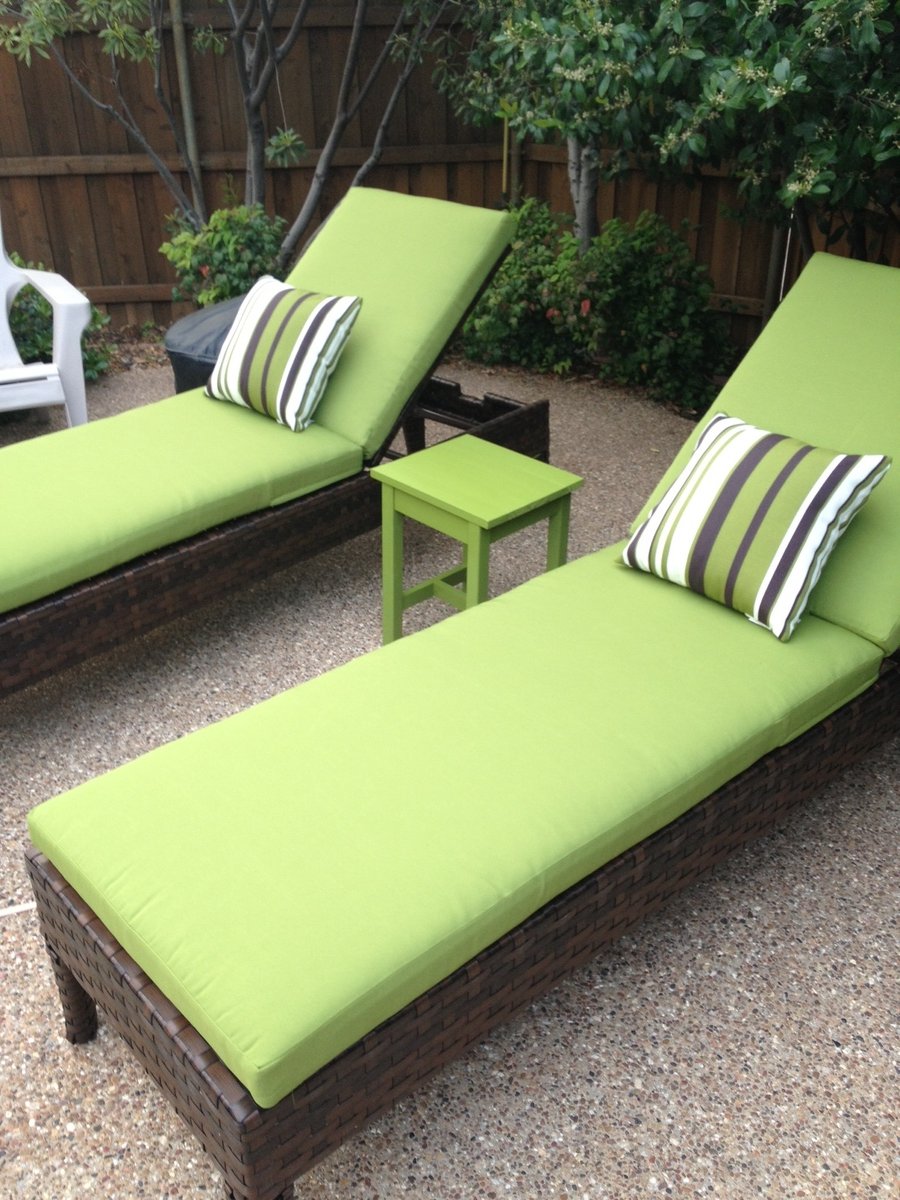
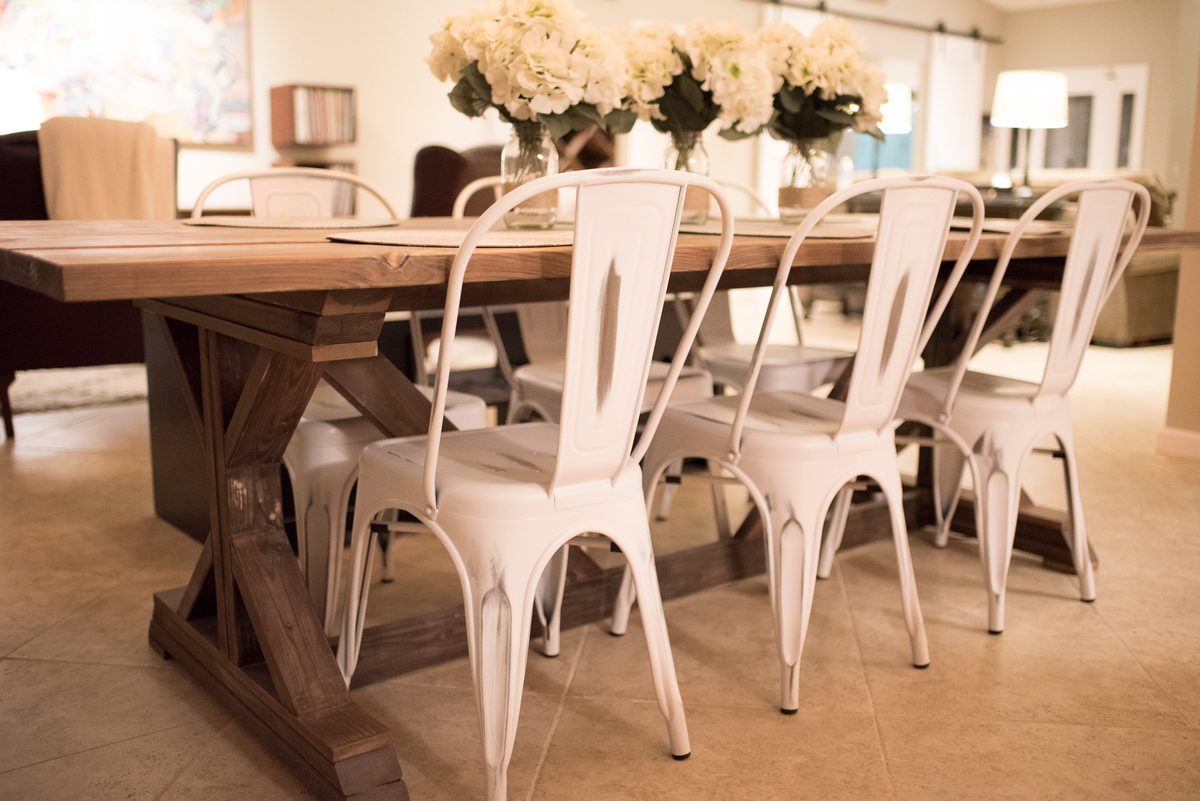
This room is absolutely gorgeous! You did an awesome job- love all the finishes and colors, and the fantastic chairs!
alamanda973
Mon, 03/19/2012 - 18:31
Thank You!
Thank You! I am very happy how it turned out.
Guest (not verified)
Tue, 03/20/2012 - 05:31
Gorgeous! Your place looks so
Gorgeous! Your place looks so inviting!
Cindy from Indiana (not verified)
Tue, 03/20/2012 - 12:43
Looks fantastic!
Wow! This room turned out great - really fantastic job!
Ana White
Tue, 03/20/2012 - 23:19
Agreed! Huge accomplishment!
Agreed! Huge accomplishment! I can't believe you made 6 chairs! And they all look so nice and well made! Thanks for sharing, it's a lovely room!
birdsandsoap
Wed, 03/21/2012 - 01:54
I love the painted
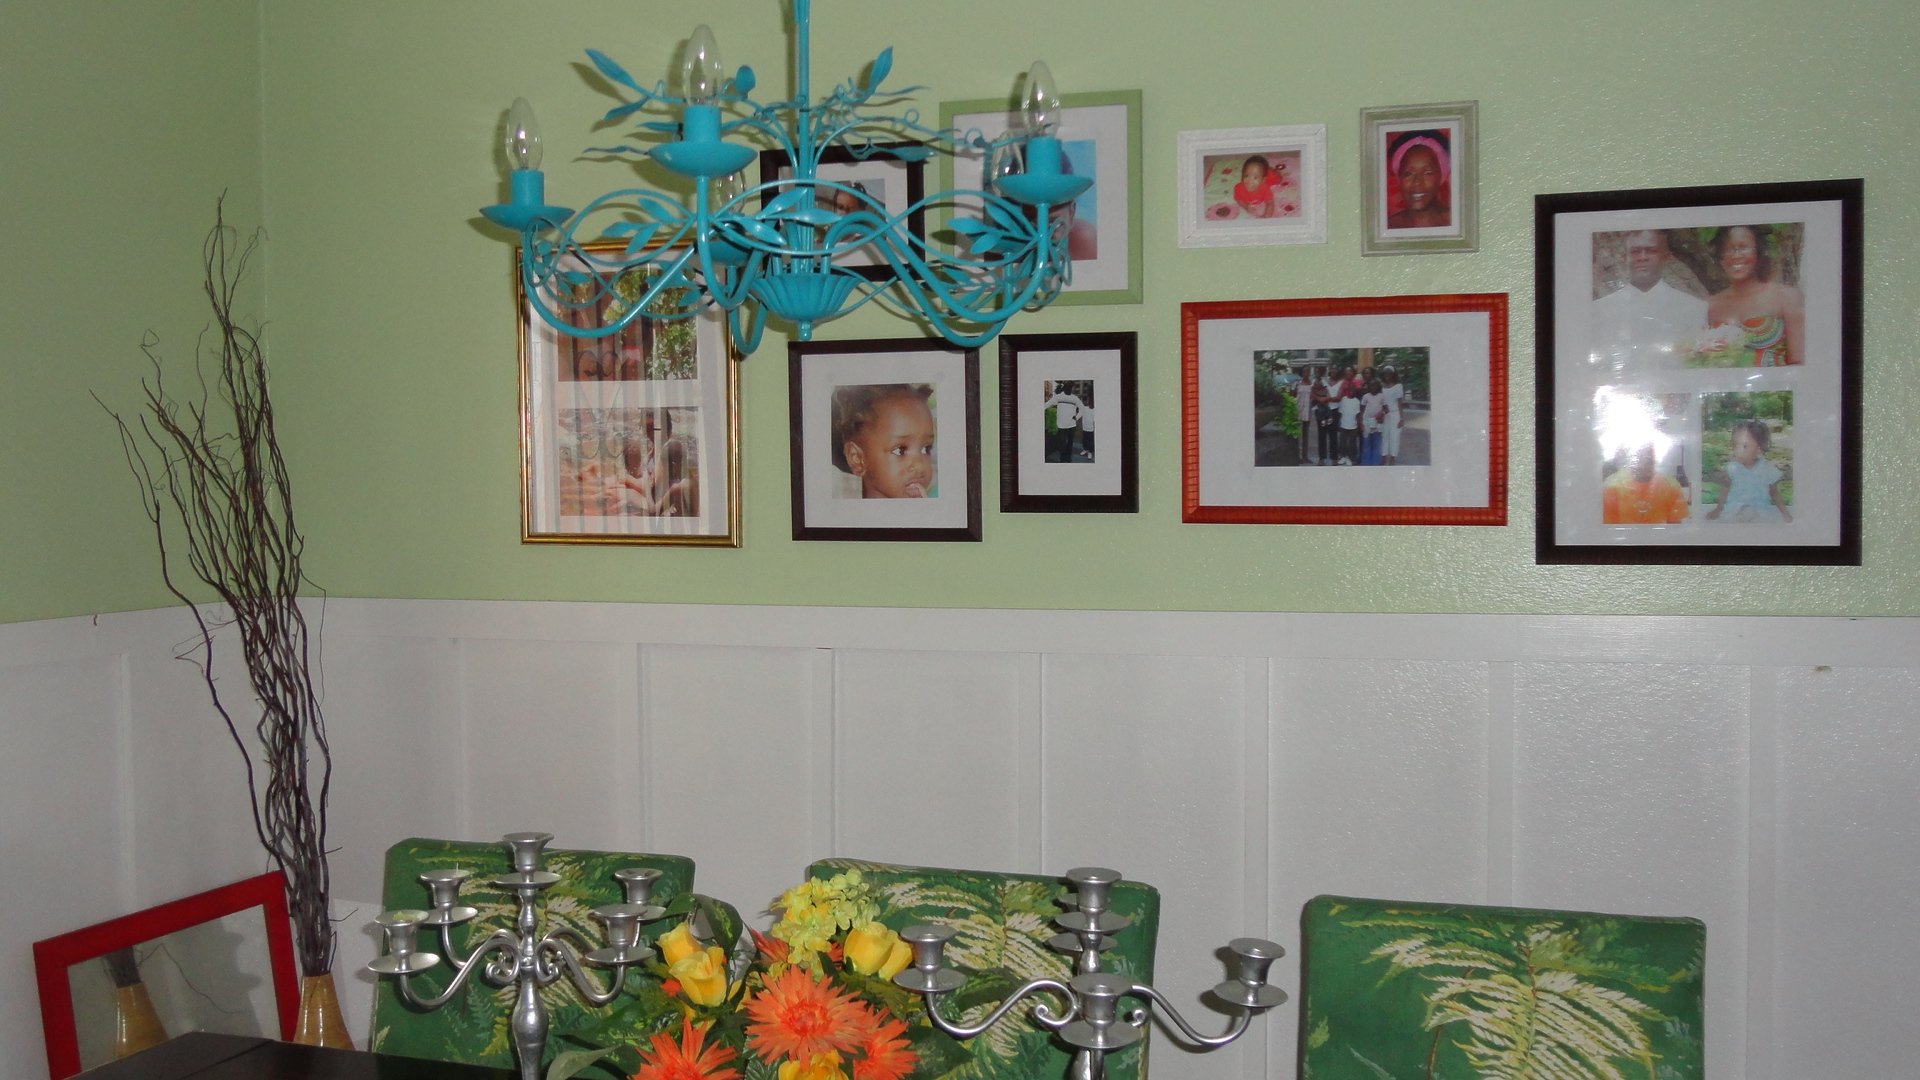
I love the painted chandelier! This is a cool room, and you made the whole thing. wow.
claydowling
Wed, 03/21/2012 - 05:14
Chairs
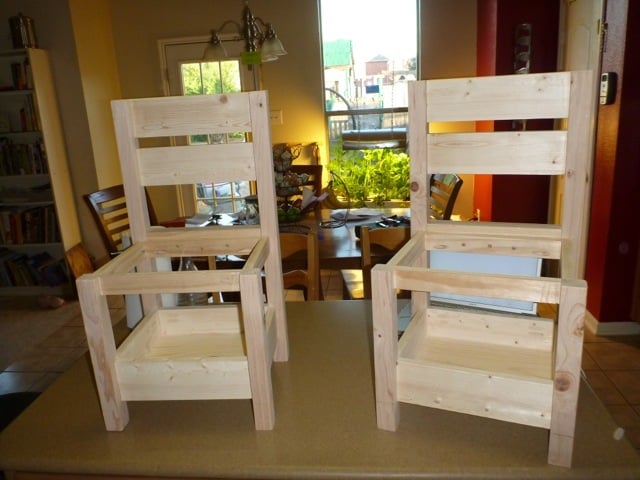
I'm with Ana on the chairs. That's really amazing. The last time I made a chair it took a very full and tiring day to build the frame, and another evening to build the seat. Do you have tips for speeding the process up?
alamanda973
Wed, 03/21/2012 - 09:16
Thank you!
Thank you for all these compliments. I don't speak English very well because I'm french but I will try to make me understand. I built a chair with the modifications to see the result, then, I made all the cuttings with my miter saw for the 5 other chairs, then I made every chair within half an hour. I cut all that it was necessary foam and fabric in one step and I sewed everything for covers. To make covers, I made a paper pattern, then I sewed them in 10 minutes.
I am very happy I found this site with all that wonderful projects. It's my favorite site . Thank you Ana, you changed my life!
alamanda973
Wed, 03/21/2012 - 09:21
The frame
I built every frame within half an hour not the whole chair.
Milca (not verified)
Fri, 06/15/2012 - 07:44
Superbe!
Je suis impressionnee :)
kaytrishjr
Tue, 08/21/2012 - 13:16
Wow!
I'm totally amazed, talk about getting busy! Your room is beautiful!
Angela Kempf (not verified)
Thu, 11/29/2012 - 14:24
great job
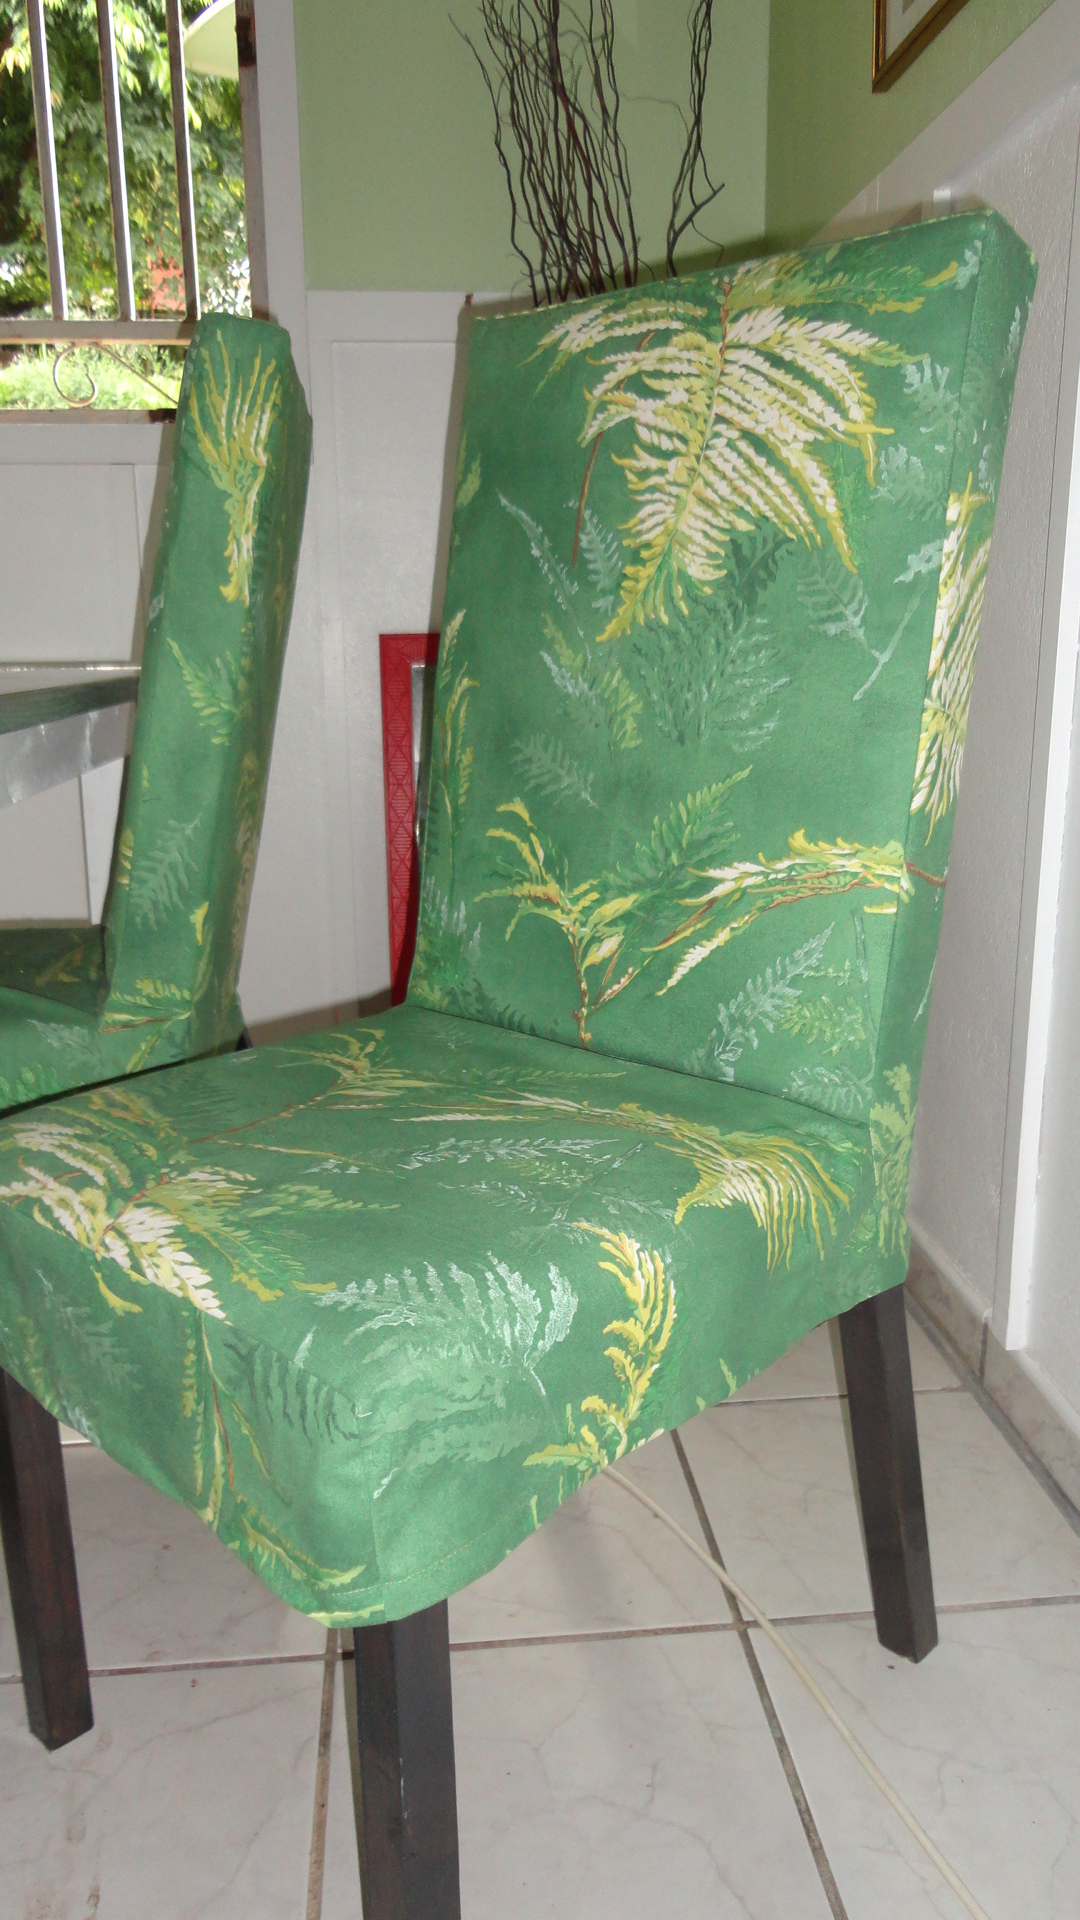
Does your slip cover come off? I would like to make a couple of these to use as accent chairs in my living room. Yours look amazing.
I have one little boy, two cats, a large dog and a ferret. I need something that is WASHABLE =)
alamanda973
Thu, 12/13/2012 - 17:48
Slip Cover
The covers of the chairs come out. I used ana's plan to make chairs and covers. I modified the cover's plan to fit the chairs because I made them taller. It is very practical because I have a four-year-old girl even if I have no cat and no dog =)
http://ana-white.com/2010/11/plans/drop-cloth-parson-chair-slipcovers
sugarhigh1605
Thu, 07/18/2013 - 12:37
Beautiful!
I love your chairs and especially like the extra height. How tall did you make the backs of the chairs?
alamanda973
Sun, 07/28/2013 - 07:32
Height of the chairs
The back of chairs is about 60 cms from the seat.