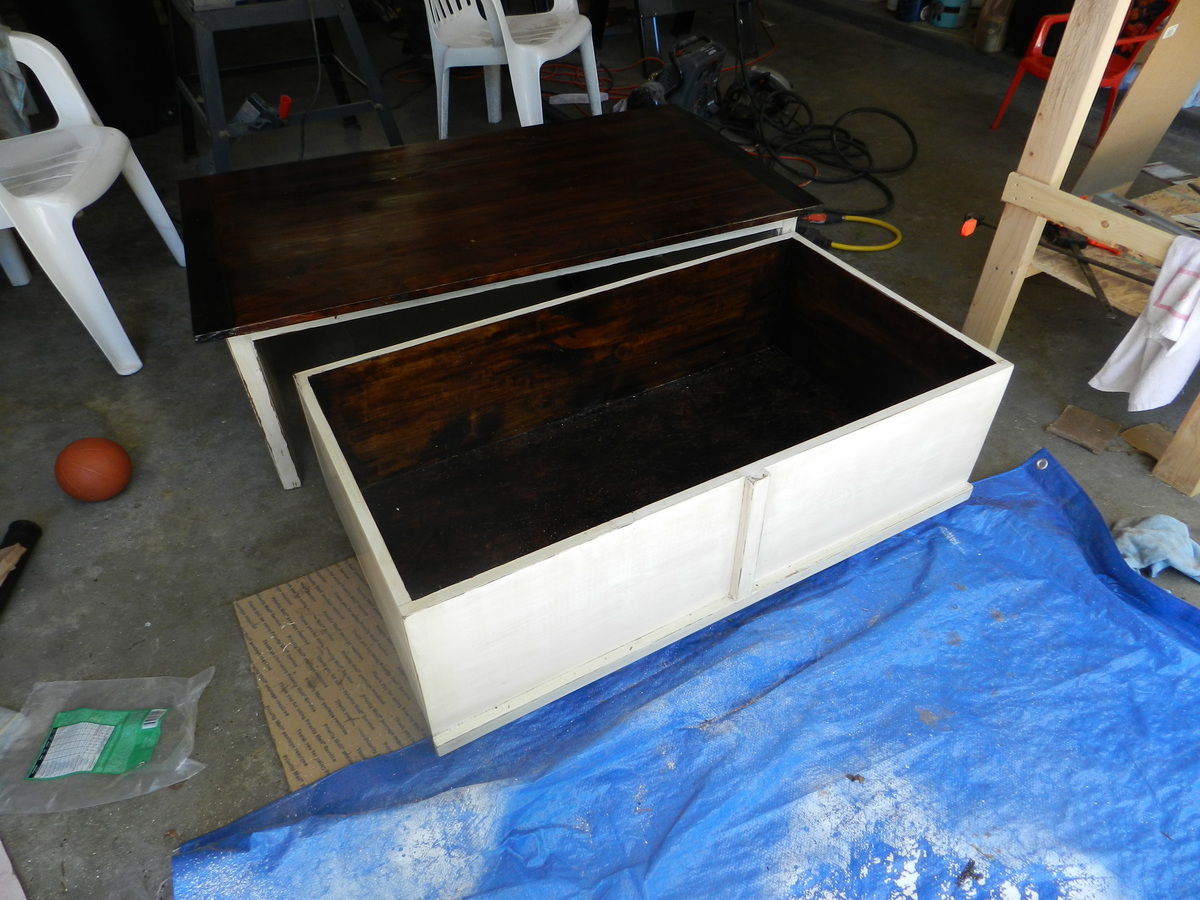
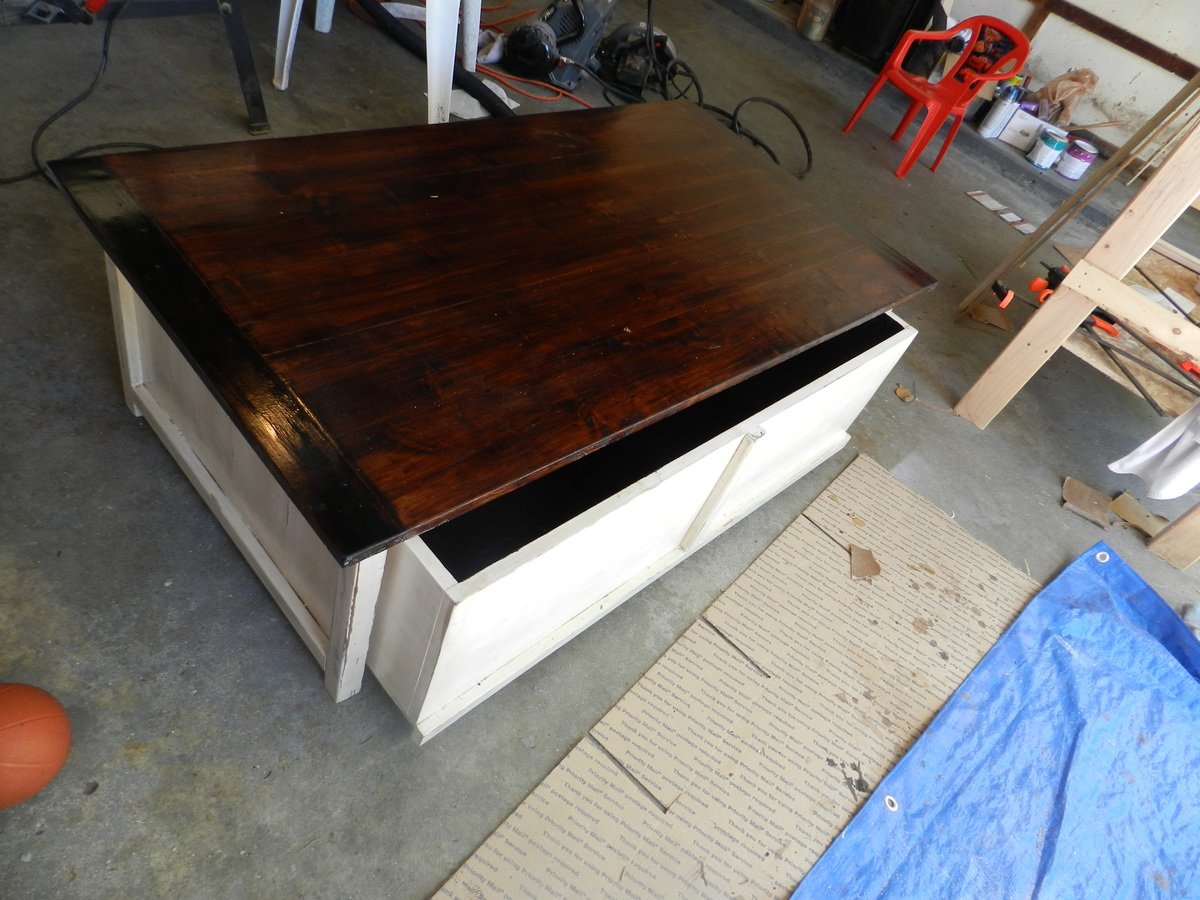
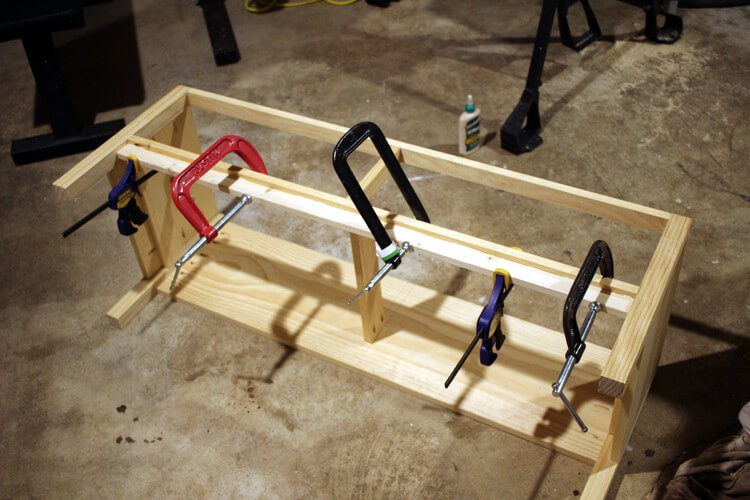
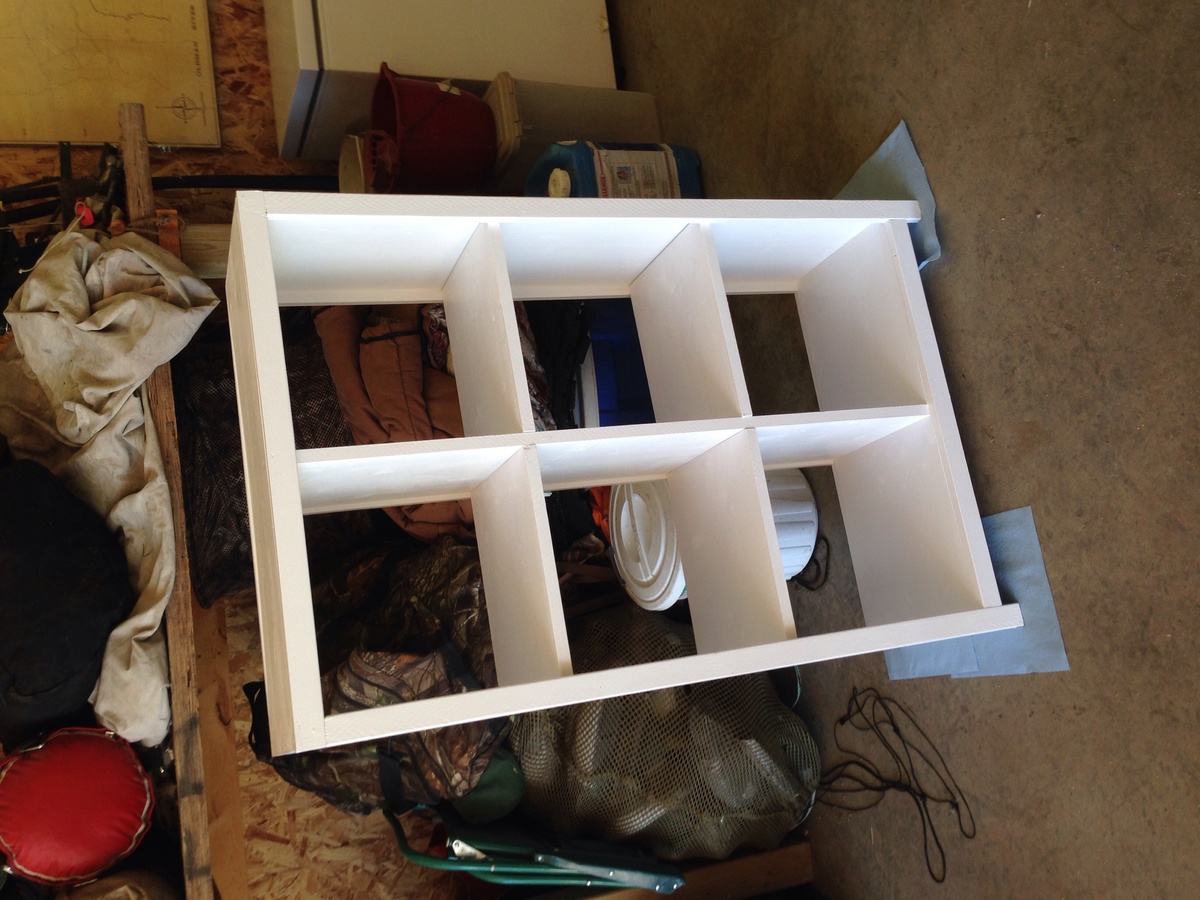
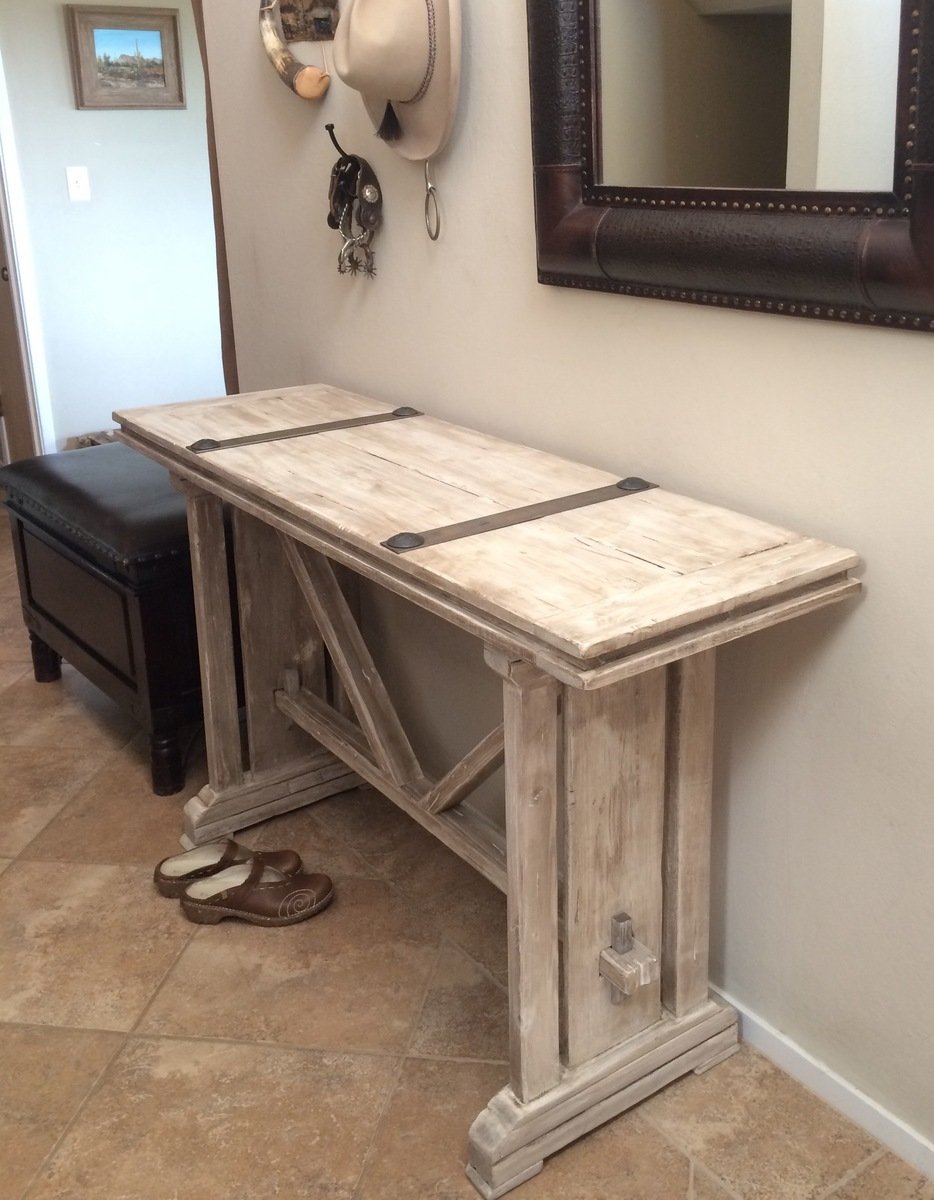
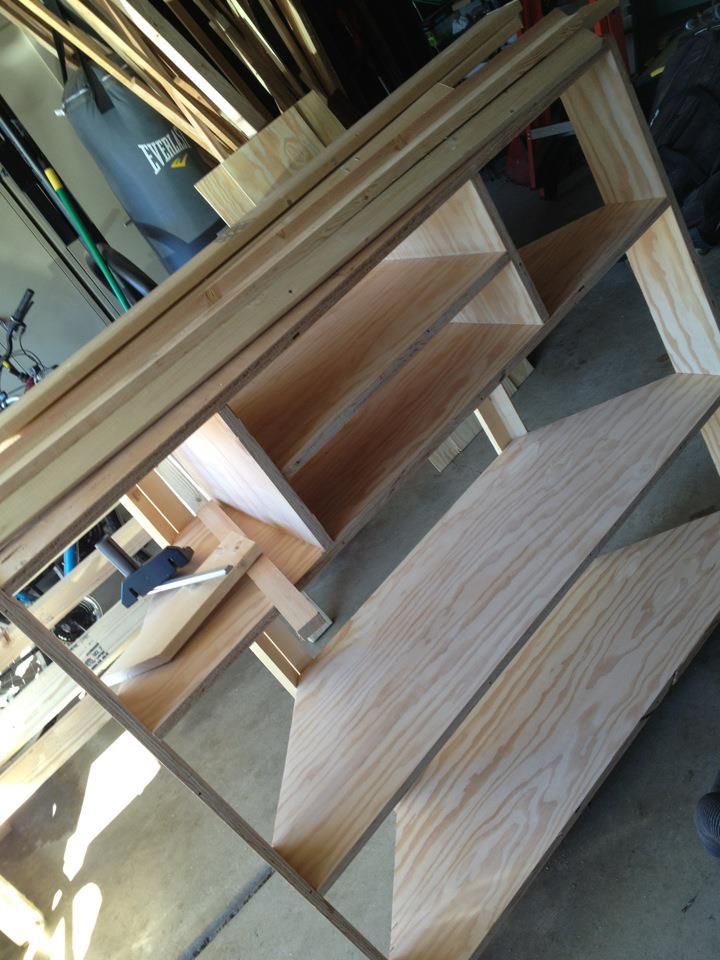
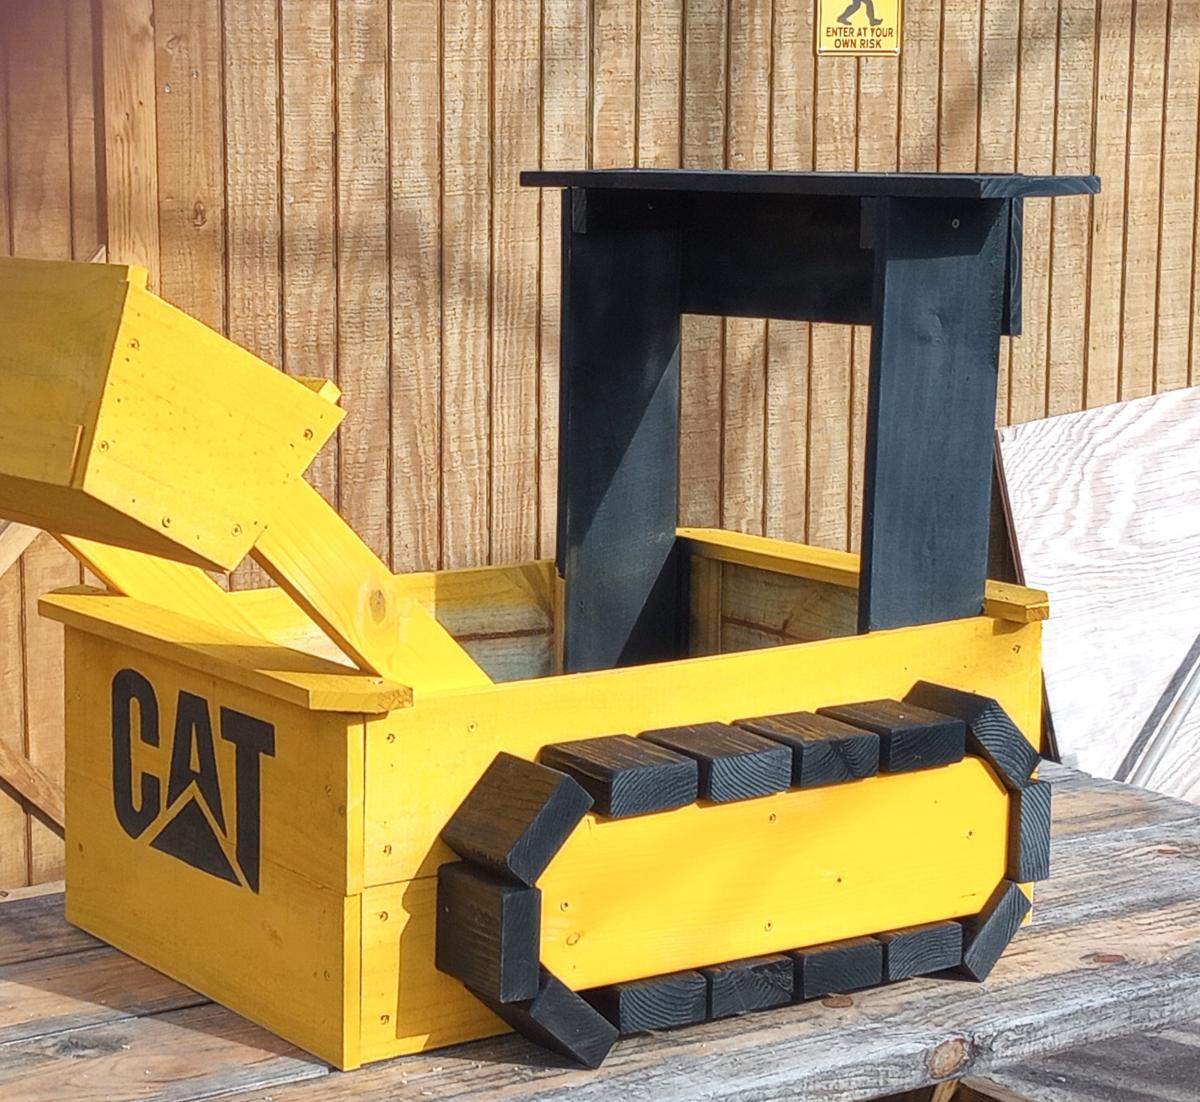
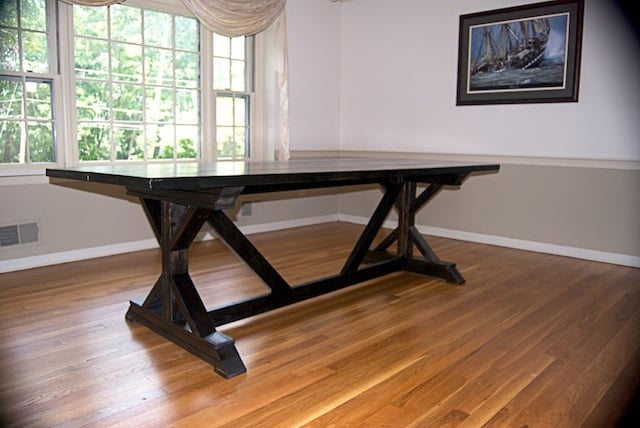
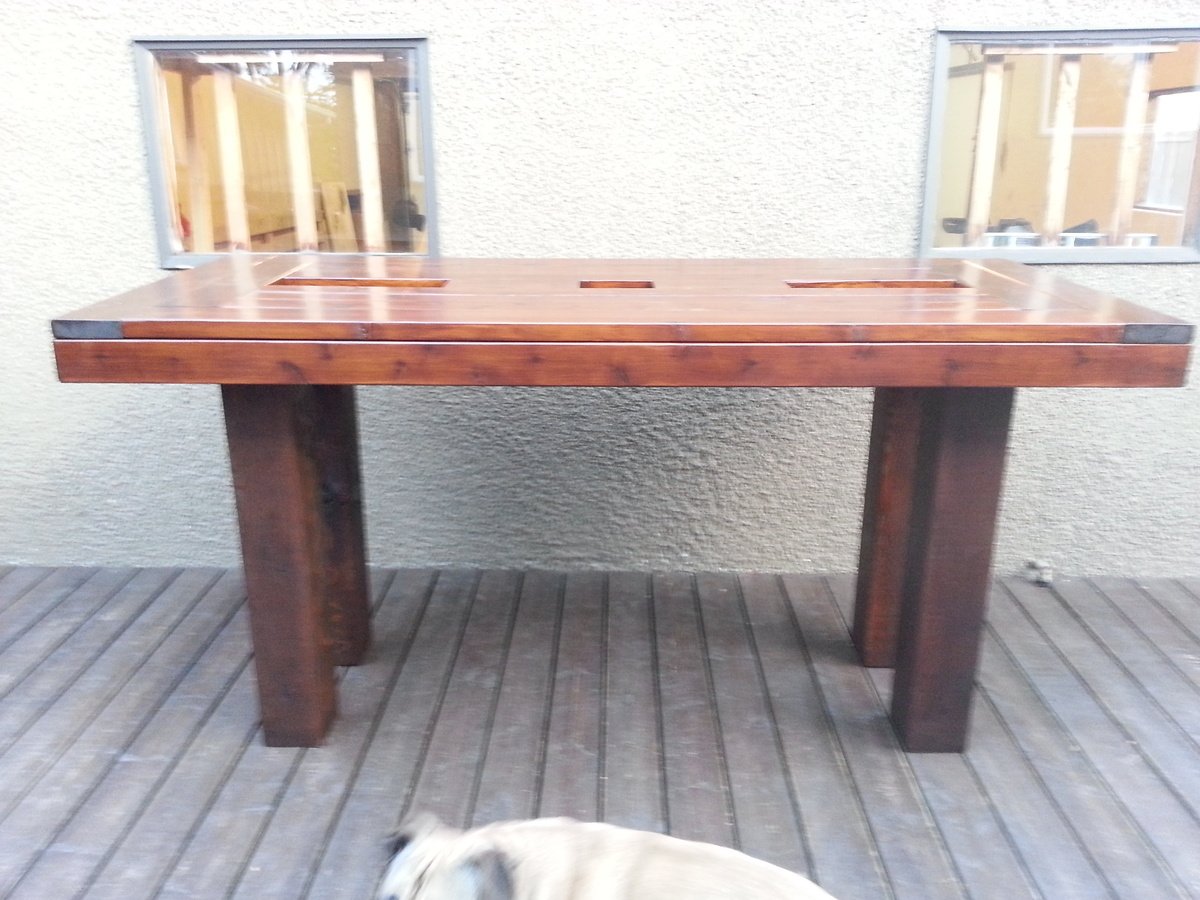
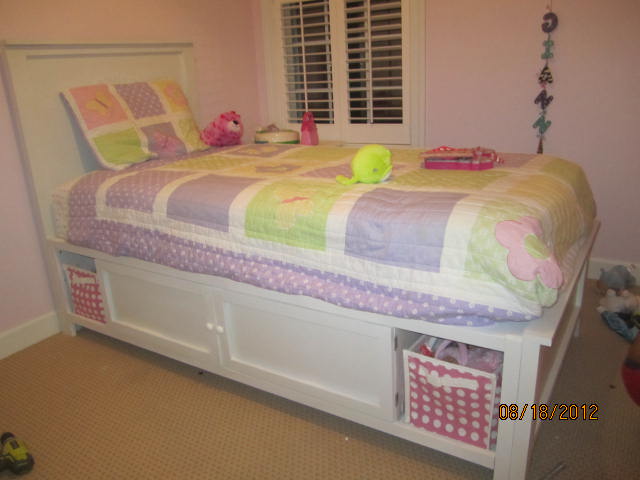
Coffee table with toy box trundle
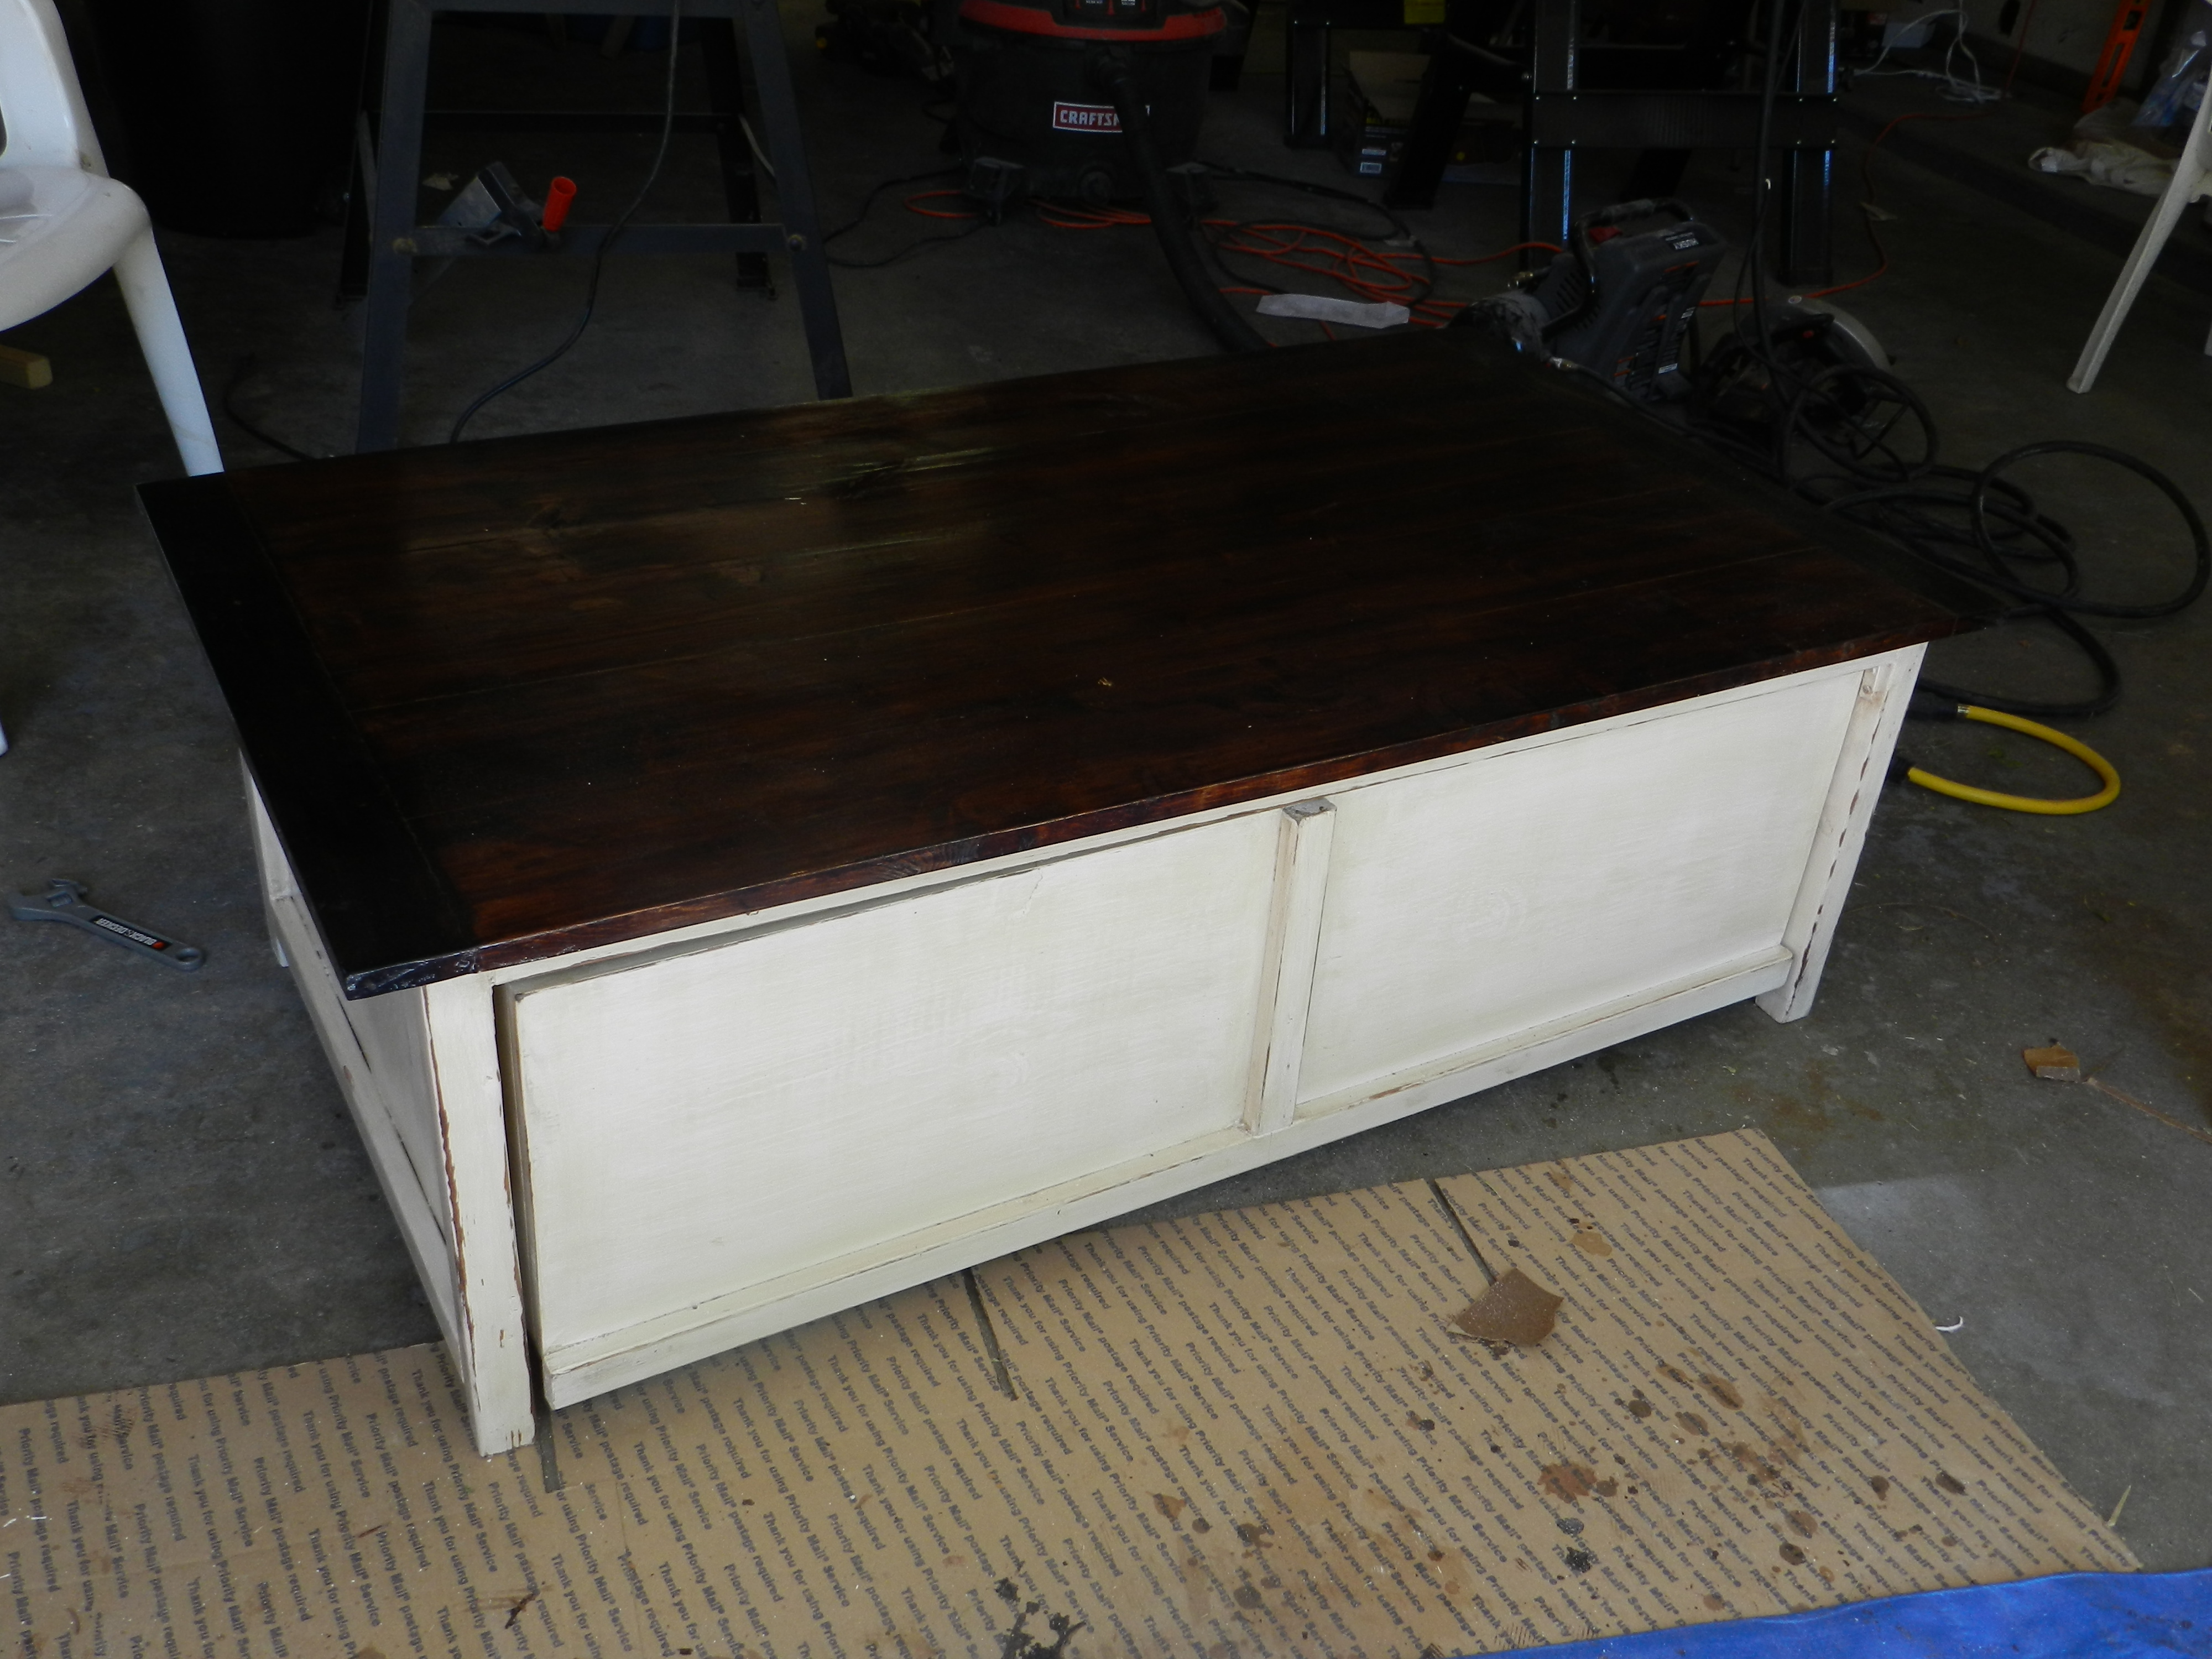
This was my second project ever, so I know it is far from perfect, but I am so happy with it. It is super useful since I have 3 little kids that are so far the only grandchildren from both sides of the family and I have the impression that toys come to our house to reproduce.
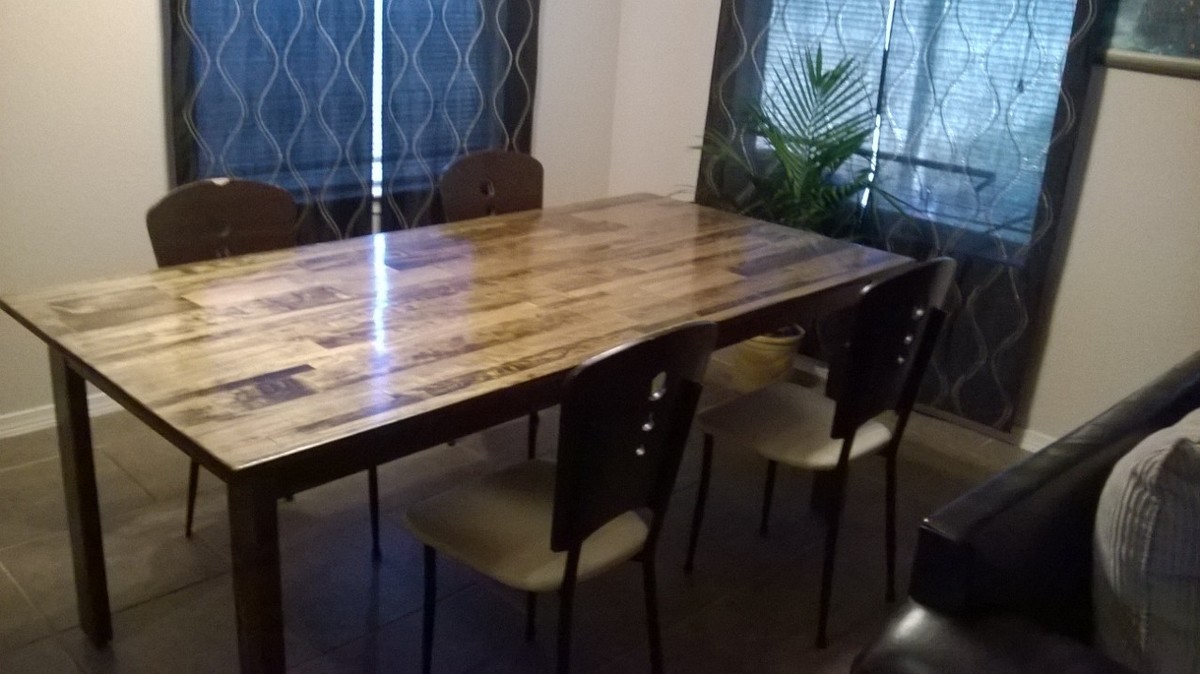
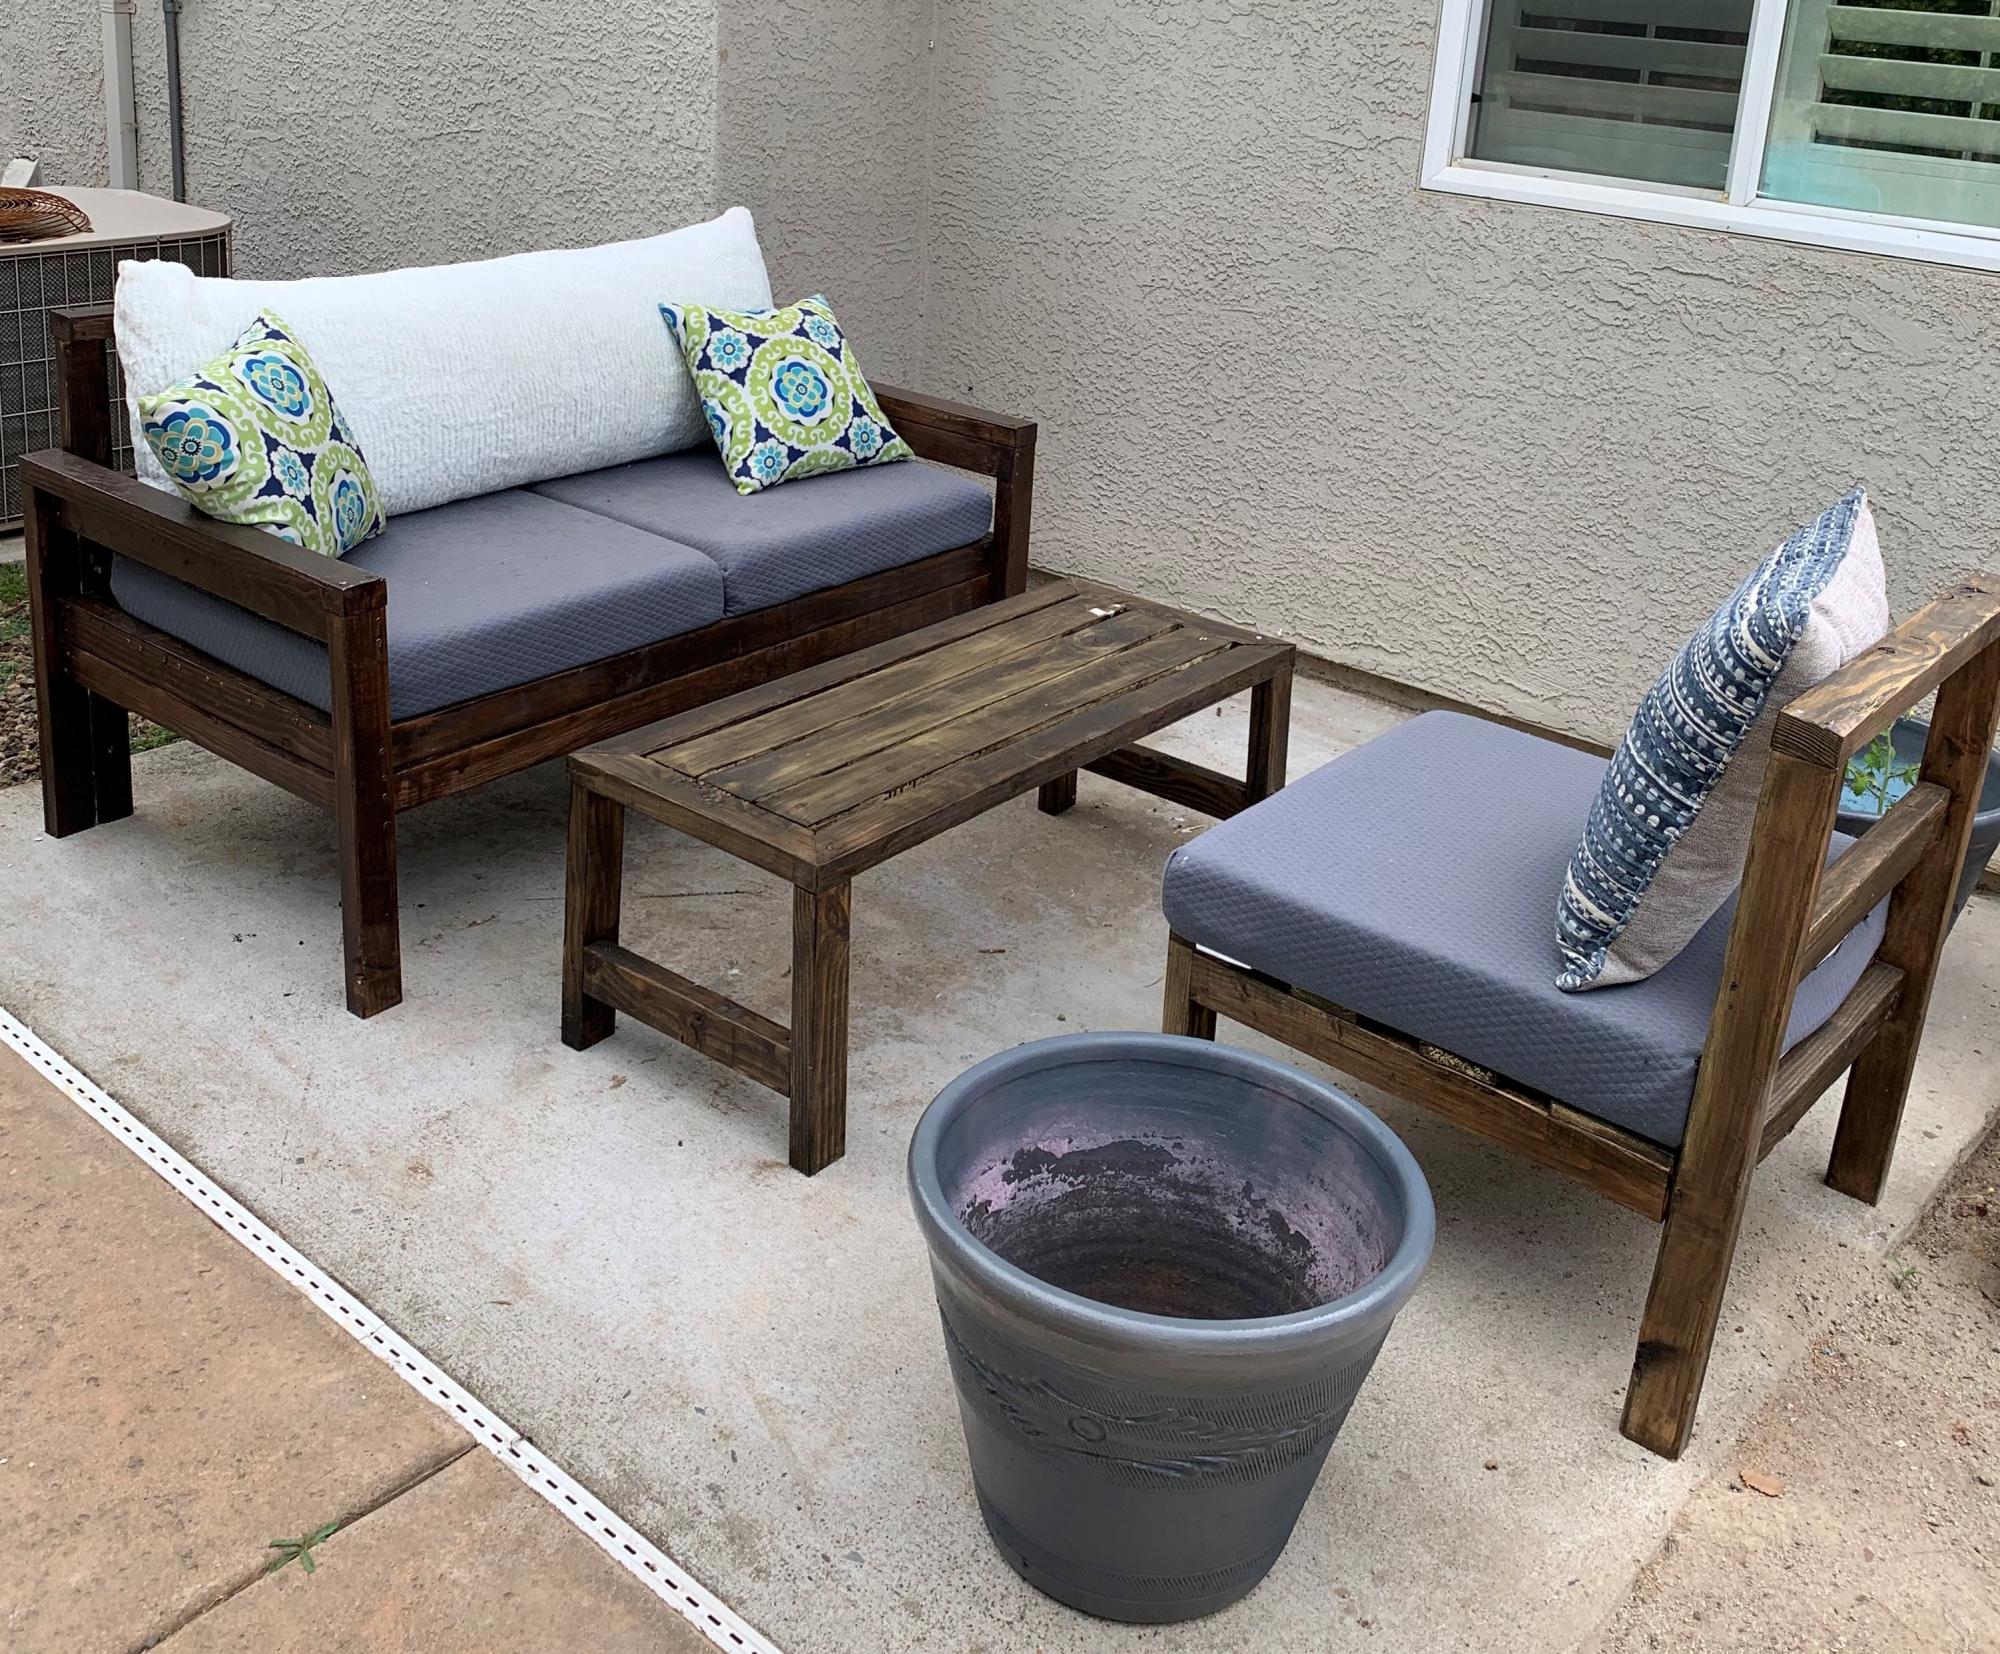
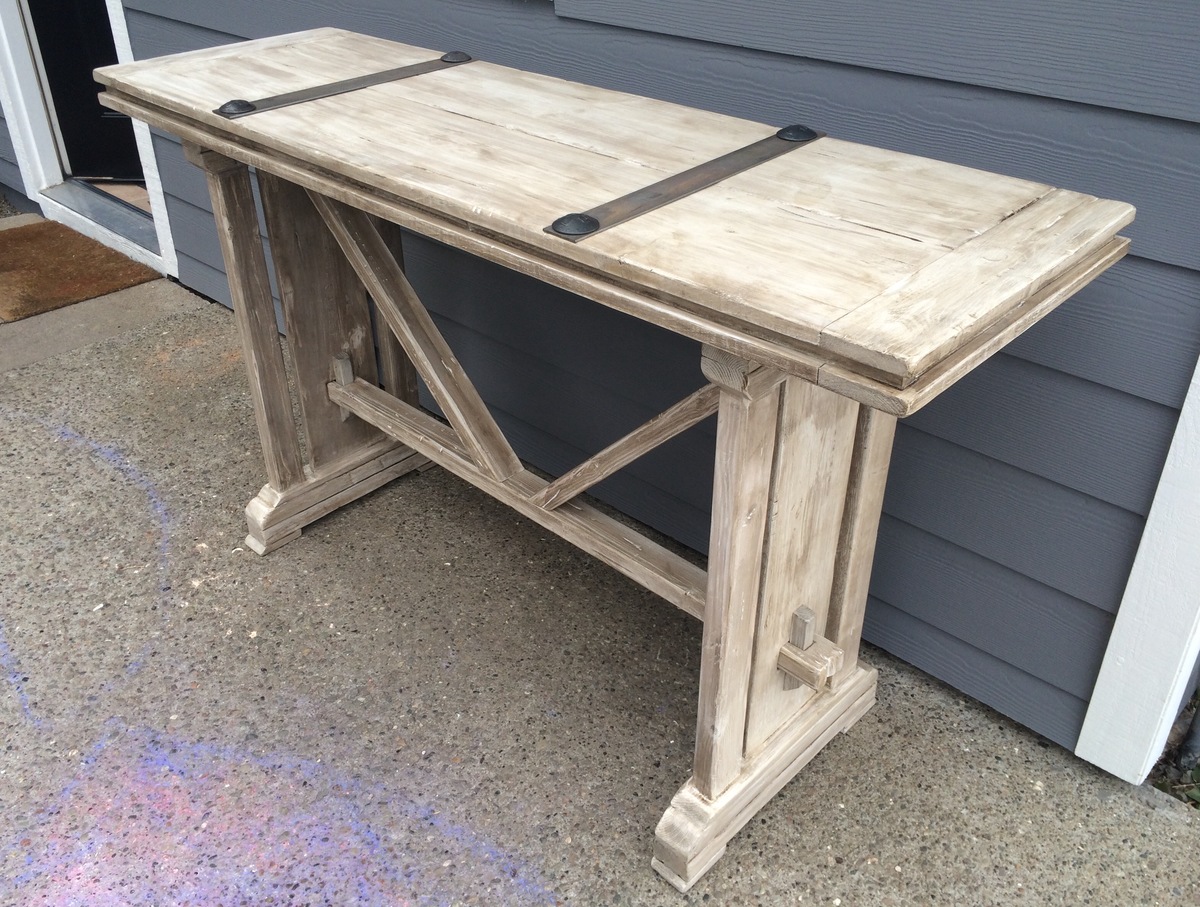
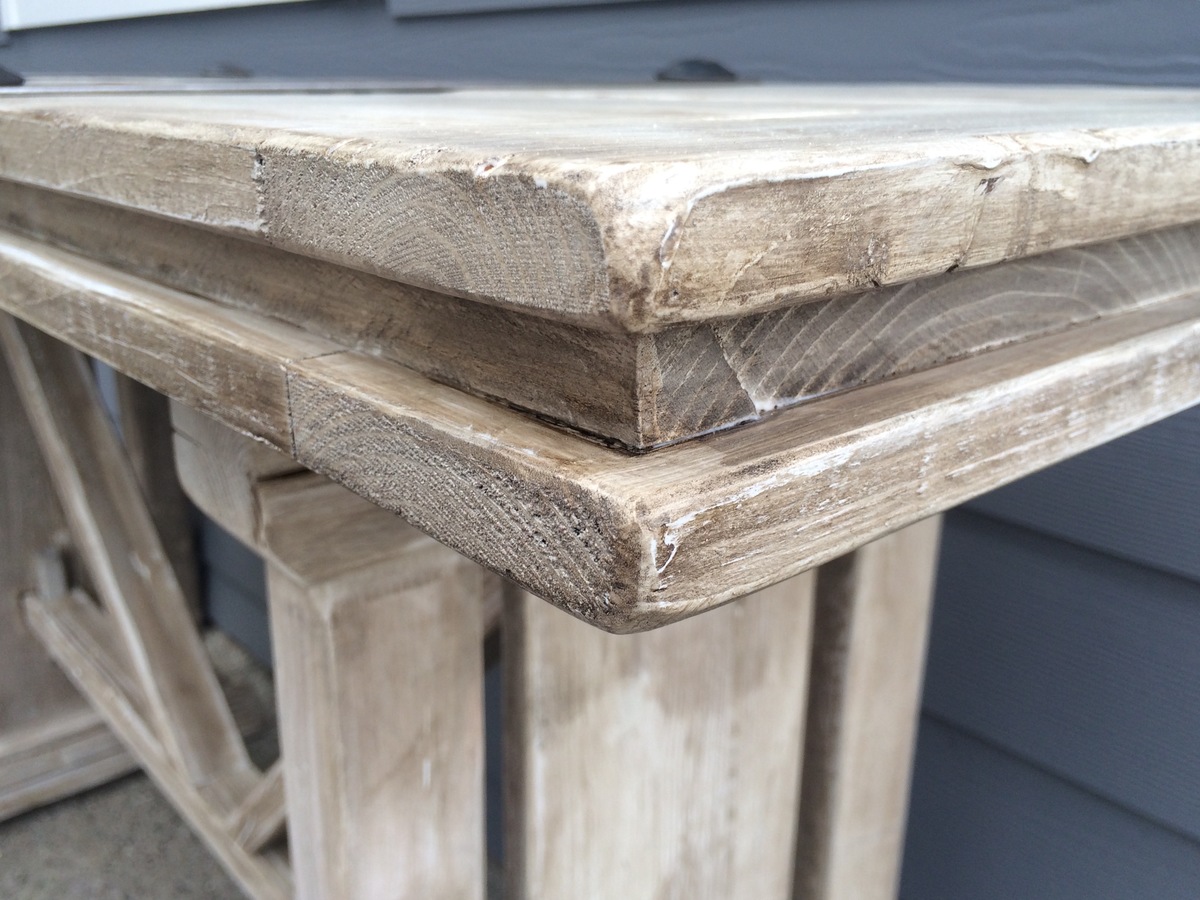
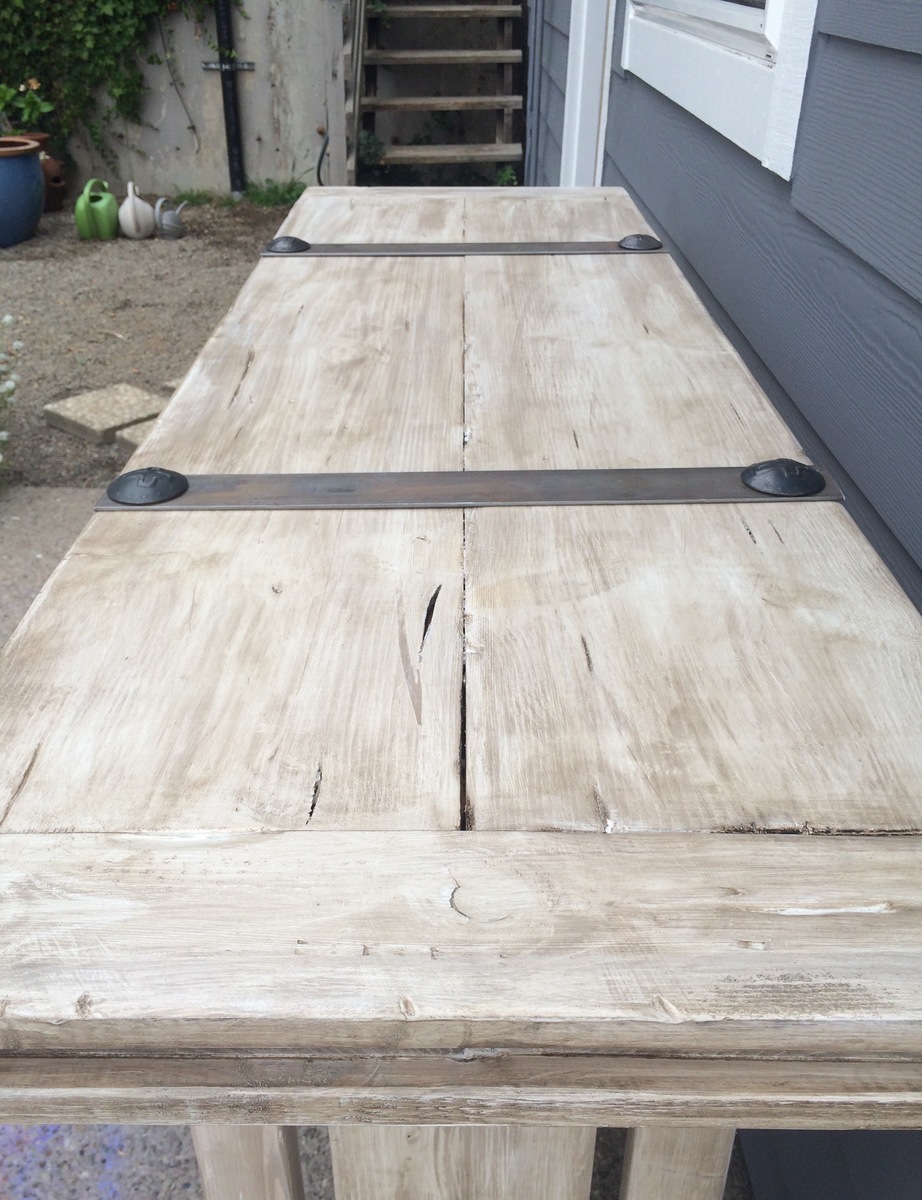
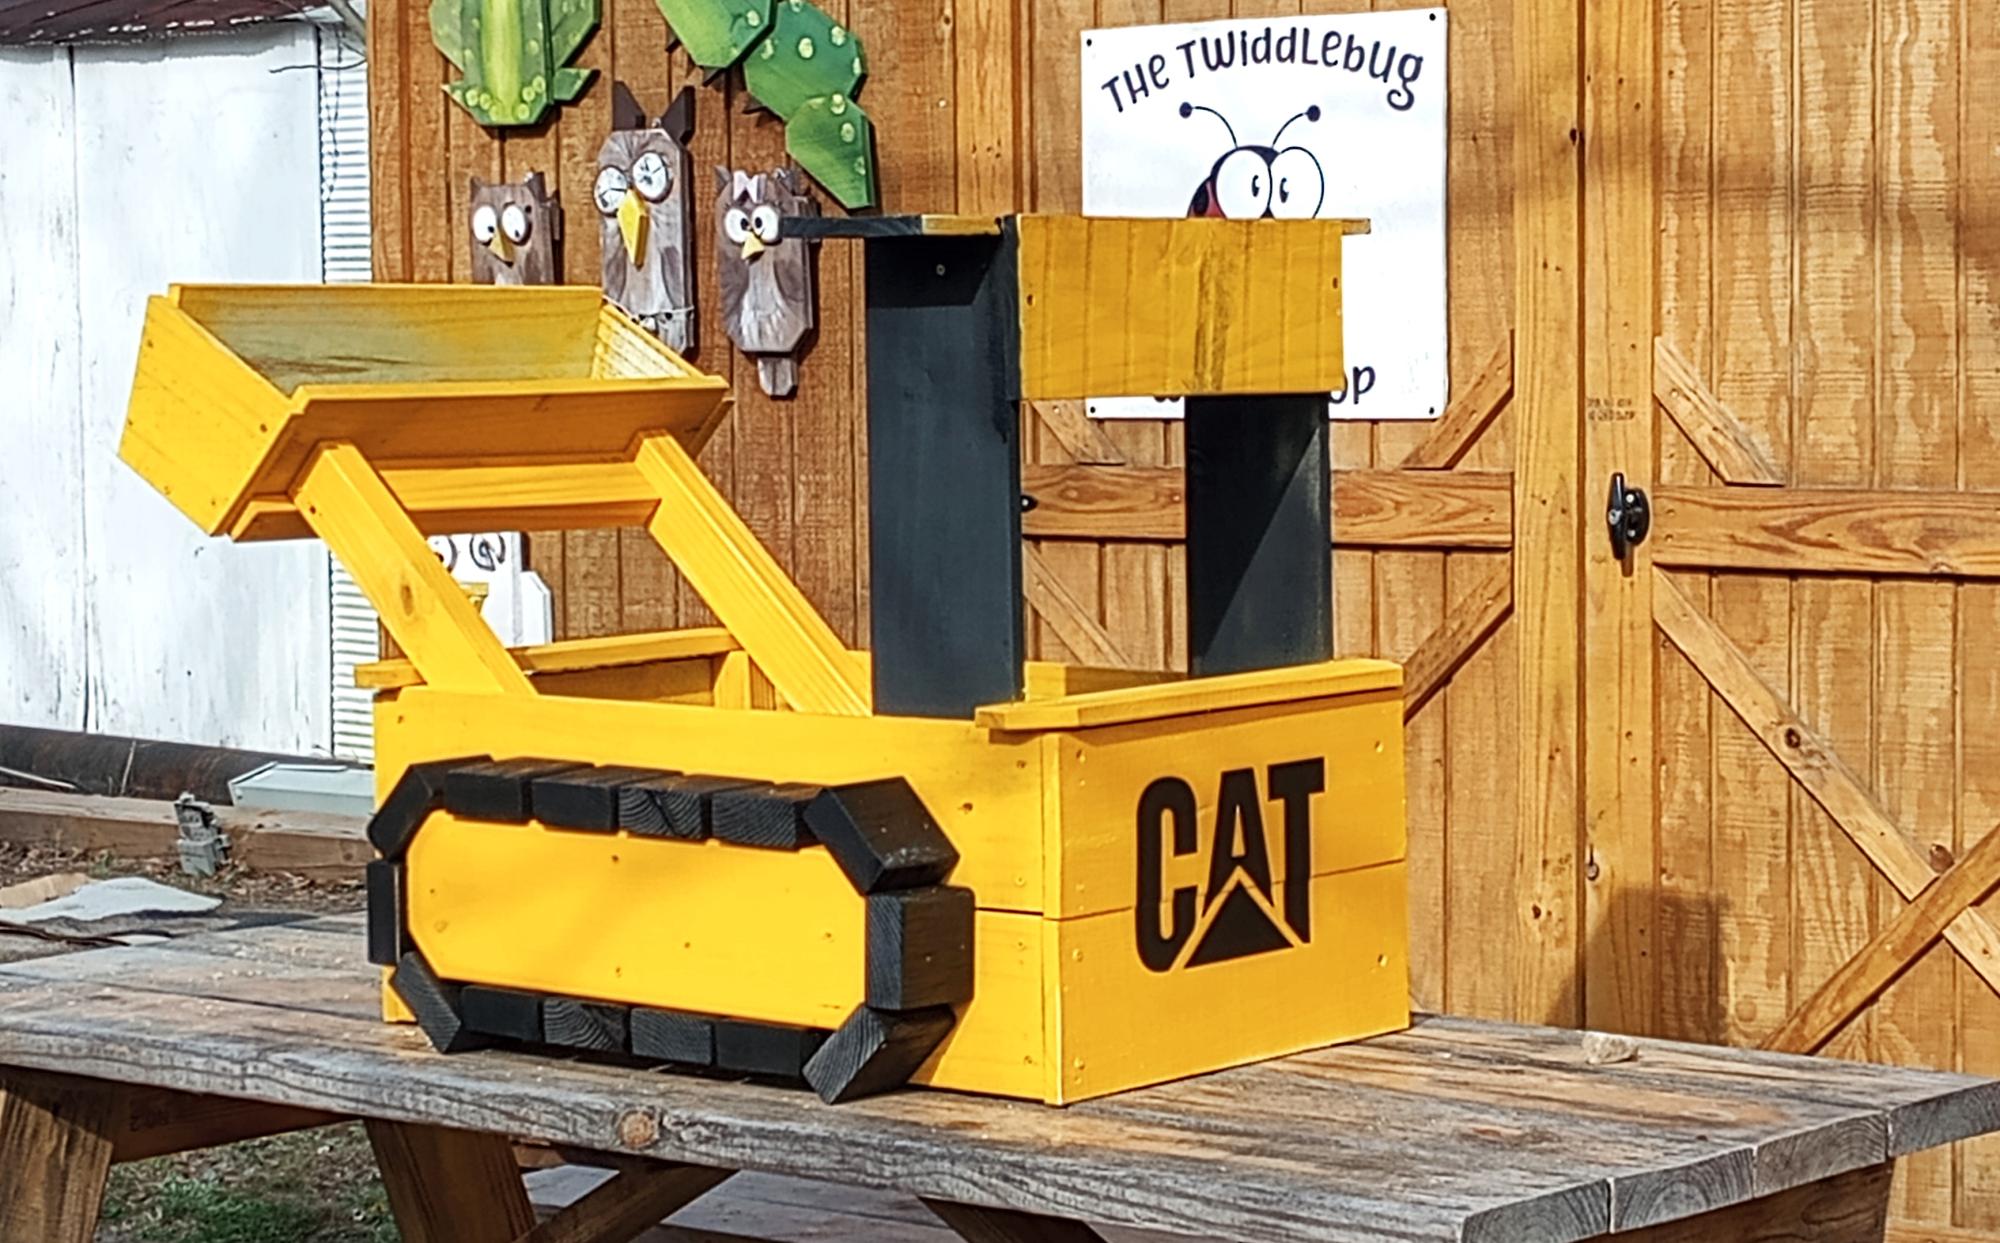
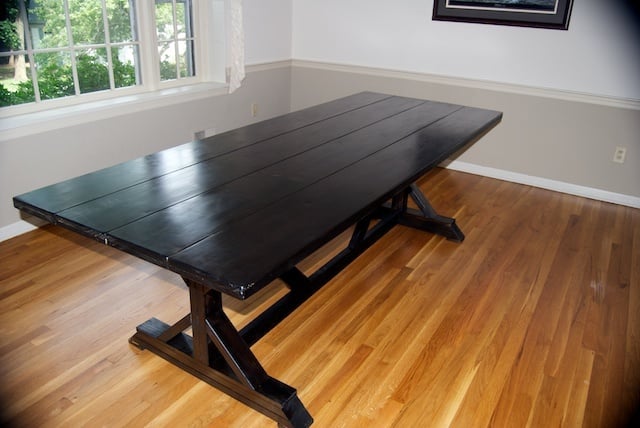
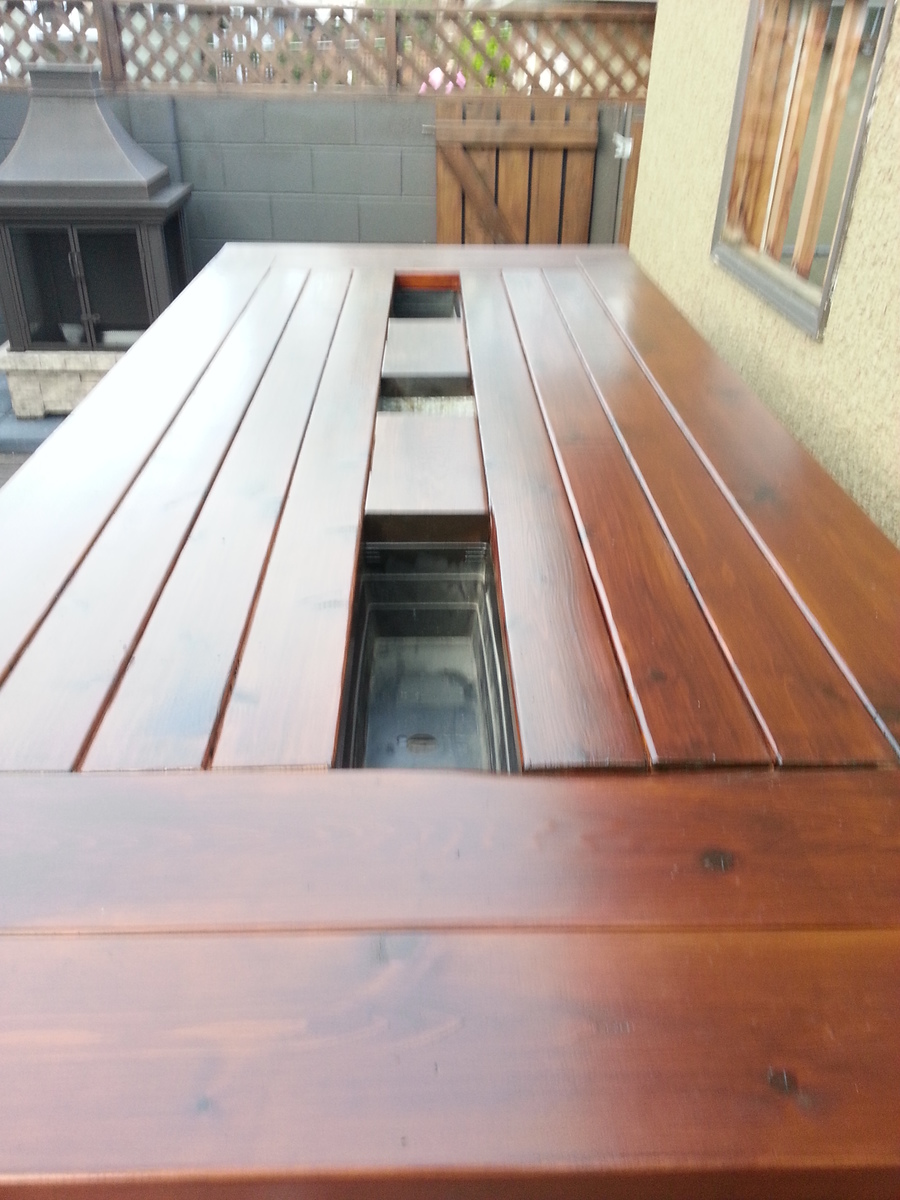
I made a mistake on choosing the stain for the top, and had to adapt to what I wanted, but I kinda like the end result, although it is more formal than what I had wanted at first.
It is a gloss mission oak, from miniwax.
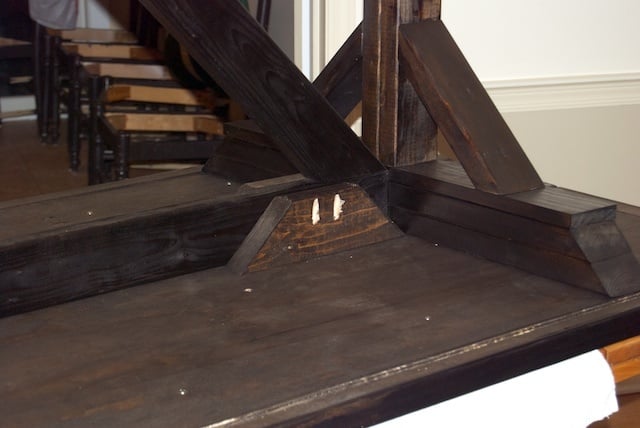
I built this without the Kreg, but I have bought one since, so my next project should be better!
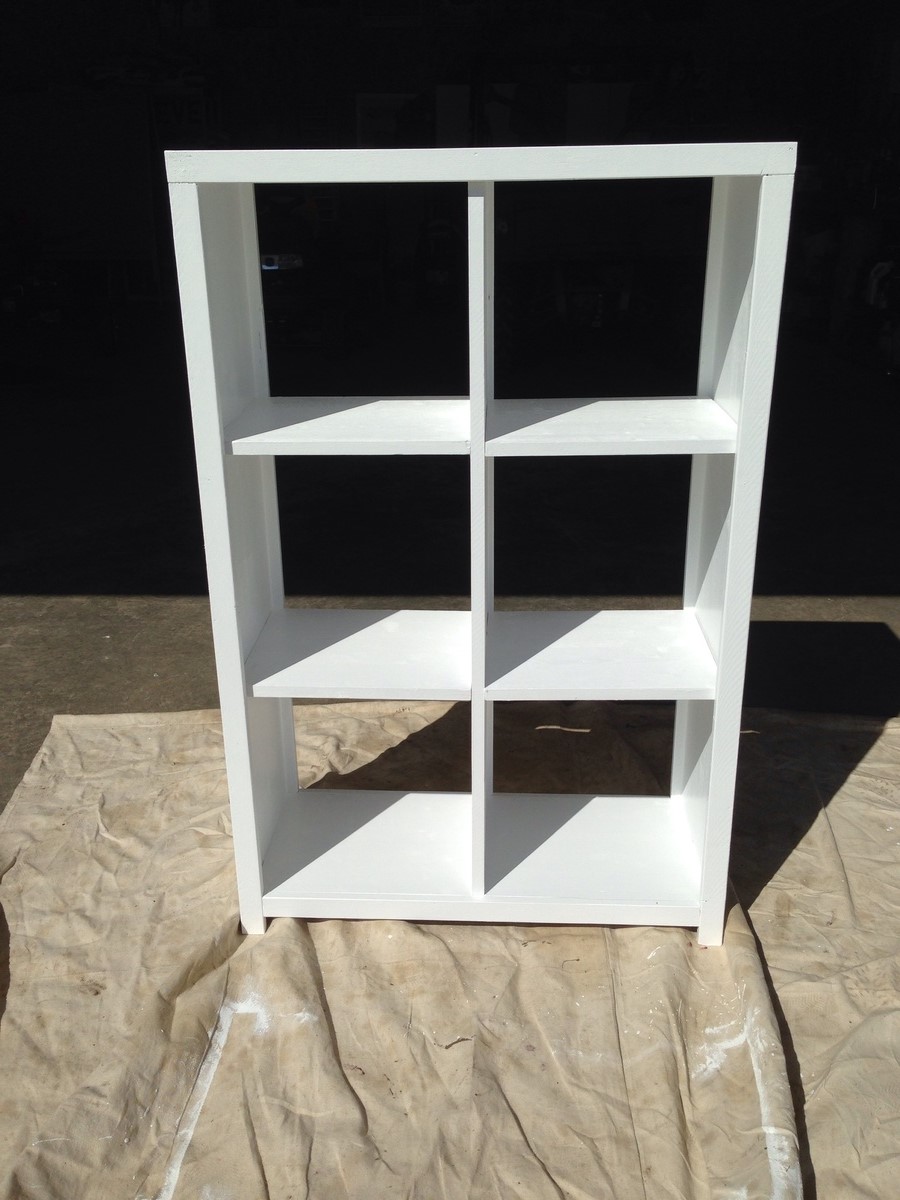
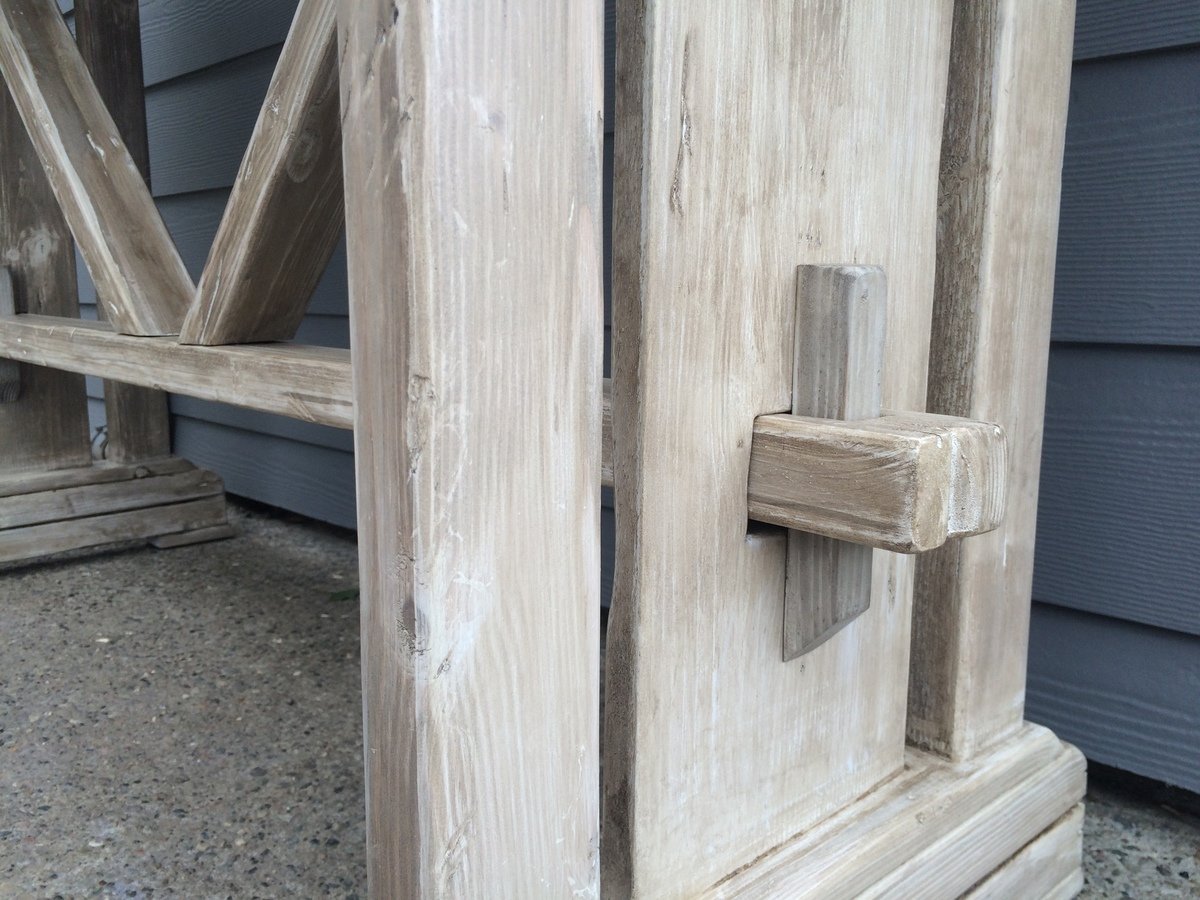
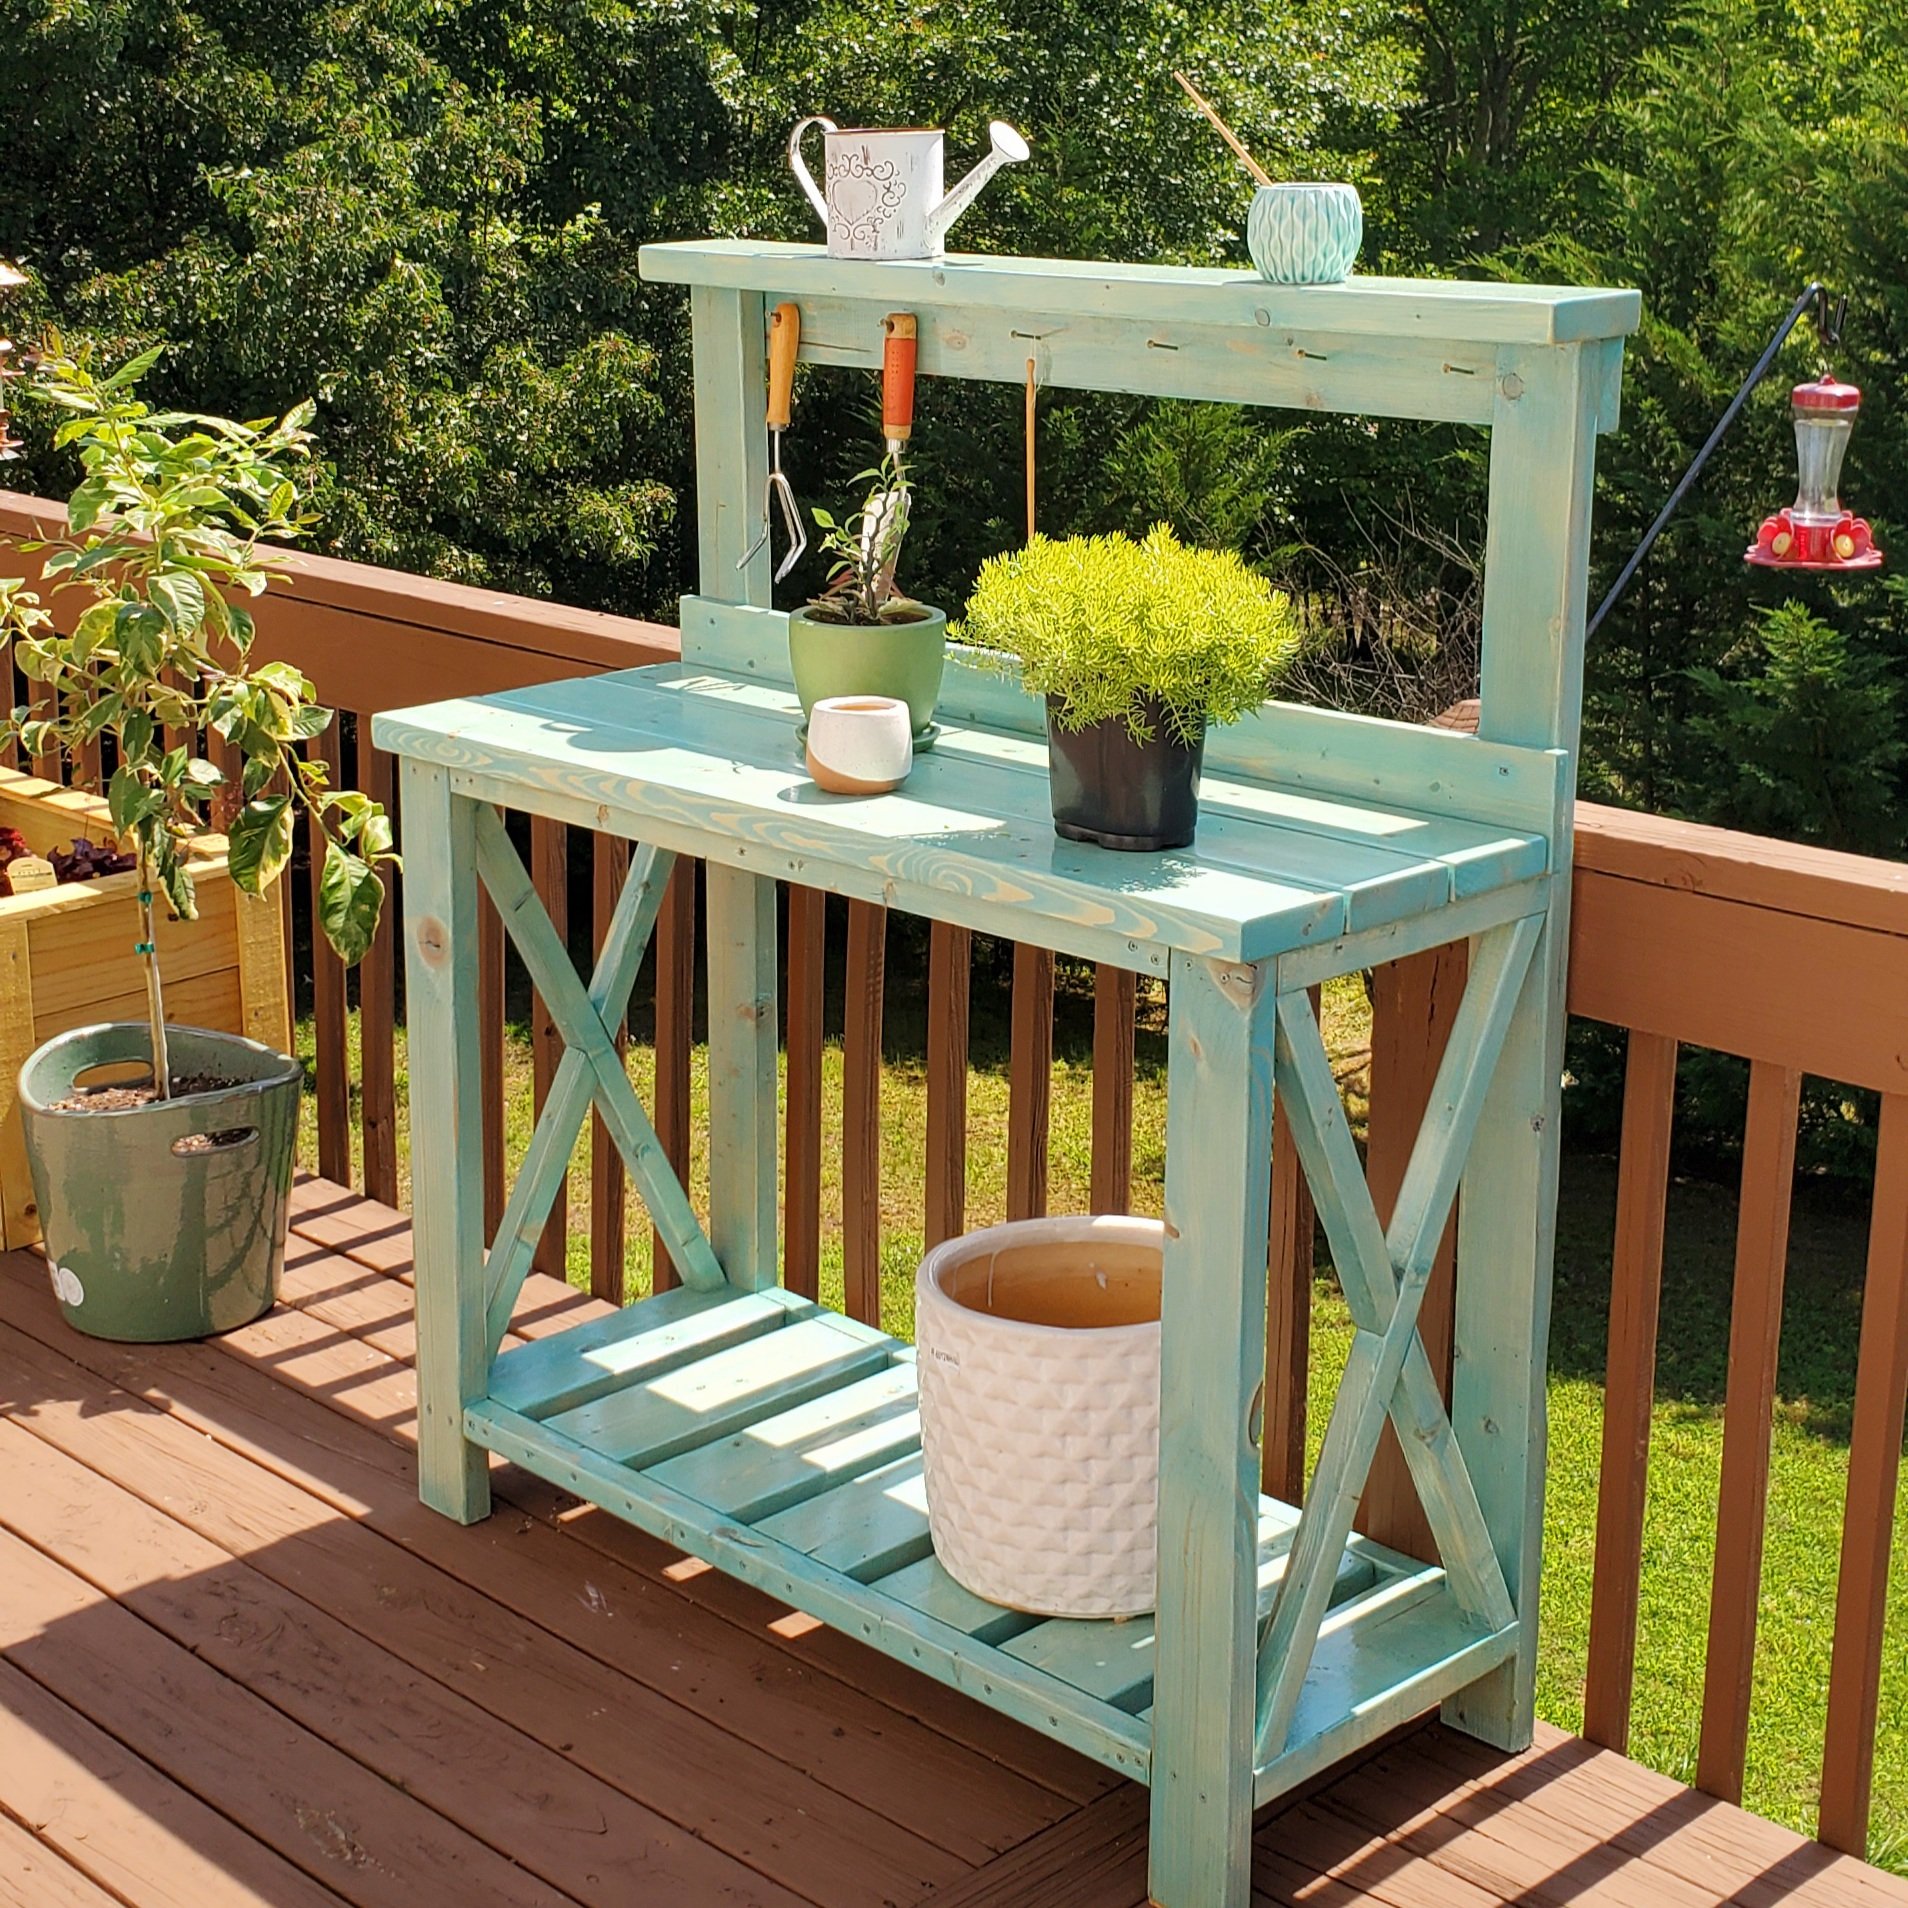
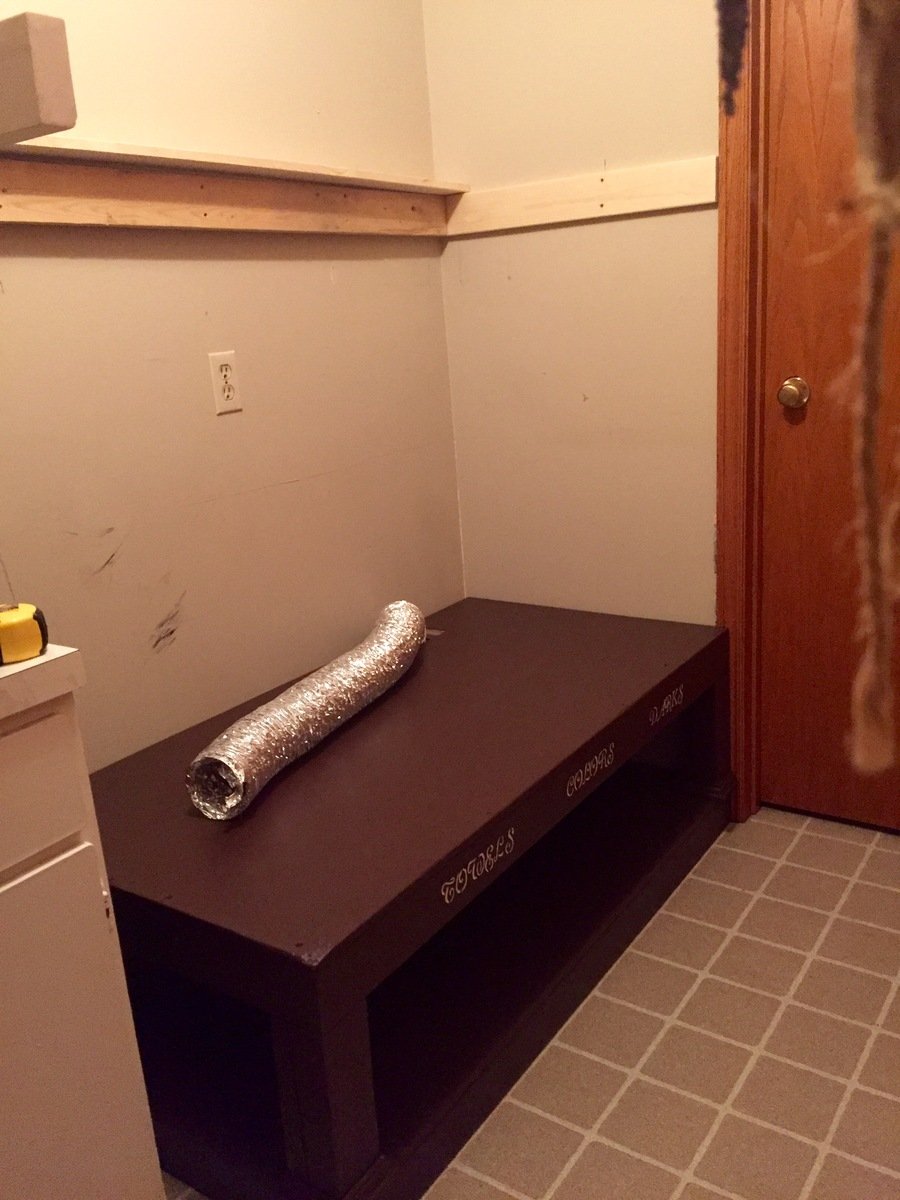
The paint is Antique White from Glidden (DUO), distressed until my shoulders could not handle it anymore.
Building is so empowering, I am so happy I found this site! Thanks Ana for all the great work!
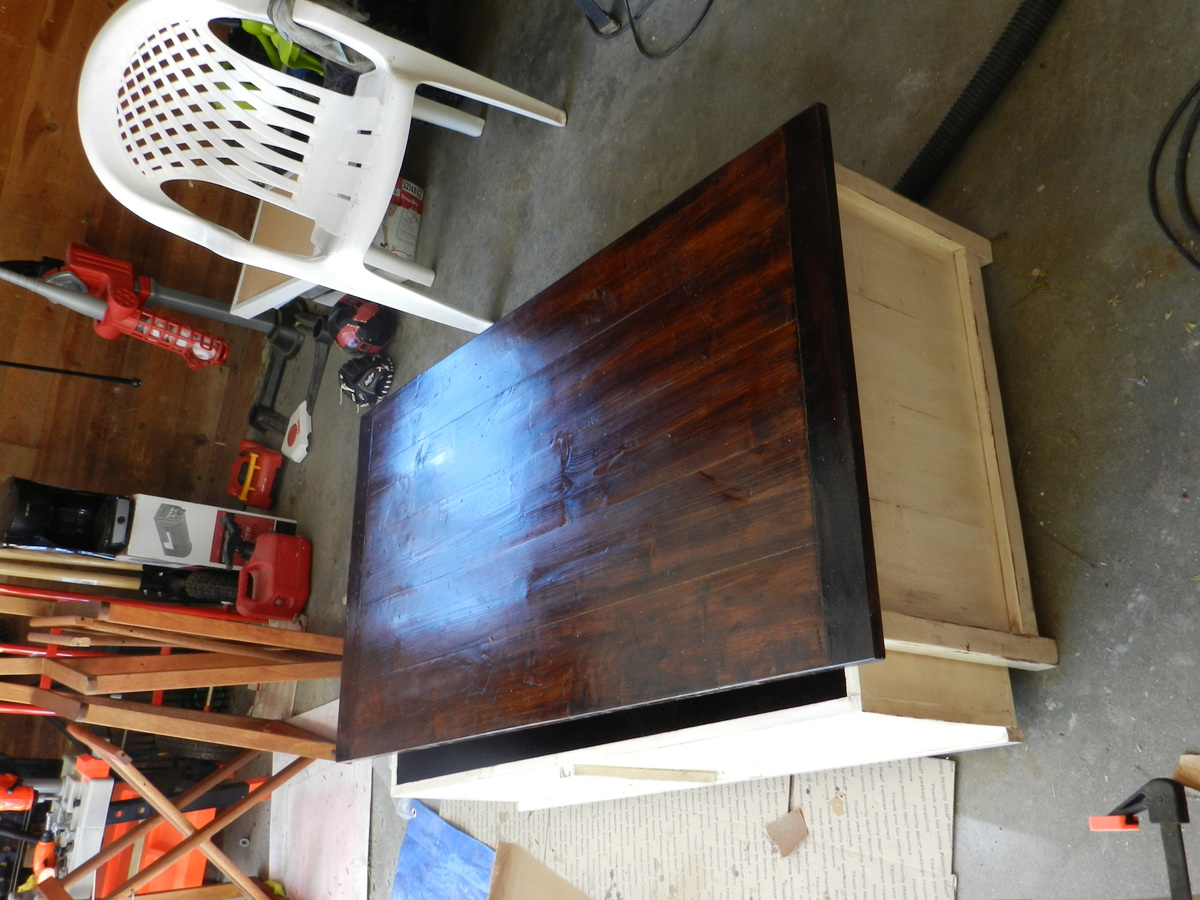
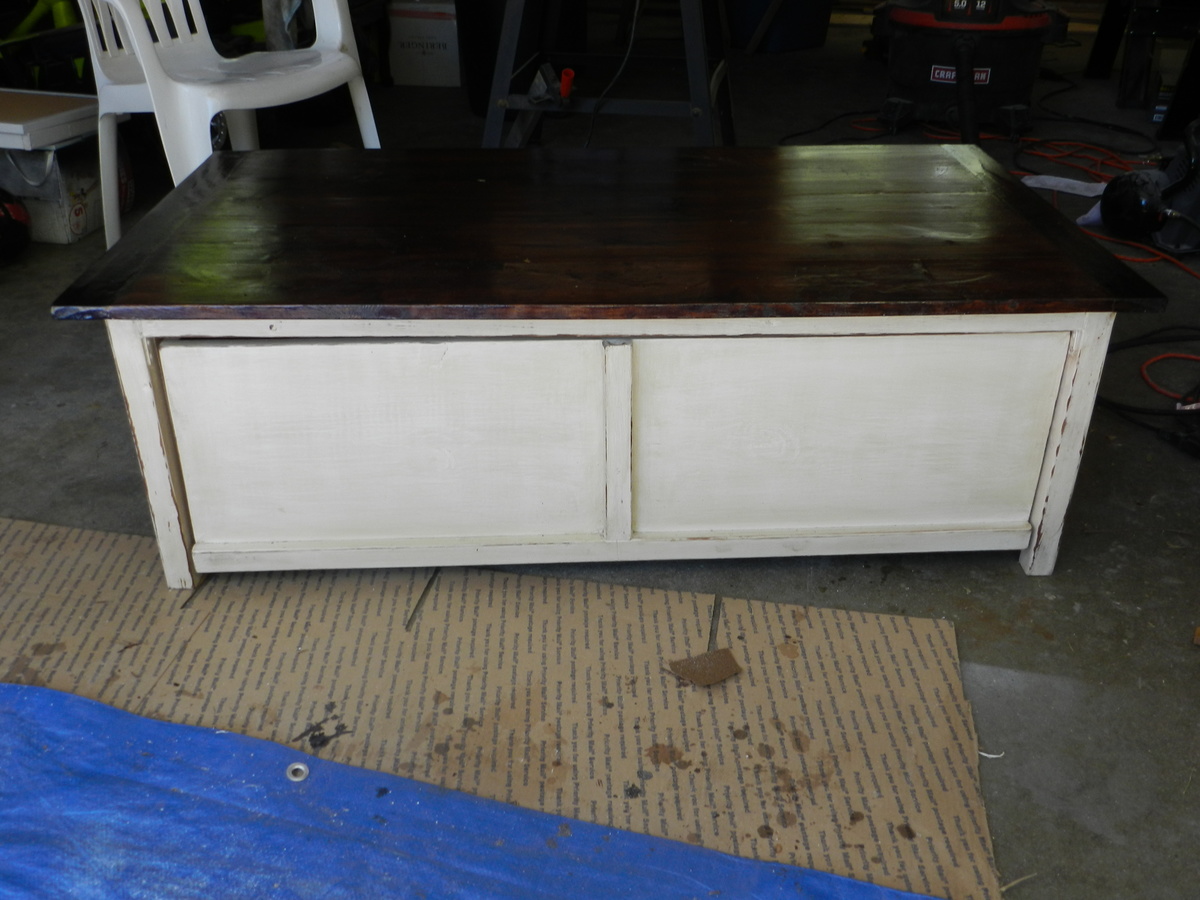
Glidden Antique white and distressing with sandpaper and stain.


 You really did a great job on this! Love it!
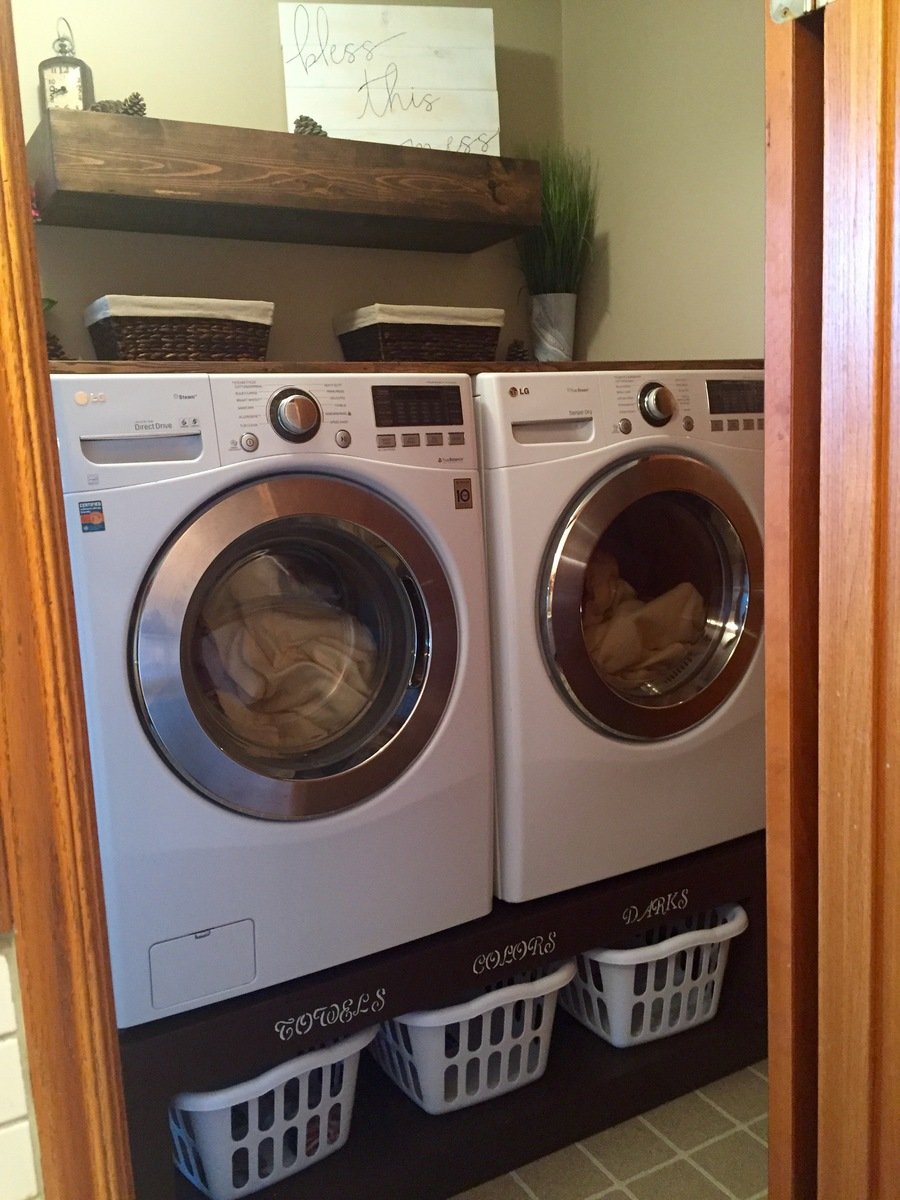


Comments
Nathan1342
Mon, 08/06/2012 - 14:39
Cool Project!
Cool Project!